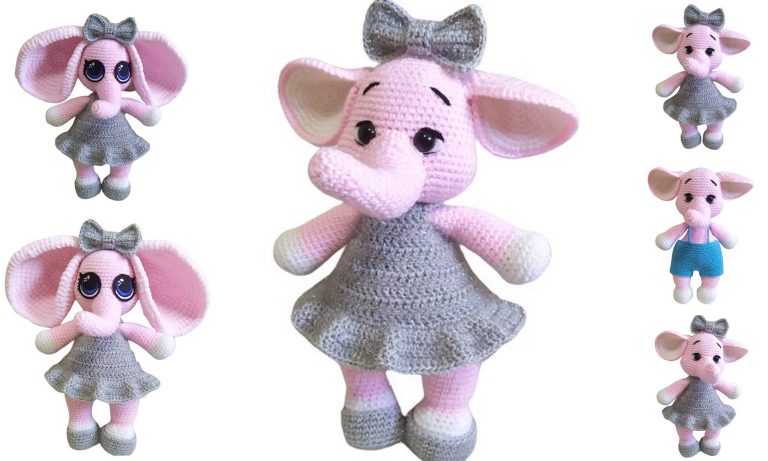
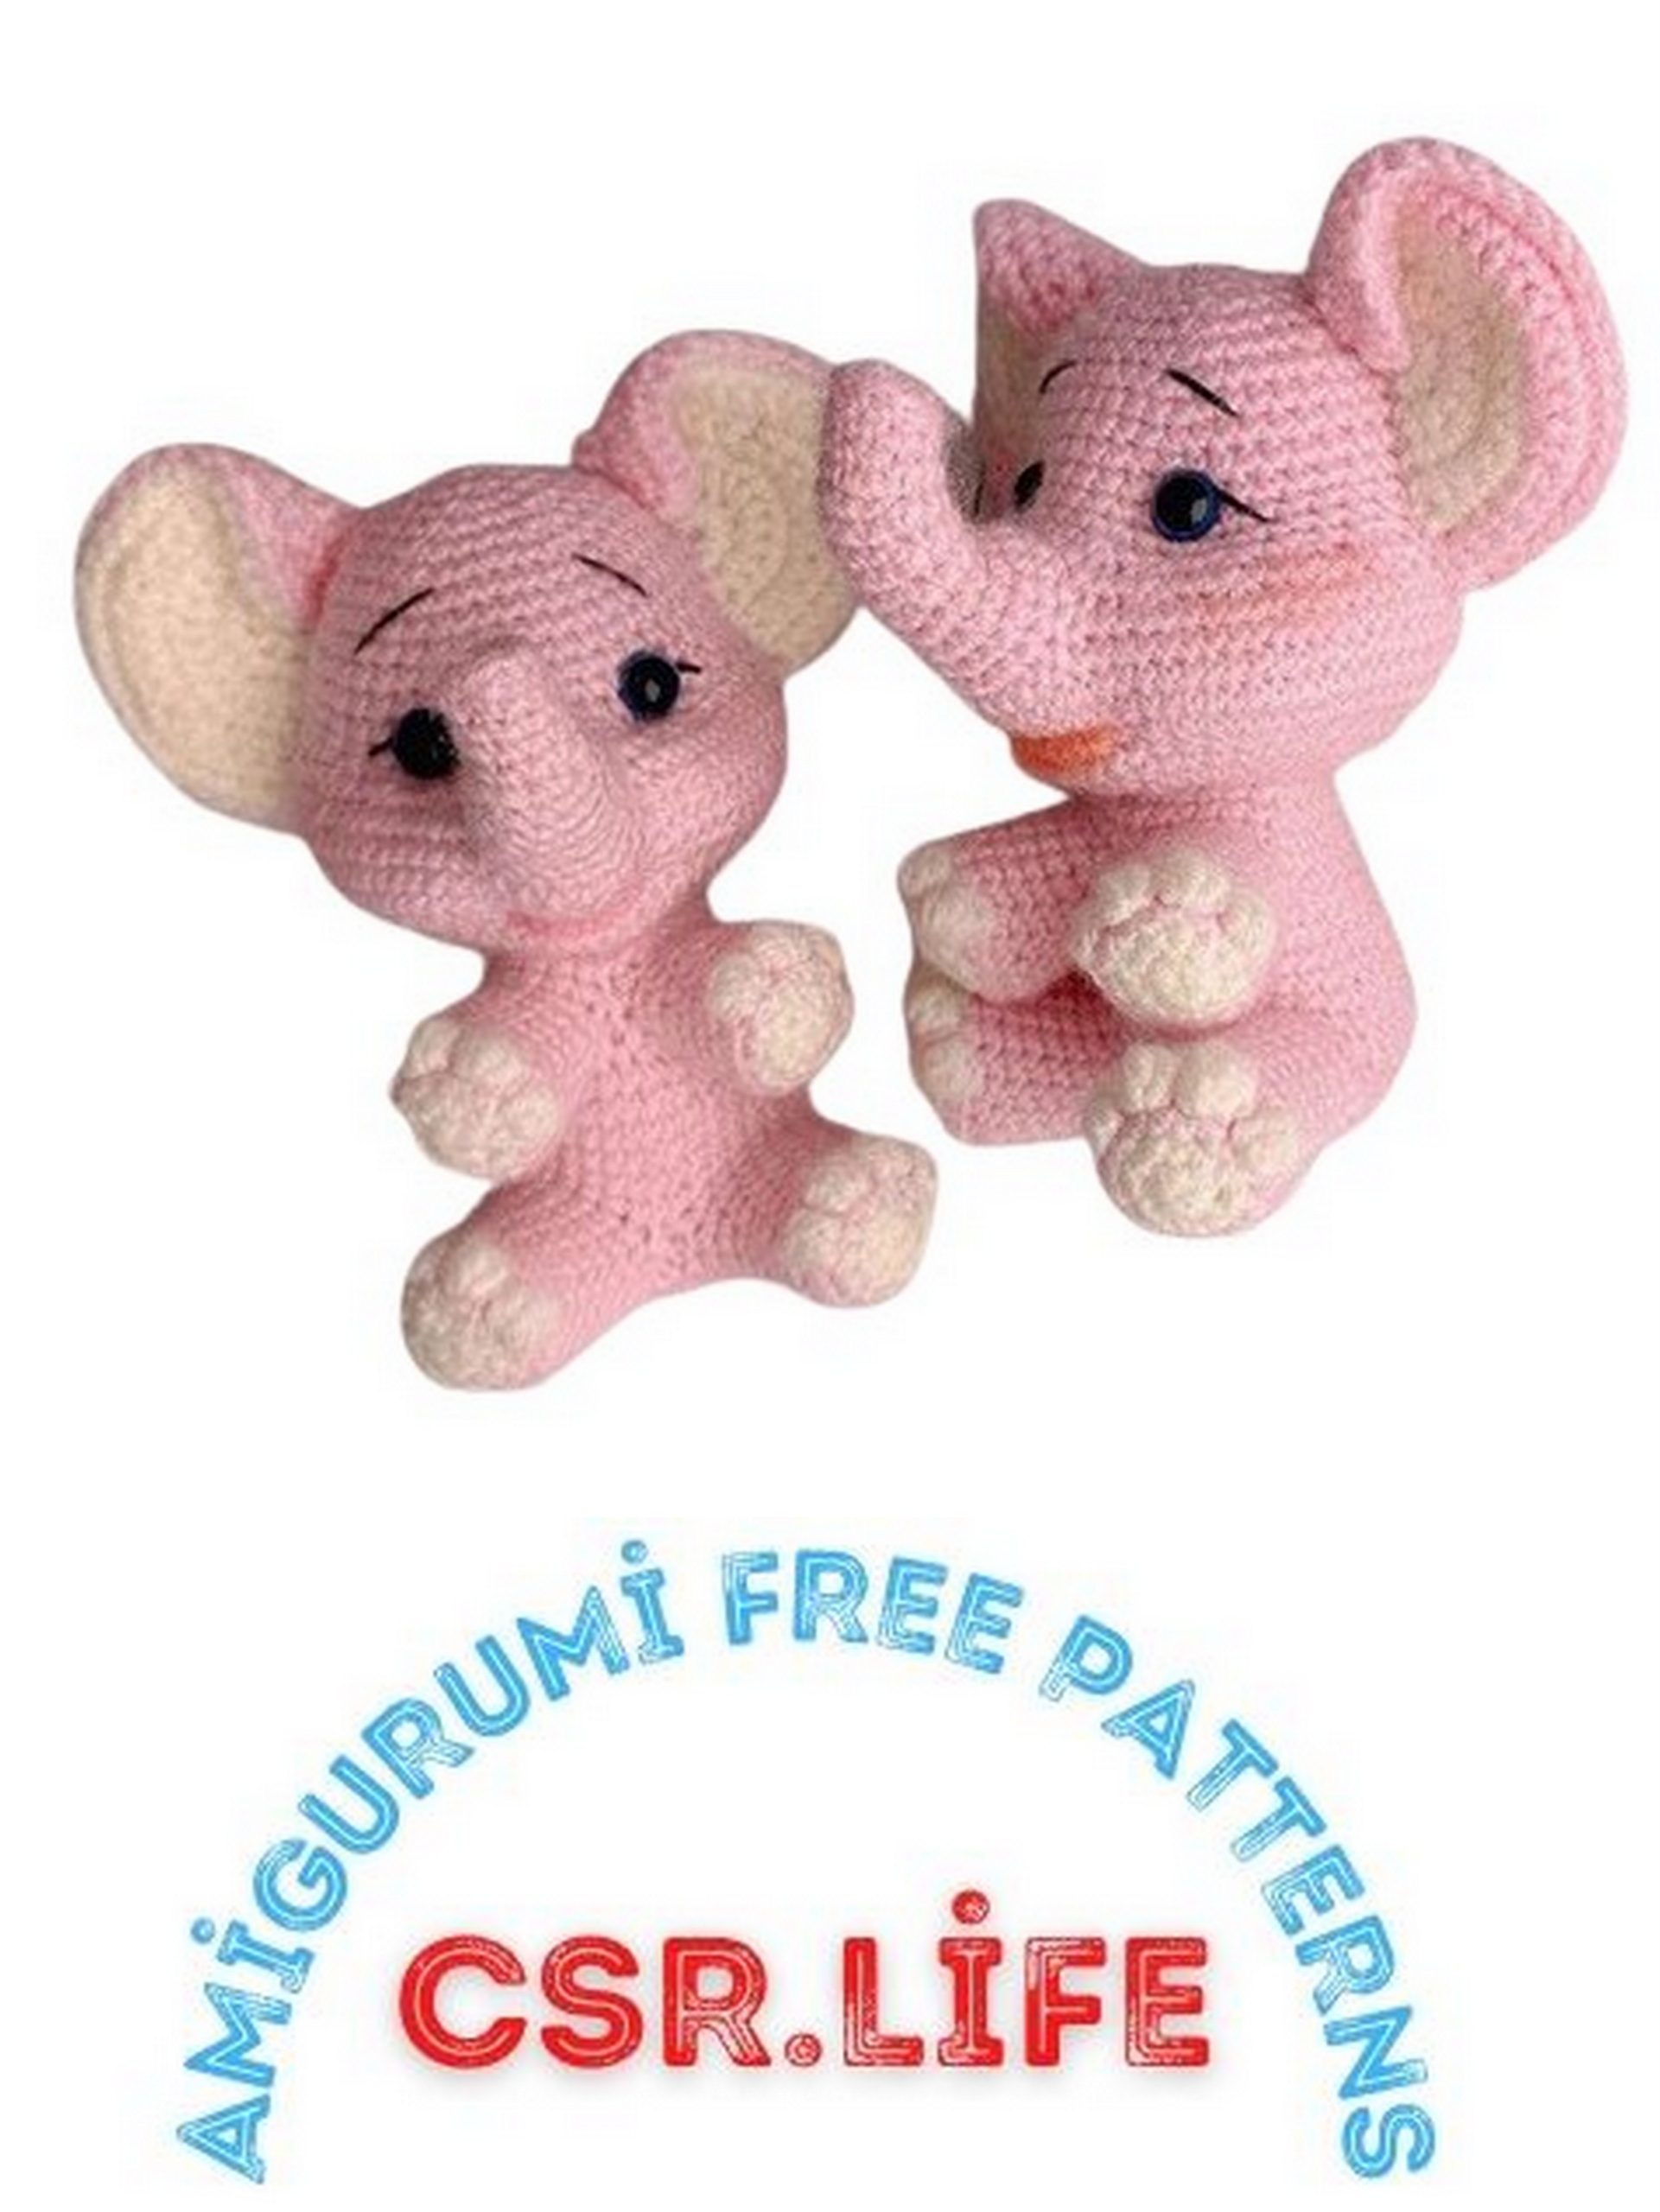
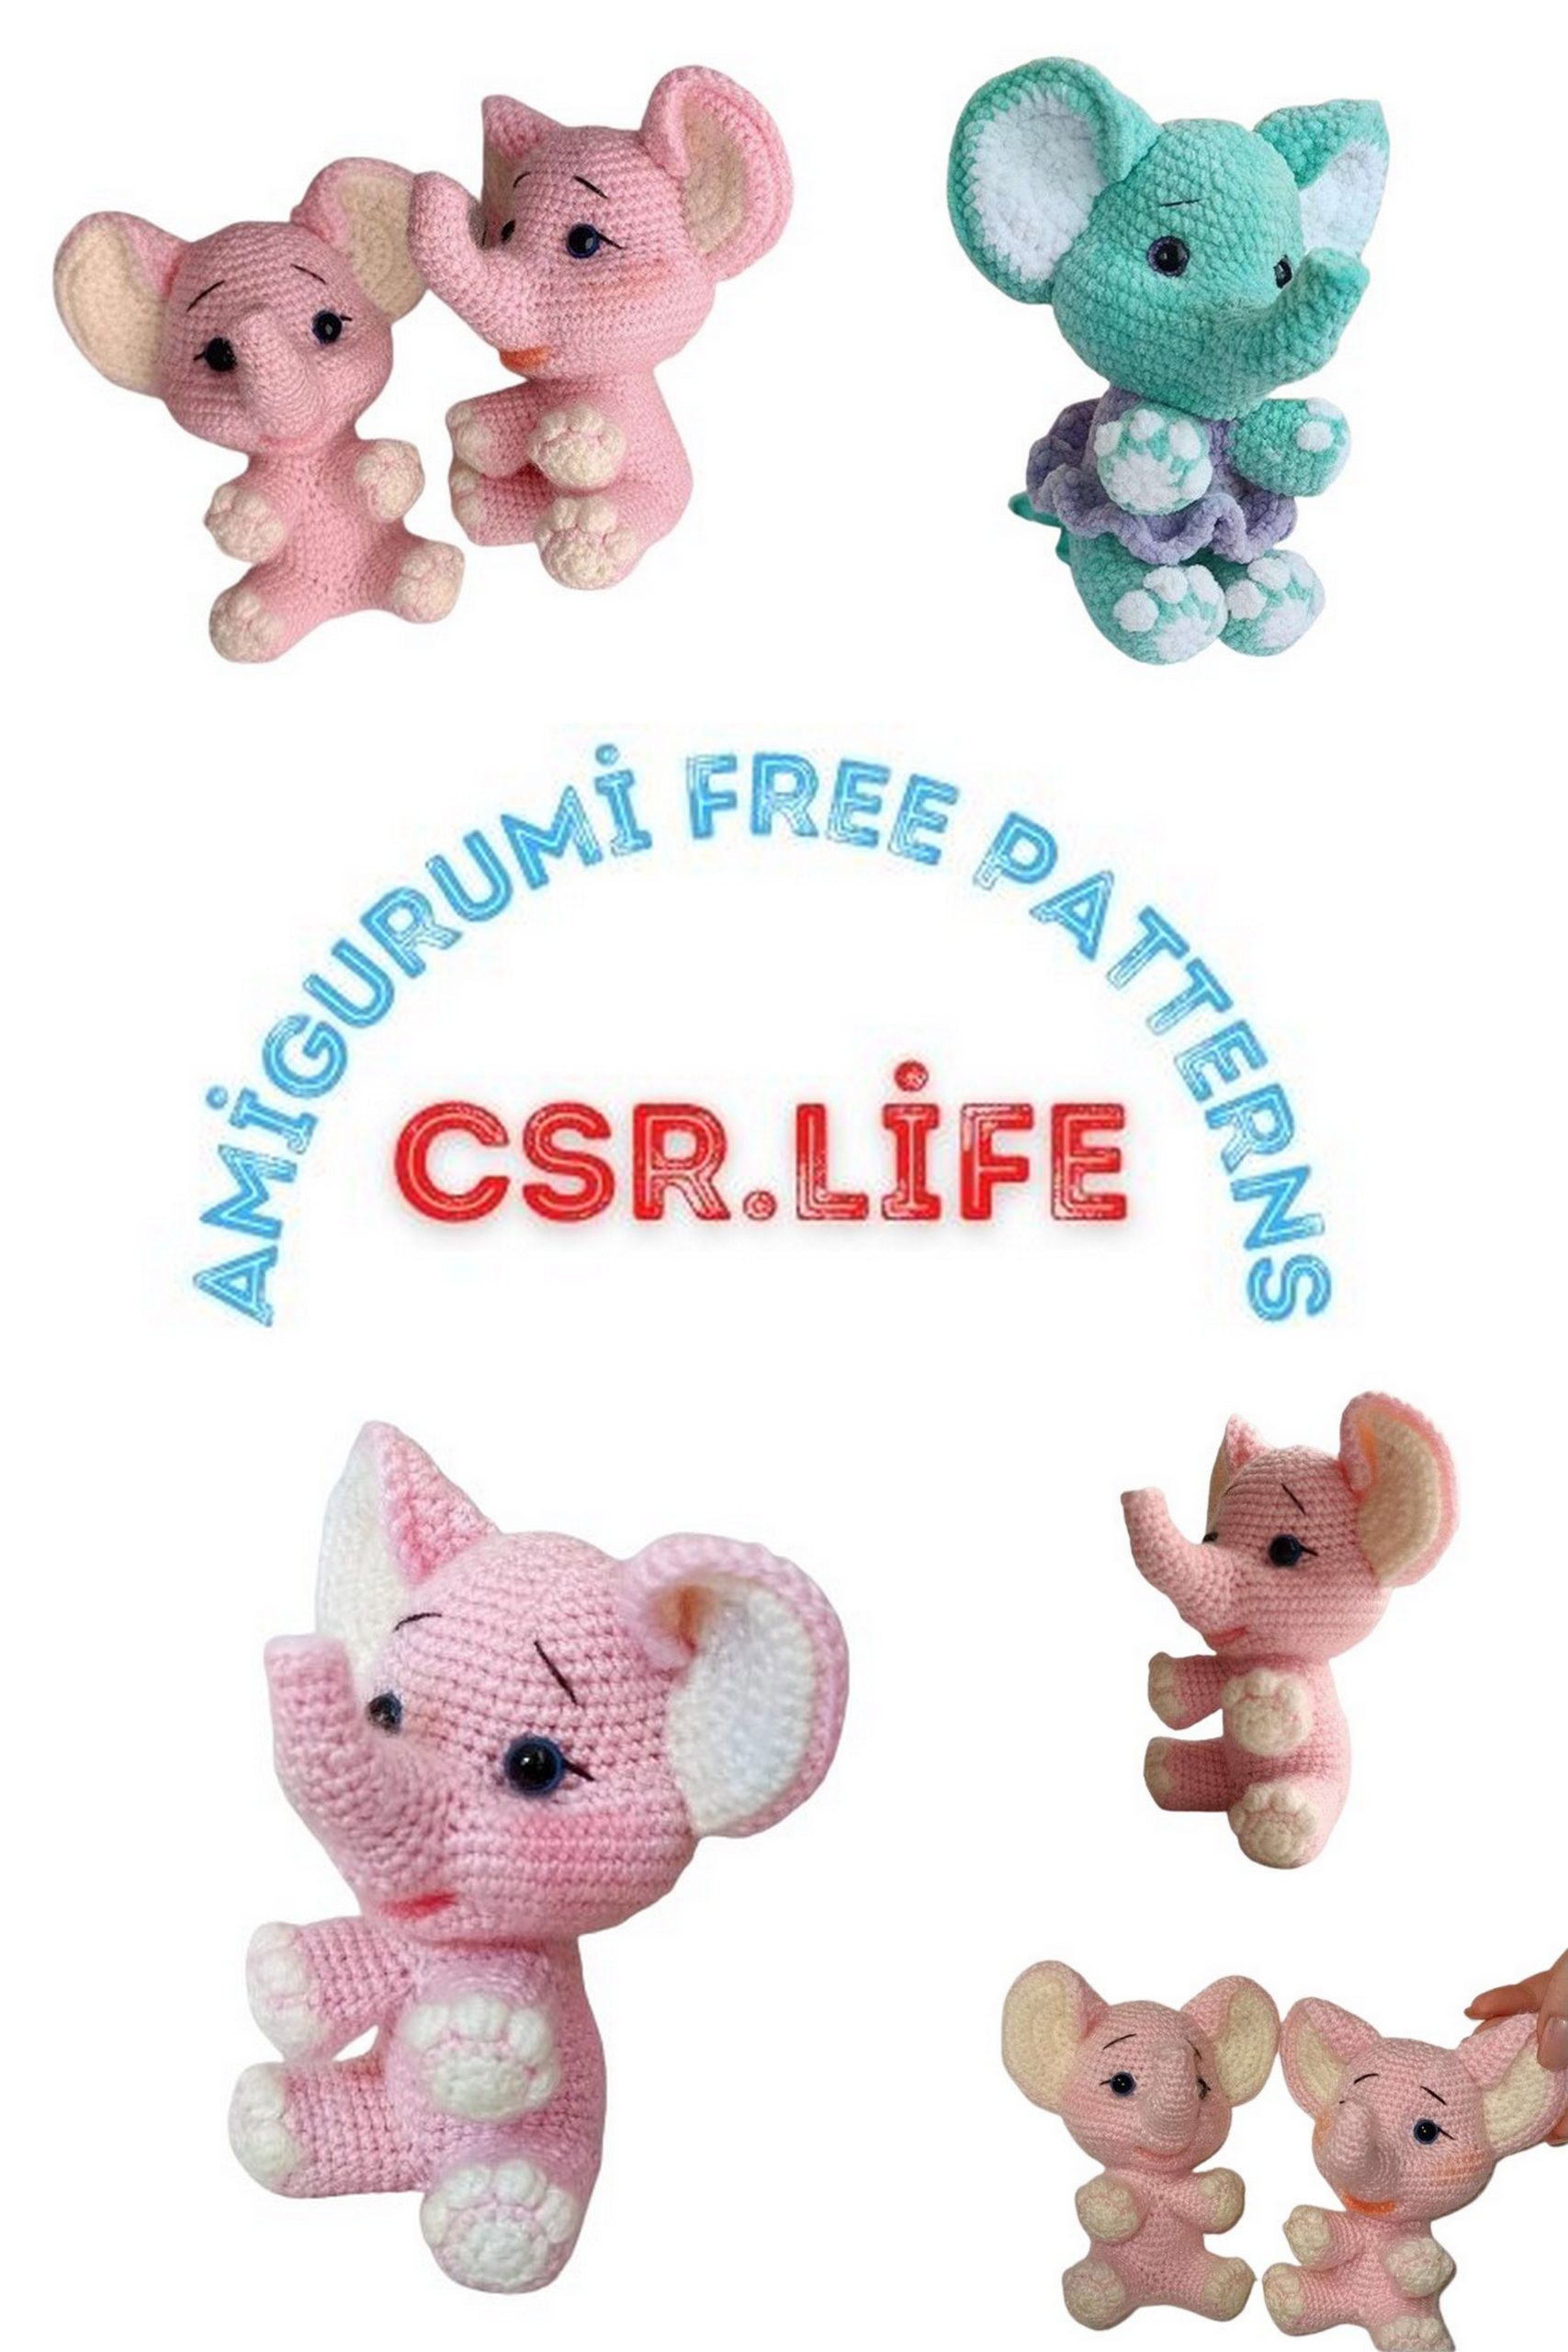
Adorable Little Pink Elephant Amigurumi Free Pattern: Create Your Own Cute Crochet Friend!
Welcome to the enchanting world of crochet, where creativity knows no bounds! If you’re a fan of amigurumi and love adding a touch of sweetness to your surroundings, you’re in for a treat. Our Little Pink Elephant Amigurumi Free Pattern is a delightful project that promises hours of crafting joy.
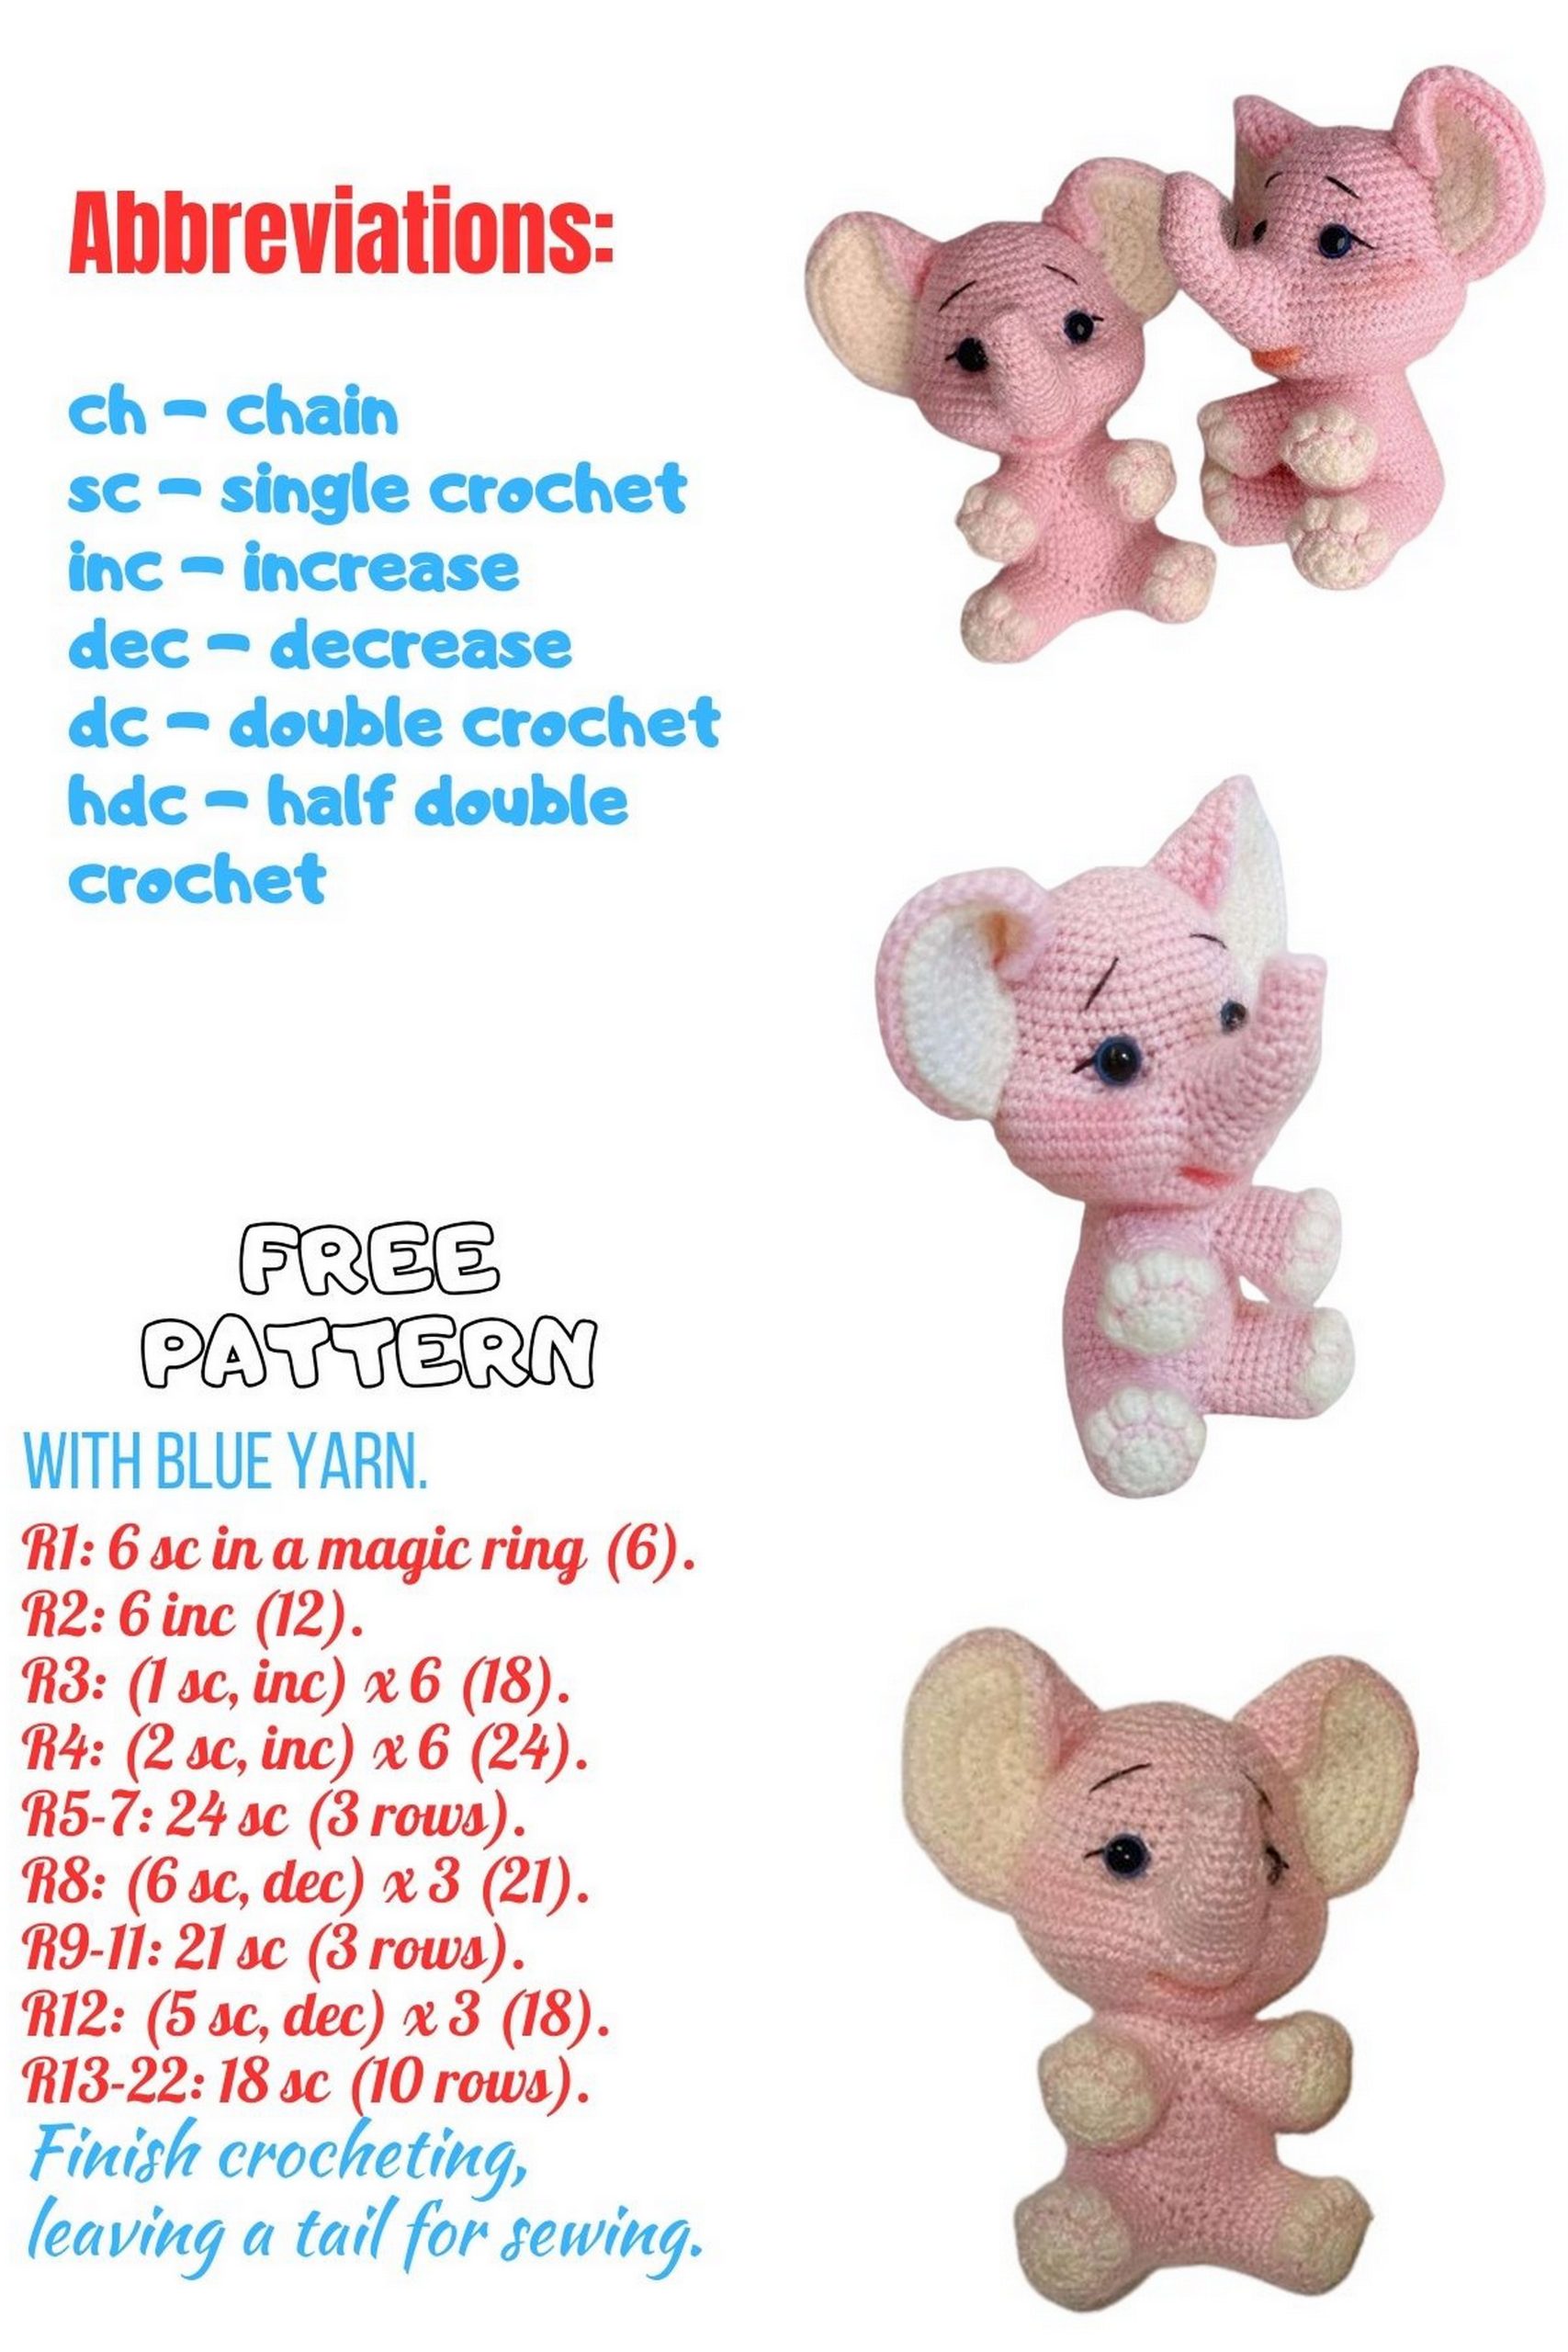
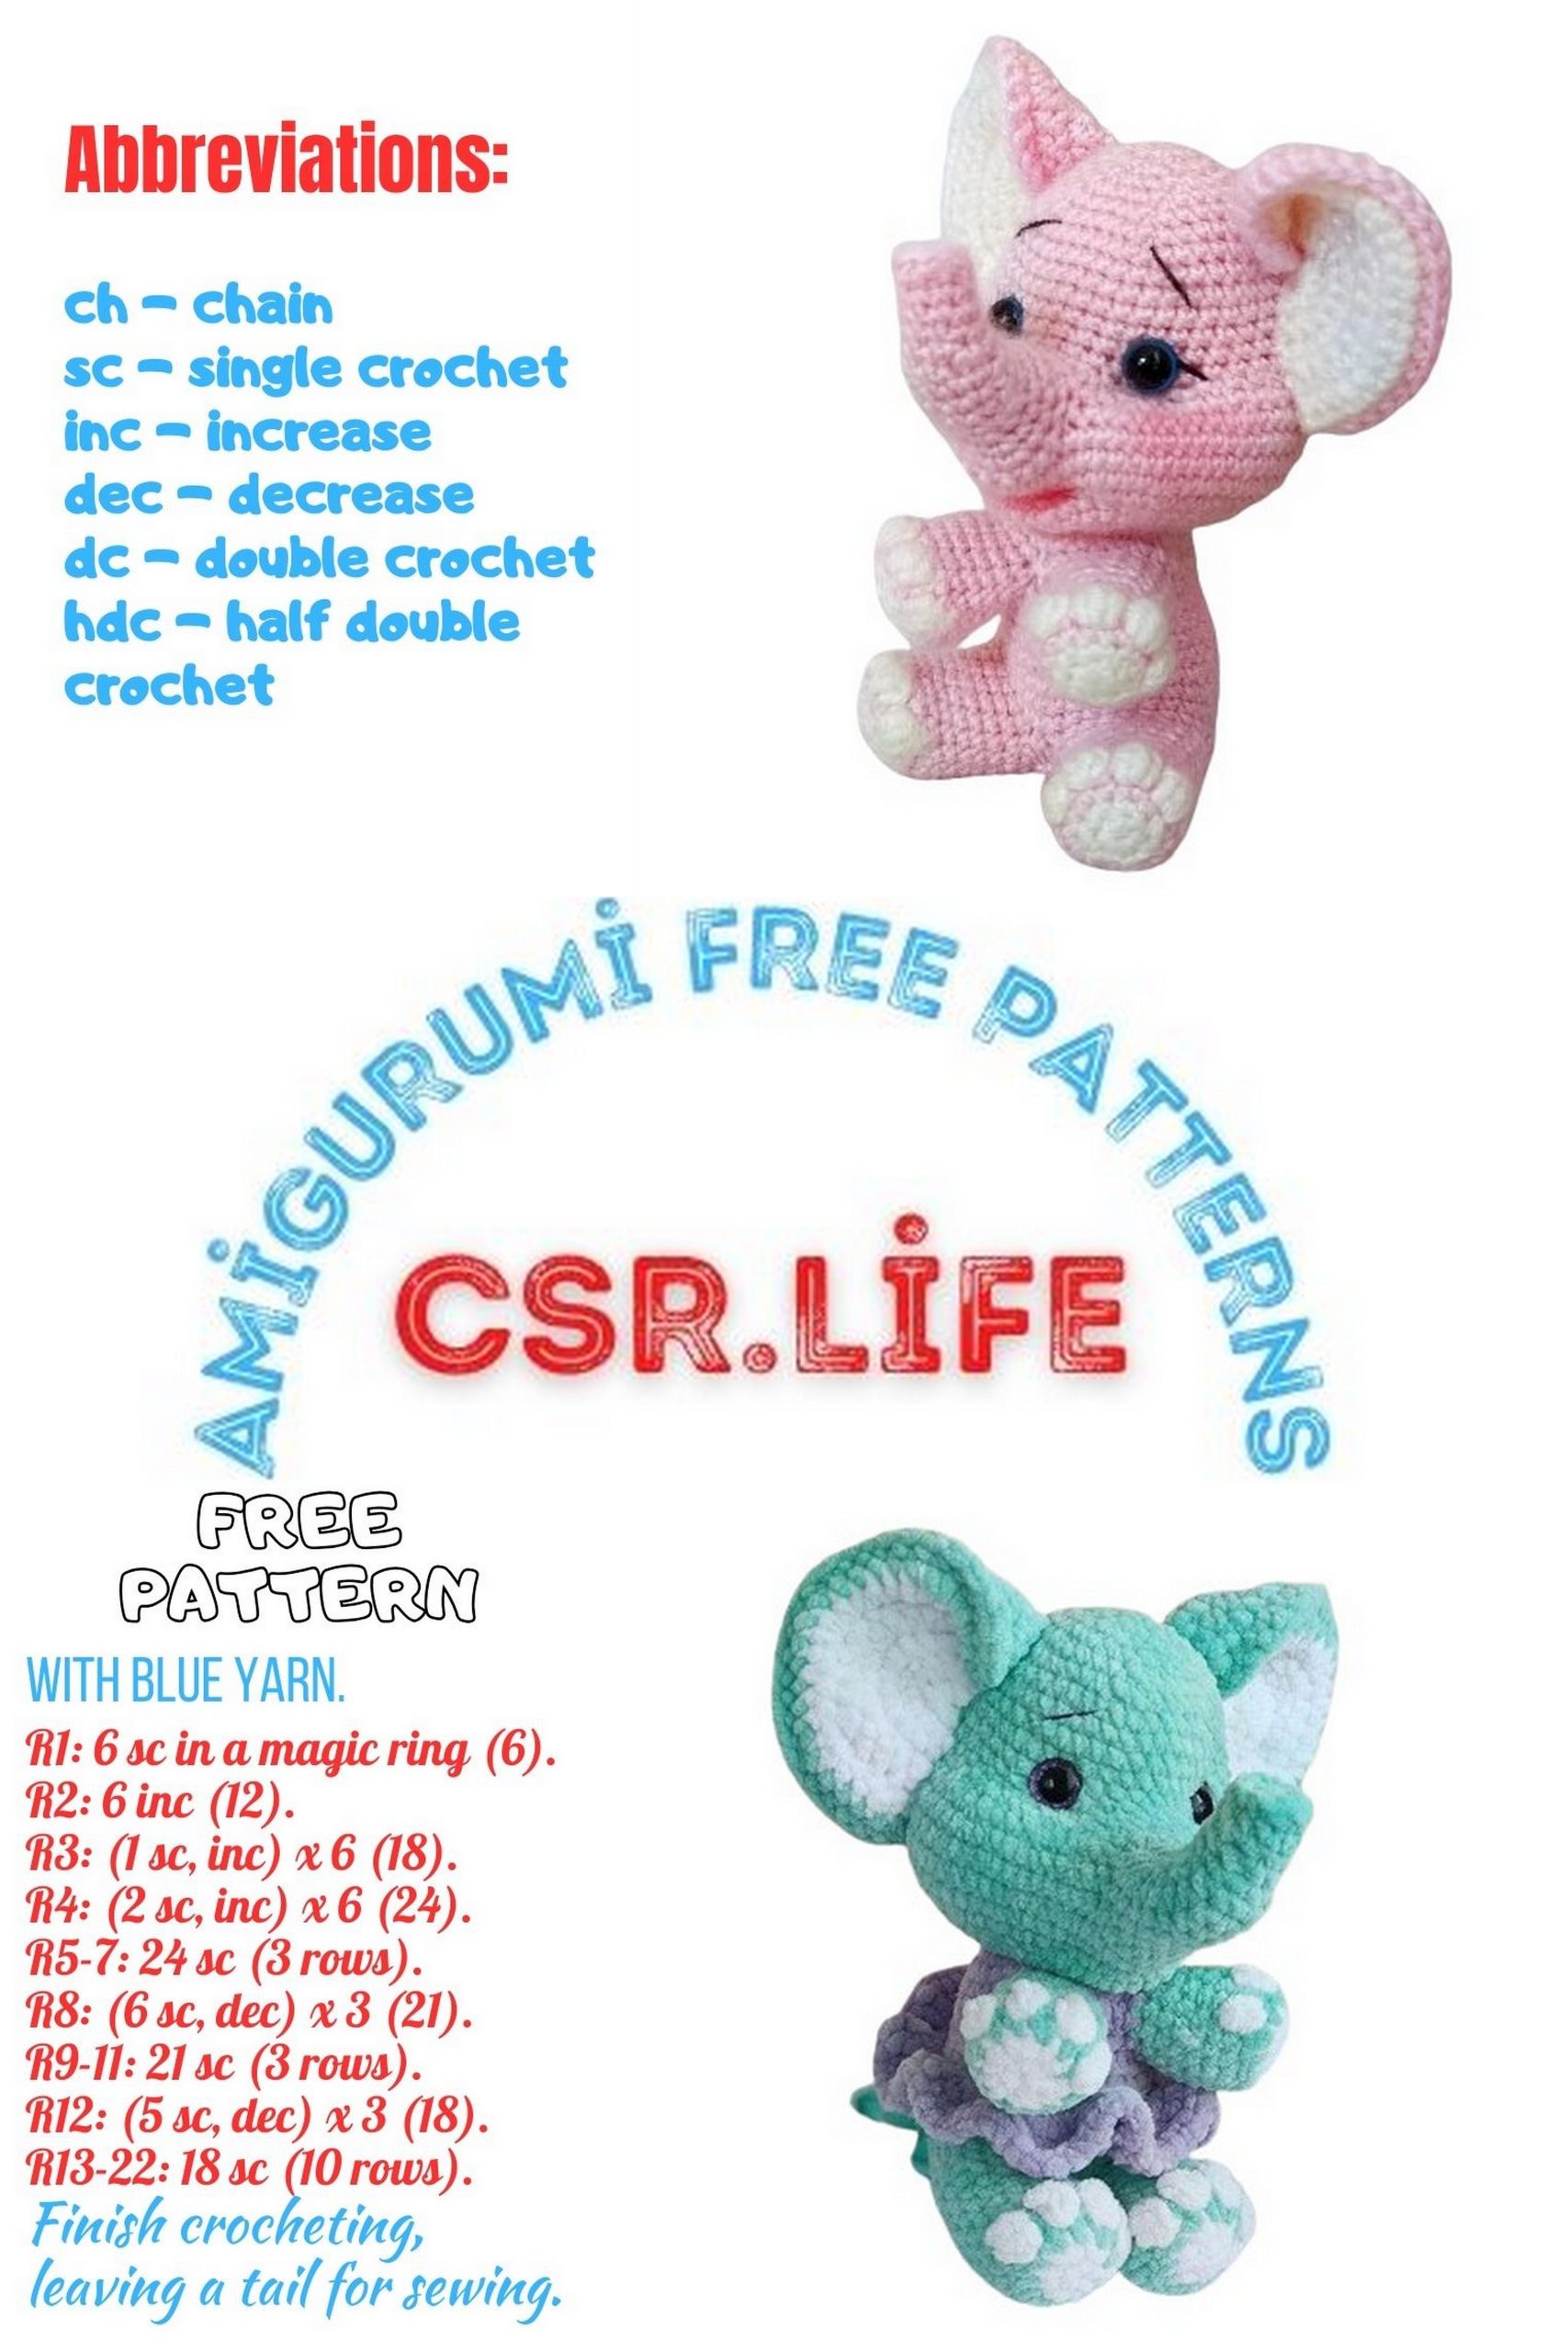
Abbreviations:
MR – Magic Ring
sc – single crochet
inc – increase
dec – decrease
ch – chain
sl st – slip stitch
BLO – back loop only
Materials:
Yarn “Children’s Novelty” in 2 colors
Safety eyes 8mm
Black embroidery thread for eyebrows
Stuffing
Weighting material
Needle for stuffing and embroidering eyelashes and eyebrows
PATTERN
Arms (2 pieces):
Start crocheting with an additional color.
1 Row: 6 sc in MR (6)
2 Row: 6 inc (12), change yarn to the main color.
3 Row: (2 sc, inc)*4 (16), change yarn to the additional color.
4 Row: After changing color, make 1 chain and crochet it, but not completely. Crochet the last two loops on the hook, leaving two. Make another chain, crochet into the same loop, and again crochet the last two loops on the hook. Repeat this process two more times in the same loop. After the last chain and crocheting the last two loops on the hook, crochet the remaining loops with pink yarn. Tighten the pink thread and crochet a single crochet but not completely, change color to white. Continue crocheting three more fingers in the same way. After completing the fourth finger, crochet 9 sc in the BLO (16).
5-8 Row: 16 sc
9 Row: (6 sc, dec) * 2 (14)
10 Row: 14 sc
Trunk:
1 Row: 6 sc in MR (6)
2 Row: 6 inc (12)
3 Row: (1 sc, inc) * 6 (18)
4 Row: (2 sc, inc) * 6 (24)
5 Row: 3 sc, 6 inc, 6 sc, 6 inc, 3 sc (36)
6 Row: 36 sc
Place the marker in the center behind; it will be the back, and now, start crocheting the legs.
7 Row: 8 sc, attach the leg to the body on the side where you finished crocheting the leg, crochet 10 sc, attaching the leg by capturing the loops of the leg and the body, then crochet 10 sc with the second leg, attaching the leg in the same way, 8 sc (36).
8 Row: 8 sc, to prevent holes in the leg connections, make a decrease of 3 stitches, as shown in the photo, it will be 1 sc, then crochet 8 sc along the remaining leg loops, make another decrease with the remaining 9th stitch and capturing the loop between the junction of the two legs, repeat the same with the second leg, don’t forget the decrease at the beginning and end, crochet 10 sc along the remaining loops of the second leg, 8 sc (36).
9-12 Row: 36 sc (4 rows)
13 Row: (4 sc, dec) * 6 (30)
14 Row: 30 sc
Place the marker in the center of the back; now, crochet the arms. Crochet the arms similarly to the legs, starting from where you finished crocheting the arms.
15 Row: 8 sc, crochet 7 sc along the arm, crochet 7 sc along the second arm, 8 sc (30).
In the 16th row, also make a decrease at the beginning and end of the arm, just like in the legs.
16 Row: 8 sc, crochet 7 sc along the remaining loops on the arm, crochet 7 sc along the remaining loops on the second arm, 8 sc (30).
Stuff the legs and arms tightly, leaving the arms only half-filled so they don’t stick out too much.
17-18 Row: 30 sc (2 rows)
19 Row: (3 sc, dec) * 6 (24)
20 Row: (2 sc, dec) * 6 (18)
Continue crocheting the body.
21 Row: 18 inc (36)
22 Row: (5 sc, inc) * 6 (42)
23 Row: (6 sc, inc) * 6 (48)
Align the marker in the center of the head from behind.
24-25 Row: 48 sc (2 rows)
26 Row: 9 sc, 10 inc, 10 sc, 10 inc, 9 sc (68)
27-28 Row: 68 sc (2 rows)
Align the marker at the center of the head from behind.
Now crochet the trunk.
29 Row: 29 sc, 9 sc with the trunk, 30 sc (68)
30 Row: 29 sc, (1 sc, 1 dec) * 3 with the trunk, 30 sc (65)
31 Row: 9 sc, (1 dec, 2 sc) * 5, 6 sc, (2 sc, 1 dec) * 5, 10 sc (55)
32 Row: 9 sc, (1 sc, 1 dec) * 5, 1 dec, 3 sc, 1 dec, (dec, 1 sc) * 5, 9 sc (43)
33 Row: 41 sc, 1 dec (42)
34-39 Row: 42 sc (6 rows)
40 Row: (5 sc, dec) * 6 (36)
Insert the eyes between the 34th and 35th rows. Crochet 5 sc between the eyes. To better understand where to insert the eyes, fill the trunk and the lower part of the head, paying special attention to the cheeks.
41 Row: (4 sc, dec) * 6 (30)
42 Row: (3 sc, dec) * 6 (24)
Fill the trunk and cheeks tightly to smooth out all the folds.
43 Row: (2 sc, dec) * 6 (18)
Fill the head.
44 Row: (1 sc, dec) * 6 (12)
45 Row: 6 dec
Draw the hole tight, secure and cut the thread.


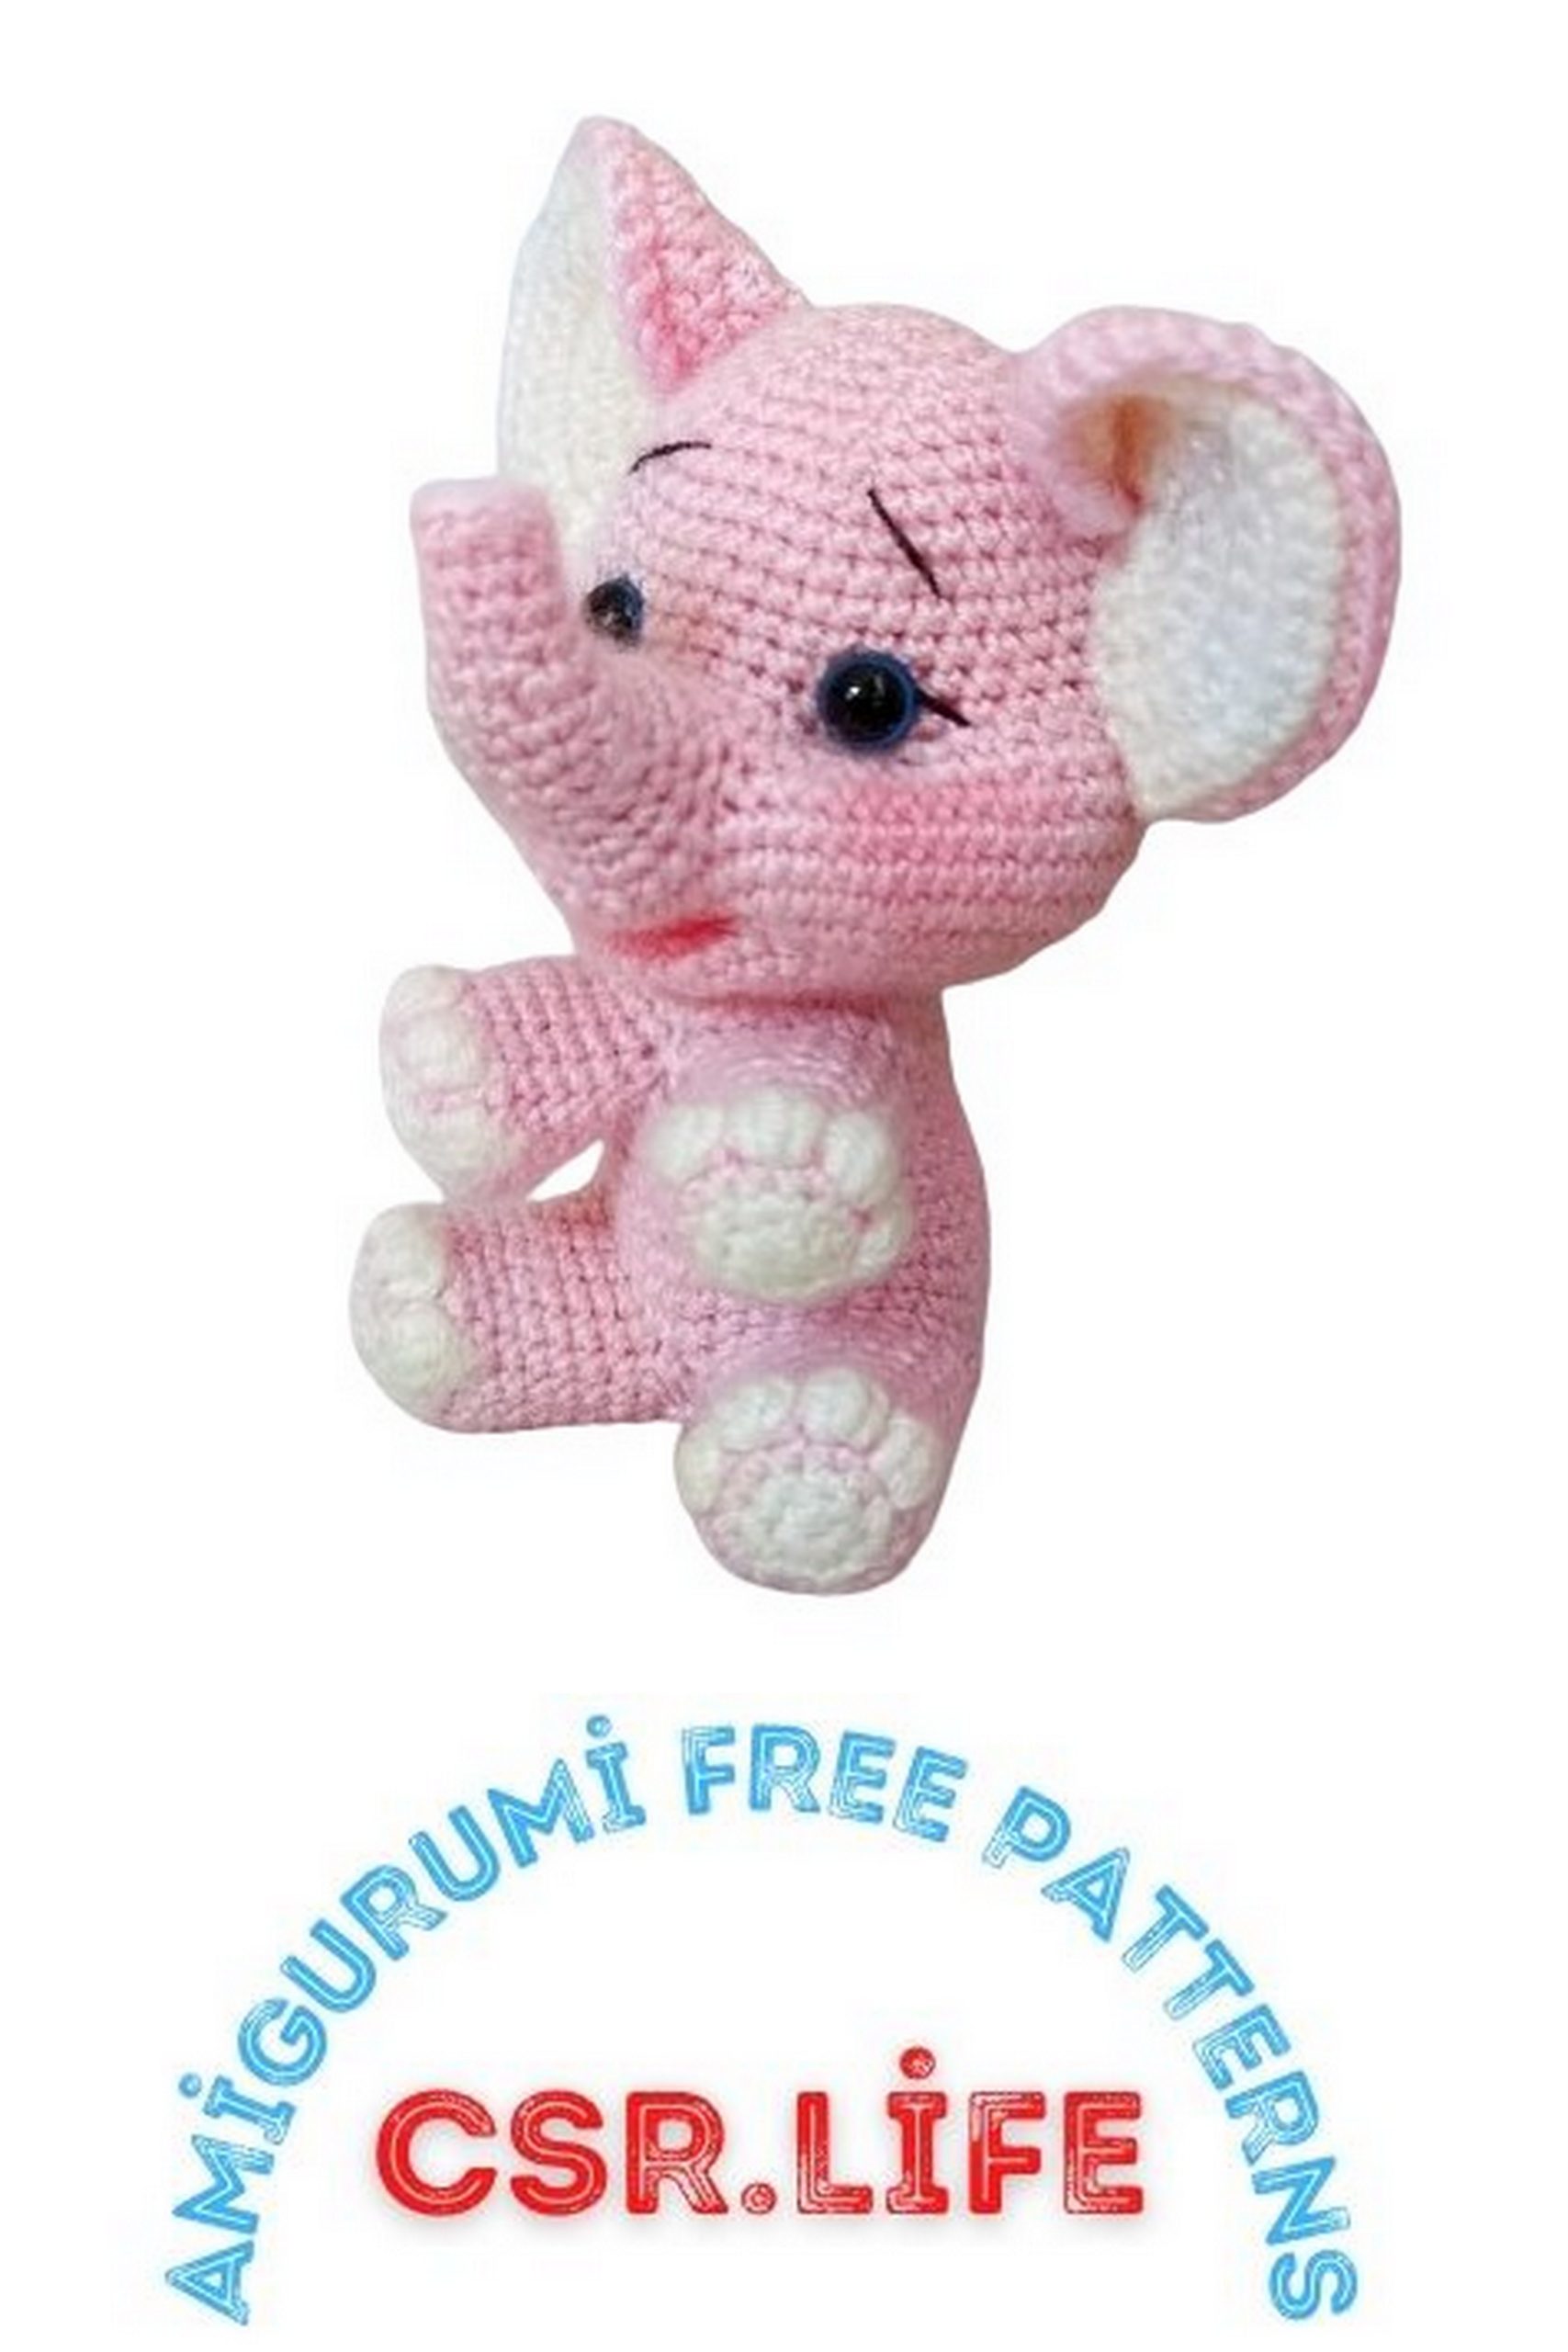
Creating the Mouth and Eyes:
Insert the needle between the 21st and 22nd rows, approximately in the center of the head at the bottom, leaving a tail. Count 6 rows up from the 21st row and bring the needle to the edge of the trunk.
Next, thread the yarn along the row where you brought the needle and insert it from the other side of the eye, bringing it out at the left eye, then insert it at the left eye and bring it down at the 21st row. Tighten the thread, shaping the mouth, and tie both tails together. If necessary, use your fingers to help shape the lower lip.

Eye Detailing:
After that, detail the eyes. Insert the needle at the bottom of the 21st row, bring it out at the corner of the right eye. Then insert the needle from the other side of the eye and bring it out at the left eye, and then insert it at the left eye and bring it down at the 21st row, tighten, tie the tails, and hide them.
Attaching the Ears:
Fold the ear in half, as shown in the photo, sew and attach it to the head. I counted 5-6 rows from the center of the head to the side and started sewing the ear at this point. Embroider eyelashes and eyebrows.
Adding Blush and Coloring Lips:
Apply blush and color the lips. I did this with colored pencils since I haven’t bought fabric-specific ones yet.
Your elephant amigurumi is ready!