
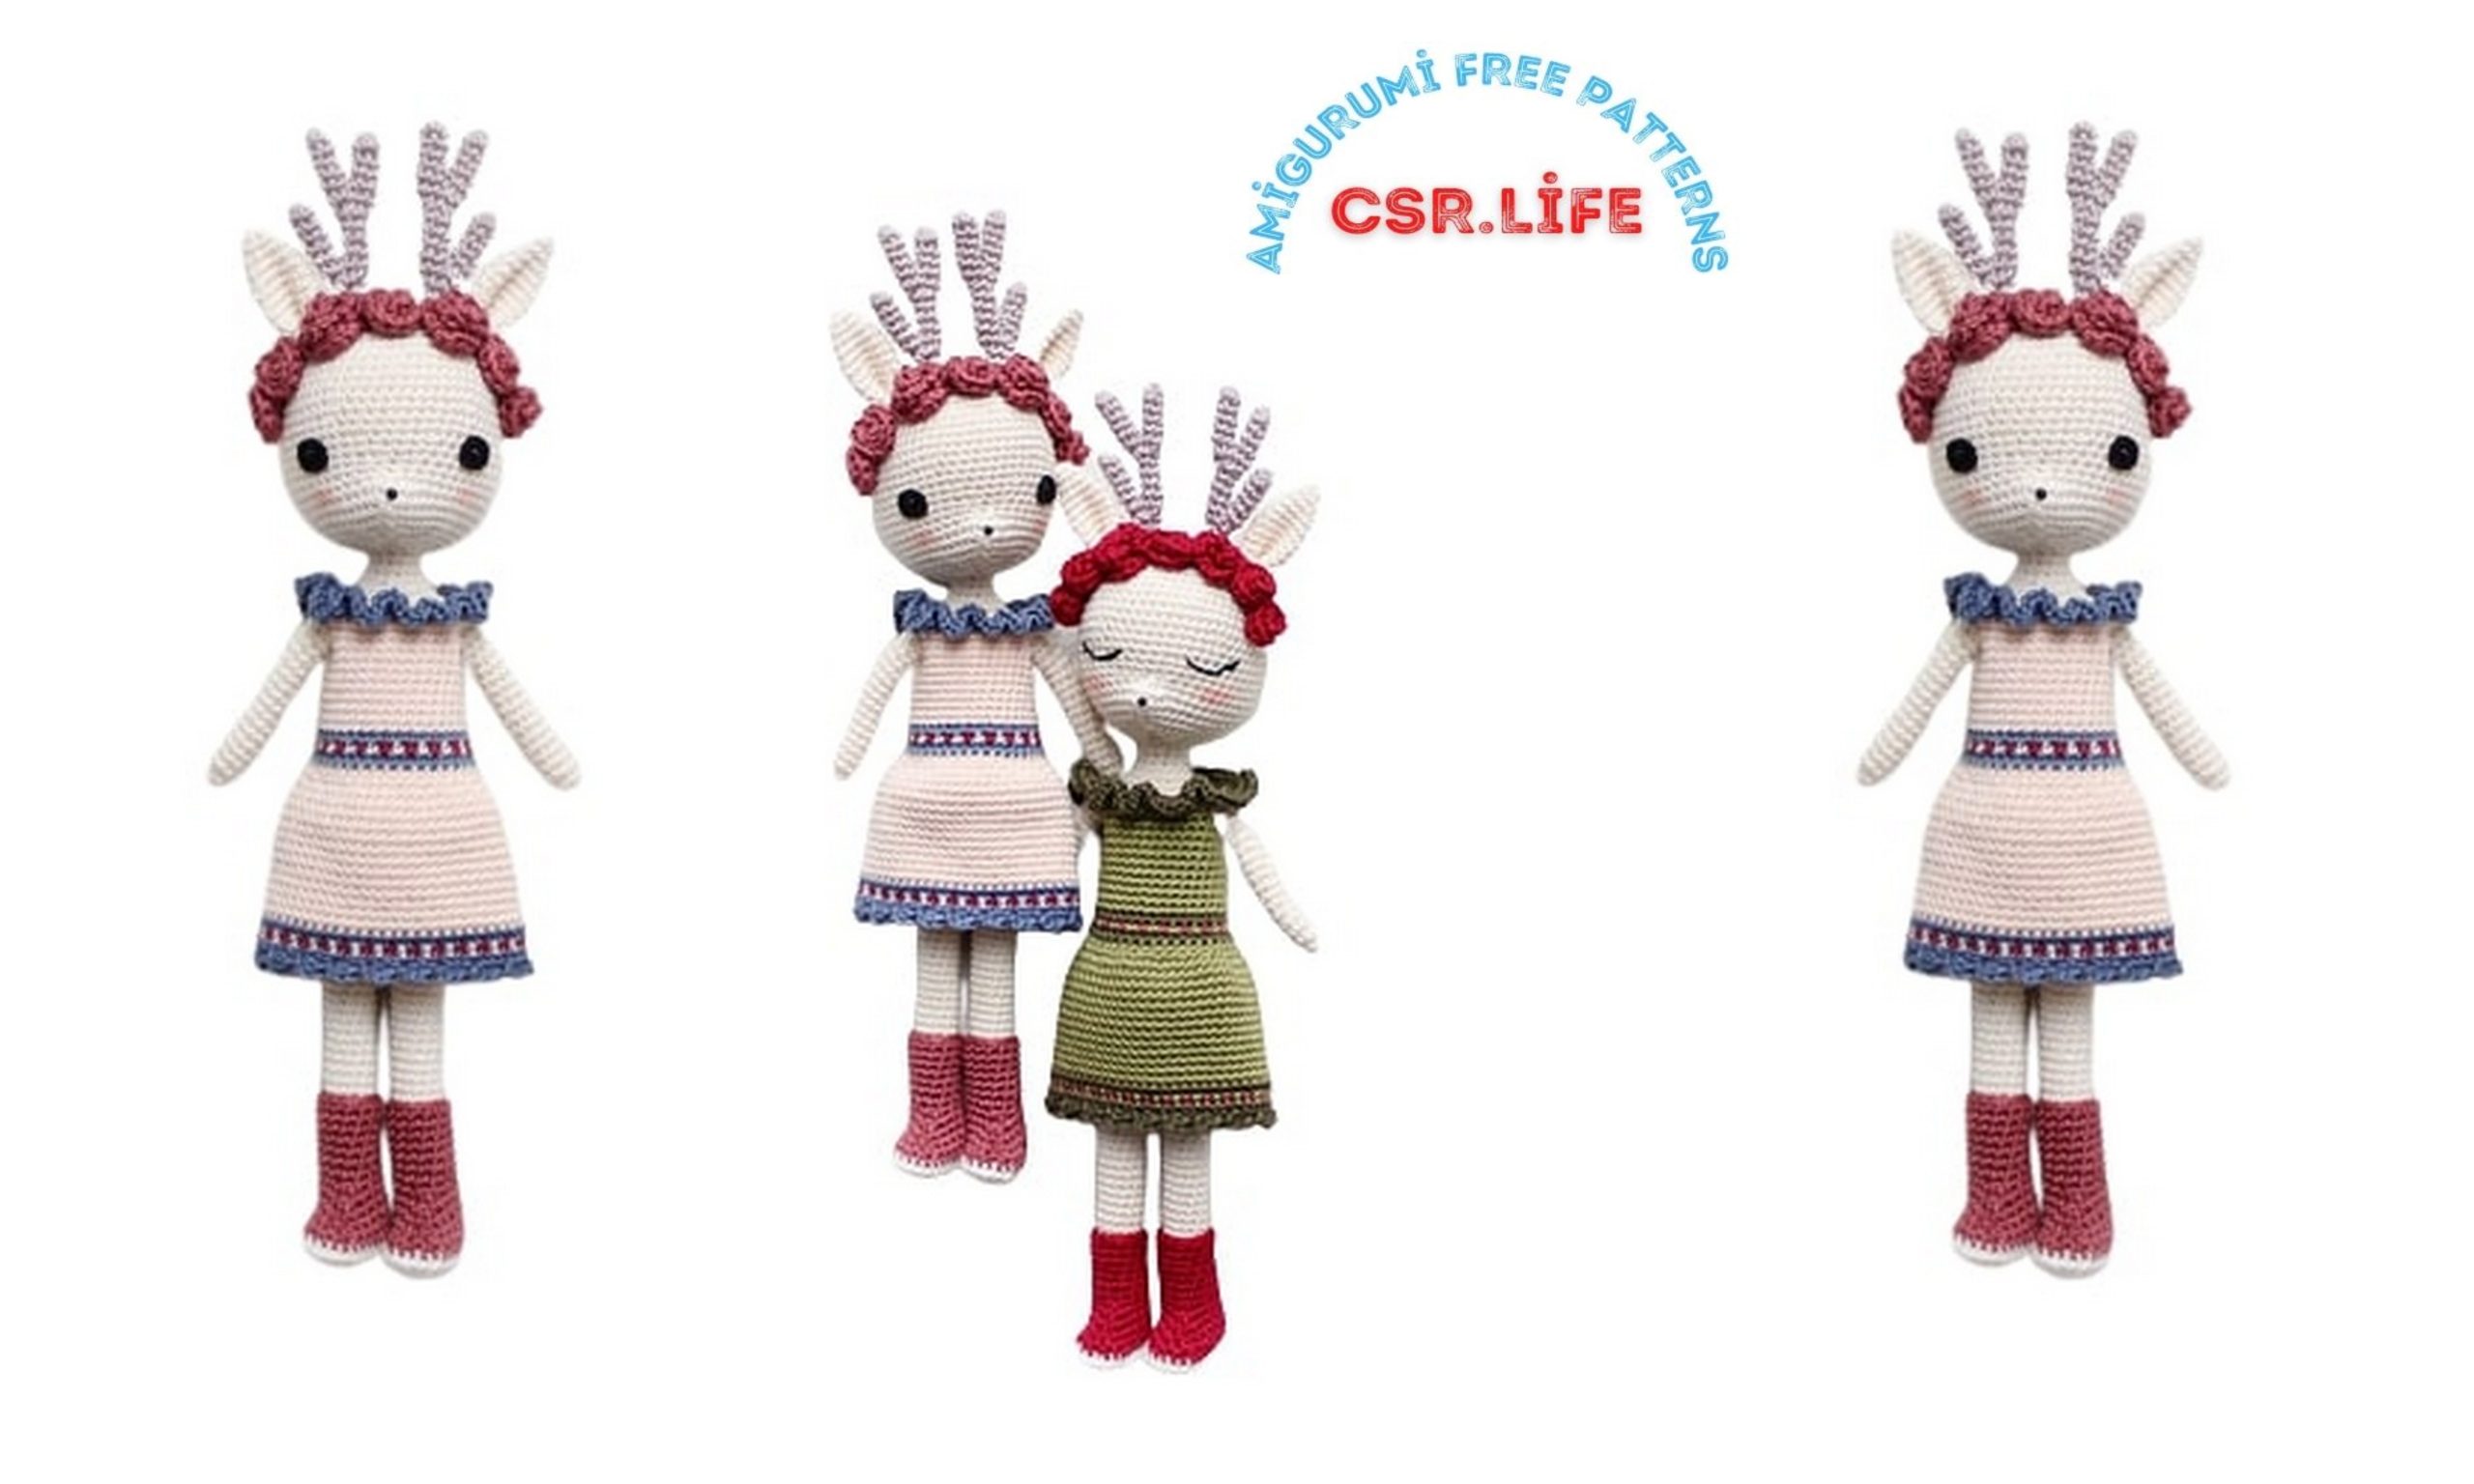
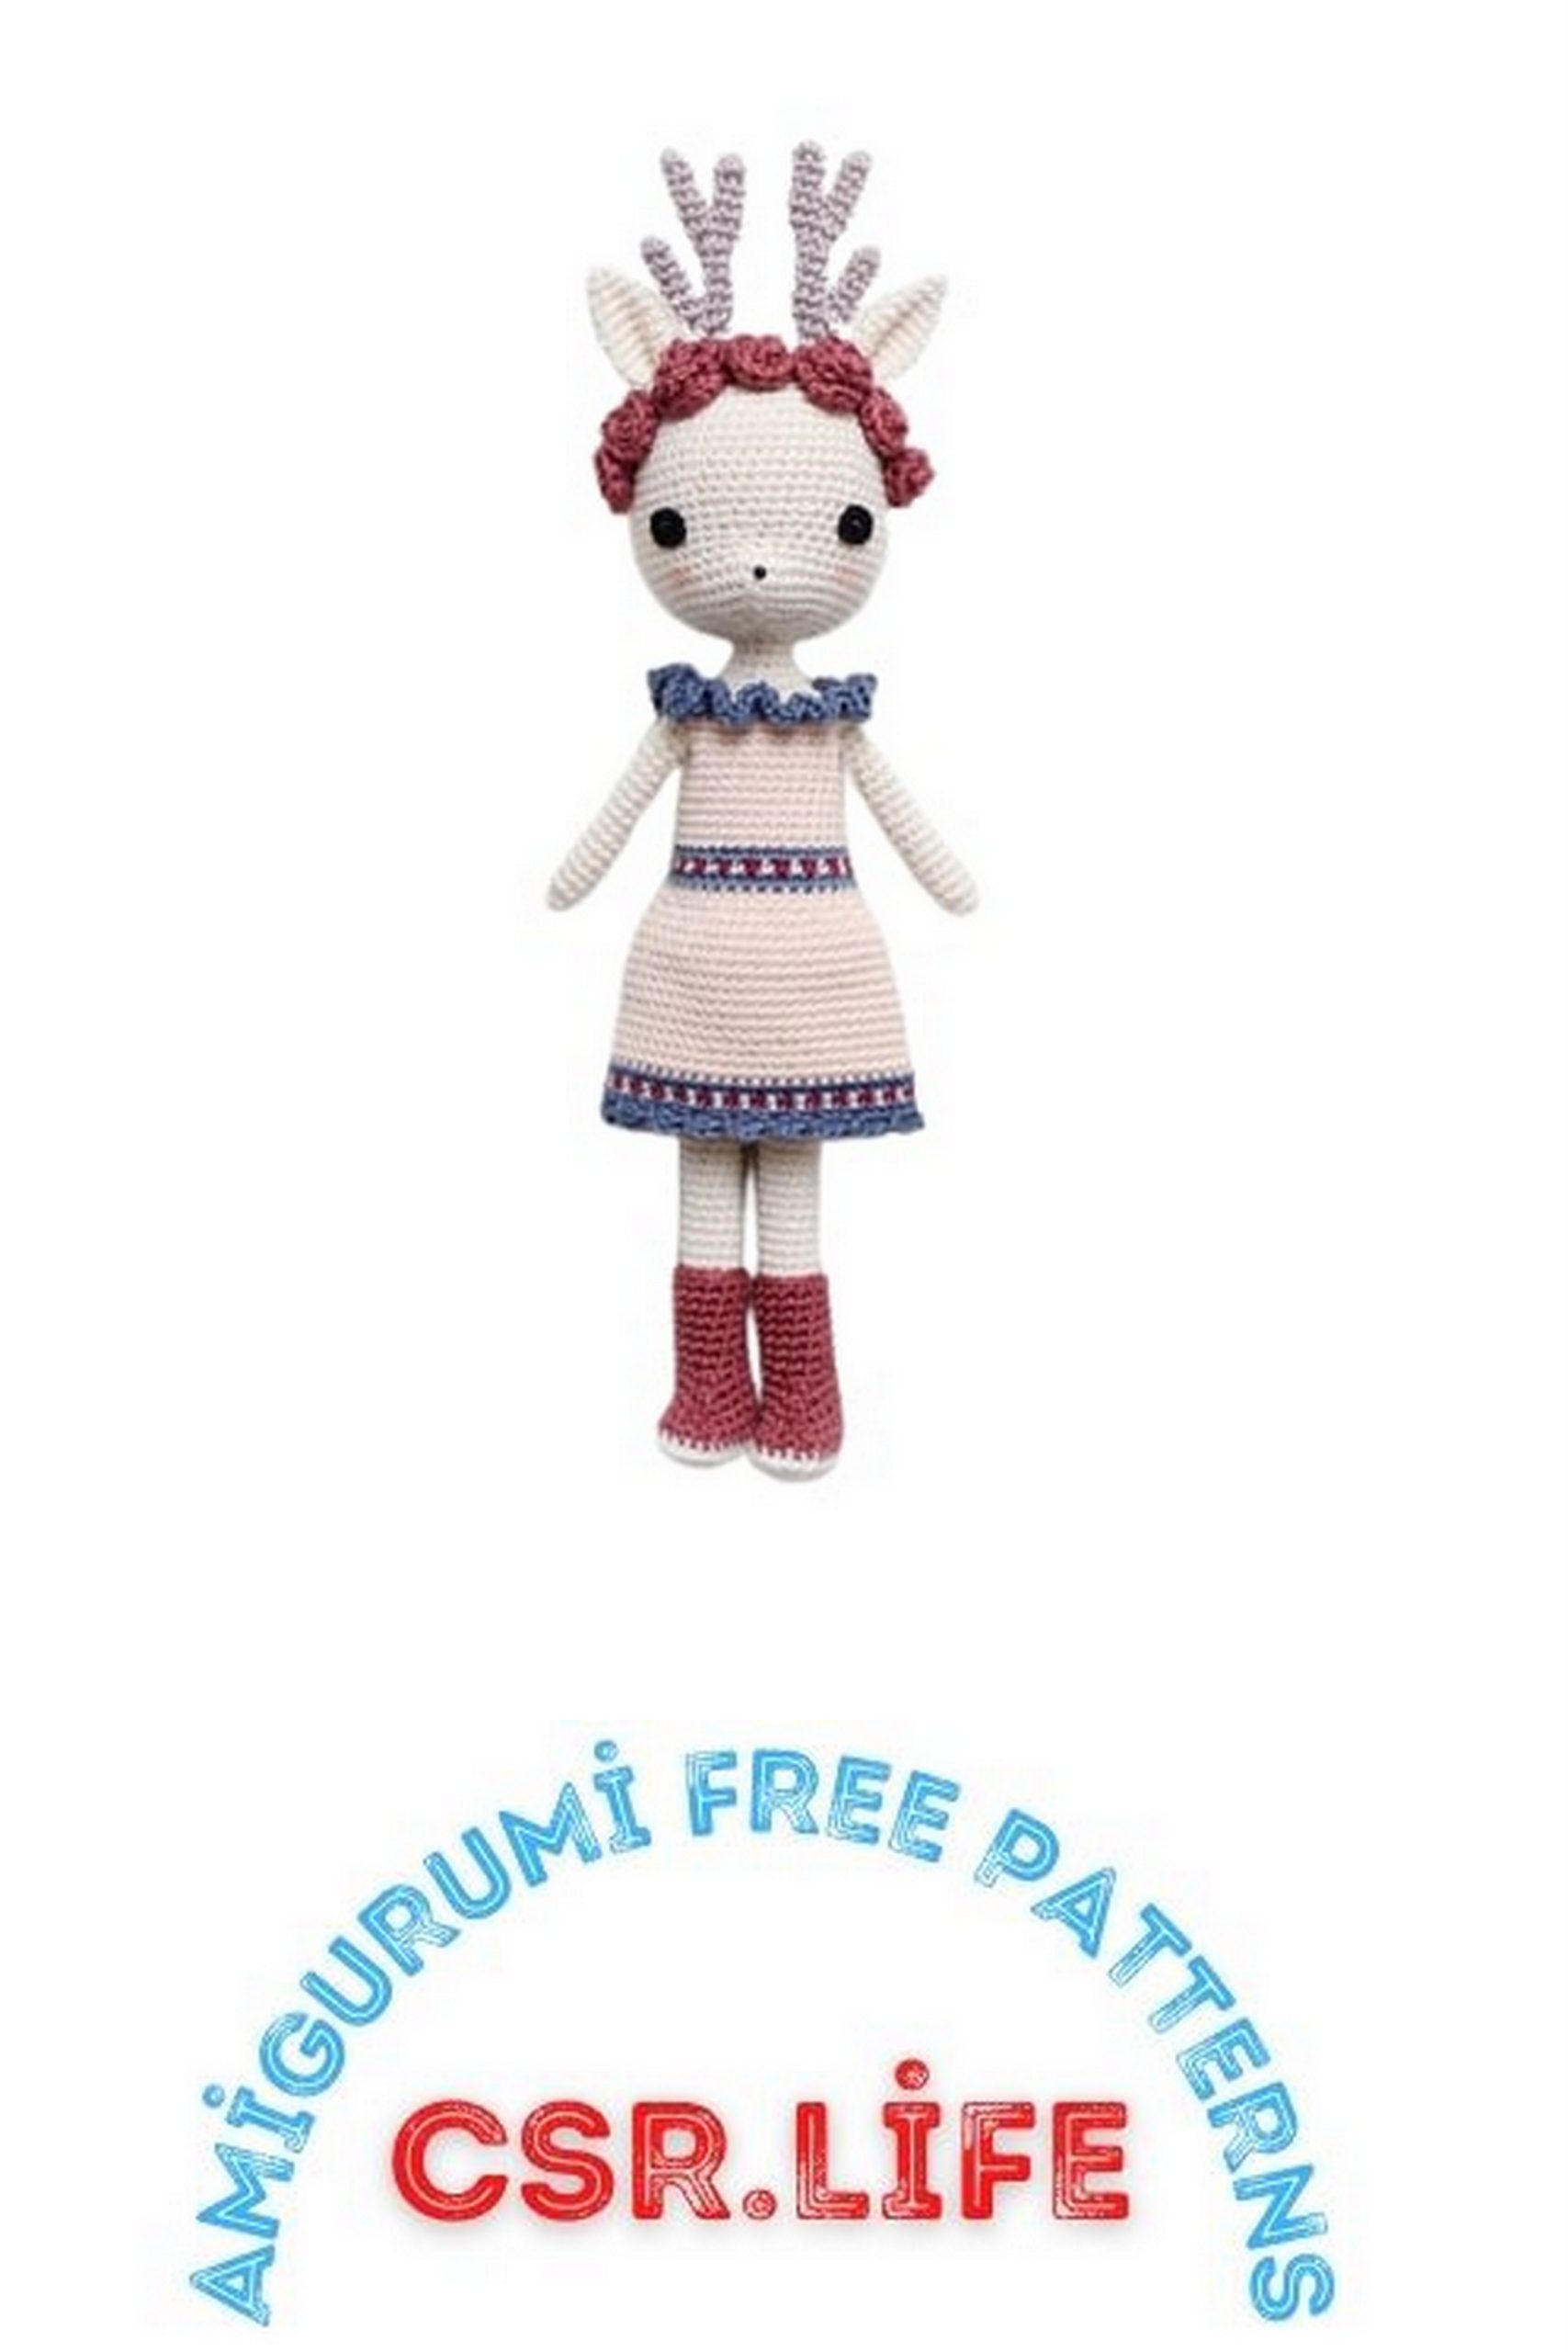
Amigurumi Cute Deer Girl Free Crochet Pattern
Materials:
– Yarn (see page one for yarns I´ve used)
– 2,5 mm hook size or a size that fits your yarn
– 3 black 3 mm security eyes (one for the nose)
– Stuffing
– Scissors, tapestry needle, stitch marker and pins
– Felt for the eyes {instead of 3 mm eyes and felt you can use 6 or 8 mm security eyes or embroidery thread/yarn to sew the eyes}
Abbreviation/US terminology:
Links to some helpful videos on last page!
ch – chain
dc2tog – double crochet two together
dec – decrease
hdc – half double crochet
inc – increase
inc3 – 3 sc in one stitch
inc4 – 4 sc in one stitch
rnd(s) – round(s)
sc – single crochet
sc3tog – single crochet three together
sc4tog – single crochet four together
sc5tog – single crochet five together
slst – slip stitch
st – stitch
(…) – number in parentheses indicates the number of stitches at the end of the round
*…* – repeat instructions x times or to the end of the round
{…} – work the stitches all into the same stitch
Notes:
– Do not join rounds, work in a continuous spiral unless otherwise stated.
– Change your yarn always in the last step of the last stitch.
– I mostly go up with a standing sc, hdc or dc instead of ch 1, ch 2 or ch 3. That looks much neater.
– Fasten off your work always with needle join and you´ll get a neat result.
– Stuff your amigurumi as you go. I use a chopstick for that!
– Use a stitch marker or a piece of yarn to mark the beginning of a round.
– Deedee using the materials described is ~12.99 inches / 33 cm tall (with antlers).
Head – yarn A – stuff the head as you go
Pay attention not to confuse 3 inc (three times increase) with inc3 (three sc in one stitch). Same with 4 inc and inc4! Crochet the sc4tog and sc5tog stitches as tight as you can.
If you´re going to use a piece of felt for the eyes, prepare it now. Cut out an oval shape (∼ 1,2 x 0,9 cm) and make a little hole in the middle with a needle (see last page). Insert the 3 mm eye into that hole and place them in the right position between rnd 19 and 20.
rnd stitches
1 6 sc in a magic ring (6)
2 6 inc (12)
3 *1 sc, inc* 6x (18)
4 *1 sc, inc, 1 sc* 6x (24)
5 *3 sc, inc* 6x (30)
6 *2 sc, inc, 2 sc* 6x (36)
7 *inc, 5 sc* 6x (42)
8 4 sc, inc3, 12 sc, inc3, 6 sc,
inc3, 12 sc, inc3, 4 sc (50)
9 6 sc, inc3, 12 sc, inc3, 10 sc,
inc3, 12 sc, inc3, 6 sc (58)
10-15 (6 rnds) 58 sc (58)
16 22 sc, dec, 10 sc, dec, 22 sc (56)
17 21 sc, dec, 10 sc, dec, 21sc (54)
18 54 sc (54)
19 23 sc, dec, 4 sc, dec, 23 sc (52)
20 52 sc (52)
21 24 sc, dec, 1 sc, dec, 23 sc (50)
22 50 sc (50)
23 25 sc, inc4, 24 sc (53)
24 26 sc, 2 inc, 25 sc (55)
→ Insert the eye with the felt between rnd 19 and 20. The distance between the eyes is 10 stitches (12 stitches distance if you don´t use felt).
25 27 sc, sc3tog, 25 sc (53)
26 26 sc, sc3tog, 24 sc (51)
27 25 sc, sc3tog, 23 sc (49)
28 23 sc, sc5tog, 21 sc (45)
→ Insert the nose between rnd 24 and 25. You can also sew a nose with embroidery thread or a piece of yarn.
→ Now we do something unusual, pay attention!
The last stitch of rnd 29, the sc4tog, involves the first 2 stitches of rnd 30. After rnd 29 you have to move your stitch marker to the next stitch, this is your new beginning! See pic below.
{The sc4tog and sc5tog stitches have to be in the centre, that’s why we change for the next 3 rnds (rnd 29, 30 and 31) the beginning}.
Pay attention not to confuse with the number in parentheses. We count the stitches after crocheting the whole round!
29 dec, 2 sc, dec, 13 sc, *sc5tog* 2x, 12 sc, dec, sc4tog (31)
→ You´ll have 3 stitches un- worked after rnd 30. Move your stitch marker to the next stitch, this is your new beginning!
30 6 sc, dec, 3 sc, *sc5tog* 2x,
3 sc, dec, 2 sc (21)
→ The last stitch of rnd 31, the sc5tog, involves the first 4 stitches of rnd 32. After rnd
31 you have to move your stitch marker to the next stitch, this is your new beginning! Don´t worry, this is the last time we change the place of our beginning.
31 sc5tog, 15 sc, sc5tog (13)
32 6sc, dec, 5 sc (12)
33-34 (2 rnds) 12 sc (12)
→ Stuff the head and later the neck section very firmly to prevent the head from flopping backward! Please use a piece of a chopstick, a dowel or wire to secure the head. If the holes in the chin area are disturbing you, take a piece of yarn and make a few stitches to cover/hide them. I don´t care about them so I left them as they are.
Rnd 29 before the sc4tog.
The pin marks the 1 st st of the next rnd.
The red yarn marks the new beginning of rnd 30. 1 st st of rnd 30
⇓
⇐ sc4tog The black yarn marks the beginning until rnd 28.
Body – yarn A – stuff the body as you go
rnd stitches
35 *1 sc, inc* 6x (18)
36 18 sc (18)
37 *1 sc, inc, 1 sc* 6x (24)
38 24 sc (24)
39 7 sc, ch 4, skip 4 stitches, 8 sc, ch 4, skip 4 stitches, 1 sc (16)
40 7 sc, 4 sc in blo of 4 ch, 8 sc,
4 sc in blo of 4 ch, 1 sc (24)
41 7 sc, inc, 10 sc, inc, 5 sc (26)
42 26 sc (26)
43 7 sc, inc, 11 sc, inc, 6 sc (28)
44 28 sc (28)
45 7 sc, inc, 12 sc, inc, 7 sc (30)
46-59 (14 rnds) 30 sc (30)
60 only 14 sc (to reach the side) (30)
→ Ch 1 and close the body as seen on the pic on right with single crochet stitches and fasten off your work.
Arms – 2x – yarn A
rnd stitches
1 See on pic below where to join the yarn and pay attention not to skip the side stitches.
*3 sc, dec* 2x, do not join, crochet in spiral (8)
2-18 (17 rnds) 8 sc (8)
19 *2 sc, dec* 2x (6)
→ Break yarn and close the remaining stitches.
Start here with the 1 st sc.
After rnd 1. Crochet in spiral.
Don´t forget to insert something to prevent the head from flopping backward!
The purple yarn marks the new beginning of rnd 31.
⇑
The black yarn marks the beginning of rnd
32 and all the next rnds.
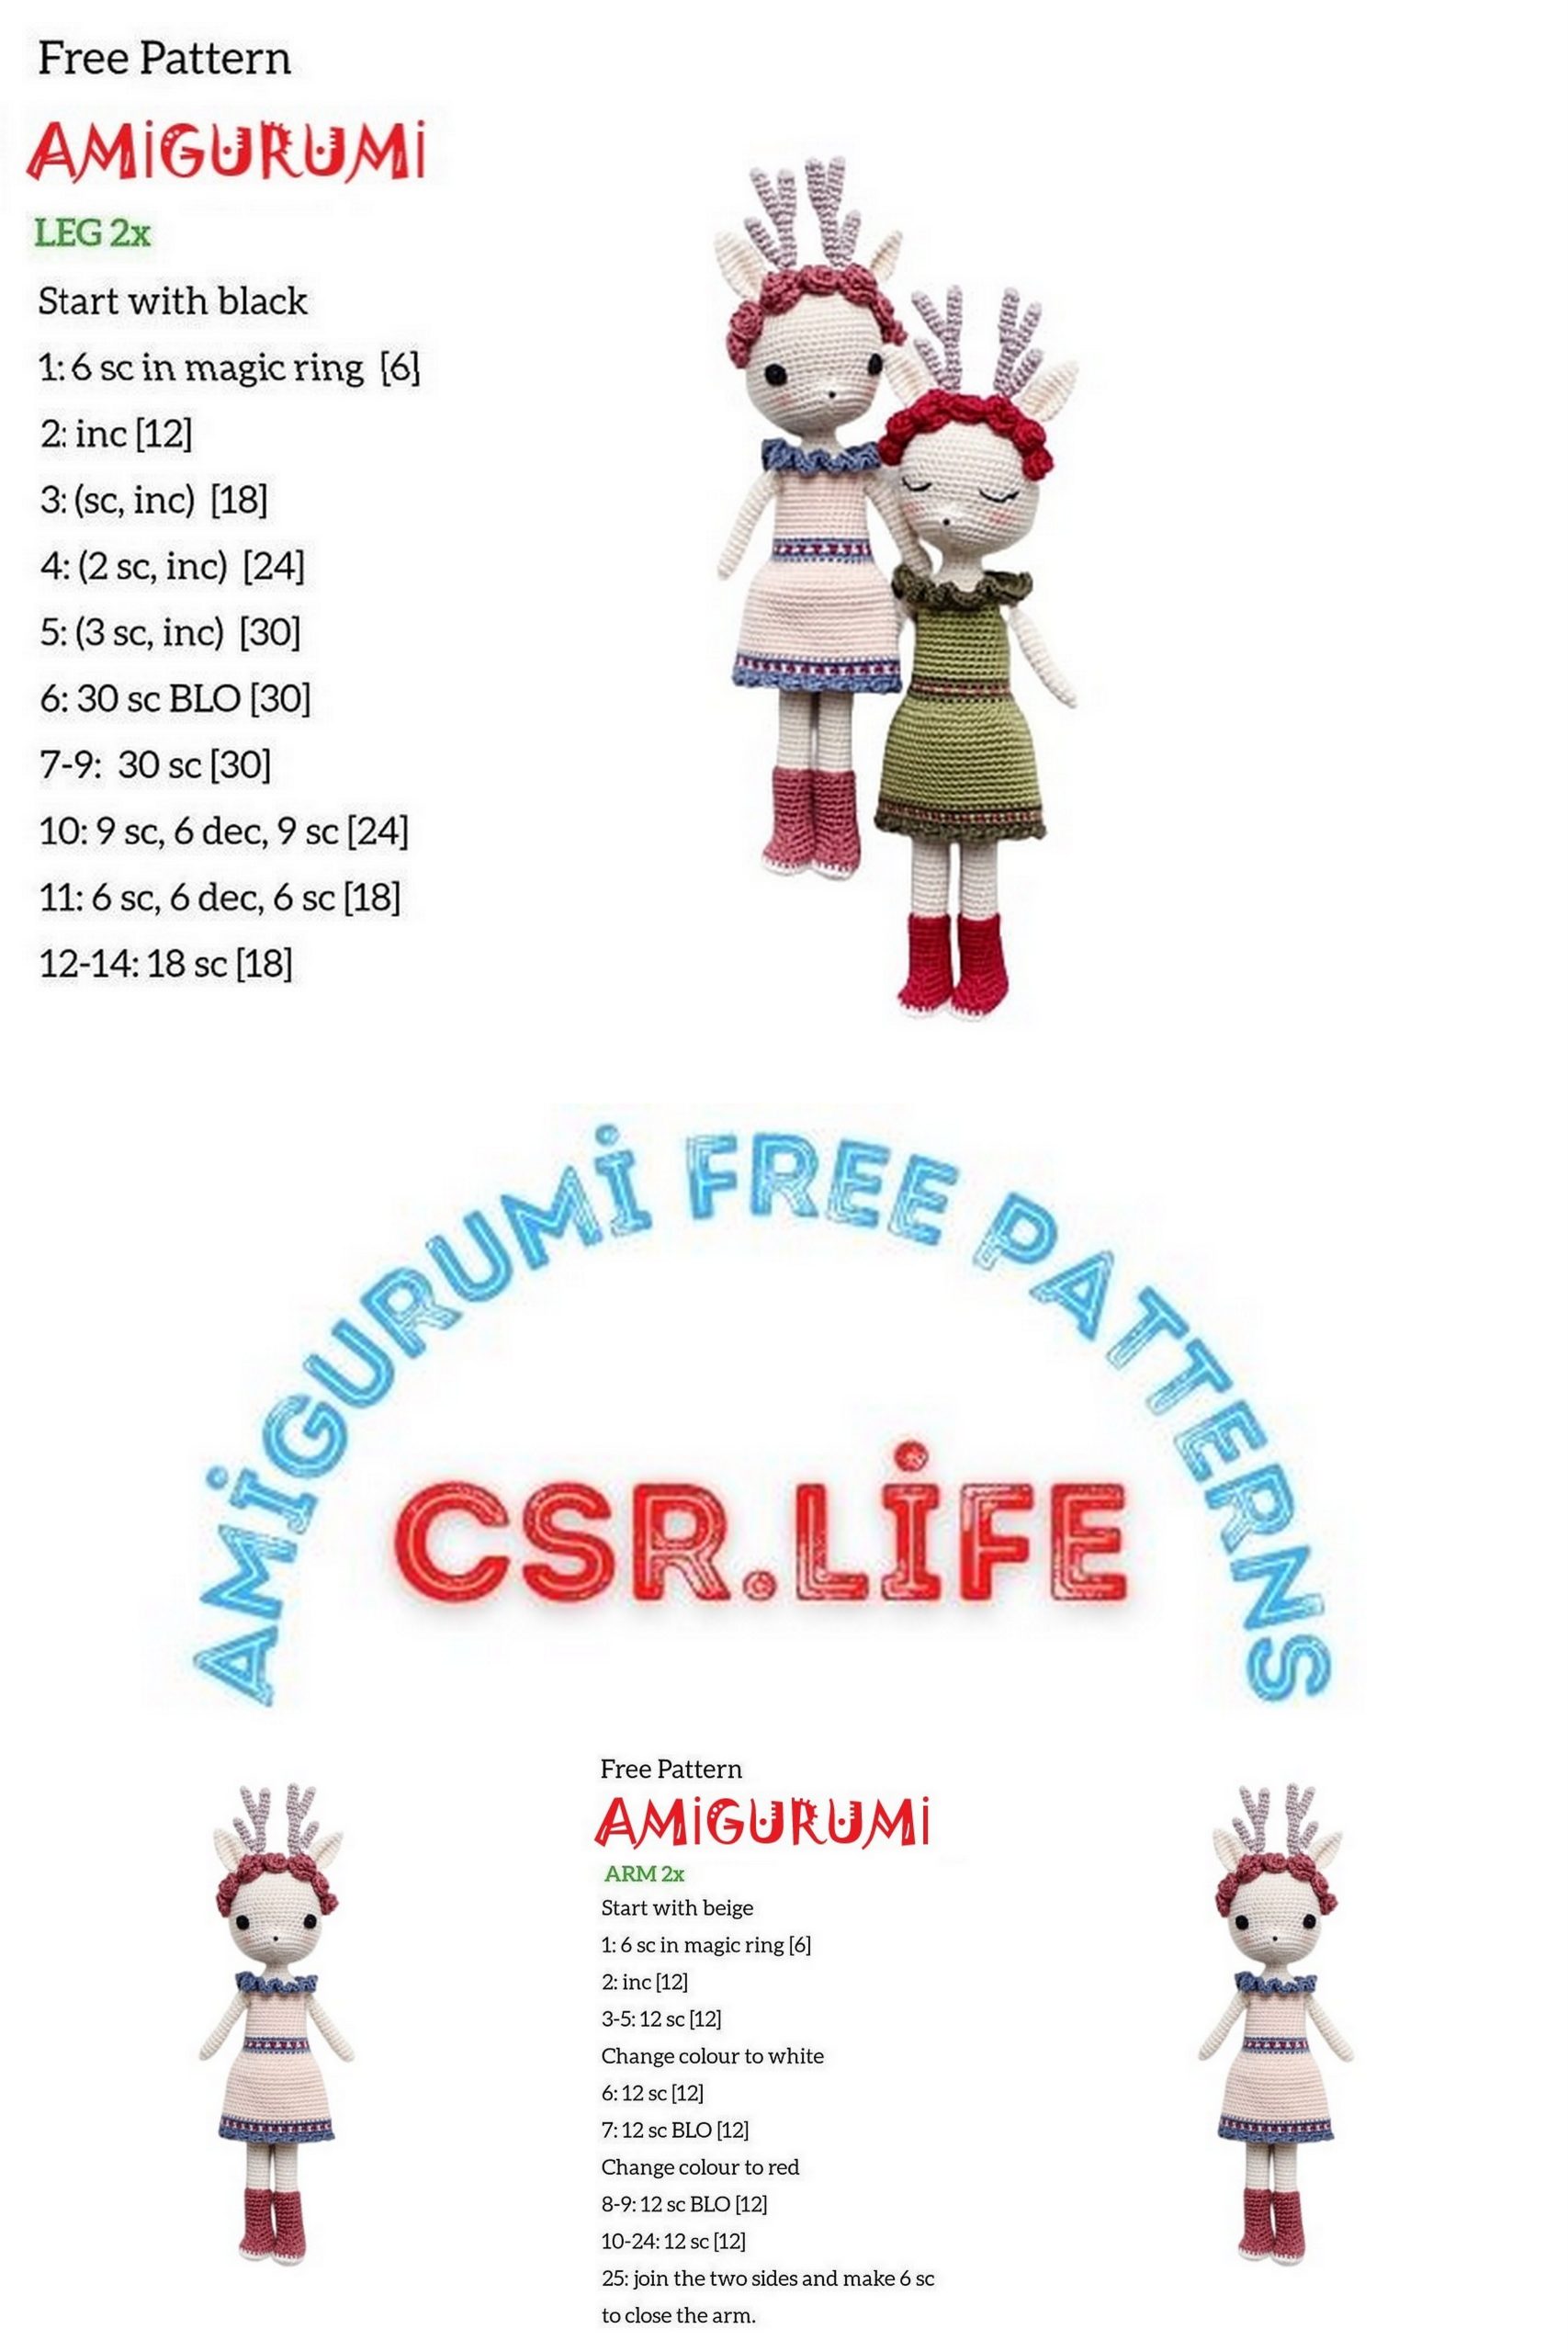
Legs – 2x – yarn A – stuff the legs as you go
rnd stitches
1 6 sc in a magic ring (6)
2 6 inc (12)
3-38 (36 rnds) 12 sc (12)
→ Ch 1 and close the leg the same way as the body with single crochet stitches and sew it with a whip stitch to the body.
Antlers – 2x – yarn C – stuff the antlers
lightly as you go
rnd stitches
1 5 sc in magic ring (5)
2-6 (5 rnds) 5 sc (5)
→ Break yarn (don´t need to fasten off your work).
Crochet two more little antlers but don´t break the yarn on the 3rd antler.
Join the 3rd antler with a sc to one of the previous antlers (counts as the first sc of the following stitches).
7 5 sc on the 2nd antler, 5 sc on the 3rd antler (10)
8 5 dec (5)
9-12 (4 rnds) 5 sc (5)
13 only 3 sc (to reach the side) (5)
→ Join to the last little antler with a sc (counts as the first sc of the following stitches).
14 5 sc on the last antler, 5 sc on the main antler (10)
15 5 dec (5)
16-17 (2 rnds) 5 sc (5)
→ Break yarn and leave a long tail to sew the antler onto the head.
⇓ Back of the leg Front of the doll ⇓
Ears – 2x – yarn A
rnd stitches
1 4 sc in a magic ring (4)
2 *1 sc, inc* 2x (6)
3 *2 sc, inc* 2x (8)
4 *3 sc, inc* 2x (10)
5 *4 sc, inc* 2x (12)
6 *5 sc, inc* 2x (14)
7 *6 sc, inc* 2x (16)
8 16 sc (16)
9 *7 sc, inc* (18)
10 18 (18)
11 *8 sc, inc* (20)
12 20 sc (20)
→ Break yarn and leave a long tail to sew the ear in position. Flatten the ear and make three stitches through the layers of the ear as seen on the pic. Use pins to hold the ear in position and sew it onto the head.
Rose A – yarn G
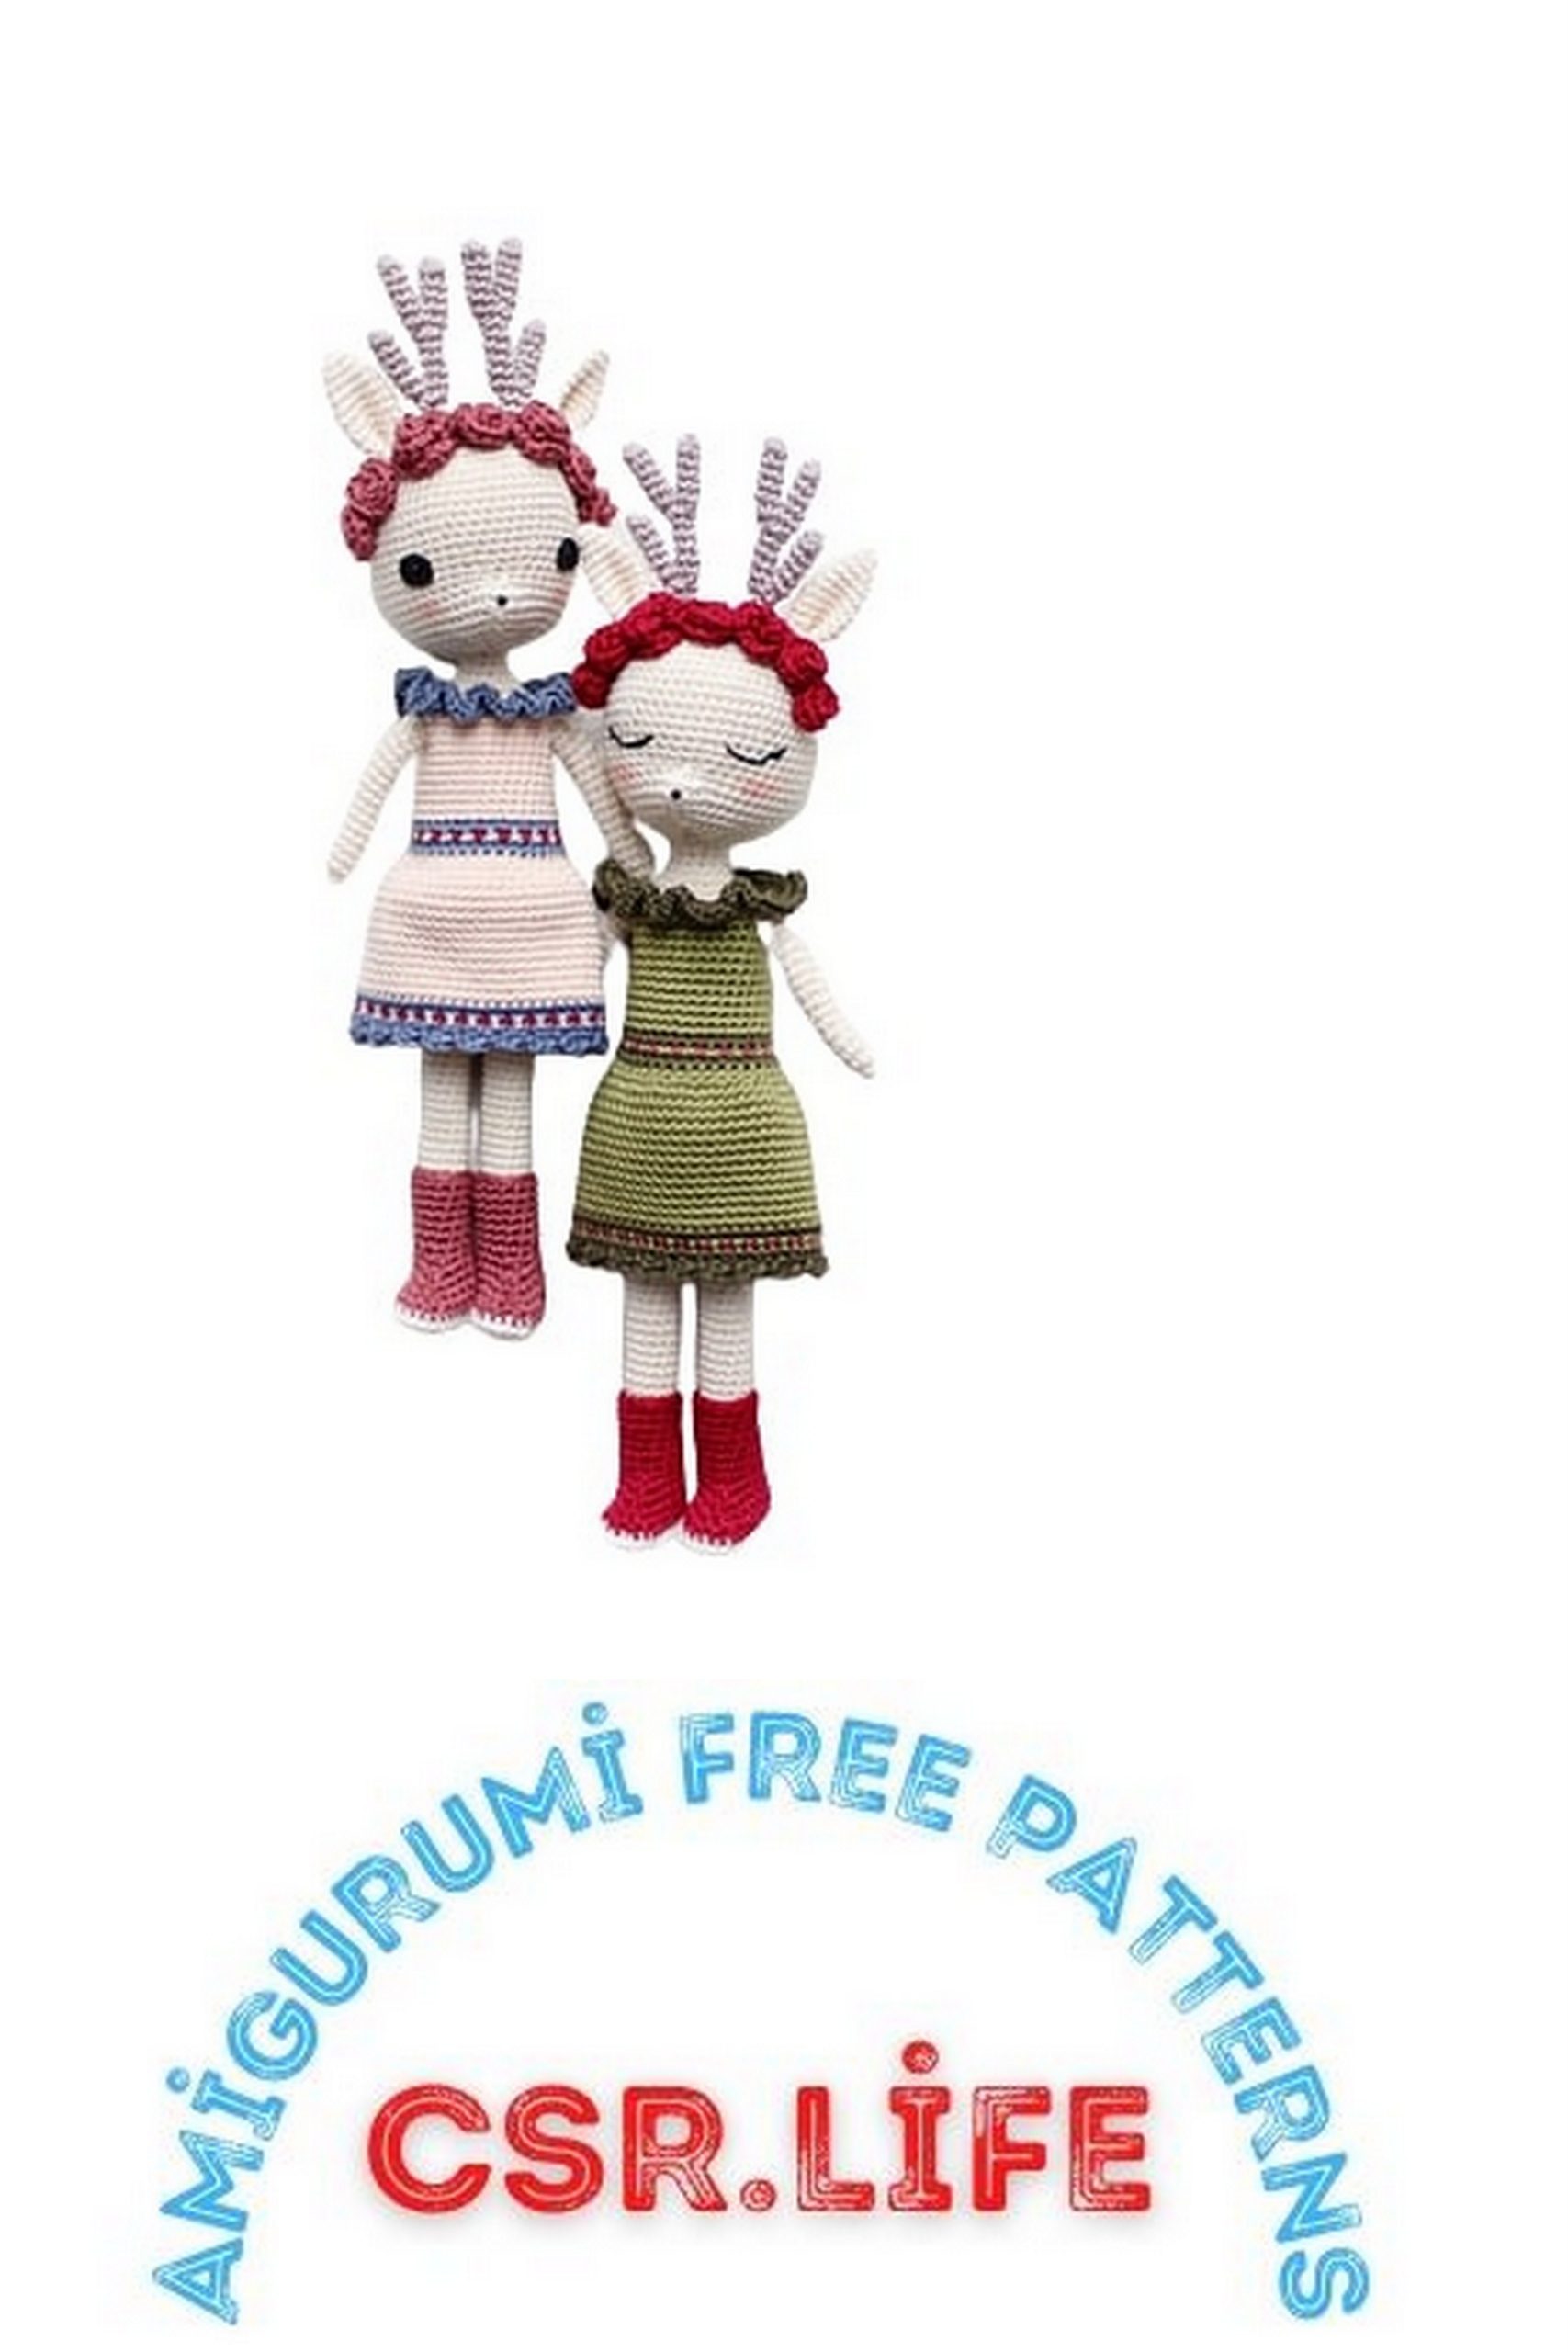
There are two different types and patterns for the roses on Deedee’s head. I´ve used both of them for my two girls: 2 of “Rose A” and 5 of “Rose B”.
You need seven roses in total.
Note: It´s easier if you finish off your work and only leave on one rose a long tail to sew them all with this one yarn tail in position.
rnd stitches
1 Ch 14, in 3rd ch from hook
{4 hdc}, slst, *{5 hdc},
slst* 5x (36)
→ Break yarn and leave a long tail to weave in and out through the bottom to hold the rose together after you curled the piece into a rose (see pic below) and to sew it later onto the head.
Rose B – yarn G
rnd stitches
1 Ch 12, in 3nd ch from hook
hdc, *{2 hdc}* 9x (20)
→ Break yarn and leave a long tail to weave in and out through the bottom to hold the rose together after you curled the piece into a rose (see pic below) and to sew it later onto the head.
Rose A ⇓
Rose B ⇑
Dress – yarn D
This part sounds a little confusing because of the yarn changes but it isn´t if you know which colors you use are yarn B, D and E.
Note: Instead of weaving in ends I prefer to crochet over the yarn ends and don´t forget to change your yarn always in the last step of your last stitch.
rnd stitches
1 Ch 36, join to 1st ch with a sc to form a ring (in the back bump behind the chain, see pic on right), 35 sc (also in the back bump behind the chains) (36)
→ Don´t cut the yarn. Change to yarn E.
2 36 sc (36)
→ Don´t cut the yarn.
Change to yarn B.
3 1 sc, *change to yarn D, 1 sc, change to yarn B, 1 sc* 17x, change to yarn D, 1 sc (36)
→ Cut only yarn B and change to yarn E.
4 36 sc (36)
→ Break yarn E.
Change to yarn D.
5-13 (9 rnds) 36 sc (36)
14 12 sc, ch 6, skip 6 sc, 12 sc, ch 6, skip 6 sc (36)
15 12sc, 6 sc in blo of ch 6, 12 sc, 6 sc in blo of ch 6 (36)
→ Change to yarn E.
16 36 sc, join rnd in blo of 1st stitch with a slst (36)
17 in blo {ch 2, 2 hdc}, *{3 hdc}* 35x (108)
→ Break yarn and fasten off your work invisible.
→ Attach yarn D with a standing sc as seen on the pic below in the 1st stitch of the 1st round on the back of your dress.
18 *1 sc, inc* 18x (54)
19-31 (13 rnds) 54 sc (54)
→ Don´t cut the yarn.
Change to yarn E.
32 54 sc (54)
→ Don´t cut the yarn.
Change to yarn B.
33 1 sc, *change to yarn D, 1 sc, change to yarn B, 1 sc* 26x, change to yarn D, 1 sc (54)
→ Break yarn B and D,
change to yarn E.
34 54 sc, slst in 1st st (54)
35 *{ch 2, dc2tog, yarn over and pull through 3 loops}, skip two st, slst in next st* 17x,
{ch 3, dc2tog, yarn over and pull through 3 loops}, skip two st
→ Break yarn and fasten off your work invisible with needle join in 1st st.
Attach yarn for rnd 18 on the back.
Top oft the dress. Now turn the piece. 1 st sc of rnd 18.
Front of the chains.
Back bump behind the chain.

Booties – 2x – yarn F
rnd stitches
1 ch 7, insert hook in 2nd ch from hook: inc, 3 sc, 1 hdc, {6 hdc}, (don´t turn your work, crochet on the other side of the ch) 1 hdc, 3 sc, inc (18)
2 inc, 6 sc, 4 inc, 6 sc, inc (24)
→ Change to yarn G.
3 in blo 24 sc (24)
4 8 sc, 4 dec, 8 sc (20)
5 8 sc, 2 dec, 8 sc (18)
6 8 sc, dec, 8 sc (17)
7 7 sc, sc3tog, 7 sc (15)
8 6 sc, sc3tog, 6 sc (13)
9-15 (7 rnds) 13 sc (13)
→ Break yarn and leave a long tail to sew the bootie later in position.
Stuff only the tip of the booties and put them on the legs. See pic below.
Details:
– You can use glue to fix the felt or if you prefer sew it in place. I just used the eye to hold the felt in place.
– Use a bit of blush for the cheeks of your doll.