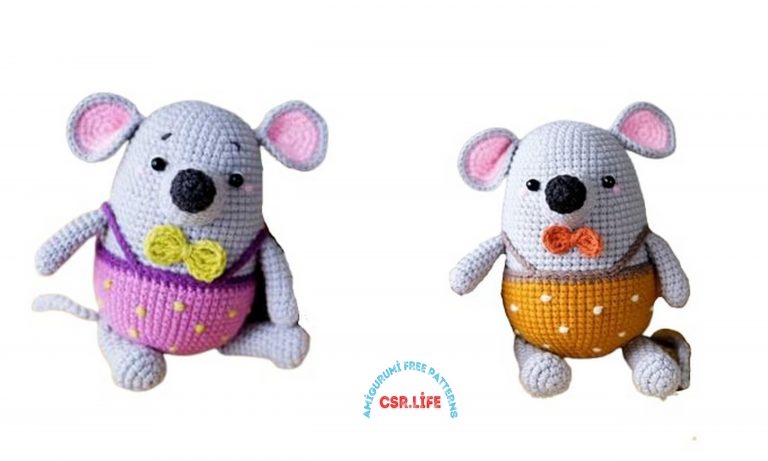
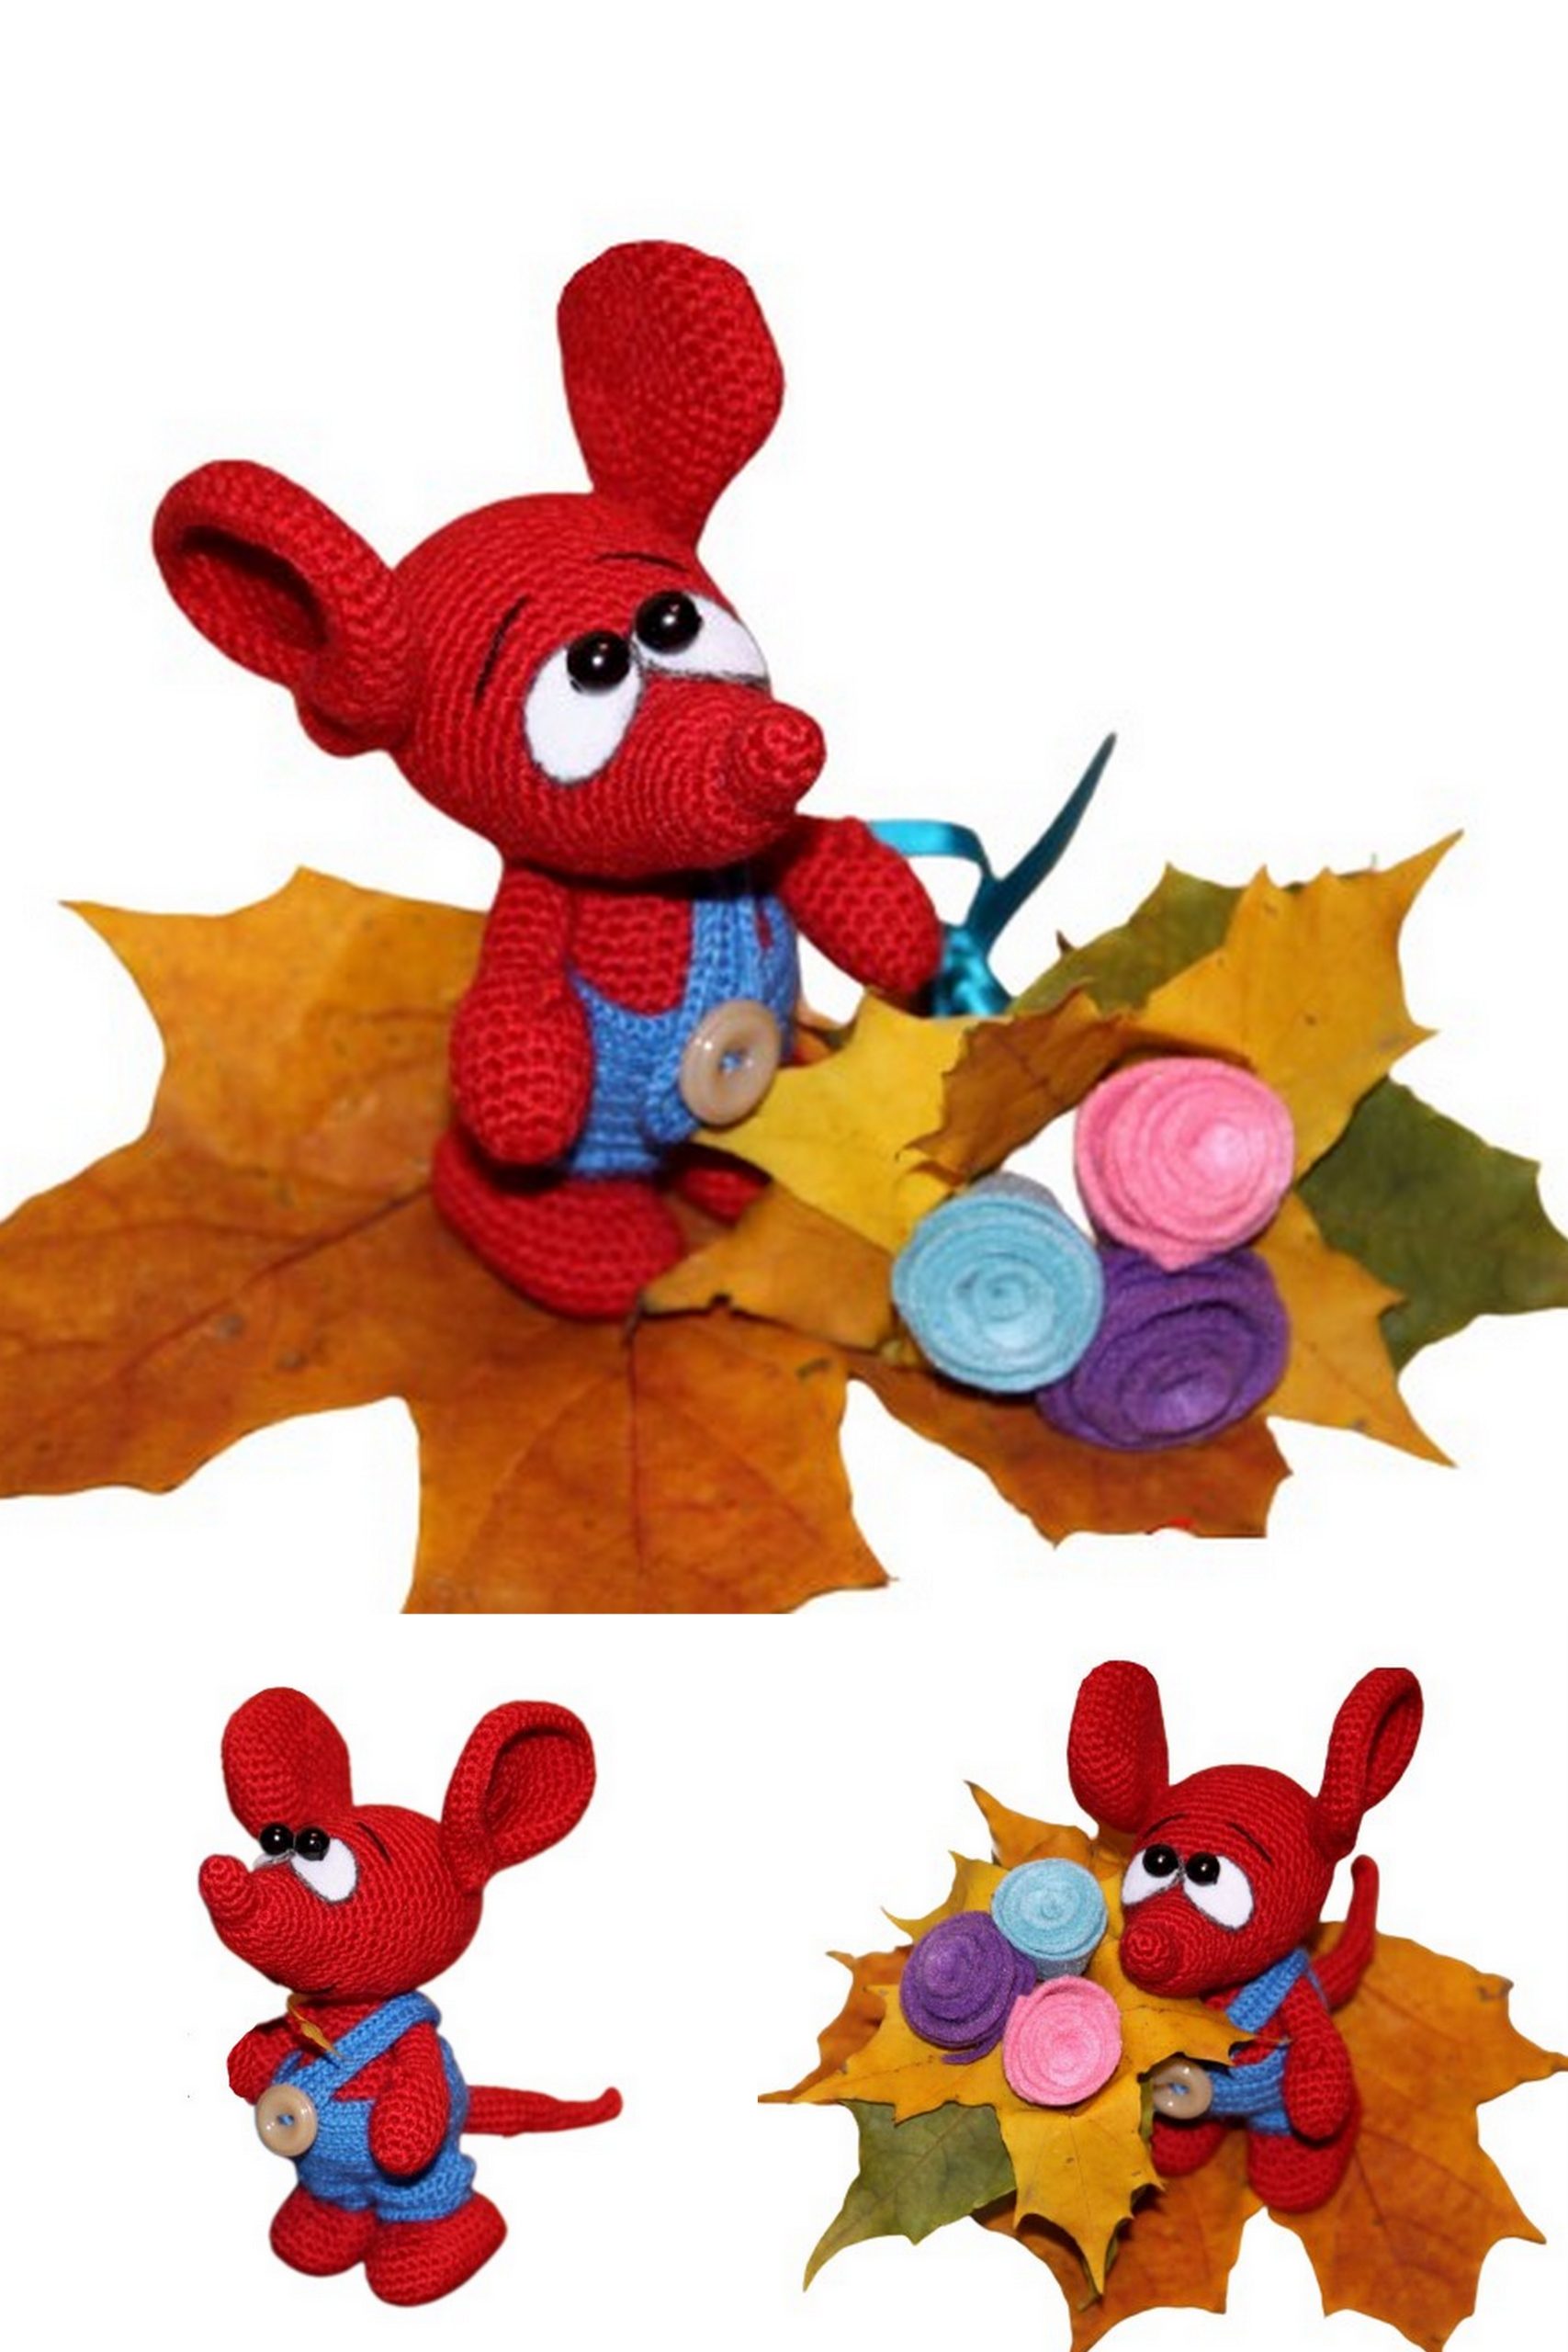
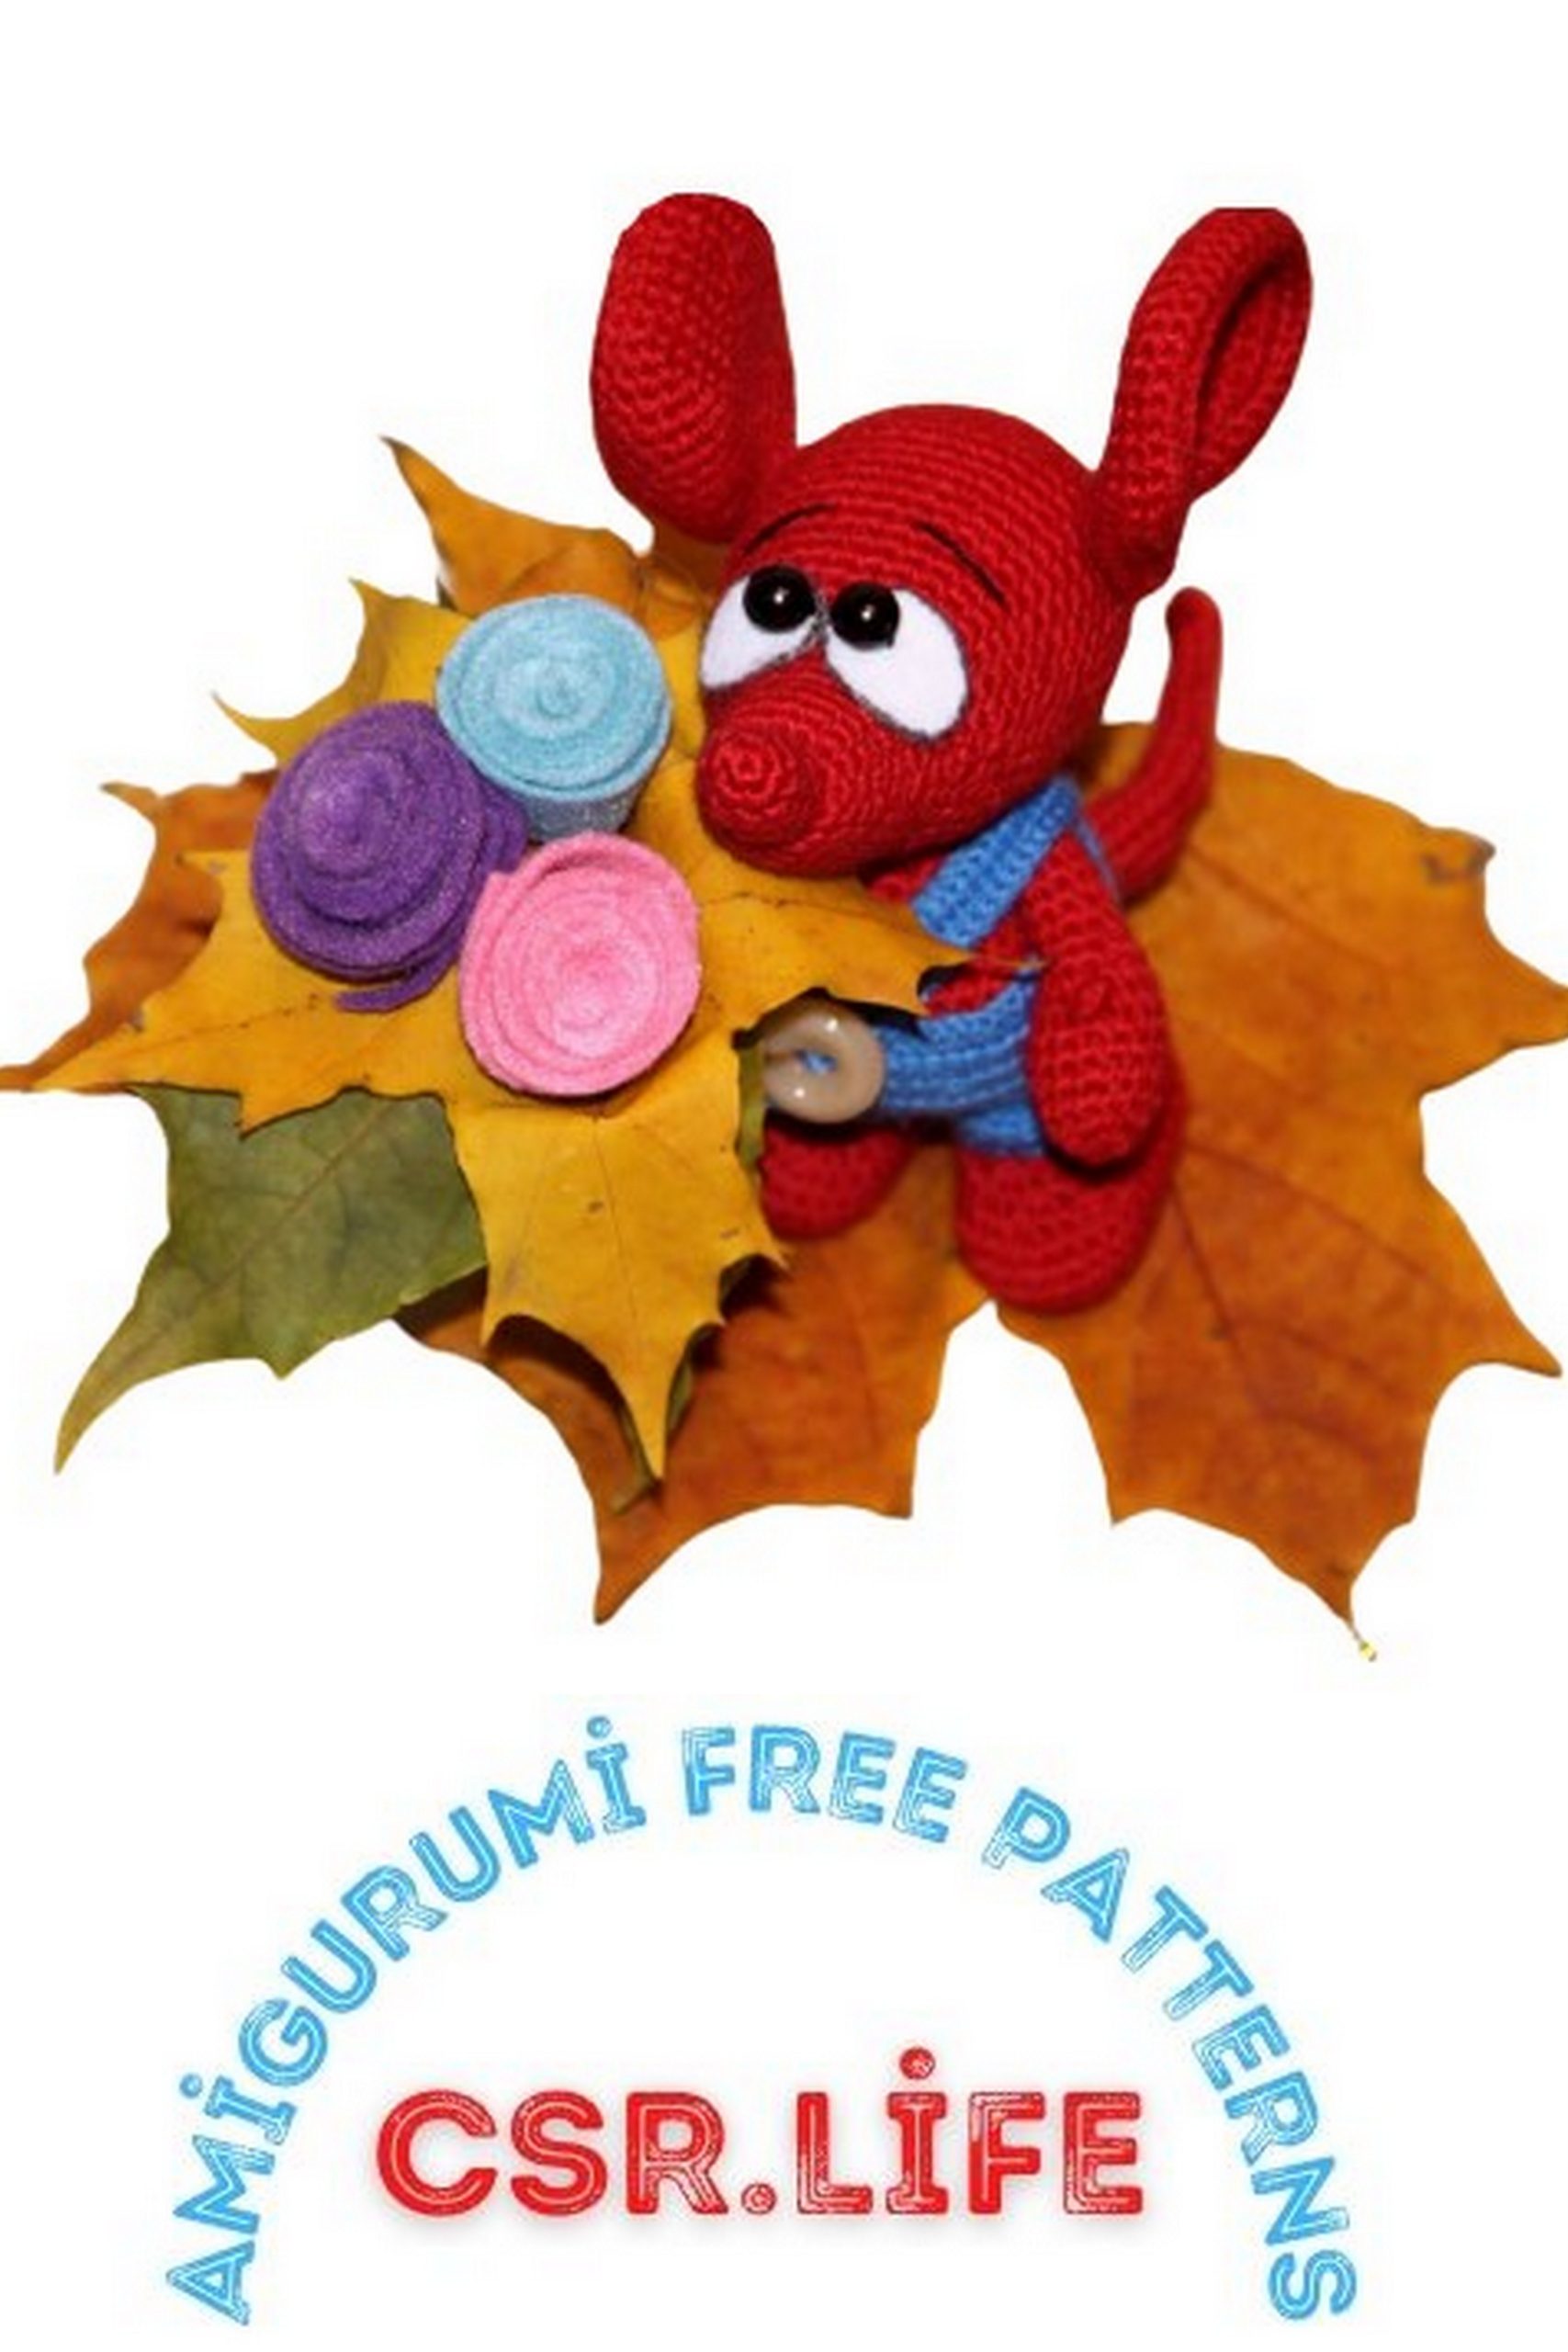
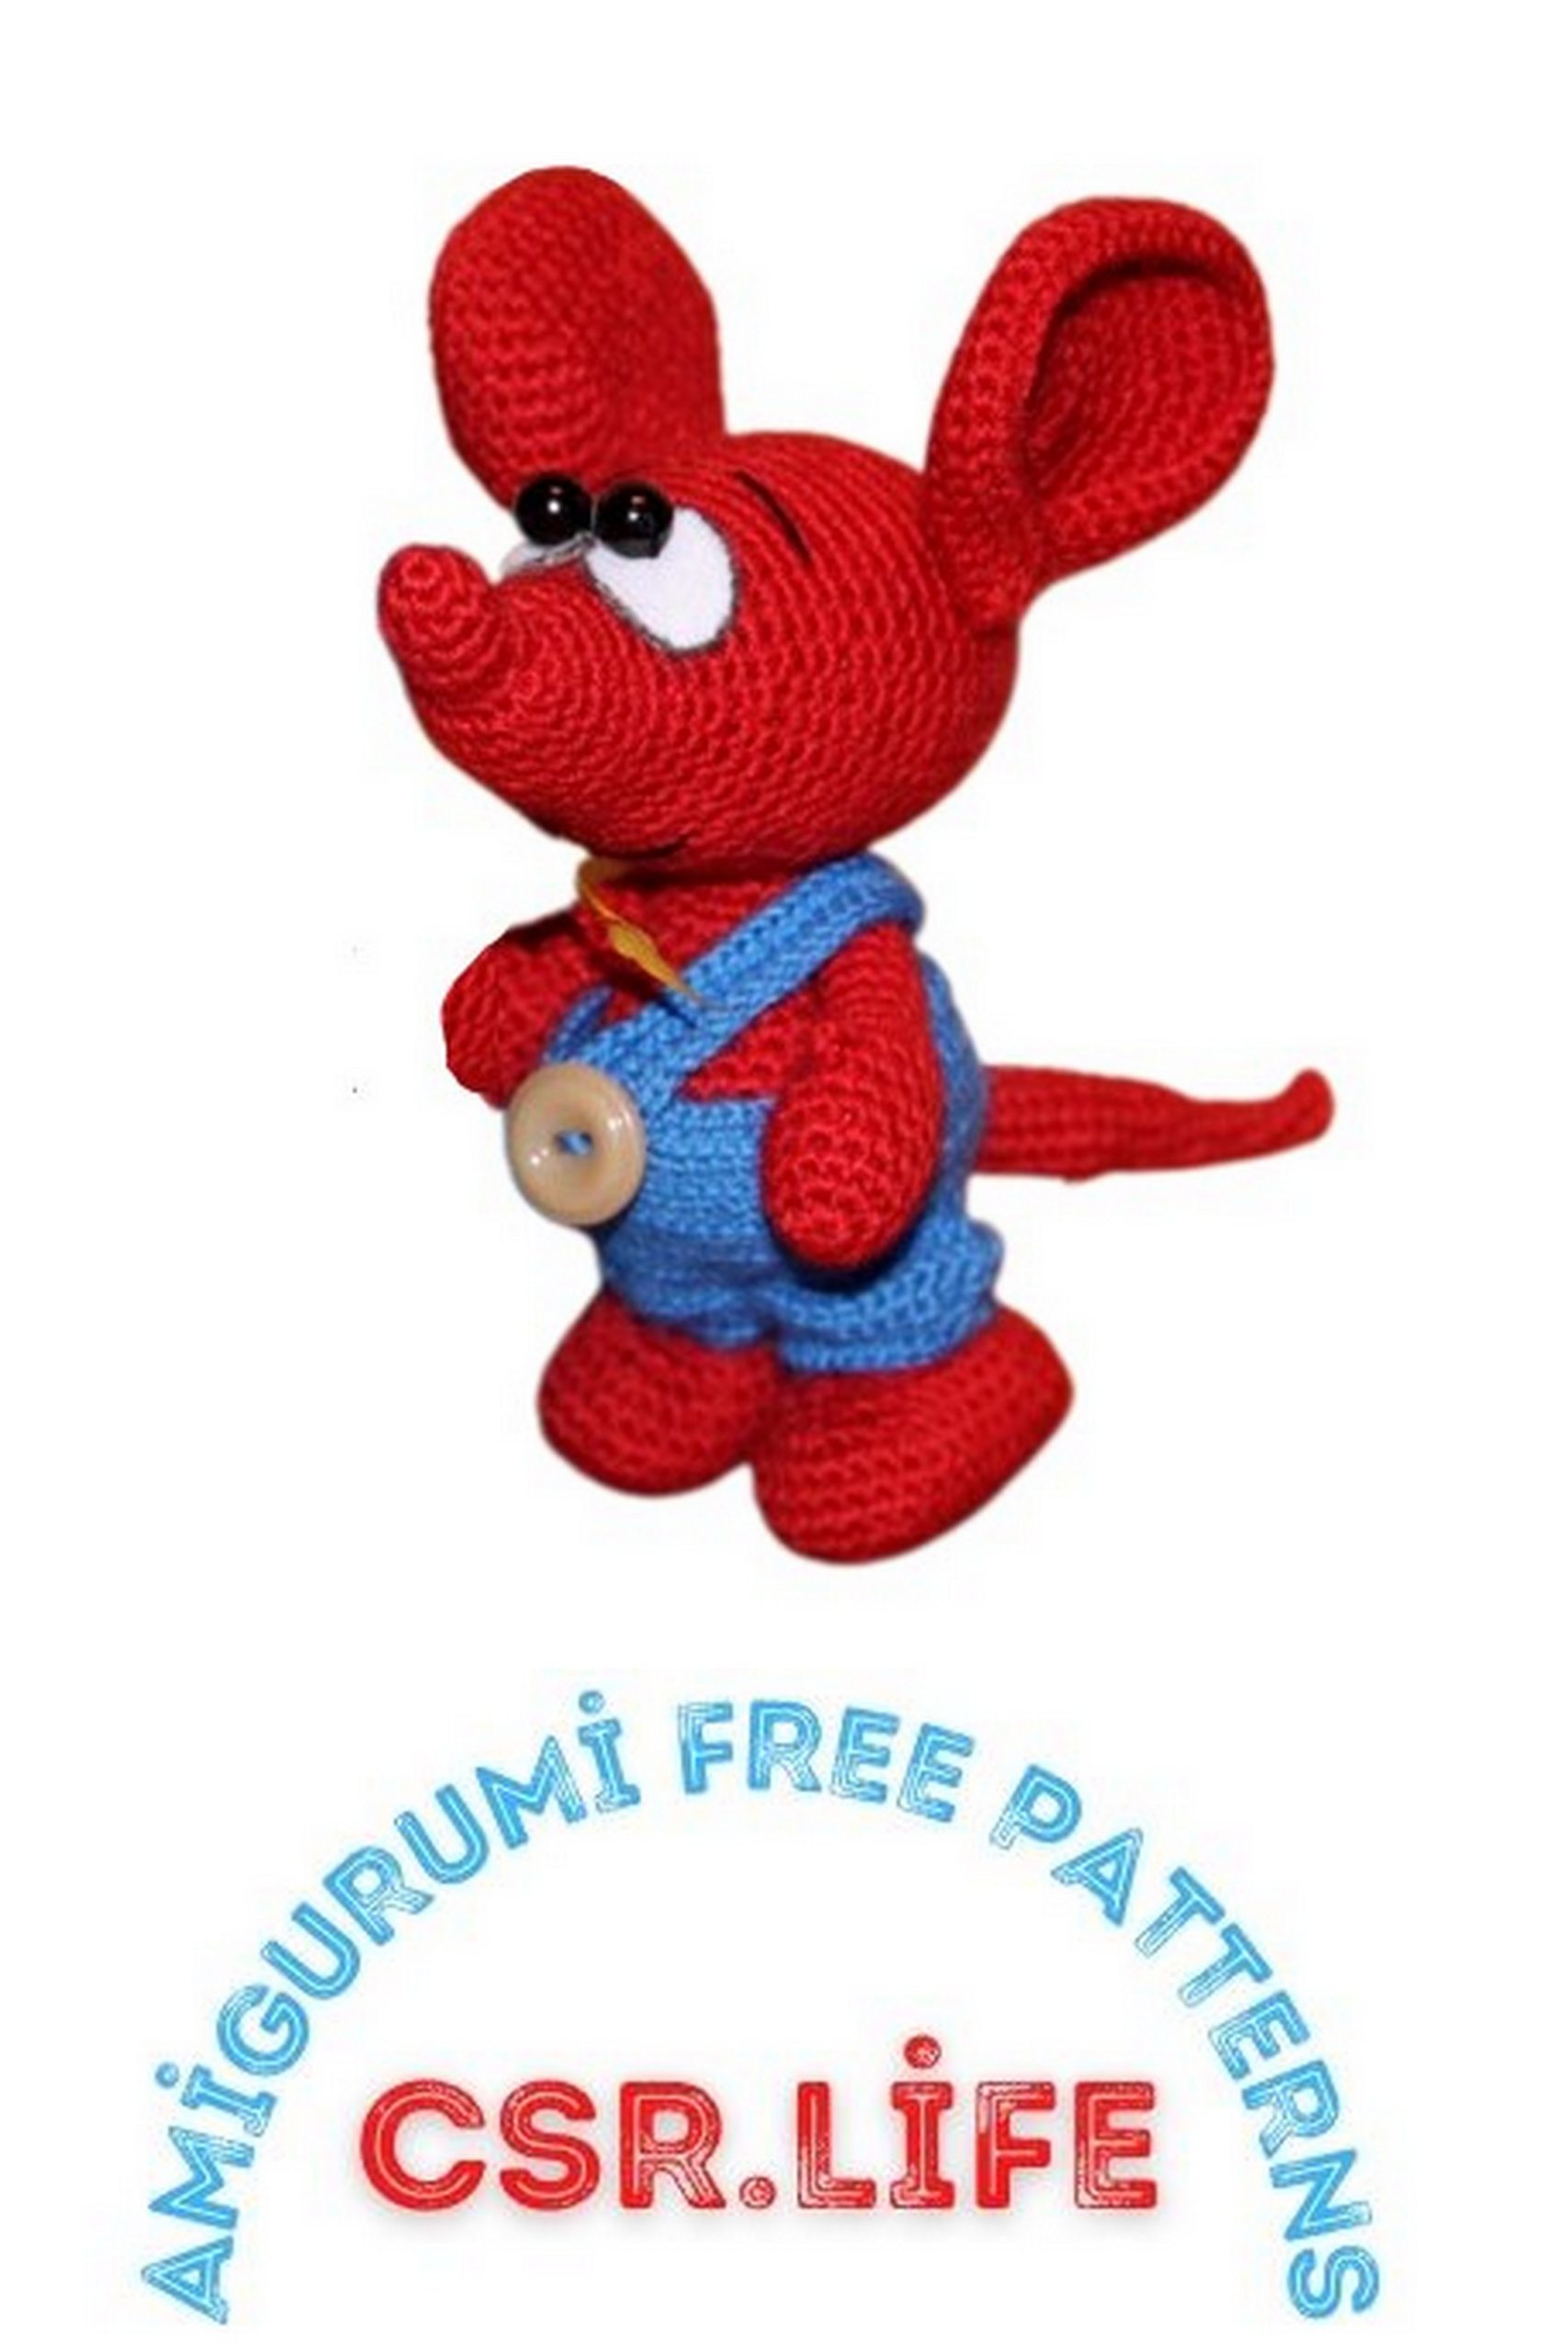
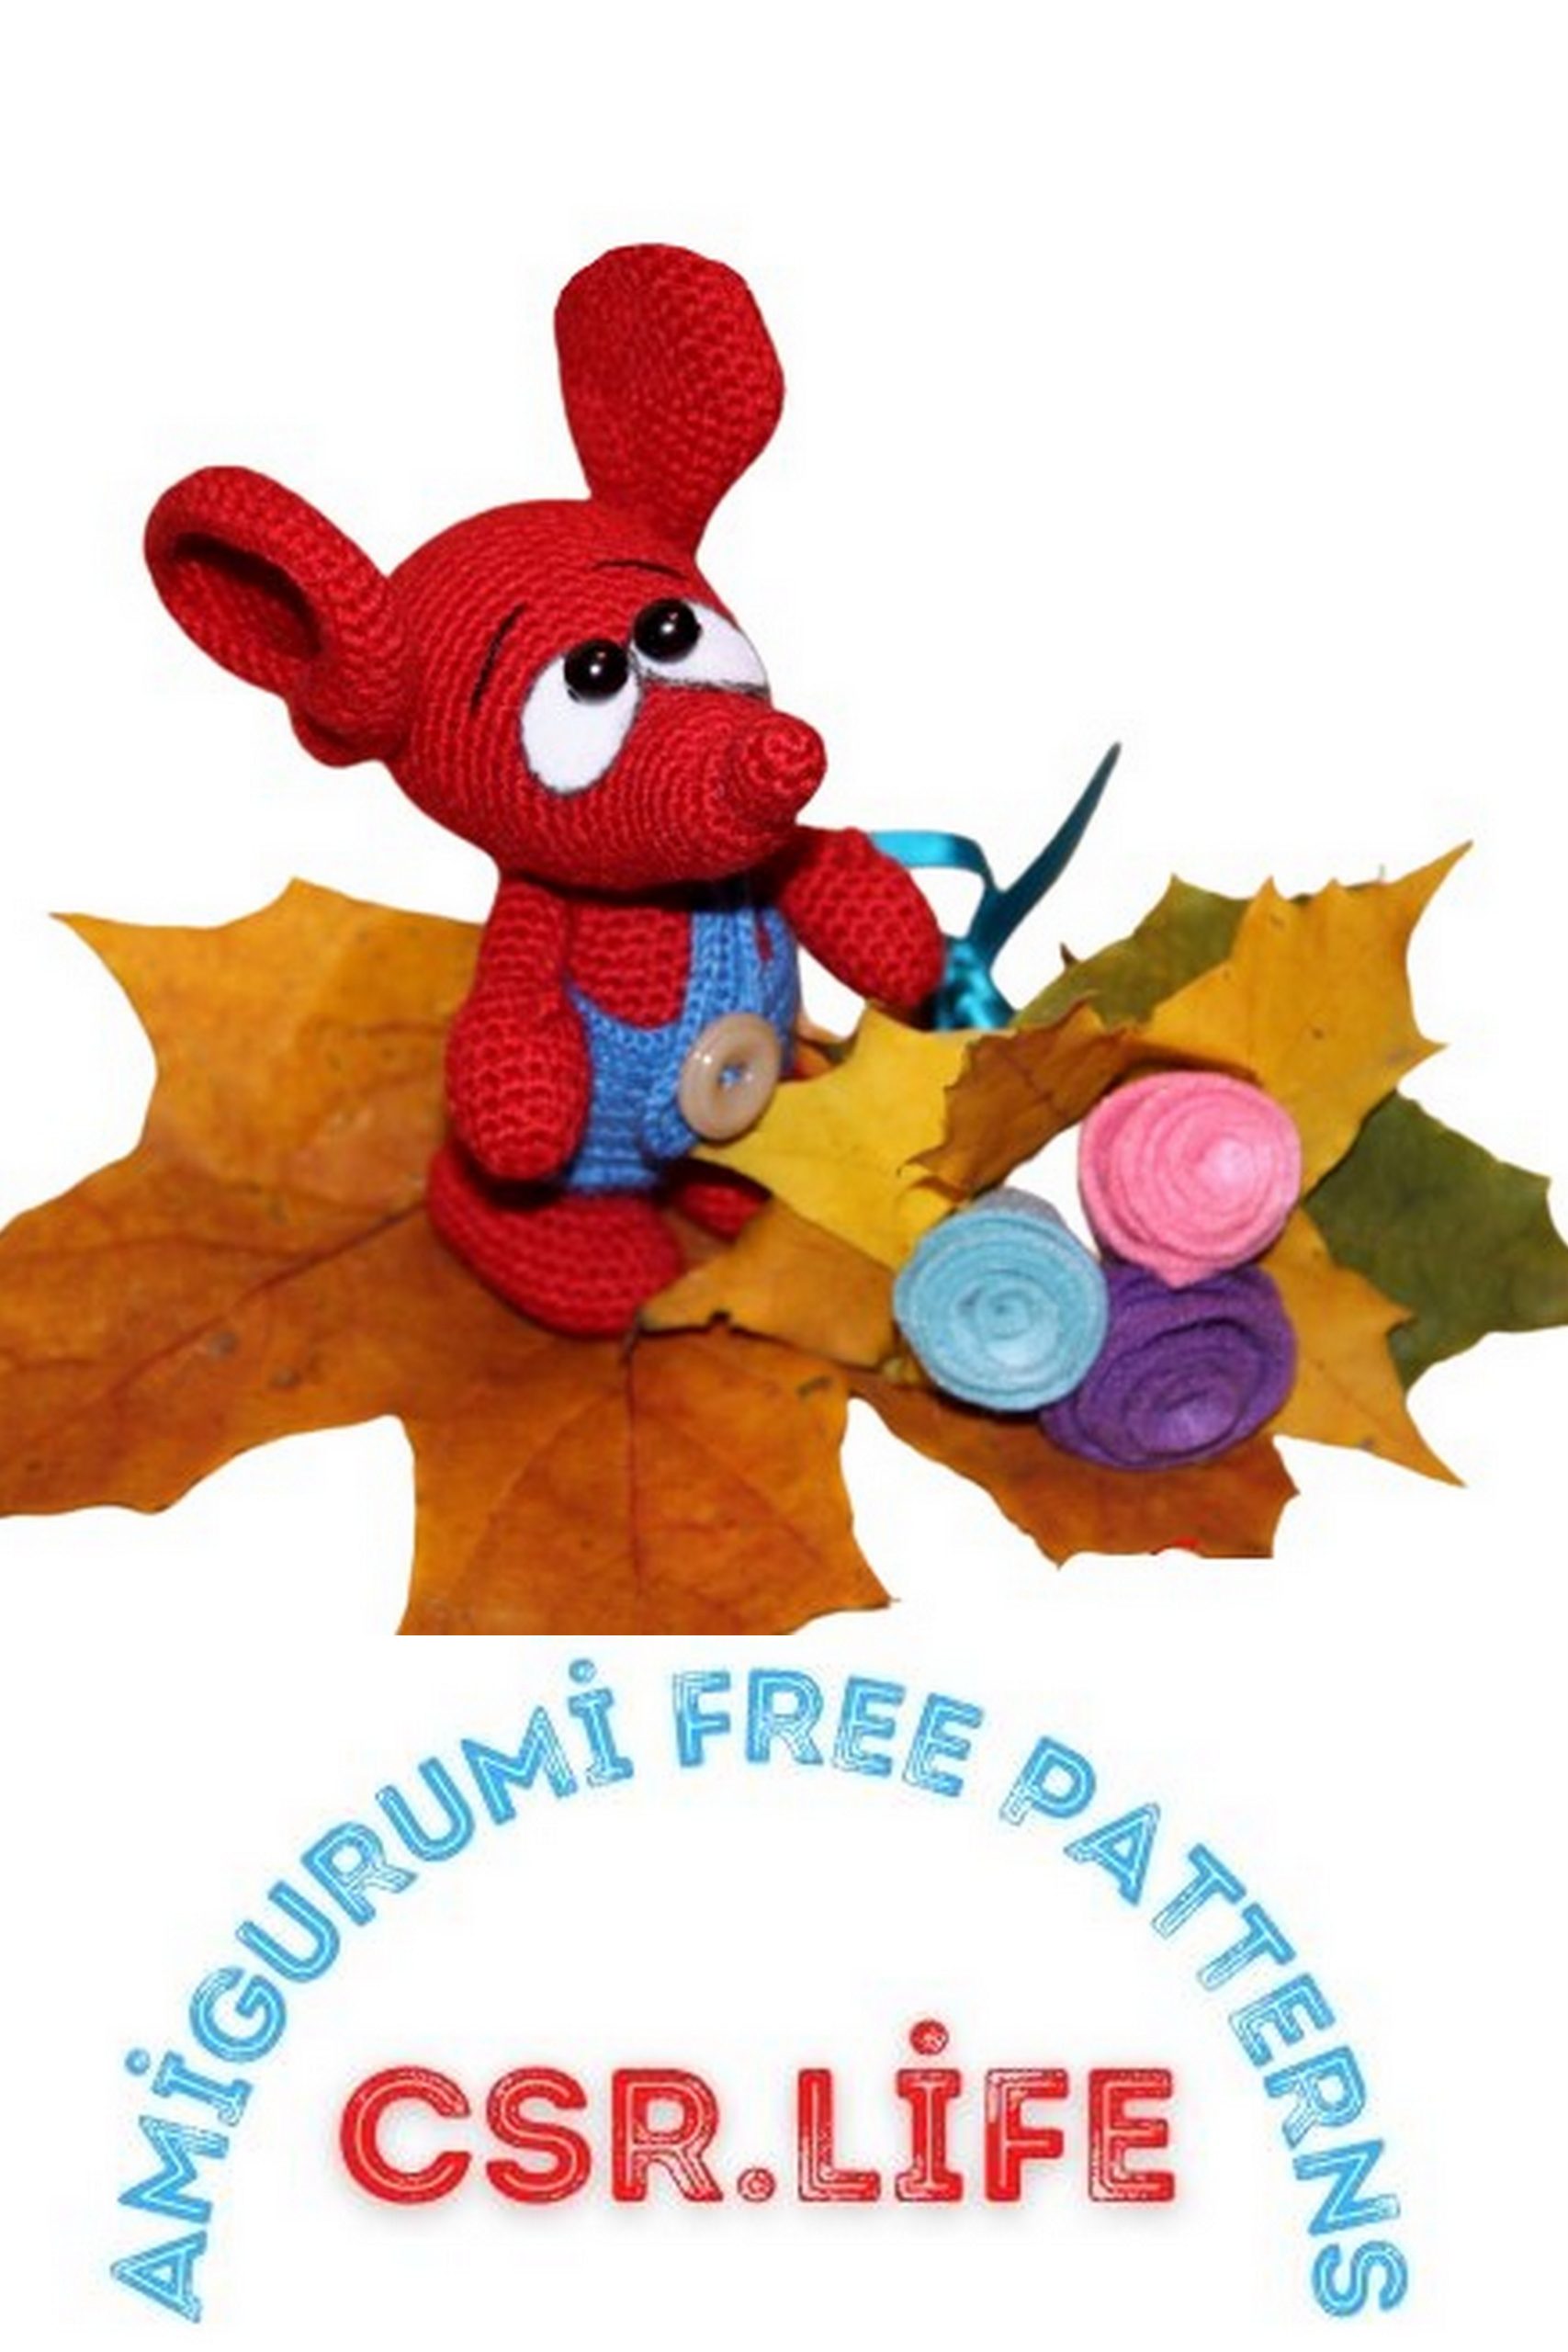
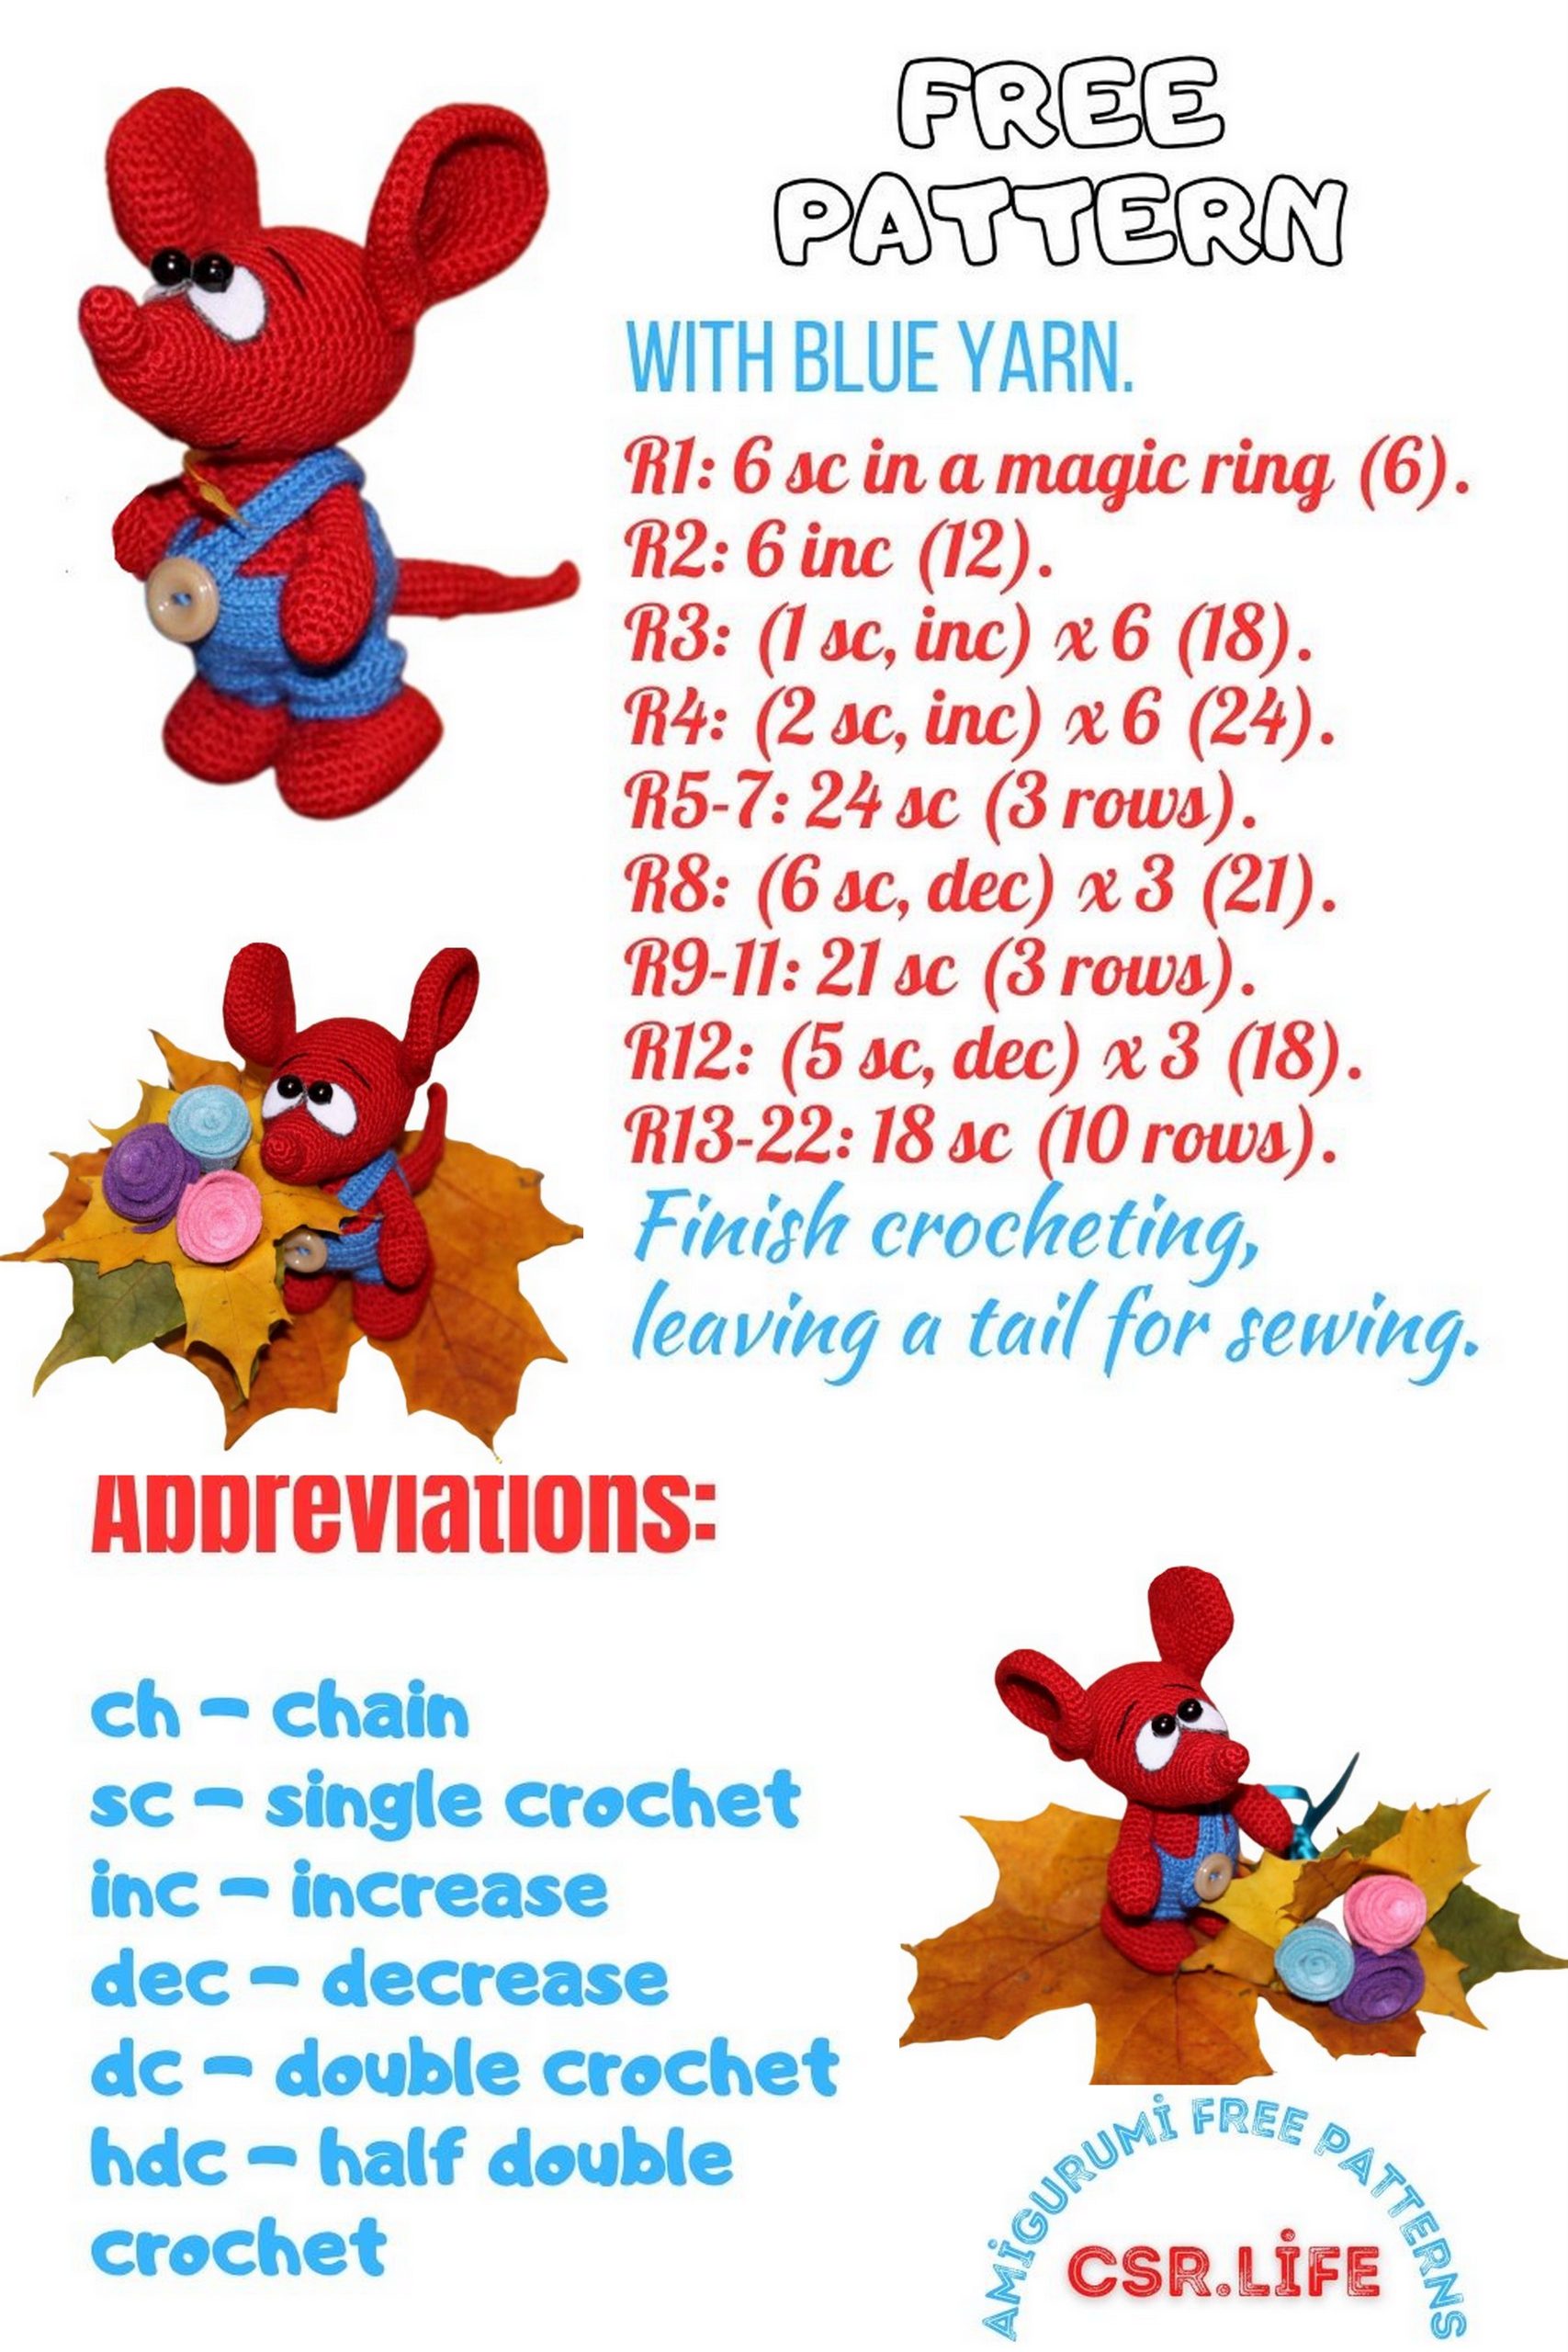
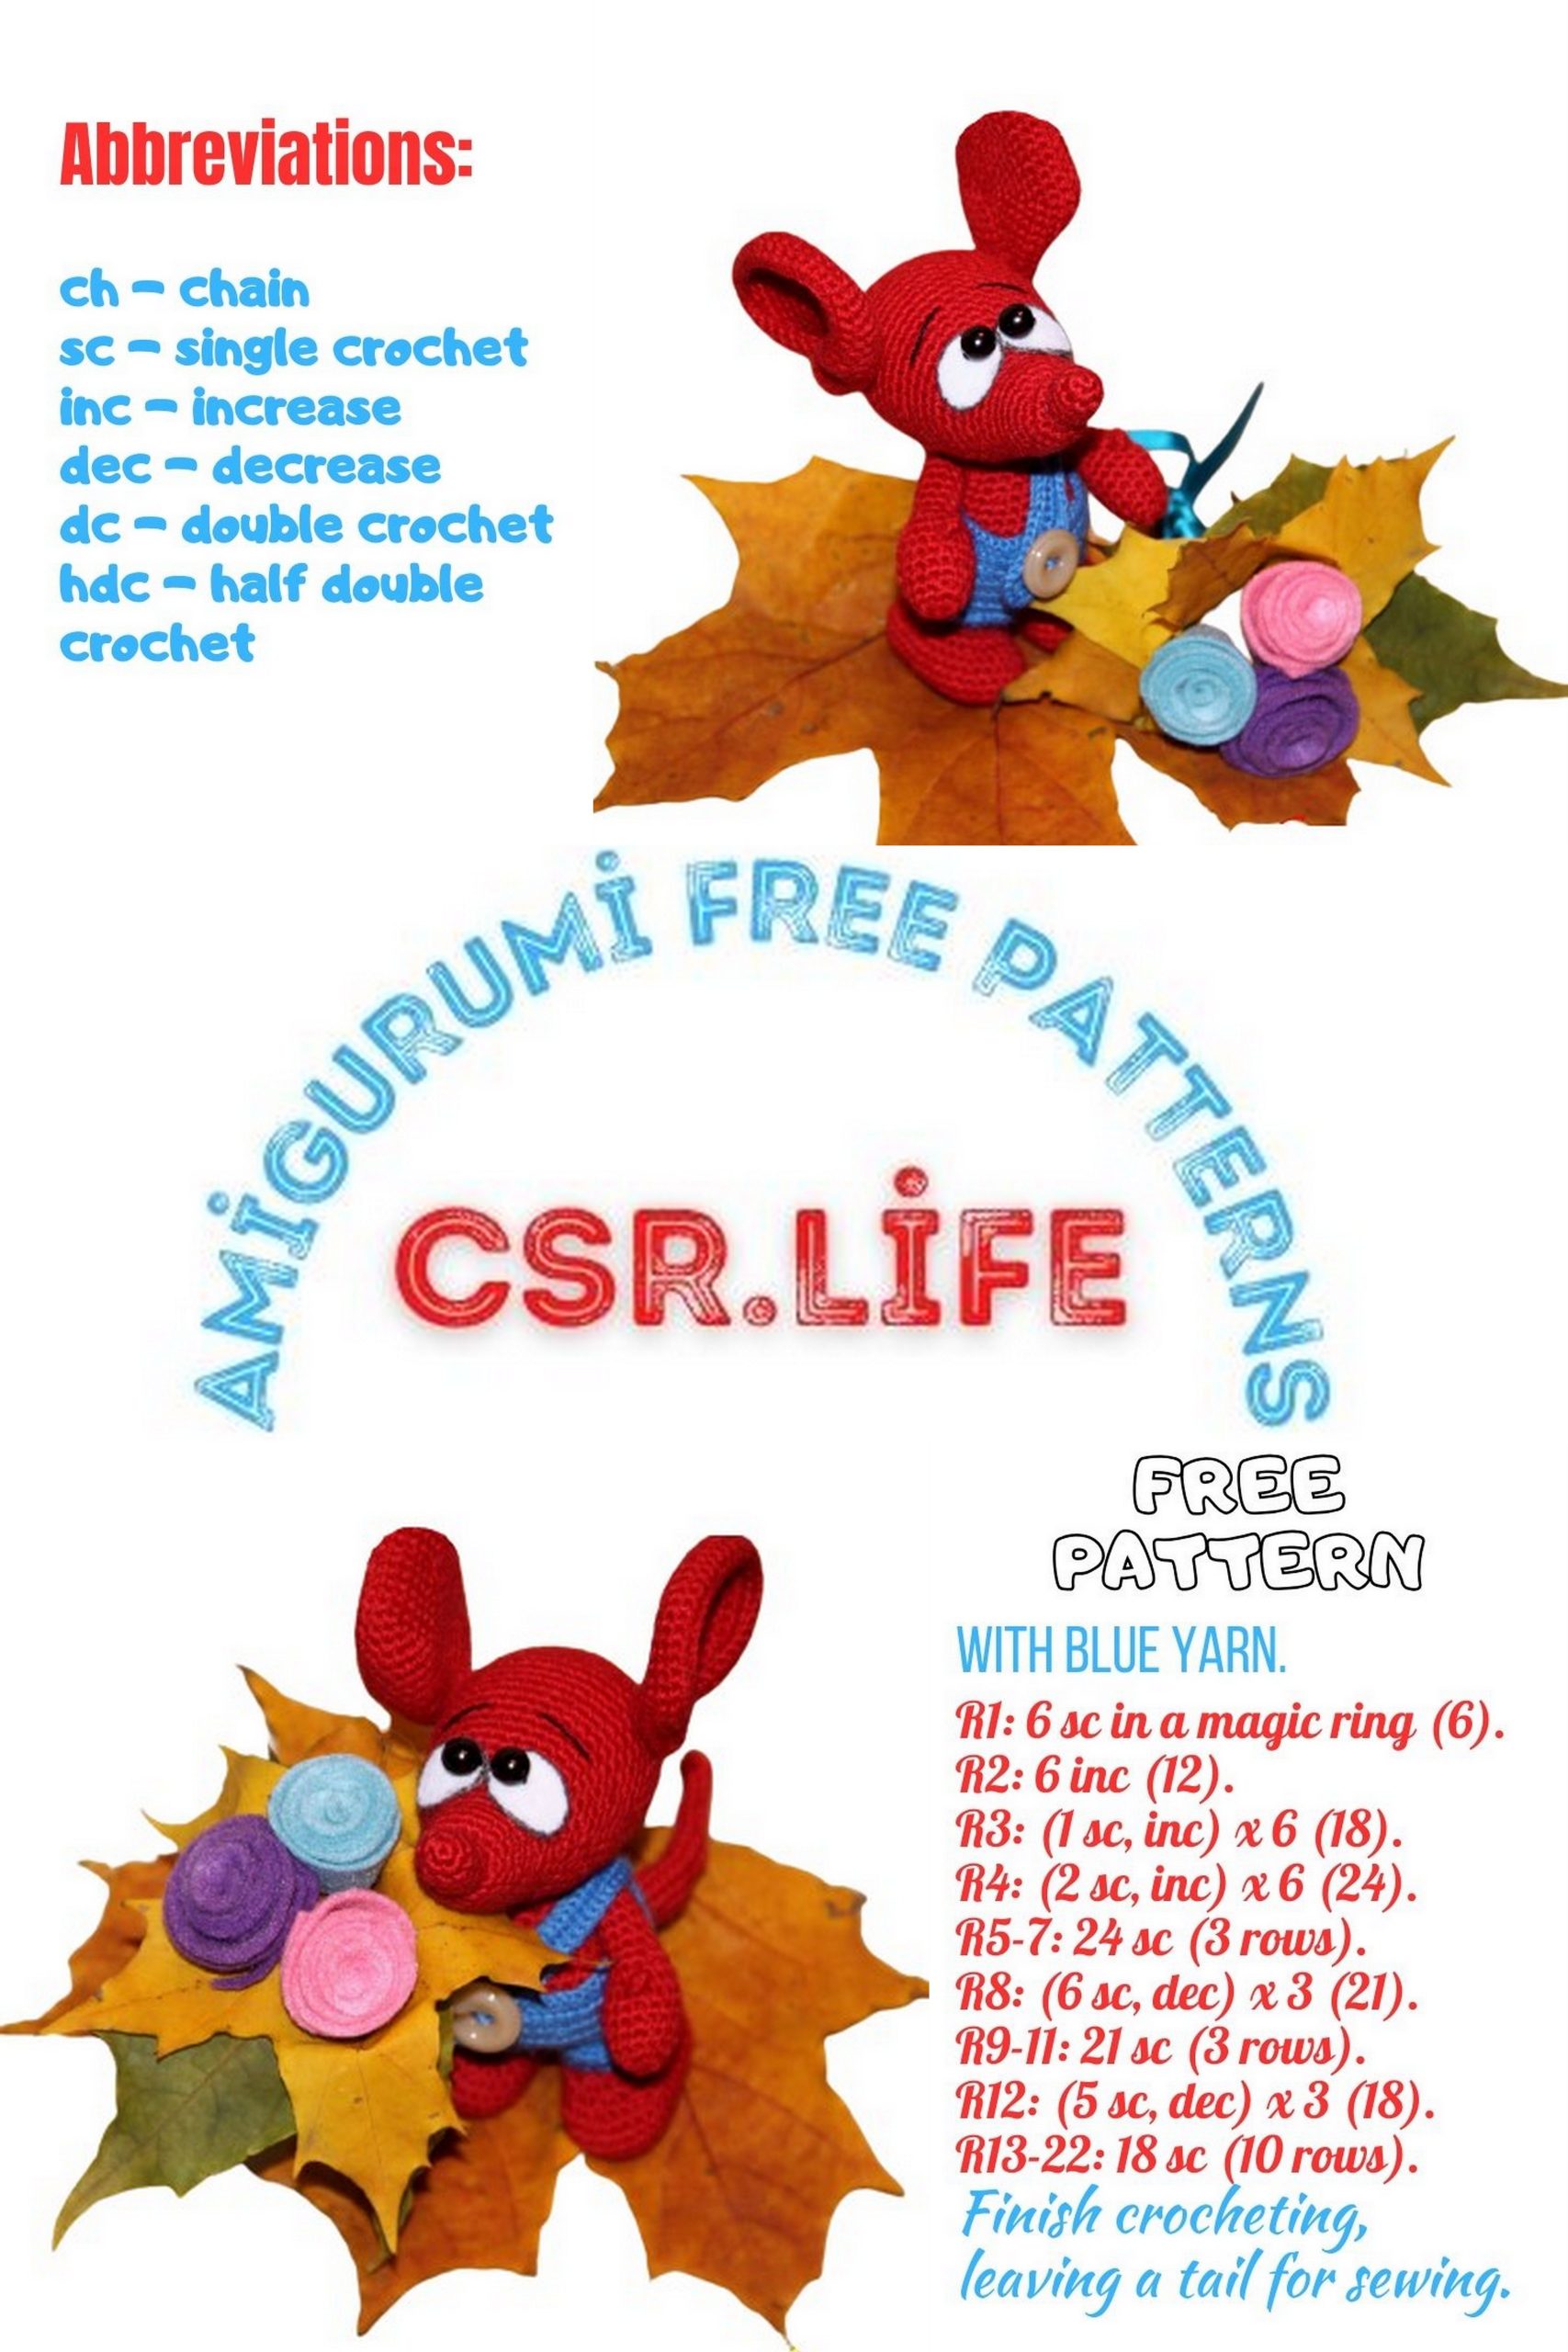
Craft Your Own Cute Mouse in Overalls Amigurumi – Free Crochet Pattern
Get ready to embark on a heartwarming crochet journey with our Cute Mouse in Overalls Amigurumi Free Pattern. This delightful pattern is designed to cater to crochet enthusiasts of all levels, from beginners to experienced crafters. Our step-by-step instructions will lead you through the creation of an endearing amigurumi mouse dressed in charming overalls. Not only will this project satisfy your creative cravings, but it also provides an opportunity to craft a unique handmade gift that will put a smile on anyone’s face. So, grab your crochet hook, choose your preferred yarn colors, and let’s dive into this crafting adventure. Let’s crochet your very own Cute Mouse in Overalls, a lovable companion that will add a touch of whimsy to your world!
Abbreviations:
sc – single crochet
inc – increase
dec – decrease
ch – chain
sl-st – slip stitch
(…)x6 – repeat the action in parentheses 6 times
Materials Needed:
Yarn in the main color
Beads for eyes
White felt for eyes
Crochet hook
PATTERN

Head:
Row 1: 4 sc in the amigurumi ring (4)
Row 2: (inc) x 4 (8)
Row 3: 8 sc
Row 4: (2 sc, inc) x 2, 2 sc (10)
Row 5: 10 sc, stuff
Row 6: (2 sc, dec) x 2, dec (7)
Row 7: (inc) x 6 (14)
Row 8: 6 sc, (sc, inc) x 4 (18)
Row 9: 6 sl st, 12 sc (18)
Row 10: 18 sc
Row 11: 6 sc, (3 sc, inc) x 3 (21)
Row 12-13: 21 sc (2 rows)
Row 14: 6 sc, (4 sc, inc) x 3 (24)
Row 15-16: 24 sc (2 rows)
Row 17: (3 sc, inc) x 6 (30)
Row 18: 30 sc
Row 19: (4 sc, inc) x 6 (36)
Row 20-23: 36 sc (4 rows)
Row 24: (5 sc, inc) x 6 (42)
Row 25-32: 42 sc (8 rows)
Row 33: (5 sc, dec) x 6 (36)
Row 34: 36 sc
Row 35: (4 sc, dec) x 6 (30)
Row 36: 30 sc
Row 37: (3 sc, dec) x 6 (24)
Row 38: 24 sc
Row 39: (2 sc, dec) x 6 (18)
Row 40: 18 sc
Row 41: (sc, dec) x 6 (12)
Row 42: (dec) x 6 (6)
Close the hole, cut the yarn, and hide it.
Body:
Row 1: 6 sc in the amigurumi ring (6)
Row 2: (inc) x 6 (12)
Row 3: (sc, inc) x 6 (18)
Row 4: (2 sc, inc) x 6 (24)
Row 5: (3 sc, inc) x 6 (30)
Row 6: (4 sc, inc) x 6 (36)
Row 7-11: 36 sc (36)
Row 12: (sc, dec) x 6, 18 sc (30)
Row 13: 16 sc, (2 sc, dec) x 2, 6 sc (28)
Row 14: (sc, dec) x 6, 10 sc (22)
Row 15: 10 sc, dec, (sc, dec) x 3, sc (18)
Row 16-17: 18 sc
Row 18: 13 sc, (dec) x 2, sc (16)
Row 19: 11 sc, (dec) x 2, sc (14)
Row 20: 14 sc
The higher curve is the backside. 🙂
Ears (2 pieces):
Row 1: 6 sc in the amigurumi ring (6)
Row 2: (inc) x 6 (12)
Row 3: (sc, inc) x 6 (18)
Row 4: (2 sc, inc) x 6 (24)
Row 5: (3 sc, inc) x 6 (30)
Row 6: (4 sc, inc) x 6 (36)
Row 7: (5 sc, inc) x 6 (42)
Row 8: (6 sc, inc) x 6 (48)
Row 9-11: 48 sc (48)
Legs (2 pieces):
Row 1: 9 ch + 1 turning chain, 3 sc in the 2nd chain from the hook, 7 sc, 3 sc in the last chain, turn to the other side, 7 sc (20)
Row 2: ((inc) x 3, 7 sc) x 2 (26)
Row 3: ((sc, inc) x 3, 7 sc) x 2 (32)
Row 4: (2 sc, inc) x 3, 23 sc (35)
Row 5-7: 35 sc
Row 8: (2 sc, dec) x 3, 7 sc, (sc, dec) x 3, 7 sc (29)
Row 9: (sc, dec) x 3, 7 sc, (dec) x 3, 7 sc (23)
Row 10: (dec) x 5, 9 sc, (dec) x 2 (16)
Row 11: (dec) x 4, 8 sc (12)
Row 12-15: 12 sc (12)
Arms (2 pieces):
Row 1: 6 sc in the amigurumi ring (6)
Row 2: (inc) x 6 (12)
Row 3: 12 sc (12)
Row 4: (3 sc, inc) x 3 (15)
Row 5-6: 15 sc (2 rows)
6 ch, sl st in the base (finger)
Row 7-8: 15 sc (2 rows)
Row 9: (3 sc, dec) x 3 (12), stuff
Row 10: (2 sc, dec) x 3 (9)
Row 11-17: 9 sc (9), stuff
Close the hole.
Tail:
Row 1: 4 sc in the amigurumi ring (4)
Row 2-5: 4 sc (4 rows)
Row 6: inc, 3 sc (5)
Row 7: inc, 4 sc (6)
Row 8-9: 6 sc (6)
Row 10: inc, 5 sc (7)
Row 11: inc, 6 sc (8)
Row 12-13: 8 sc (8)
Row 14: inc, 7 sc (9)
Row 15: inc, 8 sc (10)
Row 16-19: 10 sc (10)
Row 20: inc, 9 sc (11)
Row 21: inc, 10 sc (12)
Row 22-23: 12 sc (12)
Assemble all the pieces, cut oval shapes from felt, sew beads onto them, outline the ovals with a pencil for definition, and embroider eyebrows. Shape the nose with your hands (or you can insert wire during crocheting for better shape, but it’s not necessary). Your mouse is ready!