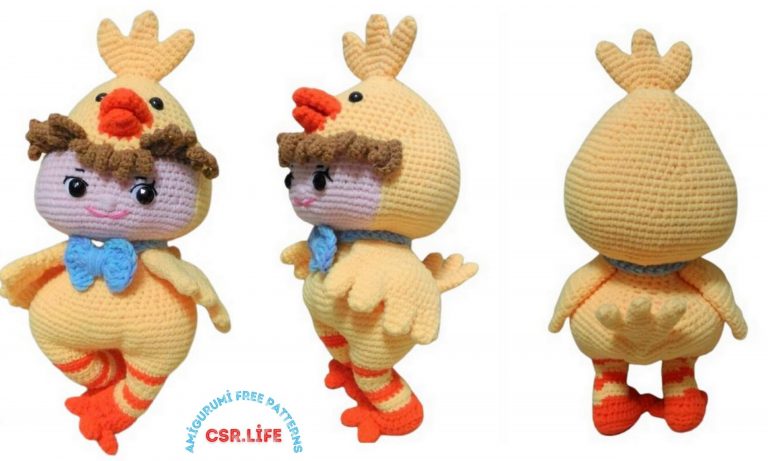
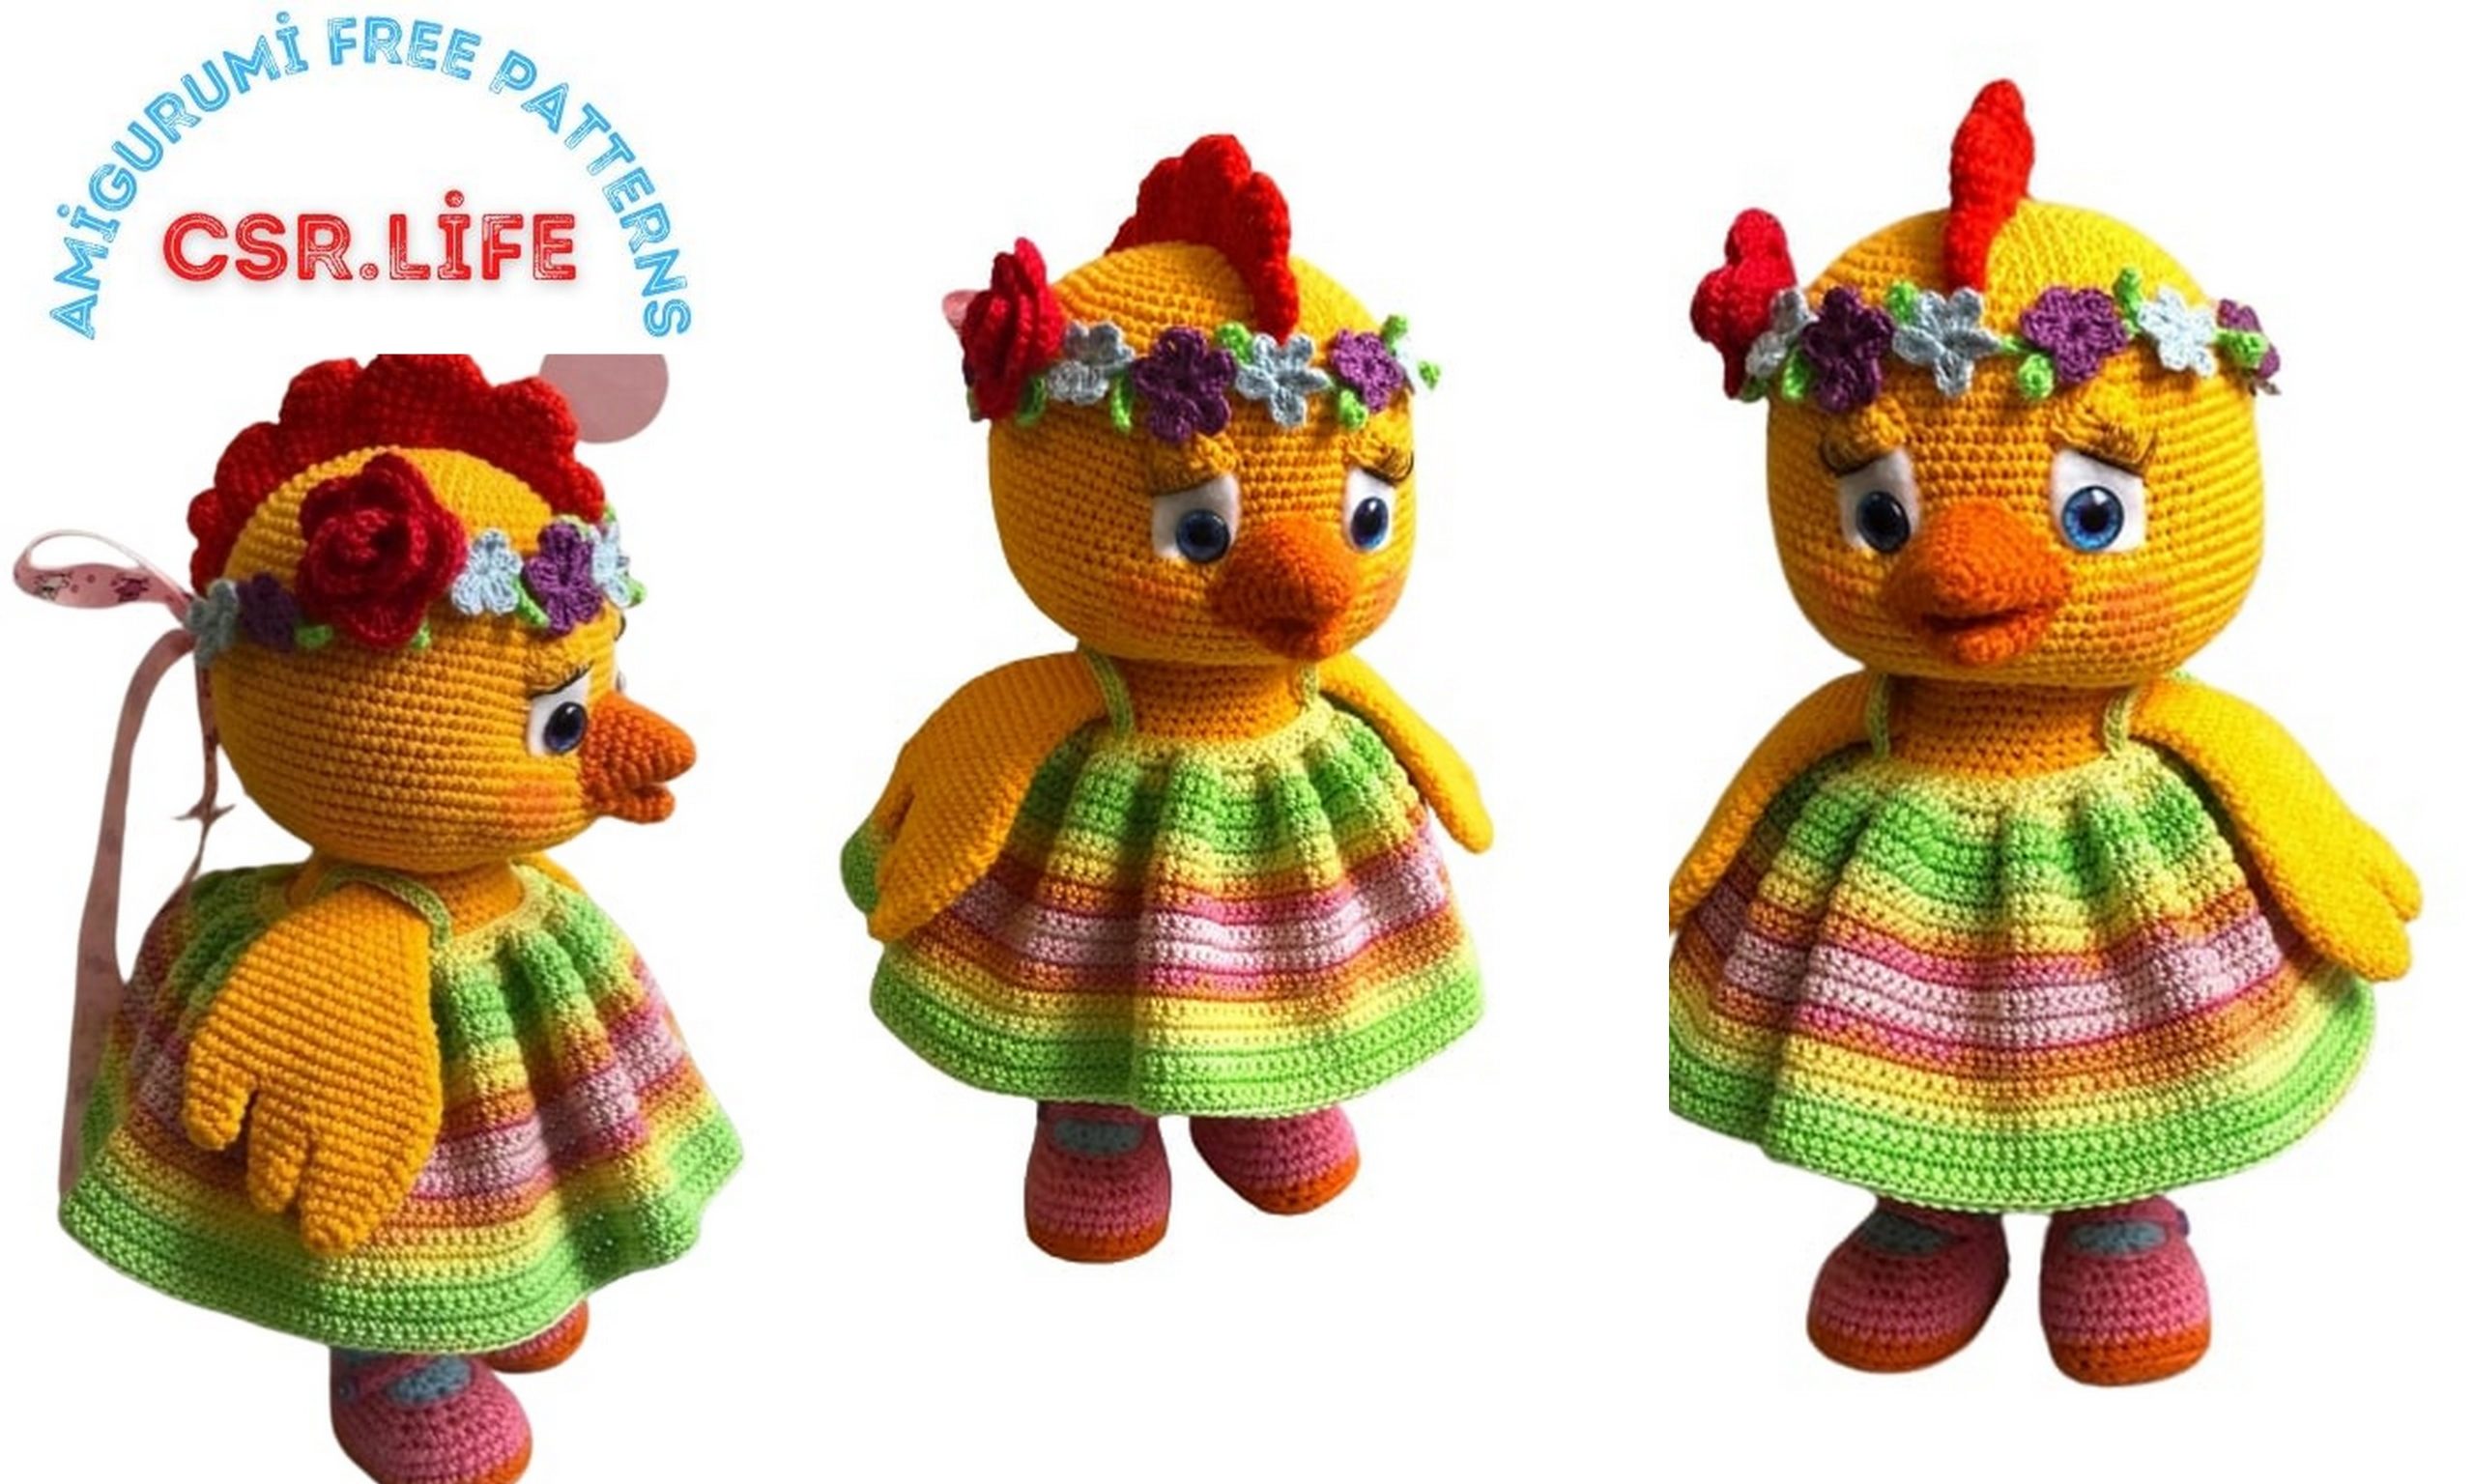
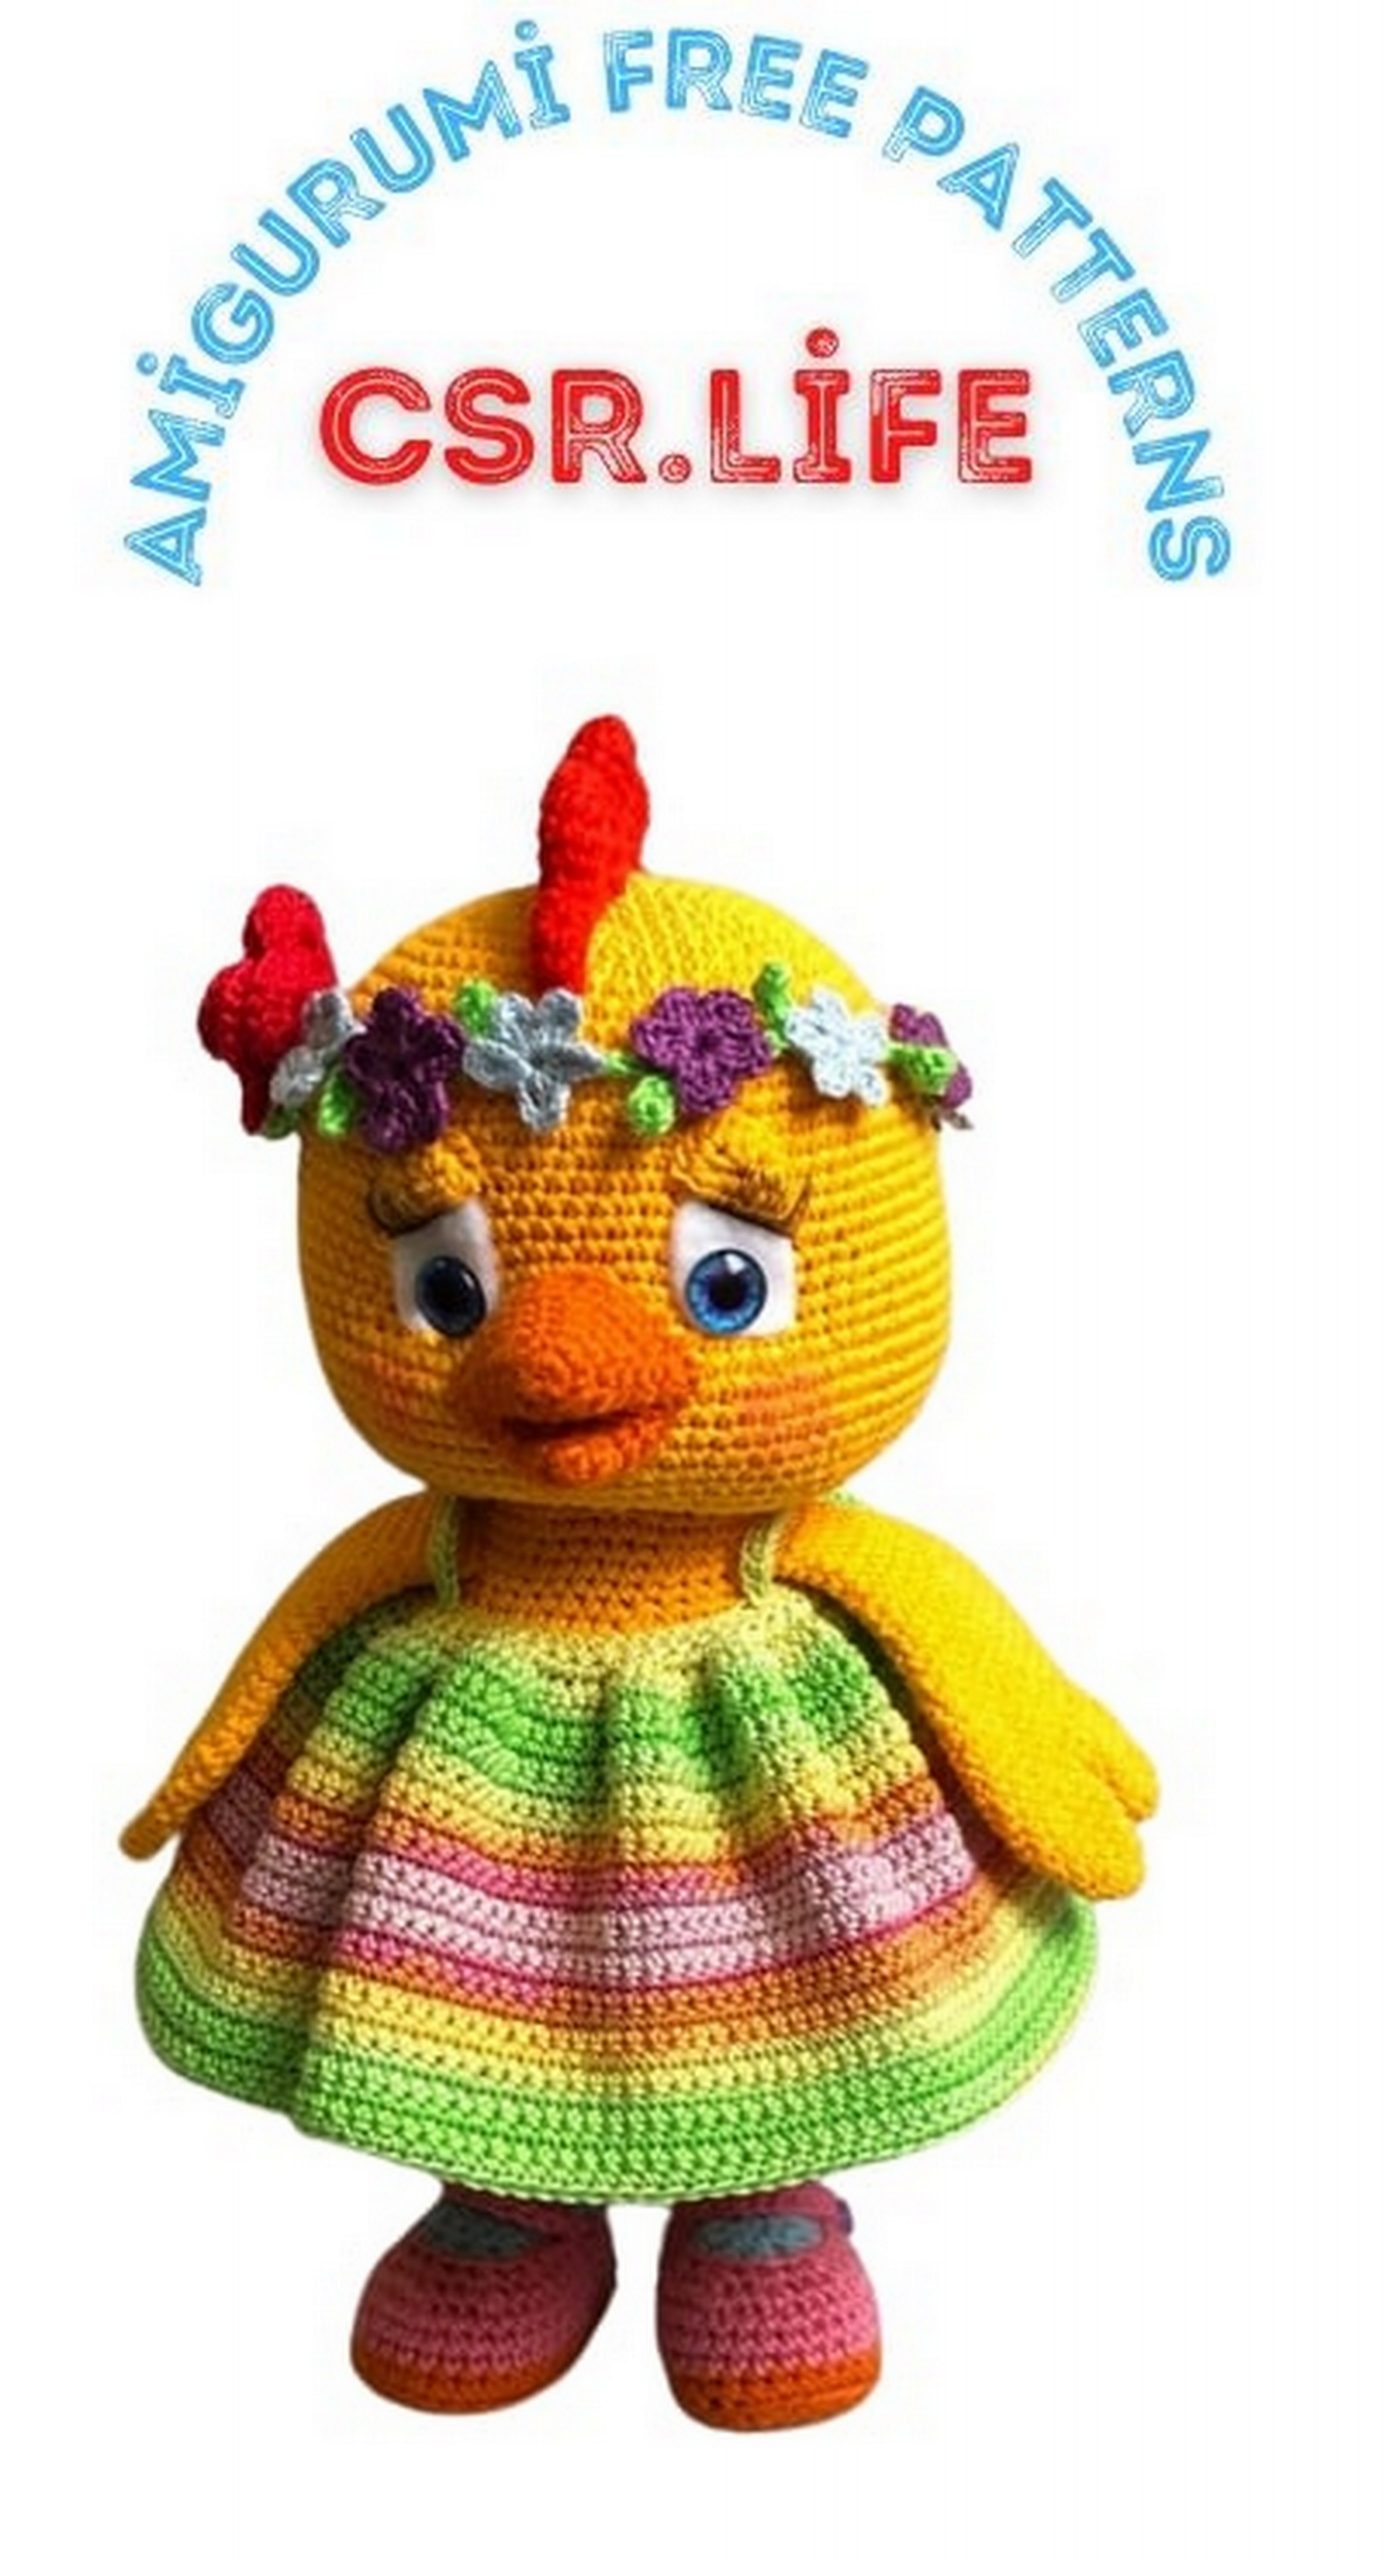
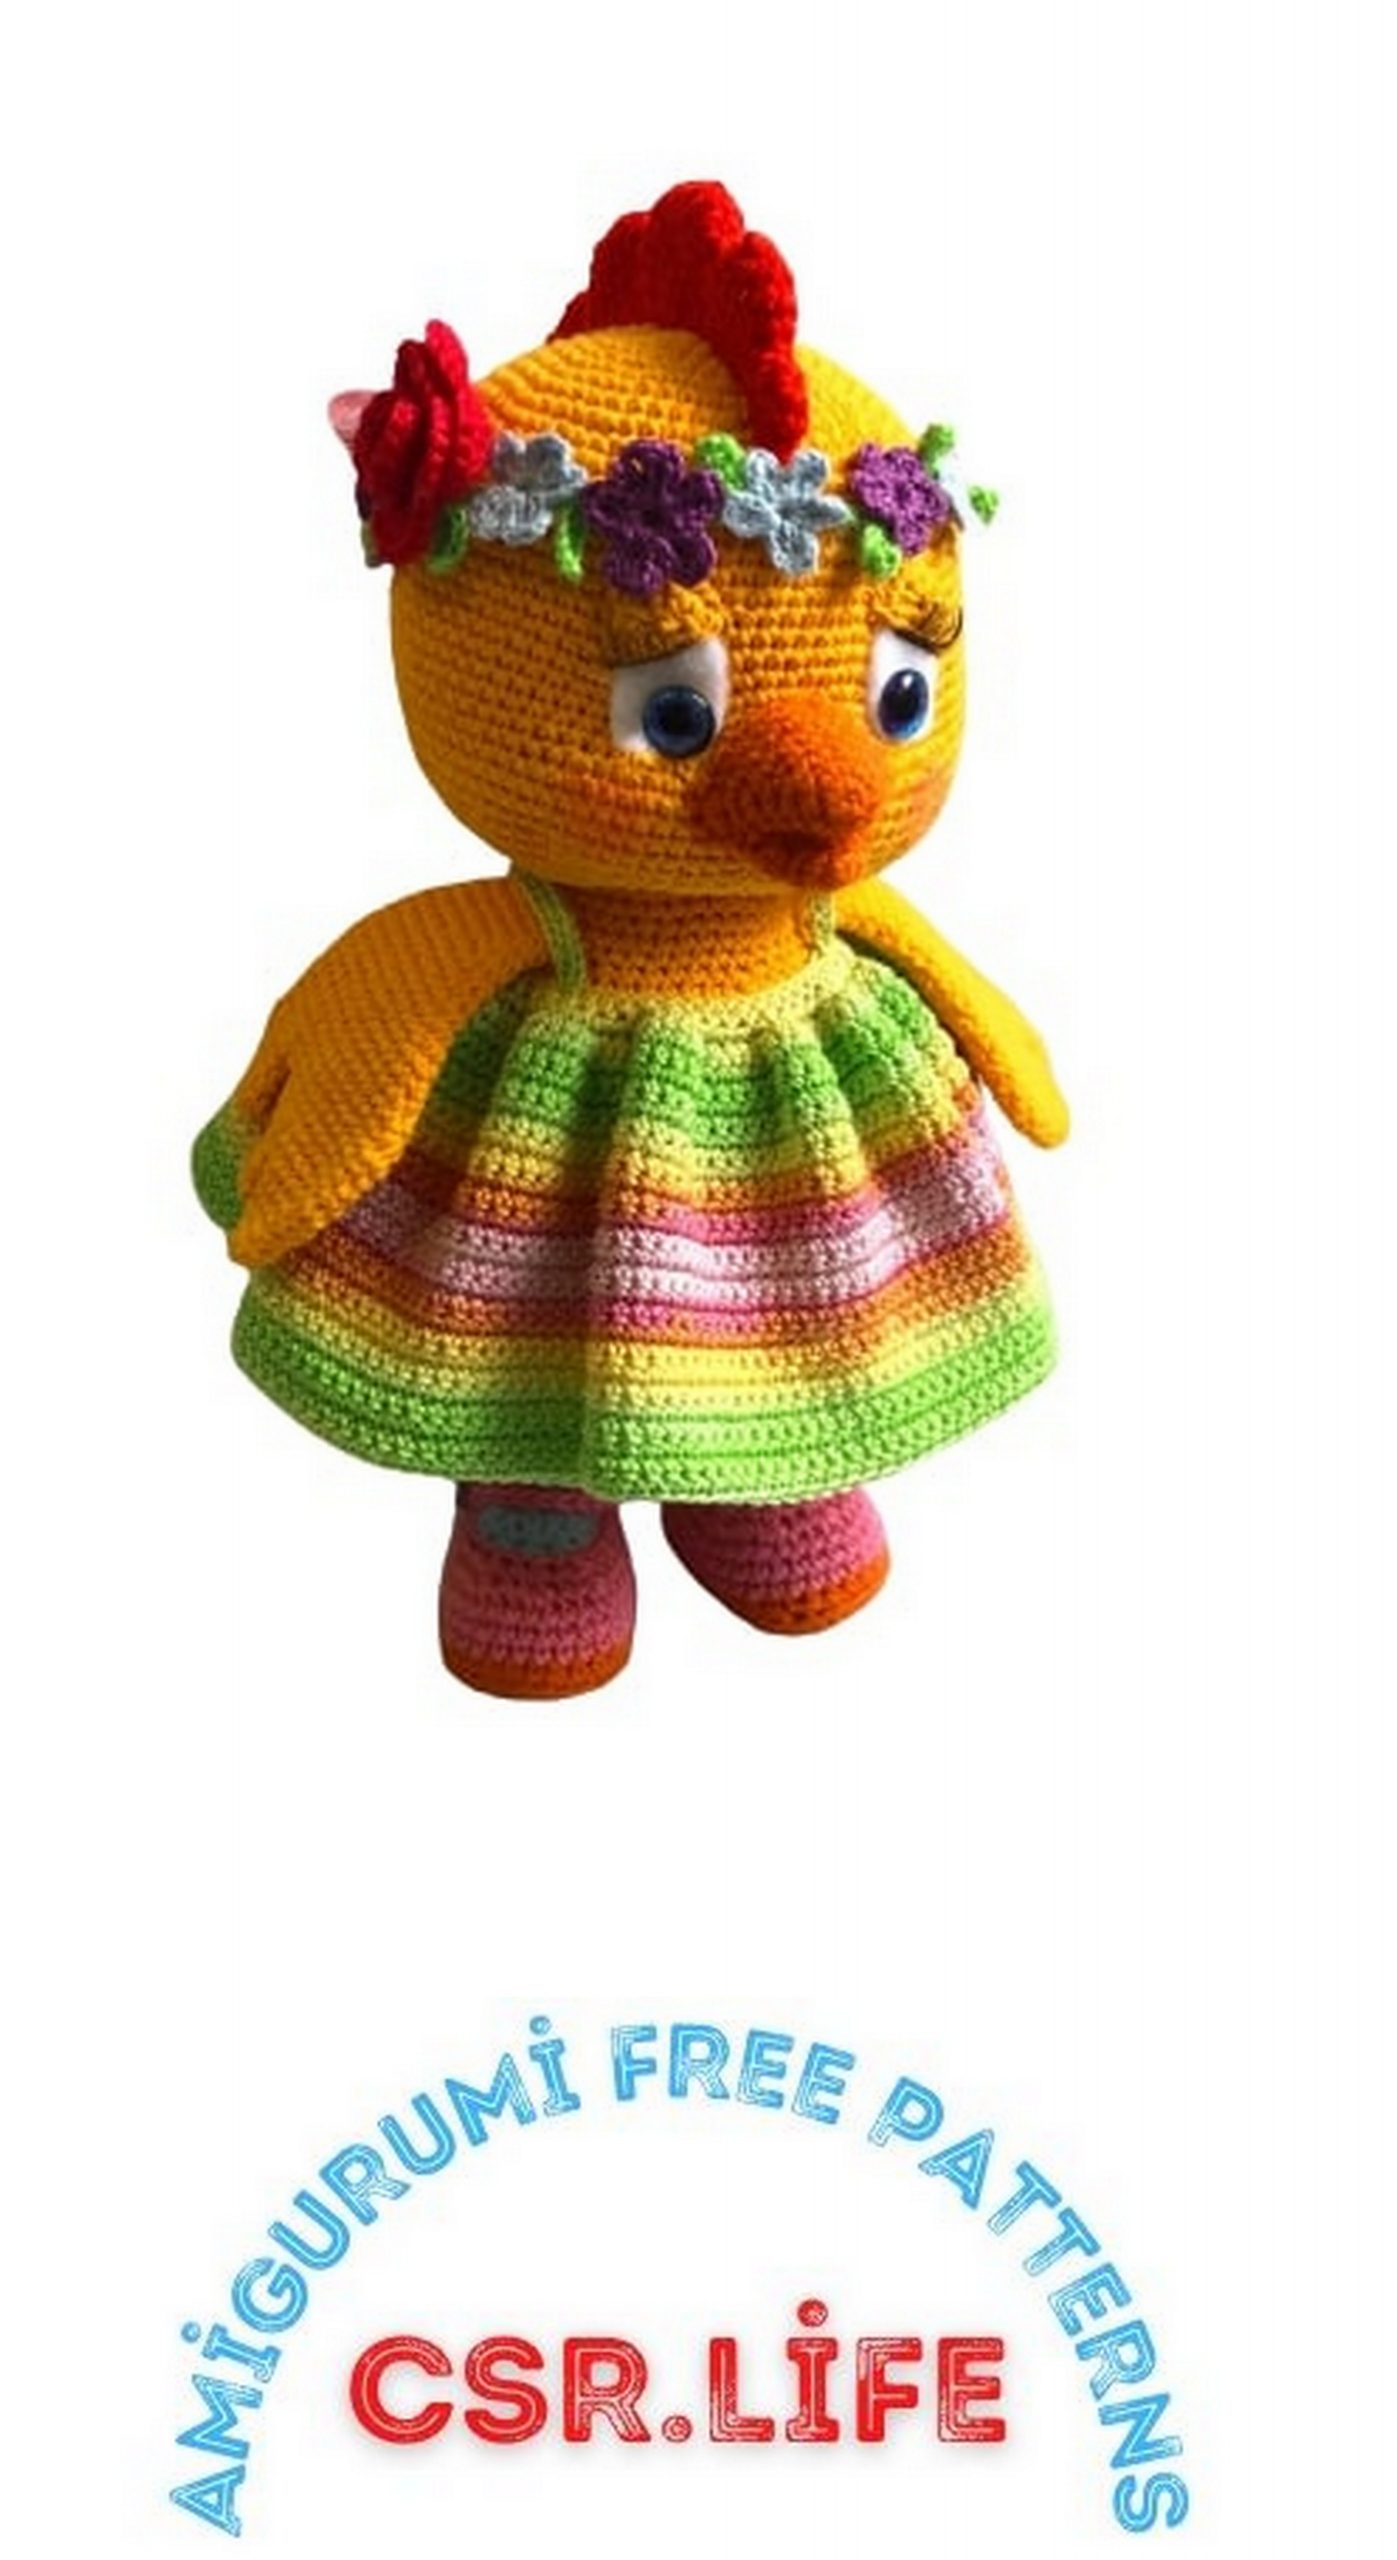
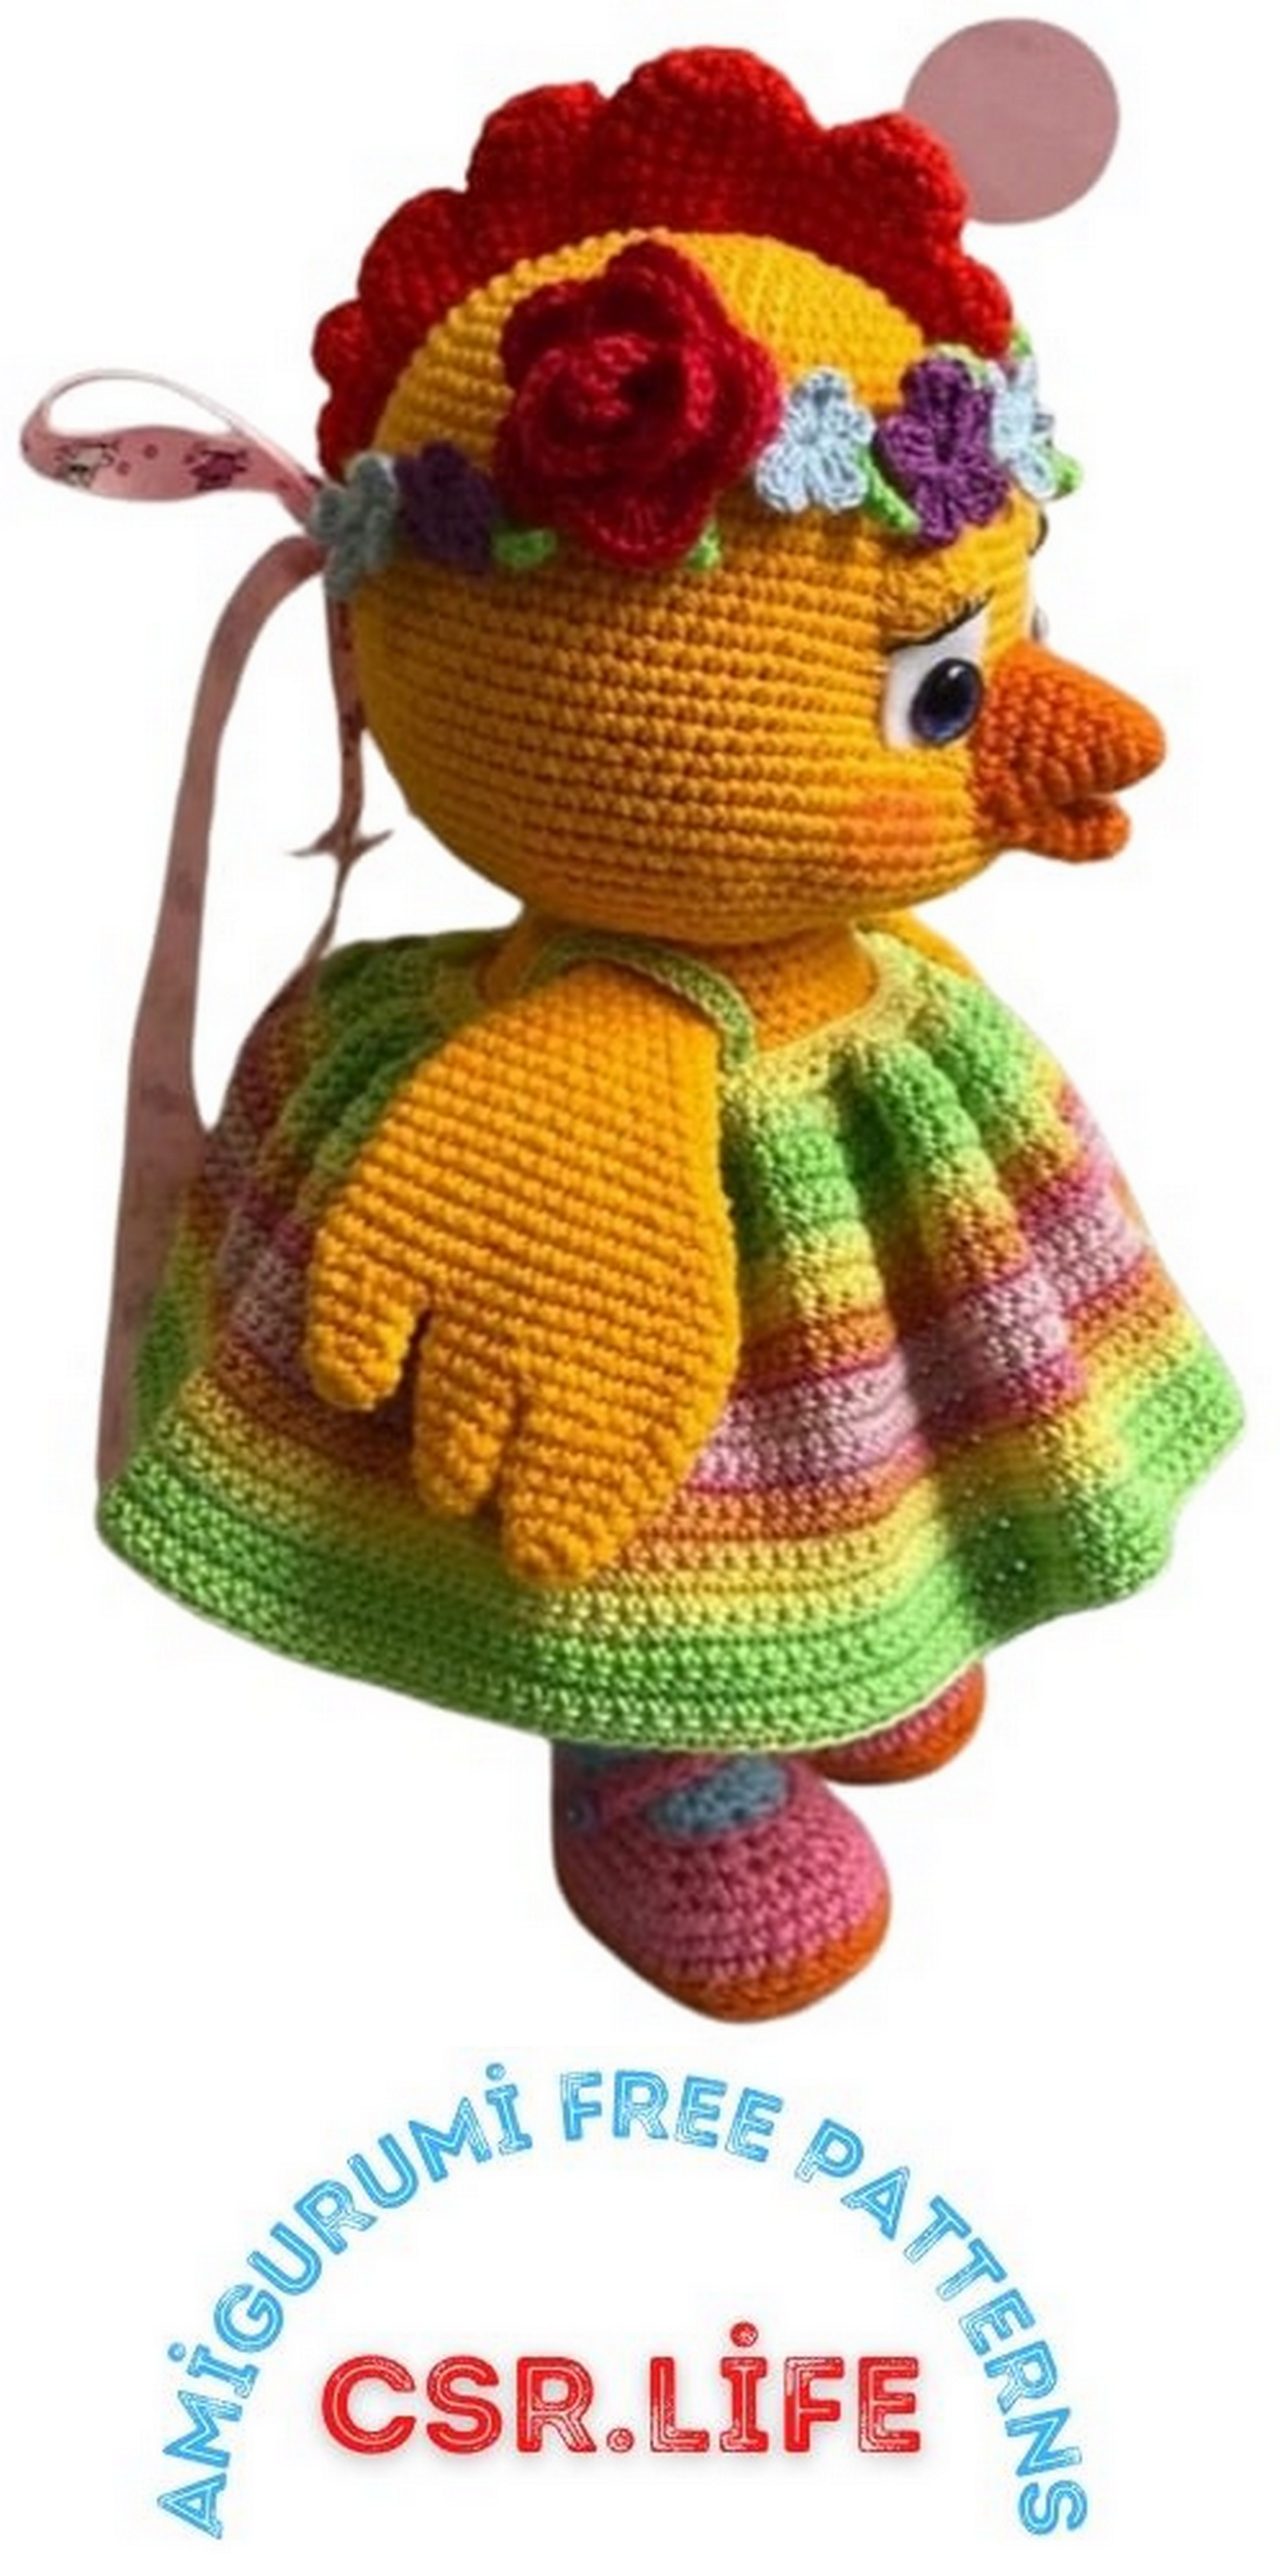
Cute Chick Amigurumi Free Crochet Pattern
We share unique amigurumi free patterns for you. In this article, we shared a very cute amigurumi chick free pattern. We enjoyed it very much, I hope you will like it too.
Chick
Knitting master class
The toy is knitted in a spiral without connecting posts, unless otherwise indicated in the description. You can not follow the marker during knitting, the description is given taking into account the offset of the marker.
Abbrevations:
sc – single crochet;
inc – increase (knit 2 columns from 1 loop of the previous row);
hdc – half double crochet;
dec – decrease (knit 2 columns with a common vertex);
ch – chain;
(….) X… – repeat the specified number of times indicated in brackets;
(6) – the number of columns in a row;
flo – we knit for the back half loop;
blo – front half loop.
Necessary materials:
– yarn “Violet” Yarn from Troitsk, saffron color – 1 point;
– yarn “Children’s novelty” pink, blue, red and
orange flowers;
– yarn “Iris” or any other fine yarn for a wreath –
blue, purple, red, green;
– Alize “Forever” yarn for a dress – a little more than half a skein;
– hook number 1.5 – for basic knitting, 1.0 – for a wreath;
– false or doll cilia;
– a little white felt;
– ribbon for a wreath 5mm wide;
– eyes lively look 10mm;
– thick cardboard or plastic for insoles;
– filler.
When using the specified materials and hook, the growth
Tiptoe – 23cm.
Growth may vary depending on density knitting.
Enjoy your knitting, even loops!
Shoes
We start knitting with orange yarn
1p) 9ch, starting from the 2nd loop from the hook, knit inc, 4sc, 2hdc, 3hdc in 1 loop, 2hdc, 5sc (18)
2p) 2inc, 4sc, 2hdc, 3inc from hdc, 2hdc, 4sc, inc (24)
3р) (1sc, inc) х2, 4sc, 2hdc, (1hdc, inc from hdc) х3, 2hdc, 5sc, inc (30)
4р) (2sc, inc) х2, 6sc, (2sc, inc) х3, 8sc, inc (36)
After this row, circle on thick cardboard or plastic and cut out the insoles for our shoes.
5p) 36sc for flo (36)
Switching to pink yarn
6-8r) 36sc (36)
We insert the insole into our shoe
9p) 12sc, dec, (2sc, dec) x4, 6sc (31)
10p) for the right and left legs are knitted in different ways:
Right leg
9sc, 13ch, 12sc on a chain of ch, 3sc, dec, (1sc, dec) x4, 7sc (38)
Left leg
12sc, dec, (1sc, dec) х4, 3sc, 13ch, 12sc along a chain of ch, 4sc (38)
We fix and cut the thread.
Socks
We attach the blue thread to the 12th loop of the 10th row
shoes – before the first decrease.
1p) 5dec, sl-st, turn knit (5)
2p) 5sc, sl-st, turn knit (5)
3p) 3sc, dec, 16sc (20)
4p) 2sc, 2dec, 14sc (18)
5p) 18sc (18)
6р) (5sc, inc) х3 for blo (21)
7p) (5sc, dec) x3 (18)
8p) 18sc, capturing the loops of row 7 and flo 5p (18)
9p) 18sc (18)
10p) 8sc, 5sl-st (13)
Fasten and cut the thread
Stuff our shoes with socks. Sew on straps small buttons.
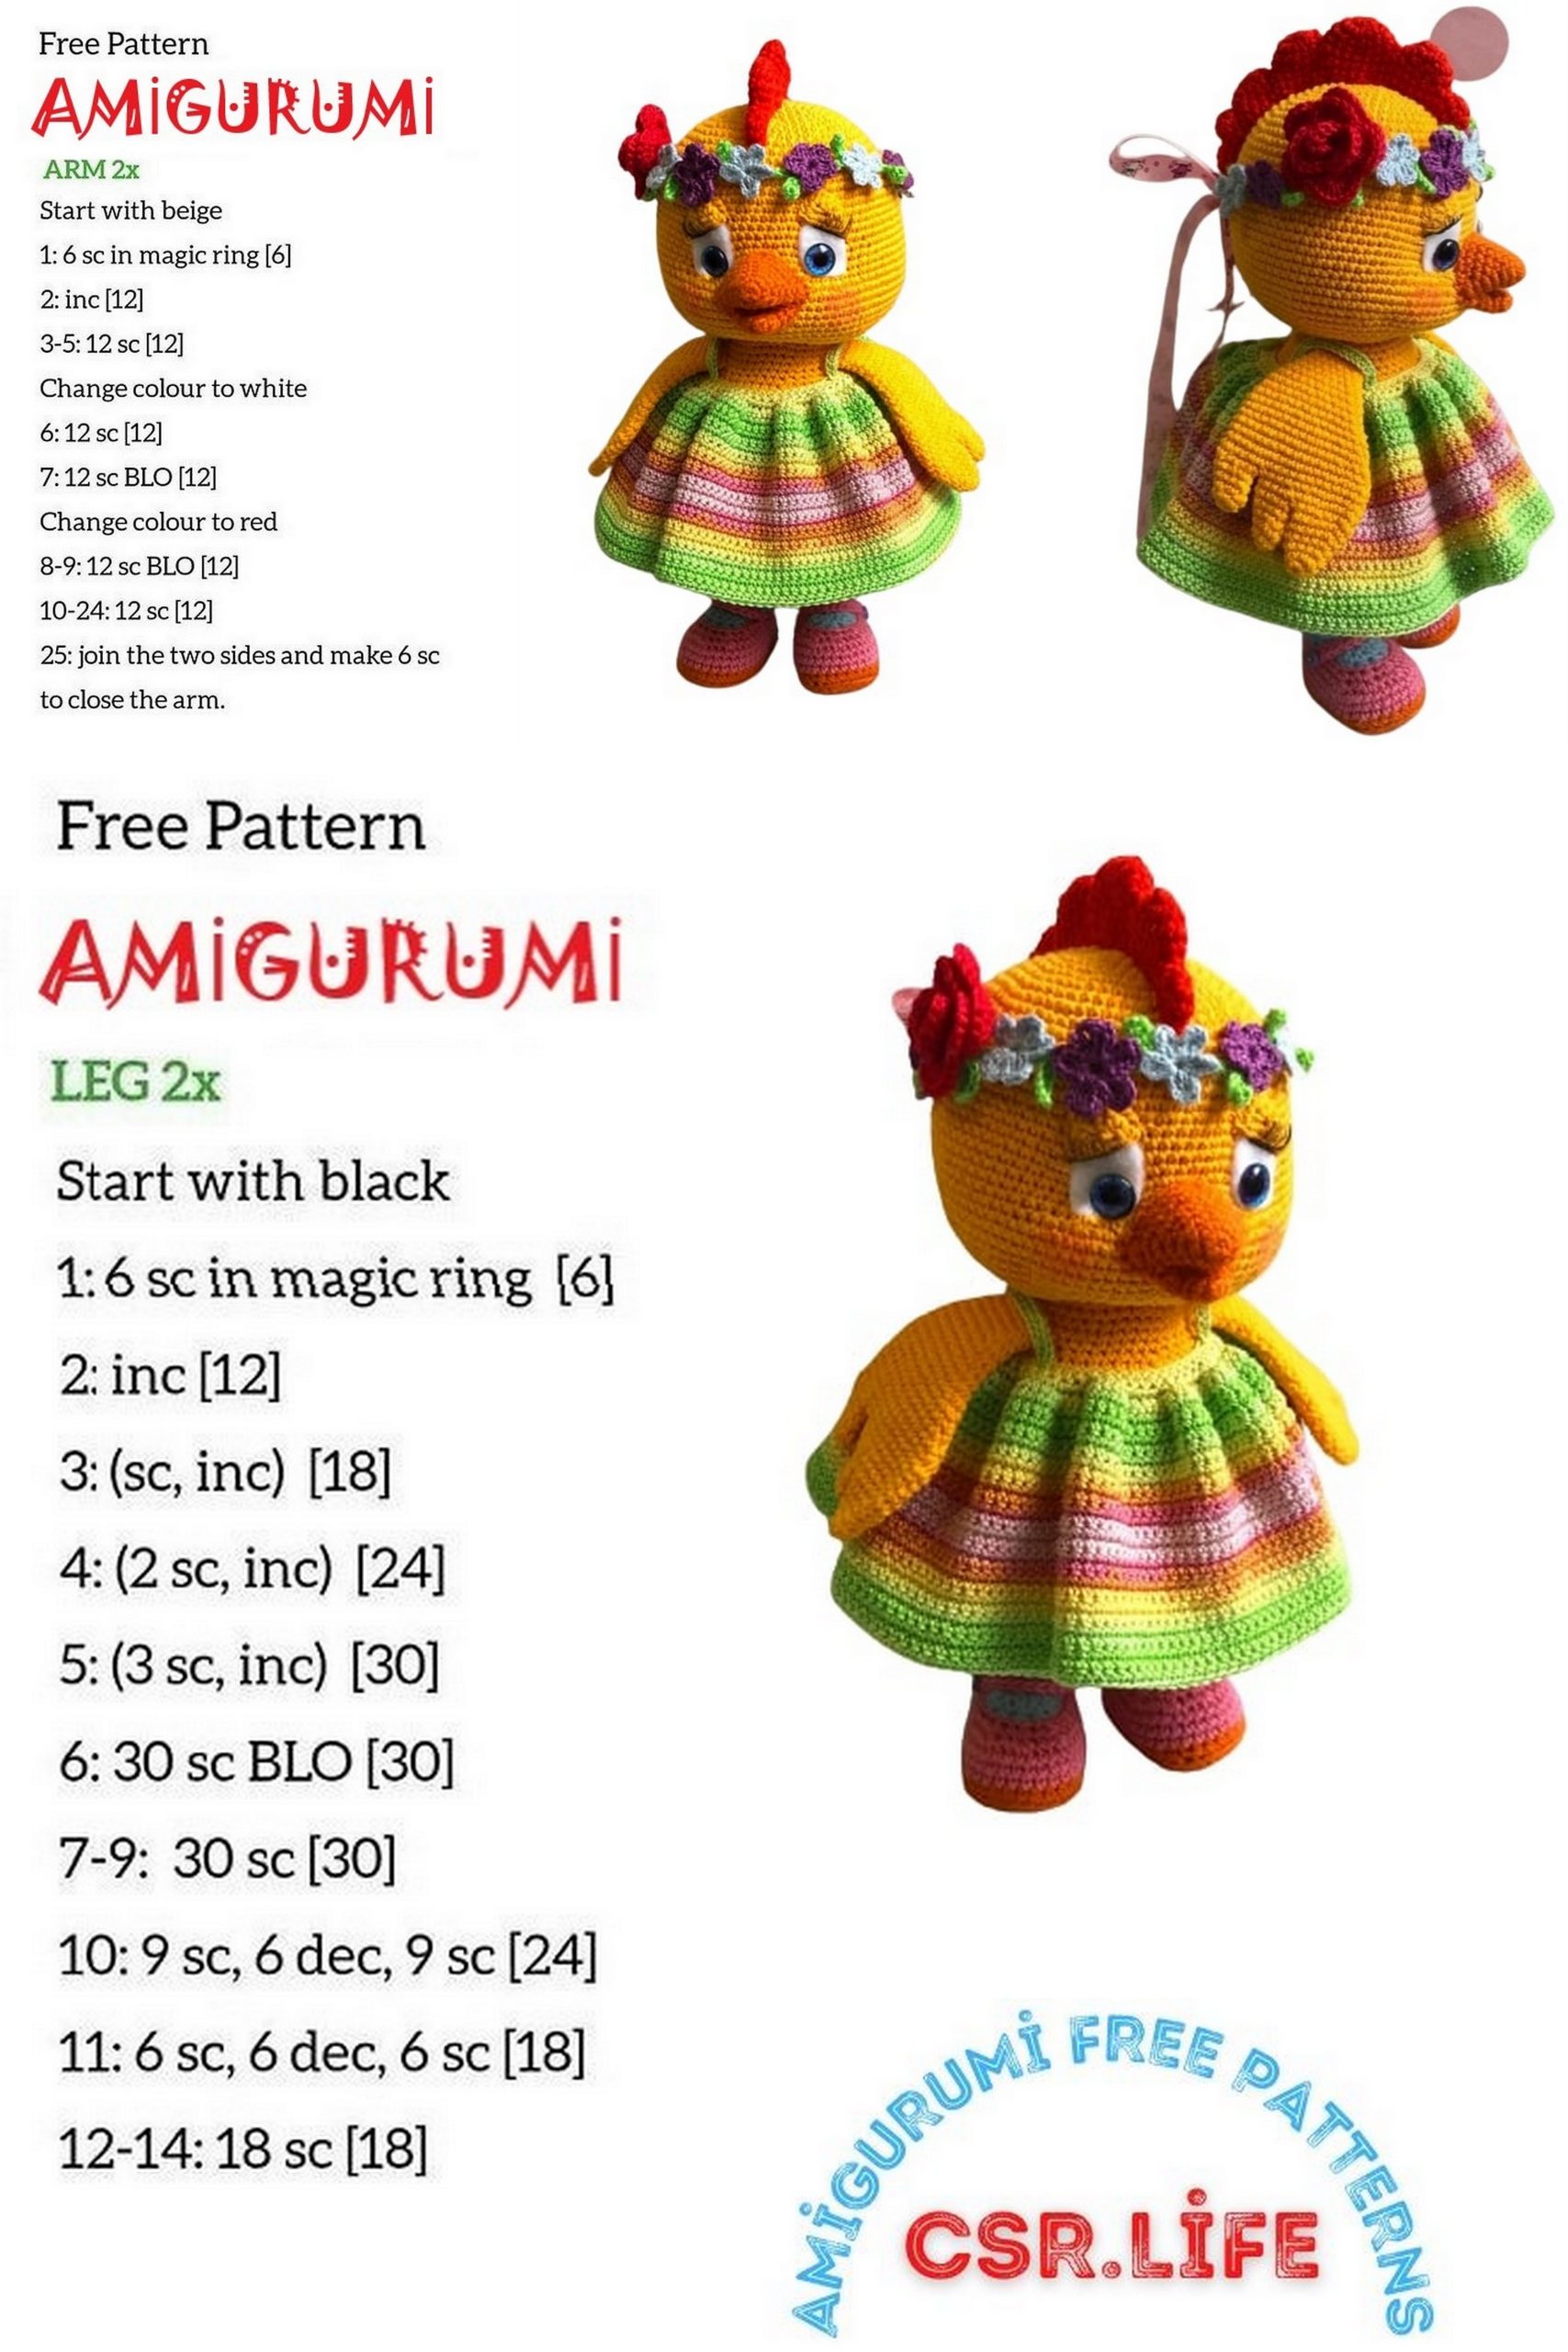
Legs
The right and left legs are knitted in different ways. Same only the place of joining the thread at the beginning of knitting. We attach the thread to the toe in the center of the heel behind the flo 9 toe row.
Right leg
1p) 18sc for flo 9th row of toe (18)
2р) 14sc, inc, 3sc (19)
3р) 15sc, inc, 3sc (20)
4р) 16sc, inc, 3sc (21)
5р) 17sc, inc, 3sc (22)
6р) 18sc, inc, 3sc (23)
7p) 19sc, inc, 3sc (24)
8р) 5sc, inc, 11sc, inc, 6sc (26)
9р) 6sc, inc, 12sc, inc, 6sc (28)
Knit another 5sc, fasten and cut the thread.
Left leg
1p) 18sc for flo 9th row of toe (18)
2р) 2sc, inc, 15sc (19)
3р) 3sc, inc, 15sc (20)
4р) 4sc, inc, 15sc (21)
5р) 5sc, inc, 15sc (22)
6р) 6sc, inc, 15sc (23)
7р) 7sc, inc, 15sc (24)
8р) 6sc, inc, 11sc, inc, 5sc (26)
9p) 7sc, inc, 12sc, inc, 1sc. Fasten and cut the thread.
Stuff the legs tightly with filler.
We knit a corner piece for the tail and connecting the legs.
The part is knitted with yarn of the main color
1р) 6sc into magic ring (6)
2p) (3sc in 1 loop, 1sc) x3 (12)
3p) (1sc, 3sc in 1 loop, 2sc) x3 (18)
4p) (2sc, 3sc in 1 loop, 3sc) x3 (24)
5p) 5ch, 4sc on a chain of ch, (3sc, 3sc in 1 loop, 4sc) х3 (34)
6p) 4sc (4)
Fasten and cut the thread.
Now we will attach the part to the legs. For this, we have the legs closer to you with socks towards you, the ponytail detail with the wrong side up and attach the thread as shown in the figure and knit 9sc grabbing the hinges of the part and the left leg, inc at the top of the part, 9sc capturing the loops of the part and the right leg. now this will be our starting point of the body row.
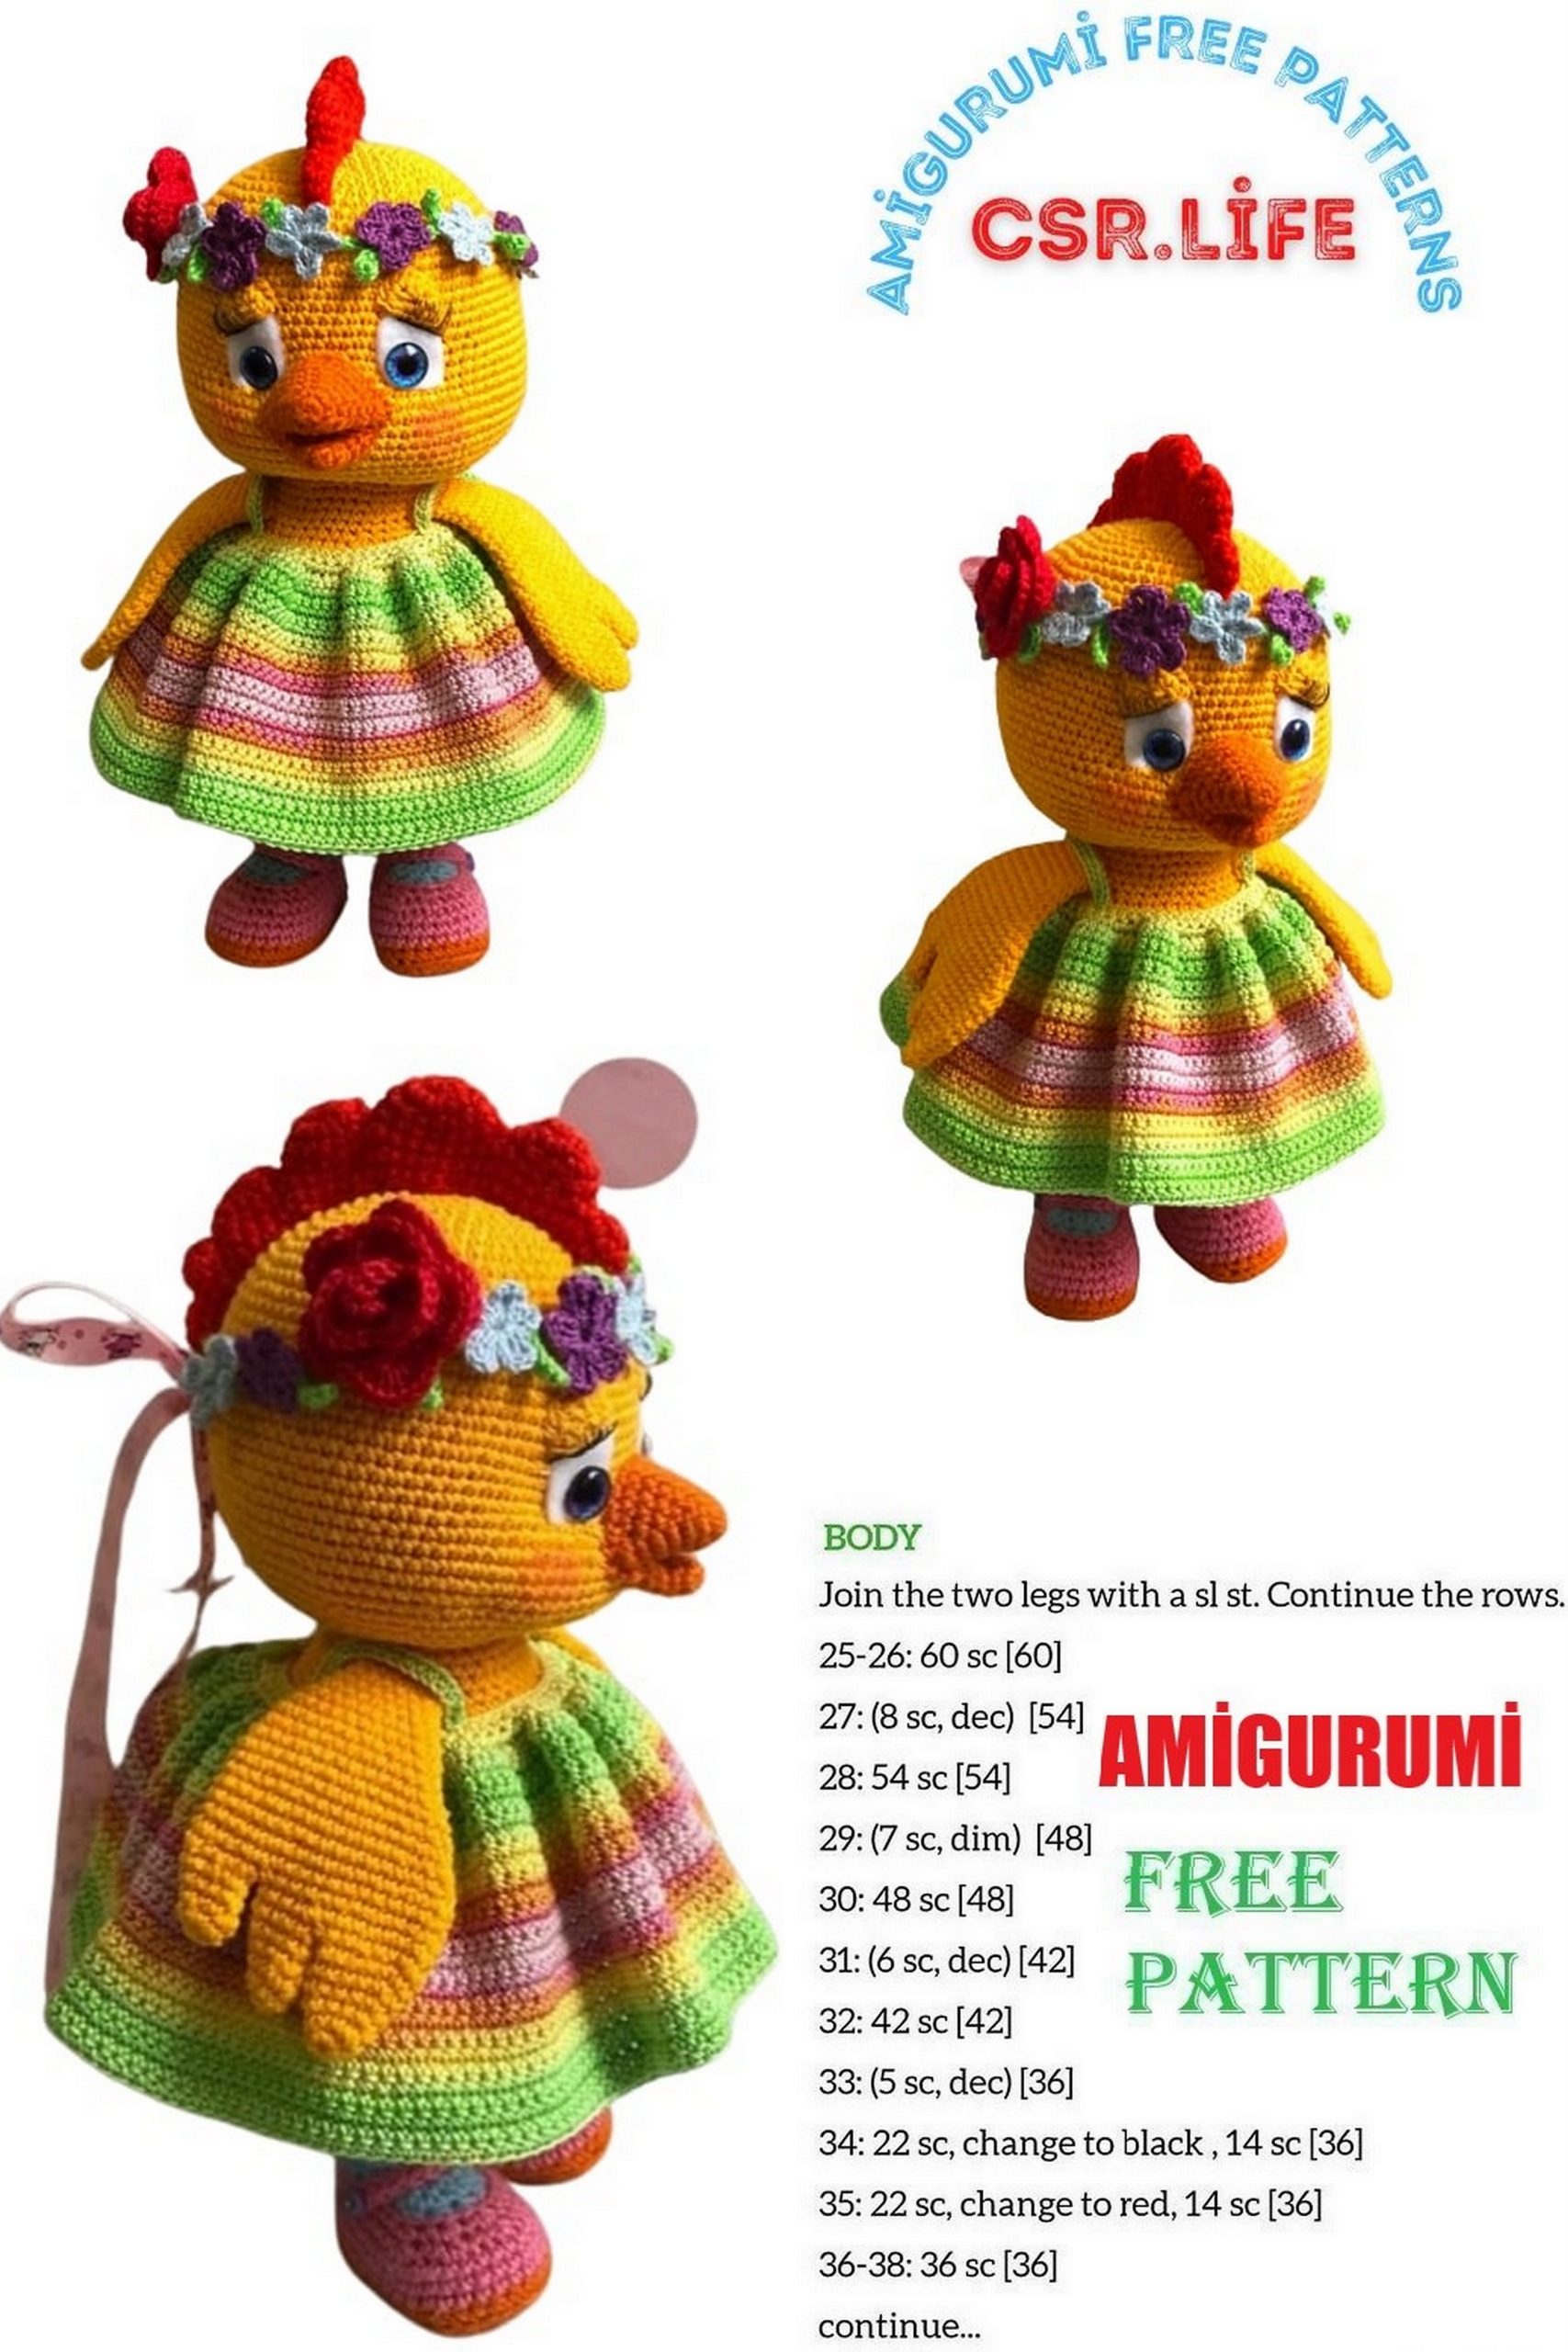
Body
1р) (3sc, inc) х3, 8sc, 2inc, 8sc, (inc, 3sc) х3, 10sc, 2inc, 10sc (74)
2p) (7sc, inc) x3, 2sc, (inc, 7sc) x3, 11sc, 2inc, 11sc (82)
3p) 28sc, 2inc, 52sc (84)
4p) 84sc (84)
5p) 2sc, (4sc, inc, 4sc) x6, 15sc, 2inc, 11sc (92)
6p) 92sc (92)
7p) 2sc, (5sc, inc, 4sc) x6, 17sc, 2inc, 11sc (100)
8p) 100sc (100)
9p) 86sc, 2inc, 12sc (102)
10p) 87sc, 2inc, 13sc (104)
11p) 88sc, 2inc, 14sc (106)
12p) 89sc, 2inc, 15sc (108)
We form a division into a body and a tail
13p) 74sc, 16ch, skip 34 loops (90)
14р) 90sc (90)
15p) (13sc, dec) x6 (84)
16p) 84sc (84)
17p) (12sc, dec) x6 (78)
18р) 78sc (78)
19p) (11sc, dec) x6 (72)
20p) 72sc (72)
21p) (10sc, dec) x6 (66)
22p) 66sc (66)
23p) (9sc, dec) x6 (60)
24p) (8sc, dec) x6 (54)
We attach a thread here
25p) 54sc (54)
26p) (7sc, dec) x6 (48)
27p) (6sc, dec) x6 (42)
28-29r) 42sc (42)
30p) (5sc, dec) x6 (36)
31-32r) 36sc (36)
Fasten and cut the thread. Stuff the body tight
Tail.
We return to the hinges left in row 34.
We attach the thread to the corner between the back and the tail, with this ponytail is on the left.
1p) 33sc, dec, 14sc, dec (49)
2p) dec, 14sc, dec, 14sc, dec, 15sc (46)
3p) dec, 13sc, dec, 13sc, dec, 5sc, 2dec, 5sc (41)
4p) (3sc, dec) x6, 11sc (35)
5p) (2sc, dec) x6, 5sc, dec, 4sc (28)
6p) (2sc, dec, 2sc) х3, 10sc (25)
7p) (3sc, dec) х3, 4sc, dec, 4sc (21)
8p) (1sc, dec) x7 (14)
Stuff in the tail. Knit 1sc offsets, fold ponytail in half and knit 7sc on 2 sides.
Fasten and cut the thread, leaving a long tail. We will do the firmware for them, forming the relief of the tail. To do this, we sew through the tail with a seam back to the needle, dividing it into 4 parts, as in the photo.
Wings (2pcs)
Our wing consists of three feathers at the beginning: one
big and two small
Small piece (2pcs)
1р) 6sc into magic ring (6)
2р) (inc, 2sc) х2 (8)
3р) 5sc, inc, 2sc (9)
4р) 6sc, inc, 2sc (10)
5р) 7sc, inc, 4sc (11)
Trim the thread.
Most of
1р) 6sc into magic ring (6)
2р) (inc, 2sc) х2 (8)
3р) (1sc, inc, 2sc) х2 (10)
4р) (2sc, inc, 2sc) х2 (12)
5р) 9sc, inc, 2sc (13)
6р) 10sc, inc, 2sc (14)
7p) 14sc.
We do not break the thread, we continue to knit the wing with it.
Wing is the main part
1p) 3sc for a large part, 11sc for a small part, 11sc for a large part (25)
2p) 25sc (25)
3p) 8sc, 11sc for the small part, 17sc (36)
4p) 36sc (36)
5p) 32sc, dec, 2sc (35)
6p) 31sc, dec, 2sc (34)
7p) 31sc, dec, 1sc (33)
8p) 30sc, dec, 1sc (32)
9p) 30sc, dec (31)
10p) 29sc, dec (30)
11p) (dec, 13sc) x2 (28)
12p) (dec, 12sc) x2 (26)
13p) (dec, 11sc) x2 (24)
14p) (dec, 10sc) x2 (22)
15p) (dec, 9sc) x2 (20)
16p) (dec, 8sc) x2 (18)
17p) (dec, 7sc) x2 (16)
18р) (dec, 6sc) х2 (14)
19p) 14sc
Fold in half and knit 7sc on both sides. Cut the thread, leaving the tip for sewing. Sew on the wings between 28 and 31 next to the body.
Head
1р) 6sc into magic ring (6)
2p) 6inc (12)
3p) (1sc, inc) x6 (18)
4p) (2sc, inc) x6 (24)
5p) (3sc, inc) x6 (30)
6p) (2sc, inc, 2sc) x6 (36)
7р) (5sc, inc) (42)
8p) (3sc, inc, 3sc) x6 (48)
9p) (7sc, inc) x6 (54)
10p) (4sc, inc, 4sc) х6 (60)
11р) (9sc, inc) х6 (66)
12p) (5sc, inc, 5sc) x6 (72)
13p) (11sc, inc) x6 (78)
14p) (6sc, inc, 6sc) x6 (84)
15-26r) 84sc (84)
27р) 32sc, inc, (1sc, inc) х2, 10sc, inc, (1sc, inc) х2, 32sc (90)
28-31r) 90sc (90)
32p) (13sc, dec) x6 (84)
33p) (6sc, dec, 6sc) x6 (78)
34p) (11sc, dec) x6 (72)
35p) (5sc, dec, 5sc) x6 (66)
36p) (9sc, dec) x6 (60)
37p) (4sc, dec, 4sc) x6 (54)
38p) (2sc, dec, 2sc) x9 (45)
39p) (3sc, 2b) x9 (36)
40p) 36sc (36)
Fasten and cut the thread, leaving the tip for sewing.
Fill your head tightly, forming cheeks in the places of increases in the 27th row.
Sew the head to the body.
Beak
The beak consists of two parts: lower and upper
Bottom part
1р) 4sc into magic ring (4)
2р) (1sc, inc) х2 (6)
3р) (2sc, inc) х2 (8)
4р) (1sc, inc) х4 (12)
5р) (3sc, inc) х3 (15)
Fasten and cut the thread
Top part
1р) 6sc into magic ring (6)
2р) (1sc, inc) х3 (9)
3р) (2sc, inc) х3 (12)
4р) (3sc, inc) х3 (15)
5р) (4sc, inc) х3 (18)
6р) (5sc, inc) х3 (21)
7p) 7sc for the loops of the lower and upper parts, 5sc in 1 loop, sl-st,
10sc, sl-st, 5sc in 1 loop, sl-st. (29)
Cut the thread, leaving the tip for sewing. Lightly fill the upper part of the beak. Sew on the beak between the 27th and 31st rows of the head.
After we sew the beak, we will make tightening to form the cheeks and the place for the eyes.
To do this, we insert the needle at the base of the head below and bring it to point 1, insert the needle to point 2 and bring it out at the starting point.
We tighten and repeat the same operation again. Then we insert the needle at the starting point, output at point 3, insert the needle at point 4, output at the starting point. We also repeat again.
We fasten the thread and hide it inside the head.
Scallop In order to tie the scallop, you need to tie the individual pieces of the tip.
Small (3pcs)
1р) 6sc into magic ring, sl-st.
Fasten and cut the thread
Medium (3pcs)
1р) 6sc into magic ring (6)
2p) 6inc (12)
Fasten the thread, cut
Large (1pc)
1р) 8sc into magic ring (8)
2p) 8inc (16)
3p) 16sc (16)
We do not cut the thread, we continue to knit the comb, gradually connecting all the details
4p) 8sc for the large part, 12sc for the middle part, 8sc for the large part, 12sc for the middle part (40)
5p) 14sc, 6sc in the middle part, 6sc in the small part, 6sc in the middle part, 26sc (58)
6p) 23sc, 6sc for the small part, 29sc, 6sc for the small part, 6sc (70)
7p) 70sc (70)
Fasten and cut the thread, leaving the tip for sewing.
Sew the comb to the head.
Eyes
Cut out an eye 2cm high and 1.5cm wide from white felt.
We glue 10mm eyes on the felt.
Knit eyelids (2pcs)
1p) 2ch, in the 2nd loop from the hook 5sc, ch, turn knitting (5)
2p) knit in a circle 5inc, 5sc along an even edge (15)
Cut the thread, leaving the thread for sewing.
We glue the eyes to the head so that the lower edge is at the level of the ties. Sew on the eyelids and glue the eyelashes.
Let’s brown our chick’s cheeks. I blushed with a regular colored pencil dipped in water.
Dress
The dress is knitted in turning rows, at the beginning of each row done 1 ch lift
1p) 55ch, from 2nd loop from hook 54sc (54)
2p) 54sc, 7ch (buttonhole) (54)
3p) 54inc (108)
4р) (1sc, inc) х54 (162)
5p) 162 sc (162)
6р) 162sc, 7ch (buttonhole) (162)
7-29r) 162sc
Straps
Attach thread 9 from edge, 14ch, sl-st 19 from edge, 14sc, sl-st
Fasten and cut the thread. Hide the tip. Tie the second strap also counting the loops from the other edge.
Sew buttons to the dress.
Wreath.
In order to make a wreath, we will need to tie the base with a garland of leaves and small flowers – 1 rosette, 6 blue, 5 purple.
We knit all the details crochet # 1.0
We knit flowers according to the schemes below
Leaves
6ch, from the 2nd loop from the hook we knit sl-st, 1sc, 1hdc, 1sc, sl-st, (16ch, from the 2nd loop from the hook sl-st, 1sc, 1hdc, 1sc, sl-st) х10
We sew flowers on our base in the order and position as you like best. At the same time, we turn it so that the leaves look in different directions.
Sew ribbons about 20cm long to the edges of the garland.
We dress our Chick in a dress and tie a wreath on her head.
Here the baby is ready to go for a walk in the spring sun.