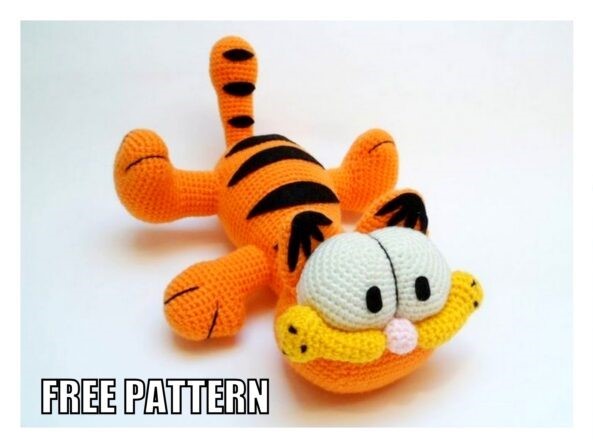
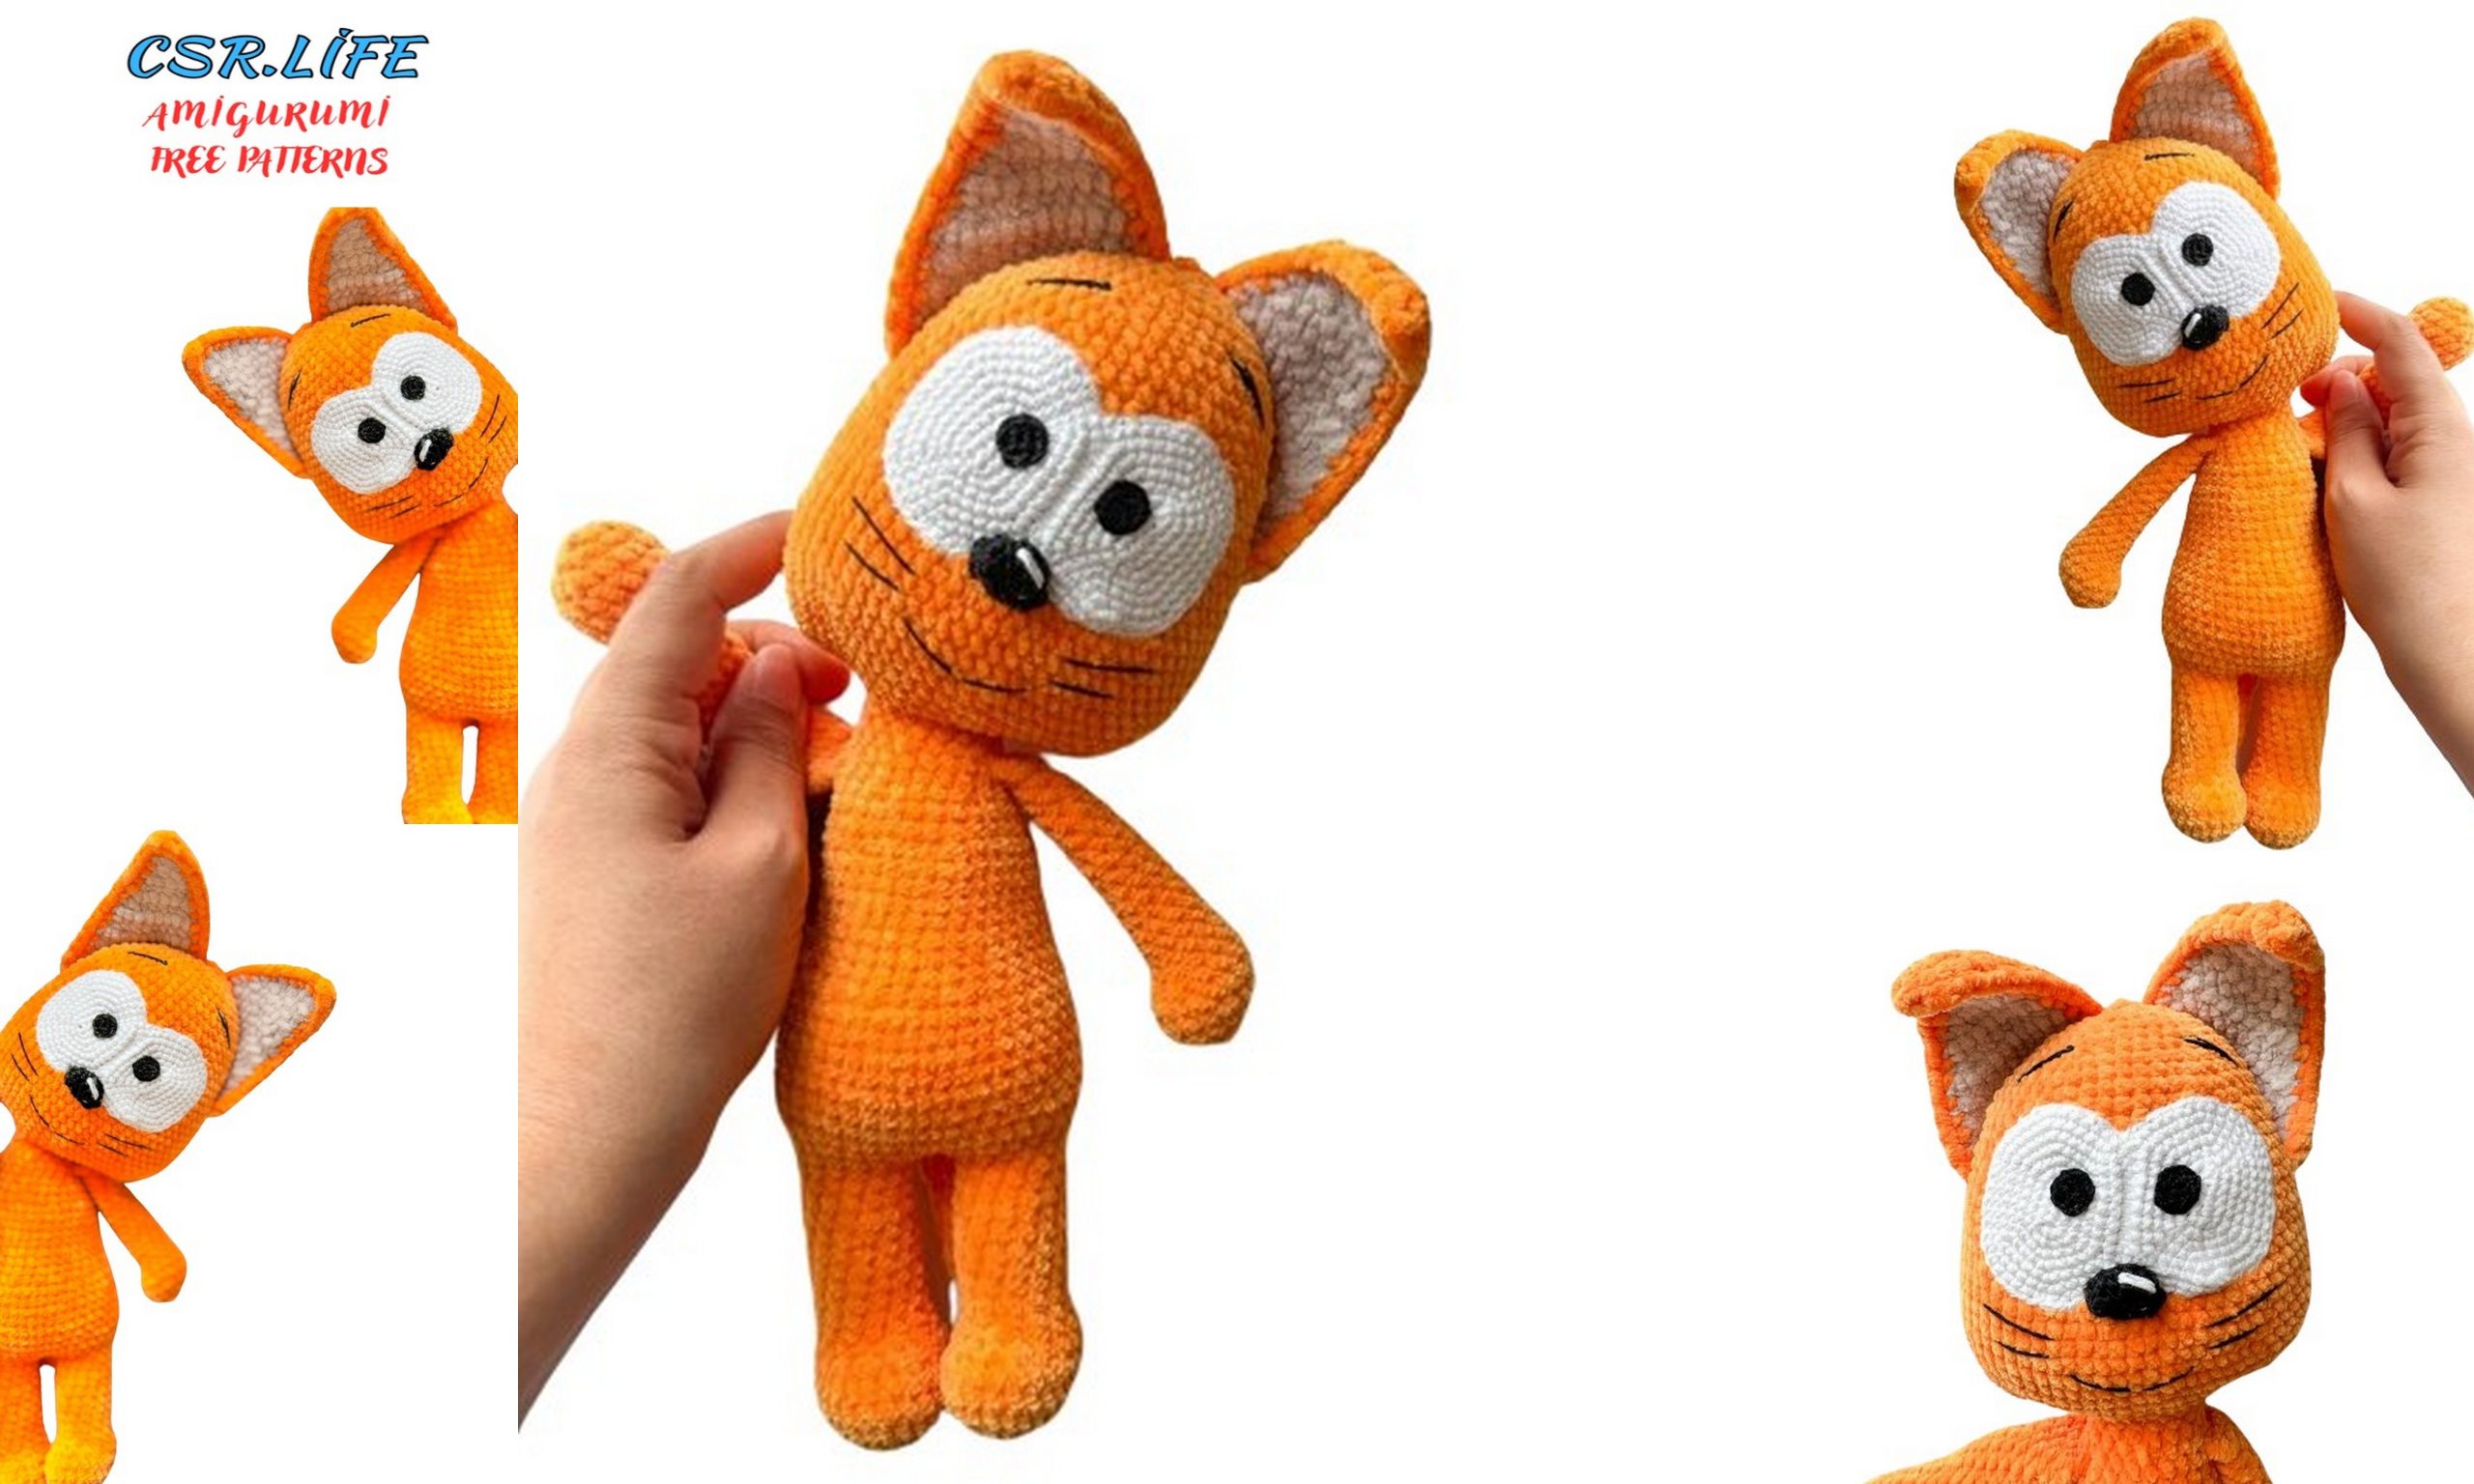
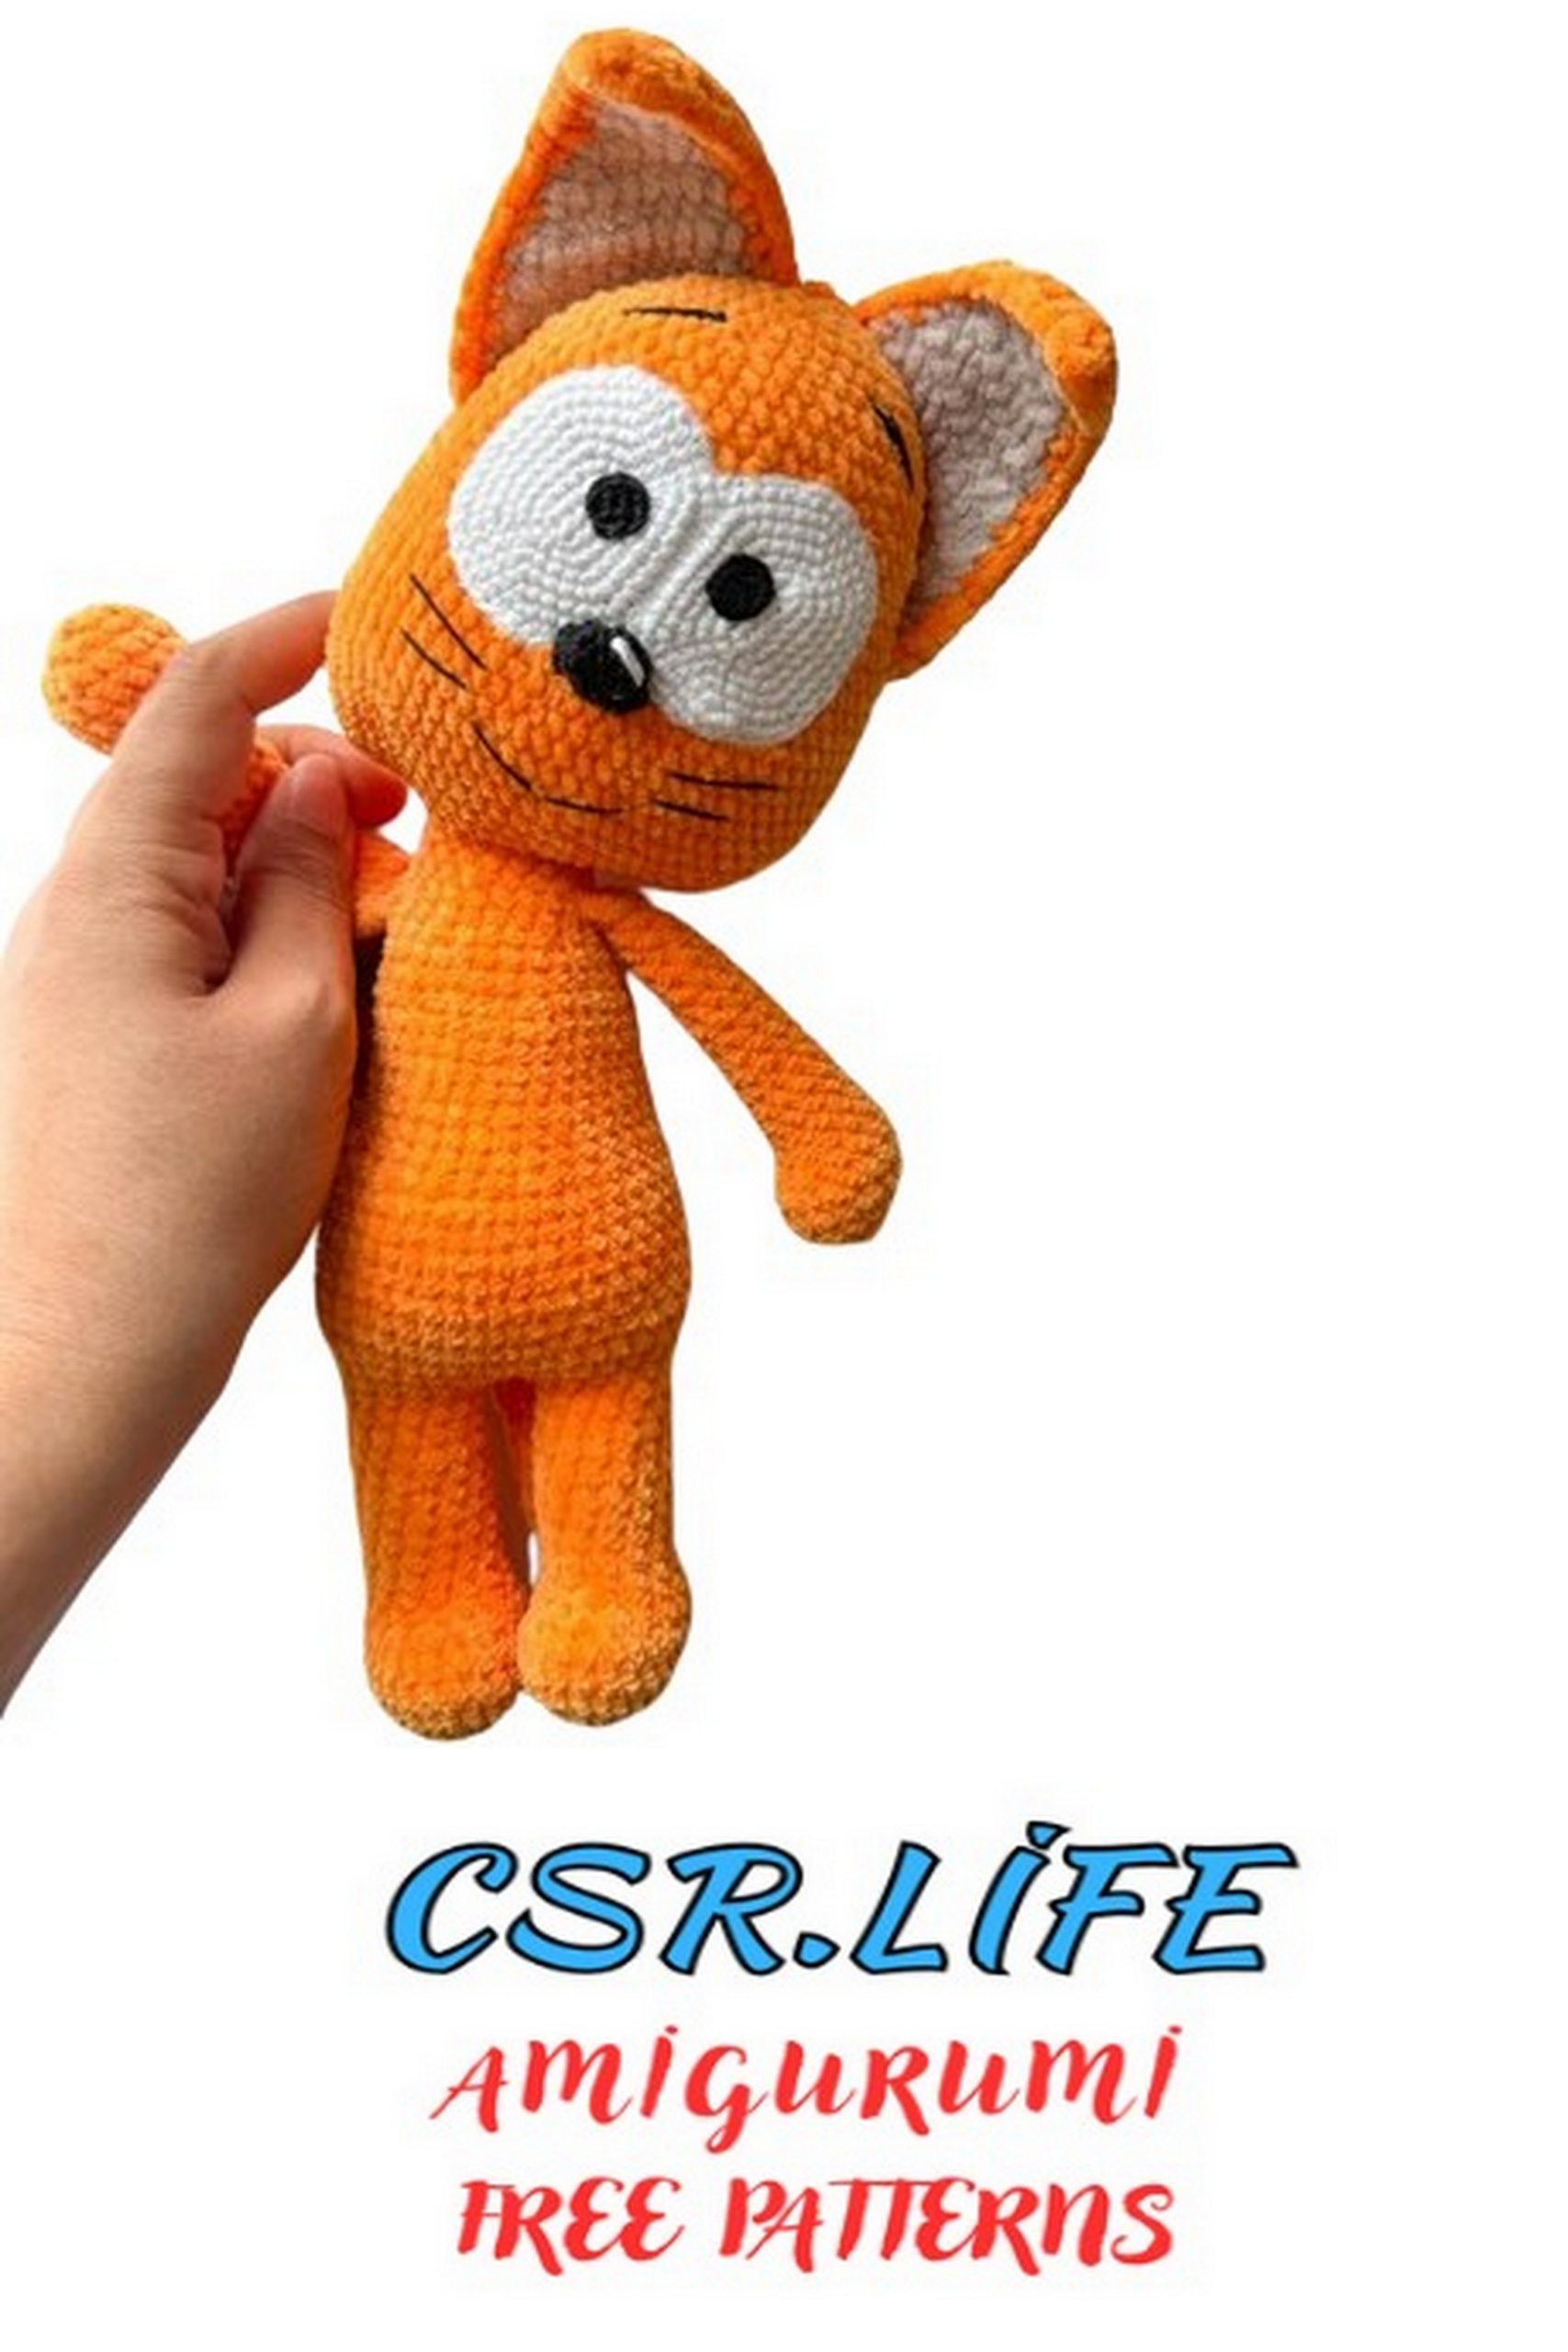
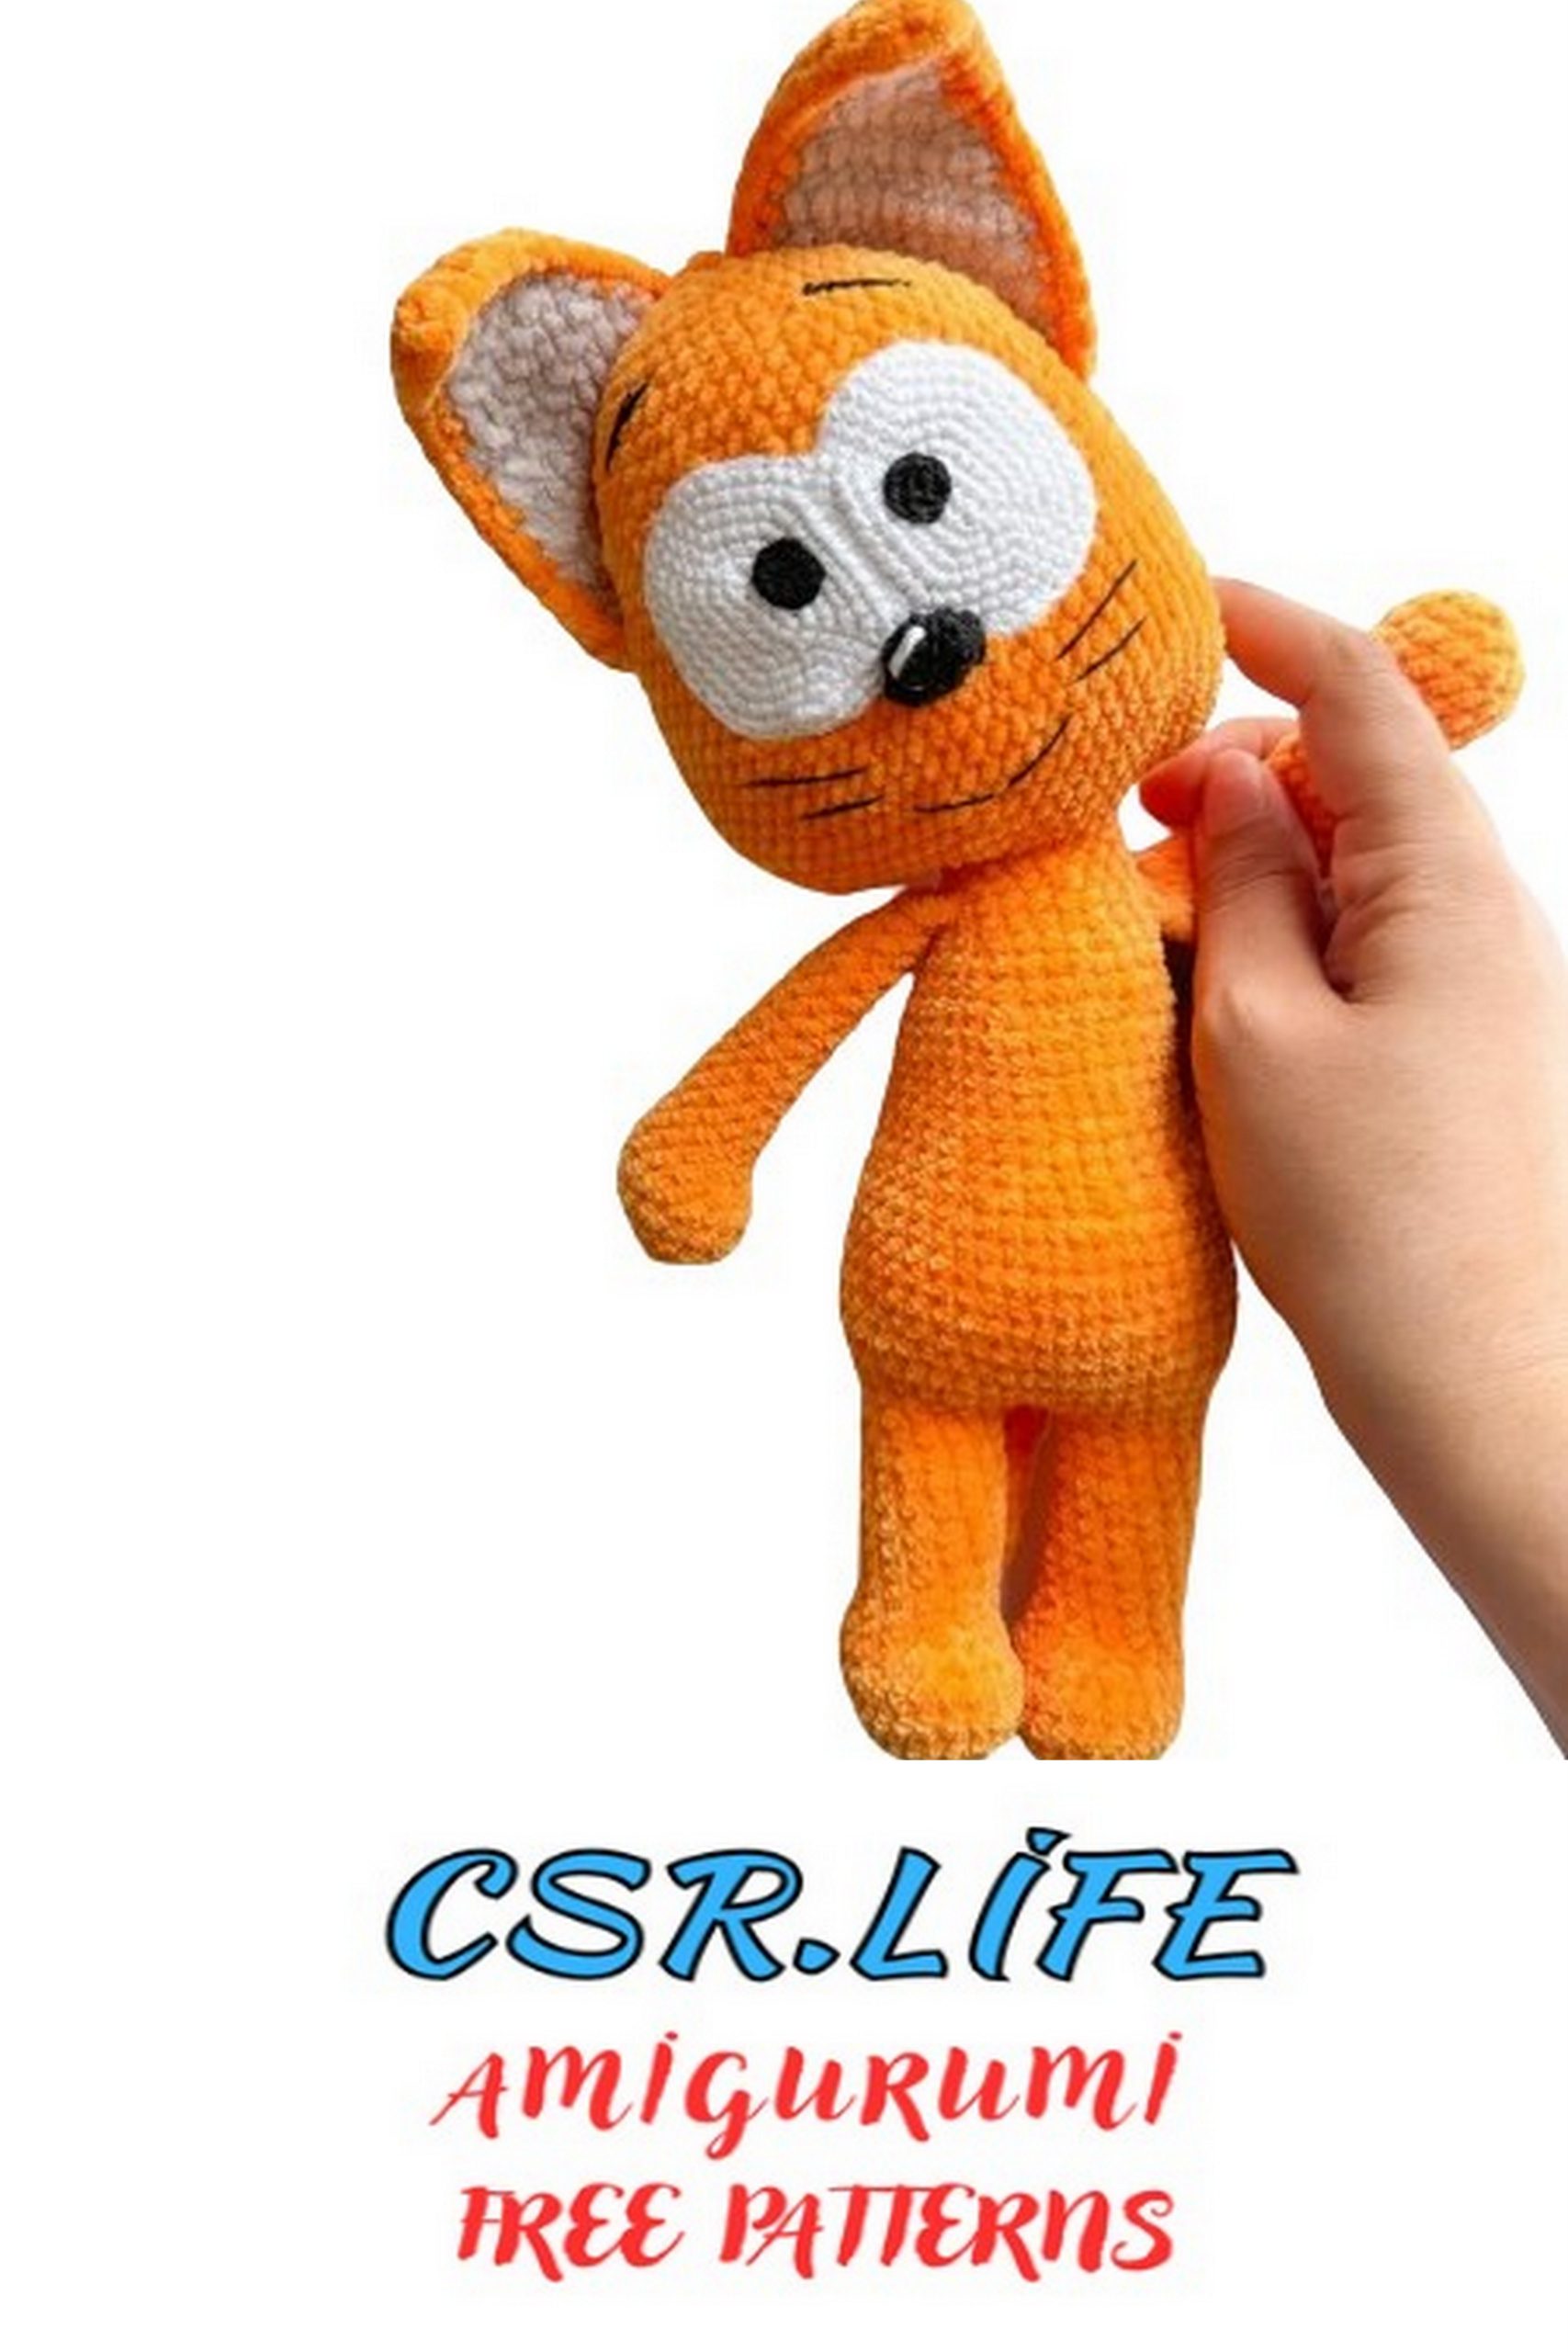
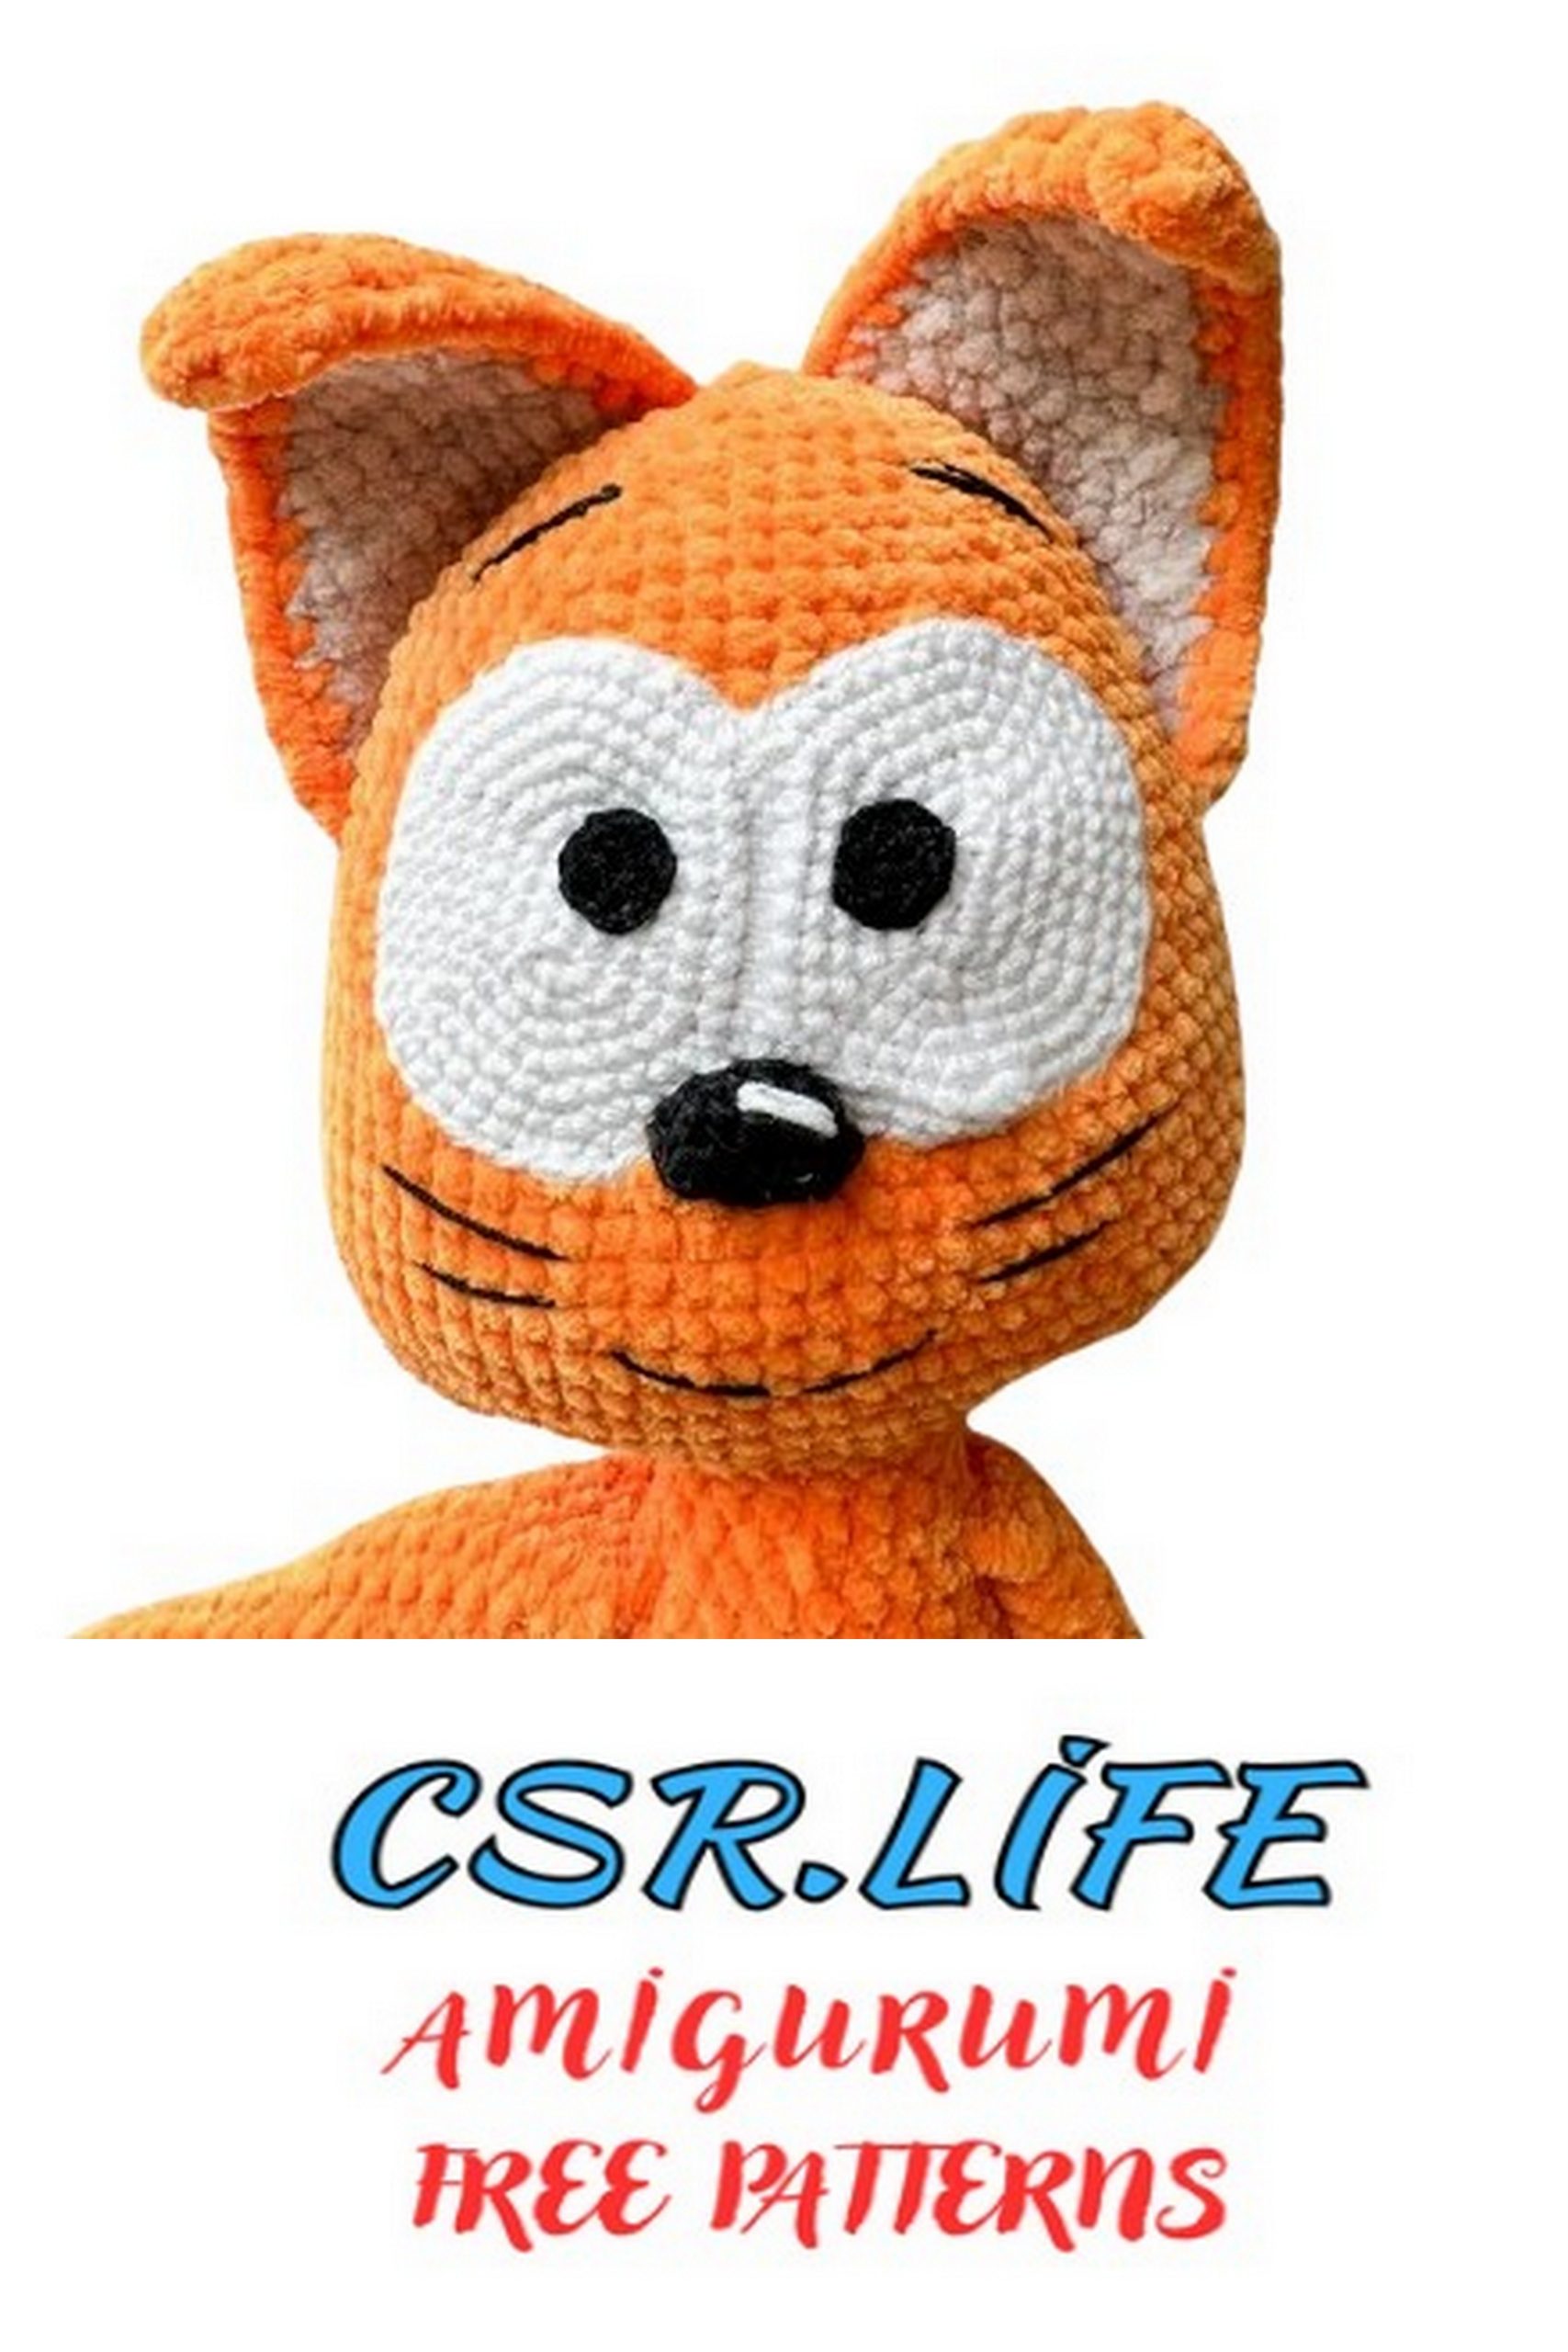
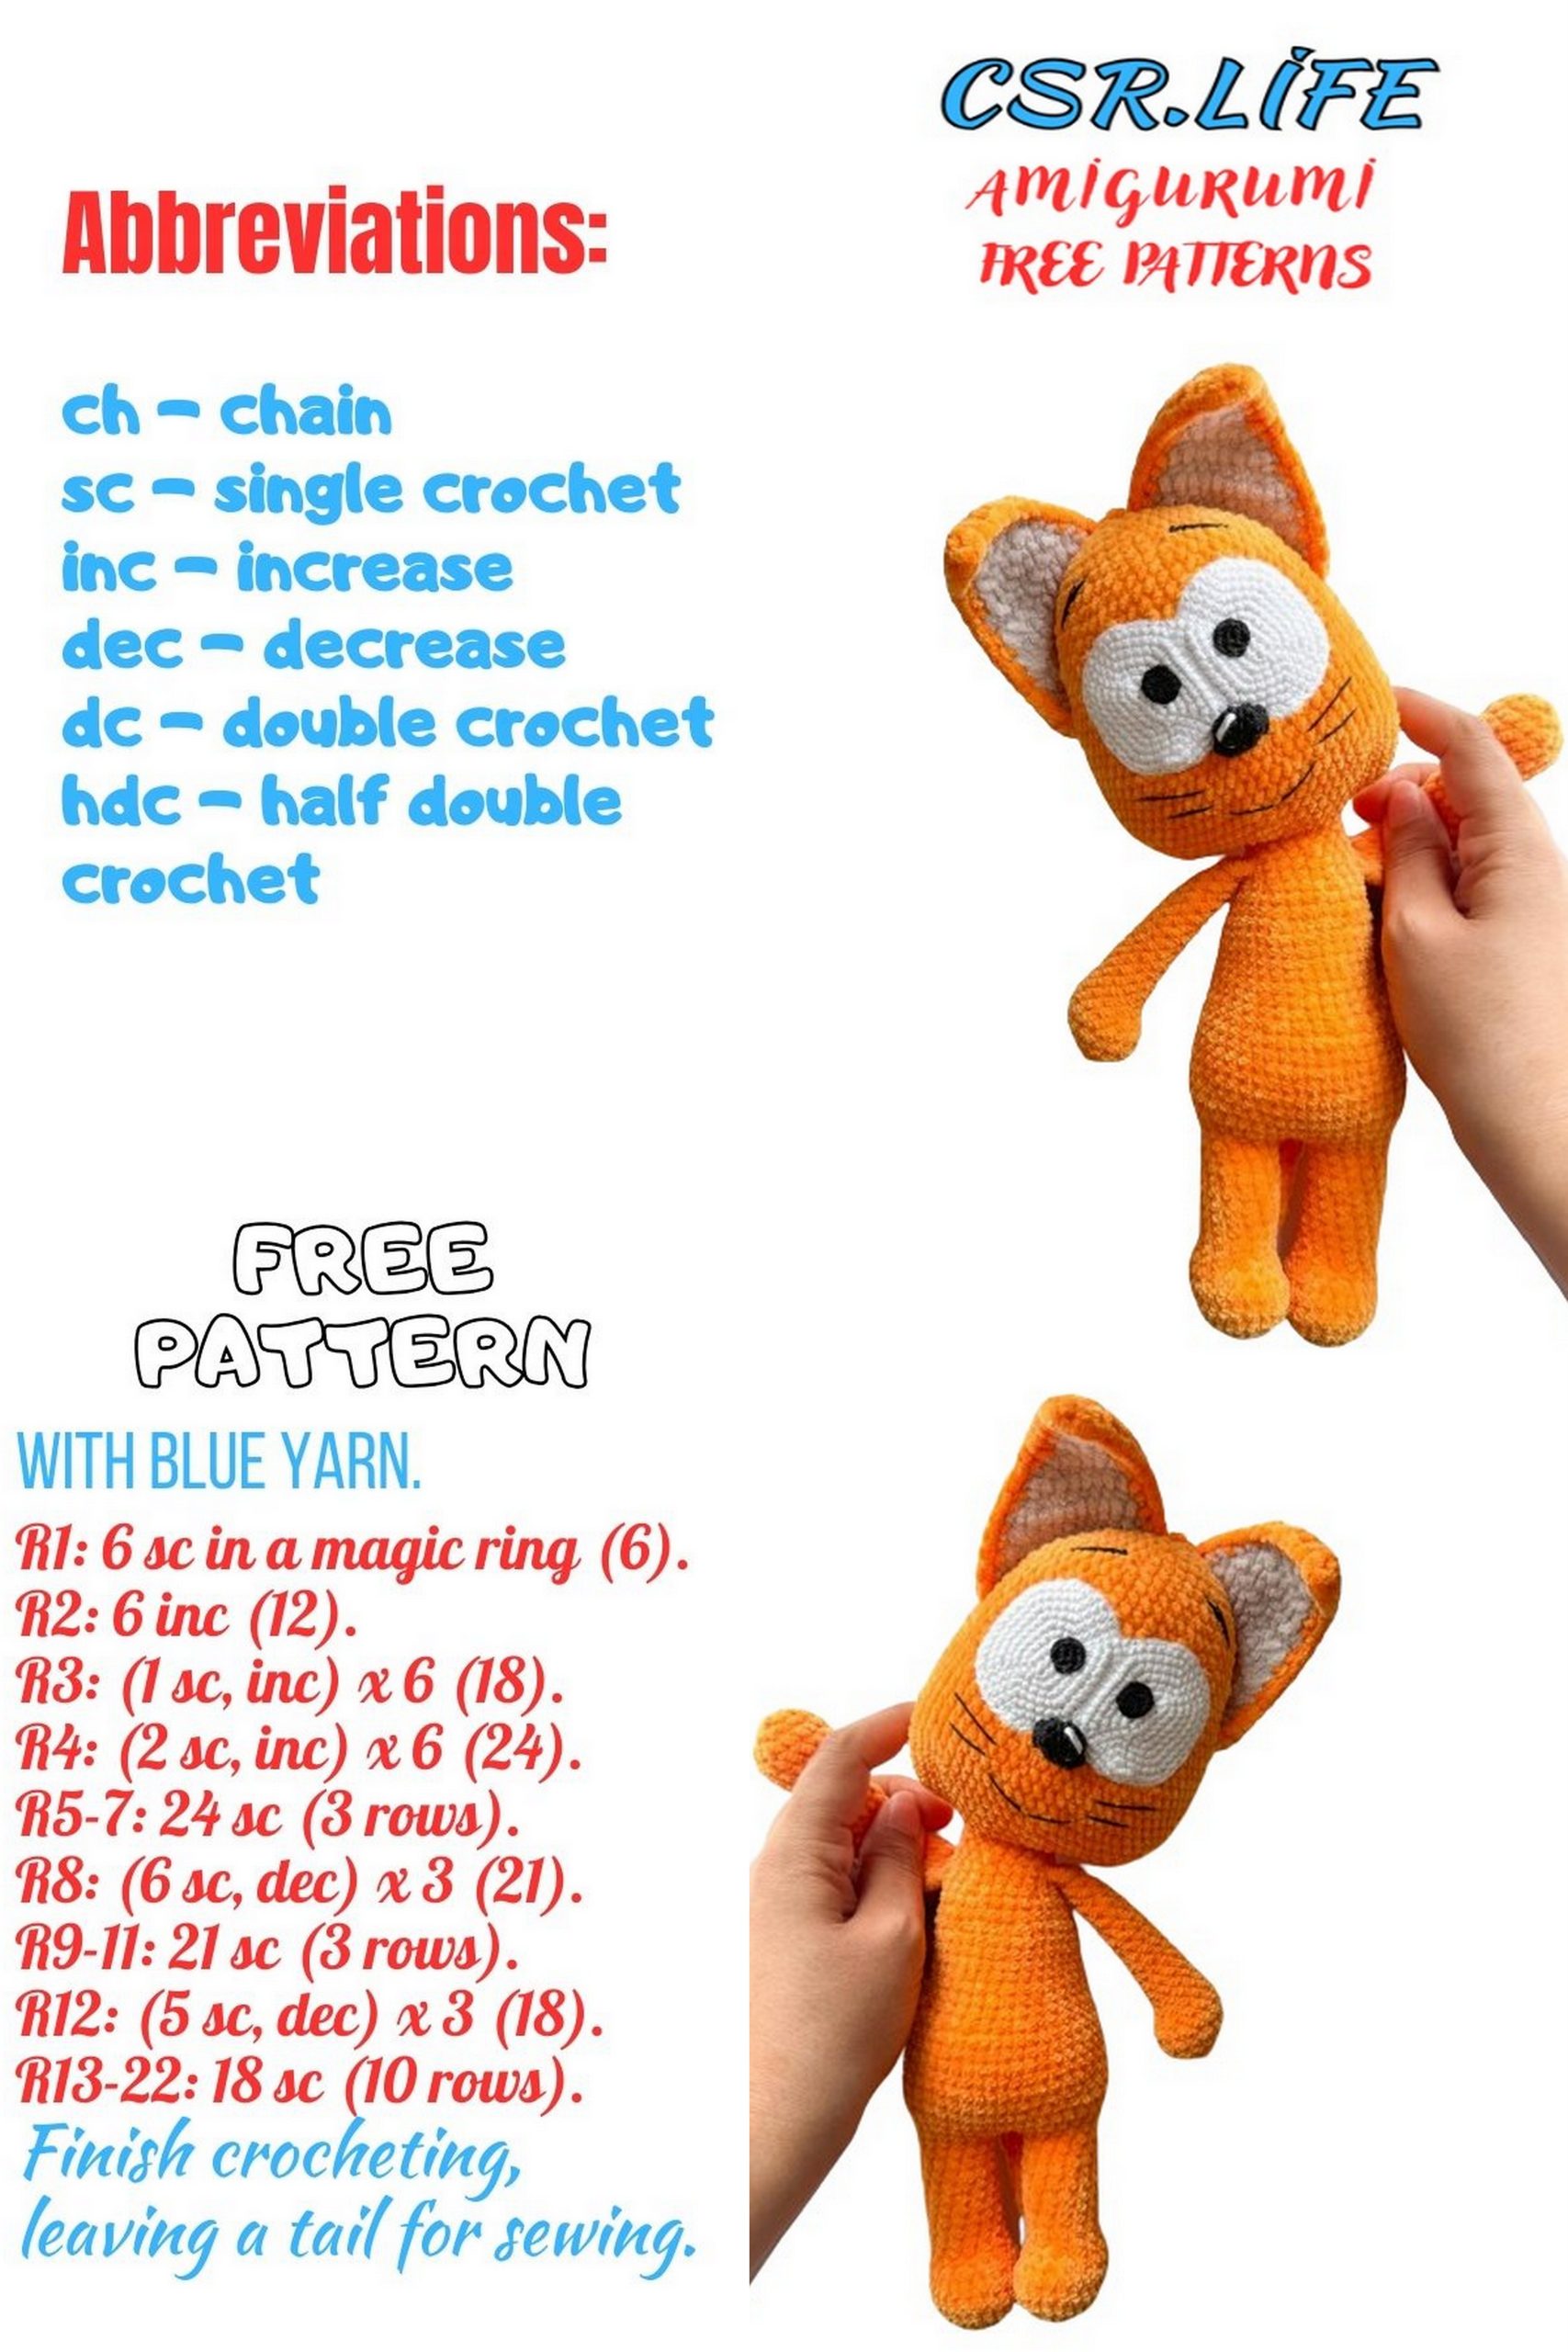
Orange Cat Amigurumi Free Pattern: Craft Your Own Whiskered Companion!
Welcome to the whimsical world of crochet, where yarn and imagination intertwine to create lovable companions! Are you ready to embark on a purr-fectly delightful crafting adventure? Our amigurumi free pattern for an orange cat amigurumi is here to whisker you away into a world of creativity and cuddles.
Crafting your own orange cat amigurumi is not only a joyous endeavor but also a delightful way to add a touch of feline charm to your surroundings. Whether you’re a seasoned crocheter or a beginner eager to learn, our step-by-step instructions will guide you through the process with ease.
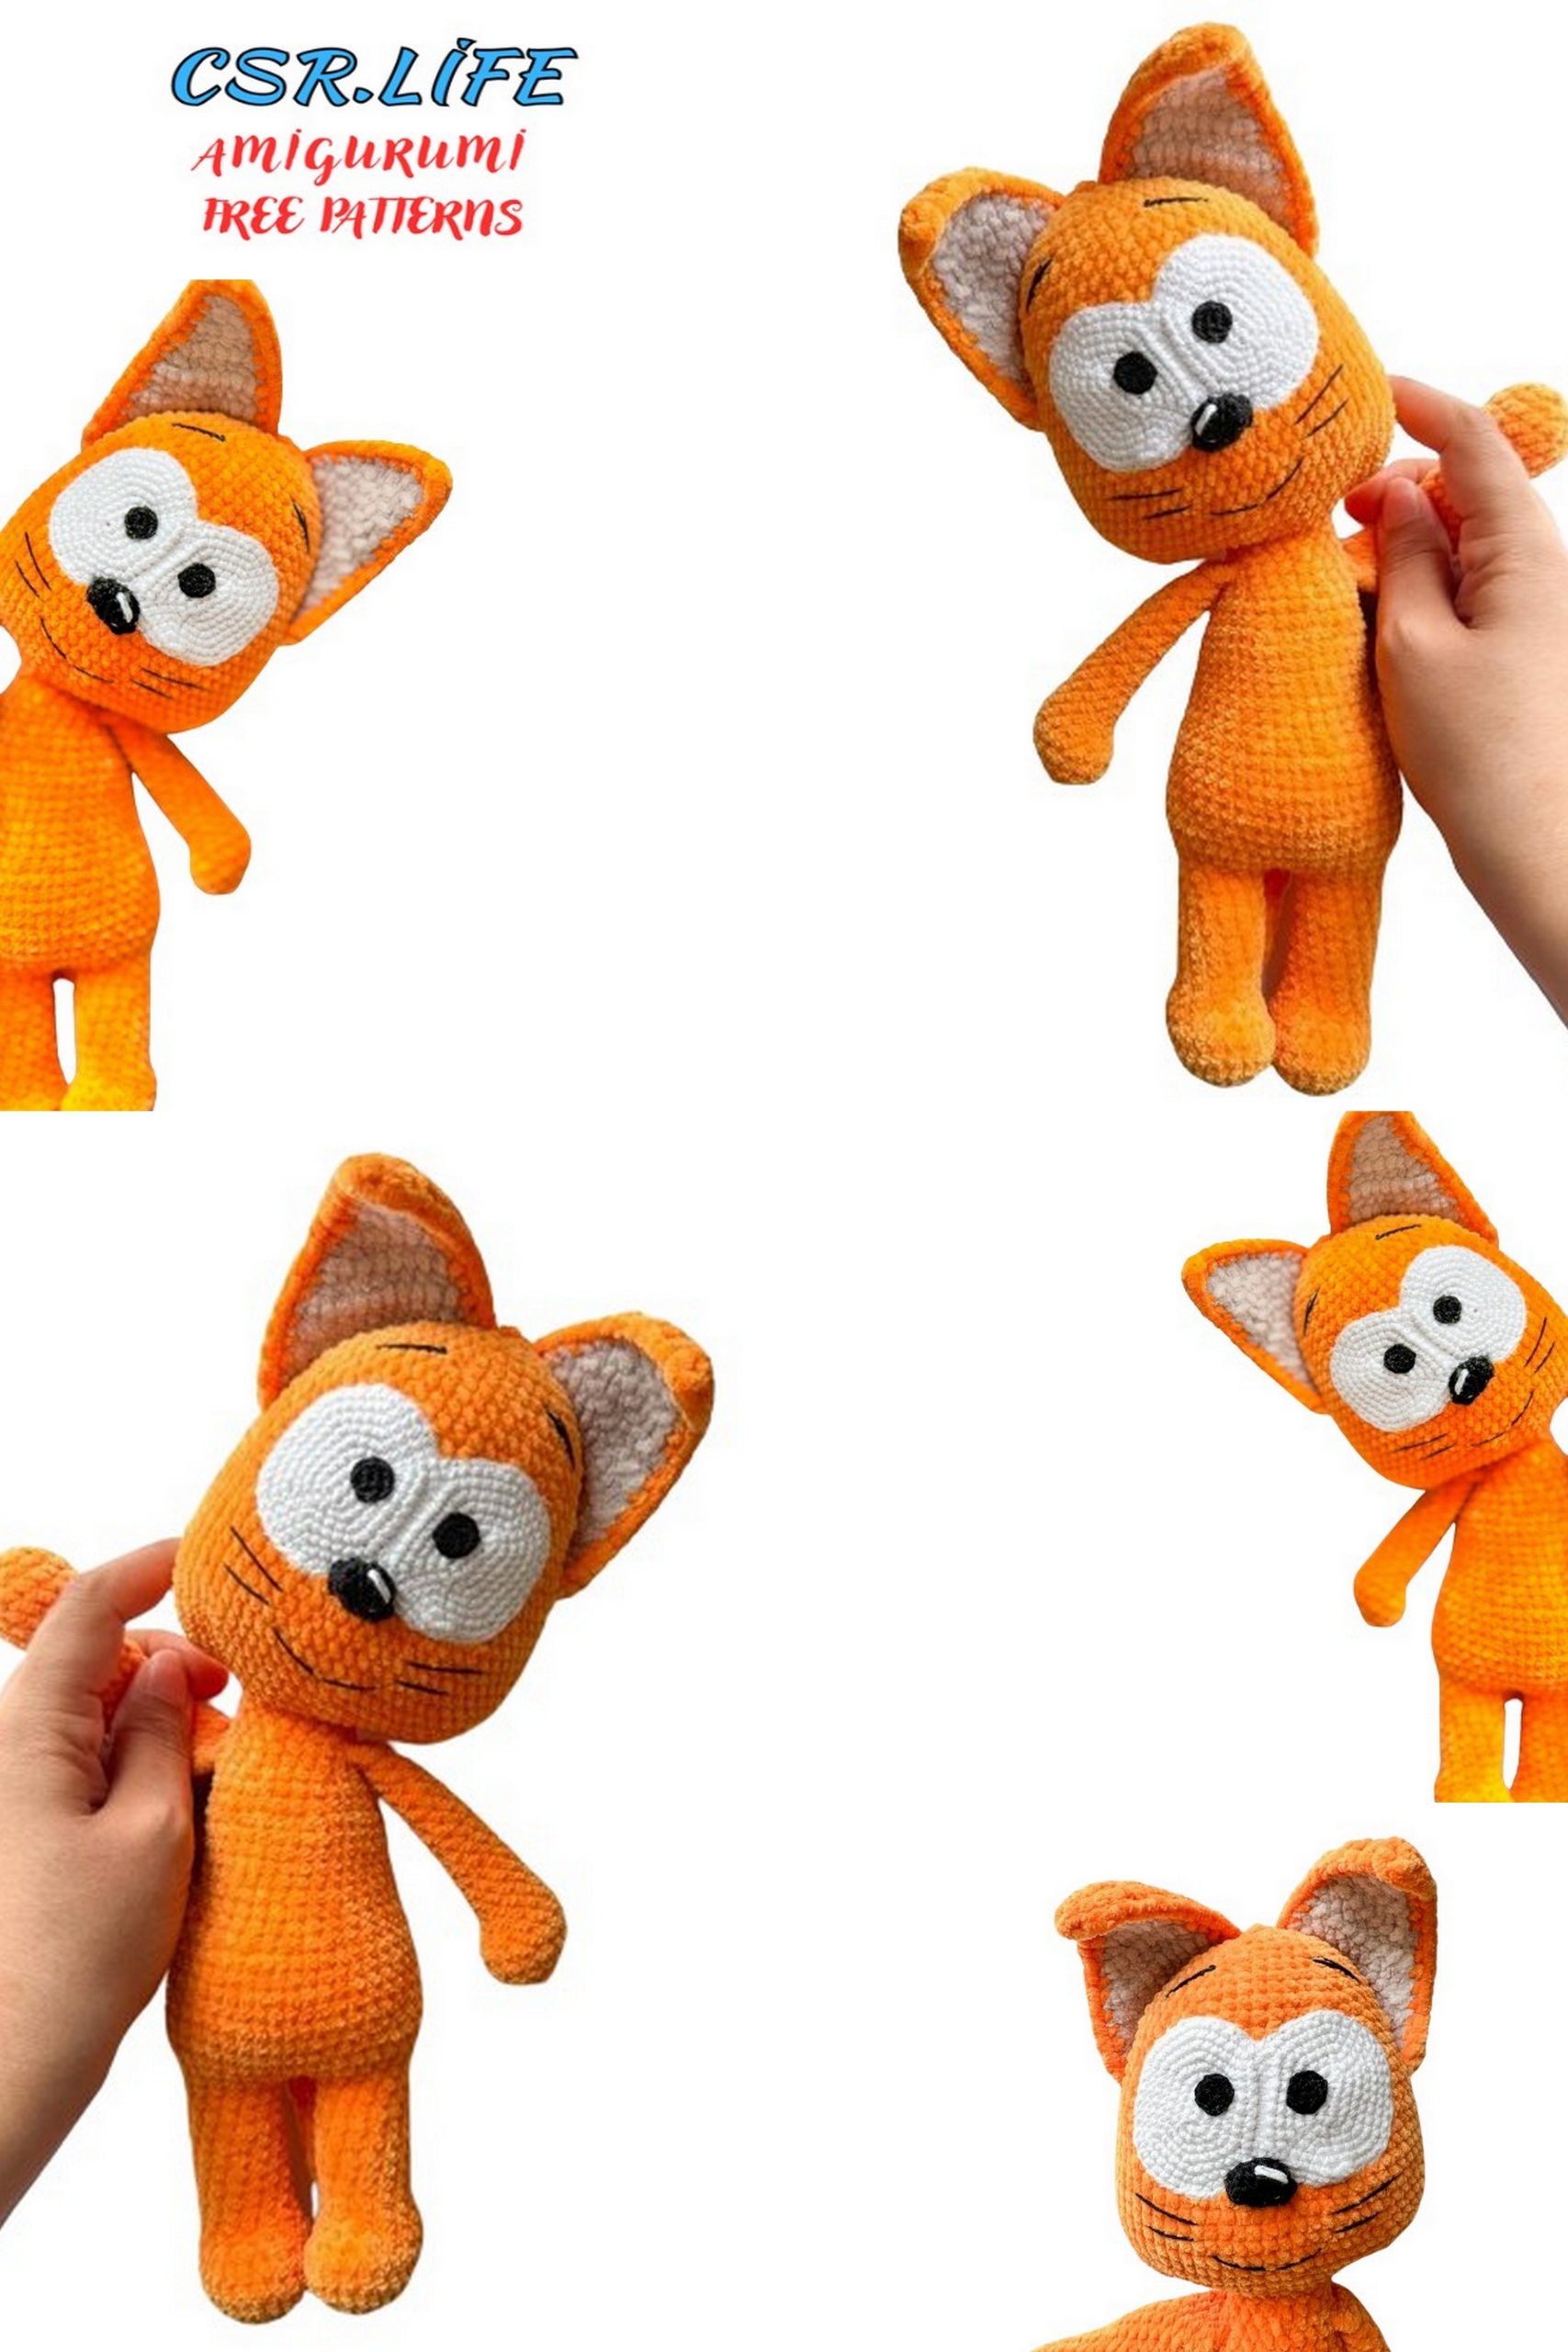
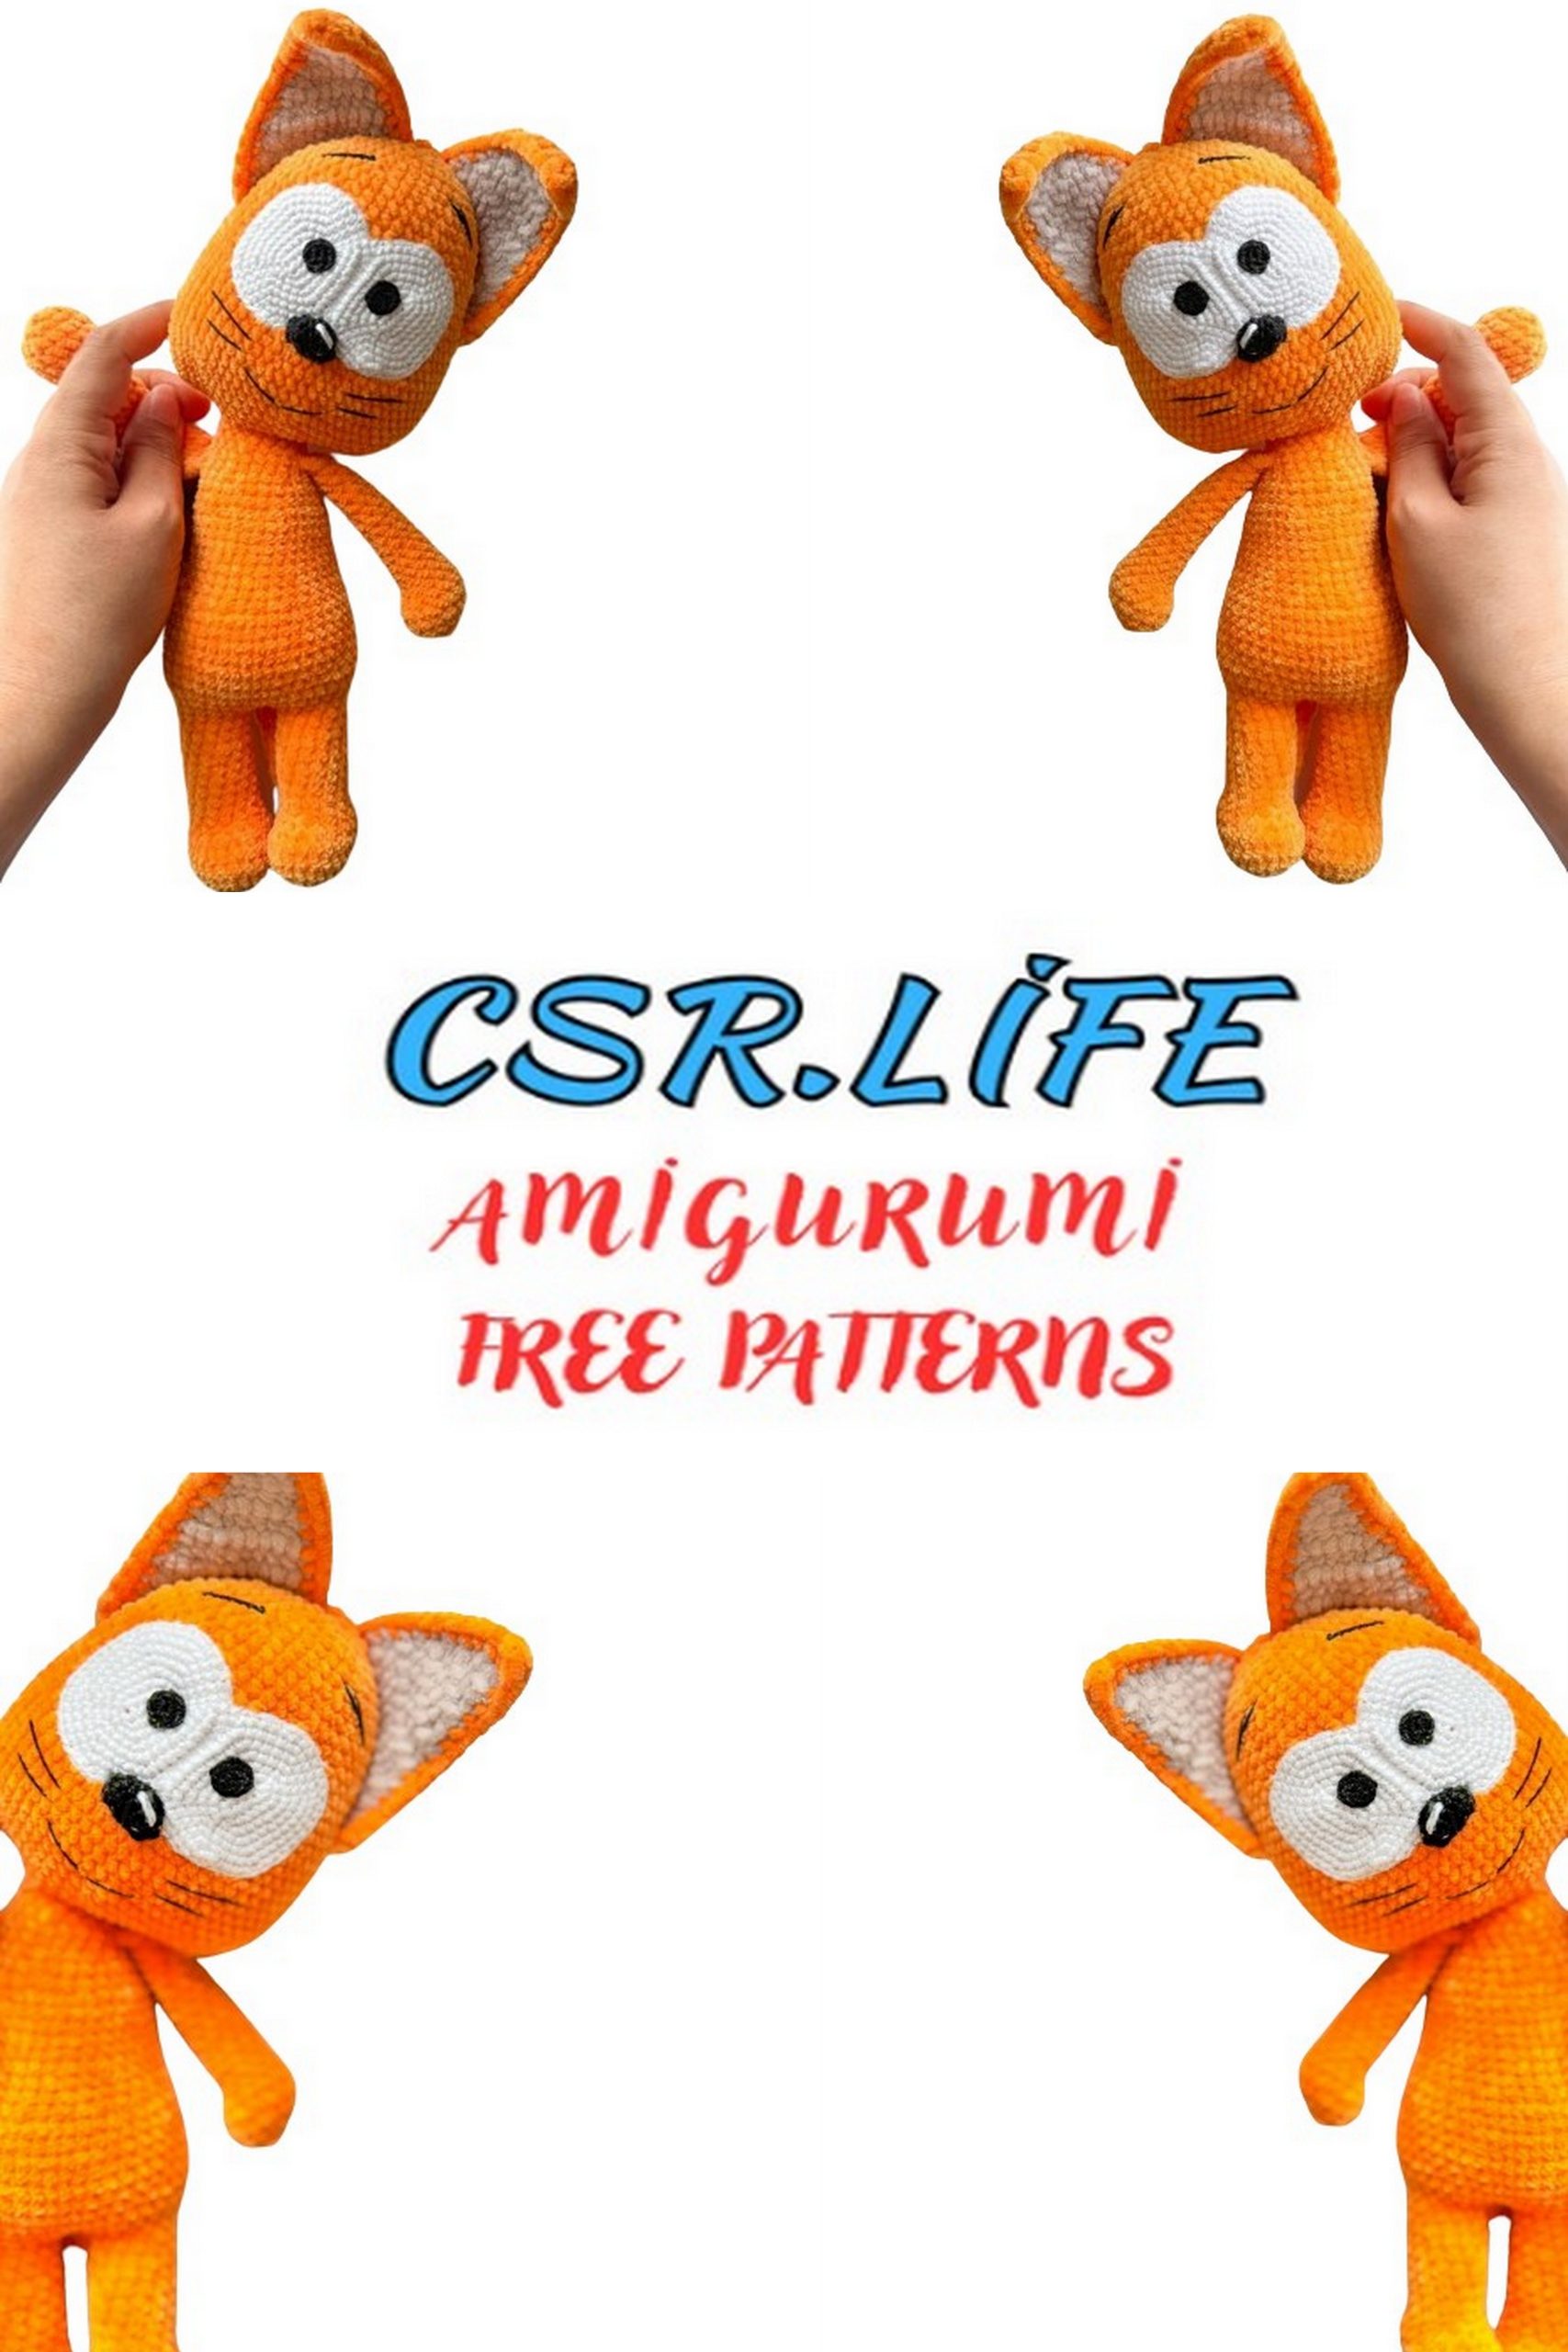
Picture the delight of holding your very own handmade cat, with its bright orange fur and whiskers twitching with personality. And with our pattern being free, the only limit is your imagination!
So, gather your crochet supplies and let’s embark on a meow-velous journey of crafting. Get ready to crochet your way to a bundle of joy with our orange cat amigurumi pattern. Let the stitching begin!
Materials Needed:
• 1.5-2 skeins of plush yarn 100g/120m or 100g/175m in main color.
• Some plush yarn in additional color for ears.
• Some cotton or semi-cotton yarn in white for crocheting eyes (can also cut them out of felt).
• Some cotton or semi-cotton yarn in black for crocheting nose, pupils, and detailing.
• Crochet hook. I use size 3 for yarn 100g/120m, and size 2 for yarn 100g/175m and cotton.
• Stuffing.
• Needle.
• Row marker.
• Scissors.
• Optionally, wire for reinforcing the neck and adhesive bandage.
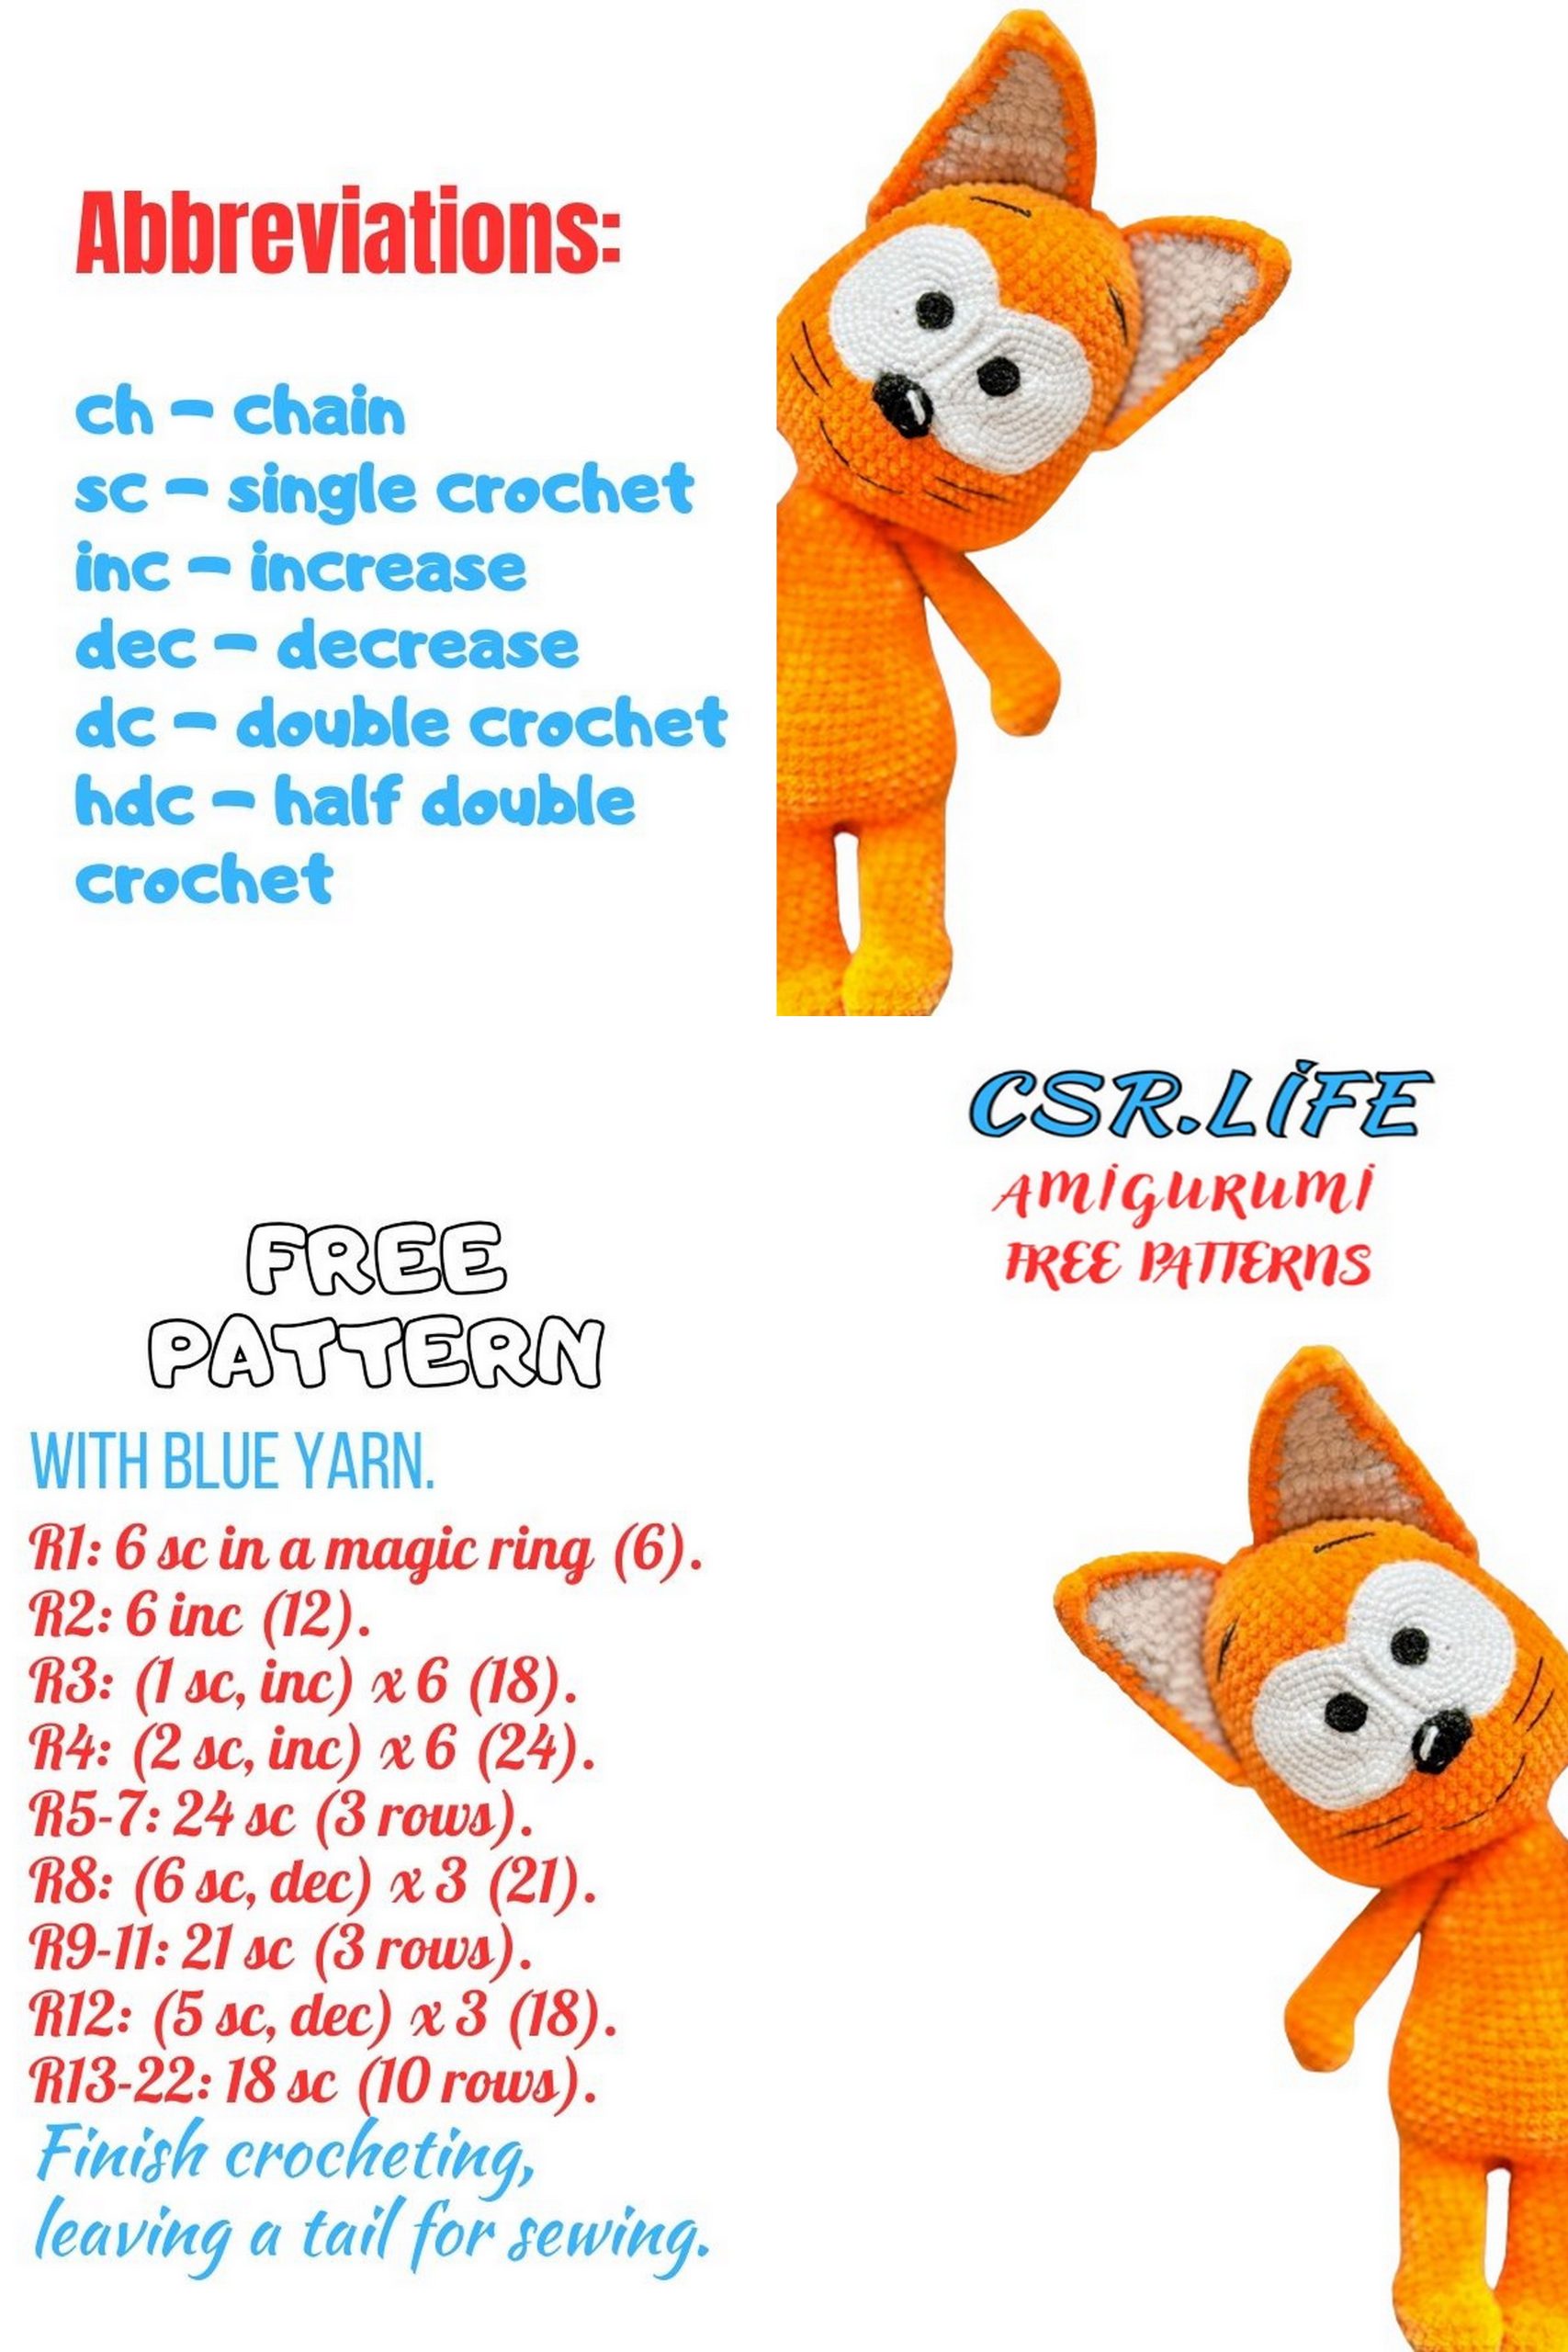
Abbreviations:
MR – magic ring.
ch – chain.
sc – single crochet.
inc – increase.
dec – decrease.
hdc – half double crochet.
sl st – slip stitch.
st(s) – stitch(es).
PATTERN
Upper Paws (2 pieces):
Crochet with the main color.
1: 6 sc in MR (6)
2: 6 inc (12)
3: (1 sc, inc) * 6 (18)
4-5: (2 rows) 18 sc (18)
6: 6 dec, 6 sc (12)
Stuff the piece only up to this point.
7-21: (15 rows) 12 sc
Fold in half and crochet 6 sc. If necessary, make additional stitches before this point to fold the pieces in half parallel to the decreases in the 6th row.
Secure and cut off the yarn, we will sew the paws.
Tail:
1: 4 sc in MR (4)
2: 4 sc (4)
3: (1 sc, inc) * 2 (6)
4-8: (5 rows) 6 sc (6)
9: 2 sc, 2 inc, 2 sc (8)
10-12: (3 rows) 8 sc (8)
Fold the piece in half and crochet 4 sc. Secure and cut off the yarn, we will sew the tail.
Lower Paws (2 pieces):
Crochet with a hook suitable for plush yarn (I use size 2).
Chain 6, starting from the second chain from the hook continue crocheting.
1: 4 sc, 3 sc in 1, 3 sc, inc (12)
2: inc, 3 sc, 3 inc, 3 sc, 2 inc (18)
3: 1 sc, inc, 3 sc, (1 sc, inc) * 3, 3 sc, (1 sc, inc) * 2 (24)
4-5: 24 sc (24)
6: 5 sc, 6 dec, 7 sc (18)
7: dec, 4 sc, 3 sc together, 7 sc, dec (14)
8-17: (10 rows) 14 sc (14)
On the first leg, make additional stitches at the end of the row so that the end of the row is exactly to the right (see photo), I got an additional 6 sc. Secure and cut off the yarn.
Crochet the second leg exactly the same way, in the last row, do not finish crocheting several stitches, so that the end of the row is exactly to the left (see photo), I have 3 sc left unworked on the second leg, do not cut off the yarn on the second leg.
Be careful, everyone has different crochet density and yarn tension, so you may need to do the opposite on the first leg, either not finish crocheting stitches or crochet extra on the second leg.
Stuff both legs tightly.
Body:
Proceed to crochet the body.
1: Chain 2 and join the legs with a sl st, 14 sc around the first leg, 2 sc in the chain, 14 sc around the second leg, 2 sc in the chain, additionally crochet 8 sc for displacement, so that the row marker is exactly on the left side. Place the marker and continue crocheting (32).
2: (3 sc, inc) * 8 (40)
3: (inc, 19 sc) * 2 (42)
4: Crochet the tail in this row, make sure it is right in the middle of the back. 9 sc, 4 sc with tail, 29 sc (42)
5-10: (6 rows) 42 sc (42)
11: 24 sc, (1 sc, dec) * 6 (36) decreases are placed on the belly. Stuff the piece as you go.
12-18: (7 rows) 36 sc (36)
19: (4 sc, dec) * 6 (30)
20-21: (2 rows) 30 sc (30)
22: (3 sc, dec) * 6 (24)
23: 24 sc (24)
24: Crochet the upper paws in this row 2 sc onto the body, 6 sc with paw, 5 sc onto the body, 6 sc with paw, 5 sc (24)
25: (2 sc, dec) * 6 (18)
26-27: (2 rows) 18 sc (18) Do not cut off the yarn, proceed to crochet the head.
Head:
1: 5 sc around the neck, chain 6, starting from the second chain from the hook 5 sc, 9 sc around the neck, chain 6, starting from the second chain from the hook 5 sc, 4 sc around the neck (40)
2: 5 sc, 5 sc into the chain, 3 hdc into the top loop of the chain, 5 sc into the other side of the chain, 9 sc, 5 sc into the chain, 3 hdc into the top loop of the chain, 5 sc into the other side of the chain, 4 sc (44)
3: inc, 20 sc, 2 inc, 20 sc, inc (48)
4: (7 sc, inc) * 6 (54)
5: (8 sc, inc) * 6 (60)
6: (9 sc, inc) * 6 (66)
7-16: (10 rows) 66 sc (66)
Take a piece of wire the same size as the body plus 10cm, fold the ends of the wire so that there are large loops at the ends, wrap with adhesive tape, and insert into the body and neck so that a small end remains in the head. Stuff the neck tightly and stuff the head as you go.
17: (9 sc, dec) * 6 (60)
18-19: (2 rows) 60 sc (60)
20: (8 sc, dec) * 6 (54)
21-22: (2 rows) 54 sc (54)
23: (7 sc, dec) * 6 (48)
24: 48 sc (48)
25: (6 sc, dec) (42)
26: 42 sc (42)
27: (5 sc, dec) * 6 (36)
28: 36 sc (36)
29: (4 sc, dec) * 6 (30)
Stuff the head firmly.
33: (3 sc, dec) * 6 (24)
34: (2 sc, dec) * 6 (18)
35: (1 sc, dec) * 6 (12)
36: 6 dec (6)
Carefully pull the hole closed.
Ears:
The ears are crocheted in two parts, one in the main color and one in the additional color.
Begin crocheting with the part in the additional color.
Crochet in turned rows. At the end of each row, make a ch and turn the work.
1: Chain 2, crochet 3 sc in the second ch from the hook (3)
2: Inc, 2 sc (4)
3: 3 sc, inc (5)
4: Inc, 4 sc (6)
5: 5 sc, inc (7)
6: Inc, 6 sc (8)
7: 7 sc, inc (9)
8: Inc, 8 sc (10)
9: 9 sc, inc (11)
10: Inc, 10 sc (12)
11: 11 sc, inc (13) DO NOT TURN
Crochet a chain of 3 ch, turn the work so that the ear is facing downwards (see photo), crochet 2 sc starting from the second ch from the hook and sl st into the last st before the ch.
Secure and cut off the yarn for the part in the additional color.
Crochet the part in the main color in the same way, then fold both parts together and crochet around in a circle, crochet (hdc, sc, hdc) into the top loop of the ear. Finish off with a sl st, secure the yarn, if you plan to sew with the same yarn, leave a tail. I sew with cotton thread, so I cut off the yarn and hide the end inside the piece.
ATTENTION!
When crocheting together the parts for the second ear, note that the bump on the ear (chain of sc) should be facing the opposite direction from the first ear, so fold the parts so that the bump faces the other way (see photo) and the crochet will be in the opposite direction.
Nose:
Crochet with black cotton yarn and a size 2 hook.
1: Chain 6, sc in the second ch from the hook, 4 sc, 3 sc in one st, 3 sc on the other side of the chain, inc (12)
2: 12 sc (12)
Secure the yarn, leaving a tail for sewing. Embroider a highlight with white yarn.
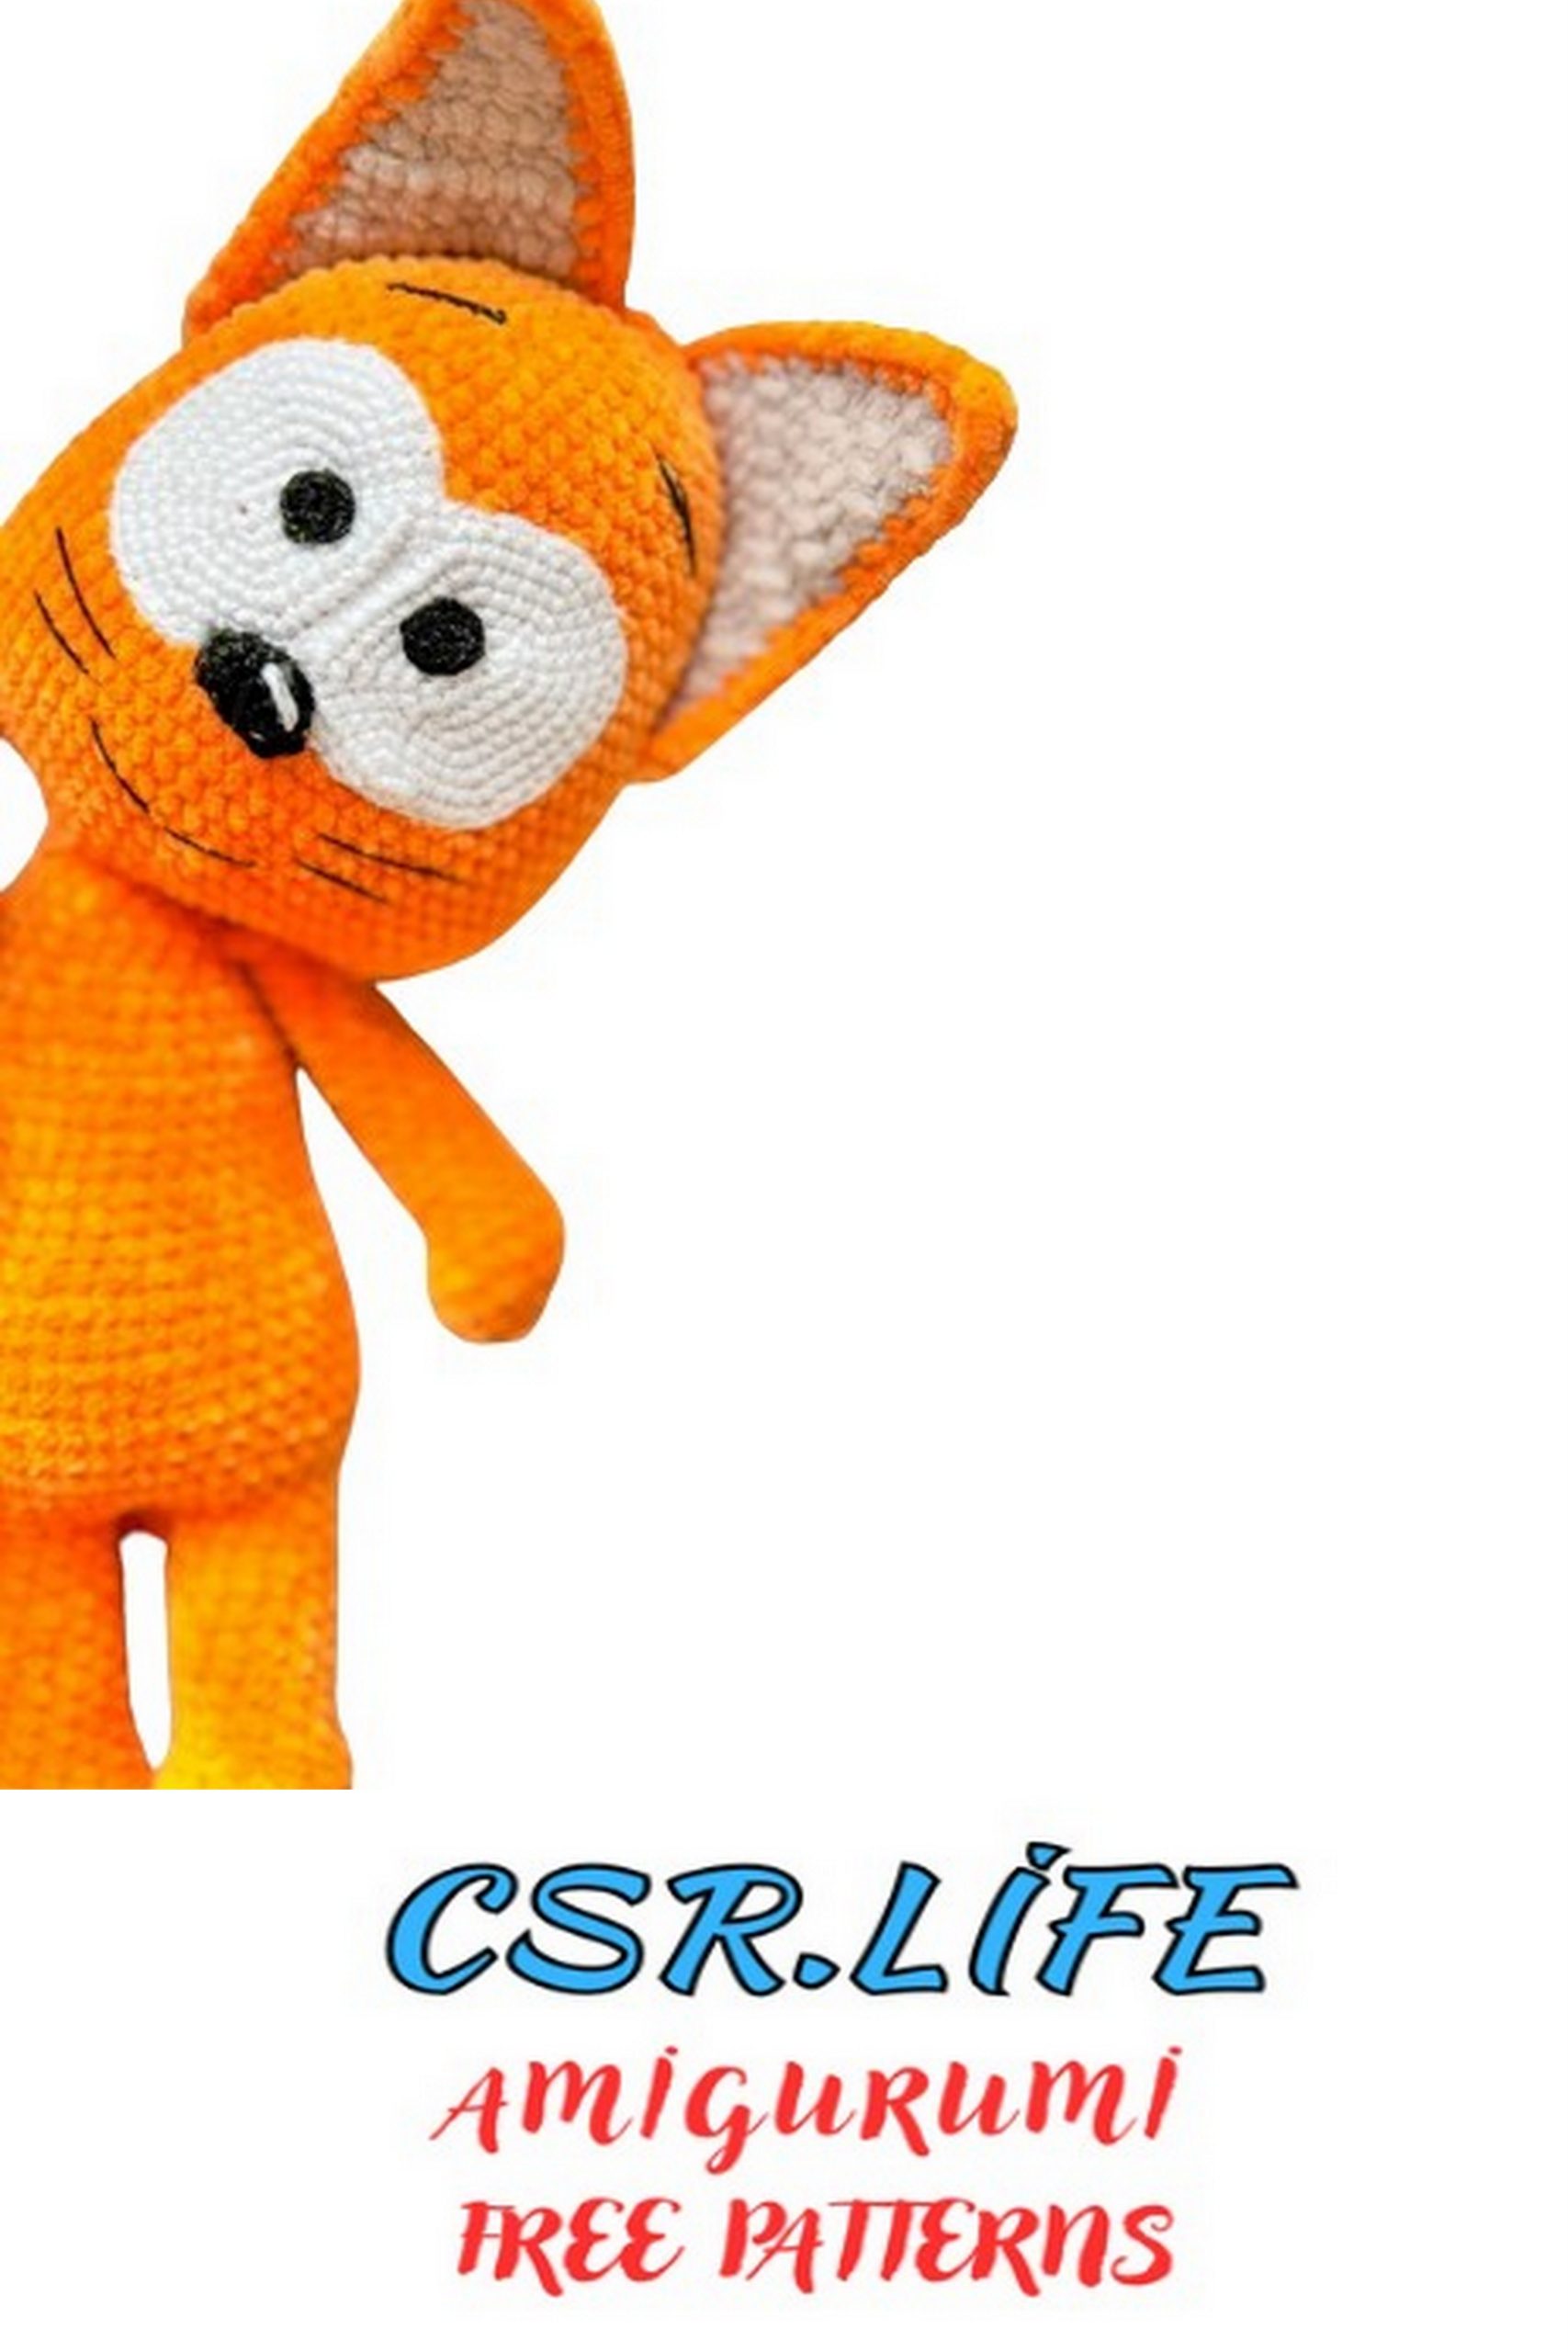
Eyes:
Crochet with white cotton yarn and a size 2 hook.
1: Chain 6, sc in the second ch from the hook, 4 sc, 3 sc in one st, 3 sc on the other side of the chain, inc (12)
2: Inc, 3 sc, 3 inc, 3 sc, 2 inc (18)
3: 1 sc, inc, 3 sc, (1 sc, inc)*3, 3 sc, (1 sc, inc)*2 (24)
4: 2 sc, inc, 3 sc, (2 sc, inc)*3, 3 sc, (2 sc, inc)*2 (30)
5: 3 sc, inc, 3 sc, (3 sc, inc)*3, 3 sc, (3 sc, inc)*2 (36)
6: 4 sc, inc, 3 sc, (4 sc, inc)*3, 3 sc, (4 sc, inc)*2 (42)
Fit the eyes to the head, you may need to adjust the number of rows, considering that there will be another row of edging. If you need to increase, make the necessary number of rows with even increases following the same principle as the previous rows.
Secure and cut off the yarn for the first part. Crochet the second part in the same way, do not cut off the yarn.
Now we need to join the two eyes, to do this, crochet sc on the second part until the first inc, and crochet the first st of the inc together, the second one will be crocheted together with the second part (if you crocheted the same number of rows as me, you need to crochet 5 sc). Fold the parts together with the right side facing each other. Crochet around the edge through both pieces with sc, at the end sl st into the first ch. Leave a tail for sewing. If the fabric is slightly skewed, you can simply gently adjust it by hand, pulling it in the right direction.
Pupil:
Crochet with black cotton yarn and a size 2 hook.
1: 6 sc in MR (6)
2: Close the ring with a sl st, leaving a tail for sewing.
Finishing:
Sew the pupil to the eye, approximately in the middle. Then sew the eyes to the head, for convenience, you can first fix them with pins. Sew on the nose, if necessary, add some stuffing.
Embroider whiskers, mouth, and eyebrows with black yarn. To hide the embroidery threads, insert the needle at one point, leaving a tail, after finishing work, pull it out exactly in the same point, make a knot, and hide it inside the head.
Sew on the ears, starting from the top of the head.
And your Kitten is ready!