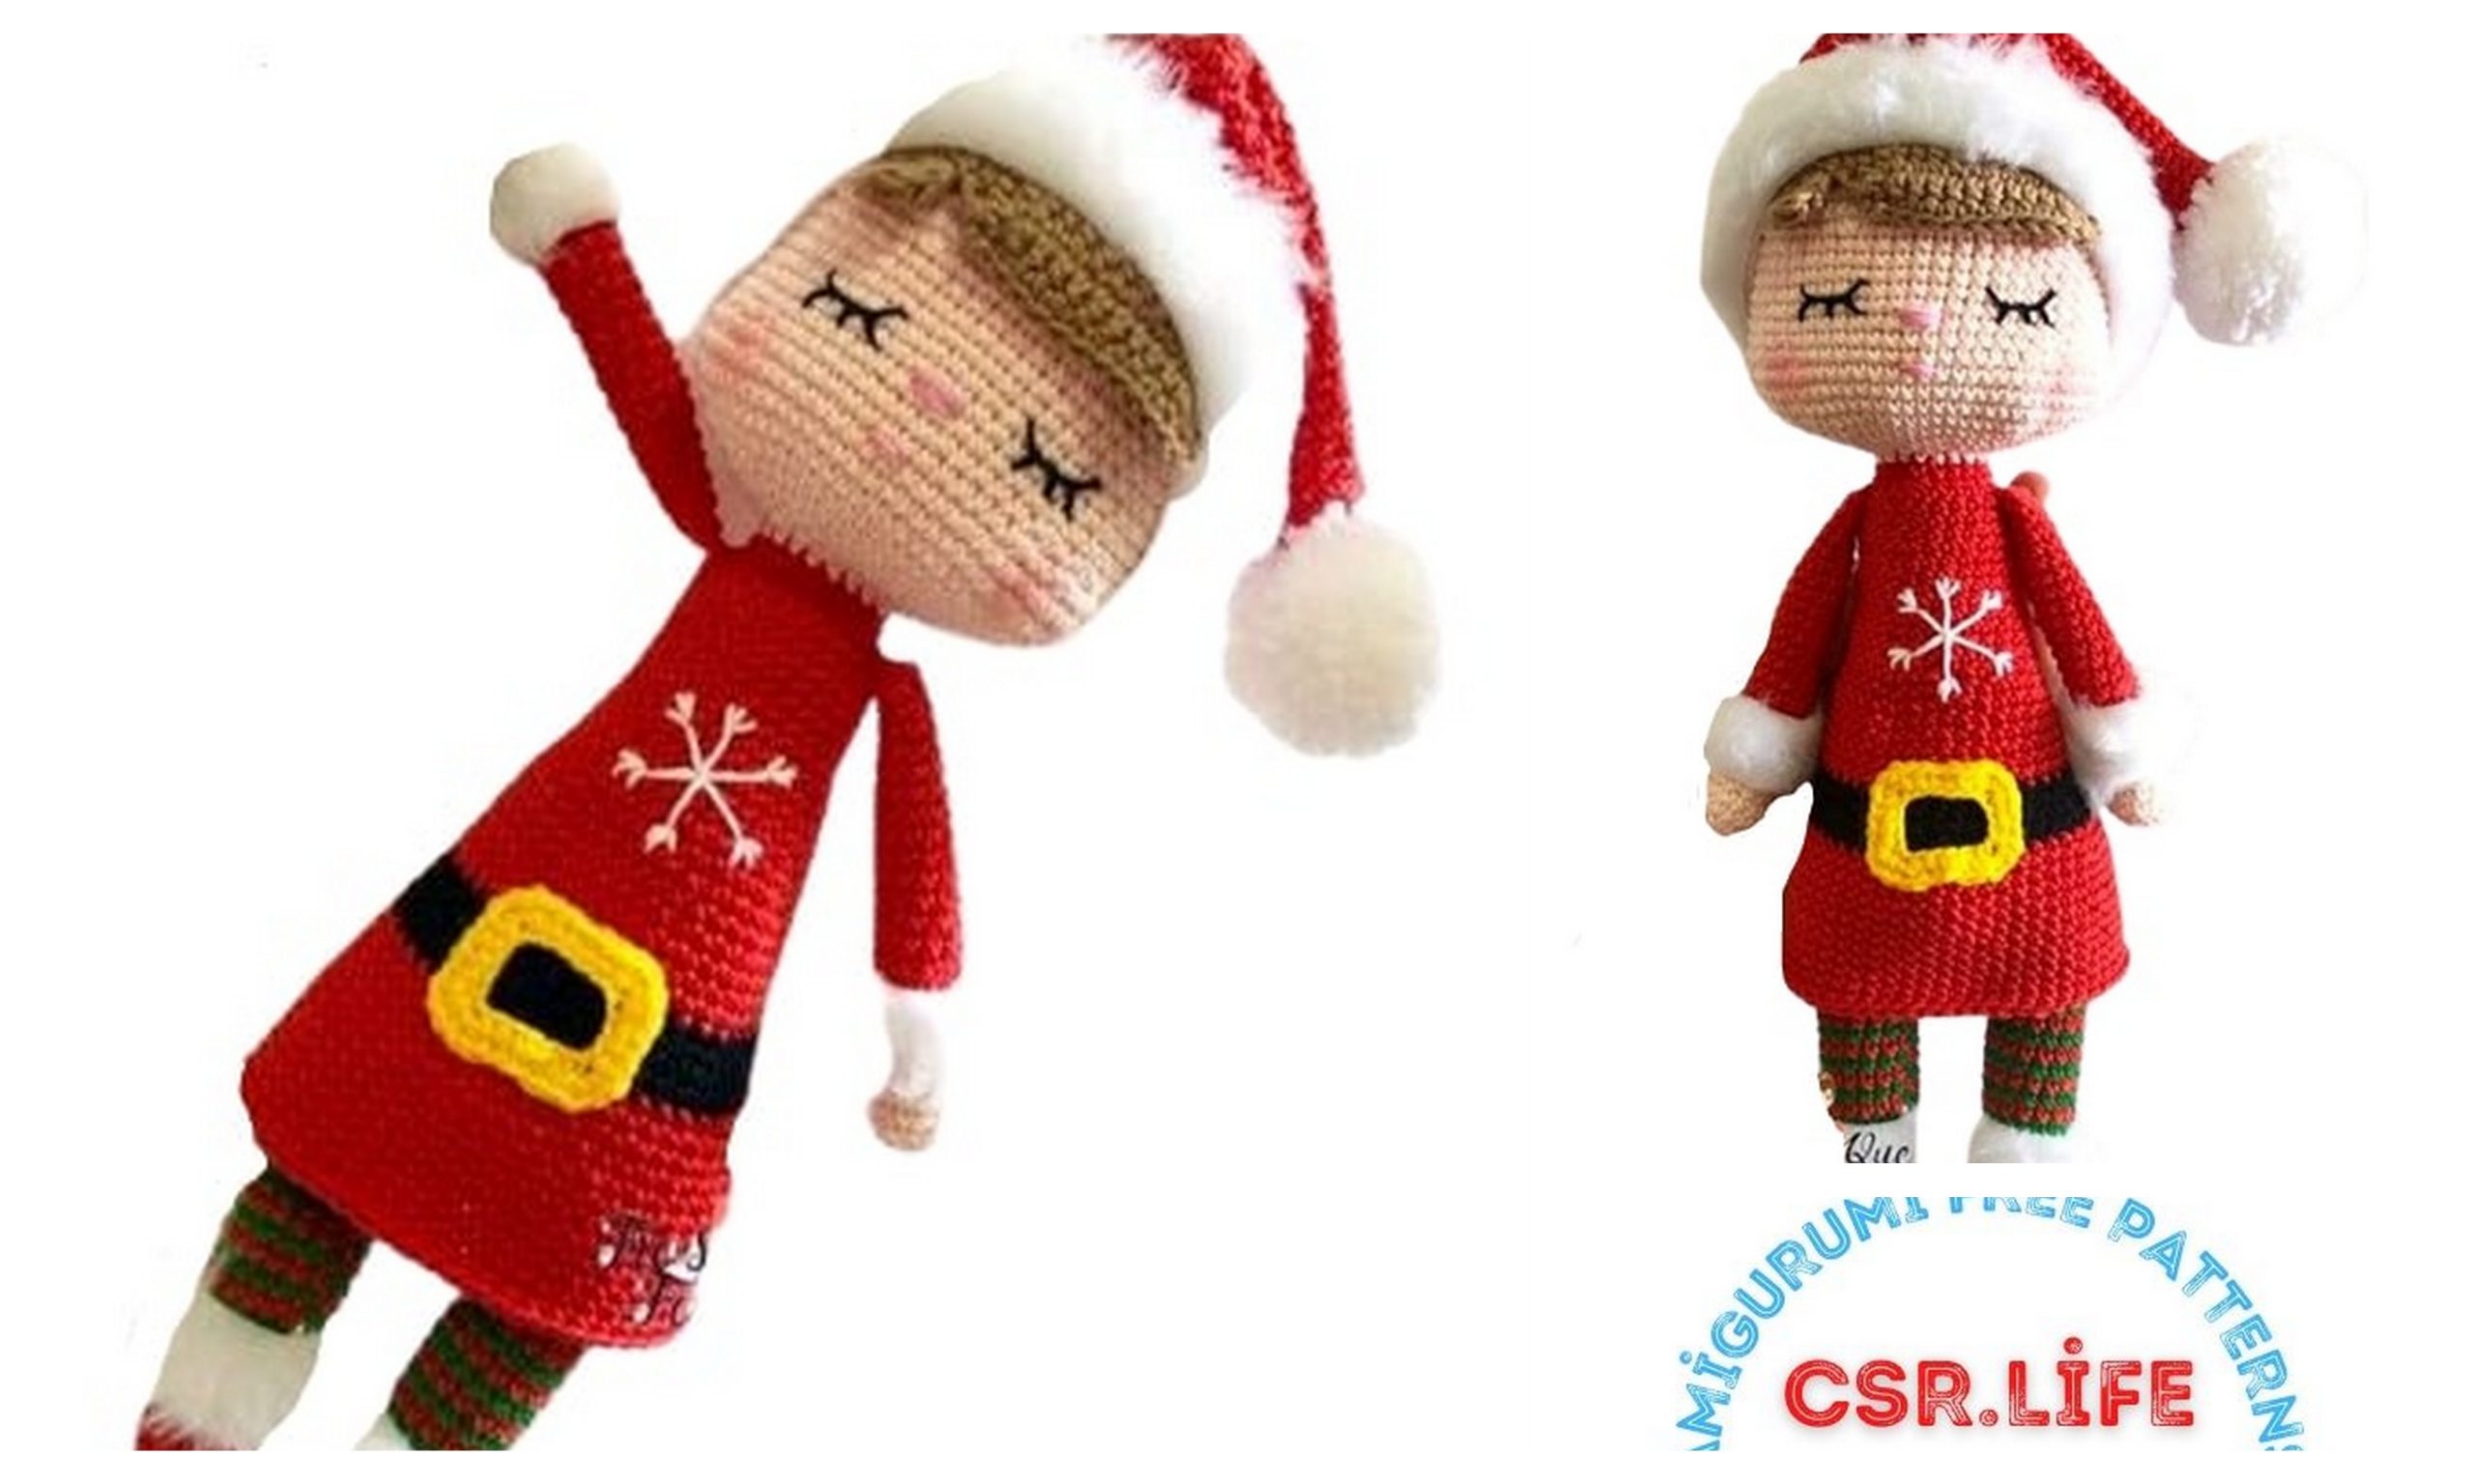
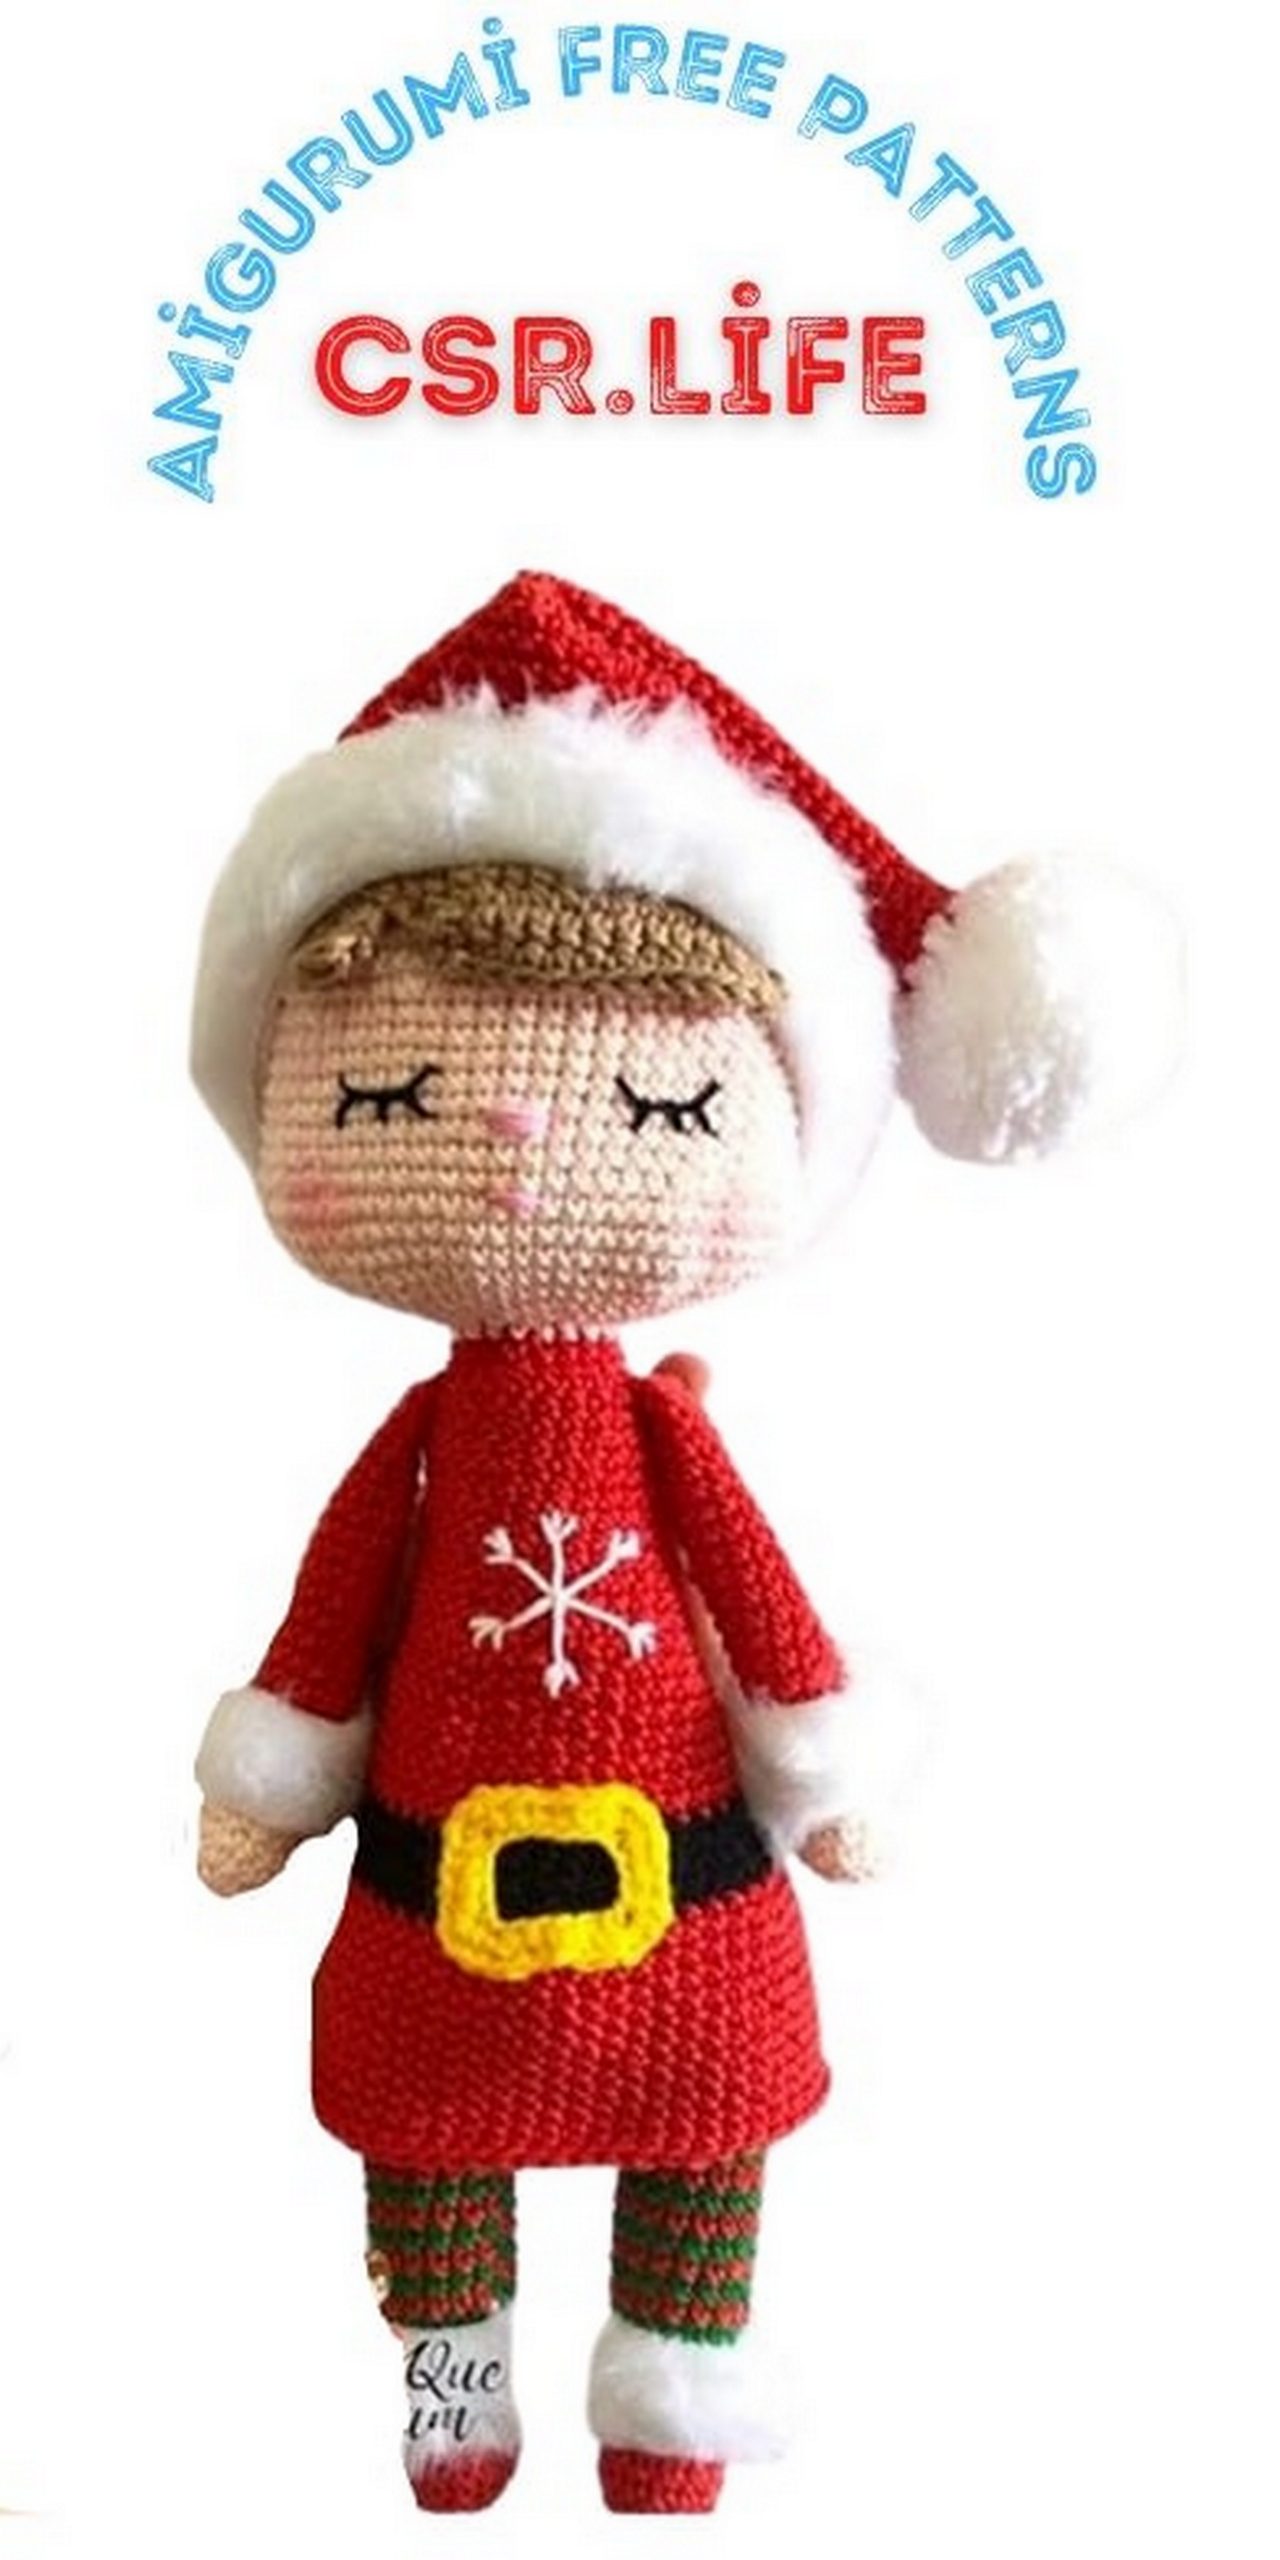
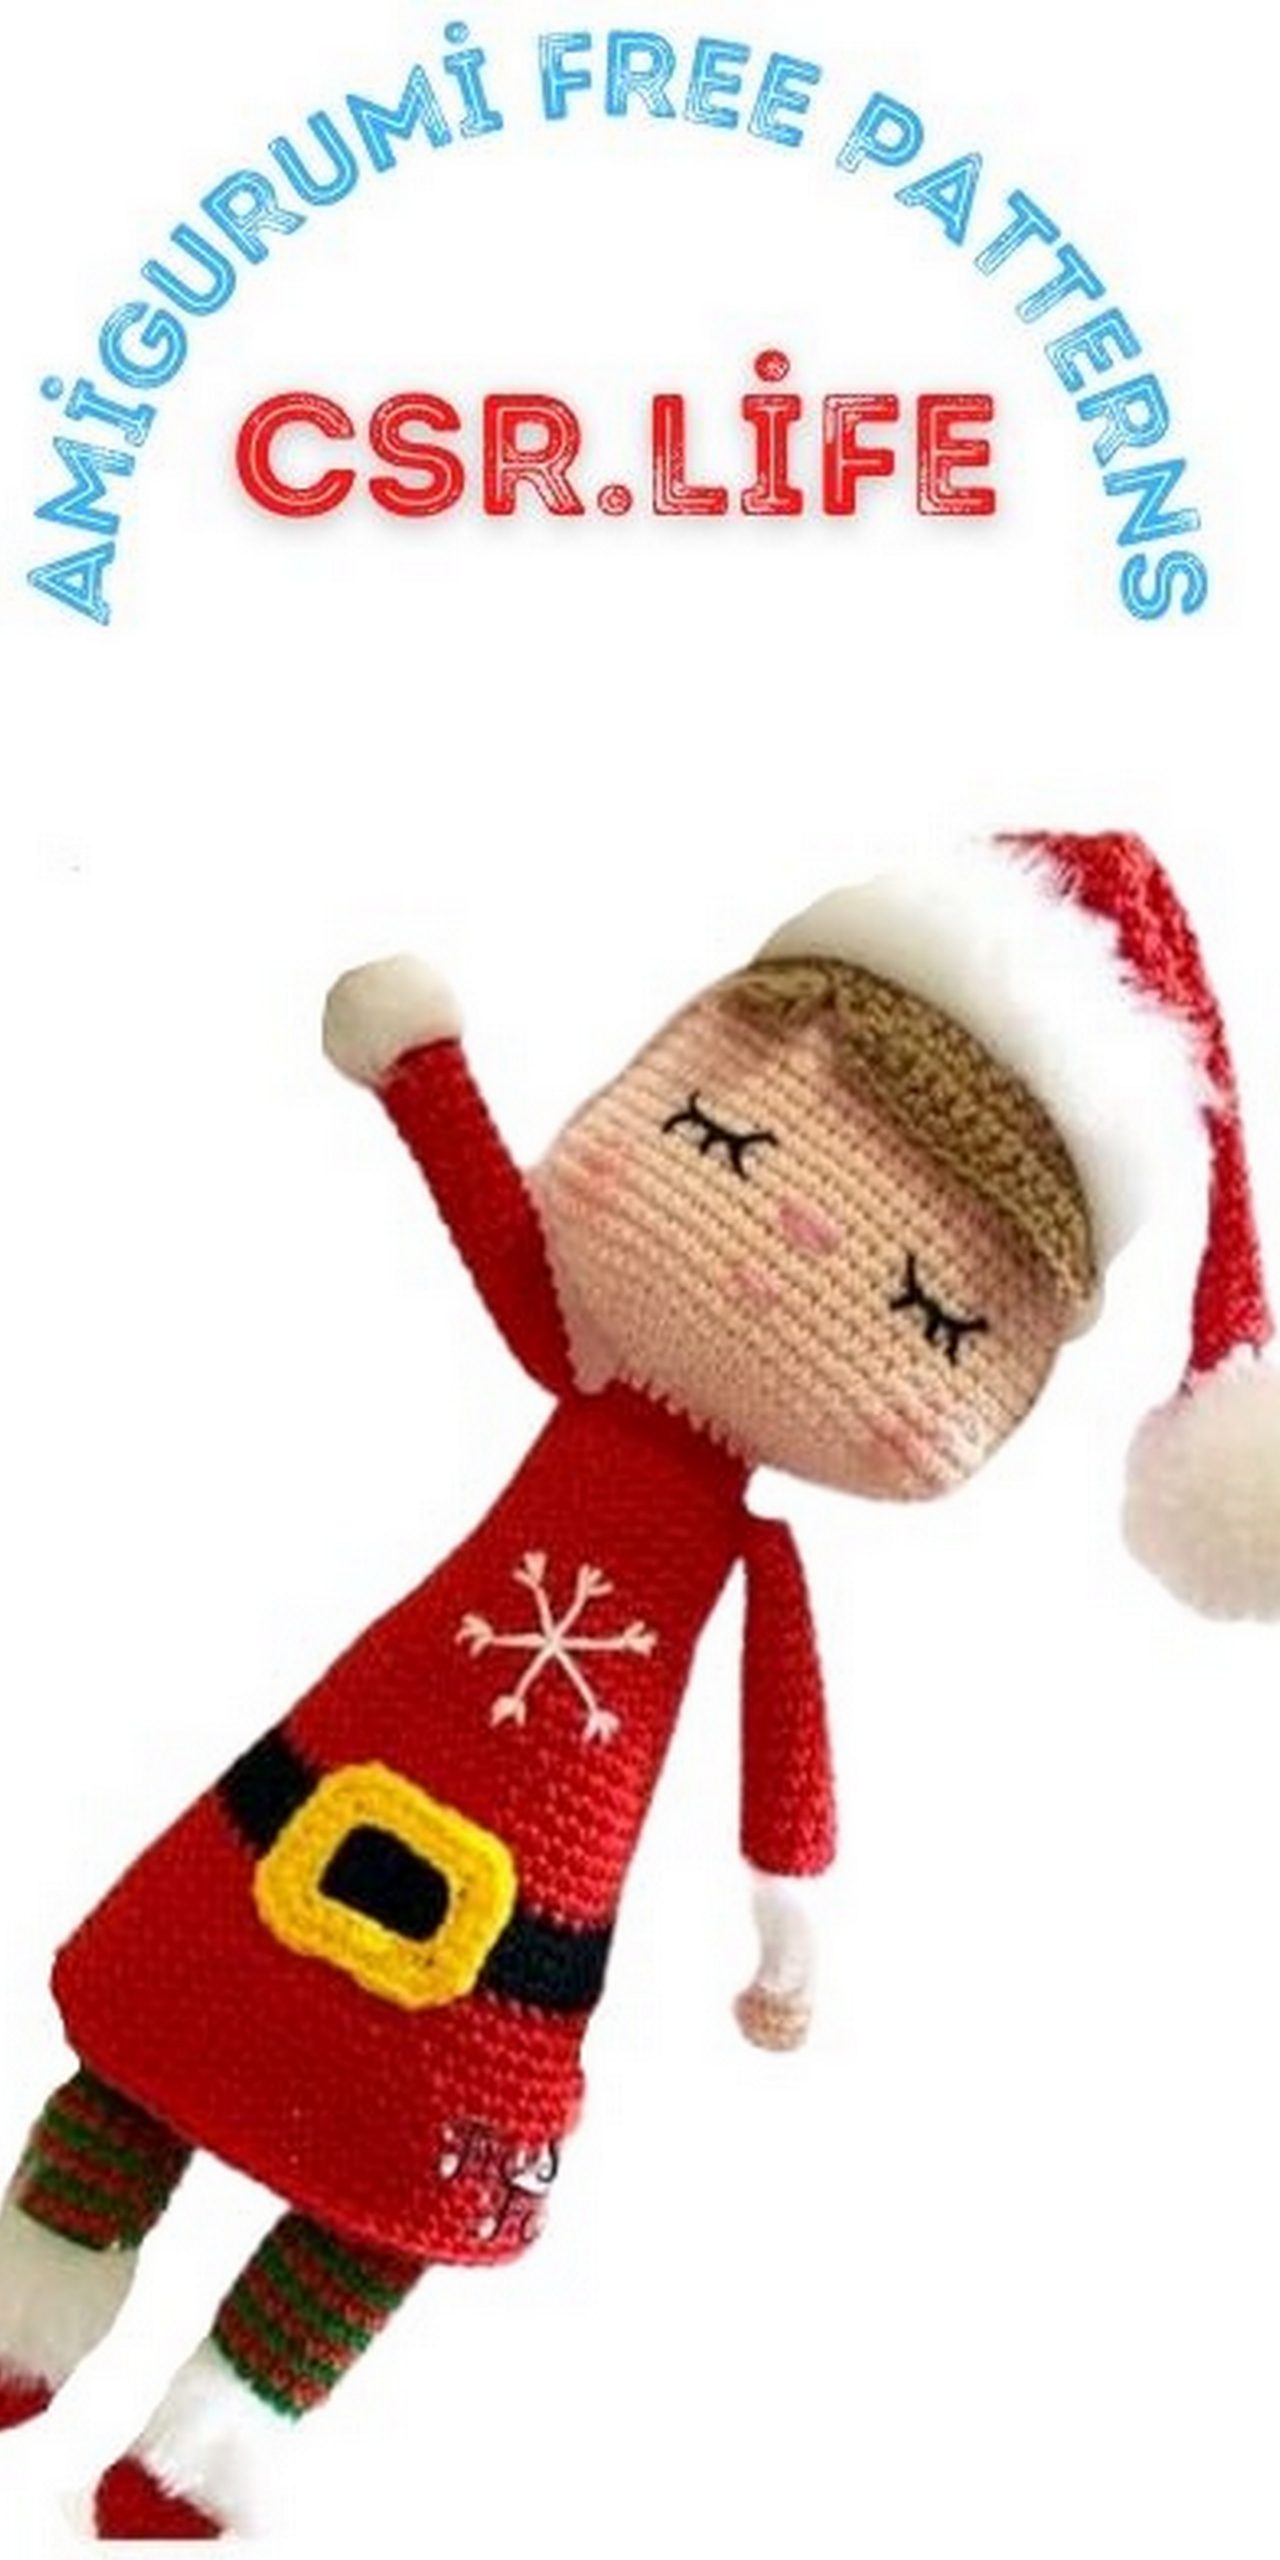
Christmas Doll Amigurumi Free Pattern
Our sharing of free amigurumi christmas patterns continues. In this article, we shared the amigurumi christmas doll pattern.
Christmas Doll
Abbreviations:
sc – single crochet
st – stitch
ch – chain stitch
Dec – sc next 2 stitches together
inc – sc in indicated stitch 2 times
rnd(s) – sl stround(s)
hdc – half double crochet
sl-st -slip stitch
MATERIALS
• pink thread to embroider the mouth
• acrylic fiber (filler)
• crochet hooks (3mm)
• tapestry and embroidery needles
• Amigurumi line colors
– Macadamia 3148 (skin)
– White 8001
– Brown brown 7625 (hair, it can be any brown you have since the quantities are small)
-Red carmi 3528
– Black 8990 (belt only)
– Canary yellow 1289 (only for belt buckle)
-Green flag 5767
– White wool to make pompom
<Plush fabric
<Thickest hot glue stick for head support (optional)
DOLL SIZE –40 cm
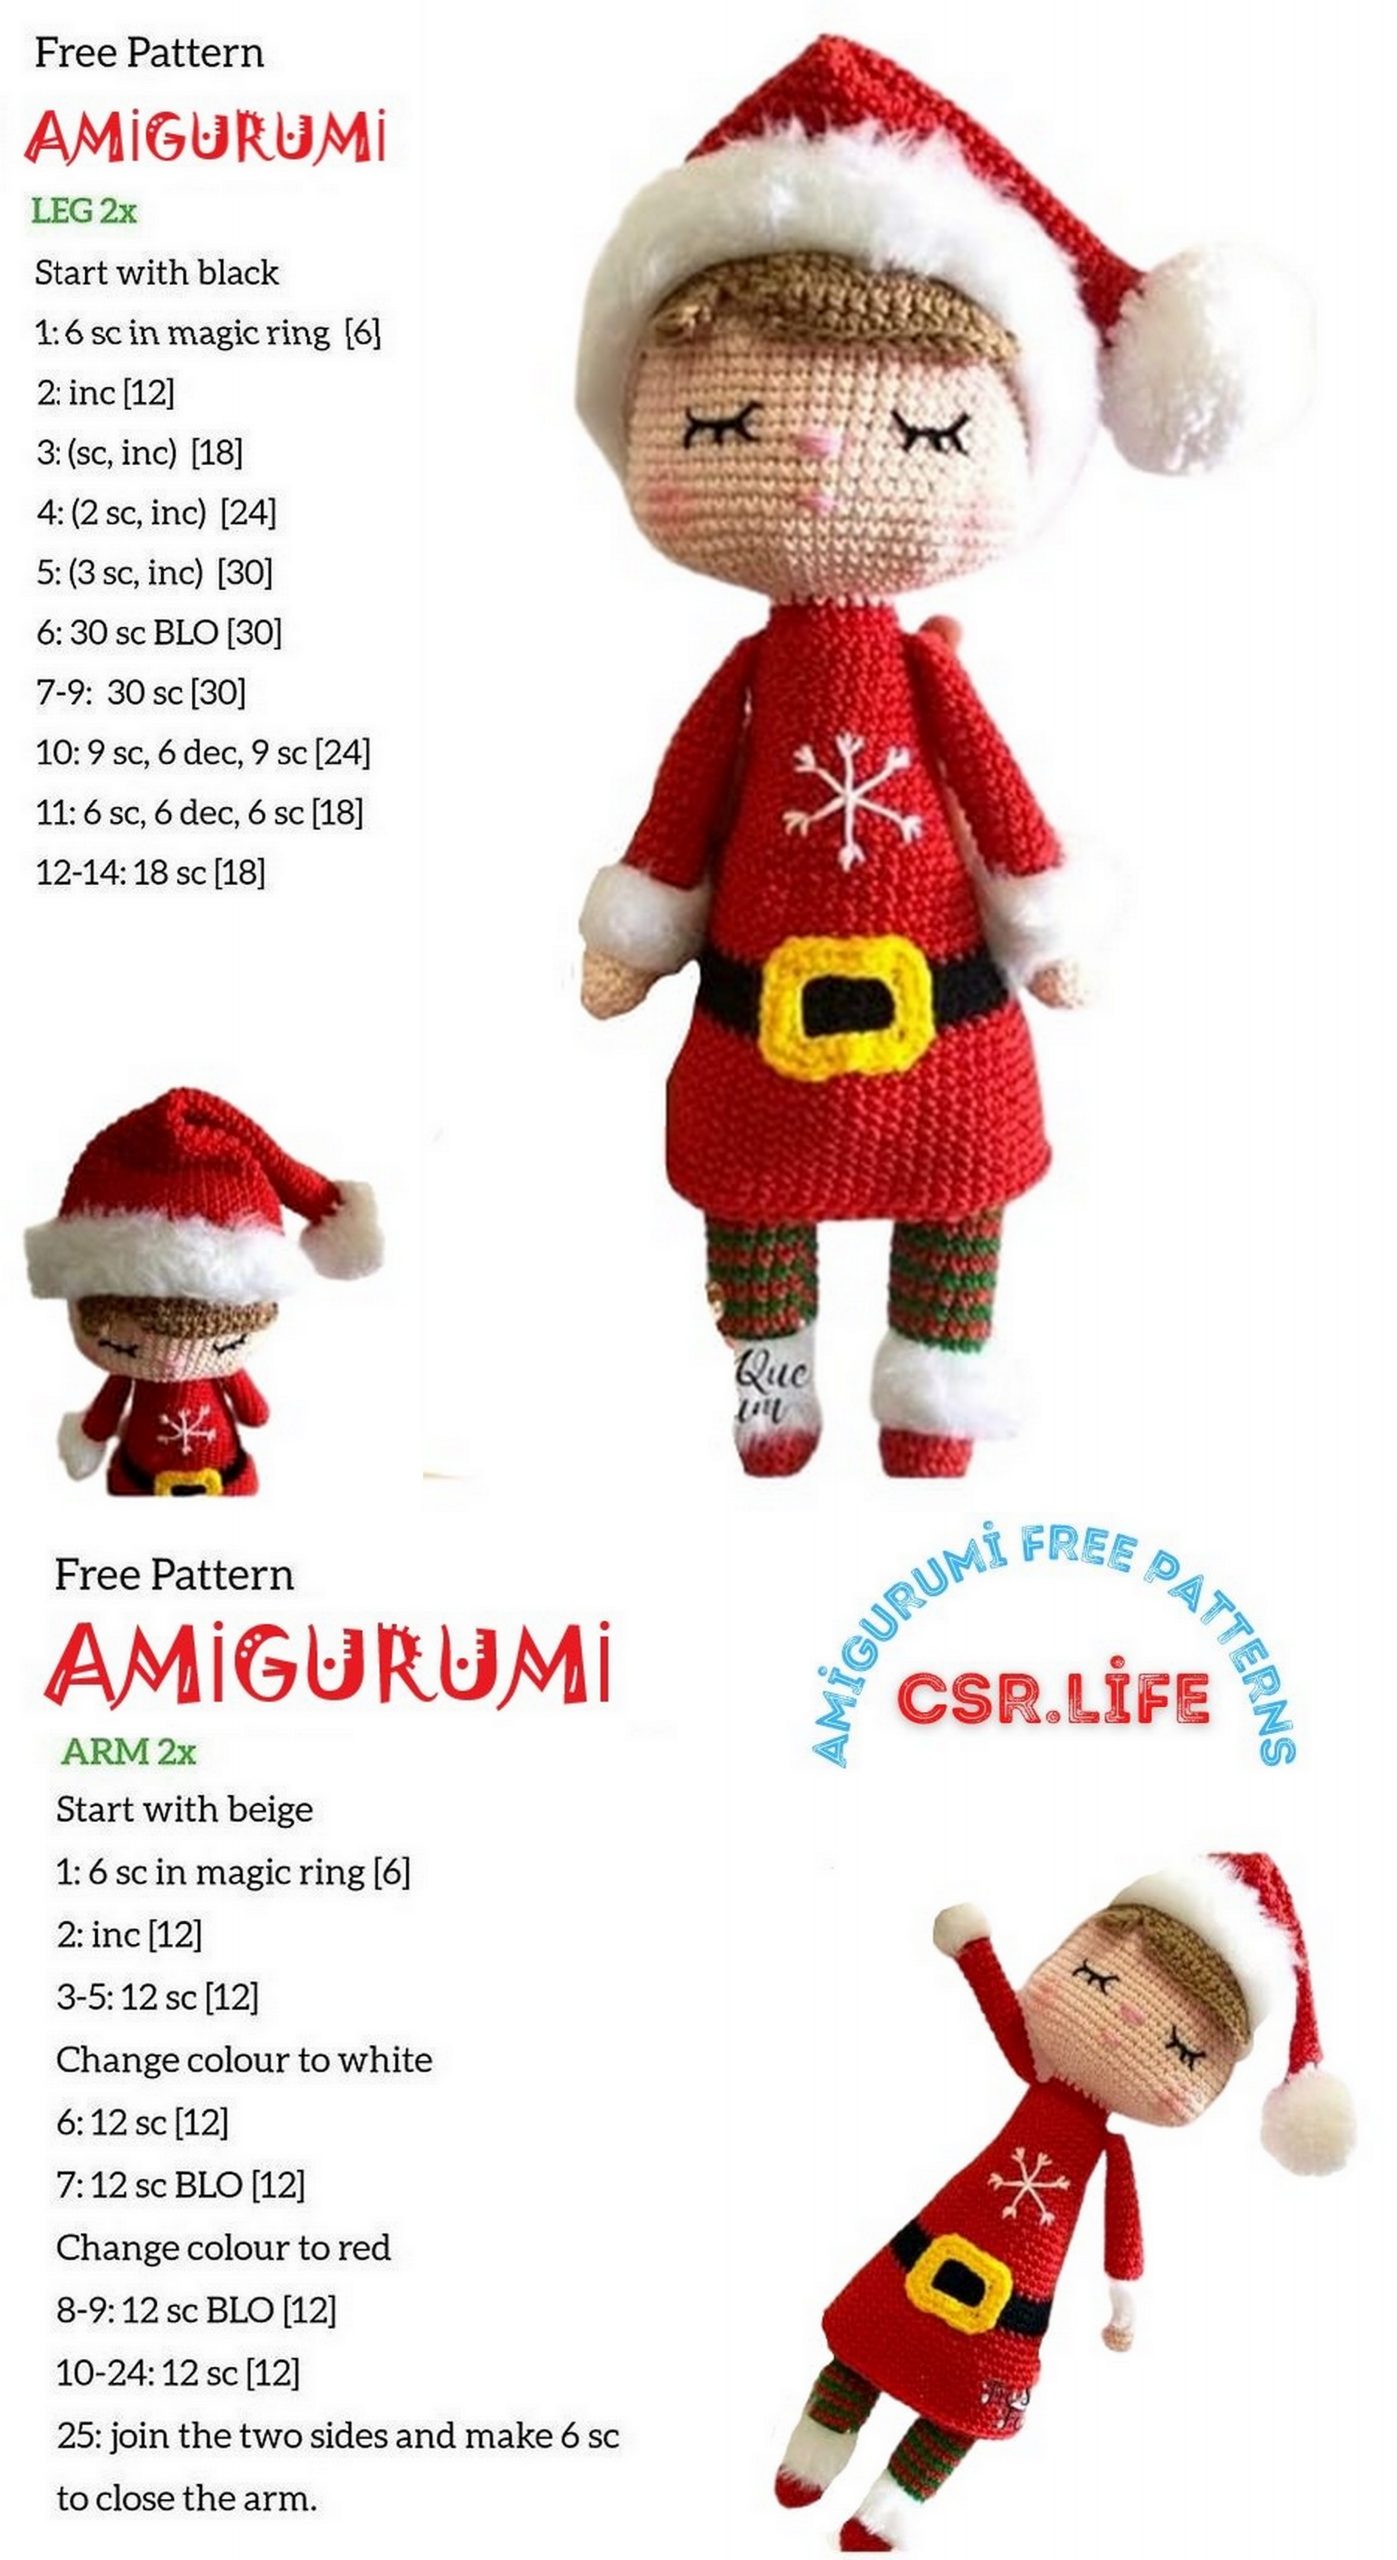
ARMS
<Starts with skin color
1) 6sc magic ring (06)
2) Inc all round (12)
3 to 5) sc all around (12)
* change to WHITE color
6) to 9) sc all around (12)
* change to RED color – you can now add filling
10 to 12) sc all around (12)
13) 4sc. 1 dec. (10)
14 to 19) sc all around (10)
20) 3sc 1 dec. (08)
21 to 25) sc all around (08)
LEGS / BODY / HEAD
<Starts with RED
1) 6sc Magic Ring (06)
2) Inc Every turn. (12)
3) 5sc 1 inc. (14)
4) A 6) sc All round (14)
* change to WHITE color
7) (5sc 1 inc) 2x – 2 sc (16)
8 to 10) Sc all around (16)
Play for RED – next for GREEN …. each row changes color until it reaches
20th in red
11 to 20) sc All round (16)
<With RED color
Join the legs with 5 chains in the middle of them – as you go up the body will adding filler.
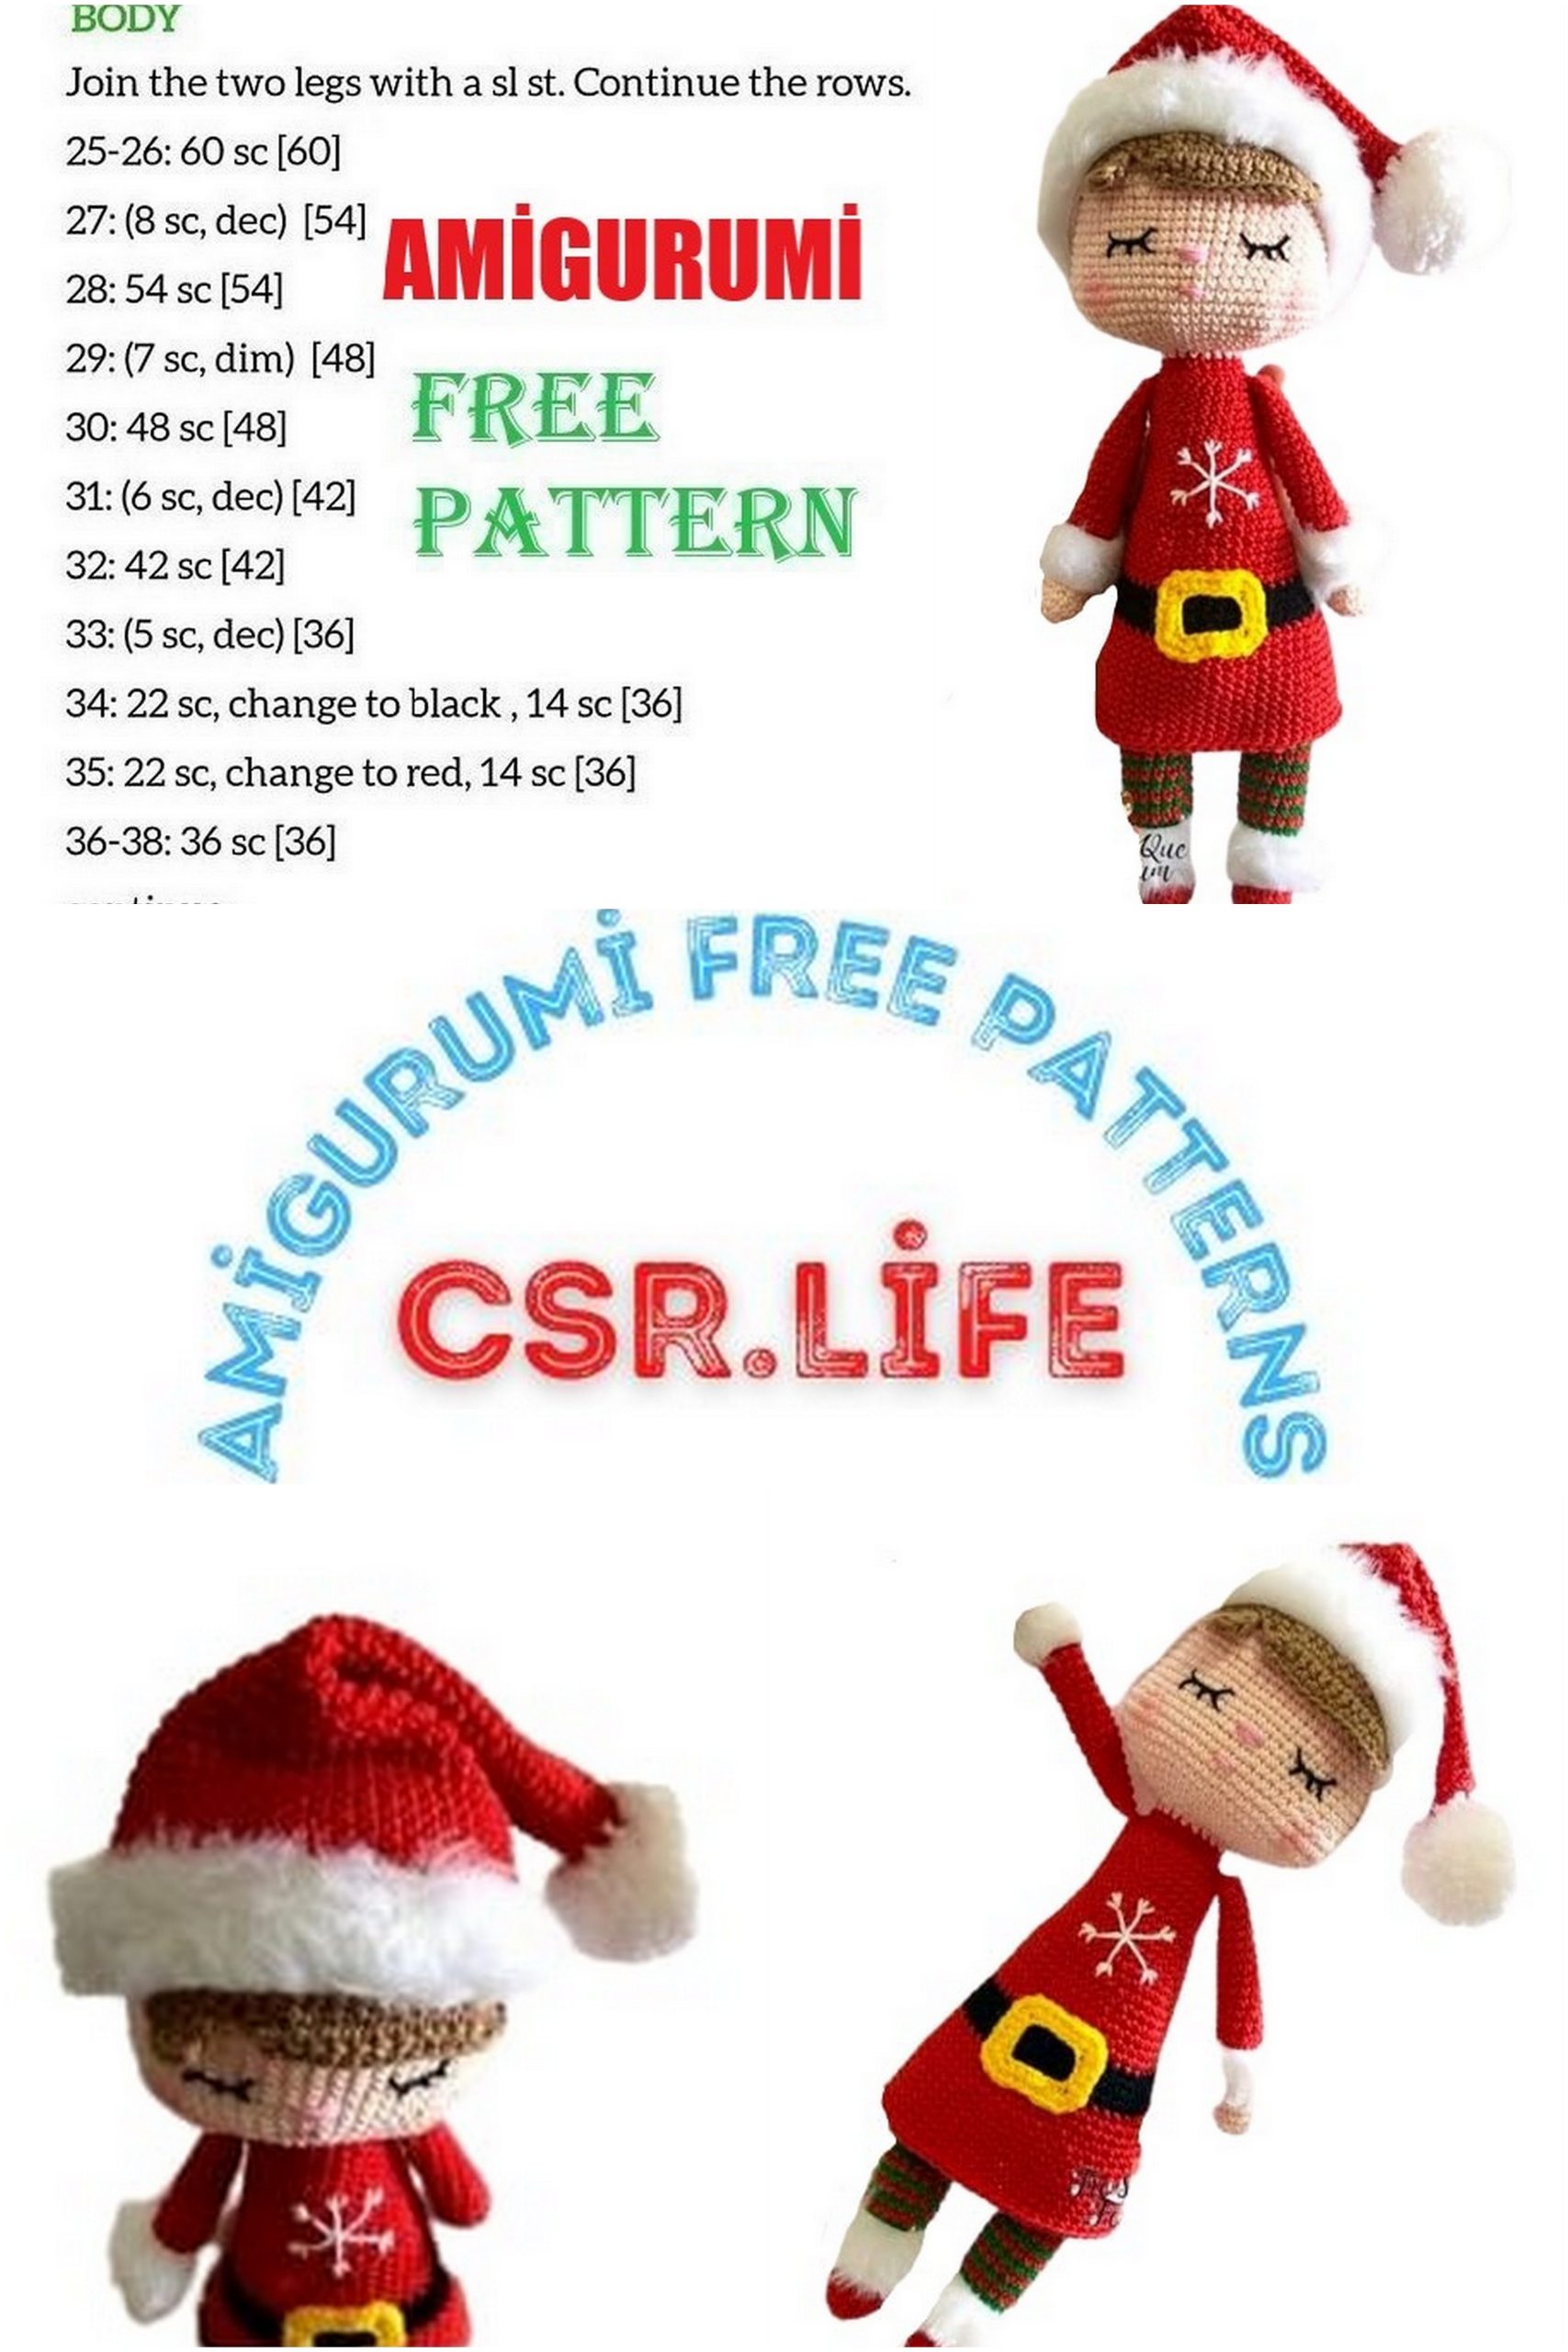
20) 16 sc On the leg – 5sc On the chains – 16sc On the other leg –5 sc on the core (42)
21 to 26) sc all around (42)
<EXCHANGE FOR SKIN COLOR
27 to 31) sc All around (42)
32) (8sc 1 dec.) 4x – 2 sc (38)
33) sc All round (38)
34) (7sc 1 dec.) 4x – 2sc (34)
35) sc All round (34)
36) (6sc 1dec.) 4x – 2sc (30)
37 to 45) sc All round (30)
46) 3sc 1 dec. (24)
47 and 48) sc All round (24)
<Switches to RED color
49 to 53) sc All round (24)
54) sc Picking up the rear chain (24)
55) 4sc (1dec. 3sc) 4x (20)
* before going up the head cuts the thread and starts working the dress
DRESS
<In career 54 where points became apparent.
1) 11sc 1 inc (26)
2) A 4) sc All round (26)
5) 12 sc 1 inc (28)
6) to 8) sc All round (28)
9) 6sc 1 inc (32)
10 to 11) sc, all around (32)
12) 7sc 1 inc (36)
13) sc All round (36)
14) 8sc 1 inc (40)
15) sc All round (40)
16) 9sc 1 inc (44)
17 to 21) sc all around (44)
* EXCHANGE FOR BLACK COLOR
22) 10sc 1 inc (48)
23 and 24) sc, all around (48)
25) 11sc 1 inc (52)
EXCHANGE FOR RED COLOR
26 to 37) sc all around
Cast off and hide the thread.
Get the head
Change the skin color to make the head, continue where it left off on the body – at that moment you can now insert the hot glue stick (optional) and add filling.
56) sc all around (20)
57) 8sc – 1 dec (18)
58) inc all around (36)
59) 2sc 1 inc (48)
60) 3sc 1 inc (60)
* cut and thread, bend the head in half to divide the half of the piece
* put the marker on one side, count 30 points on the back and put another marker, make sure that the 30 points are well centered in the front and 30 points behind.
<Start working on the point after the marker that will be the back of the head
61) 30sc – (1sc – 1inc) 4x – 14 sc – (1inc- 1sc) 4x (68
62) 30sc – (2sc – 1inc) 4x – 14 sc – (1inc- 2sc) 4x. (76)
63 to 65) sc all around (76)
66) 30sc (2sc 1 dec.) 4x – 14 sc – (1dec. 2 sc) 4x. (68)
67) 30 sc (1sc 1 dec) 4x – 14 sc – (1dec. 1 sc) 4x (60)
68 to 73) sc all around (60)
74) 9sc – 1 inc (66)
75 to 80) sc all around (66)
81) 9sc 1 dec (60)
82) 8sc 1 dec. (54)
83) 4sc 1 dec. (40)
84) (4sc – 1 dec) 6x – 4sc (34)
85) (2sc – 1 dec) 8x – 2sc (26)
86) 1dec, – 2sc. (19)
87) (1sc – 1dec) 6x – 1sc (13)
88) only decrease and finish
SEW ARMS
<Center the arms on the side in line with the legs and sew
BELT BUCKLE
1) 22 CHAINS CLOSE THE CIRCLE
2) 3sc – 3 points inc together – 3sc – 3 points inc together – 5sc – 3 points inc
together – 3sc – 3 points inc together – 2sc
Closes with scx and ends, leaves thread to sew.
GORRO
1) 6sc magic ring (6)
2) Inc all round (12)
3 and 4) sc all around (12)
5) 1sc – 1 inc (18)
6 and 7) sc all around (18)
8) 2sc – 1 inc (24)
9 and 10) sc all around (24)
11) 3sc – 1 inc (30)
12 and 13) sc all around (30)
14) 4sc – 1 inc (36)
15 and 16) sc all around (36)
17) 5sc – 1 inc (42)
18 and 19) sc all around
20) 6sc – 1 inc (48)
21 and 22) sc all around (48)
23) 7 sc – 1 inc (54)
24 and 25) sc all around (54)
26) 8 sc and 1inc (60)
27 and 28) sc all around (60)
29) 9sc – 1 inc (66)
30 to 42) sc all around (66)
<Switches to WHITE color
43 to 46) sc all around (66)
Leaves thread for sewing.
HAIR
1) 19 CHAINS
2) Sc, all around – 1 ch. Will come
3) 5sc – 1 ch. Will come
4) 1 inc Half high point – 2 sc – 1 dec. – 1 ch. Will come
5) 3sc – 1 inc Half high point – cut the thread
6) Skip 1 point and start from the next – 1dec -9 sc – 1inc Half-point high-turn.
7) 1 inc Half a high point. 9 sc – 1dec – cut the wire
8) Now contour all the hair with a low point.
<SEW THE HAIR BEFORE GORRO
Another hair option for those who have difficulty doing the above is to cut in fabric and sew.
<TOUCH SEWING
EMBROIDERING THE SNOWFLAKE
<PUT ALFINTES MARKING AND EDGE WITH WHITE YARN SEWS THE TISSUE FABRIC ON THE LEGS, ARMS AND CAP WHERE THIS IS WHITE CROCHET
<Cut the strip of the plush fabric the width of the white part and glue with glue.
<MAKE A WHITE POMPOM AND SEW AT GONRO TIP
<ATTACH THE GORRO TIP TO THE SIDE TO FALL
EYES
<To make the eyes, just make the pin markings and embroider.