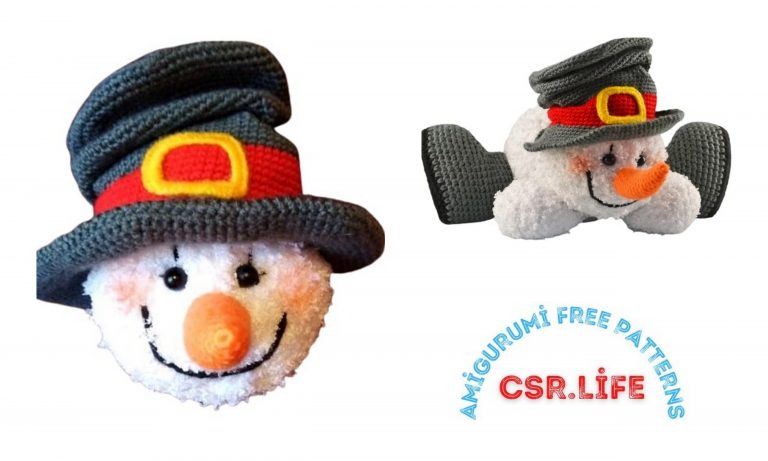
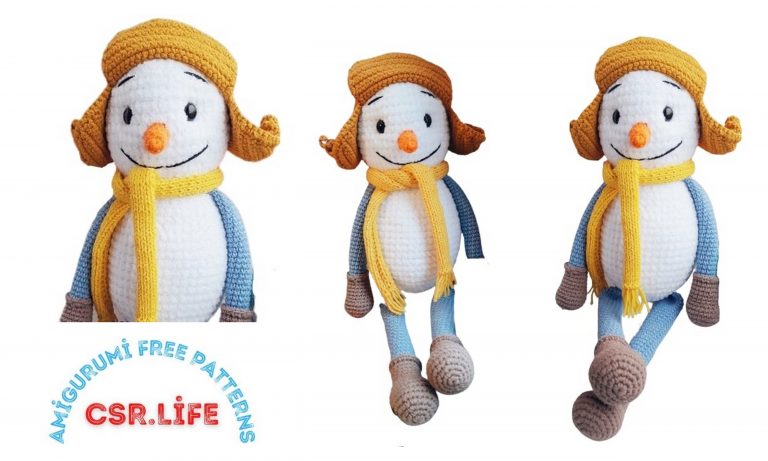
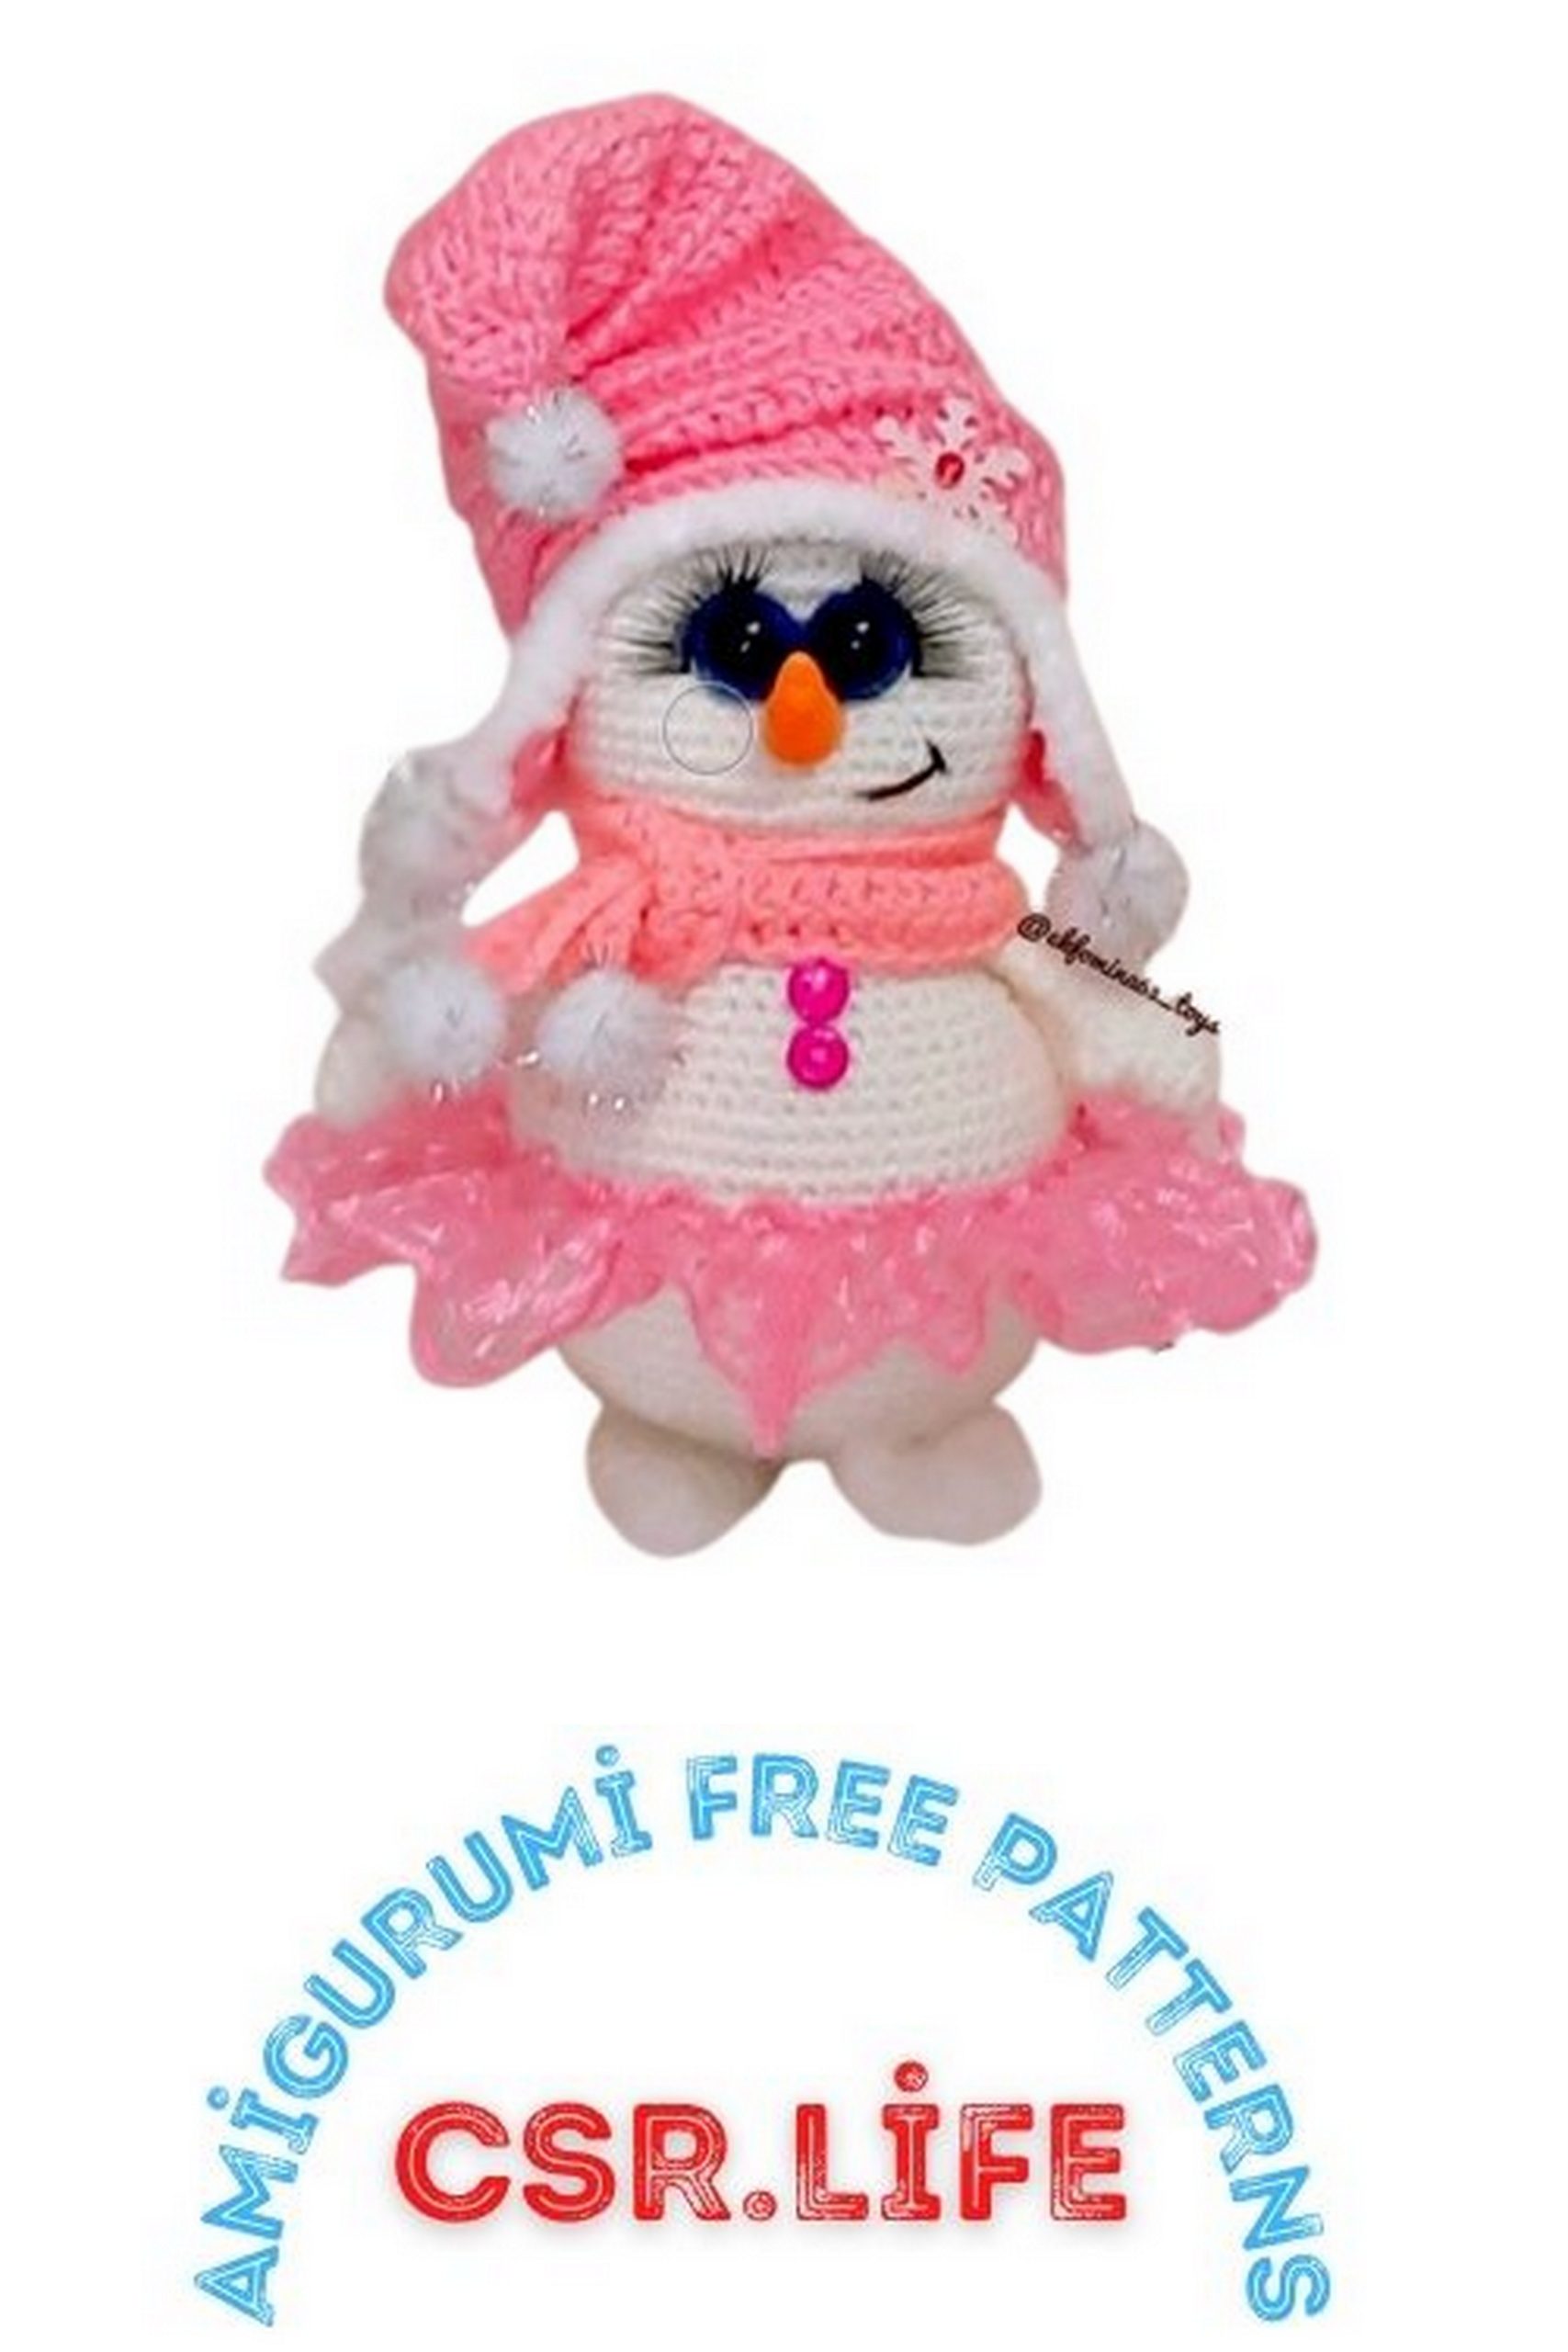
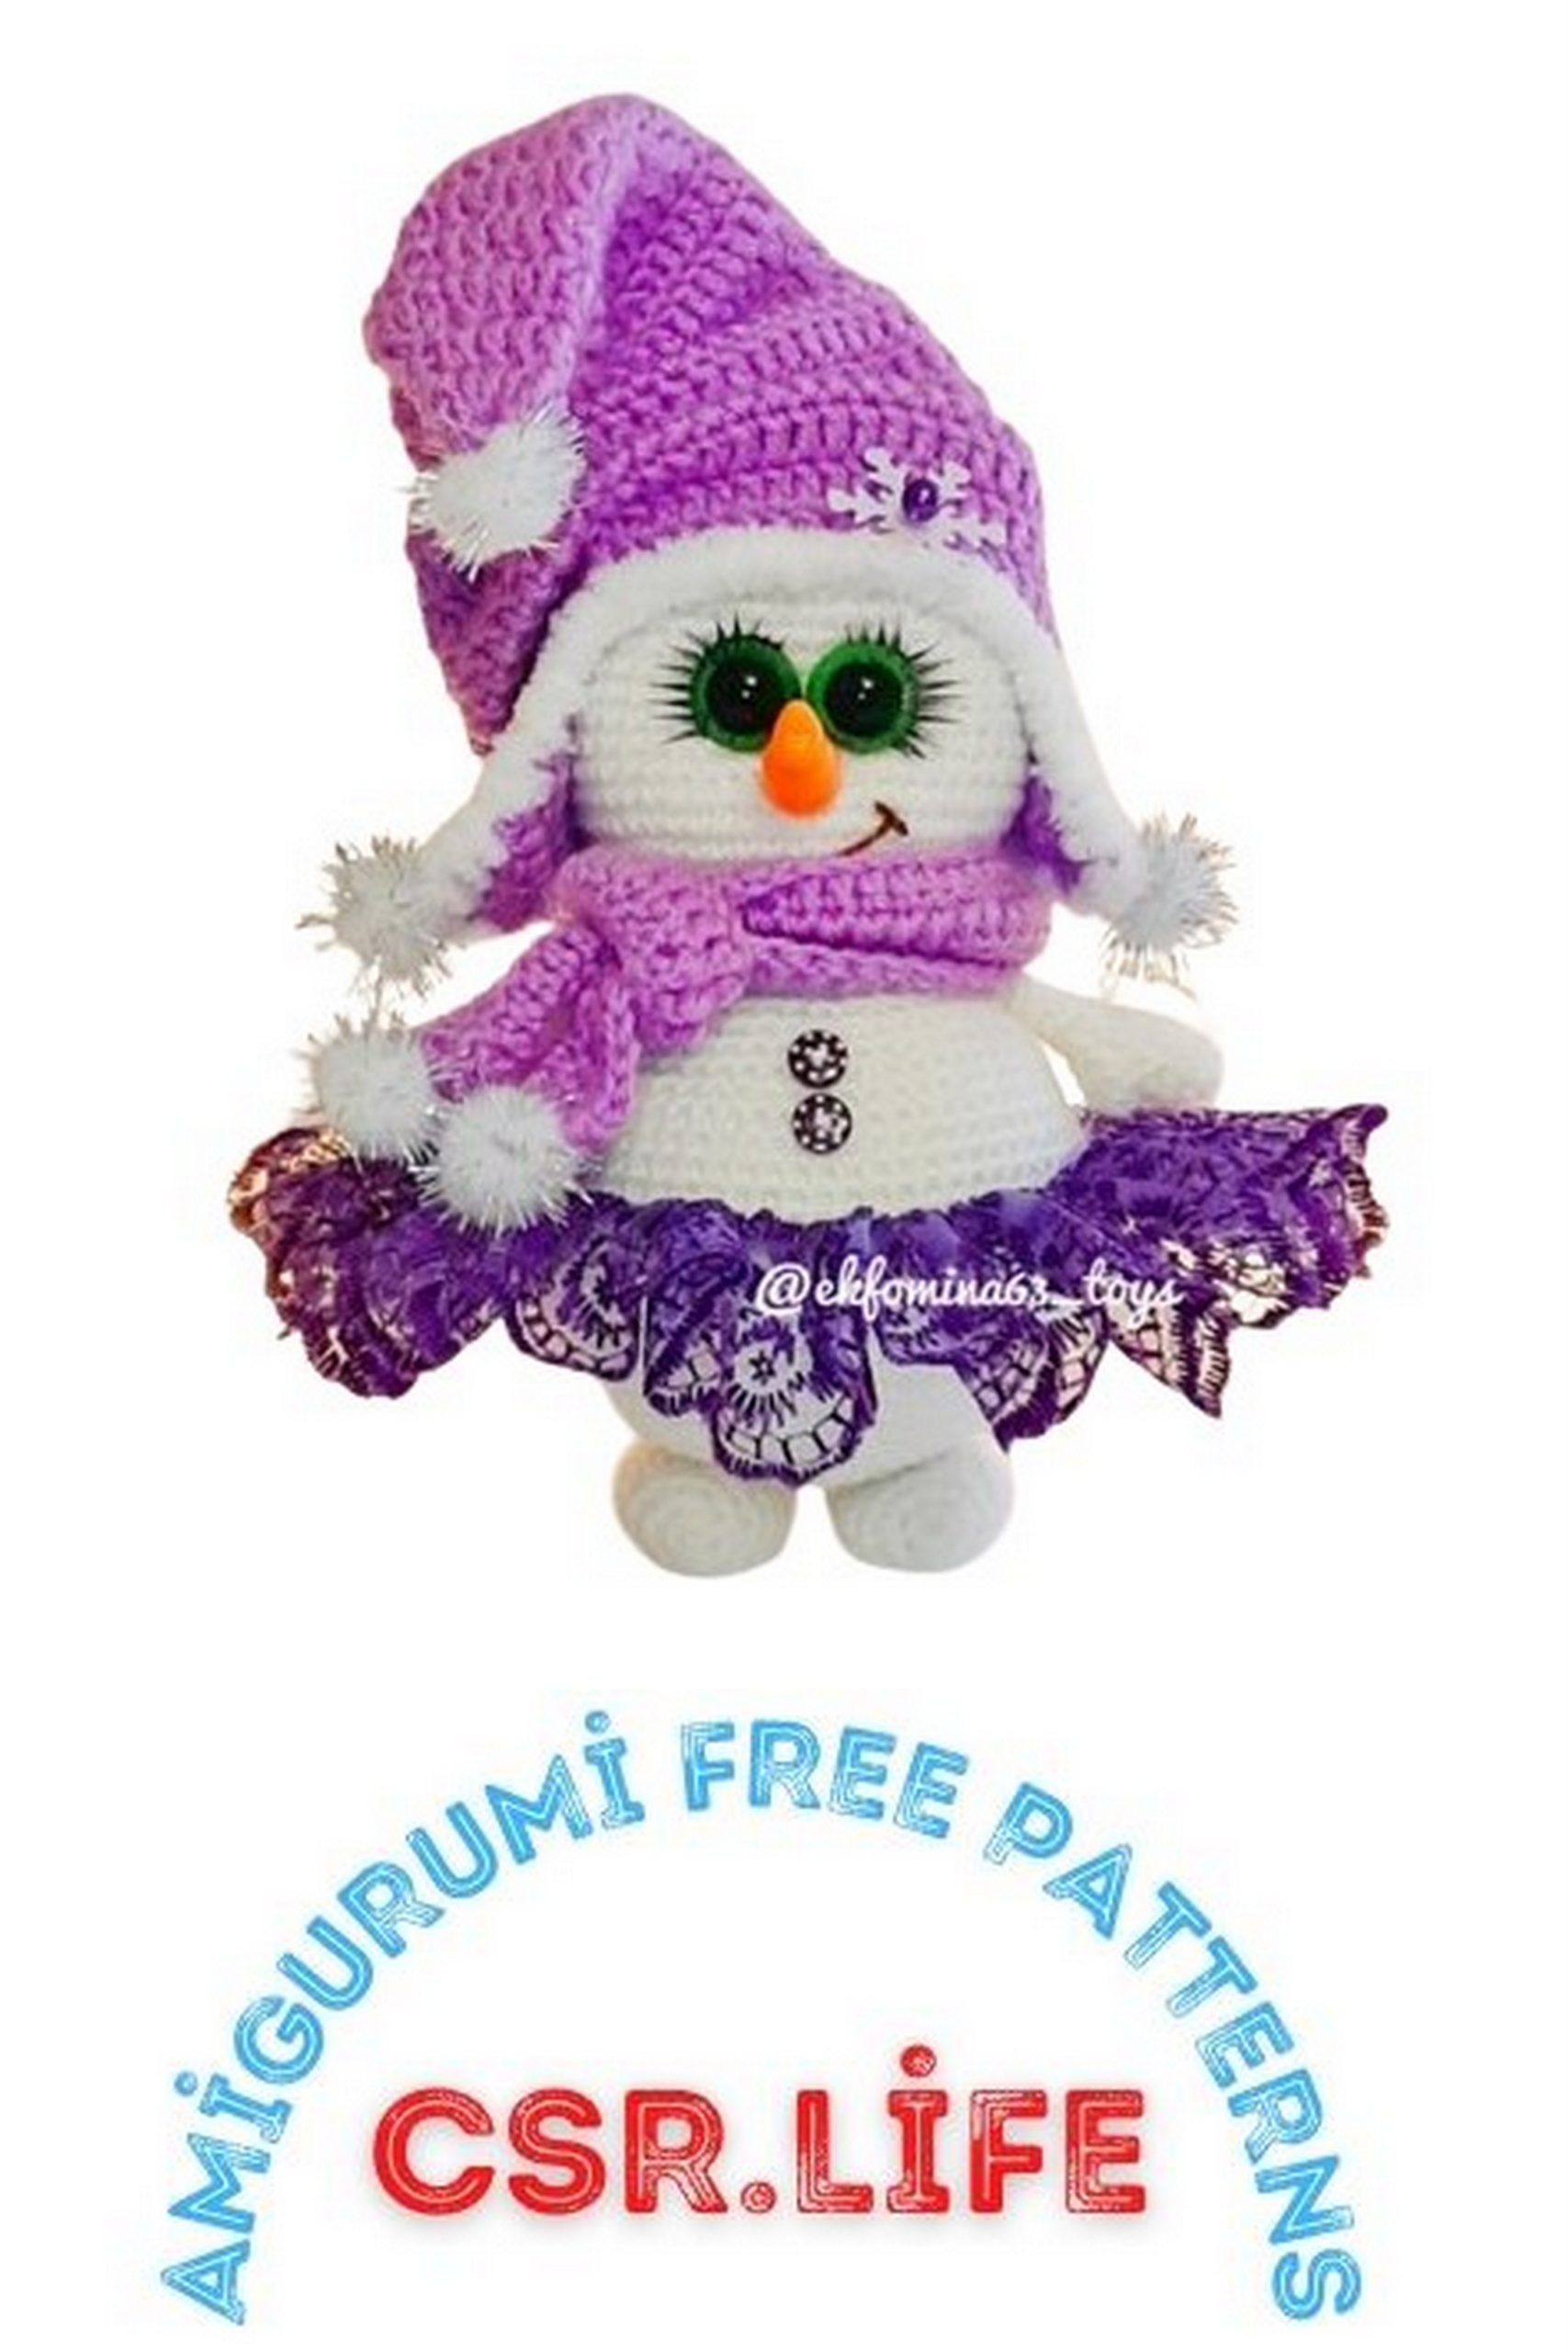
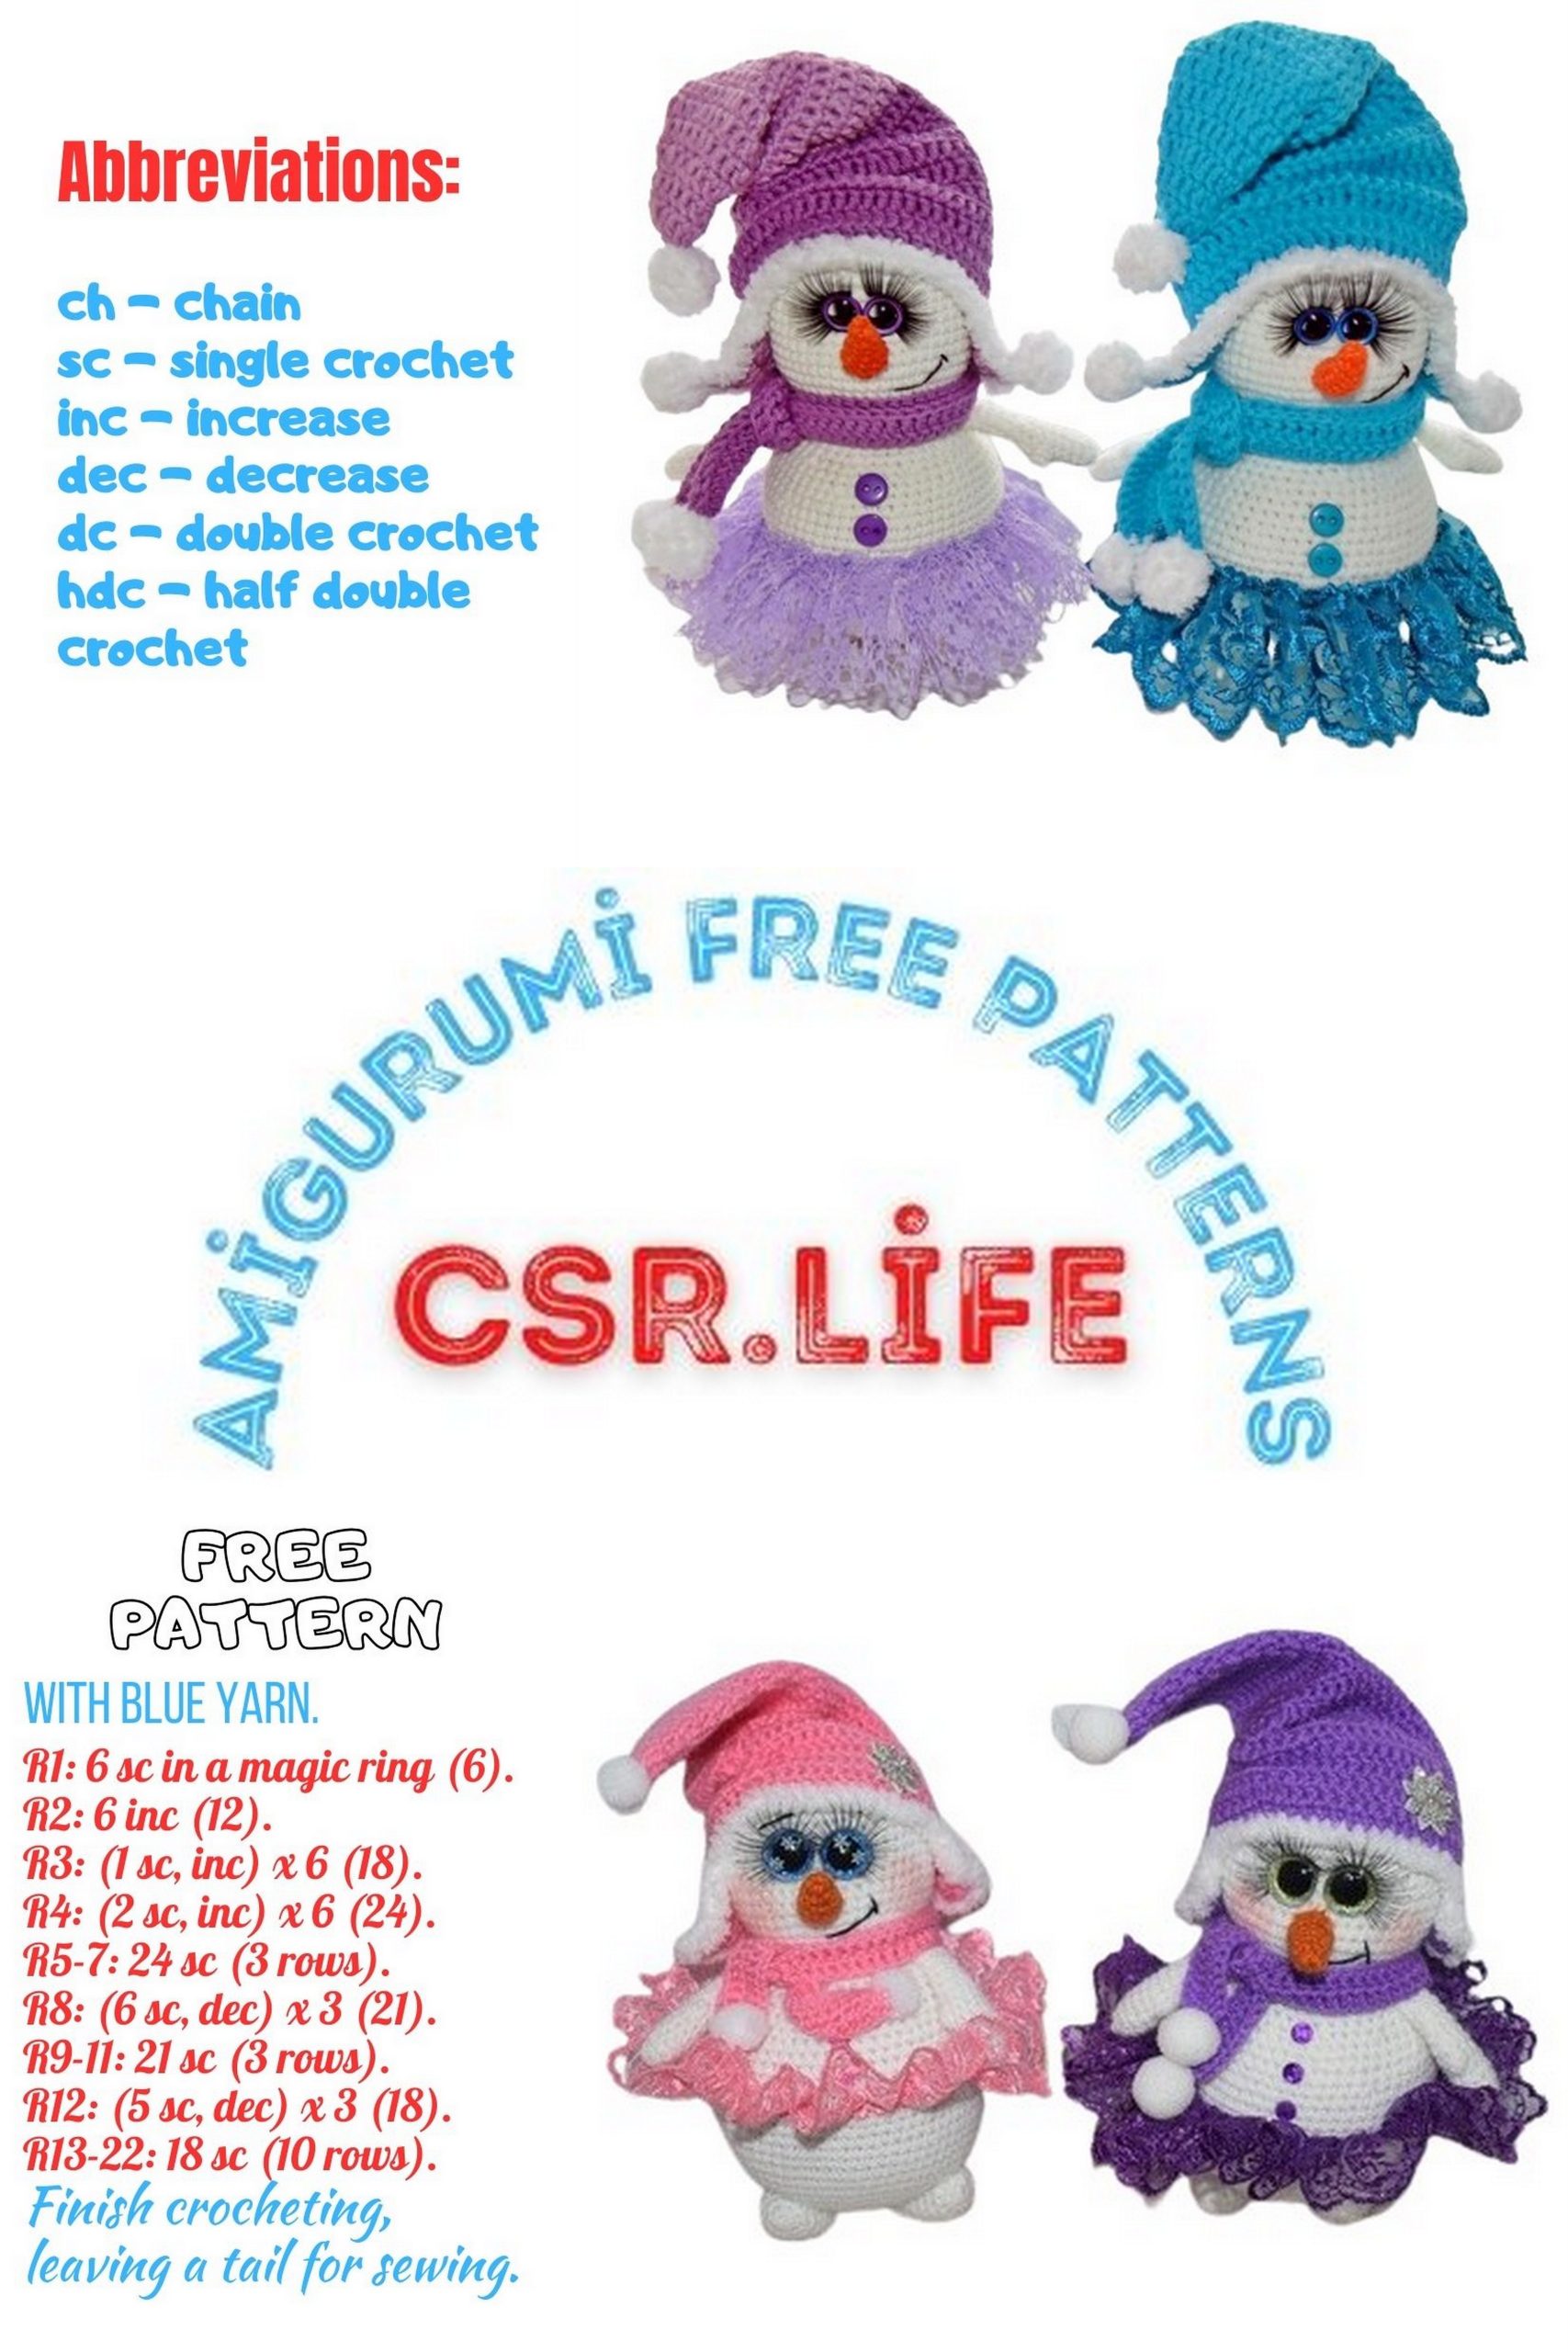
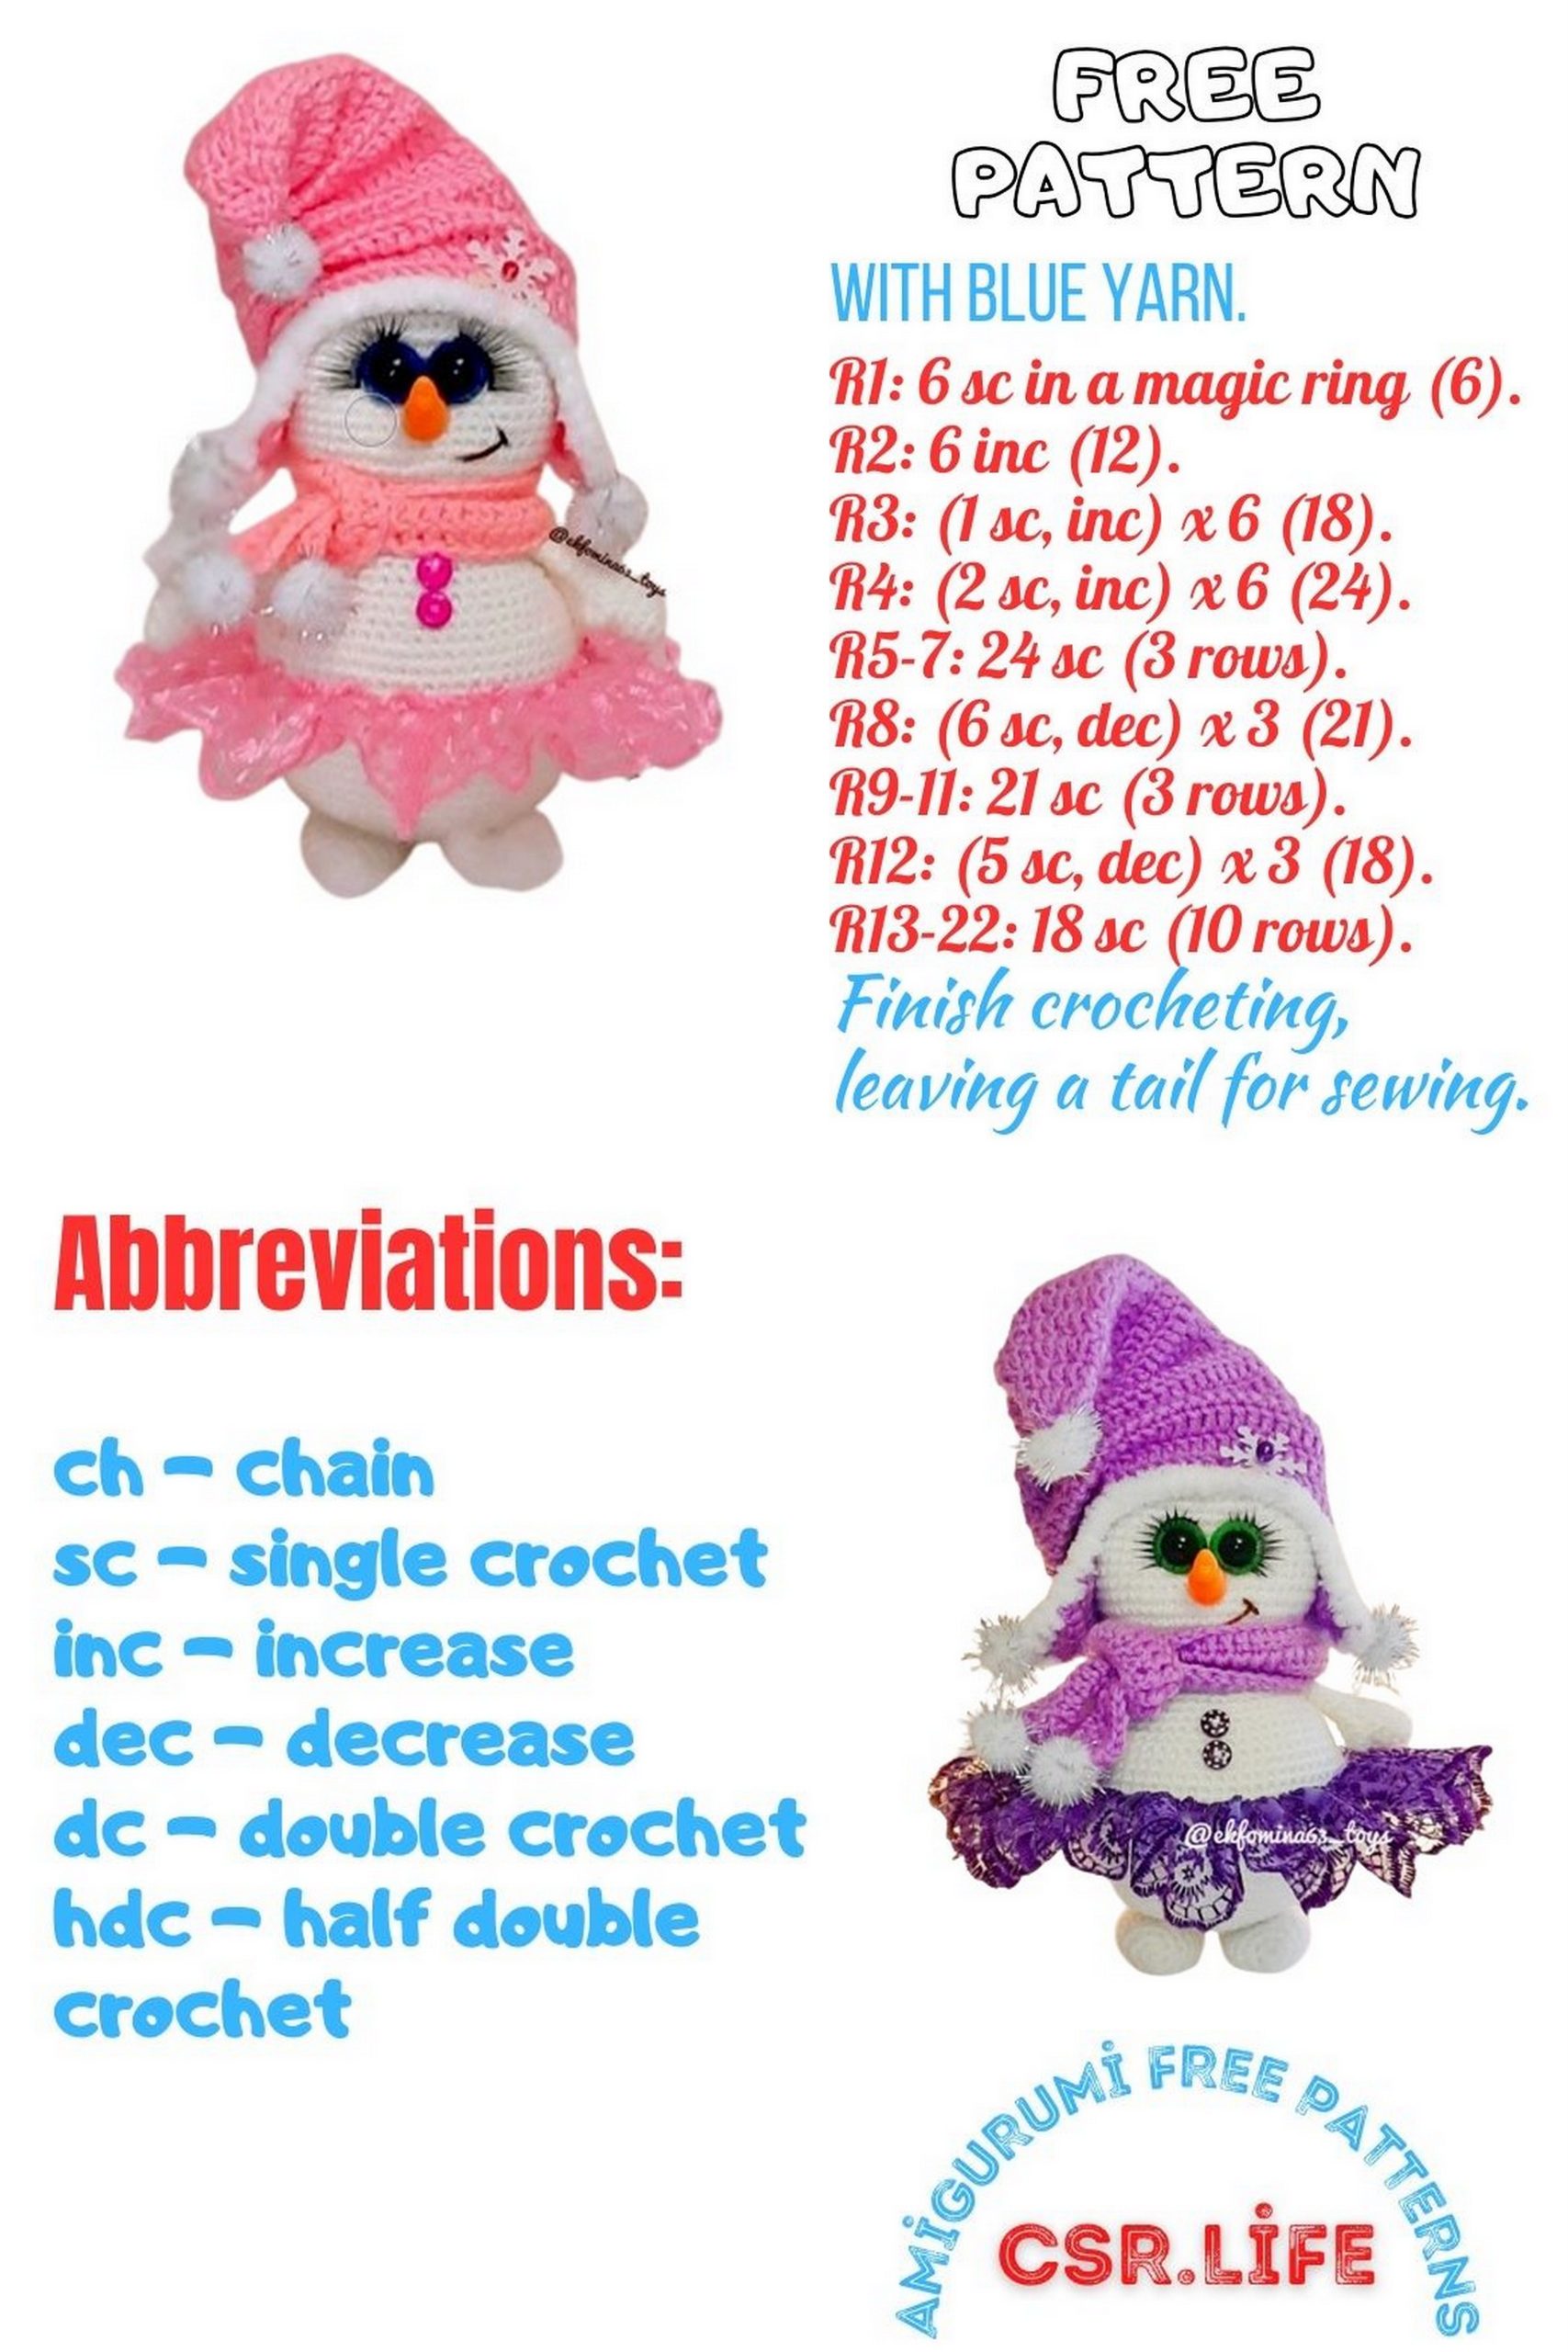
Adorable Little Snowman Amigurumi: Free Crochet Pattern
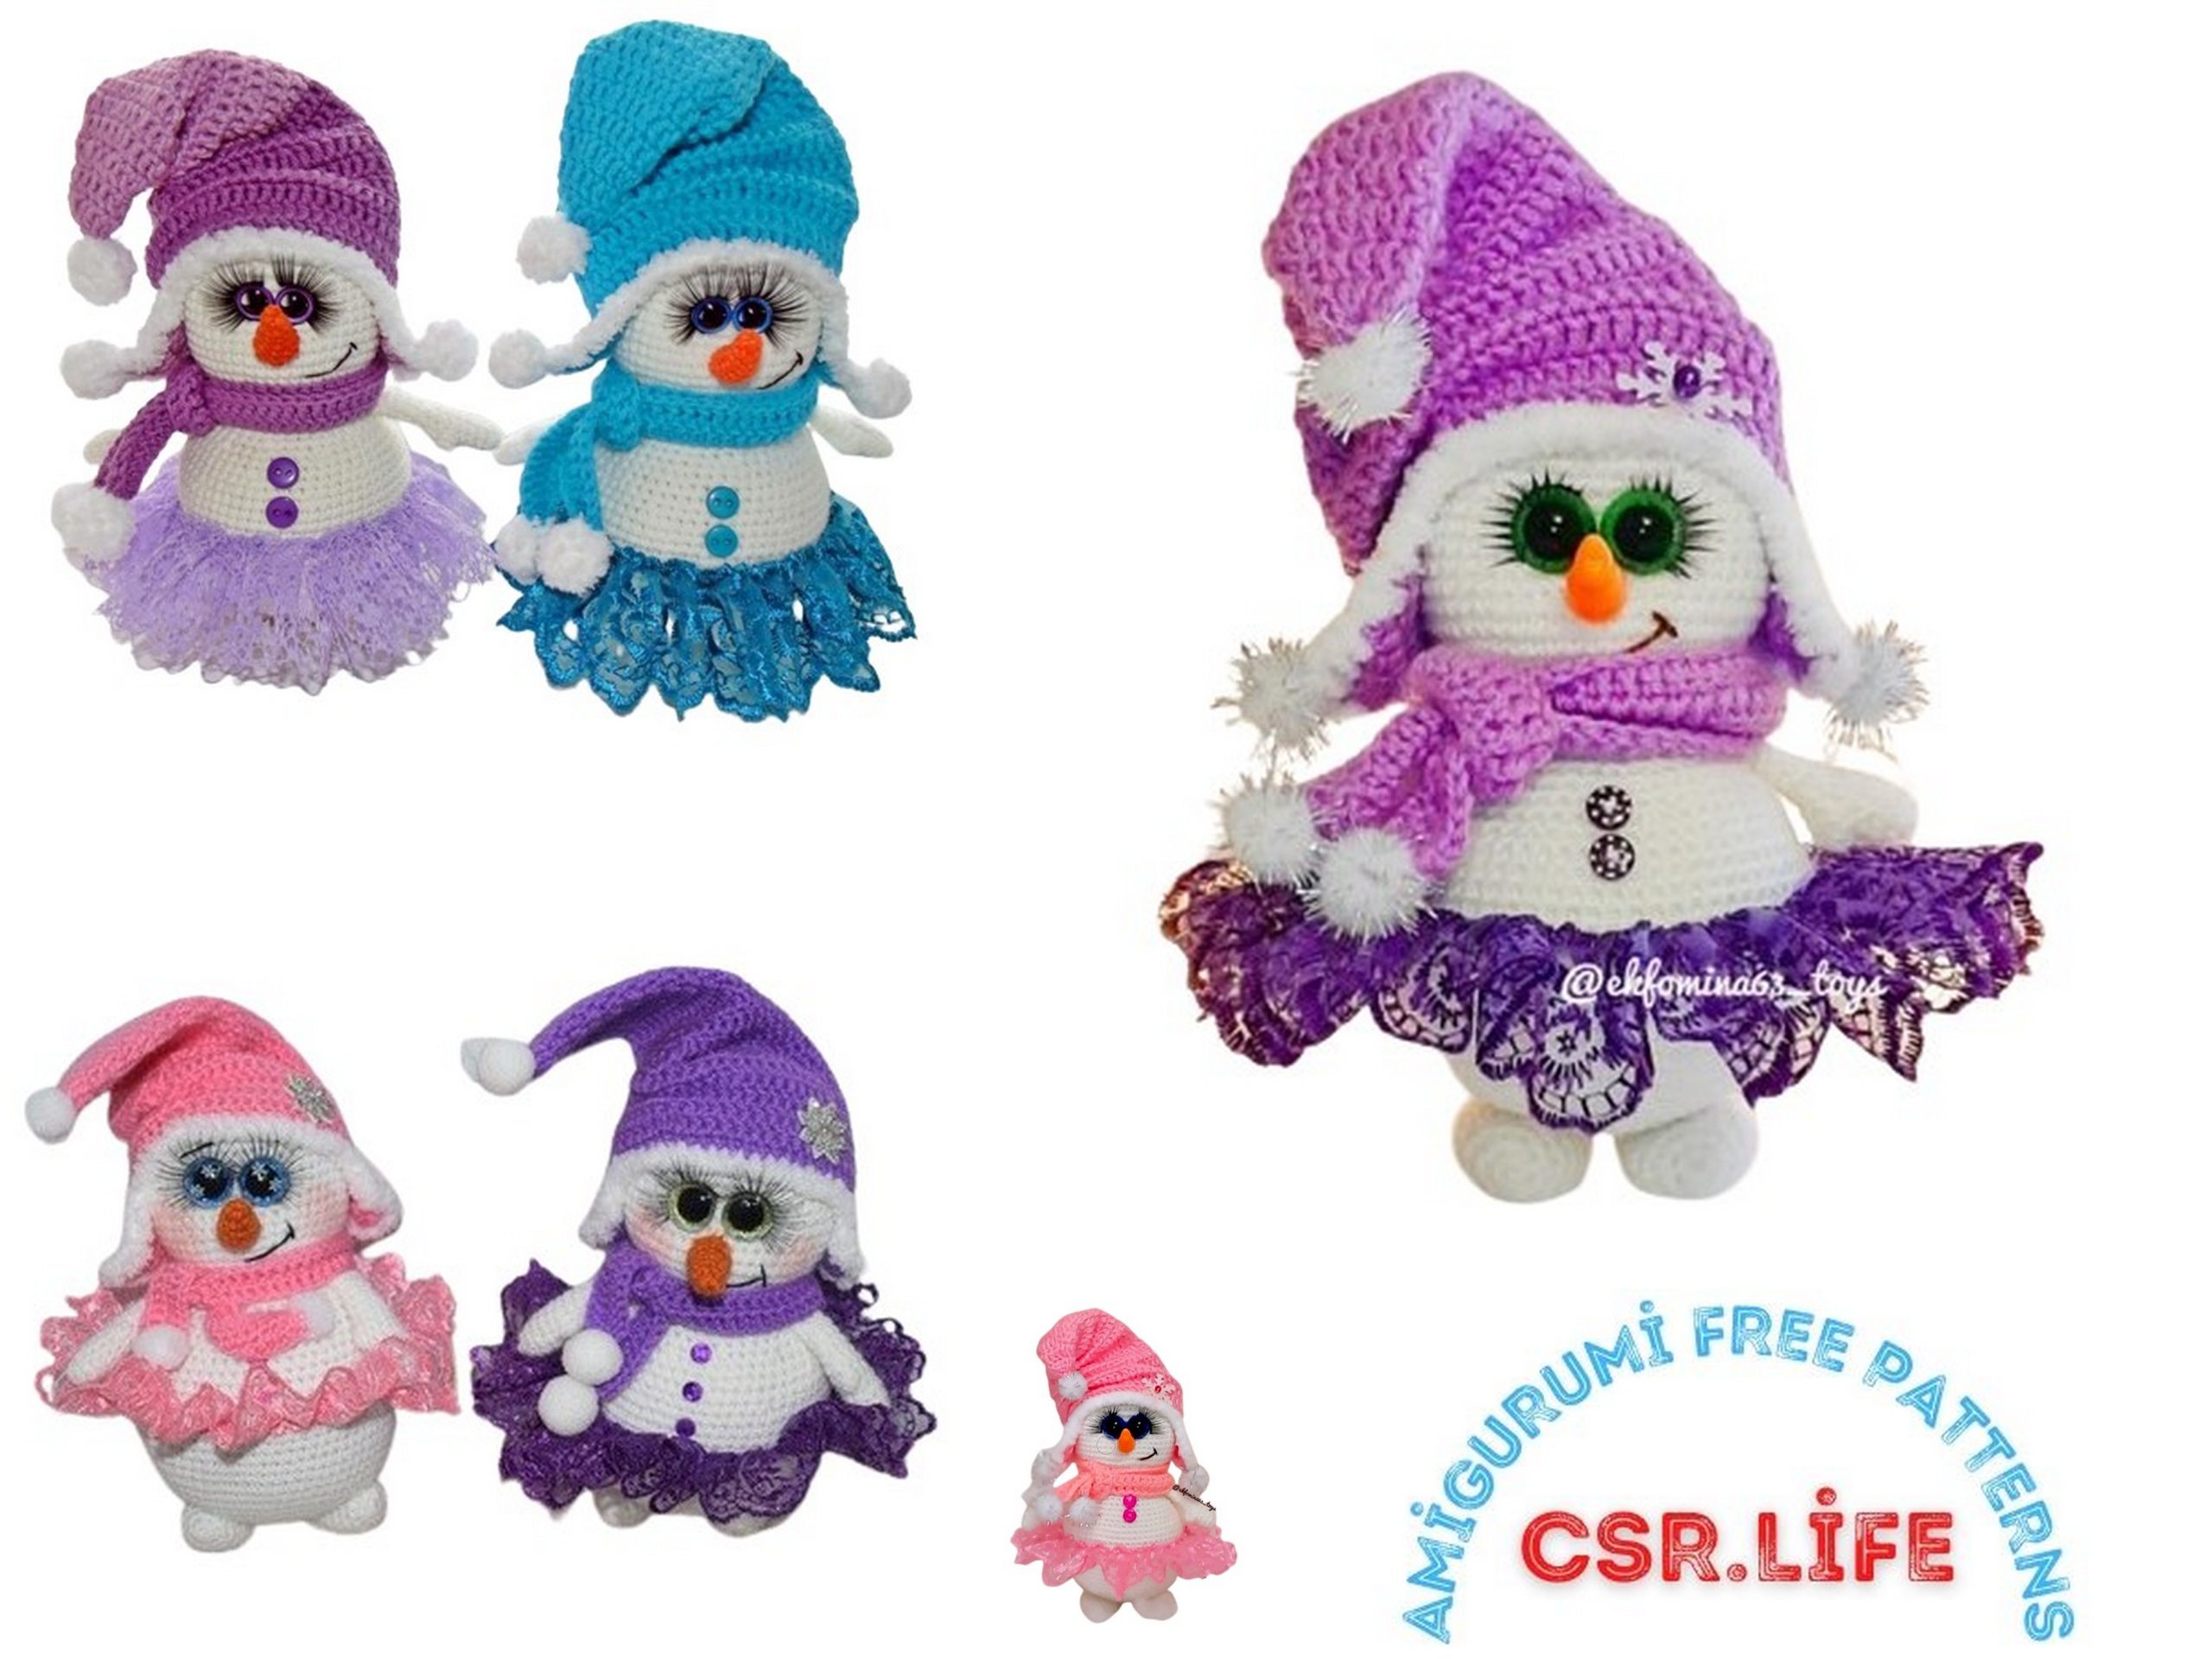
Welcome to our delightful little snowman amigurumi free crochet pattern! Create your own cuddly winter friend with this easy-to-follow amigurumi tutorial. Perfect for beginners and experienced crocheters alike, this adorable snowman will add a touch of charm to your holiday décor or make a heartfelt handmade gift for someone special. Let’s dive into the magical world of crochet and bring this cute snowman to life!
Materials and tools required:
Yarn “Bambino” Nako (25% wool, 75% acrylic, 130m/50g) in white color for the body – 1 skein;
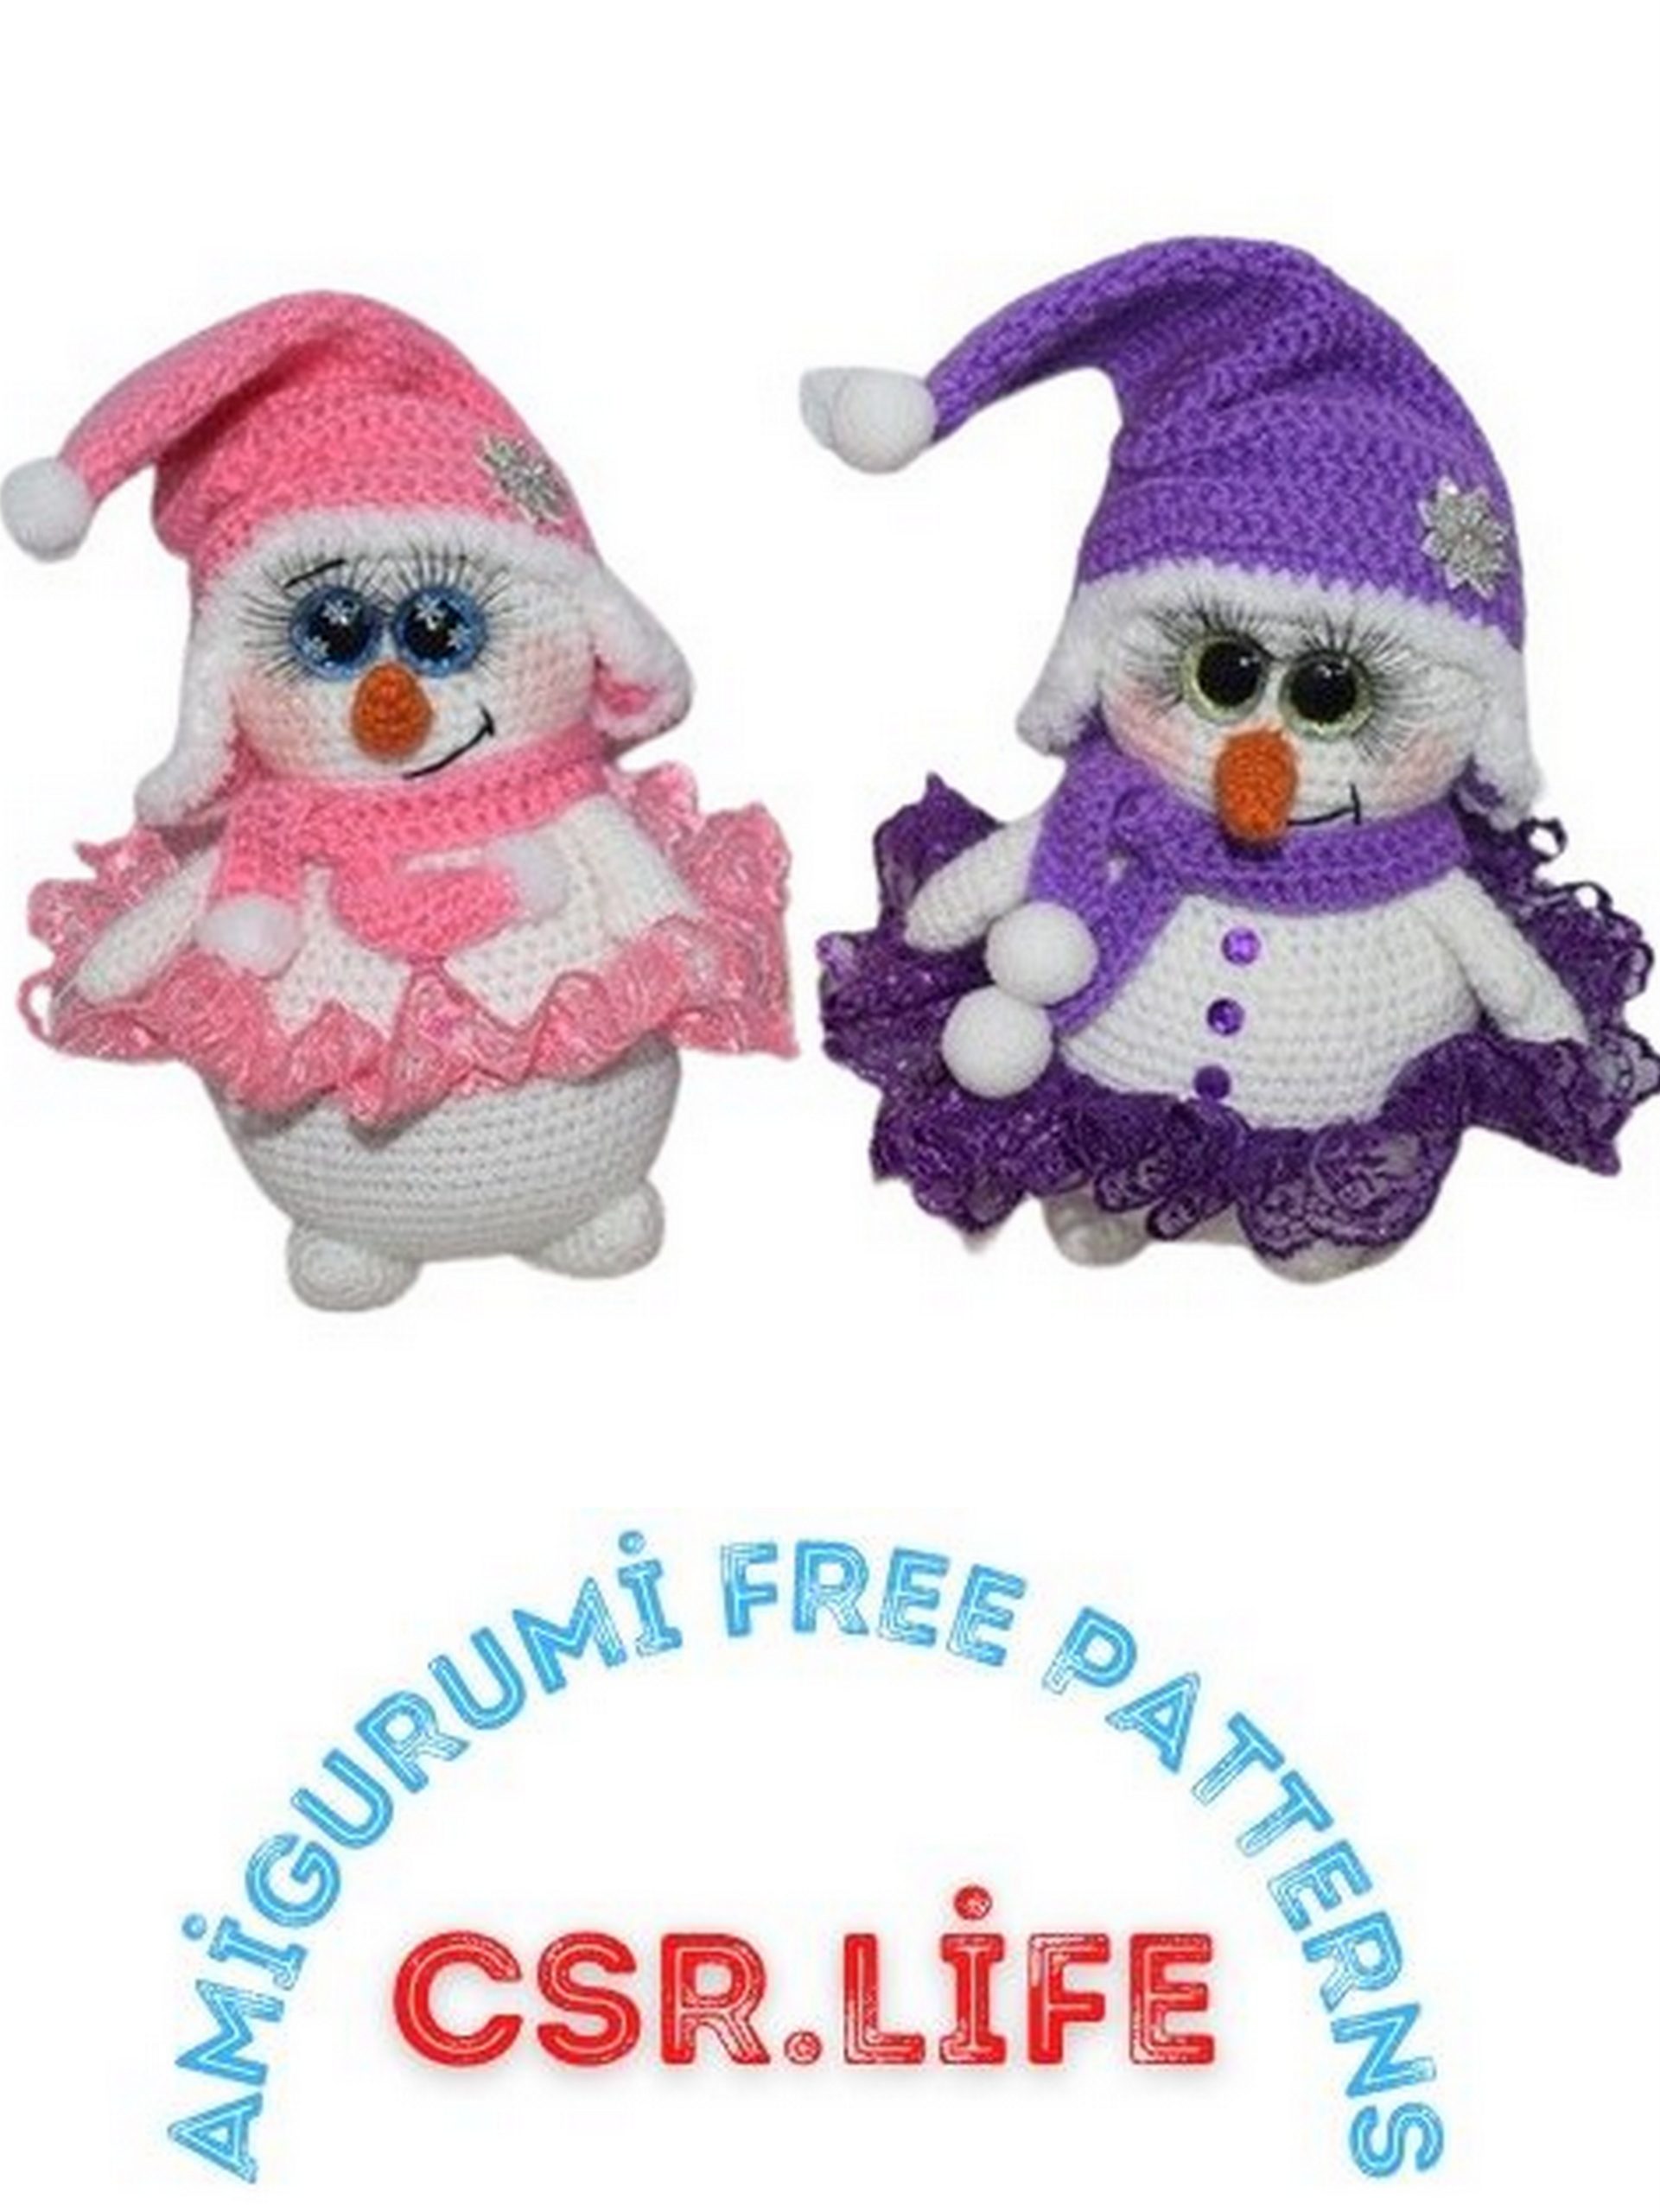
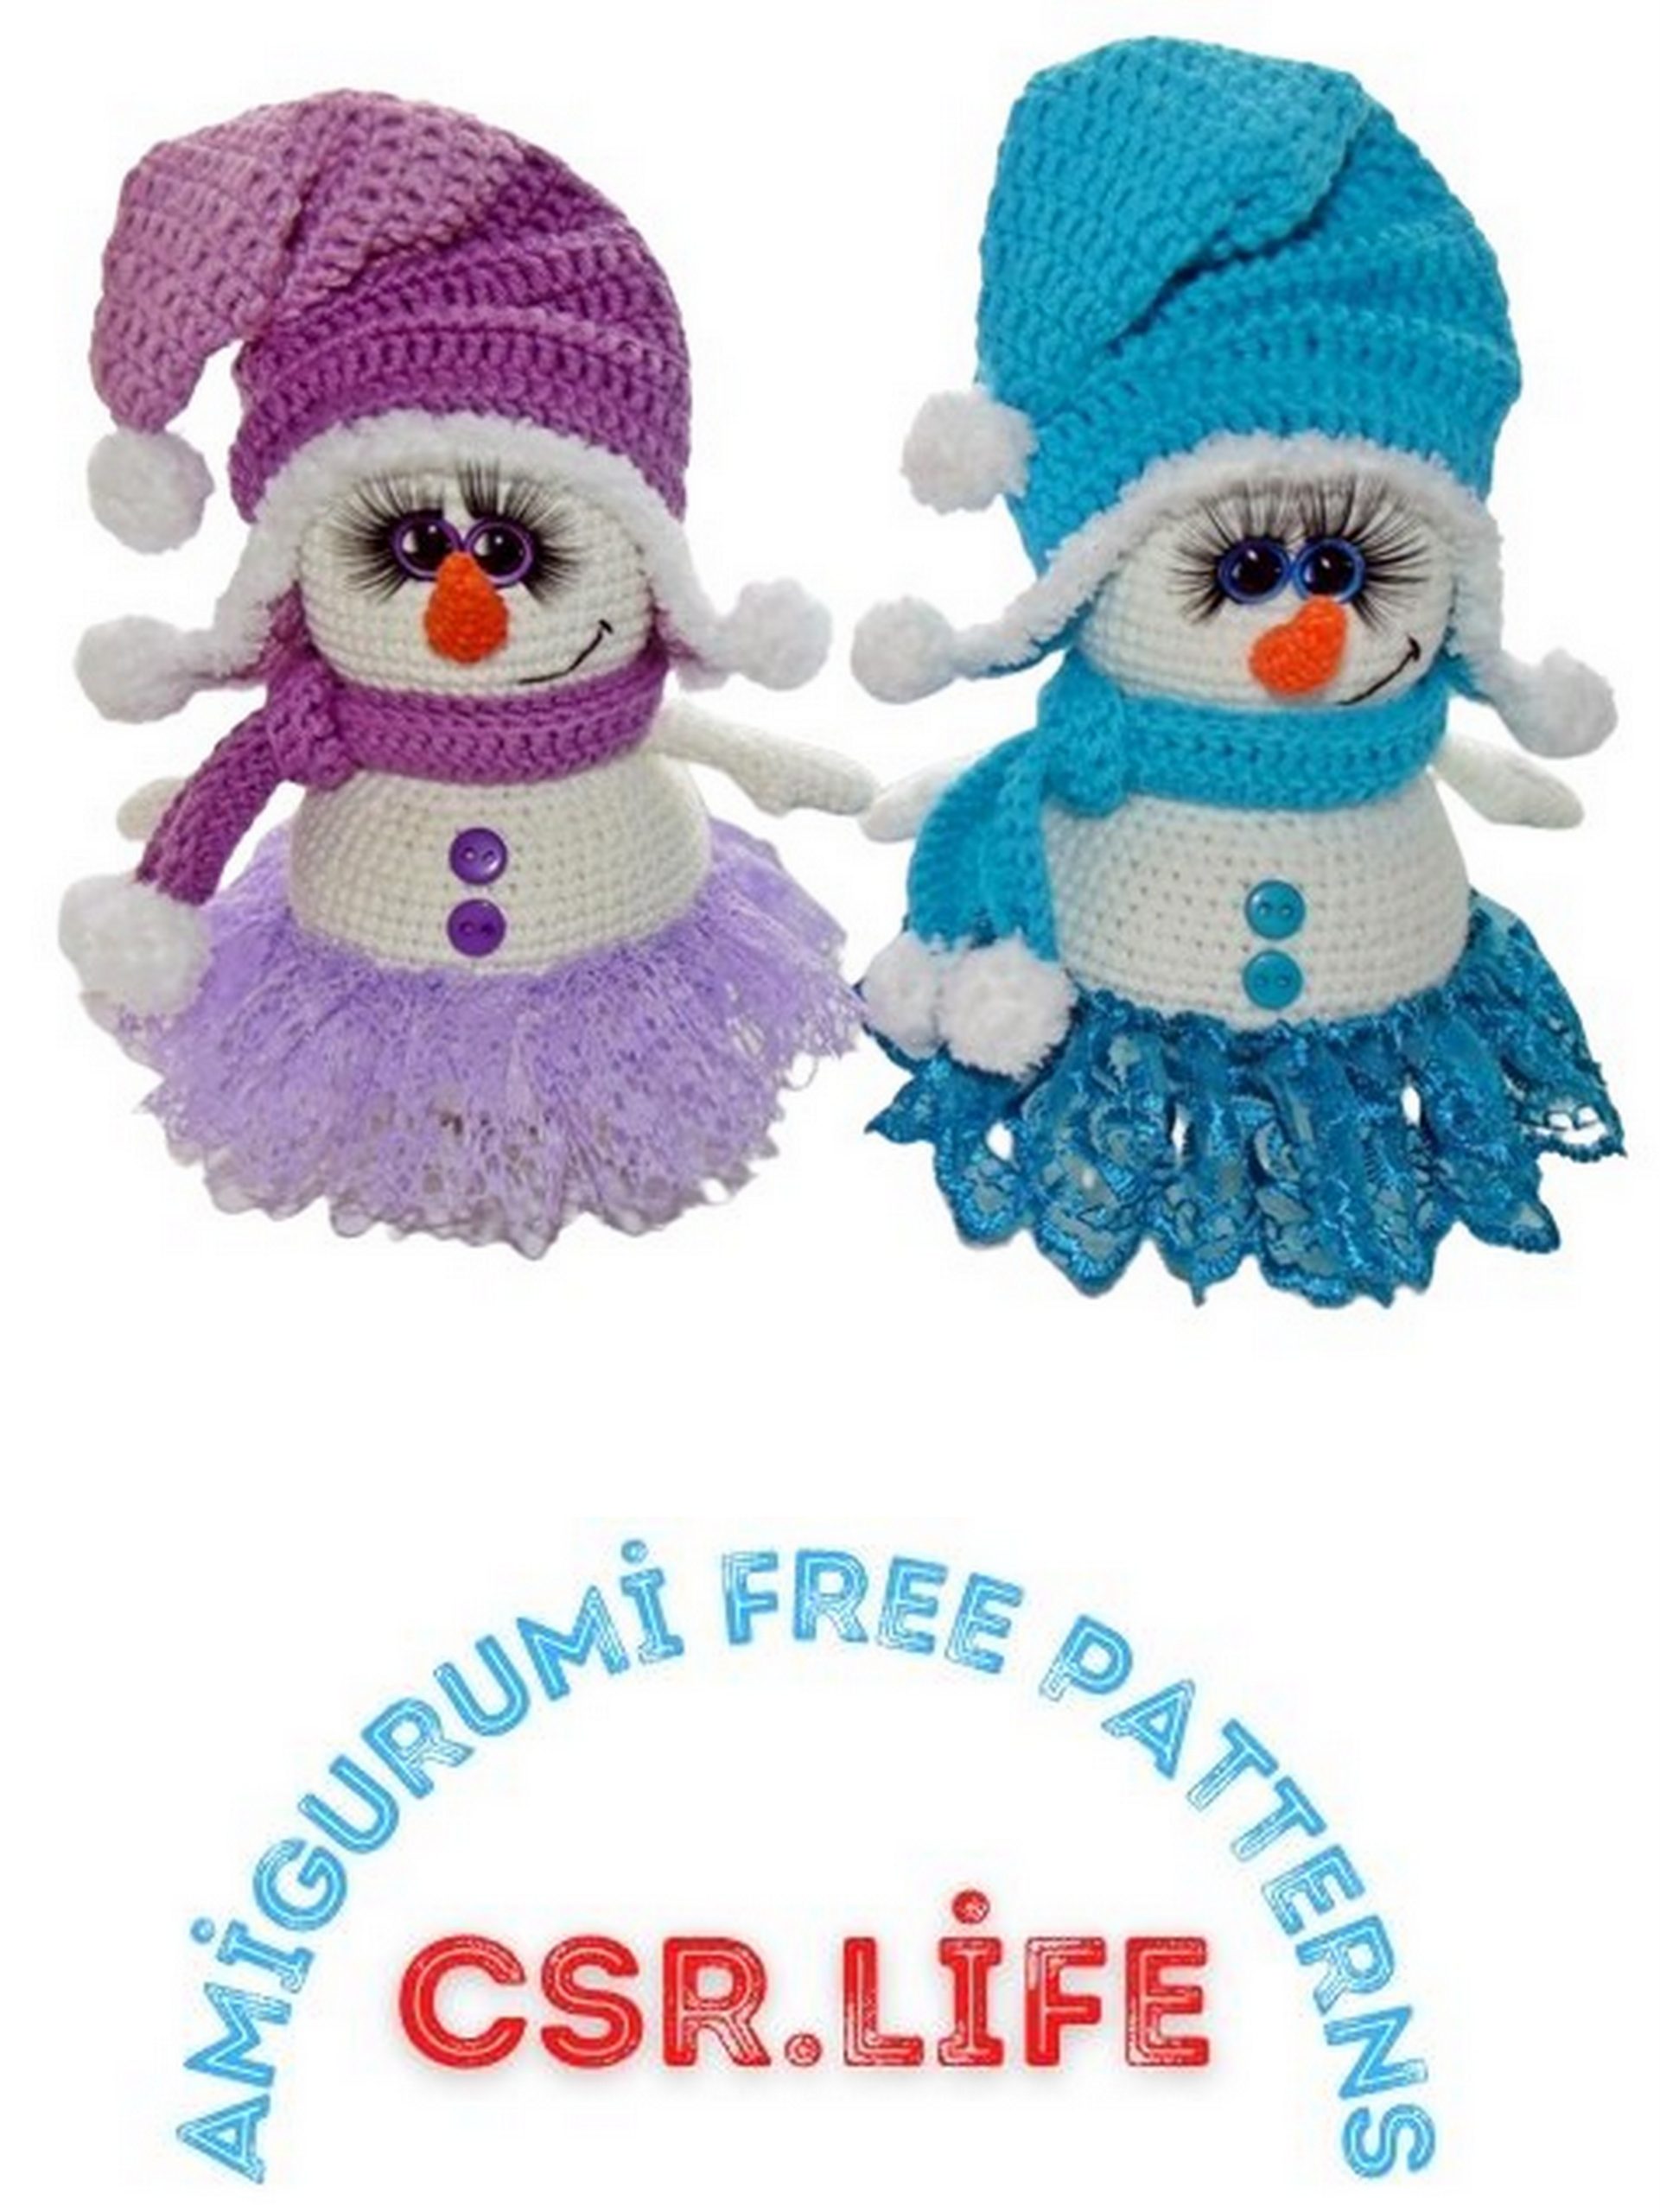
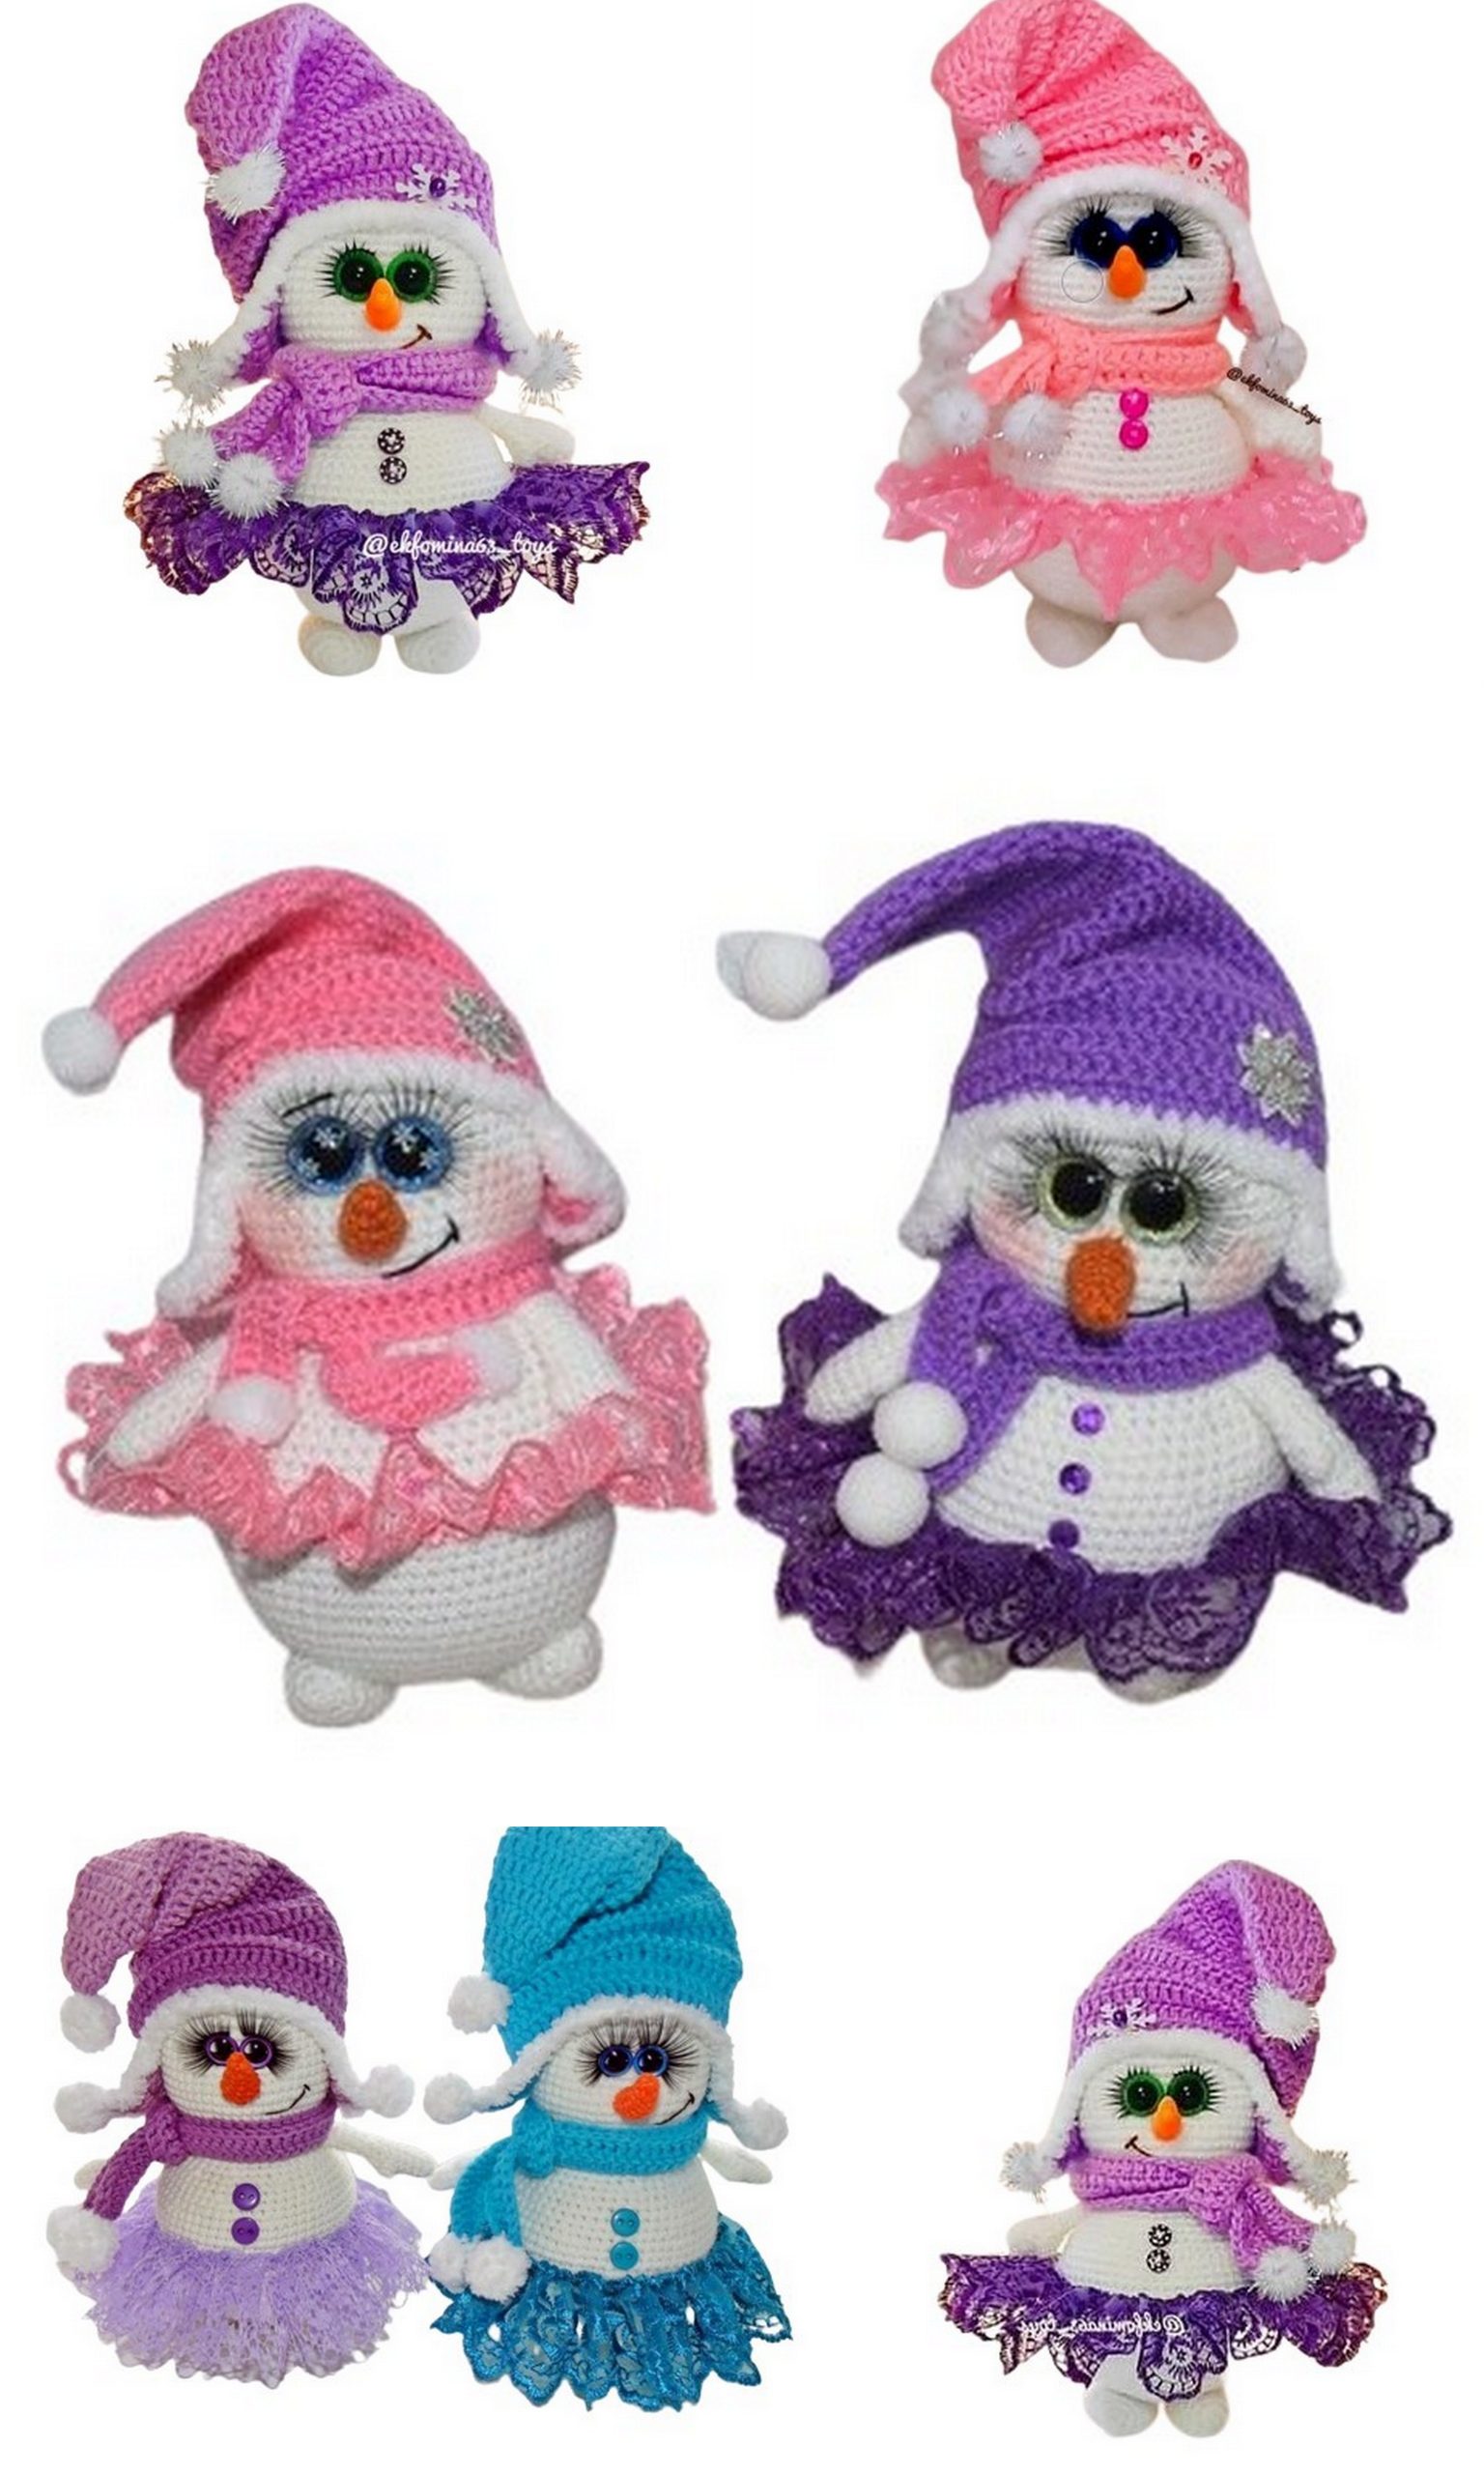
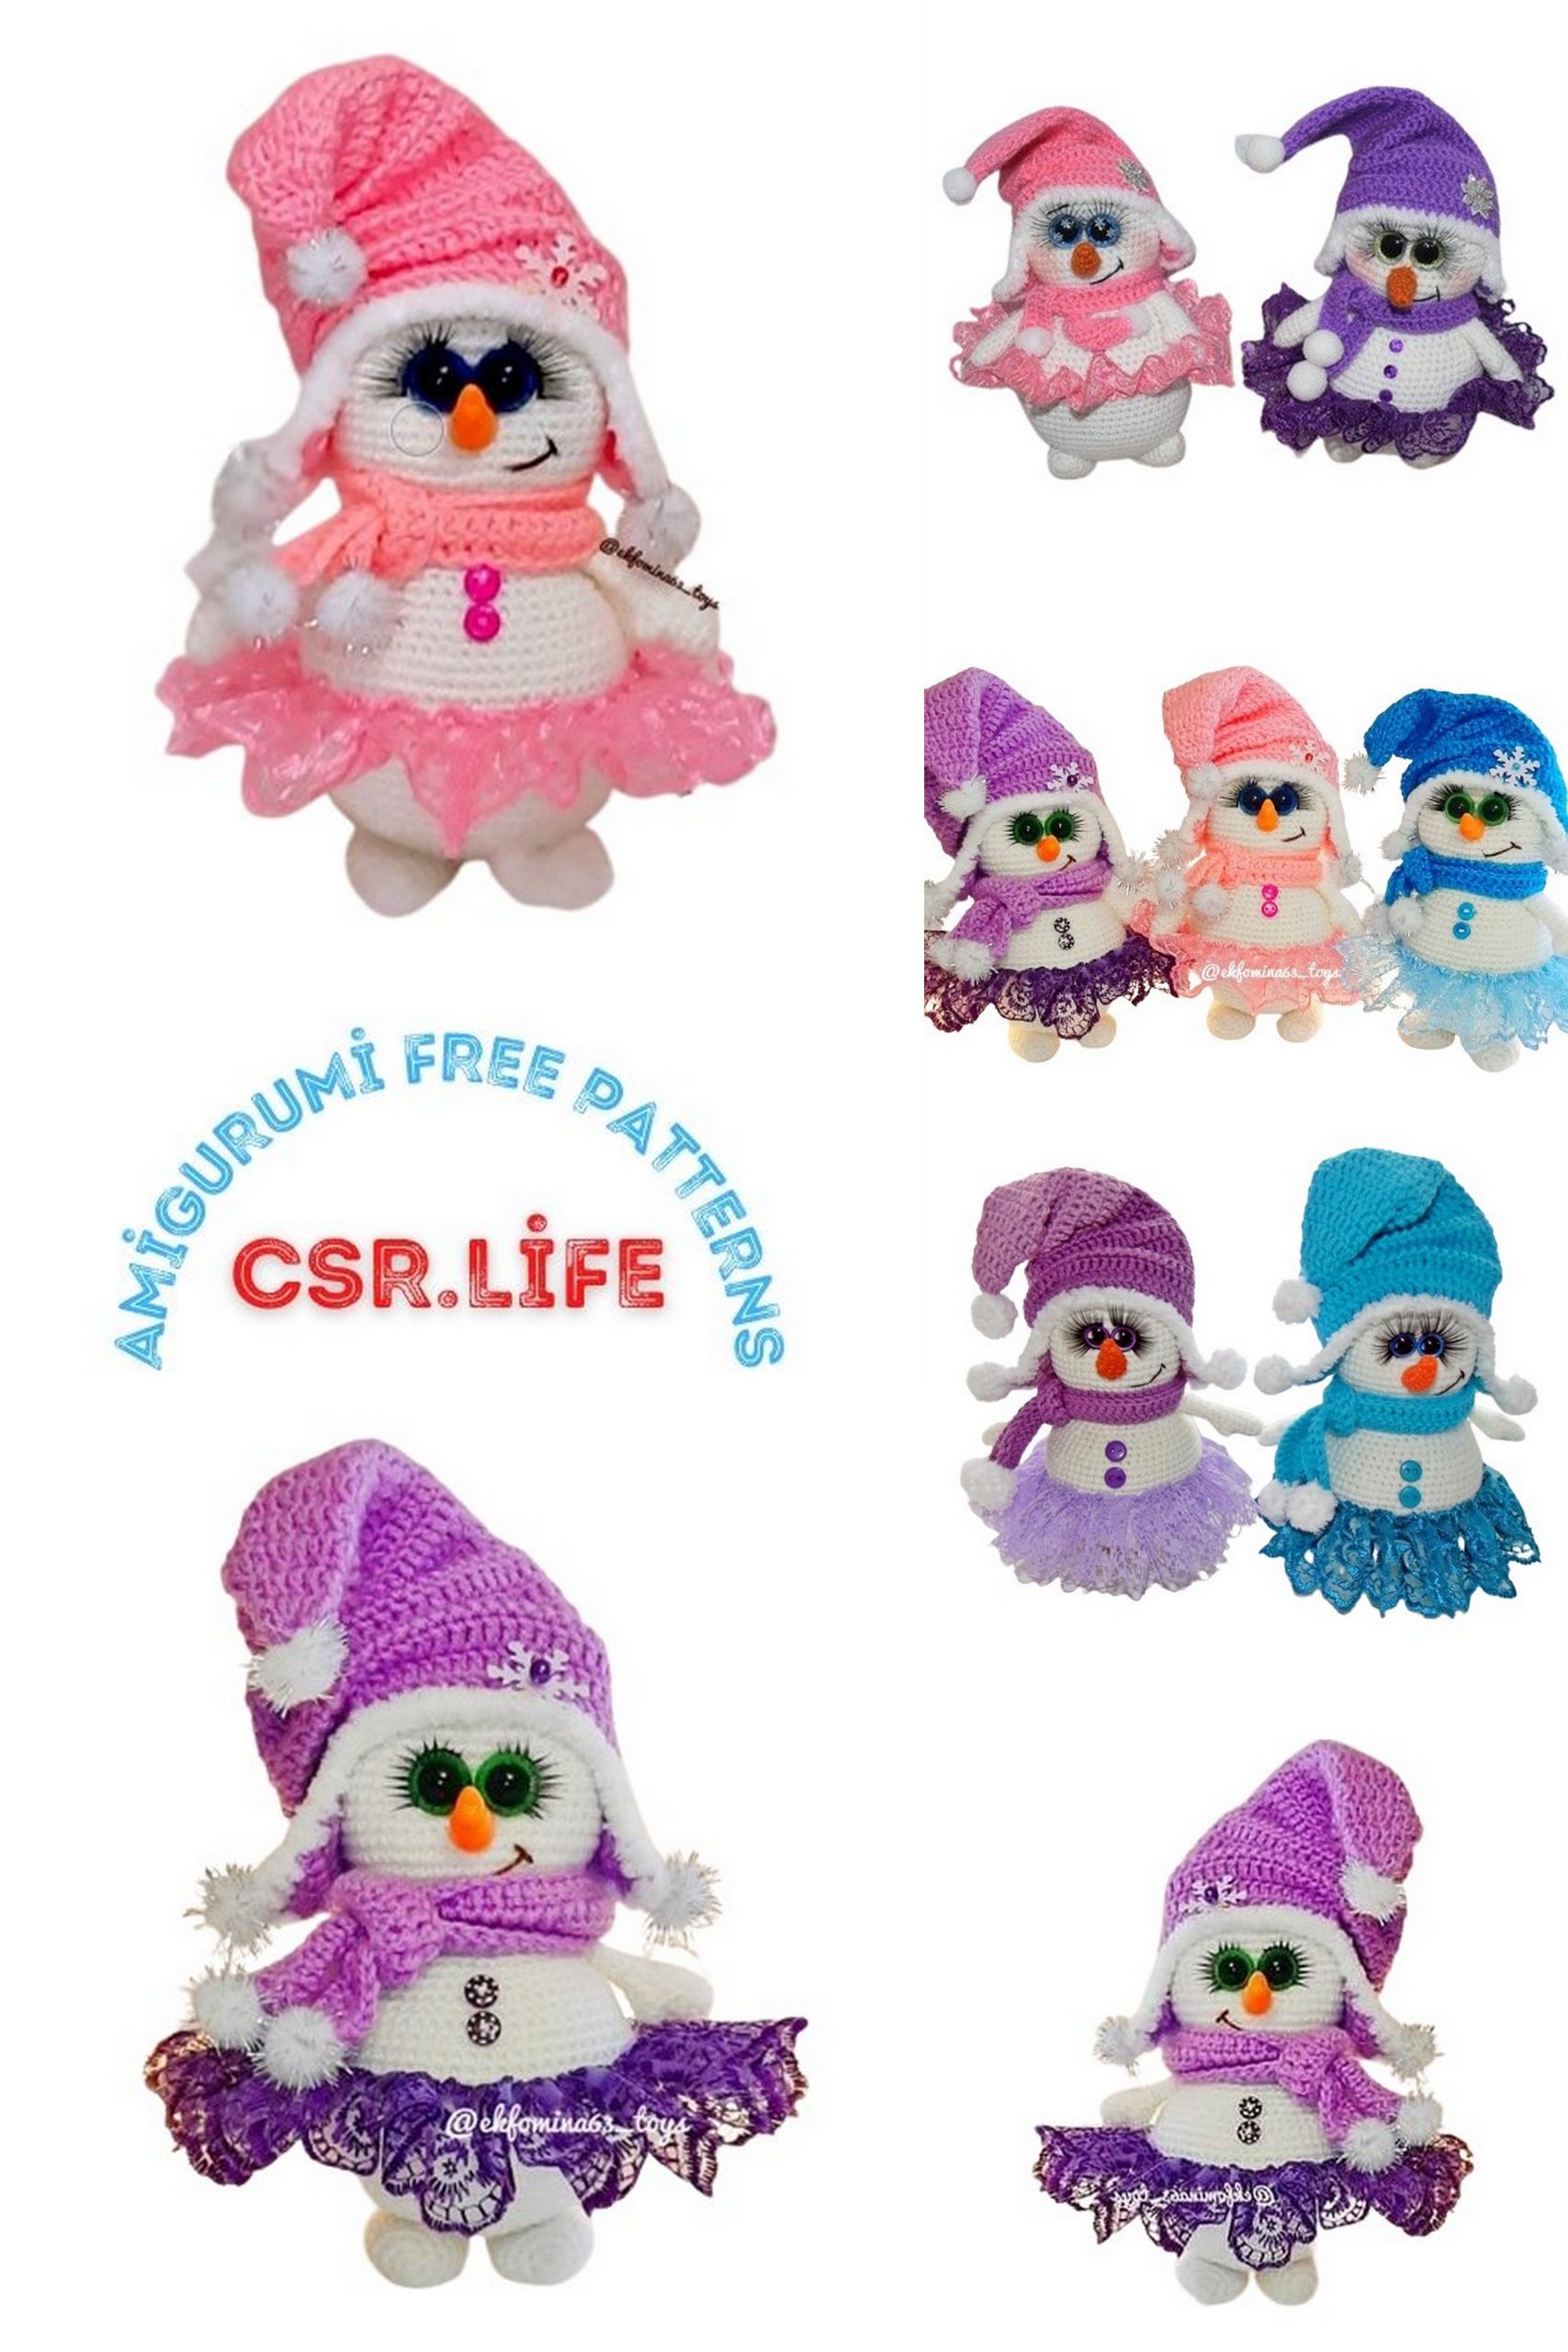
Yarn “Bambino” Nako (25% wool, 75% acrylic, 130m/50g) in blue, pink, lilac, or any other color of your choice for clothing – 1 skein;
Lace 3 cm wide matching the chosen yarn for clothing – approximately 1 meter;
16mm diameter green or blue safety eyes – 1 pair;
False eyelashes or doll eyelashes;
Plastic carrot-shaped nose, 30mm size – 1 piece;
“Iris” or “Mouline” brown thread – a bit;
“Iris” or “Mouline” thread matching the chosen lace – a bit;
Nylon thread or fishing line for weighting – a bit;
Filling (polyester fiberfill or synthetic padding) – approximately 50 grams;
Transparent super glue for attaching eyes, eyelashes, and decorative elements – a bit;
Decorative pom-poms, 20mm diameter for embellishment (optional) – 5 pieces;
Snowflake for decoration, 25mm diameter (optional);
Buttons matching the chosen yarn, 6mm diameter (optional) – 2 pieces, or any other decorative buttons;
Tapestry needle;
Crochet hook size 3 or 2.5;
Colored pins for marking;
Scissors.
Note: You can use any yarn, adjusting the crochet hook size accordingly.
Abbreviations:
MC – Magic Circle;
CH – chain stitch;
SS – slip stitch;
SC – single crochet stitch;
INC – increase (2 single crochet stitches into one stitch);
DEC – decrease (single crochet 2 stitches together);
HDC – half double crochet stitch;
DC – double crochet stitch;
TR – treble crochet stitch.
PATTERN
Stage 1. Head – Body (one piece).
Begin crocheting with white yarn for the body.
Row 1: 6 SC in MC (6)
Row 2: 6 INC SC (12)
Row 3: (SC, INC SC)*6 (18)
Row 4: SC, INC SC, (2 SC, INC SC)*5, SC (24)
Row 5: (3 SC, INC SC)*6 (30)
Row 6: 2 SC, INC SC, (4 SC, INC SC)*5, 2 SC (36)
Row 7: (5 SC, INC SC)*6 (42)
Row 8: 3 SC, INC SC, (6 SC, INC SC)*5, 3 SC (48)
Row 9: (7 SC, INC SC)*6 (54)
Row 10: 4 SC, INC SC, (8 SC, INC SC)*5, 4 SC (60)
Row 11: (9 SC, INC SC)*6 (66)
Rows 12-19 (8 rows): 66 SC (66)
Row 20: Work 66 SC in BLO (66)
Rows 21-23 (3 rows): 66 SC (66)
Row 24: (9 SC, DEC SC)*6 (60)
Row 25: 60 SC (60)
Row 26: 4 SC, DEC SC, (8 SC, DEC SC)*5, 4 SC (54)
Row 27: 54 SC (54)
Row 28: (7 SC, DEC SC)*6 (48)
Row 29: 3 SC, DEC SC, (6 SC, DEC SC)*5, 3 SC (42)
Row 30: 42 SC (42)
Row 31: (5 SC, DEC SC)*6 (36)
Row 32: 2 SC, DEC SC, (4 SC, DEC SC)*5, 2 SC (30)
Row 33: 30 SC (30)
Stuff the body.
Row 34: 2 SC, INC SC, (4 SC, INC SC)*5, 2 SC (36)
Row 35: (5 SC, INC SC)*6 (42)
Row 36: 3 SC, INC SC, (6 SC, INC SC)*5, 3 SC (48)
Rows 37-46 (10 rows): 54 SC (54)
Row 48: (7 SC, DEC SC)*6 (48)
Row 49: 3 SC, DEC SC, (6 SC, DEC SC)*5, 3 SC (42)
Row 50: (5 SC, DEC SC)*6 (36)
Row 51: 2 SC, DEC SC, (4 SC, DEC SC)*5, 2 SC (30)
Row 52: (3 SC, DEC SC)*6 (24)
Stuff the head.
Row 53: SC, DEC SC, (2 SC, DEC SC)*5, SC (18)
Row 54: (SC, DEC SC)*6 (12)
Row 55: 6 DEC SC (6)
Close the remaining hole, secure the thread, and cut it off.
Stage 2. Arms (2 pieces).
Crochet with white yarn.
Row 1: 6 SC in MC (6)
Row 2: (INC SC, 2 SC)*2 (8)
Row 3: (INC SC, 3 SC)*2 (10)
Rows 4-6: 10 SC (10)
Row 7: H (4 HDC in one stitch), 9 SC (10)
Row 8: 10 SC (10)
Row 9: (DEC SC, 3 SC)*2 (8)
Rows 10-14: 8 SC (8)
Lightly stuff the lower part of the arm.
Join the edges with SS: 4 SS (4)
Secure the thread, leave an end for sewing the arms, and cut it off.
Stage 3. Legs (2 pieces).
Crochet with white yarn.
Row 1: 6 SC in MC (6)
Row 2: 6 INC SC (12)
Row 3: (INC SC, 5 SC)*2 (14)
Row 4: (INC SC, 6 SC)*2 (16)
Rows 5-9: 16 SC (16)
Row 10: (DEC SC, 6 SC)*2 (14)
Row 11: (DEC SC, 5 SC)*2 (12)
Row 12: (DEC SC, 4 SC)*2 (10)
Row 13: (INC SC, 4 SC)*2 (12)
Row 14: 12 SC (12)
Stuff the legs with filling.
Row 15: 6 DEC SC (6)
Close the remaining hole, secure the thread, leave an end for sewing the legs, and cut it off.
Stage 4. Nose.
For those who couldn’t find a ready-made plastic nose.
Crochet with orange yarn, crochet hook size 2.
Row 1: 5 SC in MC (5)
Row 2: 5 SC (5)
Row 3: INC SC, SC, INC SC, 2 SC (7)
Row 4: 7 SC (7)
Row 5: INC SC, 2 SC, INC SC, 3 SC (9)
Rows 6-7: 9 SC (9)
Lightly stuff the nose.
Secure the thread, leave an end for sewing the nose, and cut it off.
Stage 5. Weighting.
First, mark the eye weighting with colored pins (see photo 1 – 2).
Place a red pin at the back center of the neck.
From the top of the head, count down 13 rows of SC, then 2 SC to the right, and place a magenta pin.
Count 5 SC to the left from the magenta pin and place a green pin.
Weight the eyes using a long needle and nylon thread (or fishing line): insert the needle at the red point, bring it out at the magenta one, then insert it at the green point and bring it out next to the red point, tighten the thread, tie several knots, and hide the ends inside the head.
Stage 6. Skirt.
Make the skirt from lace in your chosen color.
Turn the snowman’s body upside down and sew the lace using matching yarn through the loops left from the 20th row of crocheting (where you worked in the back loop only). Attach the lace with a whipstitch, creating small folds 3 – 5 mm wide. After sewing the lace completely, turn the snowman’s body right side up and spread out the skirt.
Stage 7. Decoration and Assembly.
Take 16mm diameter safety eyes and glue false eyelashes to the back side of them (see photo 1).
Insert the eyes into the eye weighting spots and glue them to the head using transparent super glue (see photo 2).
Glue (or sew, if you have a knitted one) the carrot-shaped nose (see photo 3).
Embroider a smile using brown “Iris” or “Mouline” thread (see photo 4).
Place the arms on the sides of the body, positioning them 1 – 2 rows below the neck (see photos 5 – 6).
Sew the arms in place (see photo 7).
Place the legs at the bottom center of the body (see photo 8).
Sew the legs in place (see photo 9).
The snowman is assembled (see photo 10), now it’s time to dress it up.
Stage 8. Scarf.
Crochet with yarn in the color you chose for the clothing (mine is lilac).
Row 1: Chain 110 + 2 chains, starting from the third chain from the hook, single crochet (SC) 110, chain 2, turn (110).
Row 2: 2 chains, 109 SC (110).
Fasten off the yarn and cut it.
Sew 2 cm diameter pompoms to the ends of the scarf (optional).
Stage 9. Hat.
Crochet with the yarn you selected for the clothing (mine is lilac).
Row 1: Chain 54 + 2 chains, starting from the third chain from the hook, single crochet (SC) 54, slip stitch (SS) to the beginning of the row (54).
Rows 2-6: 2 chains, 53 SC, SS to the second chain at the beginning of the row (54).
Row 7: 2 chains, 6 SC, decrease (DEC) SC, (7 SC, DEC SC)*5, SS to the second chain at the beginning of the row (48).
Rows 8-9: 2 chains, 47 SC, SS to the second chain at the beginning of the row (48).
Row 10: 2 chains, 5 SC, DEC SC, (6 SC, DEC SC)*5, SS to the second chain at the beginning of the row (42).
Rows 11-12: 2 chains, 41 SC, SS to the second chain at the beginning of the row (42).
Row 13: 2 chains, 4 SC, DEC SC, (5 SC, DEC SC)*5, SS to the second chain at the beginning of the row (36).
Rows 14-15: 2 chains, 35 SC, SS to the second chain at the beginning of the row (36).
Row 16: 2 chains, 3 SC, DEC SC, (4 SC, DEC SC)*5, SS to the second chain at the beginning of the row (30).
Rows 17-18: 2 chains, 23 SC, SS to the second chain at the beginning of the row (24).
Row 19: 2 chains, SC, DEC SC, (2 SC, DEC SC)*5, SS to the second chain at the beginning of the row (18).
Row 20: 2 chains, SC, DEC SC, (2 SC, DEC SC)*4, SC, SS to the second chain at the beginning of the row (12).
Row 21: 2 chains, DEC SC, (SC, DEC SC)*5, SS to the second chain at the beginning of the row (6).
Row 22: 2 chains, DEC SC, SC, DEC SC, SS to the second chain at the beginning of the row (4).
Row 23: 2 chains, DEC SC, SC, SS to the second chain at the beginning of the row (3).
Row 24: 2 chains, DEC SC, SC, SS to the second chain at the beginning of the row (2).
Fasten off the yarn and cut it (see photo 3 on page 13).
Attach fluffy white Alize Softy yarn to the back lower edge of the hat and make a single crochet border around the edge (see photos 4 – 5 on page 13).
Secure the fluffy yarn, cut it, and hide the ends.
Sew pompoms with a 2 cm diameter to the top of the hat and to the ends of the earflaps (optional, see photo 6 on page 13).
Make pleats slightly to the left (or right, if you prefer) of the center of the hat from the front, gather them with a thread, tighten the thread, and secure it (see photos 7 – 8 on page 13).
Decorate the hat with a snowflake or any other decoration (optional).
Put the scarf and hat on the snowman.
CONGRATULATIONS! YOUR SNOWMAN IS READY!