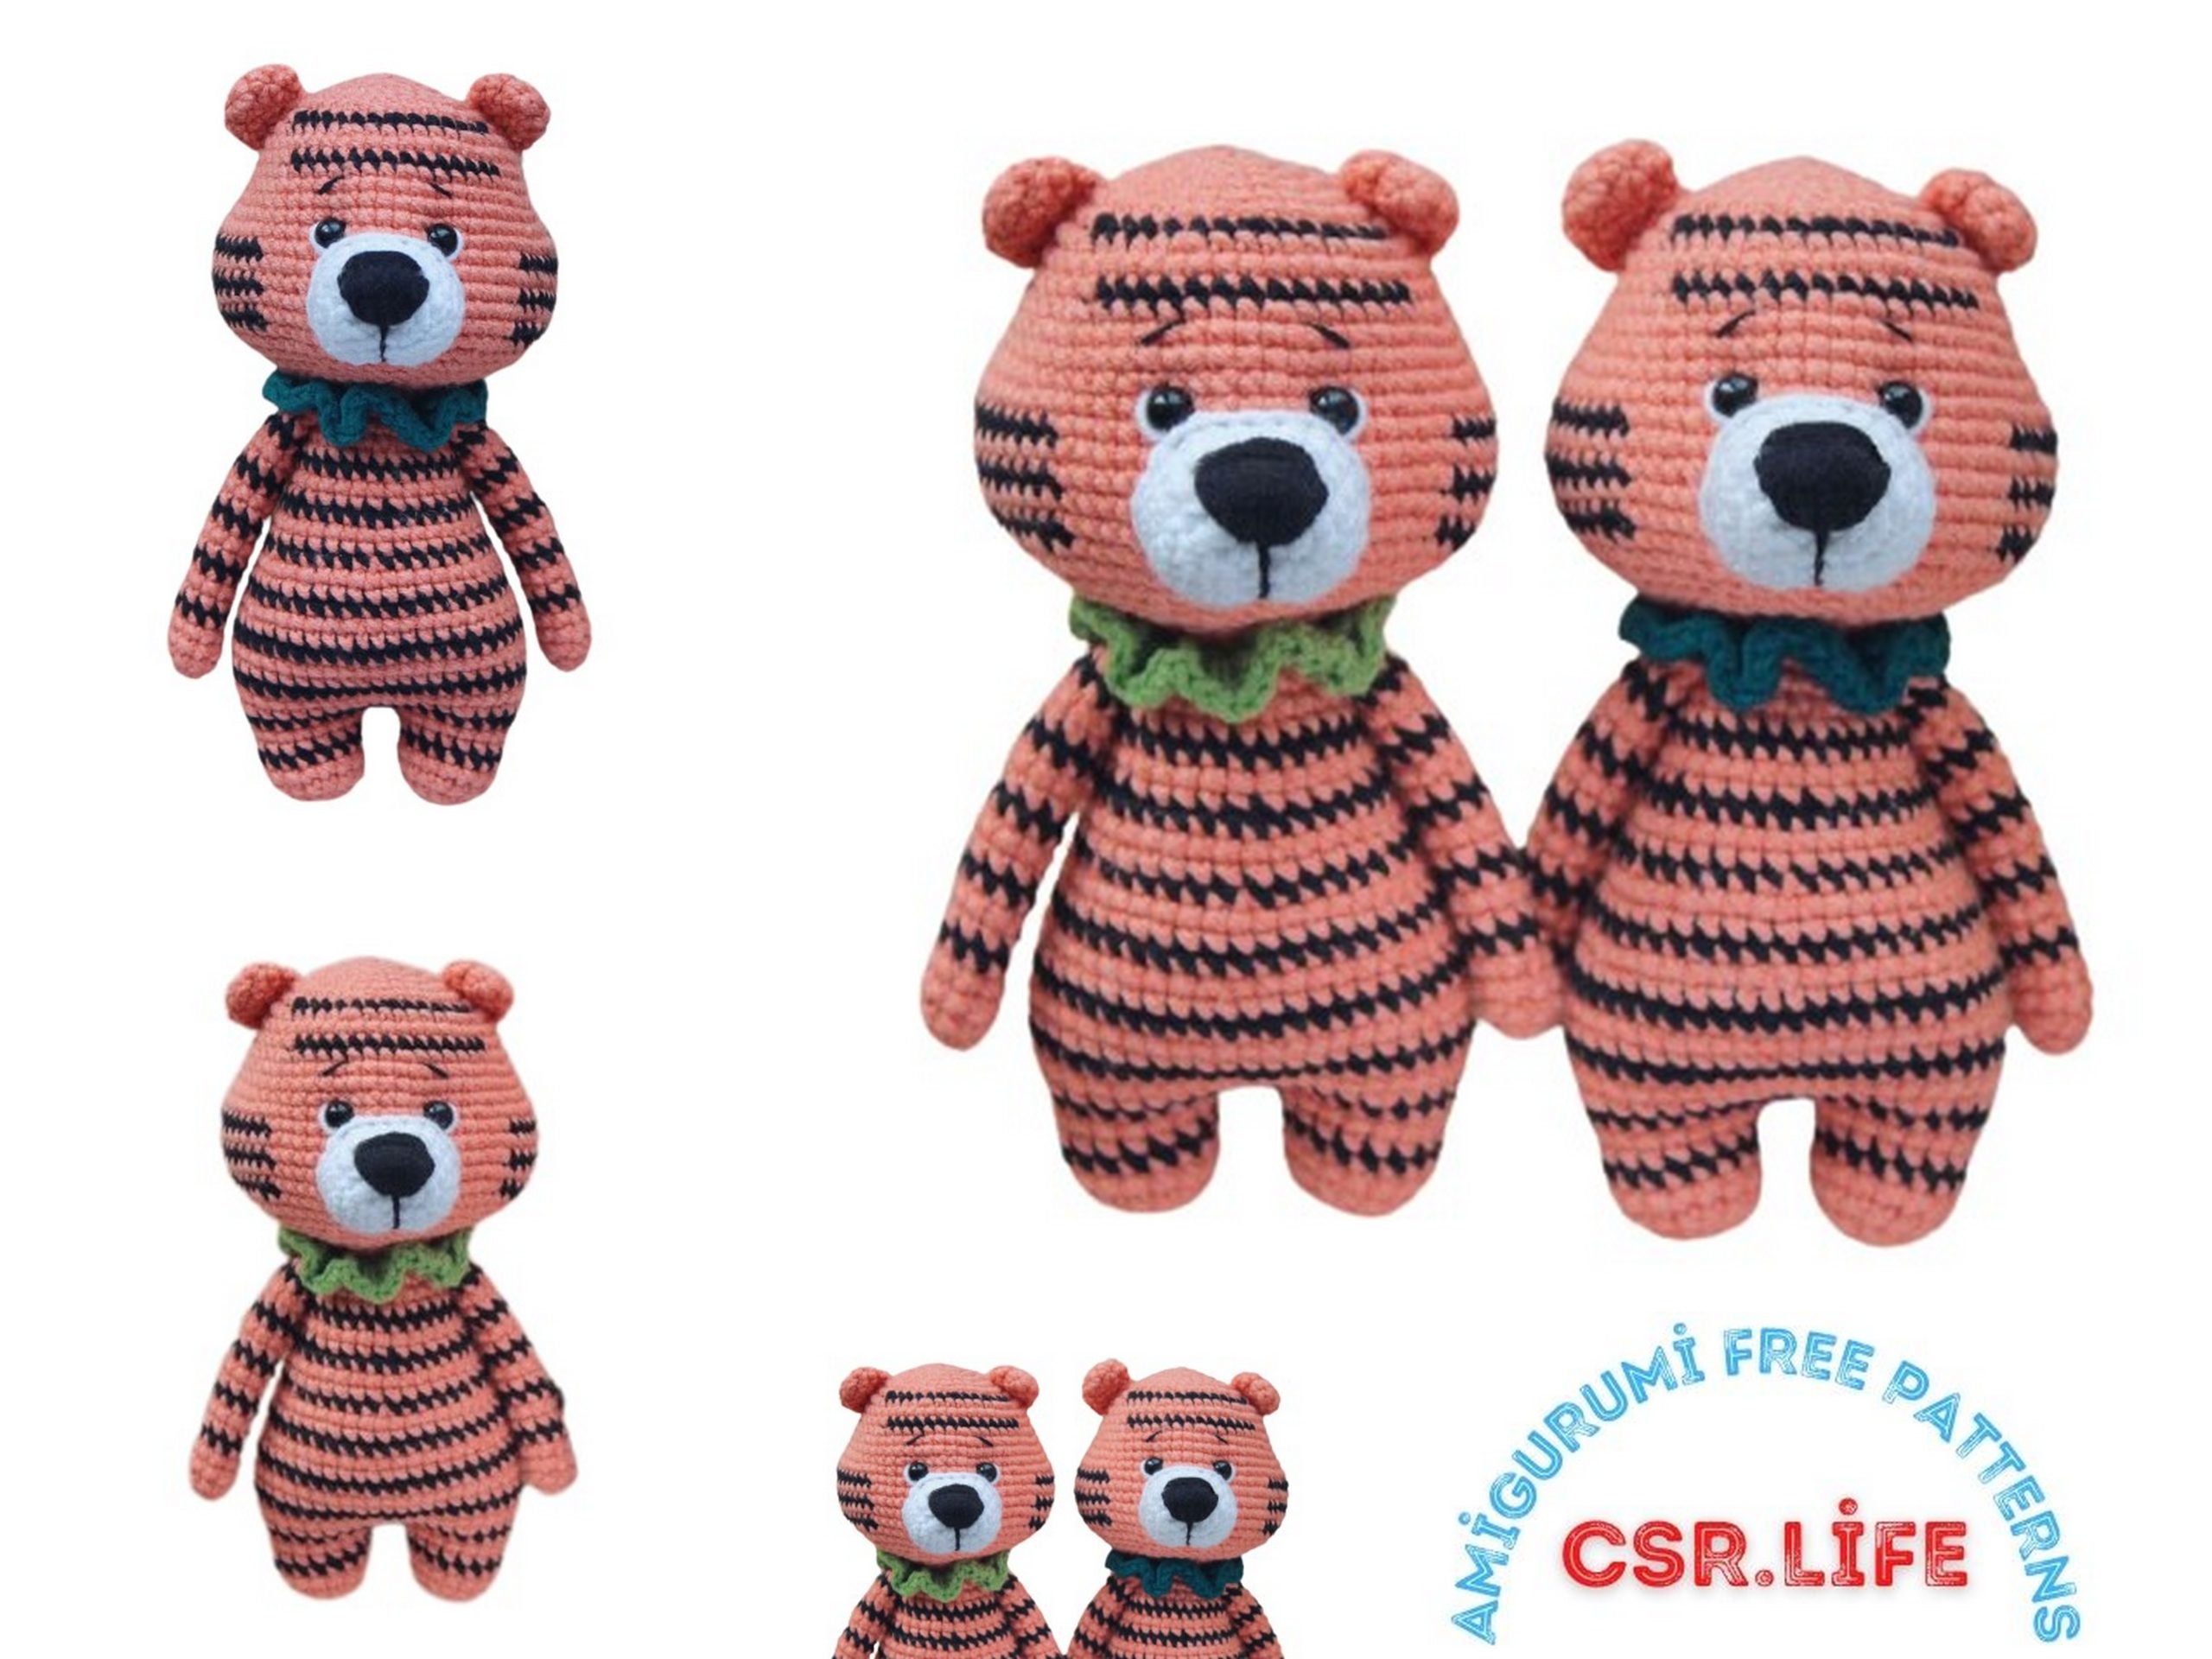
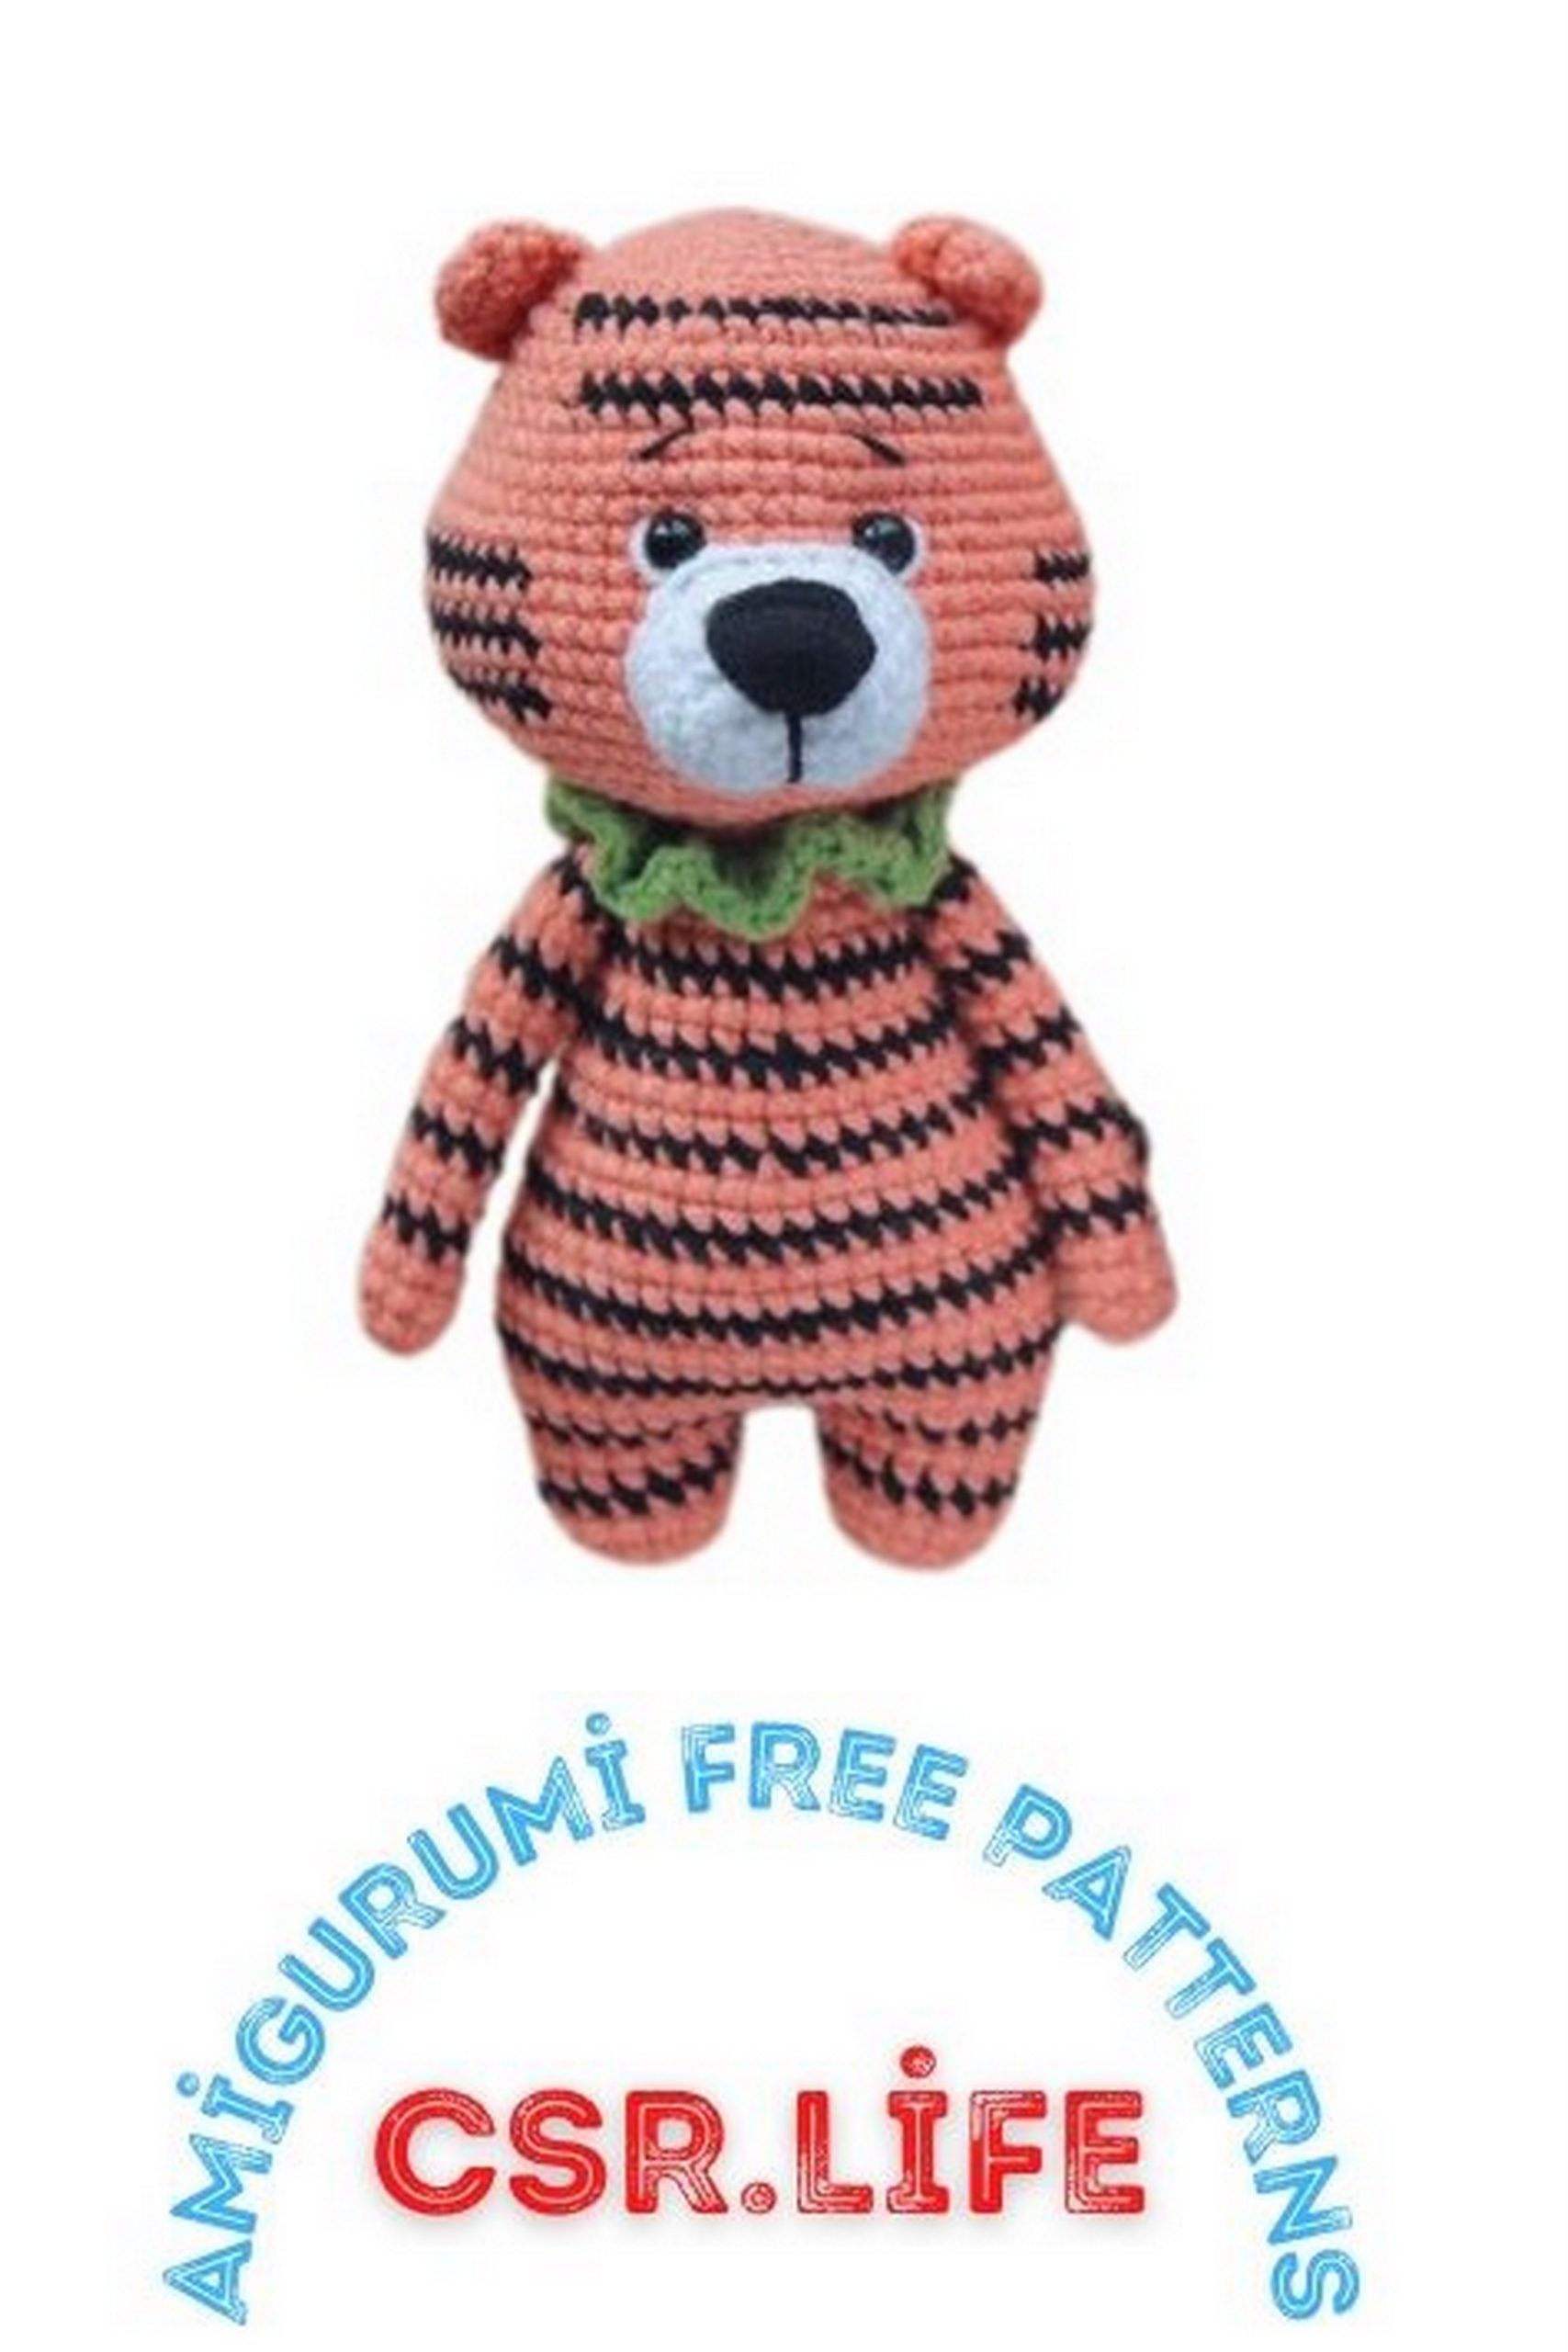
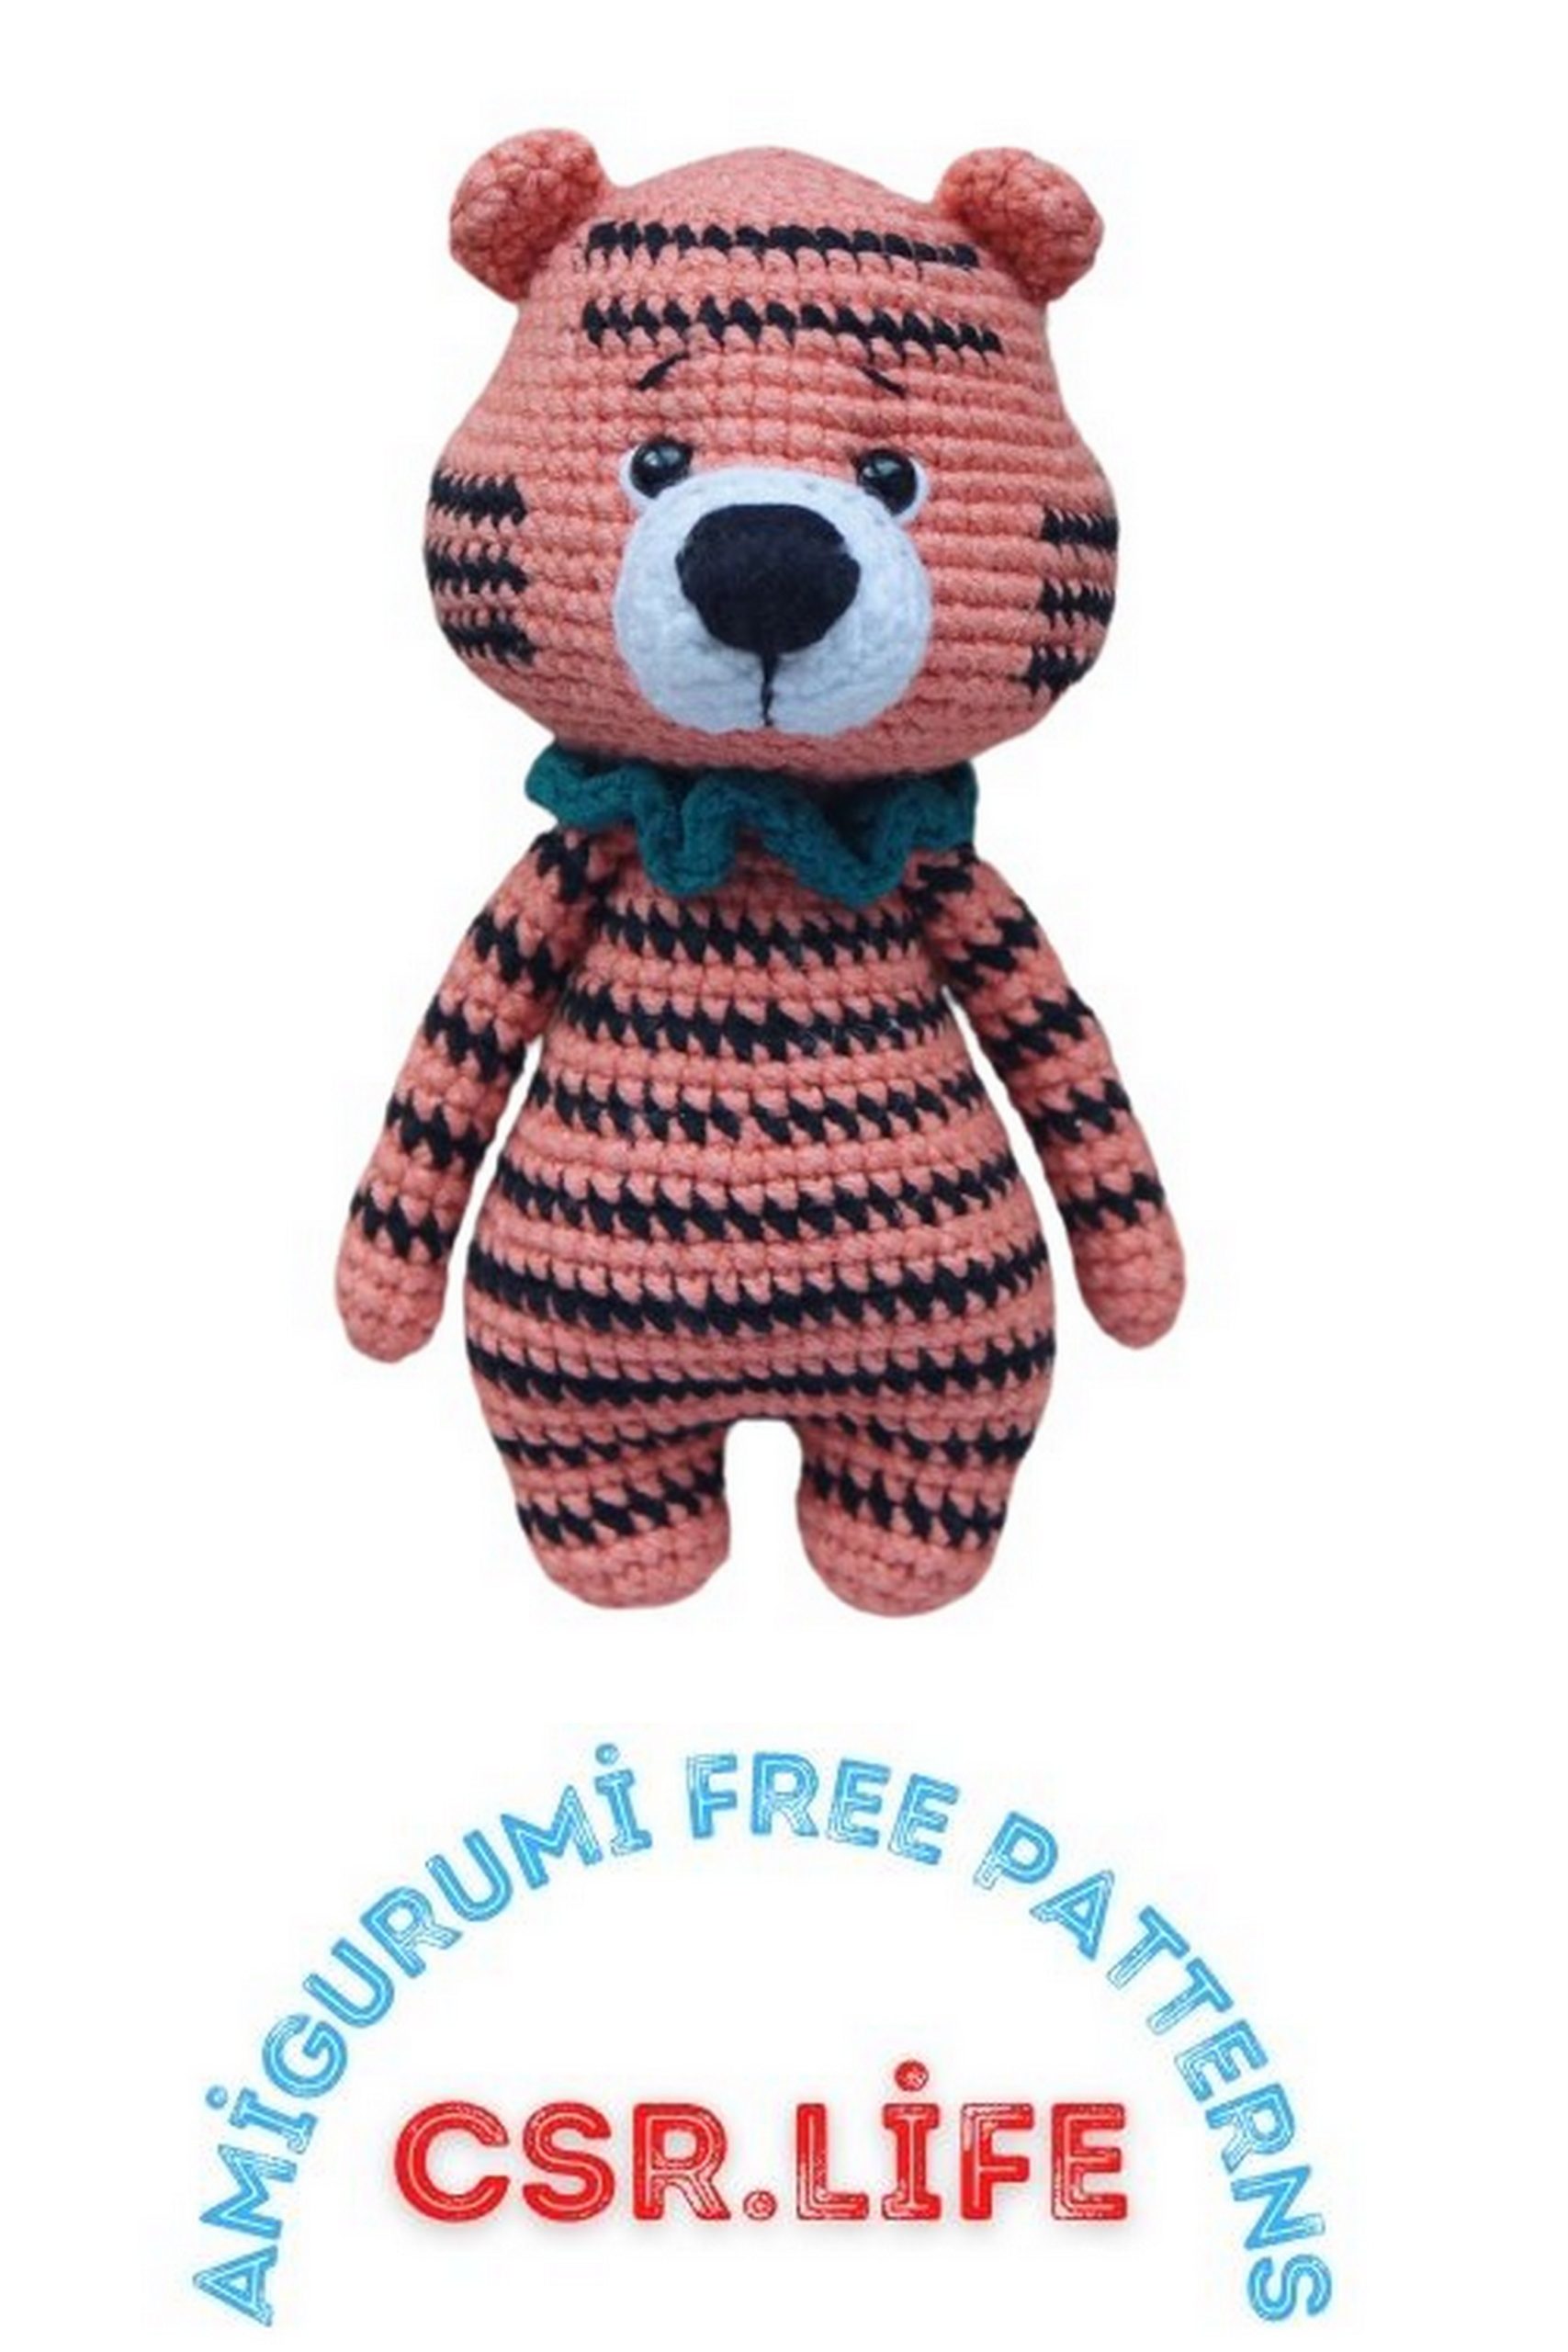
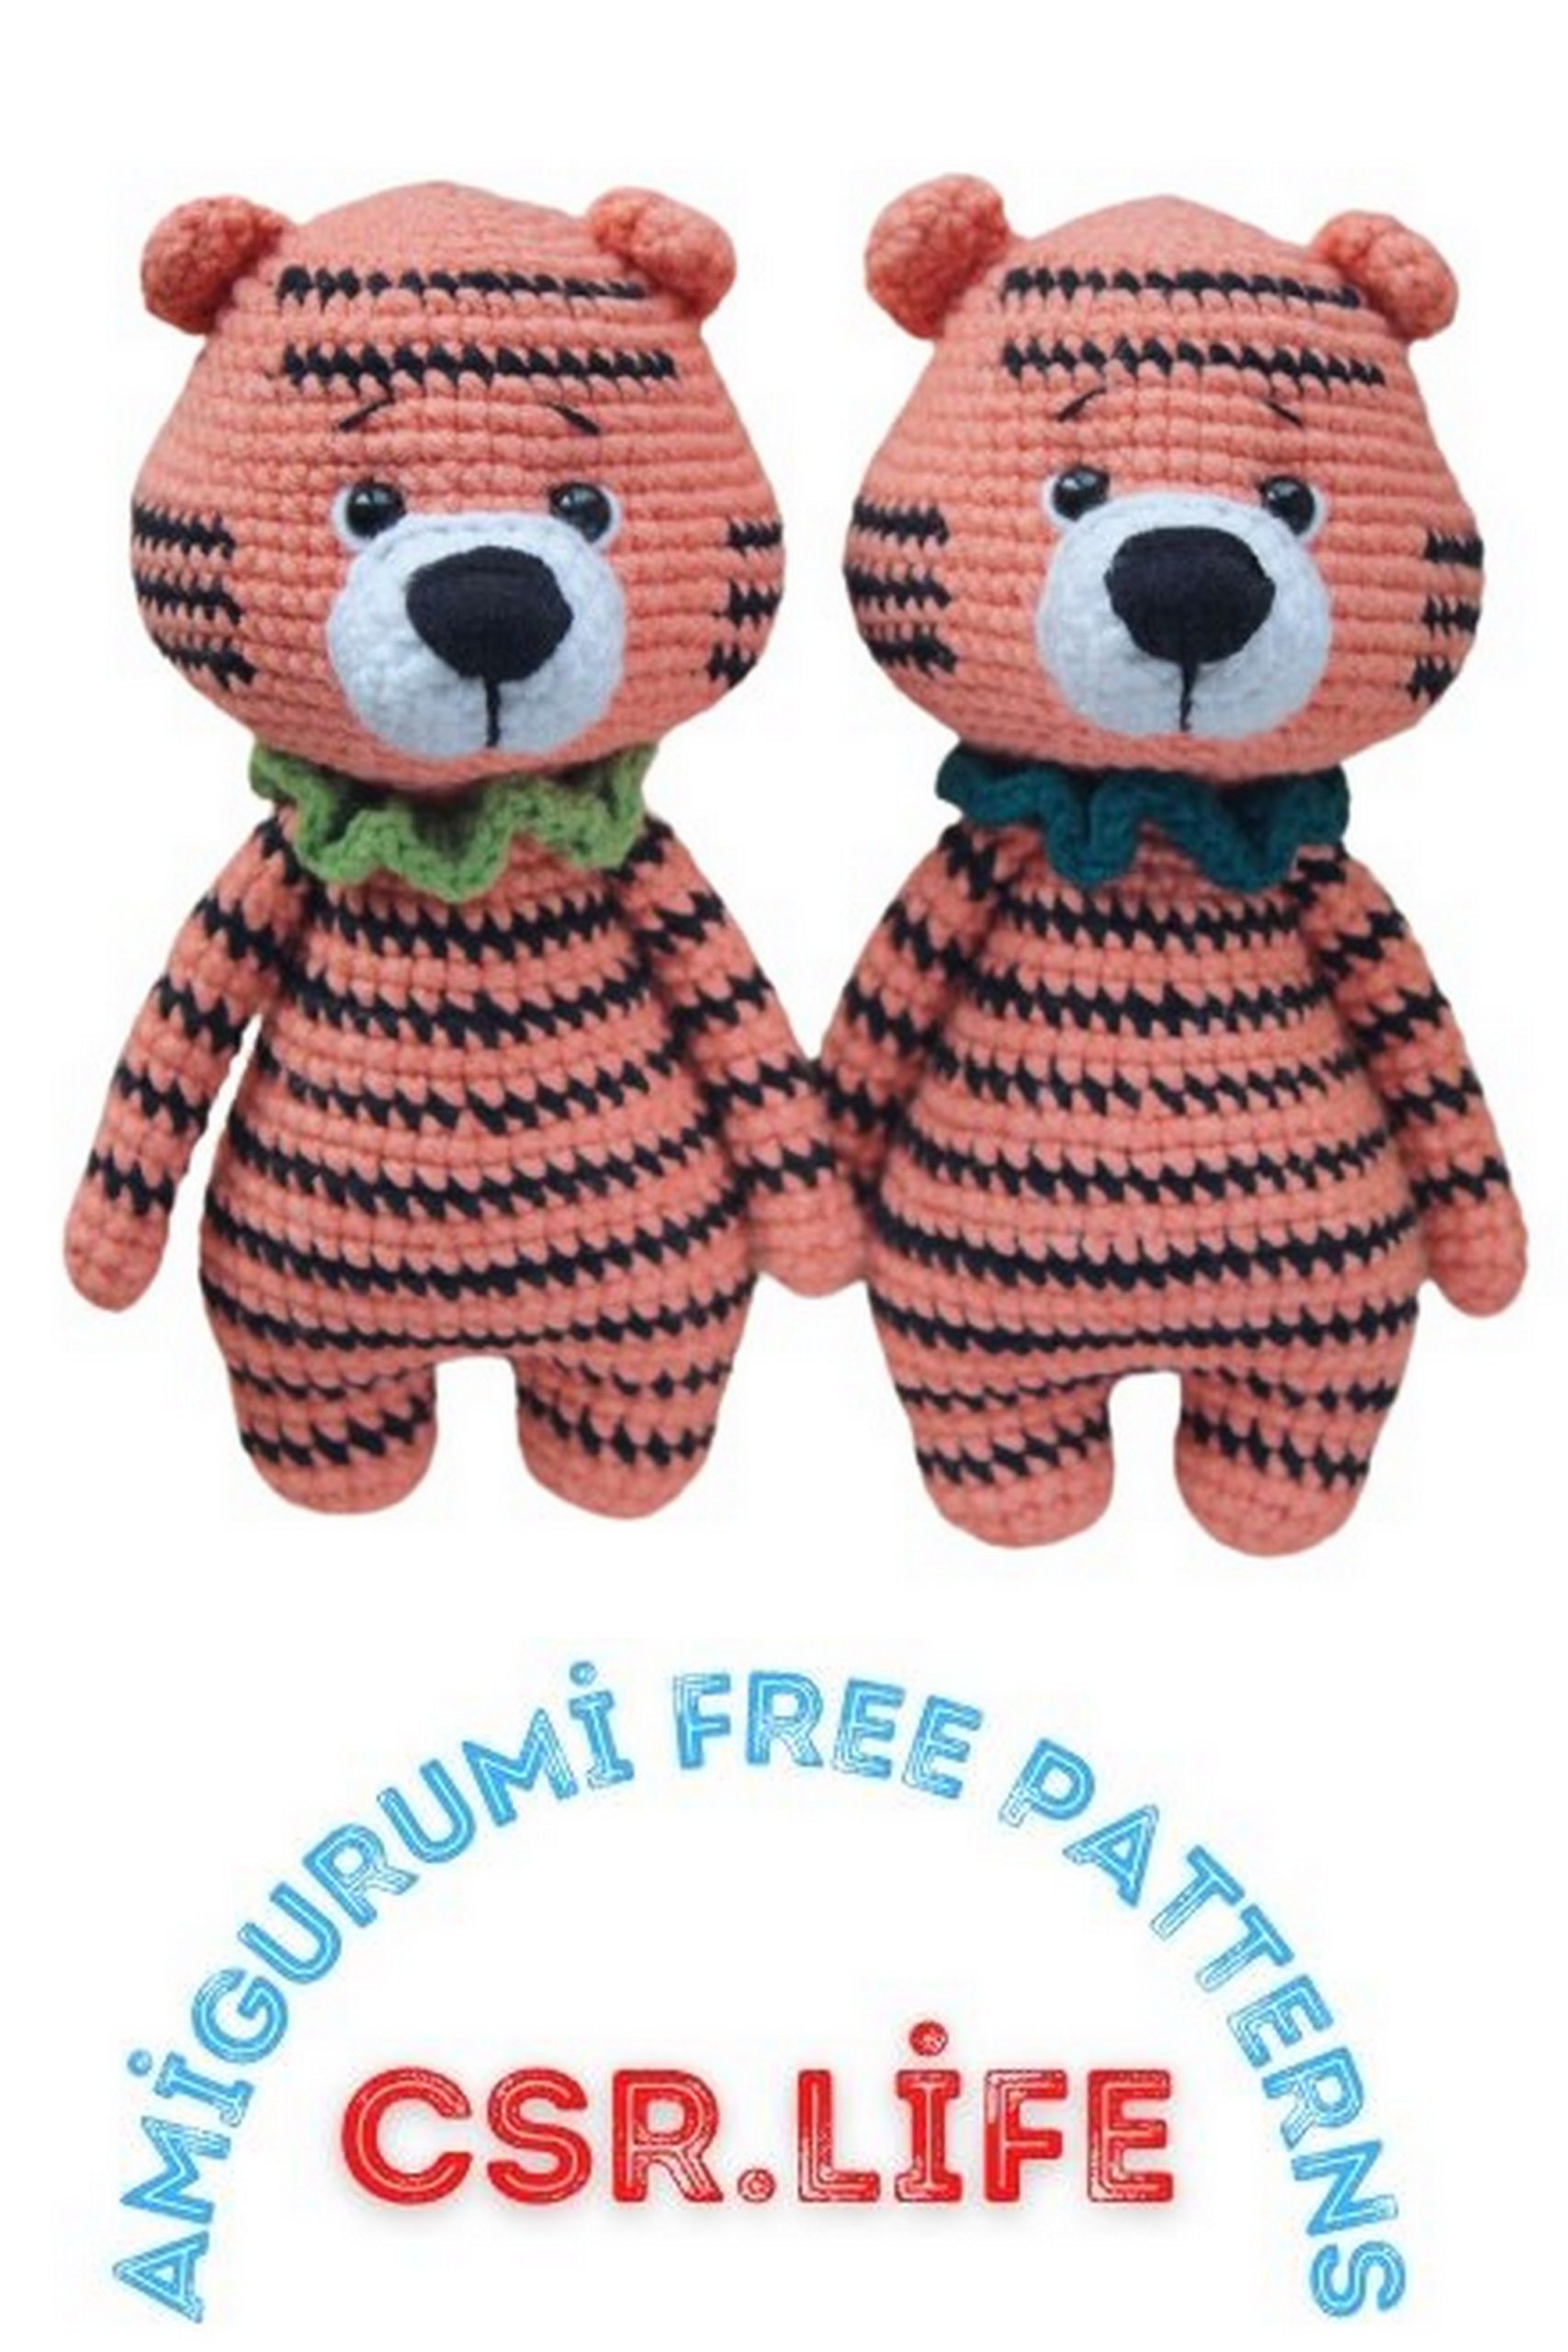
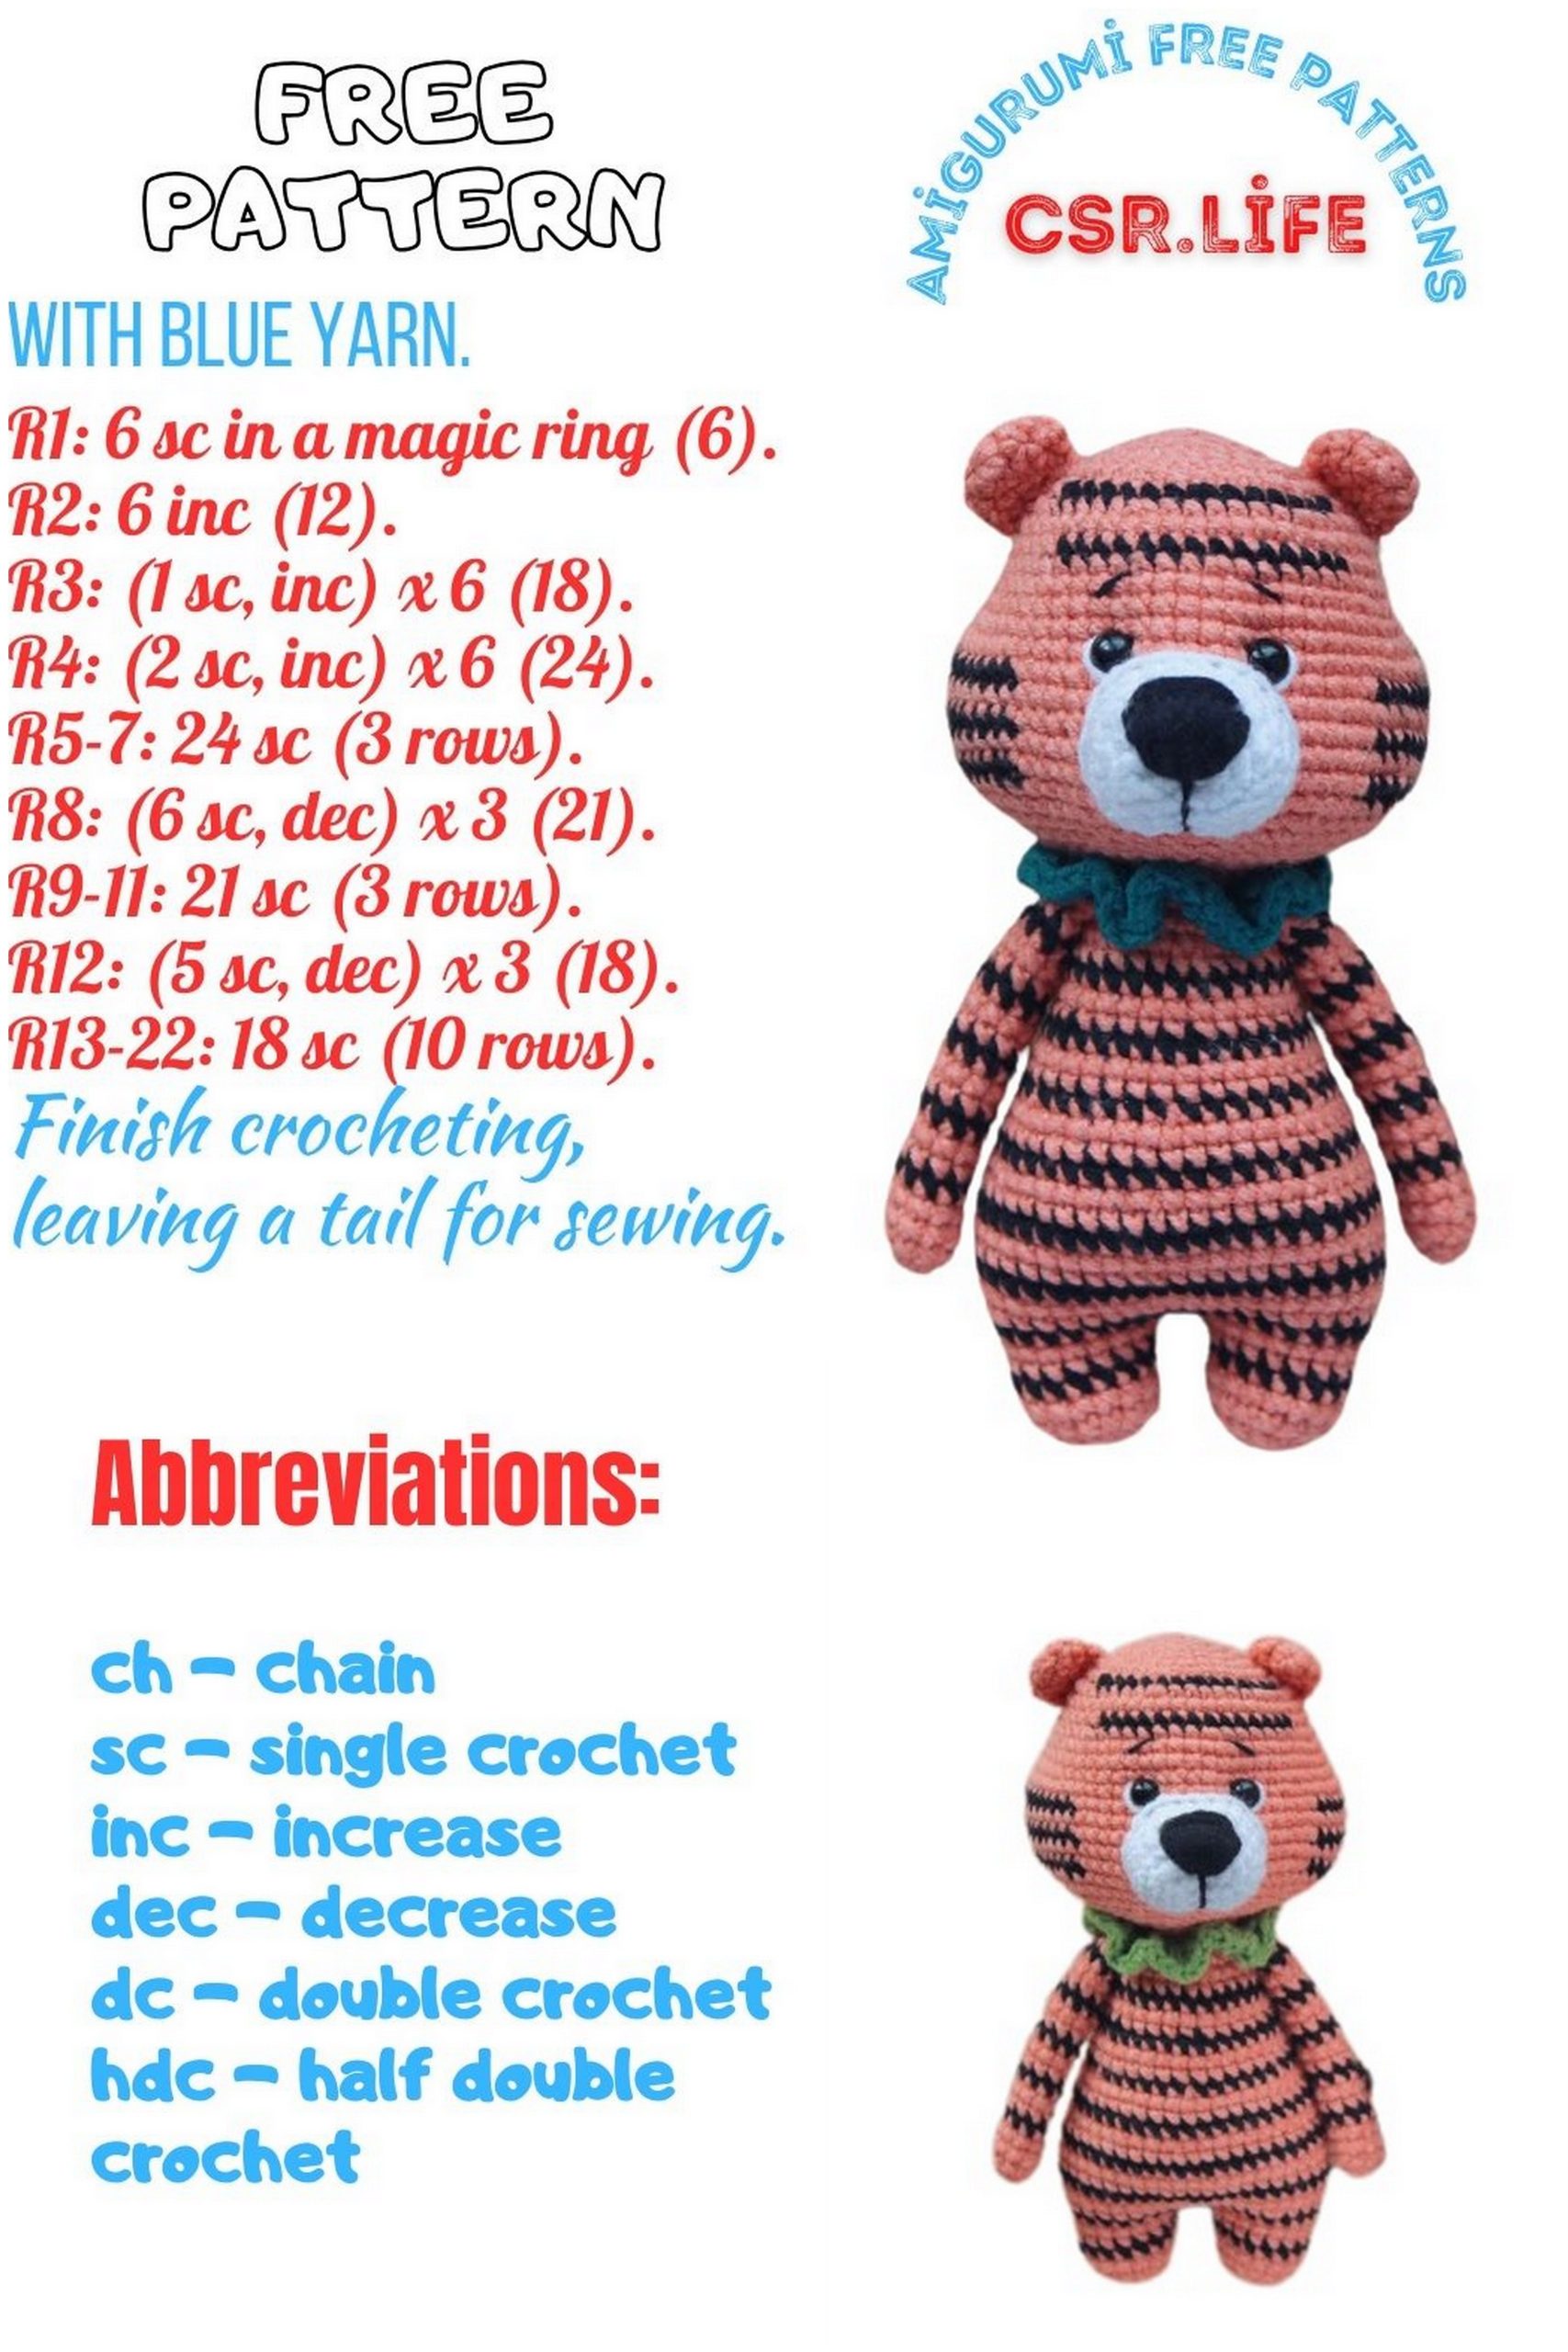
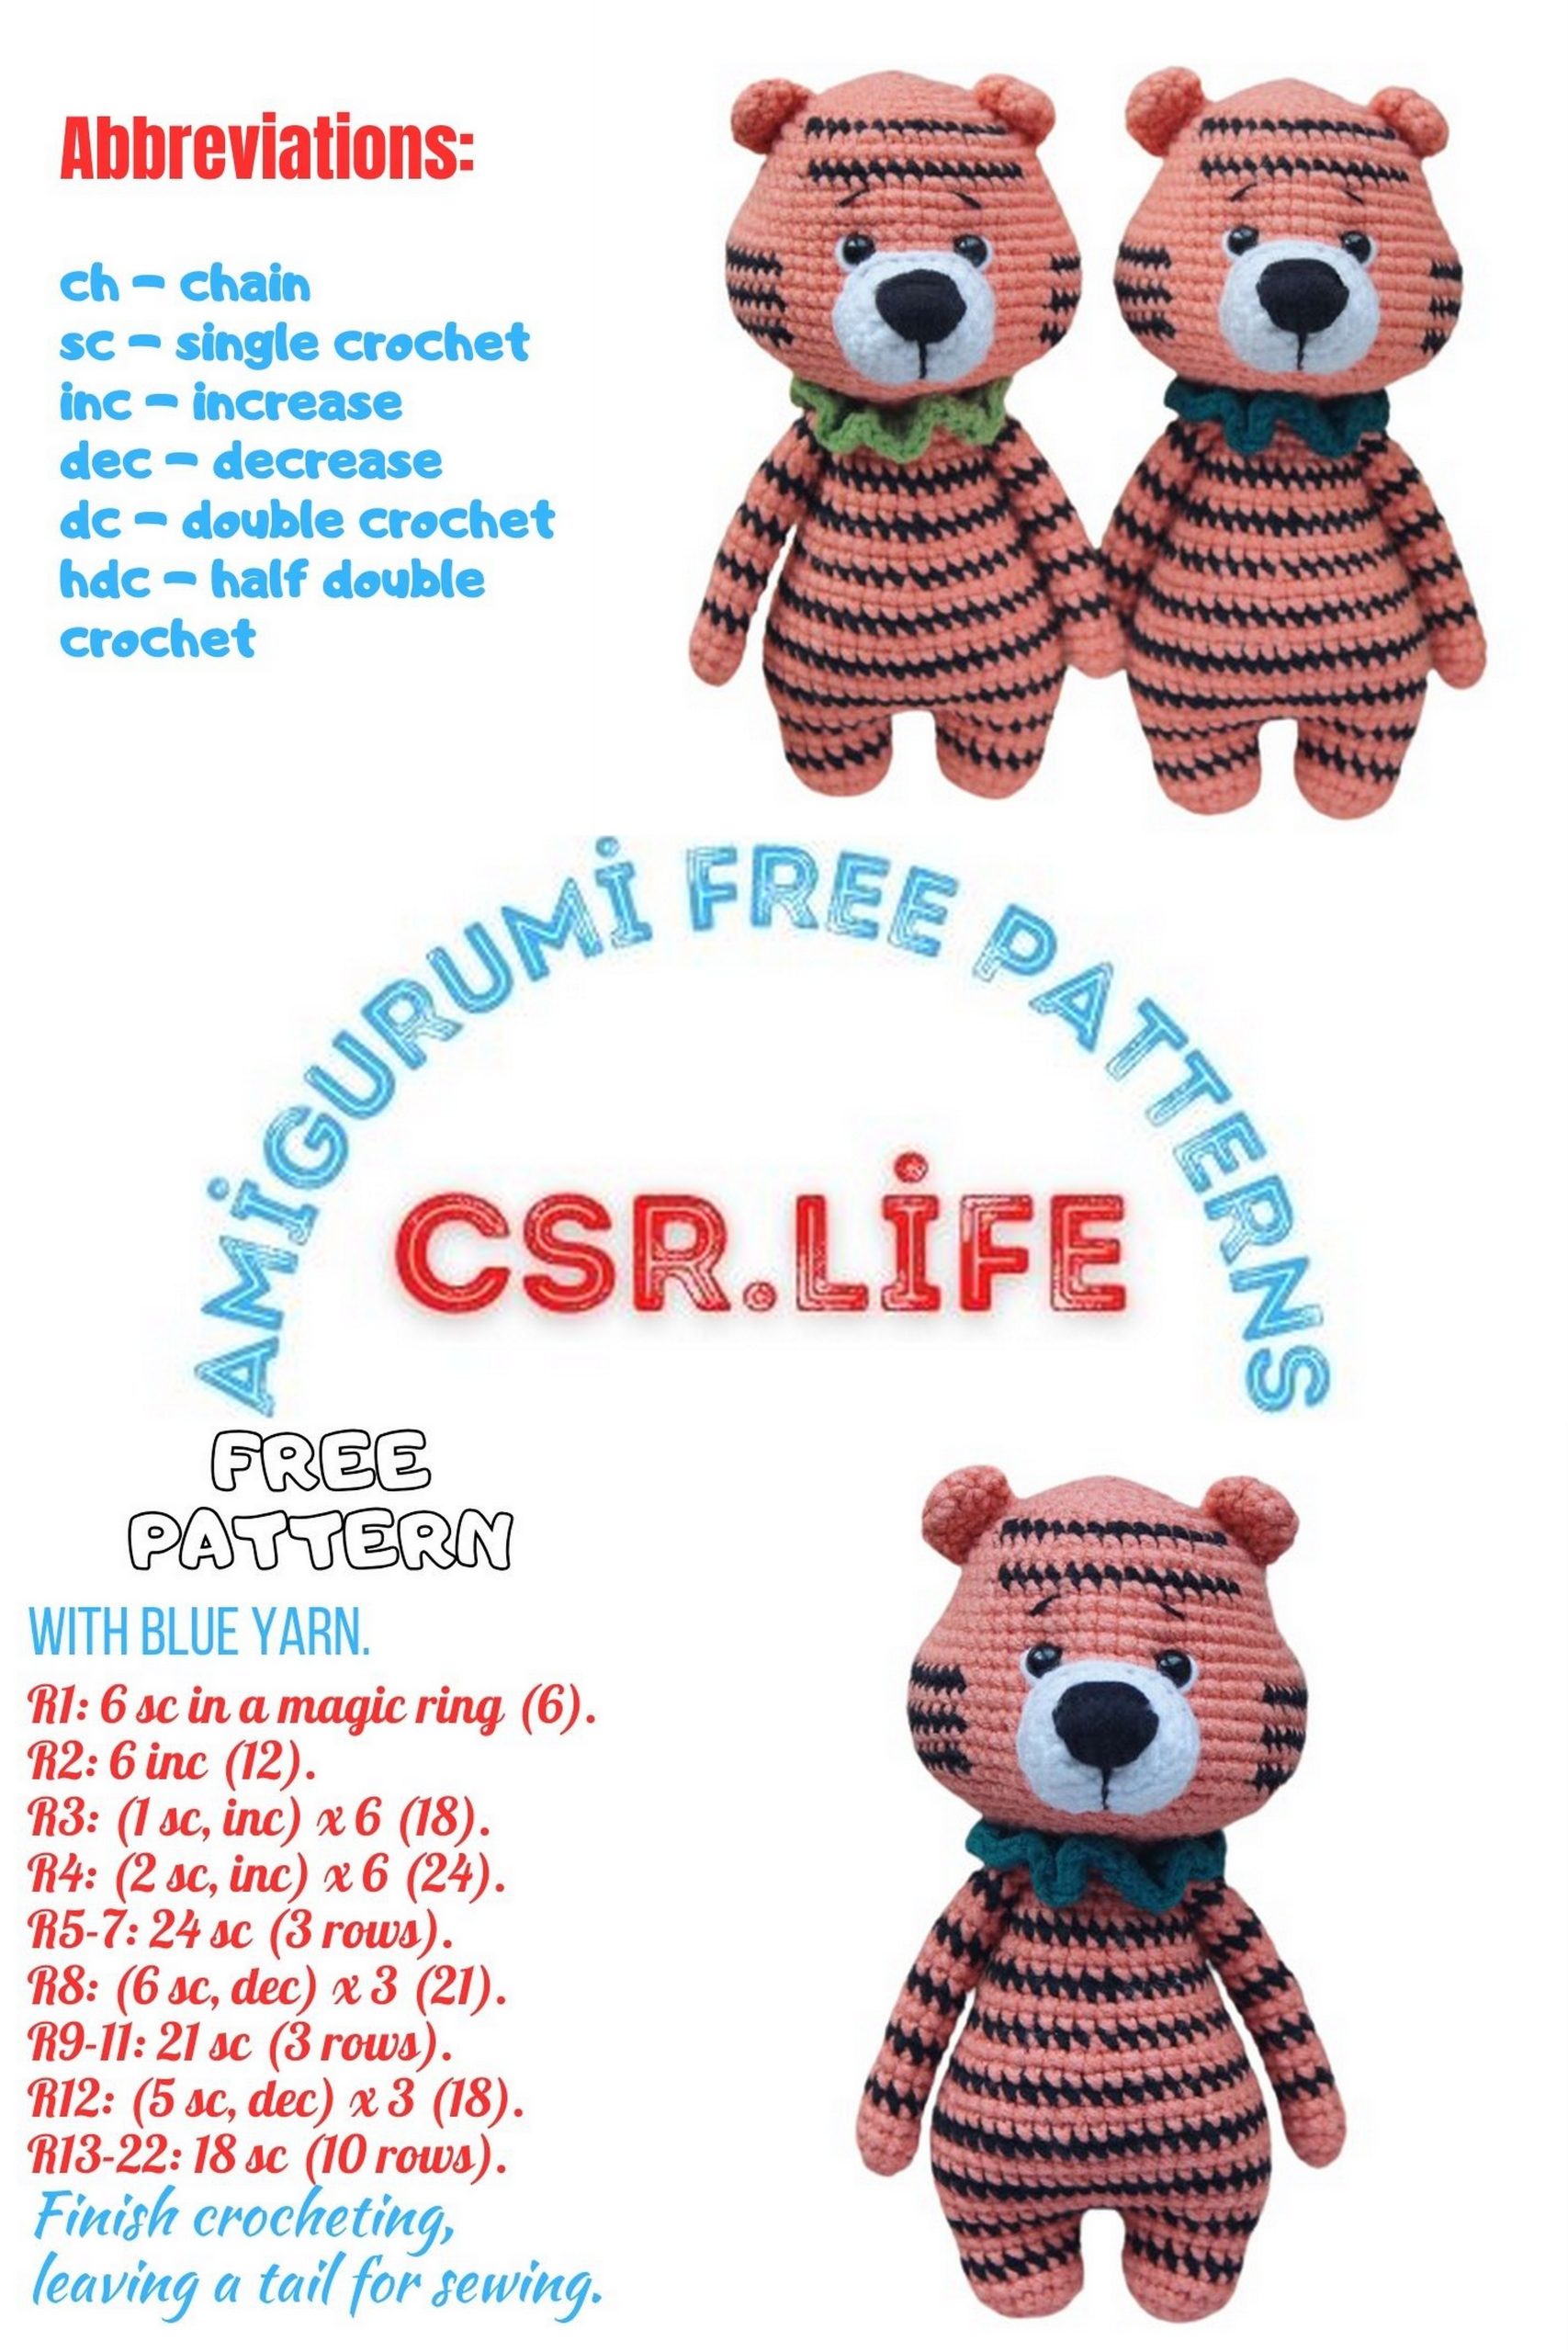
Adorable Little Tiger Amigurumi Free Pattern for Crochet Enthusiasts
Welcome to the world of crochet creativity, where we bring you an adorable and free Little Tiger Amigurumi pattern that will melt your heart. Whether you’re a seasoned crocheter or just starting on your crochet journey, this project is perfect for adding a touch of cuteness to your handmade collection.
Our Little Tiger Amigurumi is a lovable creation that you can craft with ease. It’s not only a fantastic addition to your amigurumi collection but also a delightful gift for loved ones. This pattern is designed to be accessible to crocheters of all levels, so don’t worry if you’re a beginner – we’ve got you covered.
With our step-by-step instructions and clear illustrations, you’ll be able to bring this charming tiger to life in no time. Imagine the joy of gifting or owning a handmade tiger plushie that you crafted yourself.
So, grab your crochet hooks, choose your favorite yarn colors, and let’s embark on a crocheting adventure together. Follow our pattern and create your very own Little Tiger Amigurumi masterpiece. Get ready to be amazed by the cuteness you’ll create, and share your finished creation with us!
Stay tuned for our detailed tutorial and step-by-step instructions on how to make this adorable Little Tiger Amigurumi. Get ready to crochet, and let your creativity roar!
Materials Needed:
Yarnart Jeans yarn in the main color (I used color 23).
Yarnart Jeans black yarn (I used color 53).
Yarnart Jeans white yarn (I used color 62).
A small amount of any colored yarn for the collar.
Safety eyes with 6mm attachments.
Stuffing.
1.75mm crochet hook (choose a hook size that matches your tension and yarn).
Long needle for finishing.
Scissors.
Abbreviations:
MR – Magic Ring
sc – single crochet
ch – chain
sl st – slip stitch
inc – increase (2 sc in the same stitch)
dec – decrease (single crochet two stitches together)
BLO – back loop only
FLO – front loop only
FO – fasten off
Finished height of the toy: 13 cm
Color Change:
Before changing colors, complete the last stitch as follows: insert your hook into the stitch, yarn over with the current color (orange in this case), pull it through the stitch, then attach the new color (black) and pull it through the orange loops (see photo). This way, you start the stitch with one color and finish it with another.
Lay the main color yarn from the wrong side to avoid long carries.
PATTERN
Head:
With orange yarn:
Row 1: 6 sc in MR (6)
Row 2: 2 sc in each st around (12)
Row 3: (1 sc, inc) repeat 6 times (18)
Row 4: 1 sc, inc, (2 sc, inc) repeat 5 times, 1 sc (24)
Row 5: (3 sc, inc) repeat 6 times (30)
Row 6: 2 sc, inc, (4 sc, inc) repeat 5 times, 2 sc (36)
From the next row onwards, alternate between black and orange colors. Rows where color change is not specified are worked entirely in orange.
Row 7: 5 sc in orange, inc, 5 sc in orange, inc, (5 sc, inc) twice, 5 sc in orange (42)
Row 8: 3 sc, inc, (6 sc, inc) repeat 5 times, 3 sc (48)
Row 9: 48 sc
Row 10: 16 sc in orange, 14 sc in black, 18 sc in orange (48)
Row 11: (7 sc, inc) repeat 6 times (54)
Rows 12-13: 54 sc for 2 rows
Row 14: 9 sc, 6 inc, 20 sc, 6 inc, 13 sc (66)
In the next row, create openings for the safety eyes. If you are using sew-on or adhesive eyes, work 66 sc without increases.
Row 15: 27 sc, 1 ch, skip one st, 6 sc, 1 ch, skip one st, 31 sc (66)
Row 16: 9 sc in orange, 13 sc in black, 18 sc in orange, 13 sc in black, 13 sc in orange (66)
Row 17: 66 sc
Row 18: 9 sc in orange, 13 sc in black, 18 sc in orange, 13 sc in black, 13 sc in orange (66)
Row 19: 66 sc
Row 20: 9 sc in orange, 13 sc in black, 18 sc in orange, 13 sc in black, 13 sc in orange (66)
You can insert the safety eyes at this stage. Start stuffing the head as you go along. Pay special attention to shaping the cheeks of the tiger.
Row 21: (9 sc, dec) repeat 6 times (60)
Row 22: 4 sc, dec, (8 sc, dec) repeat 5 times, 4 sc (54)
Row 23: (7 sc, dec) repeat 6 times (48)
Row 24: 3 sc, dec, (6 sc, dec) repeat 5 times, 3 sc (42)
Row 25: (5 sc, dec) repeat 6 times (36)
Row 26: 2 sc, dec, (4 sc, dec) repeat 5 times, 2 sc (30)
Row 27: (3 sc, dec) repeat 6 times (24)
Row 28: 1 sc, dec, (2 sc, dec) repeat 5 times, 1 sc (18)
Cut the yarn and secure. Leave a long tail for sewing.

Muzzle:
With white yarn:
Row 1: 5 ch, starting from the second ch from the hook: sc, 2 sc in the same st, 3 sc, 3 sc in the same st, 3 sc (10)
Row 2: 2 inc, 2 sc, 3 inc, 2 sc, inc (16)
Row 3: (1 sc, inc) repeat twice, 2 sc, (1 sc, inc) three times, 3 sc, inc (22)
Rows 4-6: 22 sc for 3 rows
Sl st, cut the yarn, and leave a long tail for sewing.
Ears (Make 2):
Do not stuff the ears.
With orange yarn:
Row 1: 6 sc in MR
Row 2: 2 sc in each st around (12)
Row 3: (2 sc, dec) repeat 3 times (9)
Fold the ear in half and work 4 sc through both sides. Cut the yarn and secure. Leave a long tail for sewing.
Attach the muzzle between rows 15 and 21. Next, create the indentation for the eyes. Insert the needle at point 1 (neck), pull it out at point 2, one stitch up. Insert it at point 3 on the other eye, then at point 4, one stitch up, and finally back into the neck. Repeat this process once more, tie knots at both ends, and hide them inside the head.
Use black yarn to embroider the nose, starting 3 rows above the eyes, as shown in the photo. Embroider white highlights near the eyes with white yarn. Use thin black yarn to embroider the mouth and eyebrows. Attach the ears, leaving a 5-row gap from the start of the work.
Arms/Tail (Make 3):
Do not stuff the arms and tail.
With orange yarn:
Row 1: 6 sc in MR
Row 2: (1 sc, inc) repeat 3 times (9)
Rows 3-4: 9 sc for 2 rows
Switch to black yarn:
Row 5: 9 sc in black
Switch back to orange yarn:
Rows 6-7: 9 sc for 2 rows
Switch to black yarn:
Row 8: 9 sc in black
Switch back to orange yarn:
Rows 9-10: 9 sc for 2 rows
Switch to black yarn:
Row 11: 9 sc in black
Switch back to orange yarn:
Rows 12-13: 9 sc for 2 rows
Switch to black yarn:
Row 14: 9 sc in black
Switch back to orange yarn:
Rows 15-16: 9 sc for 2 rows
Switch to black yarn:
Row 17: 9 sc in black
Switch back to orange yarn:
Row 18: 9 sc in orange
Fold the arm/tail in half and work 4 sc through both sides. Cut the yarn and secure. Leave a long tail on one piece for sewing; you can make the tails shorter for the other two, as these will be attached to the body.
Legs/Body:
Stuff as you go along.
With orange yarn:
Row 1: 8 sc in MR
Row 2: 2 sc in each st around (16)
Rows 3-4: 16 sc for 2 rows
Switch to black yarn:
Row 5: 16 sc in black
Switch back to orange yarn:
Row 6: 16 sc in orange
Cut the yarn and secure the first leg. Repeat the same pattern for the second leg, but do not cut the yarn. After completing the second leg, crochet one extra turning stitch to hide the color transition and make 3 ch. Attach the second leg to the first one and continue crocheting in the round.
Row 7: 16 sc along one leg, 3 sc in the ch, 16 sc along the other leg, 3 sc in the ch (38)
Switch to black yarn:
Row 8: 7 sc, inc, (9 sc, inc) repeat 3 times (42)
Switch back to orange yarn:
Row 9: (6 sc, inc) repeat 6 times (48)
Row 10: 48 sc
Switch to black yarn:
Row 11: 48 sc
Switch back to orange yarn:
Rows 12-13: 48 sc for 2 rows
Switch to black yarn:
Row 14: 48 sc
Switch back to orange yarn:
Row 15: 48 sc
Row 16: (6 sc, dec) repeat 6 times (42)
Switch to black yarn:
Row 17: 42 sc
Switch back to orange yarn:
Rows 18-19: 42 sc for 2 rows
Switch to black yarn:
Row 20: (5 sc, dec) repeat 6 times (36)
Switch back to orange yarn:
Rows 21-22: 36 sc for 2 rows
Switch to black yarn:
Row 23: 36 sc
Switch back to orange yarn:
Row 24: (4 sc, dec) repeat 6 times (30)
Row 25: 30 sc
Switch to black yarn:
Row 26: 30 sc
Switch back to orange yarn:
Row 27: 30 sc
Row 28: (3 sc, dec) repeat 6 times (24)
In the next row, attach the arms.
Row 29: 4 sc, 4 sc with arm, simultaneously catching the loops of the arm and the body, 8 sc, 4 sc with arm, 4 sc (24)
Row 30: (2 sc, dec) repeat 6 times (18)
Cut the yarn and secure.
Attach the head to the body.
Attach the tail between rows 14 and 15 of the body so that it doesn’t stick up.
Collar:
Make a chain of 23 stitches and start crocheting 3 sl st in each chain. Continue until the end of the row. Cut the yarn and leave a tail for sewing.
Close the collar around the tiger’s neck and sew the two ends together.
Your tiger is ready!
When sharing your finished work, please provide credit for the pattern.