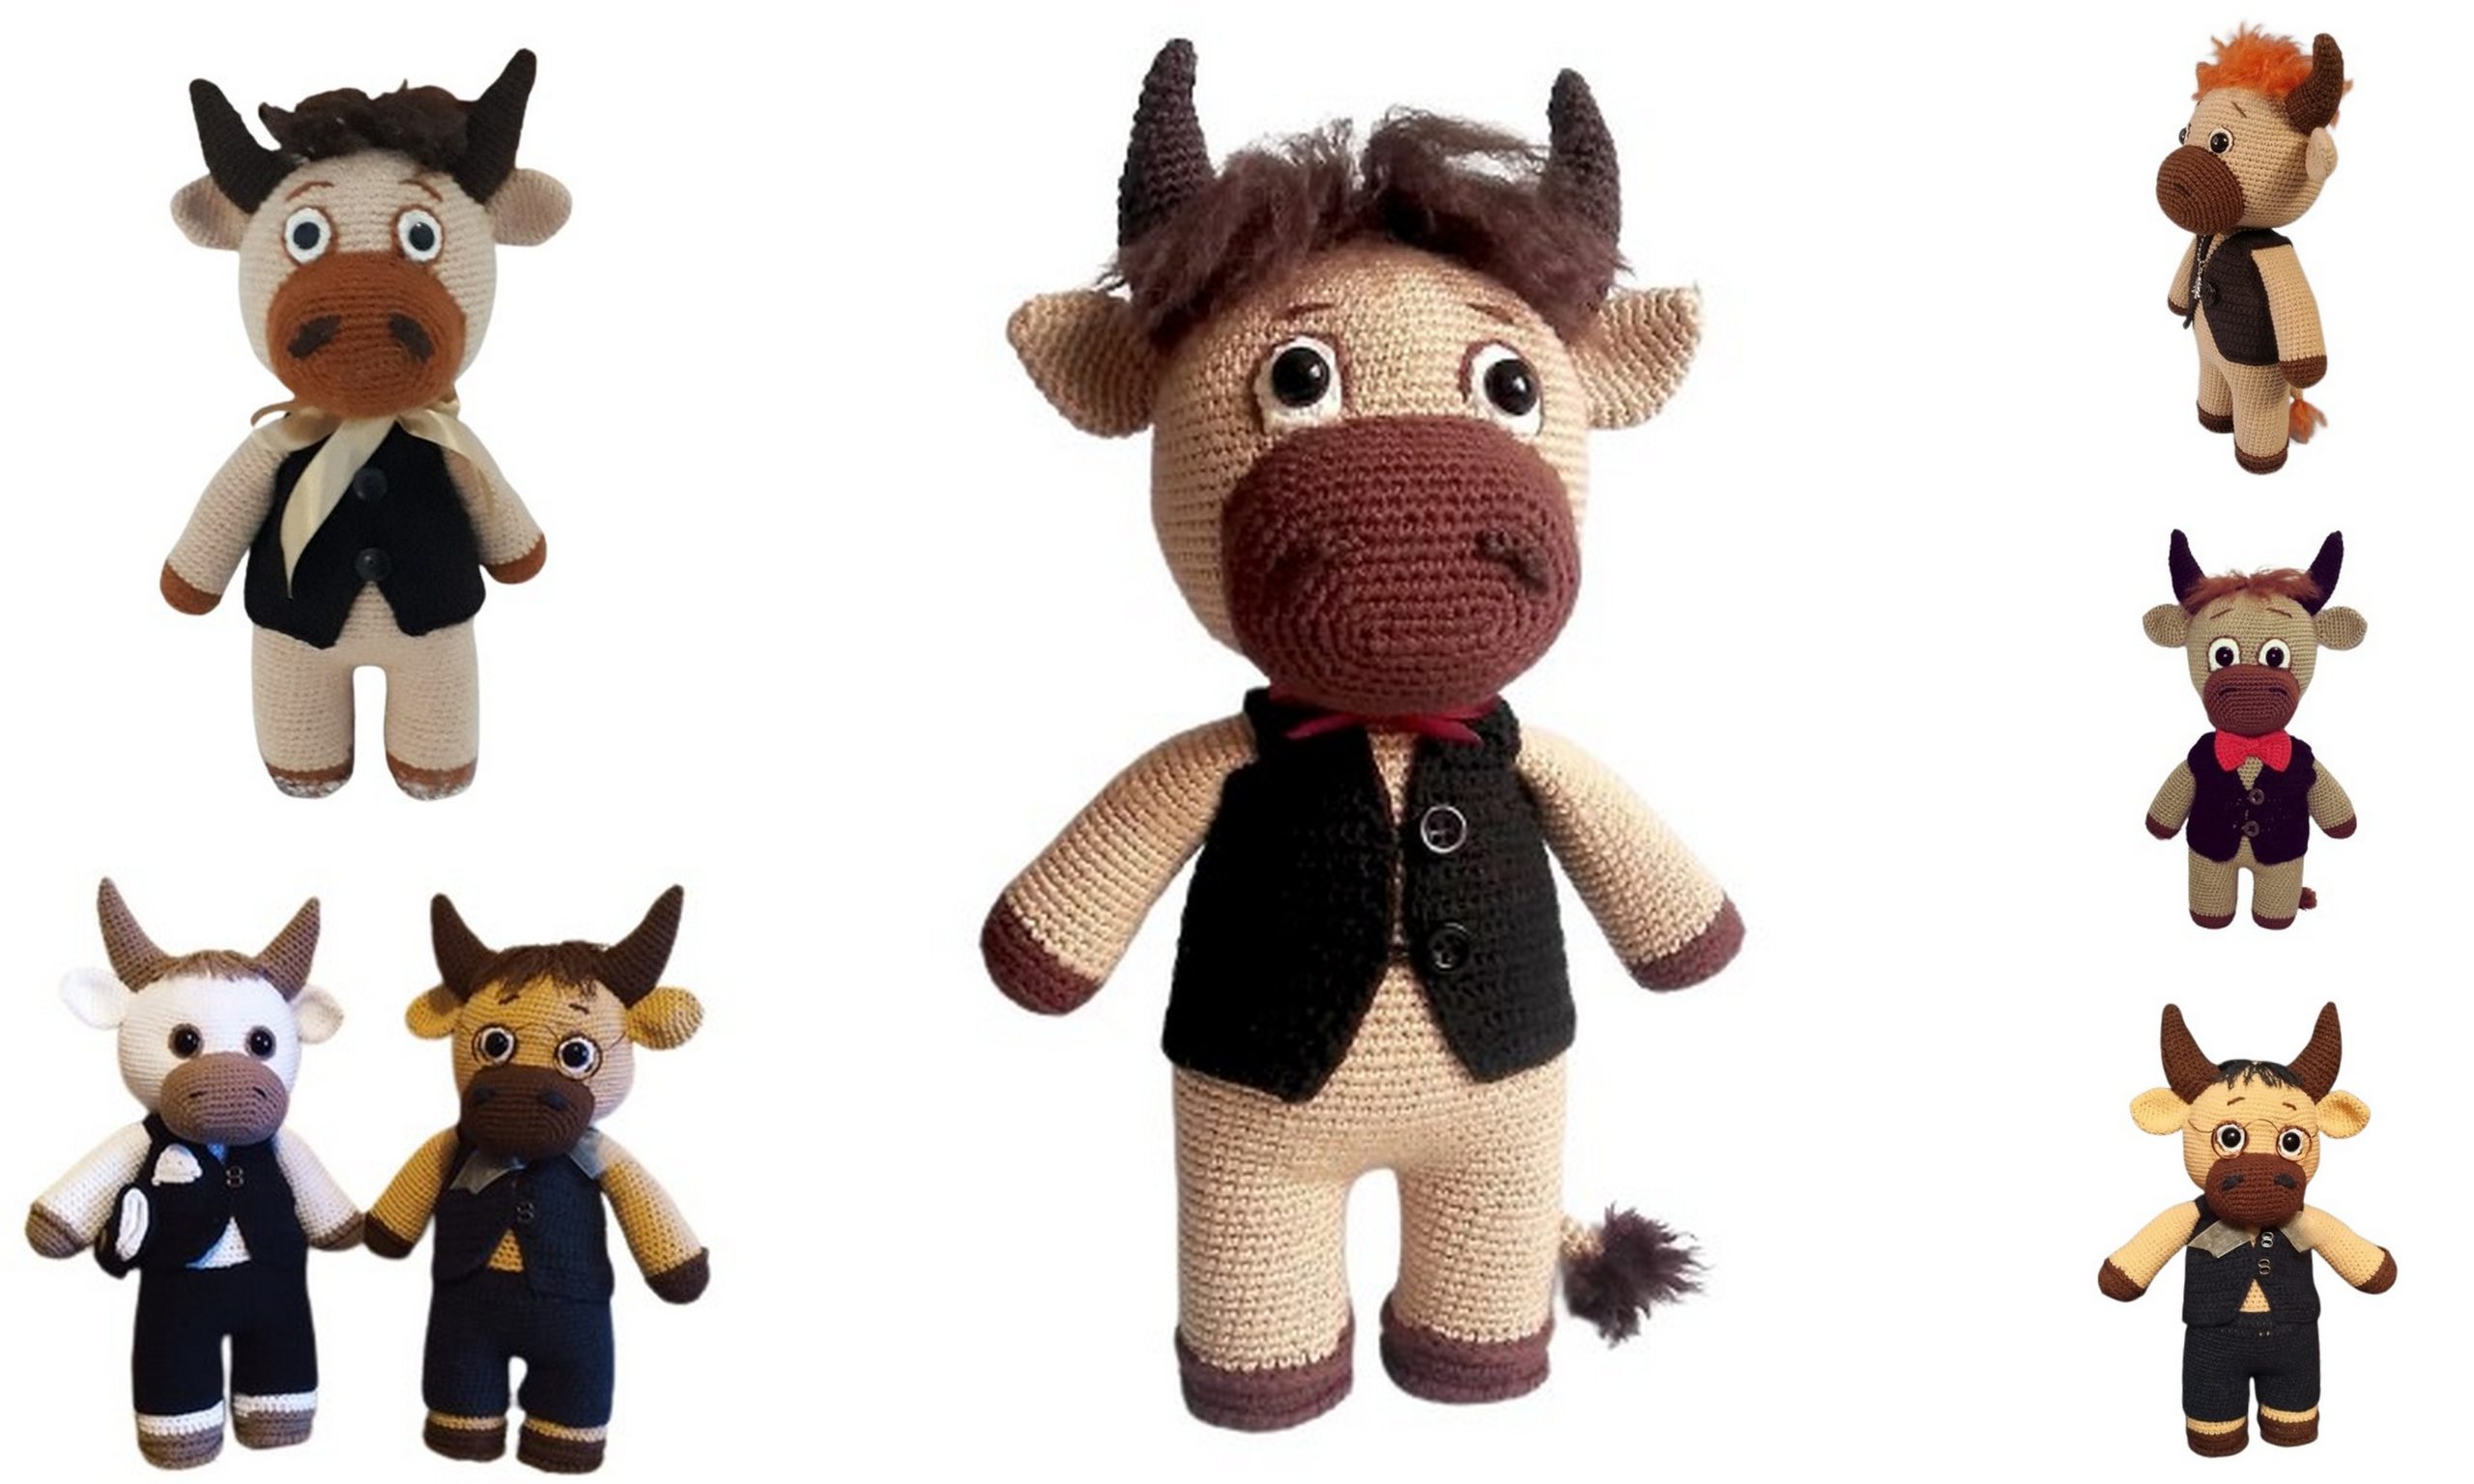
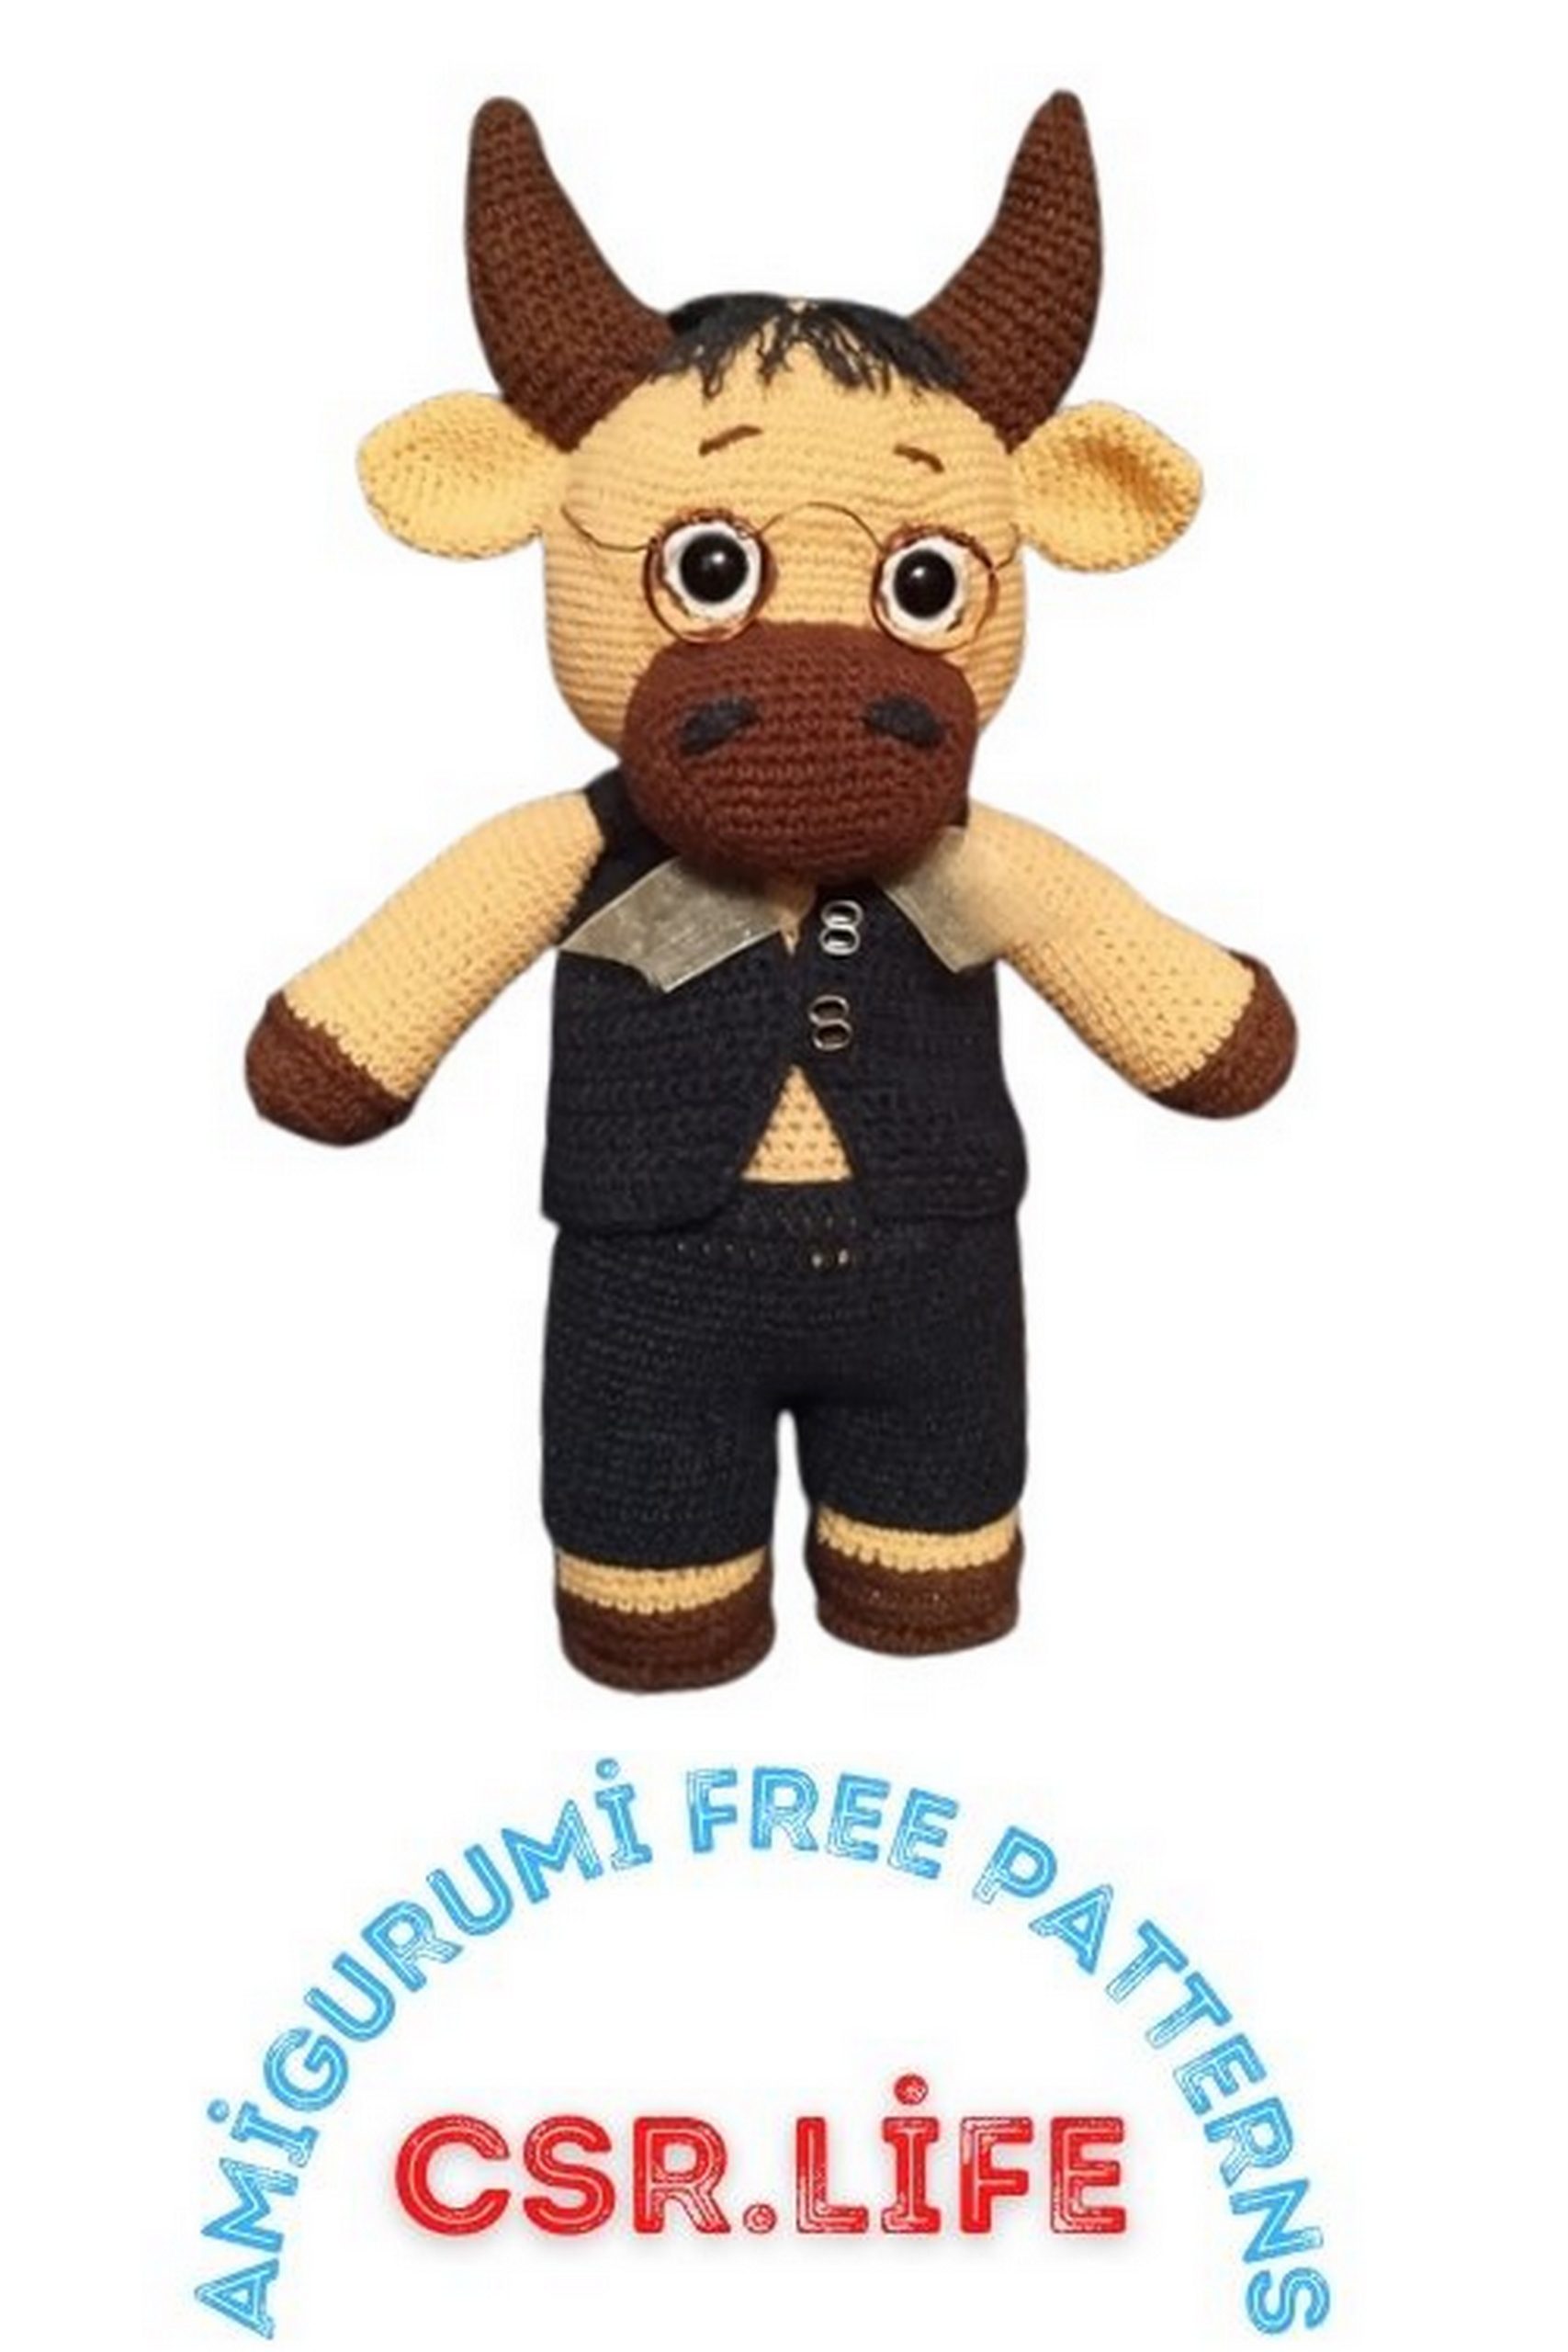
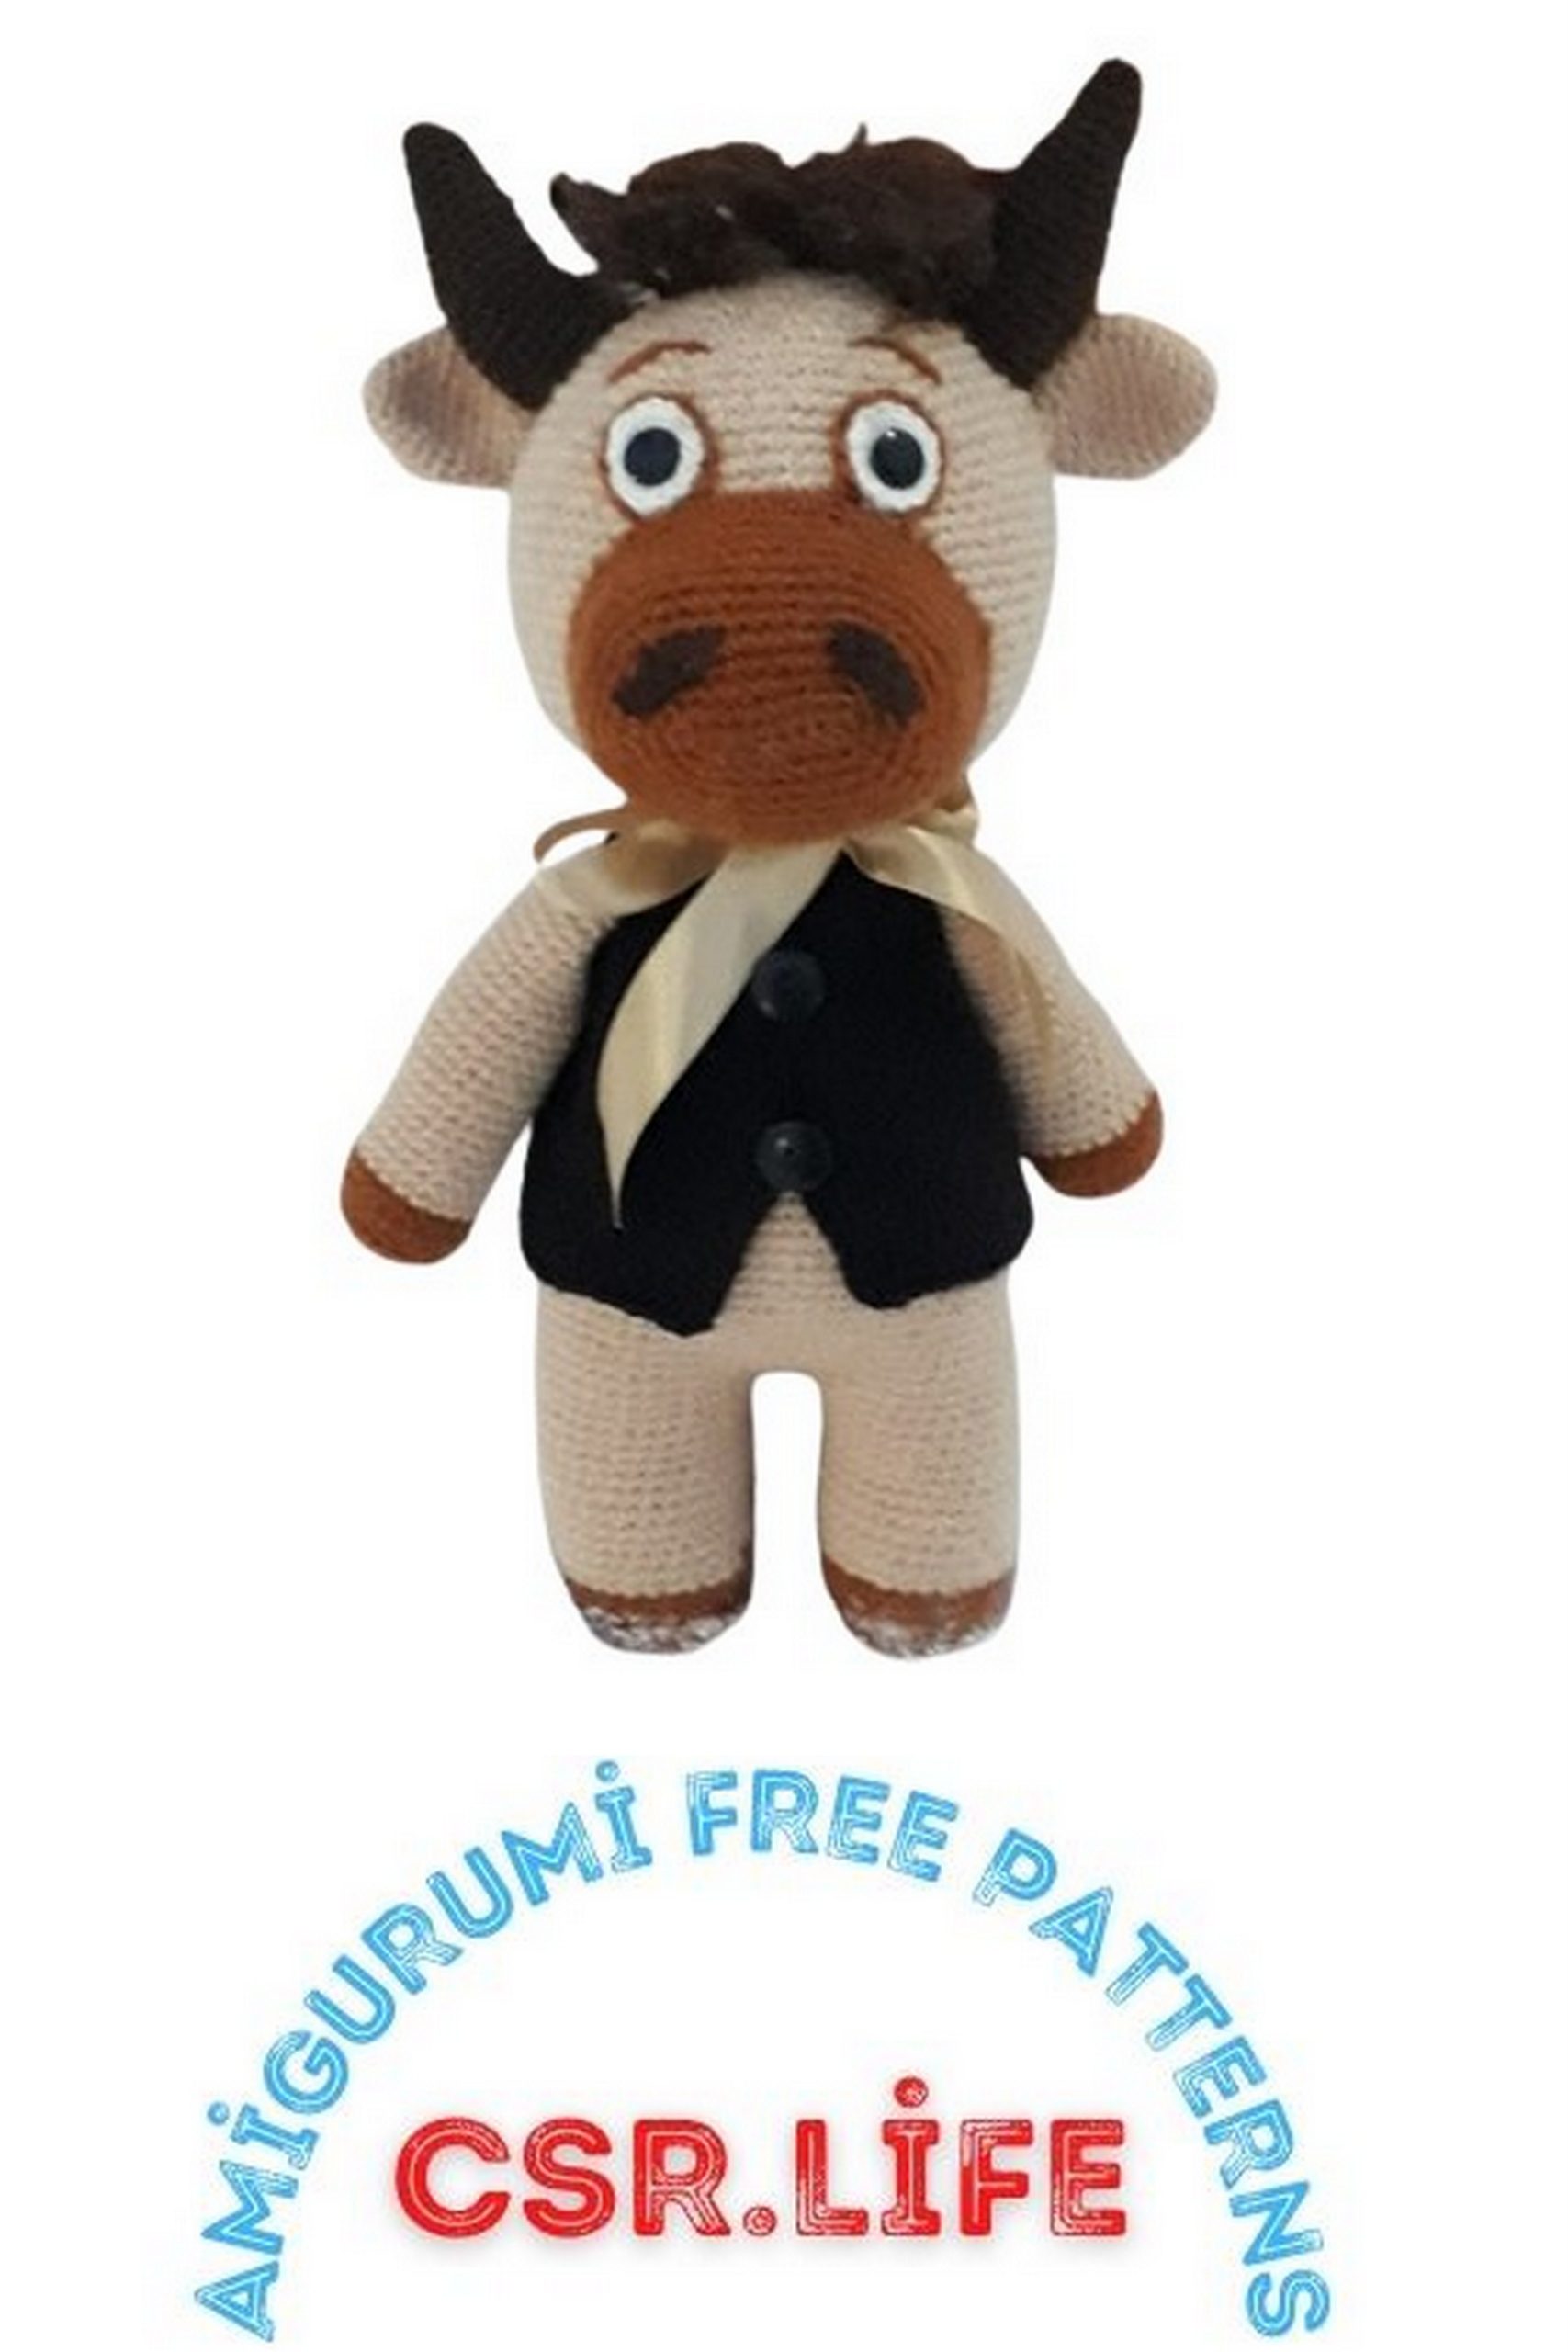
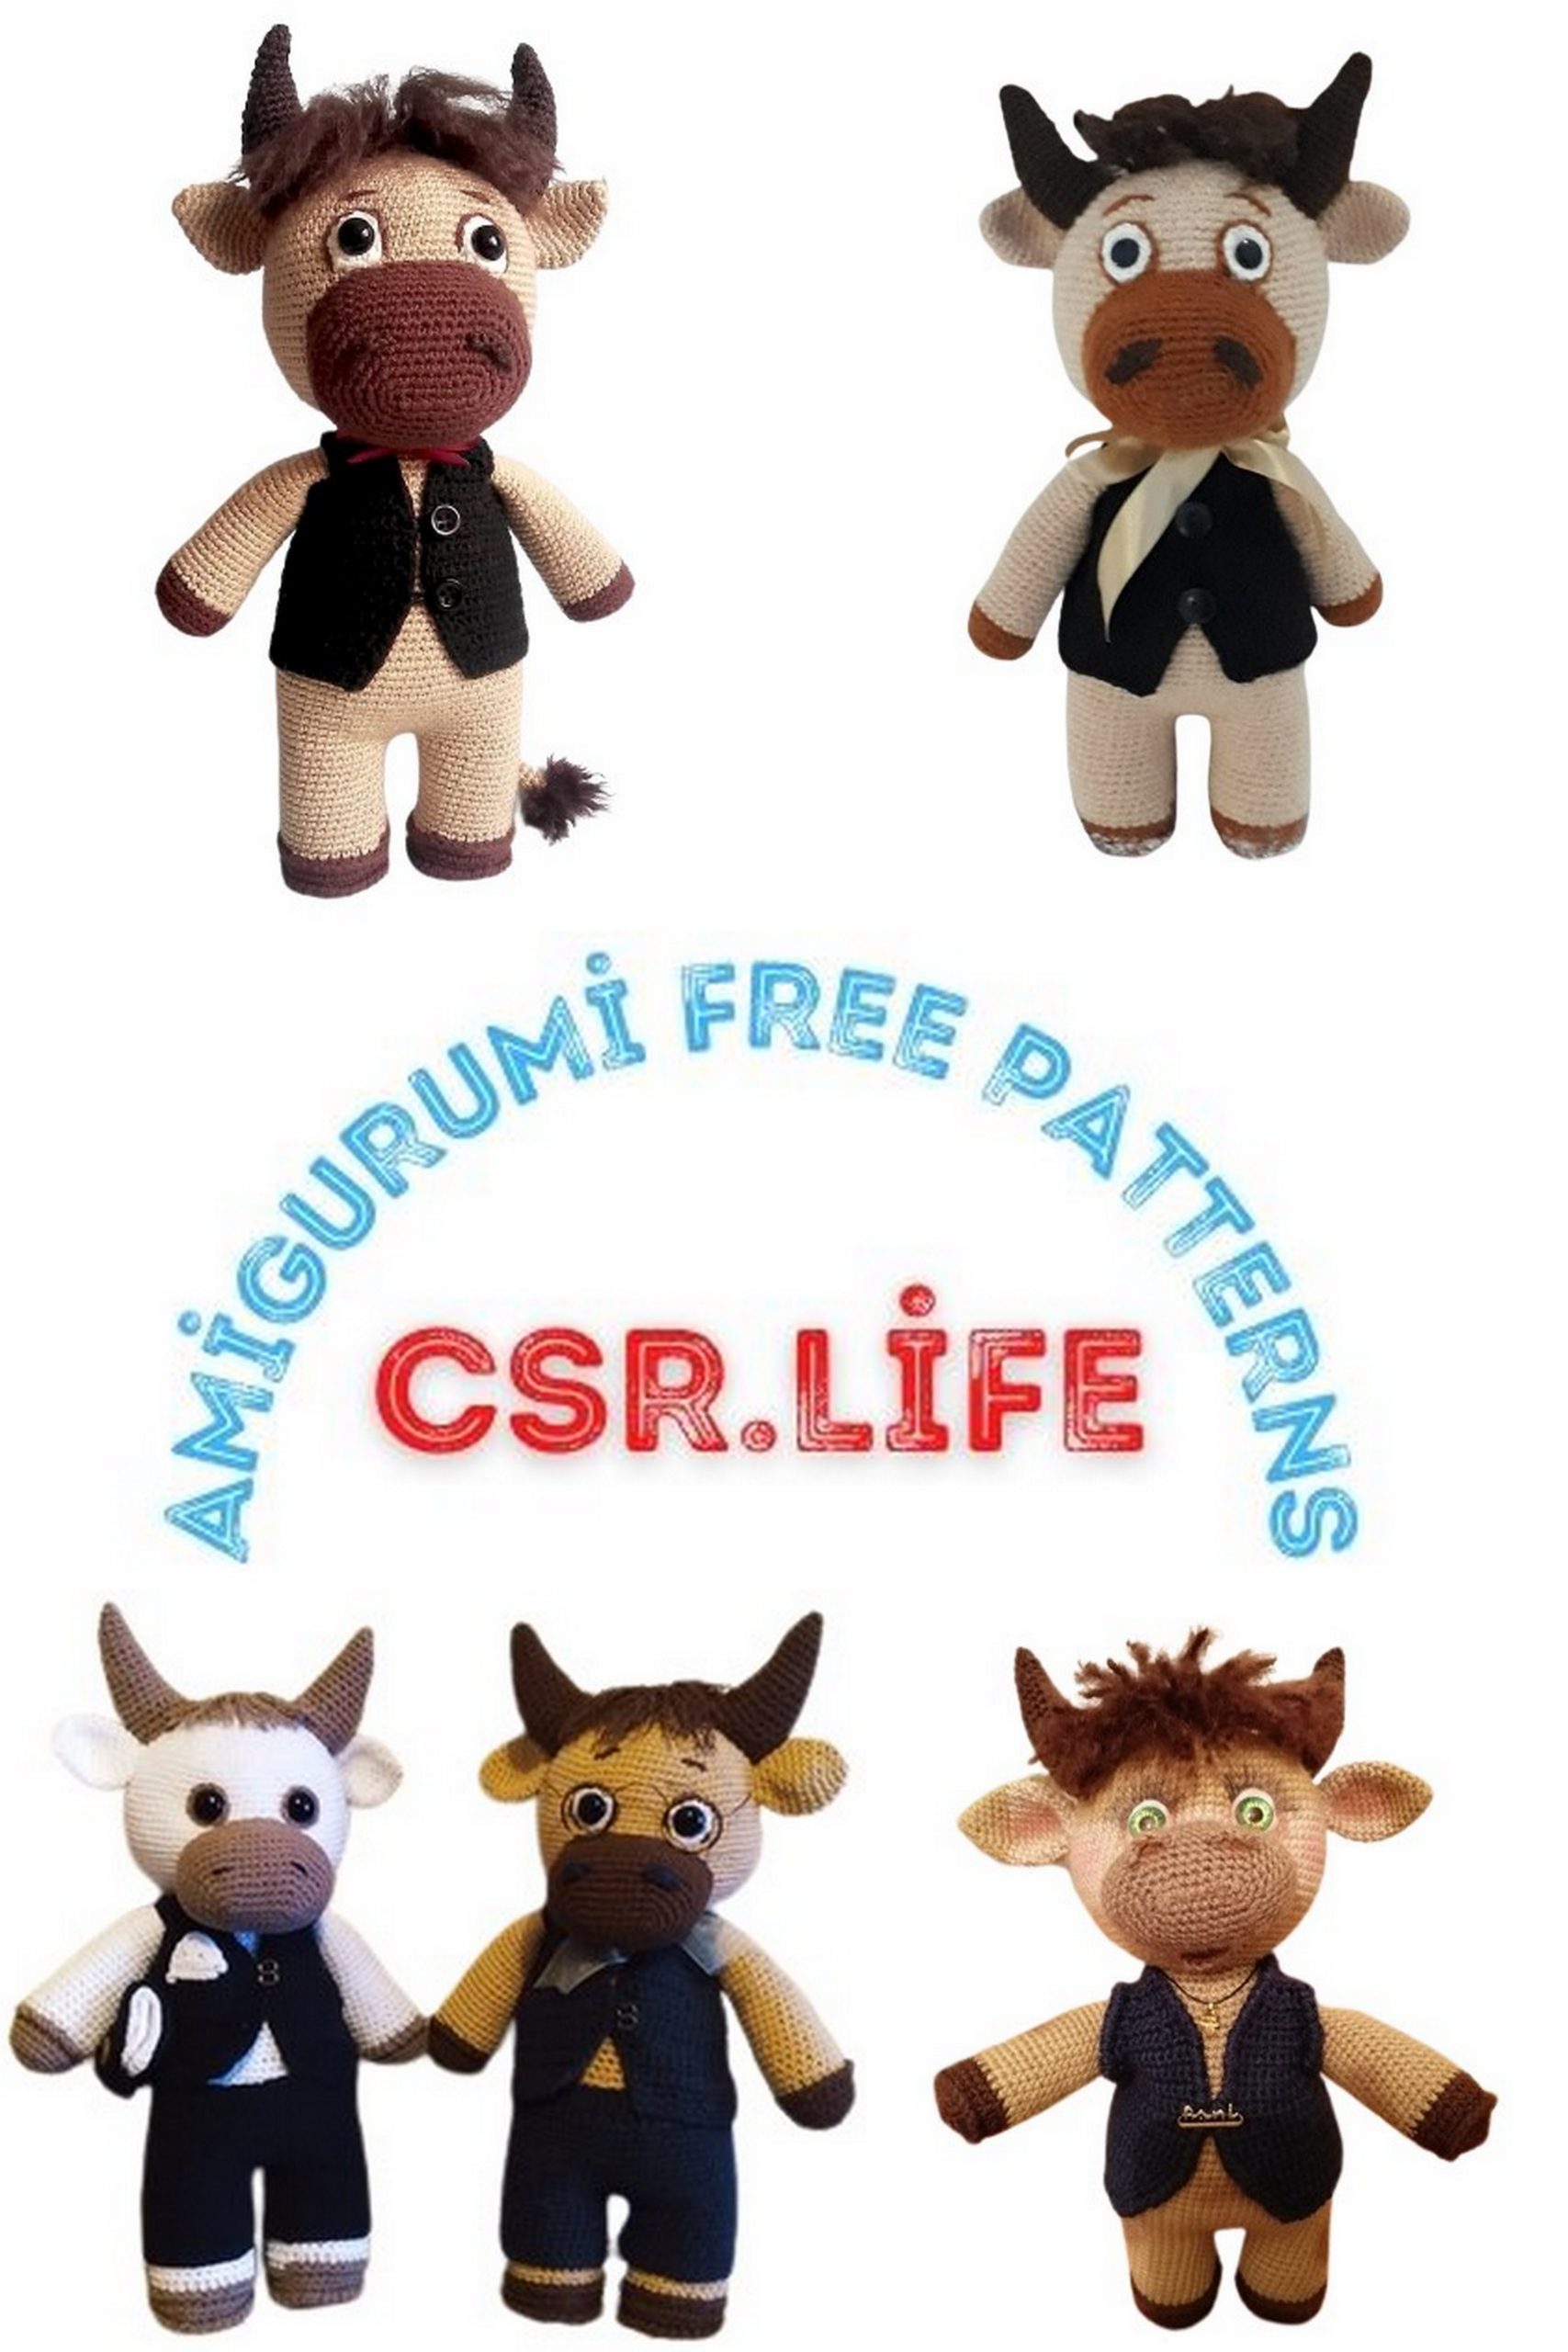
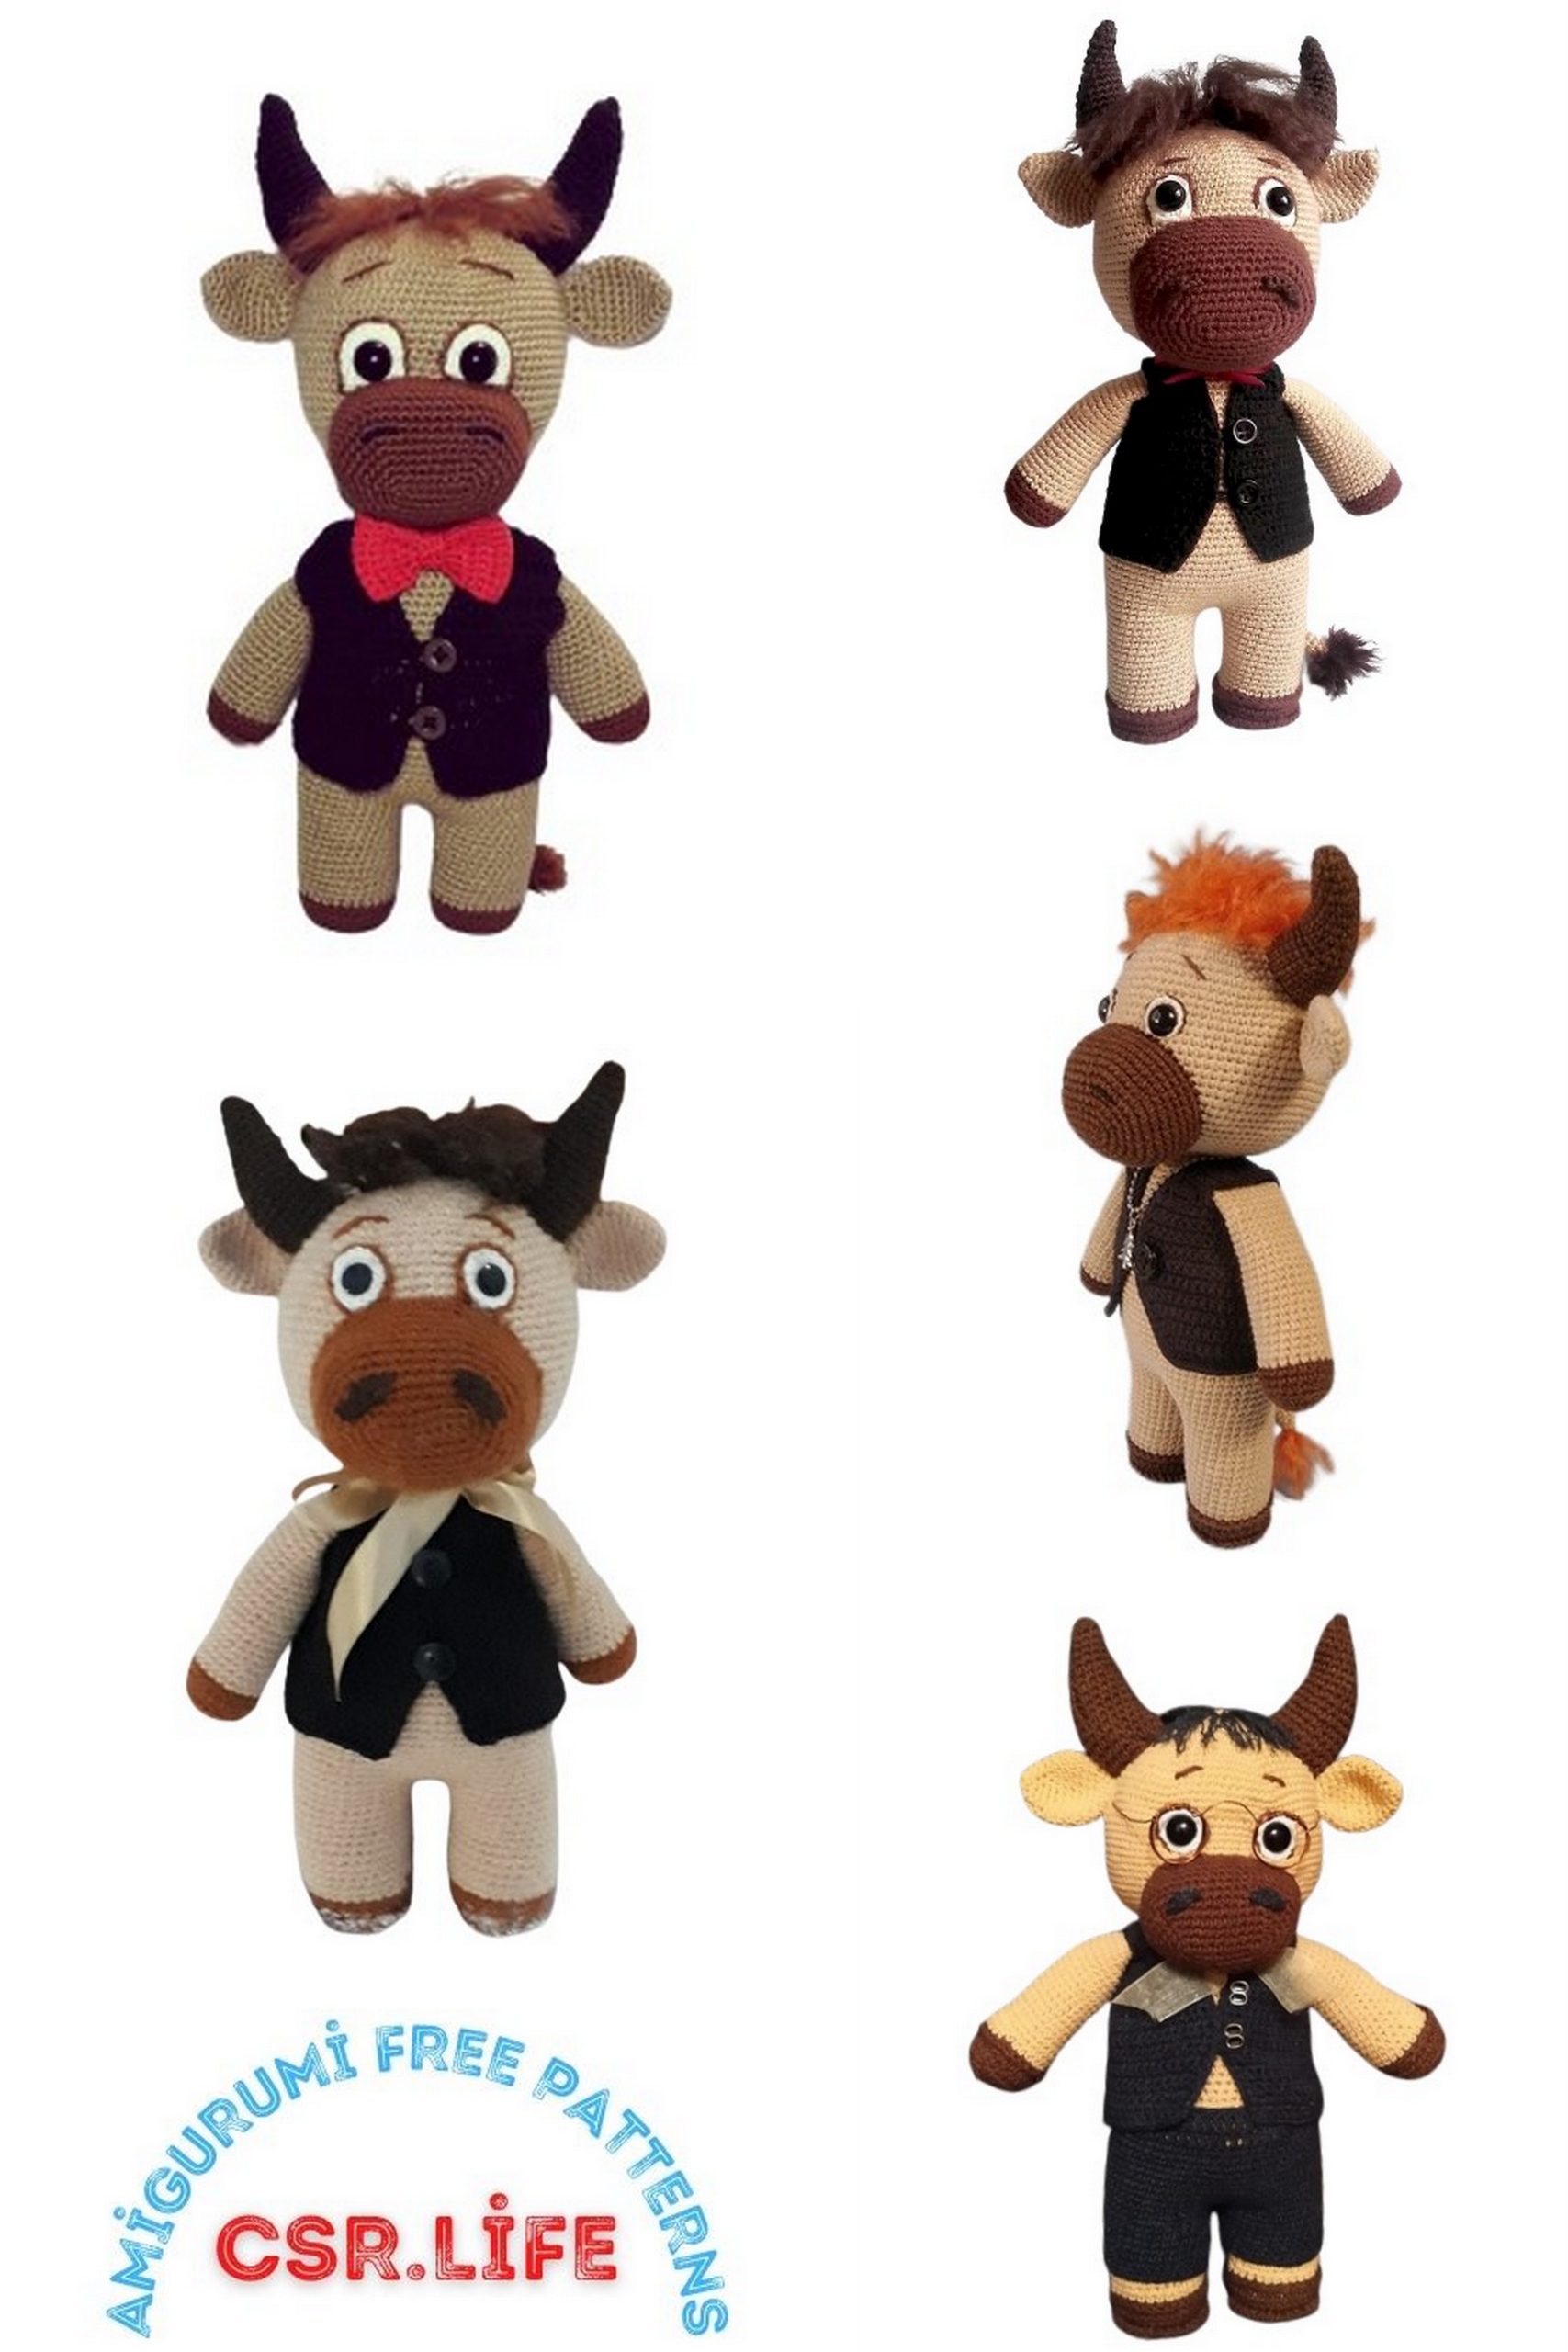
Bull Neto Amigurumi Free Pattern – Cute Bull Amigurumi Tutorial
Discover the art of amigurumi and craft your adorable Bull Neto Amigurumi with our free pattern! With this pattern, you can easily showcase your crafting skills, following simple steps that anyone can follow.
This special pattern can be a great choice for both experienced craft enthusiasts and beginners alike. Learn the details of this pattern and follow the steps to create your very own Amigurumi Bull Neto.
Bull amigurumi can captivate people of all ages with its cuteness and uniqueness.
Toy Height: 27 cm
Materials:
Acrylic yarn 100%, I used “Lotus” 100/300
Crochet hook 1.25
Stuffing
Safety eyes 12 mm
Some cardboard
Some satin ribbon
Tools (scissors, needle, pins)
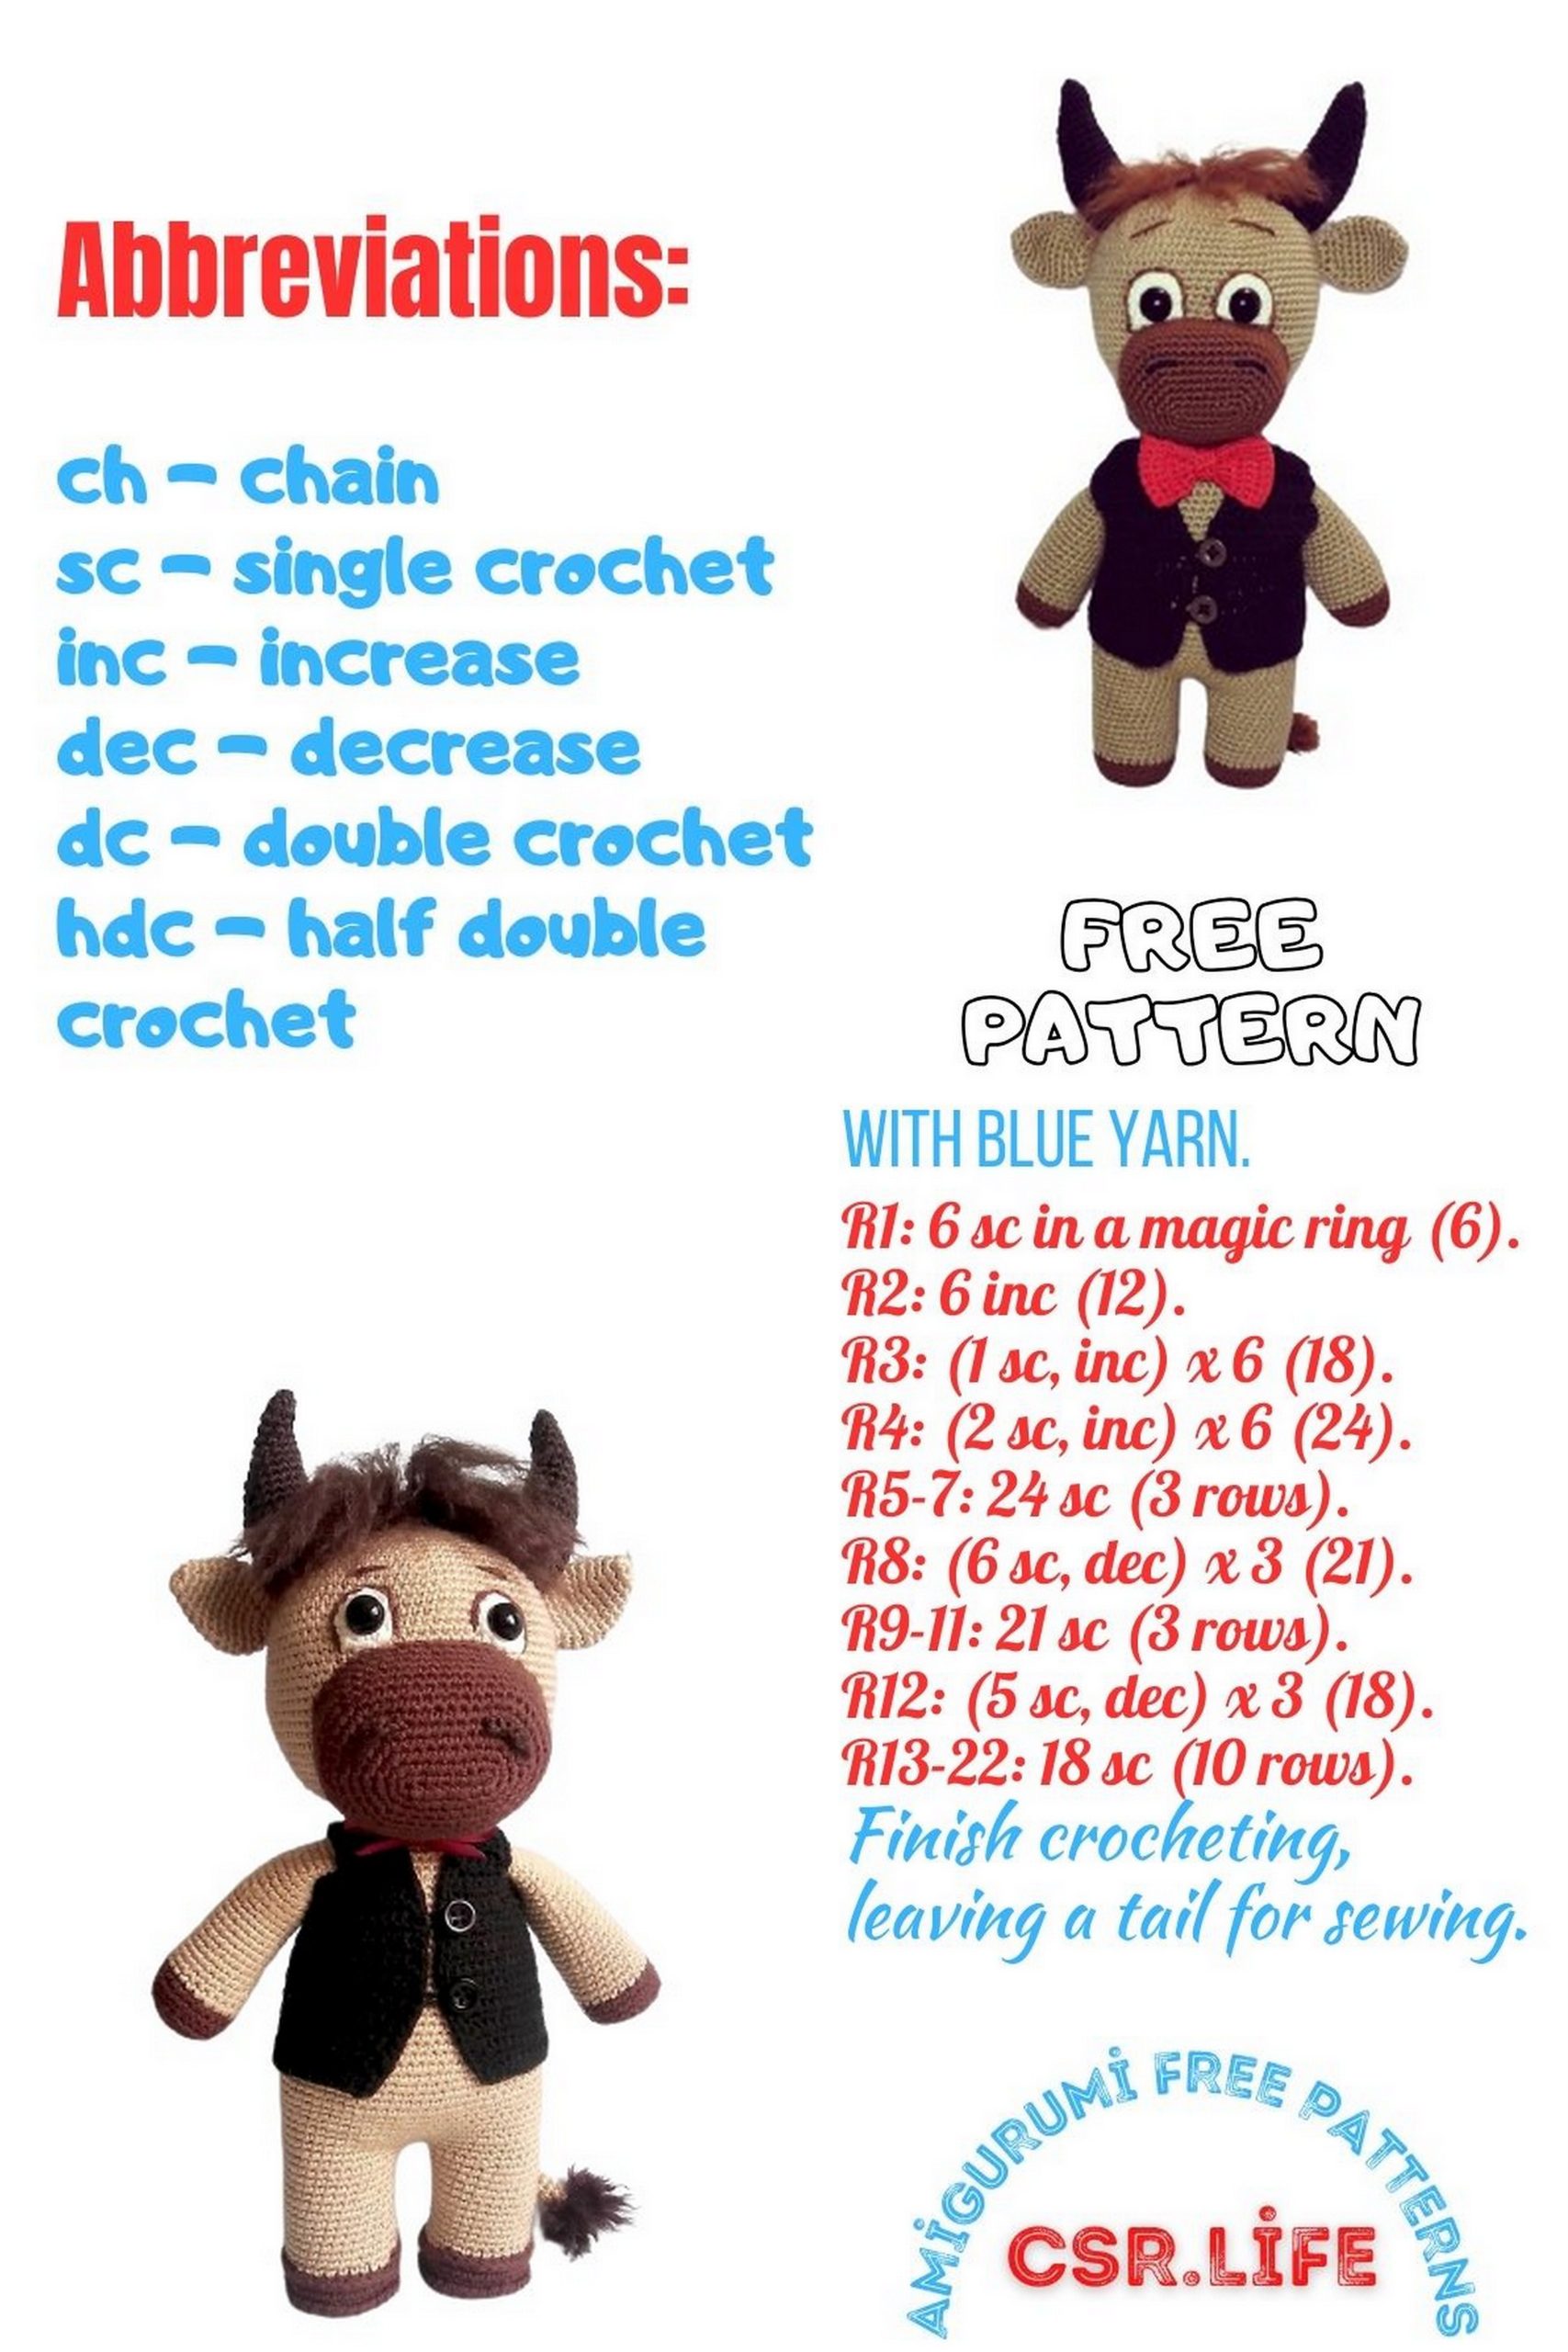
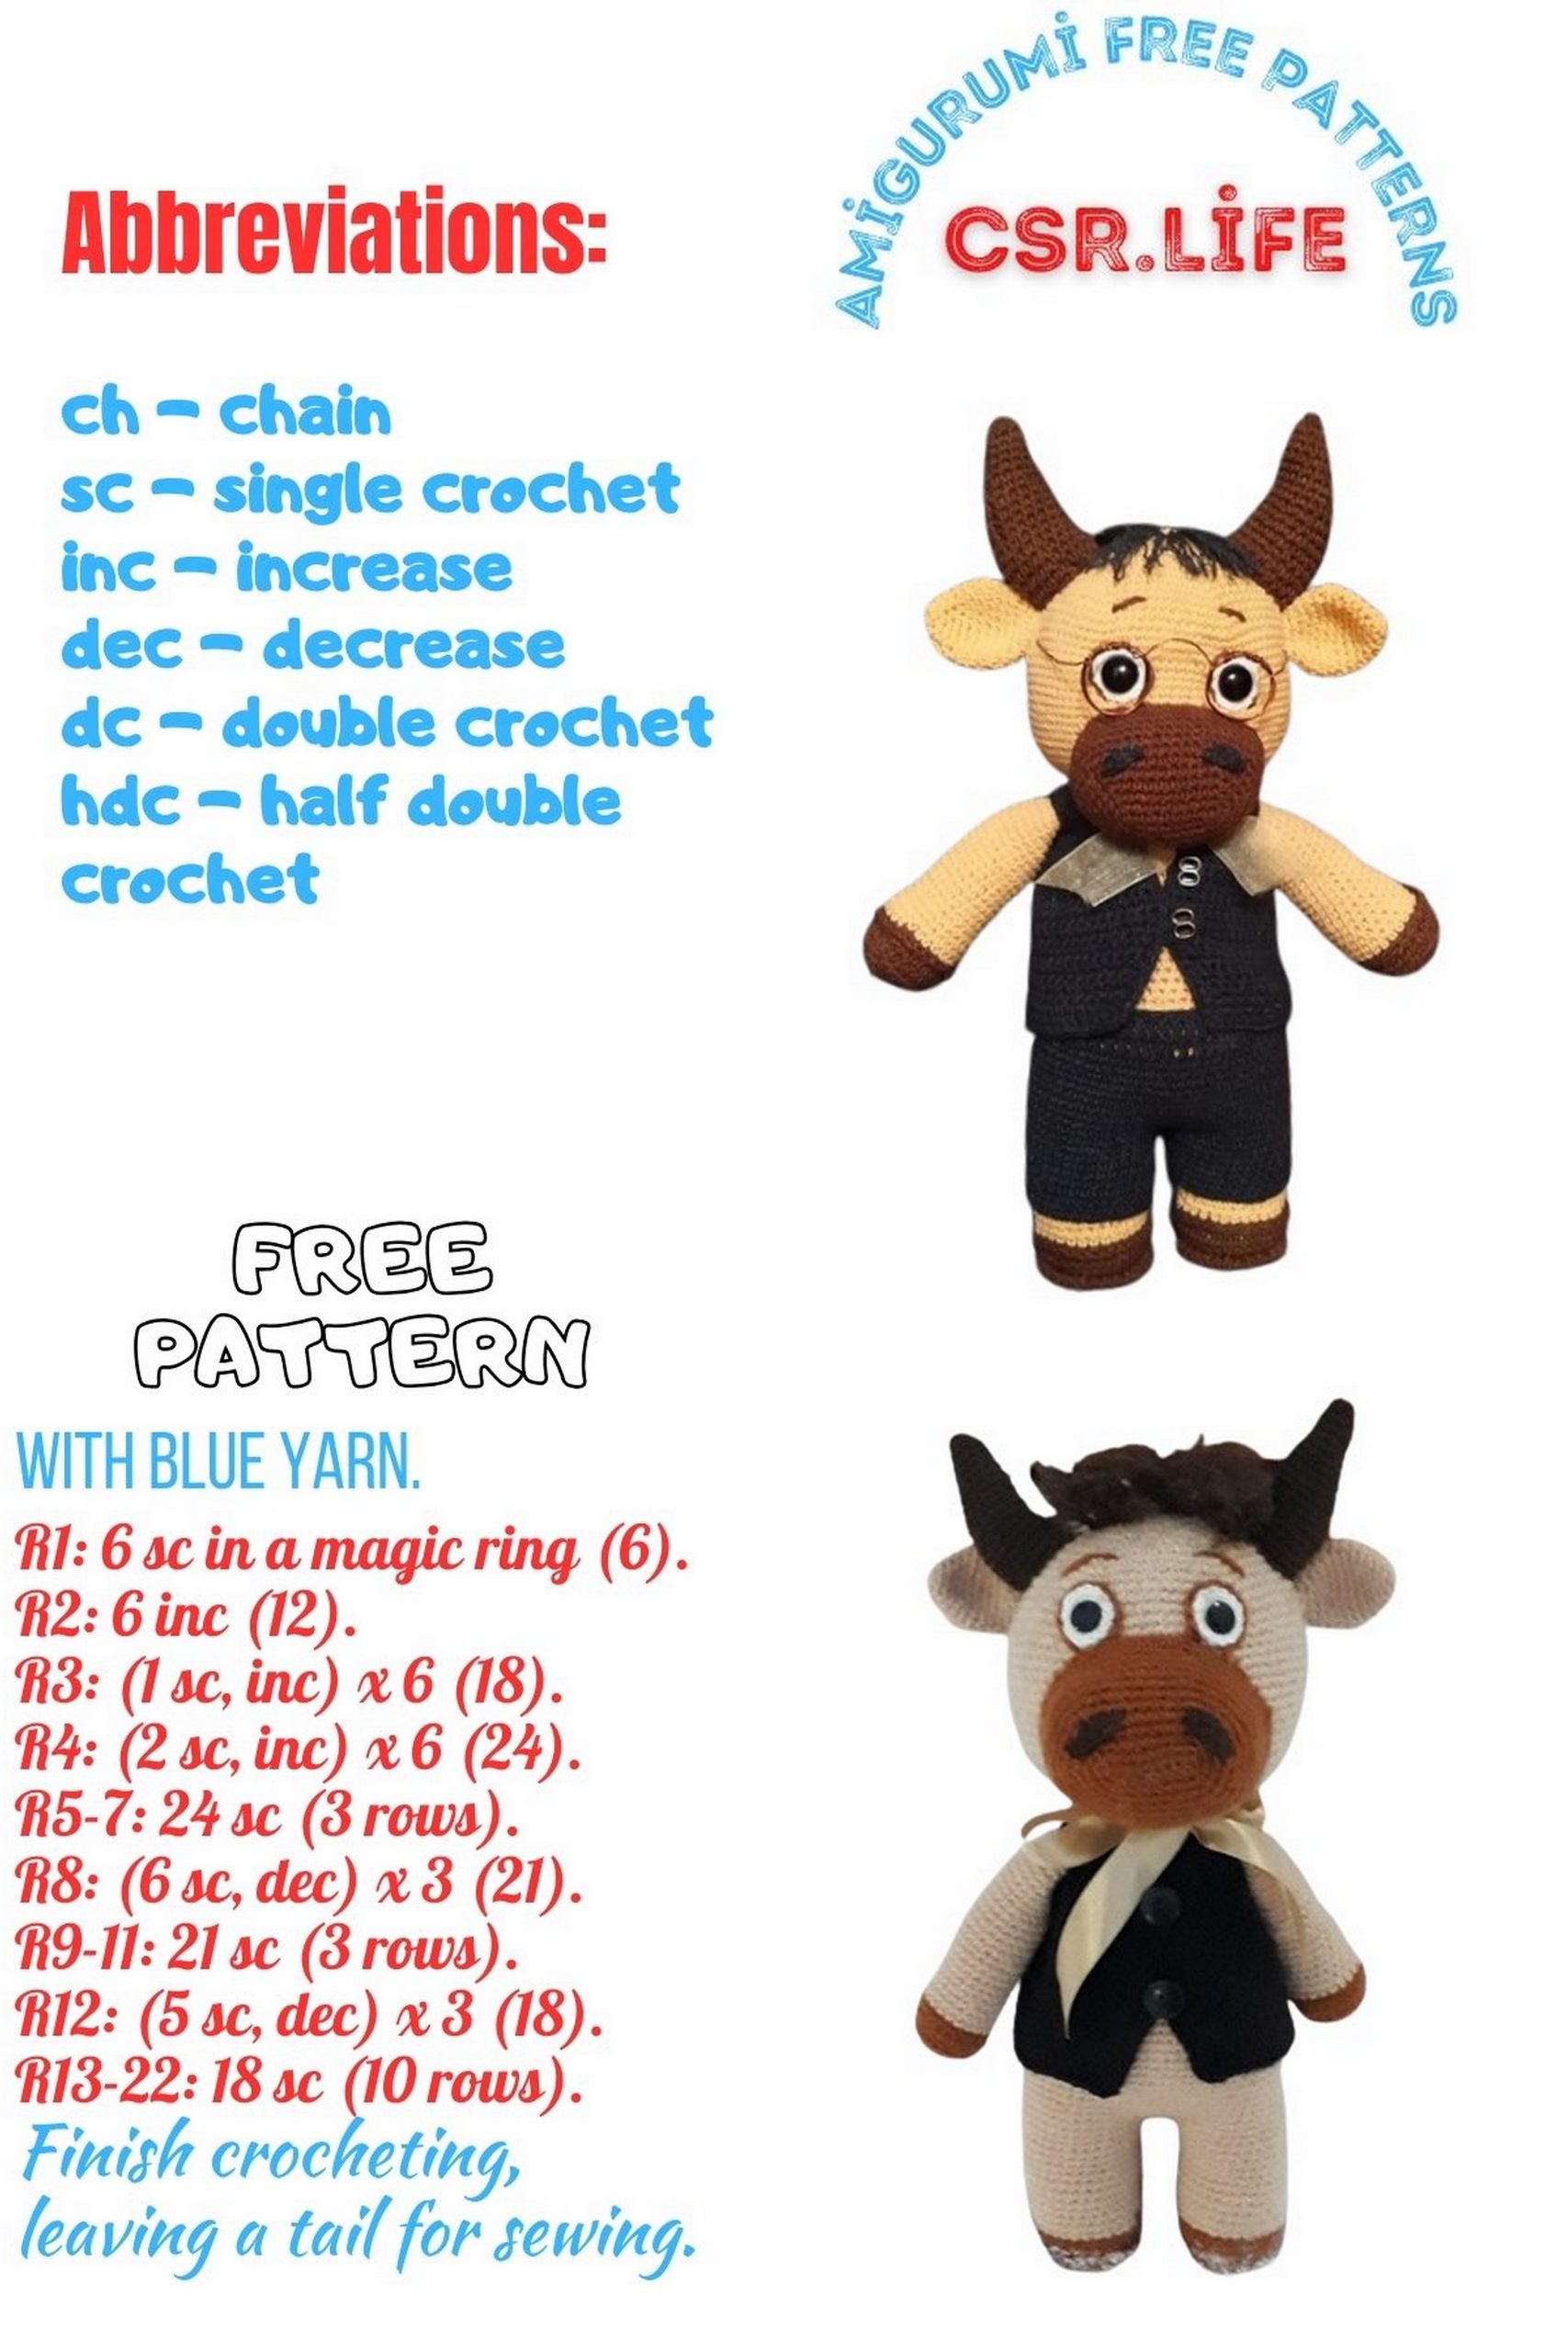
Abbreviations:
CH – chain
SC – Single crochet
INC – Increase
DEC – Decrease
SL-ST – Slip stitch
HDC – Half double crochet
Note: This tutorial assumes that you have basic crochet skills.
PATTERN
Legs (Make 2) – Light Brown
Row 1: MAGIC RING 6 SC (6)
Row 2: INC in each st (12)
Row 3: (1 SC, INC) x 6 (18)
Row 4: (2 SC, INC) x 6 (24)
Row 5: (3 SC, INC) x 6 (30)
Cut 2 circles from cardboard.
Row 6: Work 30 SC through the back loops only.
Rows 7-8: 30 SC through both loops.
Row 9: Change yarn to light beige.
Rows 10-20: 30 SC each row.
Insert cardboard and stuff, then cut the yarn and secure.
In the 6th row, there are remaining half-loops where we crocheted through the back loops. Use the “crab stitch” technique on them.
Before changing color in Row 8, crochet 30 SC around the previously worked loop in light brown.
Repeat the same for the second leg, without cutting the yarn, continue to crochet:
Row 1: 3 CH, switch to the first leg, crochet 30 SC around it, then 3 SC over 3 CH, and 30 SC around the second leg, and again 3 SC over 3 CH (66). Place a marker.
Rows 2-17: 66 SC each row
Row 18: (9 SC, DEC) x 6 (60)
Row 19: 60 SC
Row 20: (8 SC, DEC) x 6 (54)
Rows 21-31: 54 SC each row
Row 32: (7 SC, DEC) x 6 (48)
Row 33: 48 SC
Stuff as you go.
Row 34: (6 SC, DEC) x 6 (42)
Row 35: 42 SC
Row 36: (5 SC, DEC) x 6 (36)
Row 37: (4 SC, DEC) x 6 (30)
Row 38: (3 SC, DEC) x 6 (24)
Row 39: (2 SC, DEC) x 6 (18)
Row 40: 18 SC
Cut the yarn, leaving a tail for sewing. Stuff the neck tightly.
Arms – Light Brown
Row 1: MAGIC RING 6 SC (6)
Row 2: INC in each st (12)
Row 3: (1 SC, INC) x 6 (18)
Row 4: (2 SC, INC) x 6 (24)
Work 24 SC through the back loops only.
Rows 6-7: 24 SC through both loops.
Row 8: Change yarn to light beige, 24 SC.
Rows 9-30: 24 SC each row.
Stuff only up to Row 20, fold in half, and crochet 12 SC through 2 loops to sew the arm closed.
Head – Light Beige
Row 1: MAGIC RING 6 SC (6)
Row 2: INC in each st (12)
Row 3: (1 SC, INC) x 6 (18)
Row 4: (2 SC, INC) x 6 (24)
Row 5: (3 SC, INC) x 6 (30)
Row 6: (4 SC, INC) x 6 (36)
Row 7: (5 SC, INC) x 6 (42)
Row 8: (6 SC, INC) x 6 (48)
Row 9: (7 SC, INC) x 6 (54)
Row 10: (8 SC, INC) x 6 (60)
Row 11: (9 SC, INC) x 6 (66)
Row 12: (10 SC, INC) x 6 (72)
Row 13: (11 SC, DEC) x 6 (78)
Row 14: (12 SC, DEC) x 6 (84)
Rows 15-30: 84 SC each row
Continue in mirror image for the decreases from Row 31 onwards until there are 6 stitches remaining, stuffing as you go.
Cut the yarn, secure it.
Muzzle – Light Brown
Row 1: 9 CH from the 2nd loop from the hook, 7 SC, 3 SC in 1 CH, on the other side of the chain 6 SC, INC (18)
Row 2: INC, 6 SC, 3 INC, 6 SC, 2 INC (24)
Row 3: 1 SC, INC, 6 SC, (1 SC, INC) x 3, 6 SC, (1 SC, INC) x 2 (30)
Row 4: 2 SC, INC, 6 SC, (2 SC, INC) x 3, 6 SC, (2 SC, INC) x 2 (36)
Row 5: 3 SC, INC, 6 SC, (3 SC, INC) x 3, 6 SC, (3 SC, INC) x 2 (42)
Row 6: 4 SC, INC, 6 SC, (4 SC, INC) x 3, 6 SC, (4 SC, INC) x 2 (48)
Row 7: 5 SC, INC, 6 SC, (5 SC, INC) x 3, 6 SC, (5 SC, INC) x 2 (54)
Rows 8-13: 54 SC each row
Cut the yarn, leaving a tail for sewing.
Stuff the muzzle.
Horns – Dark Brown
Right Horn:
Row 1: 22 CH, join in a circle, and work 2 rows of 22 SC.
Row 3: 1 SC, DEC, 19 SC (21)
Row 4: 1 SC, DEC, 18 SC (20)
Row 5: 1 SC, DEC, 17 SC (19)
Row 6: 19 SC
Row 7: 8 SC, DEC, 9 SC (18)
Row 8: 8 SC, DEC, 8 SC (17)
Row 9: 8 SC, DEC, 7 SC (16)
Row 10: 8 SC, DEC, 6 SC (15)
Row 11: 8 SC, DEC, 5 SC (14)
Row 12: 8 SC, DEC, 4 SC (13)
Row 13: 8 SC, DEC, 3 SC (12)
Row 14: 8 SC, DEC, 2 SC (11)
Row 15: 8 SC, DEC, 1 SC (10)
Row 16: 8 SC, DEC (9)
Row 17: (1 SC, DEC) x 3 (6)
Cut the yarn, secure it. Stuff the horn.
Left Horn: Work in mirror image from the 3rd row, starting with 19 SC, 1 DEC, 1 SC, and so on.
Ears – Light Beige
Row 1: MAGIC RING 6 SC
Row 2: (1 SC, INC) x 3 (9)
Row 3: (2 SC, INC) x 3 (12)
Row 4: (3 SC, INC) x 3 (15)
Row 5: (4 SC, INC) x 3 (18)
Row 6: (5 SC, INC) x 3 (21)
Rows 7-9: 21 SC each row
Then, reverse the order for decreases: (5 SC, DEC) x 3, and so on until you have 9 stitches remaining.
Do not stuff the ears. Cut the yarn, leaving a tail for sewing.
Tail – Light Beige
8 CH, join in a circle, and work about 8 cm of 8 SC.
Cut the yarn, leaving a tail for sewing.
Attach a few rows of dark brown yarn on the other end and brush it out to create a tuft.
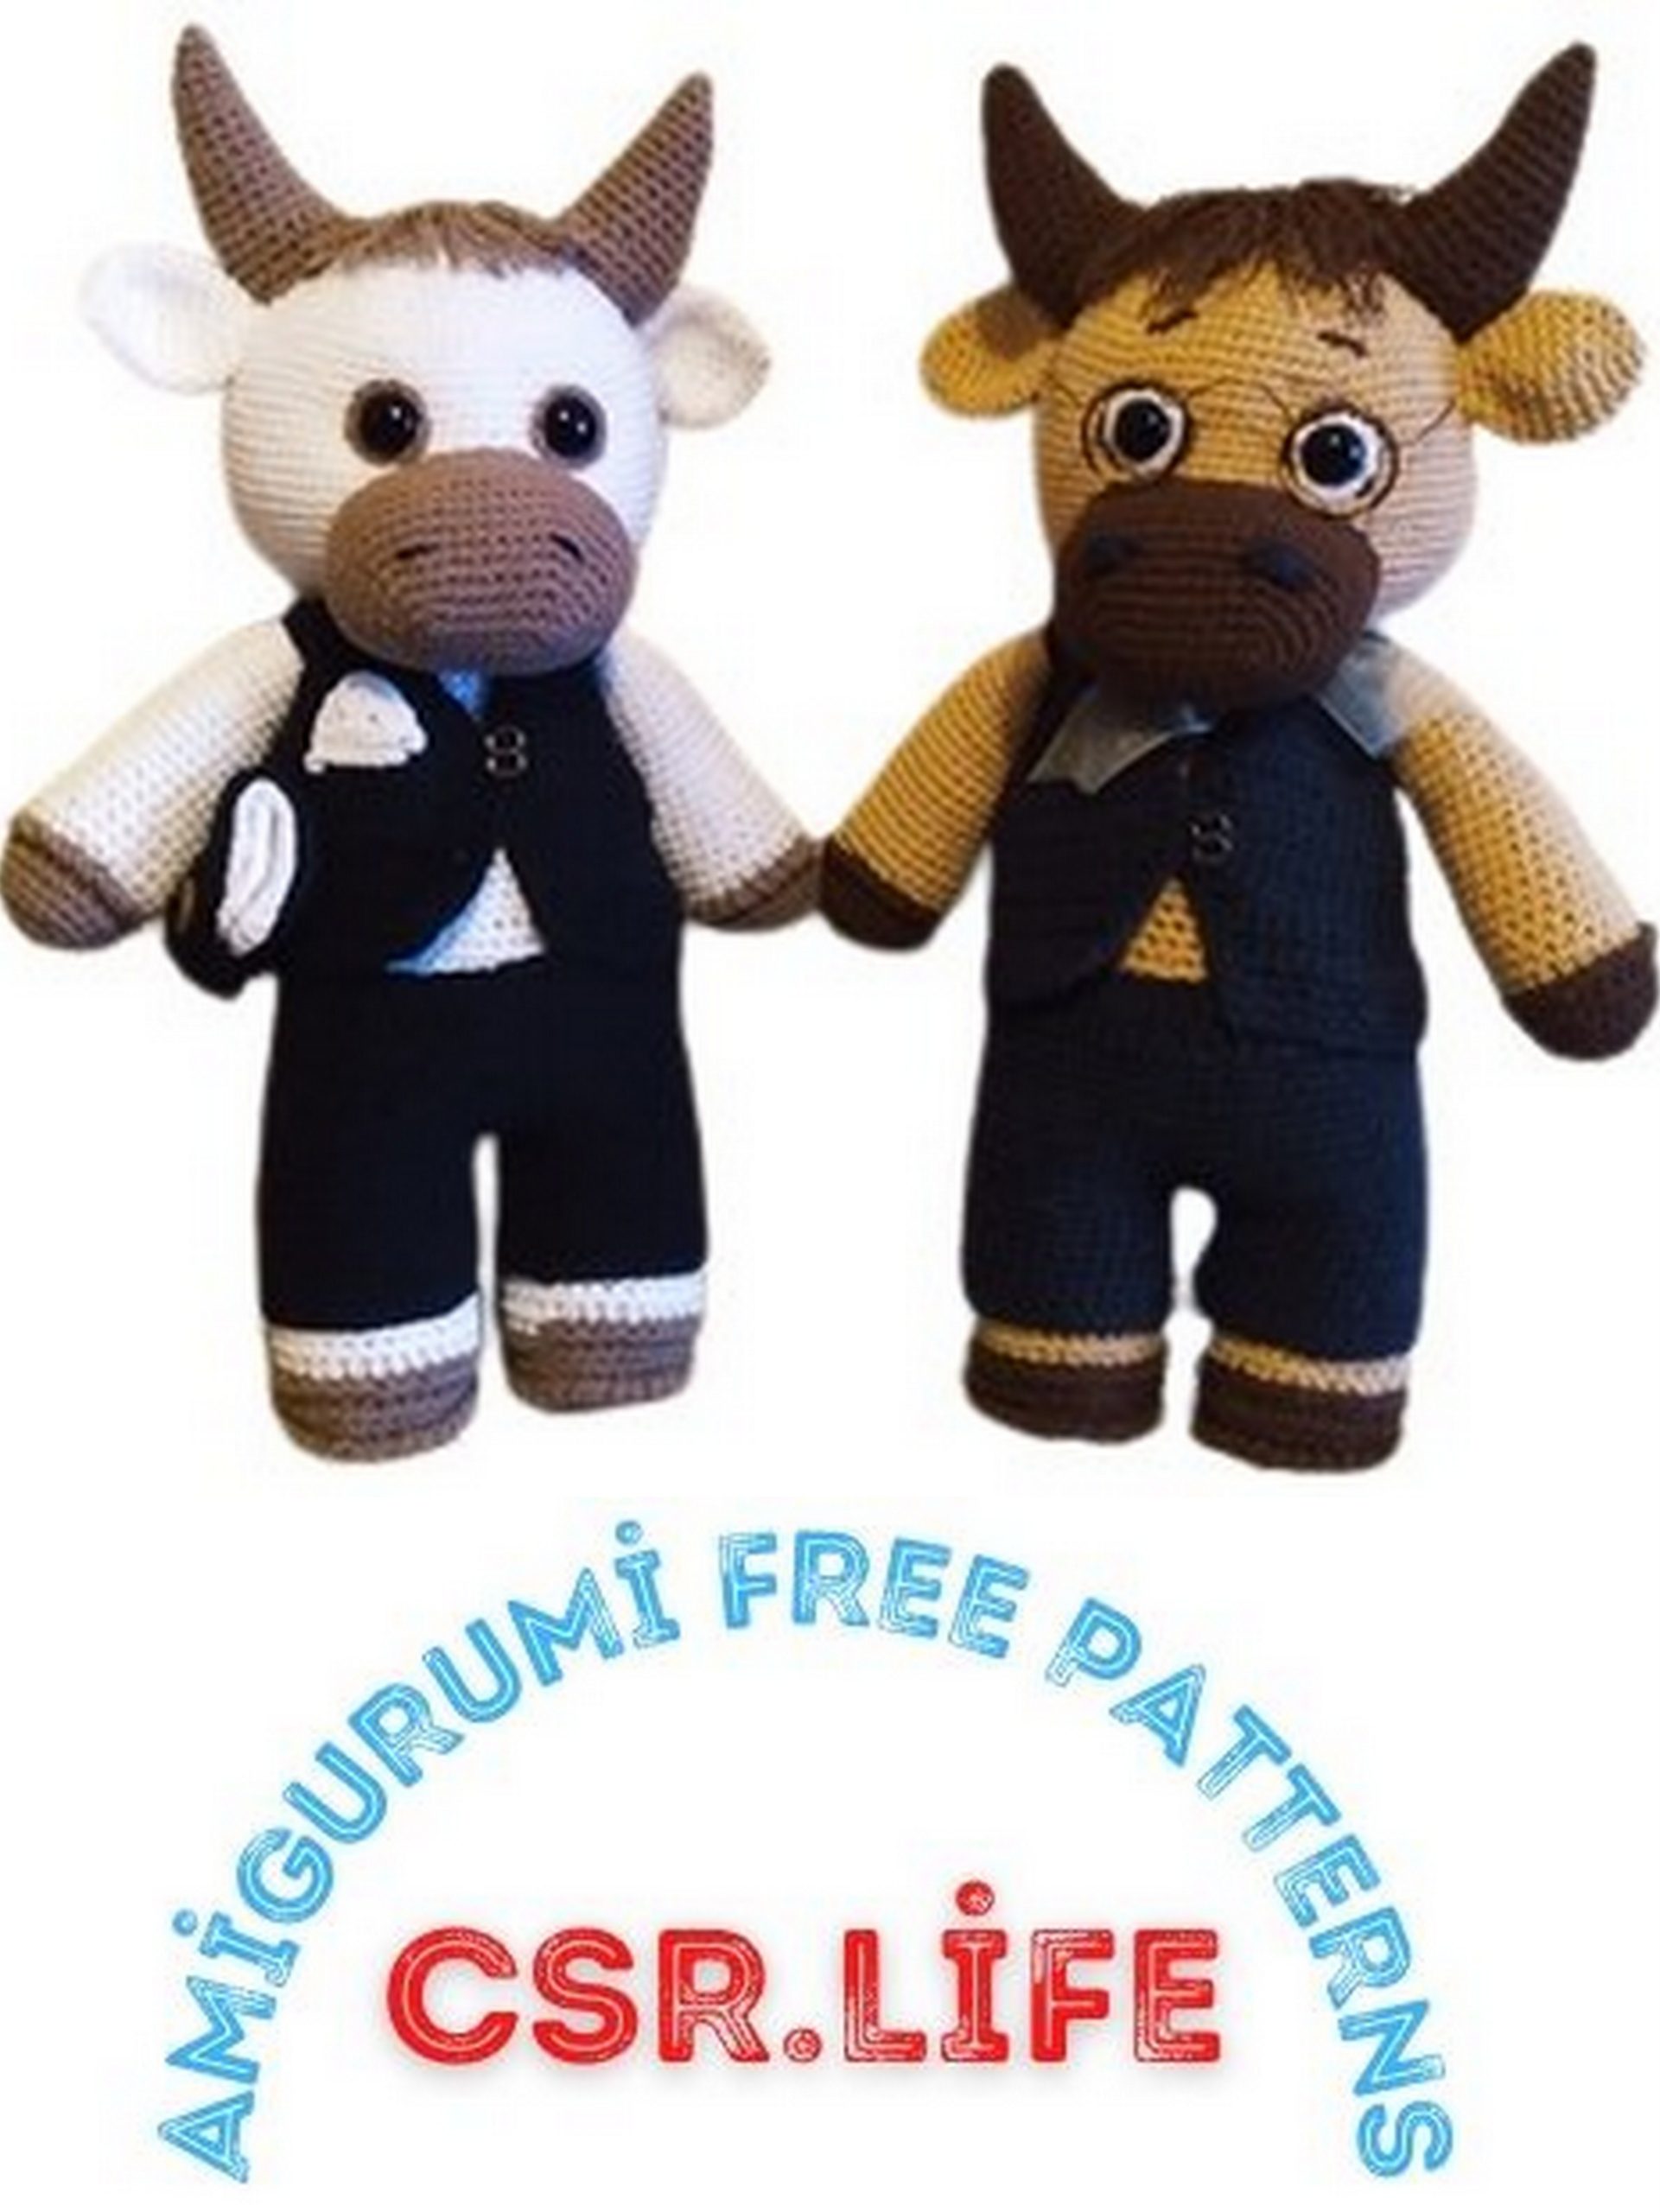
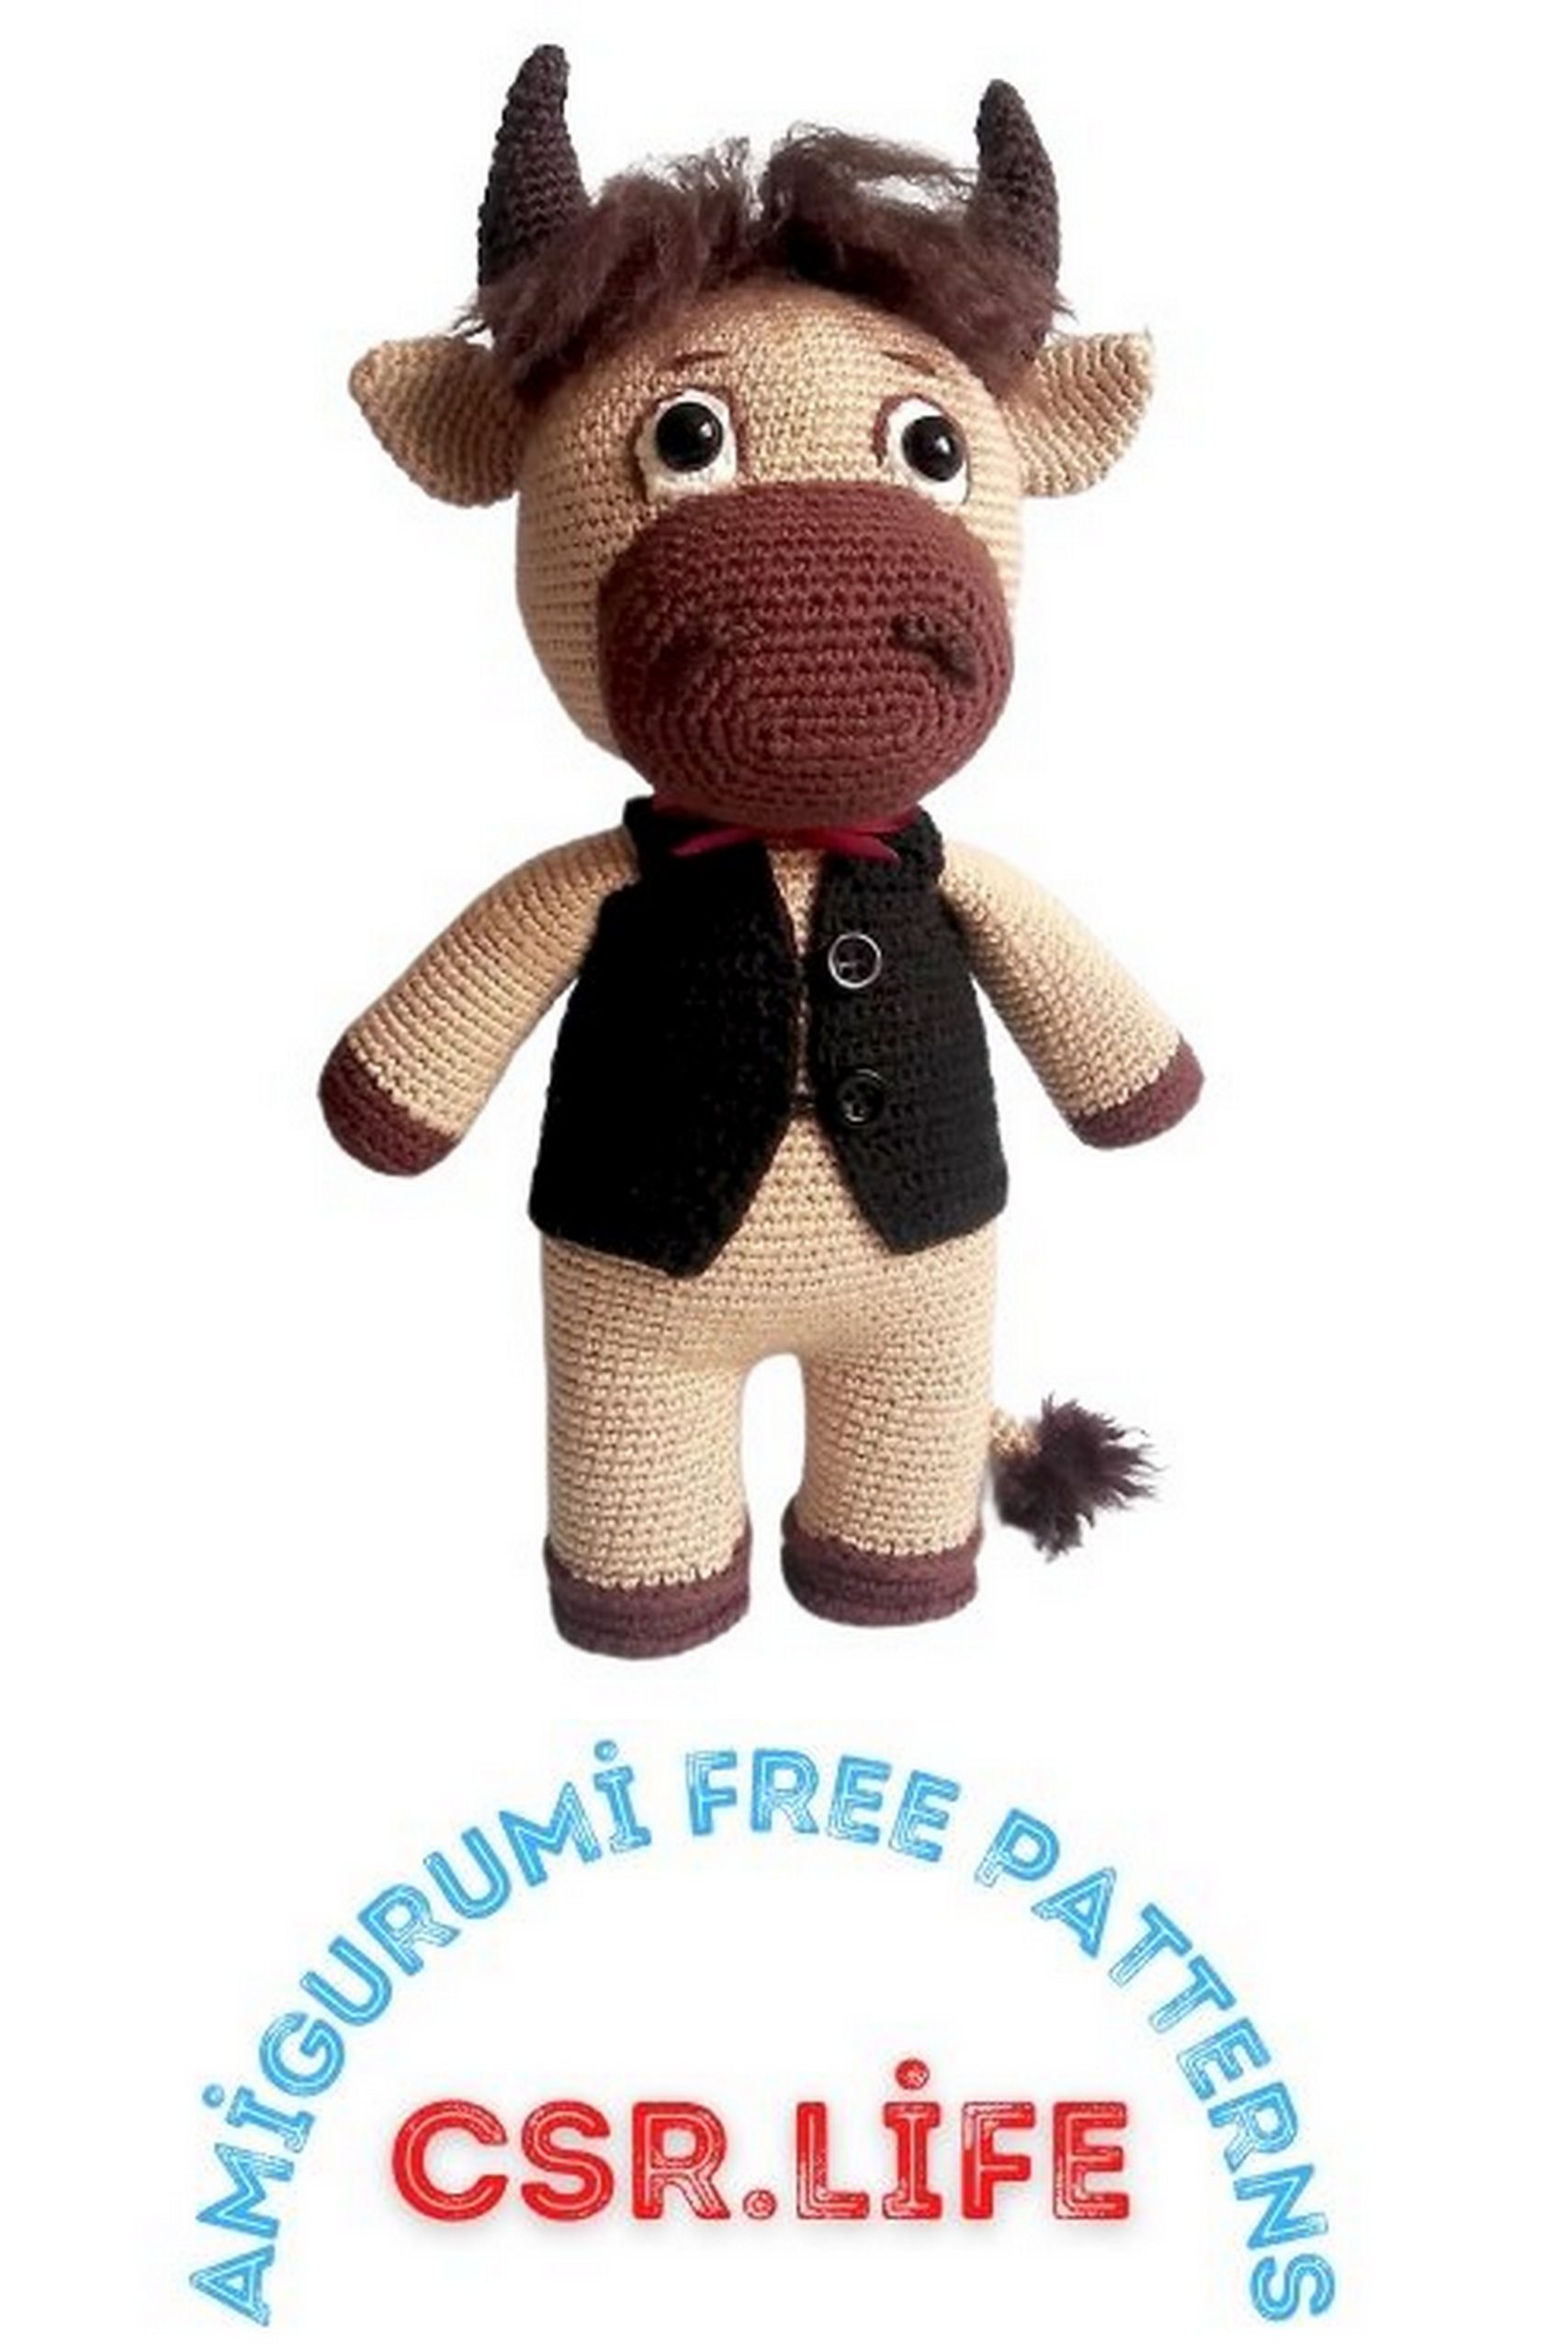
Assemble all the parts of the bull, securing them with pins.
Sew the arms between Rows 7 and 8 from the neck.
Create a tuft of dark brown yarn between the horns, similar to the tail.
Make eyes from white yarn:
Row 1: MAGIC RING 6 SC
Row 2: 6 INC (12)
Sew them close to the muzzle, and insert 12 mm beads inside. Cover the eyes with light brown yarn. Embroider eyebrows.
Crochet nostrils with dark brown yarn directly on the muzzle using 6 stitches. Ensure symmetry first: 2 SC, 2 HDC, 2 SC.
Attach satin ribbon to the neck.
Your bull is ready!
Vest for Dilo – Black
Back:
Row 1: 35 CH from the 2nd loop from the hook, 34 SC, turn.
Row 2: CH 1, 34 SC, turn. Continue with turning rows for 10 more rows.
Don’t forget to make a turning chain in each new row after turning.
Row 13: 1 SC, DEC, 28 SC, DEC, 1 SC (32), turn.
Turn.
Row 14: 32 SC, turn.
Row 1: 1 SC, DEC, 26 SC, DEC, 1 SC (30), turn.
Turn.
Row 16: 30 SC, turn.
Row 17: 1 SC, DEC, 24 SC, DEC, 1 SC (28), turn.
Turn.
Row 18: 28 SC, turn.
Row 19: 1 SC, DEC, 22 SC, DEC, 1 SC (26), turn.
Turn.
Row 20: 26 SC, turn.
Row 21: 6 SC, 14 HDC, turn.
Row 22: 14 SC, turn.
Rows 23-24: 14 SC, turn.
Row 25: 4 SC, turn.
Rows 26-28: 4 SC each row. Cut the yarn, secure it.
Symmetrically crochet the second strap of 4 SC from the other side.
Front:
Row 1: 13 CH, from the 2nd loop from the hook, 12 SC, turn.
Row 2: 1 SC, INC, 10 SC (13), turn.
Row 3: 13 SC, turn.
Row 4: 1 SC, INC, 11 SC (14), turn.
Row 5: 14 SC, turn.
Row 6: 1 SC, INC, 12 SC (15), turn.
Row 7: 15 SC, turn.
Row 8: 1 SC, INC, 13 SC (16), turn.
Row 9: 16 SC, turn.
Rows 10-12: 16 SC, turn.
Row 13: 1 SC, DEC, 13 SC (15), turn.
Row 14: 15 SC, turn.
Row 15: 1 SC, DEC, 12 SC (14), turn.
Row 16: 14 SC, turn.
Row 17: 1 SC, DEC, 11 SC (13), turn.
Row 18: 13 SC, turn.
Row 19: 1 SC, DEC, 10 SC (12), turn.
Row 20: 12 SC, turn.
Row 21: 6 SC, 3 DEC, 1 SC (11), turn.
Row 22: 5 SC, turn.
Row 23: 2 SC, DEC, 1 SC (4), turn.
Rows 24-28: 4 SC, each row. Join the two front pieces with the back piece.
Sew on 2 buttons, and create 2 loops from a chain of air loops.
This should complete your bull and its vest. Enjoy your creation!