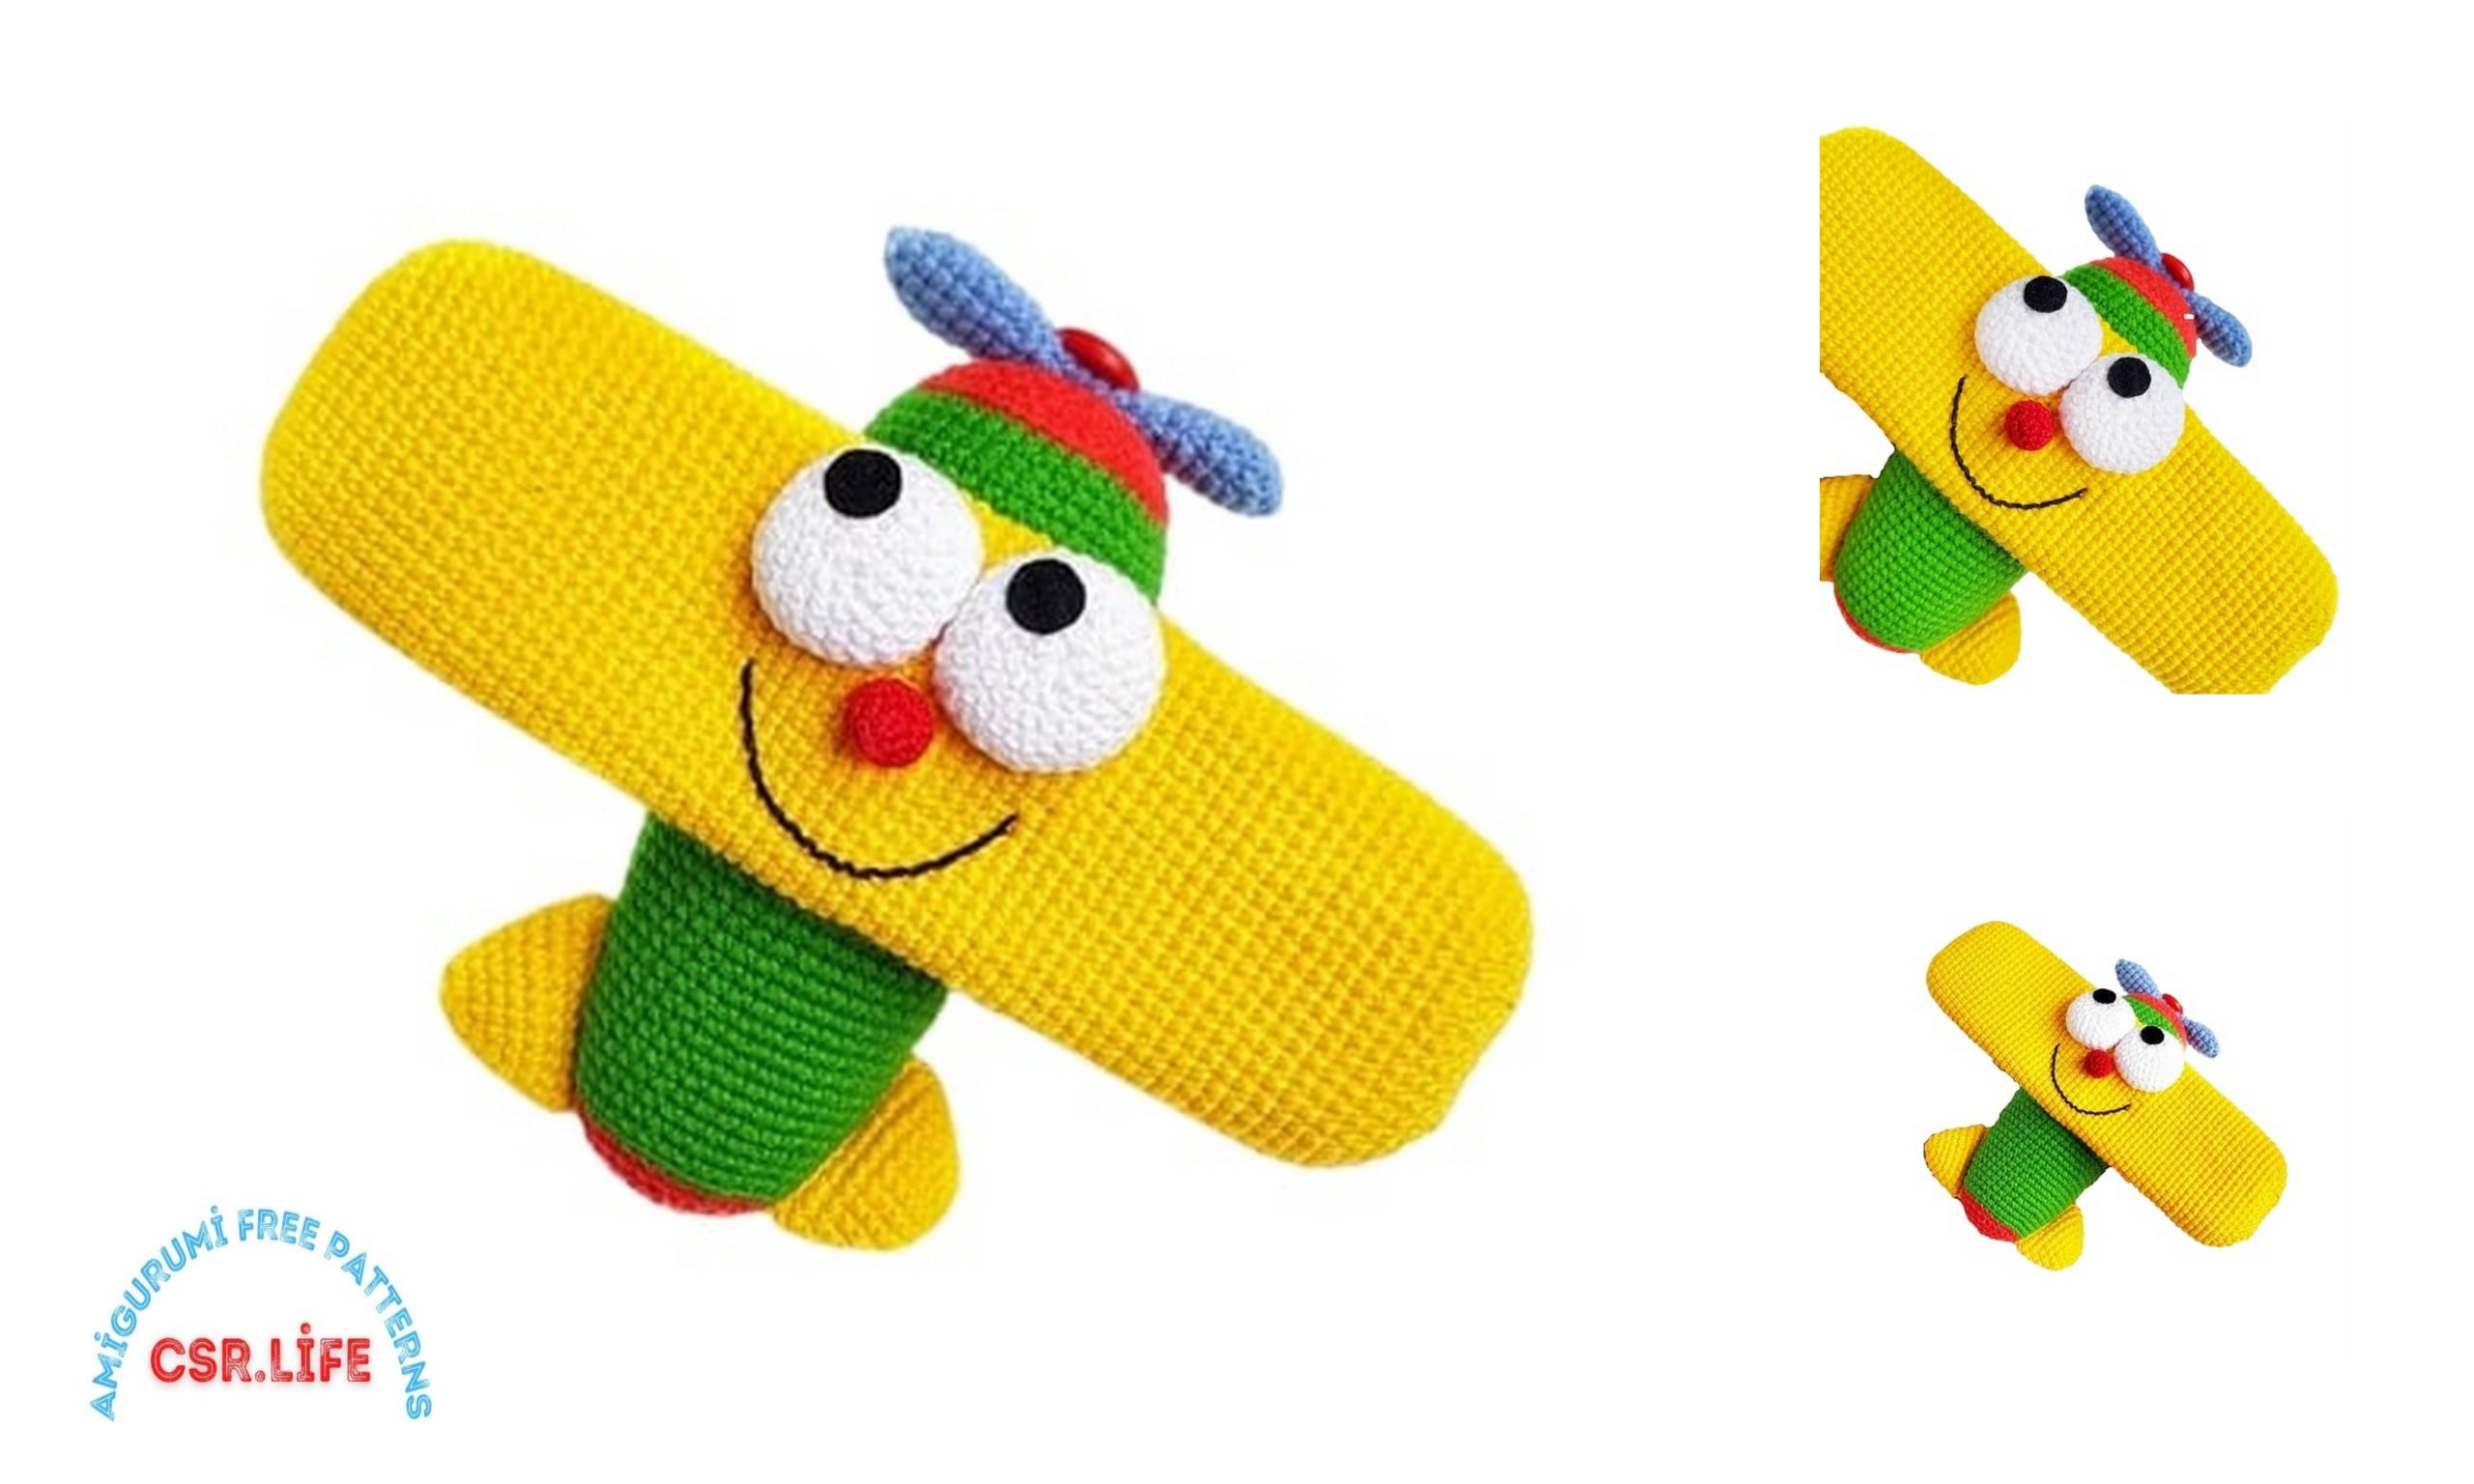
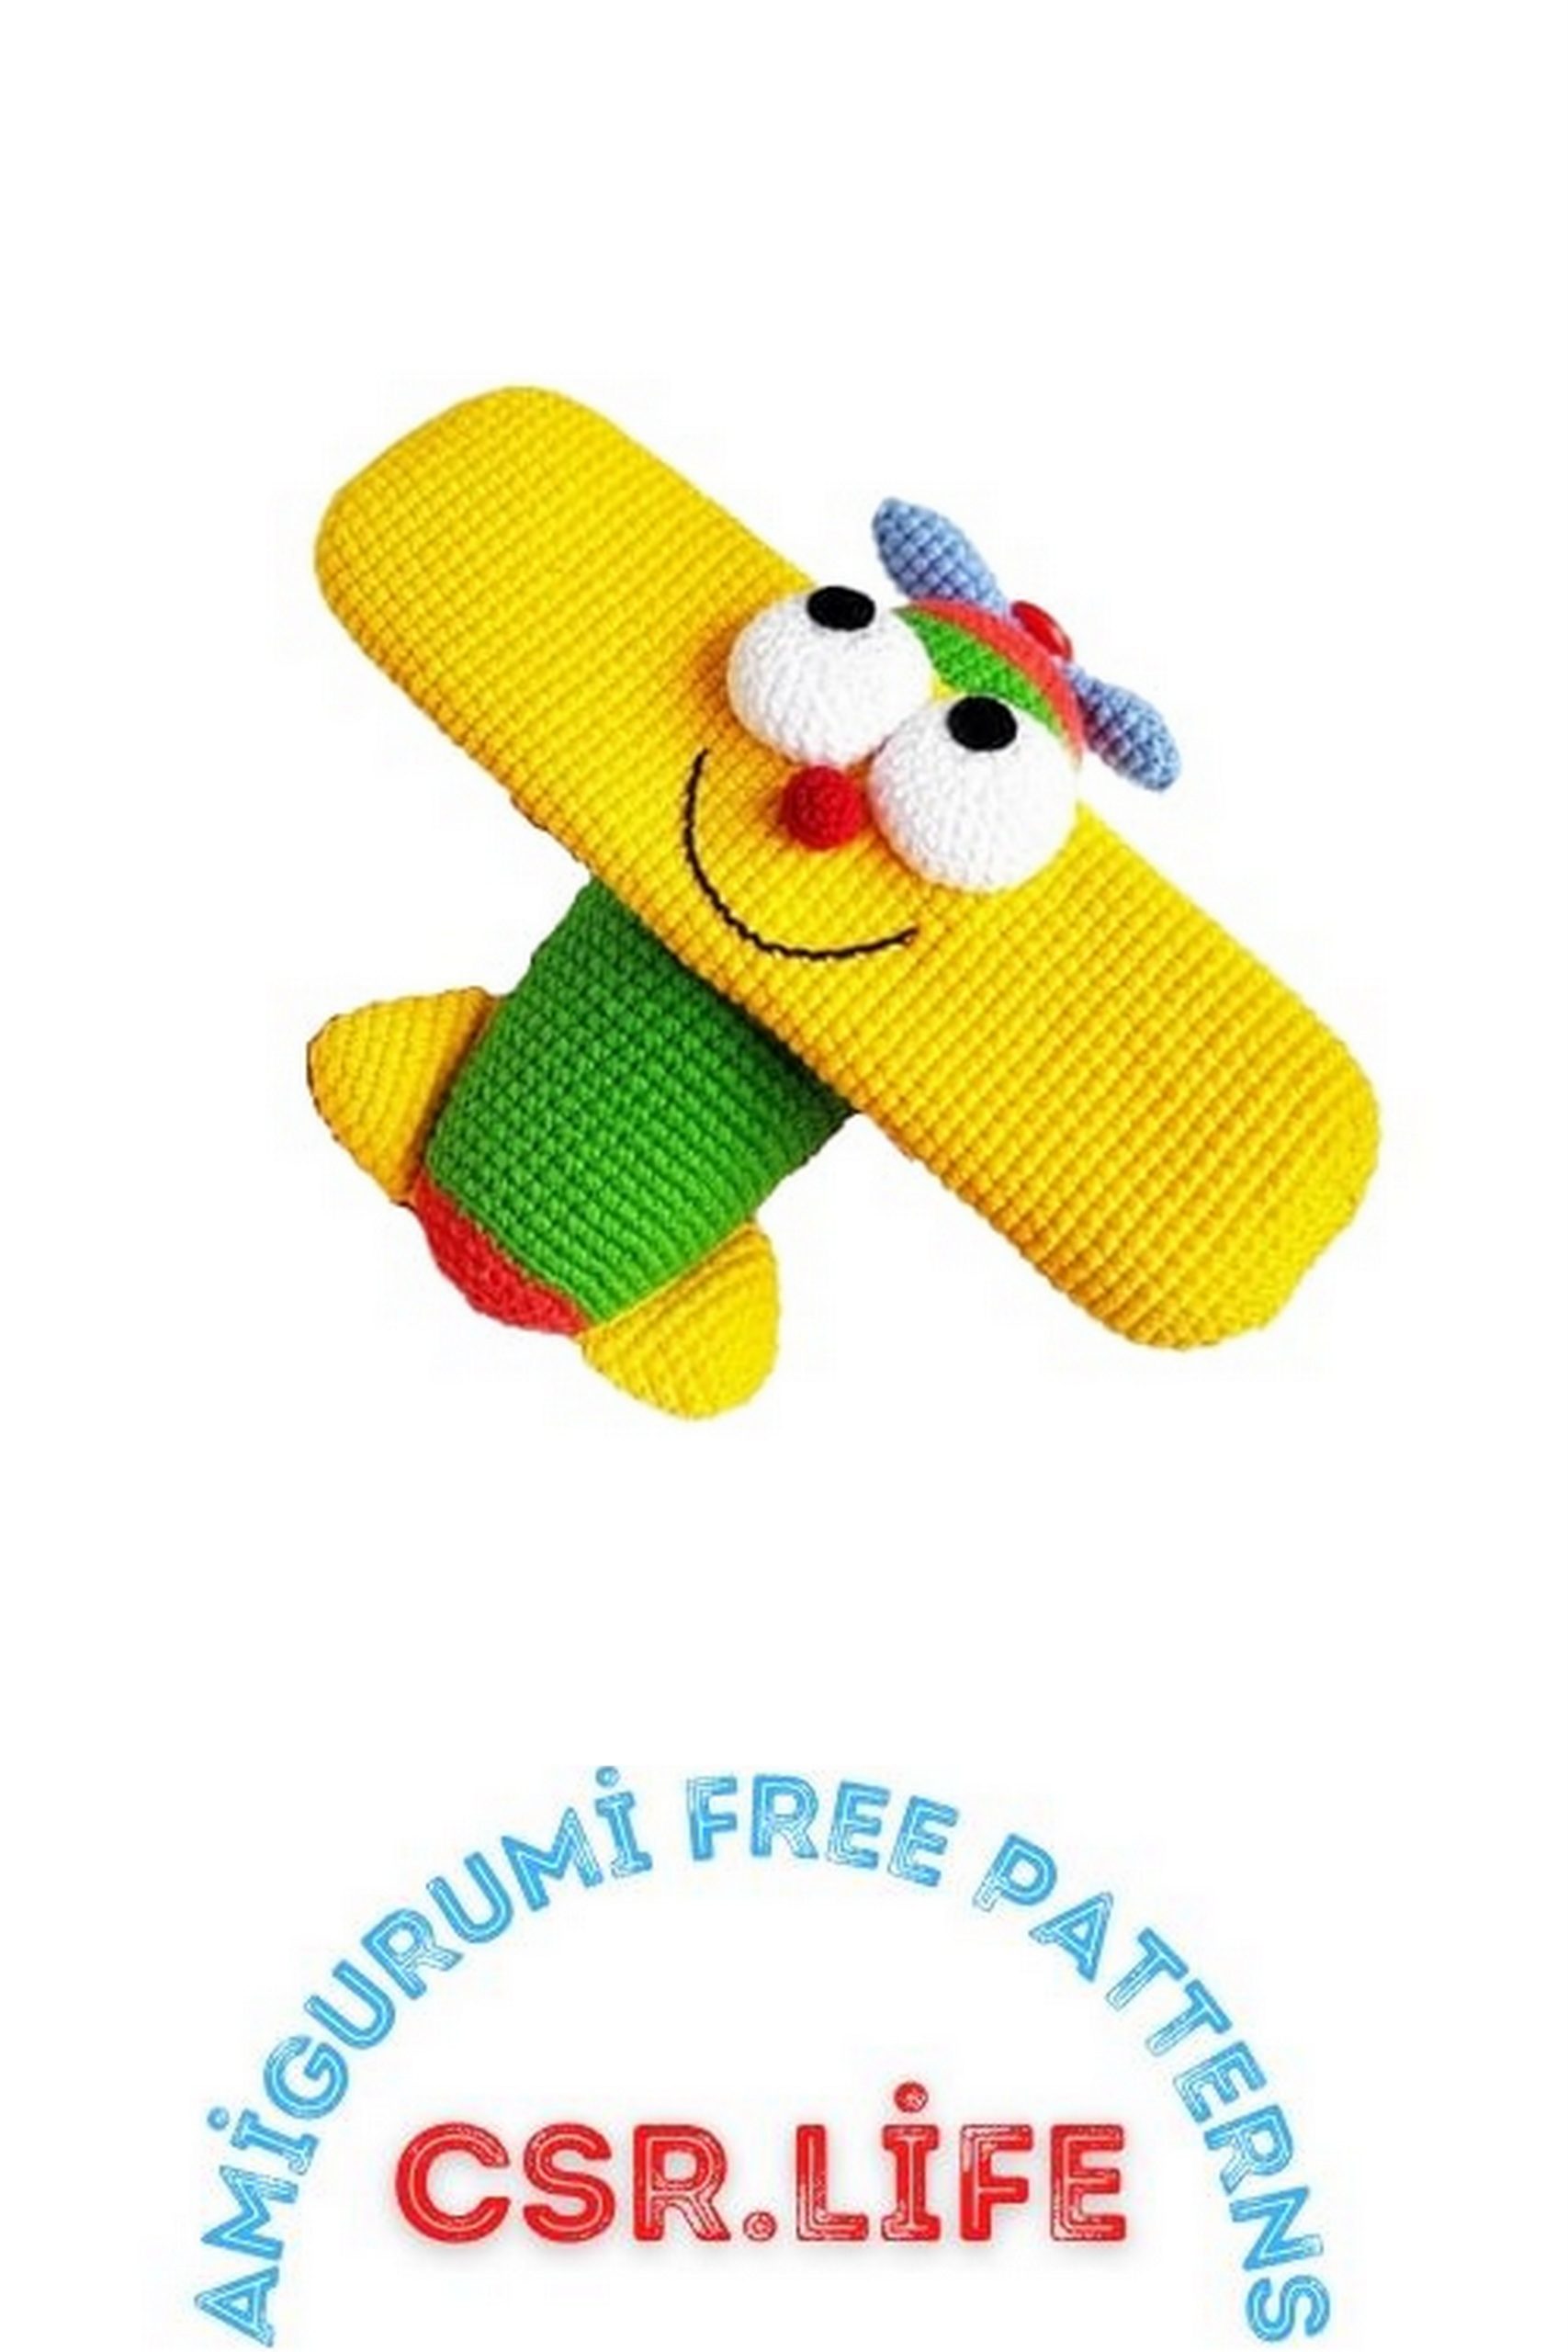
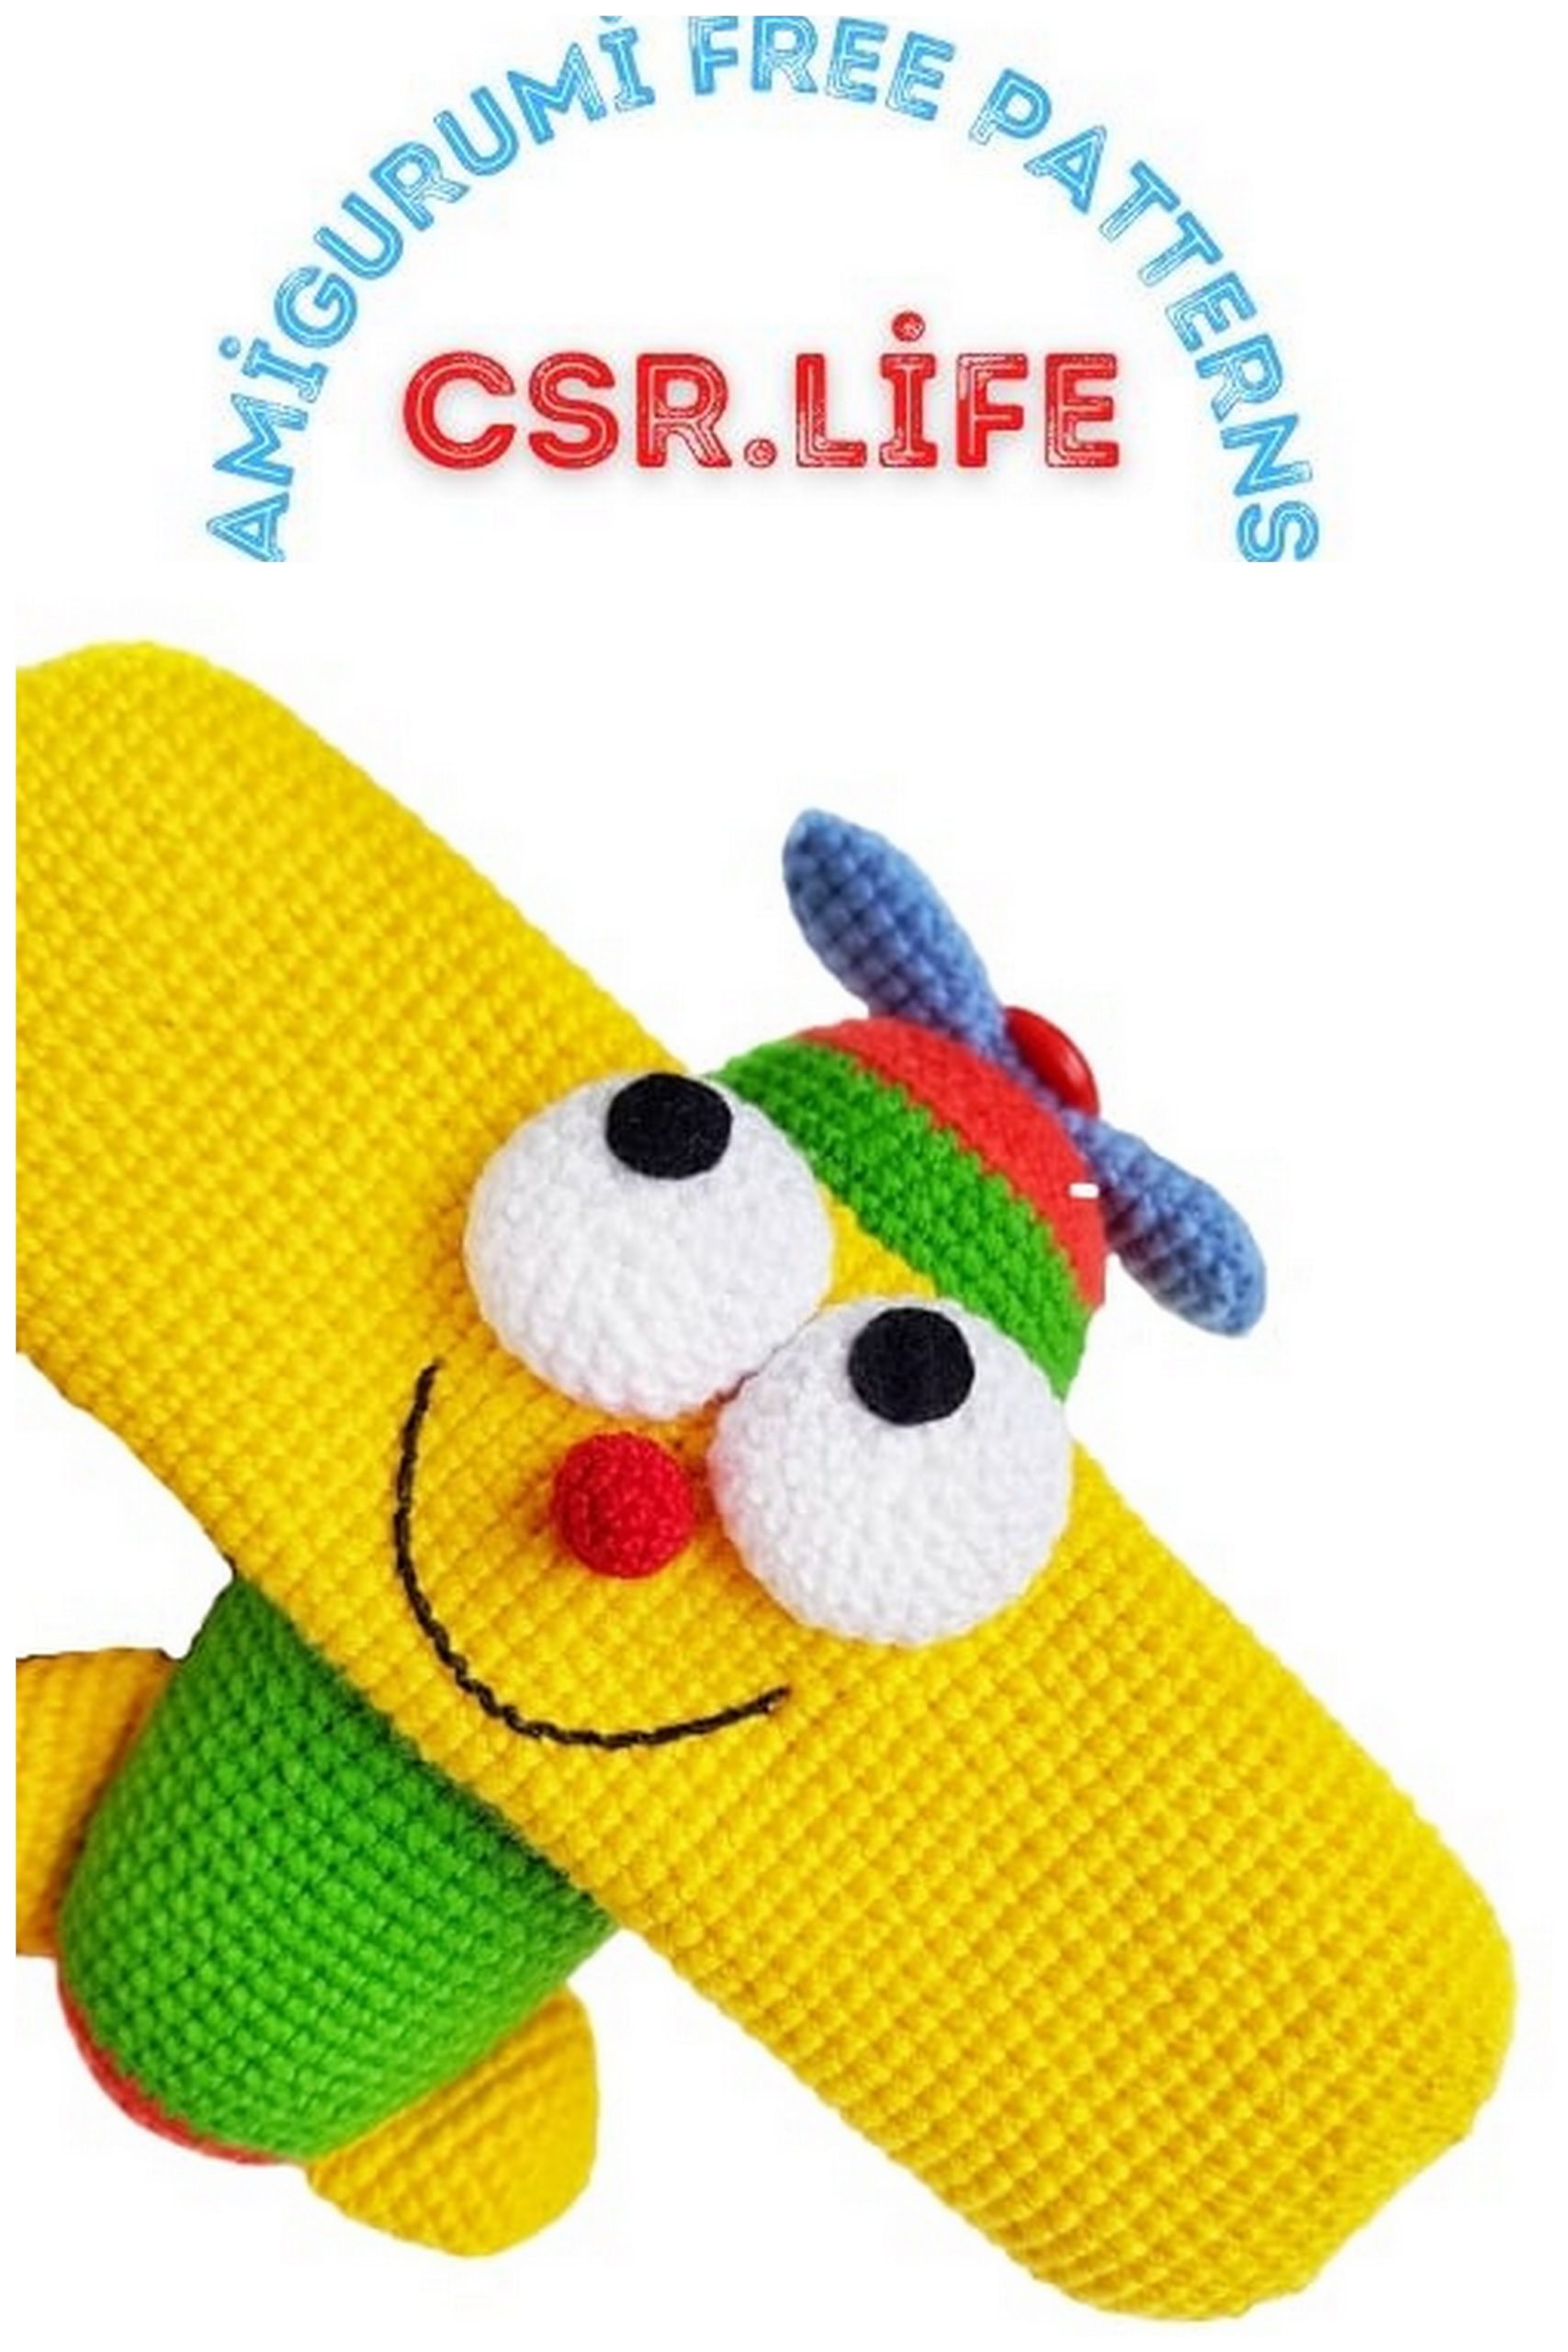
Amigurumi Airplane Free Pattern
Welcome to our website where you can find the most beautiful and highest quality samples of Amigurumi patterns.
MATERIALS
which you will need:
– yarn x yarn, its analogue of different colors (for me: as in the photo):
– hook hey 2;
– yarn corresponding hook;
– black felt (size 5 * 5 cm is enough);
– yarn for a nose (for me);
– twist for prpshavanyaya detailed;
– filler for toys;
– rattle for toys;
– scissors, needle;
– glue Moment gel or rahrd;
– a button with a diameter of 1-1.5 cm in red, you can n another.
Abbreviations
Mr: Magic ring
SC: Single crochet
İnc: increase
Dec: Decrease
Dc: Double crochet
Hdc: Half double crochet
sl-st: Slip stitch
PATTERN
Part no: 1
Knit red yarn
1- Magic ring 6sc 6
2-6inc = 12
3- (inc,3sc)*3= 15
4-5) 15sc
6) (3sc,dec)*3=12sc
Fill the filler. Fasten thread and cut. leaving about 20 cm for sewing. Pull off the hole.
Part no: 2
1- Magic ring 6sc 6
2- (inc,sc)*3=9sc
3- (inc,2sc)*3= 12sc
4-6) 12sc
7) (dec,4sc)*2 =10sc
8)10sc
9) (dec,3sc)*2= 8sc
10) 8sc
11) (dec,2sc)*2 =6sc
12-13) 6sc
14) (inc,2sc)*2 =8sc
15) 8sc
16) (inc,3sc)*2 =10sc
17) 10sc
18) (inc,4sc)*2 =12sc
19-21) 12sc
22) (dec,2sc)*3 =9sc
23) (dec,sc)*3 =6sc
Do not stuff. fasten, tighten the hole. Cut the thread, hide it.
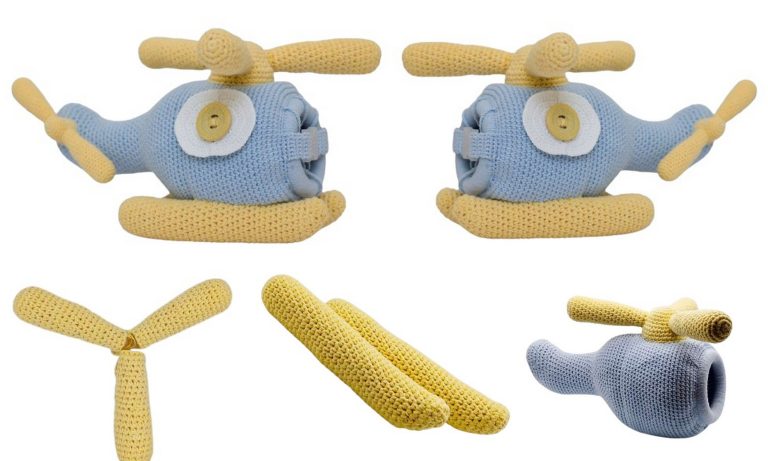
Part 3 (2 pieces)
We knit white yarn. Knit the inside out
1- Magic ring 7sc 7
2-7inc = 14
3- (1sc, 1inc)*7 = 21
4- (2sc, 1inc)*7 = 28
5-7) 28sc
Do not stuff. Fasten the thread, cut, leaving about 20 cm for threading.
Part no: 4 (2 pieces)
Knits yellow ridges.
1- Magic ring 6sc 6
2-6inc = 12
3-(inc,5sc)*2=14
4-(inc,6sc)*2=16
5- (inc,7sc)*2=18
6- (inc,8sc)*2=20
7- (inc,9sc)*2=22
8- (inc,10sc)*2=24
9- 24sc
Fasten the thread, cut. Stitch, fold in half and stitch. I make a regular thread in color. You can sew the main thread.
Part no: 5
We knit with yarn. Knit lo circle. Marker on the side.
1) 9 ch, starting from the second loop 2 sc one loop, 6sc, 3 sc 1st loop, 6sc, sc = 18
2) 2inc,6sc,3inc,6sc,inc =24sc
3) (inc,sc)*2,6sc,(inc,sc)*3,6sc,inc,sc=30
4) (inc,2sc)*2,6sc,(inc,2sc)*3,6sc,inc,2sc=36
5) 4sc,inc,12sc,inc,4sc,inc,12sc,inc =40
6-58) 40sc
If an offset has occurred, then knit the offset loops.
59) 4sc,dec,12sc,dec,4sc,dec,12sc,dec =36
60) (dec,2sc)*2,6sc,(dec,2sc)*3,6sc,dec,2sc=30
61) (dec,sc)*2,6sc,(dec,sc)*3,6sc,dec,sc=24
62) 2dec,6sc,3dec,6sc,dec =18
Fasten the thread, cut off leaving about 20 cm for stitching.
If you have a cotton insole for shoes or its analogue up to 5 mm thick (you can use foam rubber), then we cut out the part from it according to the shape of our part. Insert the cut part into the knitted part, at the stage of knitting 59 rows. You can fill the beginning a little and make the end a filler. If there is no insole, then you can simply fill the part in half with a chalk, and the part should be flat.
Part no: 6
Knit in red colors
1- Magic ring 6sc 6
2-6inc = 12
3- (1sc, 1inc) 6 = 18
4- (2sc, 1inc) 6 = 24
5- (3sc, 1inc) * 6 = 30
6- (4sc, 1inc) 6 = 36
7- (5sc, 1inc) 6 = 42
8- 42sc
9. Knit for the back wall detail green 42sc
10- (inc,13sc)*3 =45sc
11-12) 45sc
Sew on part no: 2 n button. We look at the photo as it should be. The button is tight tight !!!!
13- (inc,14sc)*3 = 48sc
14-33) 48sc
34- (dec,14sc)*3 = 45
35-37) 45sc
38- (dec,13sc)*3 = 42sc
39-41) 42sc
42) (dec,12sc)*3 = 39sc
43-45) 39sc
46- (dec,11sc)*3 = 36sc
47-48) 36sc
49- Change the color to red. Knit for the rear wall of the loop 36sc
50- (dec,4sc)*6 =30sc
51- (dec,3sc)*6 =24sc
52- (dec,2sc)*6 =18sc
53- (dec,sc)*6 =12sc
45- 6dec =6sc
We stuff the detail as far as knitted. Lock the thread, tighten the hole, hide the nug. Decoration Cut out a felt from a felt circle with a diameter of about 3-9 mm. We glue ah on the detail of Ho 3. See photo.
To detail No: 5 was flatter it can be steamed iron. We sew parts no: 4 to part no: 6 inc using a button; sew part no: 2 to part no: 6 See photo.
We sew parts No 3 and No 1 to part No 5. We embroider a mouth.
Sew detail no: 5 to did no: 6.

Finished work is celebrated.
That’s all!!!