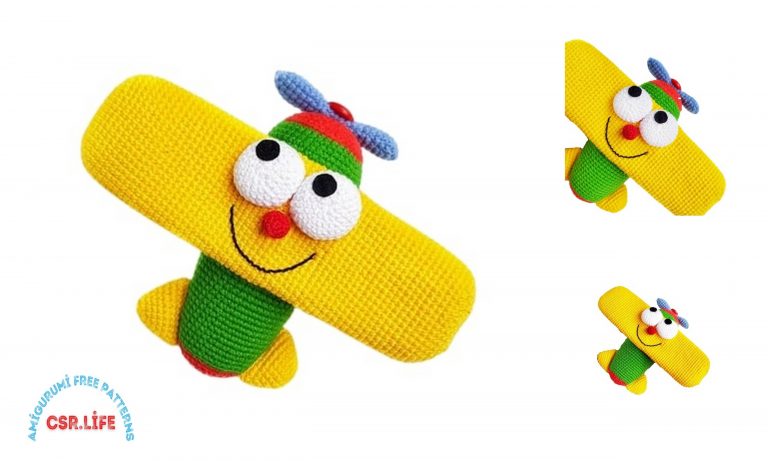
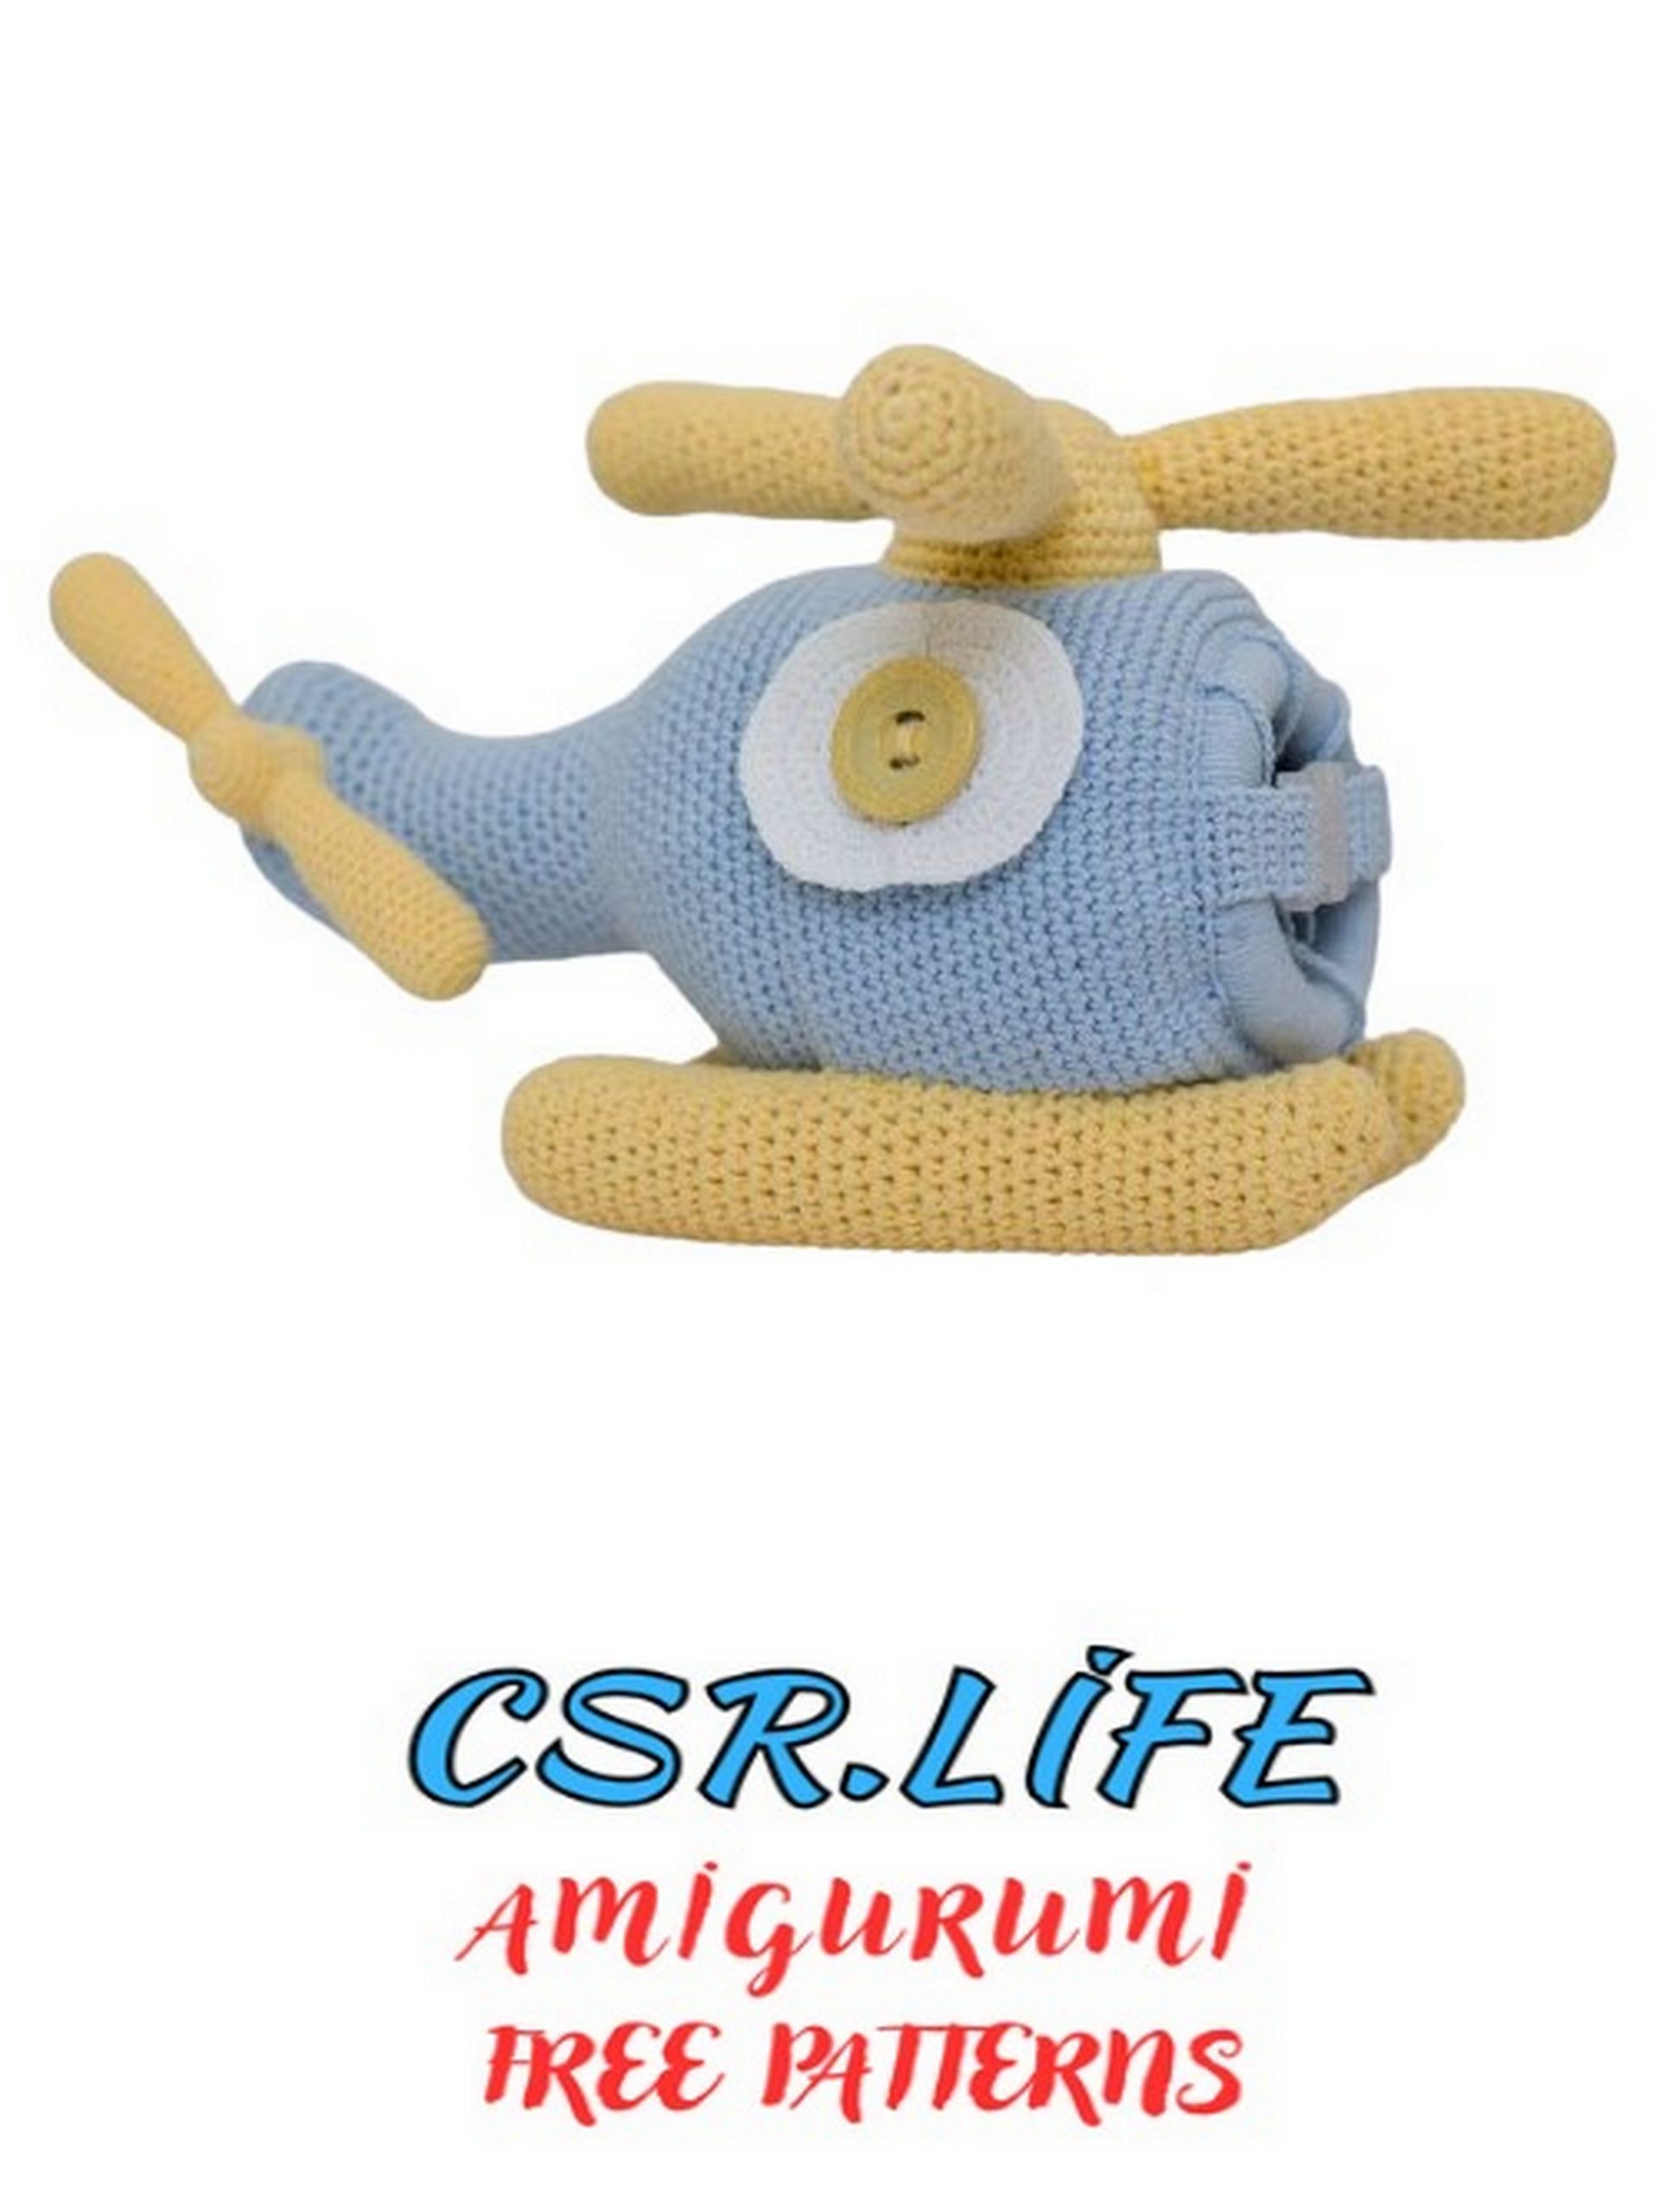
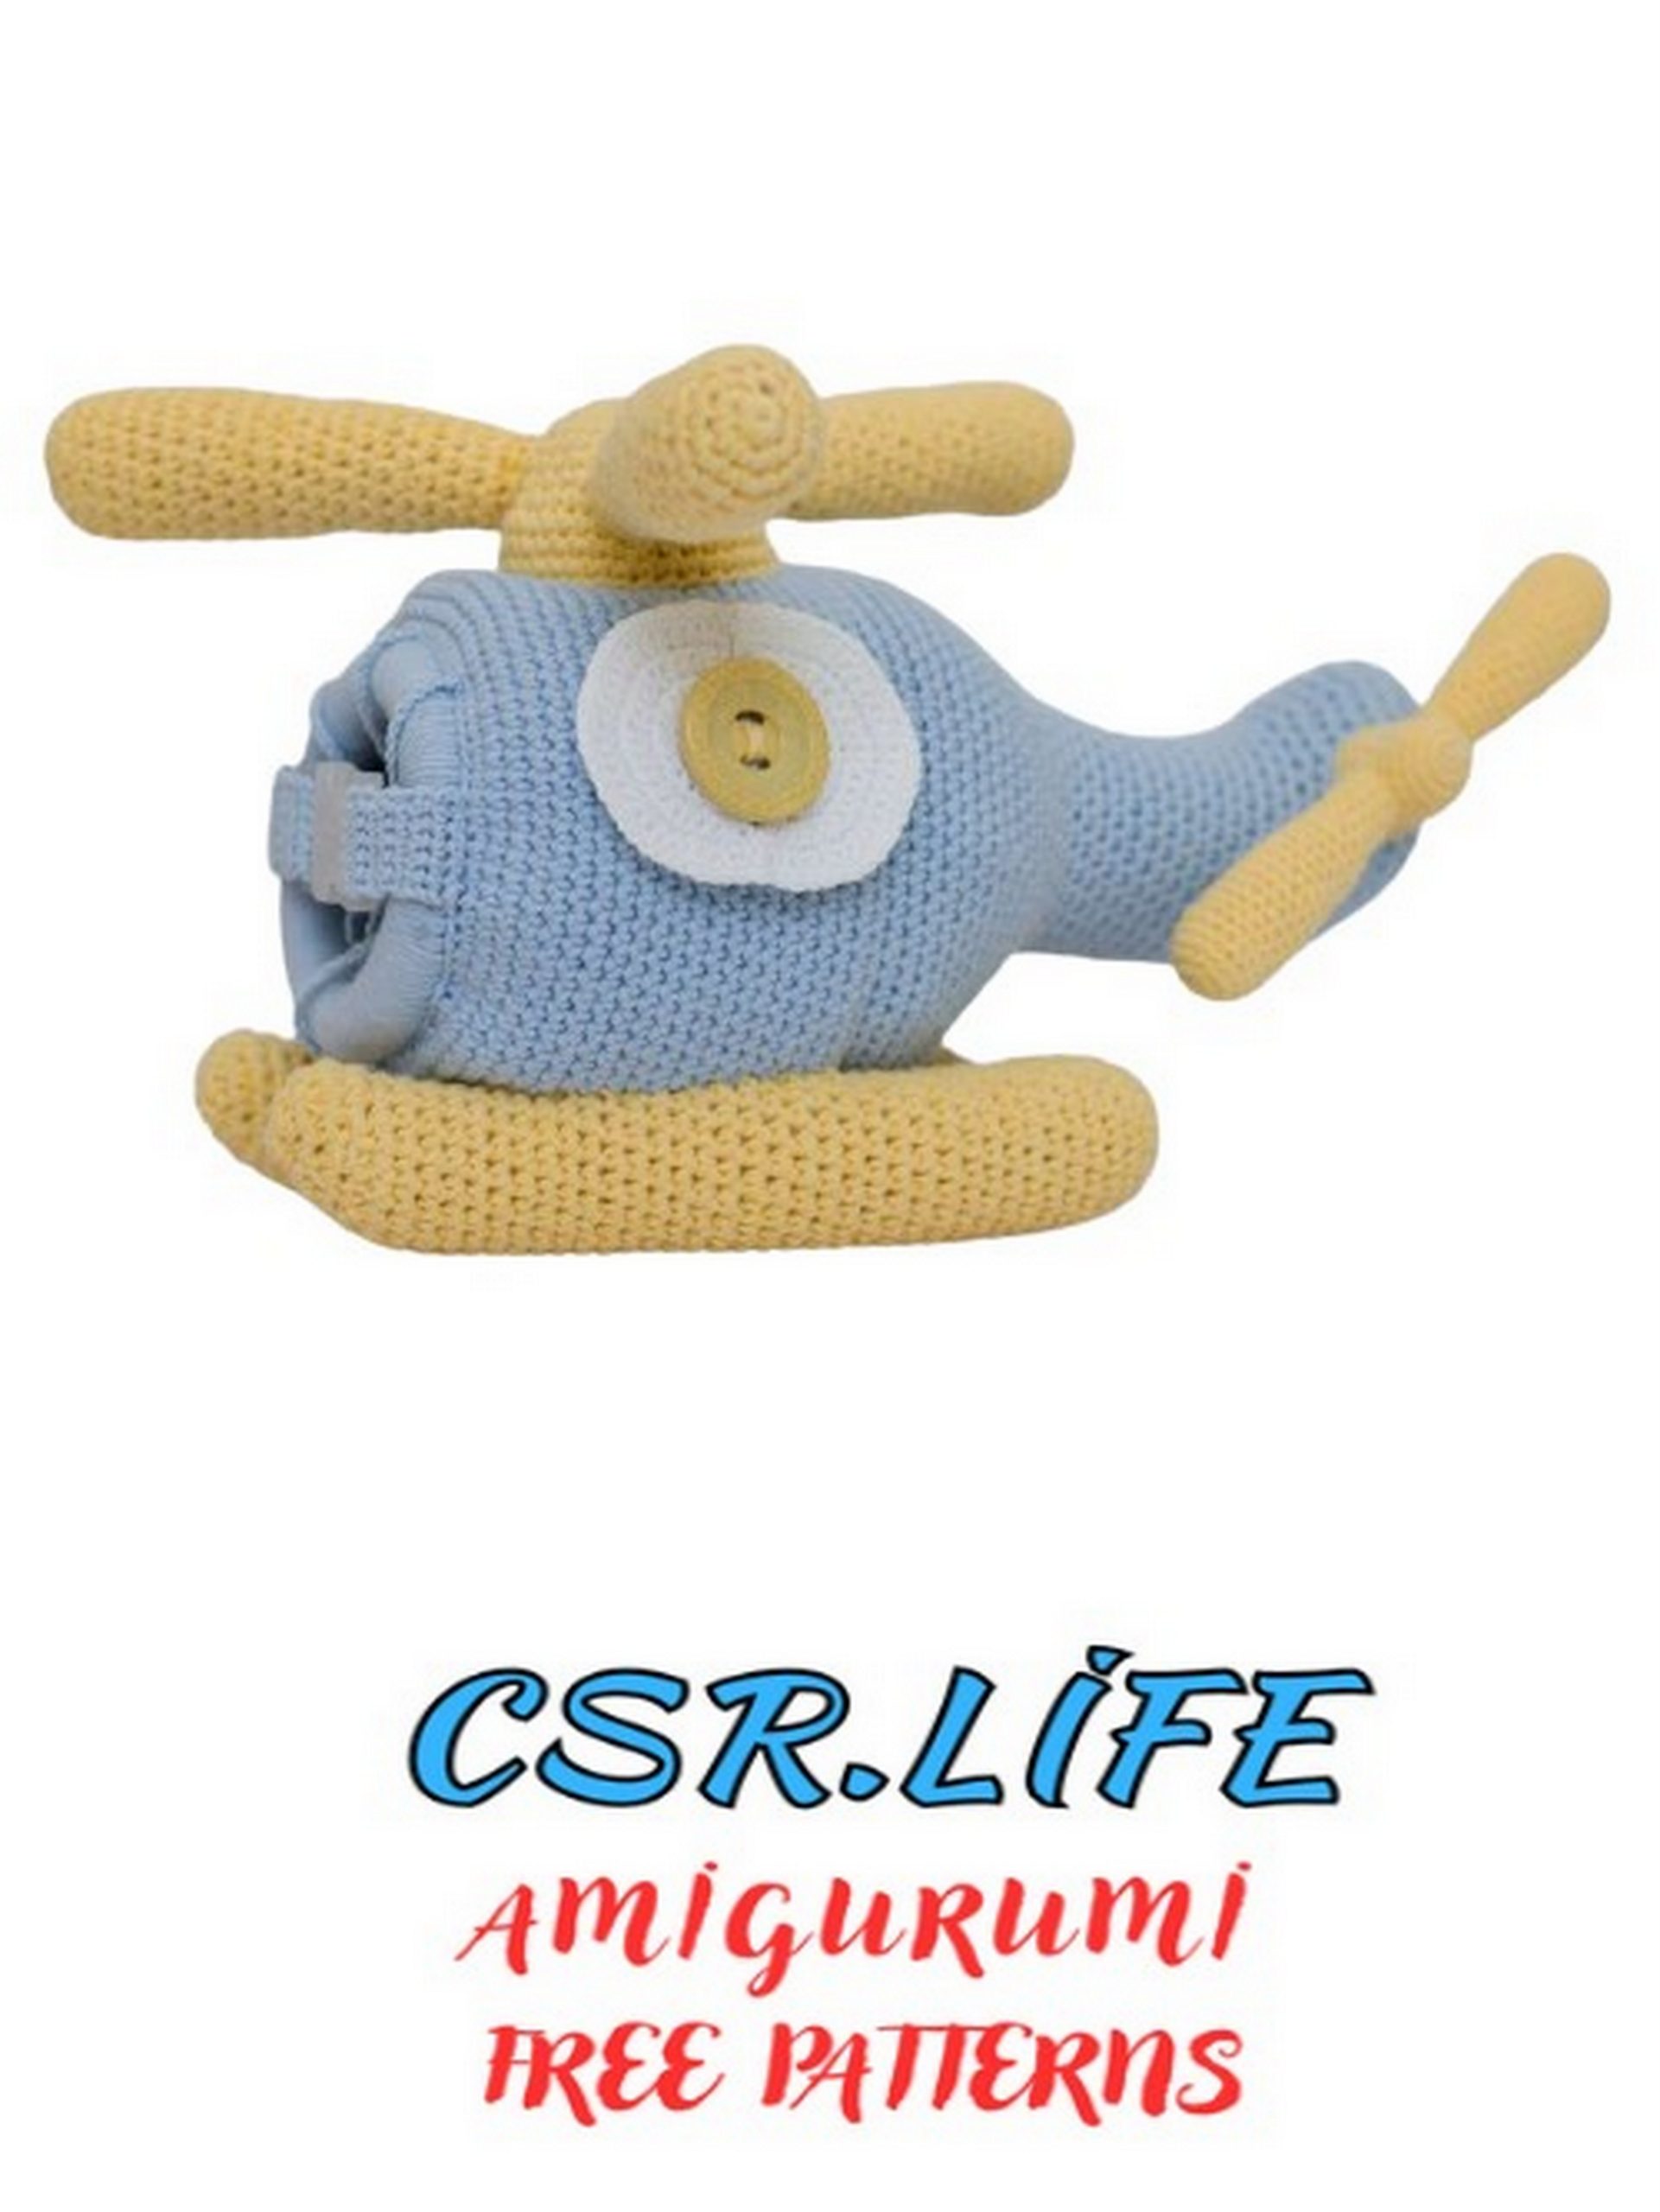
Helicopter Amigurumi Free Pattern
Helicopter amigurumi is a fun and creative project for crochet enthusiasts. With this free helicopter amigurumi pattern, you can craft your own handmade amigurumi toy, give it as a gift, or add a new piece to your collection.
The pattern includes detailed step-by-step instructions and photos, making it easy to follow for both beginners and experienced crafters. Grab your yarn and hook, and let’s crochet this adorable amigurumi helicopter together!
Toy size: 30 cm.
This master class does not contain crochet lessons and assumes basic knowledge. Difficulty level: easy.
List of necessary materials and tools:
Main materials Helicopter Amigurumi
1. Yarn YarnArt Jeans Plus #75 (55% cotton, 45% acrylic, 160m/100g) – 150g – main color.
2. Yarn YarnArt Jeans Plus #88 (55% cotton, 45% acrylic, 160m/100g) – 100g.
3. Yarn YarnArt Jeans #75 (55% cotton, 45% acrylic, 160m/50g) – a bit for sewing skis and crocheting chains of ch.
4. Yarn YarnArt Jeans #88 (55% cotton, 45% acrylic, 160m/50g) – 15g (for crocheting the tail rotor).
5. Yarn YarnArt Jeans #01 (55% cotton, 45% acrylic, 160m/50g) – 10g (for crocheting windows).
Synthetic stuffing or other toy filler.
Large-eyed needle, scissors.
Hook sizes #2 and #4.
Wooden ring – 1 pc. (outer diameter 98mm).
Button diameter 4 cm – 2 pcs.
Squeaker diameter 27 mm – 3 pcs. (for the main rotor blade).
Fastener – 1 pc.
Additional materials
In the master class, beads, laces, buttons, clothespins, and a carabiner fastener are used.
You can use other materials that you find necessary for your toy.
Abbreviations:
mr – magic ring
ch – chain
sl st – slip stitch
ch st – chain stitch
sc – single crochet
inc – increase (crochet two stitches in one stitch)
dec – decrease (crochet two stitches together)
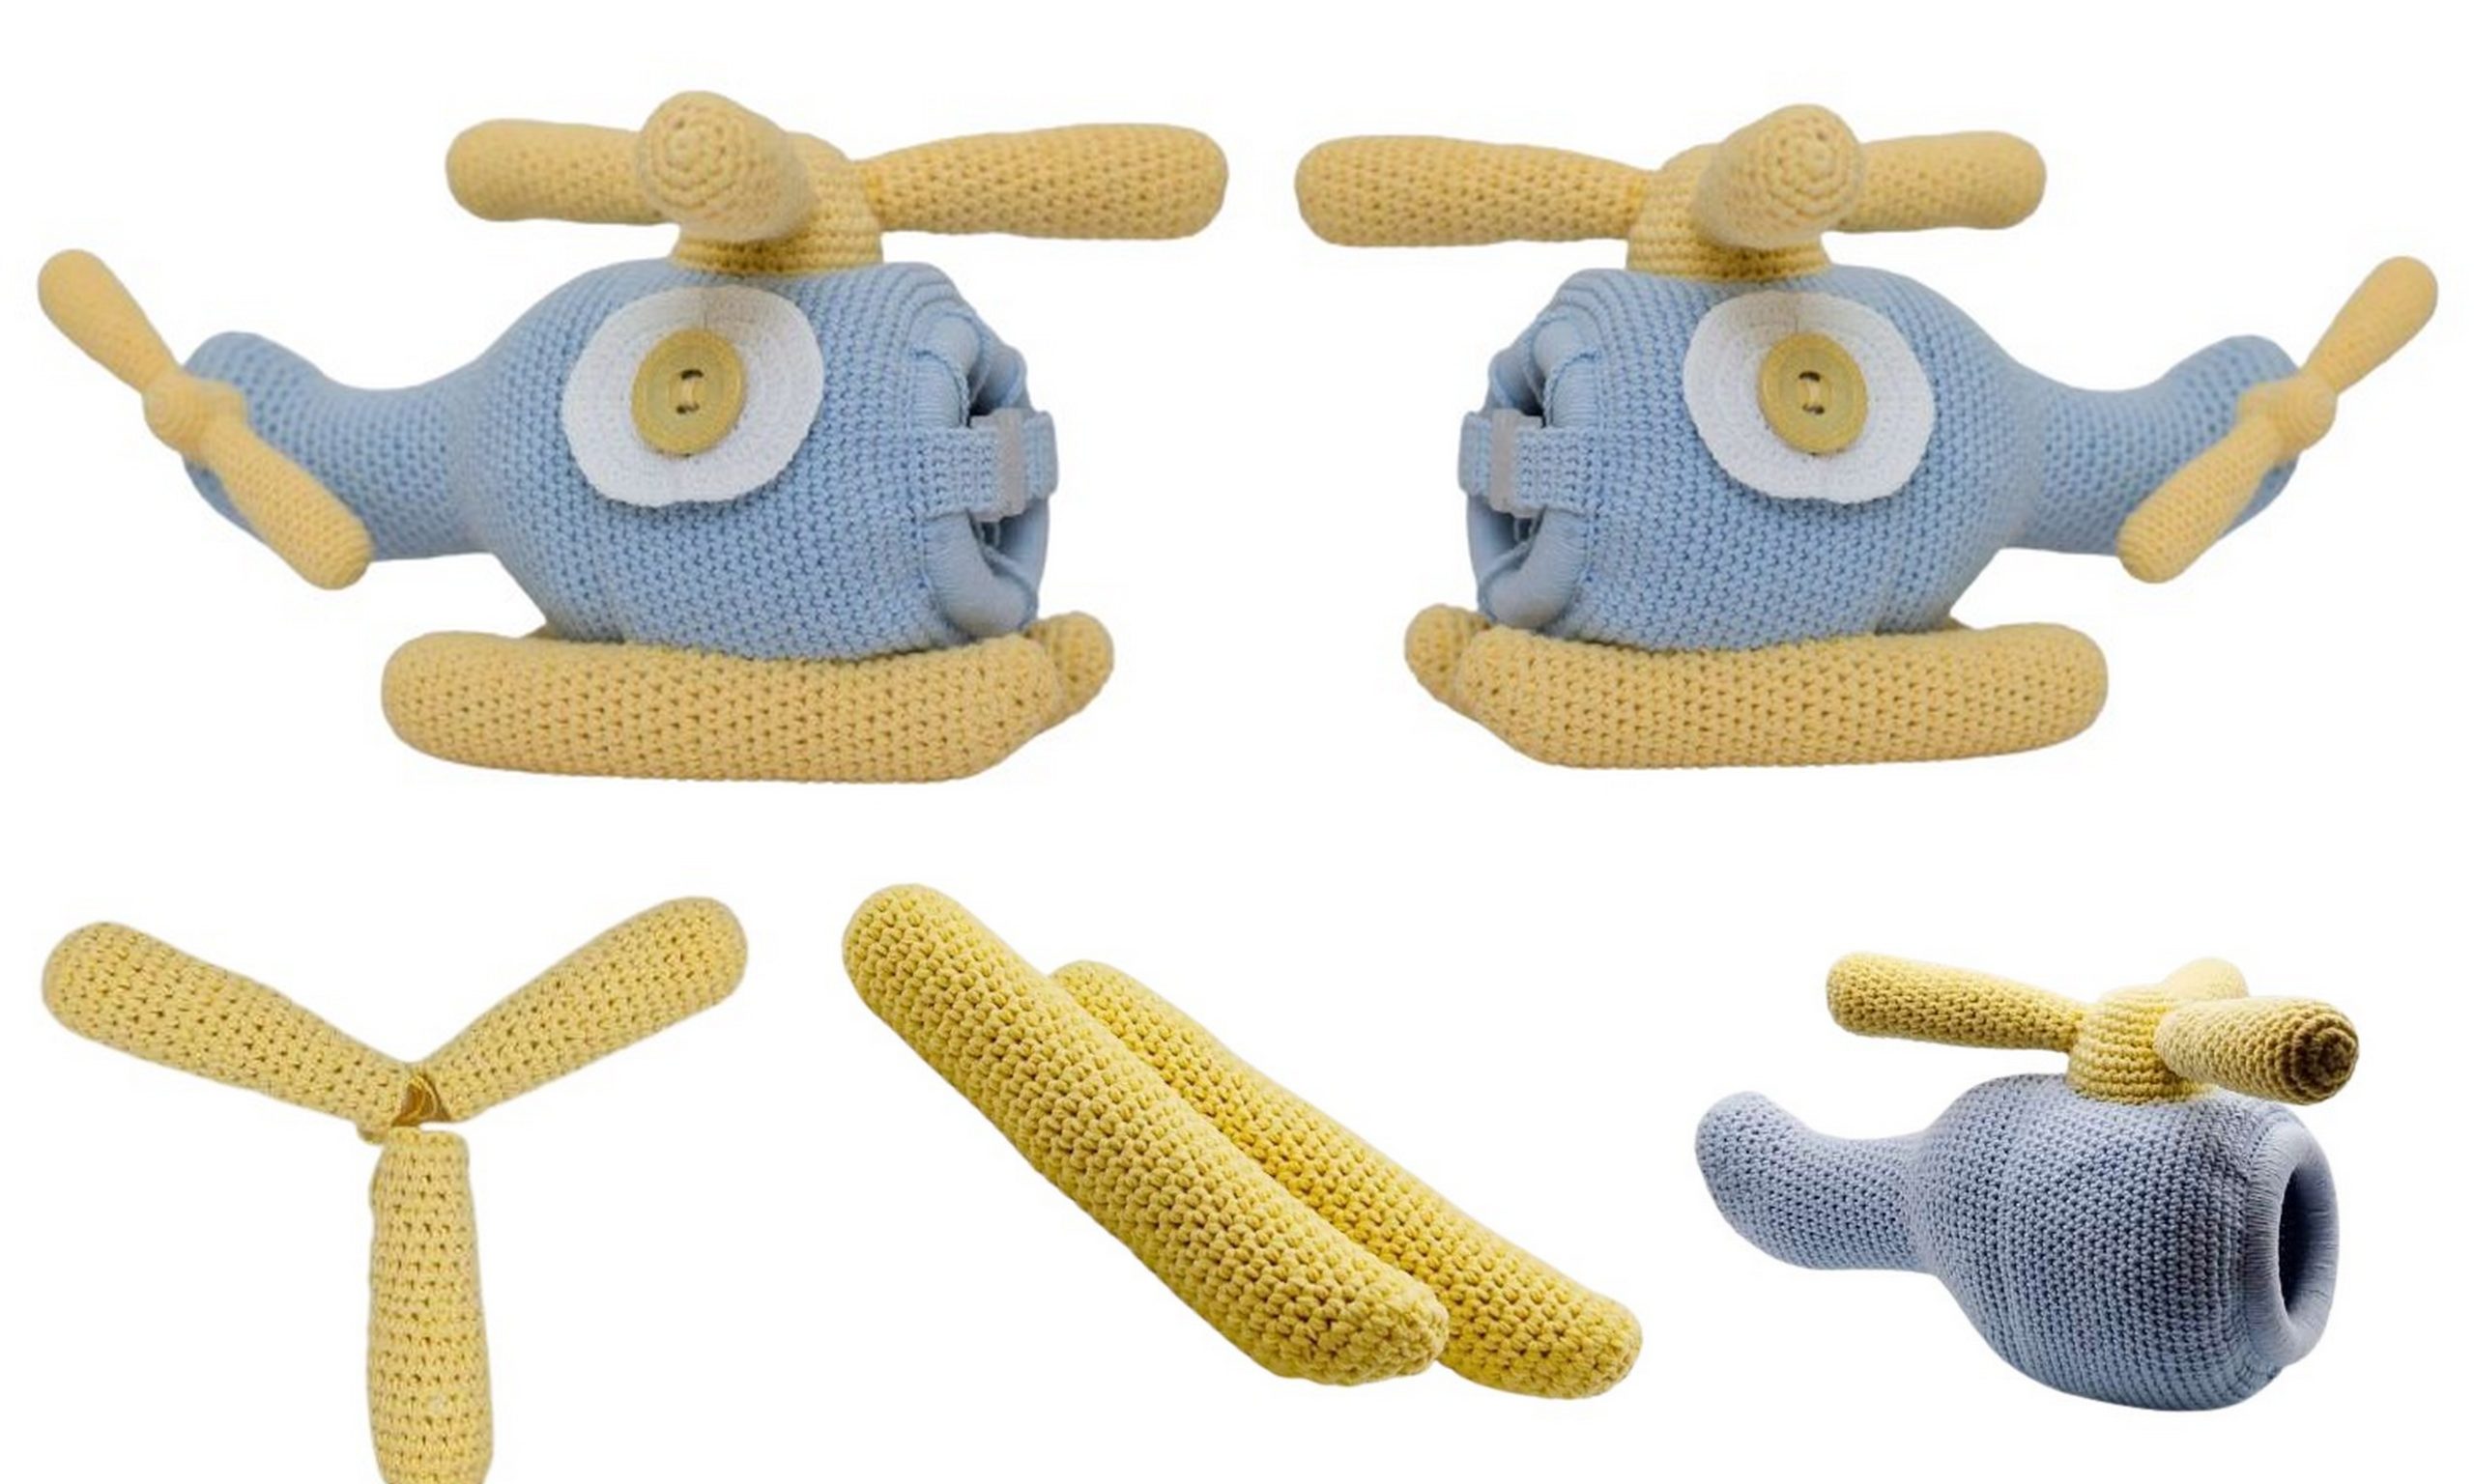
Helicopter Amigurumi Pattern
ROUND (1 pc.)
Crochet with the main color, hook #4.
We will use the round to separate the cabin from the tail section.
1: 6 sc in mr;
2: 6 inc (12);
3: (1 inc, 1 sc) * 6 (18);
4: (2 sc, 1 inc) * 6 (24);
5: (1 inc, 3 sc) * 6 (30);
6: 2 sc, (1 inc, 4 sc) * 5, 1 inc, 2 sc (36);
7: 4 sc, (1 inc, 5 sc) * 5, 1 inc, 1 sc (42);
8: (6 sc, 1 inc) * 6 (48);
9: (1 inc, 7 sc) * 6 (54);
10: 2 sc, (1 inc, 8 sc) * 5, 1 inc, 6 sc (60);
11: 4 sc, (1 inc, 9 sc) * 5, 1 inc, 5 sc (66);
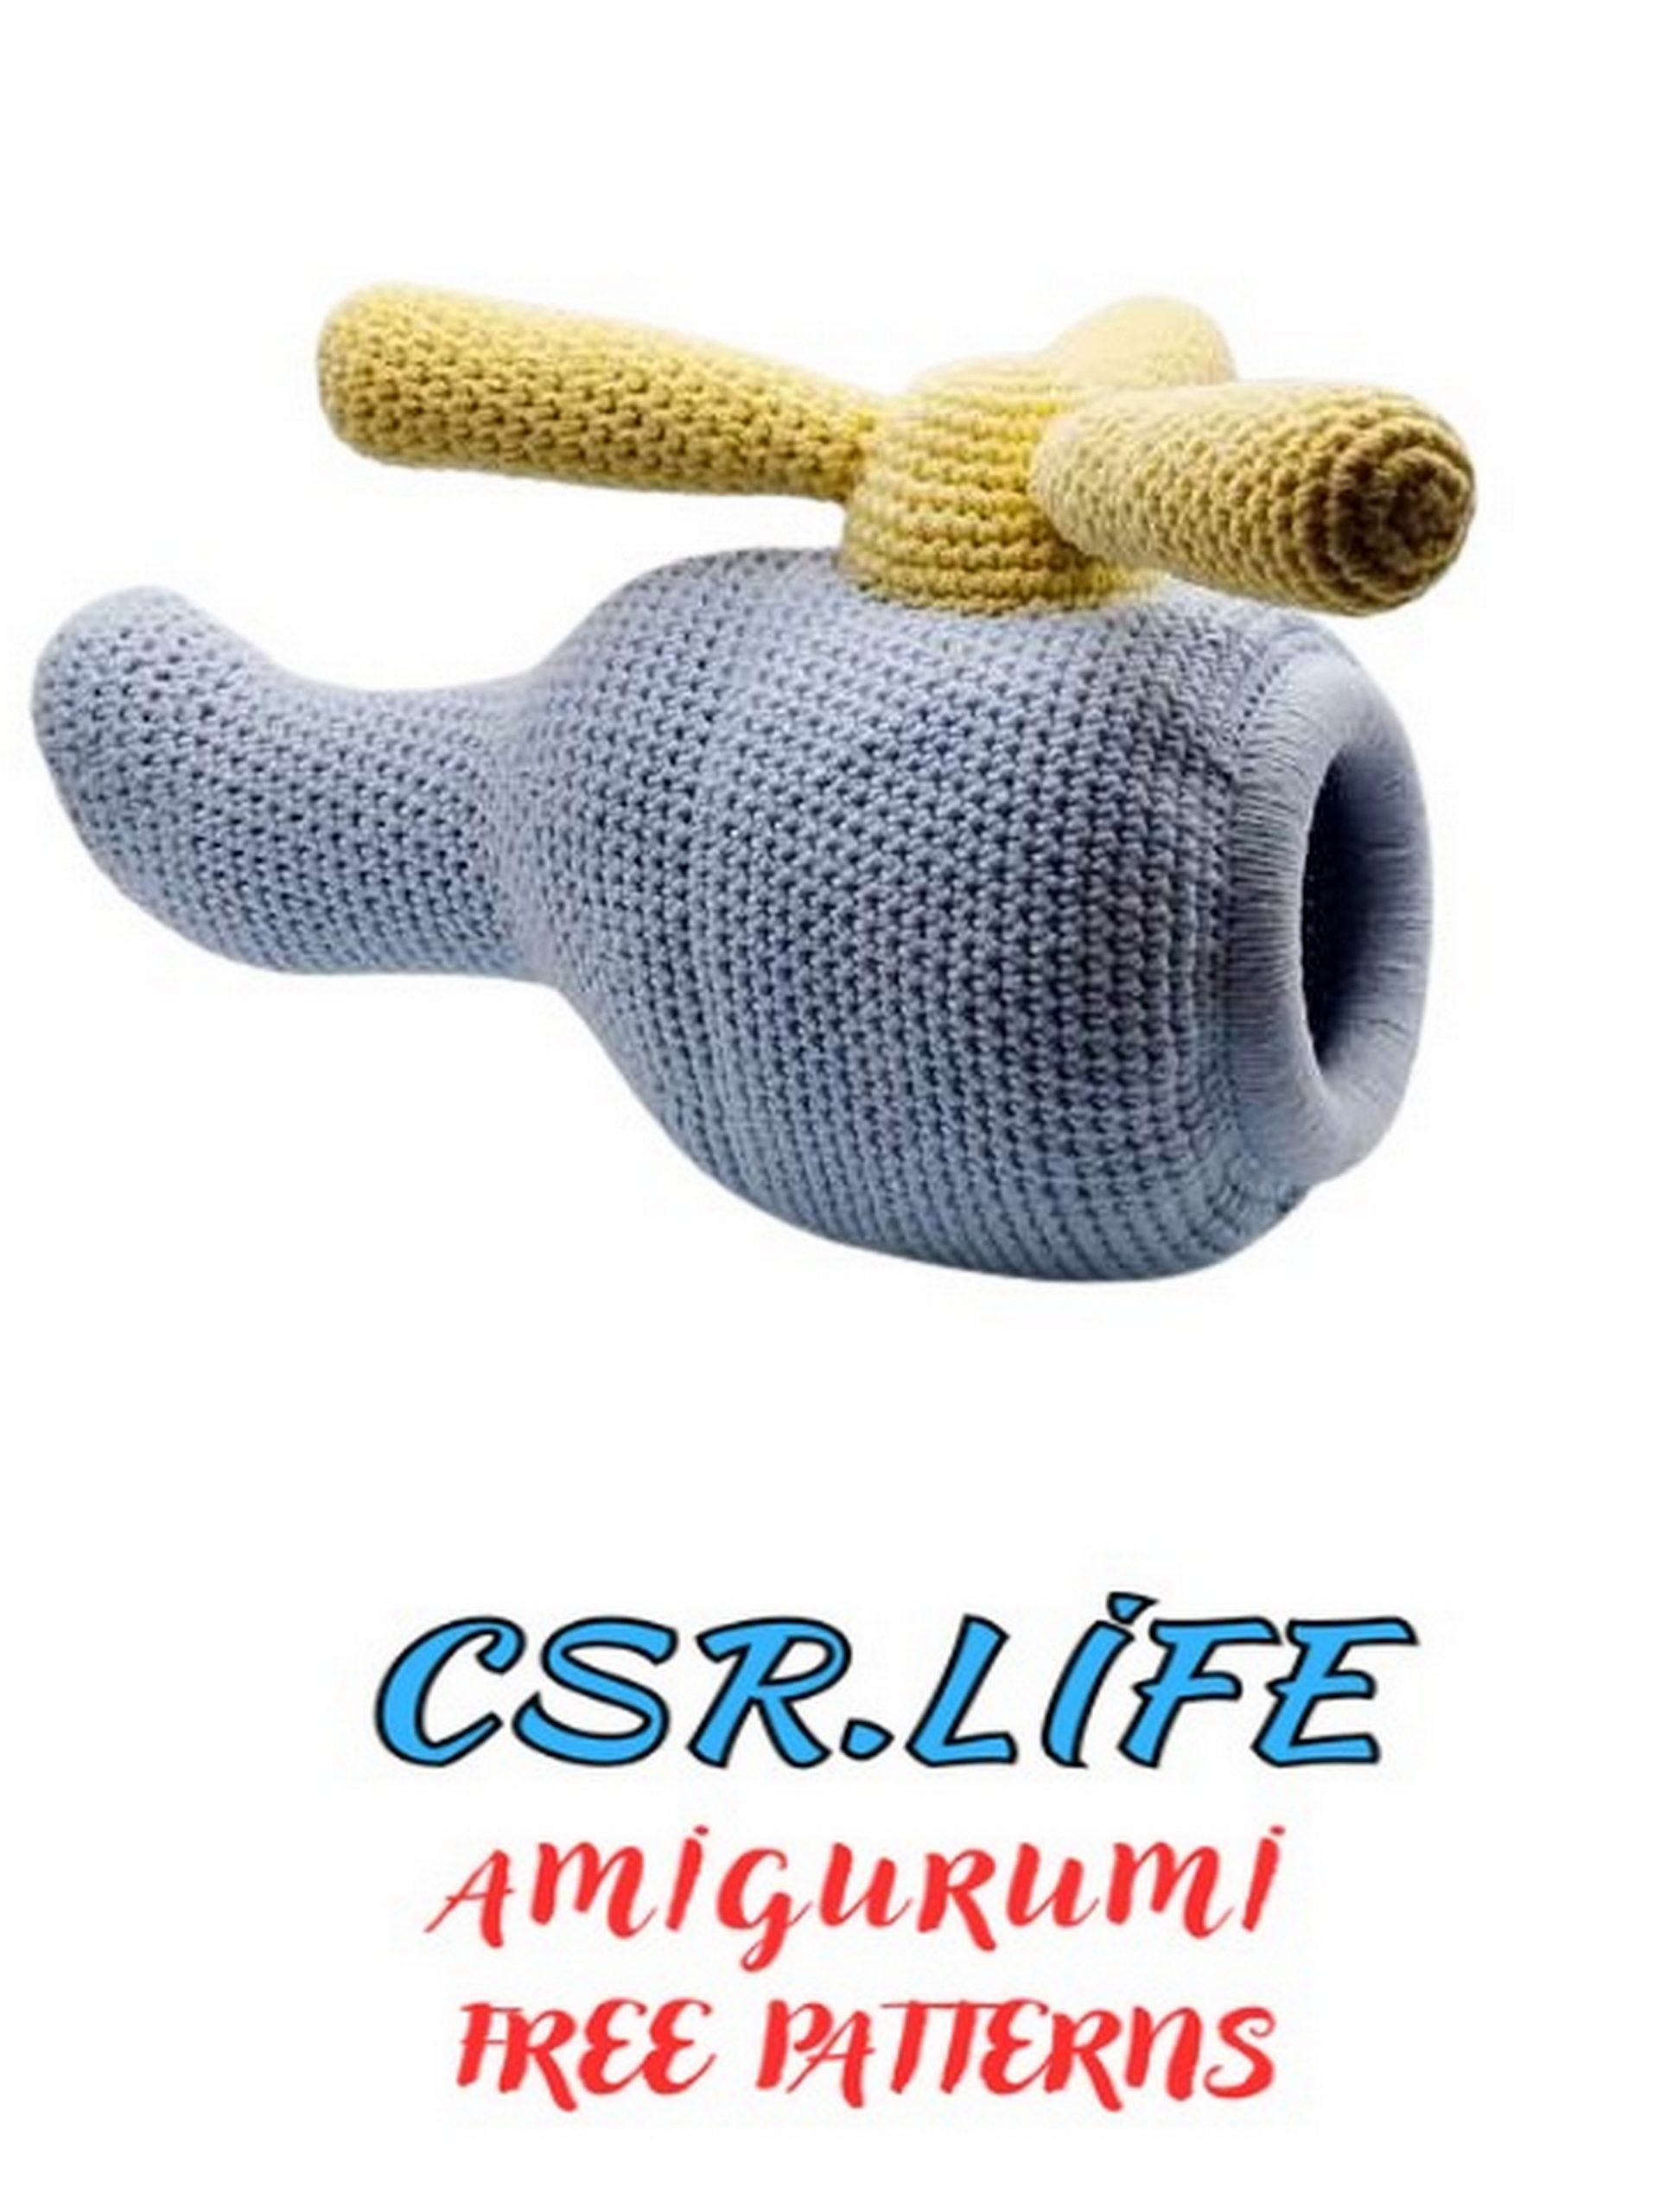
FUSELAGE + TAIL BOOM (1 pc.)
Take the wooden ring.
We will crochet around the ring with the main color, hook #4, using single crochets.
Insert the hook in the middle of the ring and pull up a loop. Yarn over and pull through the loop. Continue to make stitches in the same way (pull a loop from the middle of the ring, yarn over, and crochet).
Lay the secondary yarn along the ring, cut to the needed length, and fix with a glue gun. Ensure the stitches are even.
Foundation row – 84 stitches.
Helicopter Amigurumi Continue crocheting.
12: 6 sc, (1 inc, 10 sc) * 5, 1 inc, 4 sc (72);
13: 8 sc, (1 inc, 11 sc) * 5, 1 inc, 3 sc (78);
14: 10 sc, (1 inc, 12 sc) * 5, 1 inc, 2 sc (84).
Finish with sl st. Fasten off and hide the thread.
1: 84 sc in back loop only (84);
2-21: 84 sc (84) (20 rows).
Attach the round (from step 1) with the front side inside the cabin.
22: 84 sc (joining the main part with the round) (84);
23-25: 84 sc (84) (3 rows);
26: (5 sc, 1 dec) * 3, 42 sc, (5 sc, 1 dec) * 3 (78);
27: (4 sc, 1 dec) * 3, 42 sc, (4 sc, 1 dec) * 3 (72);
28: (3 sc, 1 dec) * 3, 42 sc, (3 sc, 1 dec) * 3 (66);
29: 66 sc (66);
30: (9 sc, 1 dec) * 6 (60);
31: (8 sc, 1 dec) * 6 (54);
32: (7 sc, 1 dec) * 6 (48);
33: 48 sc (48);
34: (6 sc, 1 dec) * 6 (42);
35: (5 sc, 1 dec) * 6 (36);
36: (4 sc, 1 dec) * 6 (30). Stuff.
37-51: 30 sc (30) (15 rows).
Stuff the tail section as you go.
Place the amigurumi helicopter as it will stand in the finished form (the bottom part is where we started decreasing in row 26). Place a marker in the center of the bottom of the tail – this will be the beginning of row 52. Crochet offset stitches to the marker (approximately 6-8 stitches, depending on your crochet tension).
Continue crocheting.
52: 9 sc, (1 sc, 1 inc) * 6, 9 sc (36);
53: 9 sc, (2 sc, 1 inc) * 6, 9 sc (42);
54: 42 sc (42);
55-56: (2 sc, 1 dec) * 3, (2 sc, 1 inc) * 6, (2 sc, 1 dec) * 3 (42) (2 rows);
57: 42 sc (42);
58: (5 sc, 1 dec) * 6 (36);
59: (4 sc, 1 dec) * 6 (30);
60: (3 sc, 1 dec) * 6 (24);
61: (2 sc, 1 dec) * 6 (18);
62: (1 sc, 1 dec) * 6 (12);
63: 6 dec (6). Close the opening.
Fasten off and hide the thread.
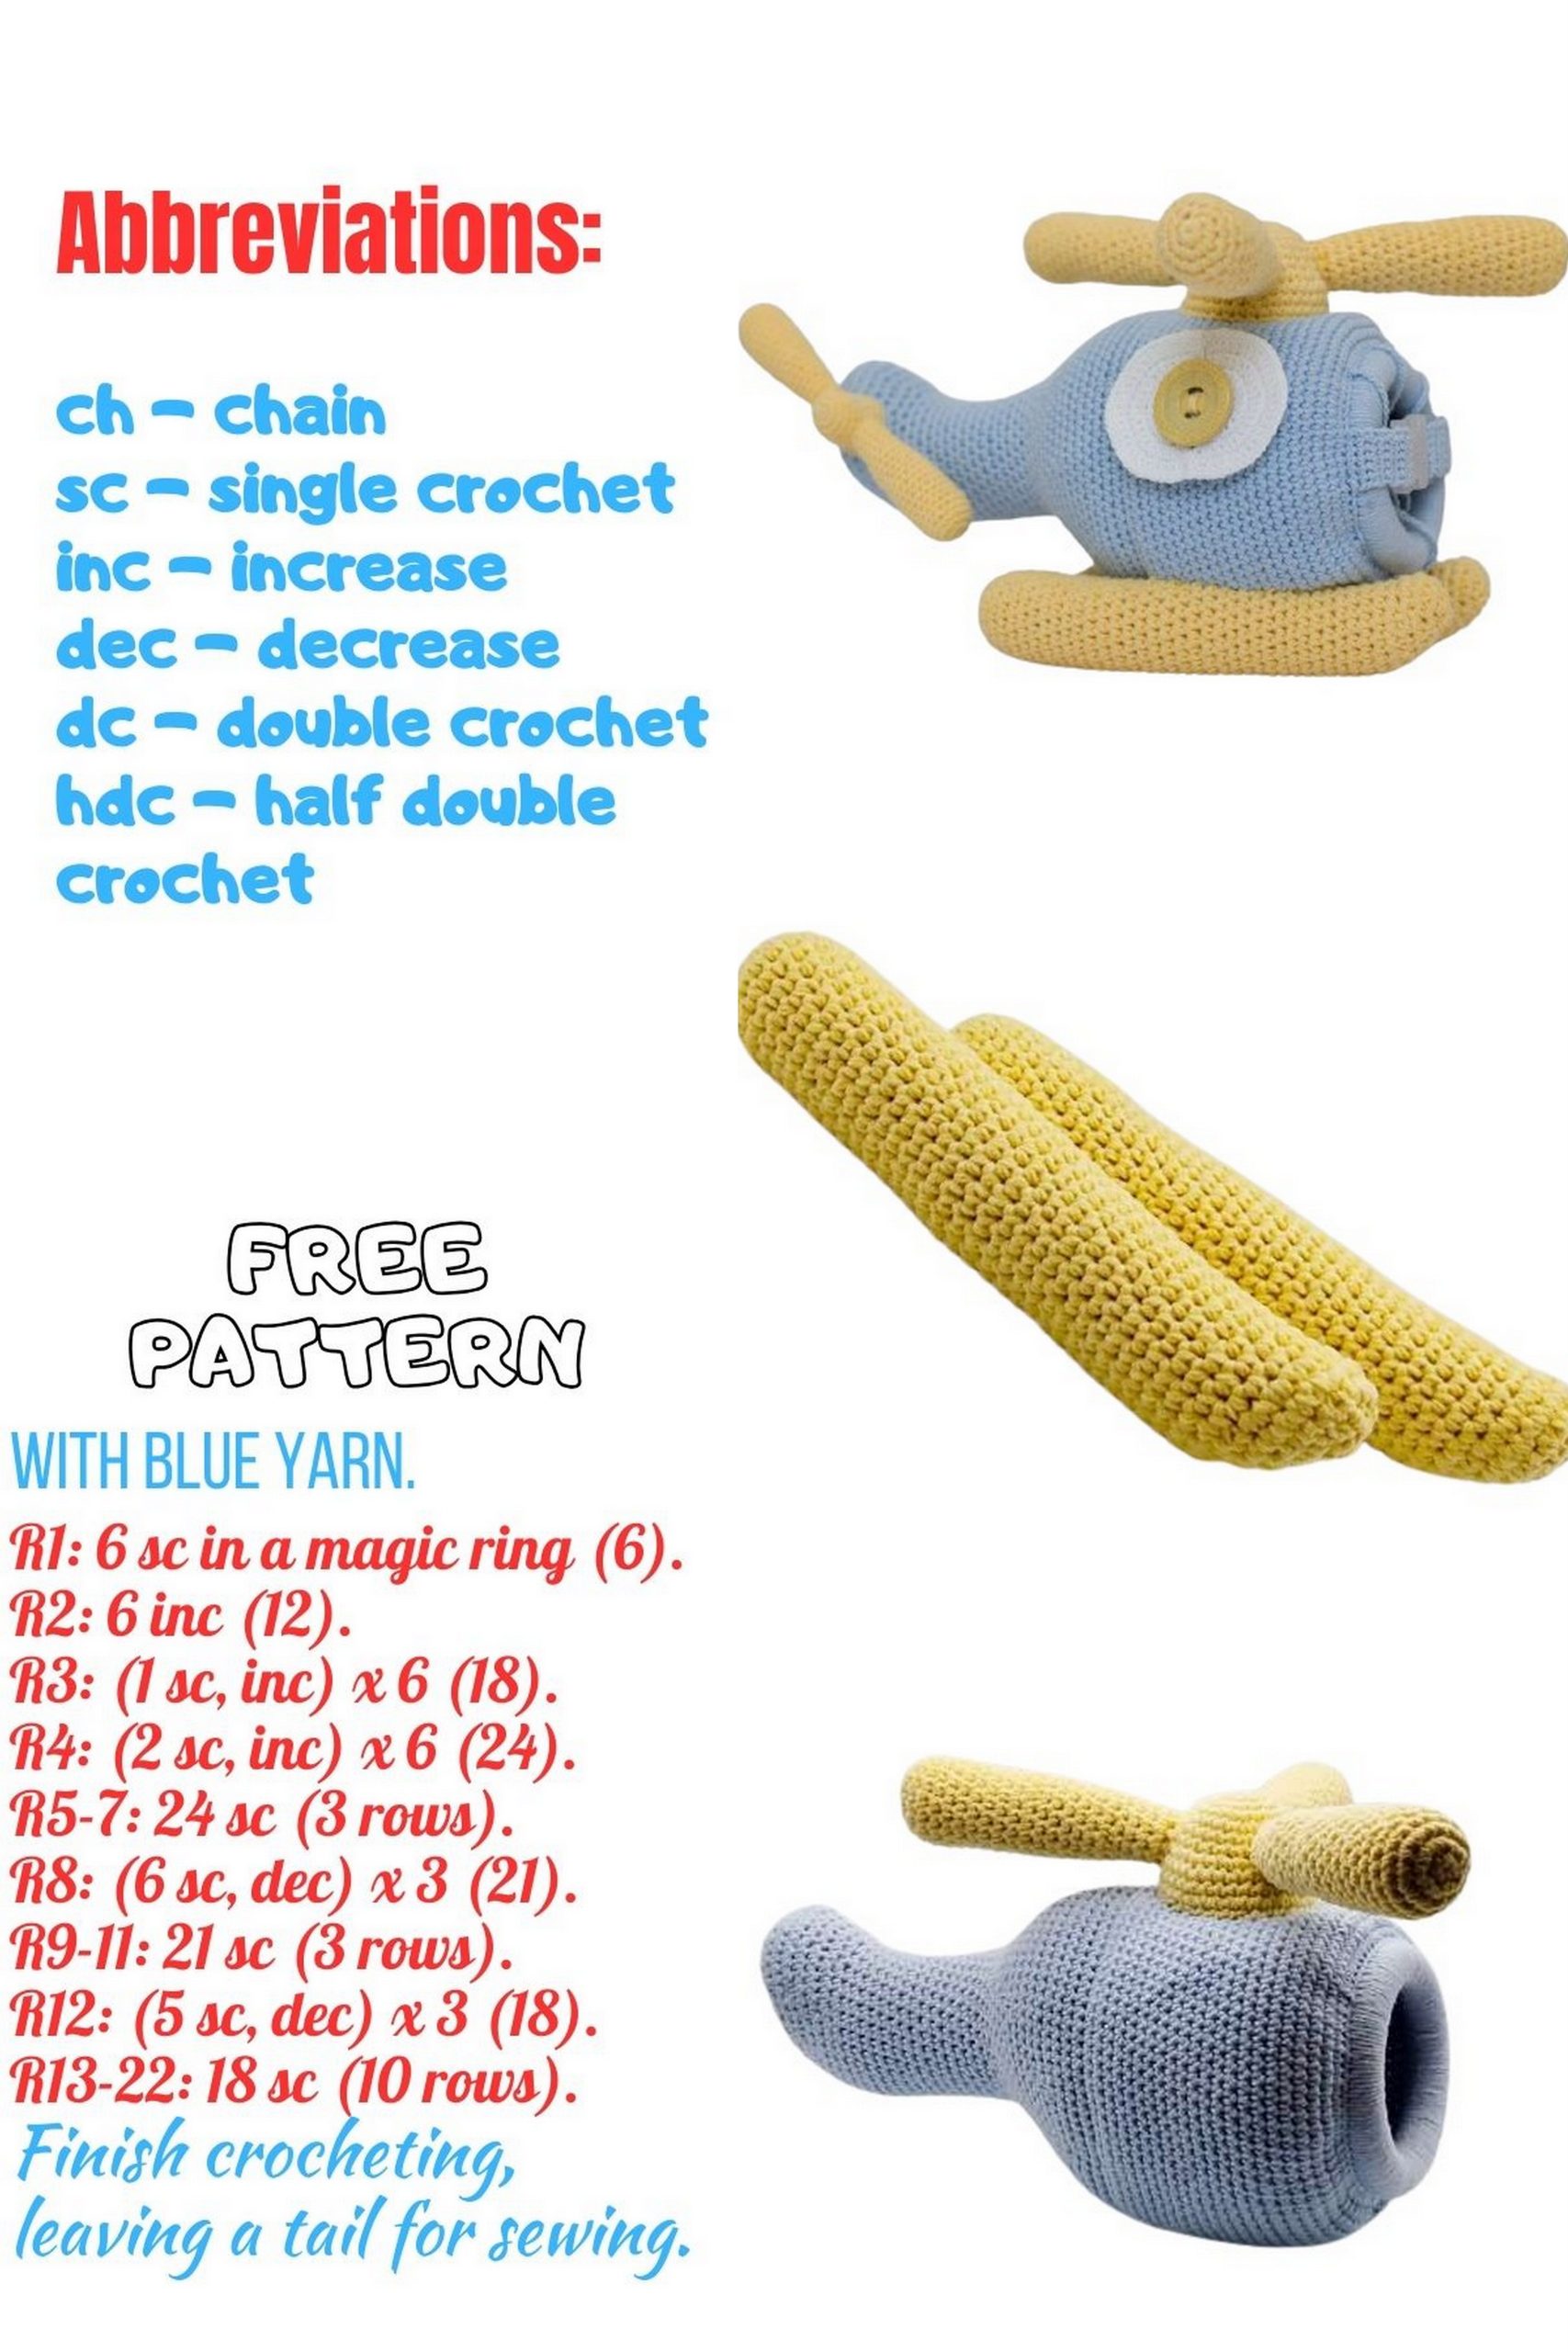
MAIN ROTOR Helicopter Amigurumi
Main rotor hub (1 pc.)
Crochet with YarnArt Jeans Plus #88, hook #4.
1: 6 sc in mr;
2: 6 inc (12);
3: (1 inc, 1 sc) * 6 (18);
4: (2 sc, 1 inc) * 6 (24);
5-7: 24 sc (24) (3 rows);
8: (1 sc, 1 inc) * 12 (36);
9-11: 36 sc (36) (3 rows). Finish with sl st. Leave a thread for sewing.
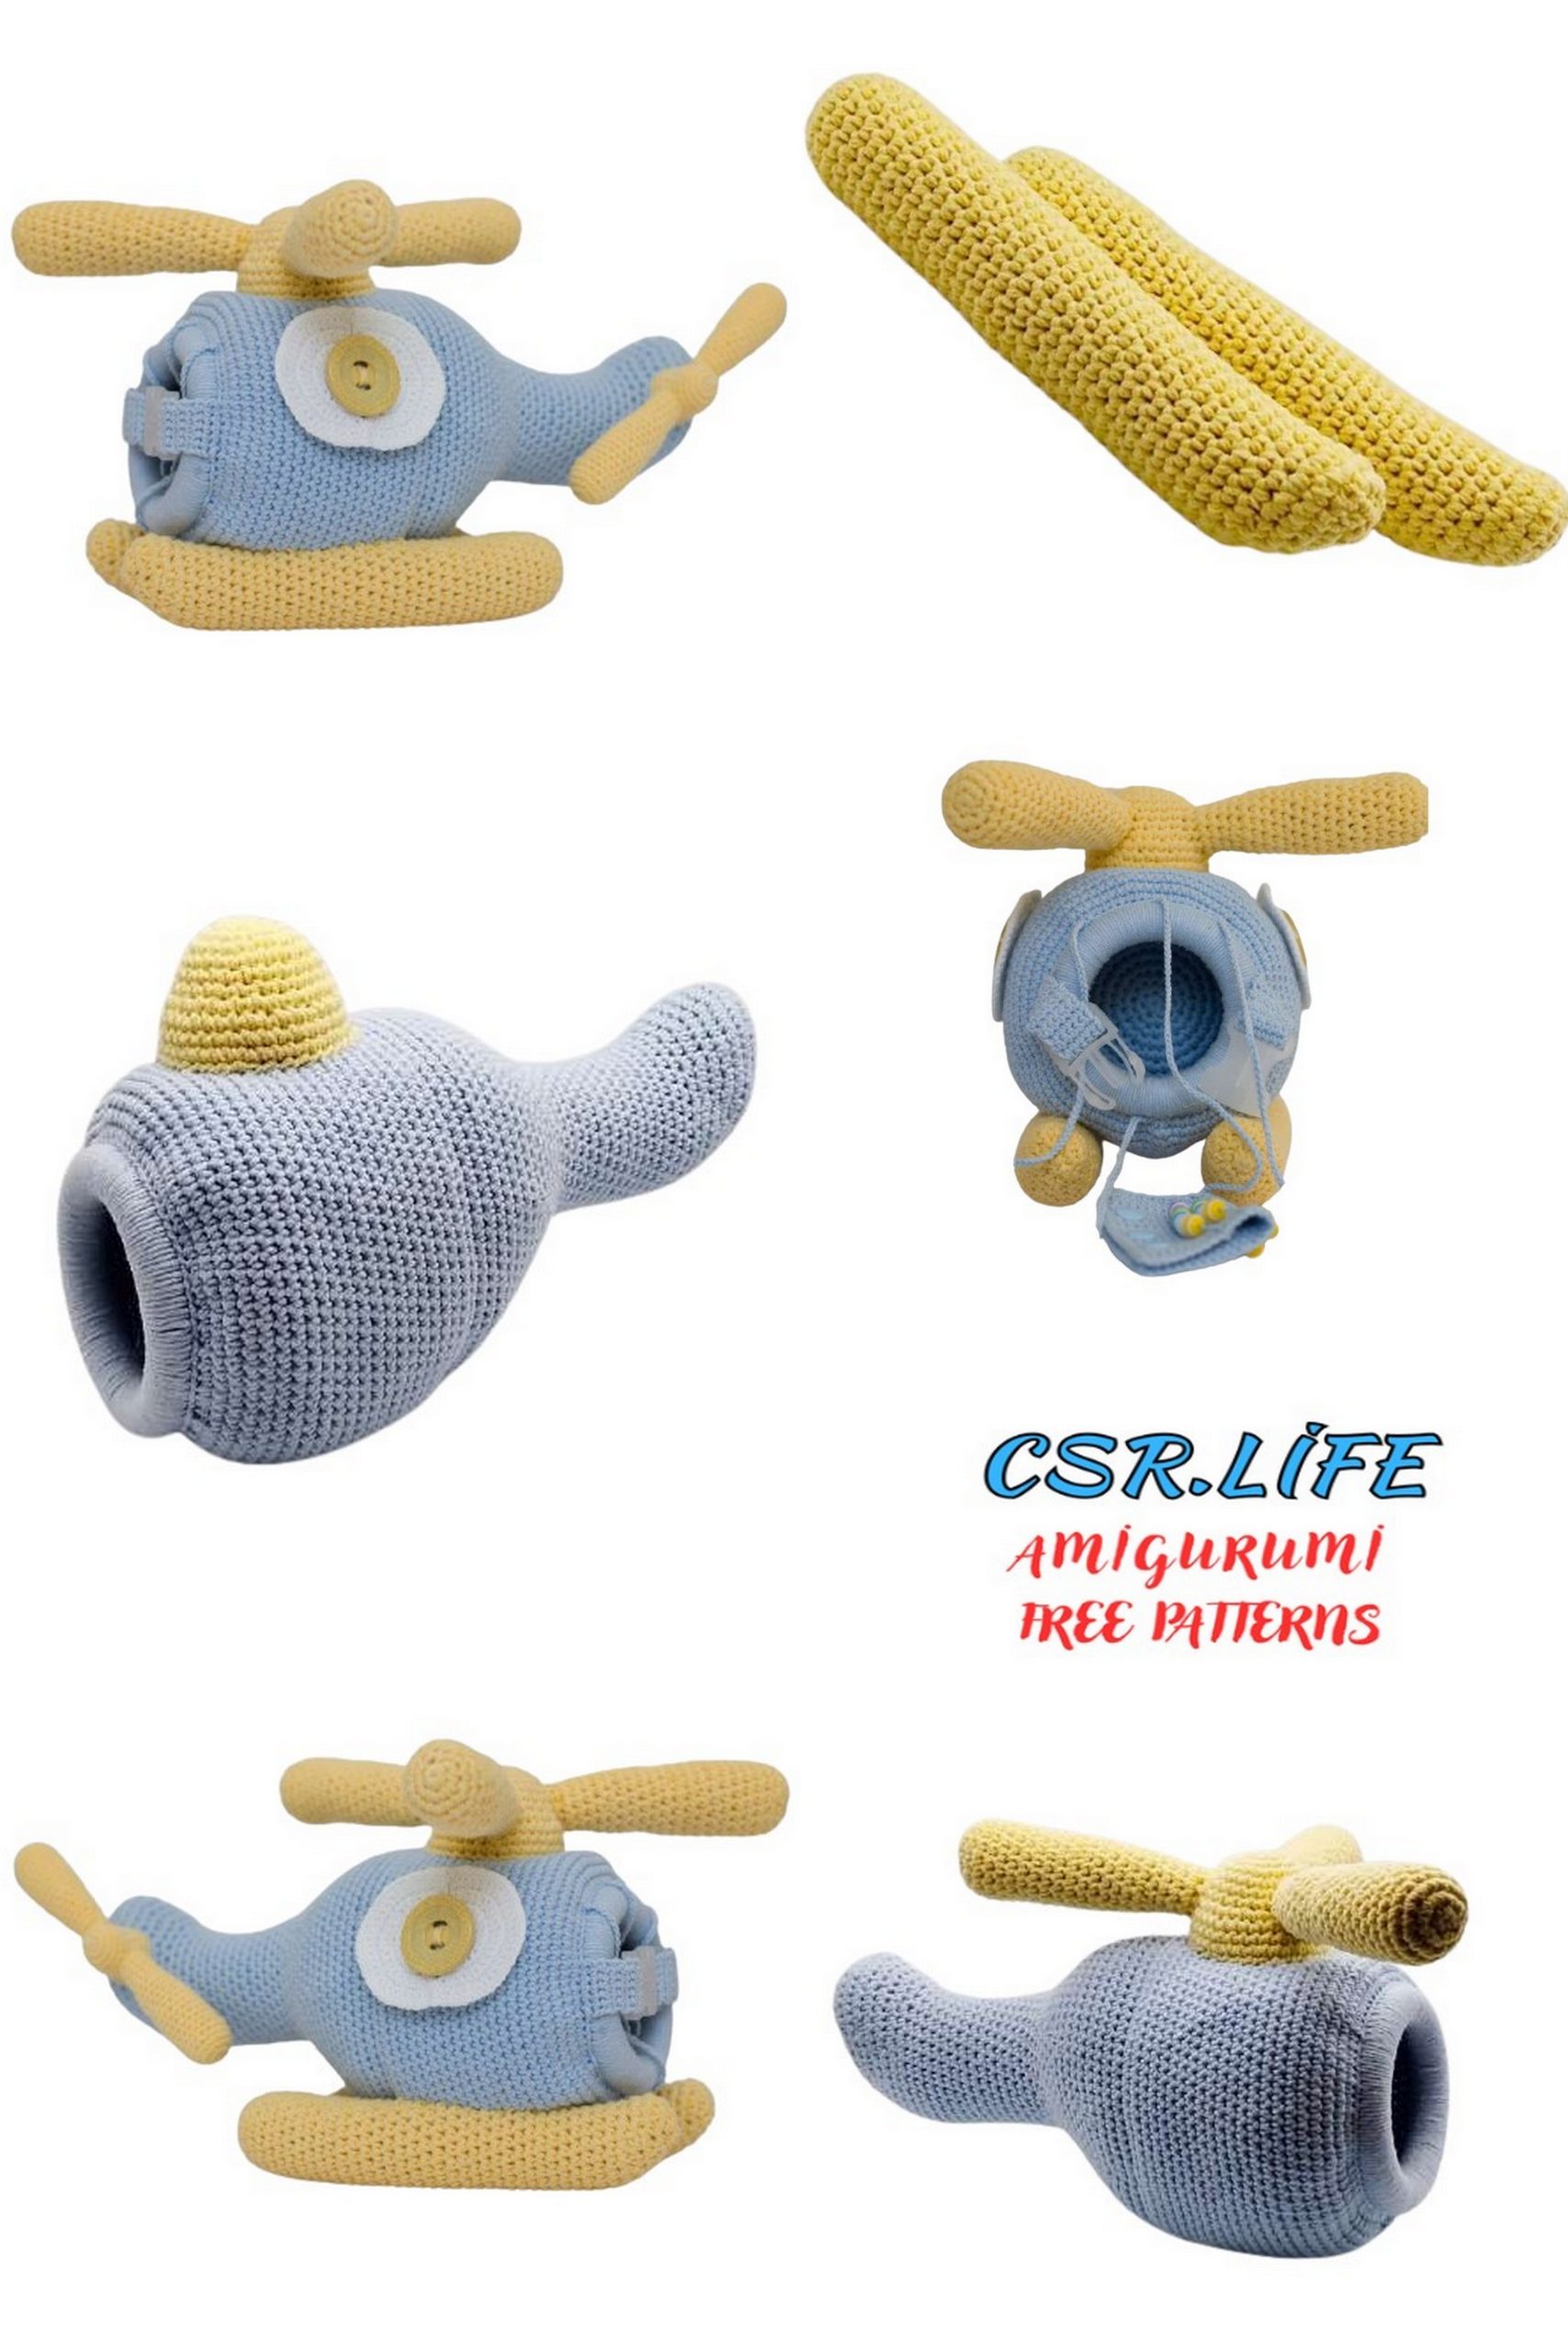
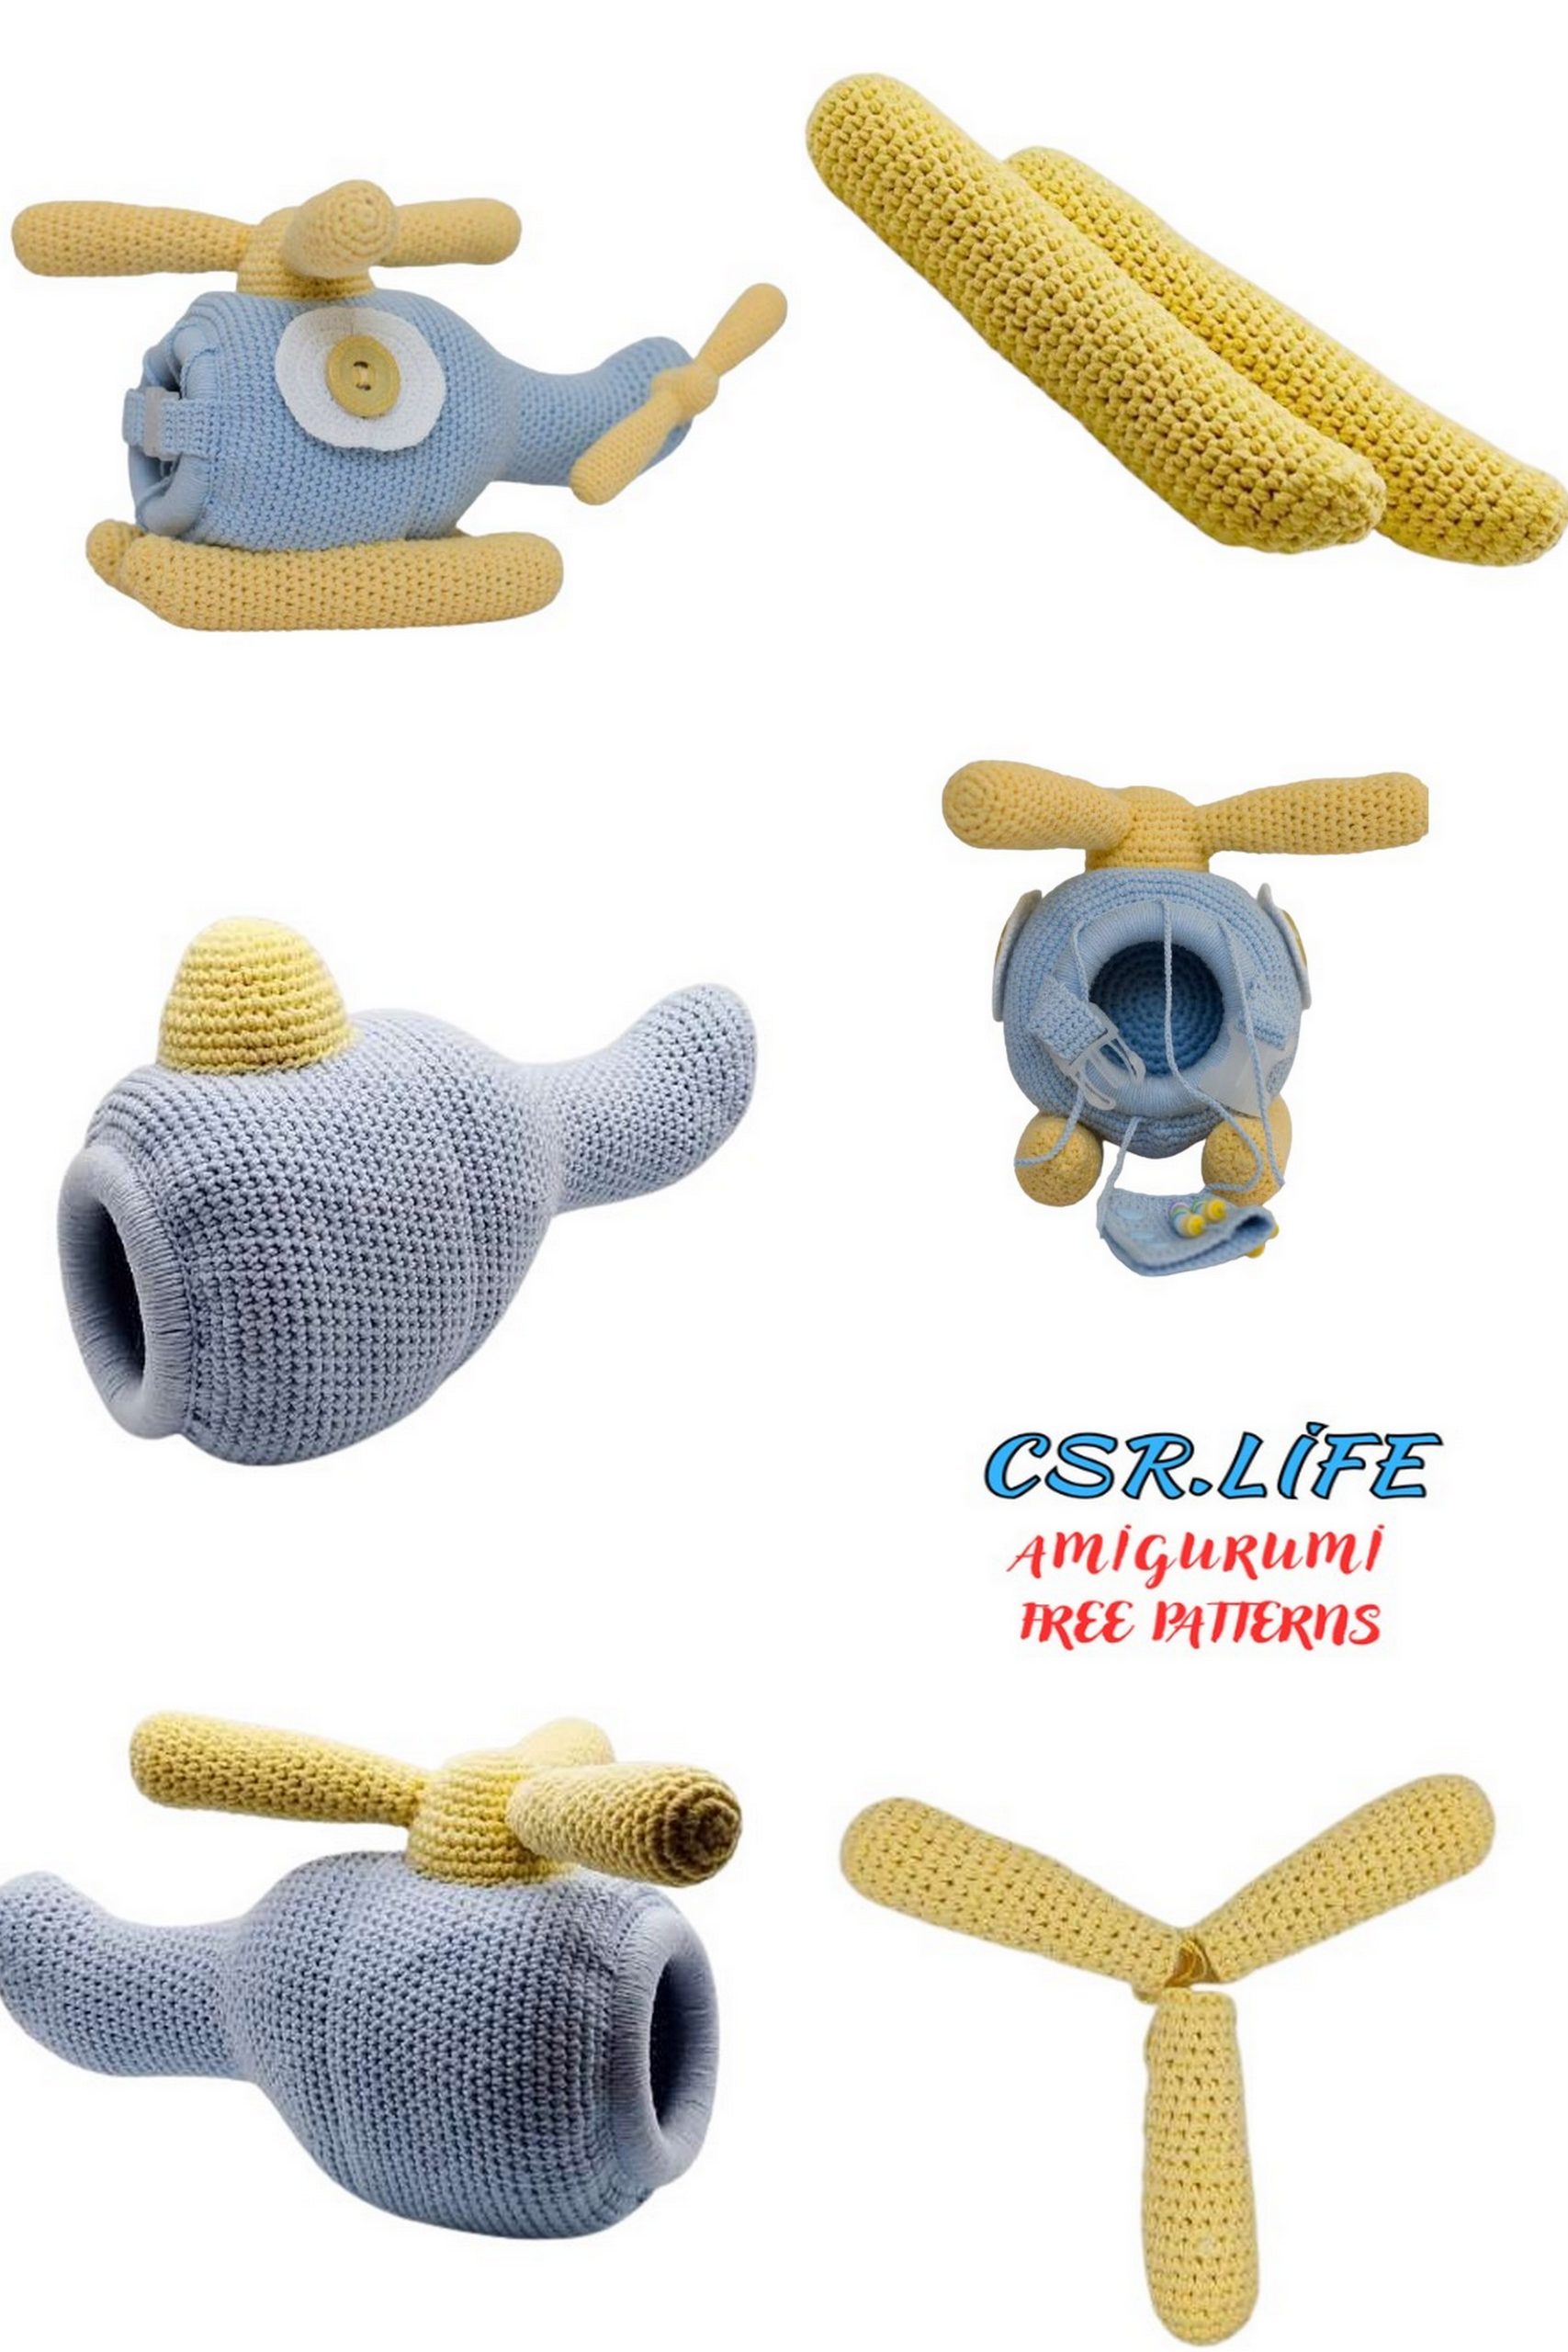
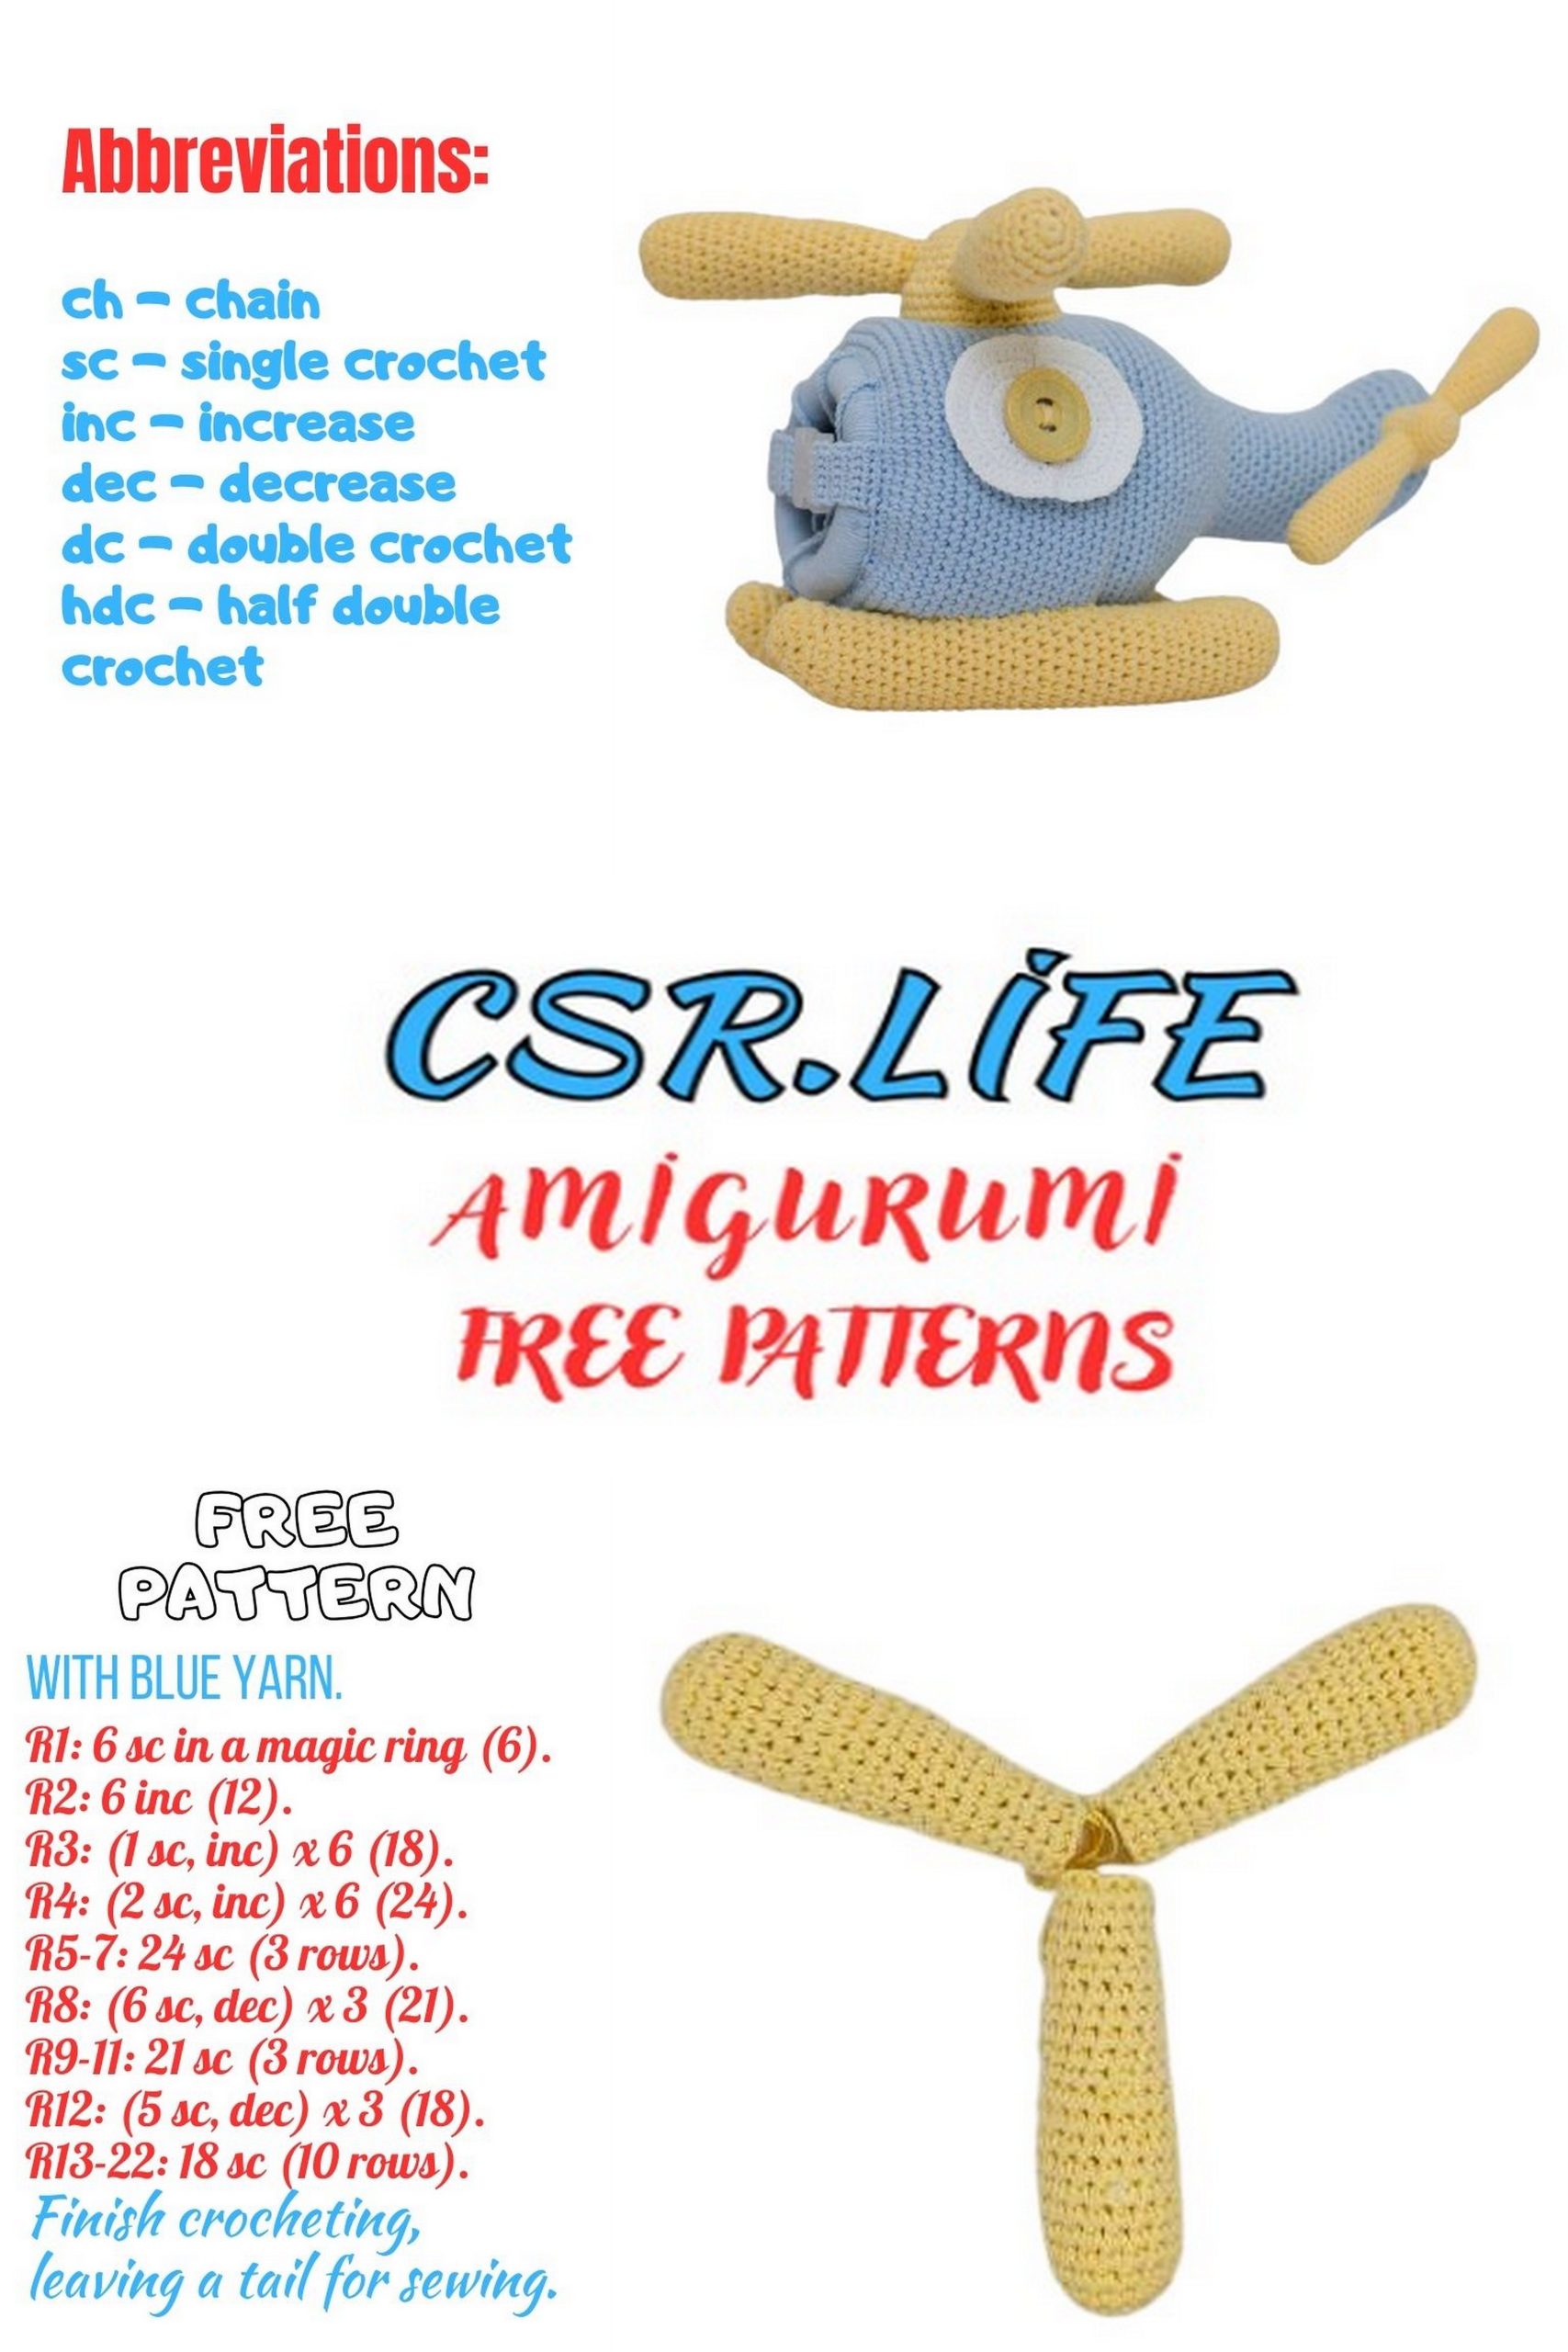
Helicopter Amigurumi Blades (3 pcs.)
Crochet with YarnArt Jeans Plus #88, hook #4.
1: 6 sc in mr;
2: 6 inc (12);
3: (1 inc, 1 sc) * 6 (18);
4-13: 18 sc (18) (10 rows).
Stuff halfway, insert the squeaker.
14: (4 sc, 1 dec) * 3 (15);
15-19: 15 sc (15) (5 rows). Stuff as you go.
20: (3 sc, 1 dec) * 3 (12);
21-23: 12 sc (12) (3 rows). Finish with sl st. Leave a thread for sewing.
Make 2 more blades in the same way.
Helicopter Amigurumi TAIL ROTOR
Tail rotor hub (1 pc.)
Crochet with YarnArt Jeans #88, hook #2.
1: 6 sc in mr;
2: 6 inc (12);
3: (1 inc, 1 sc) * 6 (18);
4-10: 18 sc (18) (7 rows). Finish with sl st. Leave a thread for sewing.
Blades (2 pcs.)
Crochet with YarnArt Jeans #88, hook #2.
1: 6 sc in mr;
2: 6 inc (12);
3: (1 inc, 1 sc) * 6 (18);
4-13: 18 sc (18) (10 rows). Stuff as you go.
14: (4 sc, 1 dec) * 3 (15);
15-17: 15 sc (15) (3 rows);
18: (3 sc, 1 dec) * 3 (12);
19-21: 12 sc (12) (3 rows). Finish with sl st. Leave a thread for sewing.
Make another blade in the same way.
SKIS (2 pcs.)
Crochet with YarnArt Jeans Plus #88, hook #4.
1: 6 sc in mr;
2: 6 inc (12);
3: (1 inc, 1 sc) * 6 (18);
4-38: 18 sc (18) (35 rows). Stuff as you go.
39: 3 dec, 6 inc, 3 dec (18);
40: 18 sc (18);
41: (1 sc, 1 dec) * 6 (12);
42: 6 dec (6). Close the opening.
Fasten off and hide the thread.
Make another ski in the same way.
Helicopter Amigurumi WINDOWS (2 pcs.)
Crochet with YarnArt Jeans #01, hook #2.
You need to make 4 semicircles.
We will crochet in turning rows. Each new row begins with a chain stitch and a turn. Ch st replaces the first stitch of the next row.
1: 4 sc in mr;
2: 4 inc (8);
3: (1 sc, 1 inc) * 4 (12);
4: (2 sc, 1 inc) * 4 (16);
5: (3 sc, 1 inc) * 4 (20);
6: (4 sc, 1 inc) * 4 (24);
7: (5 sc, 1 inc) * 4 (28);
8: (6 sc, 1 inc) * 4 (32).
Do not cut the thread, crochet ch st and crochet around the bottom part with sc.
Fasten off, leaving a thread for sewing.
Steam well.
Make 3 more semicircles in the same way.
Join 2 semicircles into a circle, sew approximately 1 cm on each side.
Our windows are ready.
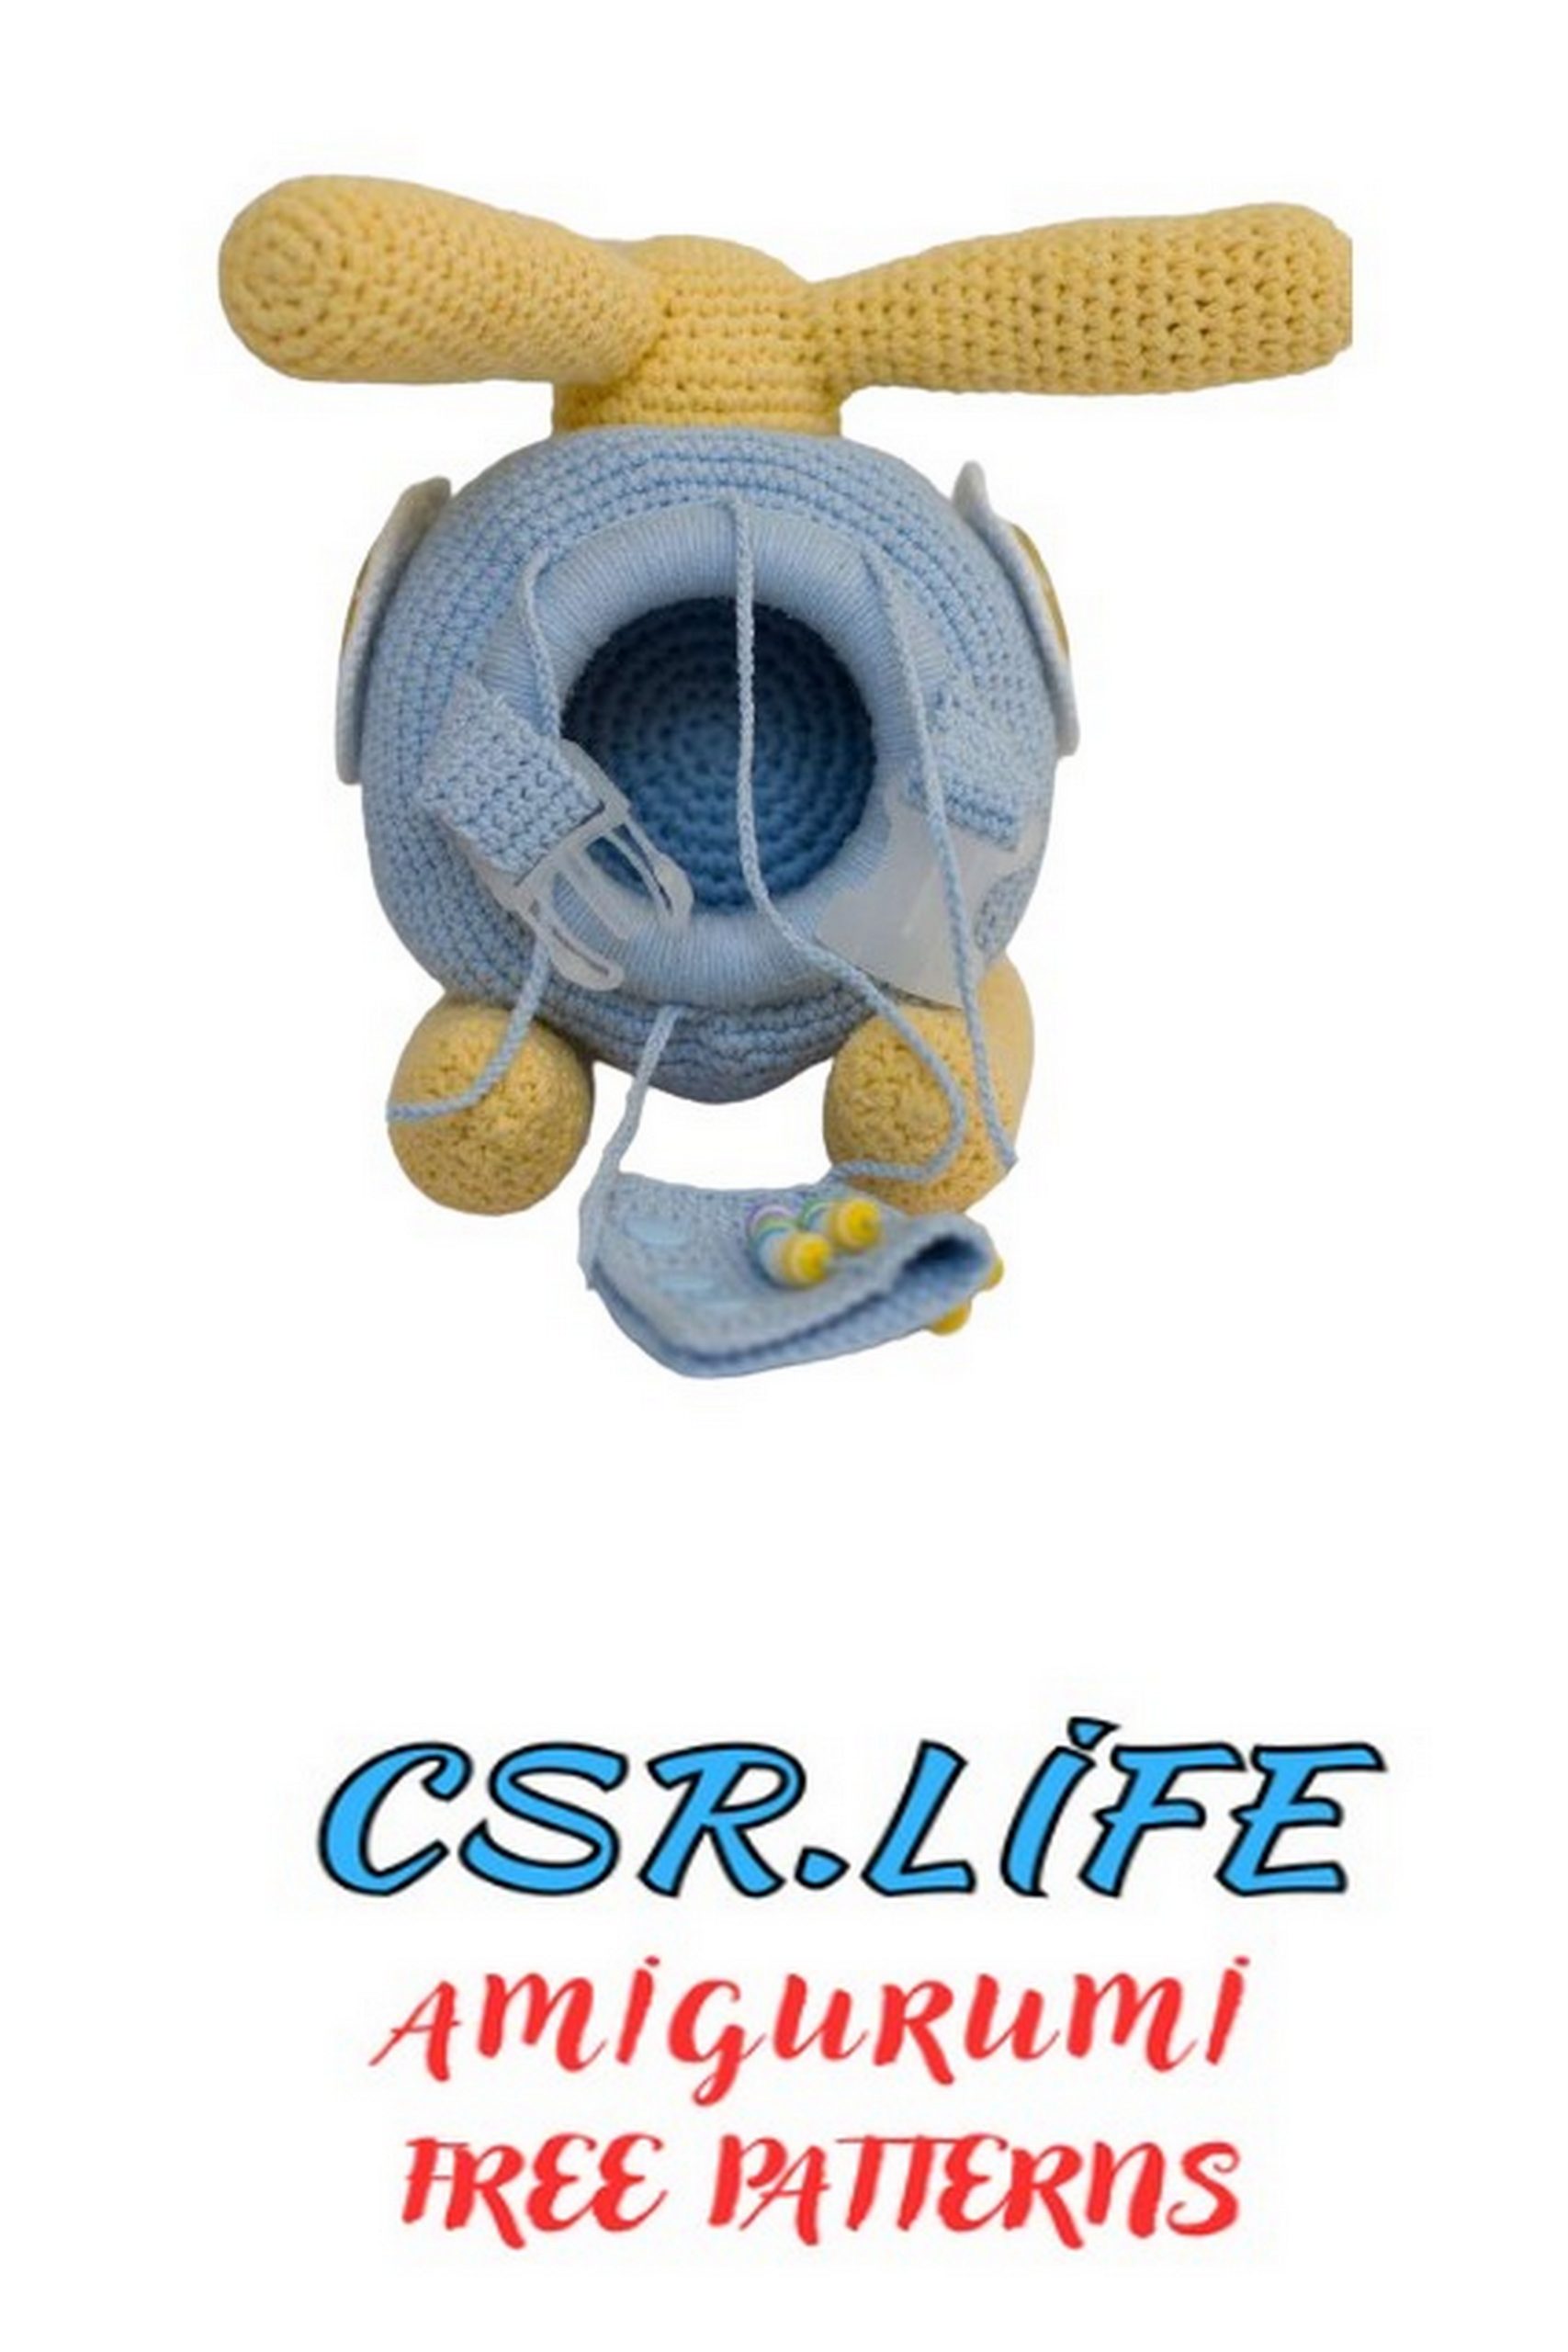
Proceed to assembling the amigurumi helicopter:
1. Sew the main rotor hub. Stuff as necessary.
2. Sew the blades to the hub.
3. Sew the skis with YarnArt Jeans #75.
4. Sew the button windows. Attach the crocheted windows to them.
5. Sew the tail rotor hub. Stuff as necessary.
6. Sew the blades to the hub.
7. Sew the fastener. You can choose different types of fasteners. Choose as you like.
8. Attach YarnArt Jeans #75 to the front loop of the first row of the fuselage and crochet ch st braids 20-23 cm long. The number of braids depends on the number of educational materials.
9. Attach your chosen educational items to the braids.
Congratulations!
Your Amigurumi Helicopter is ready!