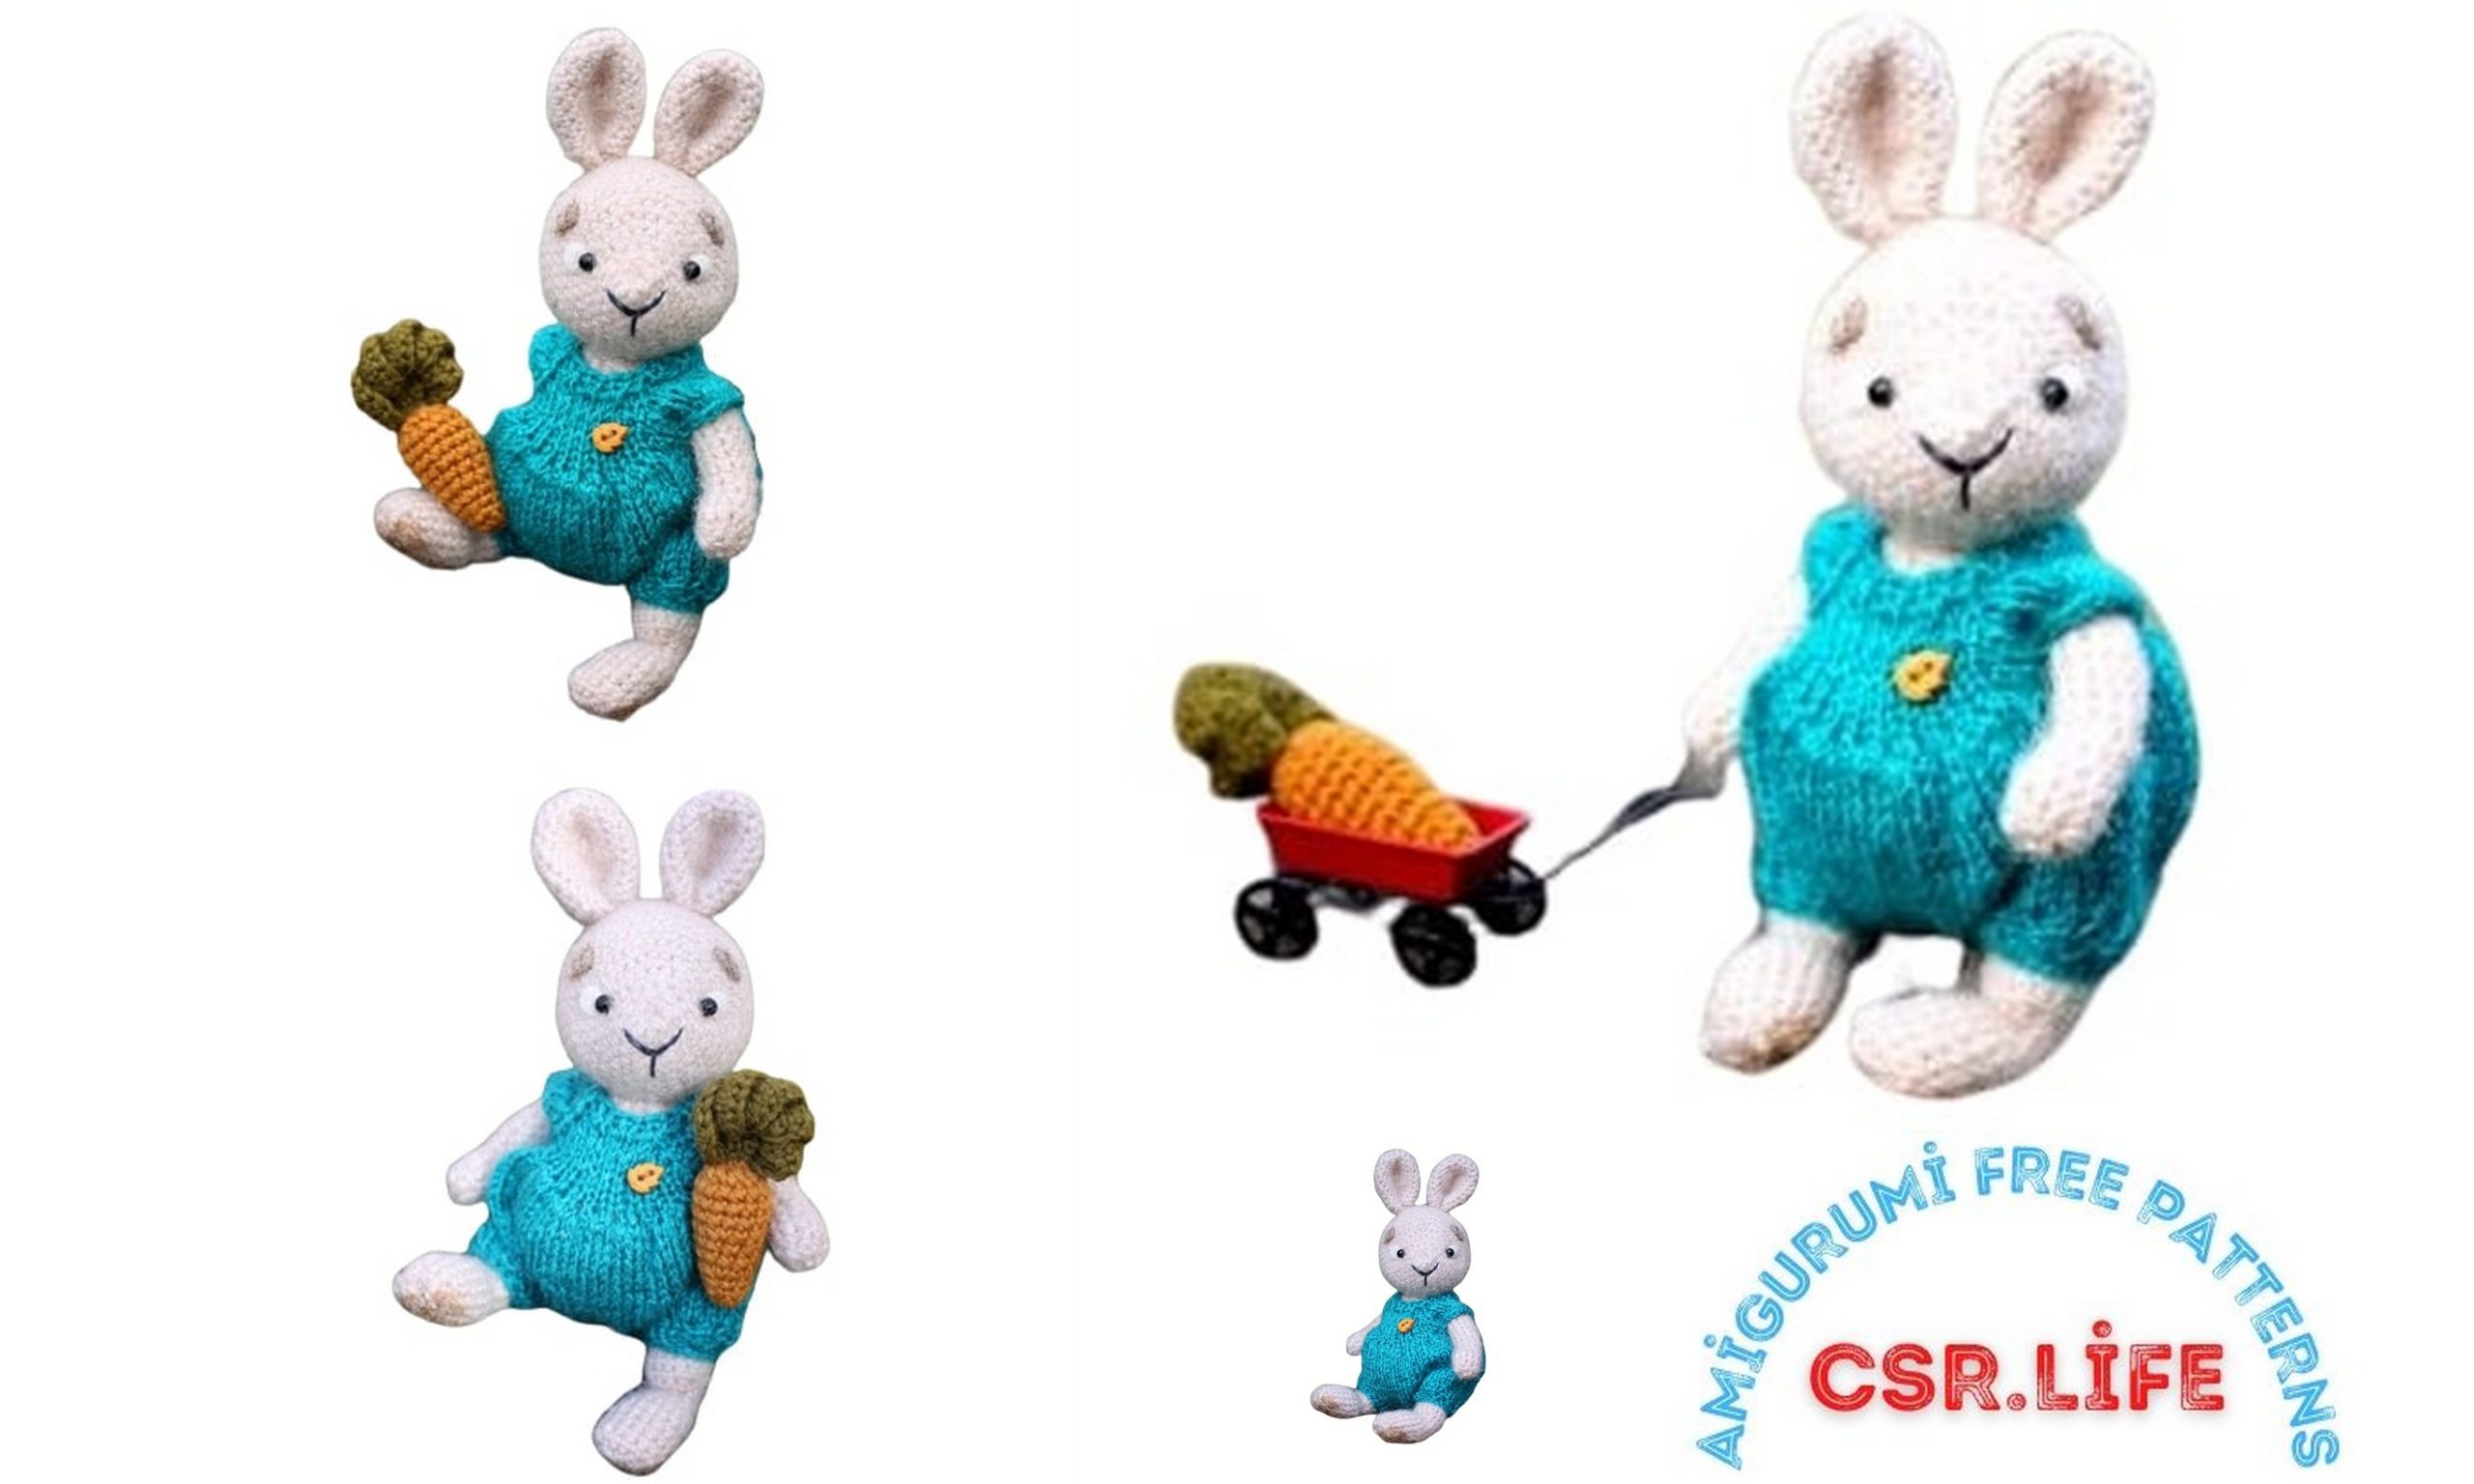
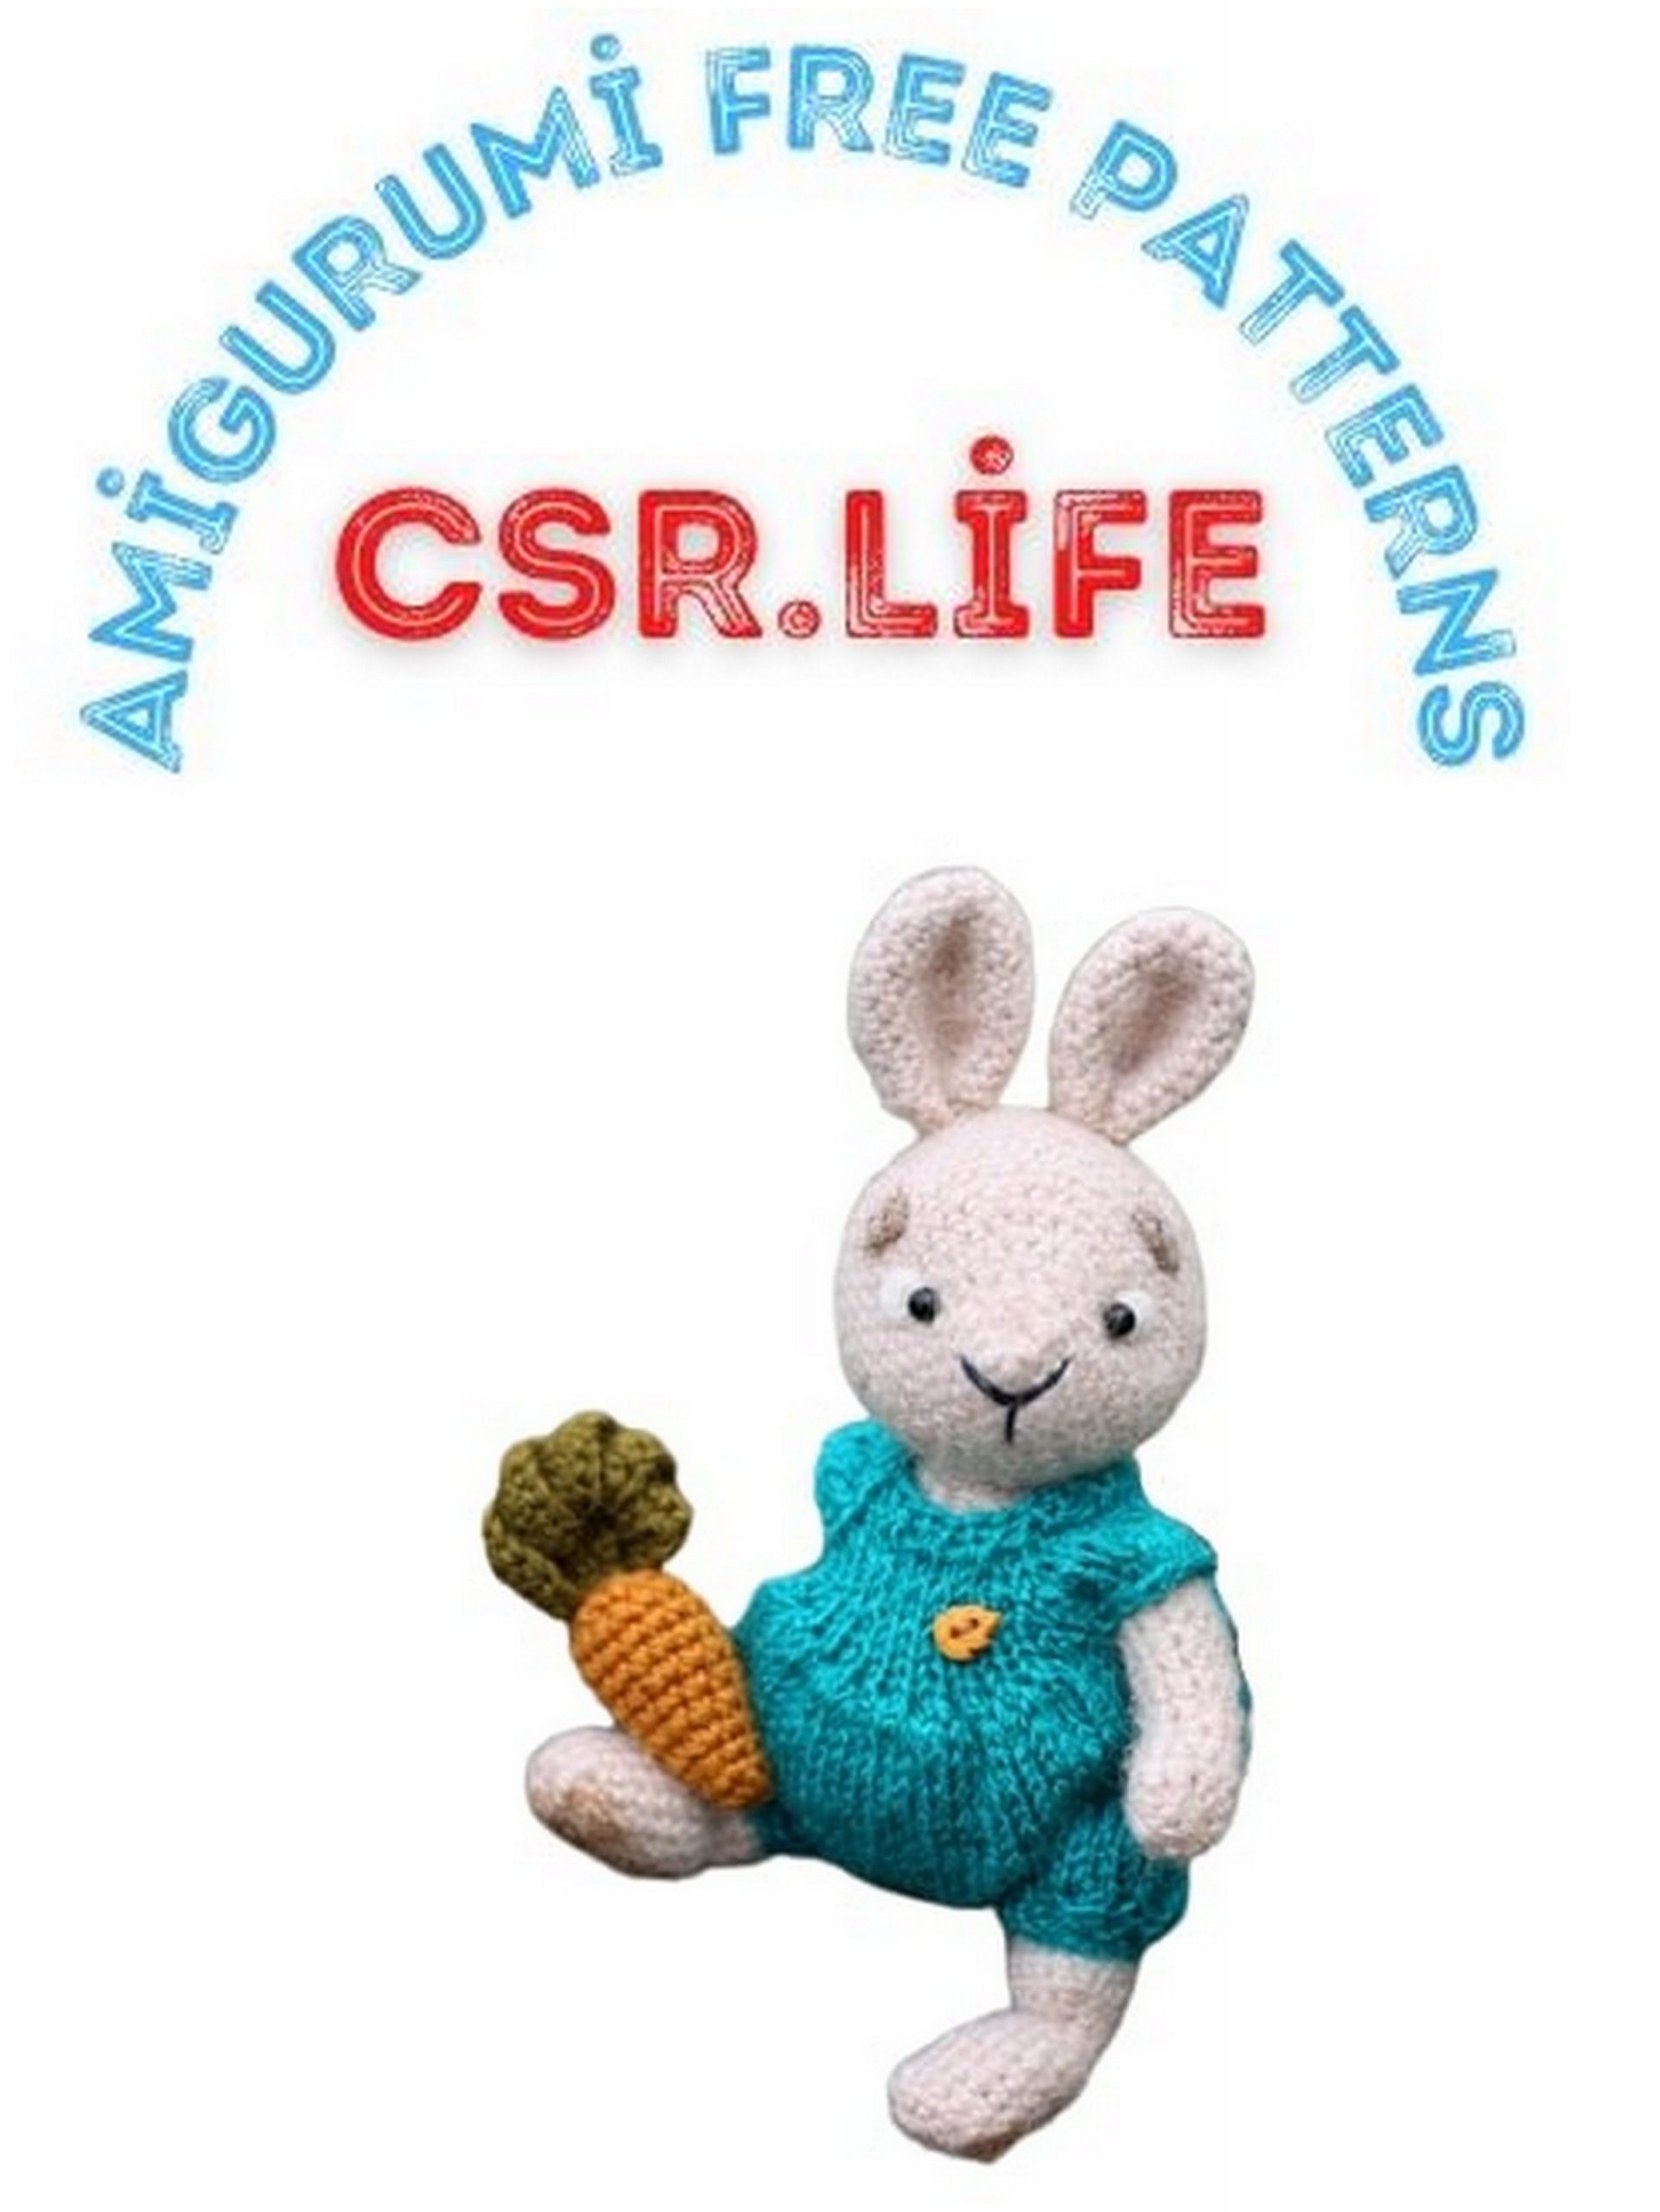
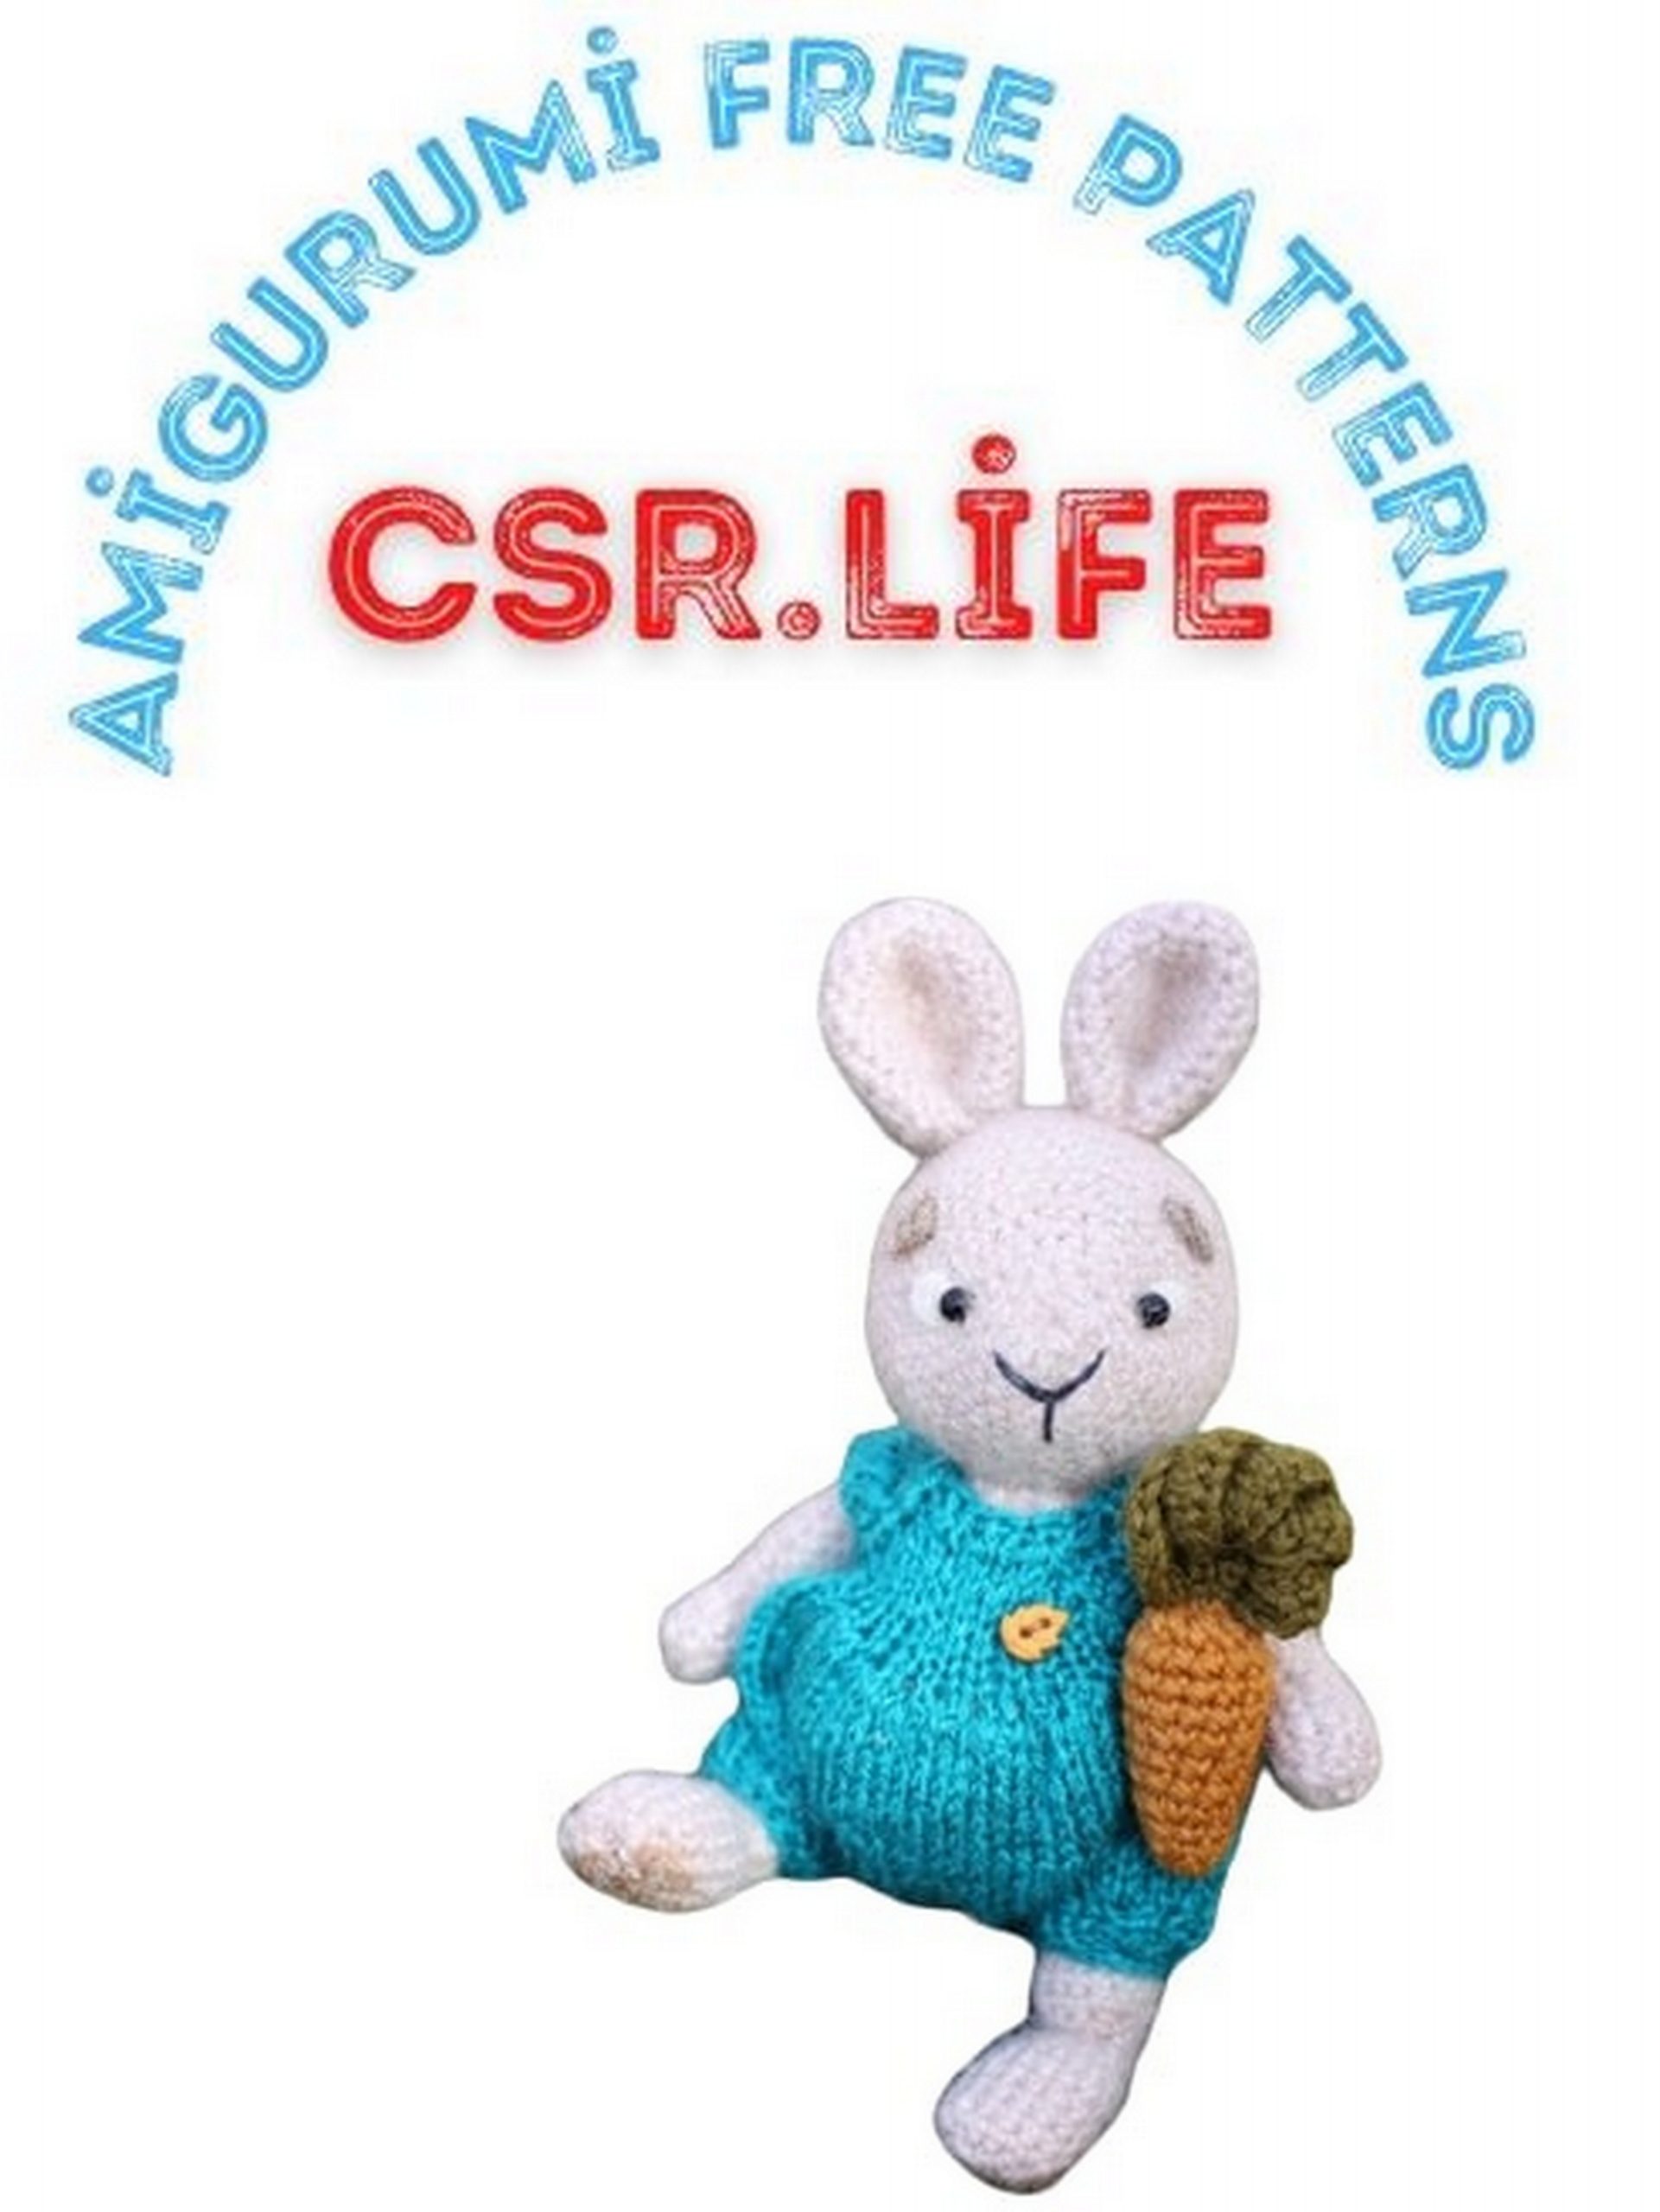
Amigurumi Bunny Styopa Free Pattern
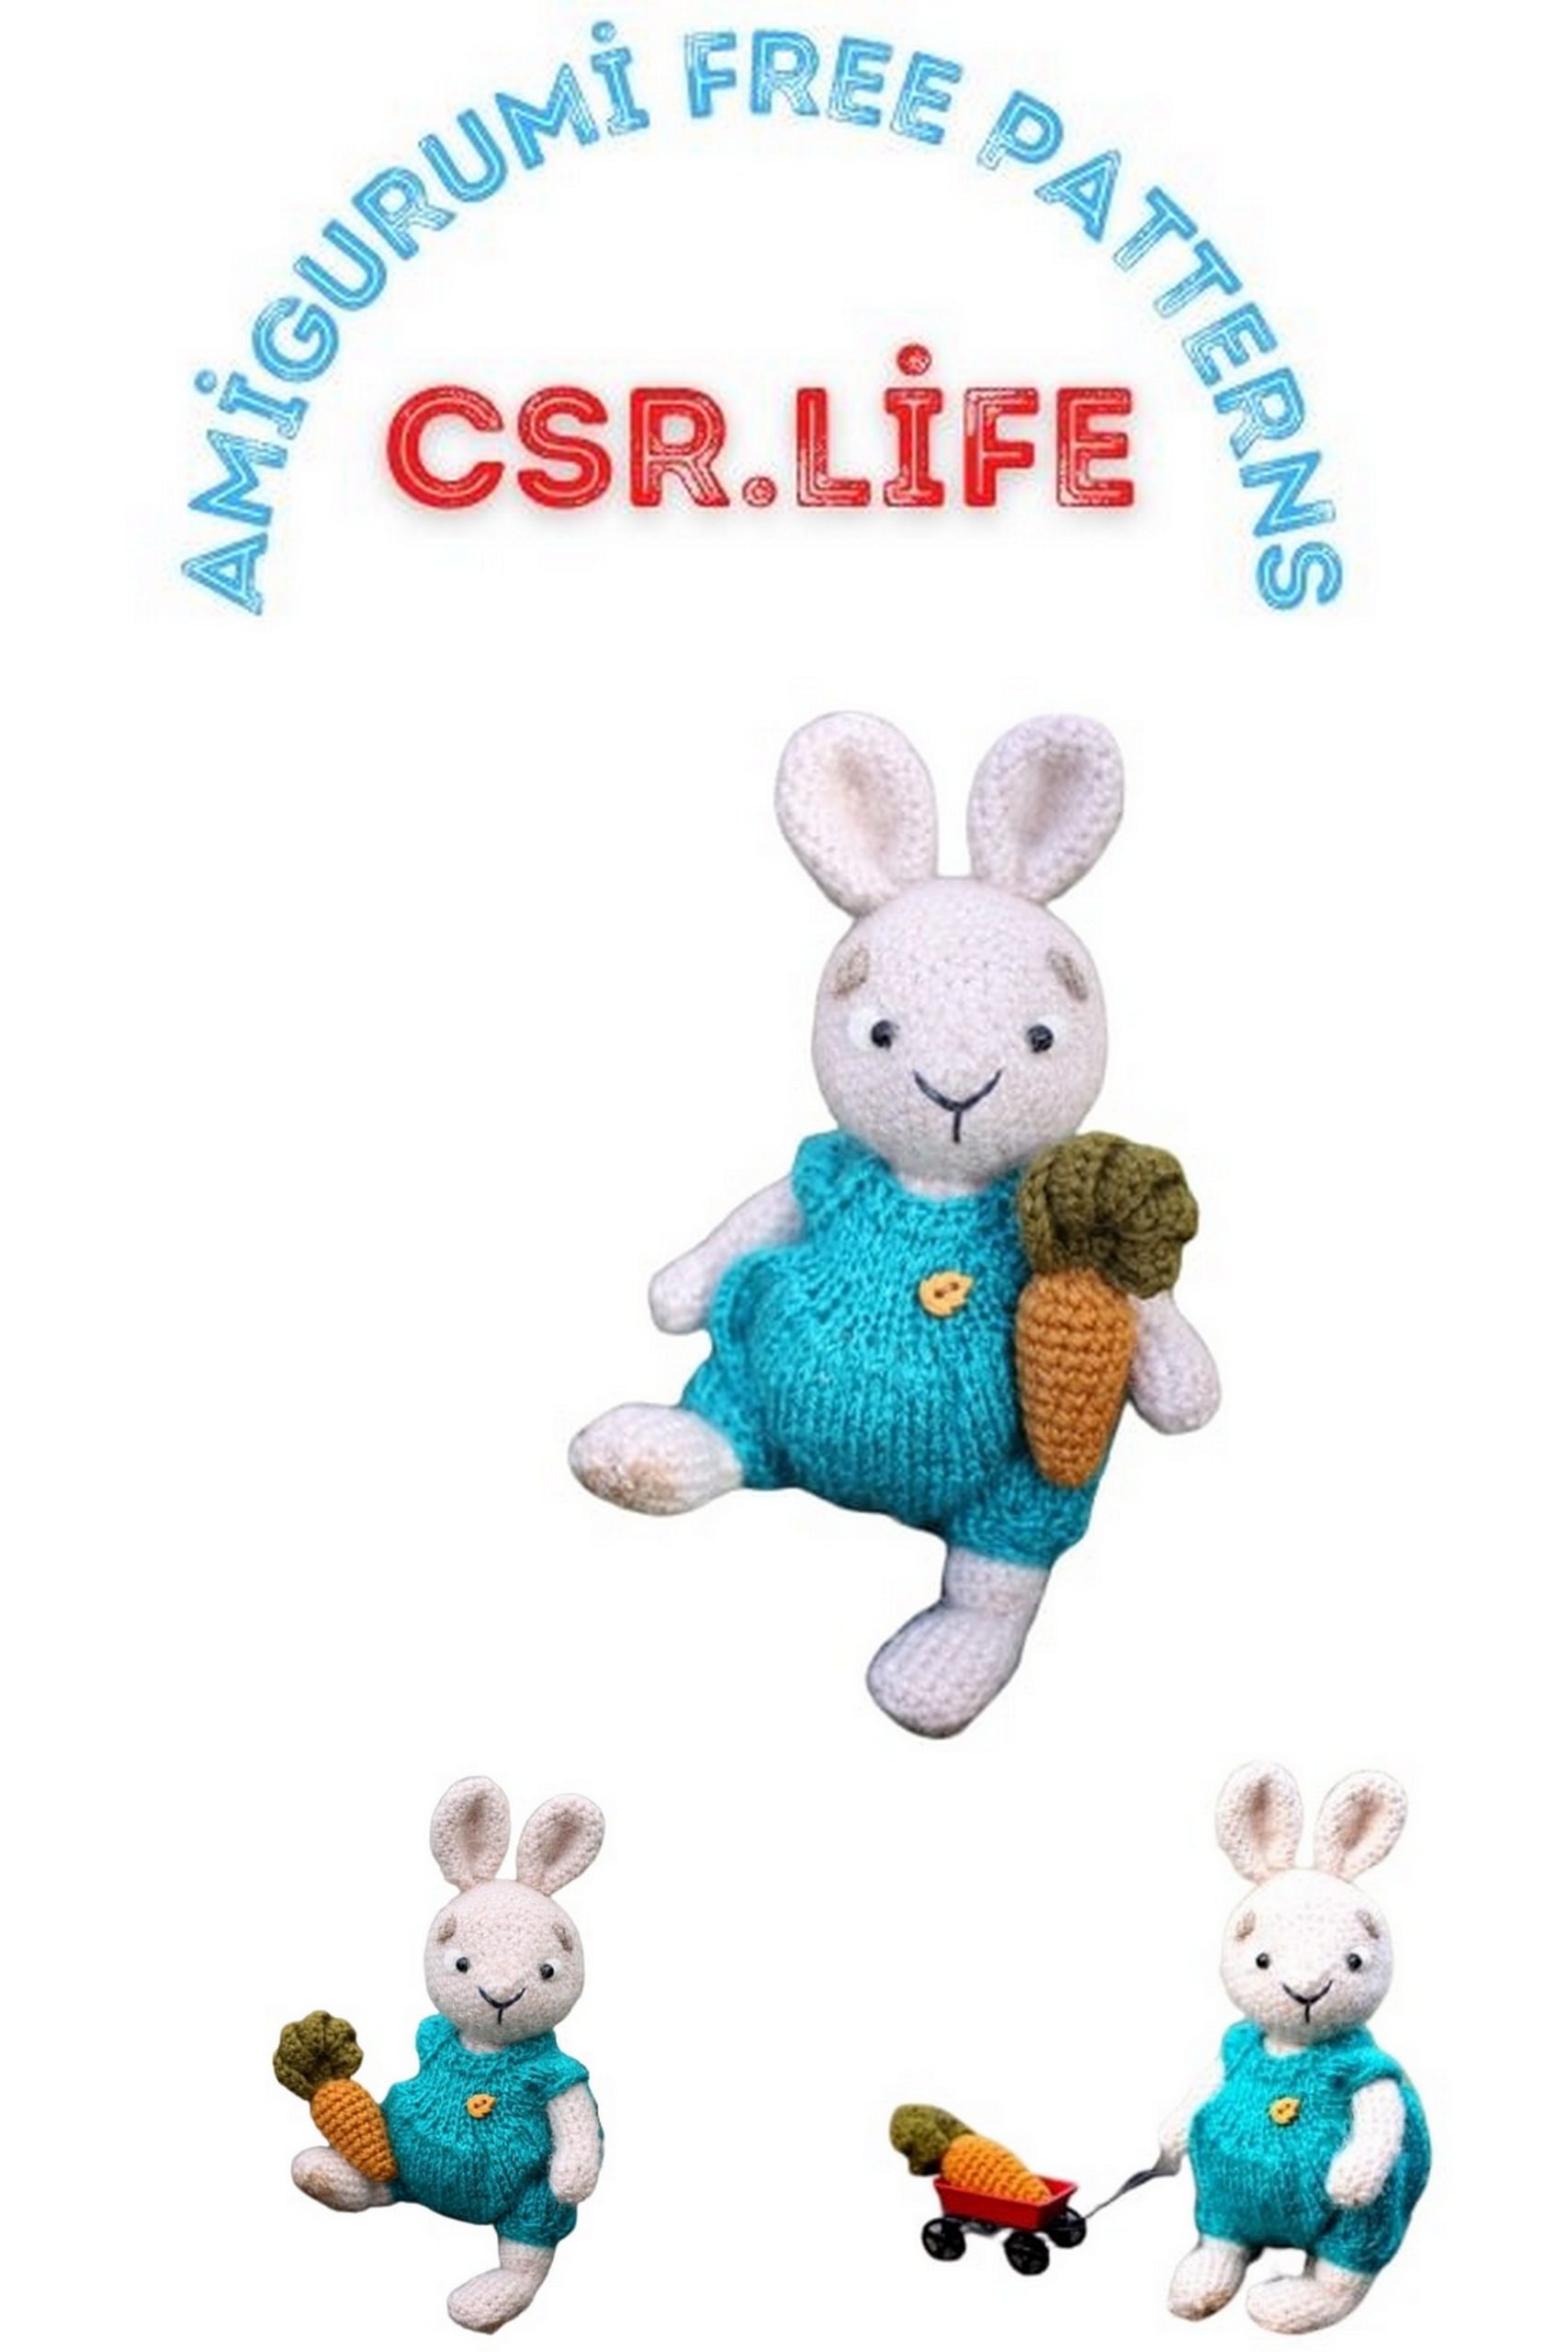
Bunny Styopa. Crochet toy. Description of knitting and a complete set of instructions.
Good afternoon! On this page I will tell you about the knitted hare Stepashka. Towards the end of this workshop, you will learn what advantages the wrong side of a crocheted fabric has, the technique of felting dry in decorating a toy is so scary, and what is best for knitting clothes for a toy – knitting needles or crochet hooks. Well and most importantly – you will have a complete set of instructions in order to crochet a bunny.
I am sure that most of you have an excellent idea where the knitted fabric has the front and back sides. Most often, toys are crocheted in a circle, moving clockwise, i.e. face out. But there are times when it is better to do all the “nibble”, so that the outside is the wrong side. For example, this should be done inc knitting from pile yarn. Why? Everything is simple! İnc crocheting from such a yarn, the wrong side turns more fluffy. Yes, by the way, to knit the wrong side out, you need to move counterclockwise. That’s how I knitted Stepka’s hare, even though it was not knitted from pile yarn (from which, I’ll say a little later, as usual in the list of necessary materials). It seemed to me that the texture on the wrong side is more interesting and, again, even a little fluffy (which was not on the front side). So, we decided: we will crochet the hare with the wrong side out.
Tools and materials for knitting bunnies:
Kamteks yarn “Air” 370 m / 100g, composition 25% merino, 25% wool, 50% acrylic. Color Baked milk.
Hook number 1.25.
A needle with a large eye for stitching parts of a toy and in order to hide the “tails” of yarn.
Filler for soft toys.
Black thread for embroidering a bunny nose.
Two black beads (diameter 4 mm) for the design of the eye.
Felting wool: white and beige.
Needle for felting: fine twisted No. 40.
Knitting the head of a bunny.
1 row: we collect 2 air loops (ch), we knit 6 single crochet (sc) in the second loop from the hook.
2 row: we knit 1 increase in each loop of the previous row. Only 6 increases. In a row of 12 loops.
3 row: 3 sc, 6 increments, 3 sc (18).
4th row: 3 sc, (1 inc, 1 sc) – repeat 6 times, 3 sc (24).
5 row: 3 sc, (1 inc, 2 sc) – repeat 6 times, 3 sc (30).
6 row: 3 sc, (1 inc, 3 sc) – repeat 6 times, 3 sc (36).
7 row: (5 sc, 1 inc) – repeat 6 times (42).
Bunny Styopa. Crochet toy. Description of knitting and a complete set of instructions.
8 row: (6 sc, 1 inc) – repeat 6 times (48).
9-14 rows: we knit 1 sc in each loop of the previous row (48).
15 row: (6 sc, 1 dec) – repeat 6 times (42).
16 row: (5 sc, 1 dec) – repeat 6 times (36).
17 row: (4 sc, 1 dec) – repeat 6 times (30).
18 row: (3 sc, 1 dec) – repeat 6 times (24).
19 row: (2 sc, 1 dec) – repeat 6 times (18).
20 row: (1 sc, 1 dec) – repeat 6 times (12).
21 row: dec until the hole is completely closed.
Knitting ears for a bunny.
1 row: we collect 2 air loops (ch), we knit 6 single crochet (sc) in the second loop from the hook.
2 row: we knit 1 increase in each loop of the previous row. Only 6 increases. In a row of 12 loops.
3 row: (3 sc, 1 inc) – repeat 3 times (15).
4 row: 2 sc, 1 inc, 4 sc, 1 inc, 4 sc, 1 inc, 2 sc (18).
5 row: (5 sc, 1 inc) – repeat 3 times (21).
6-7 rows: we knit 1 sc in each loop of the previous row (21).
8 row: (5 sc, 1 dec) – repeat 3 times (18).
9-10 rows: we knit 1 sc in each loop of the previous row (18).
11 row: (4 sc, 1 dec) – repeat 3 times (18).
Bunny Styopa. Crochet toy. Description of knitting and a complete set of instructions.
In the last loop we knit a connecting column and complete the knitting of the part. We leave a long “tail” of yarn in order to then sew the bunny’s ear to the head. The second ear fits in the same way.
Making the muzzle of a bunny.
When the head and ears are connected, you can proceed to the next step – the design of the muzzle. I know that many leave this stage “for later”. But it seems to me that this process is so interesting that often I just can not make myself wait for the end of knitting toys.
Bunny Styopa. Crochet toy. Description of knitting and a complete set of instructions.
İnc we will use the dry felting technique to design the faces and legs of a knitted hare. Is it so complicated as it might seem at first glance? Definitely not! All you need to be able to do is poke a needle into a bunch of wool. True! On Instagram and the VKontakte group, I often post small videos on how to make pads on paws and make out the muzzle of a toy. Come in, take a look!
So, first we sew the ears of the bunny. This time I decided that the ears would be on top of my head. After that, we sew the bead eyes. Do it better with black threads. And at the same time, you can make a muzzle tightening. We fixed one bead, pierce the muzzle through and through, remove the needle in the place of attachment of the second eye, fix the second bead, tighten.
After you sewn the beads, you can proceed to decorating the peephole inc using wool for felting. We tear off a small bunch of white wool, apply it in the place where the white of the eye will be, and begin to work with a felting needle. We pierce a bunch of wool many, many times. The more movements with a needle, the denser the tacky tuft of wool and the better it attaches to the surface. By the way, please note that inc felting wool is reduced in size. We make out the second eye in the same way. Similarly, we make eyebrows and bunny. True, in this case, the bead is not necessary to be sewn 🙂
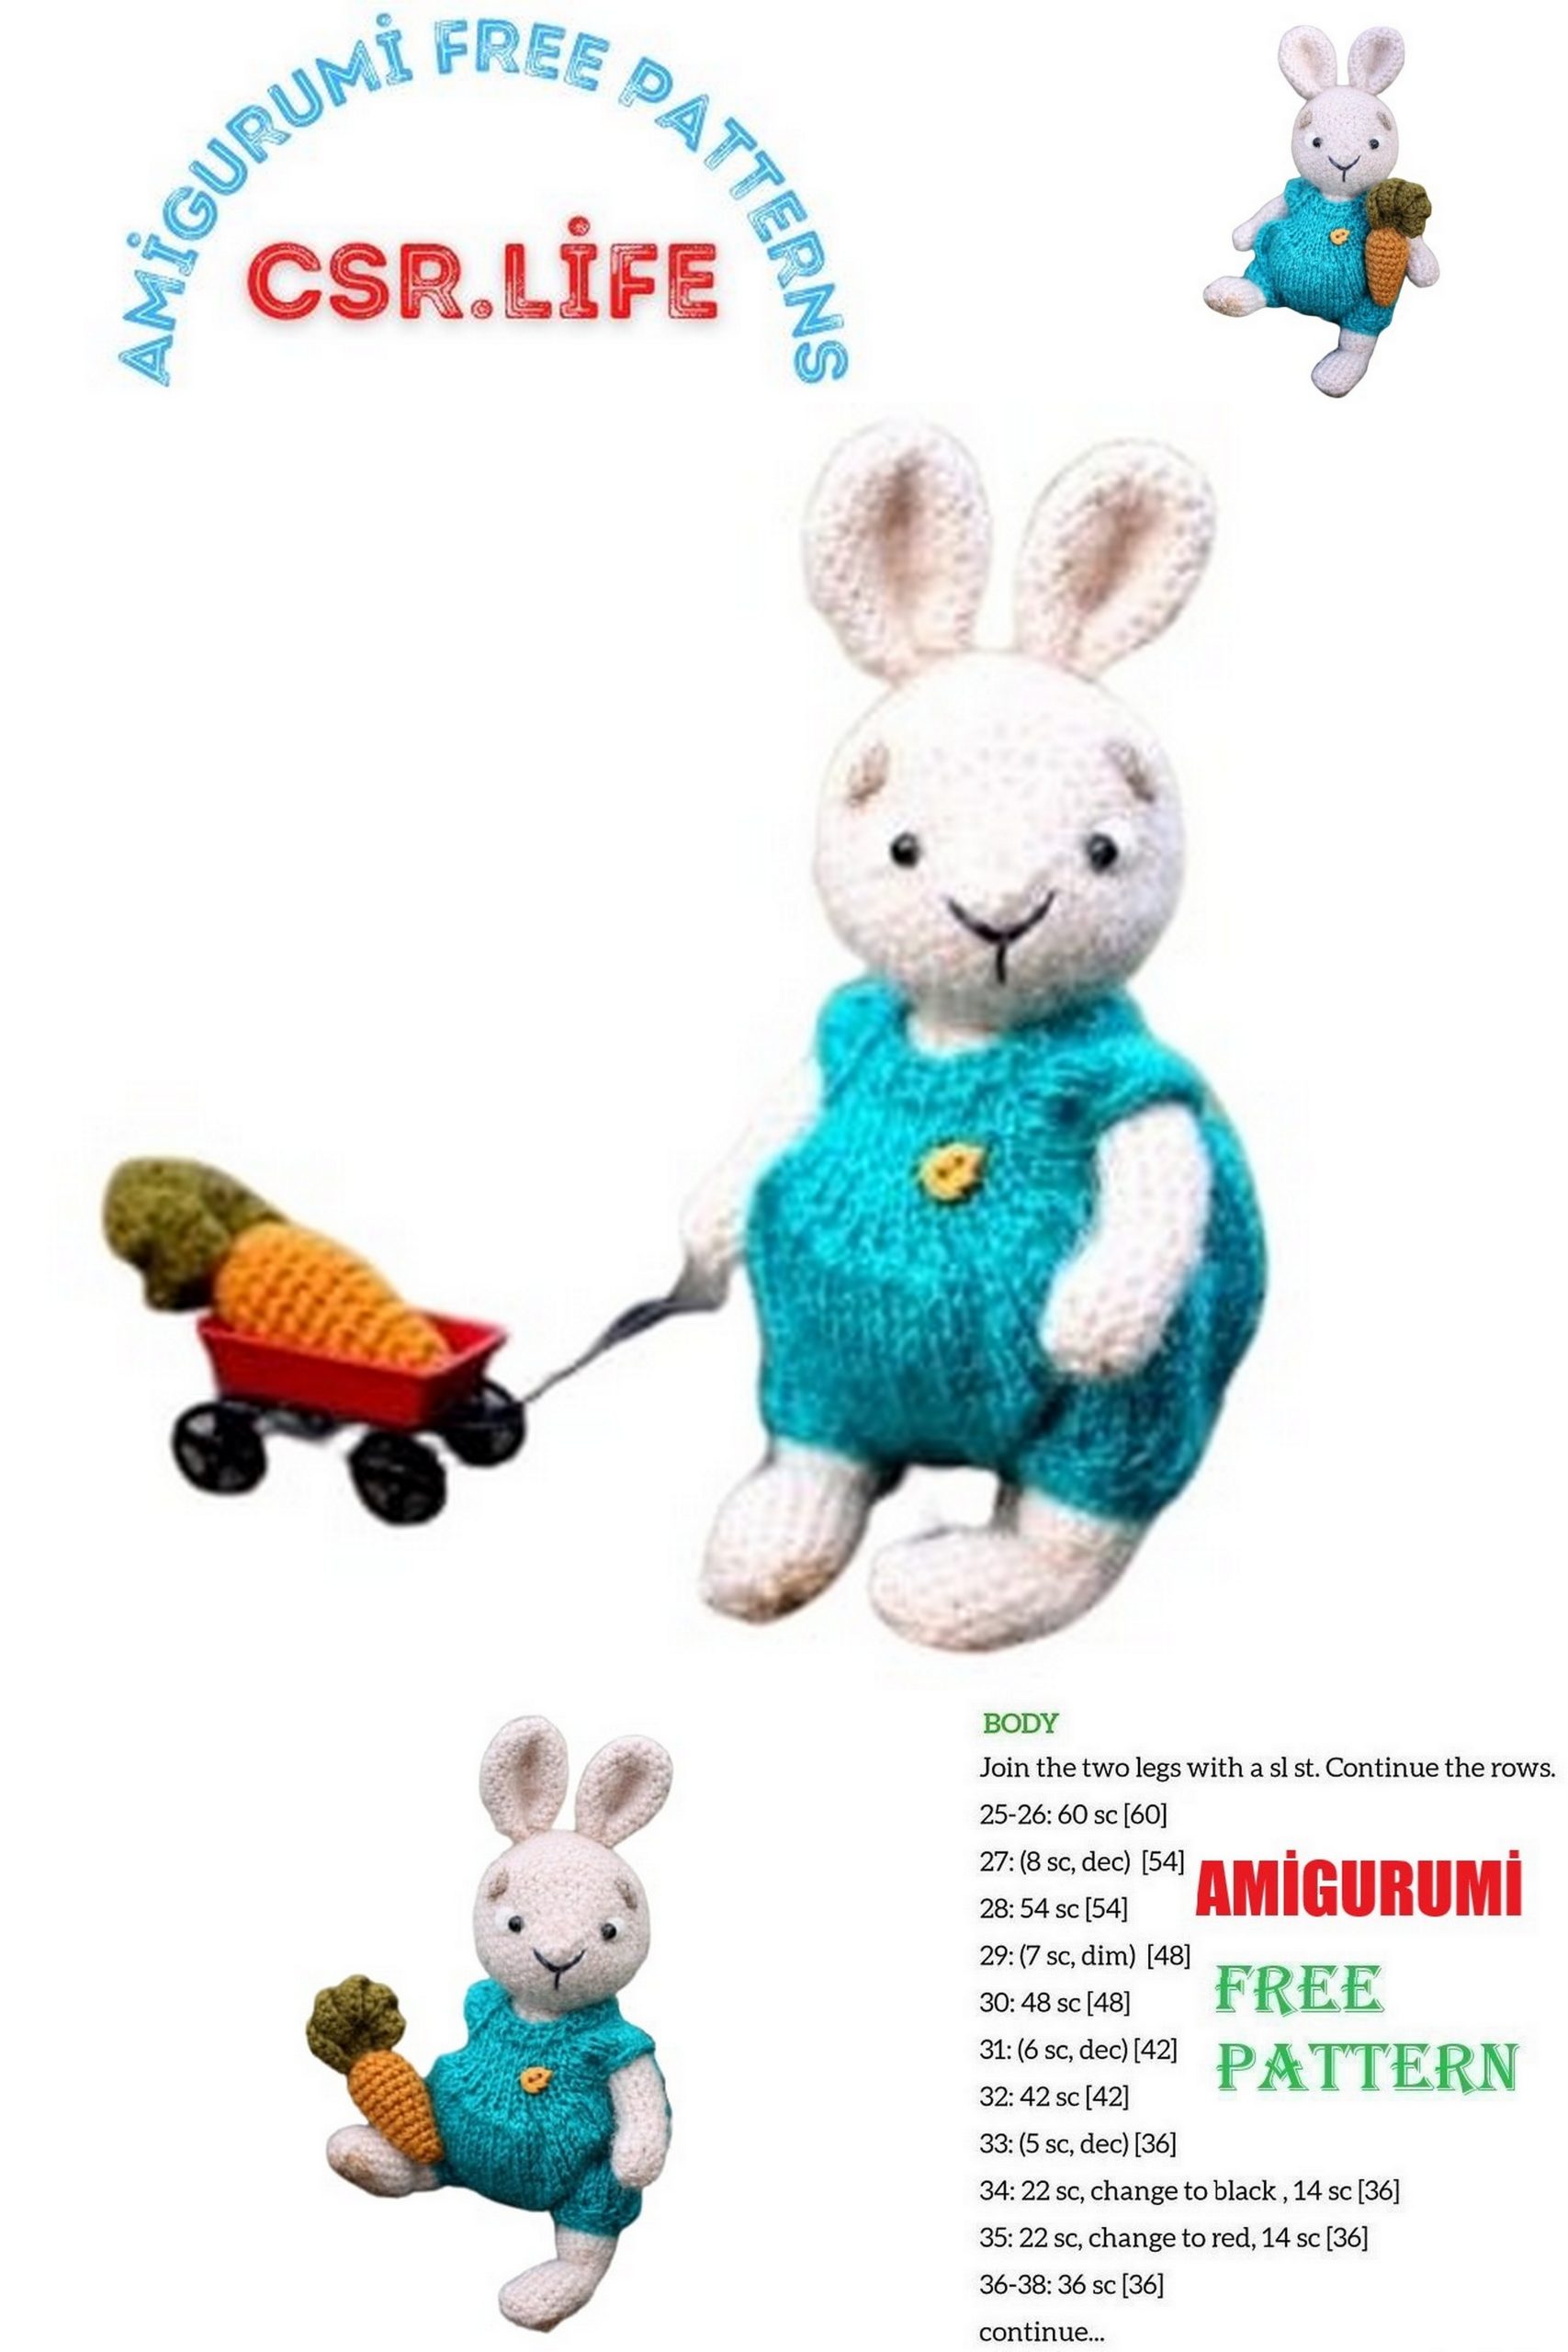
Knitting the body of a bunny.
We knit the body from top to bottom.
1 row: we collect a chain of 18 ch, we close in a ring. In each loop of the chain we knit 1 sc, a total of 18 sc.
2 row: we knit 1 sc in each loop of the previous row (18).
3 row: (2 sc, 1 inc) – repeat 6 times (24).
4-5 rows: we knit 1 sc in each loop of the previous row (24).
6 row: (3 sc, 1 inc) – repeat 6 times (30).
7-8 rows: we knit 1 sc in each loop of the previous row (30).
9 row: 9 sc, (1 inc, 1 sc) – repeat 6 times, 9 sc (36).
10 row: (5 sc, 1 inc) – repeat 6 times (42).
11-15 rows: we knit 1 sc in each loop of the previous row (42).
Bunny Styopa. Crochet toy. Description of knitting and a complete set of instructions.
16 row: (5 sc, 1 dec) – repeat 6 times (36).
17 row: we knit 1 sc in each loop of the previous row (36).
18 row: (4 sc, 1 dec) – repeat 6 times (30).
19 row: (3 sc, 1 dec) – repeat 6 times (24).
20 row: (2 sc, 1 dec) – repeat 6 times (18).
21 row: (1 sc, 1 dec) – repeat 6 times (12).
22 row: we knit dec until the hole is completely closed.
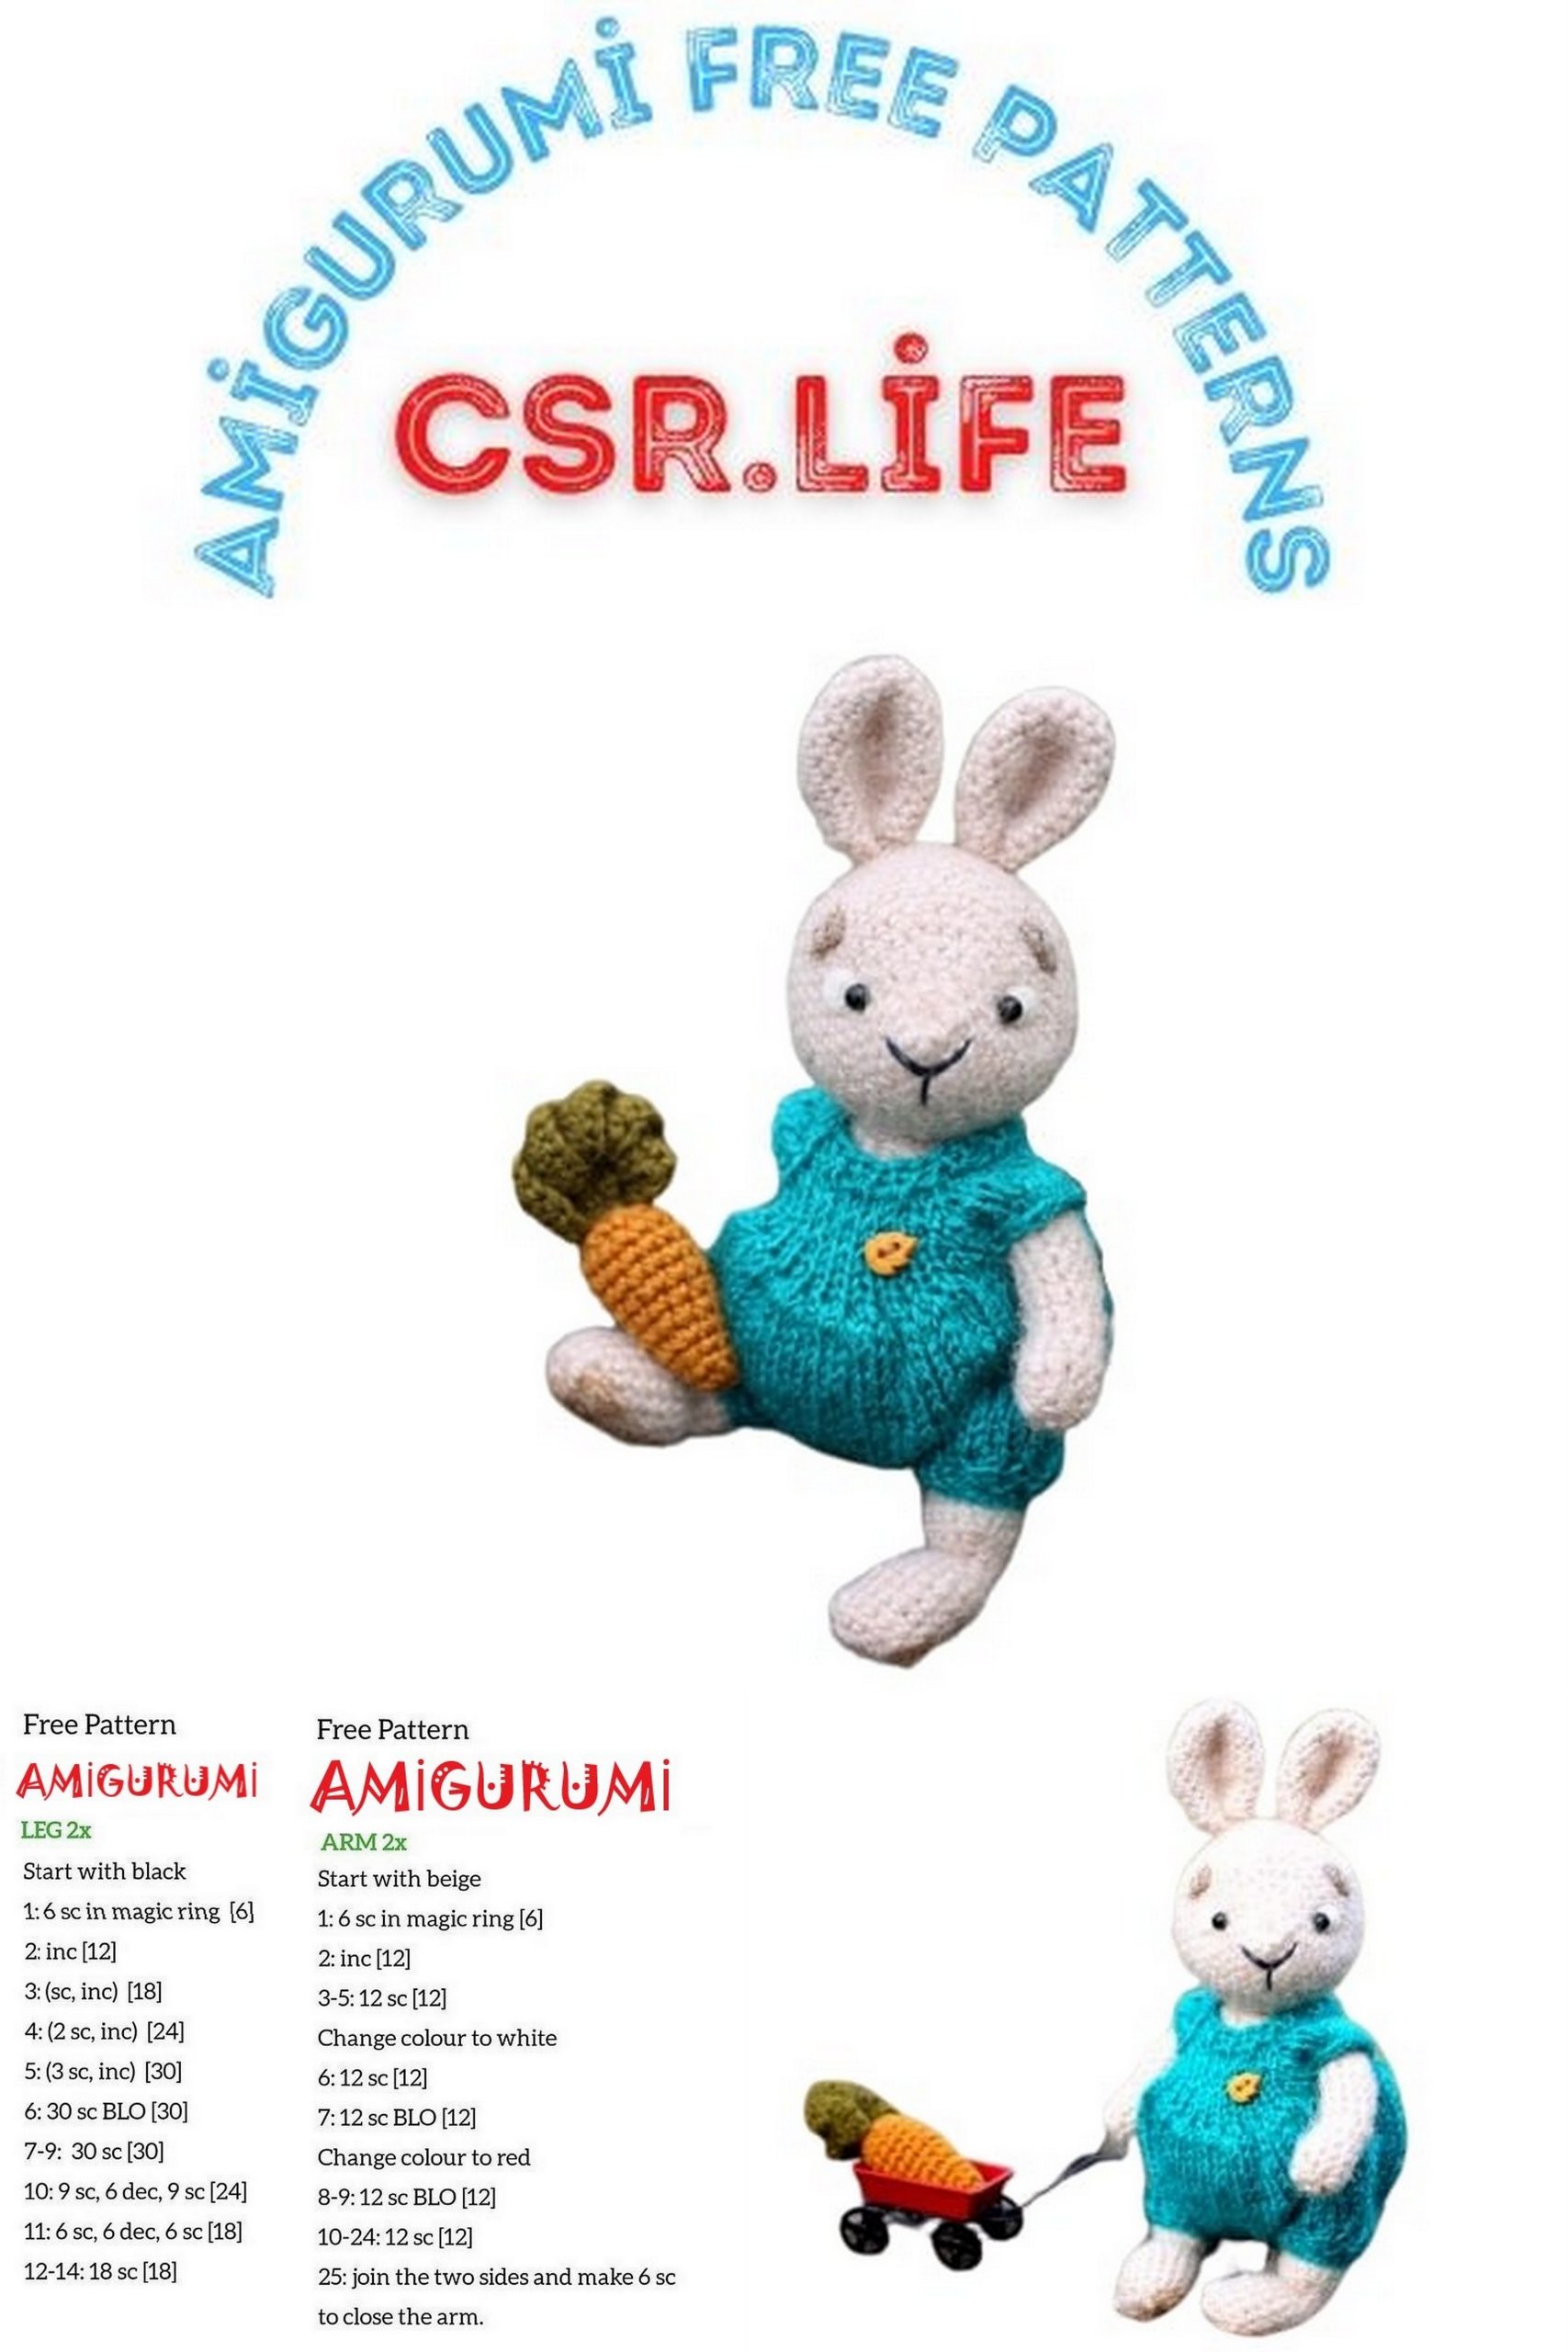
Knitting pens for a bunny (2 parts).
1st row: dial 2 ch, knit 6 sc into the second loop from the hook (6).
2 row: (1 sc, 1 inc) – repeat 3 times (9).
3-9 rows: we knit 1 sc in each loop of the previous row (9).
10 row: 1 sc, 2 dec, 1 sc, 2 inc, 1 sc (9).
11-14 rows: we knit 1 sc in each loop of the previous row (9).
After the 14th row, fill the foot. It’s better not to fill the top of the paws so that after we sew the handles to the body, they do not stick out.
Bunny Styopa. Crochet toy. Description of knitting and a complete set of instructions.
15 row: dec until the hole is completely closed. The second foot fits in the same way.
Knitting foot legs (2 parts).
We knit a foot-leg for a hare from top to bottom.
1 row: we collect 2 air loops (ch), we knit 6 single crochet (sc) in the second loop from the hook.
2 row: we knit 1 increase in each loop of the previous row. Only 6 increases. In a row of 12 loops.
3 row: (3 sc, 1 inc) – repeat 3 times (15).
4-9 rows: we knit 1 sc in each loop of the previous row (15).
10 row: (3 sc, 1 dec) – repeat 3 times (12).
11 row: 3 sc, 3 dec, 3 sc (9).
12 row: we knit 1 sc in each loop of the previous row (9).
13 row: 3 sc, 3 inc, 3 sc (12).
We stuff the upper part of the foot.
Bunny Styopa. Crochet toy. Description of knitting and a complete set of instructions.
14th row: 3 sc, (1 inc, 1 sc) – repeat 3 times, 3 sc (15).
15-18 rows: we knit 1 sc in each loop of the previous row (15).
We fill the connected part of the bunny paw. The place where the fold has formed is not stuffed.
19 row: (3 sc, 1 dec) – repeat 3 times (12).
20 row: dec until the hole is completely closed, or you can tighten the inc hole using a needle with a large eye.
Paw pads are also made using the felting technique. In addition, they can also be toned. This can be done with the help of a soft pencil, dry pastels and even eye shadow. I usually do this with a soft brown pencil.
About a carrot, a tail and a little about a jumpsuit.
Bunny Styopa. Crochet toy. Description of knitting and a complete set of instructions.
Carrot for a bunny fits very simply. To do this, we need very little yarn in two colors: orange and green.
First we knit the carrot itself. Knit with orange yarn.
1st row: dial 2 ch and knit 6 sc into the second loop from the hook (6).
2 row: (1 sc, 1 inc) – repeat 3 times (9).
3 row: we knit 1 sc in each loop of the previous row (9).
4th row: (2 sc, 1 inc) – repeat 3 times (12).
5-6 rows: we knit 1 sc in each loop of the previous row (12).
7 row: (3 sc, 1 inc) – repeat 3 times (15).
8-10 rows: we knit 1 sc in each loop of the previous row (15).
We stuff the carrots and knit dec until the hole is completely closed.
Now move on to knitting leaves or tops. We pick up with green yarn 20 ch Then we knit 4 double crochet stitches in each of the loops. It turns out here is such a spiral.
Bunny Styopa. Crochet toy. Description of knitting and a complete set of instructions.
Cut and fasten the working thread, leaving a long “tail”. İnc using ponytail we connect the beginning and end of the spiral, sew them and sew the “tops” to the carrots.
Bunny Styopa. Crochet toy. Description of knitting and a complete set of instructions.
The tail of a bunny is a pompom.
And finally, a few words about what is better to knit clothes for toys – knitting or crocheting. For a very long time I knitted clothes for my kids exclusively crochet. Just because she could not knit. No, of course I was familiar with the basics of knitting. But how to tie a blouse or panties for a toy did not represent. The hook was closer, easier … But I was unhappy with those clothes. Now I will explain why. The fact is that the crocheted fabric is thicker and denser. Perhaps that is why the toy itself is better to crochet. And the denser the better. If only because the filler will not be visible through the loops. But clothes are better made with knitting needles. Firstly, blouses, dresses, etc. sit better, nothing bristles anywhere. Secondly, due to the fact that the knitted pants are thinner, it is not difficult to plant a toy. While the teddy bear in crocheted knickers sits reluctantly and sits uncertainly. Of course, the choice is yours. I just share my observations and experiences.
Bunny Styopa. Crochet toy. Description of knitting and a complete set of instructions.