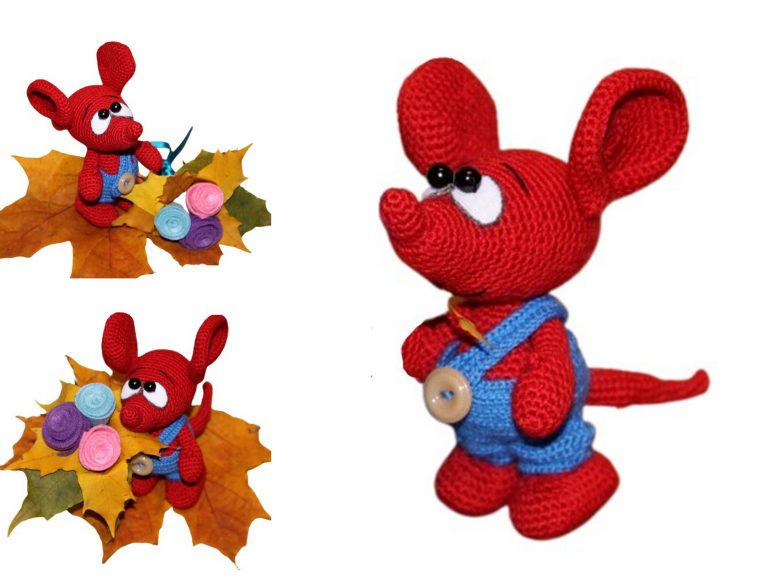
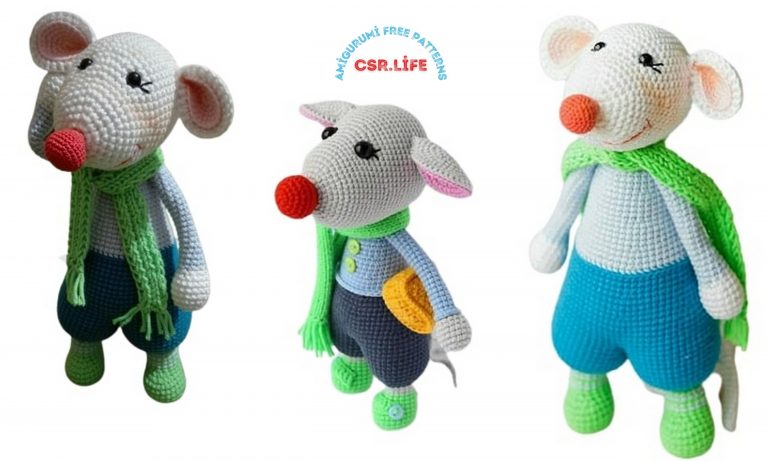
Amigurumi Little Cute Mouse Free Pattern – Crochet Tutorial
The Amigurumi Little Cute Mouse is an adorable and beginner-friendly crochet project, perfect for creating a soft and charming handmade toy. This free crochet tutorial includes clear, step-by-step instructions to help you make a cute mouse with simple shaping and a minimalist design. Ideal for gifts, nursery decor, or small amigurumi collections, this little mouse is quick to make and easy to customize.
Materials
- Yarn: YarnArt Jeans
- Crochet hook: 1.5 mm
- Fiberfill stuffing
- Sewing needle
👉 Work in continuous rounds.
👉 Stuff parts firmly as you go.
Abbreviations
- mr – magic ring
- sc – single crochet
- inc – increase
- dec – decrease
Head
1: 6 sc in mr (6)
2: inc × 6 (12)
3: (sc, inc) × 6 (18)
4: sc, inc around (18)
5: 13 sc (18)
6: sc, 16 sc (17)
7: (4 sc, inc) × 6 (30)
8: (9 sc, inc) × 2, 13 sc, 4 sc in next 11 sc (48)
9–15: sc in all 48 st
16: (6 sc, dec) around
17: sc, dec around
18: sc in all stitches
19: 3 sc, dec × 6 (24)
20: (2 sc, dec) × 6 (18)
21: (1 sc, dec) × 6 (12)
22: dec × 6 (6)
Fasten off, close the opening.
Body
1: 6 sc in mr (6)
2: inc × 6 (12)
3: (sc, inc) × 6 (18)
4: (2 sc, inc) × 6 (24)
5: (3 sc, inc) × 6 (30)
6: (4 sc, inc) × 6 (36)
7: (5 sc, inc) × 6 (42)
8–13: sc in all 42 st
14: 2 sc in each stitch (30)
Fasten off.
Arms (Make 2)
1: 6 sc in mr (6)
2: (sc, inc) × 6 (18)
3: sc in all 18 st
4: (2 sc, inc) × 6 (24)
5–8: sc in all 24 st
9: (2 sc, dec) × 6 (18)
10: sc in all 18 st
11: (1 sc, dec) × 6 (12)
12: dec × 6 (6)
Fasten off.
Assembly
- Stuff all parts firmly
- Sew head to body
- Attach arms symmetrically
- Embroider eyes and nose
- Add tail if desired (simple chain works well)