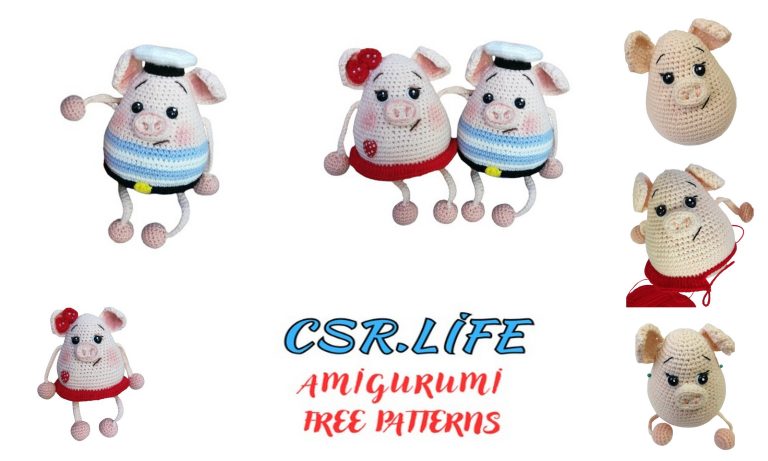
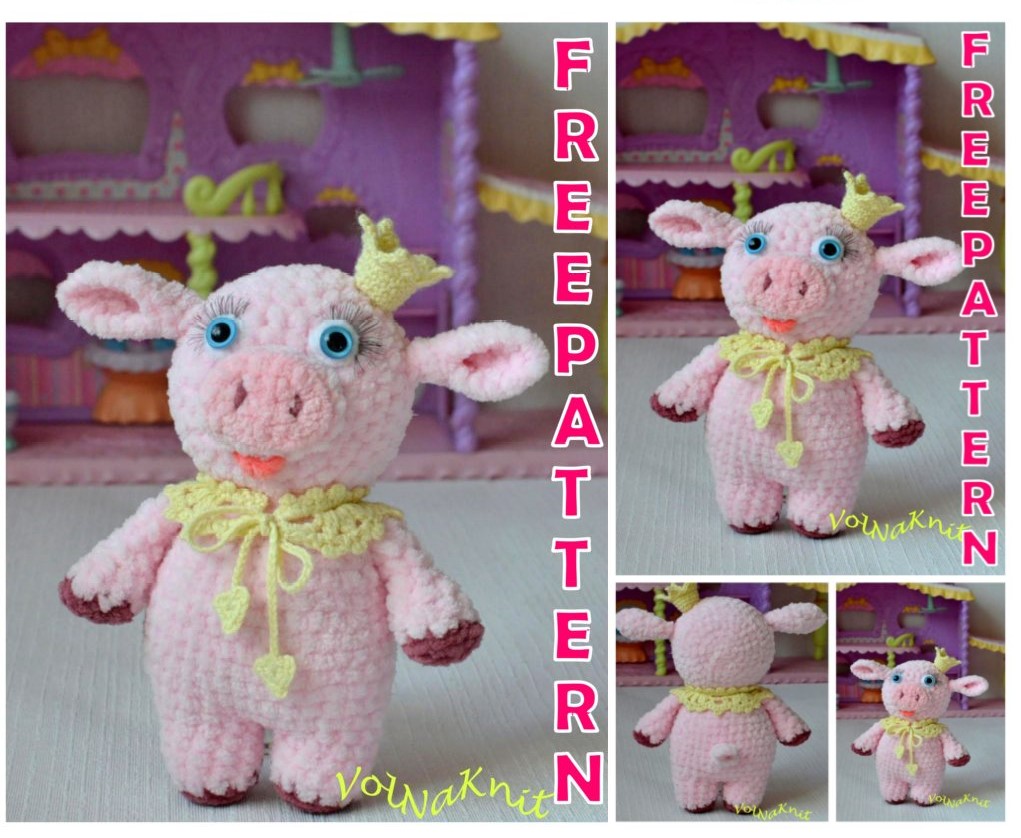
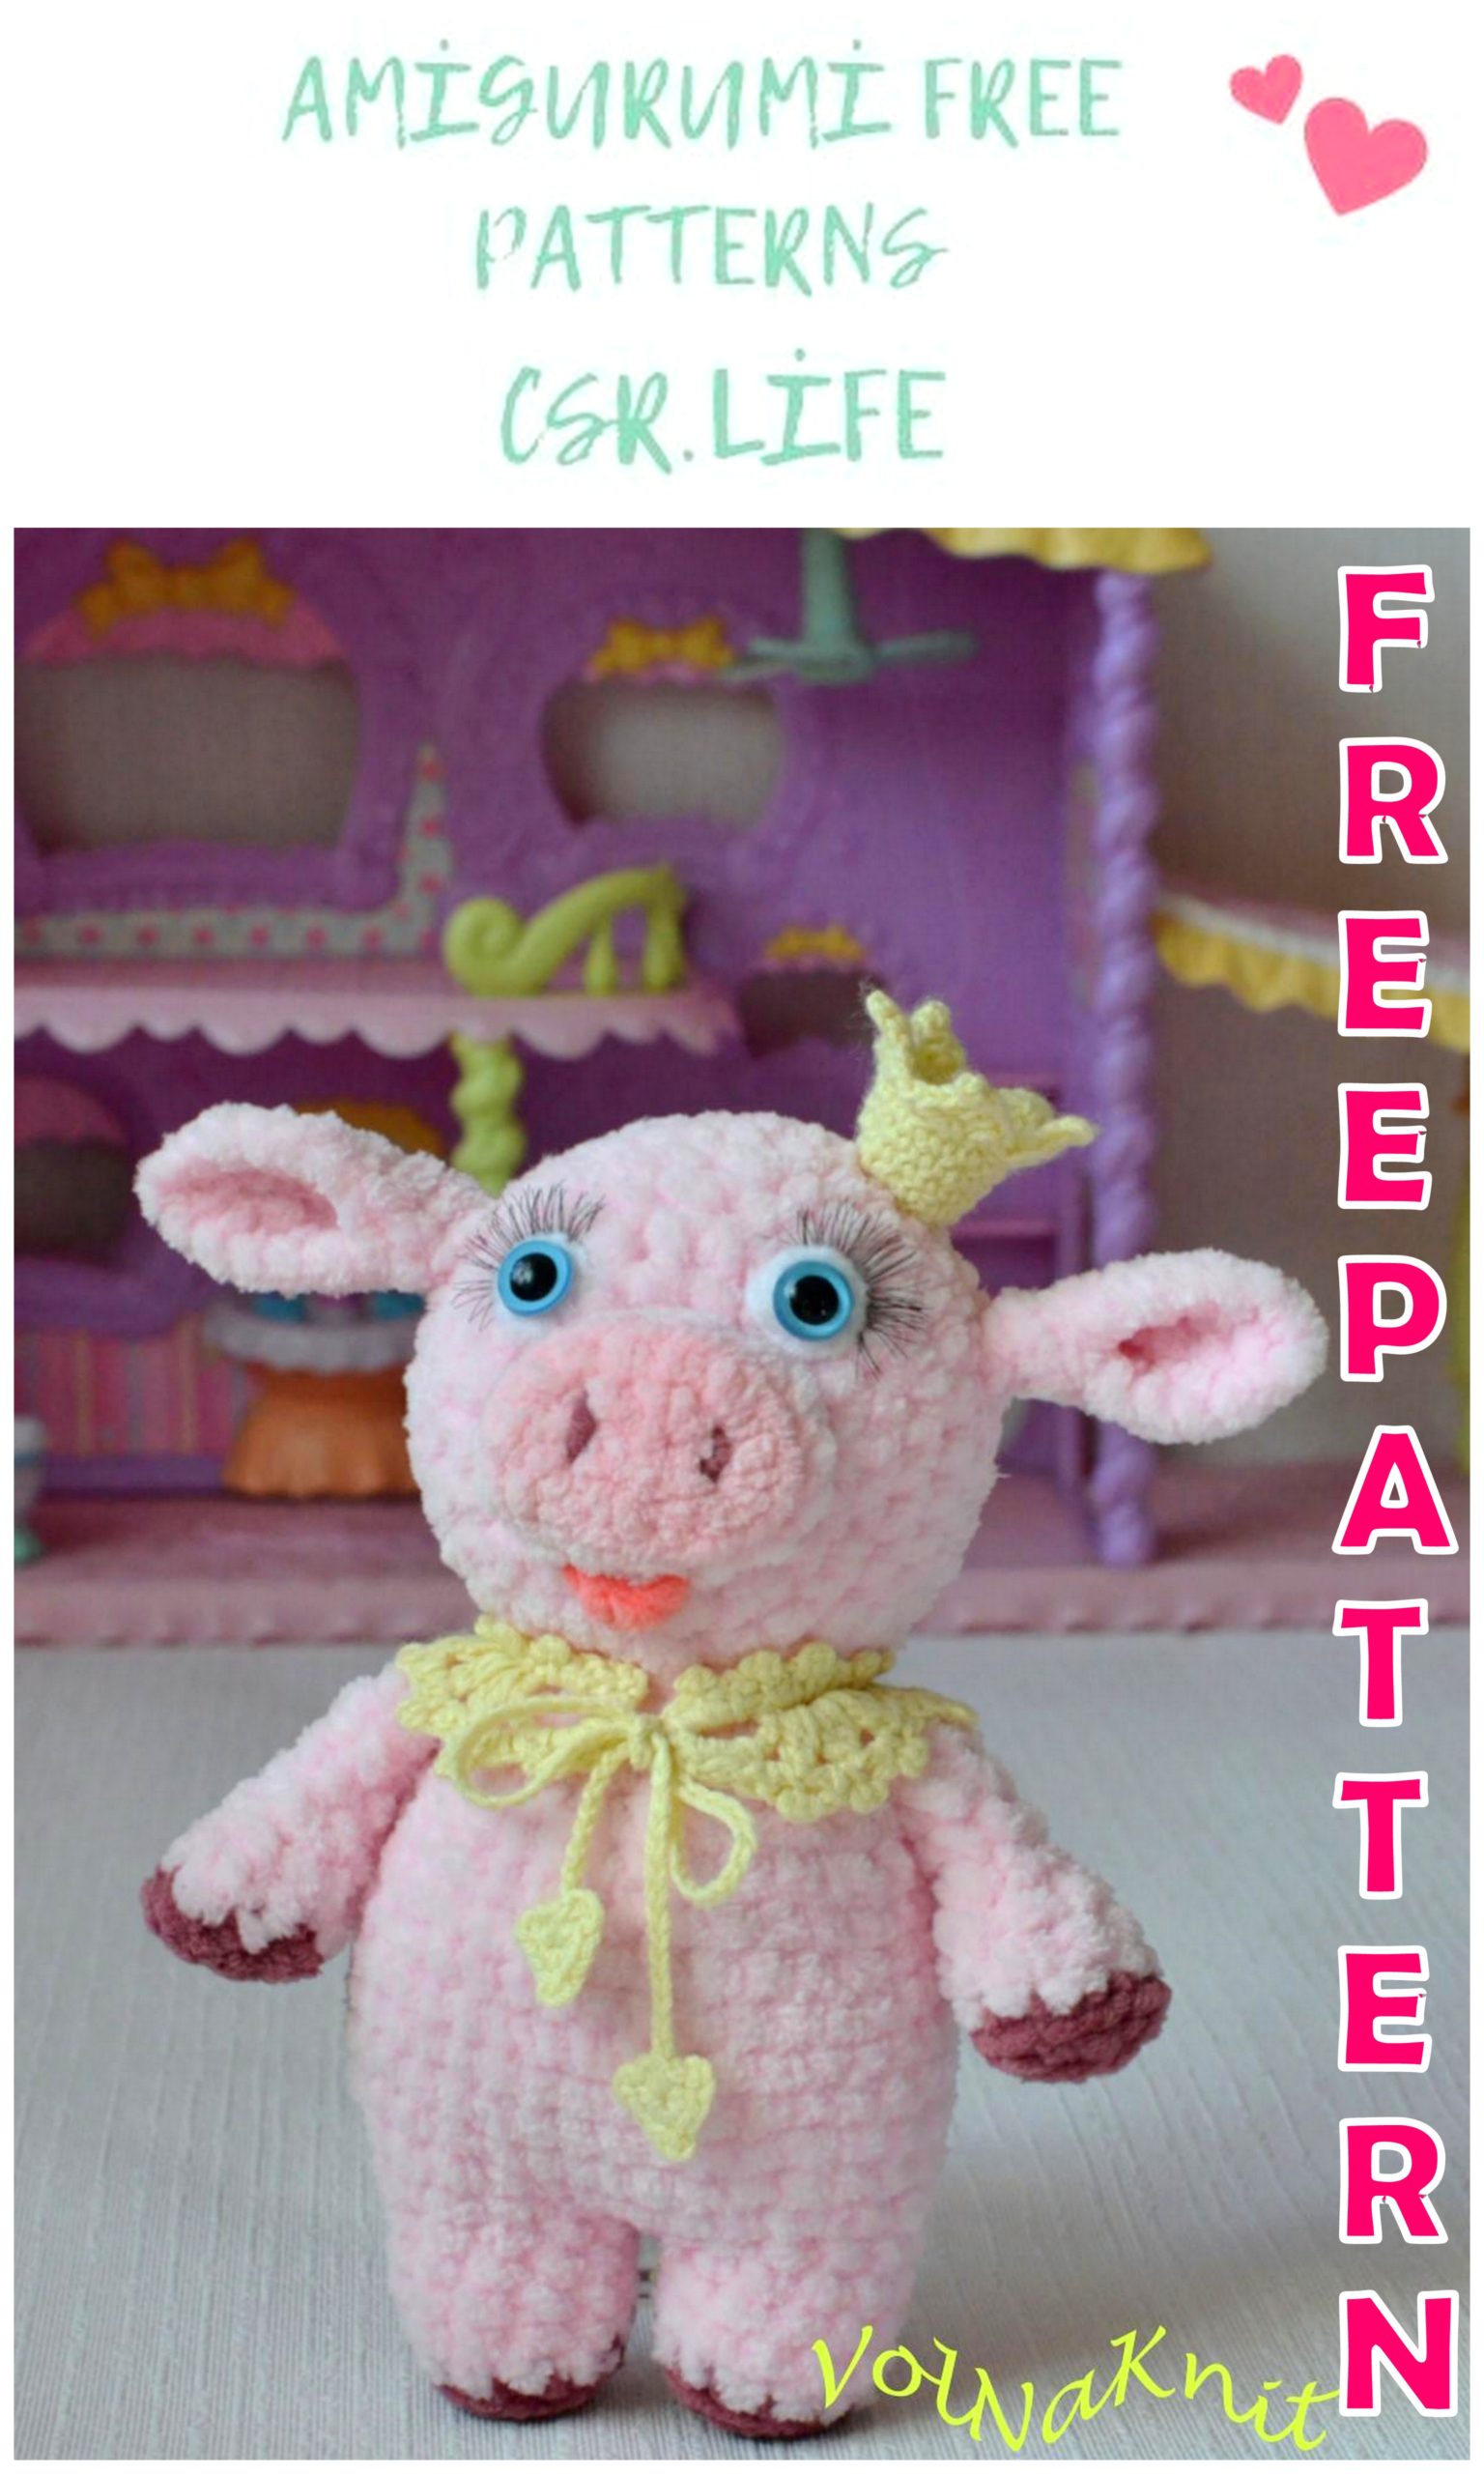
Amigurumi Princess Piggy Free Crochet Pattern
Hello ladies. Welcome to our website. For women who love amigurumi, we share beautiful amigurumi patterns for you free of charge. You can easily access these free patterns by following us. Happy knitting.
ABBREVIATIONS:
•Mr: Magic ring,
• sc: single crochet,
•İnc: increase,
•DEC decrease,
• x: repeat.
•BLO: Back Loop only,
•FLO: Front Loop only,
•DC: Double crochet.
Pig – Princess
Vkontakte community:
“Crochet. Toys. Descriptions »
https://vk.com/viyzanie_kryuchkom
Description is free.
Materials and tools:
1. Yarn: Main yarn – plush Yarn Art Dolce / Himalaya
Dolphin Baby or similar in quality light pink color,
some darker yarn for hooves and patch. At
me – Gala MIX Fiber (it’s a little thinner than Yarn Art Dolce /
Himalaya Dolphin Baby).
Yarn consumption – about half a hank of the main yarn.
Yarn for crown and collar: mercerized cotton,
floss or any other yellow color under the hook number 2. Yarn for
eye – any white. Yarn for a mouth – any red.
3. Hook: No. 3 or under your yarn for knitting basic
plush toy parts and hook No. 2 for knitting a crown /
collar / eye.
4. Sew on eyes, cilia.
5. Filler: holofiber or synthetic winterizer.
6. Threads in the color of yarn for sewing parts.
7. Needle for stitching and scissors.
My toy turned out to be 17 cm tall. Excluding the crown,
hook number 3.

Head:
1.6 sc into magic ring (or 2ch, 6 sc into the second loop from the hook) = 6
2.6 inc = 12
3. (1sc, inc) * 6 = 18
4. (2sc, inc) * 6 = 24
5. (3sc, inc) * 6 = 30
6-8. 30 sc (3 rows)
9. (3sc, dec) * 6 = 24
10. (2sc, dec) * 6 = 18
11. (sc, dec) * 6 = 12
12.6 dec = 6
The head is obtained not spherical, but slightly flattened.
Cut the thread, leaving a long end for sewing.
Fill the muzzle with a synthetic winterizer.
Piglet – fits in the oval pattern.
We start to knit with a darker thread:
1.4 ch.
2. start knitting from the 2nd loop from the hook – 2 sc, 3 sc in
last loop, on the other side of the chain 2 sc, 2 sc in
last loop = 10
3.2 sc to the first loop, 2 sc, (2 sc to 1 loop) * 3 times, 2 sc,
(2 sc in 1 loop) * 2 times = 16
Cut the thread, leaving a small end.
We continue to knit the main light pink yarn
4. tie the row – 16 sc.
Cut the thread, leaving a long end for sewing.
Rotik – position symmetrically in the center of the patch – attach
red thread to the bottom of the patch, knit 3 ch.,
to fix the end of the thread on the patch. Cut the thread.
Handles (we knit 2 parts):
1.We begin to knit with a dark thread of a hoof
6 sc into magic ring (or 2ch, 6 sc into the second loop from the hook) = 6
2.6 inc = 12 Cut the thread, leaving a small end.
3. continue to knit the main light thread for the back wall
previous row (to make a hoof look)
(2 sc, dec) * 3 = 9
4. 9 sc (slightly fill with padding polyester)
5. (1 sc, dec) * 3 = 6
6-9. 6 sc (4 rows)
10. connect the edges of the part and knit along the edge of 2 sc.
Cut the thread, leaving a long end for sewing.
Legs and torso: fit in one piece.
2. We begin to knit the first leg with a dark thread from the hoof:
1.6 sc into magic ring (or 2ch, 6 sc into the second loop from the hook) = 6
2.6 inc = 12 Cut the thread, leaving a small end.
3-6. continue to knit the main light thread for the back wall
previous row (to make a hoof look)
12 sc (4 rows)
This we tied the first leg. Fasten and cut the thread.
Similarly, we knit the second leg. We do not cut the thread, but continue
knit as follows: 1 ch. and combine knitting with the first
leg.
Next, we knit in a circle:
7. 12 sc one leg, 1 sc in a chain from the 1st ch., 12 sc second
legs, 1 sc in the chain of 1st ch. = 26.
Next, we will knit and make increases / decreases symmetrically to the center
knitting between the legs. Therefore, we monitor the number of displacements and, if necessary, adjust the displacement by knitting
extra sc at the end of the row.
8. (3 sc, inc, 4 sc, inc, 3 sc, inc) * 2 = 32
9.32 (adjust the offset range)
10. (5 sc, inc, 4 sc, inc, 5 sc) * 2 = 36
11-13. 36 sc (3 rows) (adjust the offset row)
We begin to make decreases:
14. (5 sc, dec, 4 sc, dec, 5 sc) * 2 = 32
15.32 sc
16. (4 sc, dec, 4 sc, dec, 4 sc) * 2 = 28 (adjust the offset series)
17.28 sc
18. (3 sc, dec, 4 sc, dec, 3 sc) * 2 = 24
19. (2 sc, dec, 4 sc, dec, 2 sc) * 2 = 20
20. 20 sc
21. (1 sc, dec, 4 sc, dec, 1 sc) * 2 = 16
Cut the thread, leaving a long end for sewing on the head.
Fill with padding polyester.
Tail: attach the thread to the back of the lower body
1. 10 ch.
2. Knit 2 sc. into the second loop from the hook, repeat another
8 times = 18 sc.
The tail itself begins to twist.
Cut the thread, leaving the end for sewing.
At the base, lay the tail with a ring and secure with the remaining
a thread. Hide the rest of the thread inside the toy.
Crown (yellow yarn):
1. İNTO MAGİC RİNG – 15 sc
2-5. 15 sc (4 rows)
Next, we knit the teeth at the crown:
6.5 ch., 1 half-column in the second loop from the hook, 1 sc, 1
dc, 1 double crochet, sc 2 stitches
Ears – fit in an oval pattern:
Light pink warp yarn
1.4 ch.
2. start knitting from the 2nd loop from the hook – 2 sc, 3 sc in
last loop, on the other side of the chain 2 sc, 2 sc in
last loop = 10
3.2 sc to the first loop, 2 sc, (2 sc to 1 loop) * 3 times, 2 sc,
(2 sc in 1 loop) * 2 times = 16
4. we knit a row sc, in the middle of a row we knit 3 ch. (So that
make the ear a little sharp on the tip): 8 sc, 3 ch., 8 sc =
16 sc.
Cut the thread, leaving a long end for sewing.
Eyes (squirrels): white yarn
1.6 sc into magic ring (or 2ch, 6 sc into the second loop from the hook) = 6
2.6 inc = 12 Cut the thread, leaving a small end.
Crown (yellow yarn):
1. İNTO MAGİC RİNG – 15 sc (do not over tighten the ring)
2-6. 15 sc (4 rows)
Next, we knit the teeth of the crown:
6.5 ch., 1 half-column in the second loop from the hook, 1 sc, 1 dc, 1
column with 2 crochets, sc knit through 2 loops from the beginning
knitting air loops. The first clove of the crown turned out.
Repeat 4 more times, 5 cloves are obtained.
Collar – you can knit any.
For ties – we knit 40-45 ch. (2 times),
for a collar – 45 ch.
For a sample I’ll attach a diagram of my collar
Assembly.
1. Sew hands to the body (to the last row), placing them
symmetrically on the sides.
2. Sew the head to the body with handles (I sew 2 times for
strength).
3. Sew ears to symmetrically to the head, folding them with a corner at
bases (to make a fold).
4. On the patch of dark yarn embroider nostrils.
5. Sew a patch and a crown to the head (see photo).
6. Cilia and sewing eyes to sew / stick to
bound whites of the eyes. Place eyes symmetrically
patch and sew.
7. Tie the collar around the neck.
Congratulations!
Your Princess Hrunessa is ready!