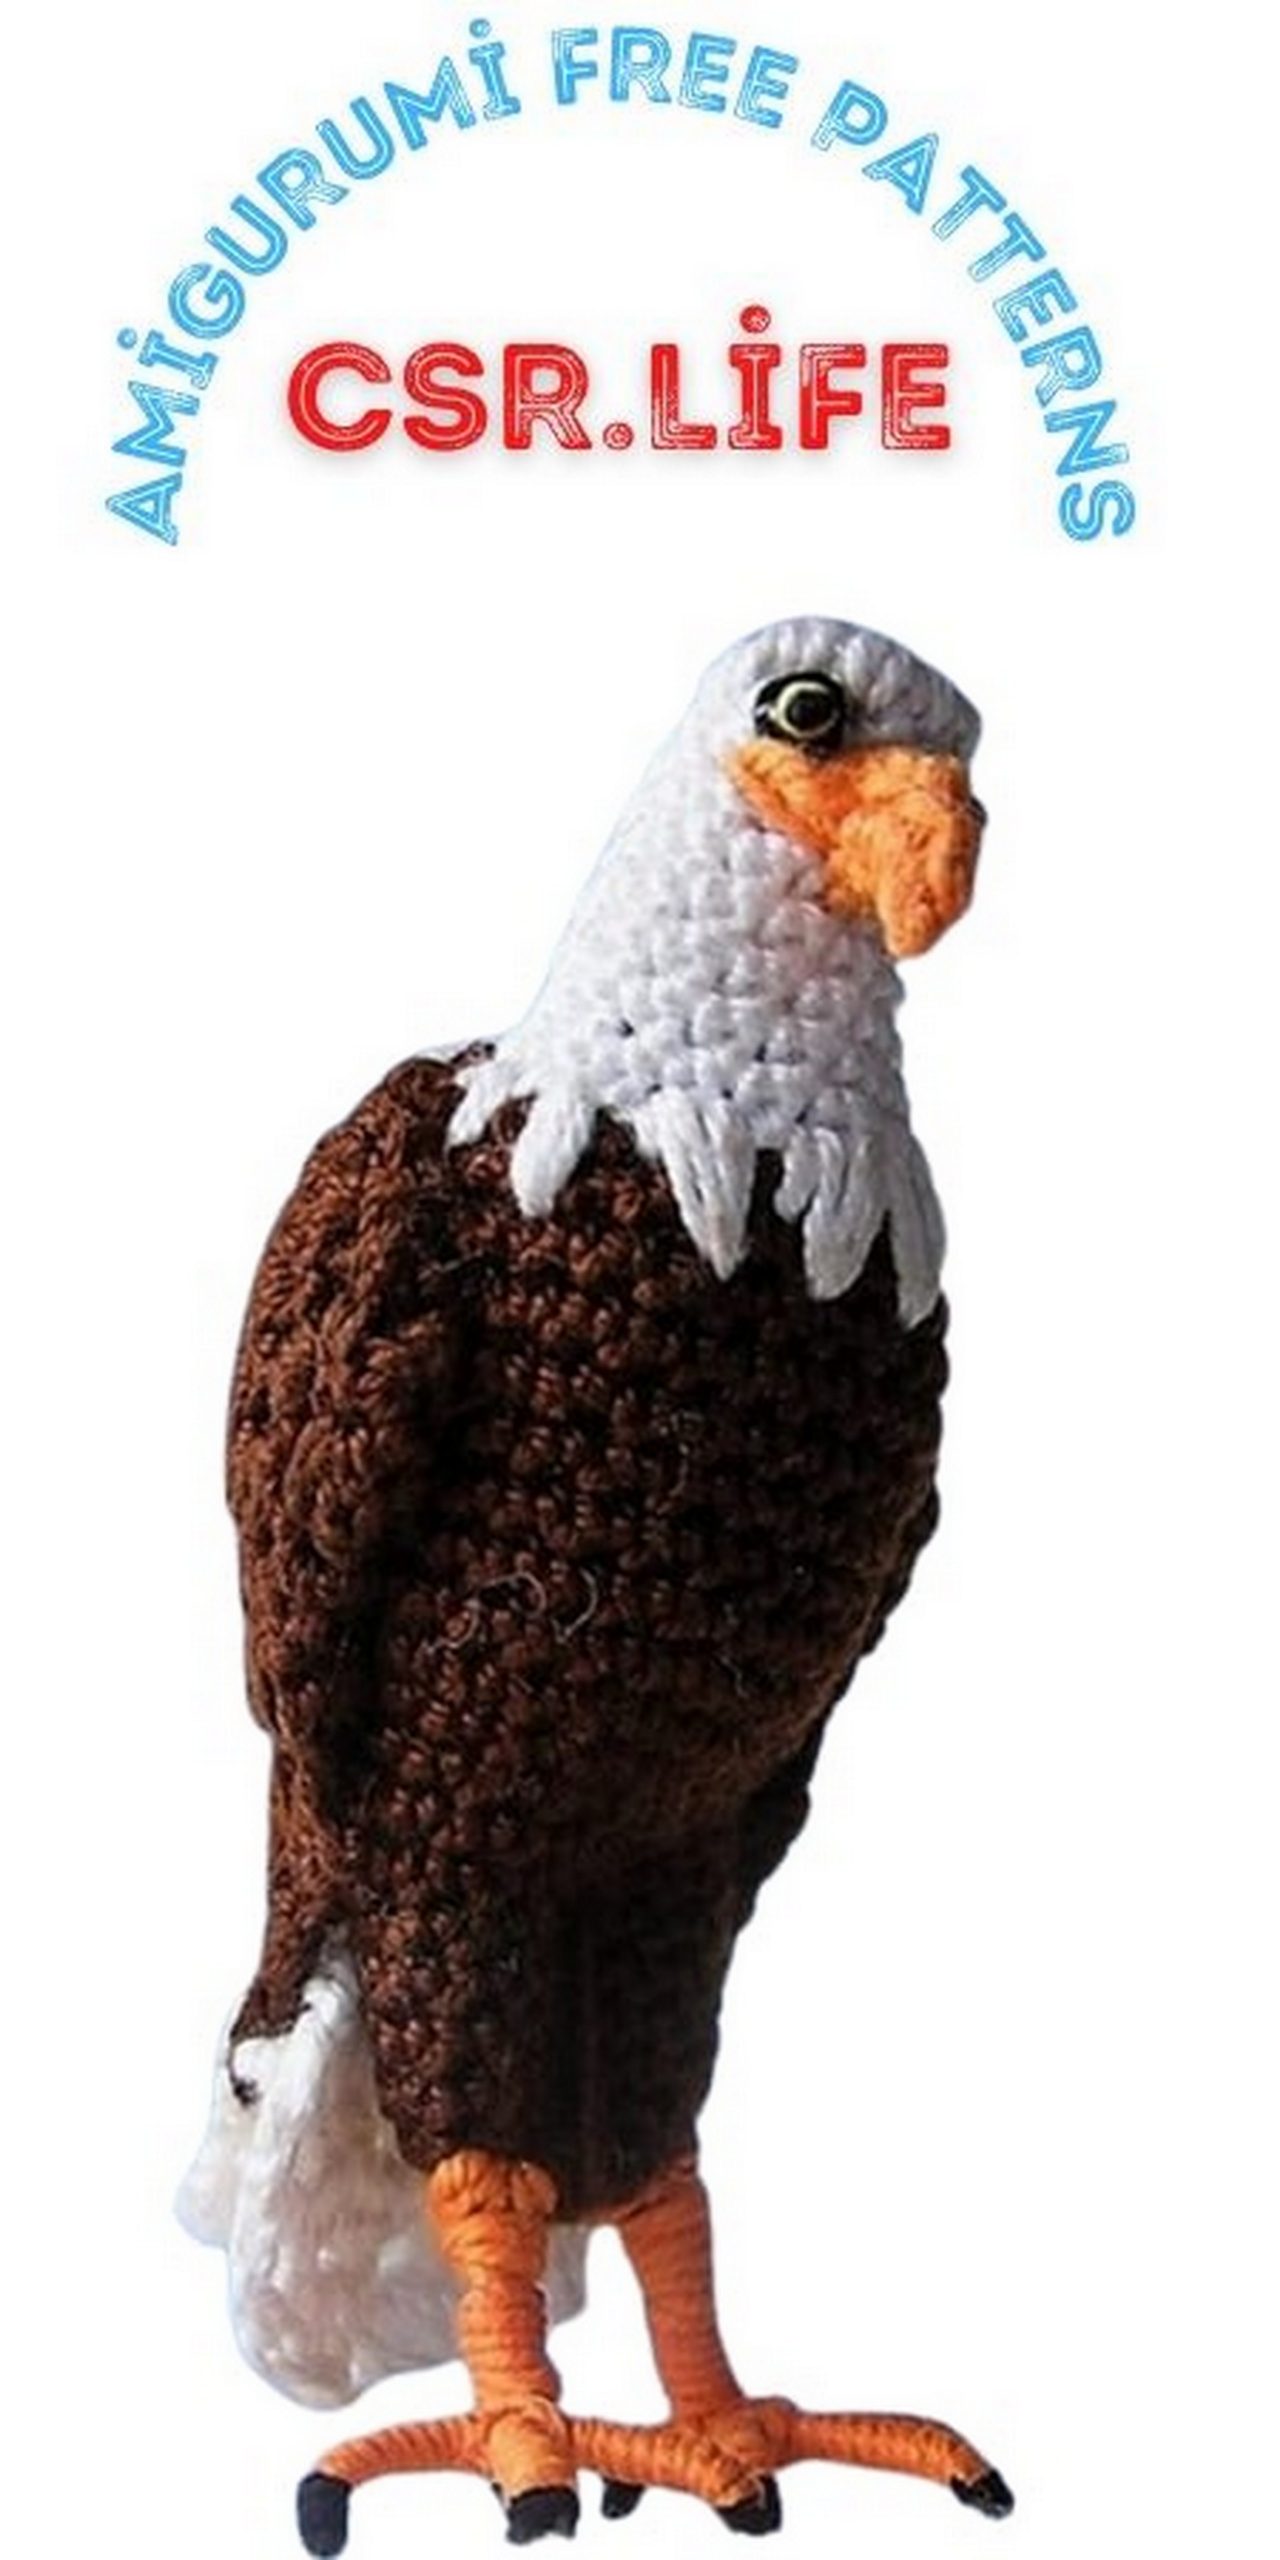
Bald Eagle Amigurumi Free Crochet Pattern
In this article I share with you amigurumi bald eagle free crochet pattern. Any kind of sharing related to knitting is waiting for you on our site.
The abbreviations
I use in this pattern are the ones I use when I write or transcript crochet dolls patterns, here’s the translation.
1slst – 1 slip stitch;
1sc – 1 single crochet;
2sc – 1 single crochet in each of the next 2 stitches;
2X sc – 2 single crochets in the next stitch;
1hdc – 1 half double crochet;
1dc – 1 double crochet;
3Xdc (popcorn stitch) – make 3 double crochets in the same stitch but do not end any of the double crochets stitches, leaving one loop of each double crochet on the hook crocheting these loops together in the last stitch;
1 htr – half treble crochet;
1tr- 1 treble crochet;
1 st. – 1 stitch;
Inc. – make 2 crochets in the next stitch;
Dec. – Decrease 1 stitch by joining 2 stitches together;
Ch1 – chain 1 crochet;
T. – Turn, working in the opposite direction;
F.O. – Finish off, leaving a long tail.
LET’S BEGIN

BODY (CHOCOLATE BROWN)
Magic ring 6sc (6);
(2X Inc., 1sc) X 2 (10);
(3X Inc., 2sc) X 2 (16);
5 x 16sc = 80sc (16);
(3sc, inc.) X 2 (18);this is not a complete round, after the second increase start counting stitches of next round…
2X 18sc = 36sc (18);
4sc, inc., 3sc, inc., 3sc, inc., 5sc (21);
5sc, Inc., 3sc, Inc., Inc., 3sc, Inc., 6sc (25);
4X 25sc = 100sc (25);
8sc, Inc., 6sc, Inc., 9sc (27);
2X 27sc = 54sc (27);
(7sc, Dec.) X 2 (24);
(2sc, Dec.) X 2 (18);
(7sc, Dec.) X 2 (16);
(6sc, Dec.) X 2 (14);
F.O.
HEAD (WHITE)
Magic ring 6sc (6);
(2X Inc., 1sc) X 2 (10);
2X Inc., 8sc (12);
1sc, 2X Inc., 9sc (14);
8sc, 2 X Dec., 2sc (12);
1X 12sc = 12sc (12);
(5sc, Inc.) X 2 (14);
1X 14sc = 14sc (14);
(6sc, Inc.) X 2 (16);
1X 16sc = 16sc (16);
F.O.
WINGS
make two (CHOCOLATE BROWN AND WHITE)
Begin with chocolate; this piece is not made in rounds:
Magic ring 6sc (6sc);
Ch3, T., dc in the same stitch, dc, 2Xdc, dc, 2xdc (7);the last stitch will be left unworked you can follow these instructions from the drawings A and B…
Ch3, T., dc in the same stitch, (2X dc) X 6 (14);
Ch3, T., [3X dc (popcorn stitch), ch1] X14;
Fold in half, like shown in the picture above, and join them together with:
Ch1, T., 6sc, 2hdc, 4dc, 2 X dc, 2 X dc;
Ch3, T., 2X dc, 1dc, 1hdc, 8sc;
T., 3sc, 1hdc, 5dc;
Add white:
Ch4, T., 2Xtr, 1htr, 1dc, 1hdc, 3sc, 2slst;
Add chocolate and work in the same direction as you were working. Do not cut the white string, we will use it to finish the white feathers:
3slst, 2sc, 1hdc, 1dc, 1tr., 2 X tr. (until the edge), F.O. the chocolate string and leave a big tail.
Go back to the place where you add the chocolate and left the uncut white string, insert your hook in the last white stitch of the last round, pull the white string through and turn. We will make one more round in the direction of the end of the white feathers:
5slst, 2sc, 2dc, 1tr;
F.O.
TAIL (WHITE)
This piece is not made in a spiral: Ch8, 5tr starting from the 4th chain from hook;
Ch3, T., [3x tr (popcorn stitch), Ch1] X 5;
Ch3, T., [3x tr (popcorn stitsh), Ch1] X 5;
T., [3X tr (popcorn stitch), Ch1] X 3, 1tr;
F.O.
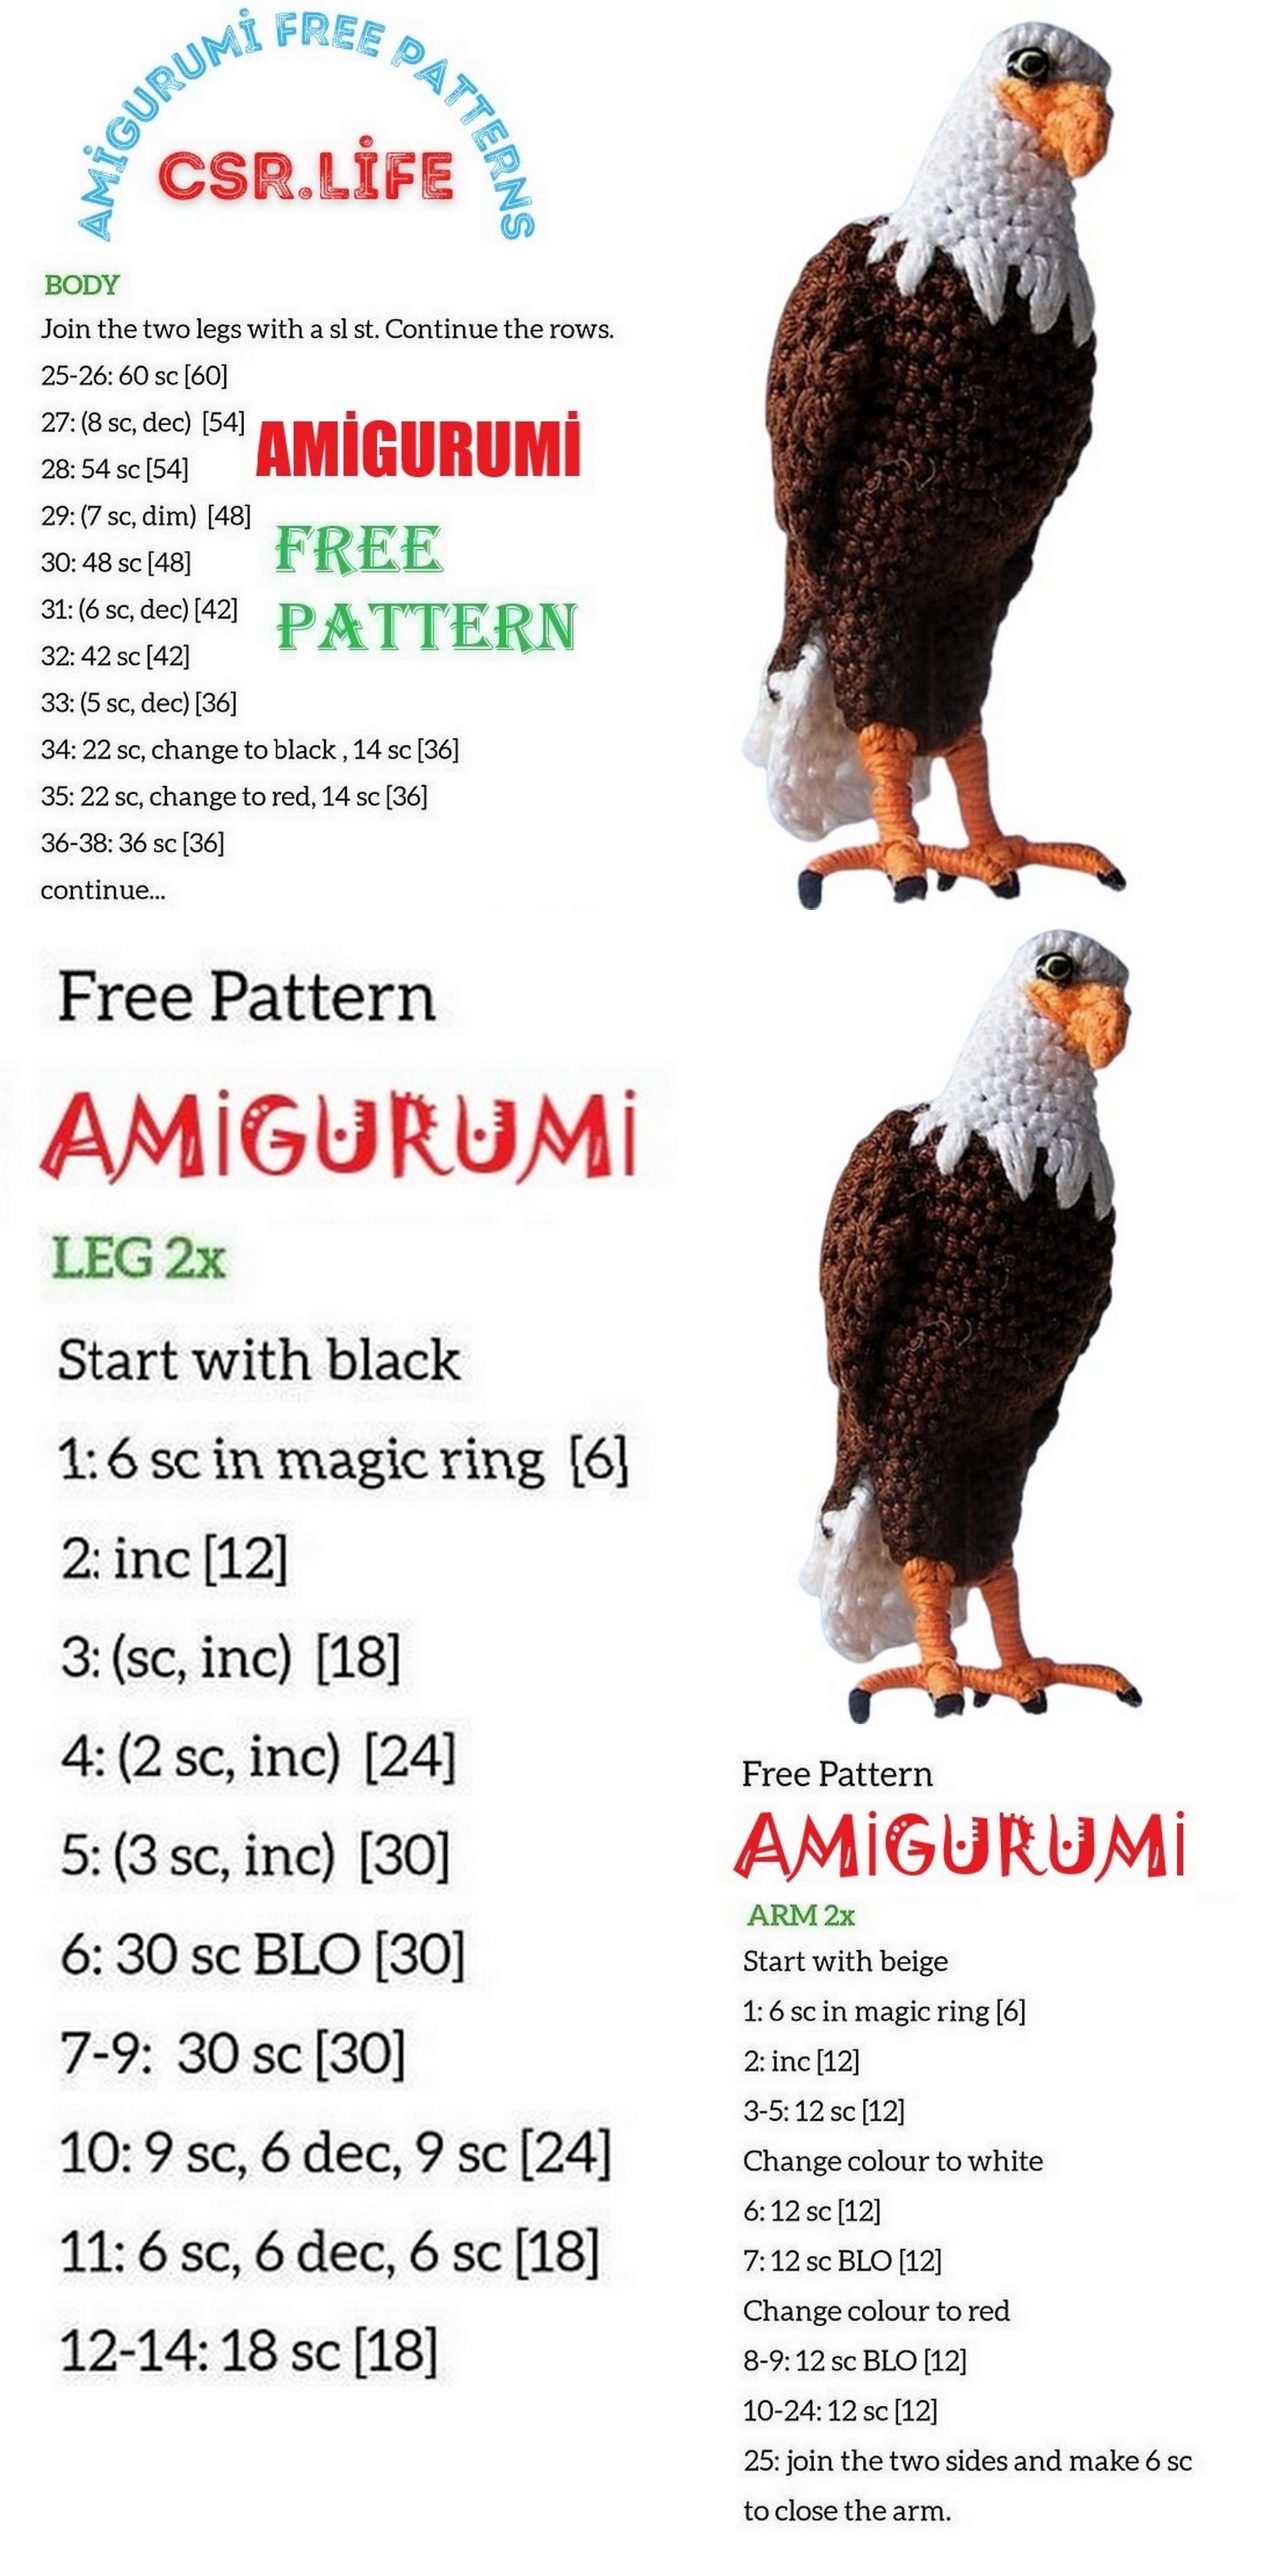
BEAK (ORANGE)
This piece is not made in a spiral: Ch5, 4sc starting from the 2nd chain from hook;
Ch1, T., 2X Dec.;
Ch1, T., 2sc;
T., 1sc;
F.O. flatten and sow the ends together shaping the beak as you go along.
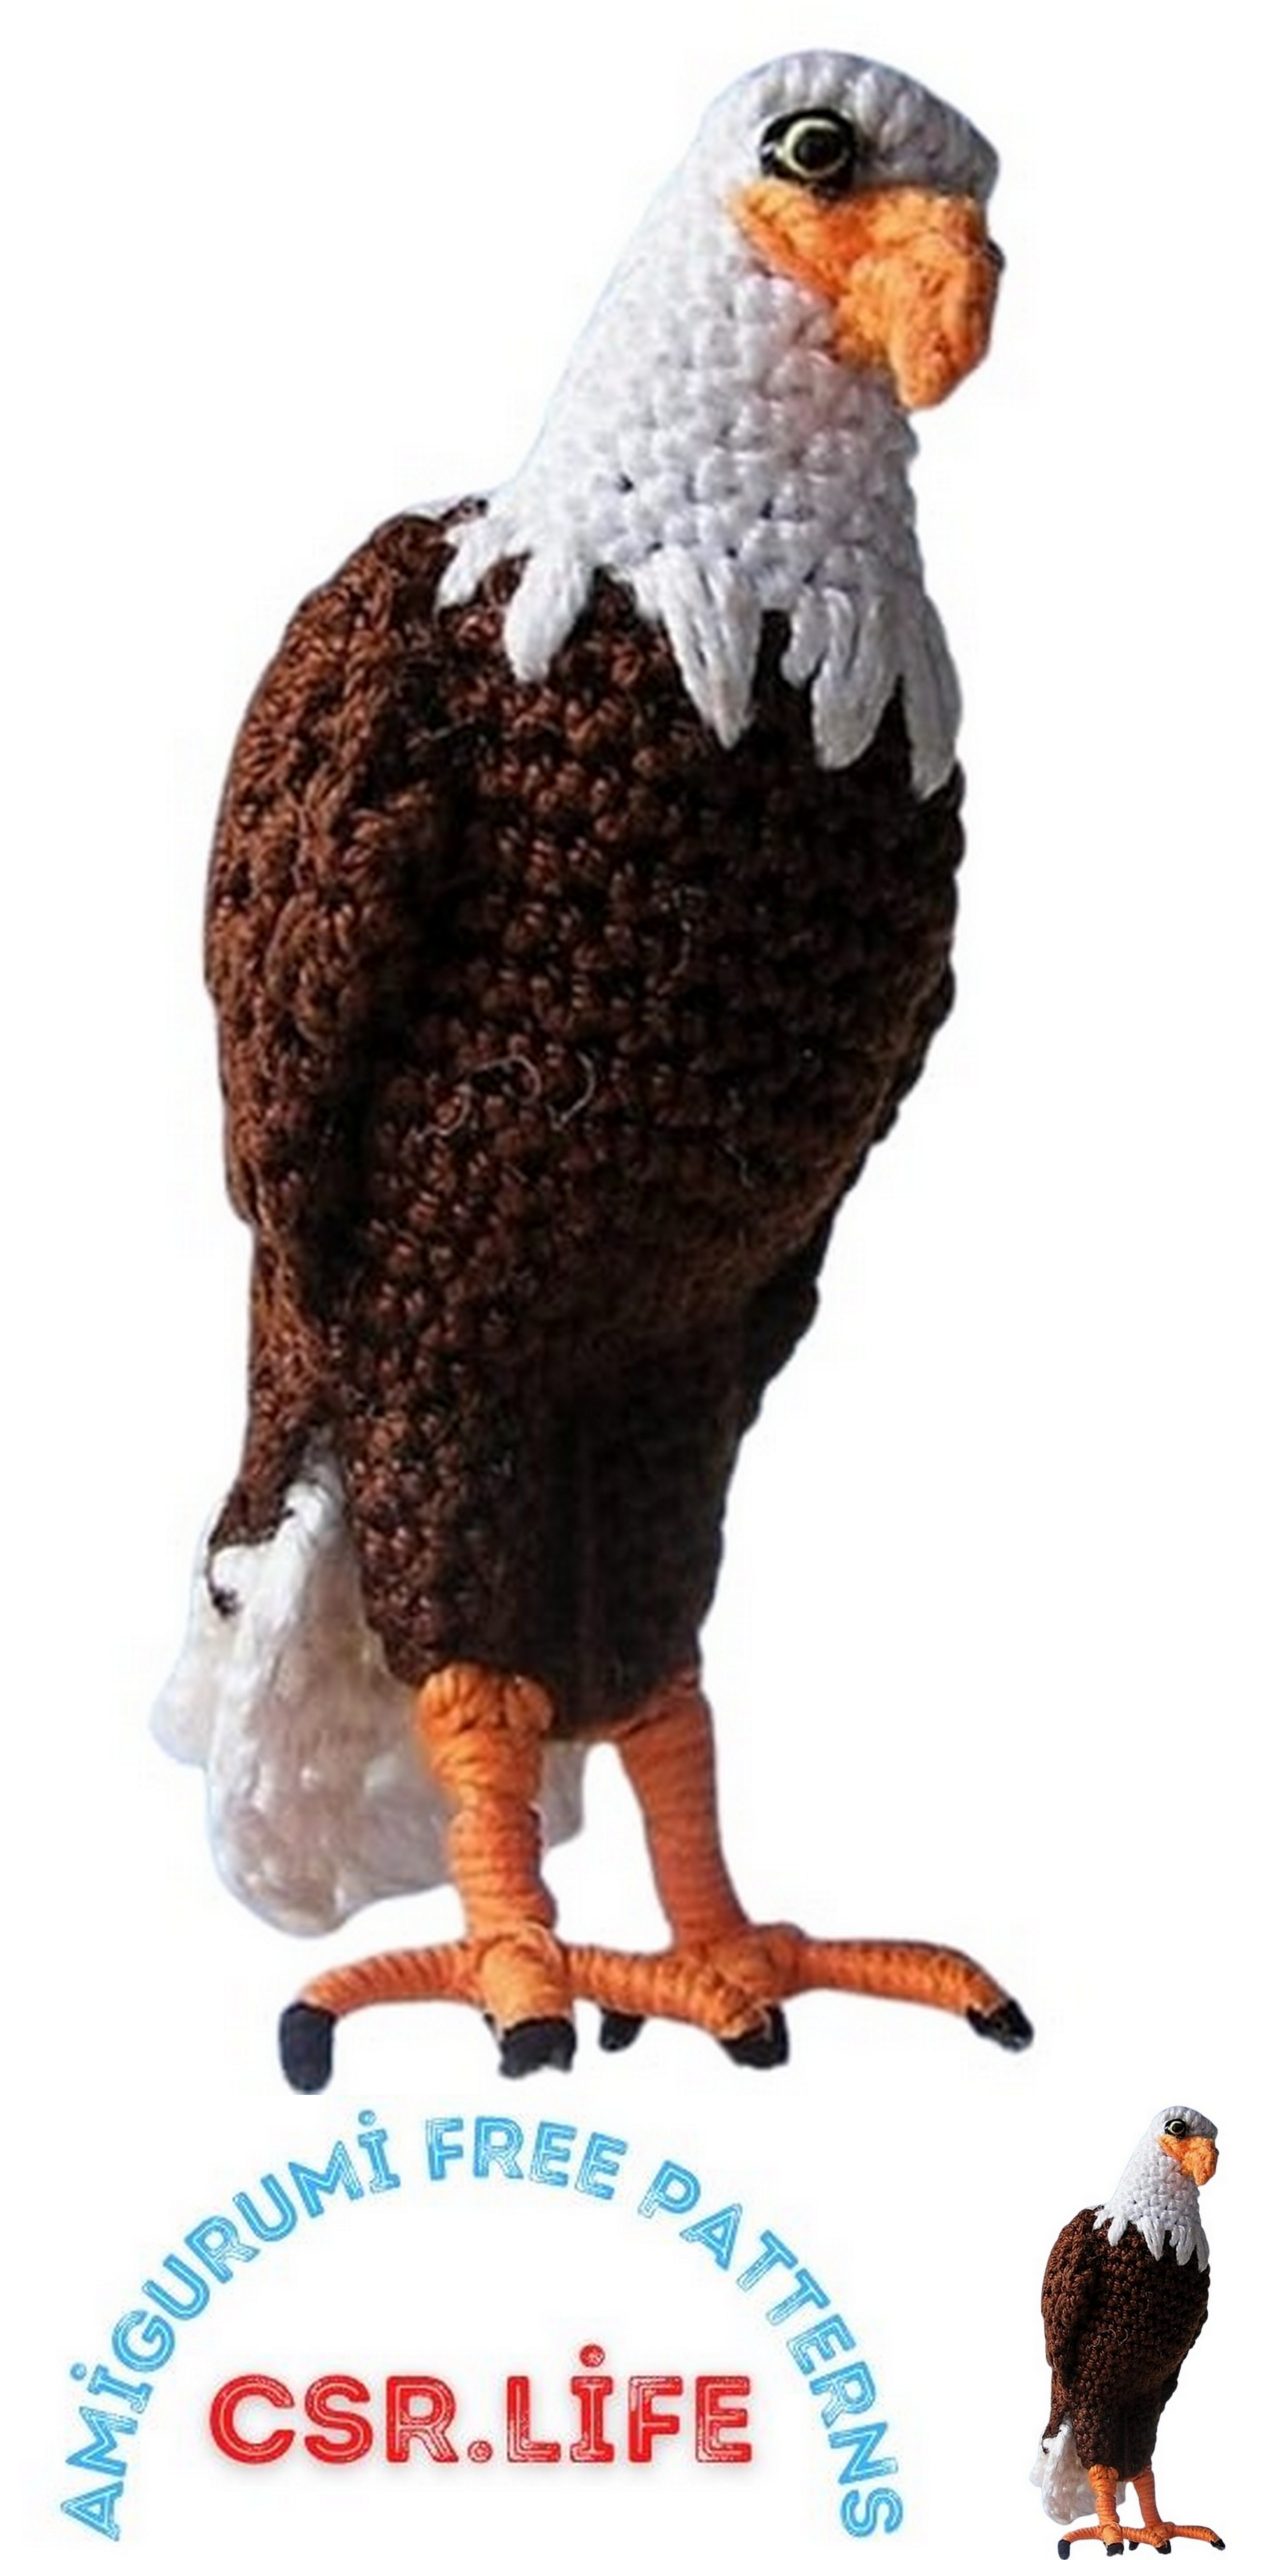
ASSEMBLAGE
Stuff the body and head lightly and assemble the two pieces making sure you center the head and body properly. Use the white string that is left to embroider the neck feathers (see picture).
Do not cut the white string. We are using it to make the eyebrow.
Sew the beak in place and embroider to each side of the face the beak’s extensions.
Using the white string from the embroidered feathers, place the needle at the top of the head, aligned with one end of the beak, and embroider the eyebrow making stitches in all the front of the head until you reach the alignment with the other end of the beak.
For the eyes I used two yellow beads that were attached to the head by a black string with a knot. Use the remaining black string to embroider the contour of the eyes (see picture above).
For the feet I used wire to make the claws and ankles struture, and covered it with orange string rolled around the wire and glued with white glue and water (white glue, normaly used for wood, becames transparent when dry). Don’t forget to leave a piece of bare wire in each feet, and a long orange string tail.
After the glue is dry and with the help os plyers bend the end of each claw to make the nails and paint them with black watercolor. Sew the legs in place by inserting the bare wire in the body and using the orange string to fix them.
Sew the tail in place positioning it to reach the floor. Then assemble the wings putting them in a position where it gives the illusion of a larger chest and resting the white feathers end on top of the tail like it’s shown in the pictures below.