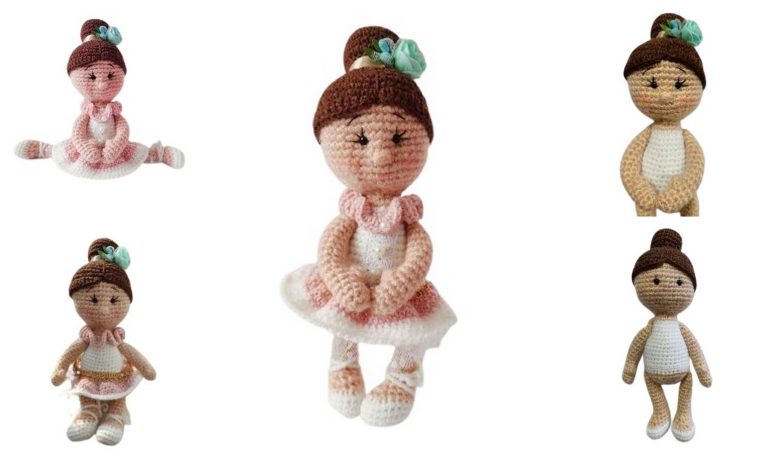
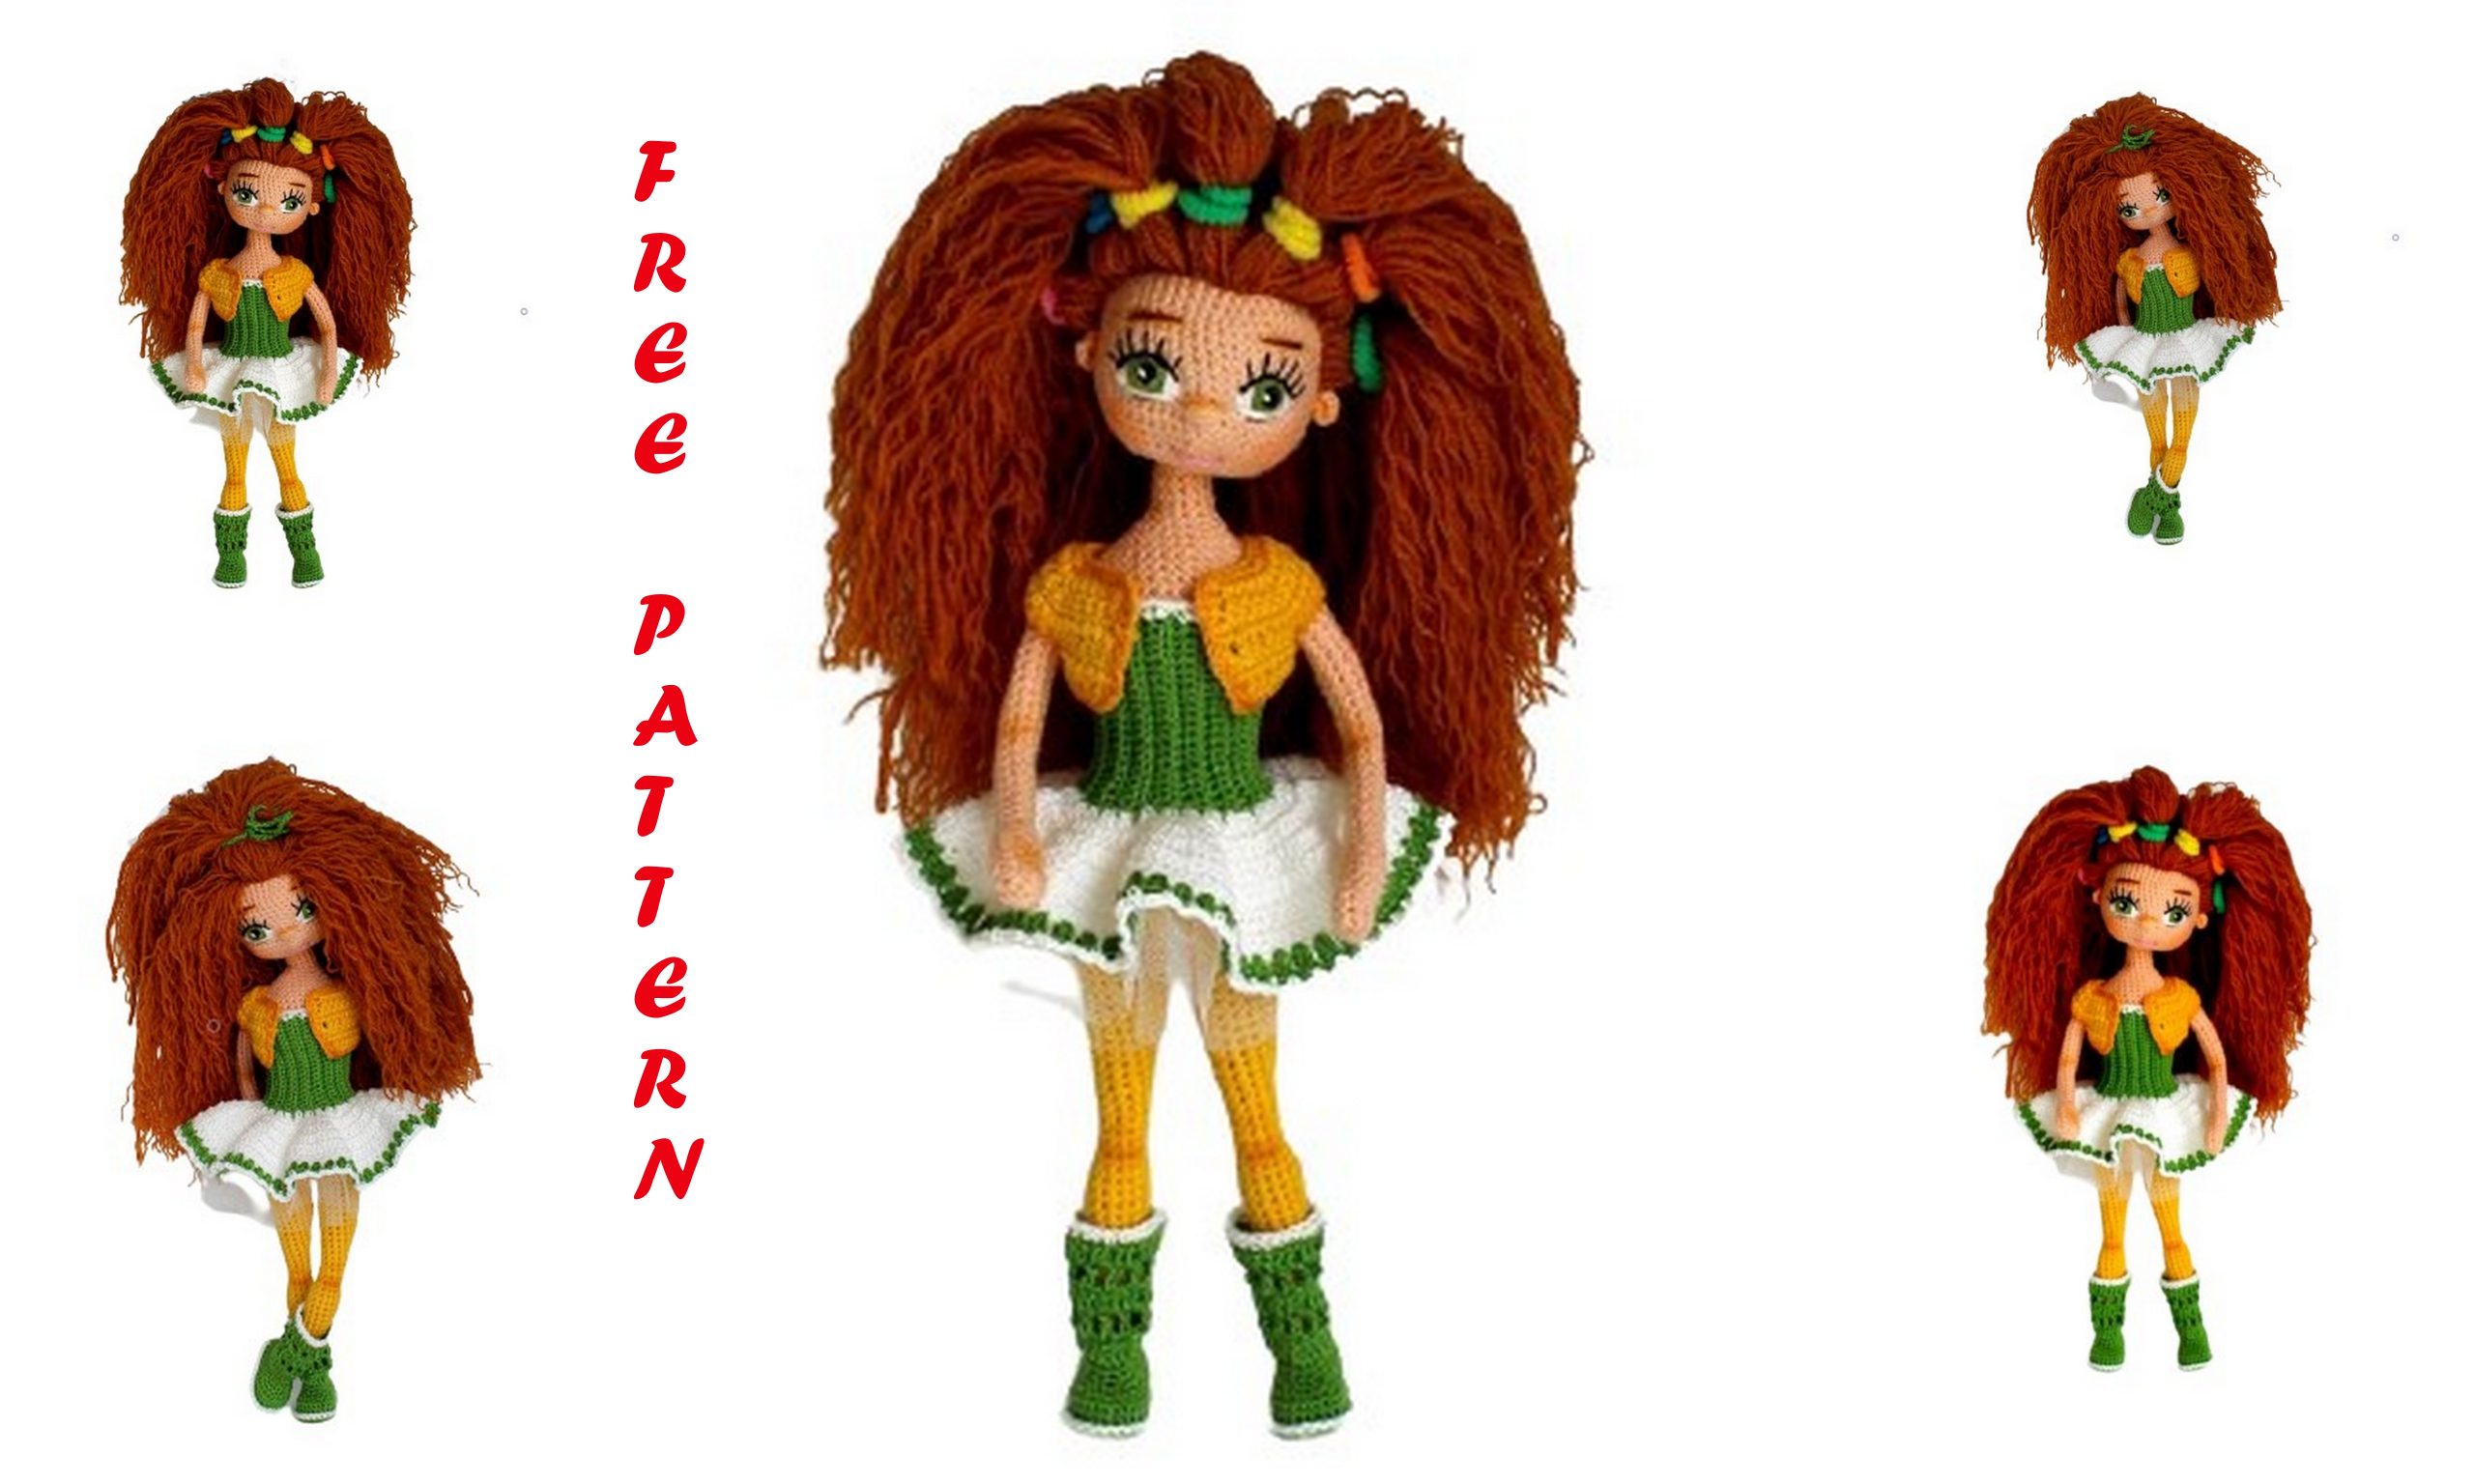
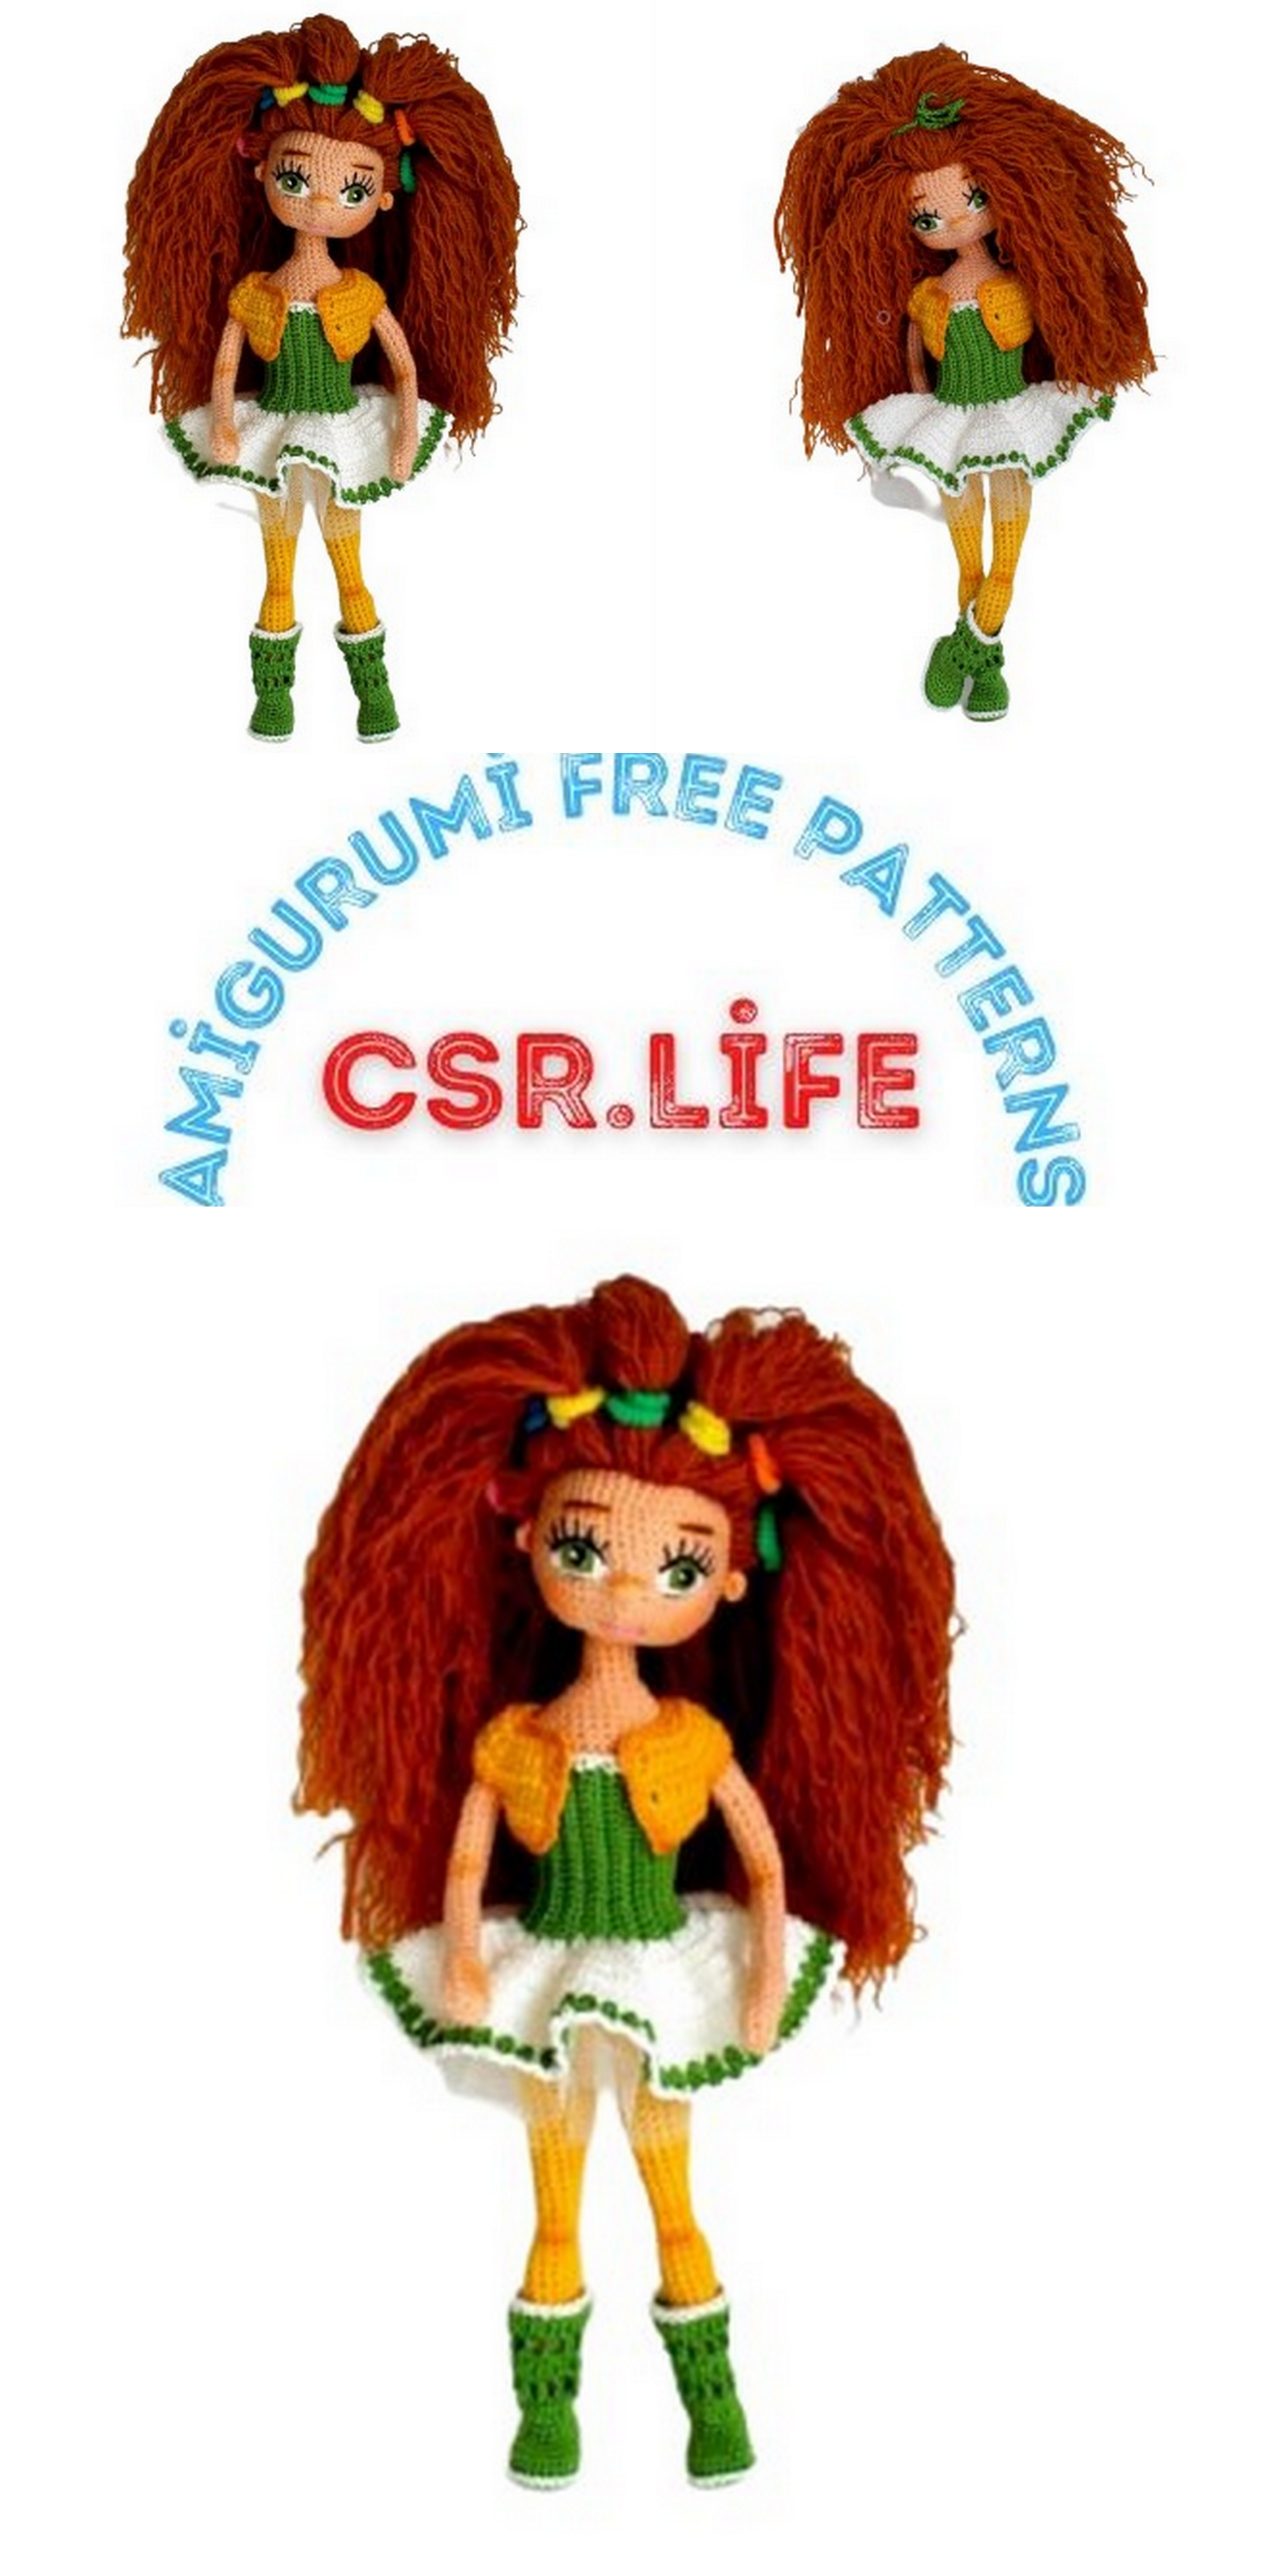
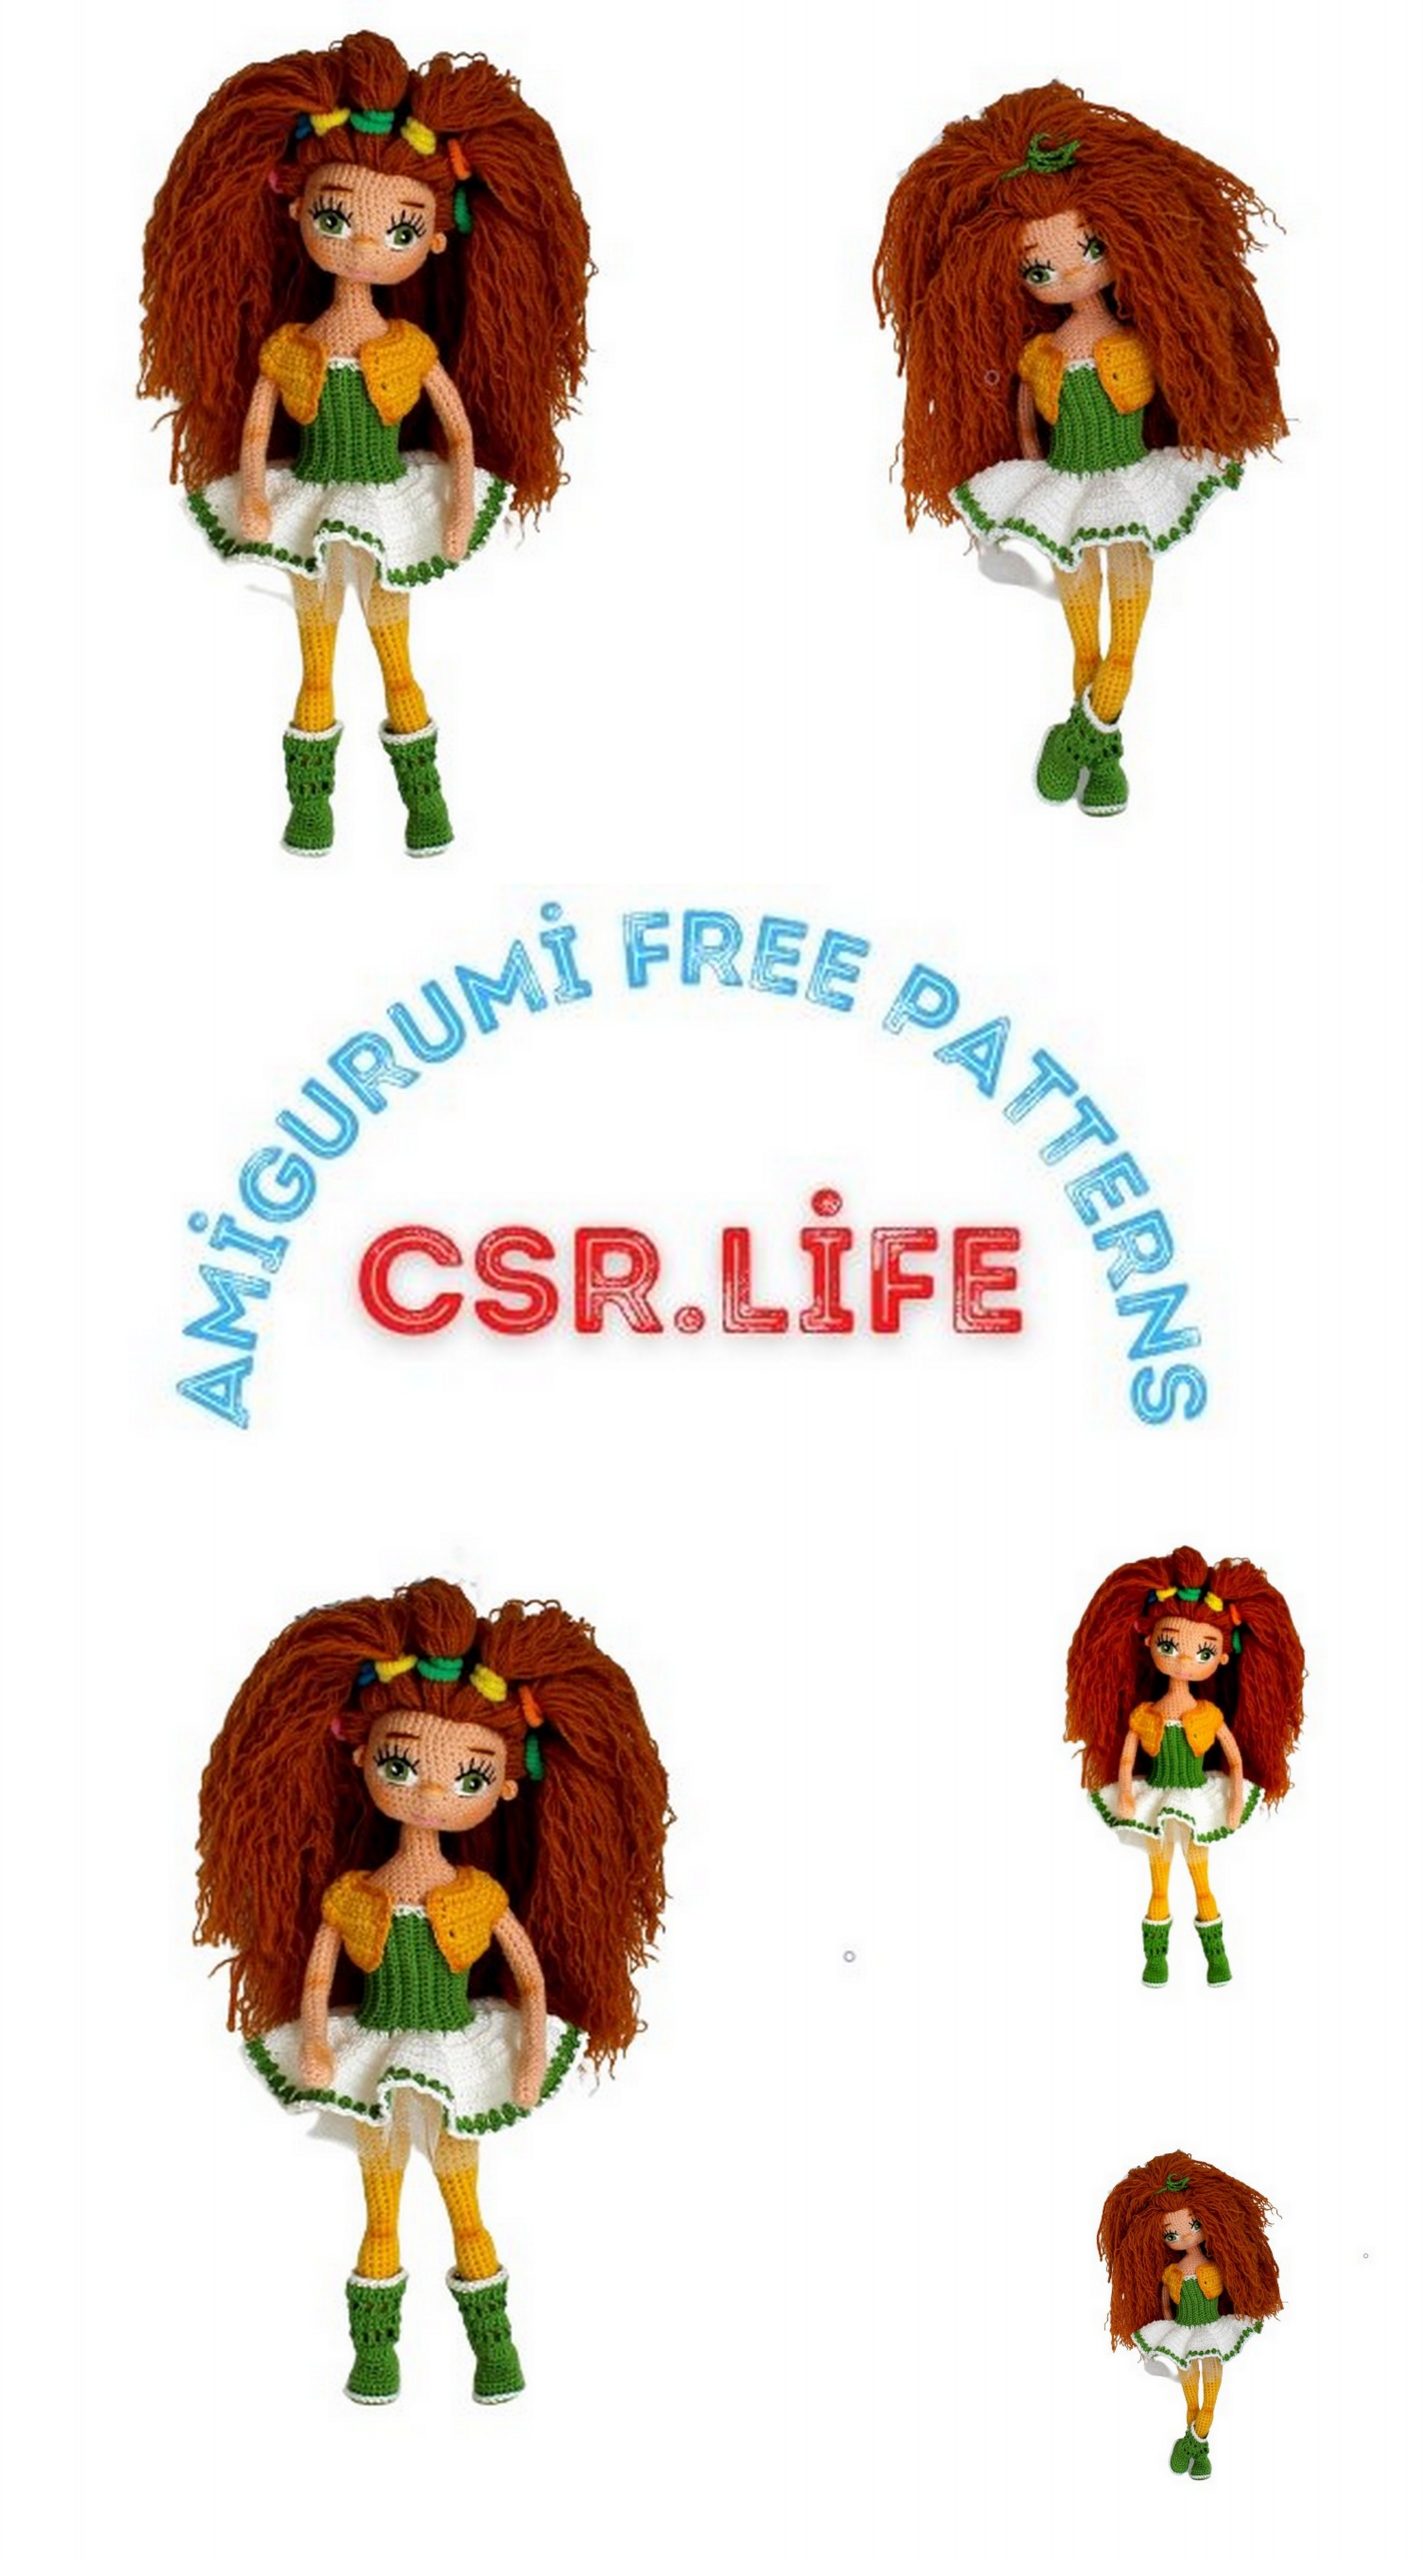
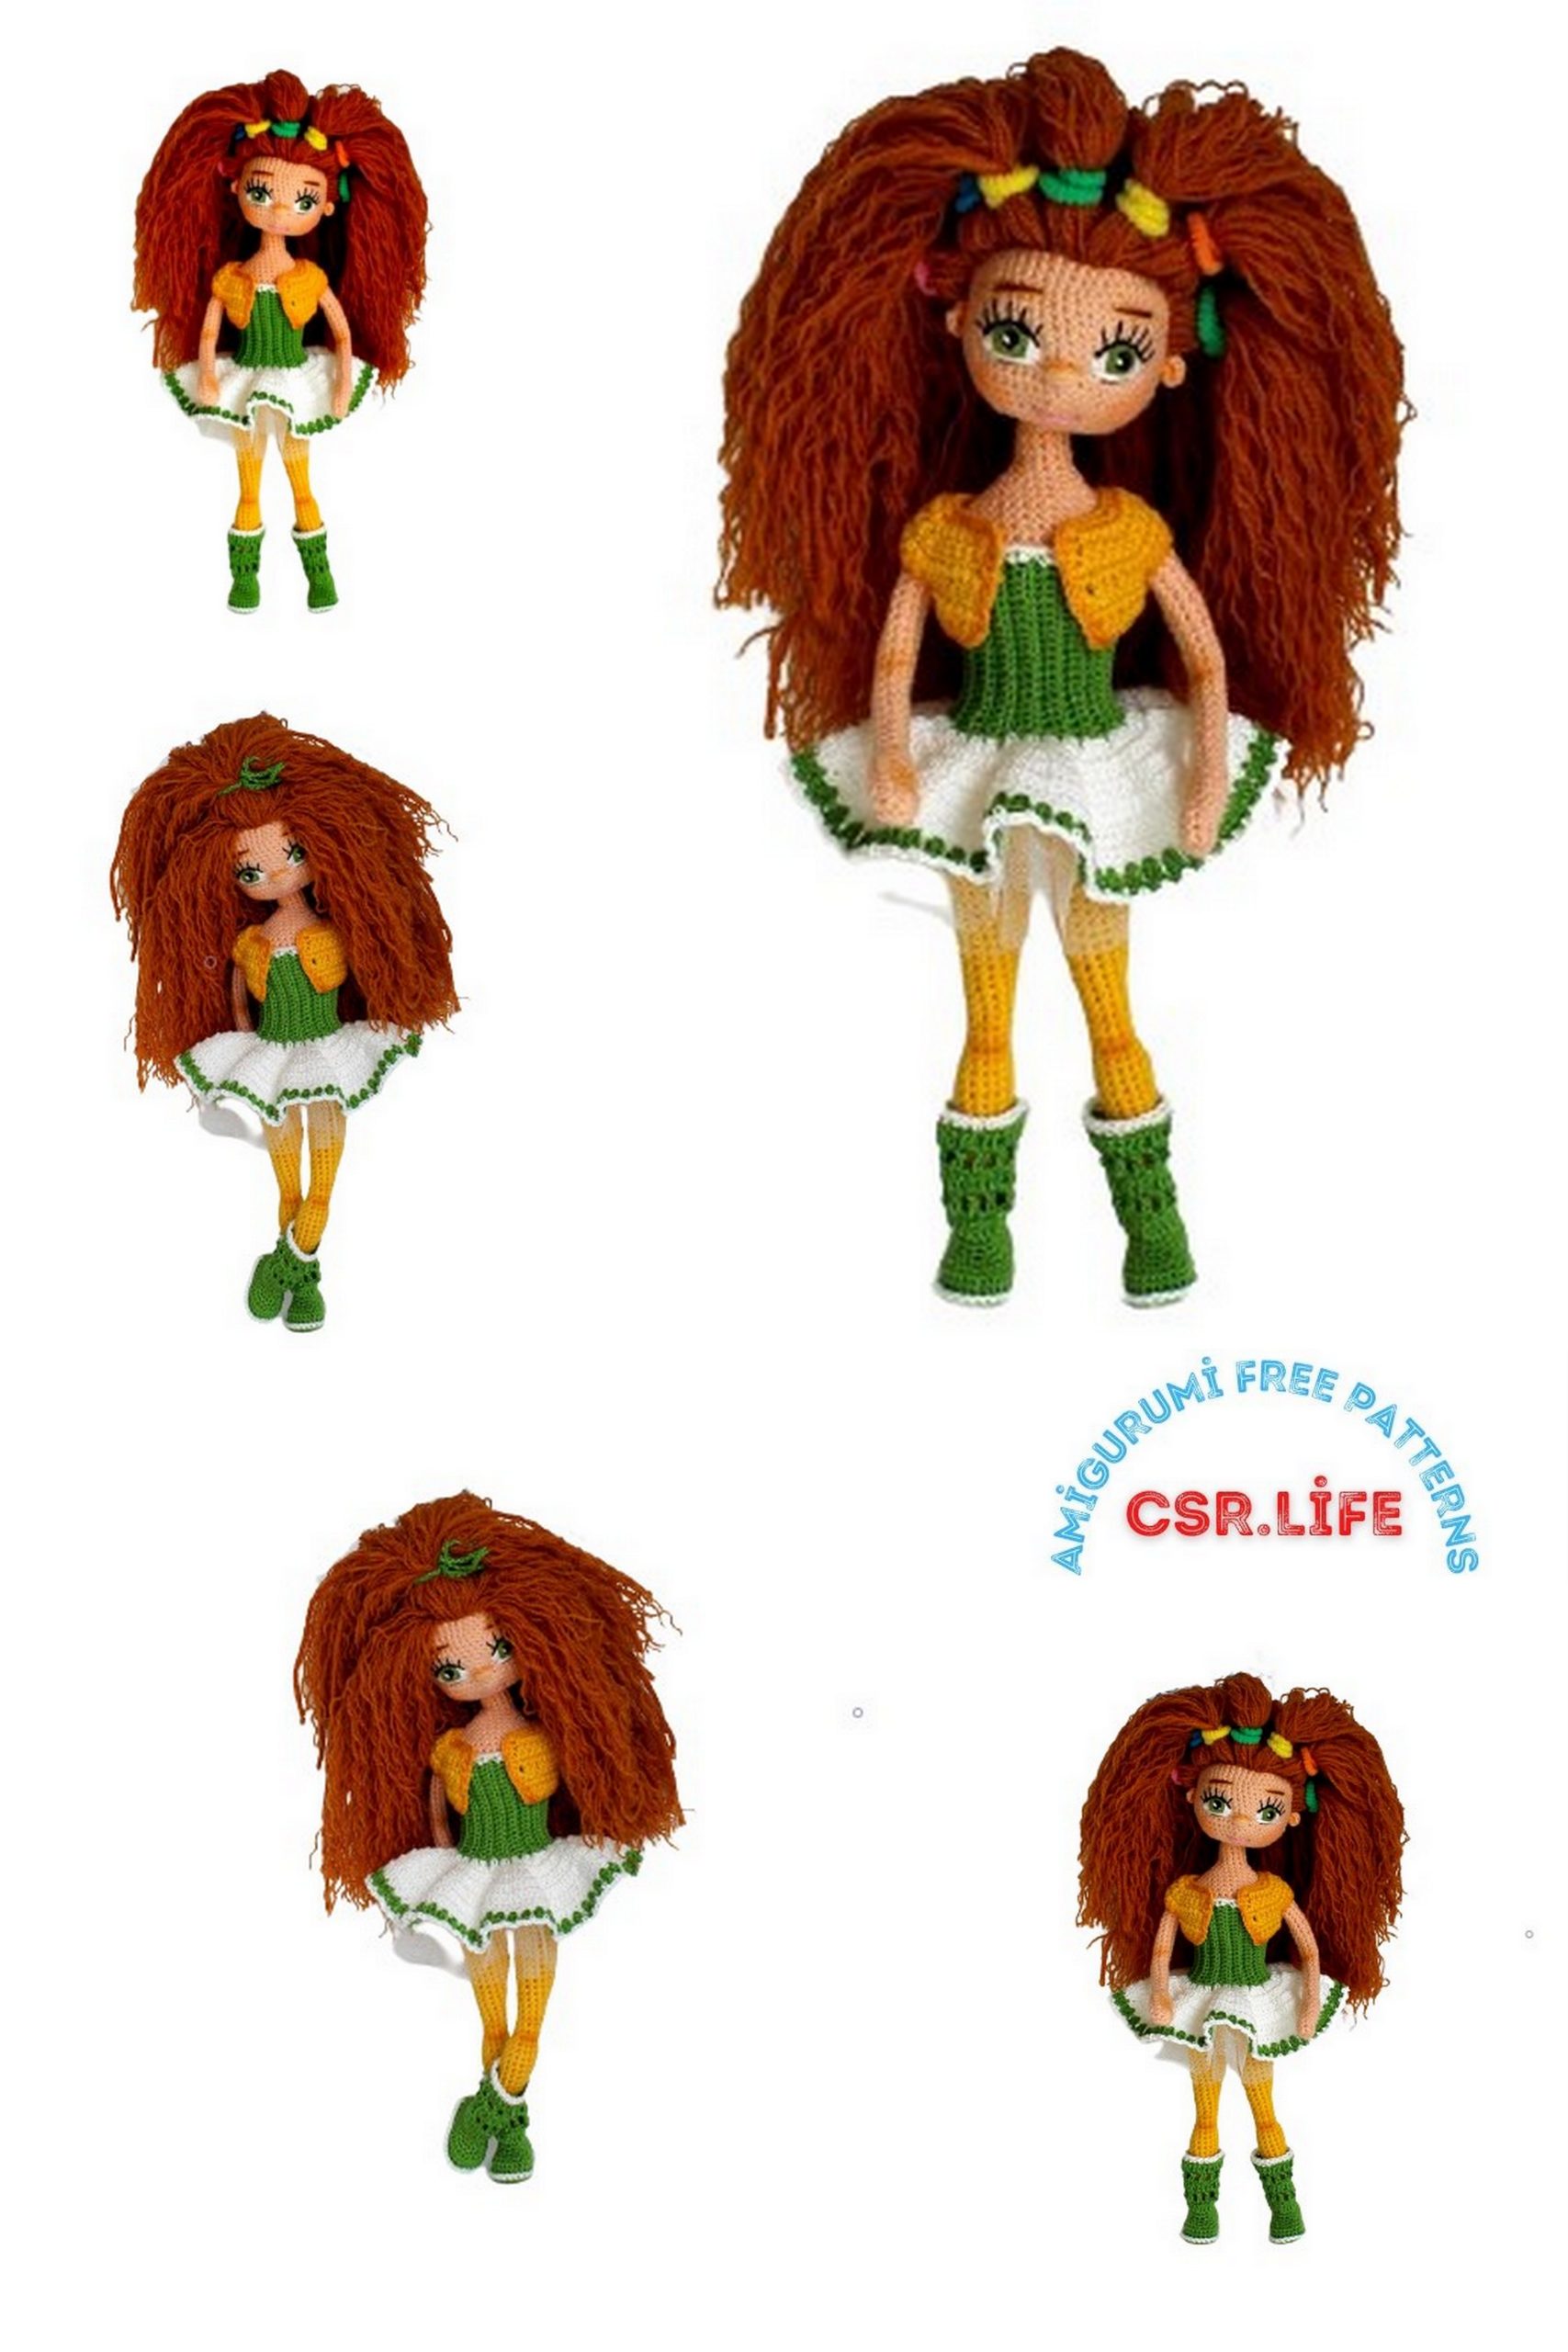
Briana Doll Amigurumi Free Pattern
Amigurumi crochet toys, we continue to share with you the most beautiful amigurumi. You can find aigurumi briana doll free pattern in this article.
Briana doll
Baby’s height from head to toe – 31 cm
Materials:
Thread:
Gazzal “Baby Cotton” (50g / 165m) – (60% cotton, 40% acrylic)
– №3412 – for body – №3417 for body and vest
Yarn Alize Miss 100% Cotton 280m / 50gm
— a little green color for dress and shoes
– – white color for dress and shoes
– Alize “LanaGold” – (100g / 240m) – (49% wool, 51% acrylic) = one yarn for your hair / any color you choose
• Eye treatment – white, black, green (or violet or blue –
according to your choice)
Processing eyebrows – brown
Processing lips – pink
Filling Material
• Crochet №1.4 mm
1mm copper wire – 110 cm
Buttons – Small for 3 dresses
• Tulle skirt – 6 cm * 100 cm
Self-adhesive gauze bandage (to complete the edge and stabilize the body with arms and legs)
ABBREVATİONS
Sh – Magic Ring
Ch – Chain
Sl-st – slip stitch
sc – single crochet
DC – double crochet
hdc – half double crochet
inc – increase
Decay – decrease
(…) * – repeat action
blo – back loop knit
flo – front loop knit
PATTERN
Note:
– When entering the tour, your right side will be inside.
All kinds of threads can be used with a suitable crochet size. How thick the thread
the bigger the baby.
Hand (2 pieces)
Start with skin color:
1: Magic ring into 4sc = 4
2: (inc, sc) * 2 = 6
3: (inc, sc) * 3 = 9
4: inc, 8 sc = 10
5 – 8: 10 sc = 10
Make sure the wire is the same length as your crochet arm edge and wrap with adhesive tape. See the picture below. Do not add filler to your hand.
9: (dec, sc) * 3, sc = 7
10 – 19: 7 sc = 7
20: inc, 6 sc = 8
21 – 30: 8 sc = 8
We must finish the order with 1 sl-st.
– Do the same in the 2nd hand ..
– Cut the yarn and fasten off, hide the of the thread.
Legs (2 pieces)
With yellow thread
1: Magic ring into 4sc, sl-st, 3 ch
2: 2 sc (into chain), 4 sc, 2 sc (into chain 2) = 8
3 – 5: 8 sc = 8
6: 8 sc = 8 + 1 sc to alternate the loop
Right foot
7 – 8: turn, 1ch, 4 sc
9: turn, ch 1, dec * 2
10: turn, 1 ch, 1dec
Left foot
7 – 8: 4 sc, 1 ch, turn
9: dec * 2, ch 1, turn
10: 1 dec
11: round – 4 sc (side), 4 sc, 4 sc (side), sc = 13
12: 2 sc, dec, 4 sc, dec, 3 sc = 11
Gradually add the filling while knitting the legs.
– – Now we’ll put the wire in your leg. One end along the length of the foot
rotate it in the shape of eight. Wrap the adhesive tape. See the picture.
– – We must measure the length of the wire with one measure, so the length is sufficient
and head! It is around 40 cm.
The pointer should always be in the center of the leg, an eye behind
Check! You can scroll to advance the pointer in the middle ..!
13: sc, dec, 4 sc, dec * 2 = 8
14: 6 sc, dec = 7
15: 7 sc = 7
16: 7 sc = 7 + 1 sc
17: 6 sc, inc = 8
18: 8 sc = 8 + 1 sc
19: 7 sc, inc = 9
20: 9 sc = 9
21: 8 sc, inc = 10
22: 10 sc = 10
23: 9 sc, inc = 11
24: 11 sc = 11
25: 10 sc, inc = 12
26: 12 sc = 12
27: 11 sc, inc = 13
28: 13 sc = 13
29: 11 sc, dec = 12 + 1 sc
30: 10 sc, dec = 11
31: 9 sc, dec = 10
32: 8 sc, dec = 9
33 – 35: 9 sc = 9
36: inc, 8 sc = 10
37: 10 sc = 10 + 1 sc
38: 2 sc, inc, 4 sc, inc, 2 sc = 12
39: 12 sc = 12
40: 2 sc, inc, 6 sc, inc, 2 sc = 14
41: sc = 14 + 1 sc
42: 2 sc, inc, 8 sc, inc, 2 sc = 16
Round 43 – 49: 16 sc = 16
– Gradually add the filling to the crochet process.
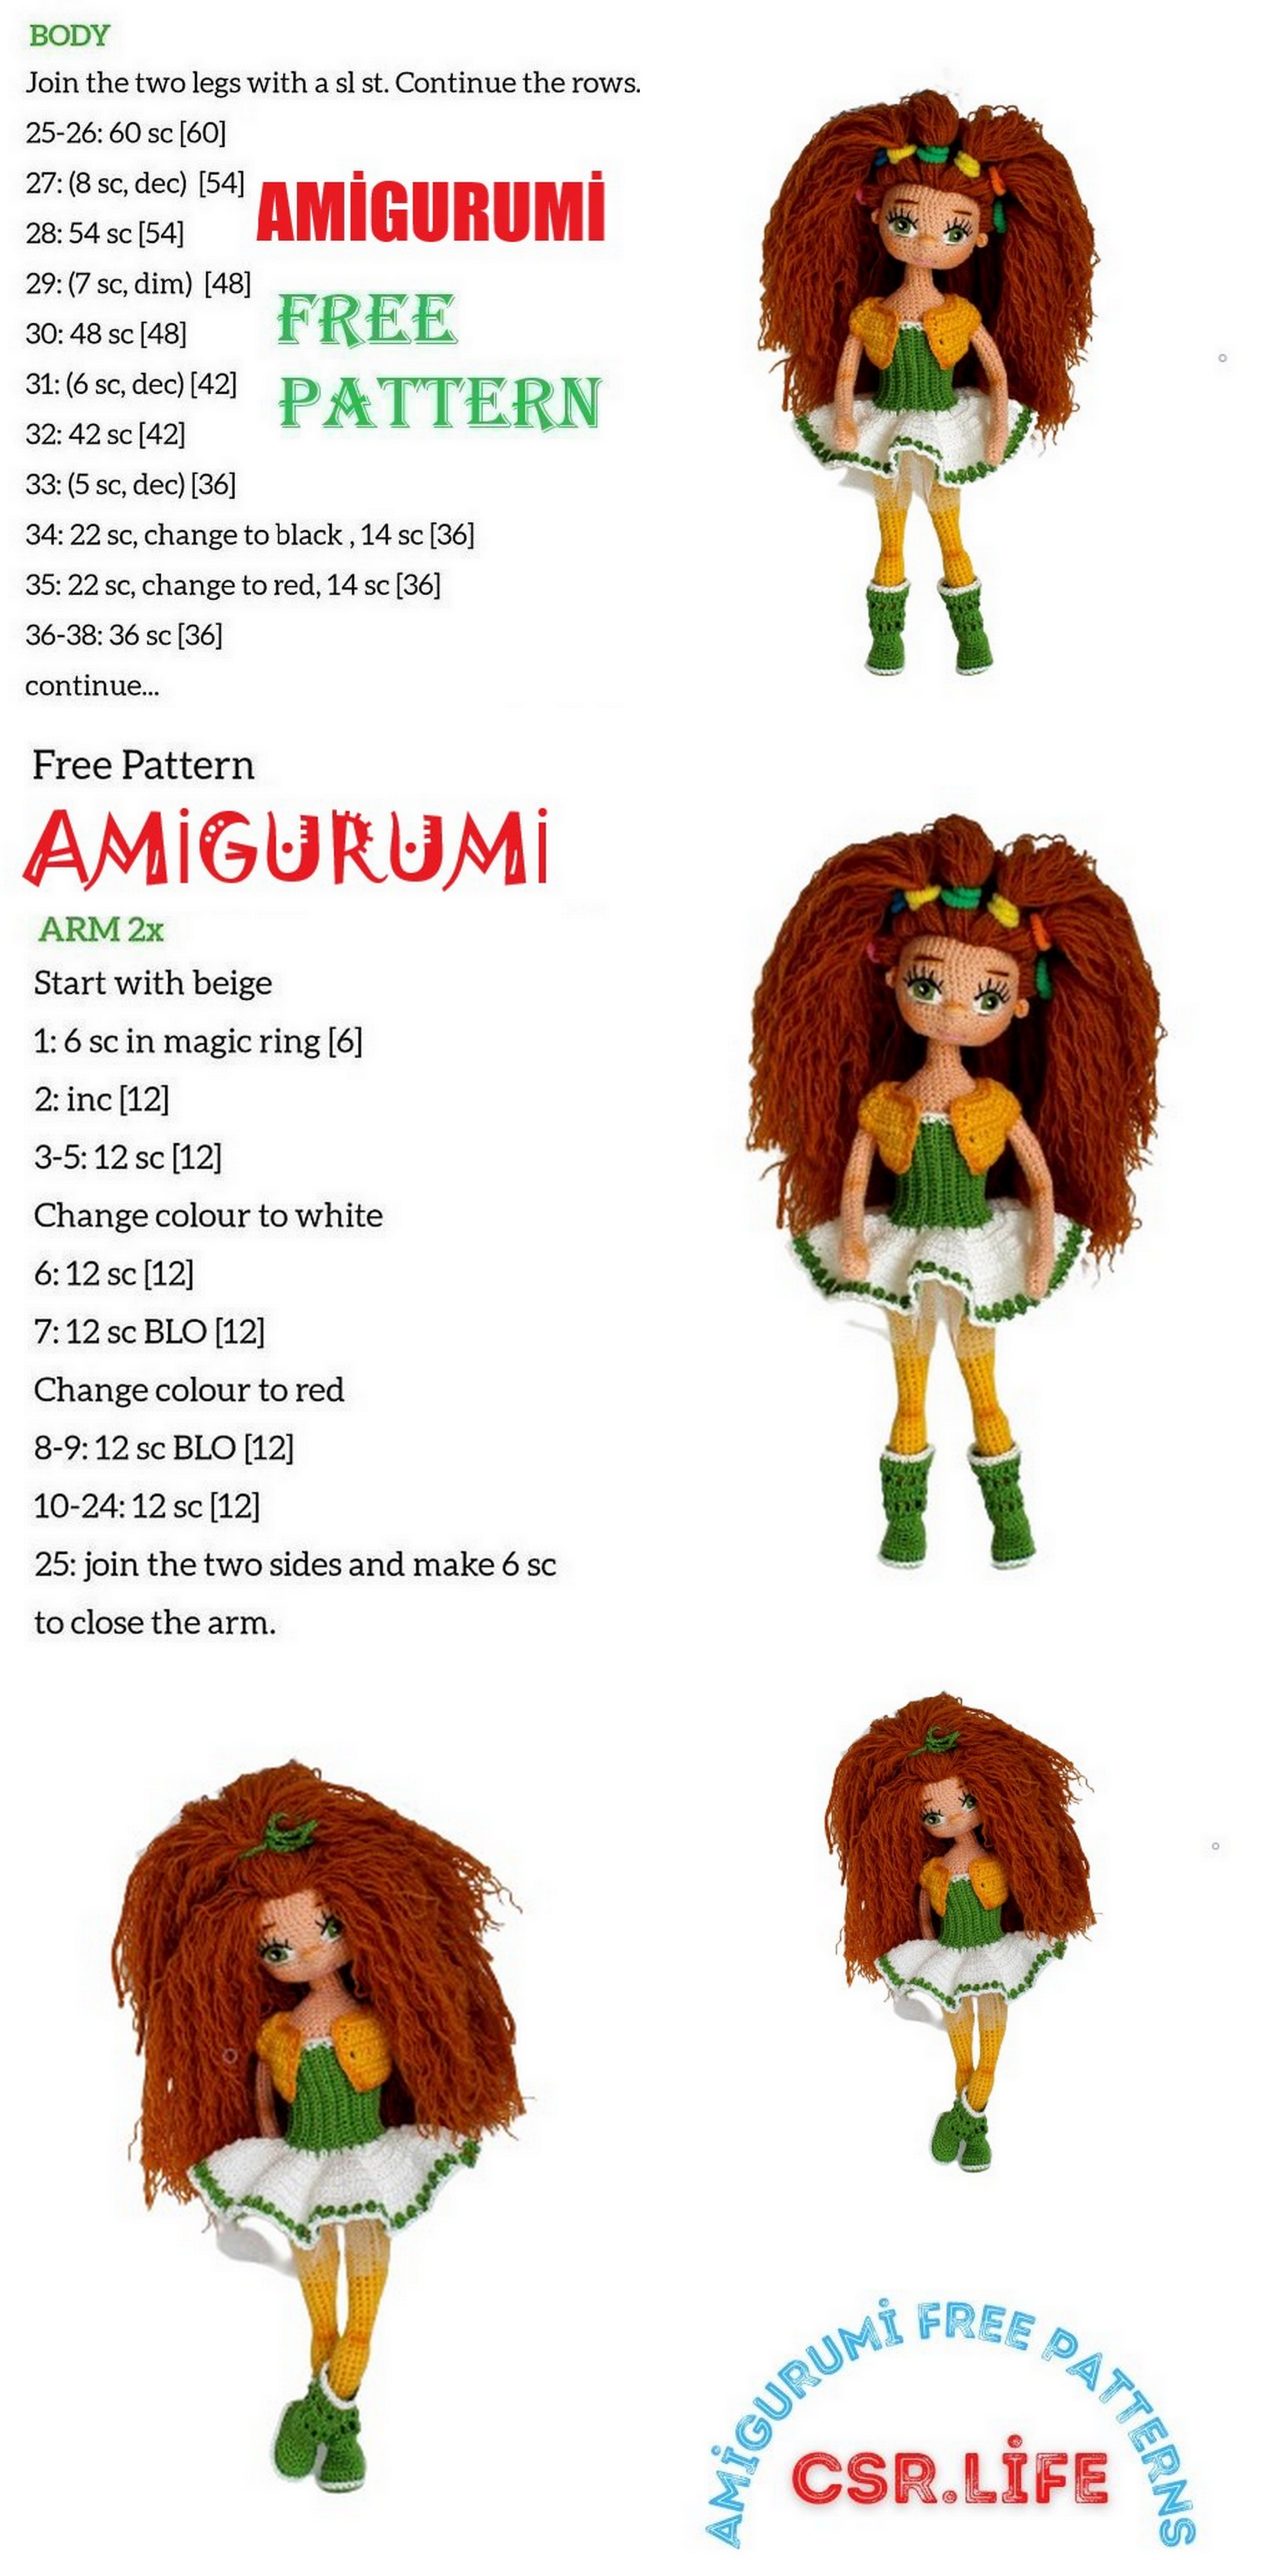
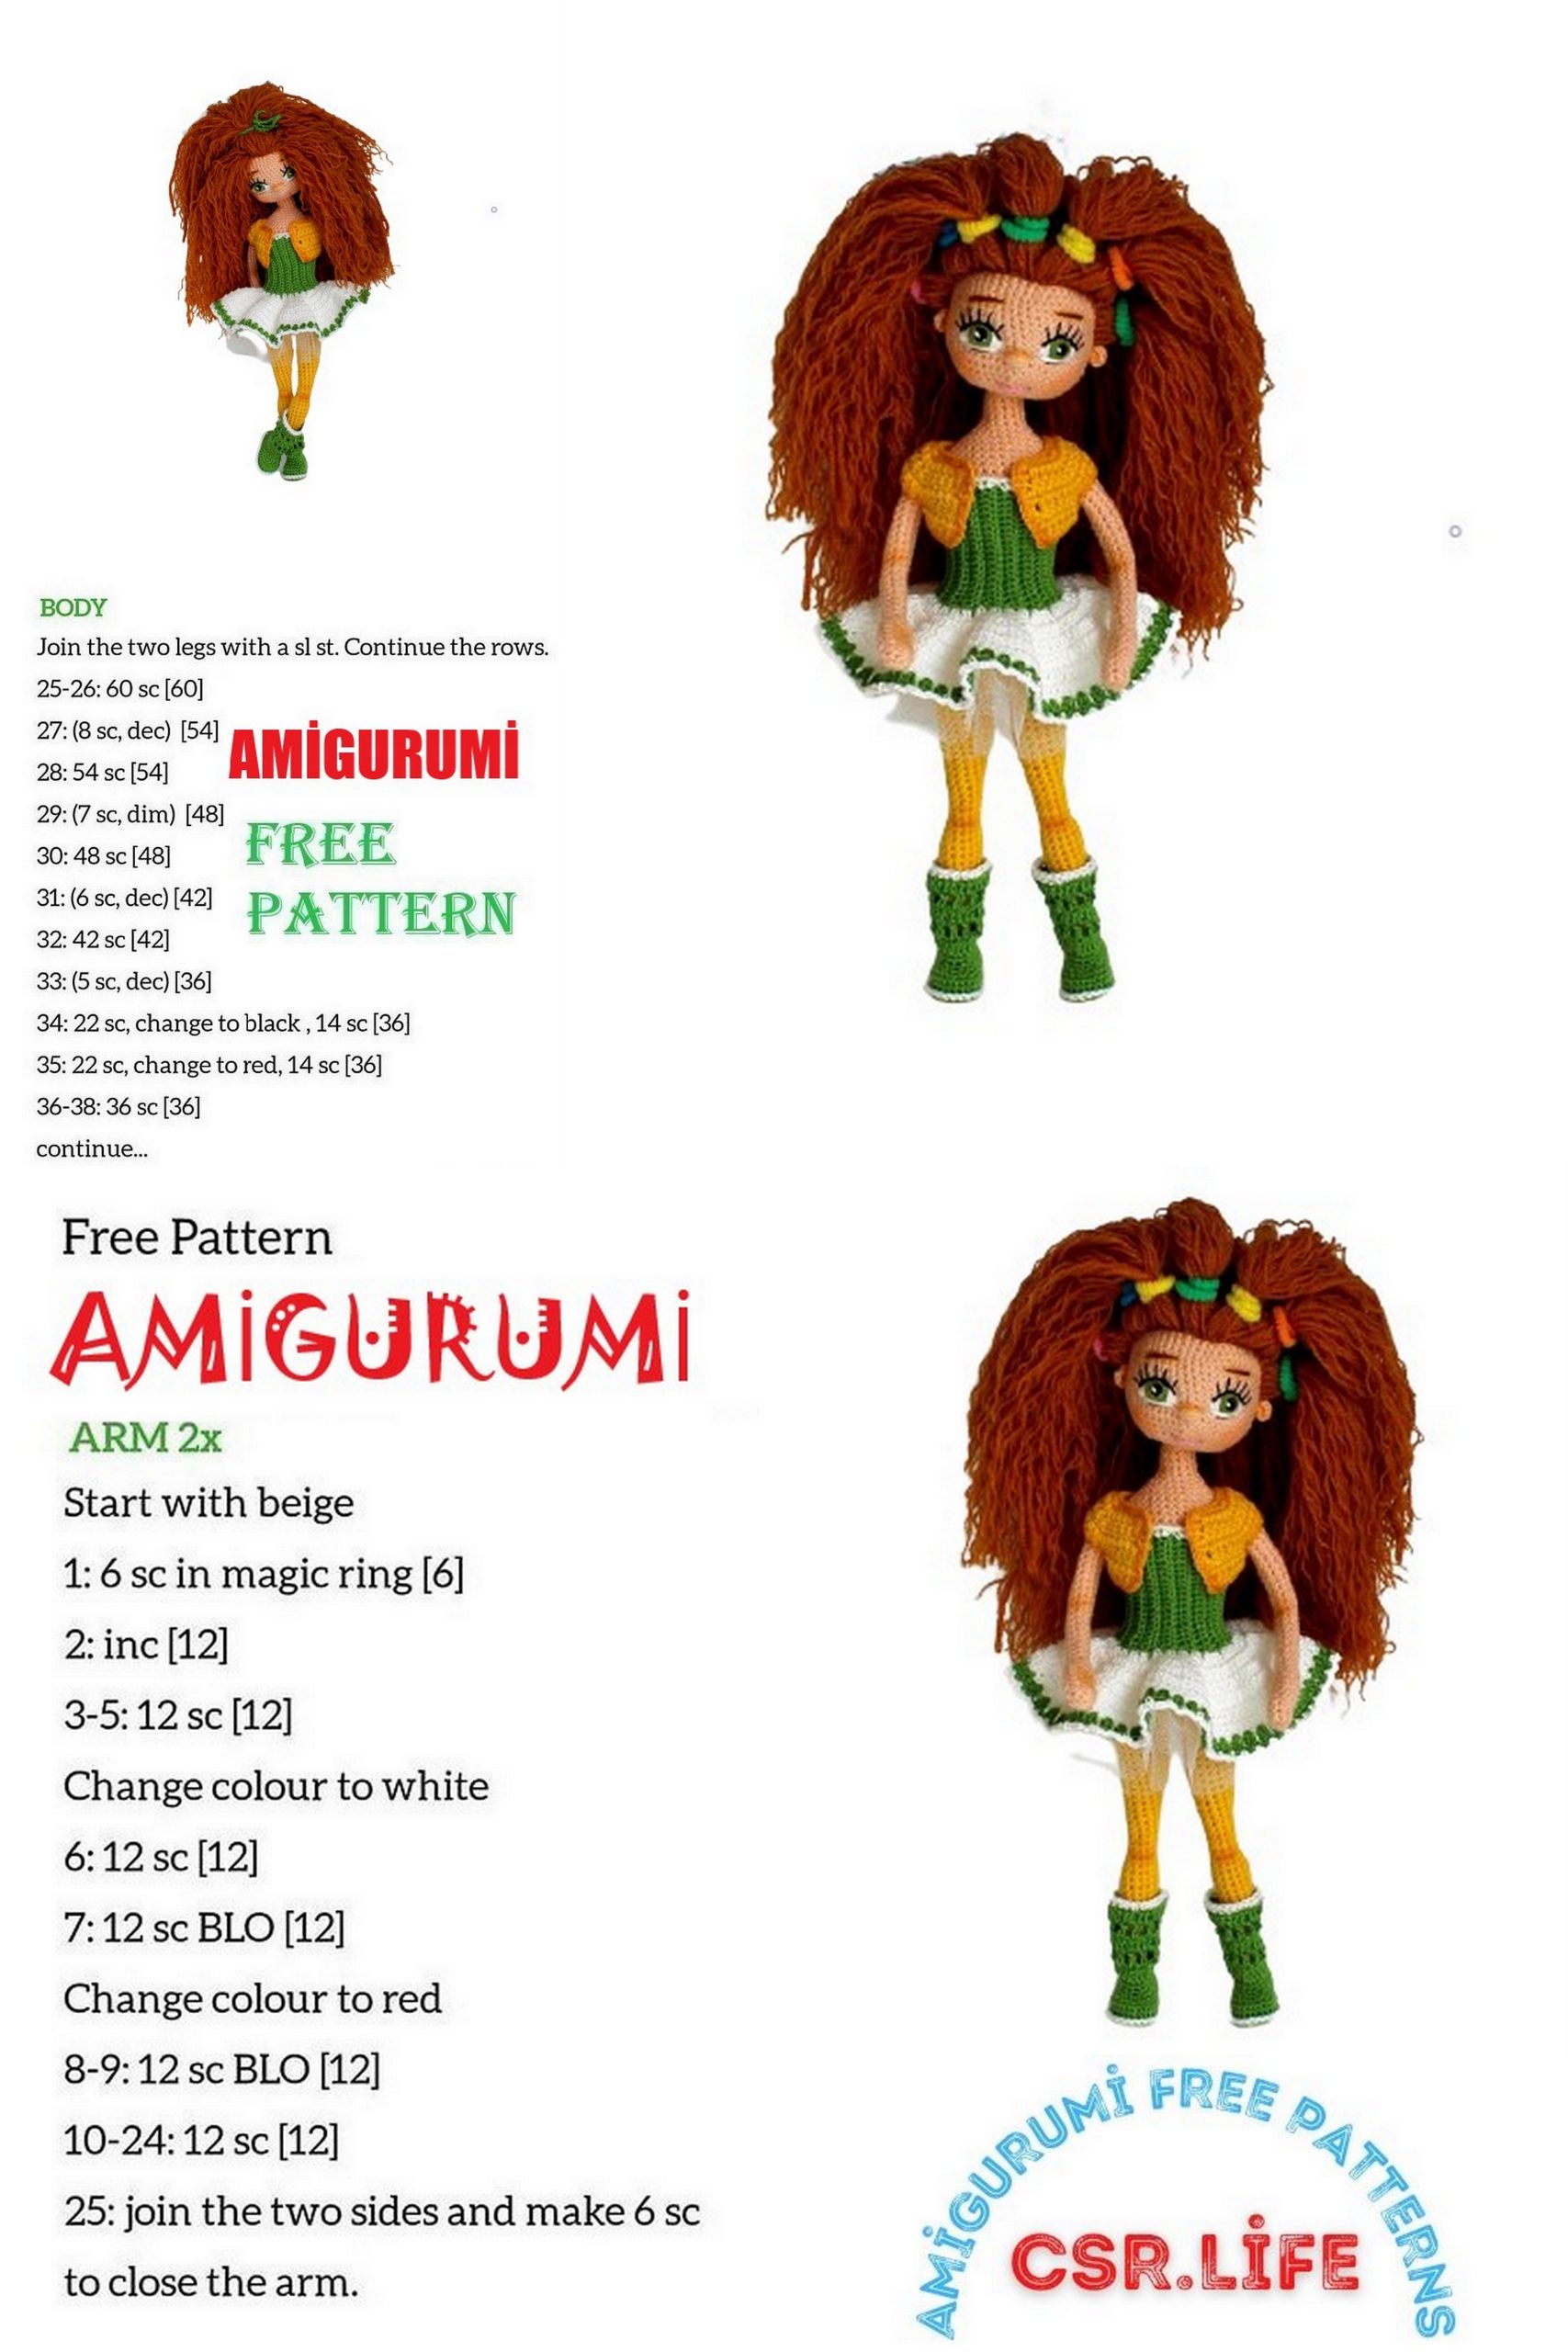
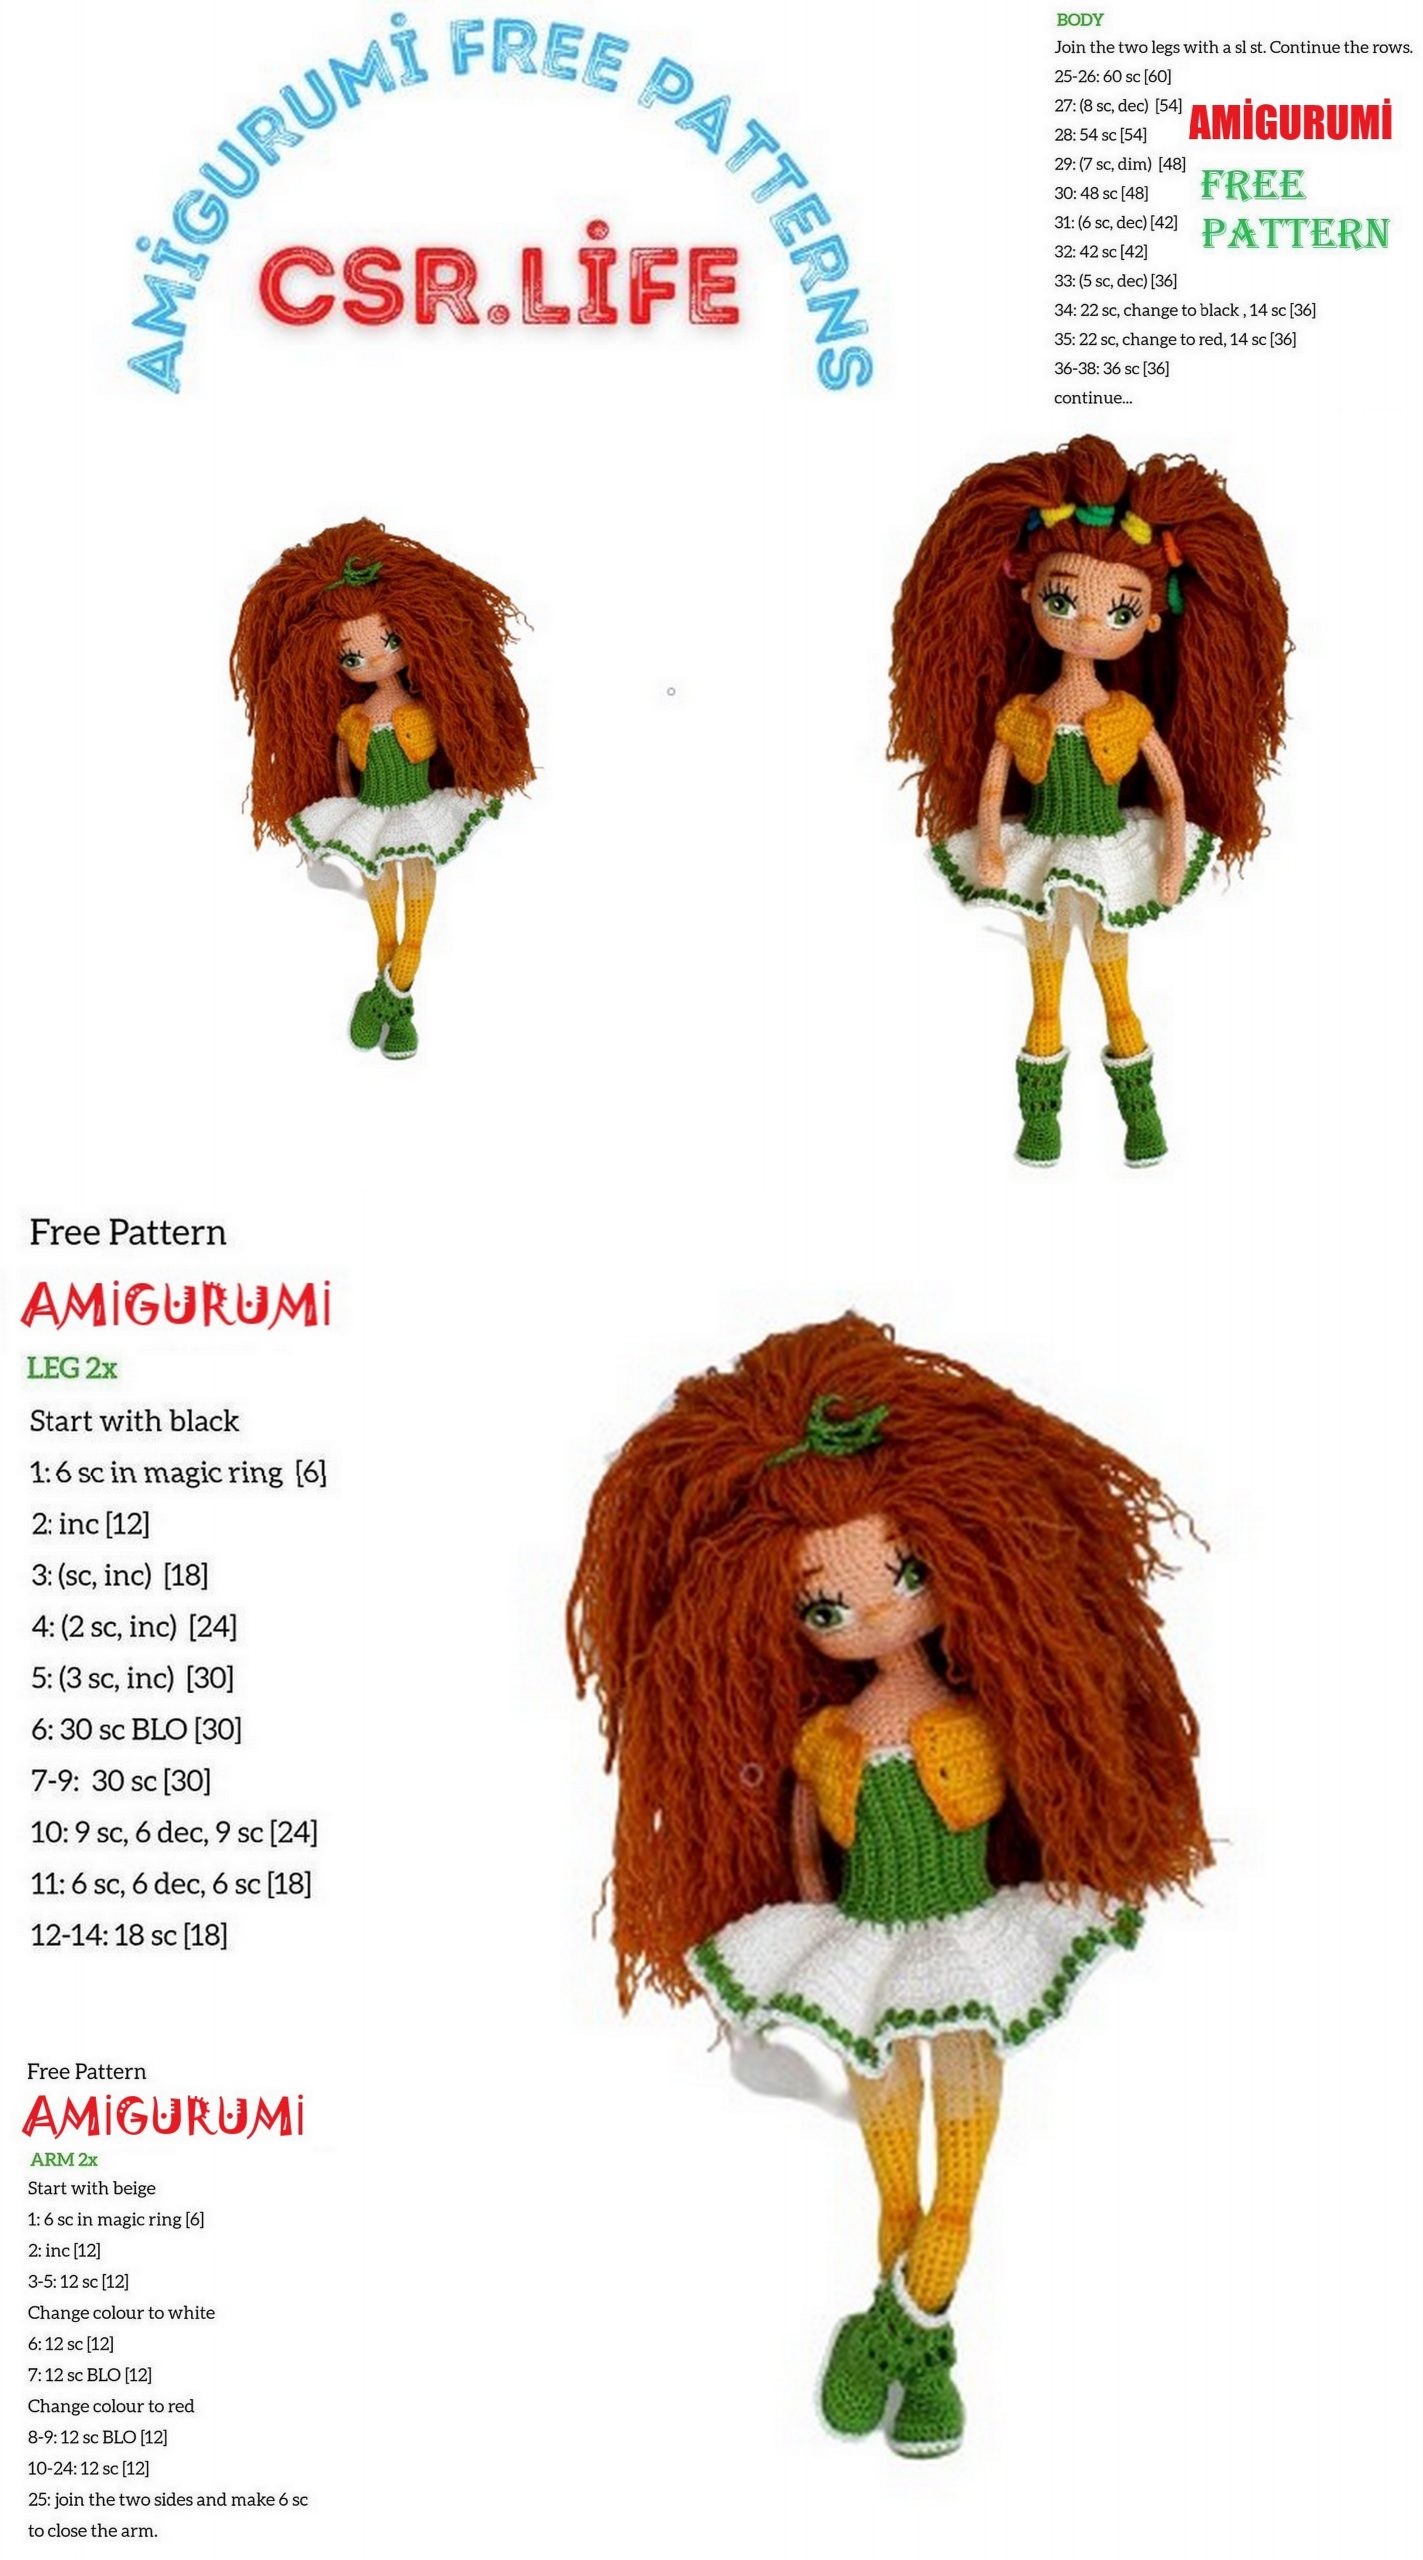
Body
– On the right foot we must cut the thread and hide the end.
– The thread should not be cut on the left leg, we will join these two legs and continue to cut the trunk.
– Find the middle of the inside of the left thigh. Set the pointer.
– Watch the pointer; It should be on the side. If necessary, move it in the right direction using the slide ring.
50: 8 sc (on left leg), 2 ch, 16 sc, (on right leg), 2 sc, (to chain 2), 8 sc (left leg)=36
51: 36 sc = 36
52: 5 sc, inc, 6 sc, inc, 23 sc = 38
53: 4 sc, inc, 10 sc, inc, 22 sc = 40 +1 sc
54: 4 sc, inc, 12 sc, inc, 22 sc = 42
55 – 56: 42 sc = 42 + 1 sc
– – We have to bend the wire frame between them, wrap it with a piece of tape.
57: 5 sc, dec, 10 sc, dec, 23 sc = 40
58: 6 sc, dec, 6 sc, dec, 24 sc = 38
59: 38 sc = 38 + 1 sc
60: 3 sc, dec, 9 sc, dec, 6 sc, dec, 9 sc, dec, 3 sc = 34
Continue with the skin tone:
61: (working the frontal lobes): 34 sc = 34
62: 3 sc, dec, 7 sc, dec, 6 sc, dec, 7 sc, dec, 3 sc = 30
63: 3 sc, dec, 5 sc, dec, 6 sc, dec, 5 sc, dec, 3 sc = 26
64: 26 sc = 26
65: 26 sc = 26 + 1 sc
66: (inc, 12 sc) * 2 = 28
67: 28 scsc = 28 + 1 sc
68: (inc, 13 sc) * 2 = 30
69: 30 sc = 30
– – Chest crochet. It is important that the pointer is exactly in the middle of the edge of the left thigh.
70: 16 sc, (inc, sc) * 3, (sc, inc) * 3, 2 sc = 36
71 – 74: 36 sc = 36
– – Try your hands on the body.
– – Add the filler body gradually as you crochet the body.
– – Find the middle of the spine and put the pointer at the beginning of the tour. Approximately. Count the loops on it.
– – we’ll add the arms.
Round 75: 8 sc, 2 sc (crochet with hand), 16 sc, 2 sc (crochet with hand), 8 sc = 30
– We have to bend the wire frame between them, wrap it with a small piece of adhesive tape.
76: 8 sc, dec (1 sc in back and 1 sc in hand), 4 sc (hand), dec (1 sc in back and 1 sc in hand), 14 sc, dec (1 sc in back + and 1 sc in hand), 4 sc (from hand), dec (1 sc from back and 1sc from hand), 7 sc = 40
77: 8 sc, dec, 2 sc, dec, 14 sc, dec, 2 sc, dec, 7 sc = 36
78: 7 sc, dec * 2, 14 sc, dec * 2, 7 sc = 32
79: 5 sc, dec * 3, 10 sc, dec * 3, 5 sc = 26
80: 4 sc, dec, sc dec, 8 sc, dec, sc, dec, 4 sc = 22
81: 4 sc, dec, 9 sc, dec, 5 sc = 20
82: (3 sc, dec) * 4 = 16
83: (2 sc, dec) * 4 = 12
84 – 87: 12 sc = 12
Finish.
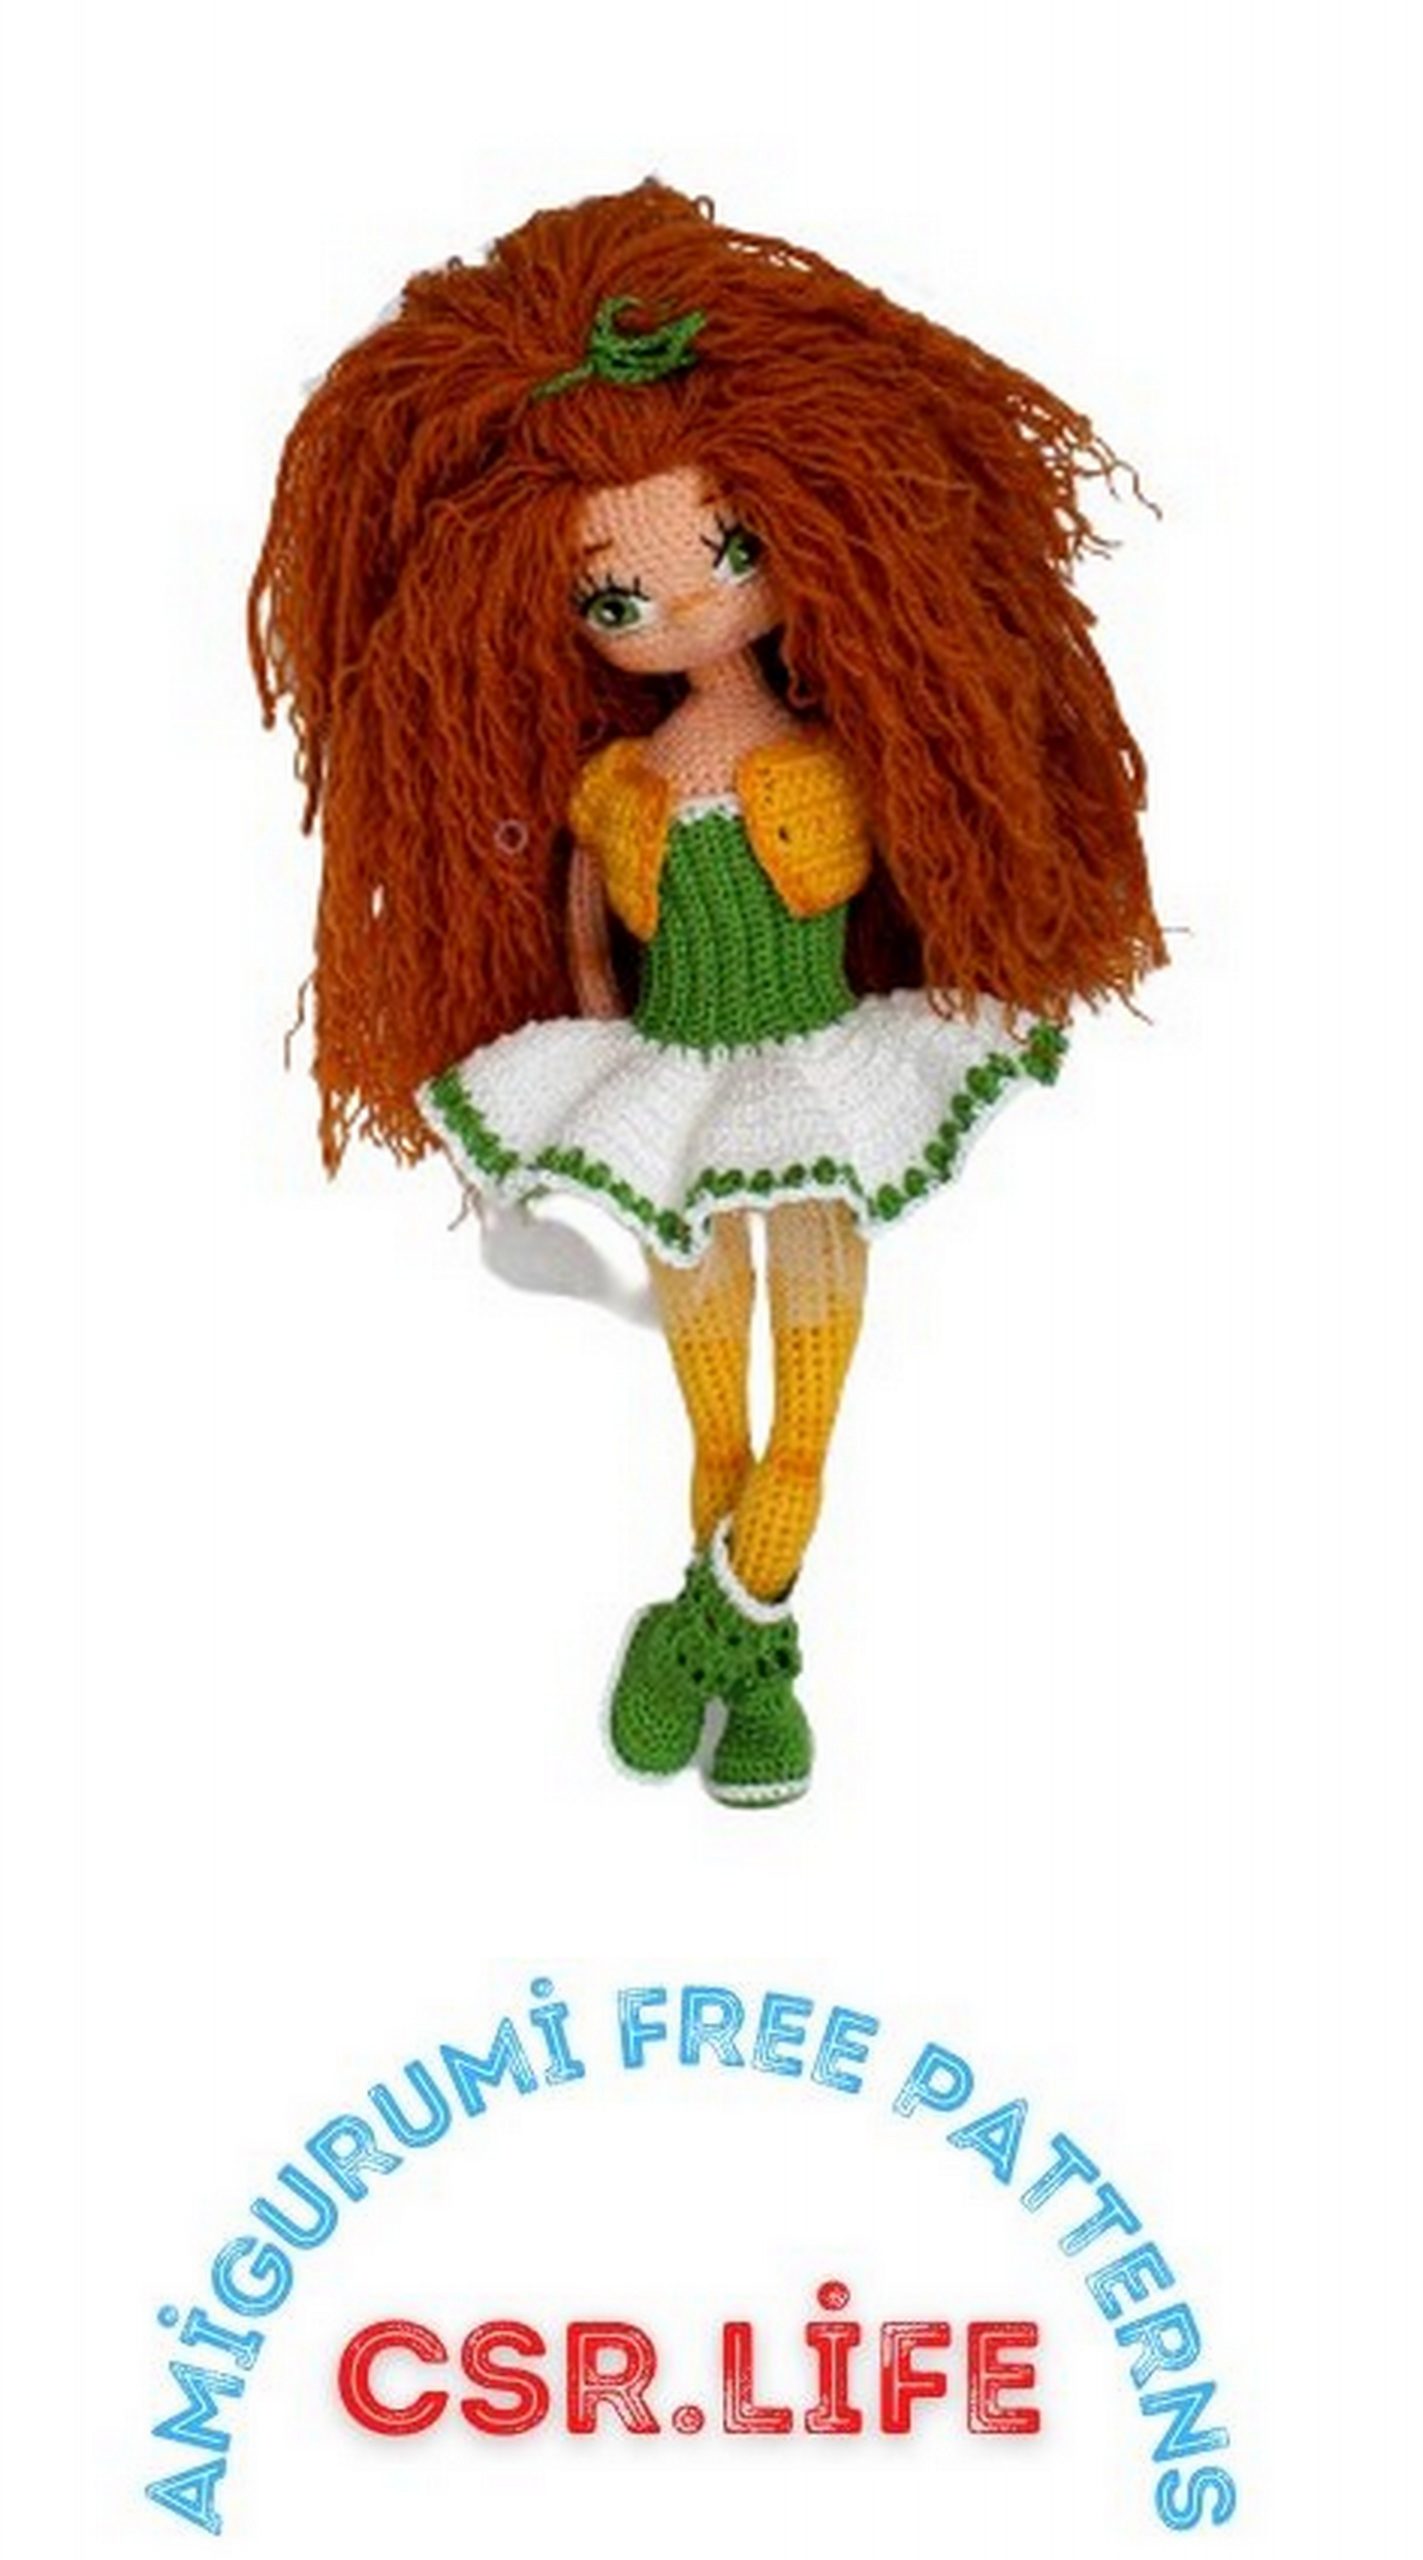
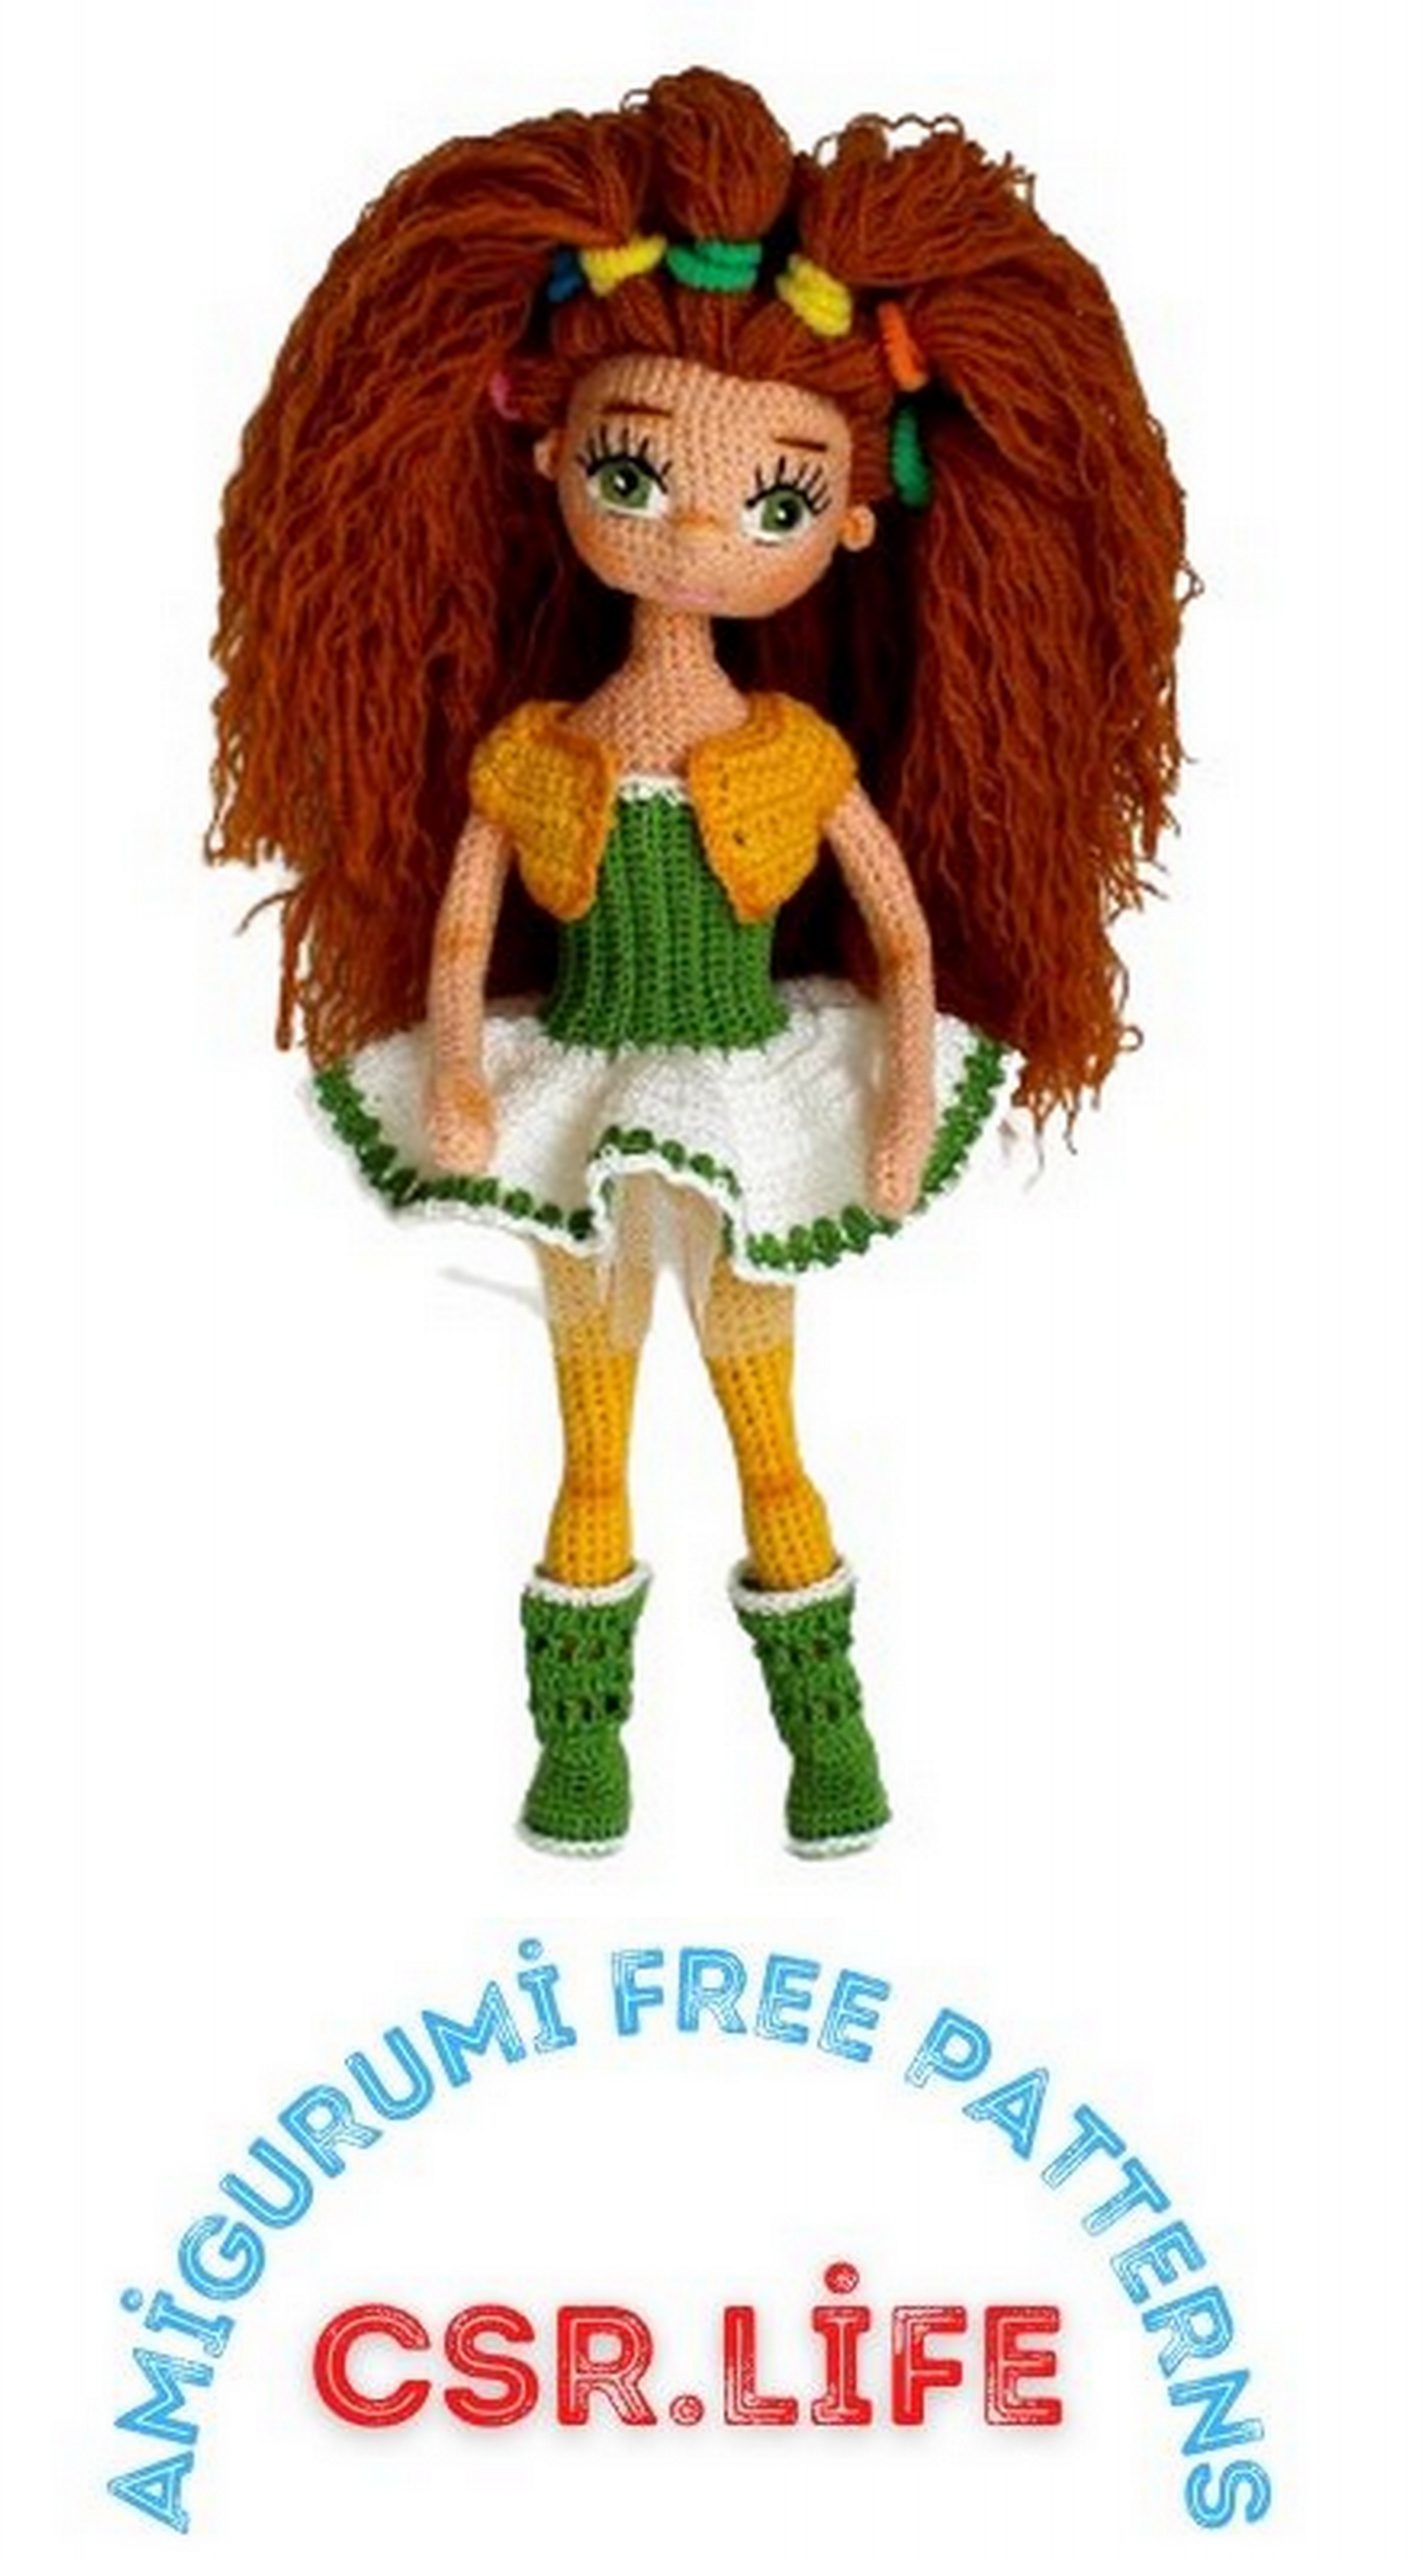
Head
1: Magic ring into 6sc = 6
2: inc * 6 = 12
3: (1 sc, inc) * 6 = 18
4: (1 sc, inc, 1 sc) * 6 = 24
5: (3 sc, inc) * 6 = 30
6: (1 sc, inc, 3 sc) * 6 = 36
7: (5 sc, inc) * 6 = 42
8: (1 sc, inc, 5 sc) * 6 = 48
9 – 19: 48 sc = 48
20: (dec, 6 sc) * 6 = 42
21: (dec, 5 sc) * 6 = 36
– Let’s add the title with filling
22: (dec, 4 sc) * 6 = 30
23: (dec, 3 sc) * 6 = 24
24: (dec, 2 sc) * 6 = 18
25: (dec, 1 sc) * 6 = 12
26: (dec, 1 sc) * 4 = 8
– After face decoration, the head should be sewn up
Ears (2 pieces)
1: Sh 4sc = 4
– Pull it tight and cut the thread, leaving the long piece for sewing.
– – Sew the ears in the 13-15 second round from the beginning.
Find the right place and mark it with pins. The distance between the ears should be 25 sc.
Eye processing
– – Visually divide the face into 4 parts. Find the center and move it down (0.5 cm)
Mark a line with colored thread. In this line we will process the eyes.
(Note the green thread for the placement of the eyes).
Take a black embroidery thread, cut it in half (three threads per half).
Let’s start embroidery. See the pictures.
All teeth should be placed on top of the head. At the end of the work, the thread tails should be hidden inside the head. Let’s start embroidery with black thread.
That’s all! The eyes are ready. Hide the head teeth. Let’s start to process the eyebrows.
So, buy brown embroidery thread.
Nose
Mouth
– – After embroidering the nose, let’s start embroidering the mouth. Put the needle on the top of the head; come out in one of the corners of the lips. We place the needle in another corner of the lips. It came out at the base of the neck. Secure the thread.
hair
– Cut thread to the required length. I bought it (35 cm). We determine the contour that we will fix the edge of the hair. We make the first link above the head. We should tie them to their scarf like fringe ..
Now we will make our hair a little wavy. To do this, we have to divide the thread strand into several strands. The strand of yarn consists of five strands. I do not share all the hair on my head. Approximately. See how much it will be divided in half, according to your preferences; The more strands, the more gorgeous the hair will be.
To color your face.
– A nose and eyebrows are colored with acrylic paint. Cheeks – pink.
Dress
Yarn – Alize Miss 100% Cotton 280m / 50gm, crochet №1.4mm
With Green, 22 ch. From 2 loops.
1: 21 sc, turn = 21
2 – 32: (blo): 1 ch, 21 sc, turn = 21
cut the thread and fasten it.
With white thread
1: 2 DC * 32 = 64 in each loop
– So, we have to continue the round crochet!
2: 3 ch, (inc, 1 DC) * to end of row, 1 sl-st
3: 3 ch, (incdc, 2 DC) * to end of row, 1sl-st
4: 3 ch, (incdc, 3 DC) * to end of row, 1sl-st
5 – 6: 3 ch, 1 DC * 1 dc per loop, 1sl-st
With green
7: 4 ch, (incdc, 1 ch, skip 1) * to end of row, sl-st
Cut the thread and fasten it.
With white thread
8: (3 ch, 1 sc) * from the end to the end (see pictures)
– Cut and tighten the thread.
– – Knit the back of the dress with sc.
In the front left, we knit the loops for the buttons without skipping 3 ch – 1 loop.
Only 3 rows
– crochet dress top by 3 sc in a convex round loop (see pictures)
–stitch
skirt tulle
– The size of the tulle rectangular piece, 6 cm * 100 cm
– – Bring the two sides together
– Putting on a set of top bands
– Try on the doll, pull the thread around the waist.
– Sew from the inside of the dress
– Cut off the excess
Vest
With yellow, 34 ch. From the 2nd stitch.
1: 4 sc, inc3sc, 5 sc, inc3sc, 10 sc, inc3sc
, 5 sc, inc3sc, 4 sc, turn = 40
2: 3 ch, 39 DC, turn = 40
3: 1 ch, 5 sc, inc3sc), 7 sc, inc3sc, 12 sc, inc3sc), 7 sc, inc3sc), 5 sc, turn = 48
4: 3 ch, 47 DC, turn = 48
5: 1 ch, 7 sc, 3 ch skip 9 sc), 16 sc, 3 ch skip 9 sc), 7 sc, turn
6: 3 ch, 37 DC, turn = 38
Cut the thread and fasten it.
– Cross the edges of the vest with sc
– – Color the edges with brown acrylic paint. Dip the brush in the paint and wipe off the excess on a cloth. Drop some paint on the brush.
Shoes (2 pieces)
– Crochet shoes, clockwise, we will be on the front !!!
Foot (4 pieces)
With green
– 10 ch From 2nd
Round 1: 8 sc, 4sc in the same loop, 7 sc, inc, 1 sl-st = 21
2: 6 sc, 2 hdc, (inchdc) * 4, 2 hdc, 6 sc, inc * 2, 1 sl-st = 28
3: inchdc, 8 c, (inchdc, hdc) * 3, inchdc, 8 c, inchdc, 3 c, 1 sl-st = 34
Cut the thread and secure.
With white thread
– – Connect the two bases together with sc
– – sc we need to crochet one base from the front wall of the loop and the other base from the two walls.
Cut the thread and fix it.
With green
1: (blo): – 1 sc to the end of the row = 34
2: 34 sc = 34
Find the middle of the heel and put the pointer at the beginning of the round. Approximately. Count this cycle.
3: 9 sc, dec, 2 sc, (dec, 1 sc) * 2, dec, 2 sc, dec, 9 sc = 29
4: dec, 7 sc, (dec, 1 sc) * 3, dec, 7 sc, dec = 23
5: 7 sc, dec * 2, 1 sc, dec * 2, 7 sc = 19
6: 19 sc, 1sl-st = 19
7: 3 ch, 18 DC, 1sl-st = 19
8: 4 ch, (1 DC, 1 ch) * to end of row, 1 sl-st
9: 3 ch, 1 DC * * to end of row, 1 sl-st
10: 4 ch, (1 DC, 1 ch) * to the end, 1 sl-st
11: 3 ch, DC * to the end, 1 sl-st
Cut the thread and fasten it.
With white thread
12: 1 ch, 1sc * to the end, 1 sl-st
Finish for sure