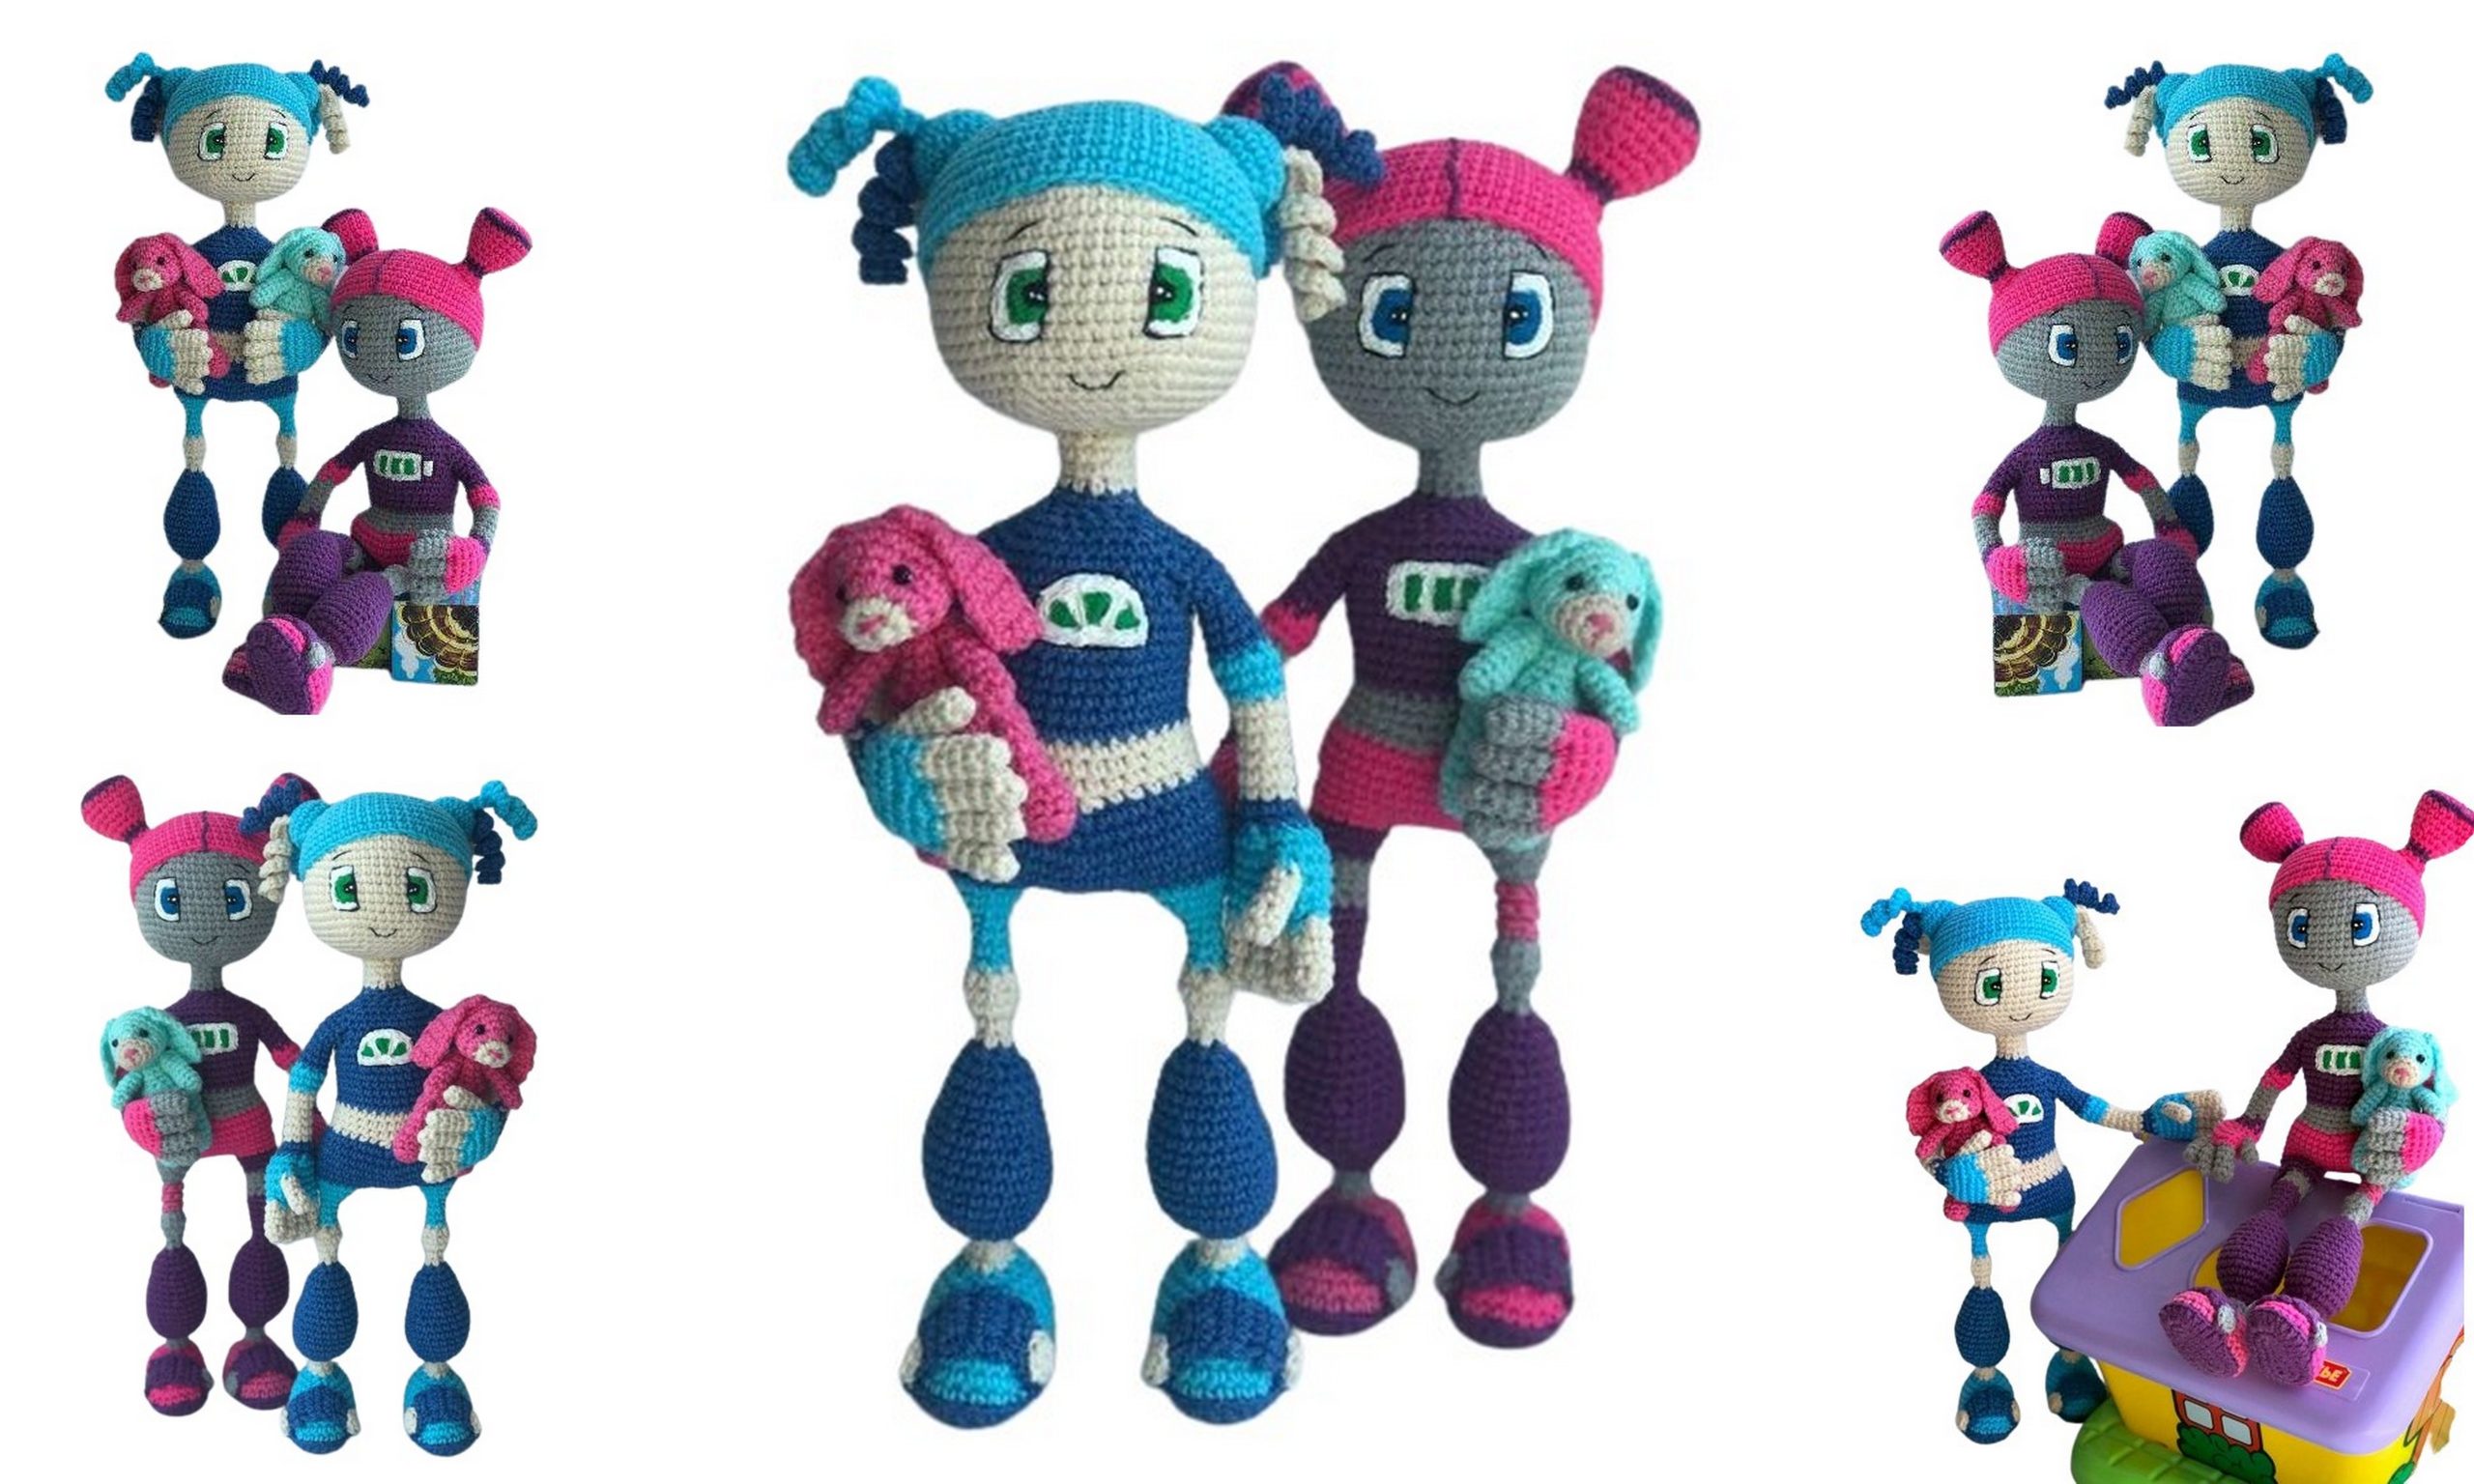
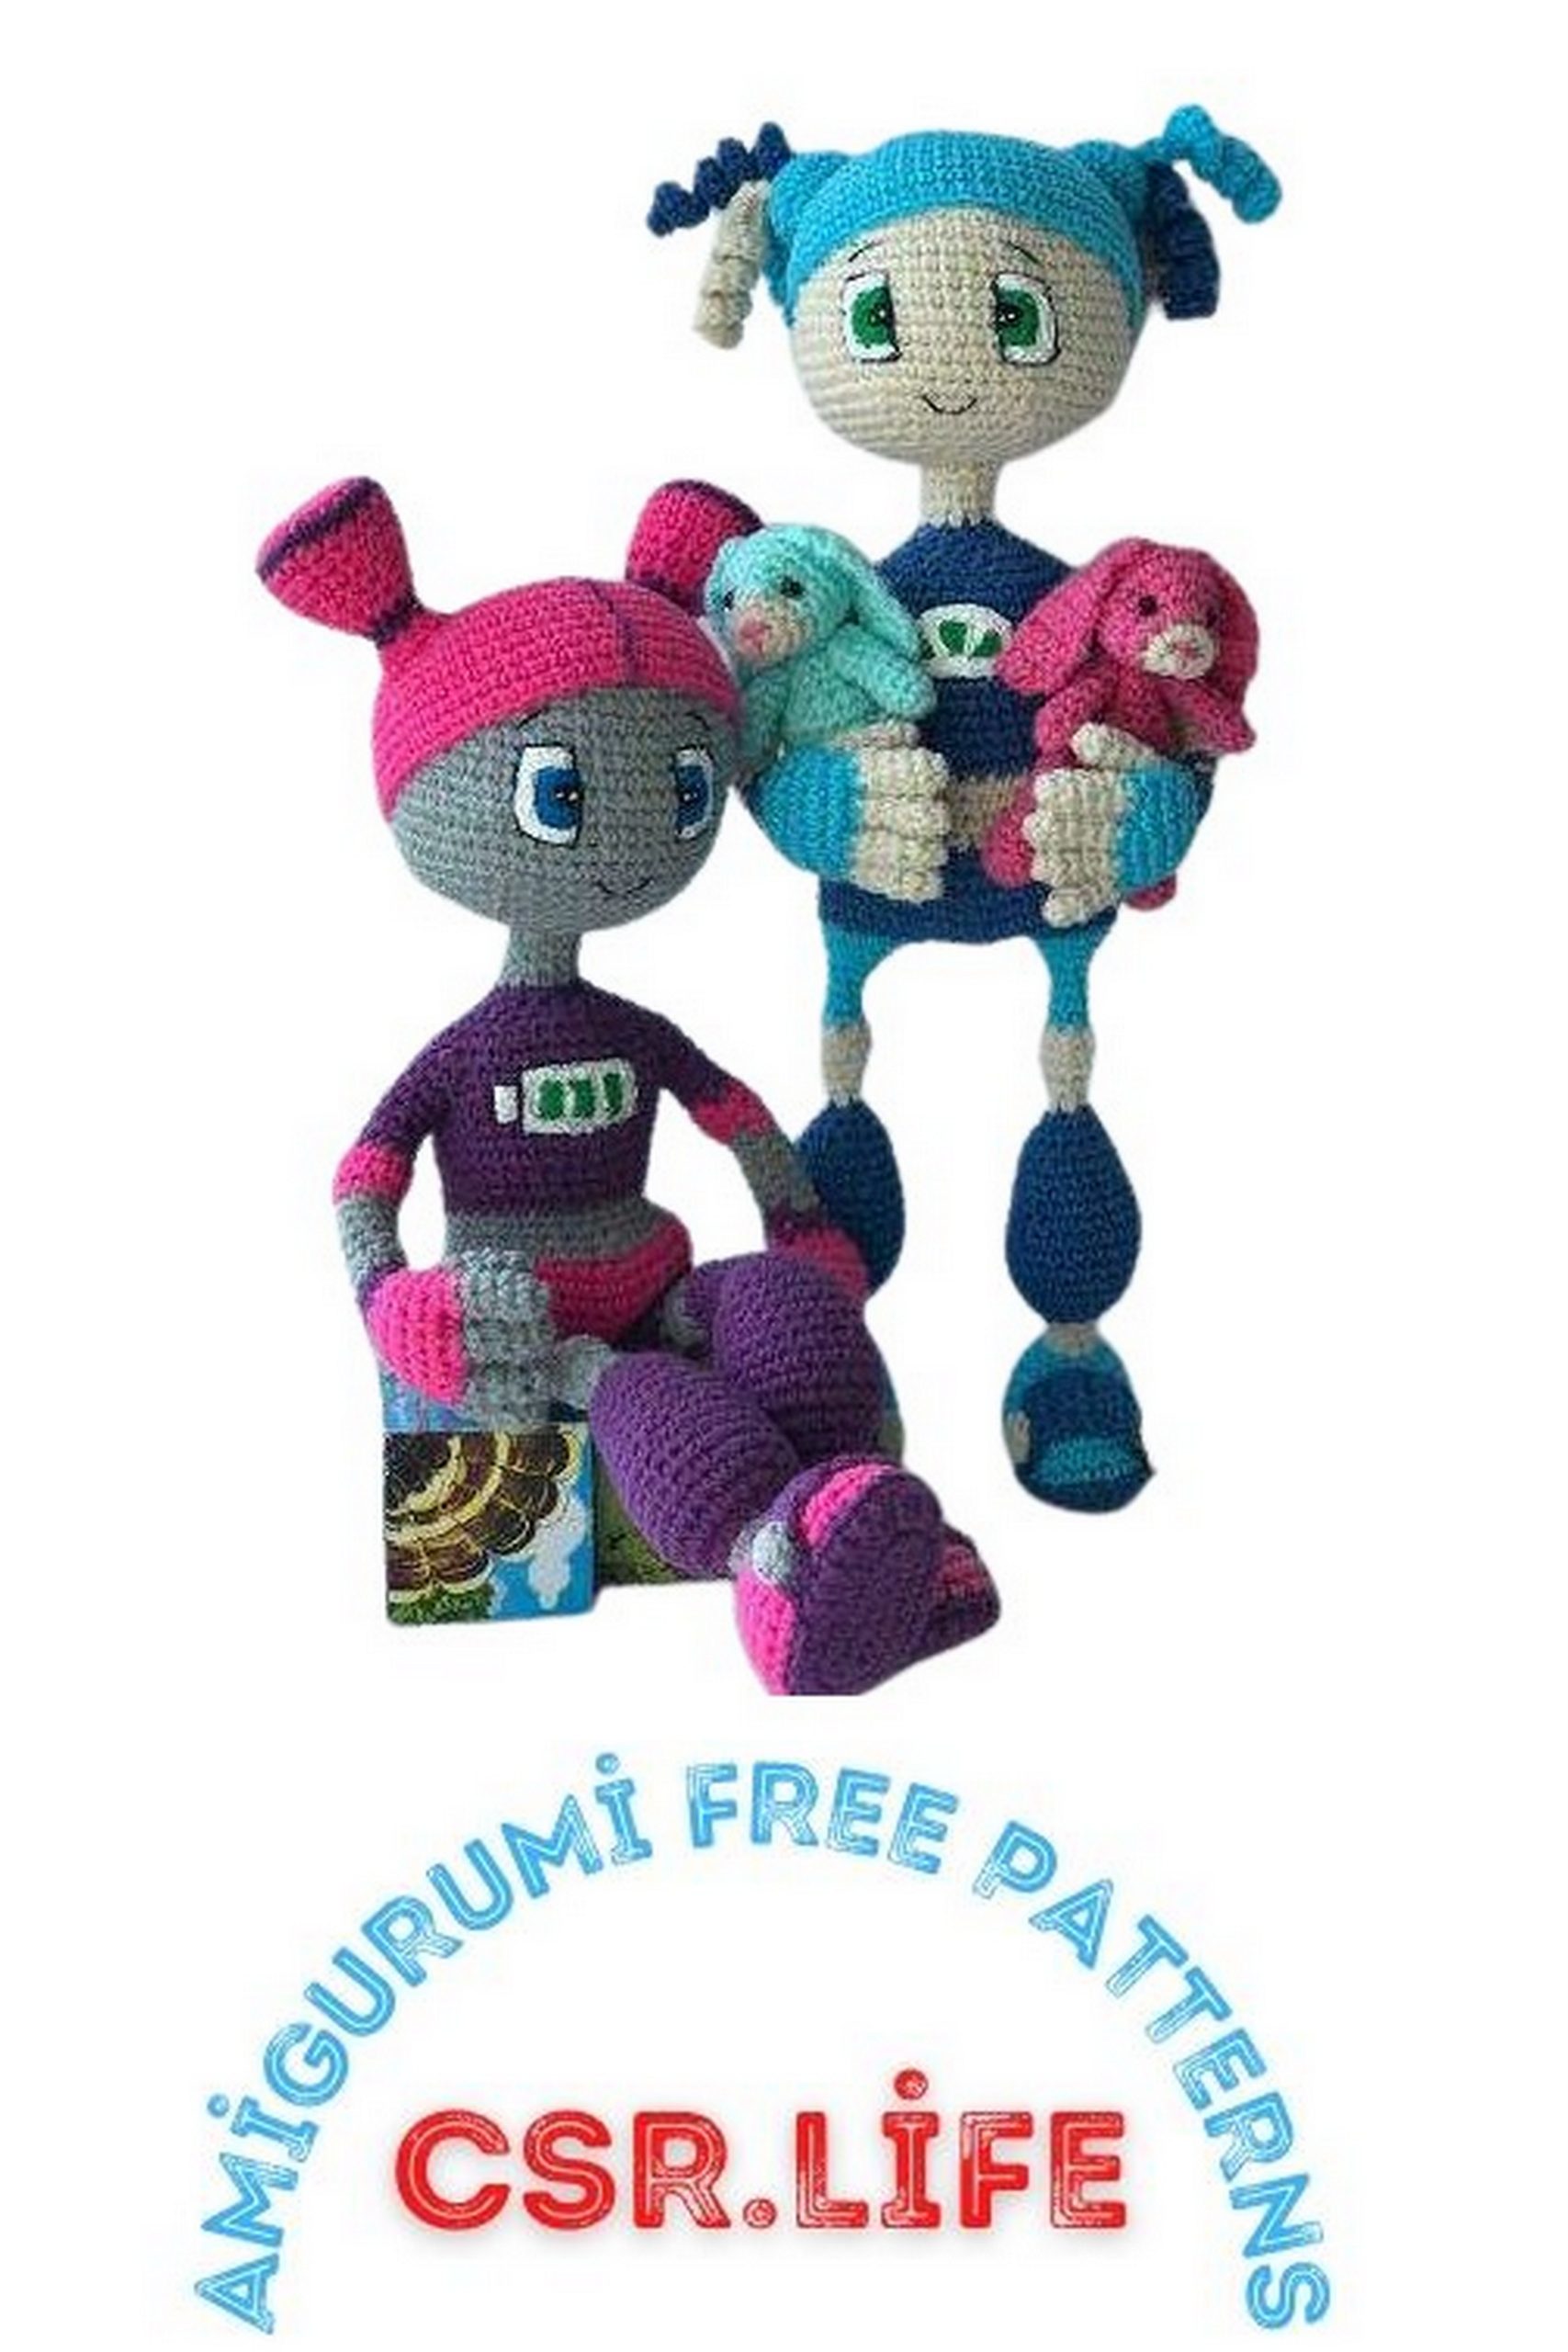
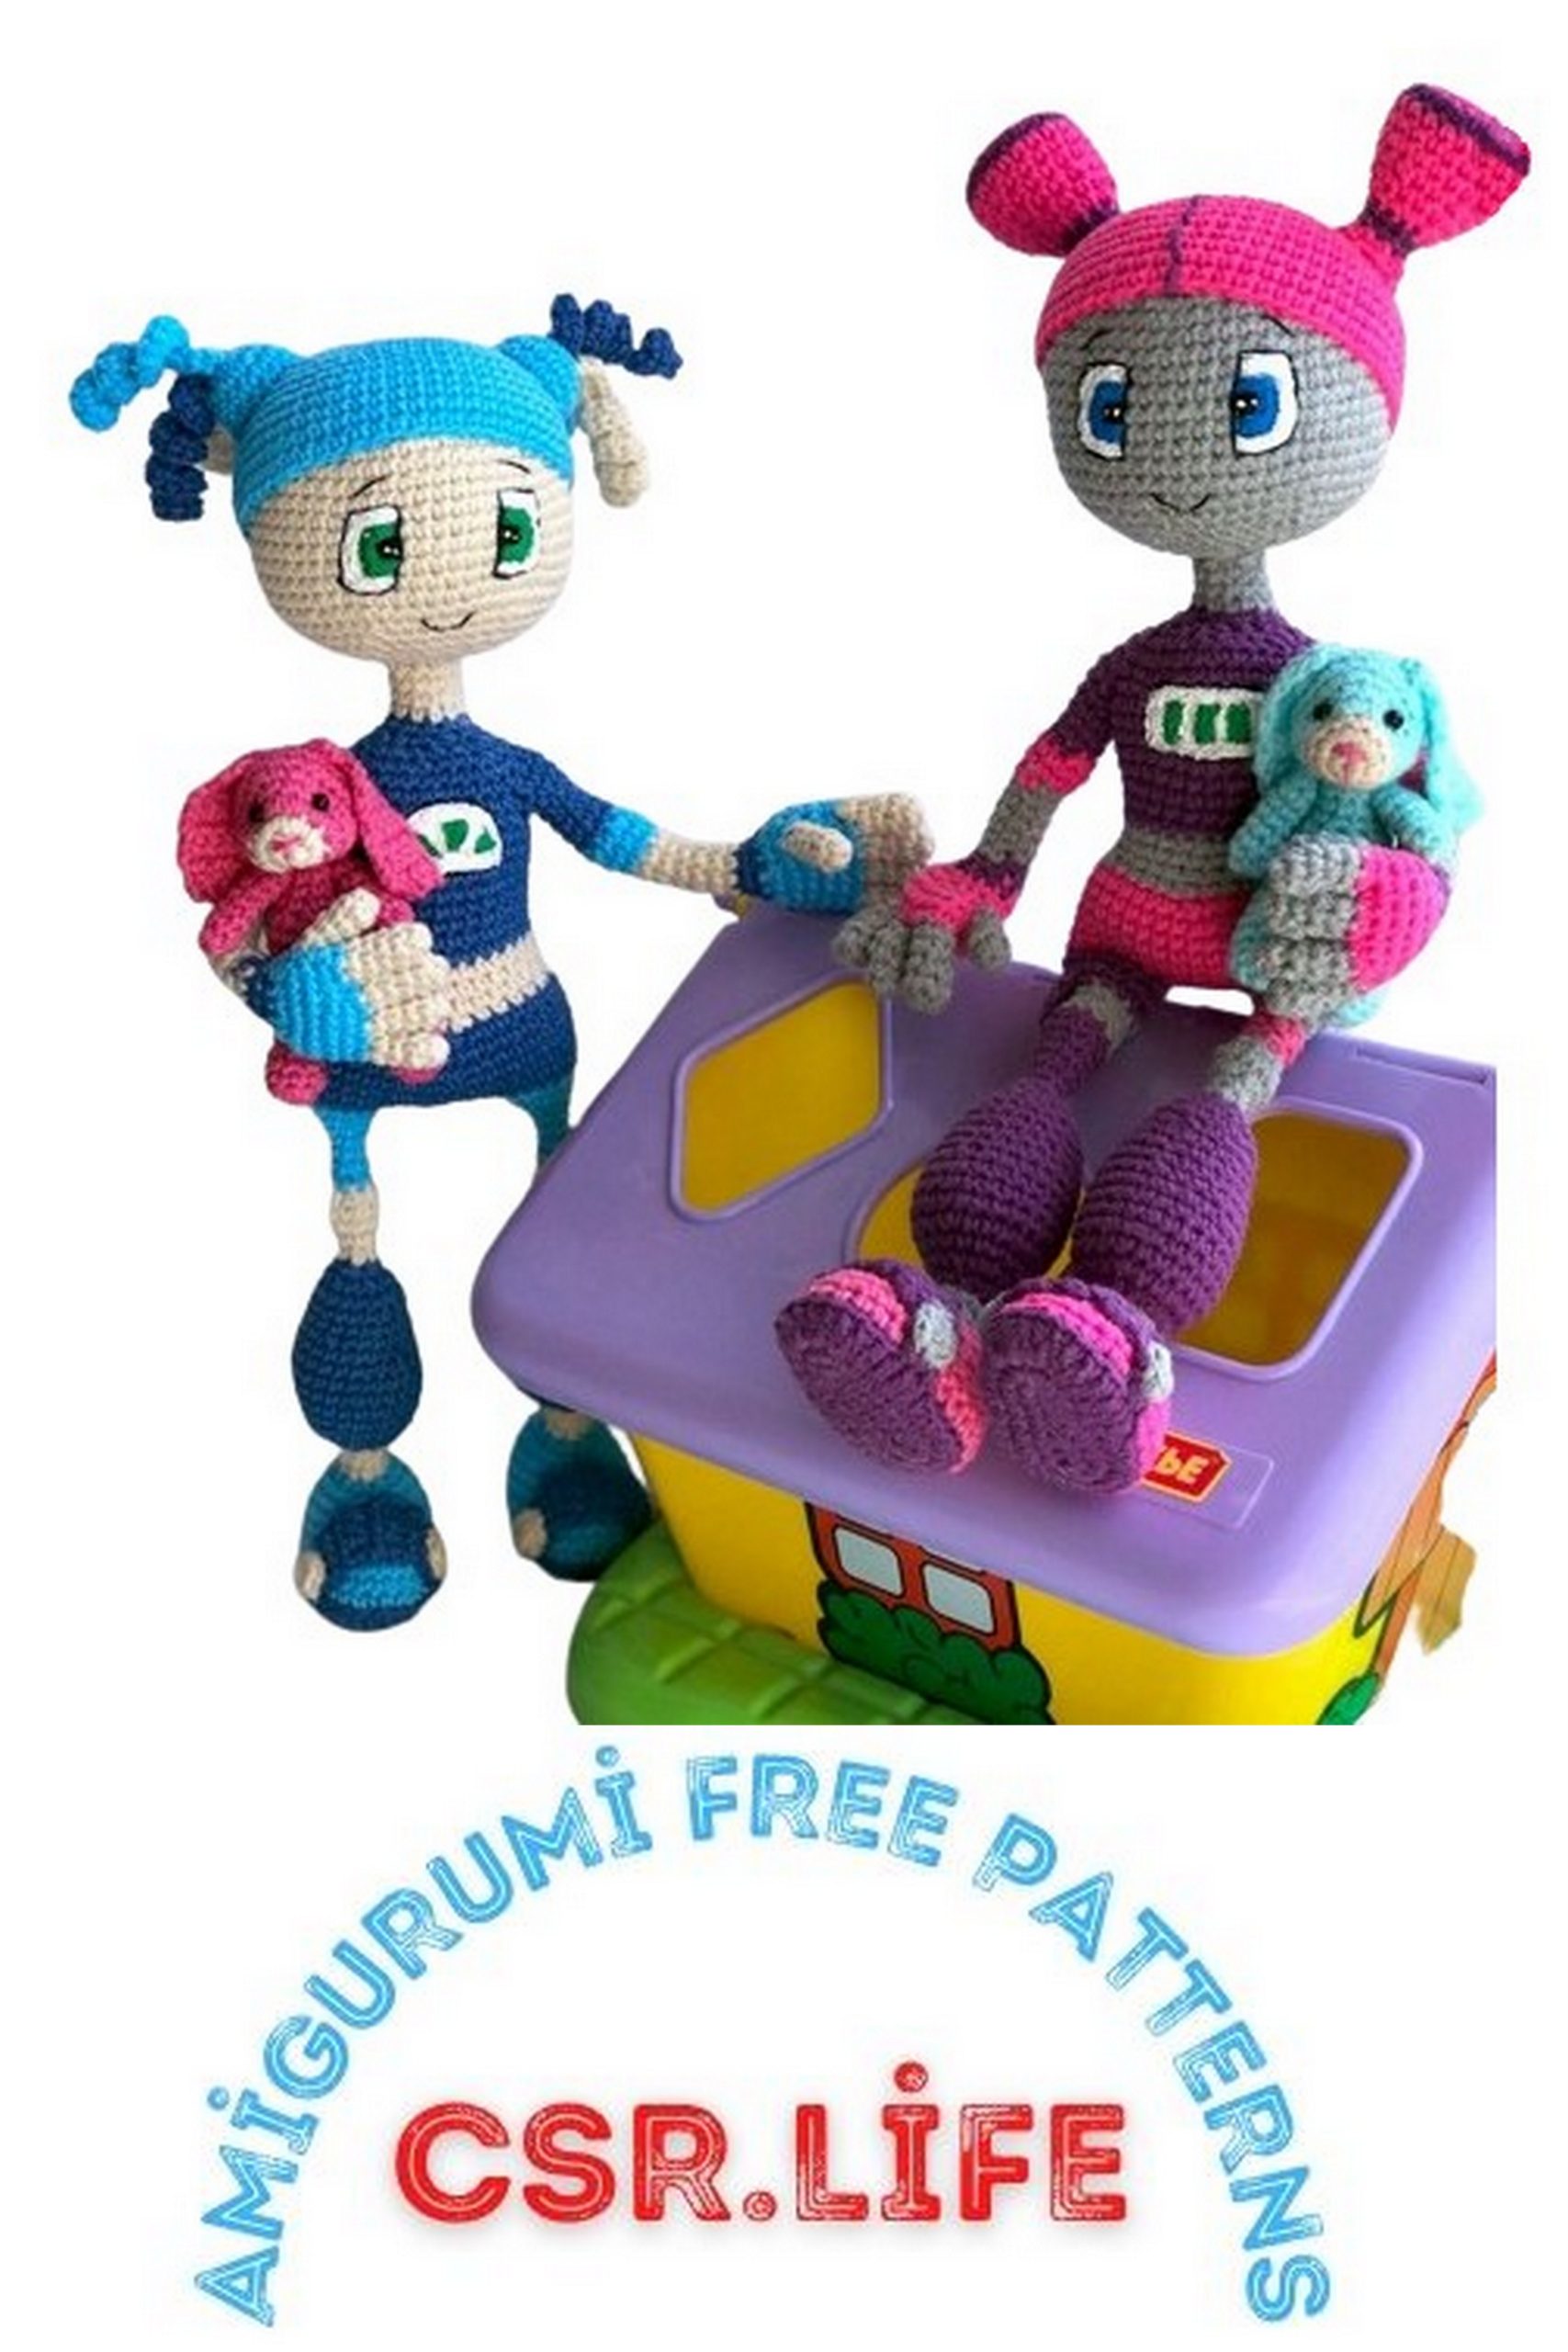
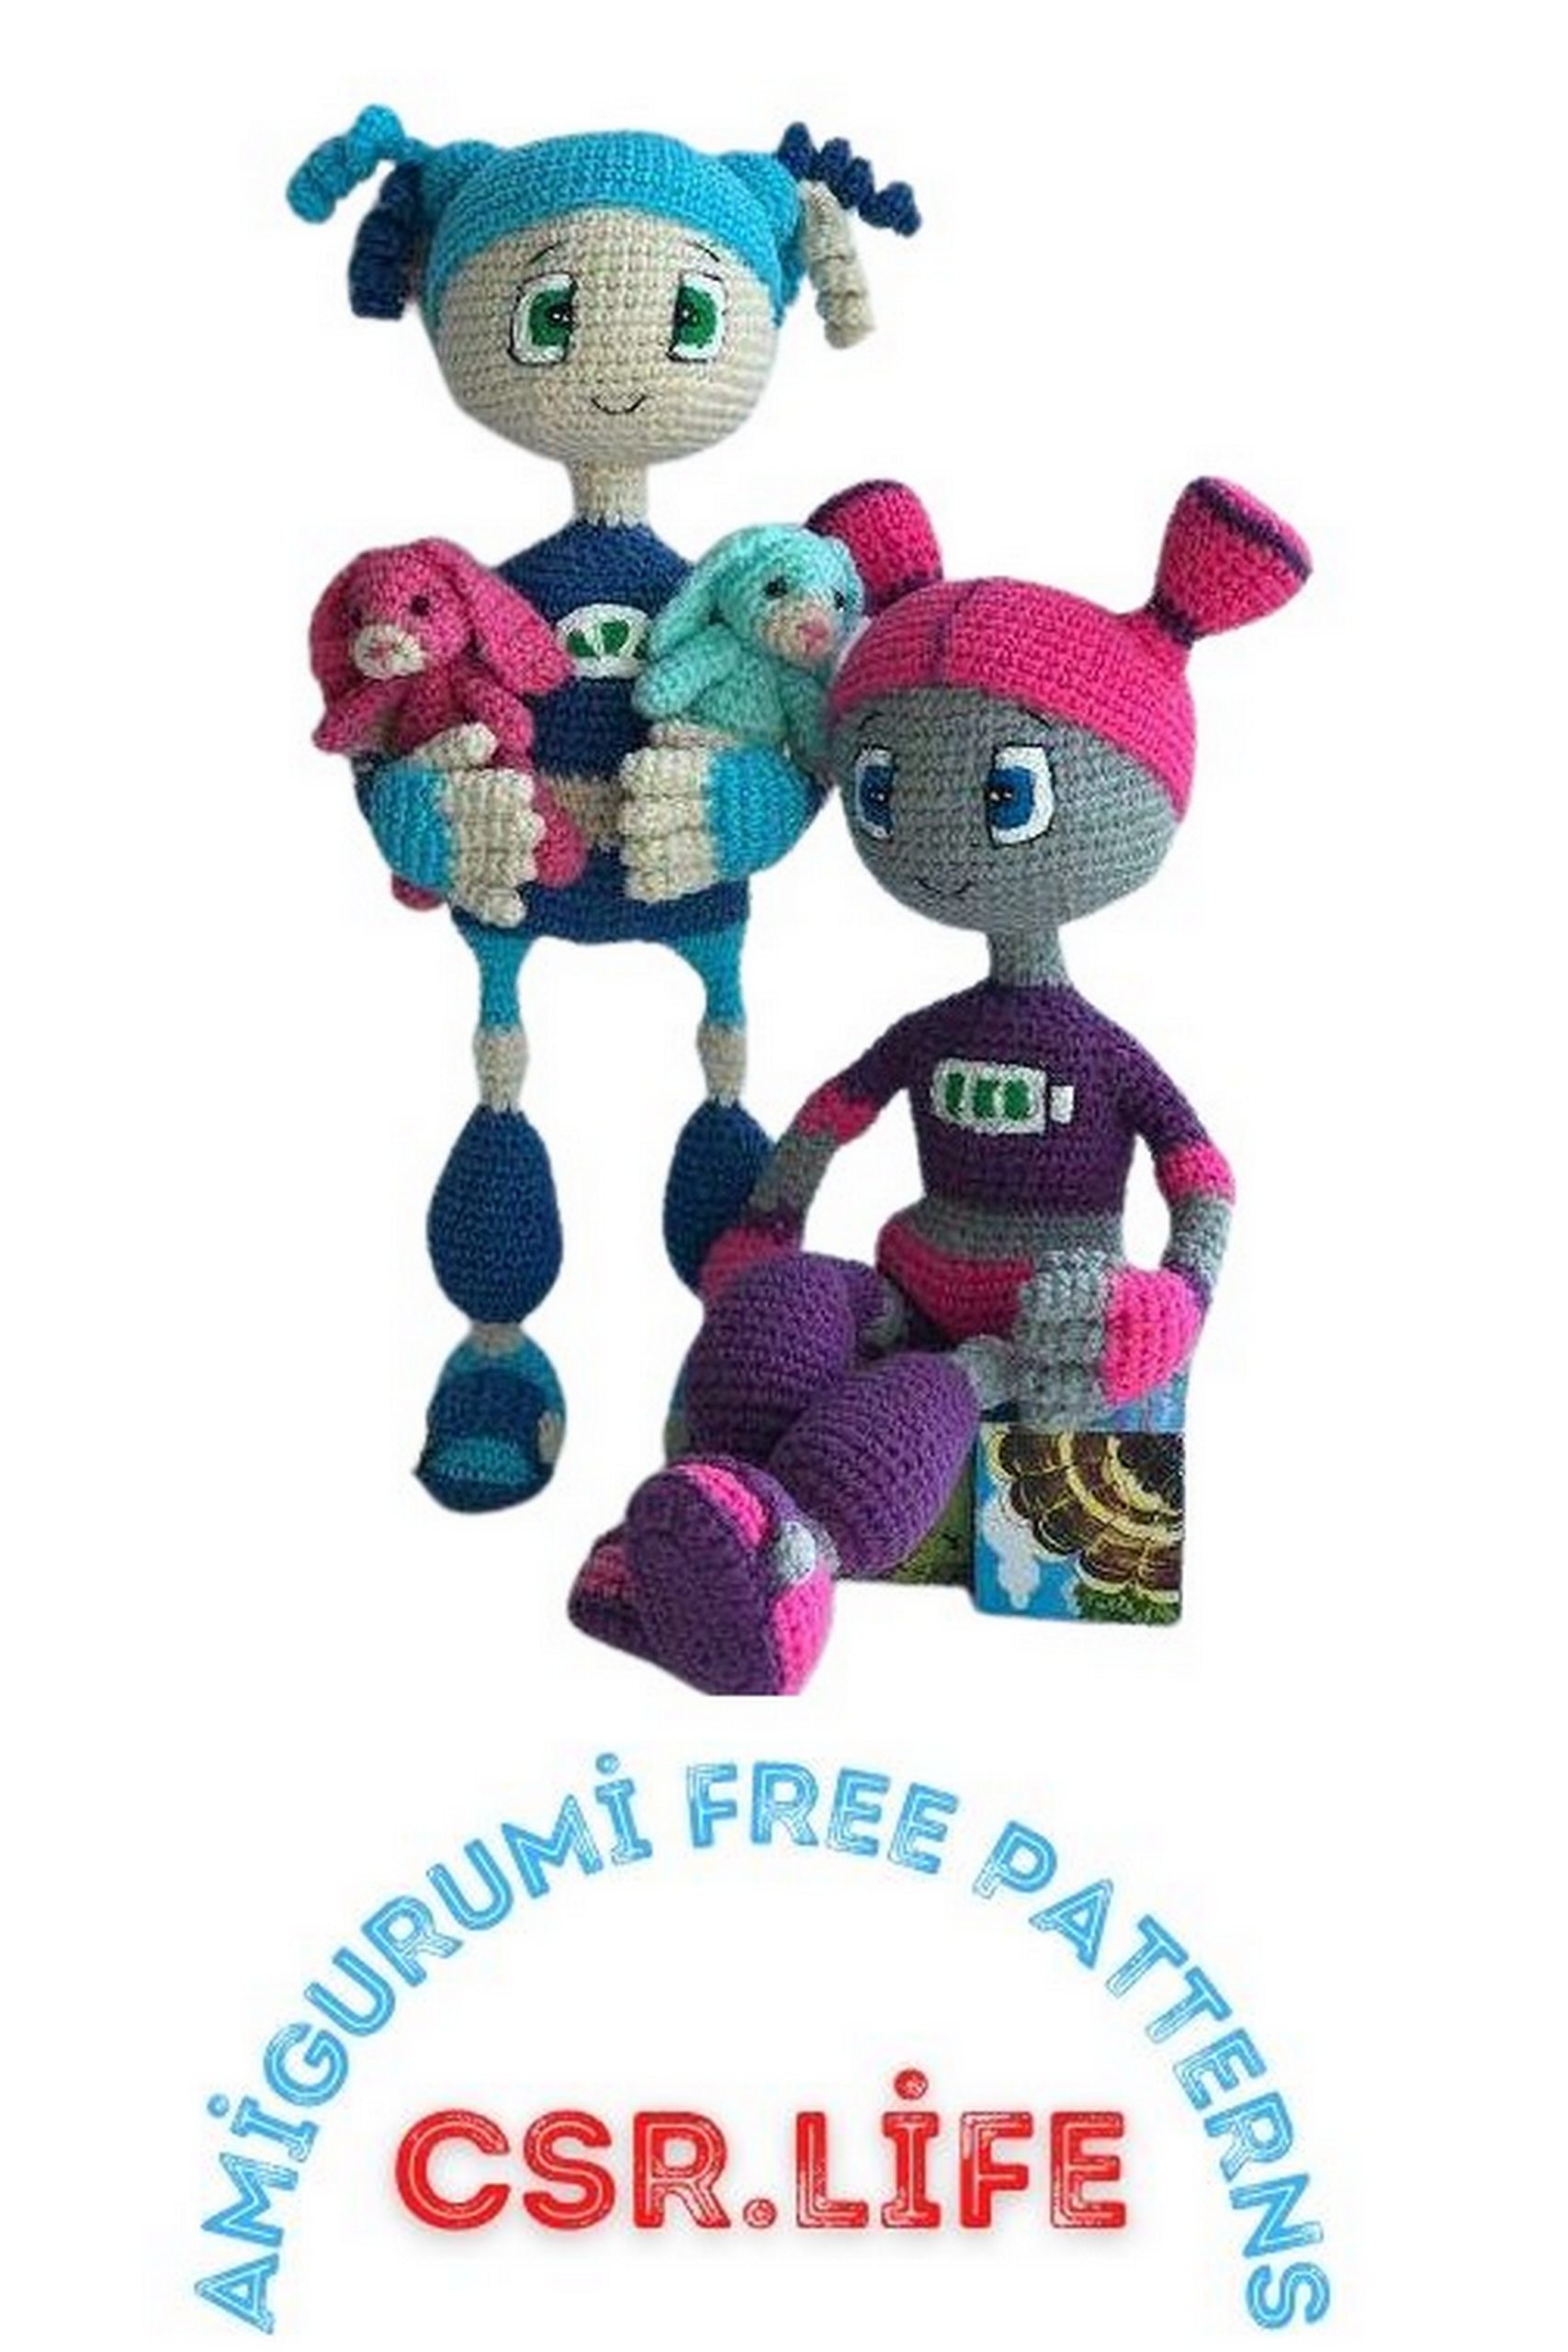
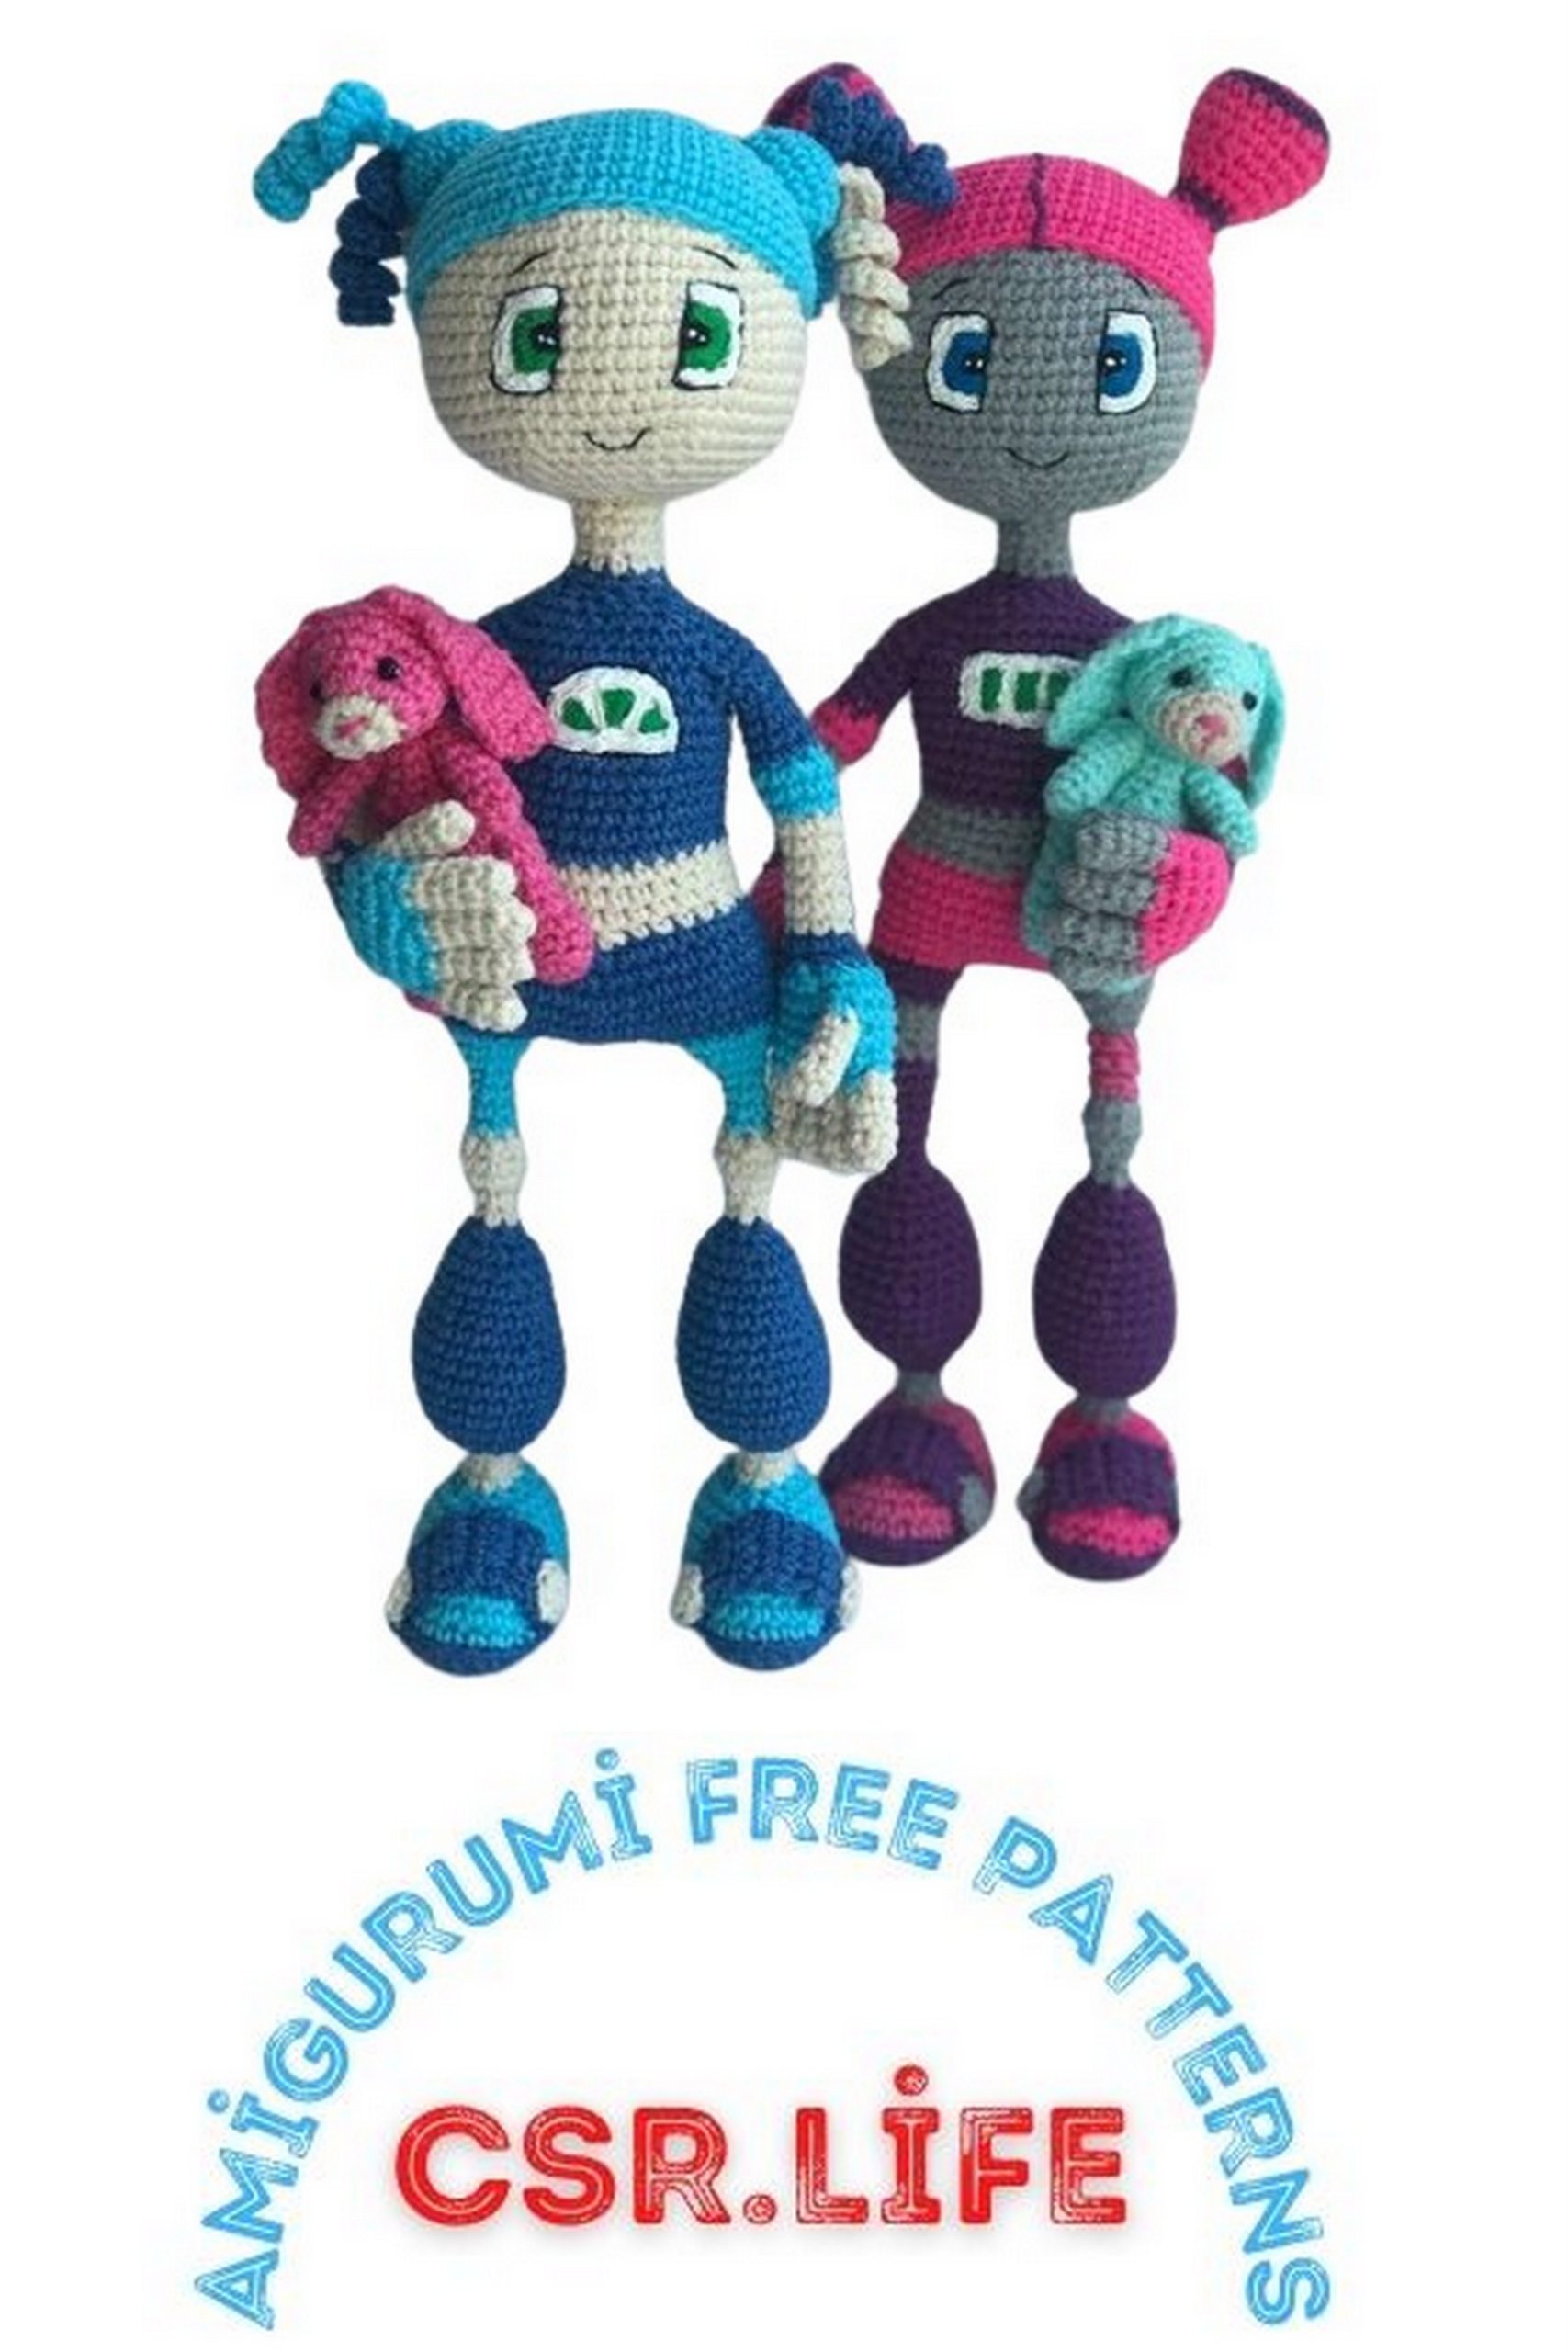
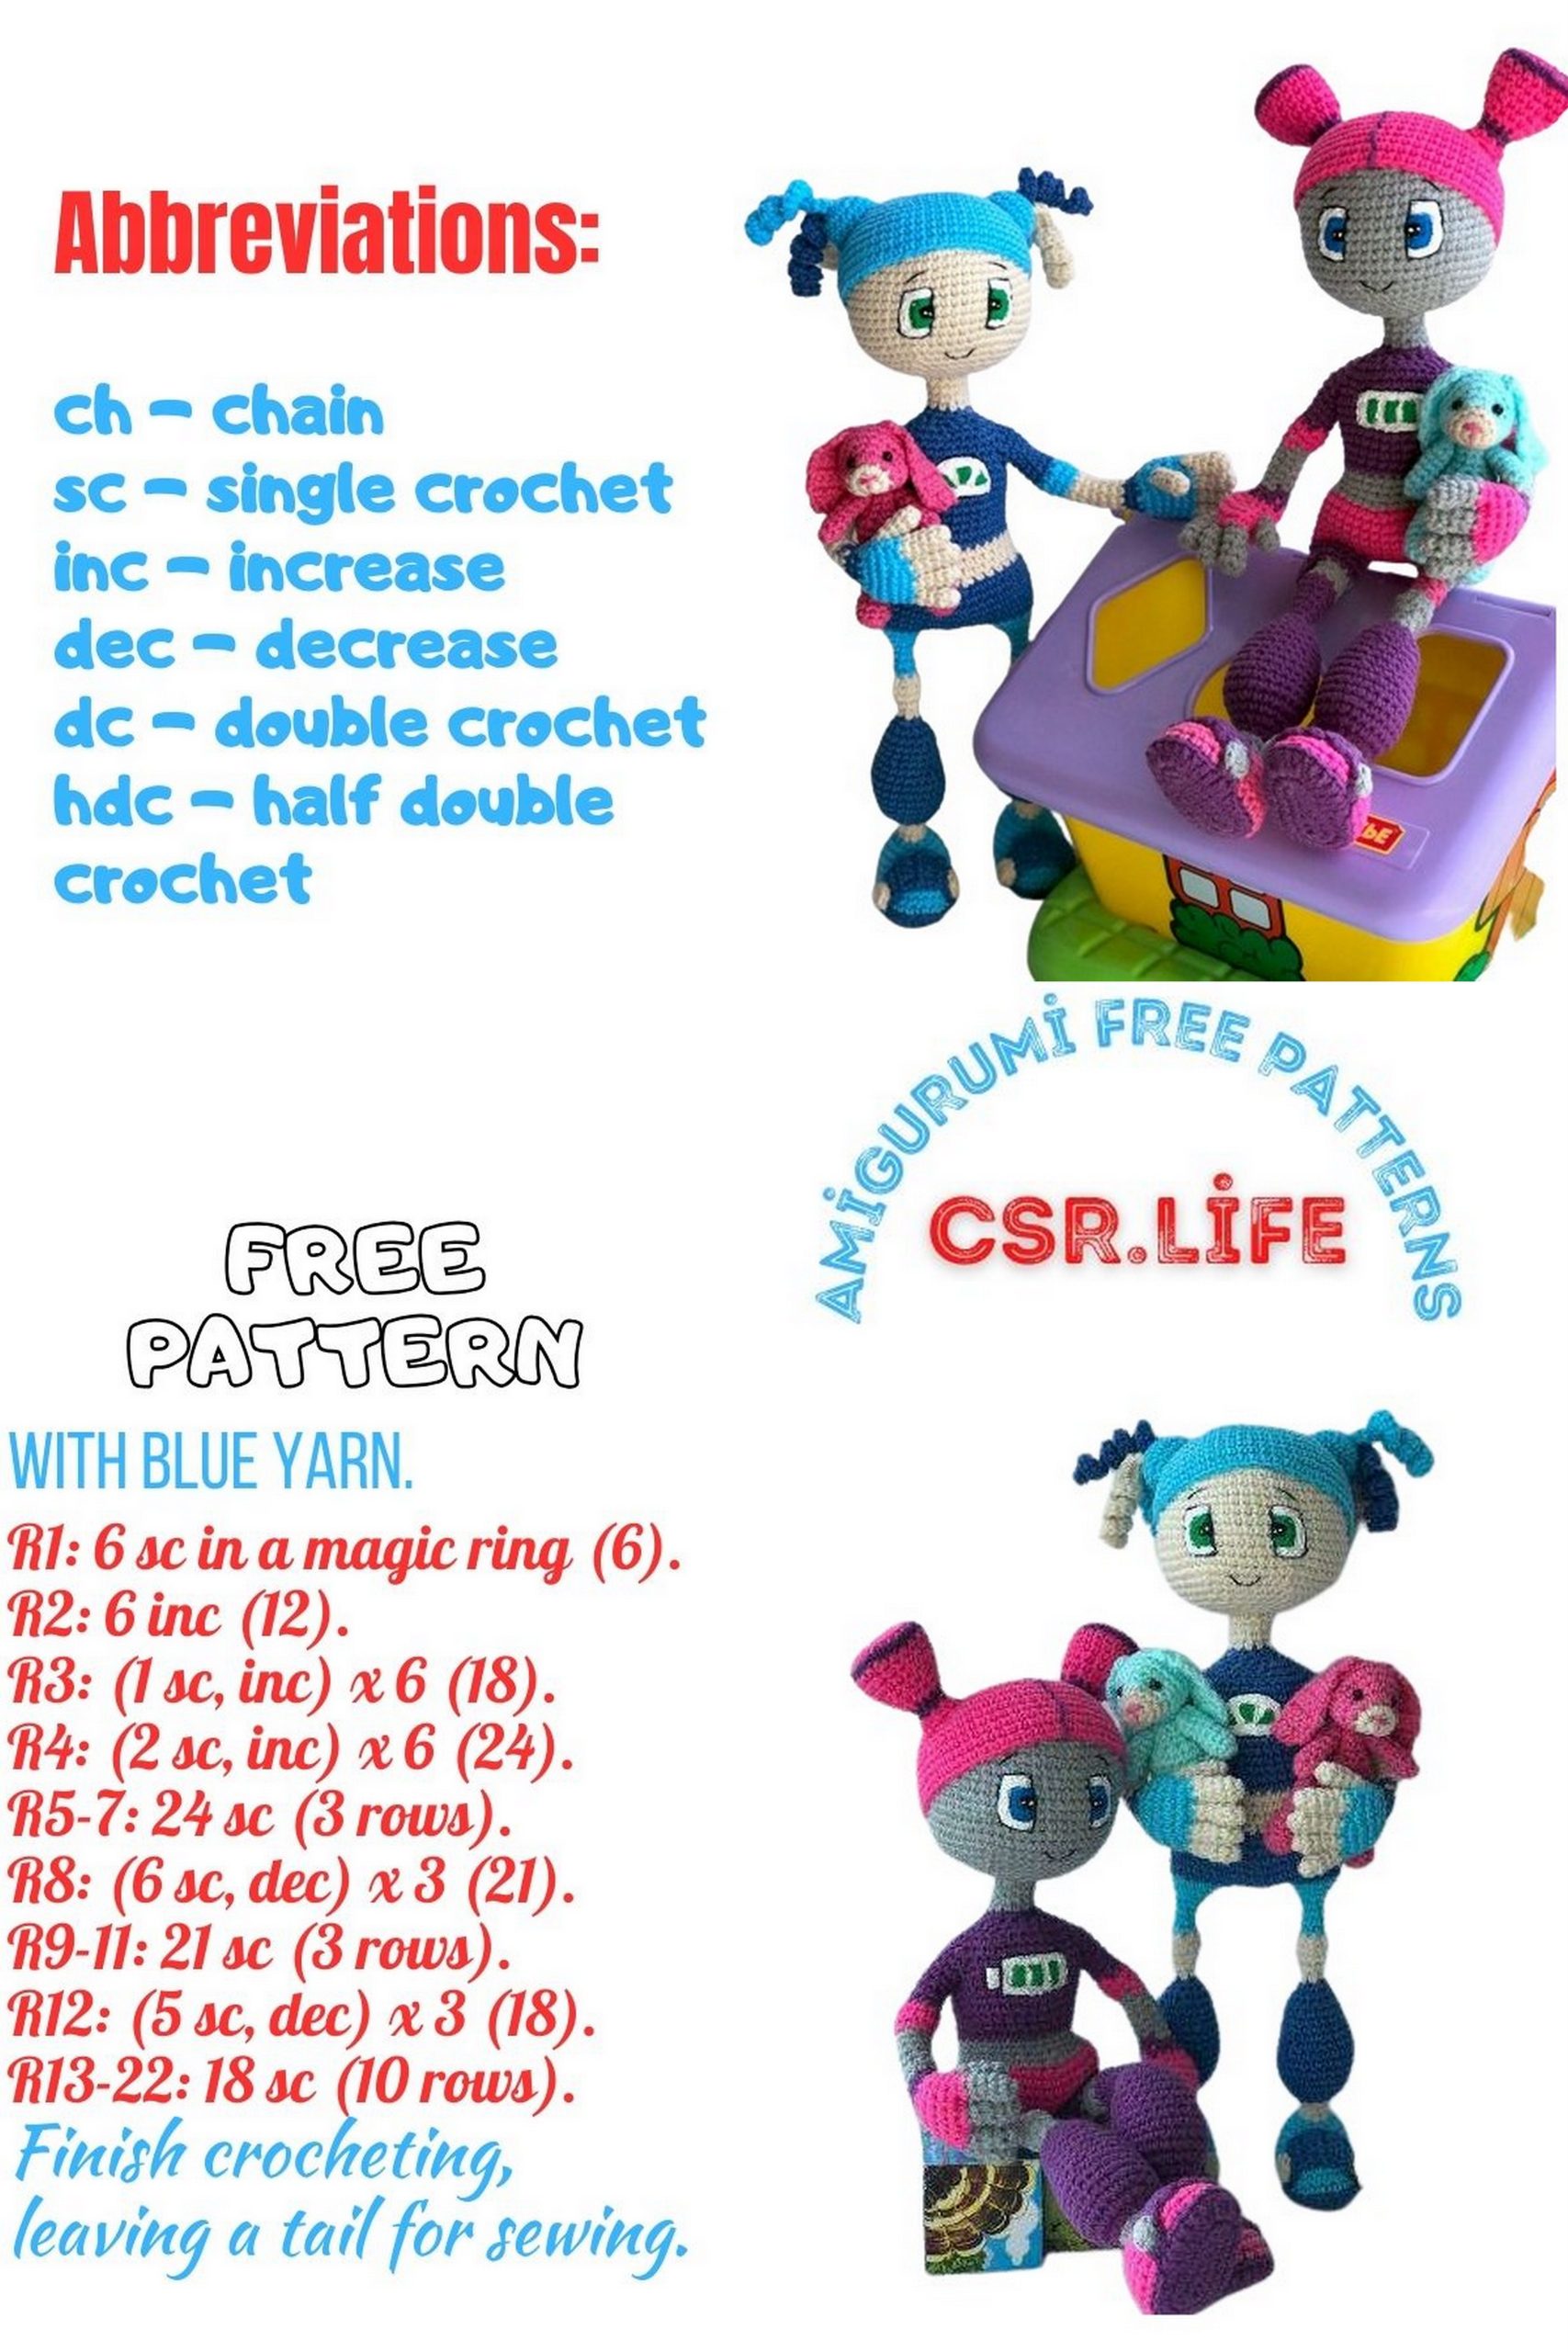
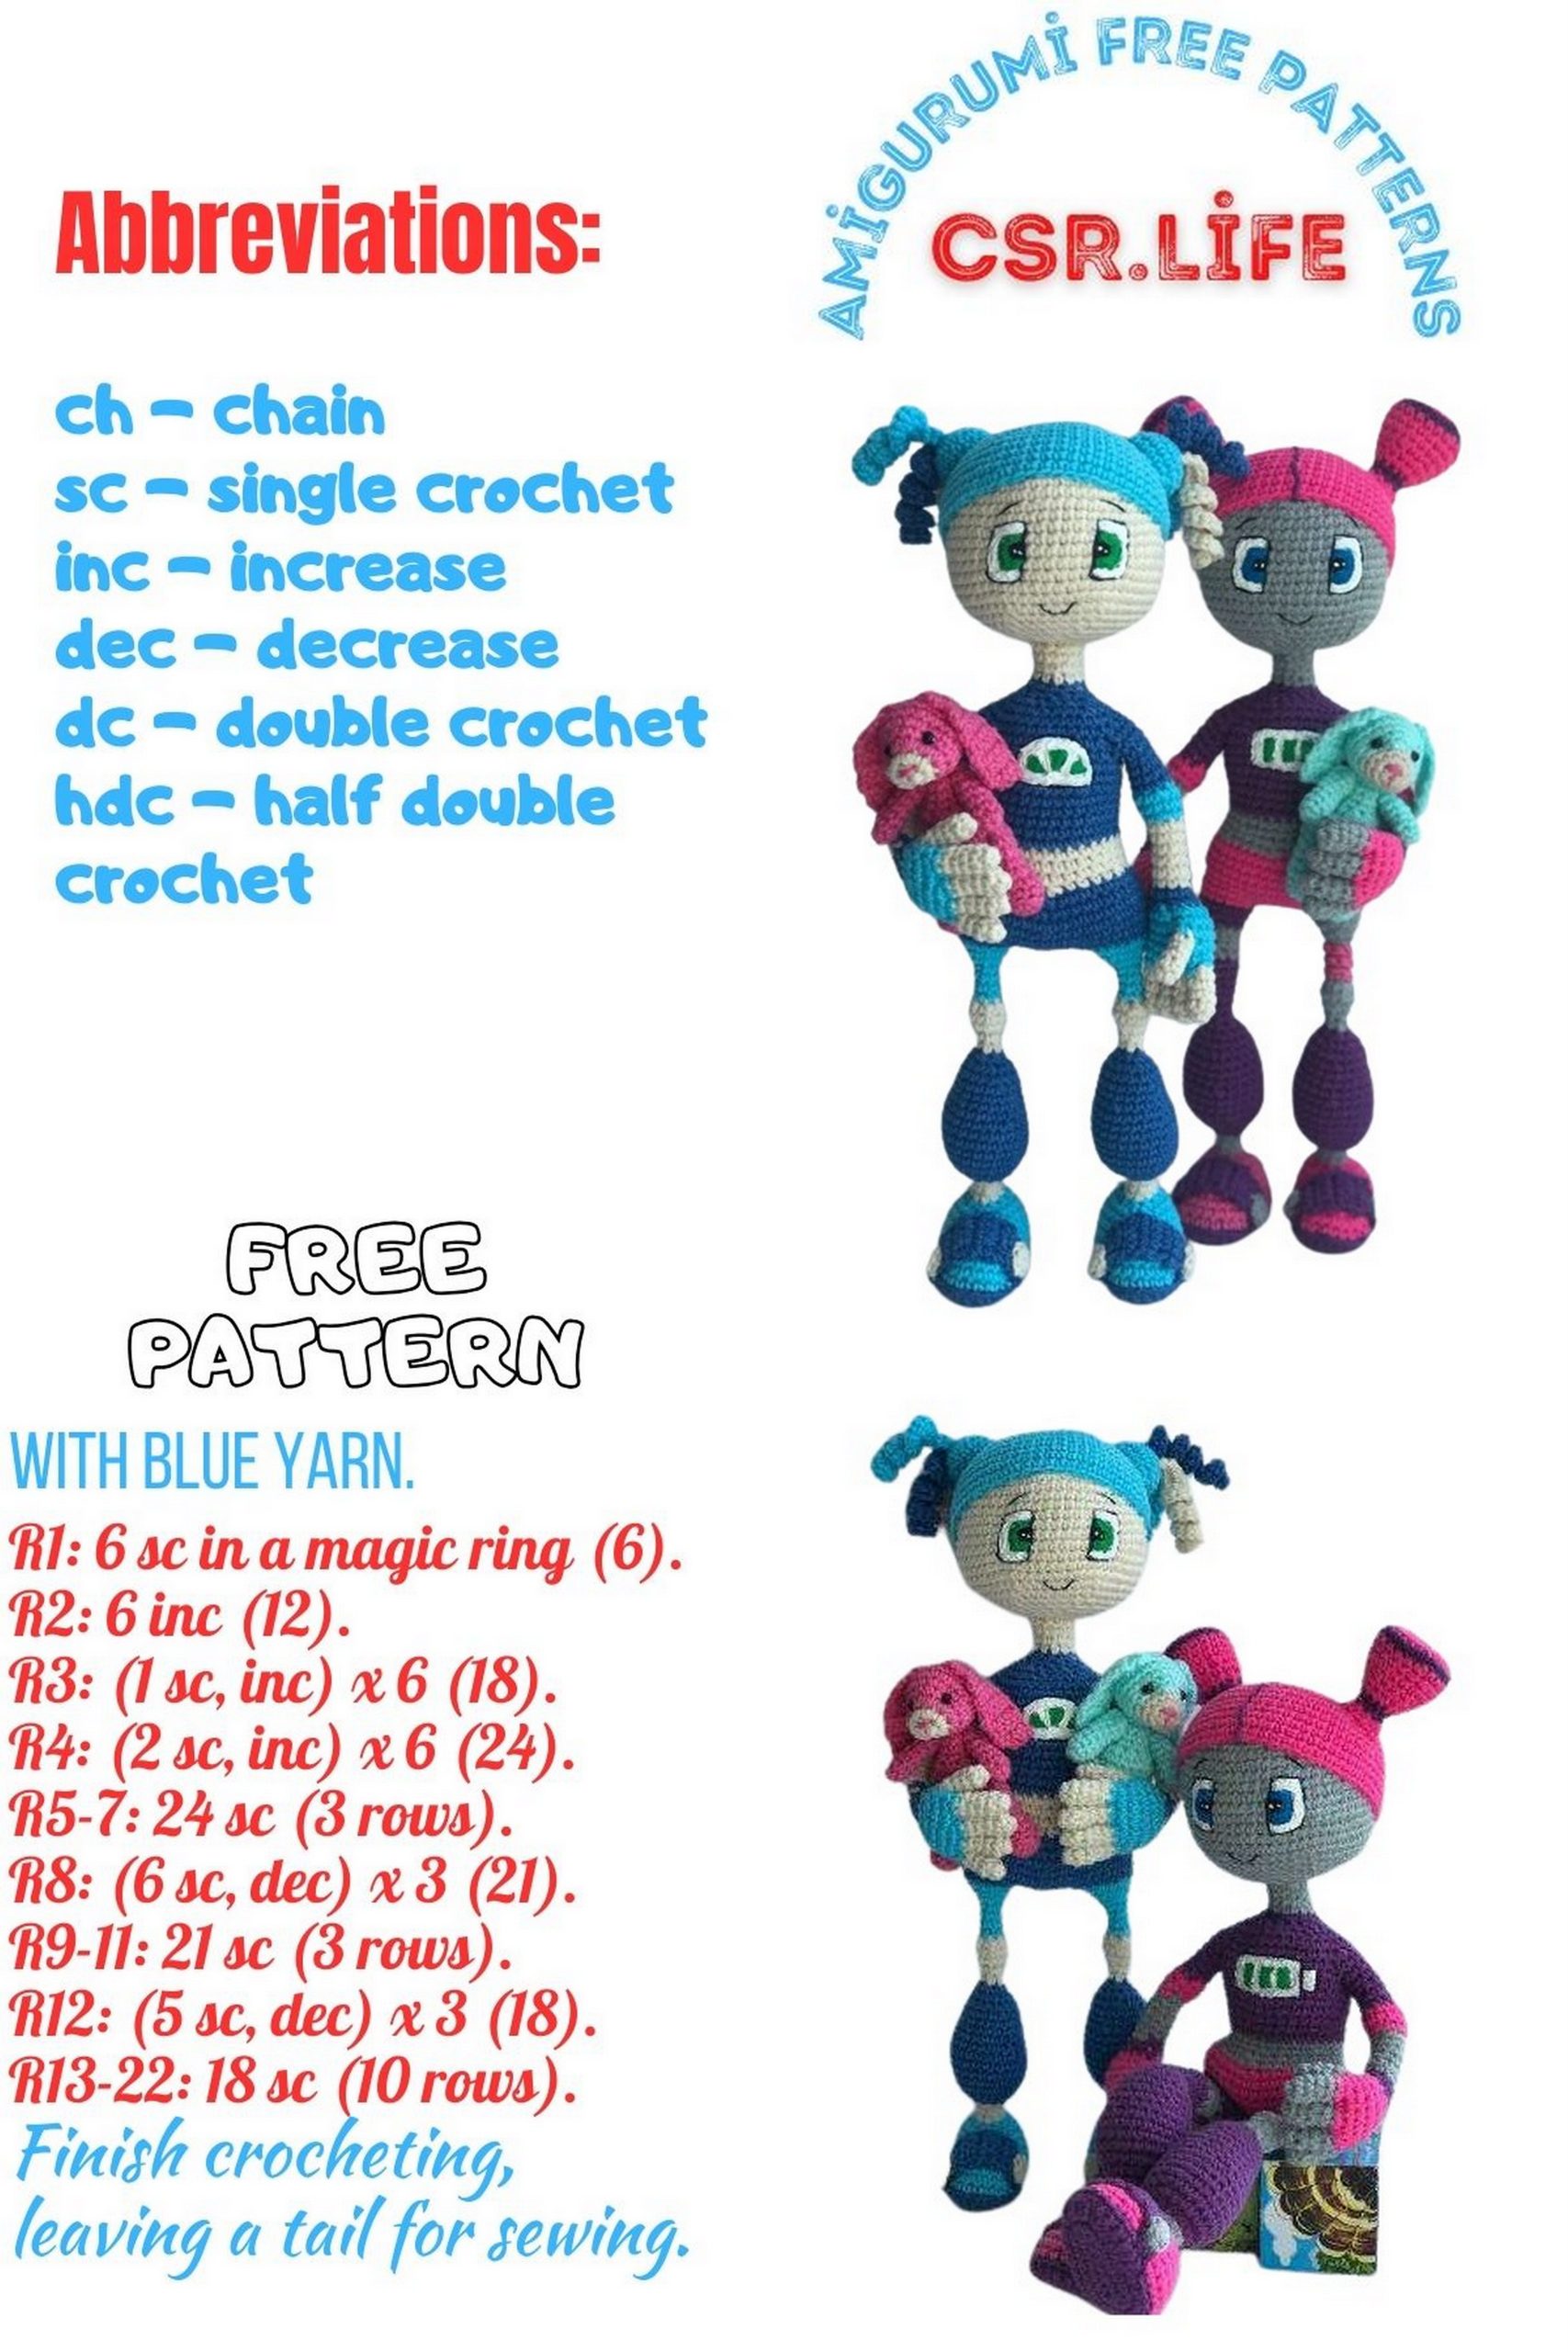
Craft Your Own Robot Girls: Free Amigurumi Pattern!
Welcome to the fascinating universe of amigurumi crafting, where imagination knows no bounds! Our Robot Girls Amigurumi pattern brings together creativity and crochet in an exciting blend of futuristic charm. Whether you’re a crochet enthusiast or just starting your crafting journey, this free pattern offers endless possibilities for creating your own robotic wonders. Join us as we embark on a delightful adventure through stitches and yarn to bring these charming characters to life. Let your imagination soar and craft your own Robot Girls today!
Materials:
Toys are crocheted from Jeans yarn, hook 1.5, 3 colors are used for the robot and 2 colors for the bunny. The consumption is small, approximately 1/3-1/4 of each color skein.
You can choose any combinations, mine are beige, blue, and navy. For the bunny, pink and beige.
I also used wire for the frame 2.5 mm, mouline threads white, black, green, ordinary acrylic paint for painting, fabric paints can be used, white, black, green colors will be needed, threads for sewing parts, filler, 2 black beads for the bunny’s eyes, size 3 mm.
Abbreviations:
MR – Magic Ring
Inc – increase
Dec – decrease
Ch – chain
Sc – single crochet
Sl st – slip stitch
Hdc – half double crochet
Dc – double crochet
(2 sc, inc) * 6 – repeat the combination in parentheses 6 times
Let’s start crocheting the toy with the arms, as they are crocheted into the body.
PATTERN
Arms, Fingers:
Crochet 10 fingers with beige color.
Row 1: 5 sc in MR
Row 2-5: 5 sc each row
Row 6: Gather the fingers into a fist, take 1 finger, attach blue yarn to it, and join it to the second finger, crochet 3 sc around the second finger. Attach the third finger, crochet 3 sc around it. Attach the fourth finger and crochet 5 sc around it. Then crochet 2 sc around the third finger, 2 sc around the second finger, 3 sc around the first finger, place a marker.
Row 7: 20 sc
Row 8: Attach the finger, crochet 12 sc, crochet 3 sc around the loops of the finger, 5 sc (20)
Row 9: 12 sc, 2 sc around the remaining loops of the finger, 5 sc (19)
The right arm is crocheted the same as the left, differing only in rows 8 and 9.
Right Arm:
Row 8: 17 sc, 3 sc around the loops of the finger (20)
Row 9: 17 sc, 2 sc around the remaining loops of the finger
Then crochet both arms the same way.
Row 10: Dec, 17 sc (18)
At this stage, insert the frame into the arm.
You can twist the arm frame as I did in the photo from a solid piece, 30-35 cm long, or cut small pieces for each finger and join them all together in the fist and arm. Wrap the frame with adhesive tape. Insert it into the crocheted part.
Row 11: (1 sc, dec) * 6 (12)
Row 12: Change color to blue (2 sc, dec) * 3 (9)
Row 13: 9 sc
Row 14: Change color to beige, 9 sc
Row 15-19: 9 sc each row
Row 20: Change color to blue (2 sc, inc) * 3 (12)
Row 21: 12 sc
Row 22: (2 sc, dec) * 3 (9)
Row 23: Change color to blue, 9 sc
Row 24-26: 9 sc
Row 27: (2 sc, inc) * 3 (12)
Row 28: 12 sc
Legs:
The foot is blue.
Row 1: Chain 7, starting from the second chain from the hook, sc, 4 sc, 4 sc in the last stitch, 4 sc, inc (16) place a marker
Row 2: 2 inc, 4 sc, 4 inc, 4 sc, 2 inc (24)
Row 3: 2 sc, inc, 3 sc, 2 hdc, 2 dc, 4 inc hdc, 2 dc, 2 hdc, 3 sc, inc, 2 sc (30)
Row 4: Change color to blue, crochet 30 sc around the back loops of the stitches
Row 5-6: 30 sc
Row 7: 10 sc, 5 dec, 10 sc (25)
Cut out a cardboard or plastic insole and place it inside the piece.
Row 8: 12 sc, dec, 11 sc (24)
Row 9: 10 sc, 2 dec, 10 sc (22)
Row 10: 9 sc, 2 dec, 9 sc (20)
Insert a frame into the foot – a piece of wire 30-35 cm long, make a small loop at one end, bend to the size of the foot, wrap with adhesive tape. Fill the part.
Row 11: 10 dec (10)
Row 12: Change color to beige, 10 sc
Row 13-14: 10 sc
Row 15: Change color to blue, 10 inc (20)
Row 16: (4 sc, inc) * 4 (24)
Row 17-21: 24 sc
Row 22: (10 sc, dec) * 2 (22)
Row 23: 22 sc
Row 24: 5 sc, dec, 8 sc, dec, 5 sc (20)
Row 25: 20 sc
Row 26: (dec, 8 sc) * 2 (18)
Row 27: 18 sc
Row 28: (sc, dec) * 6 (12)
Row 29: 6 dec (6)
Row 30: Change color to beige, 6 sc
Row 31: 6 sc
Row 32: 6 inc (12)
Row 33: 12 sc
Row 34: 6 dec (6)
Row 35: Change color to blue, 6 sc
Row 36-38: 6 sc
Row 39: 6 inc (12)
Row 40: 12 sc
Row 41: (sc, inc) * 6 (18)
Row 42: 18 sc
For connecting the legs, let’s crochet a small piece.
Blue color
Row 1: Chain 7, starting from the second chain, crochet 6 sc, turn, ch 1
Row 2: 6 sc
Take one leg and attach the piece as shown in the photo – the piece should be in the middle of the inner part of the leg.
Sew the piece to 2 stitches of the leg.
Take the second leg and sew the piece in the same way to the inner side.
Row 43: Attach blue yarn to the back of the leg, crochet 16 sc along the leg, 6 sc around the blue piece, 16 sc along the second leg, 6 sc around the blue piece. (44) Place a marker at the back.
Row 44: (20 sc, dec) * 2 (42)
Row 45-47: 42 sc
Row 48: (19 sc, dec) * 2 (40)
Row 49: (18 sc, dec) * 2 (38)
Row 50: Change color to beige, 1 sc, (4 sc, dec) * 6, 1 sc (32)
Row 51: 32 sc
Row 52-53: 32 sc
Row 54: Change color to blue, 32 sc
Row 55-57: 32 sc
Row 58: (7 sc, inc) * 4 (36)
Row 59-61: 36 sc
Row 62: Attach the arms (the arms should be on the sides of the body, slightly in front, if you cannot place them where needed according to the description, crochet additional stitches as you see fit and place the arms where needed)
8 sc, crochet 6 sc together with the loops of the arm, 13 sc, 6 sc with the loops of the arm, 5 sc (36)
Row 63: 8 sc, crochet 6 sc together with the loops of the arm, 13 sc, 6 sc with the loops of the arm, 5 sc (36)
Row 64: 7 sc, dec, 3 sc, dec, 12 sc, dec, 3 sc, dec, 3 sc (32) (the combination dec, 3 sc, dec- should be on the arms)
Row 65: 9 sc, dec, 16 sc, dec, 3 sc (30)
Row 66: (3 sc, dec) * 6 (24)
Row 67: (2 sc, dec) * 6 (18)
Row 68: (sc, dec) * 6 (12)
Row 69: 12 sc
Row 70: Change color to beige, 12 sc
Row 71-73: 12 sc each row
Head:
White color
Row 1: 6 sc in MR
Row 2: 6 inc (12)
Row 3: 12 inc (24)
Row 4: (3 sc, inc) * 6 (30)
Row 5: (4 sc, inc) * 6 (36)
Row 6: (5 sc, inc) * 6 (42)
Row 7: (6 sc, inc) * 6 (48)
Row 8: (7 sc, inc) * 6 (54)
Row 9-19: 54 sc
Row 20: (7 sc, dec) * 6 (48)
Row 21: (6 sc, dec) * 6 (42)
Row 22: (5 sc, dec) * 6 (36)
Row 23: (4 sc, dec) * 6 (30)
Row 24: (3 sc, dec) * 6 (24)
Stuff
Row 25: (2 sc, dec) * 6 (18)
Row 26: (1 sc, dec) * 6 (12)
Blue Wig
Row 1: 6 sc in MR
Row 2: 6 inc (12)
Row 3: 12 inc (24)
Row 4: (3 sc, inc) * 6 (30)
Row 5: (4 sc, inc) * 6 (36)
Row 6: (5 sc, inc) * 6 (42)
Row 7: (6 sc, inc) * 6 (48)
Row 8: (7 sc, inc) * 6 (54)
Row 9: (17 sc, inc) * 3 (58)
Row 10-15: 58 sc
Position the wig on the head as shown in the photo.
Sew the wig to the head.
Base for Tails – Blue color
Row 1: 6 sc in MR
Row 2: 6 inc (12)
Row 3: (1 sc, inc) * 6 (18)
Row 4-5: 18 sc
Tails – Chain 21 and crochet 3 sc in each chain starting from the second chain.
Crochet 3 pieces for each tail in different colors.
Attach the tails to the center of the main piece.
Shoe Overlay – 2 pieces
Blue color. Crochet the detail in turning rows, at the end of each row (starting from the second row with ch)
Row 1: 3 ch, crochet 2 sc in the second chain.
Row 2: 2 sc
Row 3: 2 inc (4)
Row 4-9: 4 sc
Row 10: 2 dec (2)
Row 11-12: 2 sc
Button – 4 pieces
Beige color, 6 sc in MR
Assembly and Decoration:
Sew shoe overlays as shown in the photo.
Sew buttons on the sides.
Face:
Mark the eyes – pupils
Then draw the iris around the pupil.
Draw the outline of the entire eye.
Take black threads and embroider the pupil.
Take green thread and embroider the iris.
Embroider the rest of the eye with white threads.
Sew the tails.
Draw a battery indicator on the chest.
Embroider the outline with white threads.
Embroider the divisions with green threads.
Embroider with white threads.
Take acrylic paint.
Carefully paint the pupil with a toothpick.
Use a new toothpick for each paint.
Paint the iris and battery divisions.
Paint the whites of the eyes with white color.
Make highlights on the pupil.
Paint the battery and wait for it to dry or dry with a hairdryer.
After the paint dries, embroider the outline with black threads.
Embroider the face with black threads.
The toy is ready, crochet the bunny.
For this toy, you will need a little thin yarn – jeans or novelty, 2 colors – main, white. 2 black beads, pink mouline threads, filler, hook 1.5.
Head:
Pink color
Row 1: 6 sc in MR
Row 2: 6 inc (12)
Row 3: Change color to pink, 2 sc, 6 inc, 4 sc (18)
Row 4: 18 sc
Row 5: 6 sc, (1 sc, inc) * 3, 6 sc (21)
Row 6-8: 21 sc
Row 9: (1 sc, dec) * 7 (14)
Row 10: 7 dec (7)
Row 11: 4 dec, fasten off
Body:
Pink color
Row 1: 6 sc in MR
Row 2: 6 inc (12)
Row 3: (1 sc, inc) * 6 (18)
Row 4: 18 sc
Row 5-7: 18 sc
Row 8: 6 dec, 6 sc (12)
Row 9-11: 12 sc
Legs:
2 pieces pink color
Row 1: 6 sc in MR
Row 2: (1 sc, inc) * 3 (9)
Row 3: crochet in the back loop of the stitches 9 sc
Row 4: 9 sc
Row 5: 2 dec, 5 sc (7)
Row 6-8: 7 sc
Stuff
Row 9: 4 dec
Upper Paws:
Row 1: 6 sc in MR
Row 2-7: 6 sc
Row 8: 3 dec
Ears:
Crochet in turning rows, at the beginning of each row (from the second row) crochet a turning chain.
Row 1: 3 ch, crochet 2 sc in the second chain.
Row 2: 2 sc
Row 3: 2 inc (4)
Row 4-10: 4 sc
Row 11: 2 dec (2)
Assembly:
Make a pull – insert the needle through the center from the bottom in the 3rd row, pull out to the right, hook the loop, pull back to the starting point.
Now pull it to the left, hook the loop, and insert the needle down, tighten.
Sew on eyes.
Embroider the nose, sew on the ears.
Sew the head to the body.
Sew on the paws.
The toy is ready.