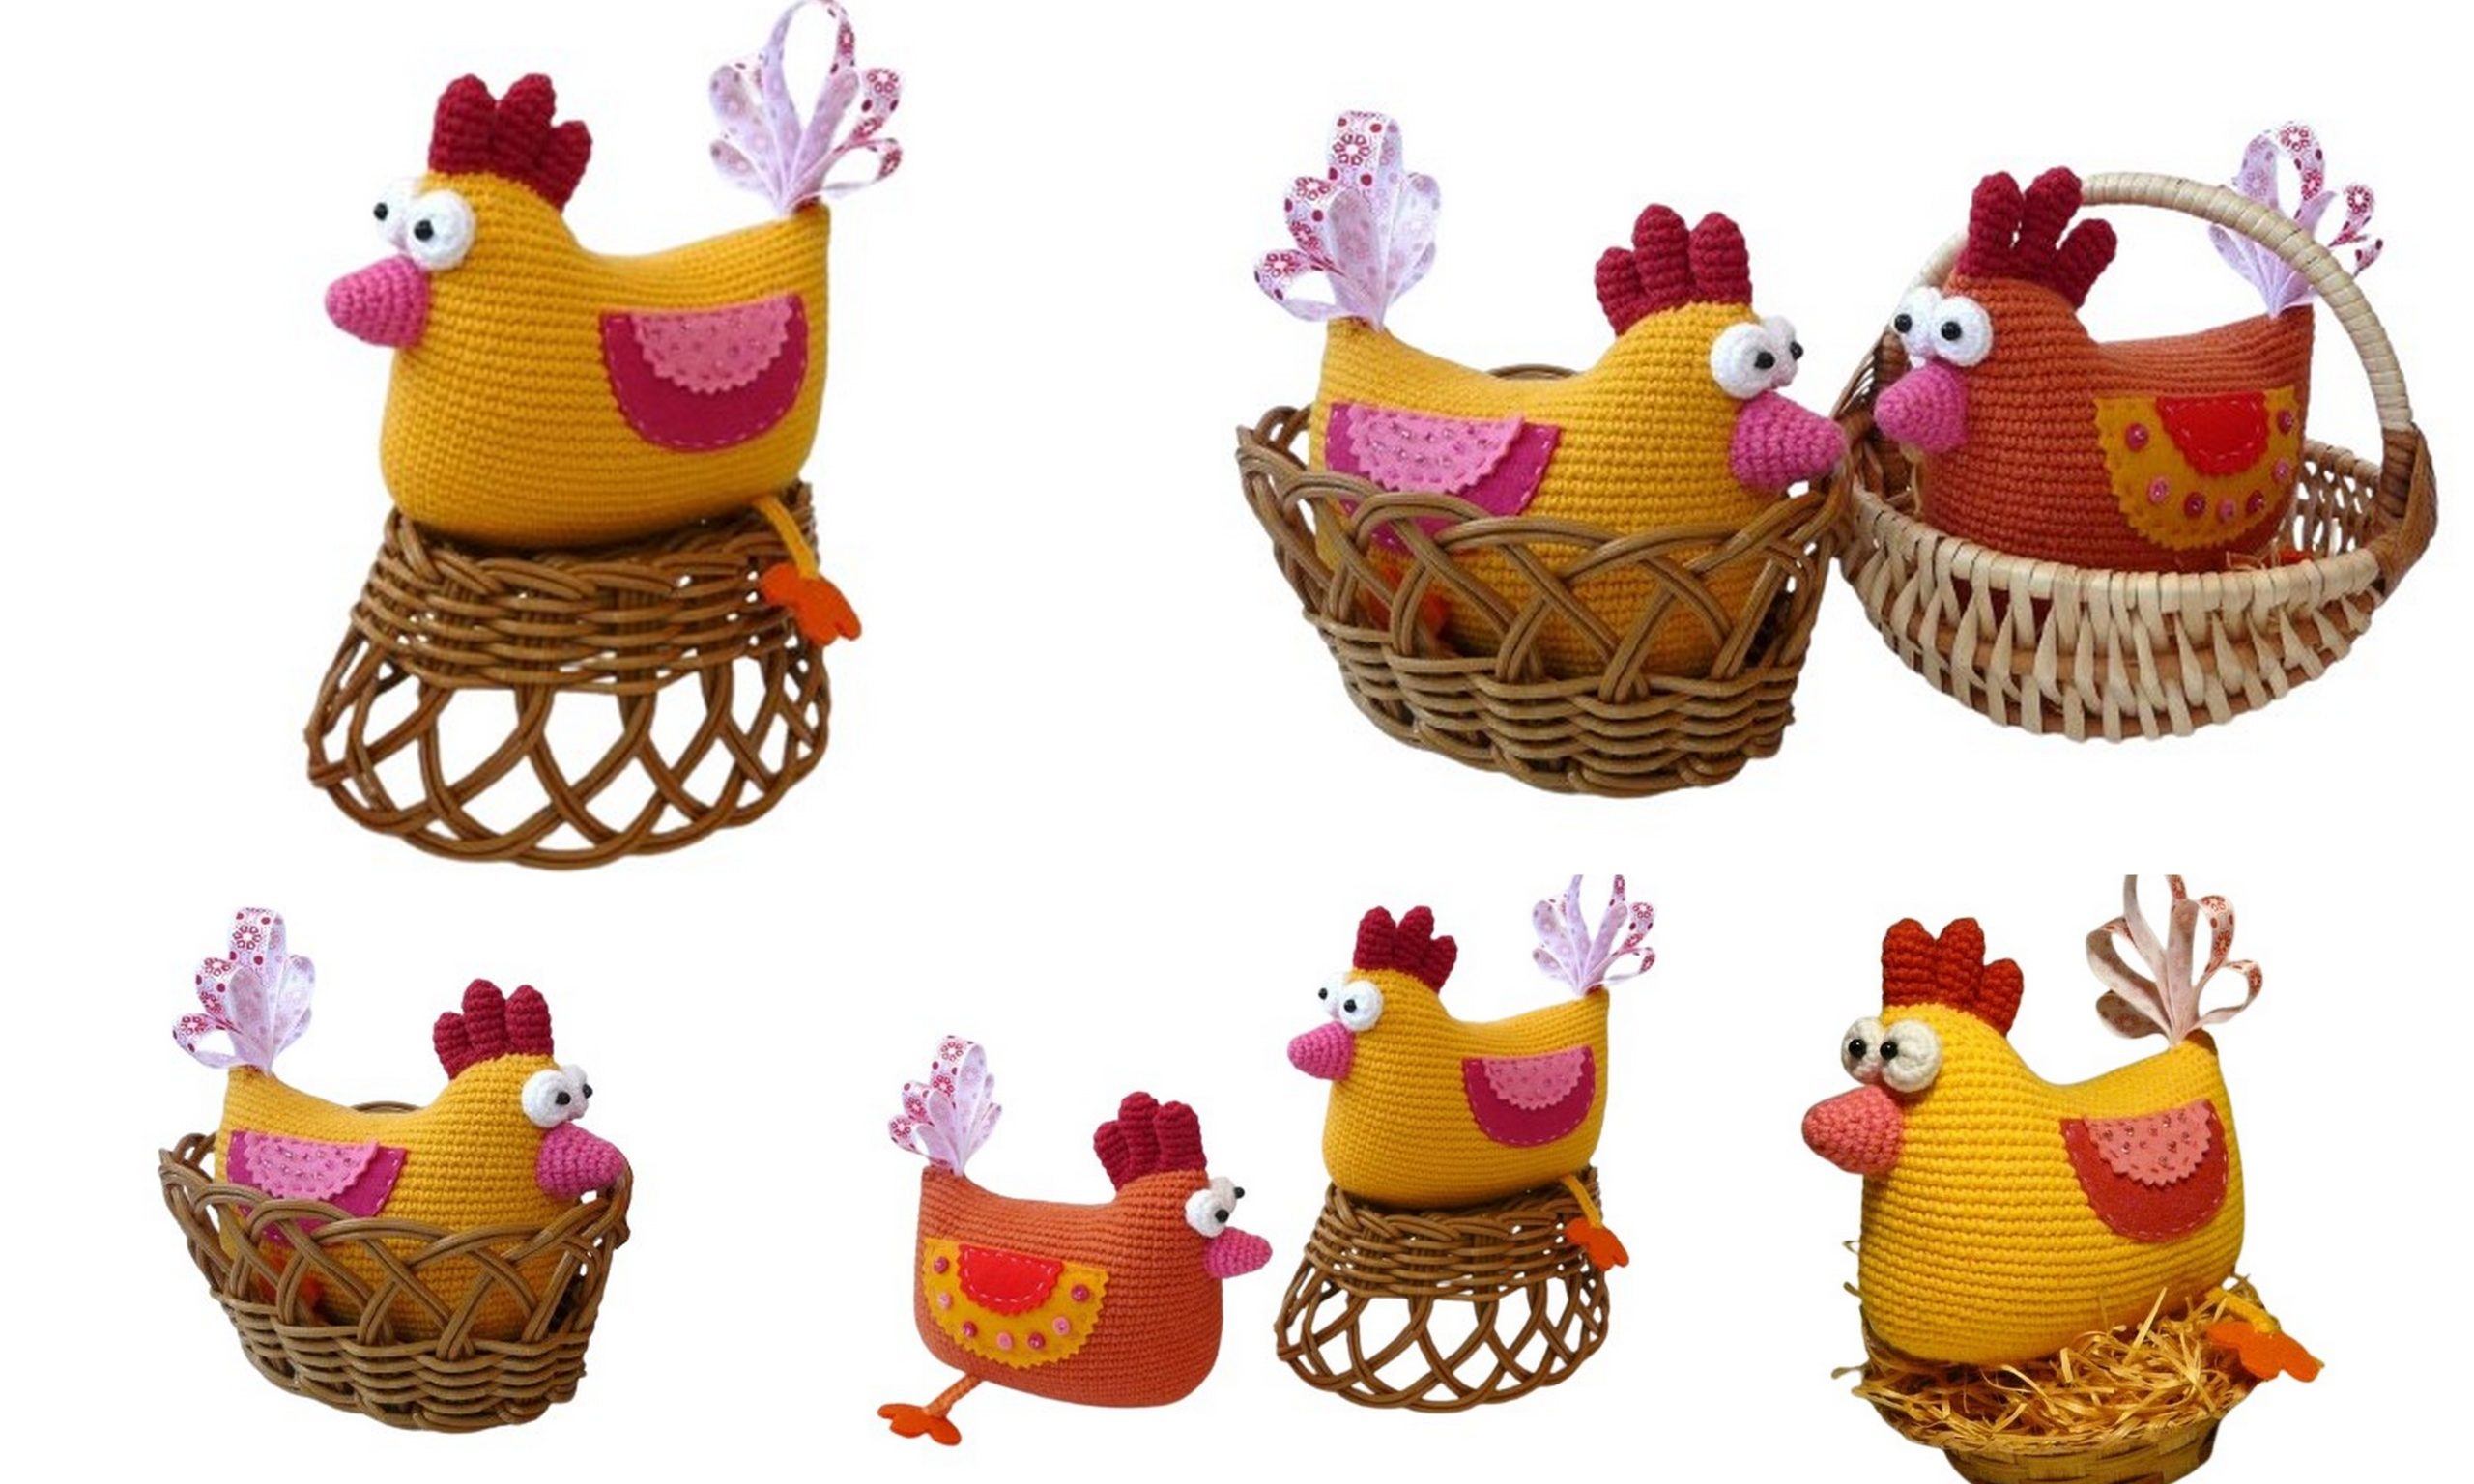
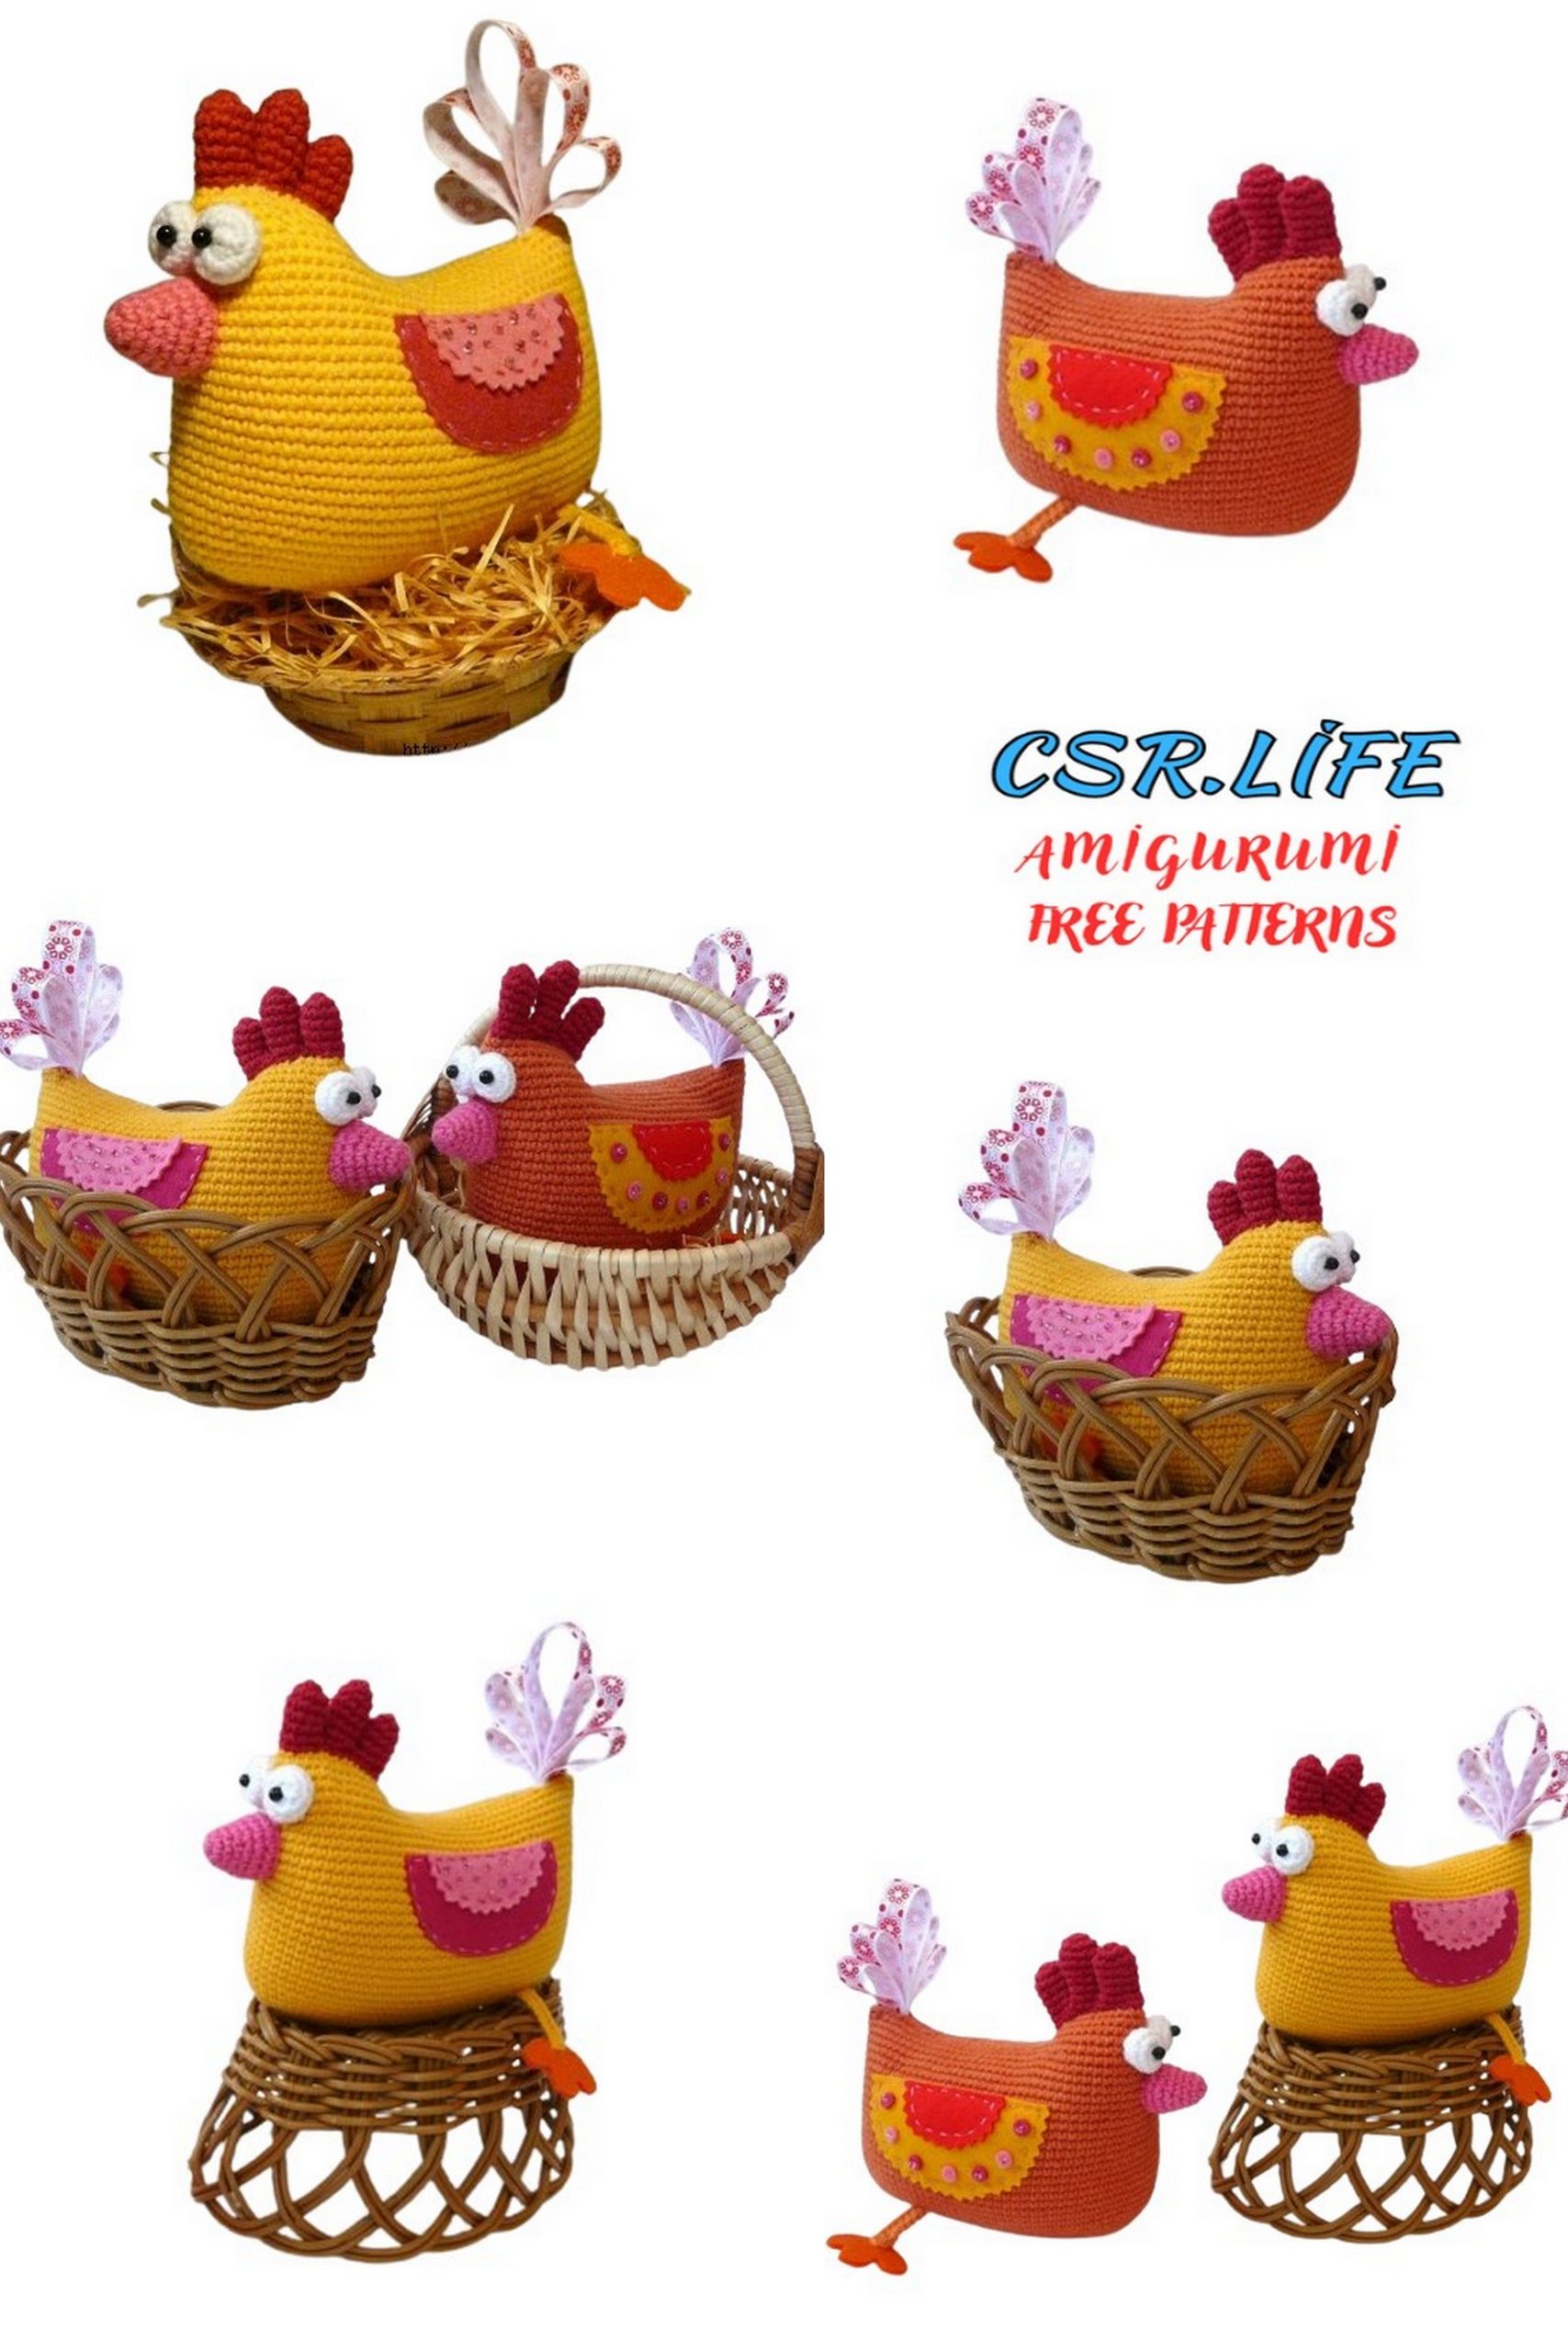
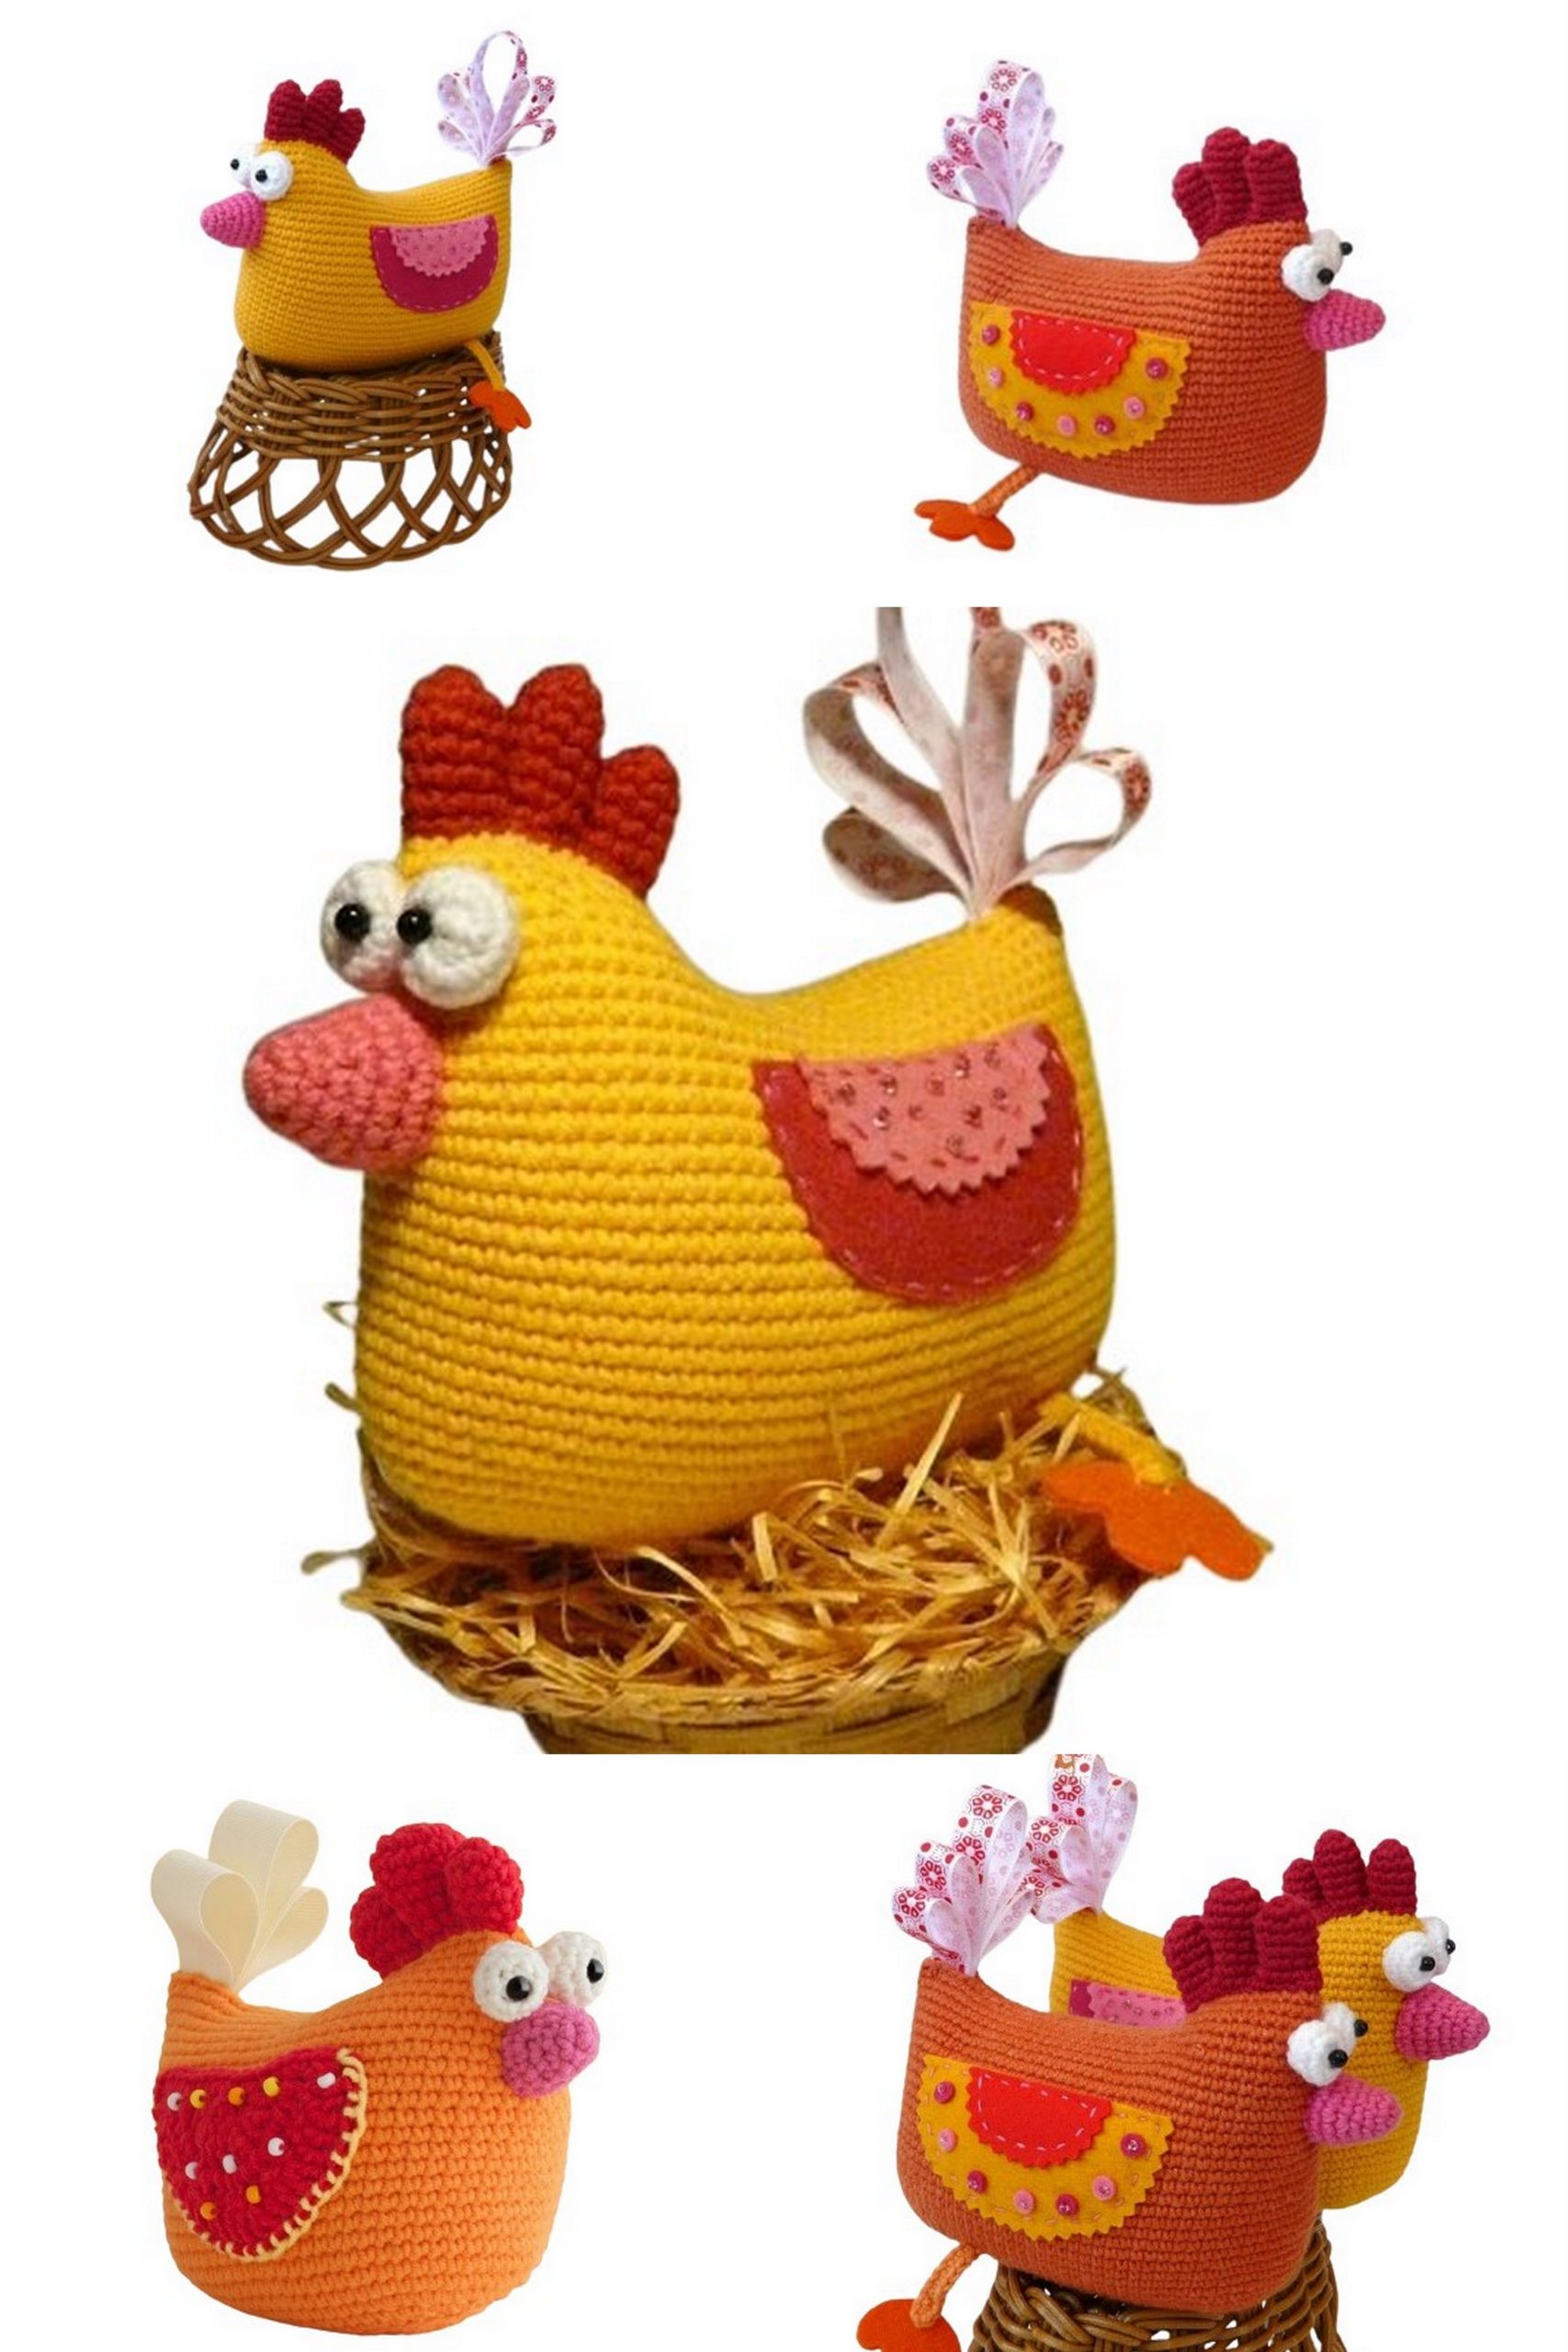
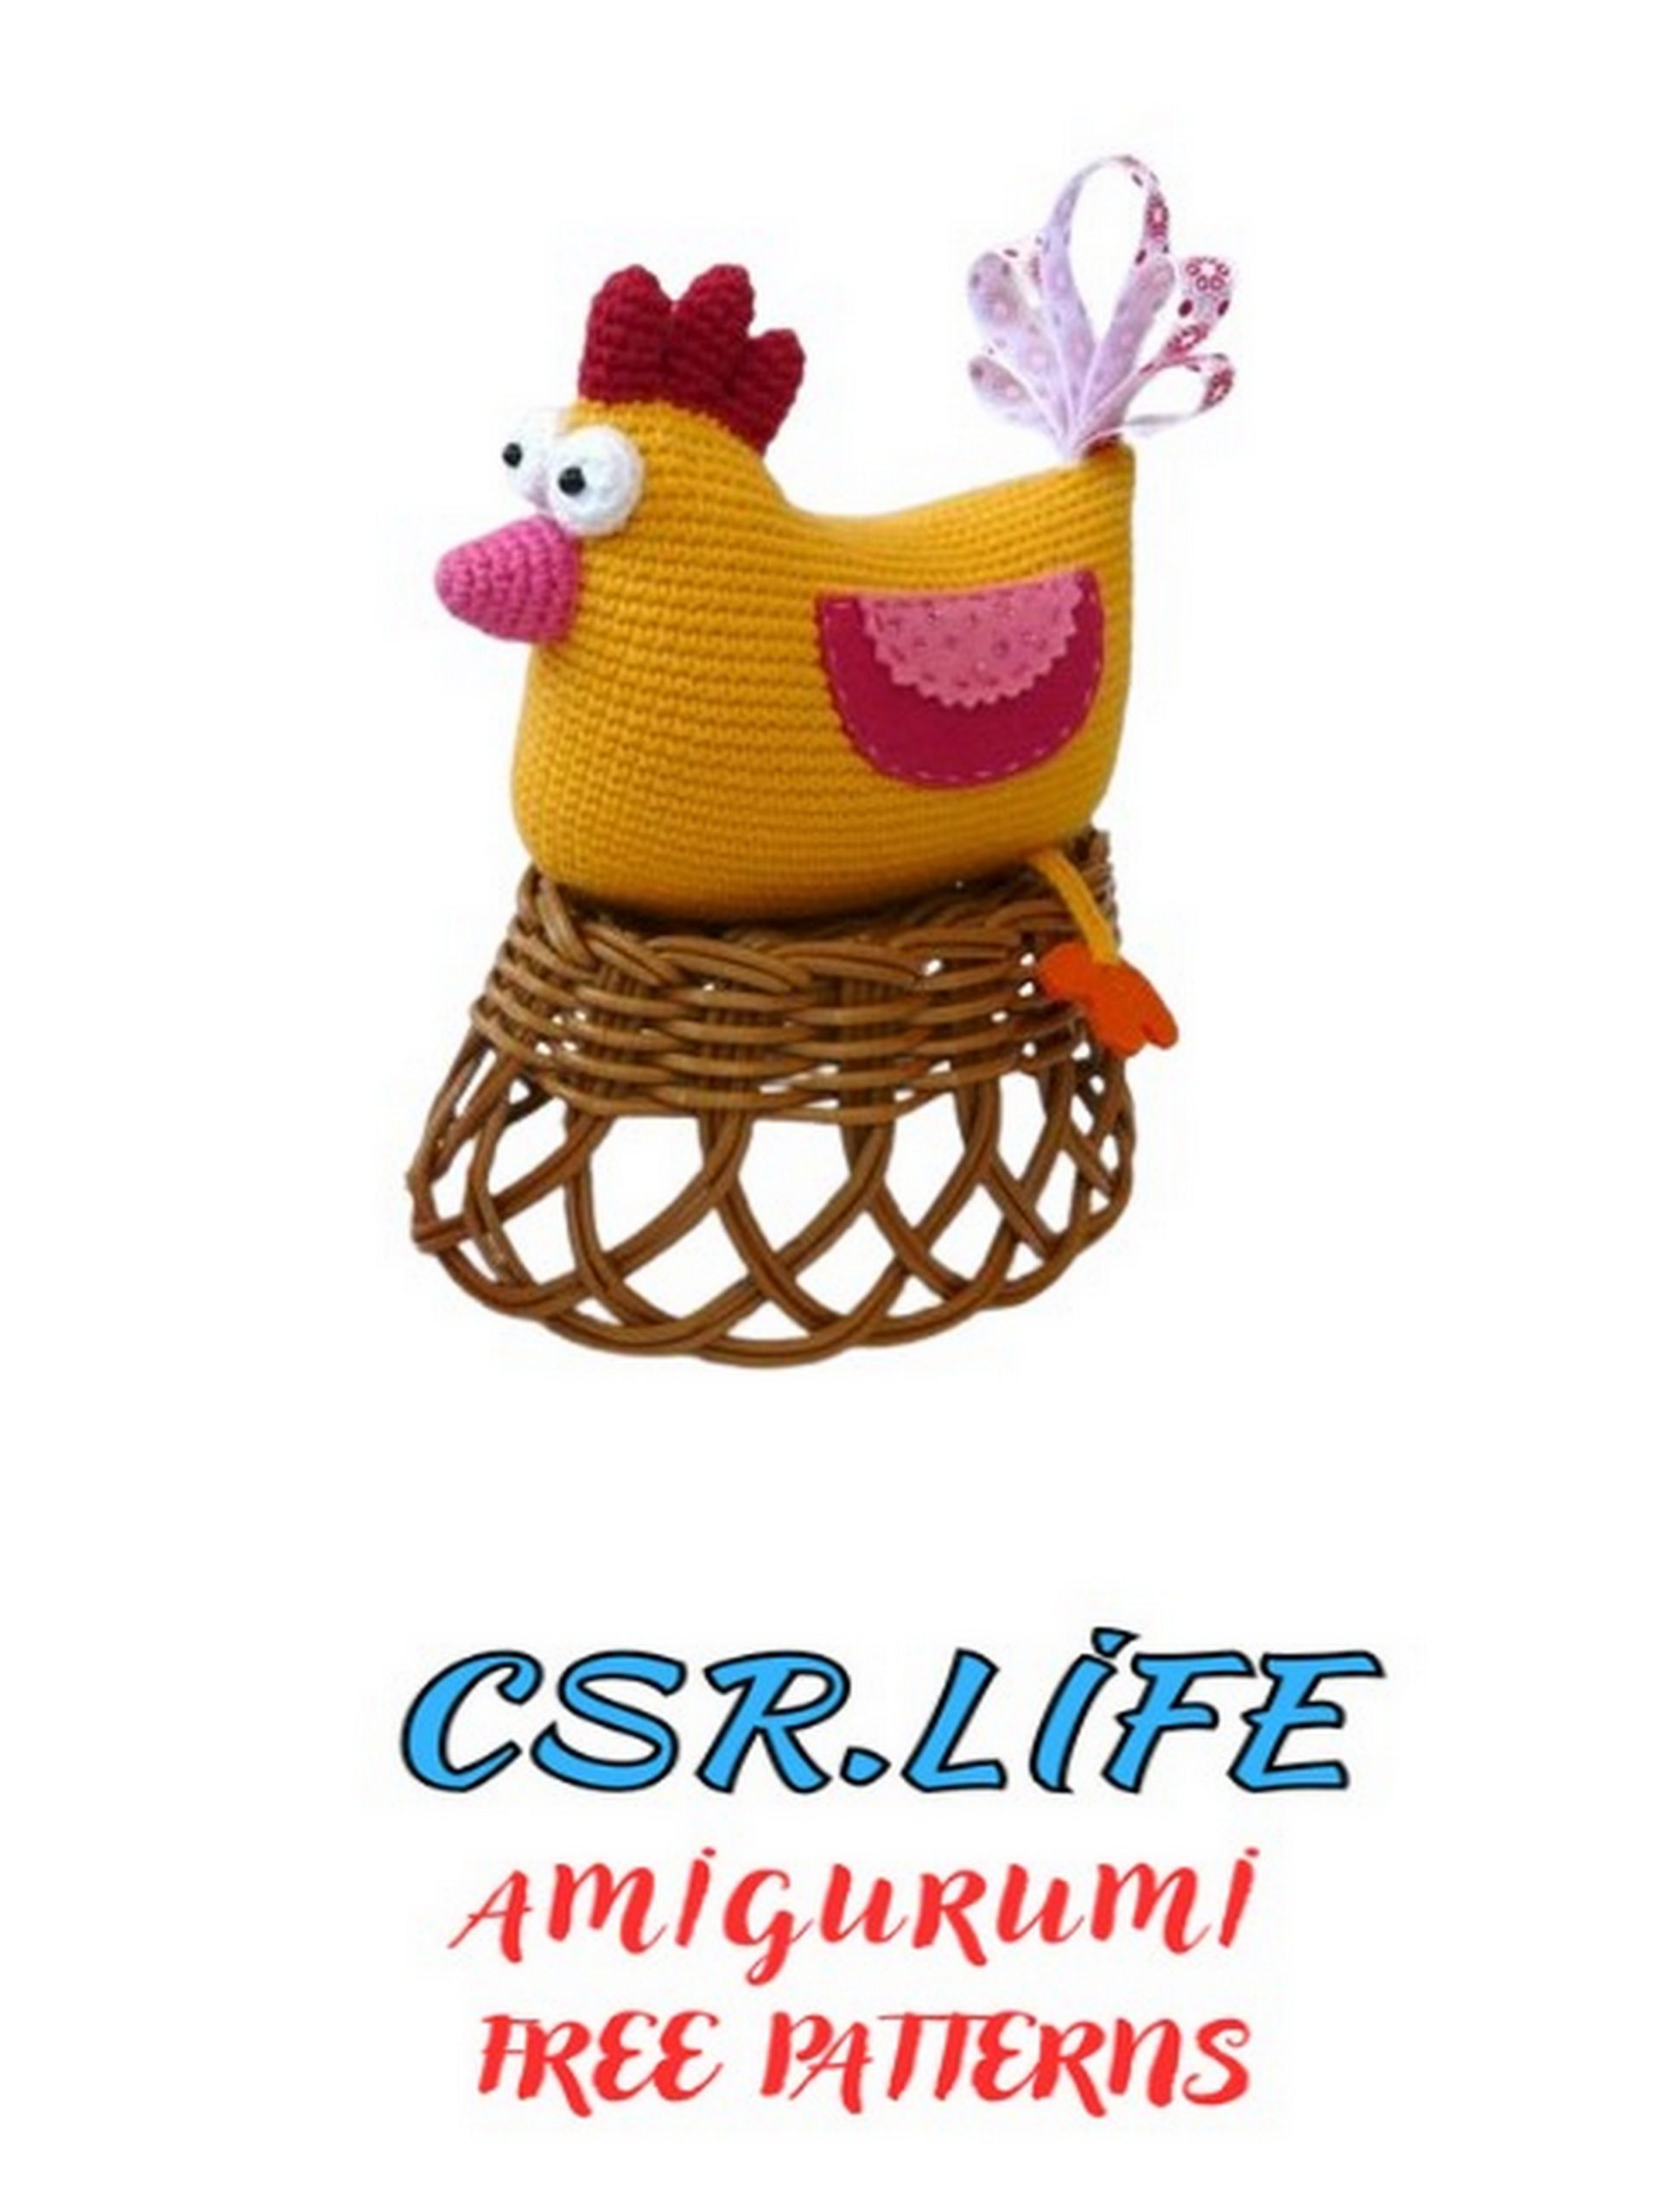
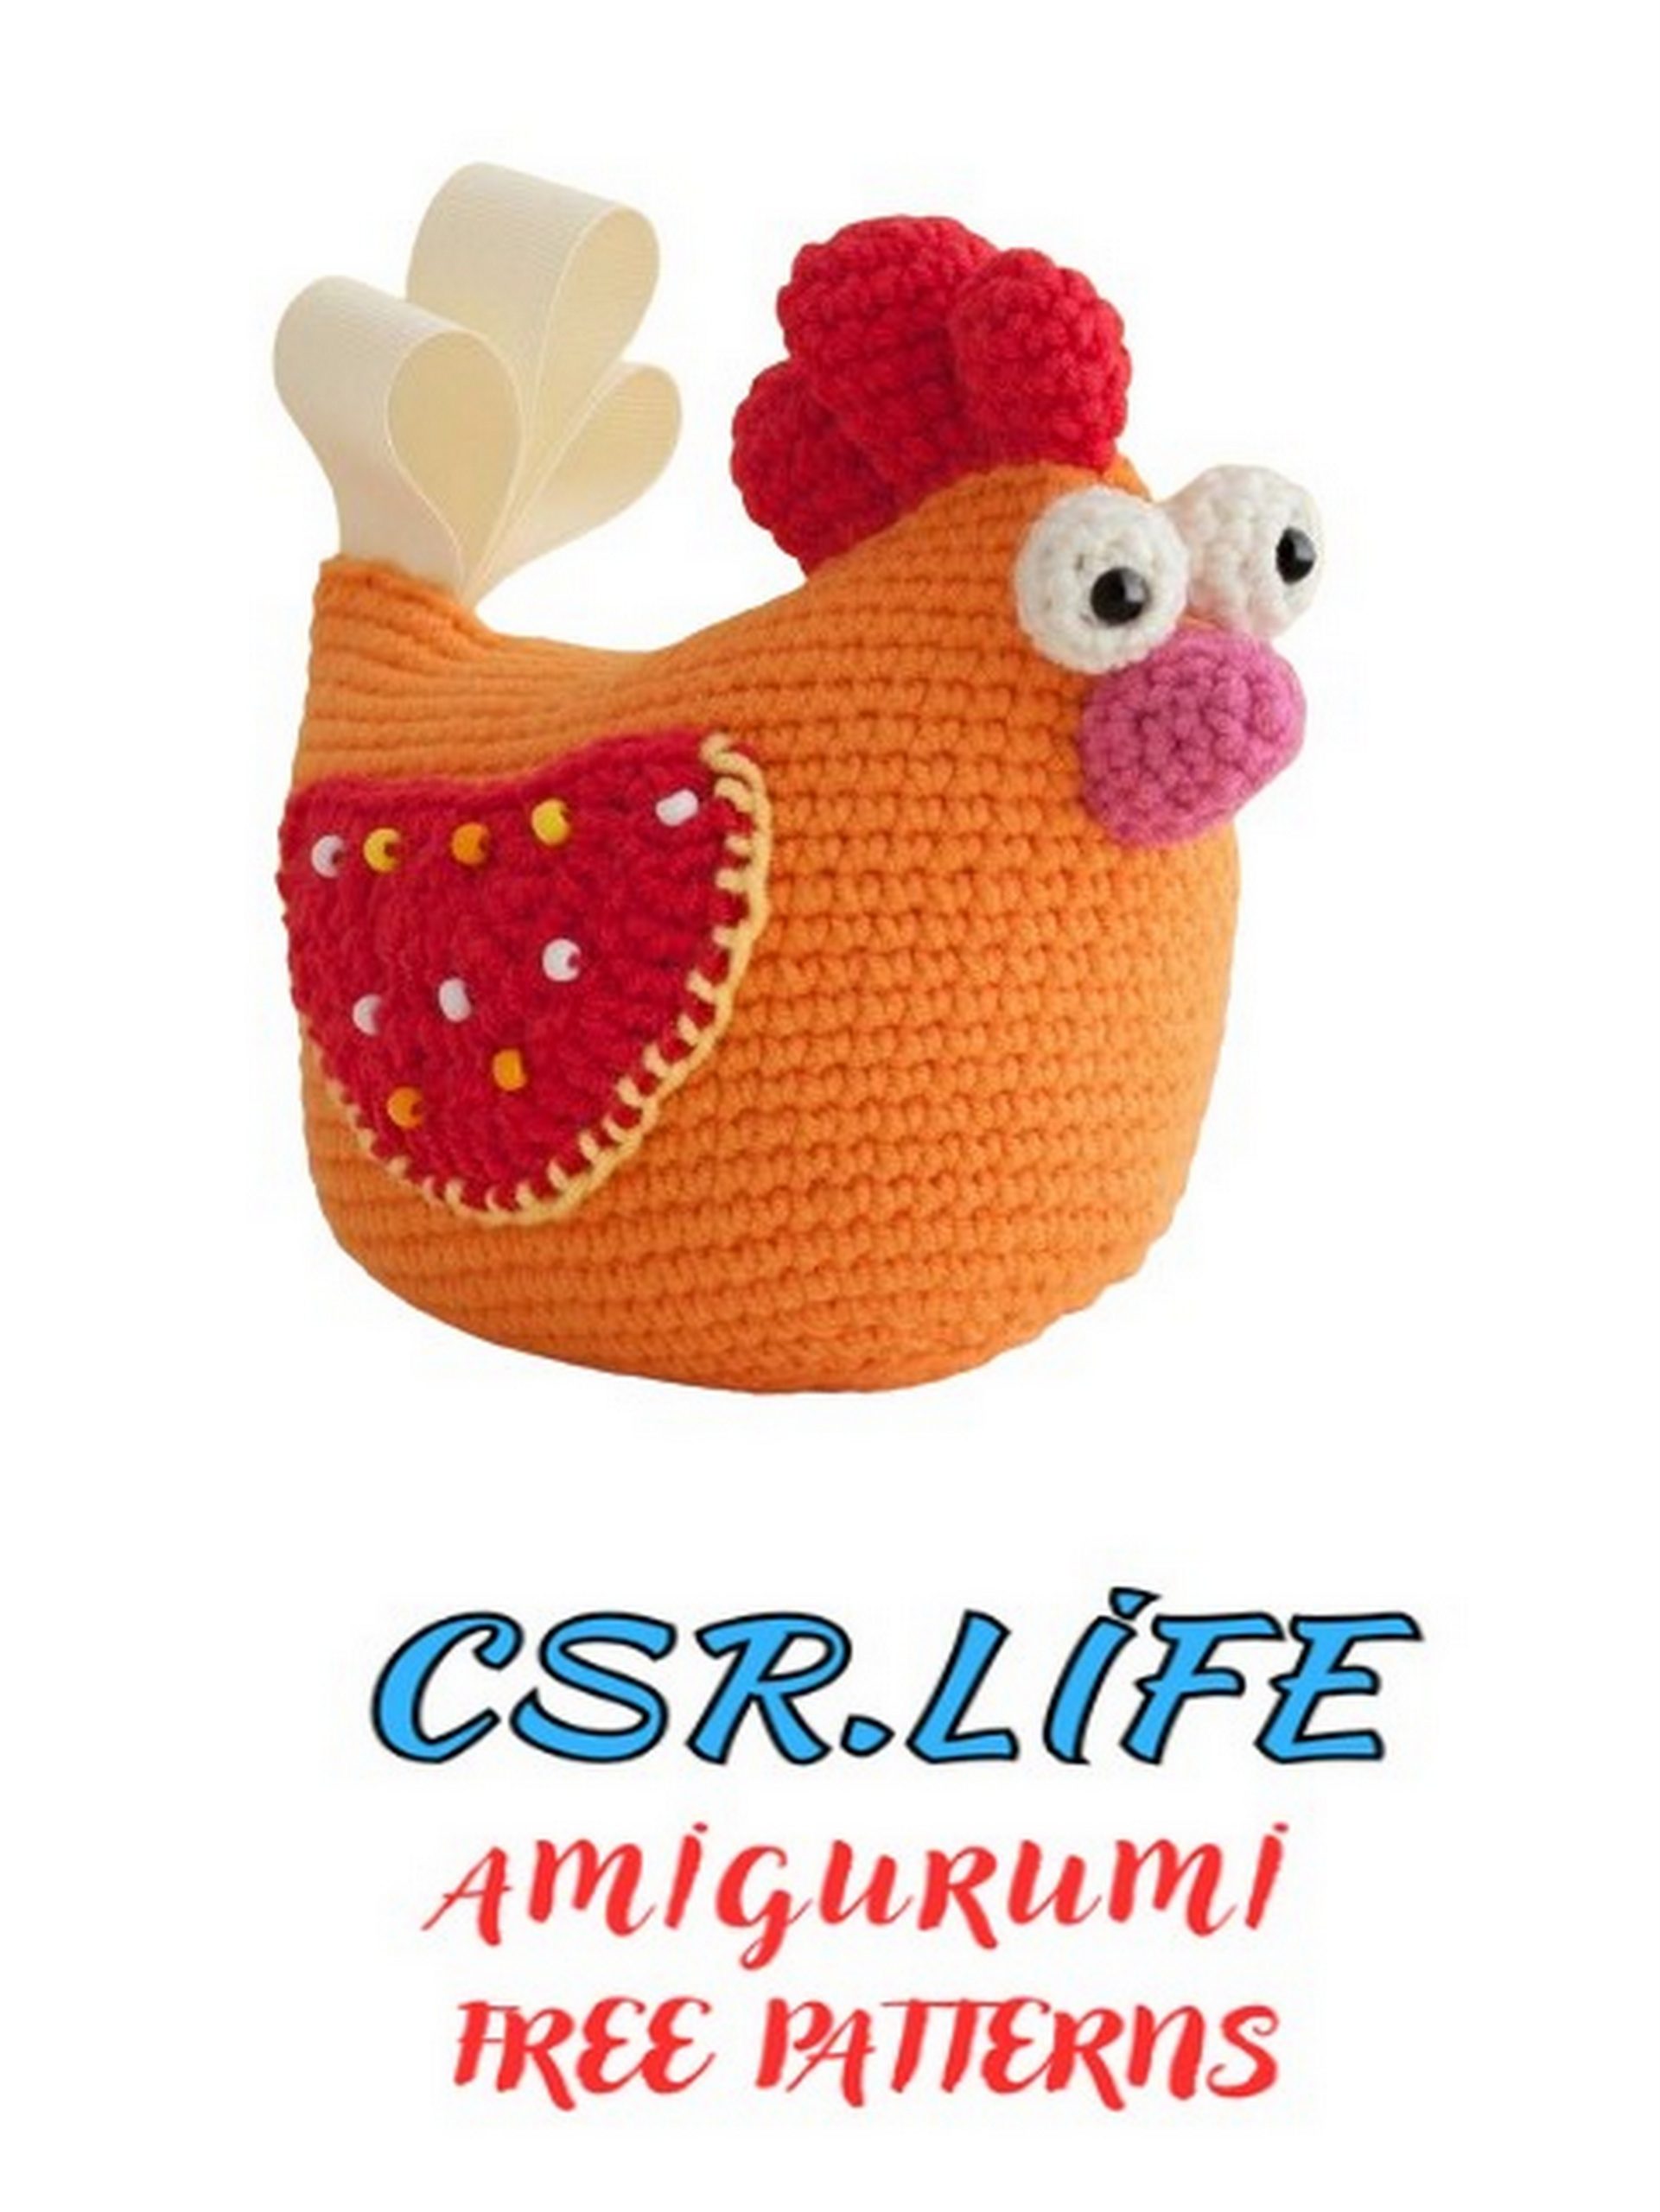
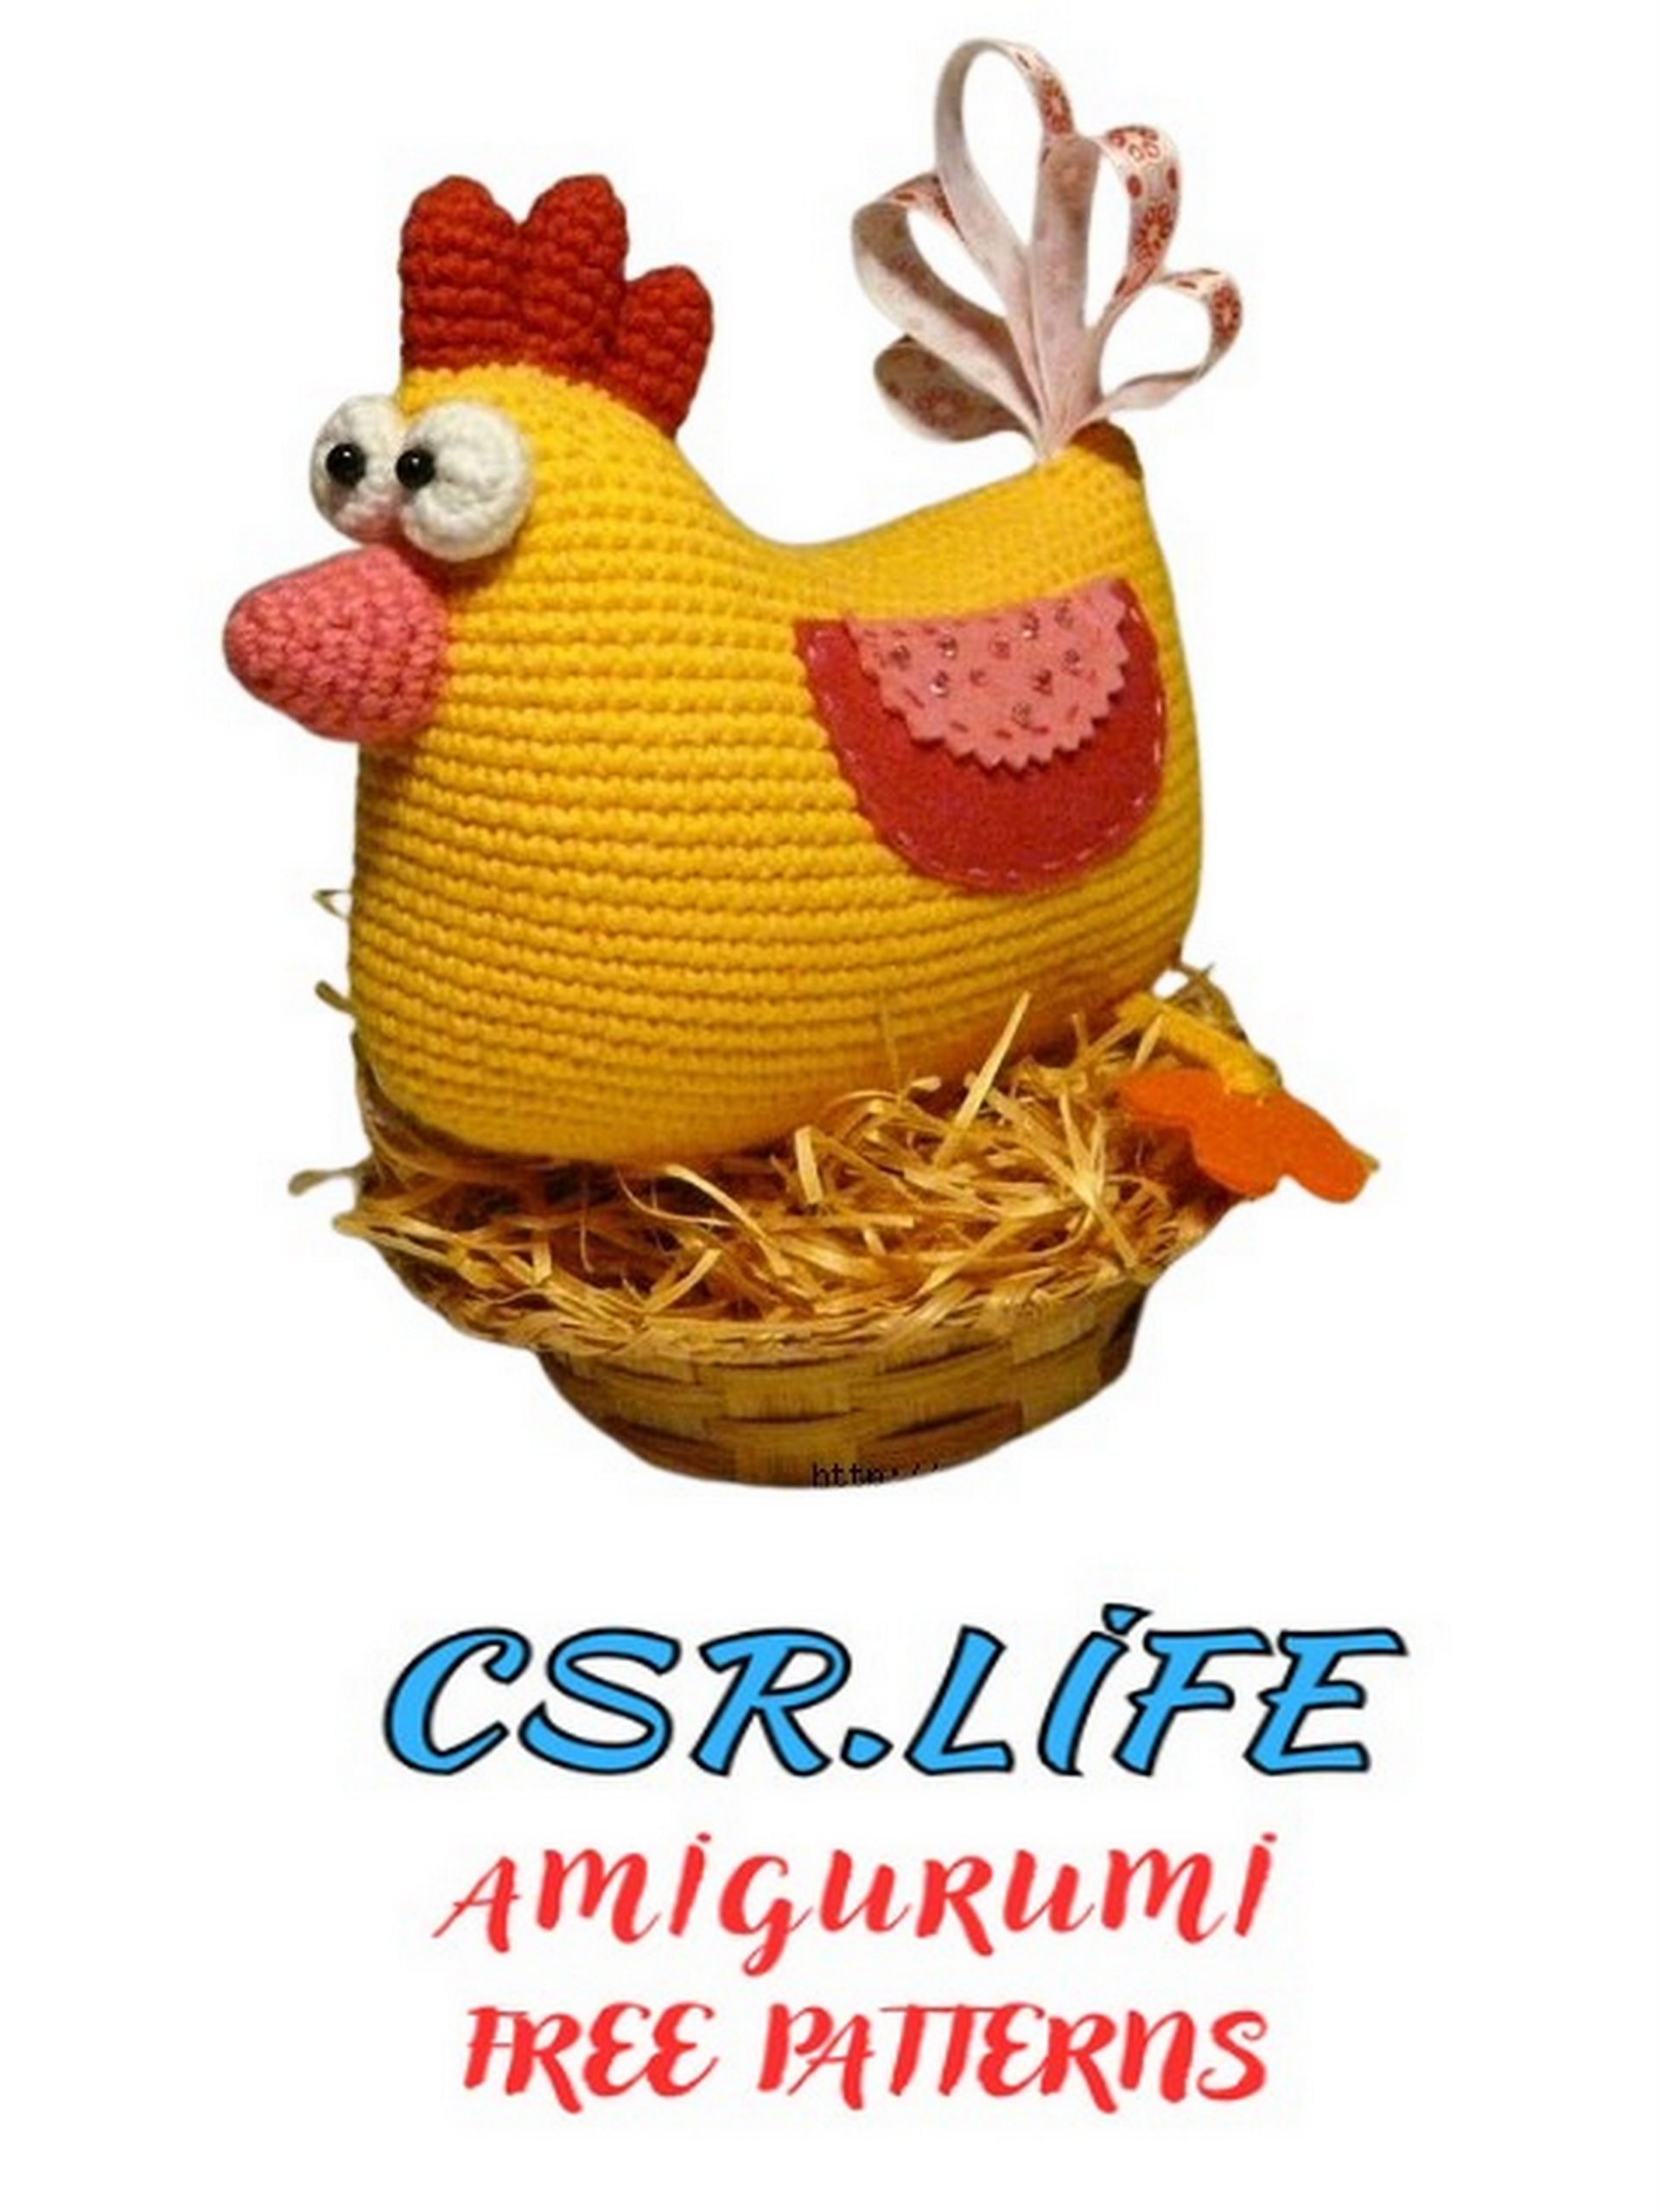
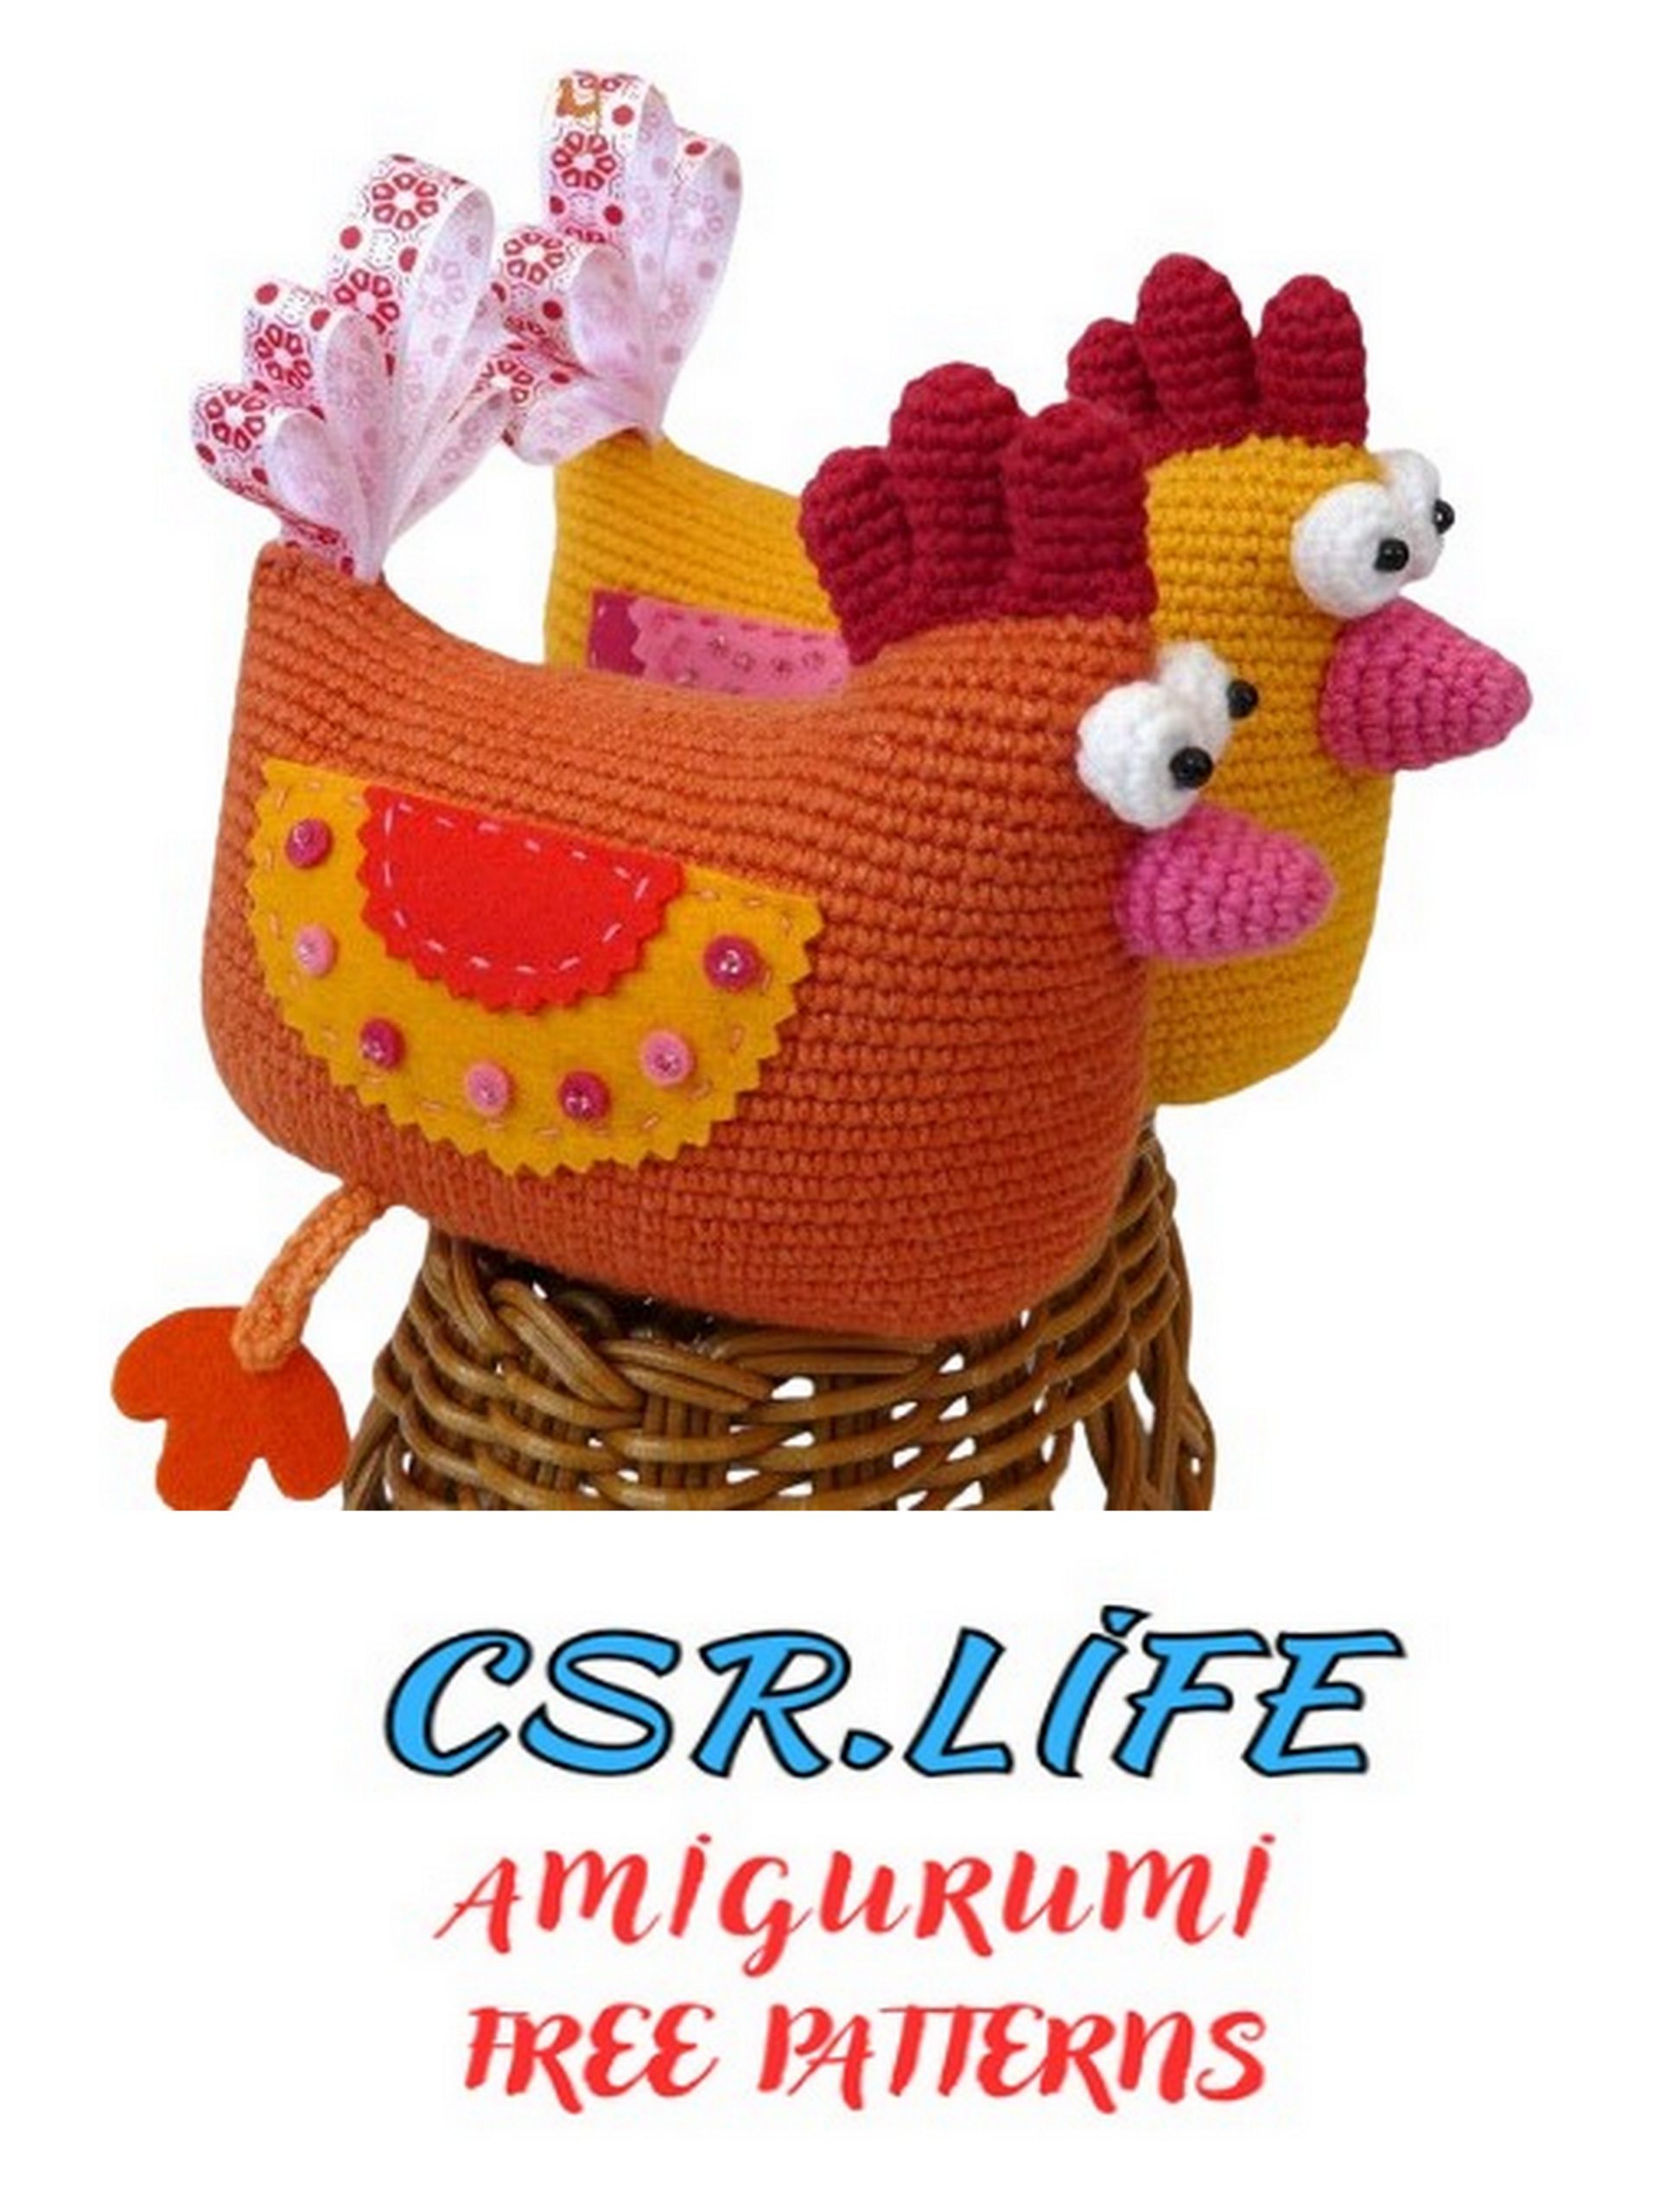
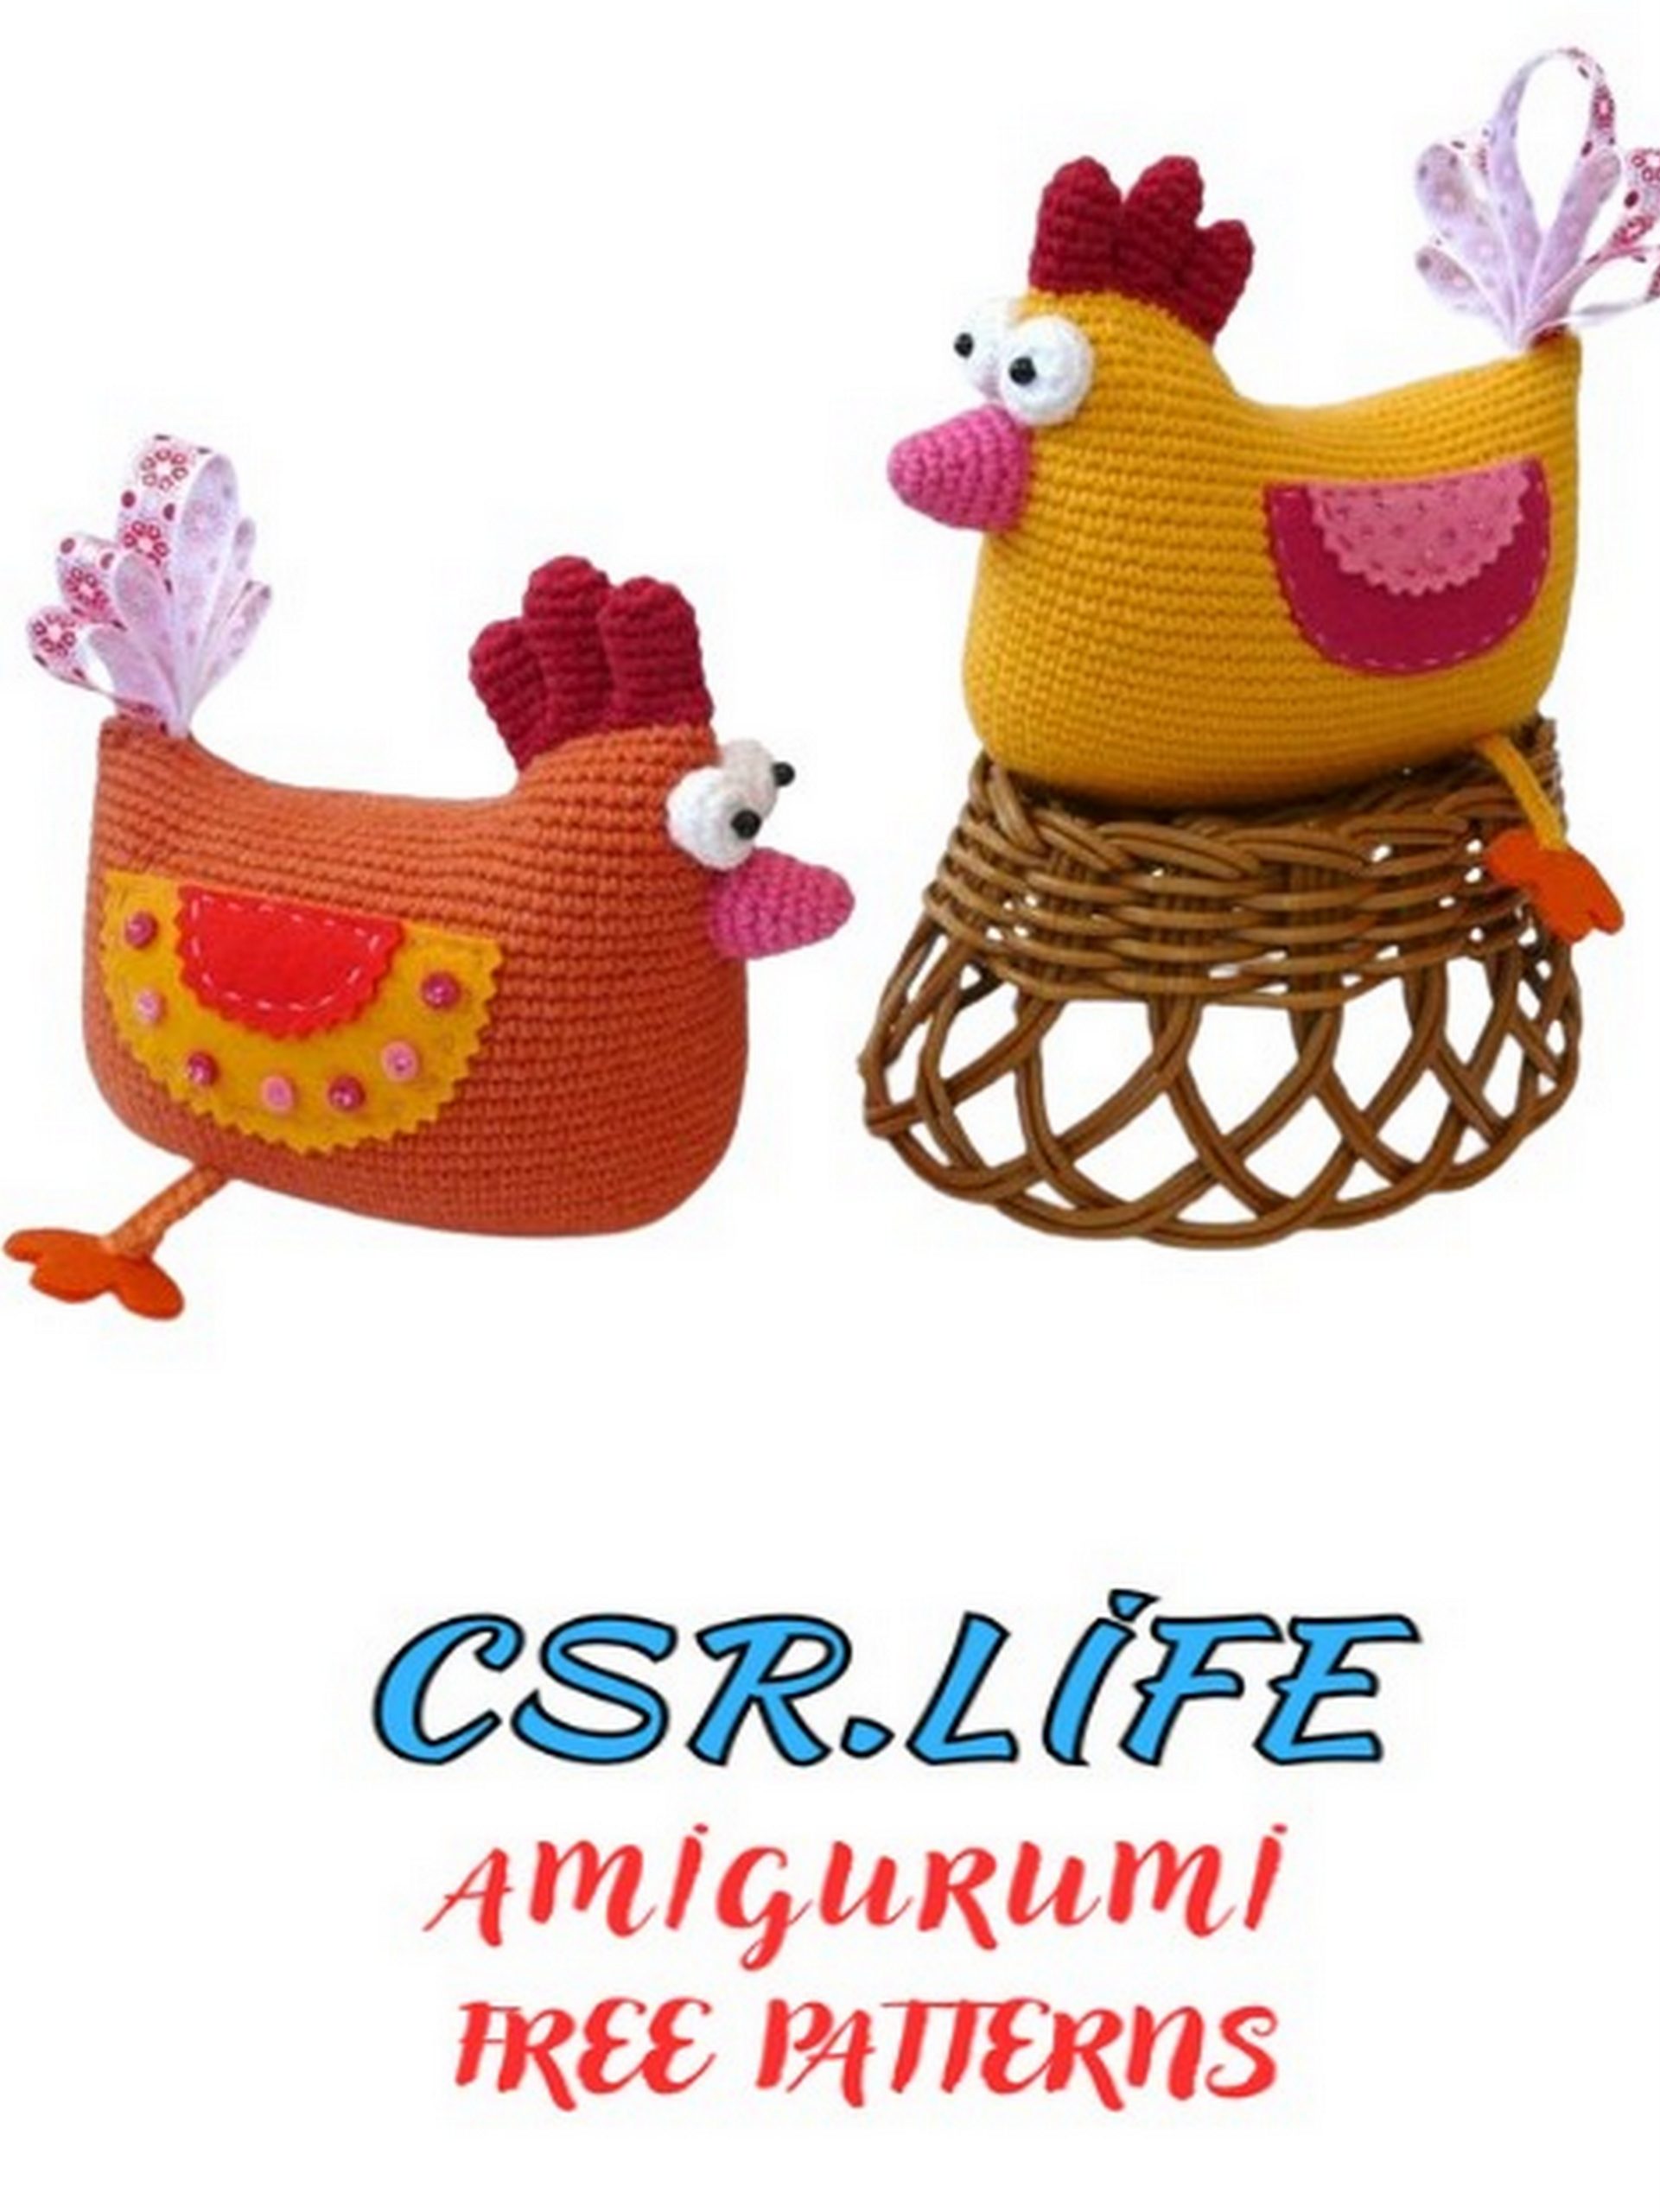
Cute Amigurumi Chicken Free Crochet Pattern
Get ready to add some whimsical charm to your crochet collection with our adorable Amigurumi Chicken Free Crochet Pattern! Whether you’re a seasoned crocheter or just starting out, this delightful project is perfect for bringing a touch of farmhouse fun to your crafting. With its cheerful design and easy-to-follow instructions, you’ll have a flock of these cute chickens in no time. Grab your yarn and hook, and let’s get stitching!
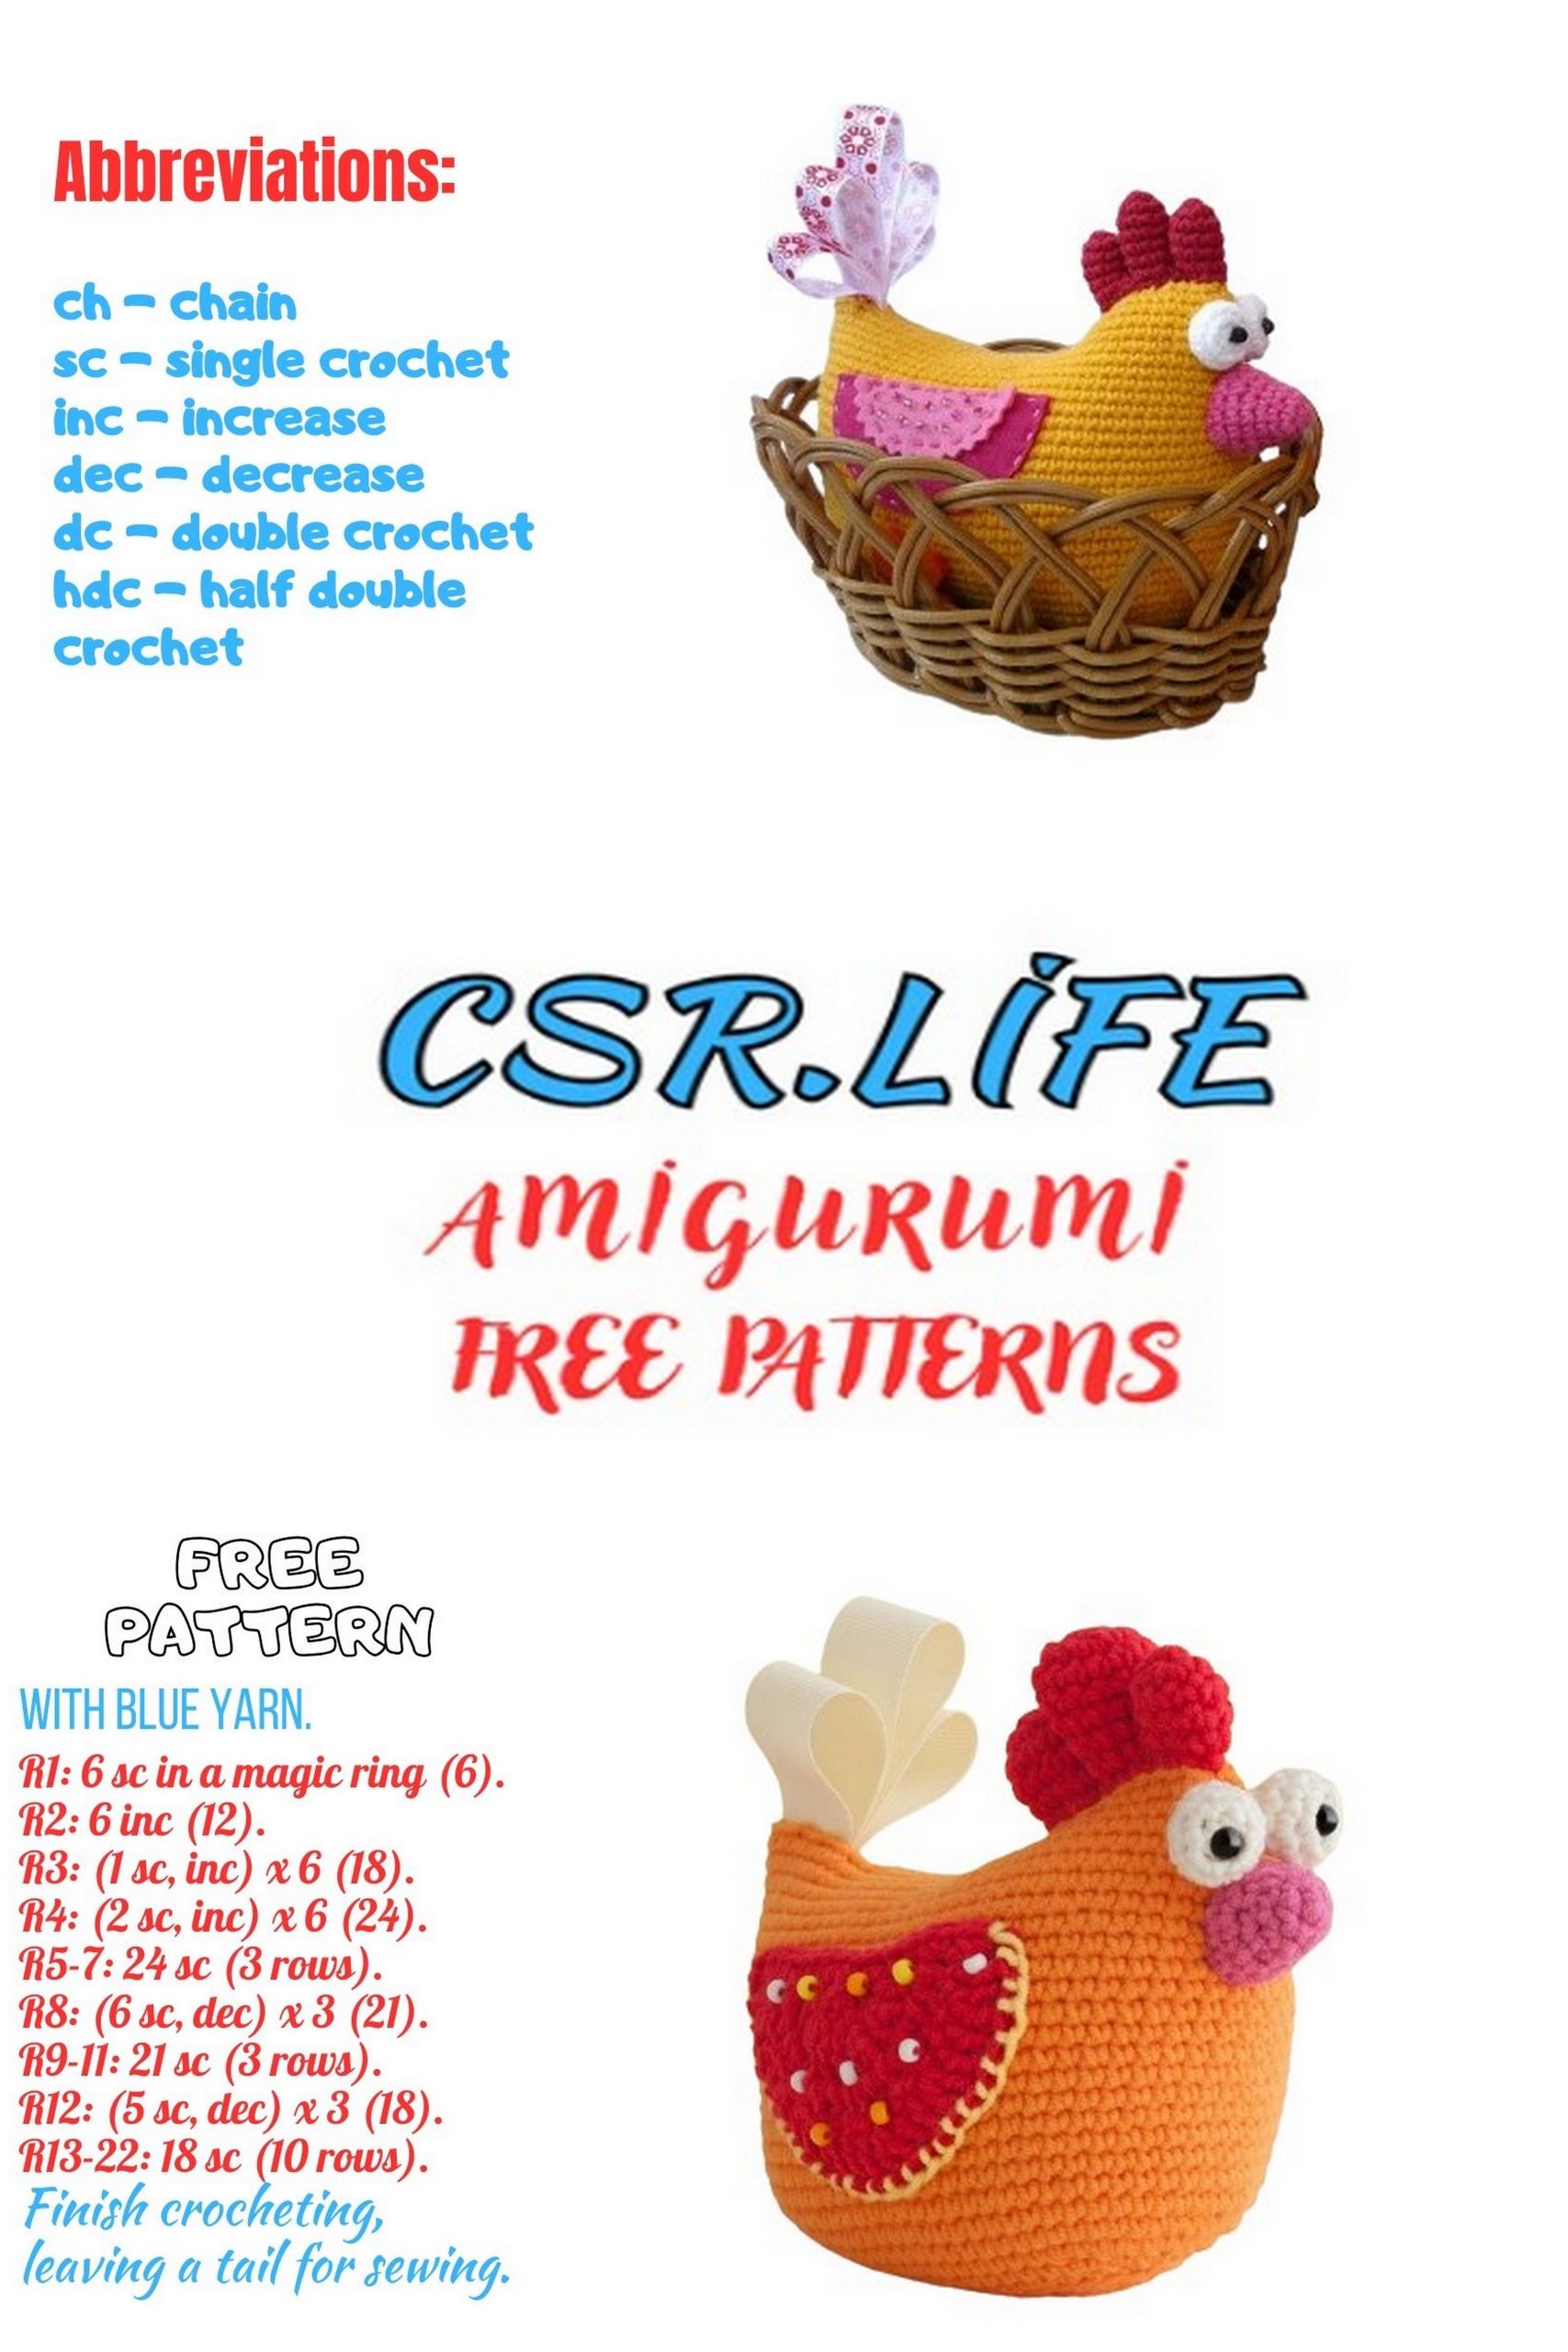
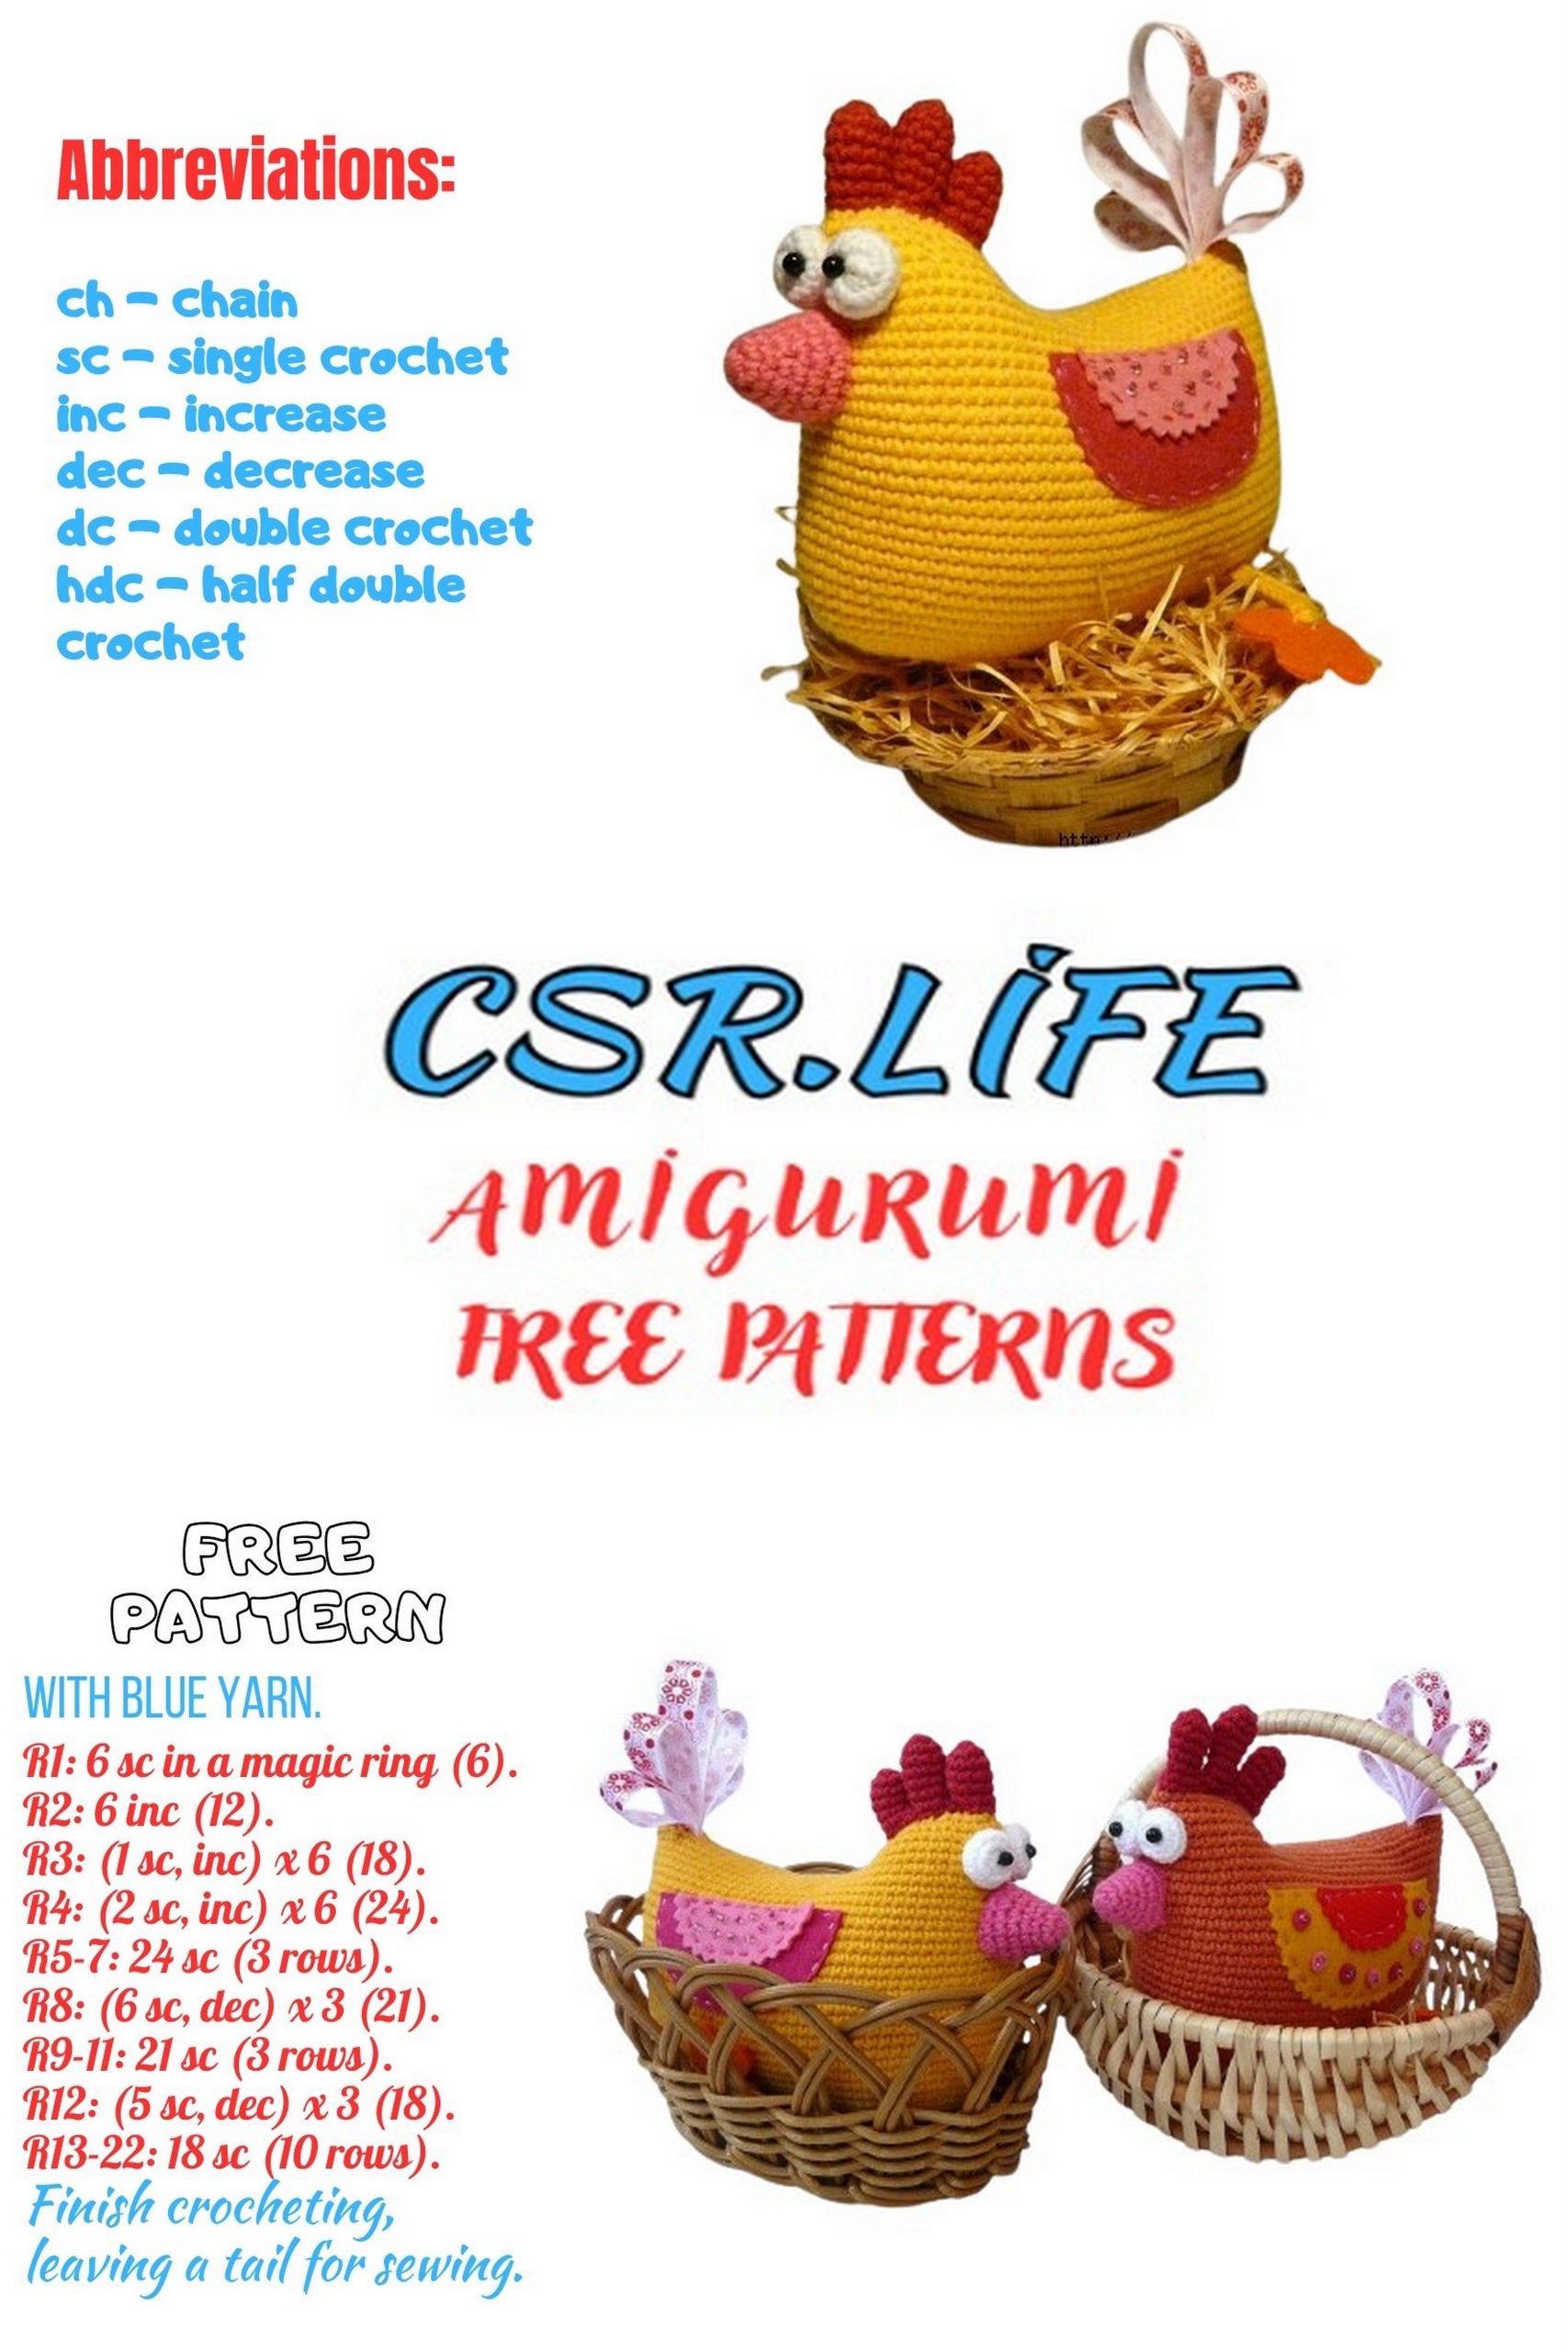
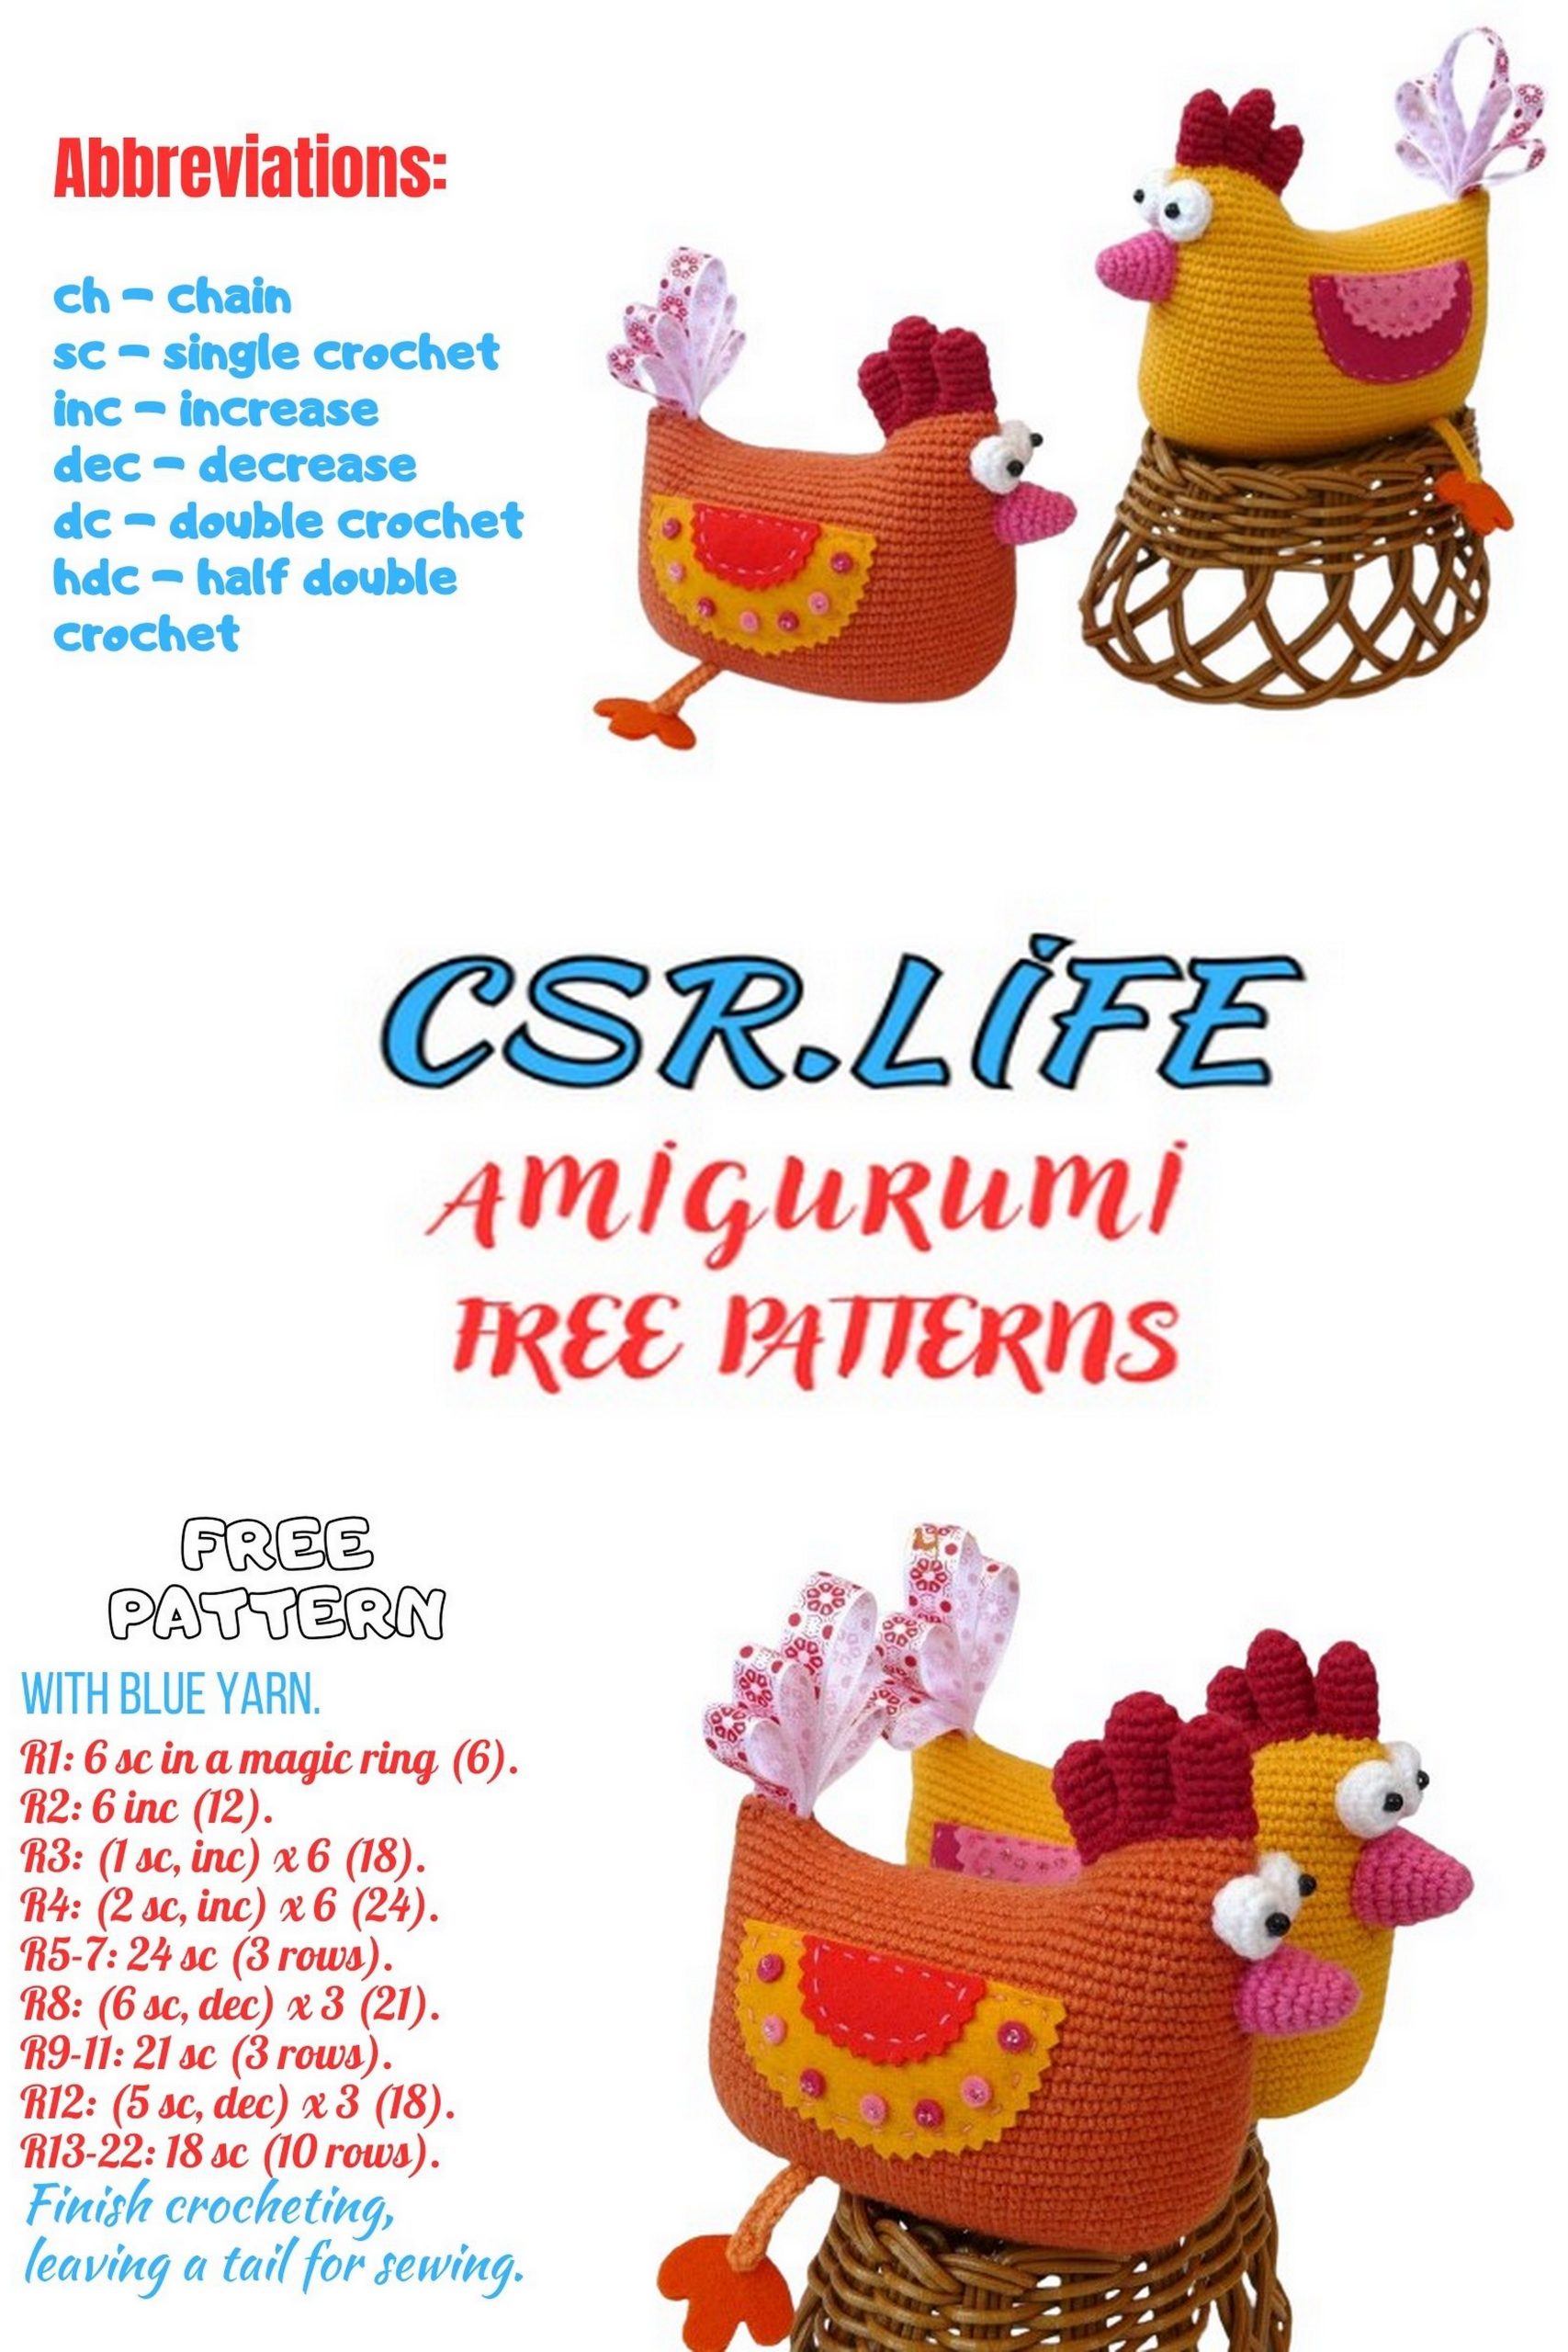
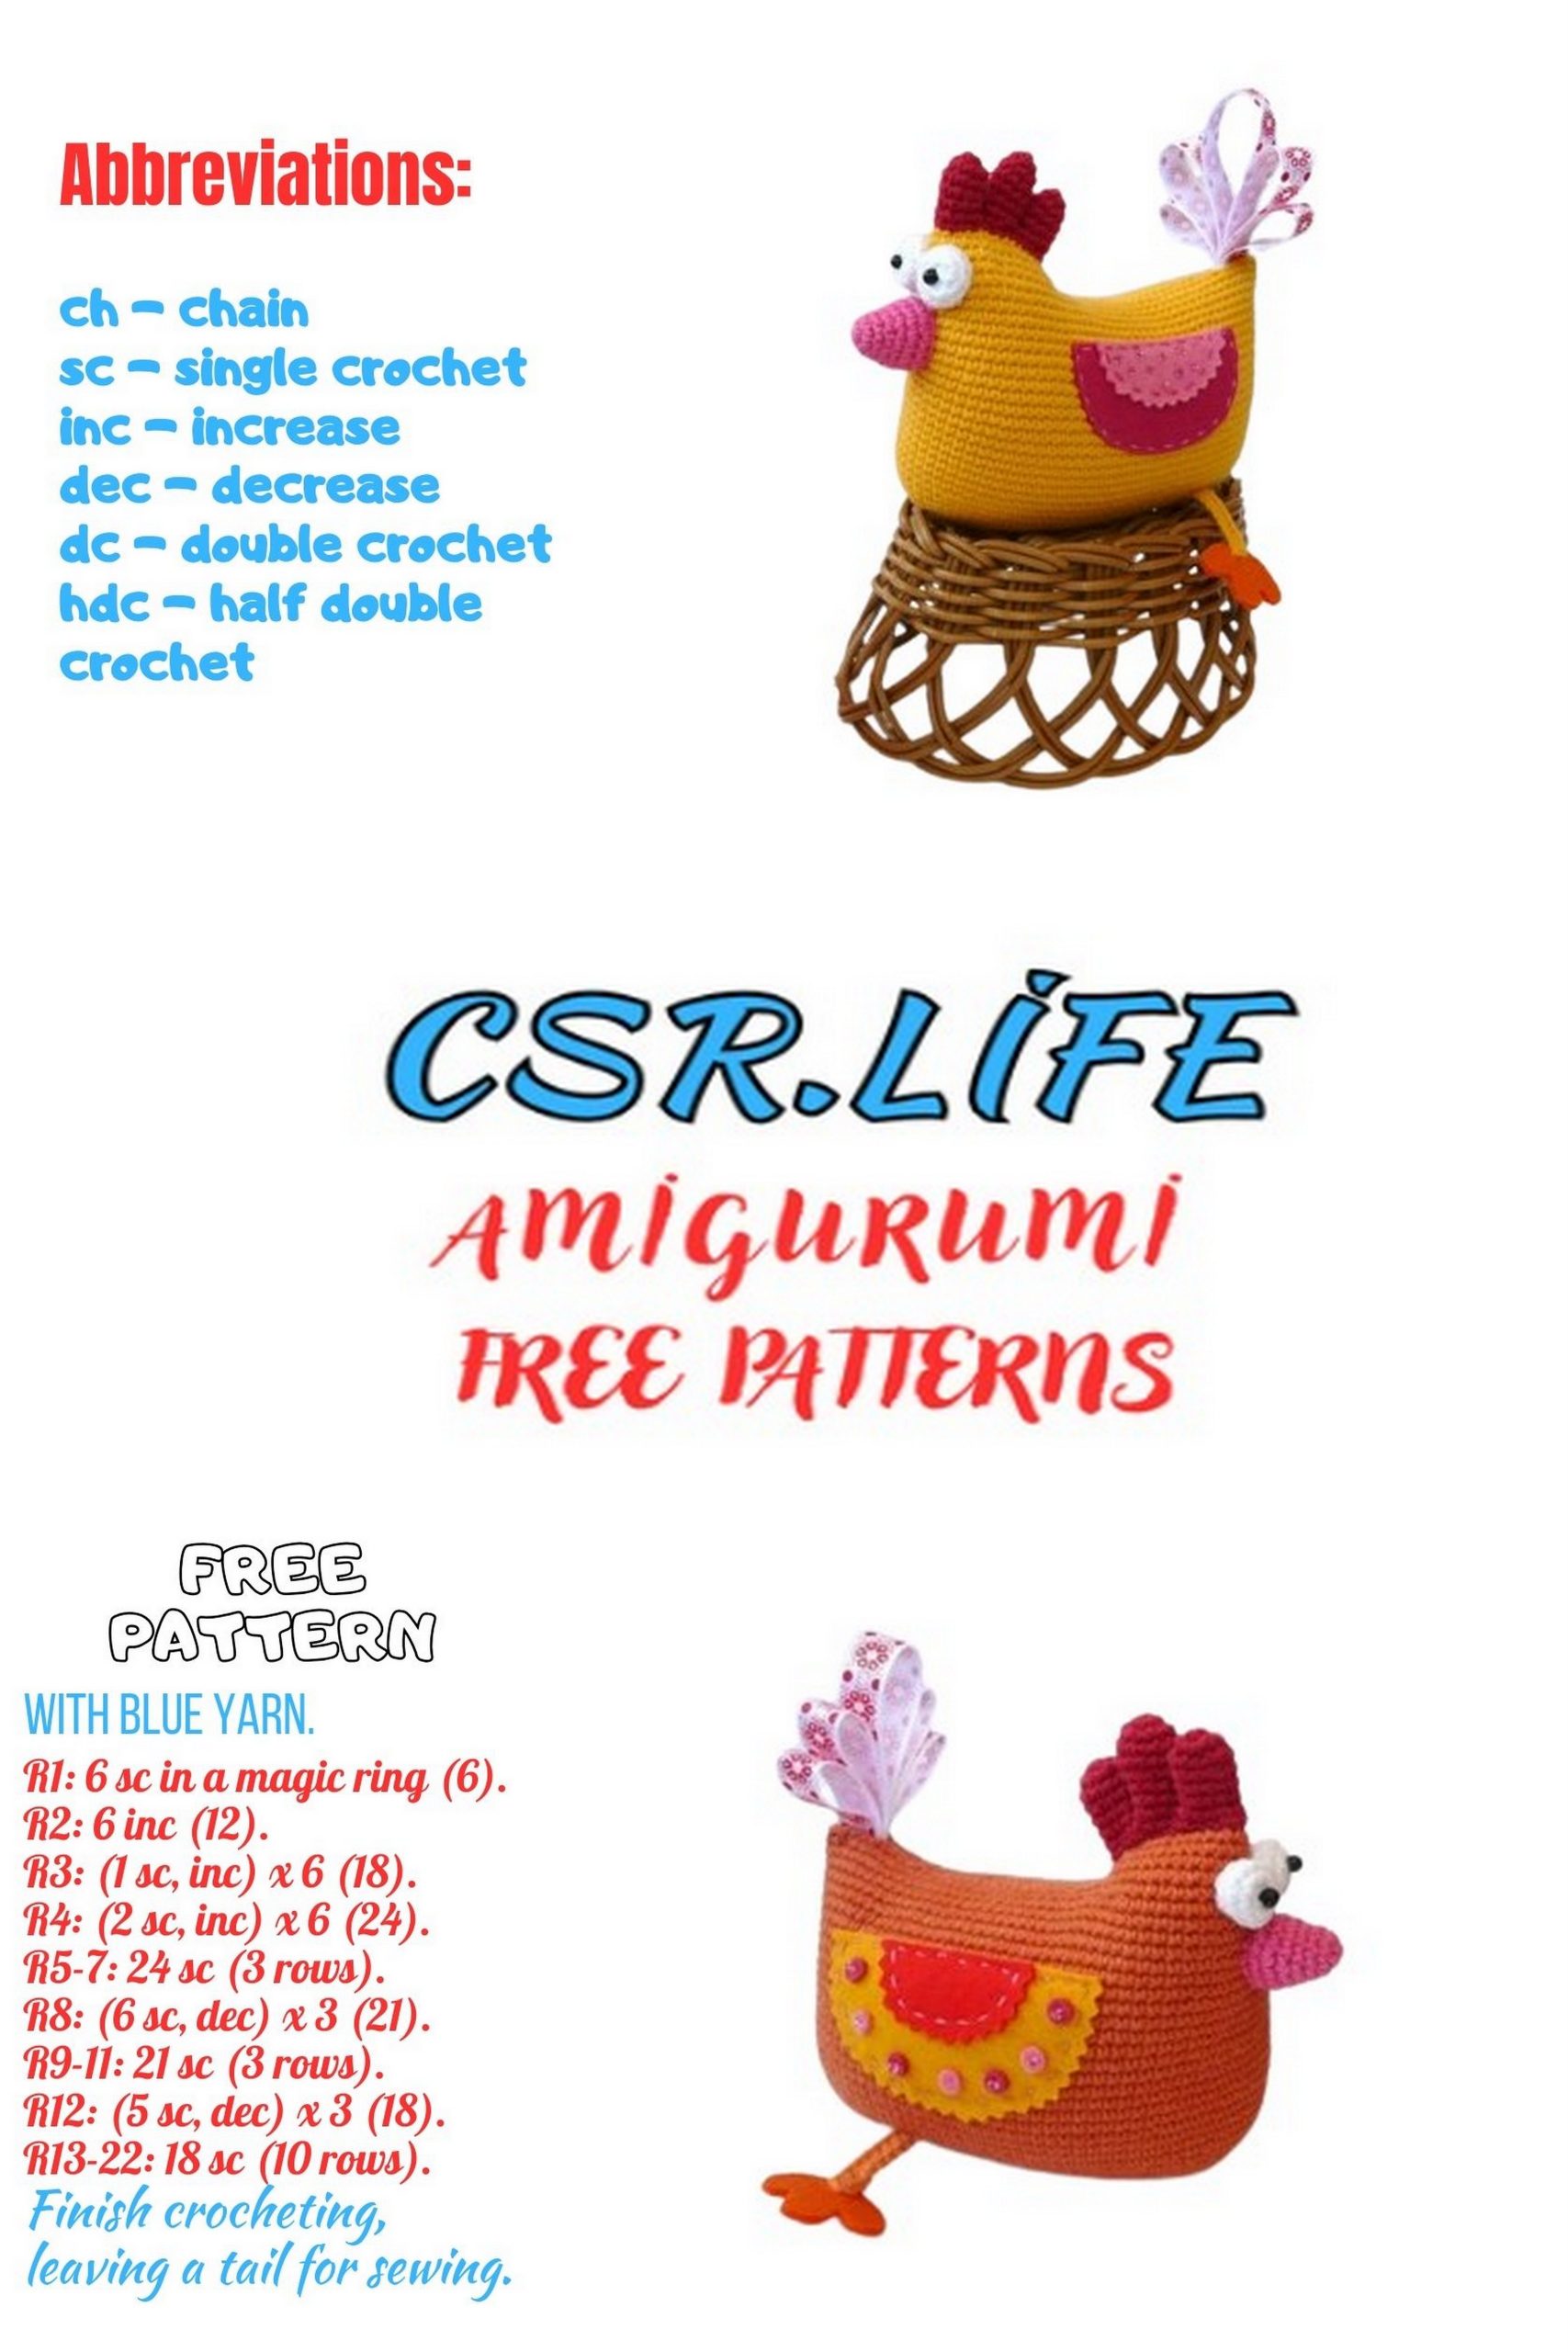
Abbreviations:
ch – chain
sc – single crochet
inc – increase
dec – decrease
PATTERN
Body-head (peach yarn):
Make a chain of 11 ch
1: sc in 2nd ch from hook, 8 sc across, 4 sc in last ch, turn, on the other side – 8 sc, inc (24)
2: 2 inc, 8 sc, 4 inc, 8 sc, 2 inc (32)
3: inc, 11 sc, inc, sc, inc, sc, inc, 11 sc, inc, sc, inc, sc (38)
4: 18 sc, inc, 18 sc, inc (40)
5-14: 40 sc
Do not cut the yarn. Do not stuff the toy yet. Crochet 2 wings, 2 legs, 2 eyes, beak.
Wings (red yarn):
Chain 13. Work with turns, make 1 ch at the beginning of each row as a turning chain.
1: 12 sc
2: dec, 8 sc, dec (10)
3: dec, 6 sc, dec (8)
4: dec, 4 sc, dec (6)
5: dec, 2 sc, dec (4)
Edge the wing with yellow yarn. Make another one the same.
Legs (orange yarn):
Chain 17. Slip stitch in the 10th ch to form a loop. In the same loop, make 2 loops of 7 ch each. Then crochet 8 sc along the leg. Make one more leg.
Eyes (white yarn):
1: Chain 2. 5 sc in 2nd ch from hook.
2: 5 inc (10)
3: 10 sc
4: 5 dec (5)
Make another eye. Sew a black bead in the center of each eye, stuff it, and close the opening.

Beak (orange yarn):
Chain 2. 5 sc in 2nd ch from hook.
2: (sc, inc) 2 times, sc (7)
3: 7 sc
4: (sc, inc) 3 times, sc (10)
5-6: 10 sc
Assembly:
1: Sew the beak in the center.
2: Sew the eyes next to the beak.
3: Sew the wings on the sides with red thread.
4: Insert the ends of the leg threads into the chicken’s body. Tie on the inside.
Now stuff our chicken tightly. Fold it in half and crochet 19 sc along the top of the chicken, connecting the two edges. Make the comb and tail.
Comb (red yarn):
Attach the thread where the comb will be. Crochet 7 ch loops in the first stitch, 10 ch loops in the second stitch, and 7 ch loops in the third stitch.
Tail (yellow yarn):
Attach the thread where the tail will be. Make 5 loops of 12 ch, 15 ch, 17 ch, 15 ch, 12 ch.
Comb (red yarn):
Attach the thread where the comb will be. Crochet 7 ch loops in the first stitch, 10 ch loops in the second stitch, and 7 ch loops in the third stitch.
Tail (yellow yarn):
Attach the thread where the tail will be. Make 5 loops of 12 ch, 15 ch, 17 ch, 15 ch, 12 ch.
After completing the comb and tail, your amigurumi chicken is ready!