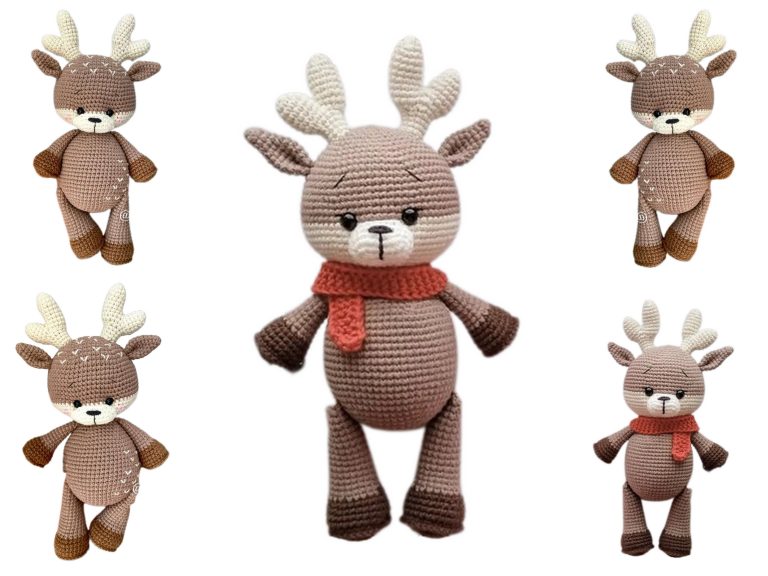
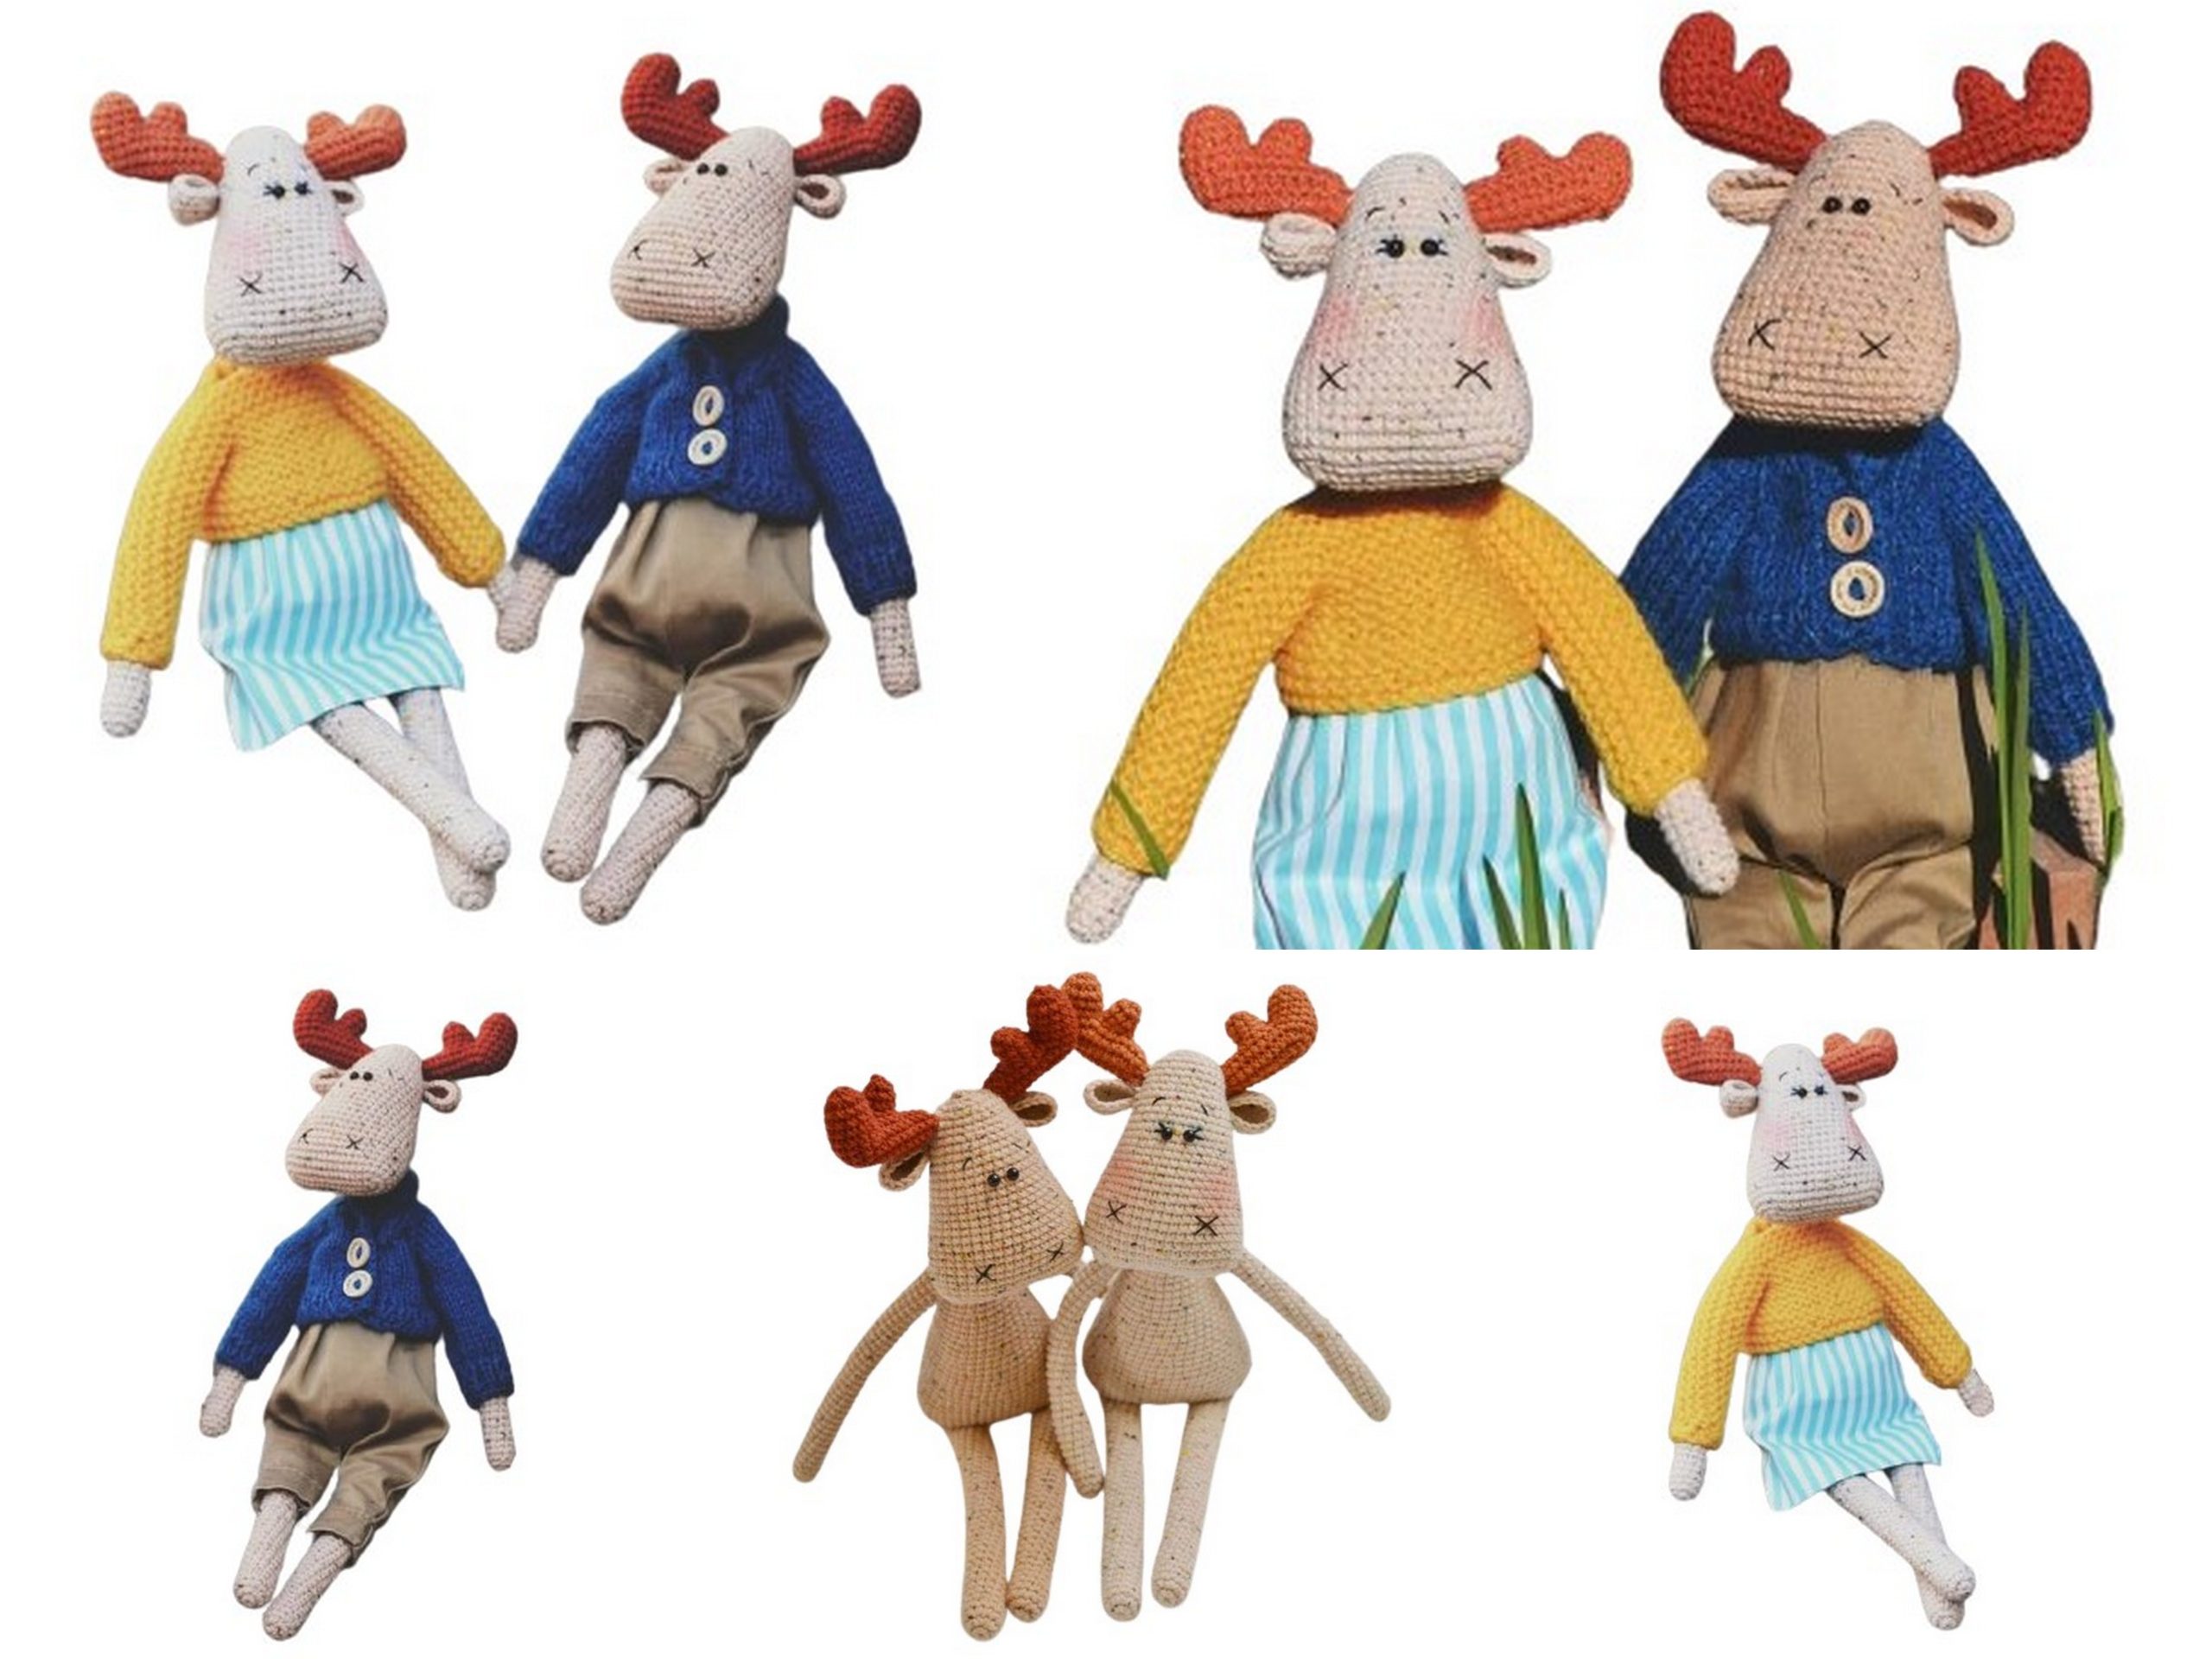
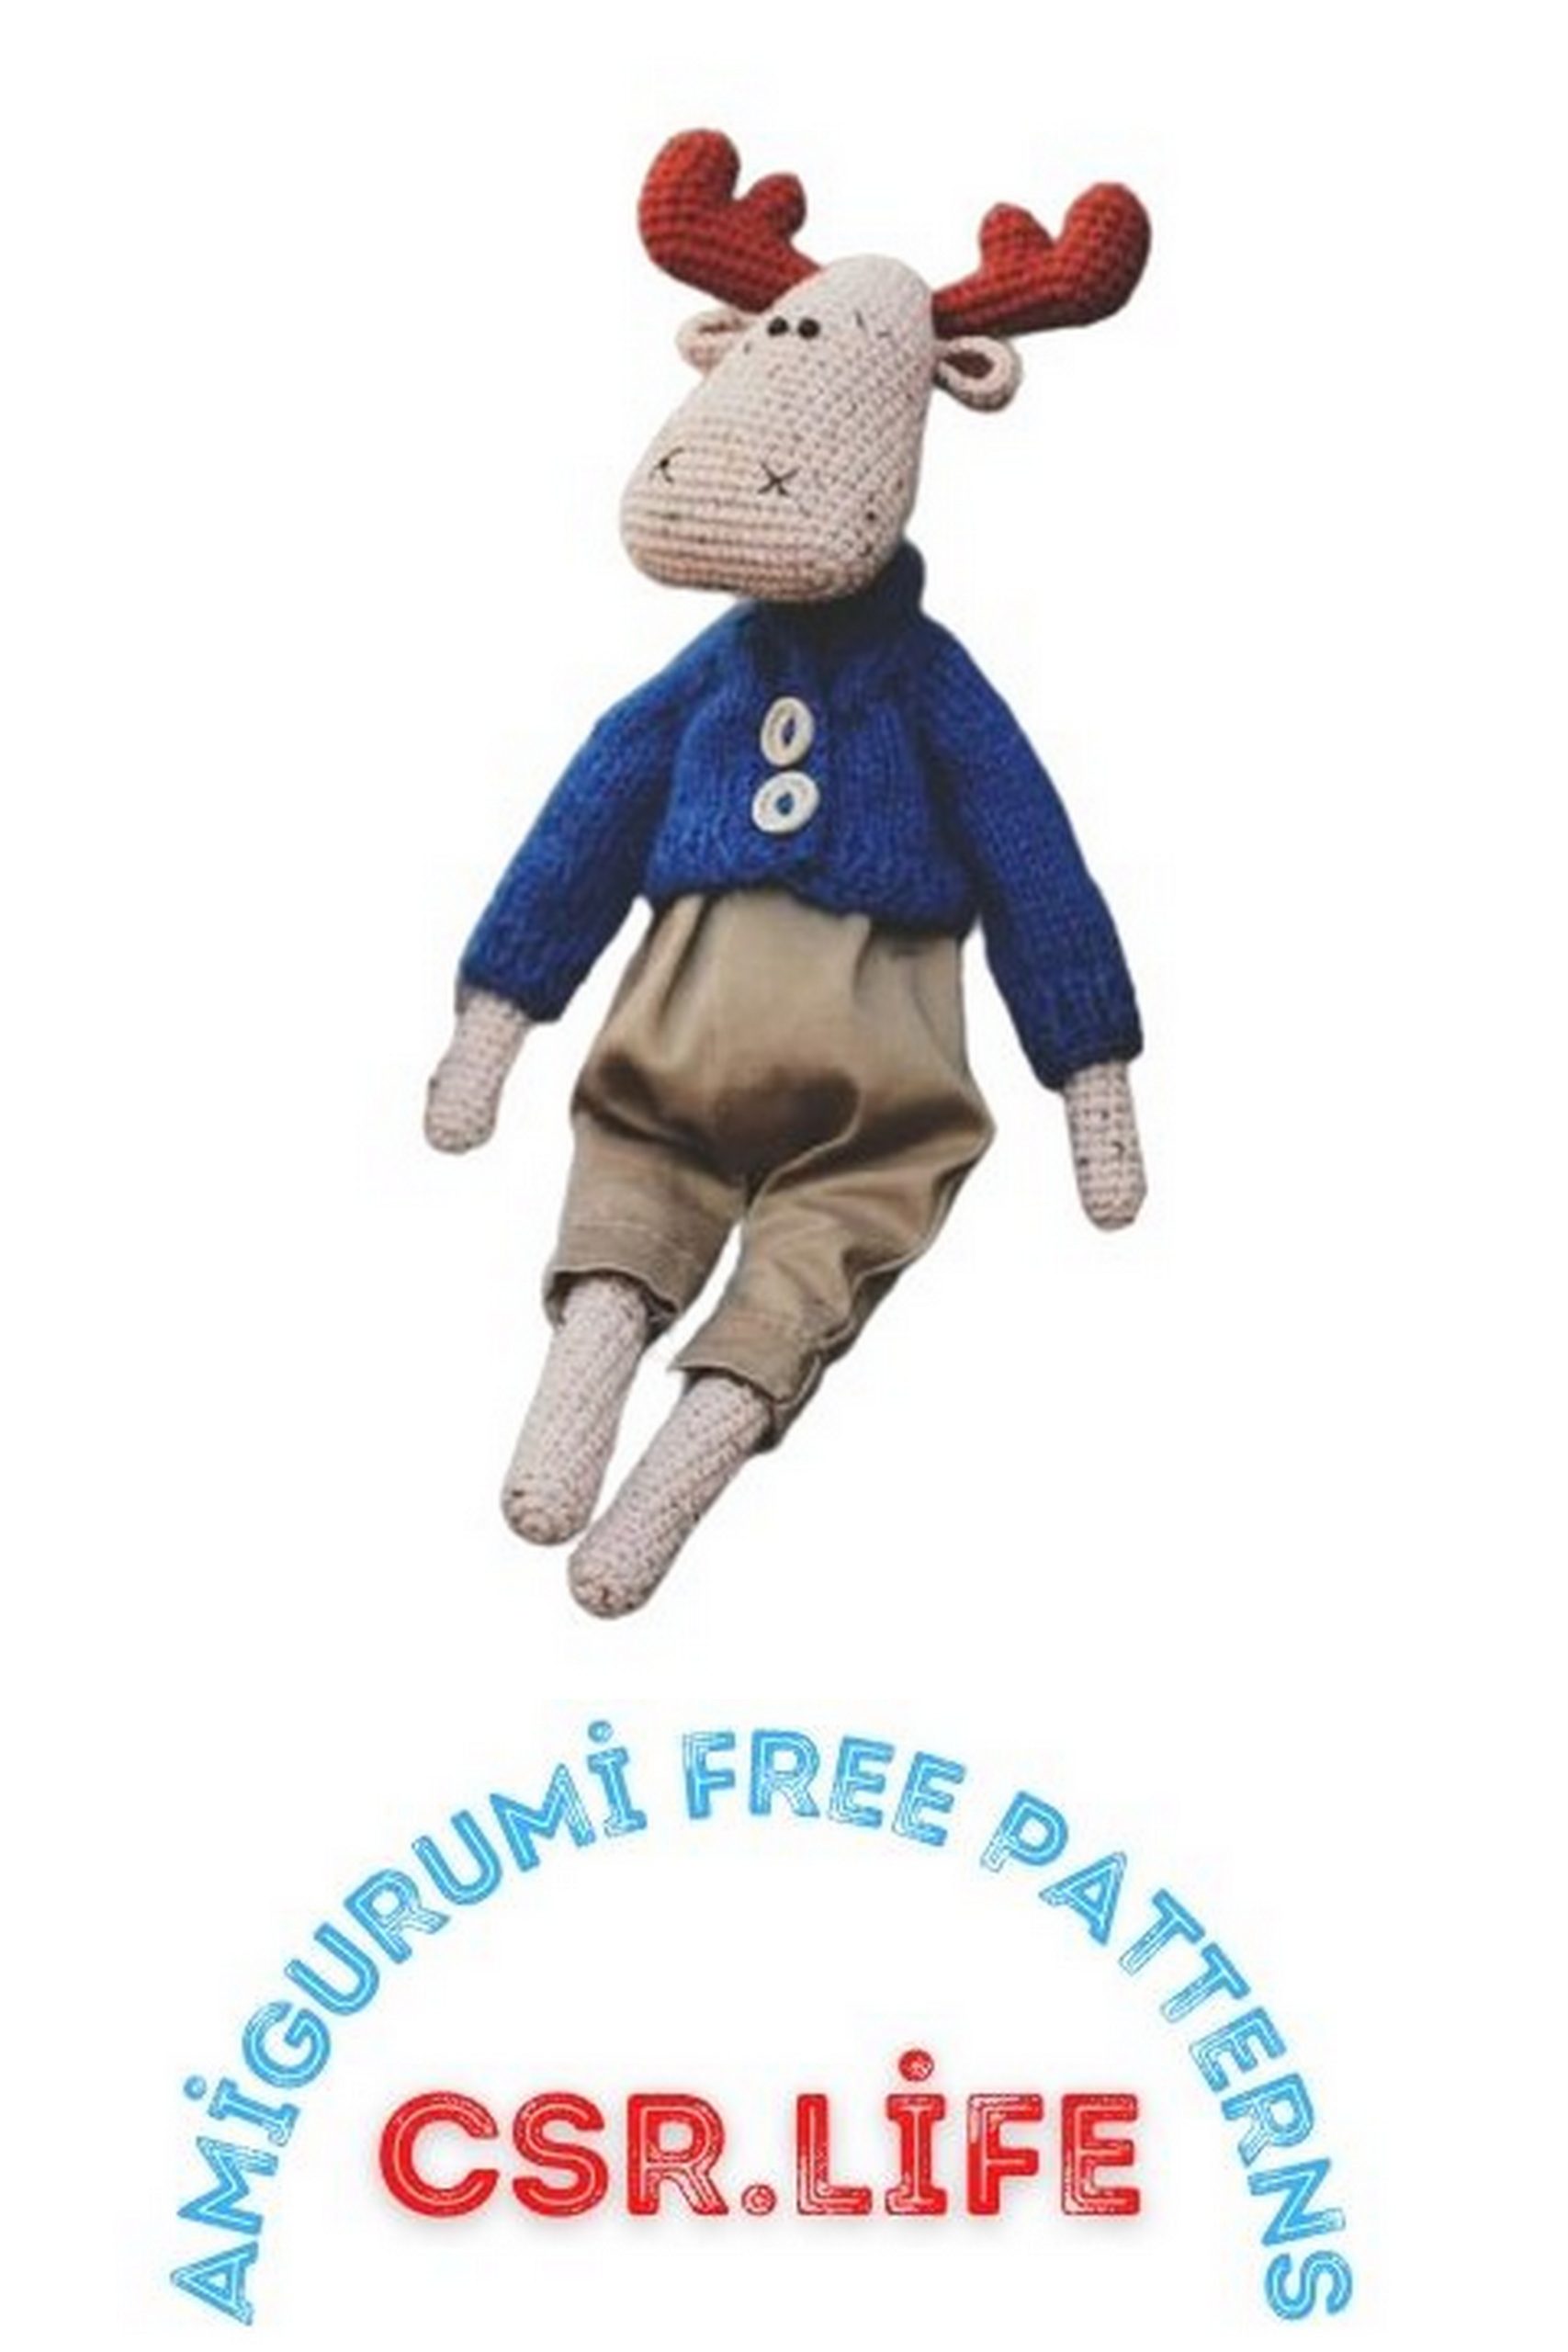
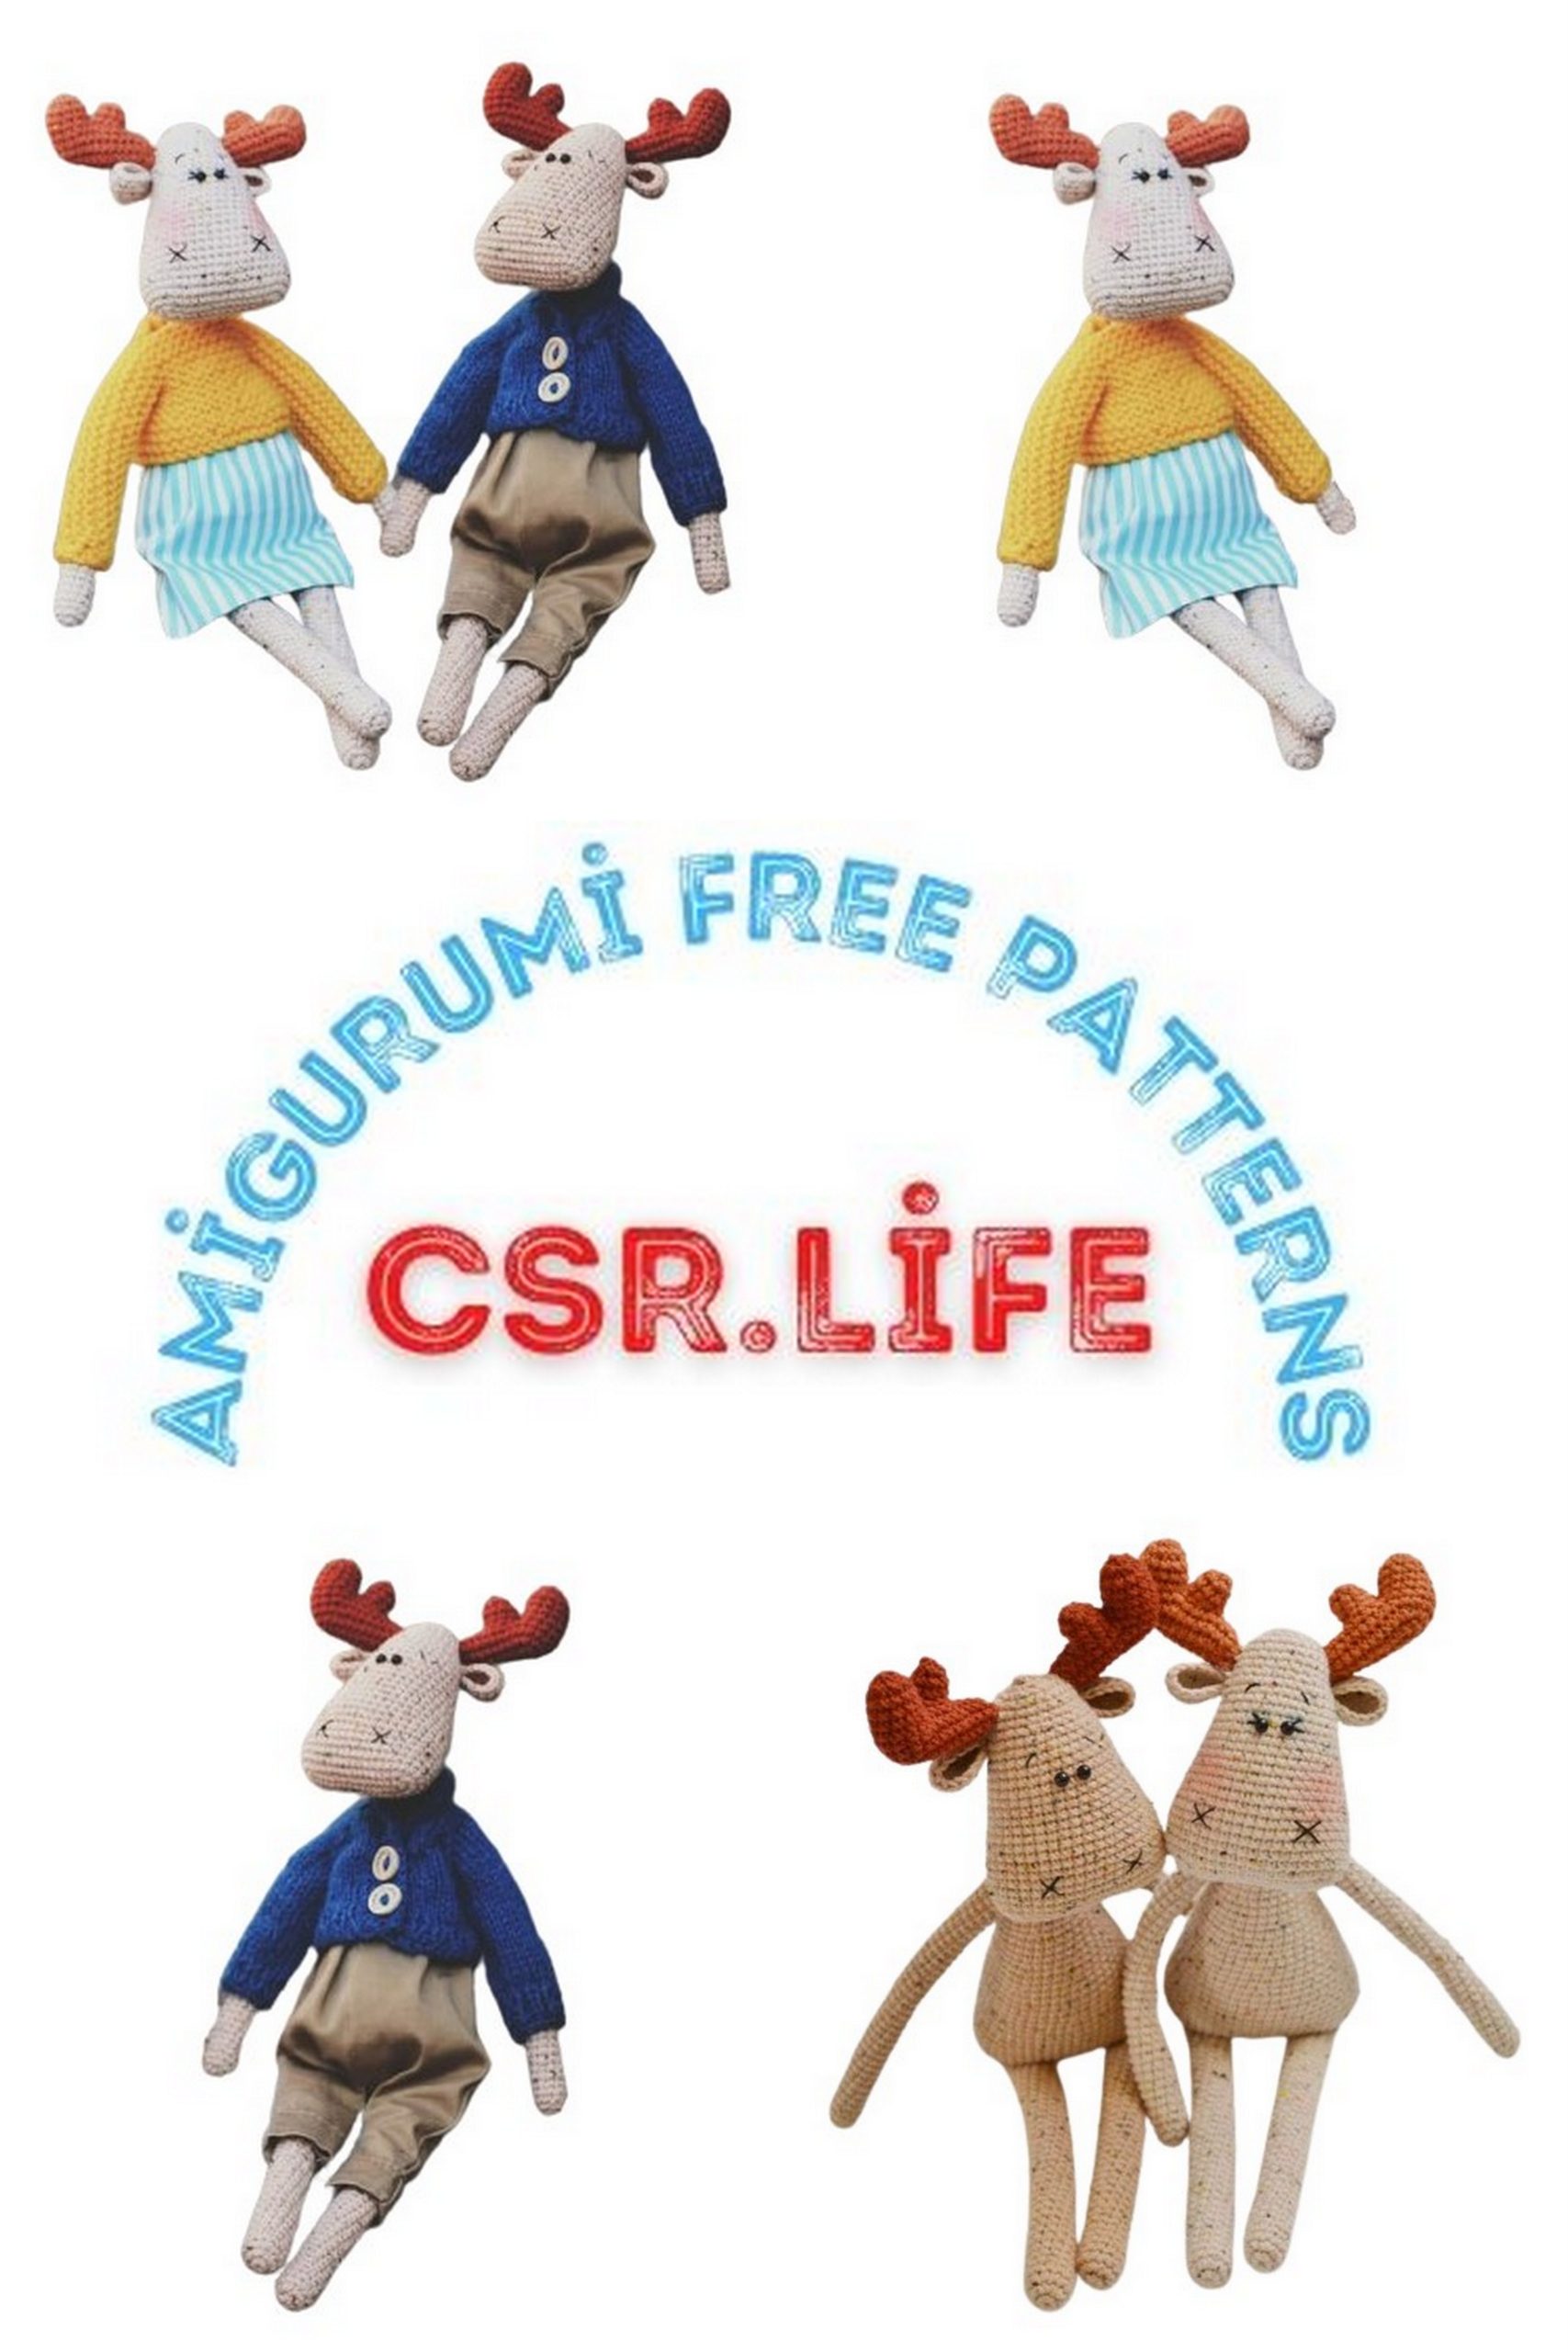
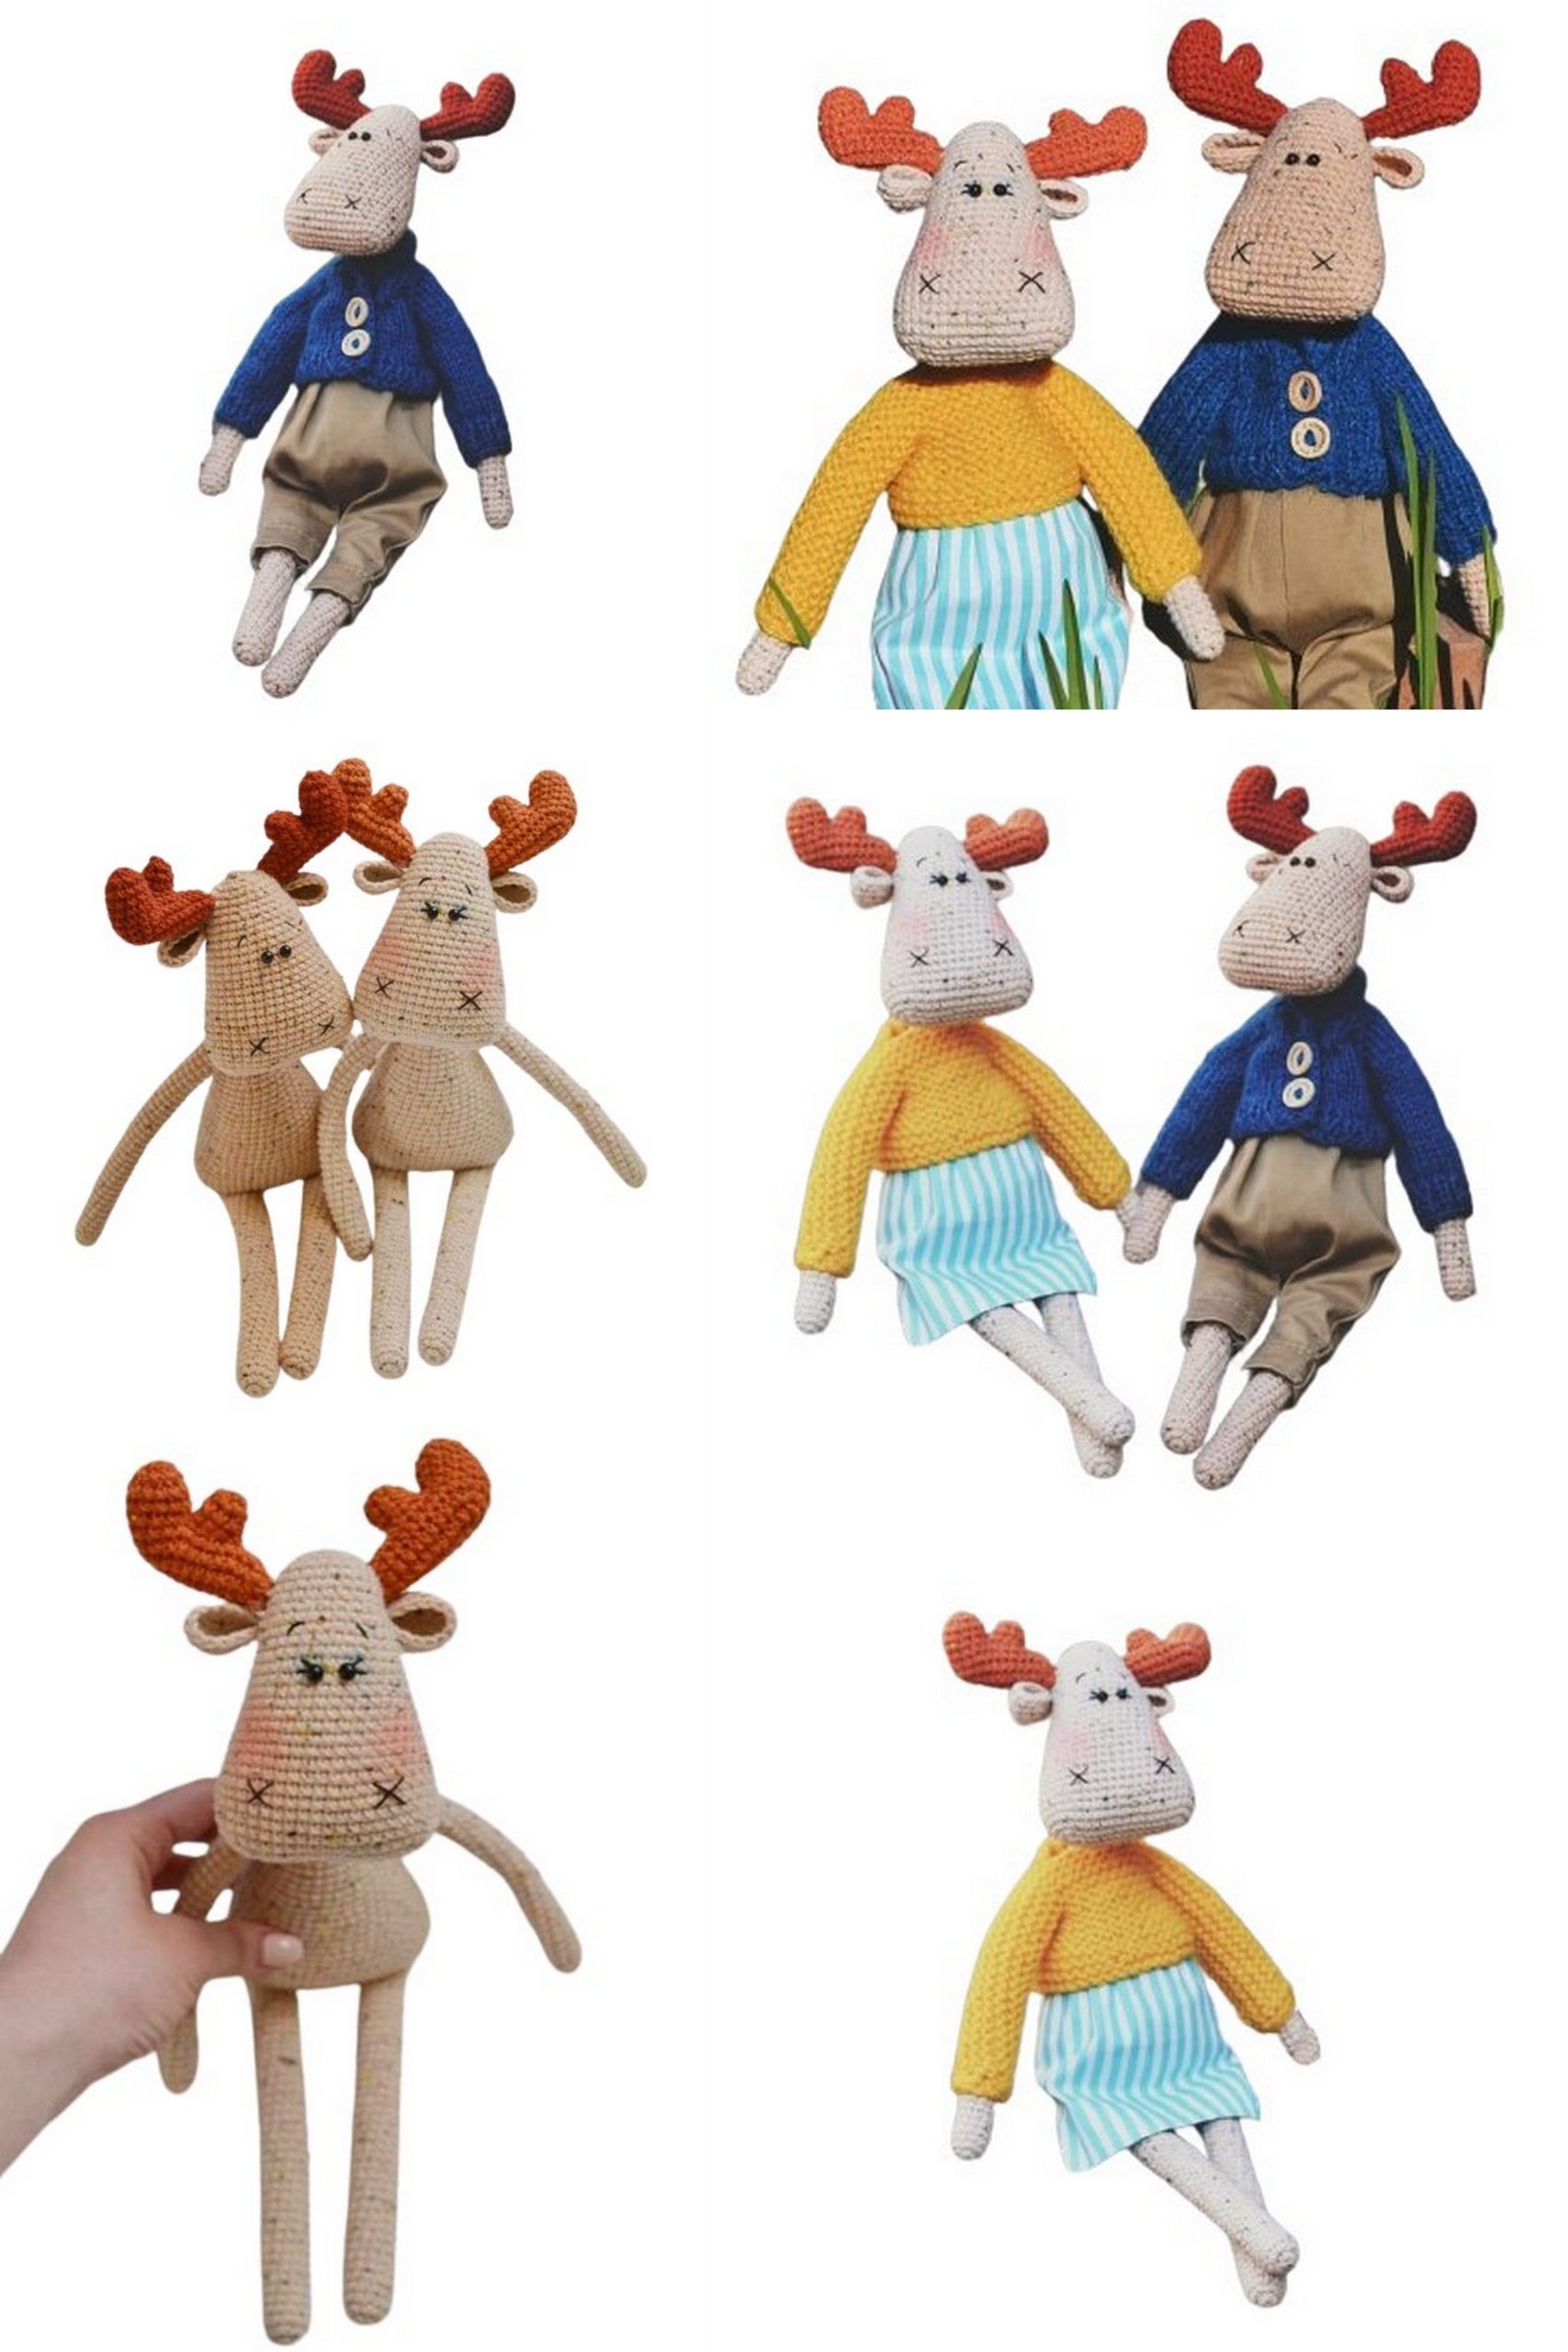
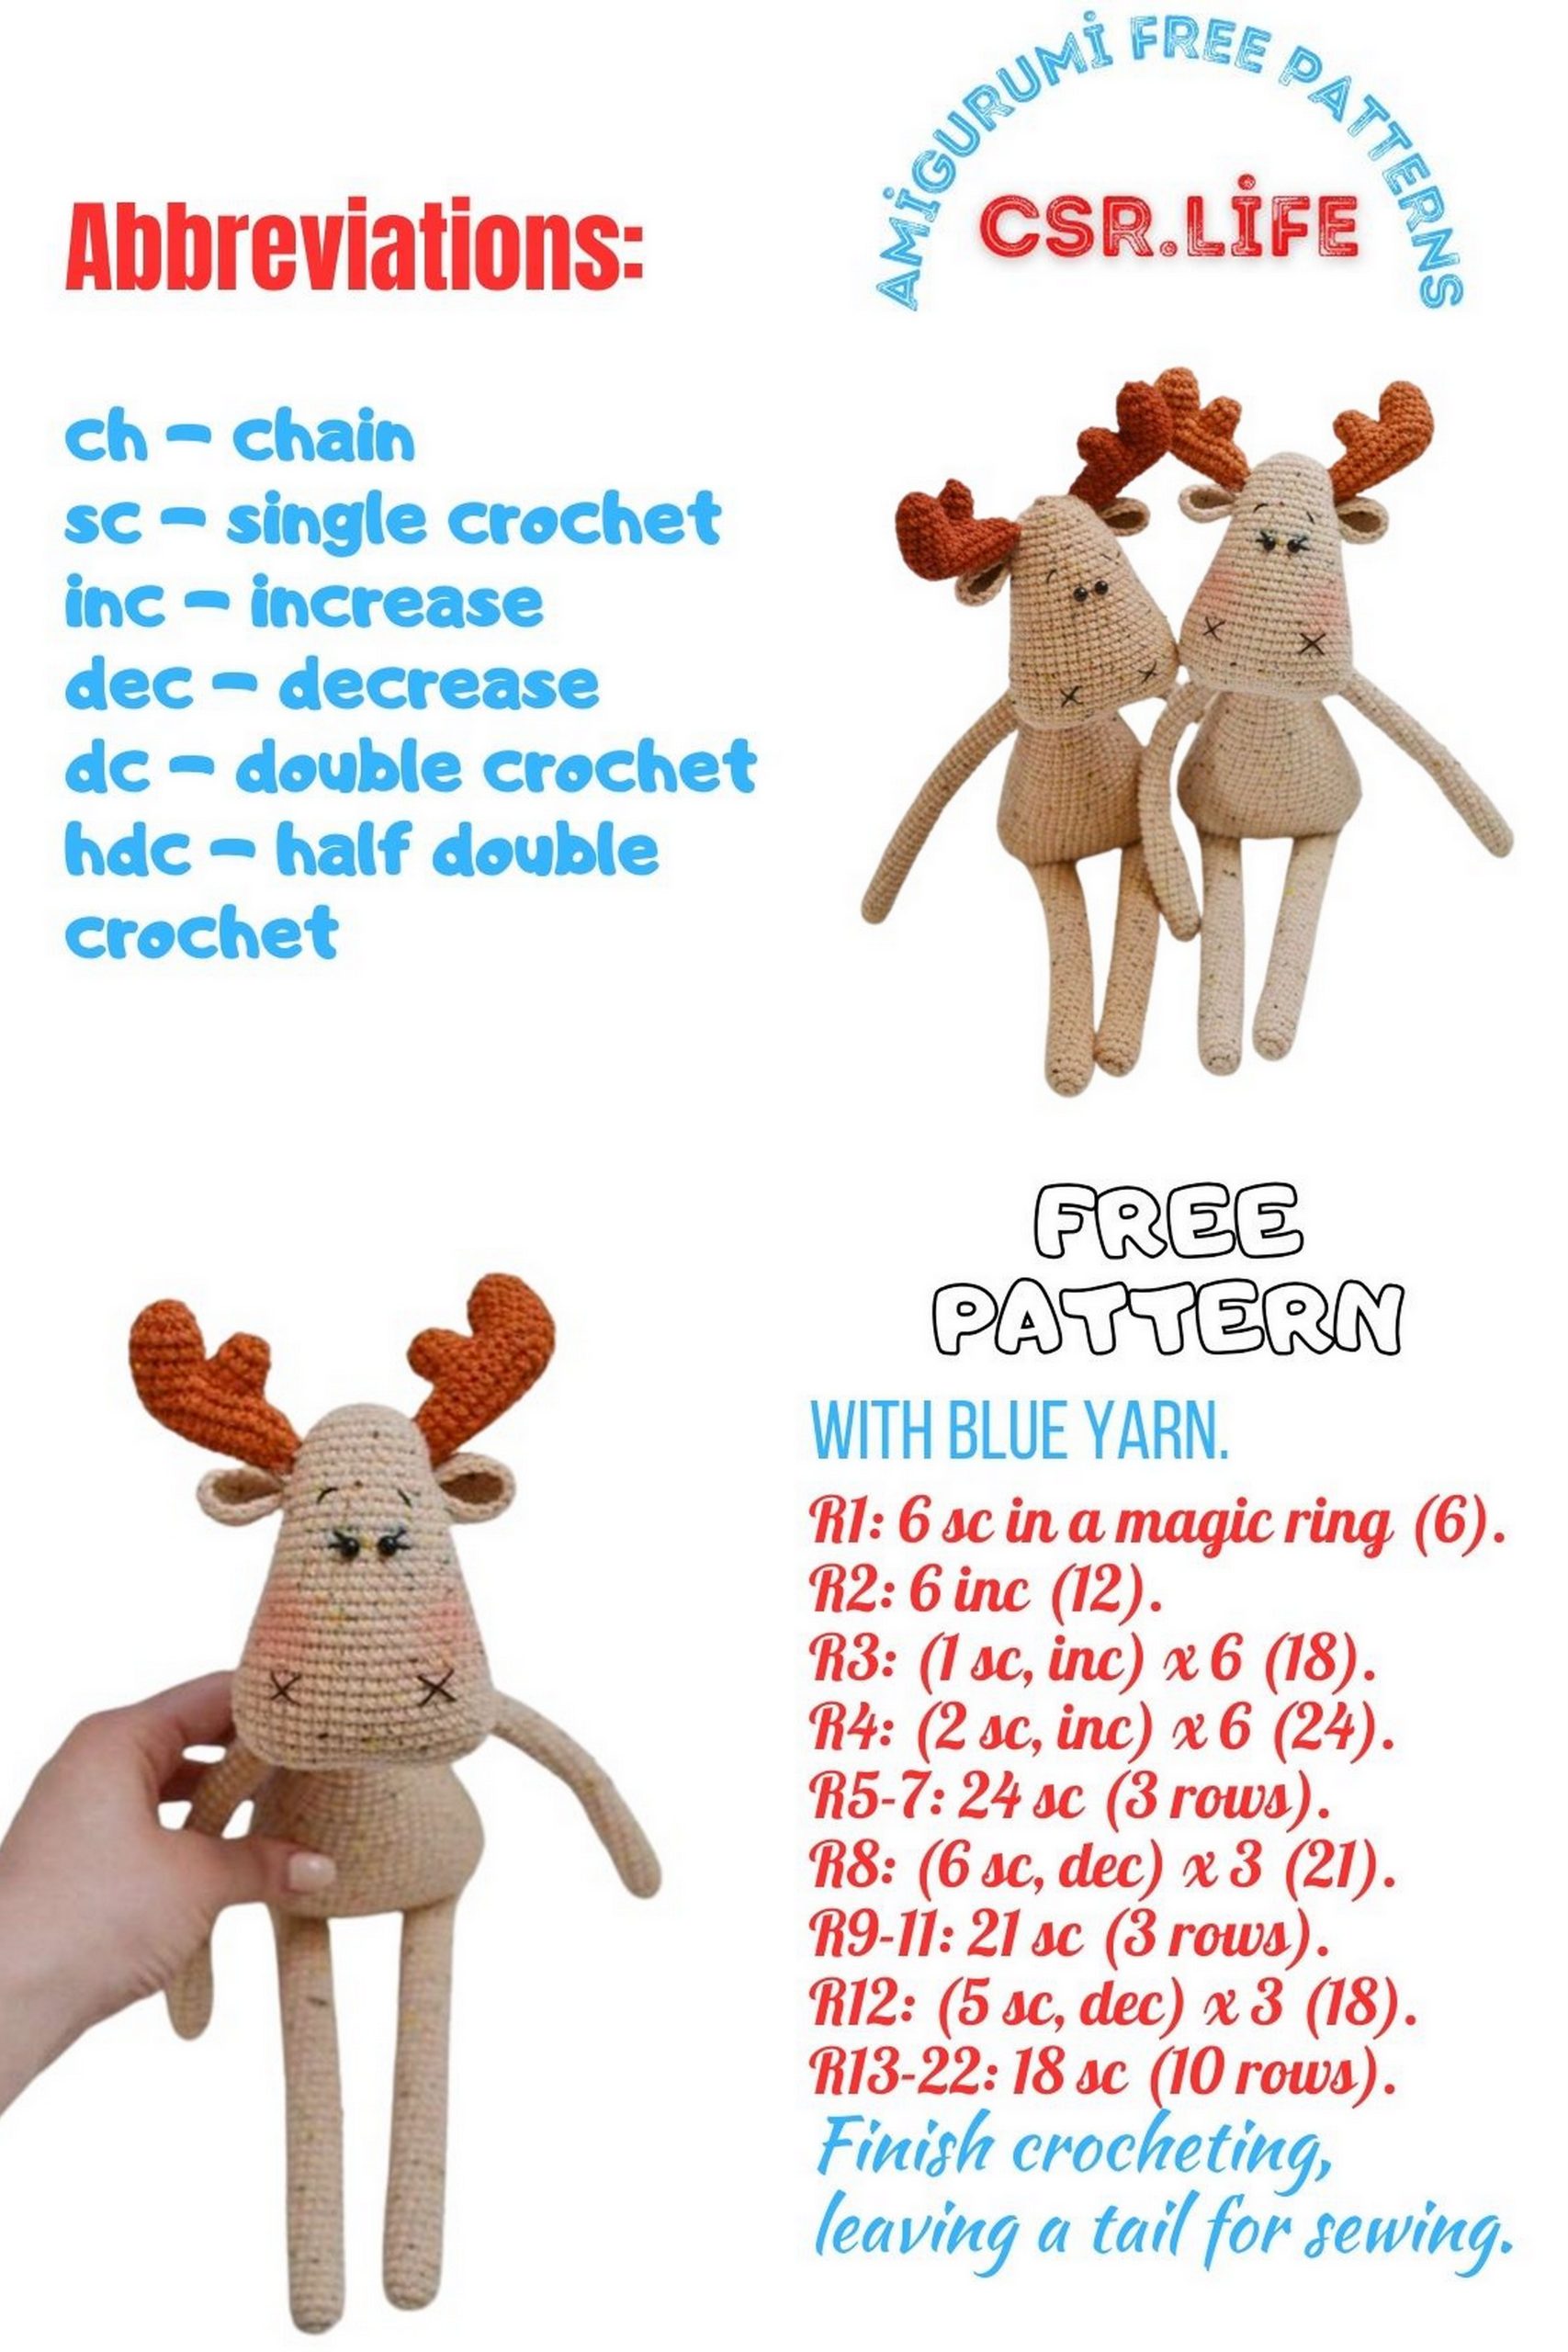
Dear Deers Amigurumi Free Pattern: Crochet Your Adorable Forest Friends!
Welcome to the enchanting world of crochet! If you’re a nature lover and adore crafting, get ready for a delightful project. Our free pattern for the Dear Deers Amigurumi is here to bring the magic of the forest into your crochet collection.
Whether you’re new to crochet or an experienced crafter, this pattern offers a fun and rewarding crafting experience for everyone. With easy-to-follow instructions and helpful tips, you’ll soon be stitching up your very own adorable forest friends.
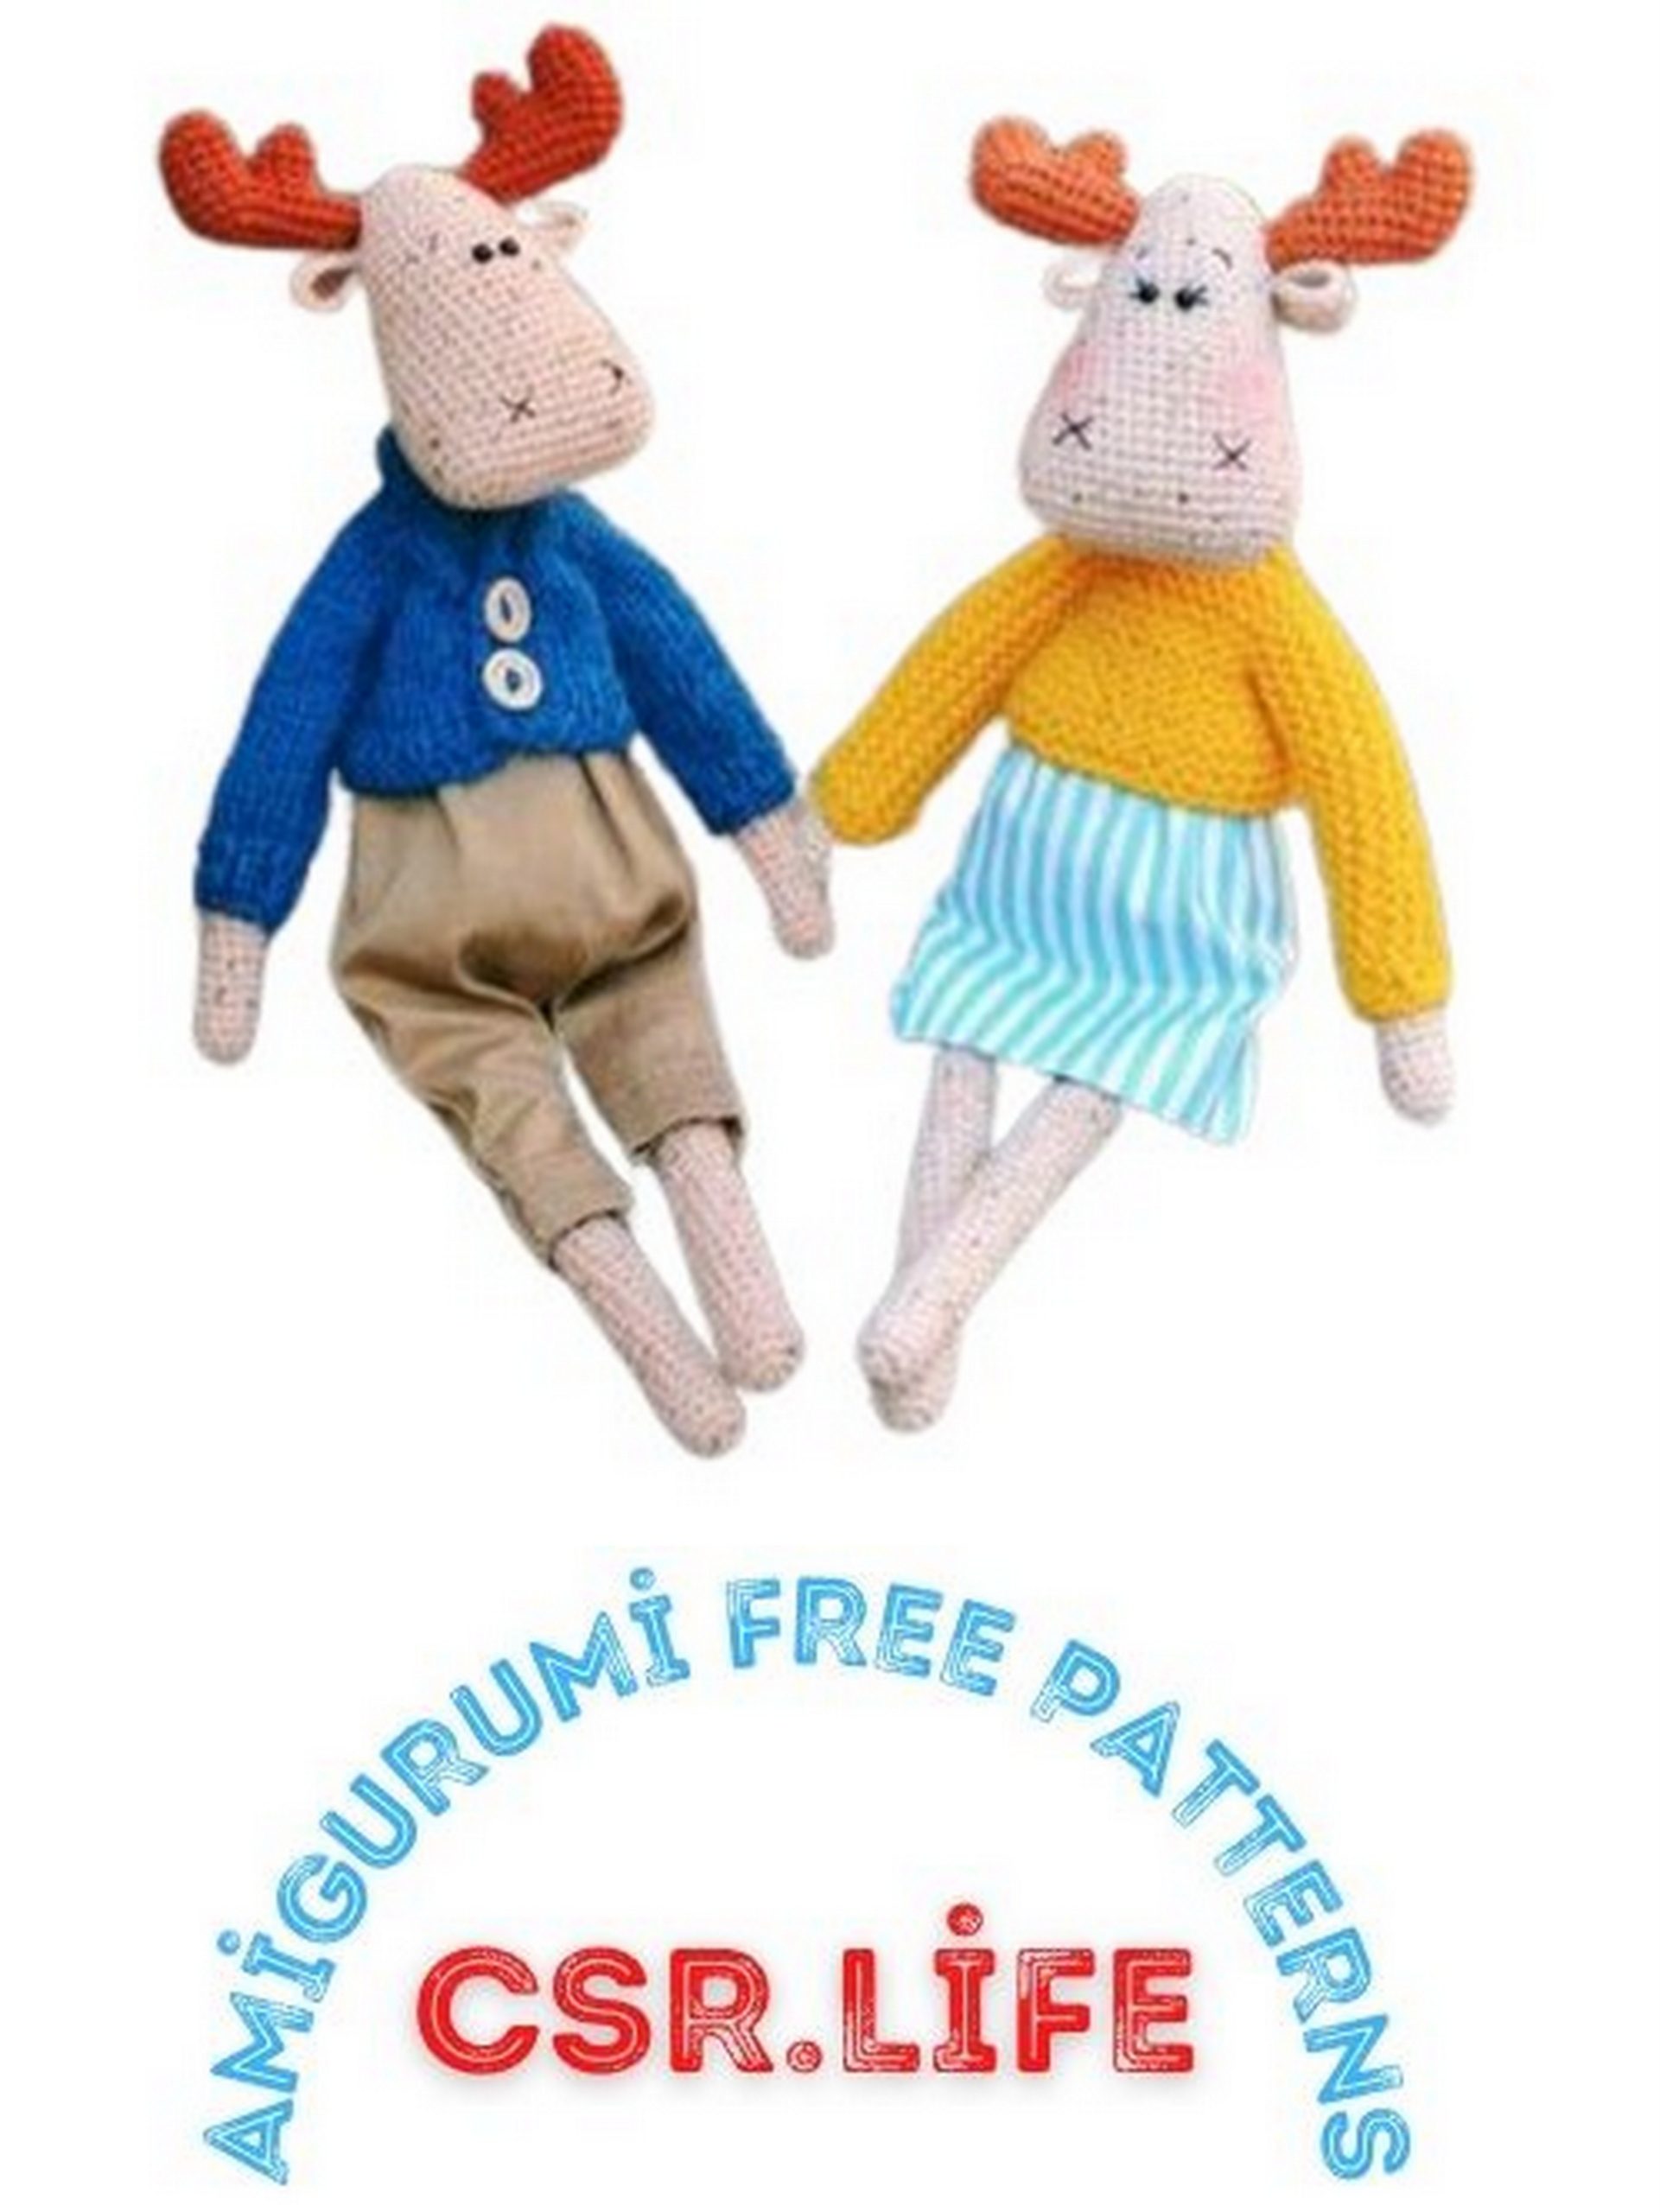
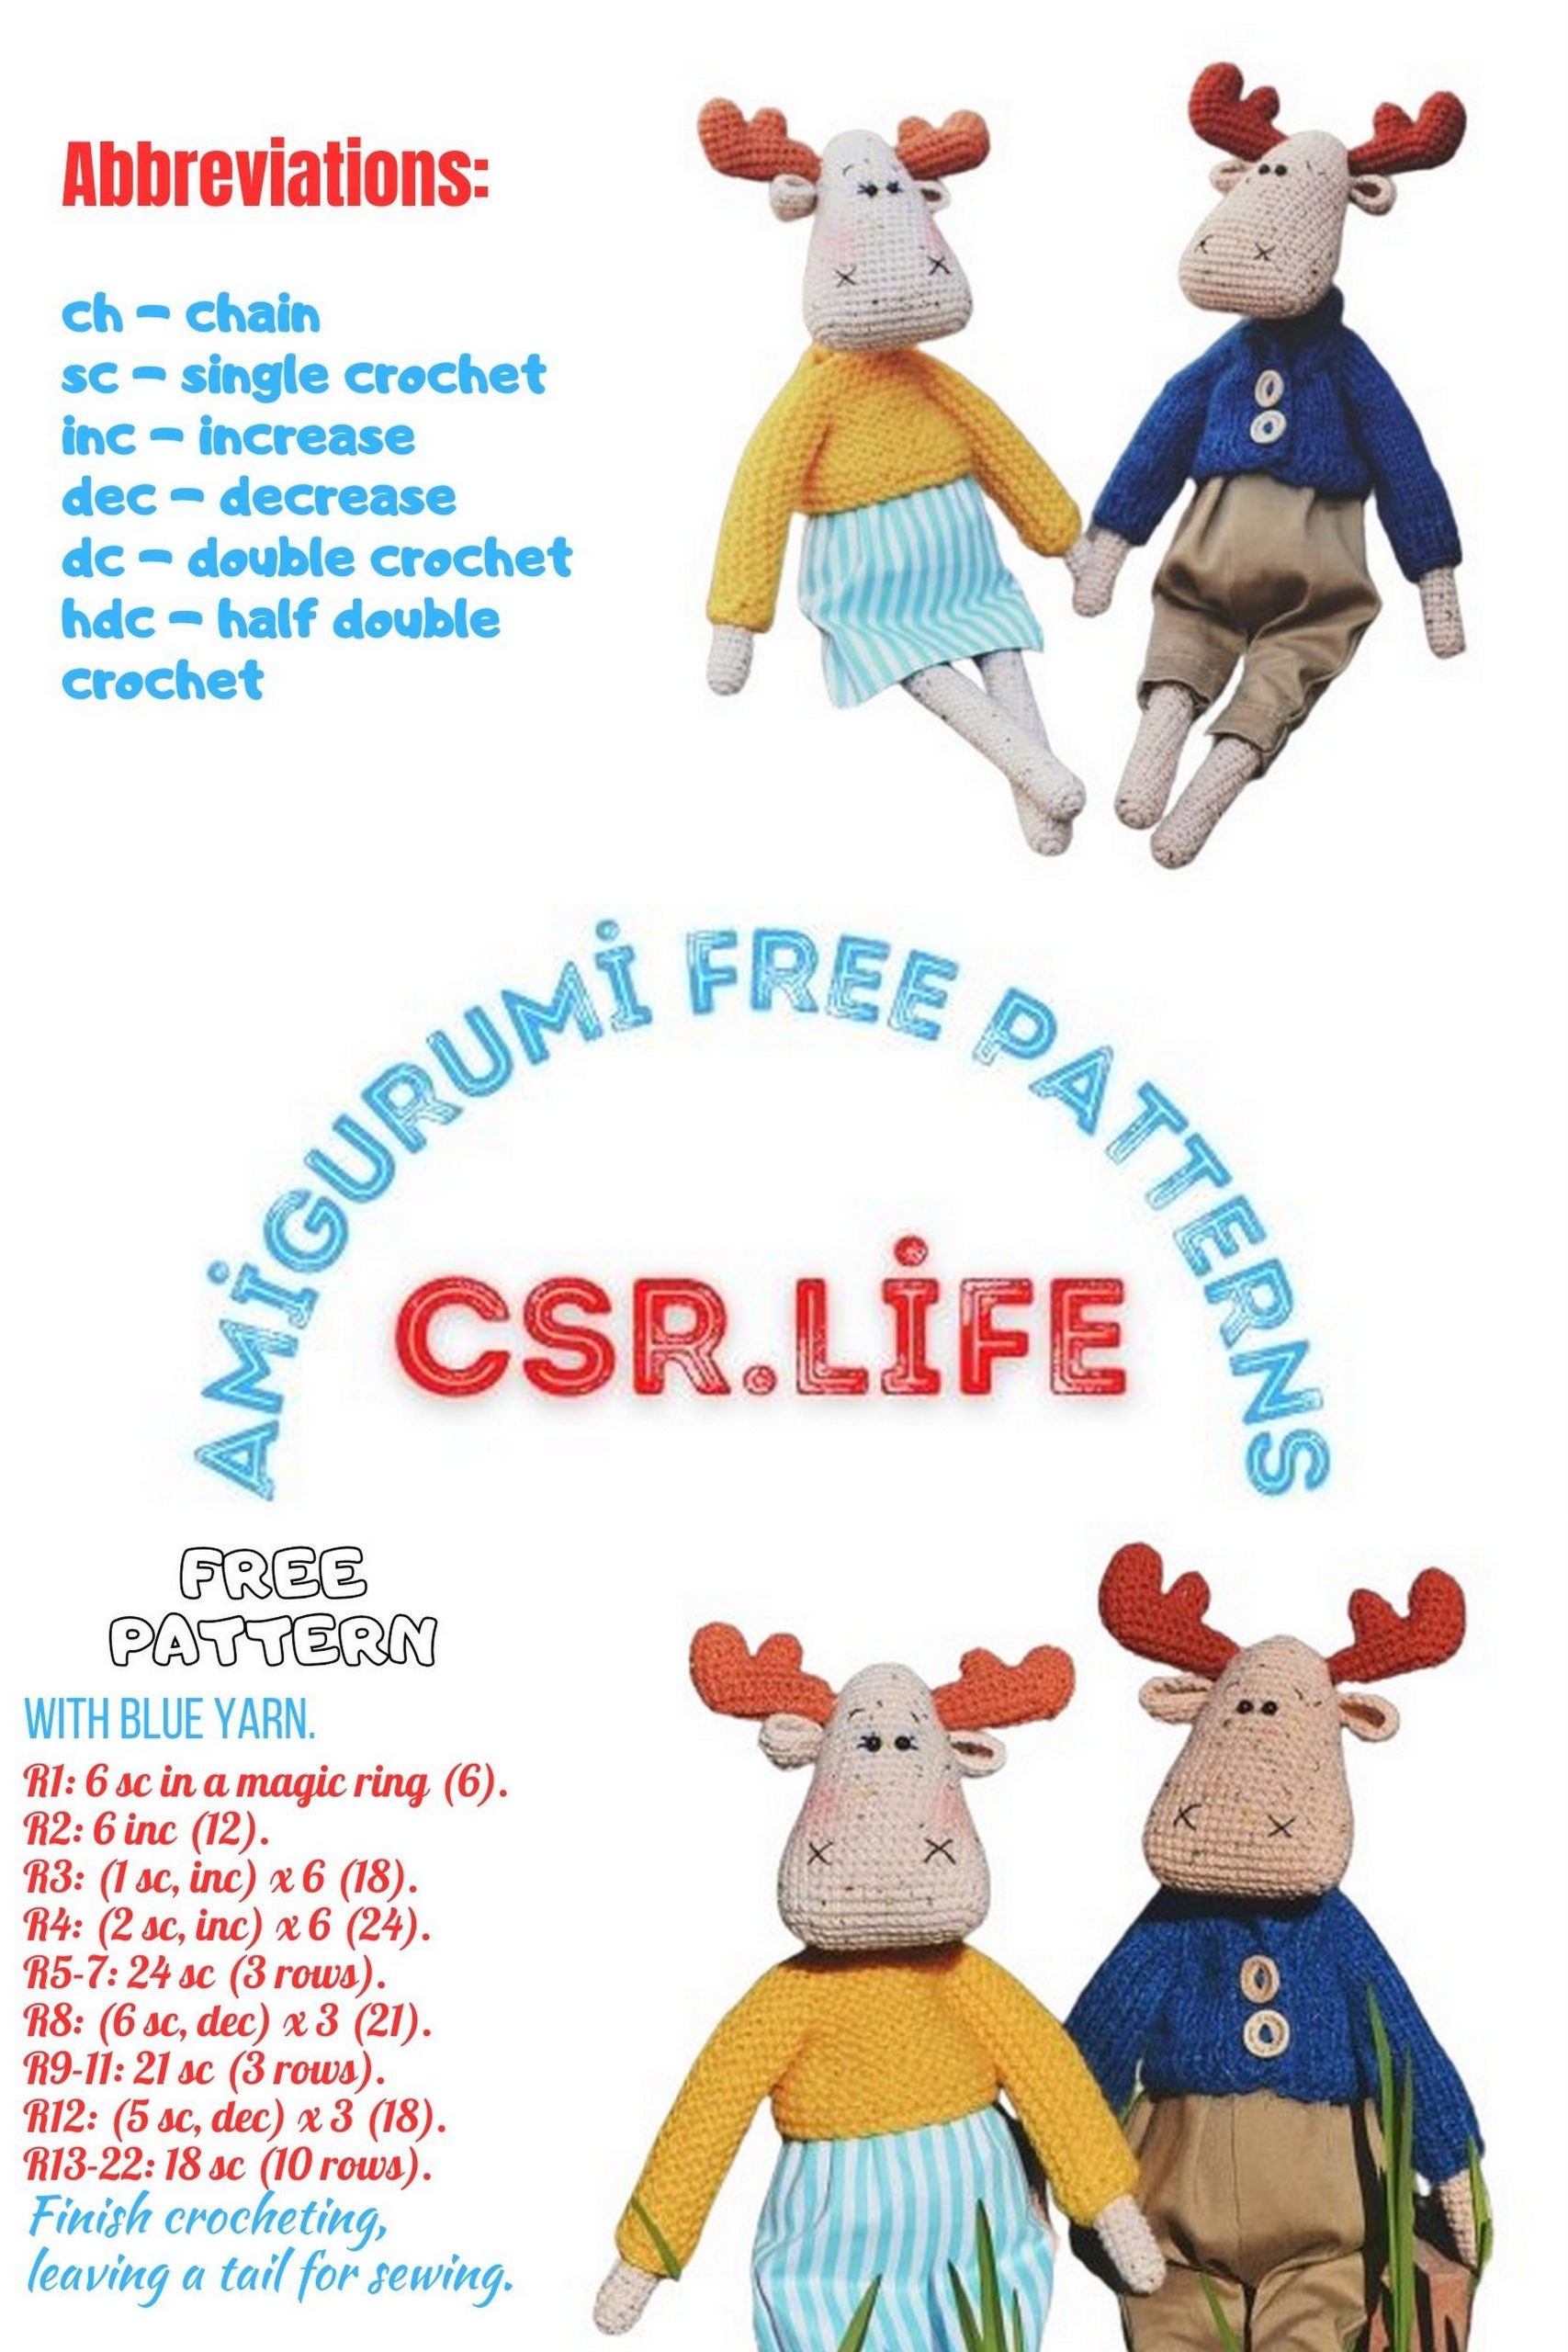
From their gentle eyes to their delicate antlers, each Dear Deer is lovingly crafted to capture the spirit of the forest. Plus, you have the freedom to customize your creations with different colors and embellishments to make each deer truly unique.
So, grab your crochet hooks and let’s embark on this woodland adventure together. Get ready to crochet your own dear deer companions and add a touch of nature to your home. Happy crocheting!
MATERIALS
DESCRIPTION OF KNITTING
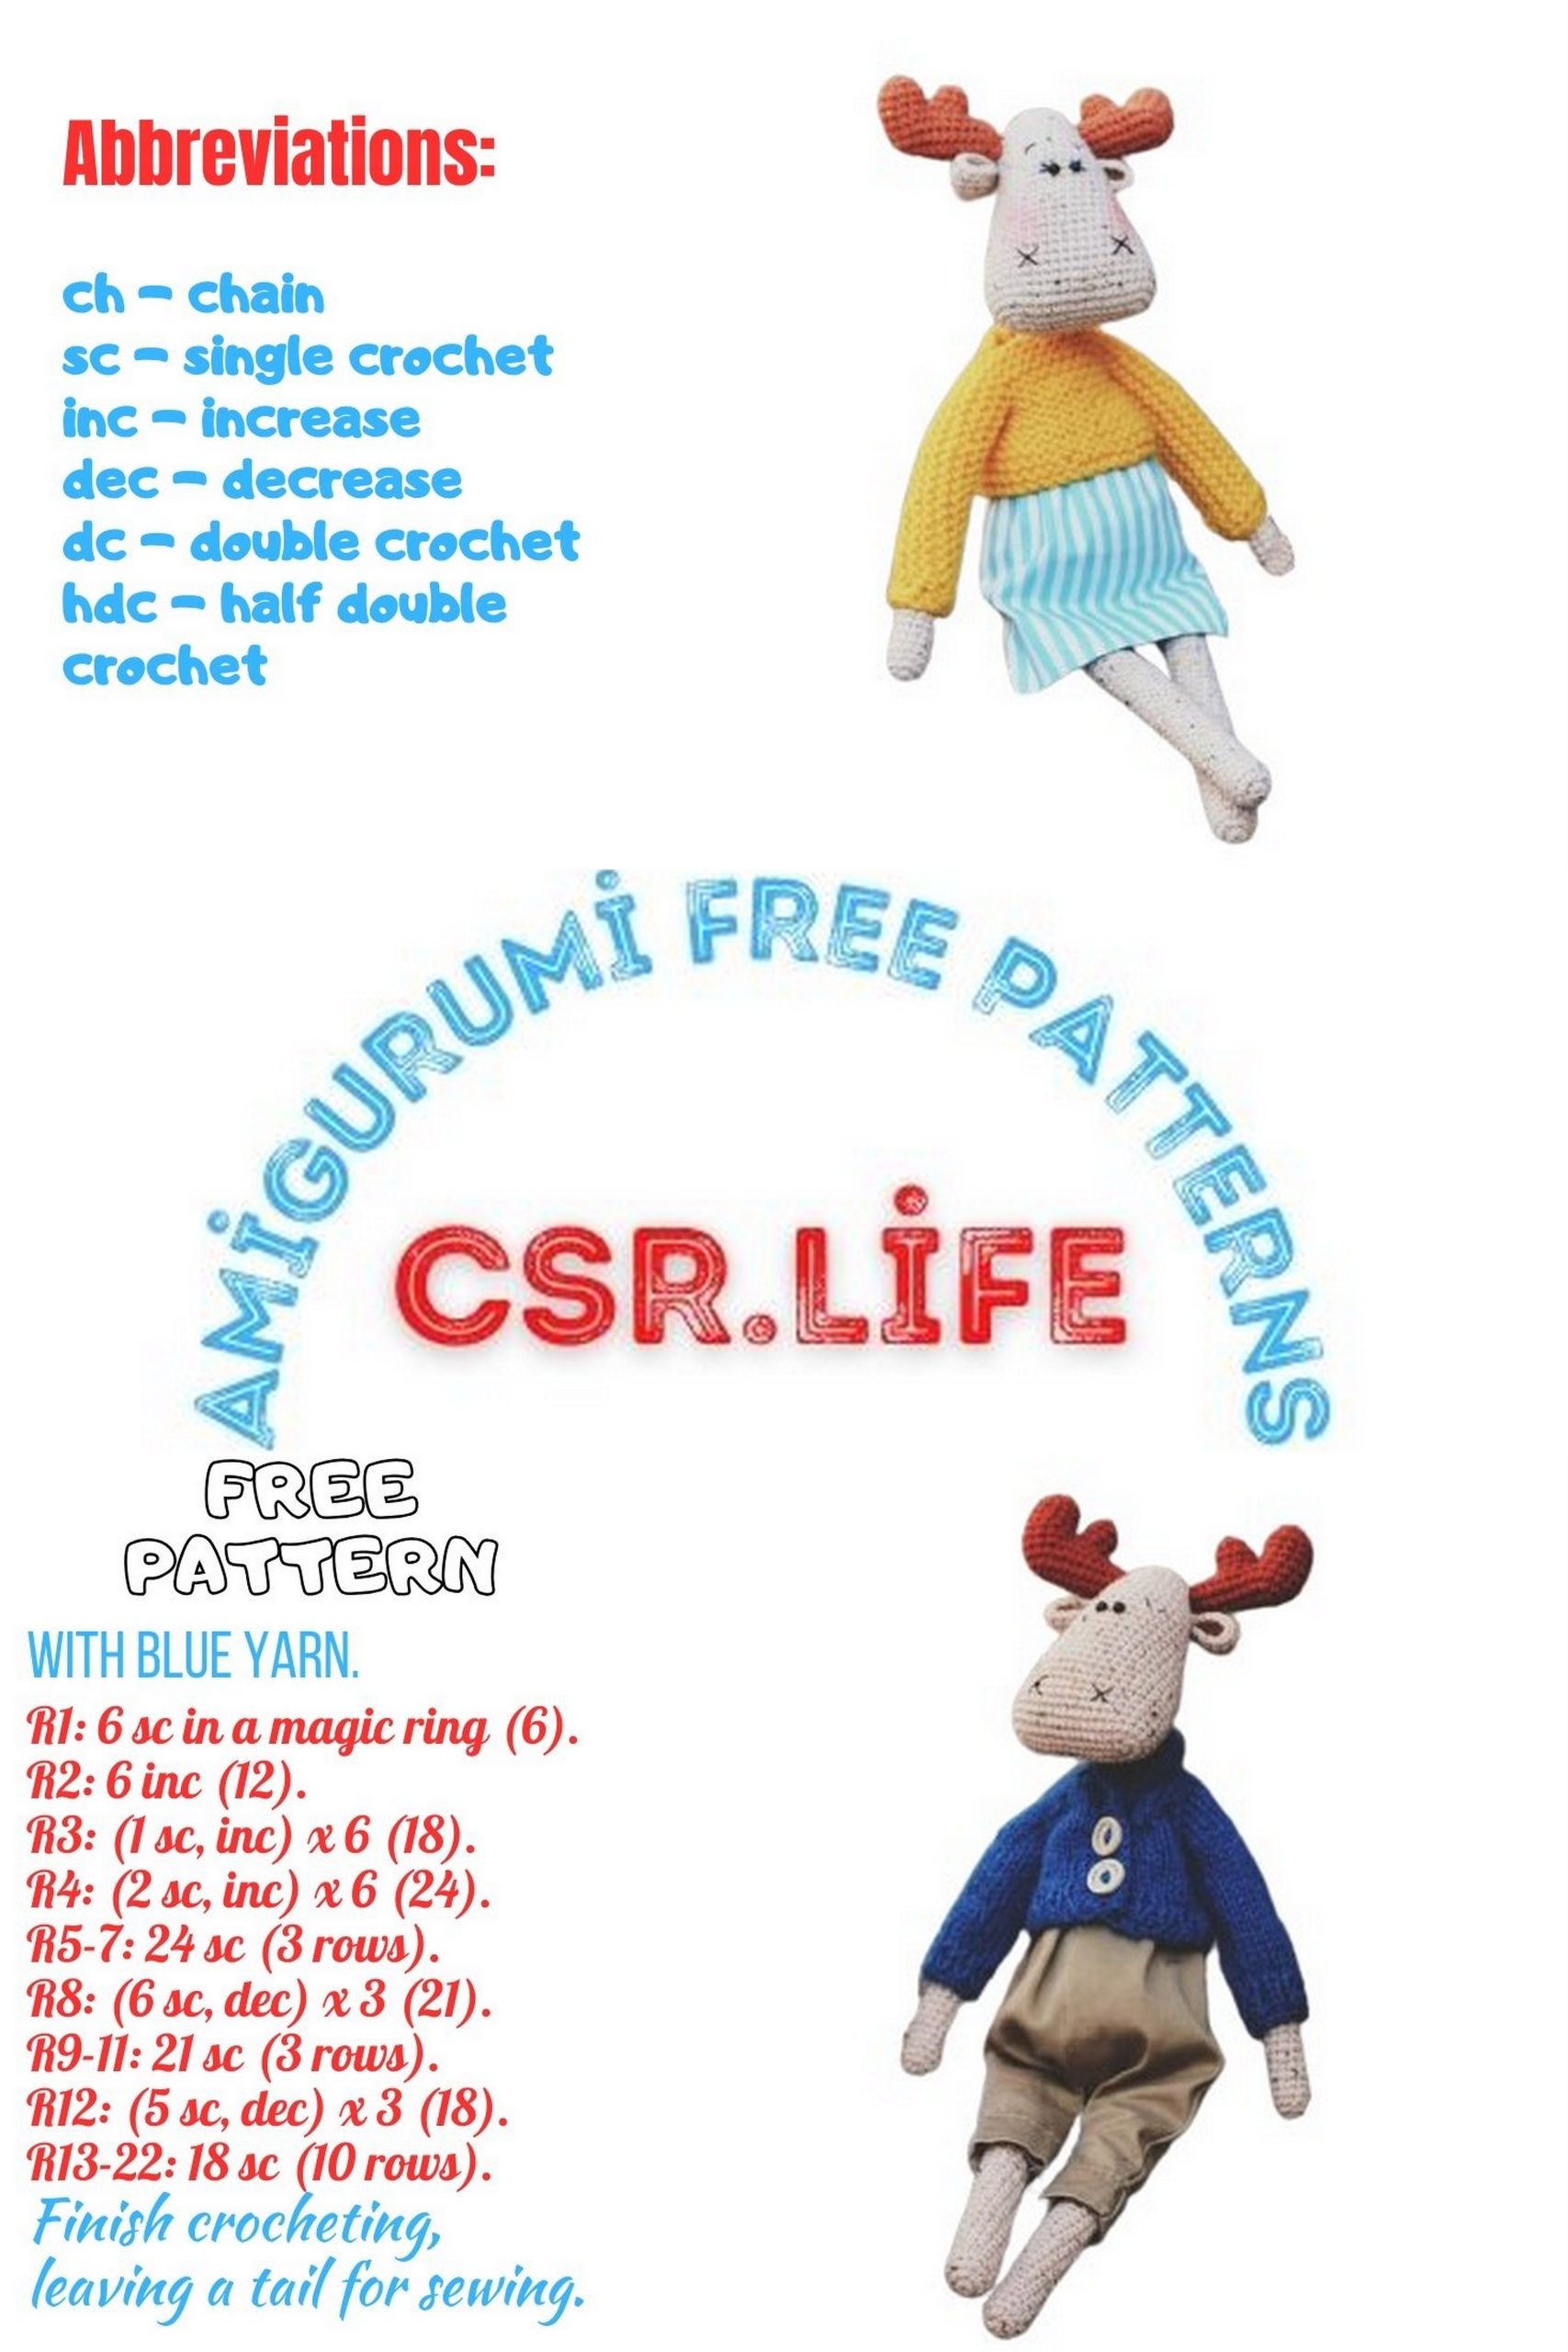
Main yarn: Alize Cotton Gold Tweed. Albert’s color is 262, Gertrude’s is 68.
Additional yarn: For Albert, YarnArt Jeans color 43; for Gertrude, Alize Cotton Gold Tweed color 43.
Crochet hook No. 2.
Hollowfiber.
Floral wire, 1-2 mm thick, 40 cm long.
Fabric plaster.
Sew-on eyes, diameter 5 mm.
Needle.
Scissors.
Some black mouline thread or iris thread for facial features.
Dry pastel or blush if needed for the toy’s cheeks.
Additionally, yarn and knitting needles (crochet hook) for the toy’s outfit are required. I had skeins without labels, so I don’t specify the yarn name or parameters. If you want to sew clothes, you’ll need fabric scraps and elastic.
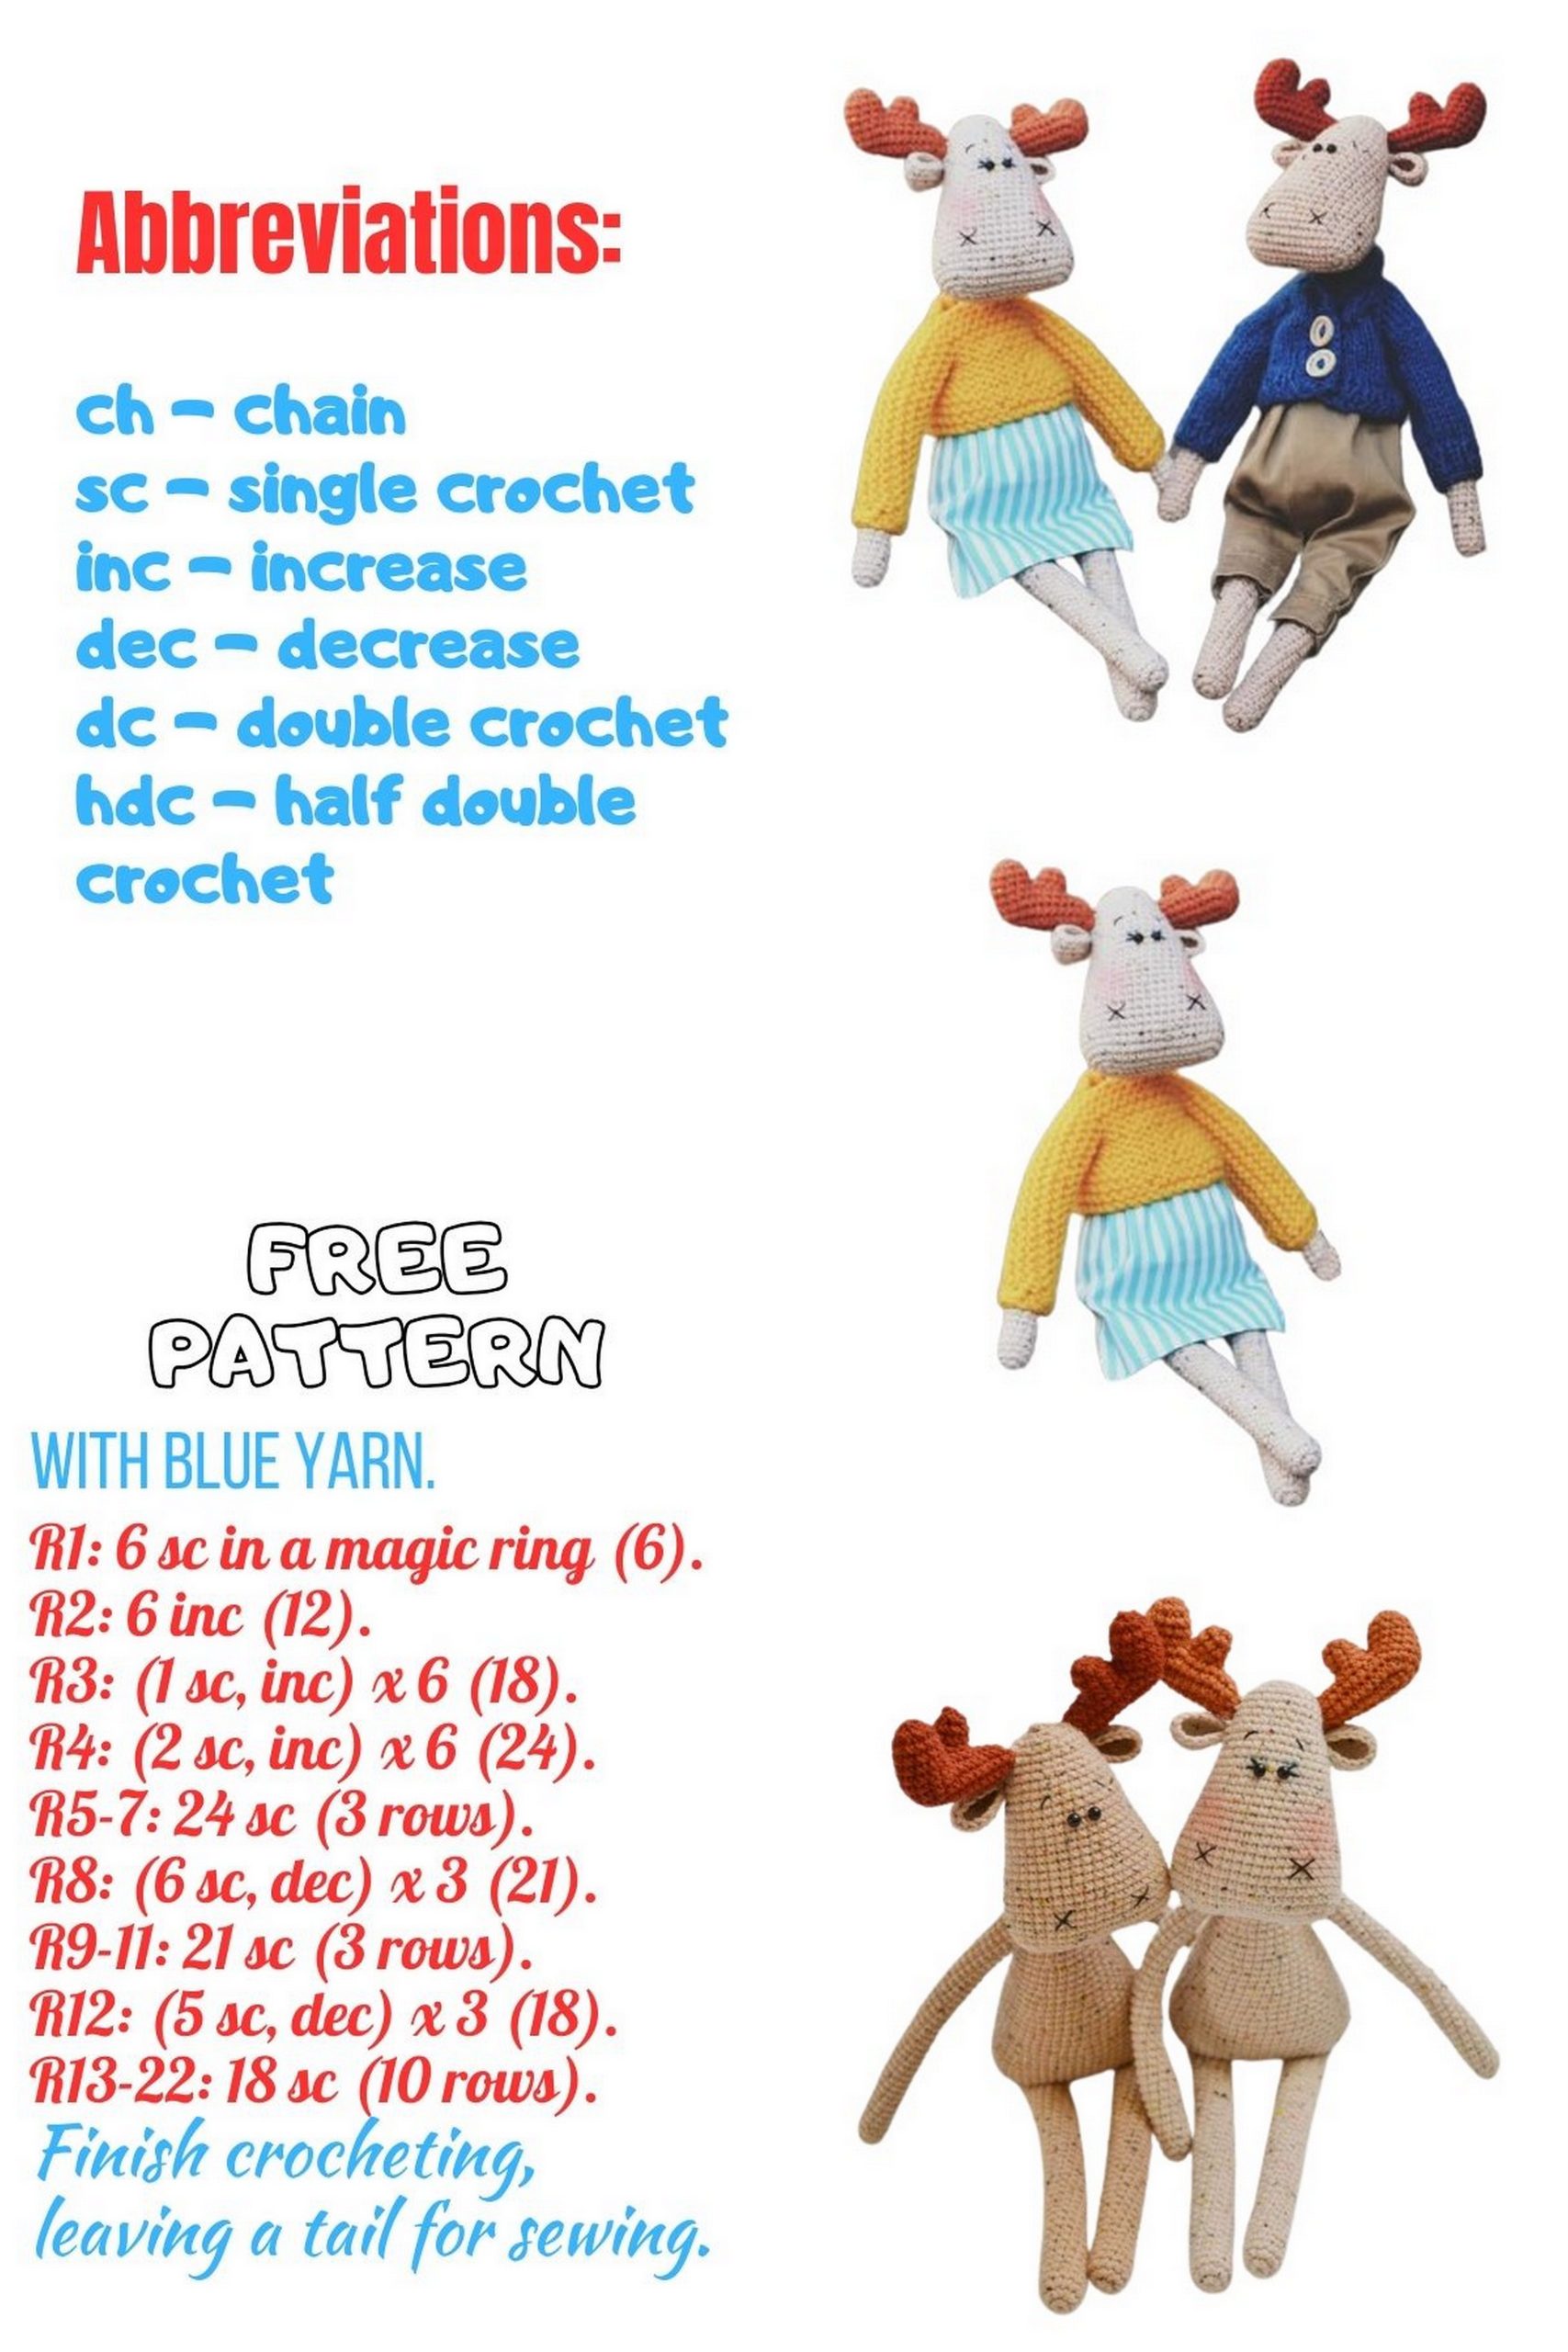
ABBREVIATIONS
MR: Magic Ring;
CH: Chain;
SL ST: Slip Stitch;
SC: Single Crochet;
INC: Increase (2 single crochets in one stitch);
DEC: Decrease (single crochet 2 stitches together);
FLO/BLO: Front Loop Only/Back Loop Only;
(…) × N: Repeat the action in parentheses N times.
The number in parentheses at the end of each row indicates the total number of stitches in the row.
PATTERN
HANDLES (2 PIECES)
Work with the main color yarn.
Row 1: 5 SC in MR.
Row 2: INC in each stitch (10).
Rows 3-37 (35 rows): 10 SC.
Fasten off and cut the yarn. Stuff the lower part of the arms.
EARS (2 PIECES)
Work with the main color yarn.
Row 1: 6 SC in MR.
Row 2: INC in each stitch (12).
Row 3: (1 SC, INC) × 6 (18).
Rows 4-5 (2 rows): 18 SC.
Fasten off and cut the yarn.
HORNS (2 PIECES)
Work with the additional color yarn.
Chain 11 stitches. Then work into the second chain from the hook.
Row 1: INC, 8 SC, 4 SC in the last chain, on the other side of the chain 9 SC (23).
Row 2: 2 SL ST in BLO, 8 SC, 4 INC, 8 SC, 1 SL ST in BLO (27).
Row 3: 2 SL ST in BLO, 24 SC, 1 SL ST in BLO (27).
Row 4: 2 SL ST in BLO, 8 SC, INC, 6 SC, INC, 8 SC, 1 SL ST in BLO (29).
Row 5: 2 SL ST in BLO, 7 SC. Place a marker at the beginning of this row, crochet 12 SC. Leave the remaining stitches unworked.
Continue working with the last 12 SC stitches.
Rows 6-8 (3 rows): 12 SC.
Row 9: DEC 6 times (6).
Pull the hole closed, fasten off, and cut the yarn, hiding the end inside the piece. Stuff the resulting “bump” with filling.
Row 1: 2 SC, 1 SC through 2 loops at the base of the first “bump,” 4 SC, 1 SC in the stitch to the right of the thread attachment point, 1 SC in the thread attachment point (9).
Rows 2-3 (2 rows): 9 SC.
Row 4: (1 SC, DEC) × 3 (6).
Pull the hole closed, fasten off, hide the yarn tail, and pull the long end through the wrong side to the base of the second “bump.” Stuff the entire piece, then sew the remaining hole closed.
Attach the yarn in the 3rd stitch to the right of the marker. Continue crocheting into the next stitch.

LEGS (2 PIECES)
Work with the main color yarn. Stuff the piece as you go.
Row 1: 6 SC in MR.
Row 2: INC in each stitch (12).
Rows 3-42 (40 rows): 12 SC.
Fasten off and cut the yarn. Do not cut the yarn for the second leg. Stuff the legs until approximately the 40th row.
BODY
From the second leg, chain 5 stitches.
Row 1: On the front loop/back loop of the first leg – INC, 3 SC, 2 INC; then, on the remaining loops of the first leg – 2 INC, 3 SC, INC; on one side of the chain – 5 SC; on the front loop/back loop of the second leg – INC, 3 SC, 2 INC; then, on the remaining loops of the second leg – 2 INC, 3 SC, INC; on the other side of the chain – 5 SC (46).
Rows 2-3 (2 rows): 46 SC.
Row 4: 5 SC, (1 SC, INC) × 4, 15 SC, (1 SC, INC) × 4, 10 SC (54).
Rows 5-9 (5 rows): 54 SC.
Row 10: 7 SC, (DEC, 2 SC) × 2, DEC, 17 SC, (DEC, 2 SC) × 2, 10 SC (48).
Rows 11-13 (3 rows): 48 SC.
Row 12: (6 SC, DEC) × 6 (42).
Rows 13-17 (5 rows): 42 SC.
Row 18: (5 SC, DEC) × 6 (36).
Rows 19-21 (3 rows): 36 SC.
Row 22: (4 SC, DEC) × 6 (30).
Rows 23-25 (3 rows): 30 SC.
Row 26: (3 SC, DEC) × 6 (24).
Rows 27-28 (2 rows): 24 SC.
Continue by crocheting the arms.
Row 29: 6 SC, 4 SC around the body and one arm, 8 SC, 4 SC around the body and the other arm, 2 SC (24).
Row 30: 6 SC, 6 SC around the arm, 8 SC, 6 SC around the arm, 2 SC (28).
Row 31: 28 SC.
Row 32: 6 SC, 3 DEC, 8 SC, 3 DEC, 2 SC (22).
Row 33: 5 SC, DEC, 1 SC, DEC, 6 SC, (DEC, 1 SC) × 2 (18).
Row 34: (1 SC, DEC) × 6 (12).
Rows 35-49 (15 rows): 12 SC.
Fasten off and cut the yarn. The neck does not need stuffing.
Continue with the main color yarn.
HEAD
Chain 16 stitches. Continue crocheting into the second stitch from the hook.
Row 1: INC, 13 SC, 4 SC in the last stitch, 13 SC along the opposite side of the chain, INC (34).
Row 2: 2 INC, 13 SC, 4 INC, 13 SC, 2 INC (42).
Rows 3-10 (8 rows): 42 SC.
Row 11: (DEC, 19 SC) × 2 (40).
Rows 12-13 (2 rows): 40 SC.
Row 14: (DEC, 18 SC) × 2 (38).
Rows 15-16 (2 rows): 38 SC.
Row 17: (DEC, 17 SC) × 2 (36).
Next, join the head to the body.
Fold the neck in half.
Row 18: 7 SC around the head, 4 SC around the head and neck, 25 SC around the head (36).
Row 19: 5 SC around the head, then 2 SC around the head and neck, 4 SC around the 4 stitches previously crocheted around the head and neck in the previous row, 2 SC around the head and neck, 23 SC (36).
Row 20: 5 SC around the head, 1 SC in the neck stitch crocheted first in the previous row, 4 SC around the neck, 1 SC in the neck stitch crocheted last in the previous row, 23 SC (34).
To keep the head in place, a wire frame should be made and inserted into the neck. The loop of the inserted frame should not touch the base of the muzzle. Lightly stuff the neck and head of the toy.
Row 21: DEC, 3 SC, DEC, 2 SC, DEC, 3 SC, DEC, 18 SC (30).
Row 22: 30 SC.
Next, crochet the ears. Fold the piece in half and crochet through both walls.
Row 23: 3 SC with an ear, DEC, 3 SC, DEC, 3 SC with an ear, DEC, (3 SC, DEC) × 3 (24).
Row 24: 24 SC.
Row 25: 23 SC. Leave 1 loop unworked. Place a marker at the beginning of the row.
Now, crochet the horns. When crocheting the horns, the unworked front loops of all rows are caught simultaneously.
Row 26: 3 SC with a horn, DEC, 8 SC, 3 SC with a horn, 10 SC (24).
To secure the horns better, wire can be inserted after crocheting them.
Row 27: 24 SC.
Row 28: (2 SC, DEC) × 6 (18).
Row 29: (1 SC, DEC) × 6 (12).
Row 30: 6 DEC (6).
DESIGN OF THE MUZZLE
Sew the eyes between the 17th and 18th rows. Leave 2 SC between the eyes. Embroider lashes, eyebrows, and nostrils with embroidery floss or iris. Apply makeup if necessary.
The toy is ready!
The outfit for the toy can be made as desired.
CLOTHING DESIGN
Follow the pattern, slightly stretching it to determine the number of stitches that make up 1 cm of the knitted fabric.
Measure the toy around the neck: the back, arms, and front. Convert the obtained measurements into stitches. The number of stitches on the back should be even.
Cast on the obtained number of stitches on the needles, plus 2 edge stitches and plus 4 stitches for the raglan lines.
Divide the stitches for the front in half – panel 1 and panel 2. Knit the front rows as follows:
When the raglan line reaches the required length, transfer the sleeve stitches to additional needles and continue knitting the sweater without raglan stitches.
The sleeves can be knitted in the round or in rows.
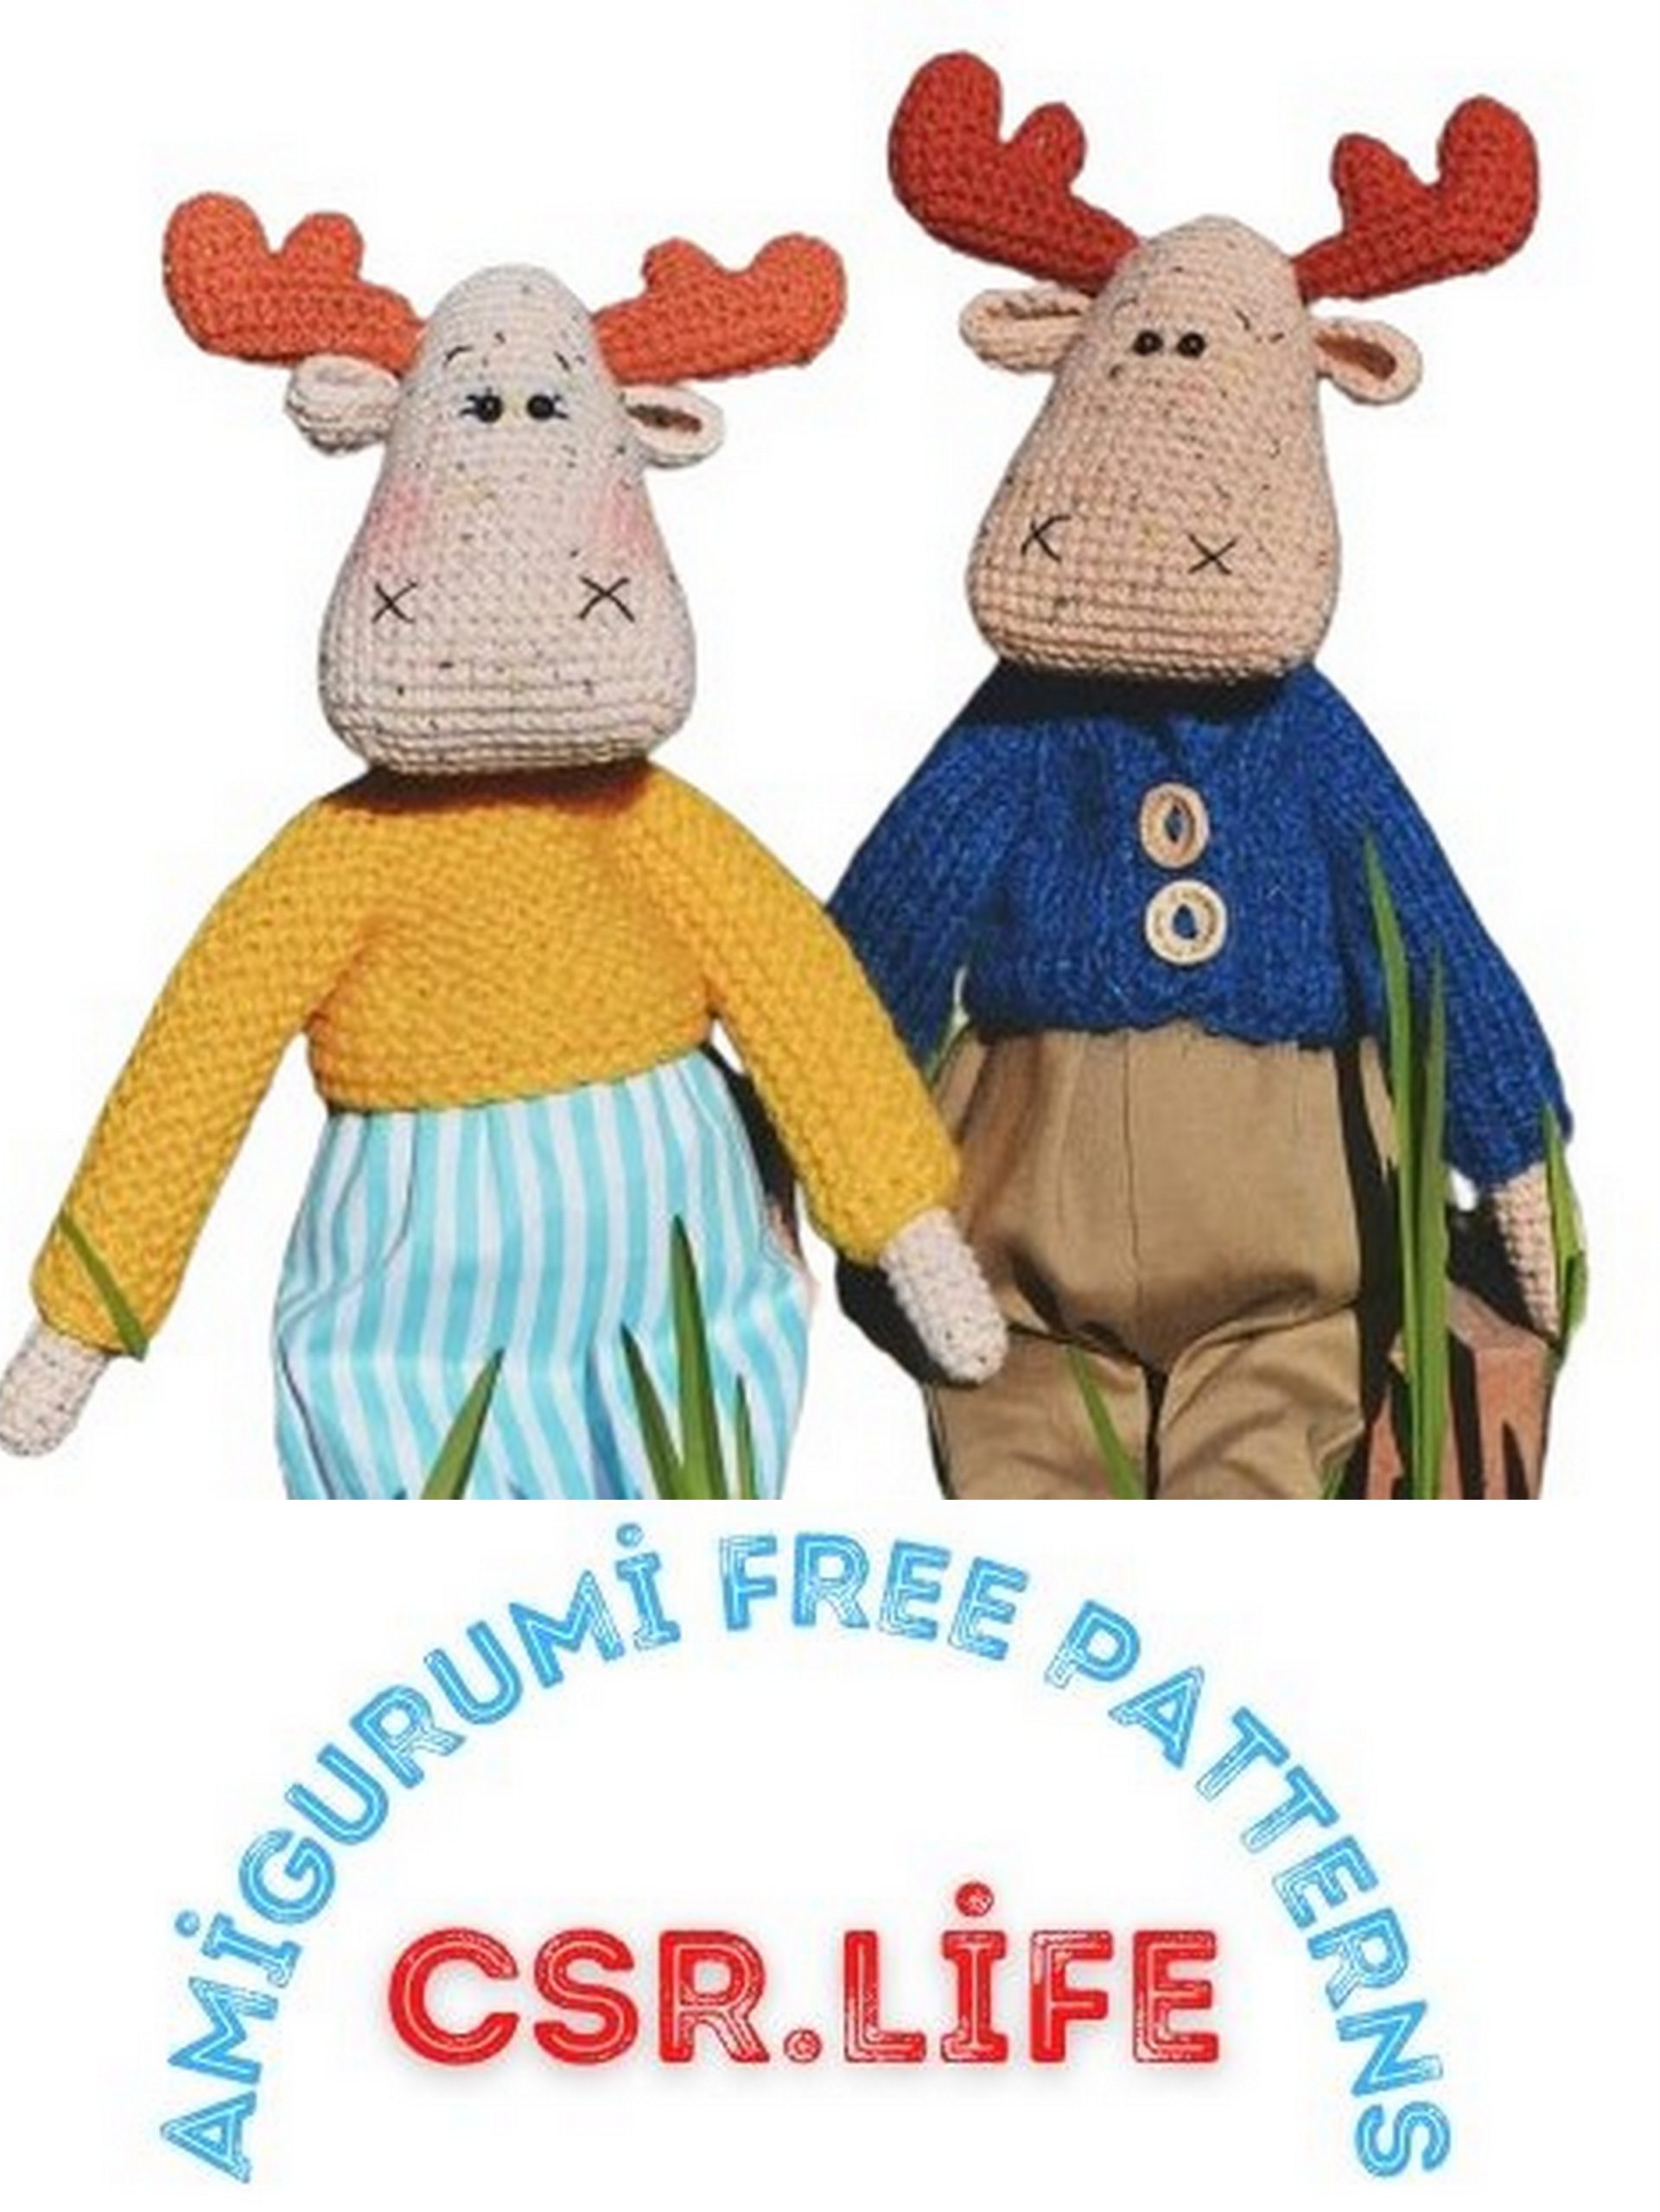
Albert’s sweater is knitted from the top down with a stockinette stitch. My sweater is buttoned at the back. I do not provide a detailed description because the size of your toy may differ from mine. The principle of calculating stitches:
Stitches for panel 1 – YO – raglan stitch – YO – sleeve – YO – raglan stitch – YO – back – YO – raglan stitch – YO – sleeve – YO – panel 2.
Determine the approximate waistline – the top edge of the trousers;
Determine the length of the trousers (the distance from the top to the bottom edge);
Measure the hip circumference;
Determine the width of the trouser legs;
Measure the distance from the waist to the first row of the toy’s body.
To sew trousers, you need to first measure the toy:
After these steps, make a pattern.
Fold the piece of fabric of the desired size in half, apply the pattern to the fold, trace it, and cut it out, taking into account seam allowances. Leave a seam allowance of at least 1 cm at the top to insert the elastic.
Two such pieces are needed.
Sew the trouser legs on each piece.
Sew the pieces together along the line highlighted in red in the figure.
Finish the top and bottom edges of the trousers.
Thread the elastic.
Iron the seams.
Cut out the pattern from paper and apply it to the toy for fitting.
Then proceed directly to sewing the trousers.
The trousers are ready!
You can first sew trousers from unwanted fabric and adjust the size of the pattern based on these “trial” trousers.
Sample pattern shape
GERTRUDE’S TOP
Gertrude’s top is made using the garter stitch. Knit a piece of fabric of the desired size, then sew it together on the sides. The approximate shape is shown in the figure.
You can also knit the top the same way as Albert’s.
Sew the cut edges on the short side.
Finish the top and bottom edges of the skirt.
Thread the elastic.
Iron the seams.
To sew the skirt, take a rectangular piece of fabric. The fuller you want the skirt, the longer the piece should be. The height of the piece is equal to the length of the skirt plus the seam allowance for the seams.
The skirt is ready!
Dress up the toys and enjoy the result!