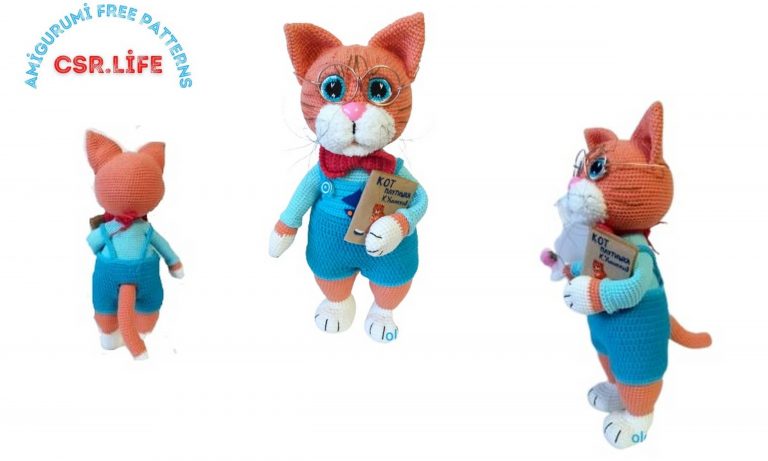
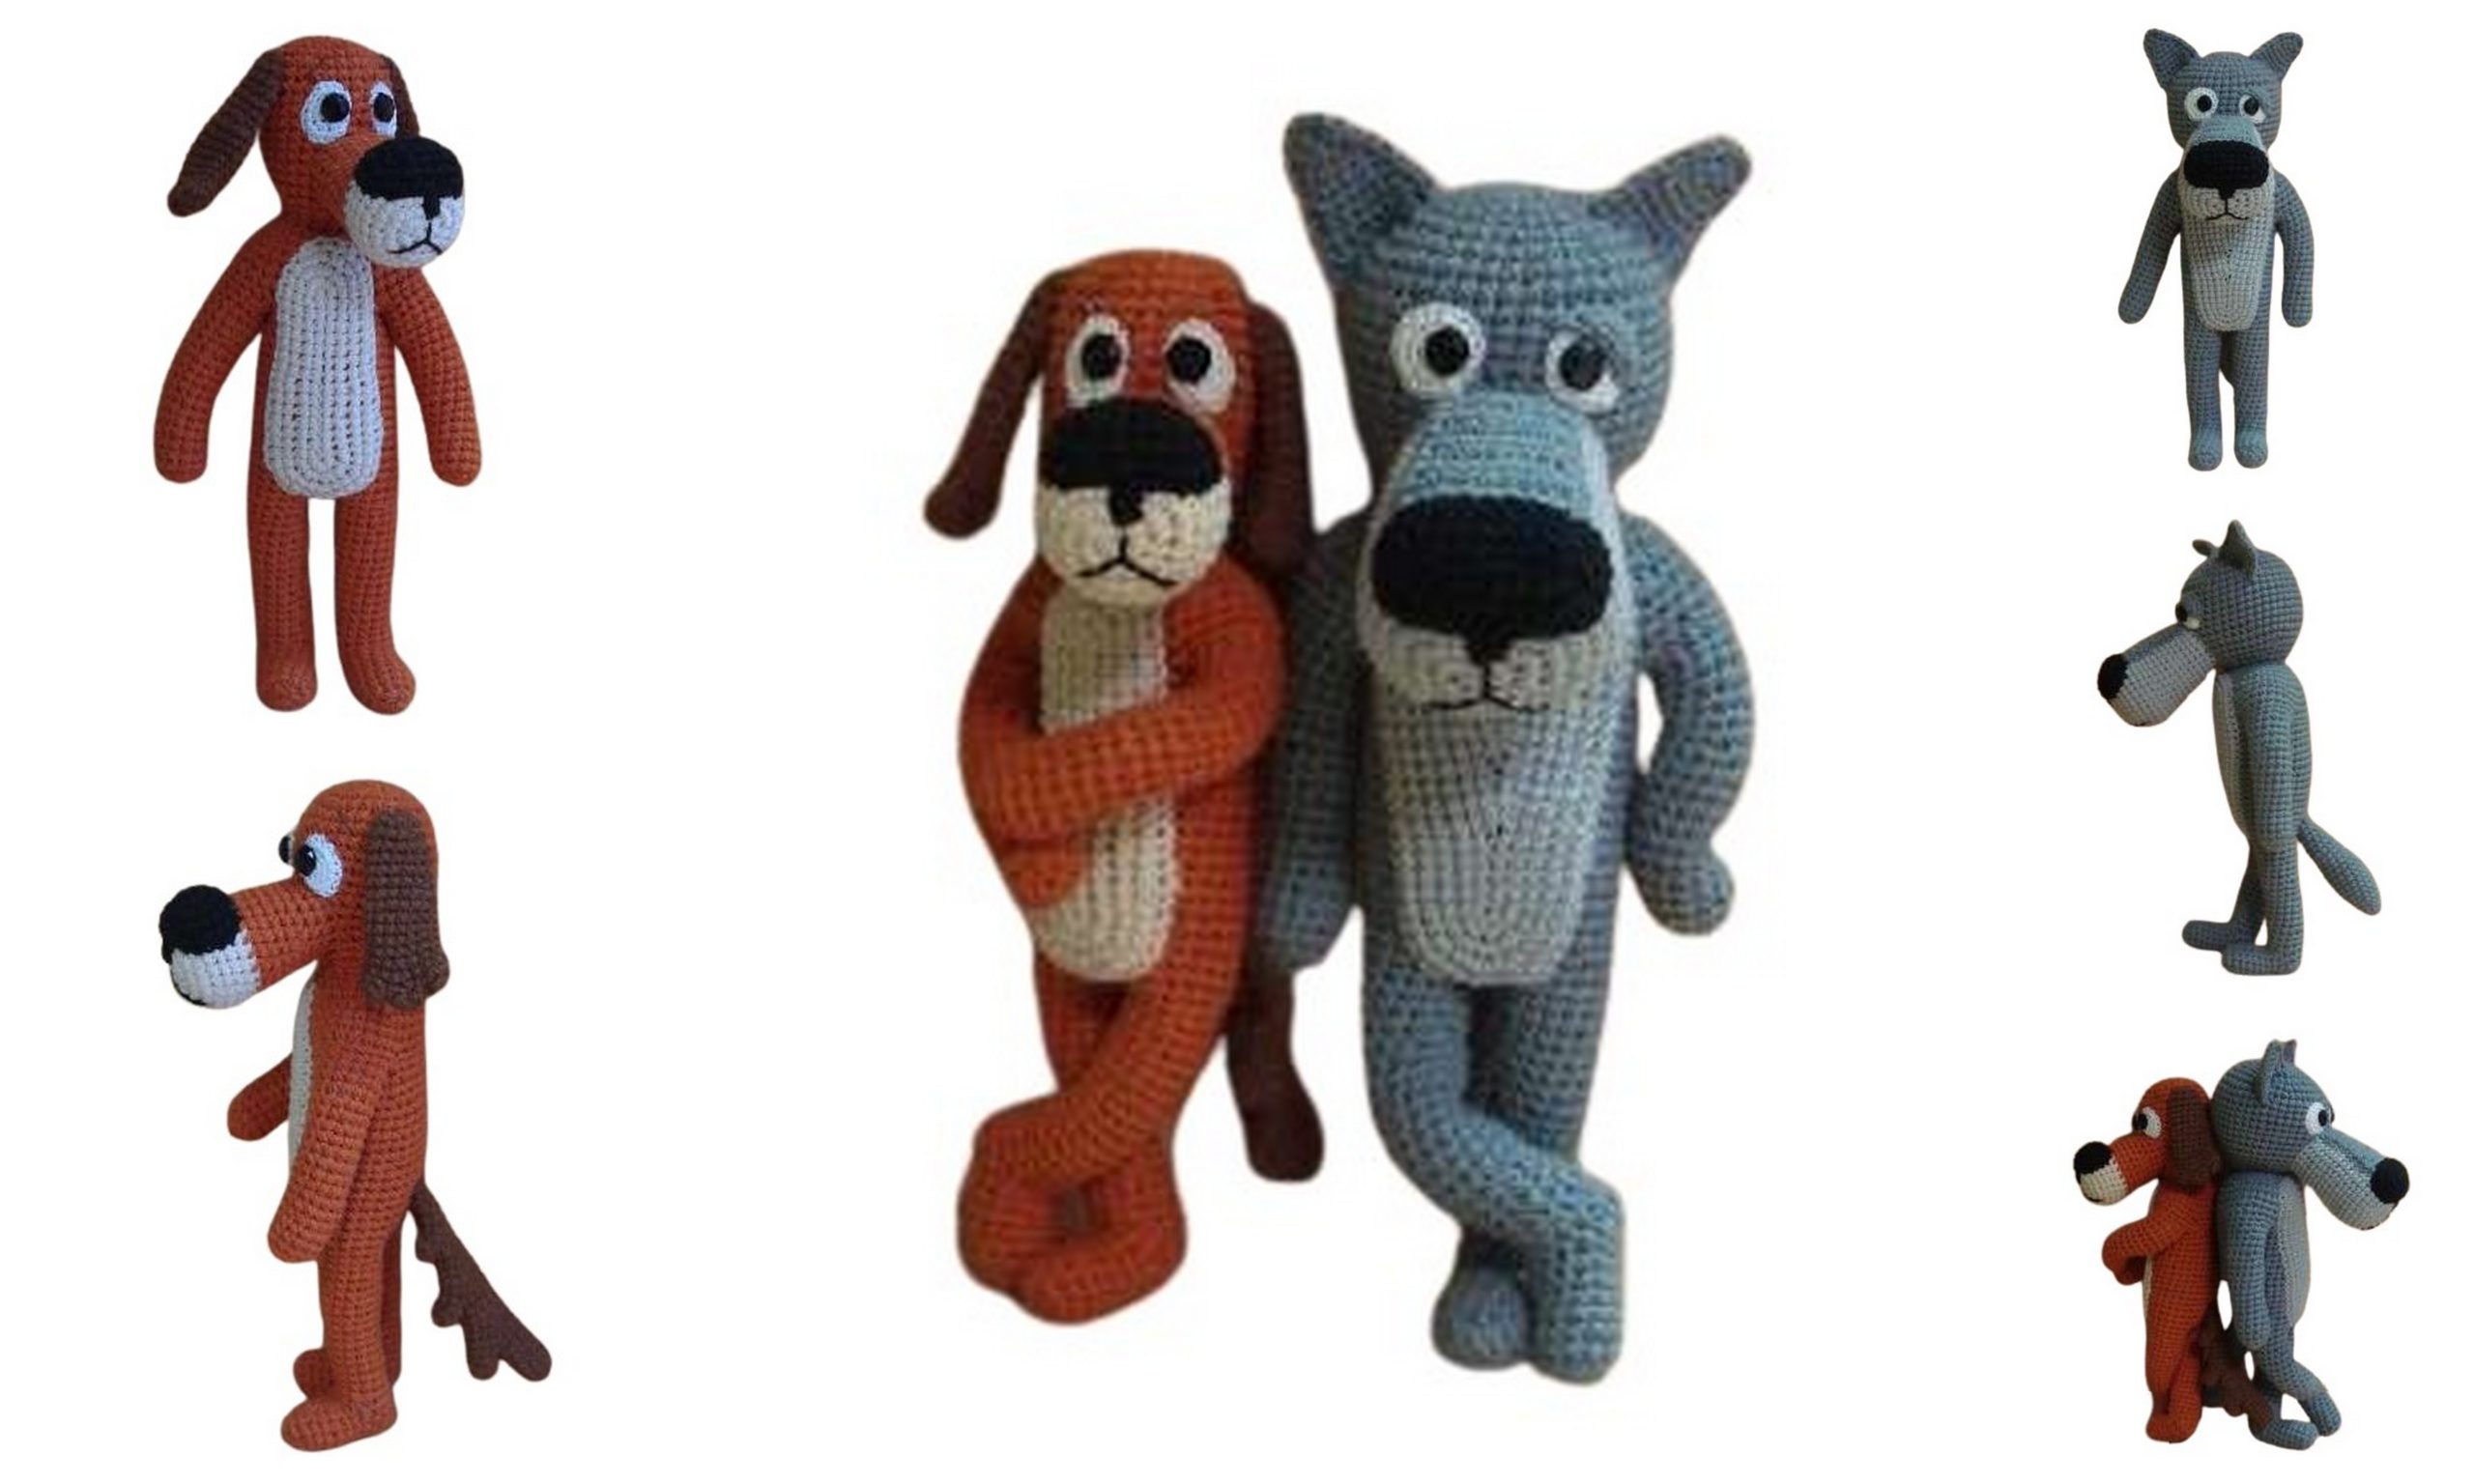
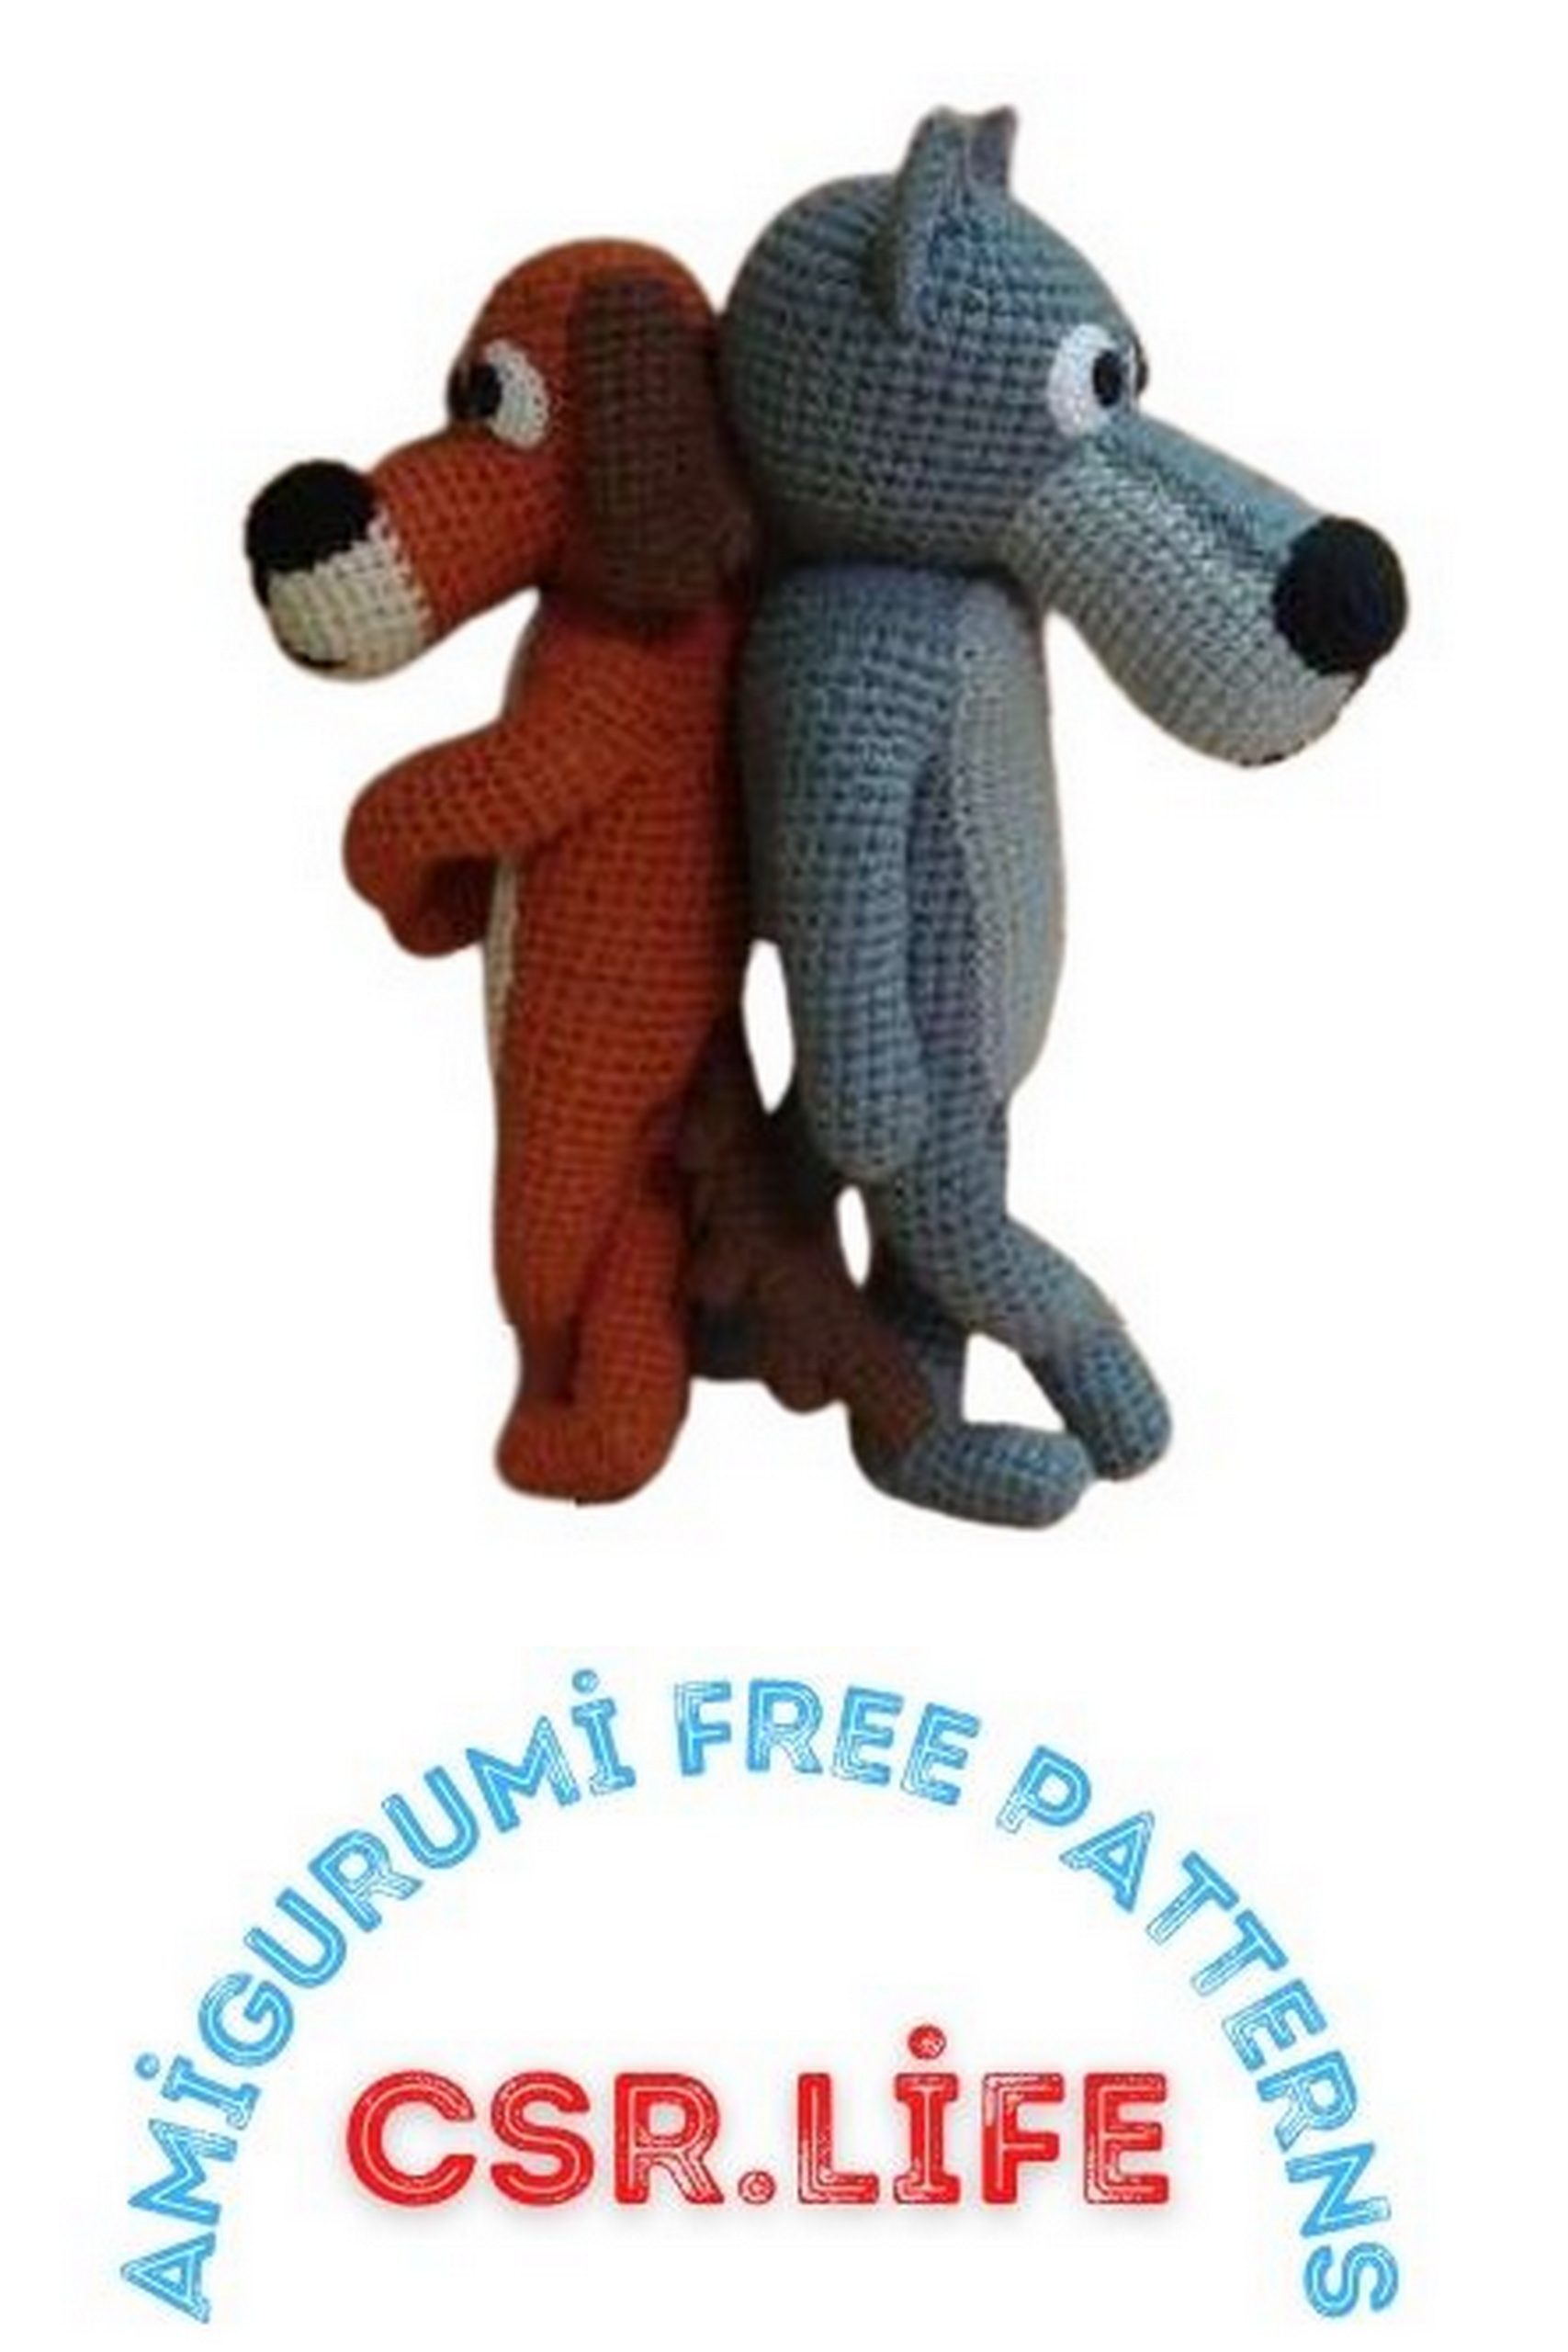
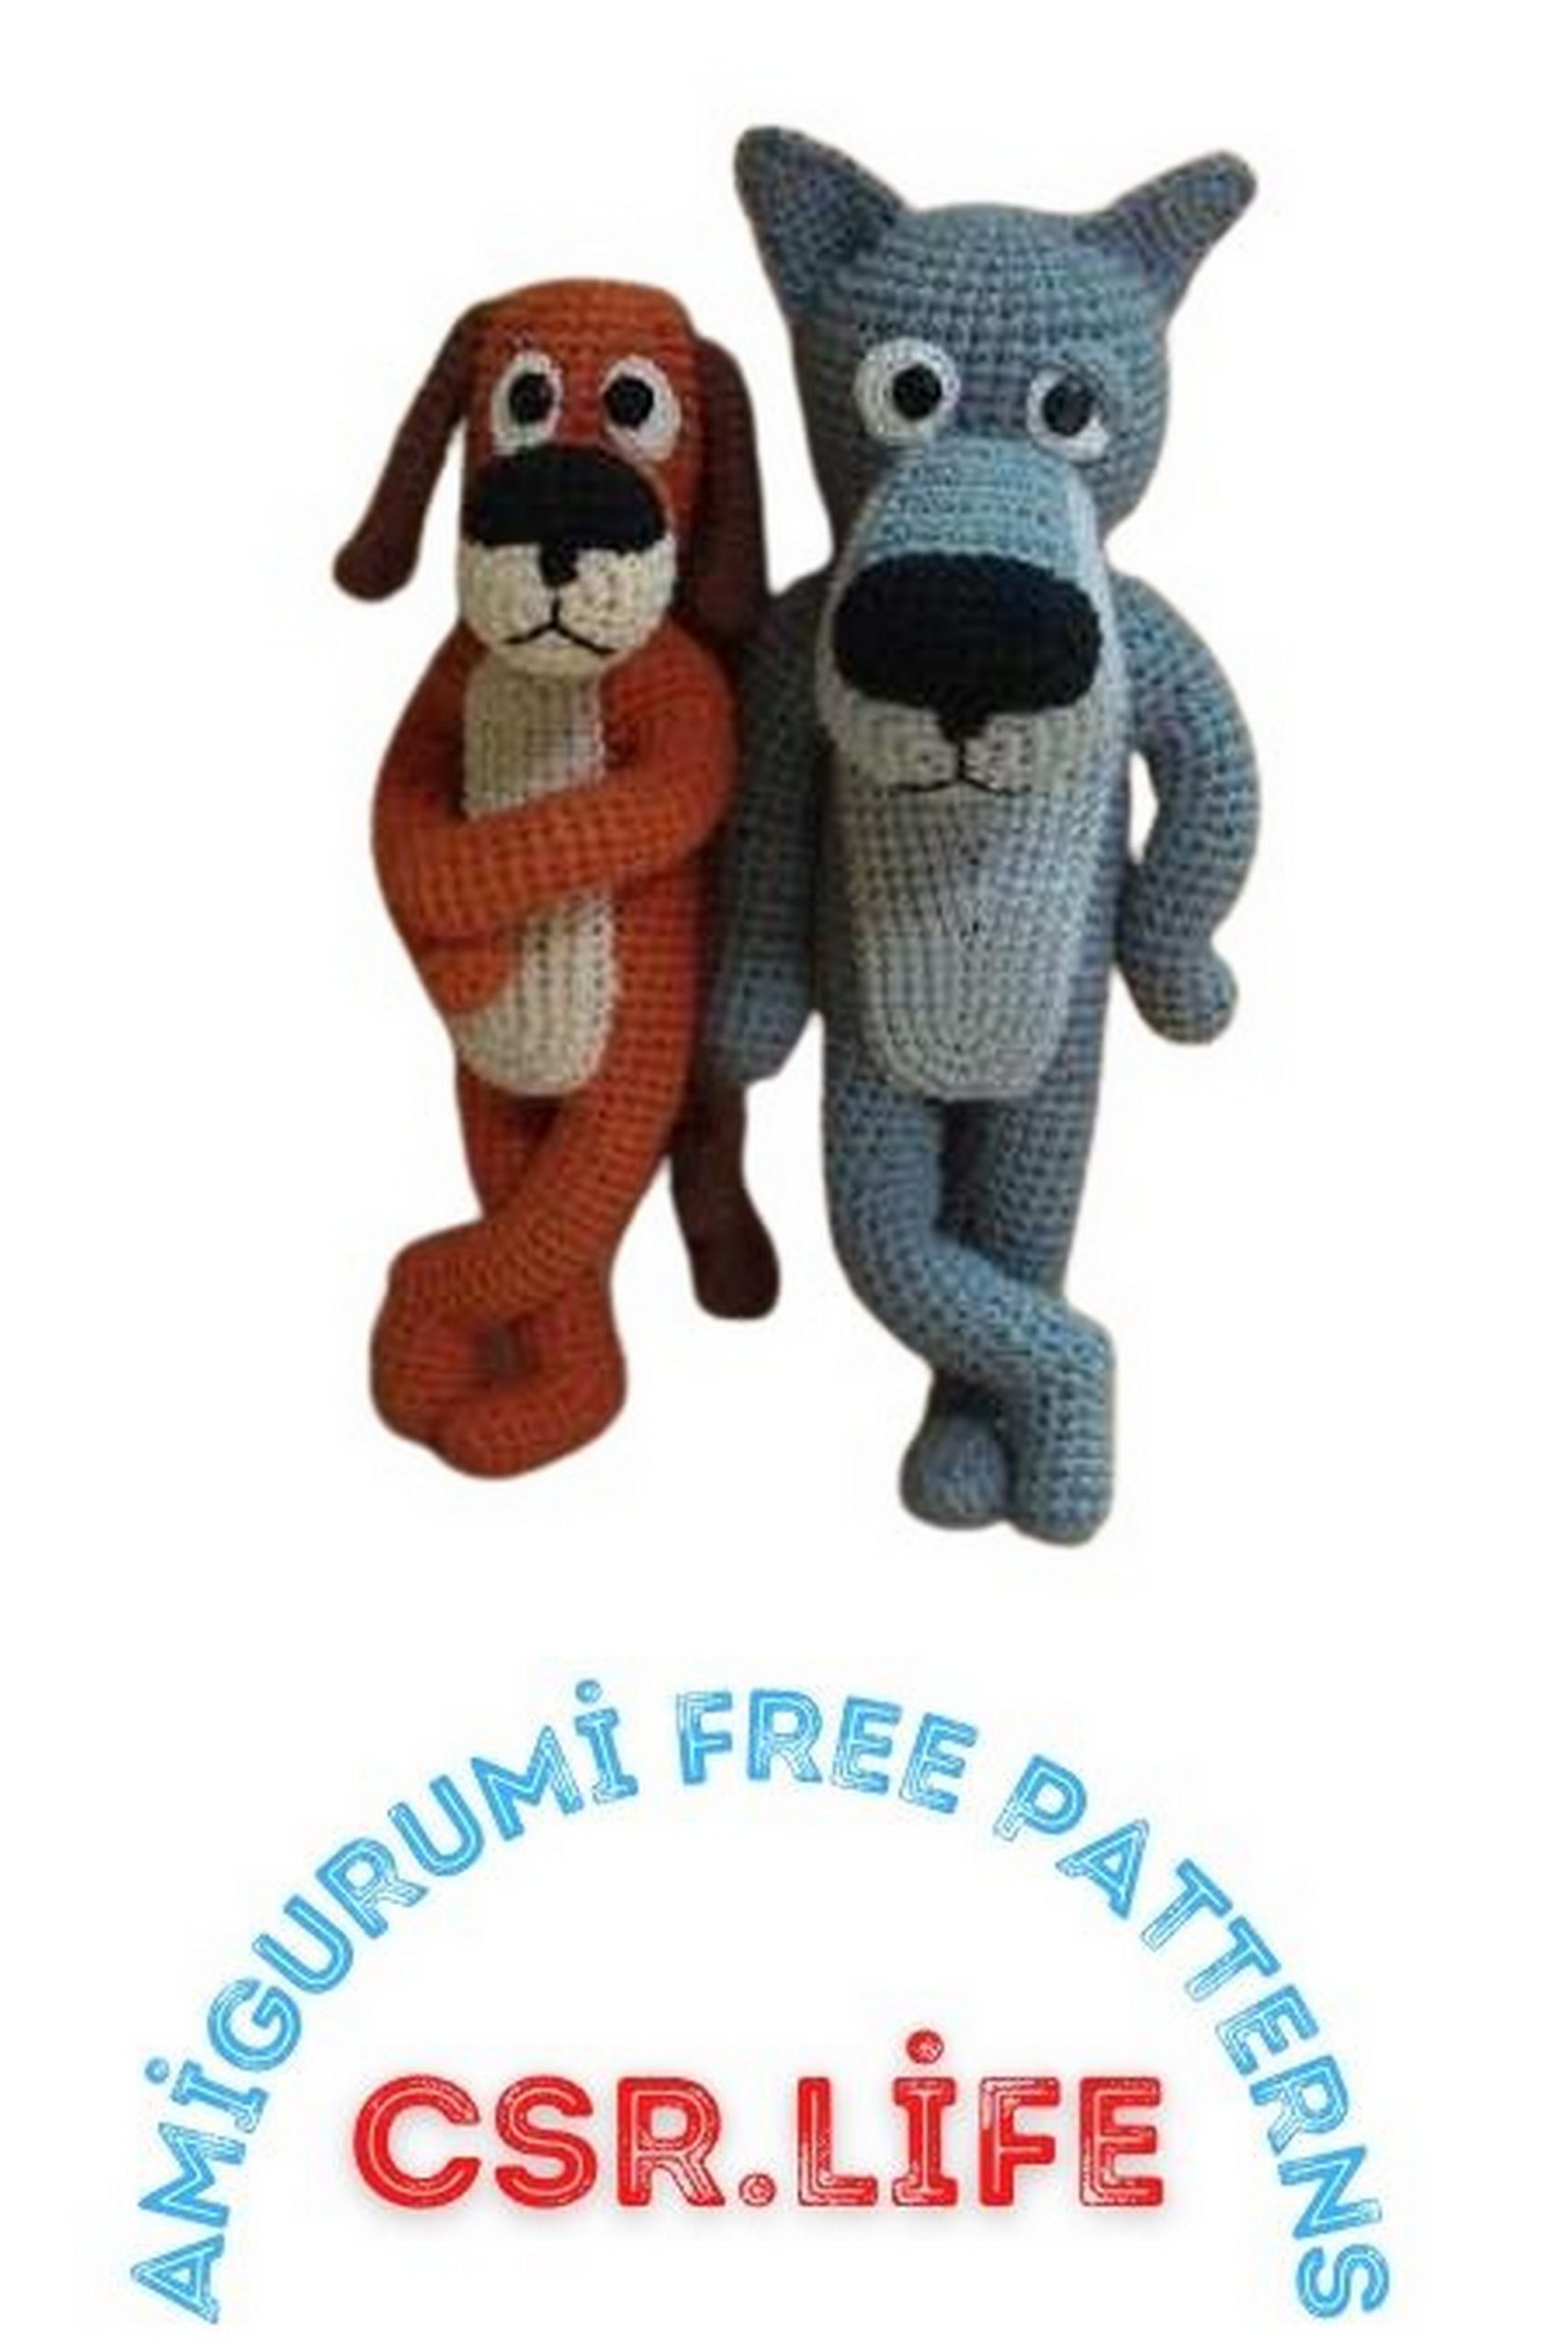
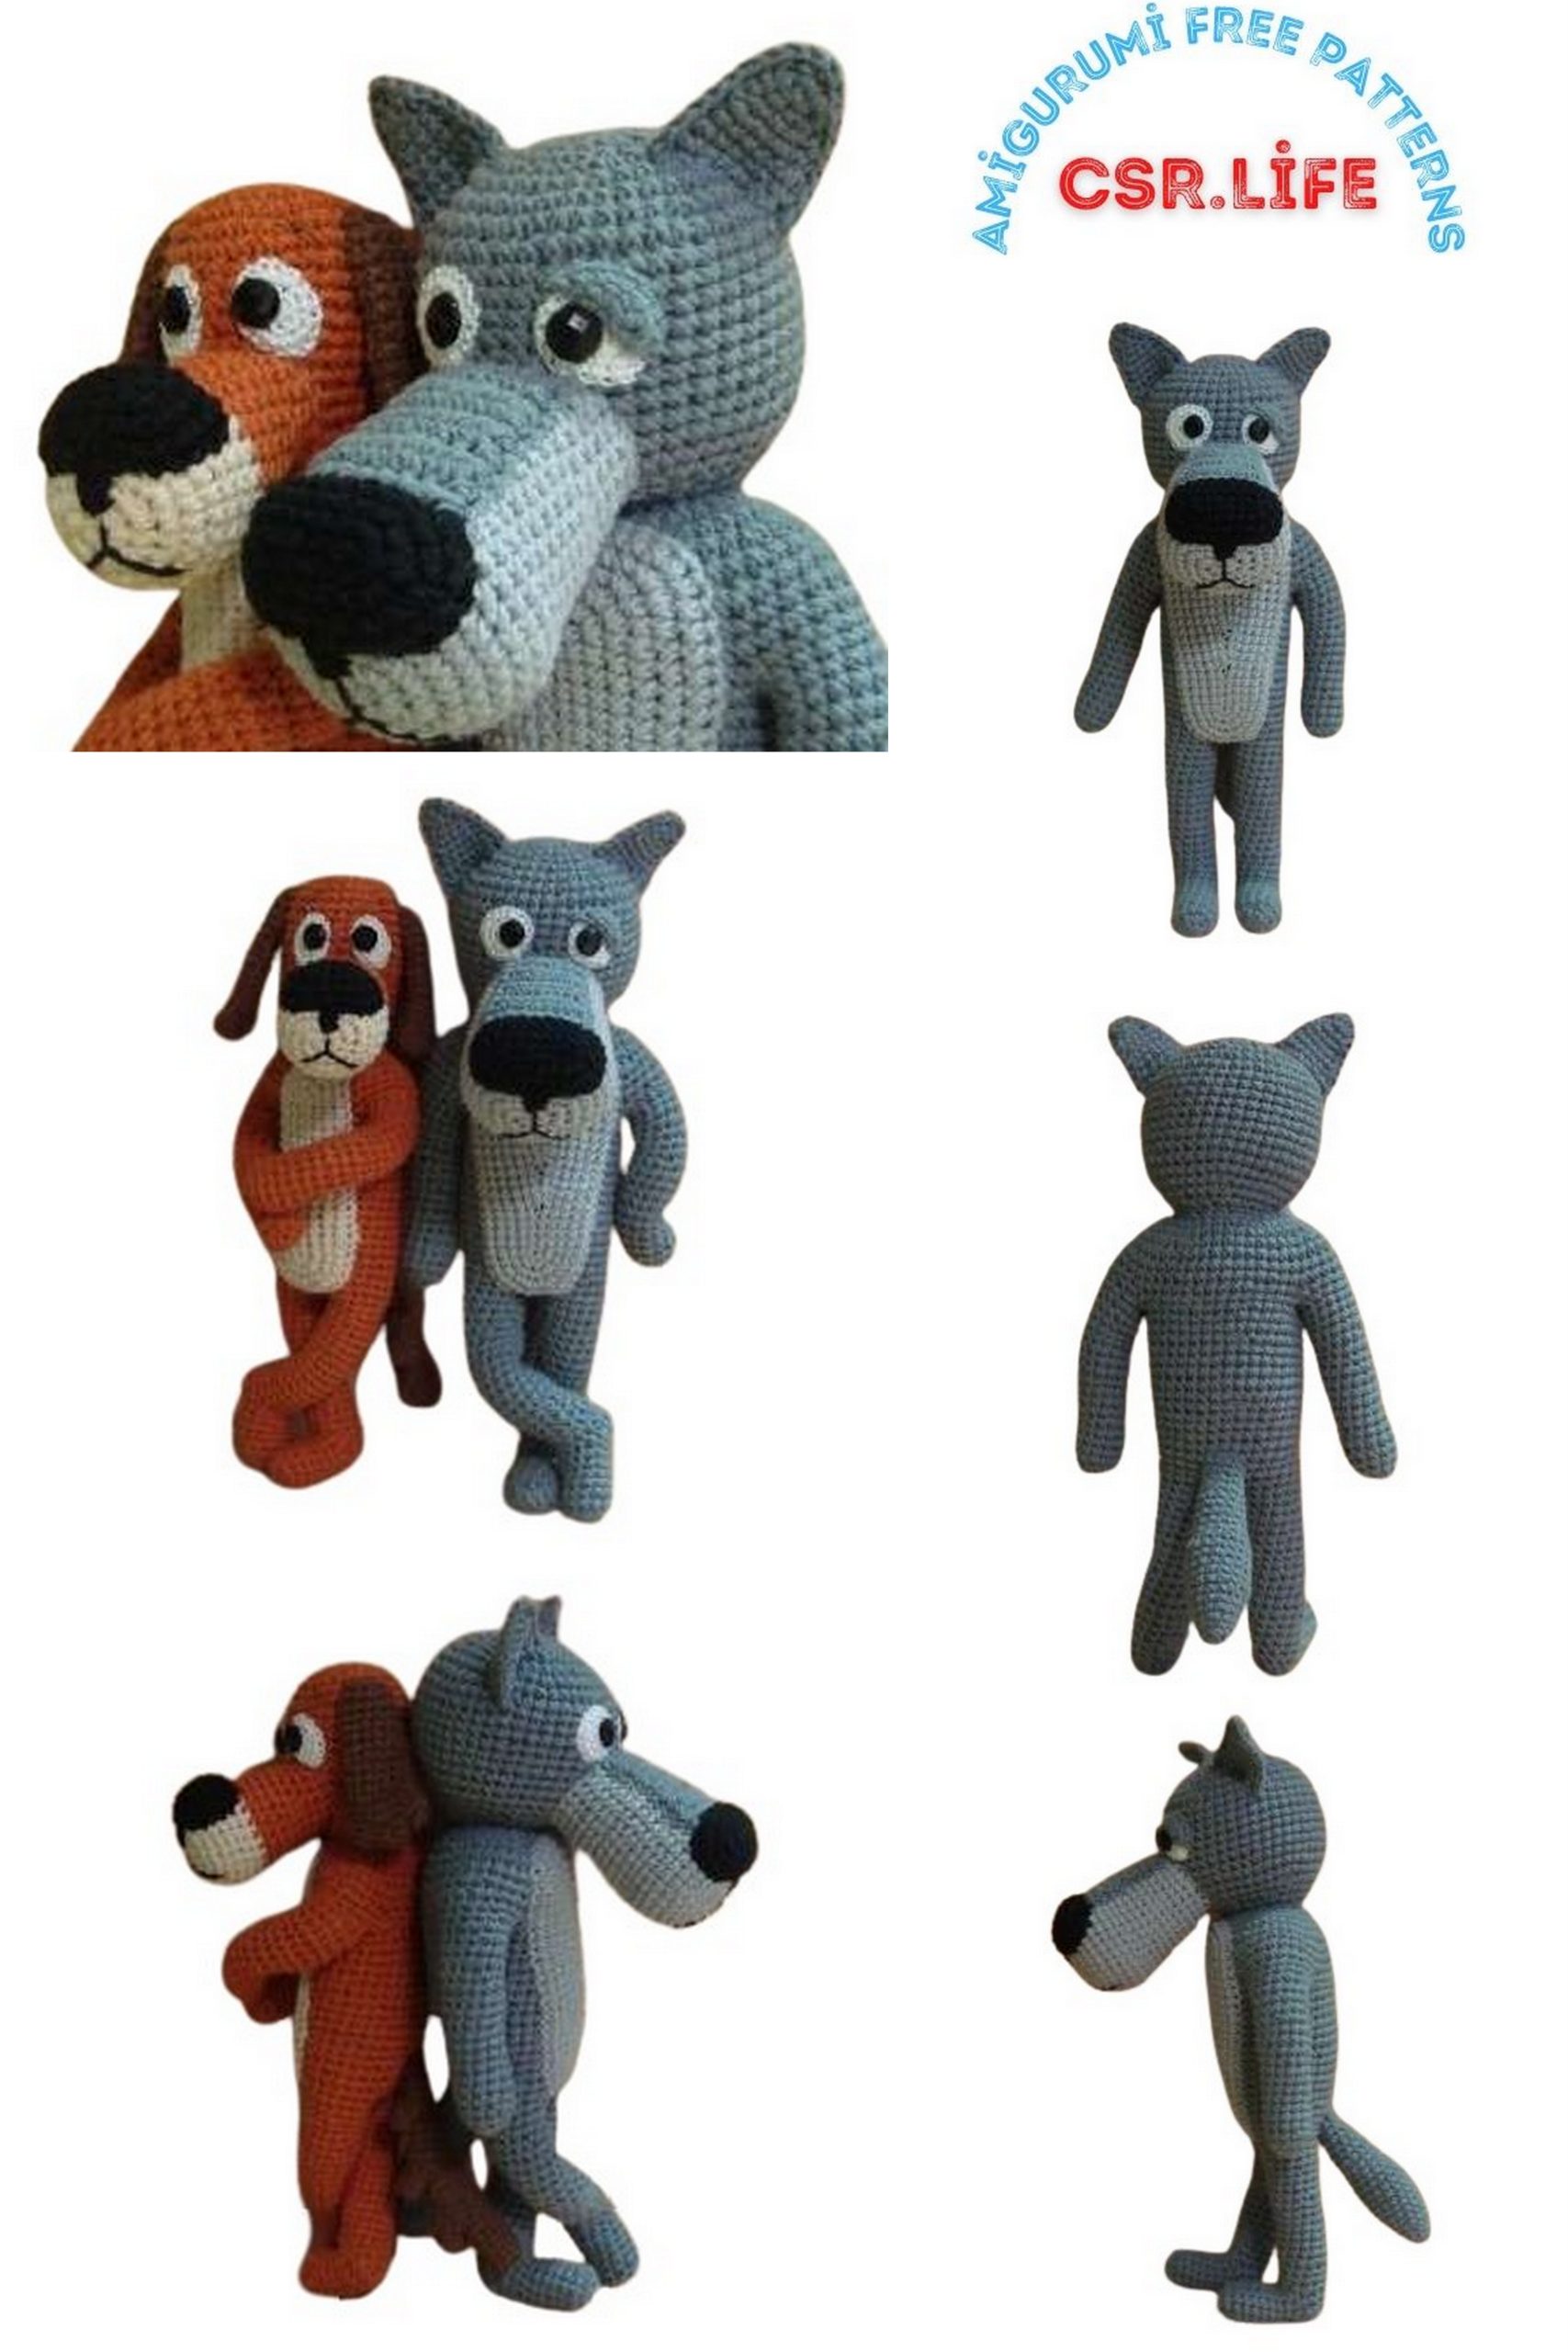
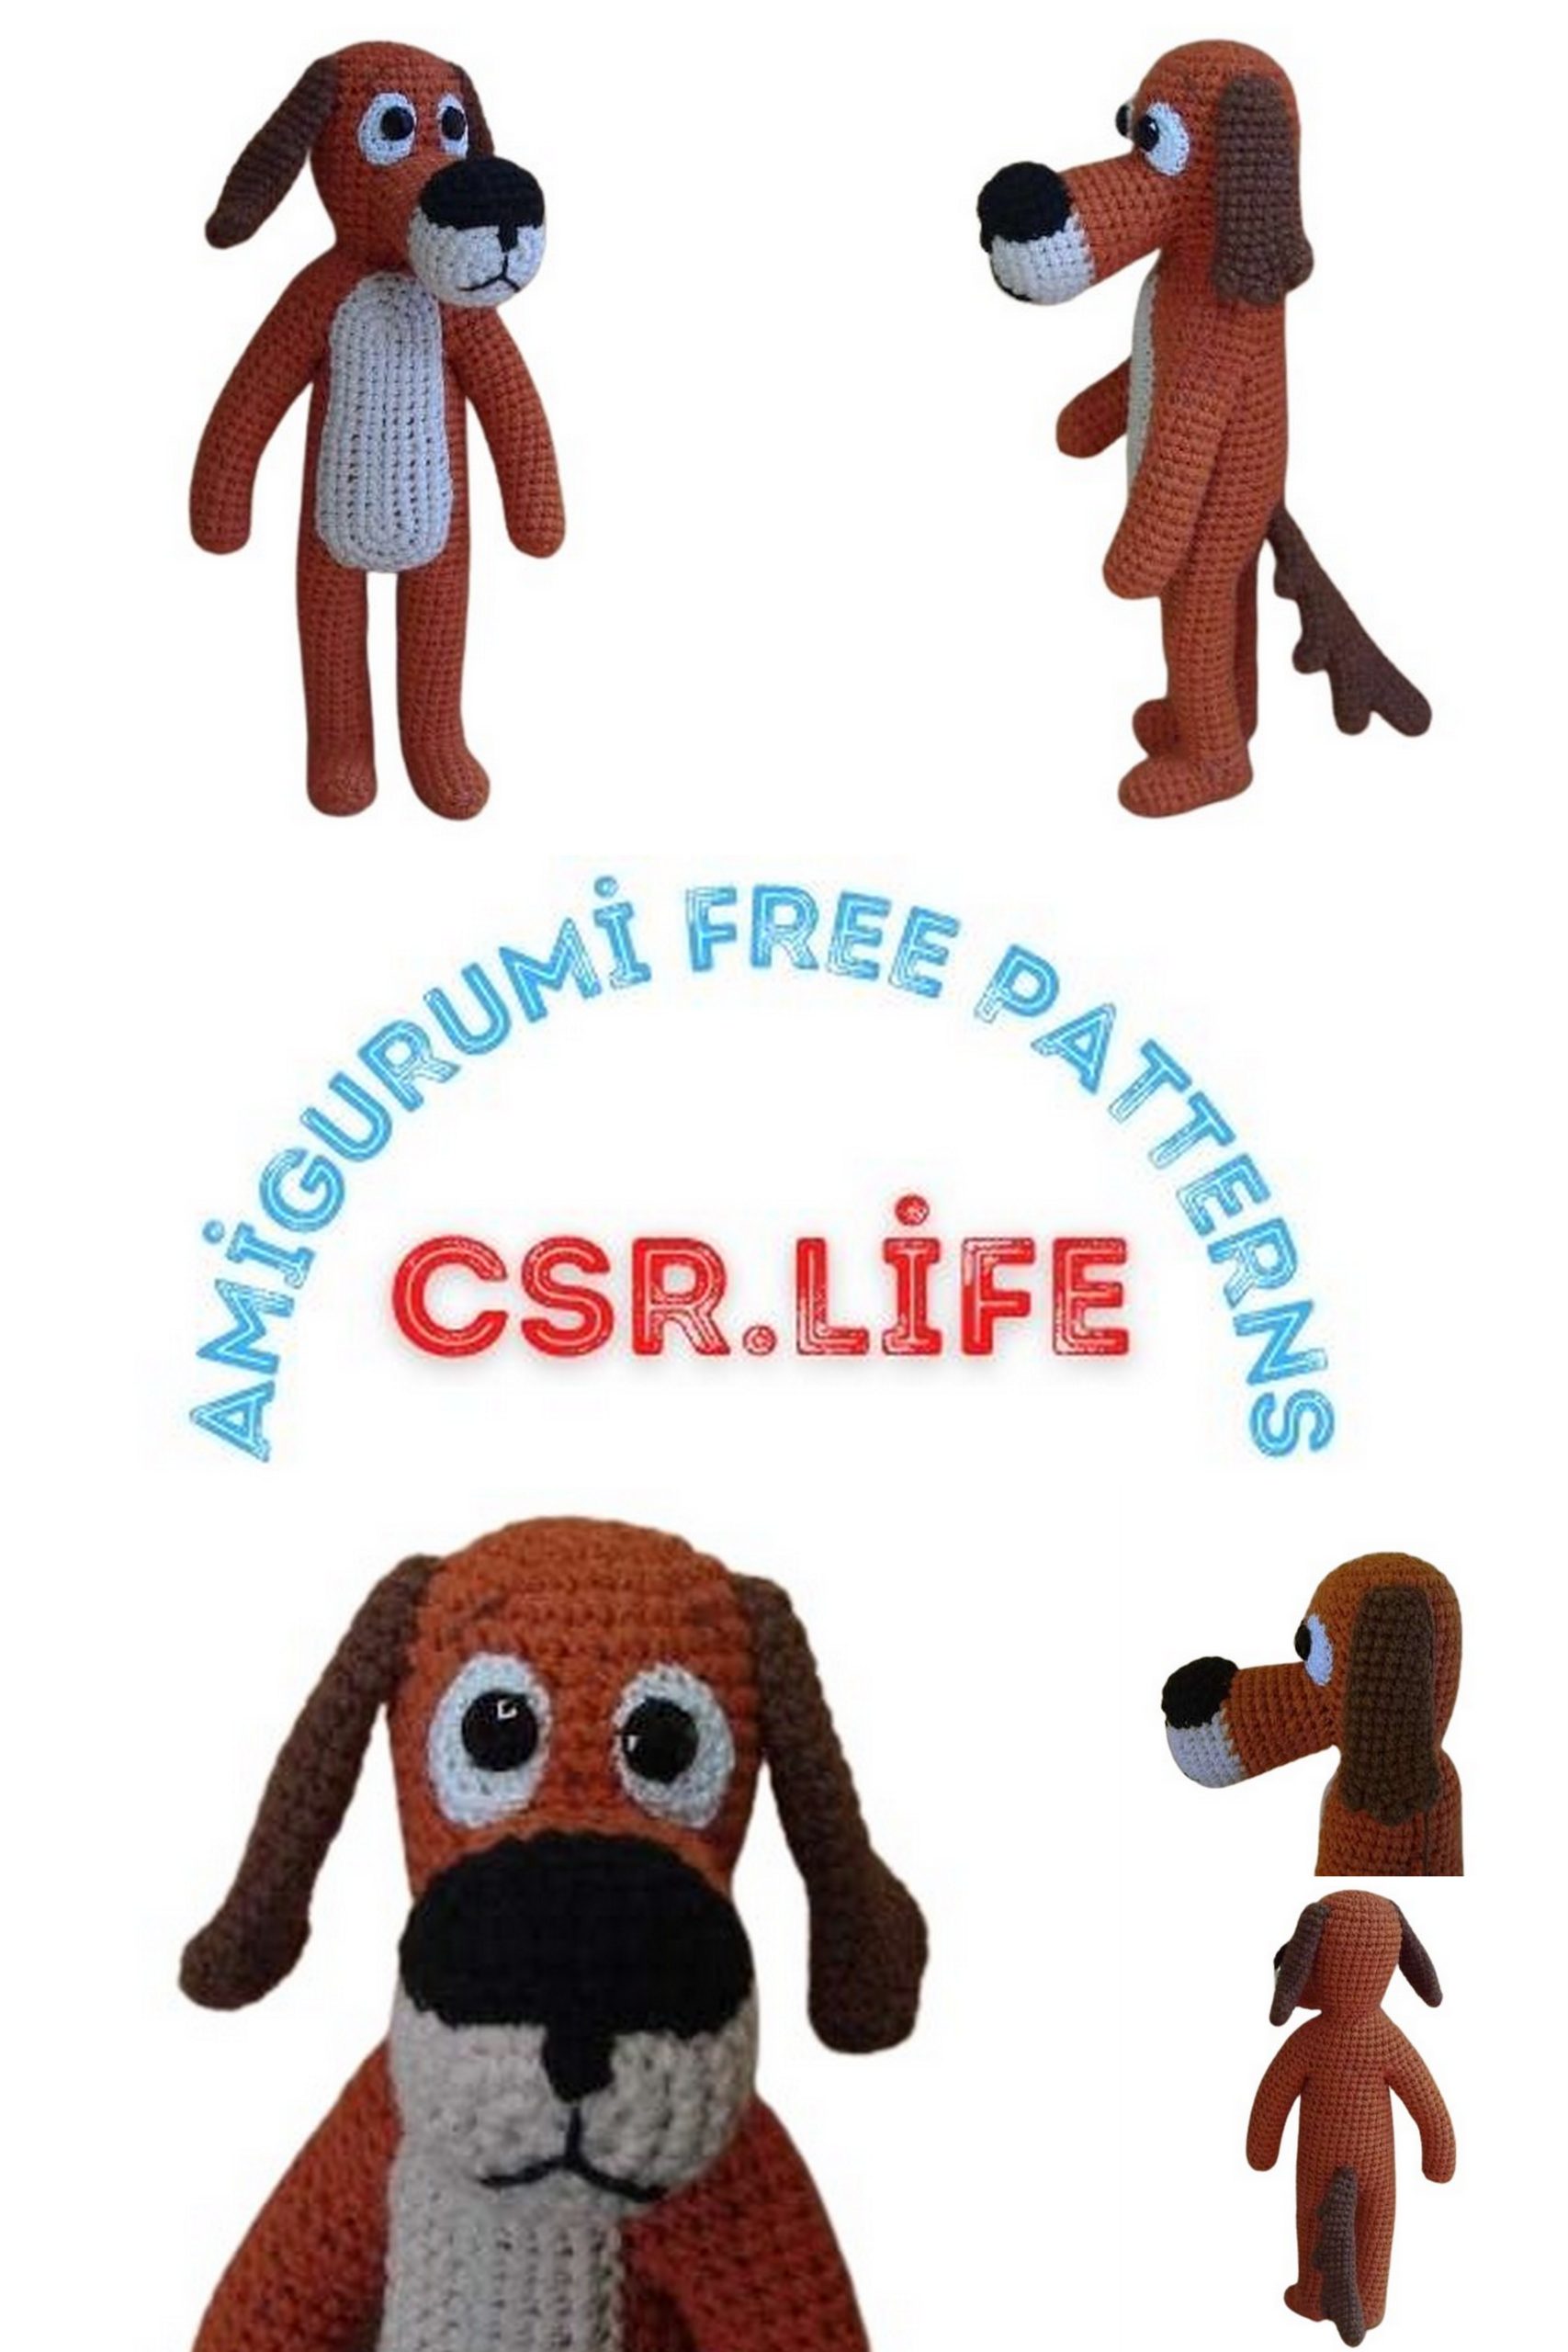
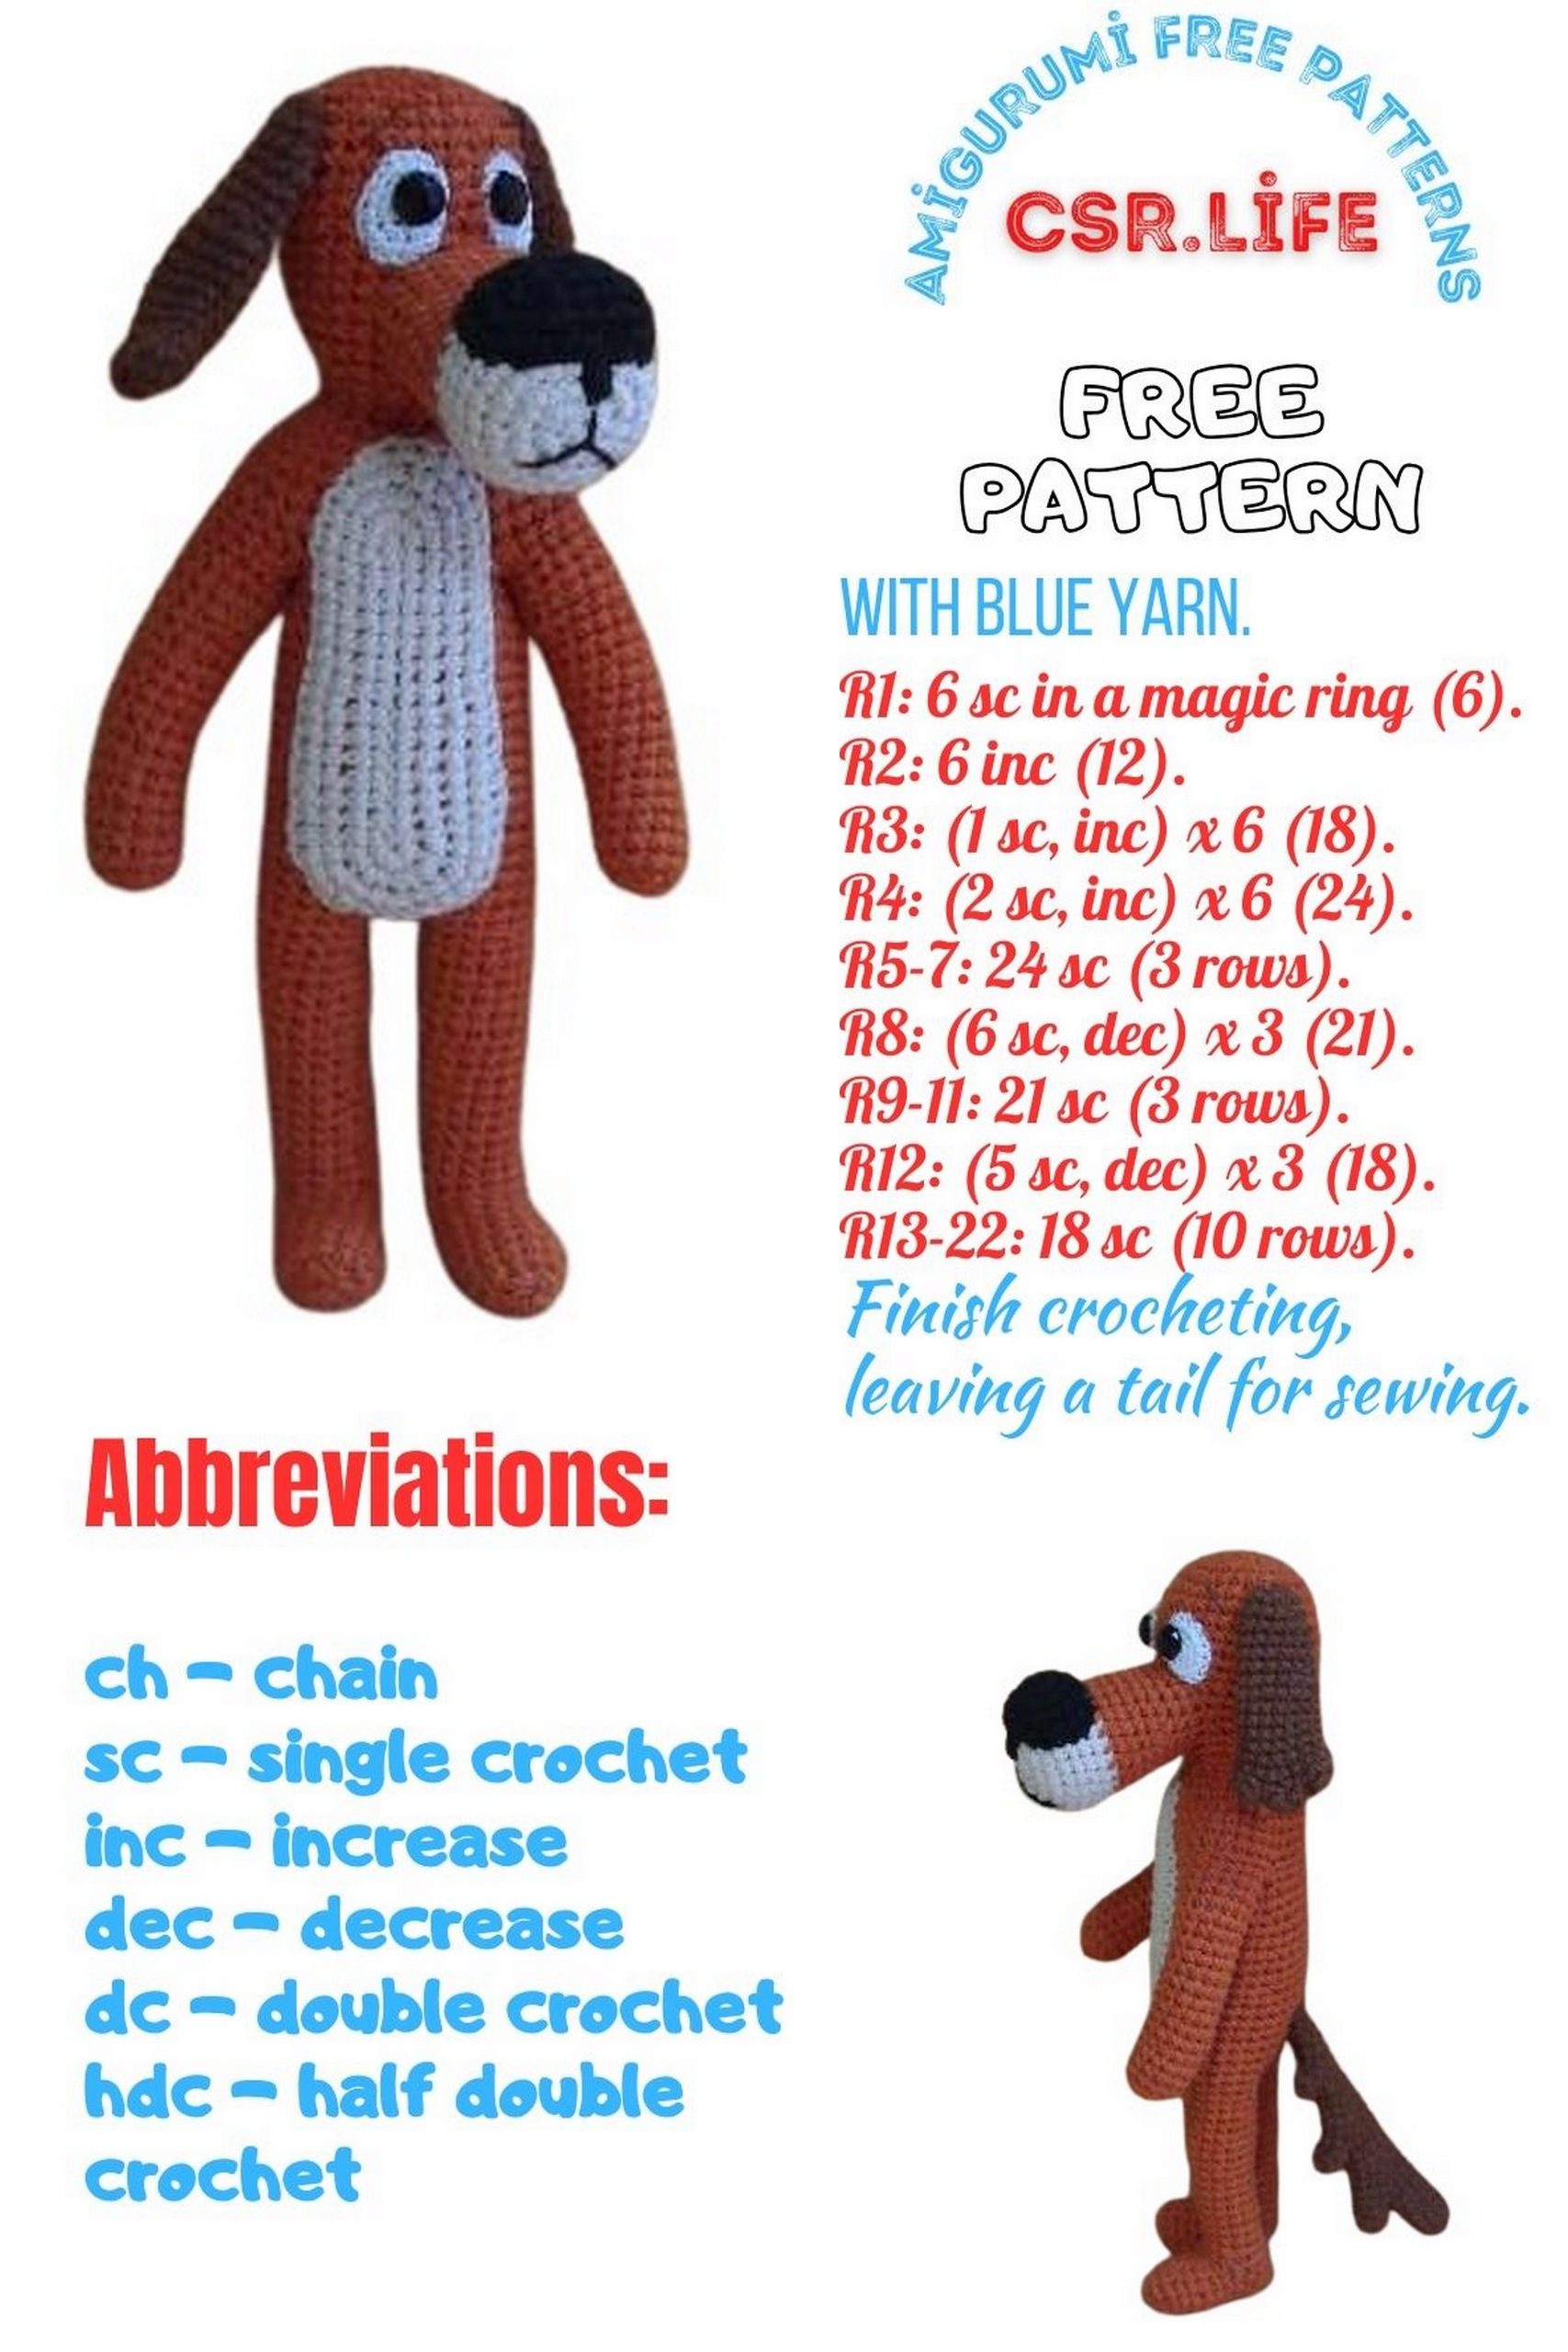
Wolf and Dog Amigurumi Free Pattern: Crochet Your Own Loyal Companions!
Welcome to the enchanting world of crochet! If you’re an avid crafter with a soft spot for adorable animals, you’re in for a treat. Our free pattern for the Wolf and Dog Amigurumi is here to captivate your imagination and inspire your creativity.
Whether you’re a beginner or an experienced crocheter, this pattern offers a delightful challenge for all skill levels. With clear instructions and helpful tips, you’ll soon be crafting your very own faithful companions.
From the majestic wolf to the lovable dog, each amigurumi is crafted with attention to detail and designed to bring joy to your crochet projects. Plus, you have the flexibility to customize your creations with different colors and personal touches.
So, dust off your crochet hooks and dive into this heartwarming project. Get ready to crochet your new loyal companions and add a touch of whimsy to your home. Happy crocheting!
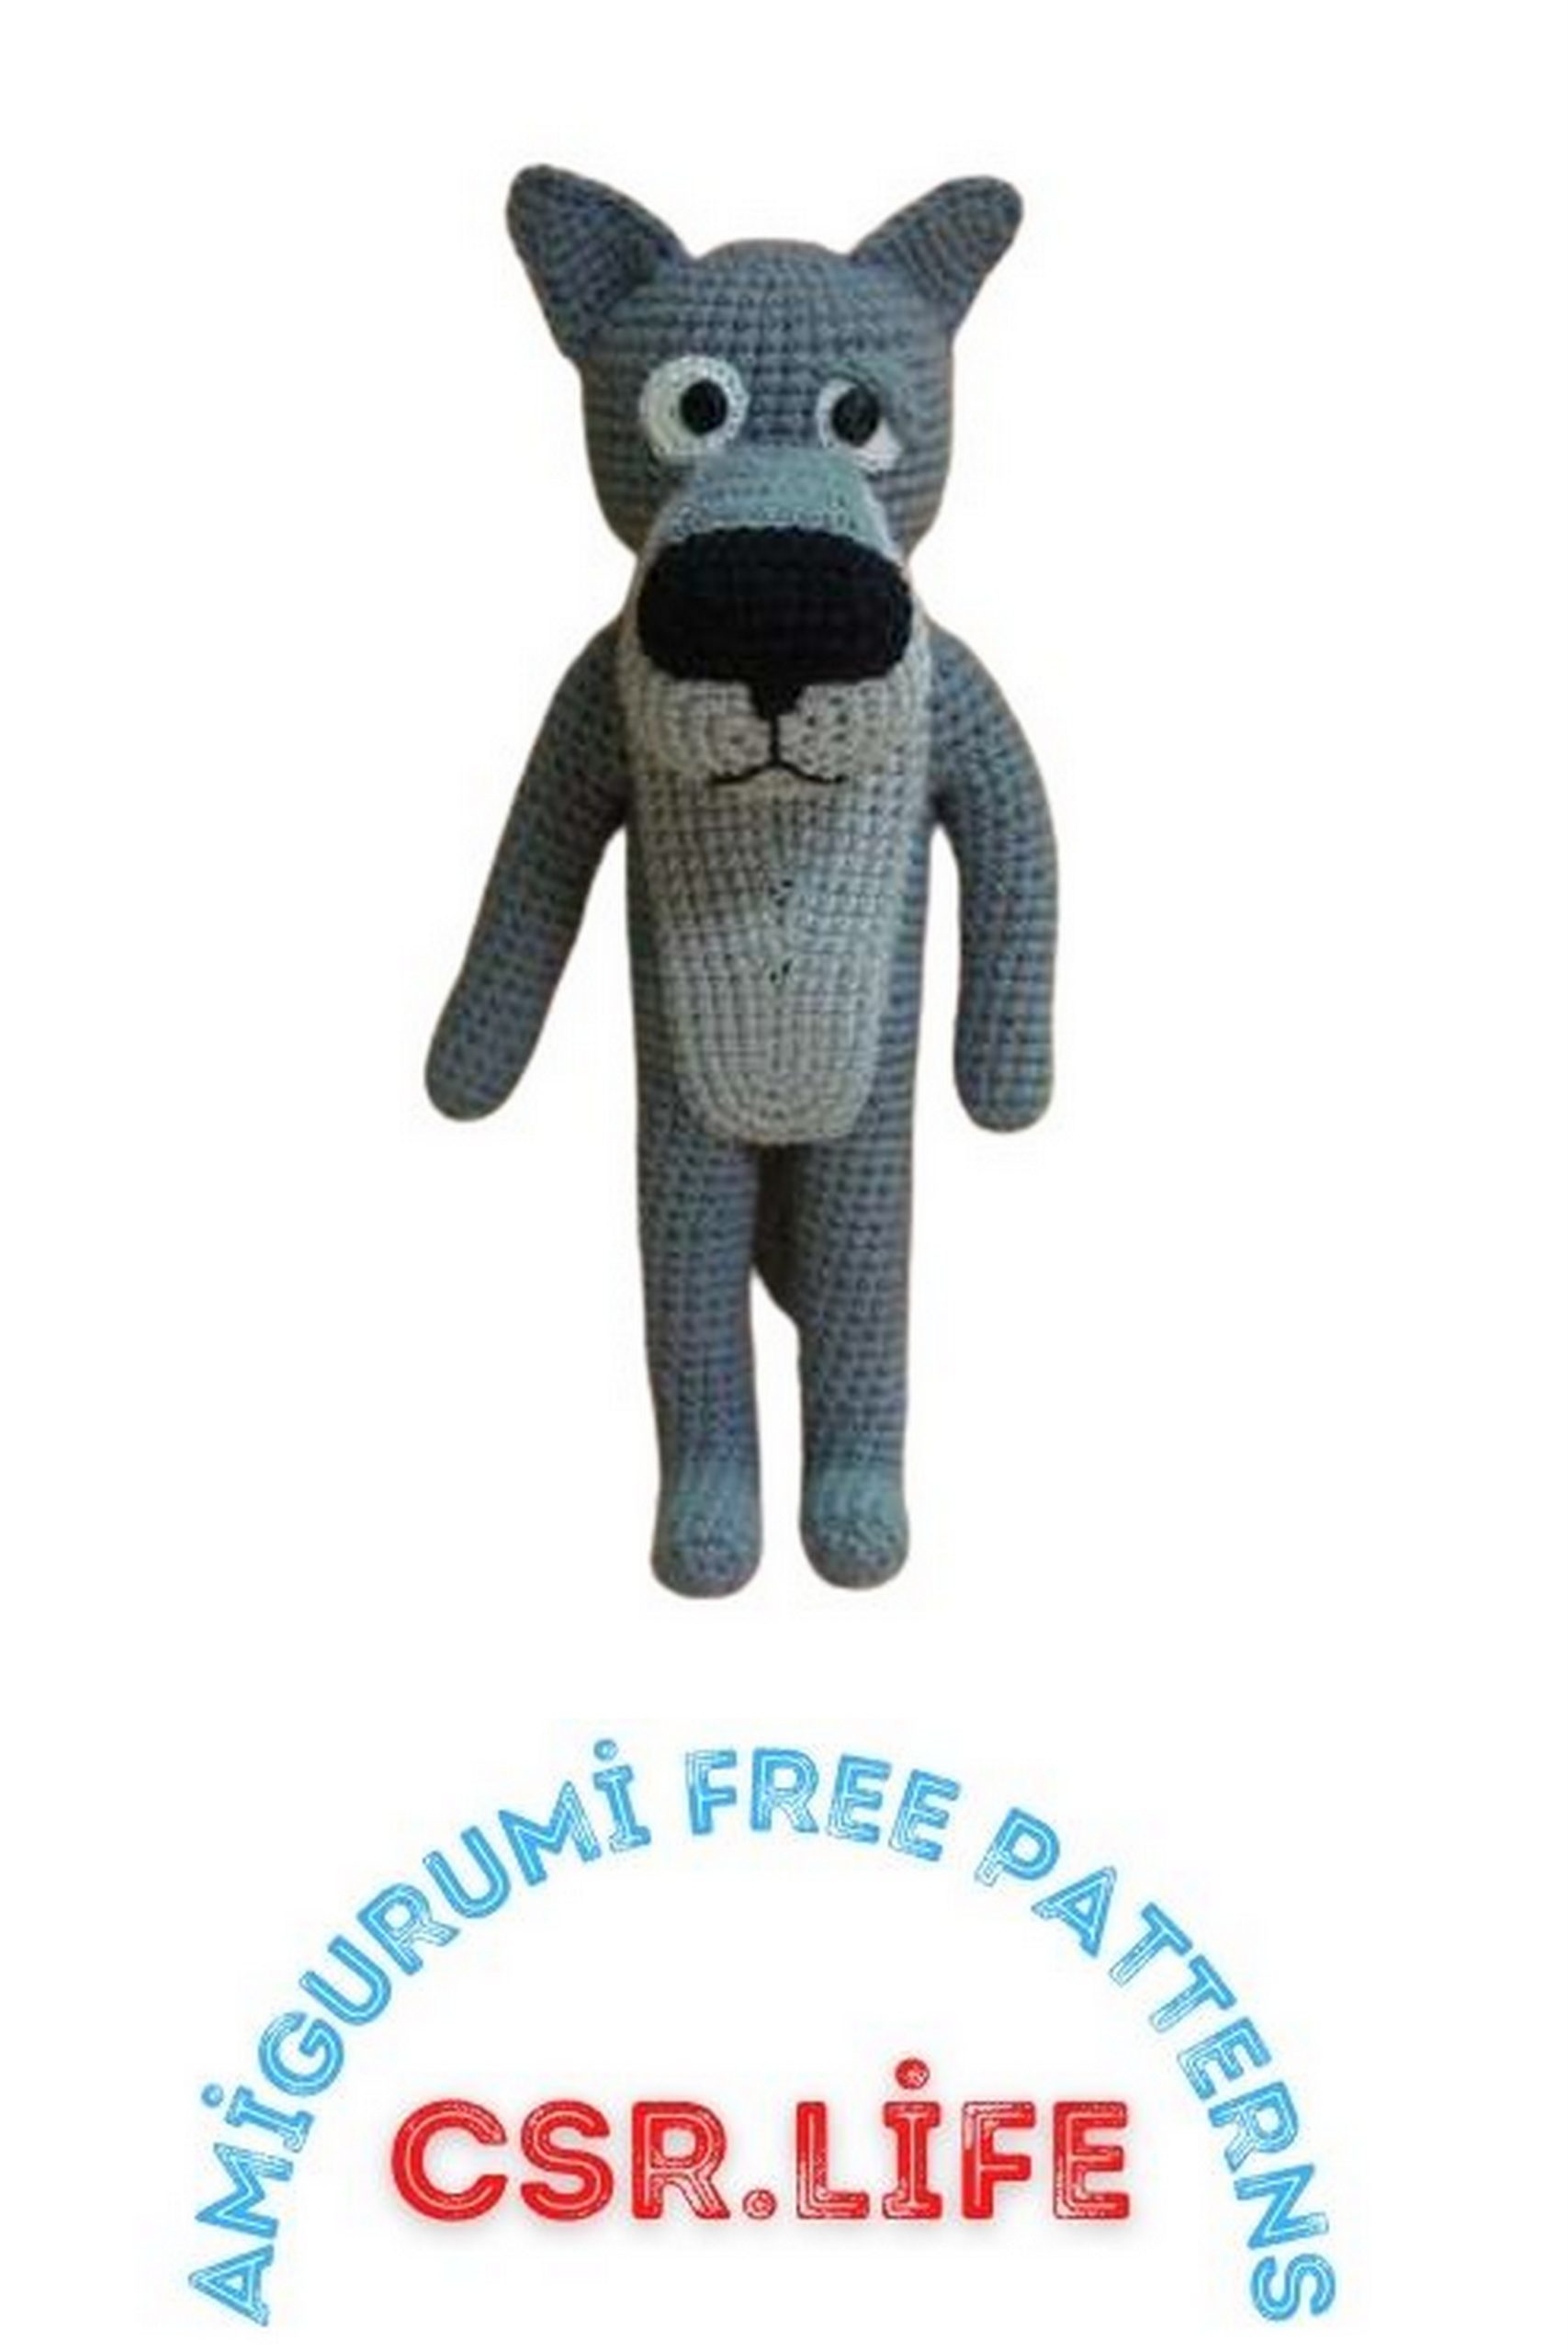
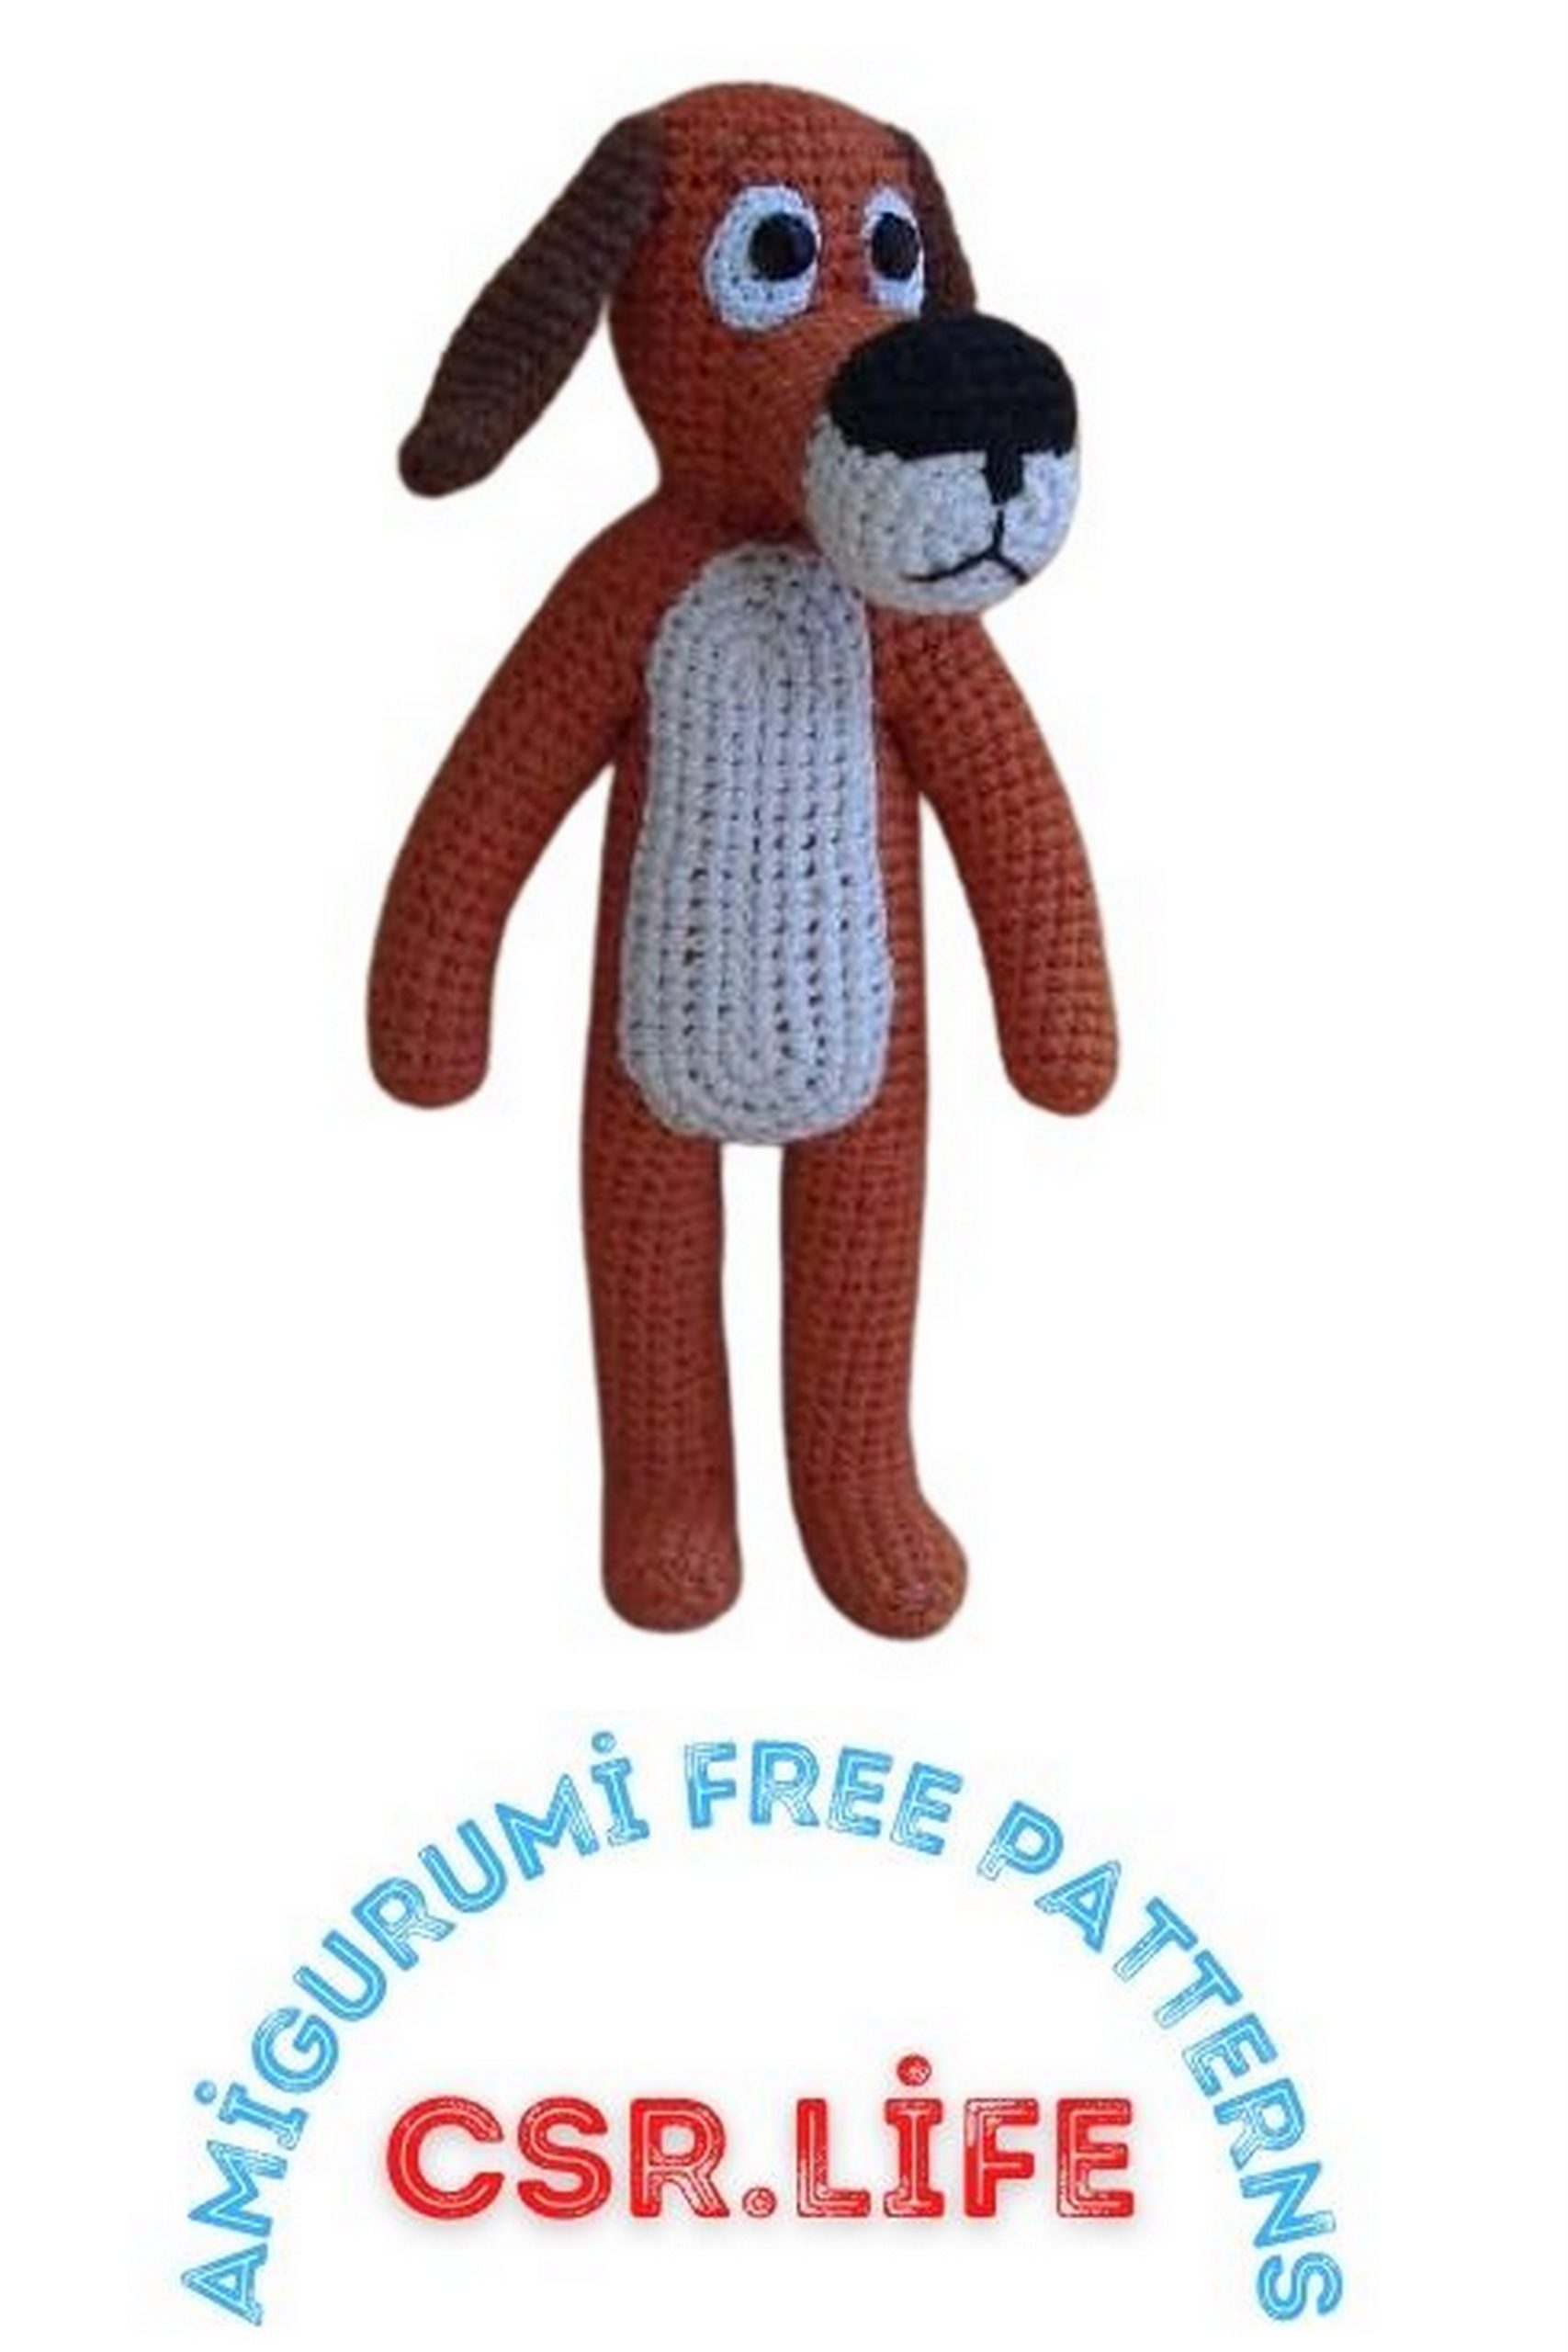
Height: 24-25 cm.
Tools and Materials:
Crochet hook 2.5 or 2 mm. Crochet hook 1.5 or 1.25 for eyes.
Stuffing – polyester fiberfill.
Yarn: ALIZE Cotton Gold, 55% cotton, 45% acrylic, 330 m/100 g. An equivalent yarn is YarnArt Jeans.
Colors:
For the dog: brown, dark brown, beige, black;
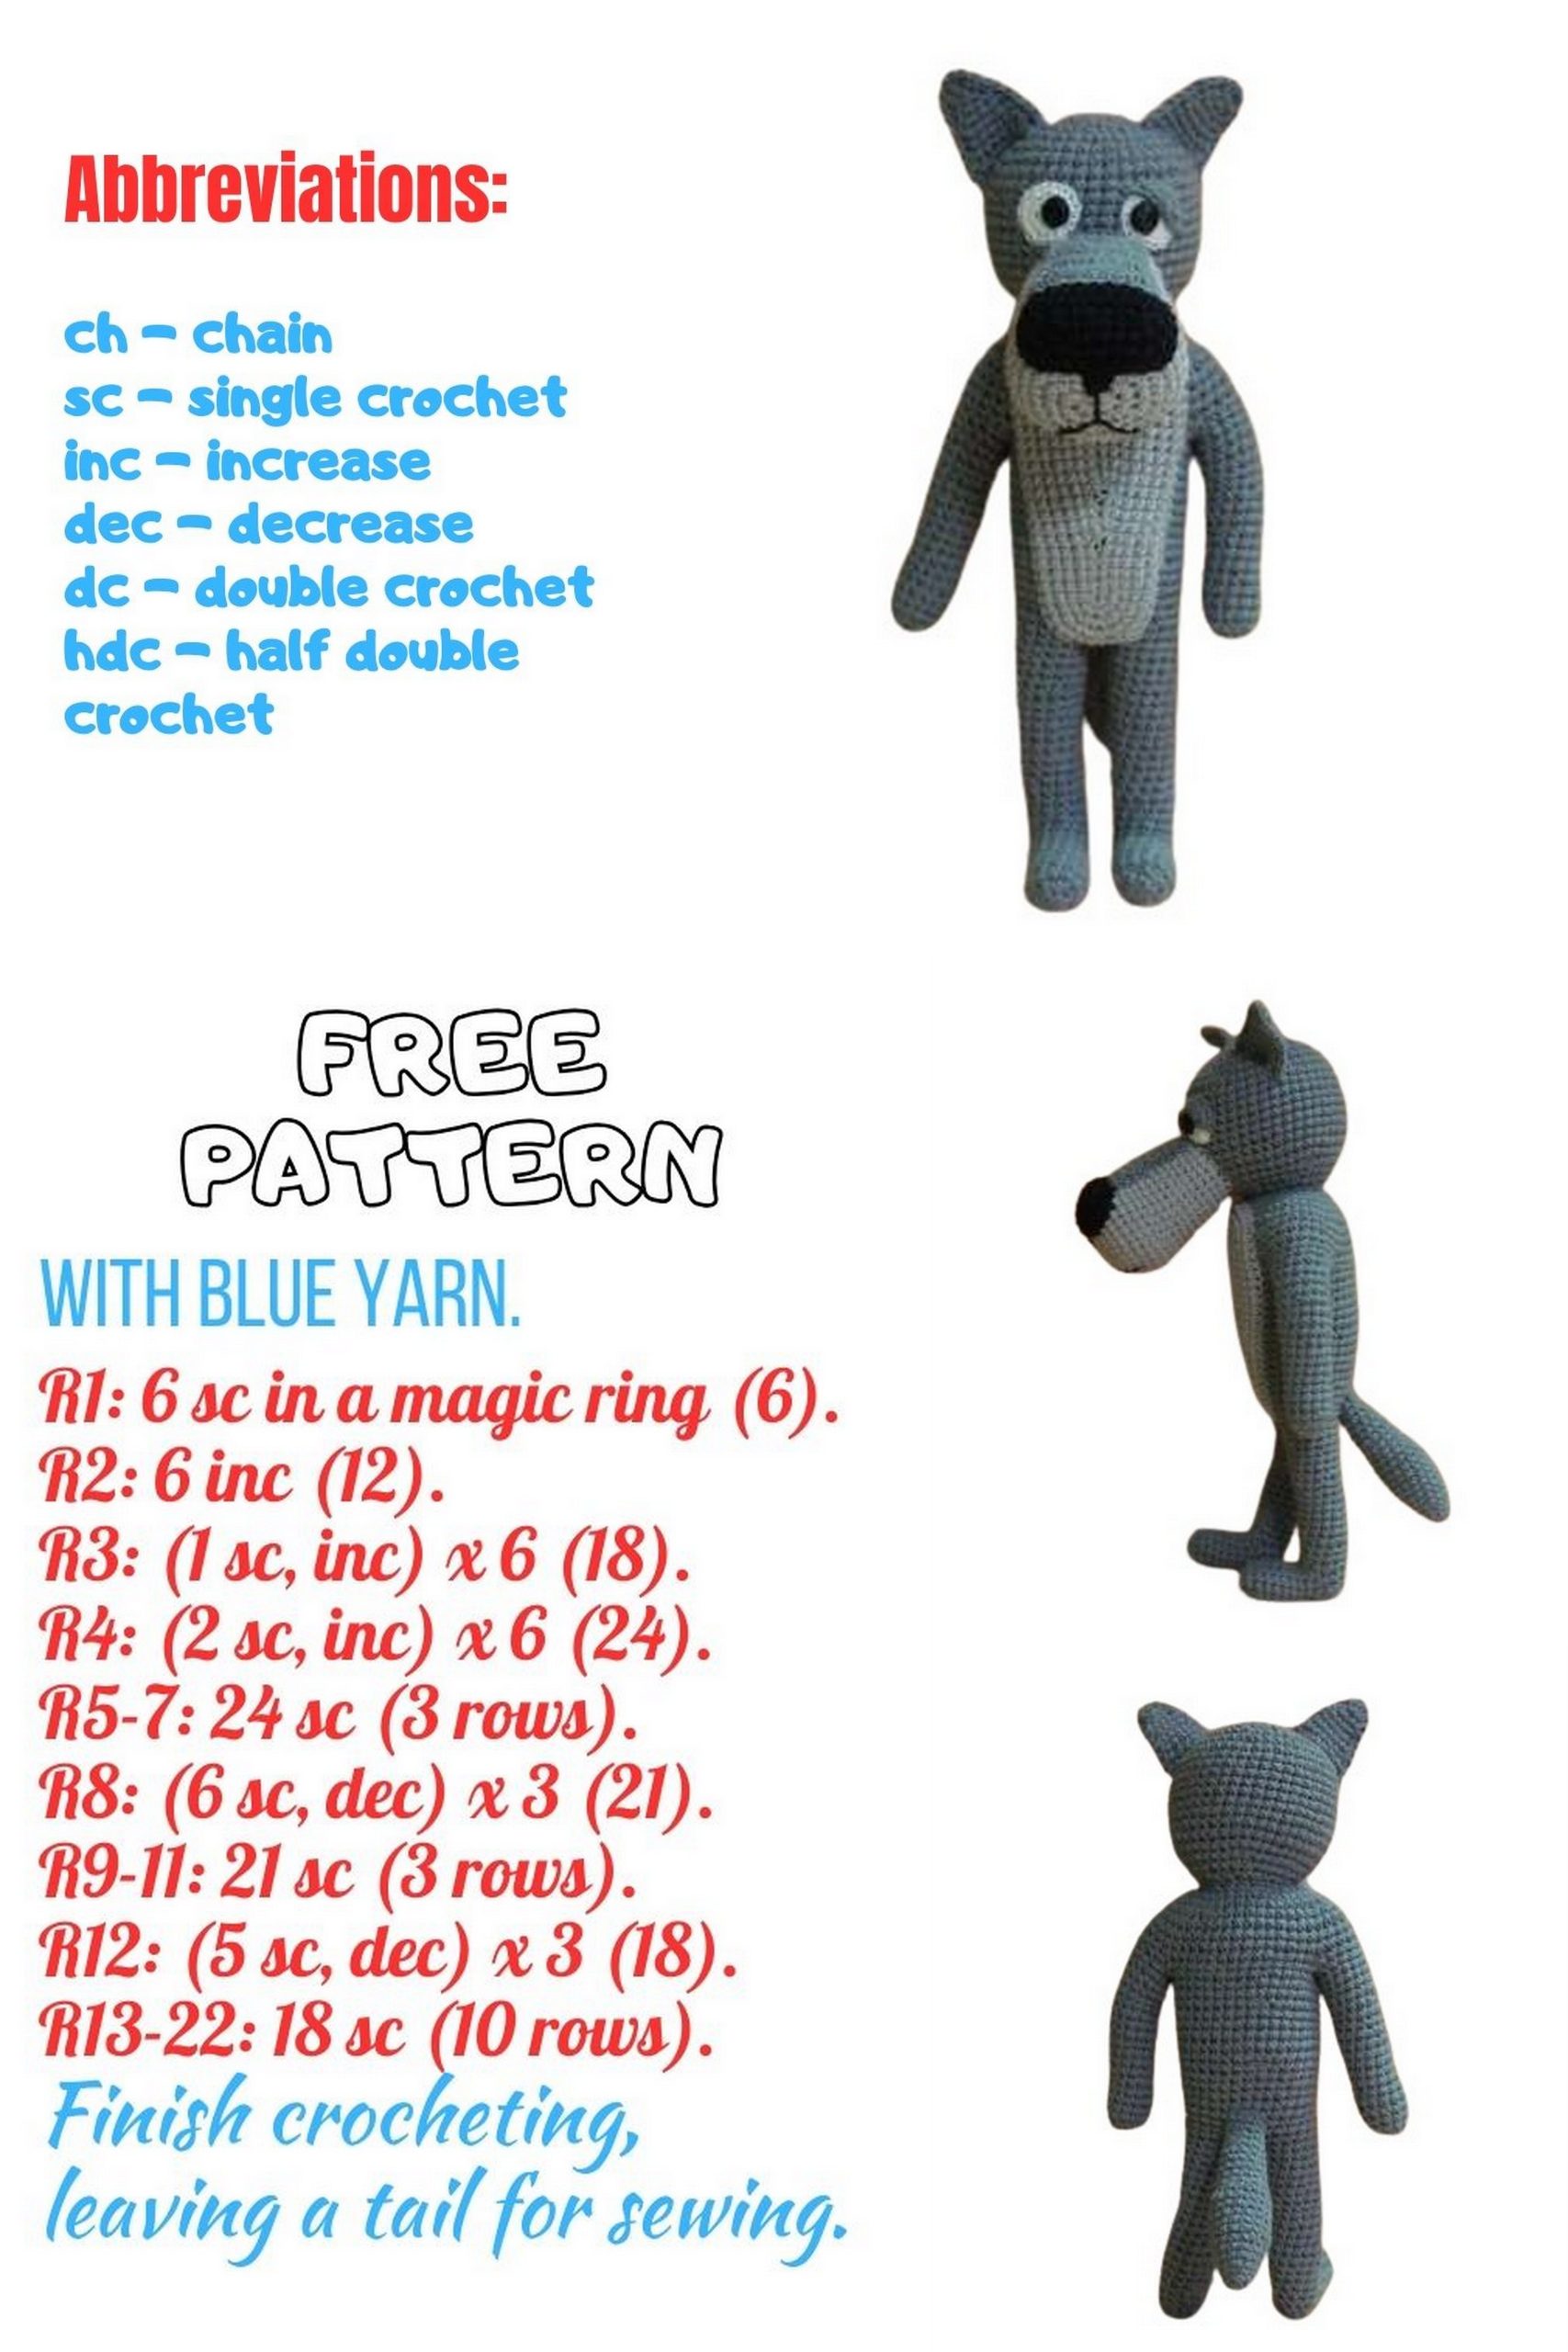
For the wolf: gray, light gray, black.
A small amount of fine white yarn for eyes. VITA cotton COCO is suitable, or any other brand (at least 200 m/50 g).
Sew-on rhinestones, diameter 10 mm, for eyes, 4 pieces.
Wire, diameter 2.5 mm, covered with 2 meters of braid.
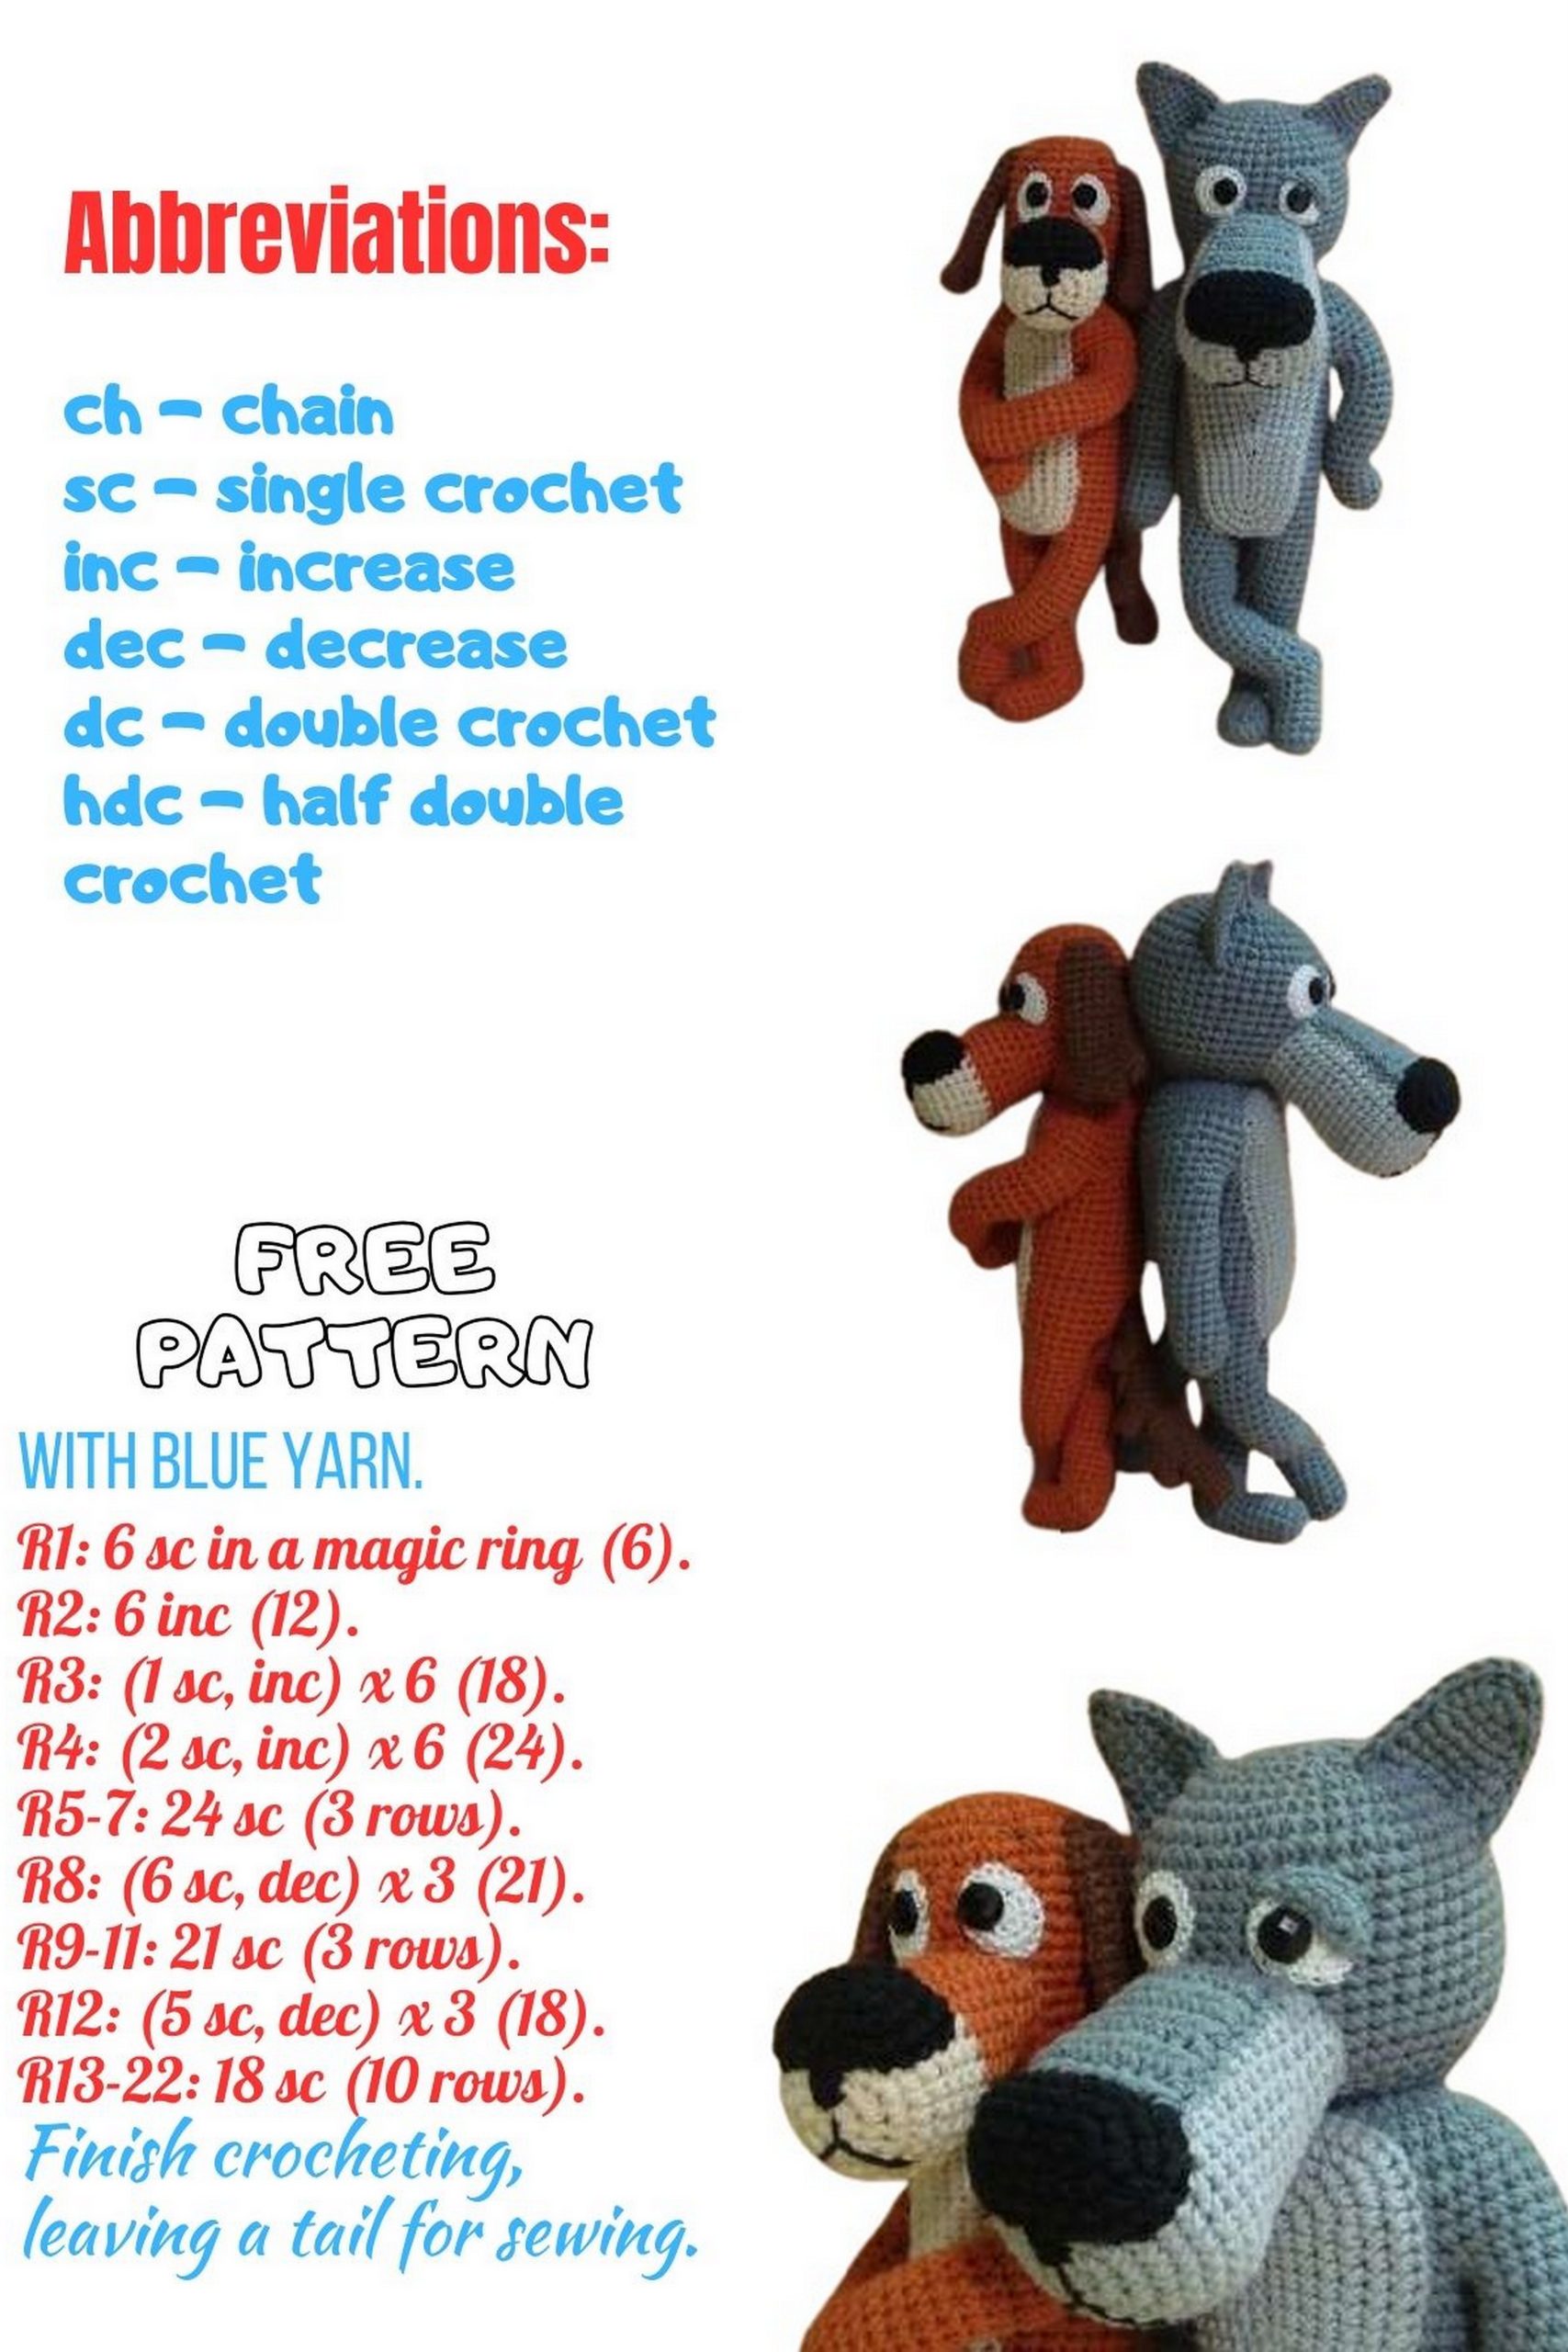
Abbreviations:
ch – chain stitch
sc – single crochet
sl st – slip stitch
inc – increase
dec – decrease
inc 3-in-1 – 3 single crochets worked into the same stitch of the previous row
All parts are worked in rounds unless otherwise specified.
PATTERN
Crocheting the Dog:
Construct the frame for the puppy. Cut 4 pieces of wire: 2 at 30 cm, 2 at 20 cm, wrap one end with adhesive tape. The shorter ones will go into the arms, the longer ones into the legs.
Head-Torso-Legs (brown):
Rd 1: 6 sc in magic ring.
Rd 2: 6 inc = 12 sc.
Rd 3: (inc, 1 sc)*6 = 18 sc.
Rd 4: (2 sc, inc)*6 = 24 sc.
Rd 5: (inc, 3 sc)*6 = 30 sc.
Rd 6-17: 30 sc.
Rd 18: (2 sc, dec, 1 sc)*6 = 24 sc.
Rd 19: (dec, 1 sc)*8 = 16 sc.
Rd 20: 16 sc.
Repeat ( )*6 six times.
Stuff the head.
Rd 21: (inc, 7 sc)*2 = 18 sc.
Rd 22: (inc, 1 sc, 4 inc, 1 sc, inc, 1 sc)*2 = 30 sc.
Rd 23: 30 sc.
Rd 24: 4 sc, inc, 1 sc, inc, 1 sc, inc, 10 sc, inc, 1 sc, inc, 1 sc, inc, 6 sc = 36 sc.
Rd 25-27: 36 sc.
Take the frame and insert it firmly into the head (in a well-stuffed head).
Next, we’ll separate the arms.
Rd 28: 4 sc, 6 ch, straighten one short wire outward, skip 9 sc, starting from the 10th st, crochet 9 sc, 6 ch, straighten the second short wire, skip 9 sc, starting from the 10th st, crochet 5 sc, close the round = 30 sc.
Rd 29: 30 sc.
Work the chains in this round into the back loops, we’ll use them to pick up arms.
Rd 30-46: 30 sc.
Stuff the torso.
Start crocheting the legs. Mark the middle 3 stitches in front and back, count the stitches between the markers: there should be 12 stitches on each side. Finish or unravel the stitches to the nearest marker.
sc
Ch 4, bring one wire end out, and join them with sc to the nearest stitch after the markers; this is now the beginning of the round.
Rd 47: The chain was attached with sc, now crochet another 15 sc = 16 sc.
Work the chains in this round into the back loops.
Rd 48: 13 sc, dec, 1 sc = 15 sc.
Rd 49-54: 15 sc.
Gradually stuff the leg, ensuring the wire stays in the middle.
Rd 55: 13 sc, dec = 14 sc.
Rd 56-61: 14 sc.
Rd 62: dec, 12 sc = 13 sc.
Rd 63-64: 13 sc.
Stuff the leg to shape it, mark 5 front stitches (these will be the toes), first crochet the heel – 8 stitches from behind. At this point, both sides of our torso are the same, so the front will be wherever we want it to be (just not on the side).
Rd 65: sc until you reach the marked front stitches, ch 6, skip 5 fronts (bring the wire out through the hole by the marked stitches), then continue sc until the end of the round = 14 sc.
In the next round, crochet the chains into the back loop; we’ll attach the toes later.
Rd 66: (dec, 5 sc)*2 = 12 sc.
Rd 67: 6 dec = 6 sc.
Make a sl st, cut the thread, thread the end through all loops, pull tight.

Crochet the toe:
Rd 1: sc into the hole: 6 sc into the chains (around the remaining front loops), + 1 sc from the side between the chains and the stitches we left, so there are no holes, then 5 sc into the skipped front loops, + 1 sc from the side = 13 sc.
Front loops
Rd 2: 13 sc.
Bend the wire, cut it so that about 1 cm remains outside, wrap the end with a piece of tape. Stuff the heel.
Rd 3-8: 13 sc.
Stuff the foot.
Rd 9: 6 dec, sl st, finish stuffing, cut the thread, pull tight.
Start crocheting the second leg. If the left leg is done, start from the front. If the right leg is done, start from the back so you can pick up the chains between the legs as you go. Count 3 stitches from the first leg, attach the thread to the 4th. Ch 4 and attach it to the other side, ensuring 3 stitches remain between the legs; this is now the beginning of the round. Don’t forget to thread the wire into the second leg.
Crochet the second leg, repeating rounds 47-67 and 1-9 for the foot.
Stuff the torso more through the hole between the legs. Crochet 14 sc into the hole.
In the next round, crochet 7 dec, finish stuffing, cut the thread, pull tight.
Arms (brown), 2 pieces:
Rd 1: Start with 6 sc into the hole, then 1 sc by picking up a loop from the side to avoid leaving a gap, 9 sc for the shoulder, and 1 sc from the side = 17 sc.
Rd 2: 6 sc, dec, 7 sc, dec = 15 sc.
Rd 3-6: 15 sc.
Gradually stuff the arm, ensuring the wire stays centered.
Rd 7: 2 sc, dec, 11 sc = 14 sc.
1 sc 1 sc
9 sc
6 sc
4 sc
3
3
Rd 8-11: 14 sc.
Rd 12: 3 sc, dec, 9 sc = 13 sc.
Rd 13-18: 13 sc.
Trim the excess wire, wrap the end with tape.
Rd 19-20: 13 sc.
Rd 21: 6 dec, sl st, finish stuffing, cut the thread, pull tight.
If necessary, stuff the torso more through the hole in the shoulder. Similarly, crochet the other arm, repeating rounds 1-21.
Belly (beige):
Begin with a chain of 16 ch (the loop on the hook is not counted). Work in the round. For the first round, work into one side of the chains.
Rd 1: Starting from the 2nd ch from the hook, inc, 13 sc, 5 sc in one loop (this should be the last loop of the chain), continue around: 13 sc, 3 sc in one loop (this should also be the first loop of the chain you started with) = 36 sc.
Rd 2: inc, 14 sc, 5 inc, 14 sc, 2 inc = 44 sc.
Rd 3: inc, 8 sc, inc, 7 sc, inc, 2 sc, inc, 2 sc, inc, 7 sc, inc, 10 sc, 2 inc = 52 sc.
Rd 4: 52 sc.
Finish with a sl st, cut the thread leaving a long end for sewing, fasten off.
Pinch slightly, sew on, stretching slightly, starting from the top.
Muzzle (beige, brown):
Begin crocheting with beige yarn.
Rnd 1: 8 sc in magic ring.
Rnd 2: *(2 sc in next st, 1 sc) repeat from * around = 16 sc.
Rnd 3: 2 sc, 2 sc in next st, 1 inc, 1 inc, 3 sc, 2 sc in next st, 1 inc, 1 inc, 3 sc = 26 sc.
Rnd 4-7: 26 sc.
Rnd 8: 9 sc, dec, 3 sc, dec, 10 sc = 24 sc. At the last stitch of this round, switch to brown yarn.
Rnd 9-10: 24 sc.
Rnd 11: *(dec, 10 sc) repeat from * twice = 22 sc.
Rnd 12-13: 22 sc.
Rnd 14: *(5 sc, dec, 4 sc) repeat from * twice = 20 sc.
Rnd 15-16: 20 sc.
Slip stitch to finish, cut the yarn, leaving a tail for sewing, fasten off.
Switching color during sewing at the top.
Stuff the muzzle. Sew it on about 12 rounds from the crown. The muzzle should be oval, so sew it on as such. The dog’s gaze should be slightly sideways. Sew it leaving a small opening, stuff more tightly before fully sewing it shut.
Nose (black):
Start with a chain of 4 ch.
Rnd 1: Starting from the 2nd ch from the hook, sc, 1 sc, 5 sc in one loop (this should be the last loop of the chain), continue around: 1 sc, 3 sc in one loop (this should also be the first loop of the chain you started with) = 12 sc.
Rnd 2: Inc, 3 sc, 3 inc, 3 sc, 2 inc = 18 sc.
Rnd 3: 1 sc, inc, 4 sc, inc, 1 sc, inc, 1 sc, inc, 4 sc, inc, 1 sc, inc = 24 sc.
Rnd 4: 16 sc, [sl st in next st, 3 ch, work 2 sc into the second ch from the hook, sl st into the same st where you started] repeat, 7 sc.
Slip stitch to finish, cut the yarn, leaving a long tail for sewing, fasten off.
Cover the top part of the nose with a row transition. The strip should be one row above the starting ring. Insert the filler, position it as needed for a prominent oval (or even rectangular) shape, then sew it on. Before completely sewing, stuff a bit more. Do not cut off the remaining thread. Lead the thread down to where the nose strip ends. Make a stitch down 2 rows, then bring the thread out to the side a couple of rows below.
Make a large cross-stitch across, skipping the thread under the first stitch. Secure the thread on the black nose.
Eyes (white), 2 pieces:
Take a thin yarn, use a 1.5 mm hook.
Rnd 1: 6 sc in magic ring.
Rnd 2: 6 inc = 12 sc.
Rnd 3: 3 inc, 3 sc, 3 inc, sl st – incomplete round.
Cut the yarn, leaving a tail for sewing, fasten off.
Sew the eyes just above the muzzle, approximately 2 stitches apart. Sew them in an oval shape, slightly widening downwards.
Sew rhinestones for the pupils slightly inward and above the center of the eye. Sew them with a doubled sewing thread with two stitches each, that’s enough. With each stitch, pull the thread tightly (but carefully) to make the rhinestone sit snugly.
Ears (dark brown), 2 pieces:
Rnd 1: 6 sc in magic ring.
Rnd 2: *(inc, 2 sc) repeat from * twice = 8 sc.
Slip stitch to finish, cut the yarn, fasten off.
Crochet two more identical pieces, repeating rounds 1-2. Leave a tail for sewing on one ear, cut the yarn on the other without finishing it off. In the 3rd round, join all three pieces together, skipping 2 stitches between each. Bring the sewing end outwards.
Rnd 3: 2 sc from the 1st piece + 6 sc from the 2nd piece + 2 sc from the 1st piece + 6 sc from the 3rd piece = 16 sc.
Rnd 4: 16 sc.
Rnd 5: *(dec, 6 sc) repeat from * twice = 14 sc, the decreases should be at the junction of the ear pieces.
Rnd 6-10: 14 sc.
Rnd 11: *(5 sc, dec) repeat from * twice = 12 sc.
Rnd 12-15: 12 sc.
Rnd 16: *(dec, 4 sc) repeat from * twice = 10 sc.
Rnd 17: *(1 sc, dec, 2 sc) repeat from * twice = 8 sc.
Do not stuff the ears. Slip stitch to finish, cut the yarn, leaving a tail for sewing, fasten off.
Sew the ears on the sides, 5 rounds from the crown. When sewing, catch 3-4 rounds below to prevent them from sticking out and make them hang. Use the same thread to embroider small eyebrows with regular stitches.
Tail (dark brown):
Part 1:
Rnd 1: 6 sc in magic ring.
Rnd 2: 6 sc.
Slip stitch to finish, cut the yarn, fasten off.
Part 2:
Rnd 1: 6 sc in magic ring.
Rnd 2: *(inc, 2 sc) repeat from * twice = 8 sc.
Rnd 3: 8 sc.
Slip stitch to finish, cut the yarn, fasten off.
Part 3:
Rnd 1: 6 sc in magic ring.
Rnd 2: *(inc, 2 sc) repeat from * twice = 8 sc.
Rnd 3: *(3 sc, inc) repeat from * twice = 10 sc.
Rnd 4: 10 sc.
Slip stitch to finish, cut the yarn, fasten off.
Part 4:
Rnd 1: 6 sc in magic ring.
Rnd 2: *(inc, 2 sc) repeat from * twice = 8 sc.
Rnd 3: *(3 sc, inc) repeat from * twice = 10 sc.
Rnd 4-7: 10 sc.
Continue crocheting part 4, gradually joining the others.
Rnd 8: sc in 1 st, then attach part 3 in front (10 loops), crochet 2 sc through both parts to join them, then continue with 15 sc, attach part 2 from the front side, crochet 2 sc through both parts, continue with 15 sc, attach part 1 from the front side, crochet 2 sc through both parts, and finish the round with 9 sc = 42 sc.
Rnd 9: *(10 sc,dec, 6 sc) * 5 = 40 sc
10-11 rnds: 40 sc
12 rnd: (dec, 7 sc) * 5 = 35 sc
13-14 rnds: 35 sc
15 rnd: (dec, 6 sc) * 5 = 30 sc
16 rnd: 30 sc
17 rnd: (dec, 5 sc) * 5 = 25 sc
18 rnd: 25 sc
19 rnd: (dec, 4 sc) * 5 = 20 sc
20 rnd: (dec, 3 sc) * 5 = 15 sc
21 rnd: (dec, 2 sc) * 5 = 10 sc
22-23 rnds: 10 sc
24 rnd: (dec, 1 sc) * 5 = 5 sc
25 rnd: 5 sc
Slip stitch to finish, cut the yarn, leaving a tail for sewing, fasten off.
Sew the tail to the lower part of the back, diagonally downwards, with parts facing downwards.
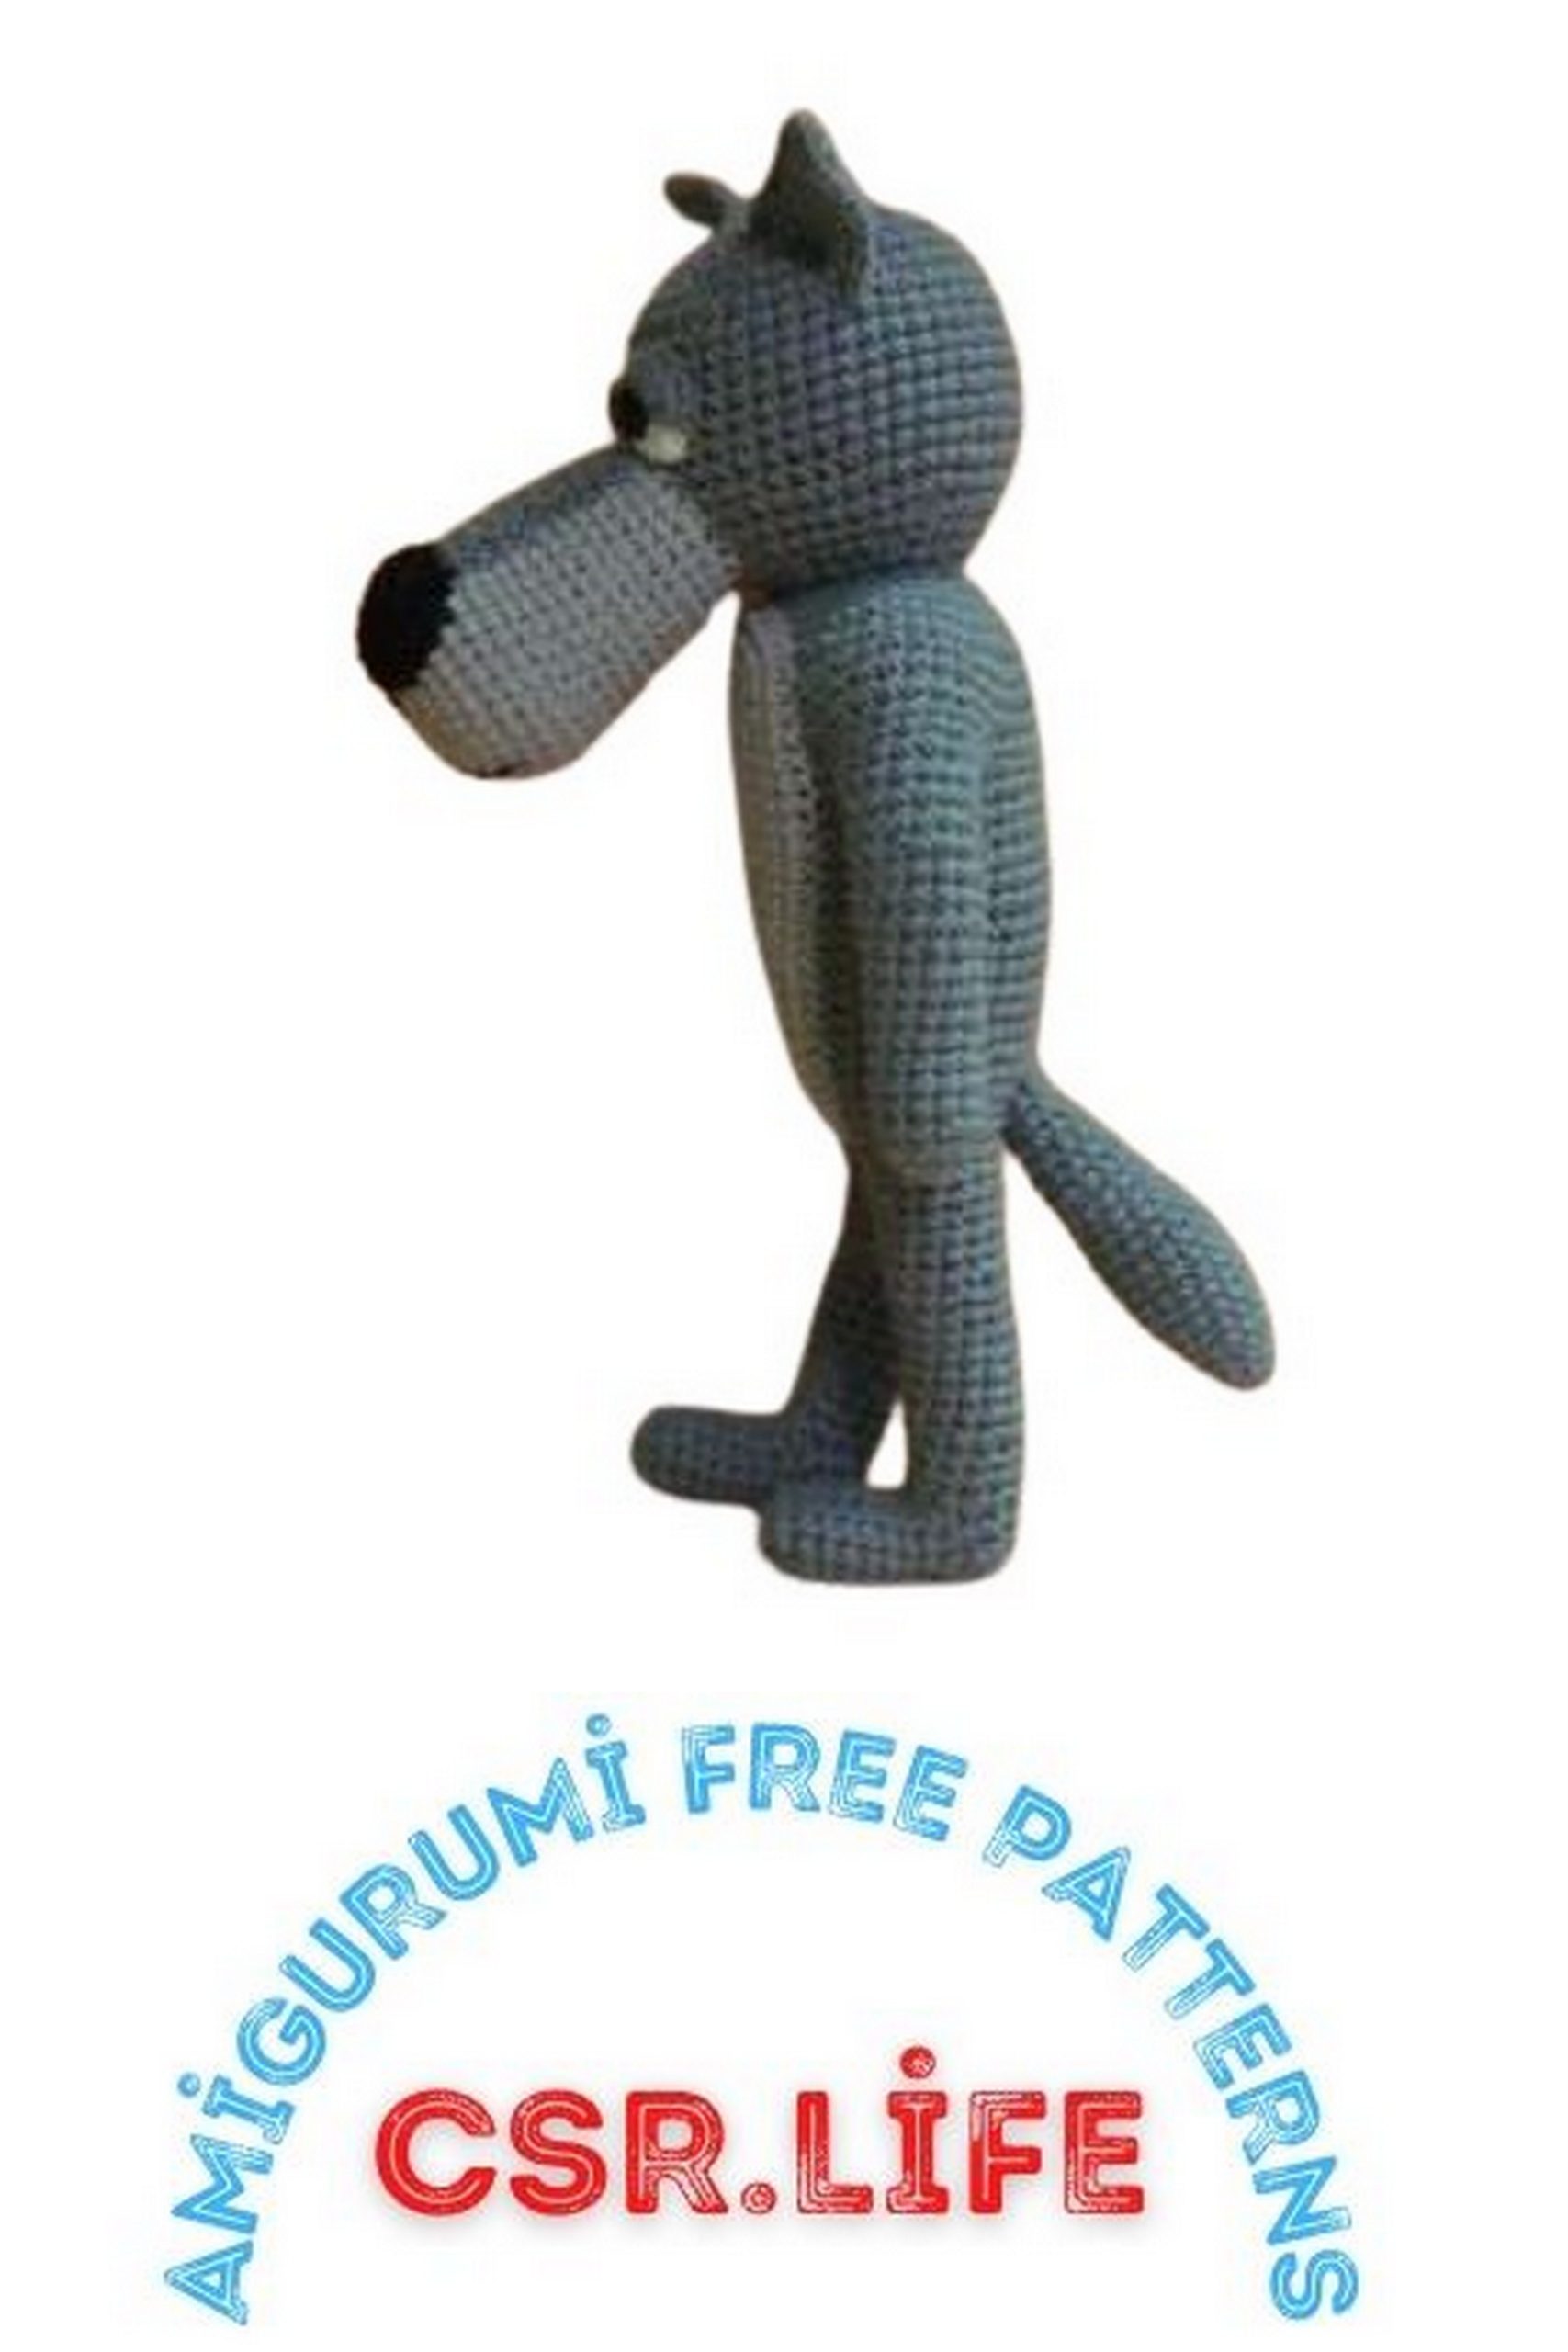
CROCHETING THE WOLF
Make the same framework as for the dog.
Head-body-legs (gray):
Rnd 1: 6 sc in magic ring.
Rnd 2: 6 inc = 12 sc.
Rnd 3: *(inc, 1 sc) * 6 = 18 sc.
Rnd 4: *(2 sc, inc) * 6 = 24 sc.
Rnd 5: *(inc, 3 sc) * 6 = 30 sc.
Rnd 6: *(3 sc, inc, 1 sc) * 6 = 36 sc.
Rnd 7: *(inc, 5 sc) * 6 = 42 sc.
Rnd 8: *(4 sc, inc, 9 sc) * 3 = 45 sc.
Rnd 9-19: 45 sc.
Rnd 20: *(dec, 7 sc) * 5 = 40 sc.
Rnd 21: *(2 sc, dec, 1 sc) * 8 = 32 sc.
Rnd 22: *(dec, 2 sc) * 8 = 24 sc.
Rnd 23: *(1 sc, dec) * 8 = 16 sc.
Stuff the head.
Rnd 24: *(5 inc, 1 sc, inc, 1 sc) * 2 = 28 sc.
Rnd 25: *(1 sc, inc, 1 sc, 4 inc, 1 sc, inc, 5 sc) * 2 = 40 sc.
Rnd 26: *(inc, 9 sc) * 4 = 44 sc.
Rnd 27: *(6 sc, inc, 4 sc) * 4 = 48 sc.
Rnd 28-31: 48 sc.
Take the framework, insert it deeper into the head with the attached side. We will separate the arms.
Rnd 32: 6 sc, 6 ch, straighten one short wire outwards, skip 9 sc, starting from the 10th, crochet 15 sc, 6 ch, straighten the second short wire, skip 9 sc, starting from the 10th crochet 9 sc, the round is closed = 42 sc.
Rnd 33: 42 sc.
In this round, crochet the chains around the back loops; we will pick up arms in the front loops.
Rnd 34: *(10 sc, dec) * 4 = 40 sc.
Rnd 35-36: 40 sc.
Rnd 37: *(dec, 18 sc) * 2 = 38 sc.
Rnd 39-40: 38 sc.
Rnd 41: *(9 sc, dec) * 2 = 36 sc.
Rnd 42-43: 36 sc.
Rnd 44: *(dec, 16 sc) * 2 = 34 sc.
Rnd 45: 34 sc.
Rnd 46: *(8 sc, dec) * 2 = 32 sc.
Rnd 47: 32 sc.
Rnd 48: *(dec, 14 sc) * 2 = 30 sc.
Rnd 49-51: 30 sc.
Stuff the torso.
Starting to knit the legs. We knit the legs just like a dog’s, the only difference will be in the length of the foot. Mark 3 middle loops at the front and back, count the loops between the marks: there should be 12 loops on each side. Finish (or undo) the stitches to the nearest mark. Cast on 4 CH, bring one wire out and attach the chain with the other side SC to the first stitch after the marks, this is now the beginning of the row.
Row 52: The first stitch is where we attached the chain CH, knit another 15 SC = 16 SC. In this row, work the CH stitches in the back loops.
Row 53: 13 SC, DEC, 1 SC = 15 SC.
Rows 54-59: 15 SC.
Gradually stuff the leg, making sure the wire stays in the middle.
Row 60: 13 SC, DEC = 14 SC.
Rows 61-65: 14 SC.
Row 66: DEC, 12 SC = 13 SC.
Rows 67-68: 13 SC.
Stuff the leg to give it shape, mark 5 front stitches (this will be the toe), start by knitting the heel – 8 stitches at the back.
Row 69: Knit SC until the marked front stitches, cast on 6 CH, skip 5 front stitches (bring the wire out through the hole at the marked stitches), and finish the row with SC = 14 SC. In the next row, work the CH stitches in the back loops, we’ll attach the toe to the front loops later.
Row 70: (DEC, 5 SC)*2 = 12 SC.
Row 71: 6 DEC = 6 SC.
Make a slip stitch, cut the thread, pass the end through all the loops, pull tight to close the hole.
Knitting the toe:
Row 1: Cast on: 6 SC in the CH loops (for the remaining free front loop) + 1 SC to pick up from the side between the CH and the left SC loops to avoid gaps + 5 SC in the skipped front loops + 1 SC to pick up from the side = 13 SC.
Row 2: 13 SC.
Bend the wire, cut leaving about 1 cm outside, wrap the end with a piece of adhesive tape. Stuff the heel.
Rows 3-9: 13 SC.
Stuff the foot.
Row 10: 6 DEC, slip stitch, finish stuffing, cut the thread, and pull to close the hole.
Knit the second leg. Count 3 loops from the first leg, attach the thread to the 4th loop. Cast on 4 CH and attach them to the other side of the SC, leaving 3 loops between the legs, this is now the beginning of the row. Don’t forget to pass the wire into the second leg. Repeat rows 52-71 and 1-10 for the foot. Stuff the torso through the hole between the legs. Cast on 14 SC through the hole. In the next row, work 7 DEC, finish stuffing, cut the thread, and pull to close the hole.
Arms (gray), 2 pieces:
Row 1: Cast on: 6 SC in CH, 1 SC from the side to avoid gaps, 9 SC along the shoulder, and 1 SC from the side = 17 SC.
Row 2: 6 SC, DEC, 7 SC, DEC = 15 SC.
Rows 3-6: 15 SC.
Stuff the shoulder well. Stuff the arm gradually, making sure the wire stays in the middle.
Row 7: 2 SC, DEC, 11 SC = 14 SC.
Rows 8-11: 14 SC.
Row 12: 3 SC, DEC, 9 SC = 13 SC.
Rows 13-18: 13 SC.
Cut off the excess wire, wrap the tip with adhesive tape.
Rows 19-20: 13 SC.
Row 21: 6 DEC, slip stitch, cut the thread, pull to close the hole.
Knit the other arm in the same way, repeating rows 1-21.
Belly (light gray):
The belly pattern indicates rows 1-6, row 7 is only described below.
Cast on a chain of 16 CH (the loop on the hook does not count). Knit in the round. Work the CH stitches in the first row only in one loop.
Row 1: Starting from the 2nd CH from the hook (the loop on the hook does not count), SC, 5 SC, make 1 CH, turn the work, skip it under the chain, continue to knit back to the beginning of the row: 5 SC, SC DEC 3 times (this should be the last loop of the chain you started the row with).
Row 2: SC, 10 SC, make 1 CH, turn the work, skip it under the chain, continue to knit back to the beginning of the row: 10 SC, 2 SC.
Row 3: SC DEC, 14 SC, 5 SC in one loop (this should be the last loop of the chain), continue around: 14 SC, 2 SC, 2 SC = 43 SC.
Row 4: 1 SC, 2 SC, 16 SC, 3 SC, 16 SC, 2 SC, 3 SC = 50 SC.
Row 5: 2 SC, SC DEC, 19 SC, 3 SC, 20 SC, SC DEC, 4 SC = 55 SC.
Row 6: 2 SC, 2 SC, 19 SC, SC DEC, 1 SC, 3 SC, 1 SC, SC DEC, 18 SC, 2 SC, 5 SC =55 SC.
Row 7: 55 SC.
Make a slip stitch, cut the thread, leaving a long end for sewing, fasten off.
Attach, slightly stretching, with the wider edge upwards, and sew in place.
Muzzle (light gray):
Row 1: 8 SC in a magic ring.
Row 2: (2 INC, 2 SC)*2 = 16 SC.
Row 3: 2 SC, INC, SC, INC, INC, 5 SC, INC, INC, INC, 3 SC = 26 SC.
Row 4: 3 SC, INC, 4 SC, INC, 7 SC, INC, 4 SC, INC, 4 SC = 34 SC.
Row 5: 7 SC, INC, 16 SC, INC, 9 SC = 36 SC.
Rows 6-9: 36 SC.
Row 10: 11 SC, DEC, (2 SC, DEC)*3, 11 SC = 32 SC.
Rows 11-12: 32 SC.
Row 13: (DEC, 14 SC)*2 = 30 SC.
Rows 14-15: 30 SC.
Row 16: (7 SC, DEC, 6 SC)*2 = 28 SC.
Rows 17-18: 28 SC.
Row 19: (DEC, 12 SC)*2 = 26 SC.
Row 20: 26 SC.
Make a slip stitch, cut the thread, leaving an end for sewing, fasten off.
Stuff the muzzle. The place where you finished knitting is the top part. The wolf should be facing forward. Sew it on about 14 rows from the top. Leave a small opening when sewing, stuff it tighter, then finish sewing.
Nose stripe (gray):
We will knit rows back and forth. Start each row in the second loop from the hook (the loop on the hook doesn’t count). For a neater appearance, it’s better to knit alternating rows with front and back stitches. Back stitches are worked the same way as regular stitches, except the hook is inserted from behind the fabric, and the yarn is picked up from the front.
Find and mark 6 middle stitches. We’ll pick up the gray stripe along these stitches.
Row 1: We’ll pick up SC directly on the head close to the muzzle. Leave about 2 meters at the starting end of the thread. Attach the thread at the mark, make CH – this is the first stitch of the row, pick up 5 SC, make CH, turn the work.
Row 2: 6 SC in back stitches, CH, turn.
Row 3: 3 SC, INC, 2 SC = 7 SC, CH, turn.
Row 4: 7 SC in back stitches, CH, turn.
Row 5: 7 SC, CH, turn.
Row 6: 7 SC in back stitches, CH, turn.
Row 7: 3 SC, INC, 3 SC = 8 SC, CH, turn.
Row 8: 8 SC in back stitches, CH, turn.
Row 9: 8 SC, CH, turn.
Row 10: 8 SC in back stitches.
Cut the thread, fasten off, hide the end when sewing.
With the initial leftover end, SC around the detail. Make stitches between rows, work 3 INC stitches in corners.
Attach the stripe using the same thread.
Nose (black):
We’ll knit the nose like the dog’s, but wider due to a longer initial chain of CH. Start with a chain of 6 CH, the loop on the hook doesn’t count.
Row 1: Starting from the 2nd loop from the hook, SC, 3 SC, 5 SC in one loop (this should be the edge loop from the chain), continue around: 3 SC, 3 SC in one loop (this should also be the edge loop from the chain you started the row with) = 16 SC.
Row 2: INC, 5 SC, 3 INC, 5 SC, 2 INC = 22 SC.
Row 3: 1 SC, INC, 6 SC, INC, 1 SC, INC, 1 SC, INC, 6 SC, INC, 1 SC, INC = 28 SC.
Row 4: 19 SC, [SC, 3 CH, return along the chains, SC in the same stitch where you started], 8 SC.
Make a slip stitch, cut the thread, leaving a long end for sewing, fasten off.
Cover the top part of the nose with the last row of the gray stripe. The stripe at the bottom of the nose should be one row higher than the starting ring. Add stuffing, attach and sew it. Before fully sewing, stuff a bit more.
Don’t cut off the remaining thread, pull it down under the nose. Embroider the mouth like a dog: stitch down 3 rows, bring the thread out from the side below, stitch across, skipping the thread under the first stitch. Secure the thread on the black nose.
Eyes (white), 2 pieces:
Take a thin thread, crochet hook size 1.5.
Row 1: 6 SC in a magic ring.
Row 2: 6 INC = 12 SC.
Row 3: (INC, 1 SC)*6 = 18 SC.
Row 4: 4 SC, slip stitch – incomplete row (just because the eye seemed a bit small).
Cut the thread, leaving an end for sewing, fasten off.
Sew the eyes just above the muzzle, with about 2.5 stitches between them.
Sew rhinestone pupils slightly inward, roughly at the middle of each eye.
Eyelid (gray):
Row 1: 5 SC in a magic ring, don’t close the ring, make CH, turn the work.
Row 2: INC, 3 SC, INC = 7 SC.
Cut the thread, leaving an end for sewing, fasten off.
Guide the initial thread end to the semicircular edge (you’ll only sew this part), place the eyelid against the eye, and tuck the initial thread end into the head.
Sew the eyelid close to the eye.
Ears (gray), 2 pieces:
Row 1: 6 SC in a magic ring.
Row 2: (2 SC, INC)*2 = 8 SC.
Row 3: INC, 7 SC = 9 SC.
Row 4: 5 SC, INC, 3 SC = 10 SC.
Row 5: (3 SC, INC, 1 SC)*2 = 12 SC.
Row 6: INC, 11 SC = 13 SC.
Row 7: 7 SC, INC, 5 SC = 14 SC.
Row 8: (4 SC, INC, 2 SC)*2 = 16 SC.
Make a slip stitch, fold the ear in half, and SC along the edges, directly through the fabric (piercing it through), inserting the hook into the nearest holes to the edge. It’s important to ensure that the ear is folded evenly and doesn’t slip during edging. Finish with an SC and a slip stitch in the same spot, cut the thread, leaving an end for sewing, fasten off.
Sew the ears on the sides, about 5 rows from the top. Sew them, slightly curving, separately for each side. You may need to adjust, especially the second ear, almost after every stitch.
Tail (gray):
Row 1: 6 SC in a magic ring.
Row 2: (2 SC, INC)*2 = 8 SC.
Row 3: (INC, 3 SC)*2 = 10 SC.
Row 4: (3 SC, INC, 1 SC)*2 = 12 SC.
Row 5: (INC, 5 SC)*2 = 14 SC.
Row 6: 14 SC.
Row 7: (4 SC, INC, 2 SC)*2 = 16 SC.
Rows 8-12: 16 SC.
Row 13: (DEC, 5 SC)*2 = 14 SC.
Rows 14-15: 14 SC.
Row 16: (3 SC, DEC, 2 SC)*2 = 12 SC.
Rows 17-18: 12 SC.
Row 19: (DEC, 4 SC)*2 = 10 SC.
Rows 20-21: 10 SC.
Make a slip stitch, cut the thread, leaving an end for sewing, fasten off. Slightly stuff the tail, sew it on the lower part of the back.
Pose the toys as desired. The wolf is slightly bigger; you can slightly hunch him over. Bend the arms and legs gradually, loosening the stuffing inside, to avoid unsightly wrinkles.
THE DOG AND THE WOLF ARE READY!