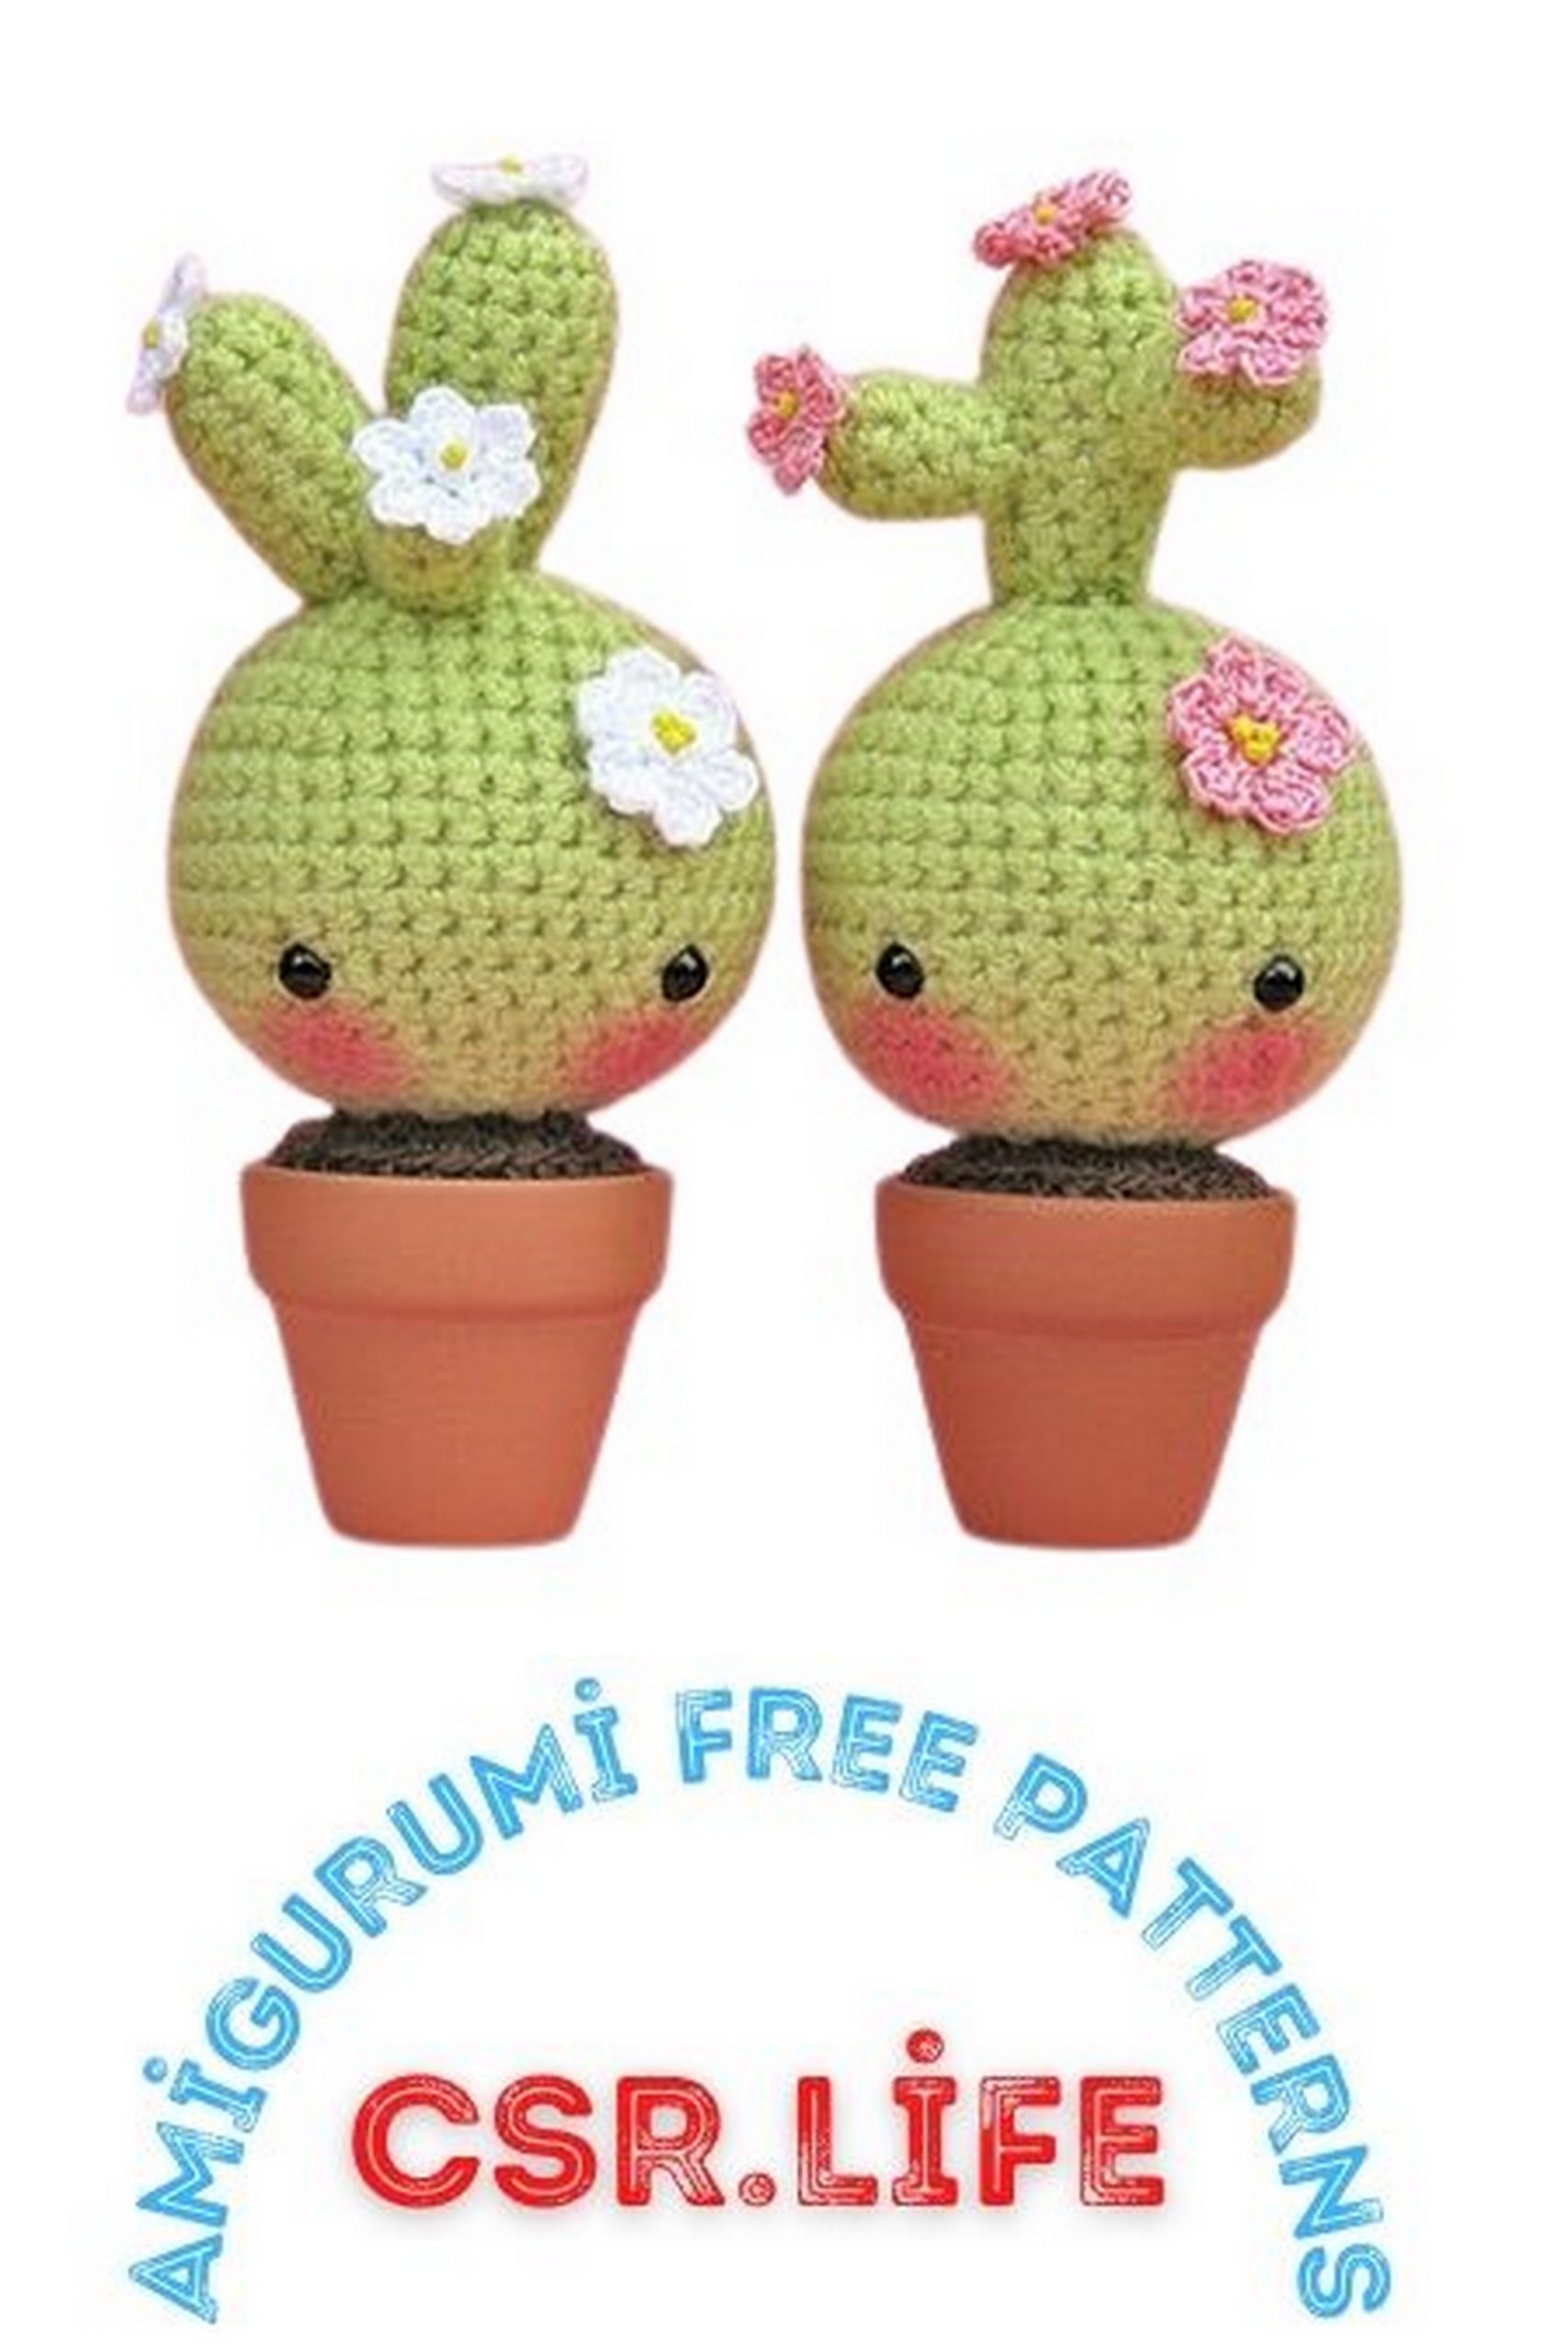
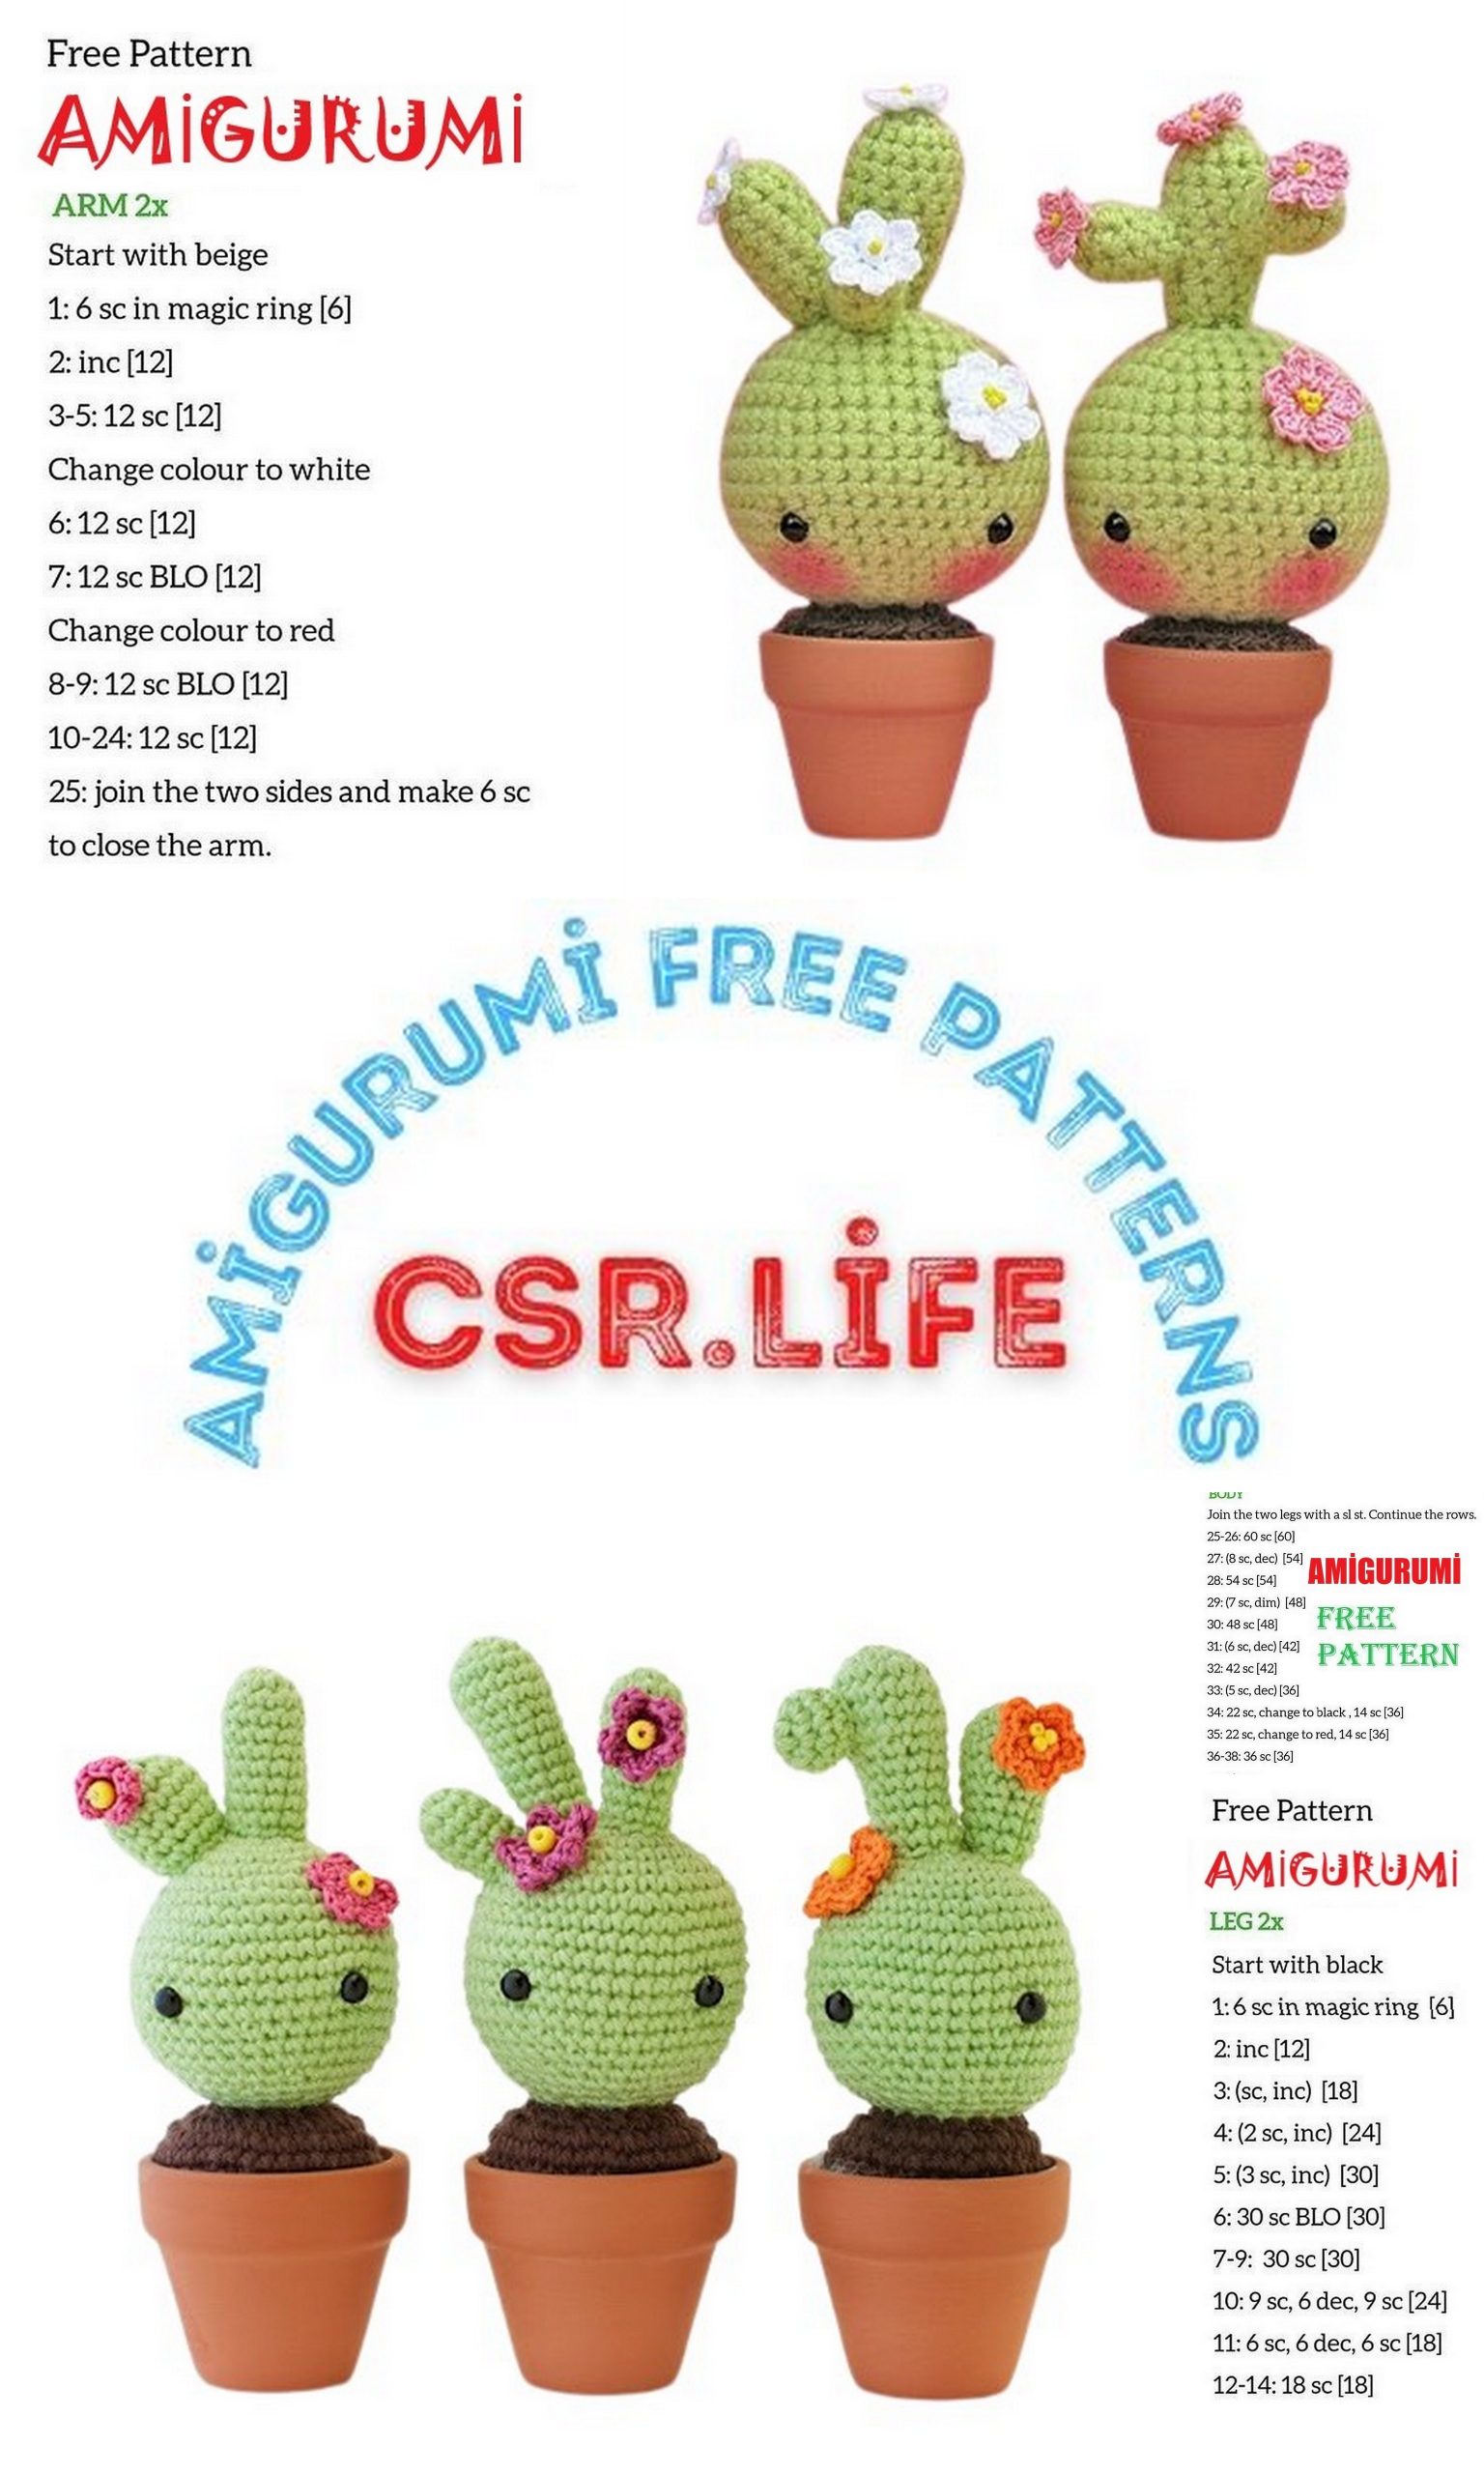
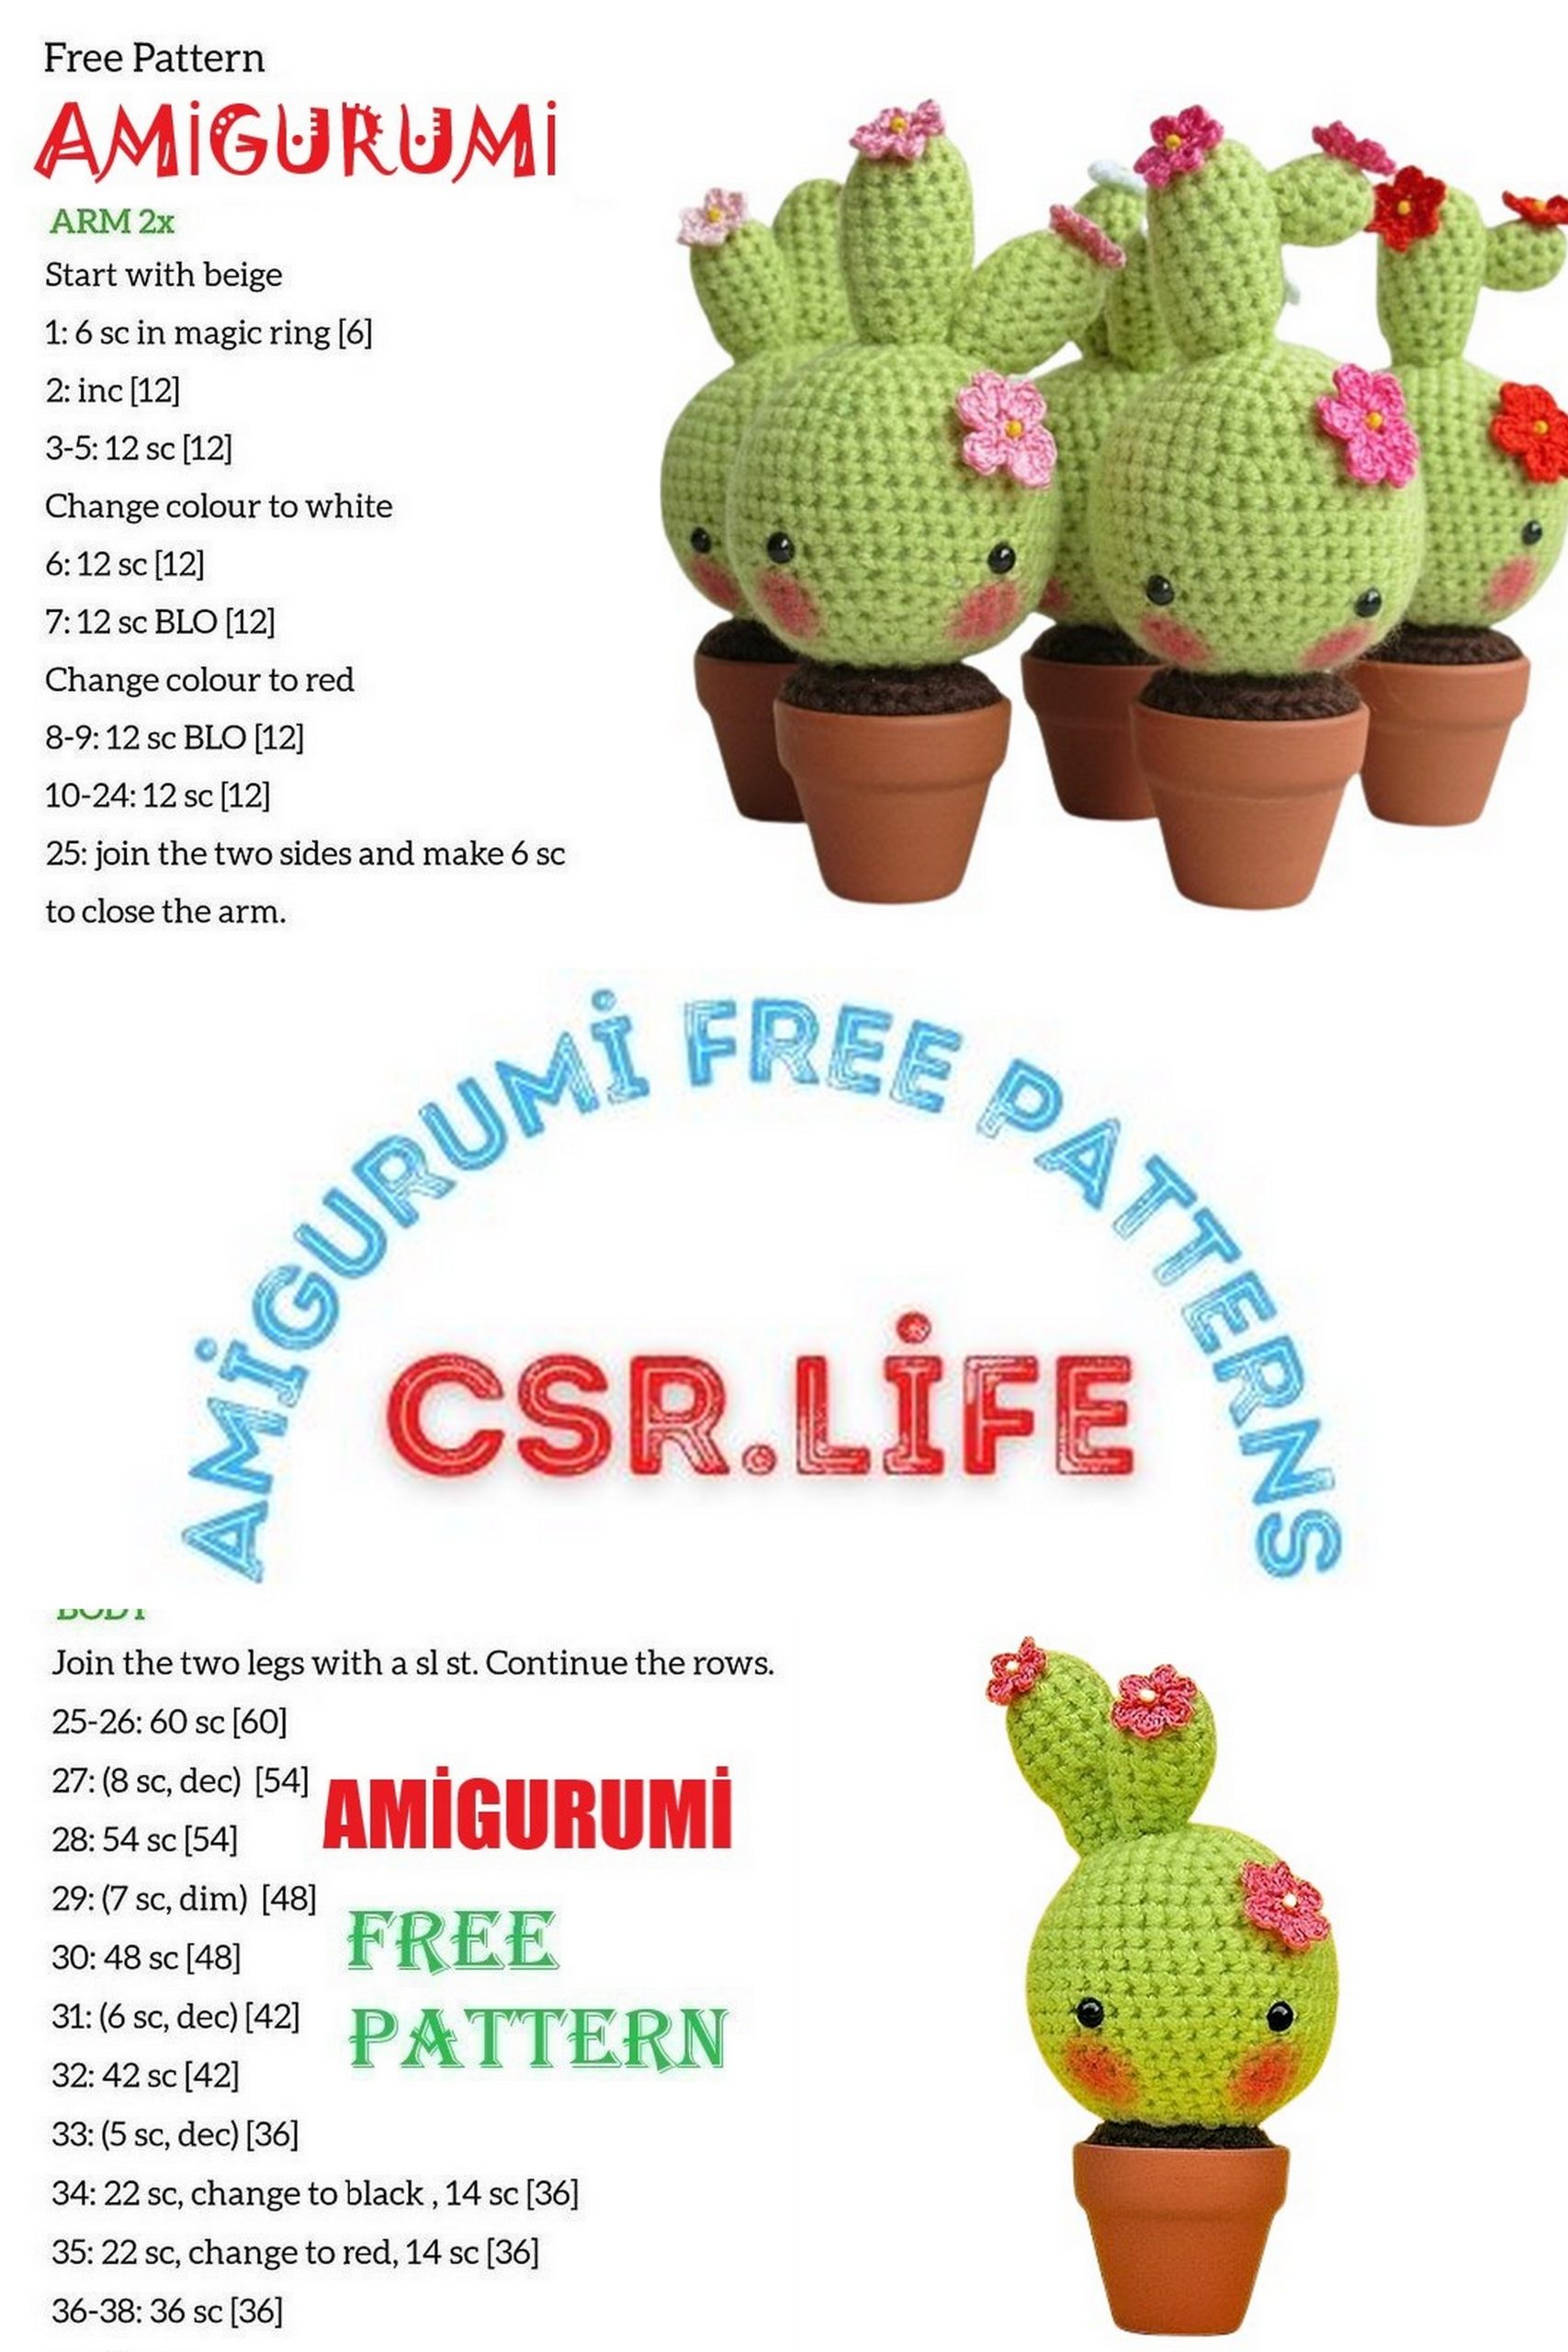
DIY Cactus in a Pot Amigurumi: Free Crochet Pattern
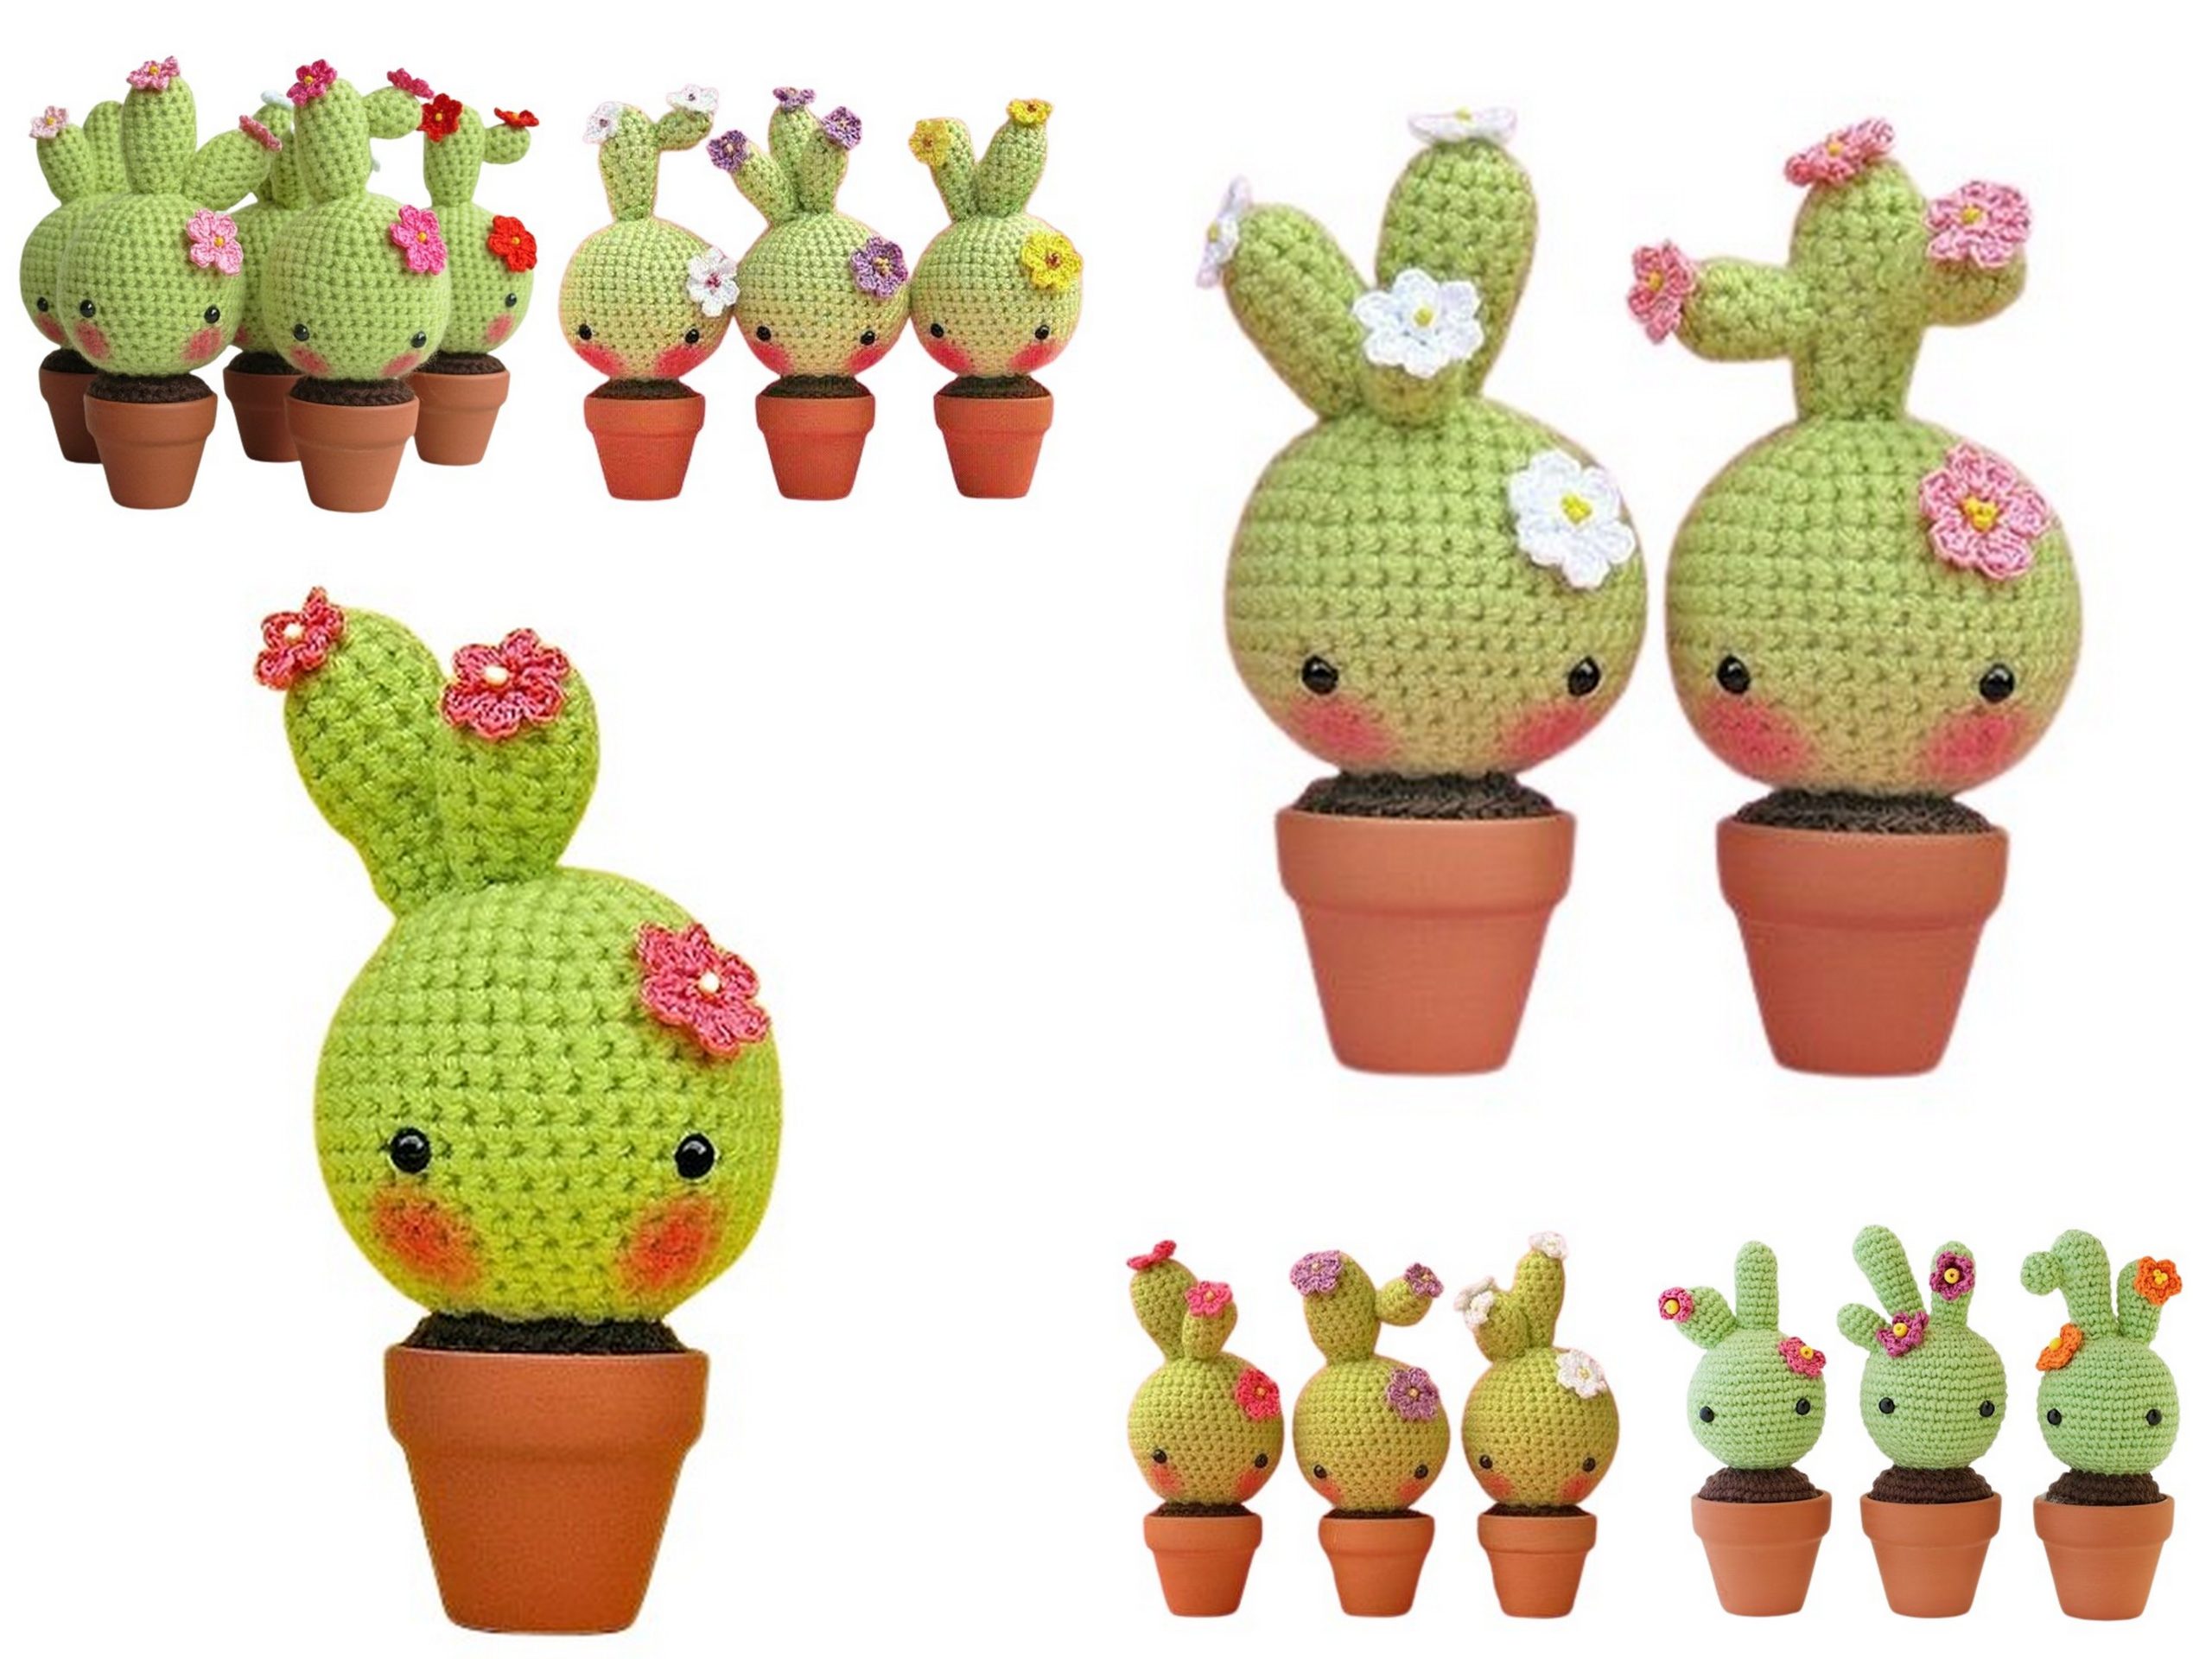
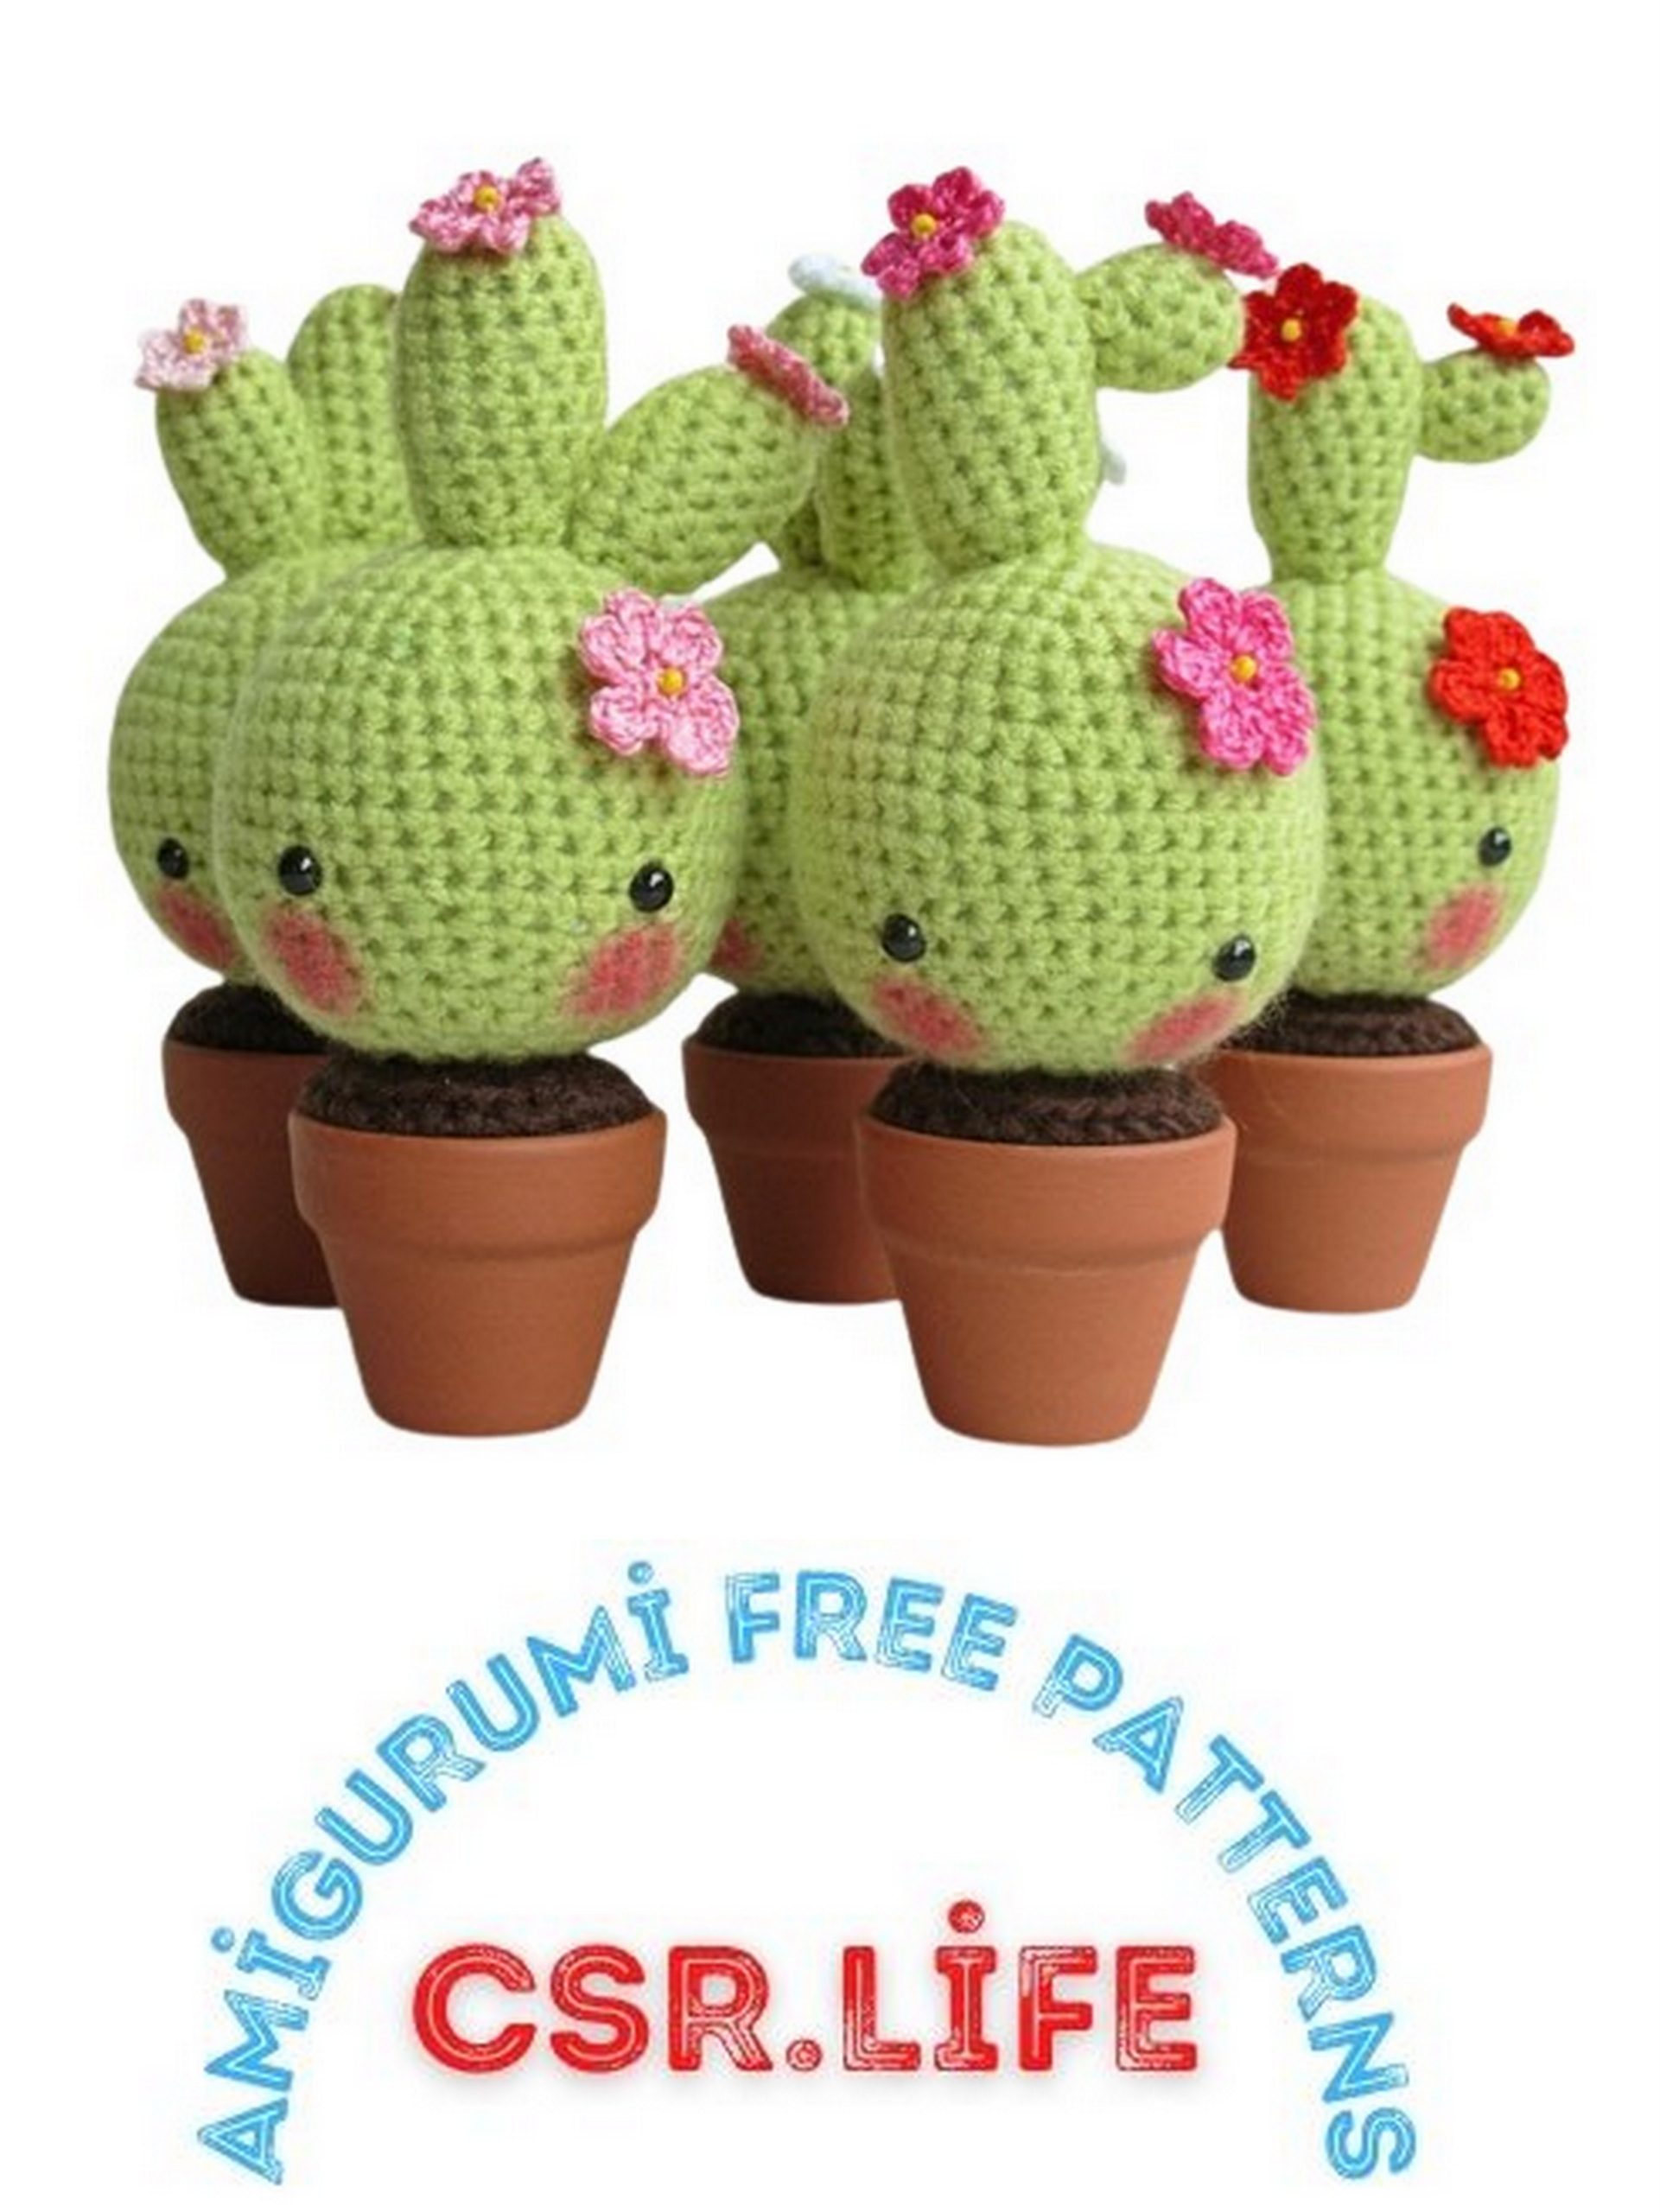
Discover the joy of crafting with this free crochet pattern for a charming Cactus in a Pot amigurumi. Whether you’re an experienced crocheter or just starting, this project is a fun and creative way to bring a little greenery into your life without the worry of watering. These cute crocheted cacti make delightful decorations for your home or thoughtful handmade gifts for plant enthusiasts.
Follow our step-by-step instructions to create your own miniature amigurumi cactus that will never need tending. Let’s get started on this delightful amigurumi adventure!
Create your own adorable cactus in a pot amigurumi with this free crochet pattern. Perfect for adding a touch of green to your home decor or gifting to plant-loving friends. Get started today
Materials:
Yarn:
Green: Red Heart Miami. 50g – 120m
Brown: Catania. 50g – 125m
Orange, pink, and purple: Catania Fine. 50g – 165m
Hook: 2.00mm Hamanaka
Eyes: 5.5mm
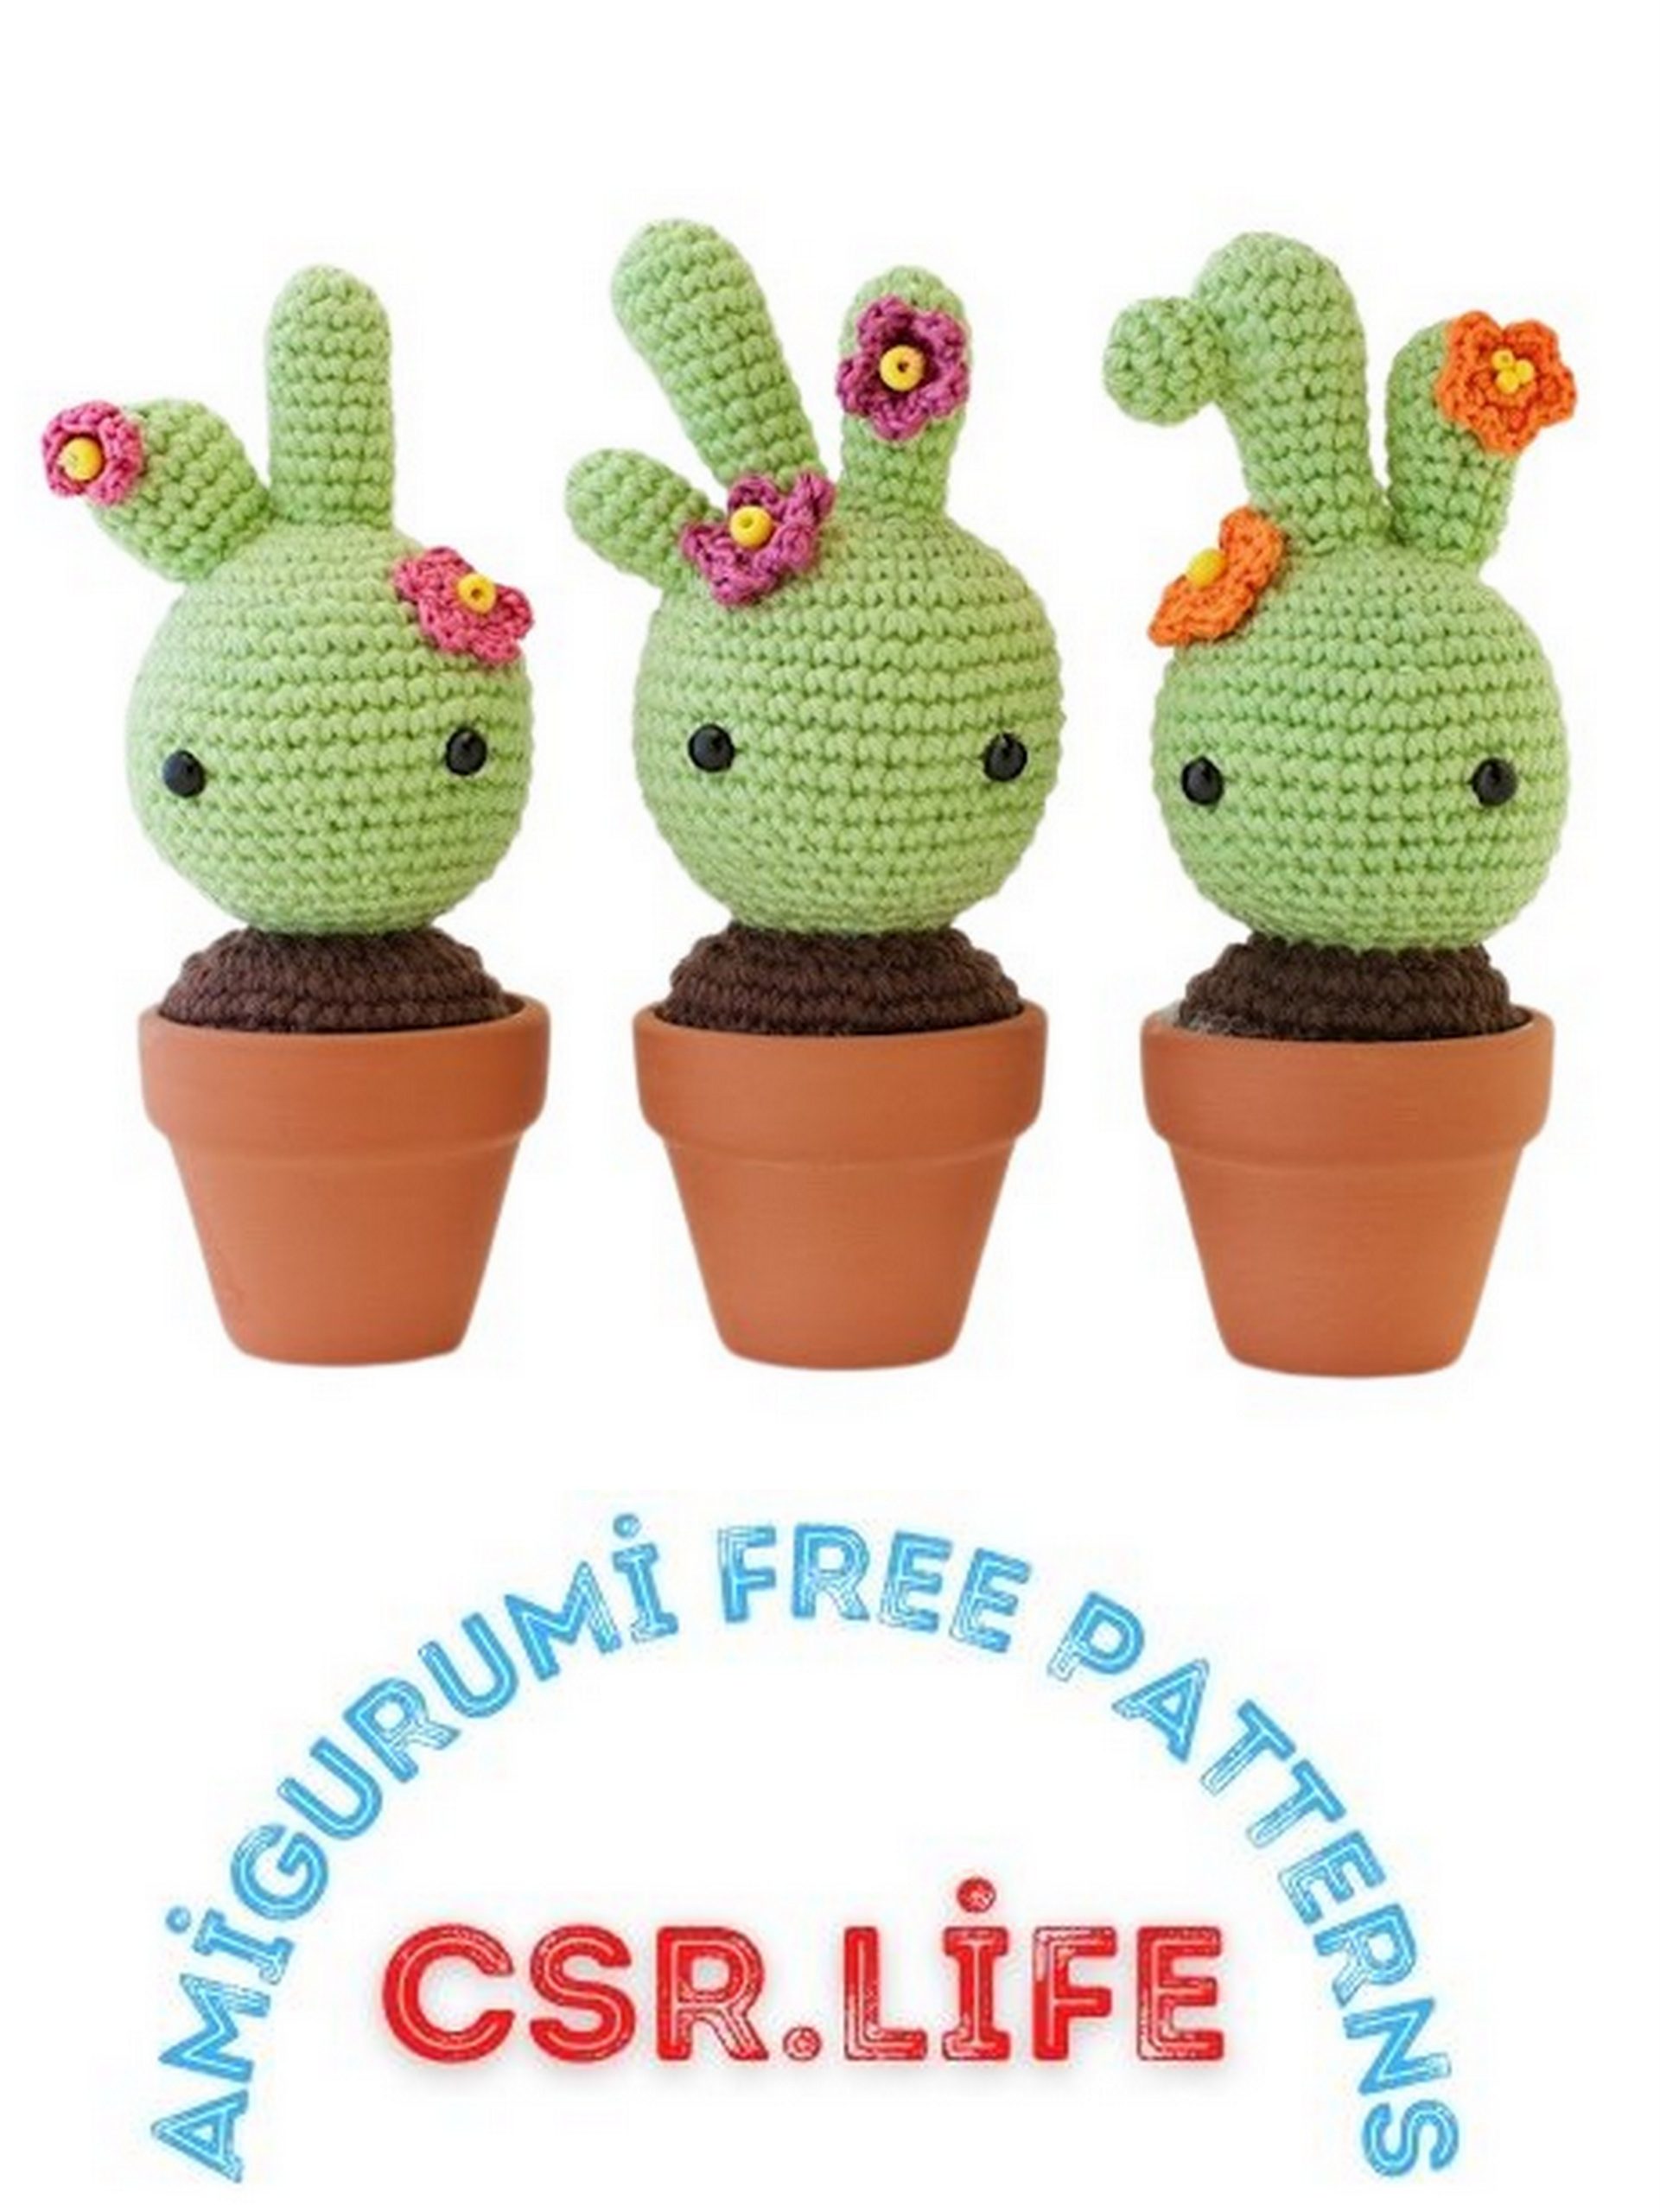
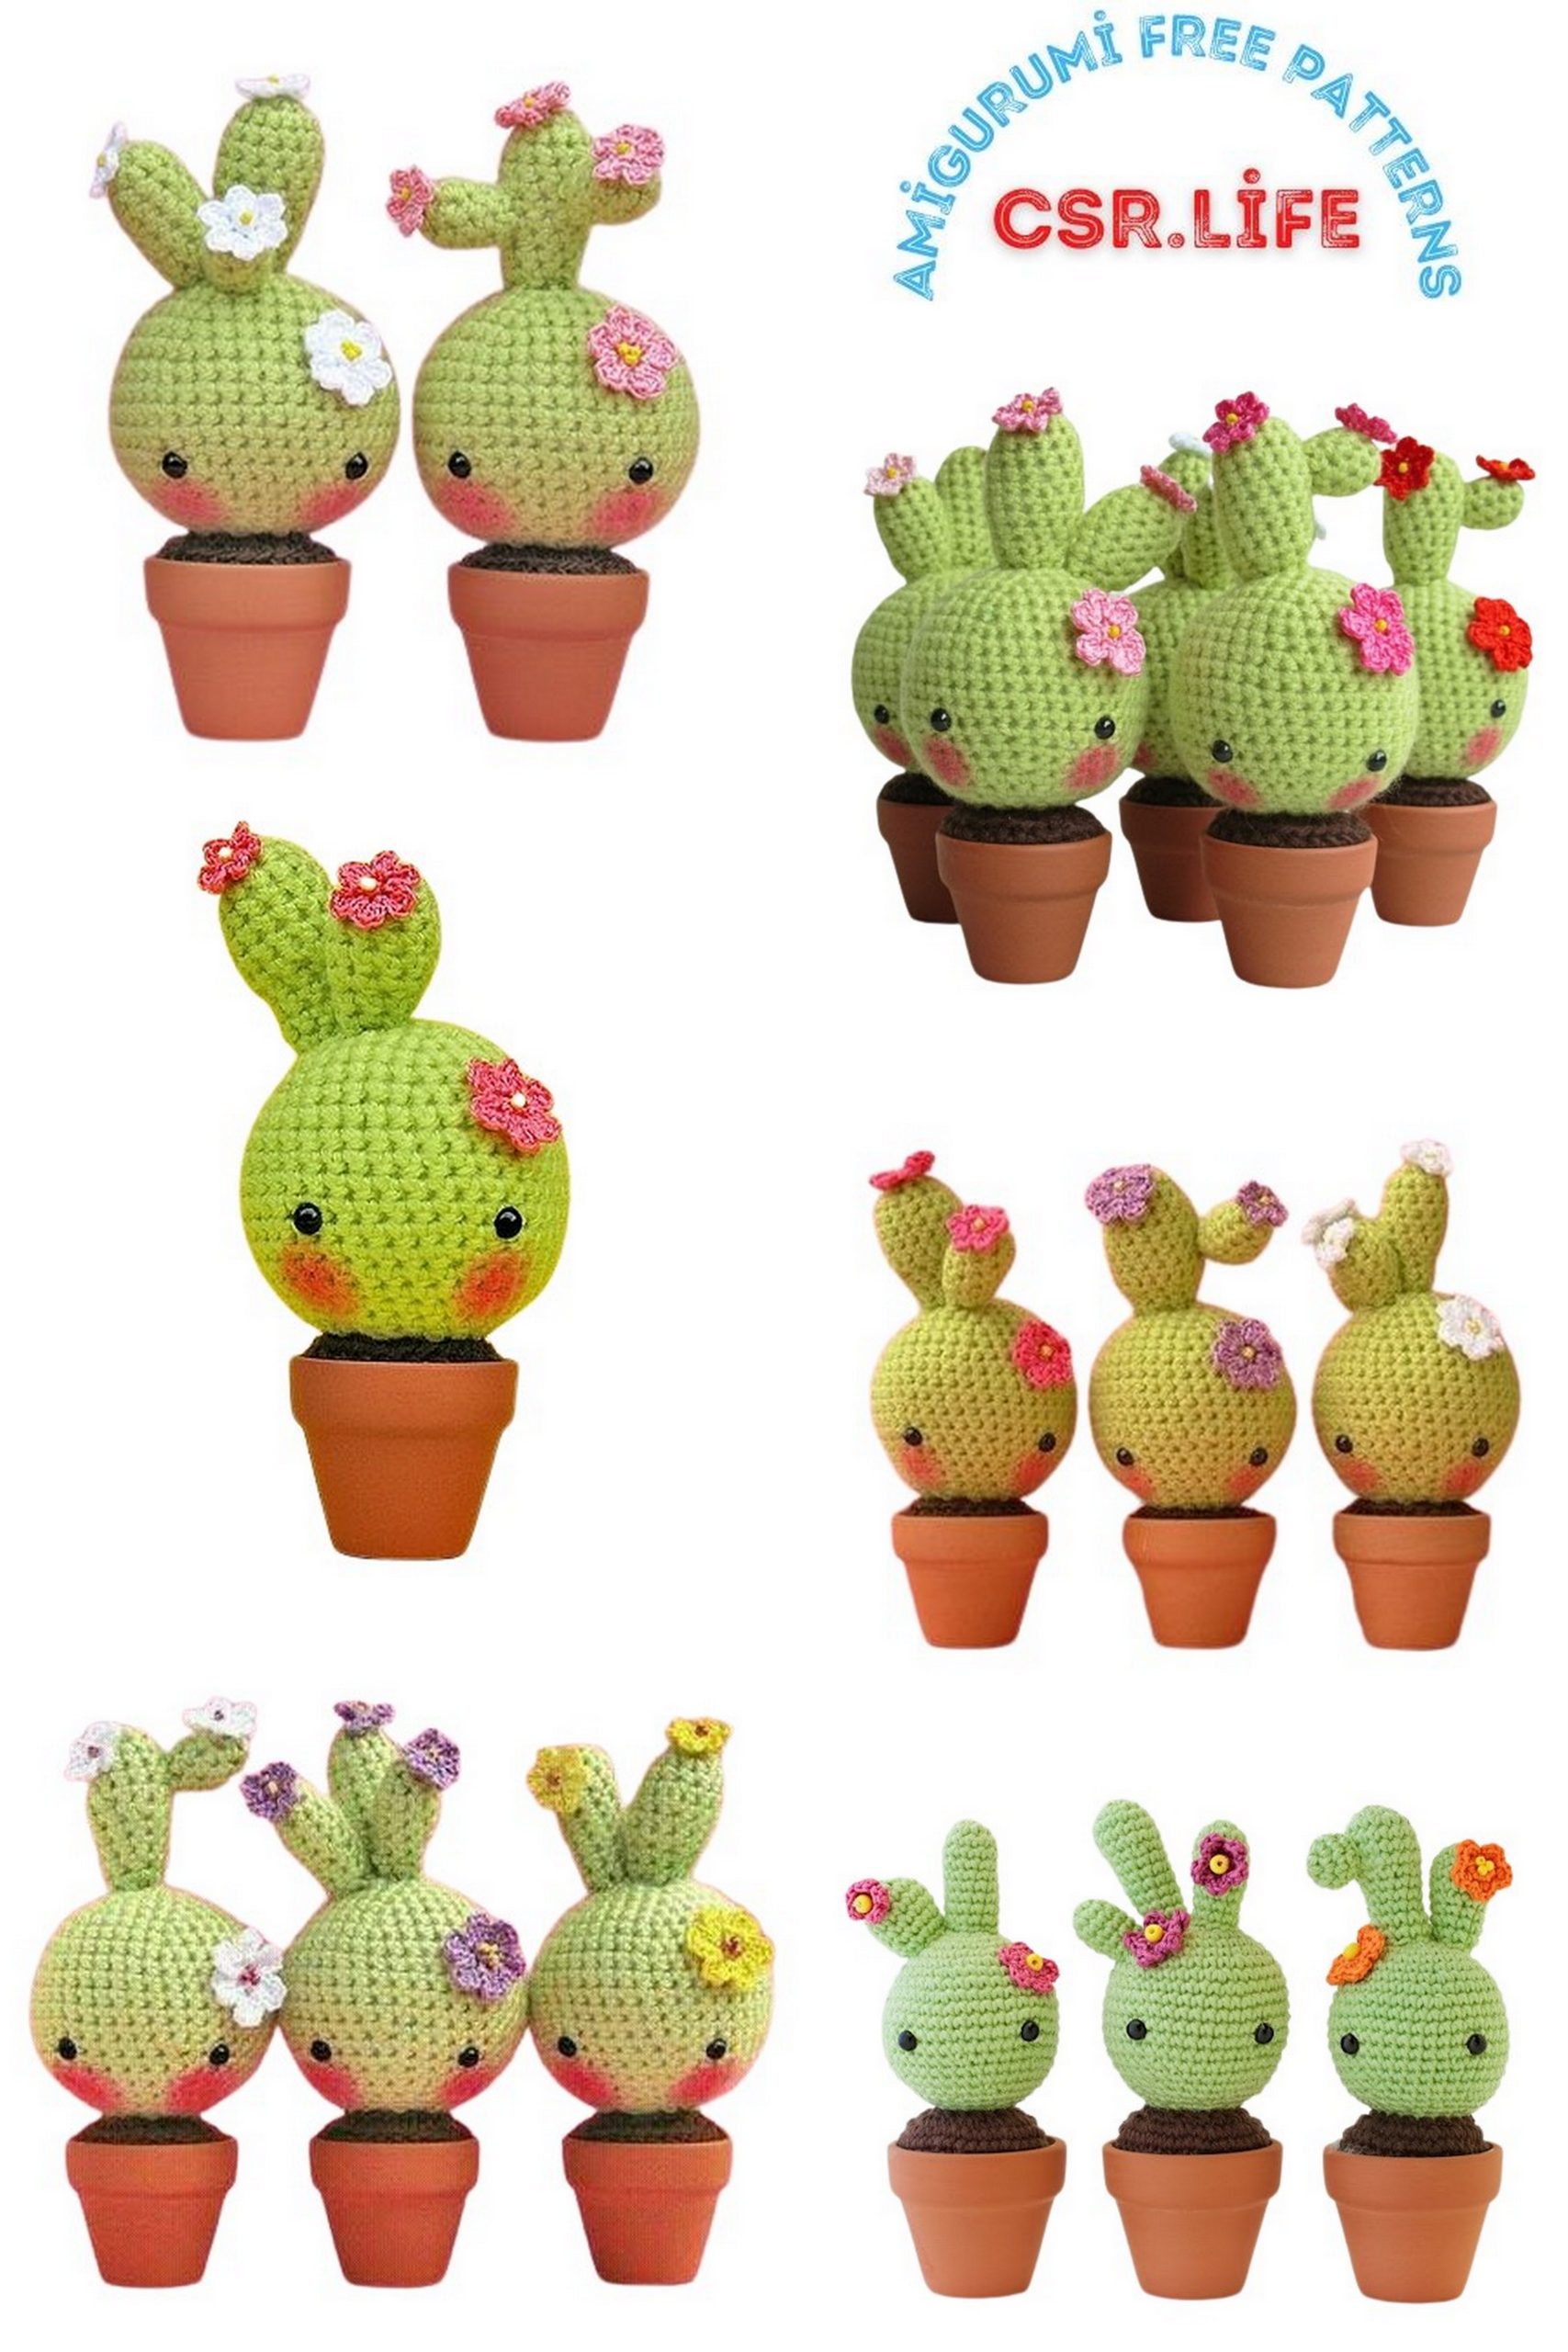
Sizes: 12cm, 12.5cm, and 13cm
Date: June and November 2013
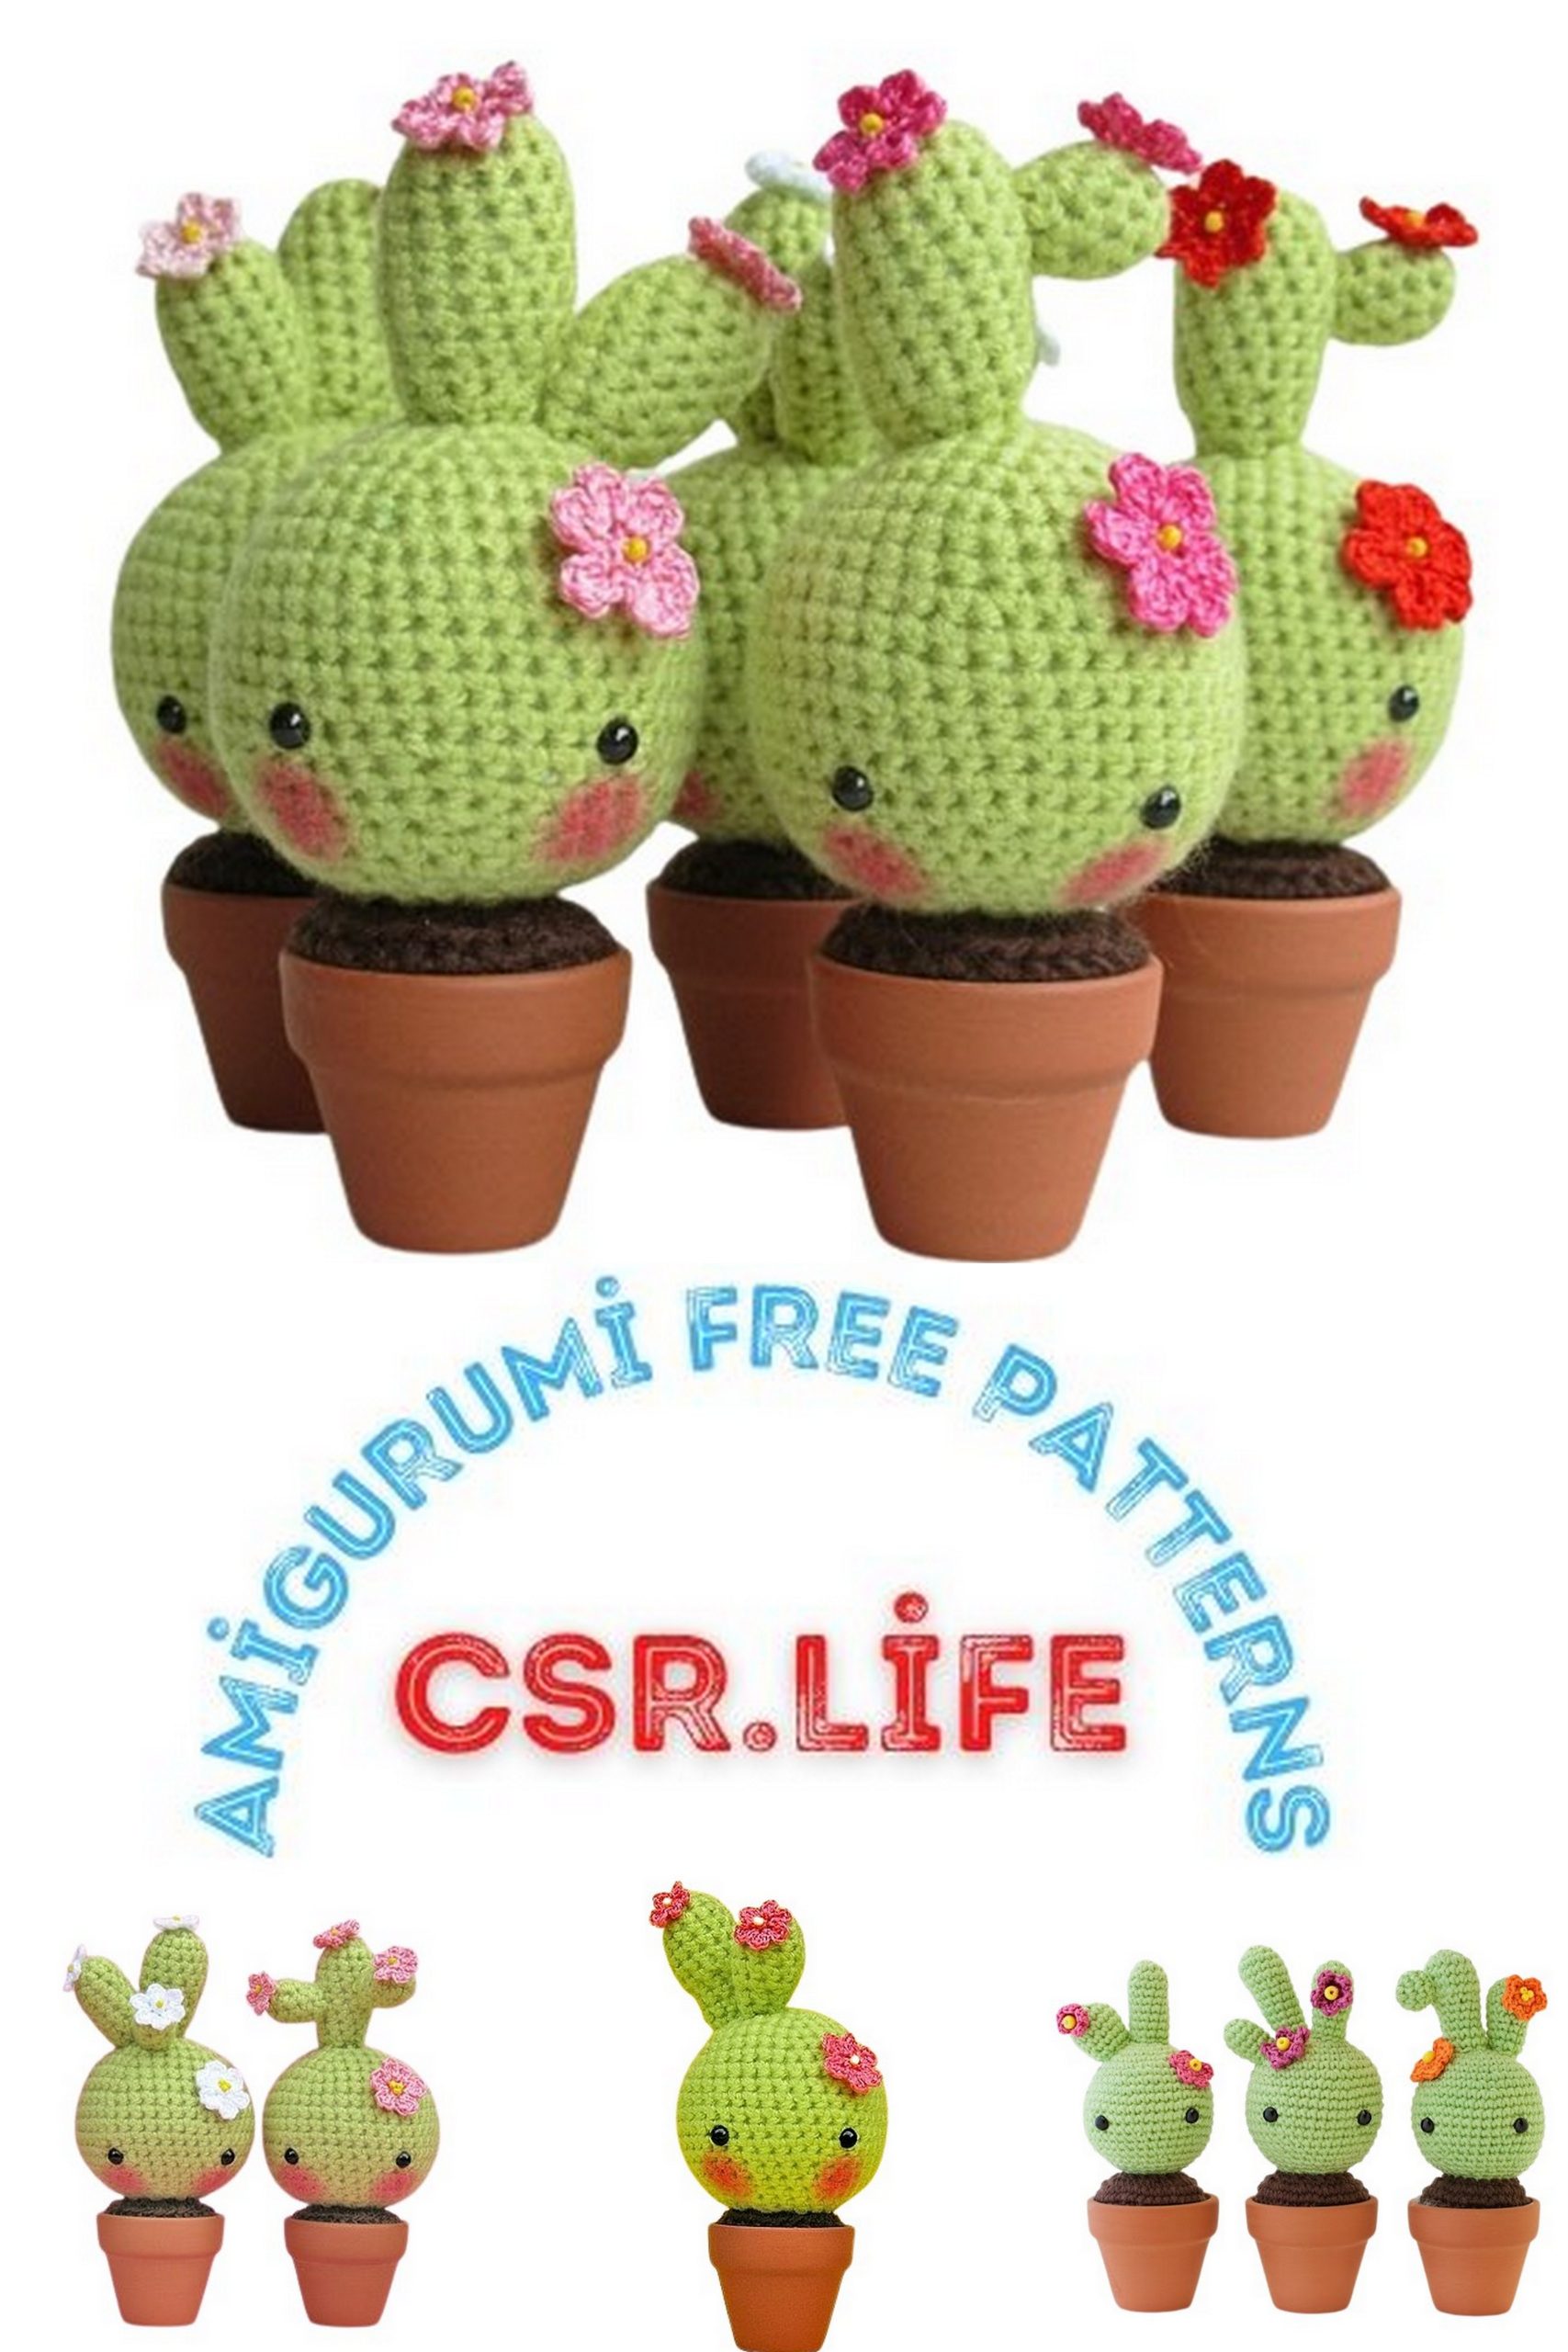
For: Orange for Céline, lilac for Aurora, pink for Beatriz (Rosa’s mother)
Comments:
The idea is from willynillywaterlily, but since they don’t sell the patterns, I decided to create one.
Abbreviations:
Inc: 2 single crochets in the next single crochet. Increase.
Dec: Join two single crochets. Decrease.
Ch: Chain
Dc: Double crochet
Sc: Single crochet
Sl st: Slip stitch
PATTERN:
Head:
I used the ideal sphere of 22 rows of Ms Premise-Conclusion.
R1: Start with 6 sc in a magic ring (6)
R2: [Inc] x 6 (12)
R3: [1 sc, inc] x 6 (18)
R4: 1 sc, inc, 2 sc, inc, 3 sc, inc, 2 sc, inc, 3 sc, inc, 2 sc (23)
R5: inc, 4 sc, inc, 3 sc, inc, 4 sc, inc, 3 sc, inc, 4 sc (28)
R6: 3 sc, inc, 6 sc, inc, 6 sc, inc, 6 sc, inc, 3 sc (32)
R7: 1 sc, inc, 7 sc, inc, 7 sc, inc, 7 sc, inc, 6 sc (36)
R8: 6 sc, inc, 11 sc, inc, 11 sc, inc, 5 sc (39)
R9: 8 sc, inc, 12 sc, inc, 12 sc, inc, 4 sc (42)
R10: 15 sc, inc, 26 sc (43)
R11: inc, 42 sc (44)
R12: 1 sc in each sc (44)
R13: 42 sc, dec (43)
R14: 26 sc, dec, 15 sc (42)
R15: 4 sc, dec, 12 sc, dec, 12 sc, dec, 8 sc (39)
Place the eyes between rows 12 and 13 with 9 stitches between them.
R16: 5 sc, dec, 11 sc, dec, 11 sc, dec, 6 sc (36)
R17: 6 sc, dec, 7 sc, dec, 7 sc, dec, 7 sc, dec, 1 sc (32)
R18: 3 sc, dec, 6 sc, dec, 6 sc, dec, 6 sc, dec, 3 sc (28)
R19: 4 sc, dec, 3 sc, dec, 4 sc, dec, 3 sc, dec, 4 sc, dec (23)
Fill
R20: 2 sc, dec, 3 sc, dec, 2 sc, dec, 3 sc, dec, 2 sc, dec, 1 sc (18)
Switch to brown to start the “soil.”
Soil:
This part depends on the size of the pot; in my case, it measures 4cm and has a diameter of 4.5cm. If it were larger, you would need to add more increasing rows after row 22, for example, R23: [2 sc, inc] x 18.
R21: [Inc] x 18 (36)
R22: [1 sc, inc] x 18 (54)
R23: [2 sc, dec] x 13, 2 sc (41)
R24: [2 sc, dec] x 10, 1 sc (31)
Close
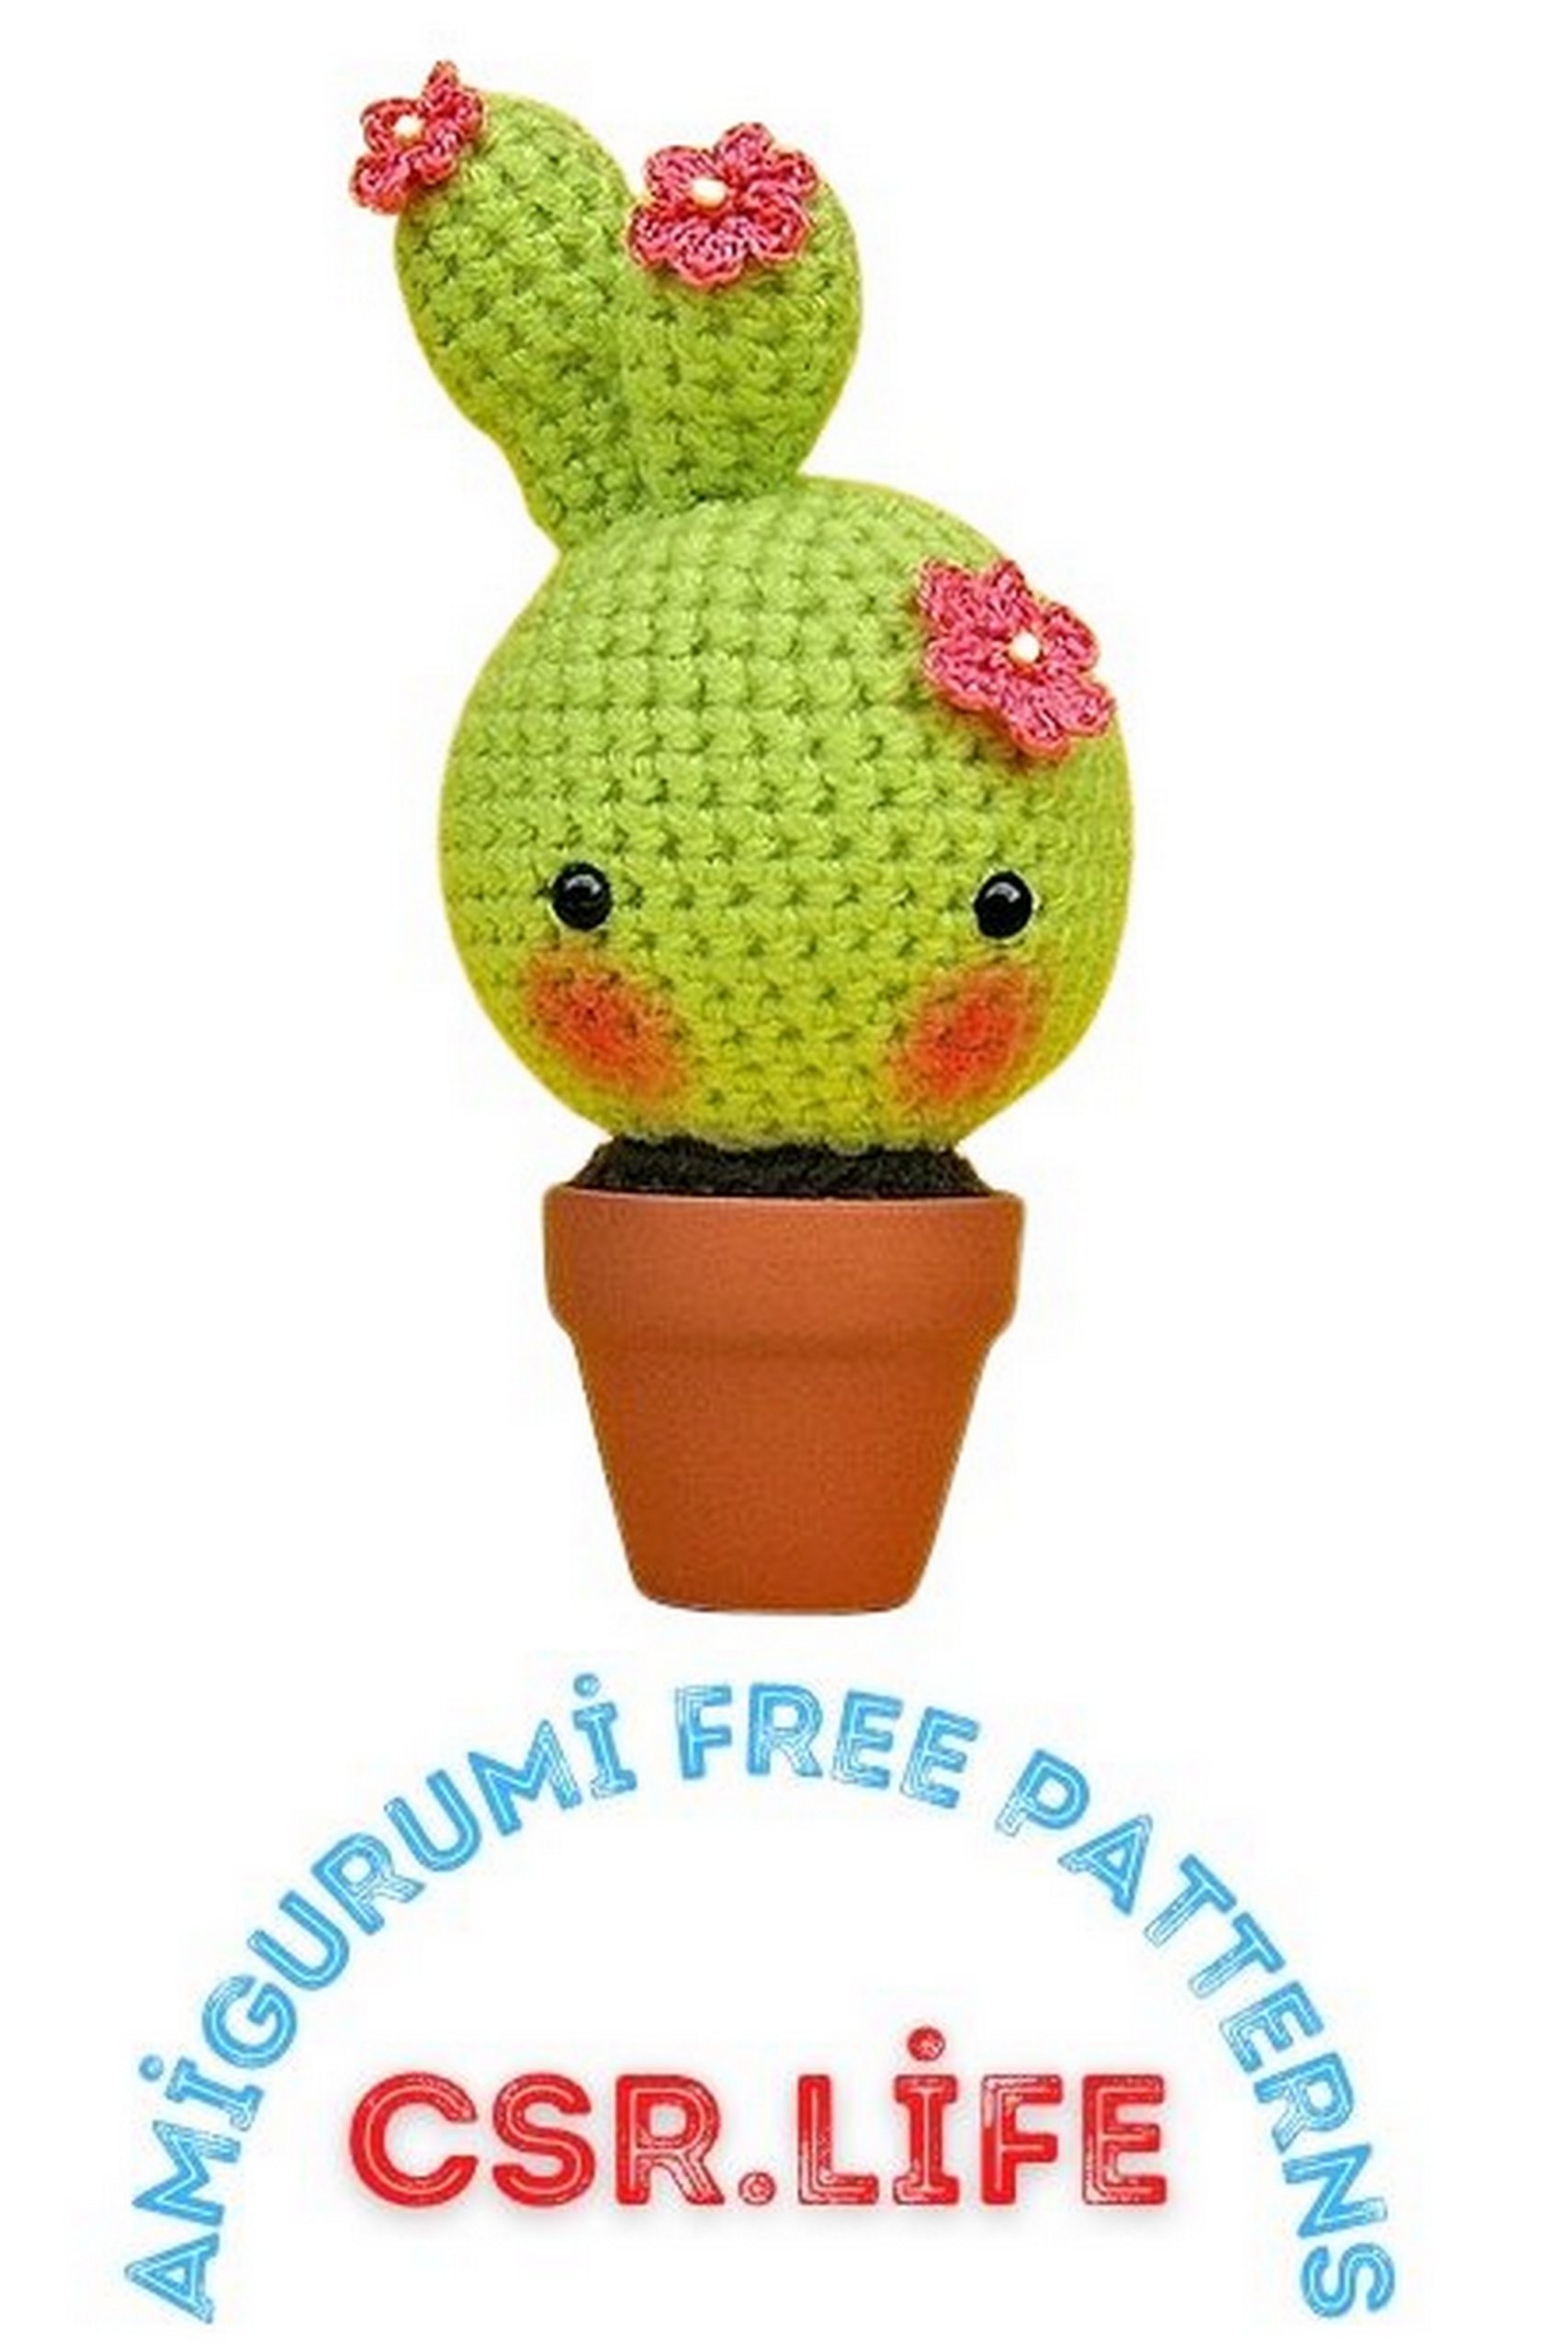
Spikes:
You can make them longer or shorter and thicker or thinner, depending on the design you want. Here are the three used for the cactus with orange flowers. The possibilities are endless!
Medium:
R1: Start with 6 sc in a magic ring (6)
R2: [Inc] x 6 (12)
R3-5: 1 sc in each sc (12)
R6: [4 sc, dec] x 2 (10)
R7-9: 1 sc in each sc (10)
Close
Small:
R1: Start with 5 sc in a magic ring (5)
R2: [Inc] x 5 (10)
R3: 1 sc in each sc (10)
R4: [3 sc, dec] x 2 (8)
Close
Large:
R1: Start with 6 sc in a magic ring (6)
R2: [Inc] x 6 (12)
R3: [3 sc, inc] x 3 (15)
R4-5: 1 sc in each sc (15)
R6: [3 sc, dec] x 3 (12)
R7-9: 1 sc in each sc (12)
R10: [4 sc, dec] x 2 (10)
R11-12: 1 sc in each sc (10)
Close
Flowers:
I used one of the simplest patterns, but all possibilities fit here.
R1: Start with 10 sc in a magic ring (10)
R2: [(2 ch, 3 dc) in the same sc, sl st in the next sc] x 5
Close