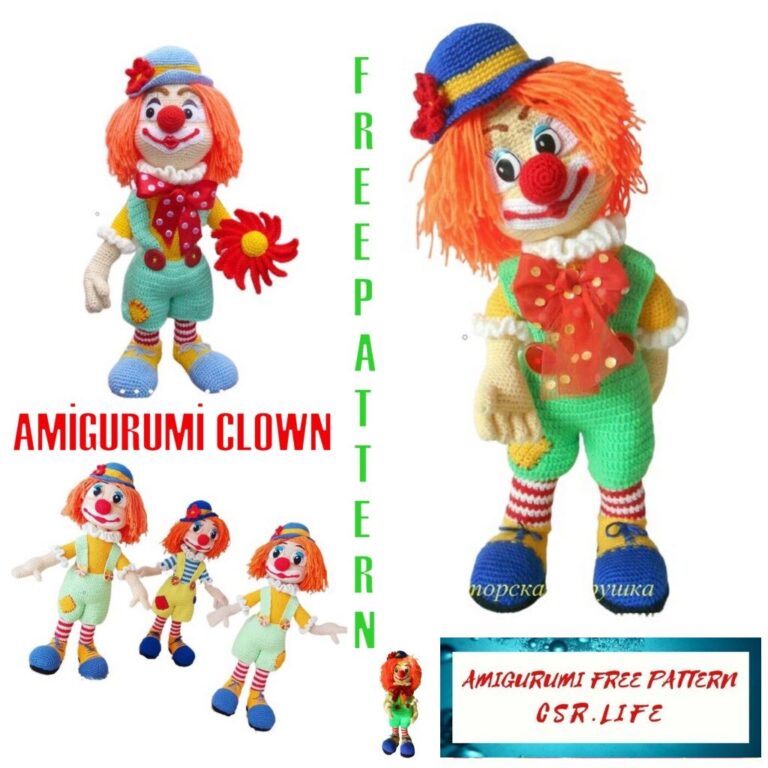
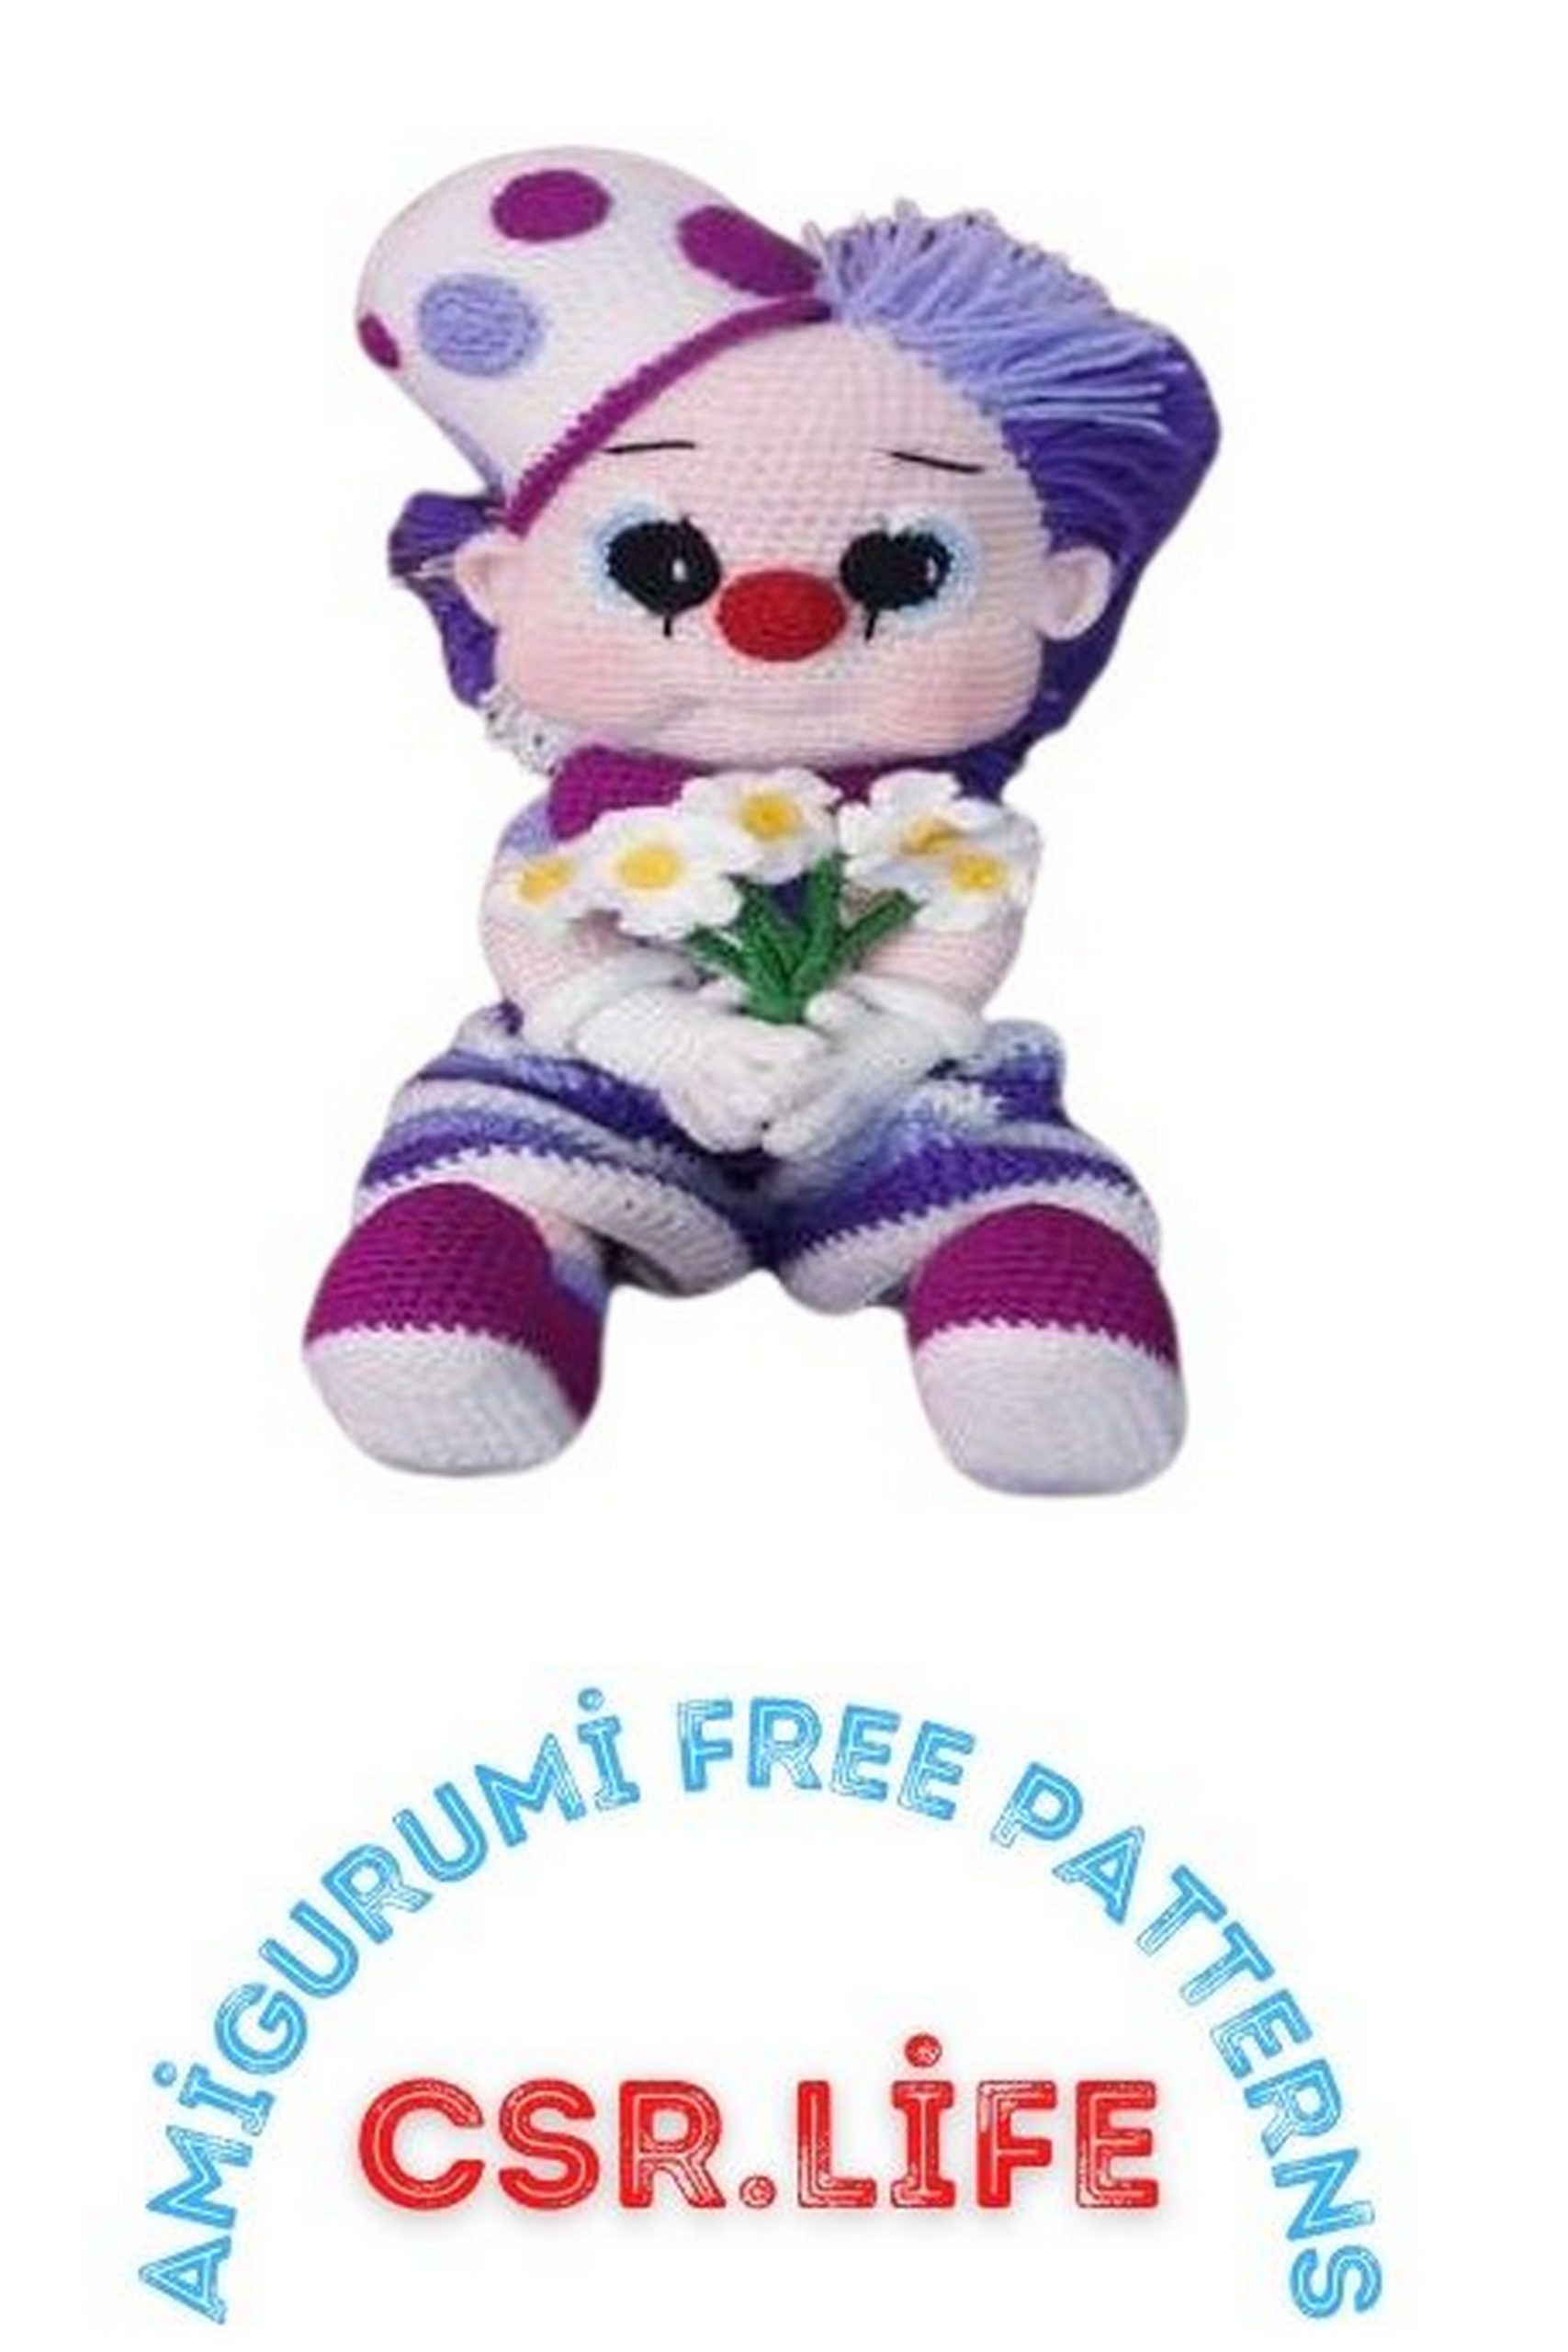
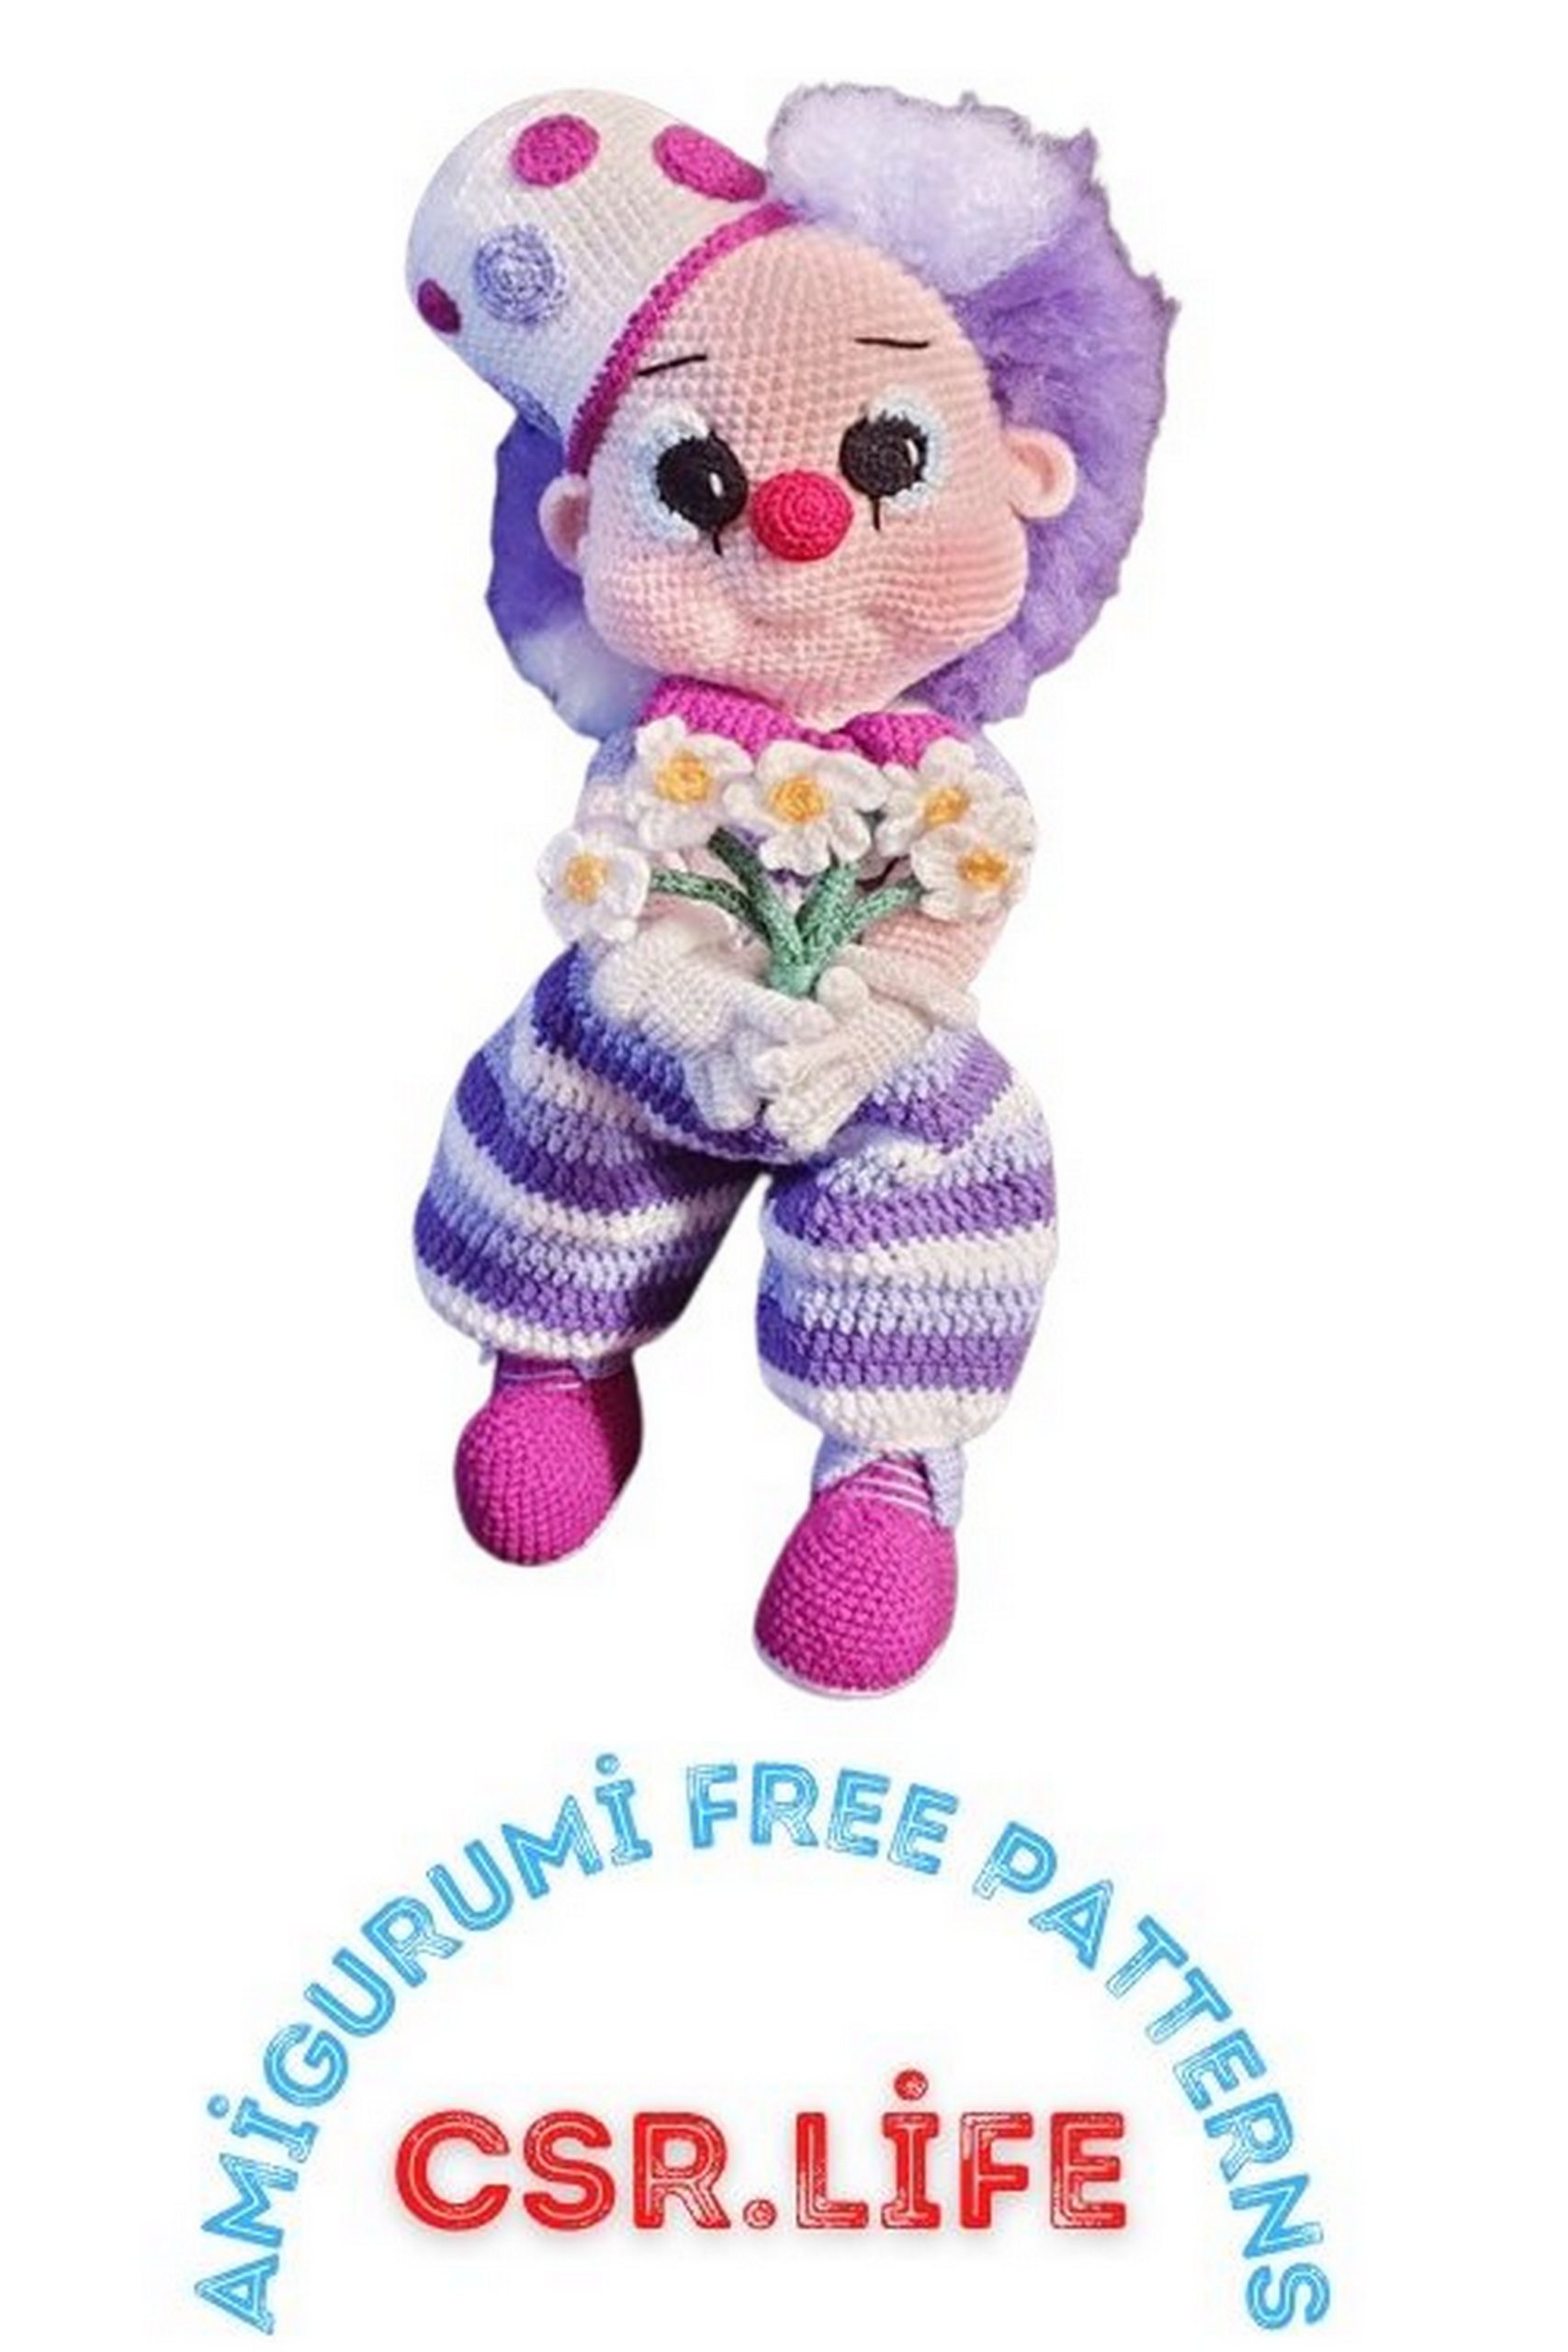
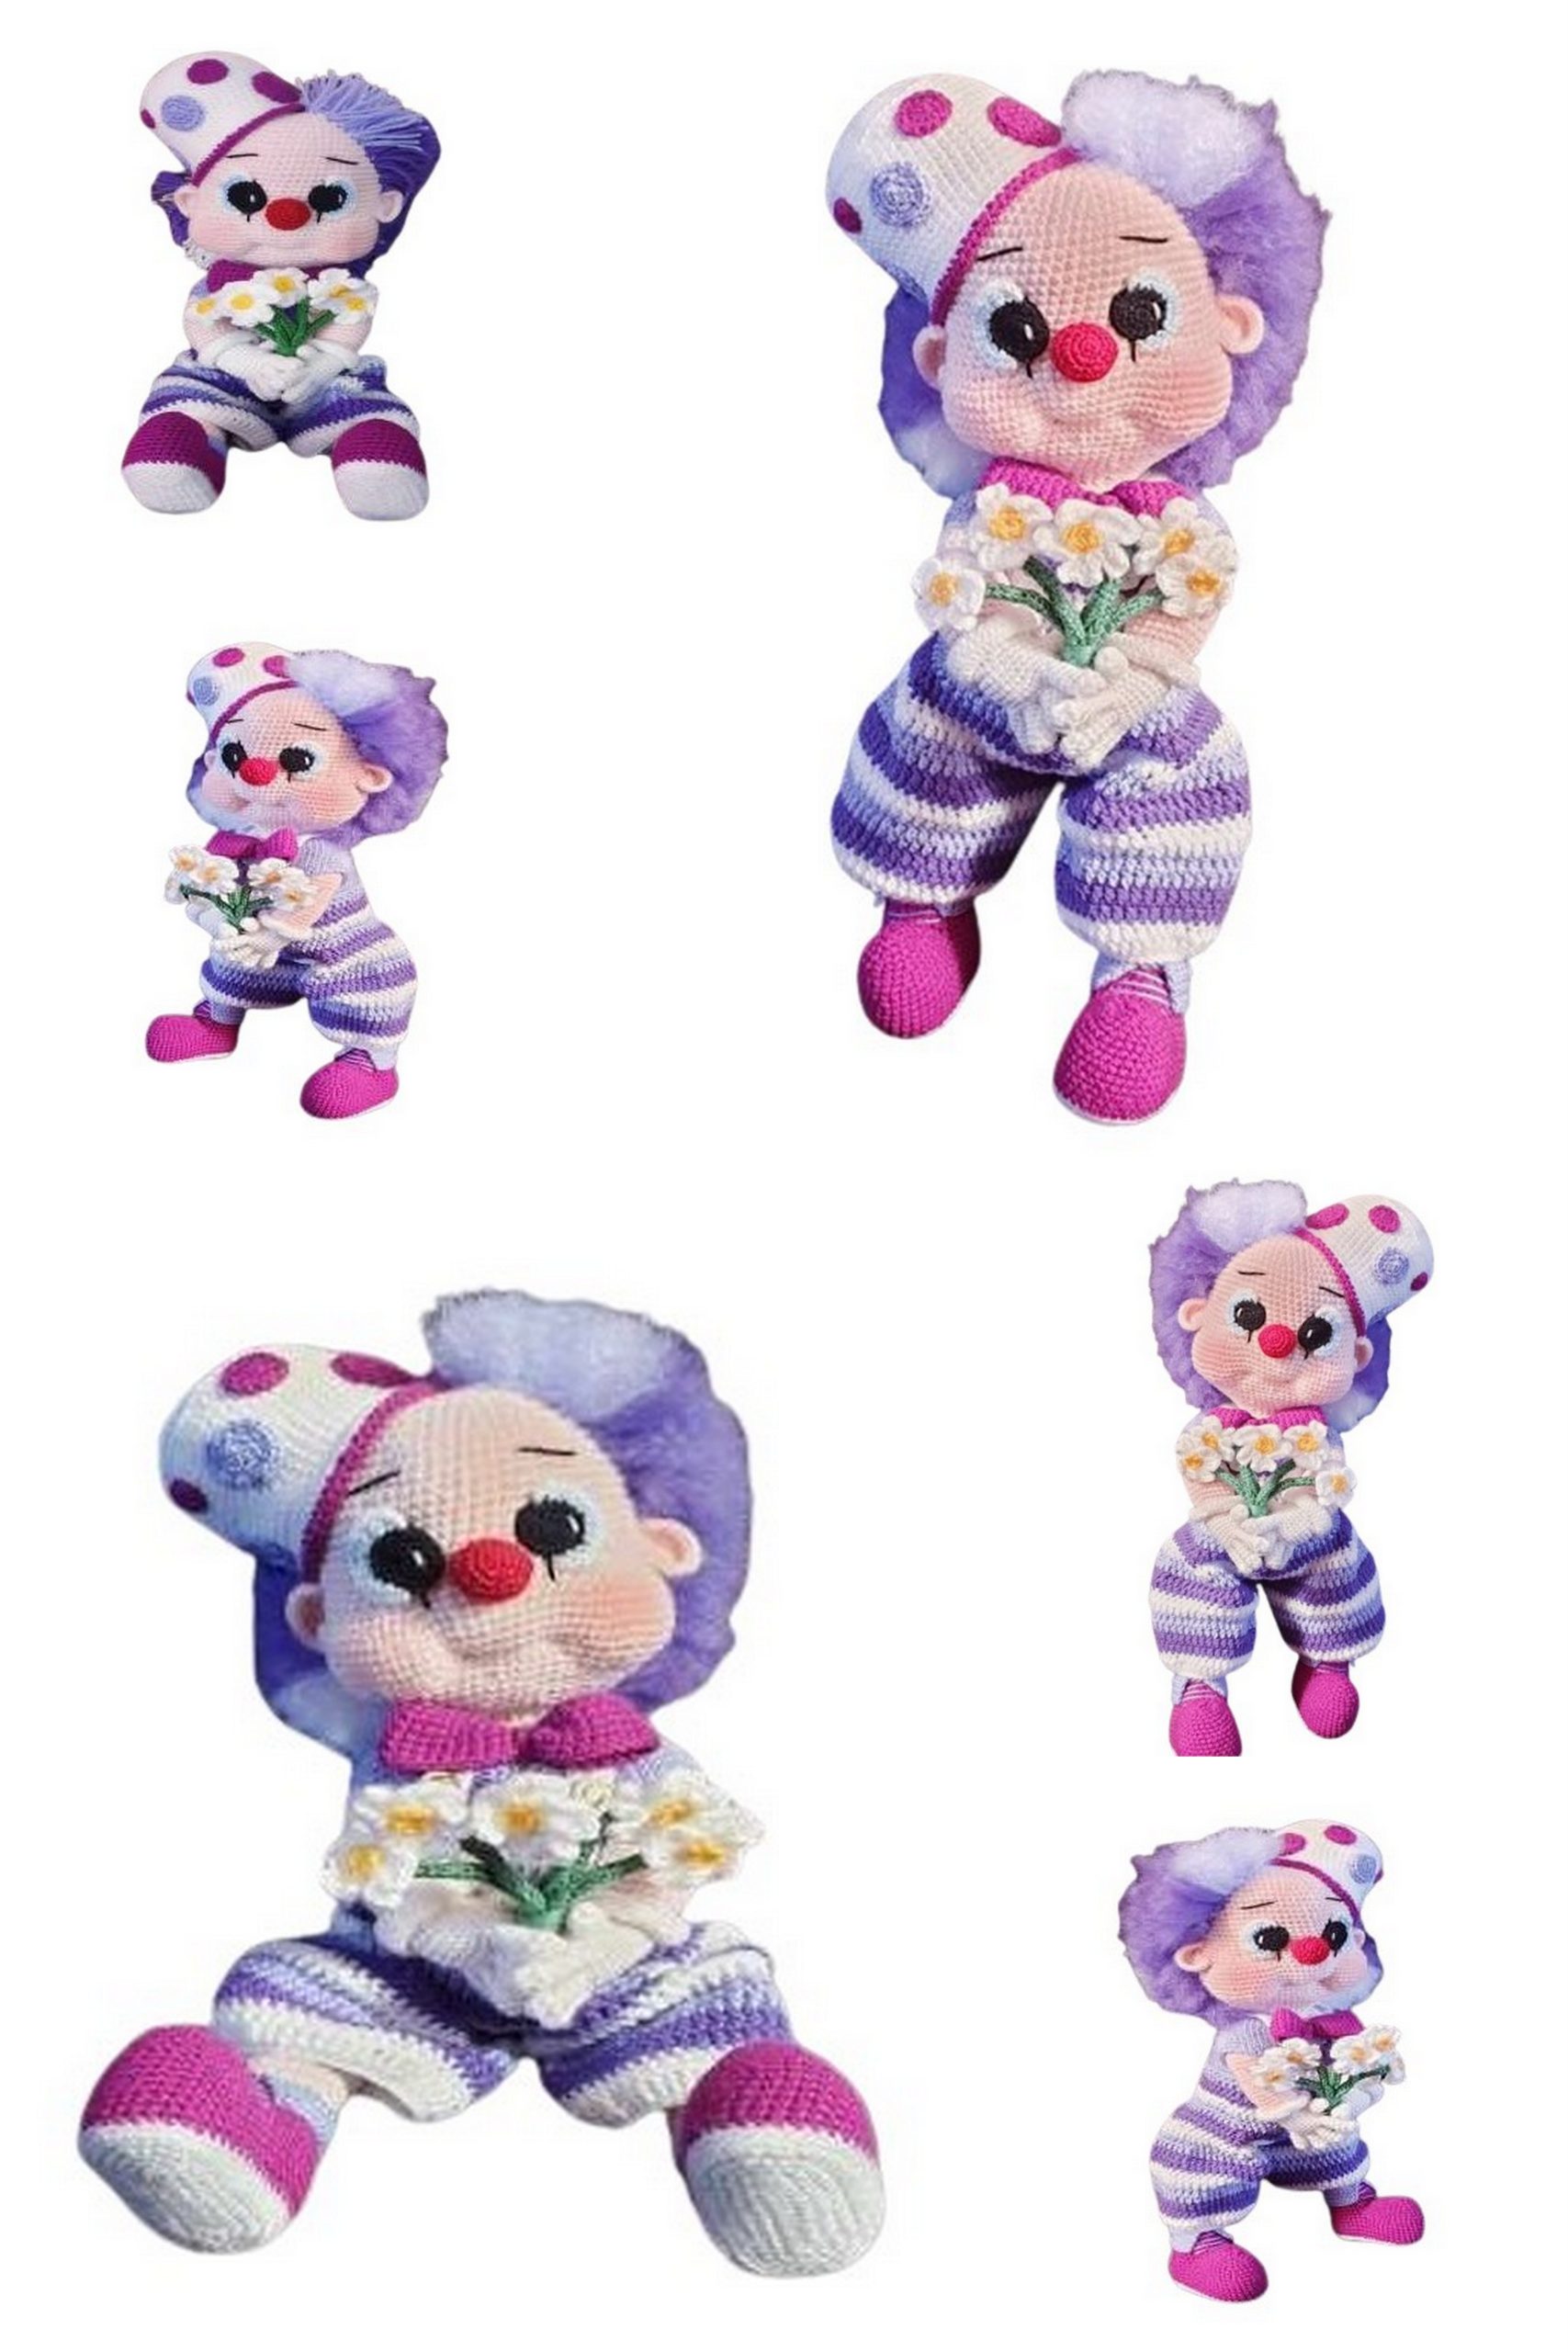
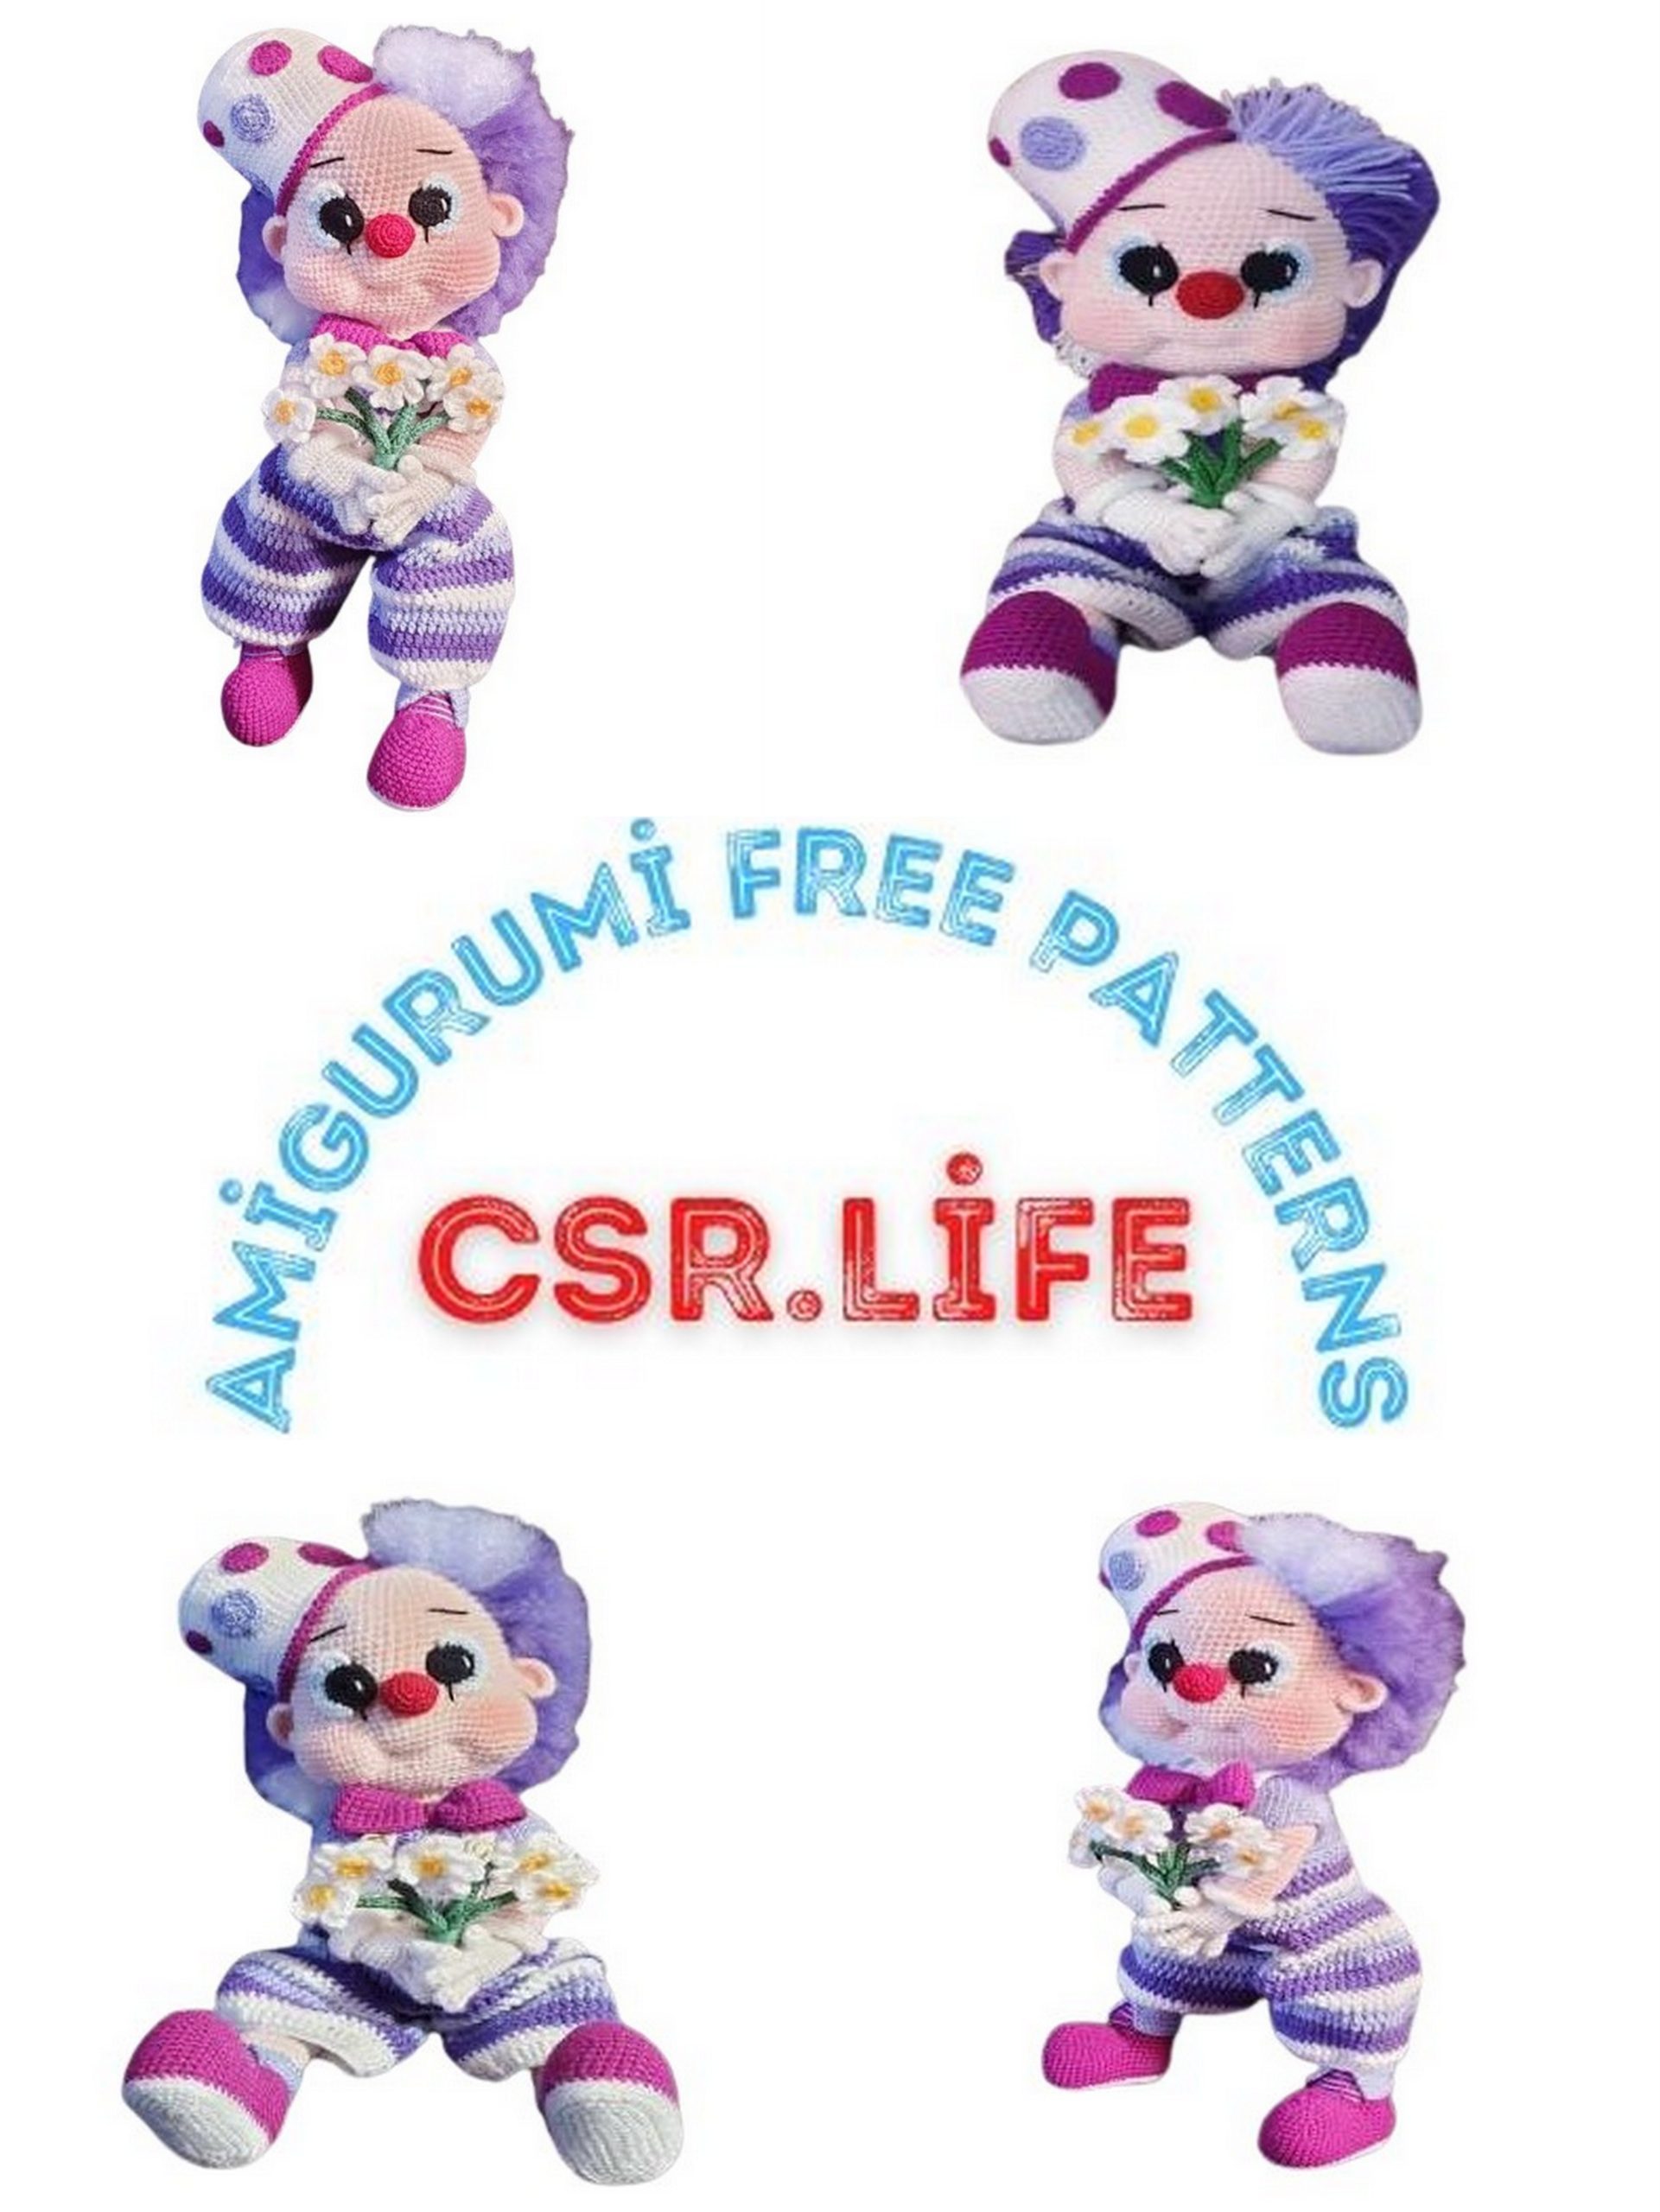
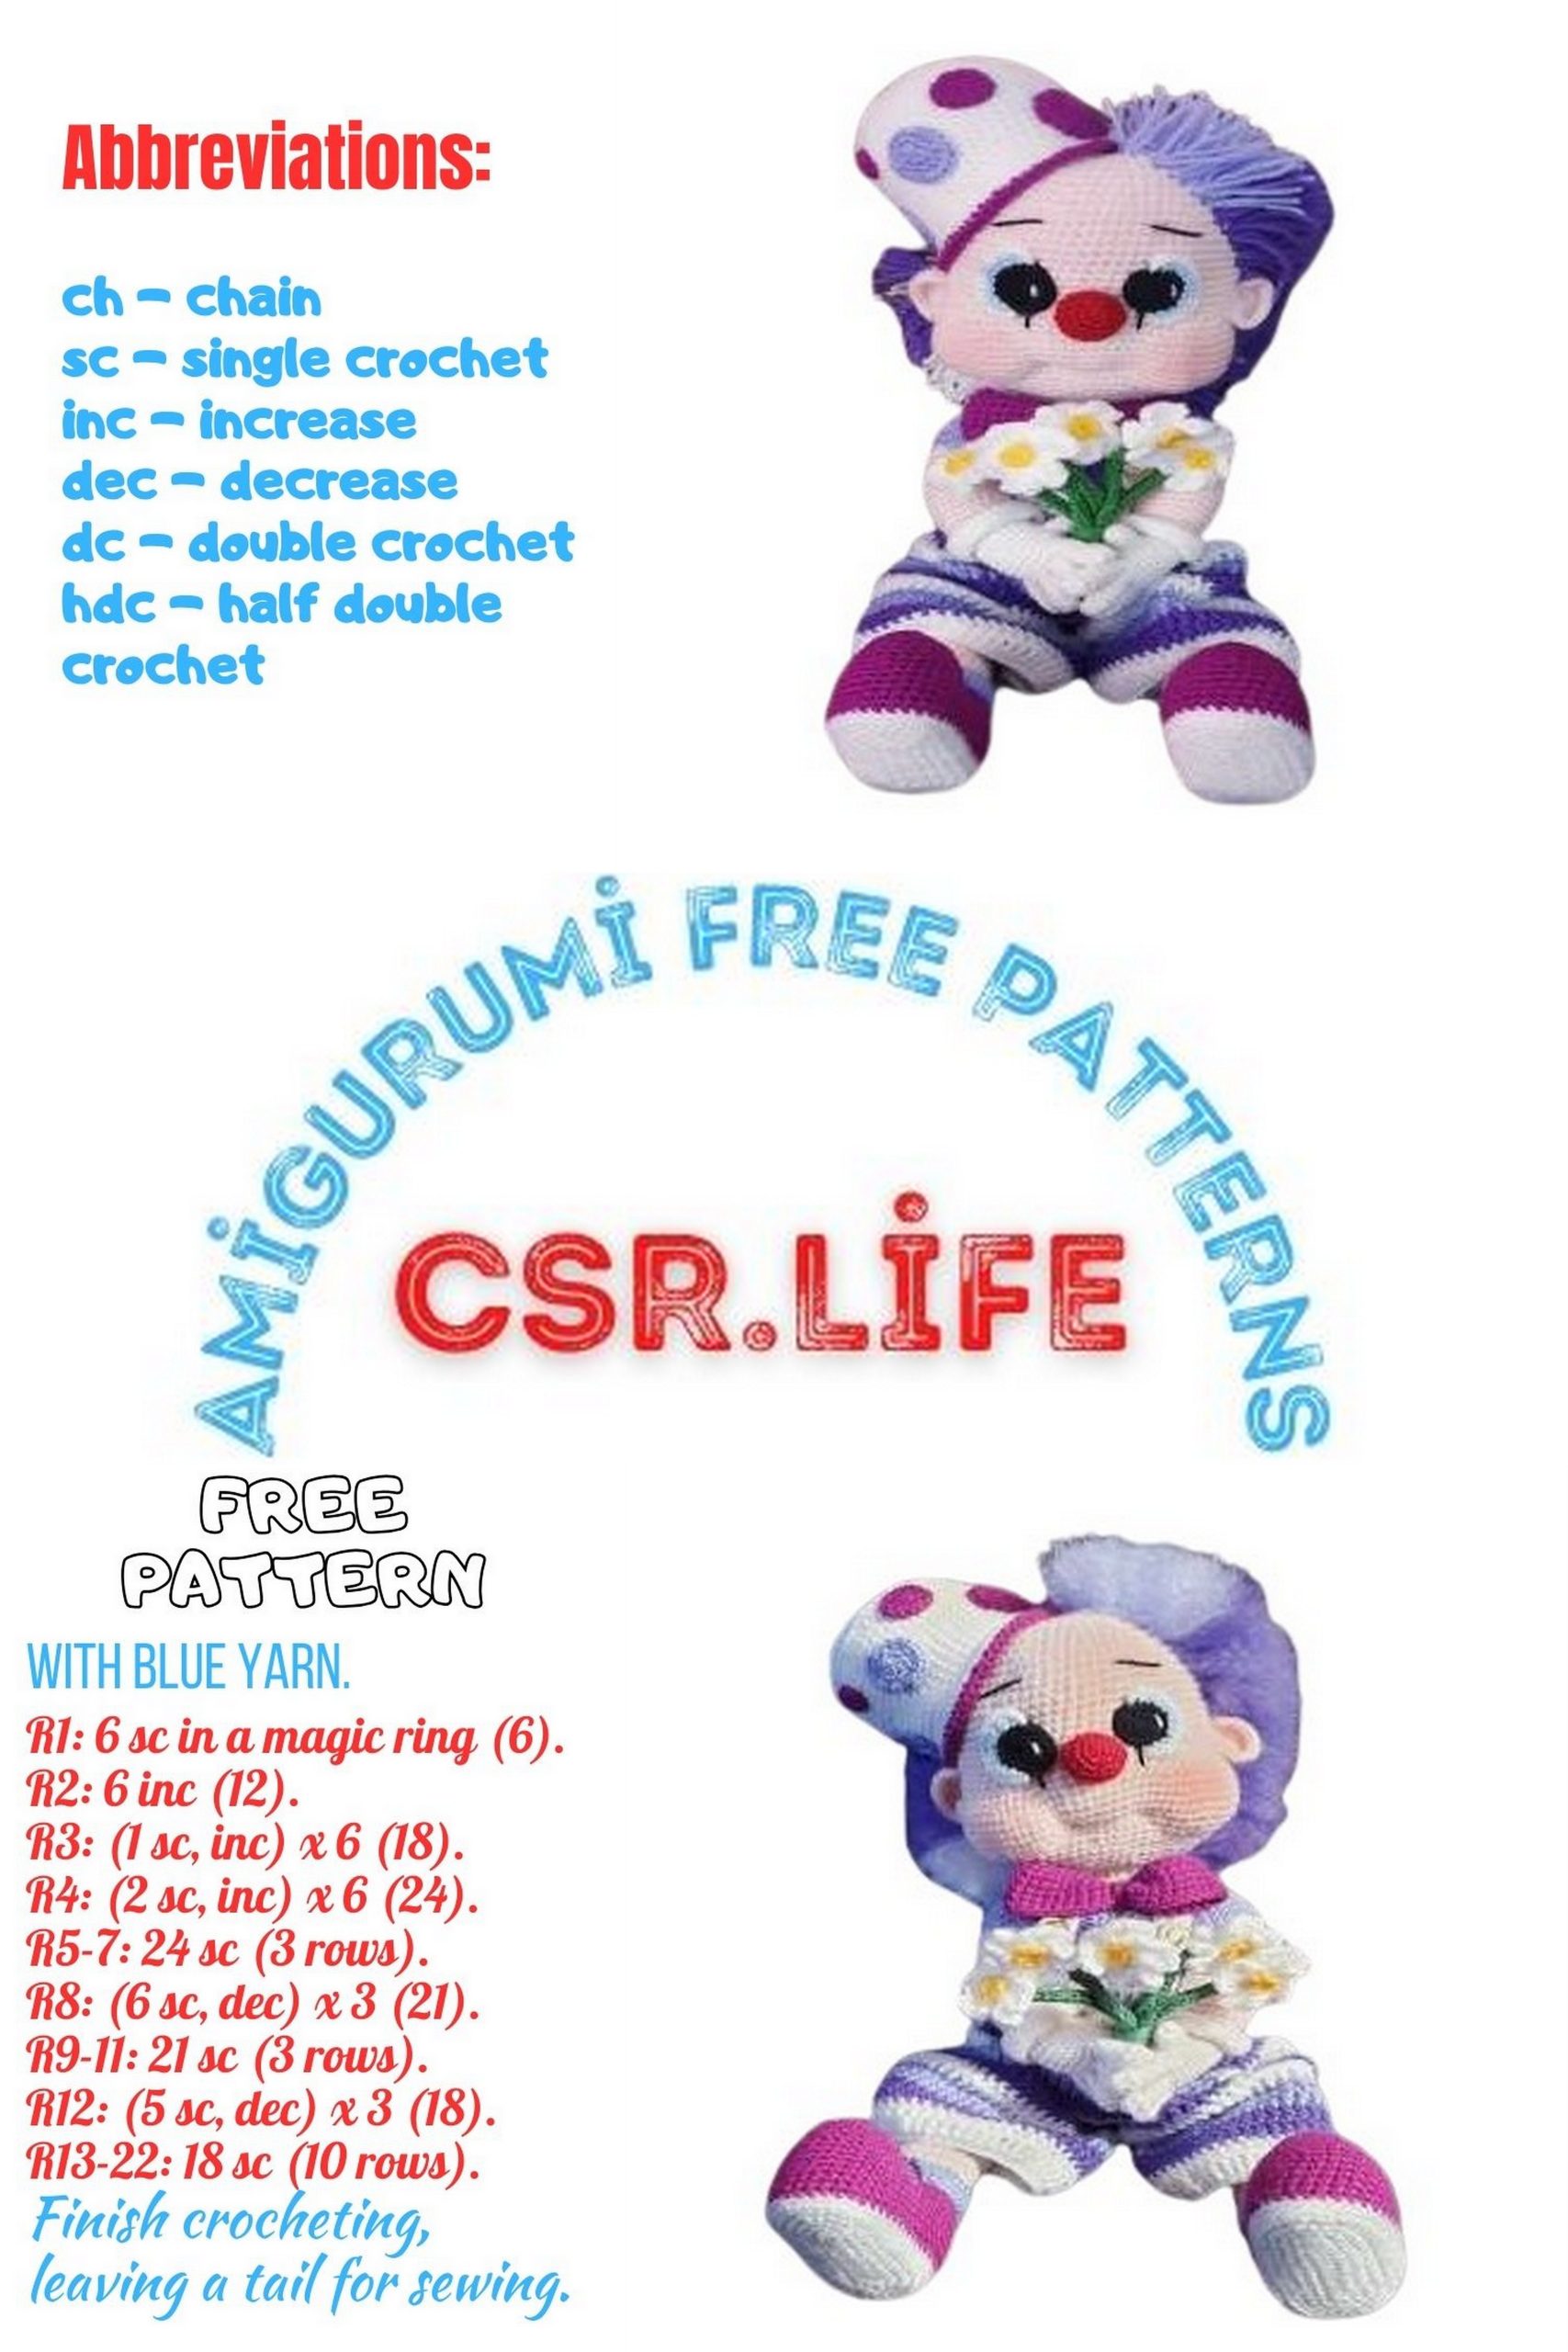
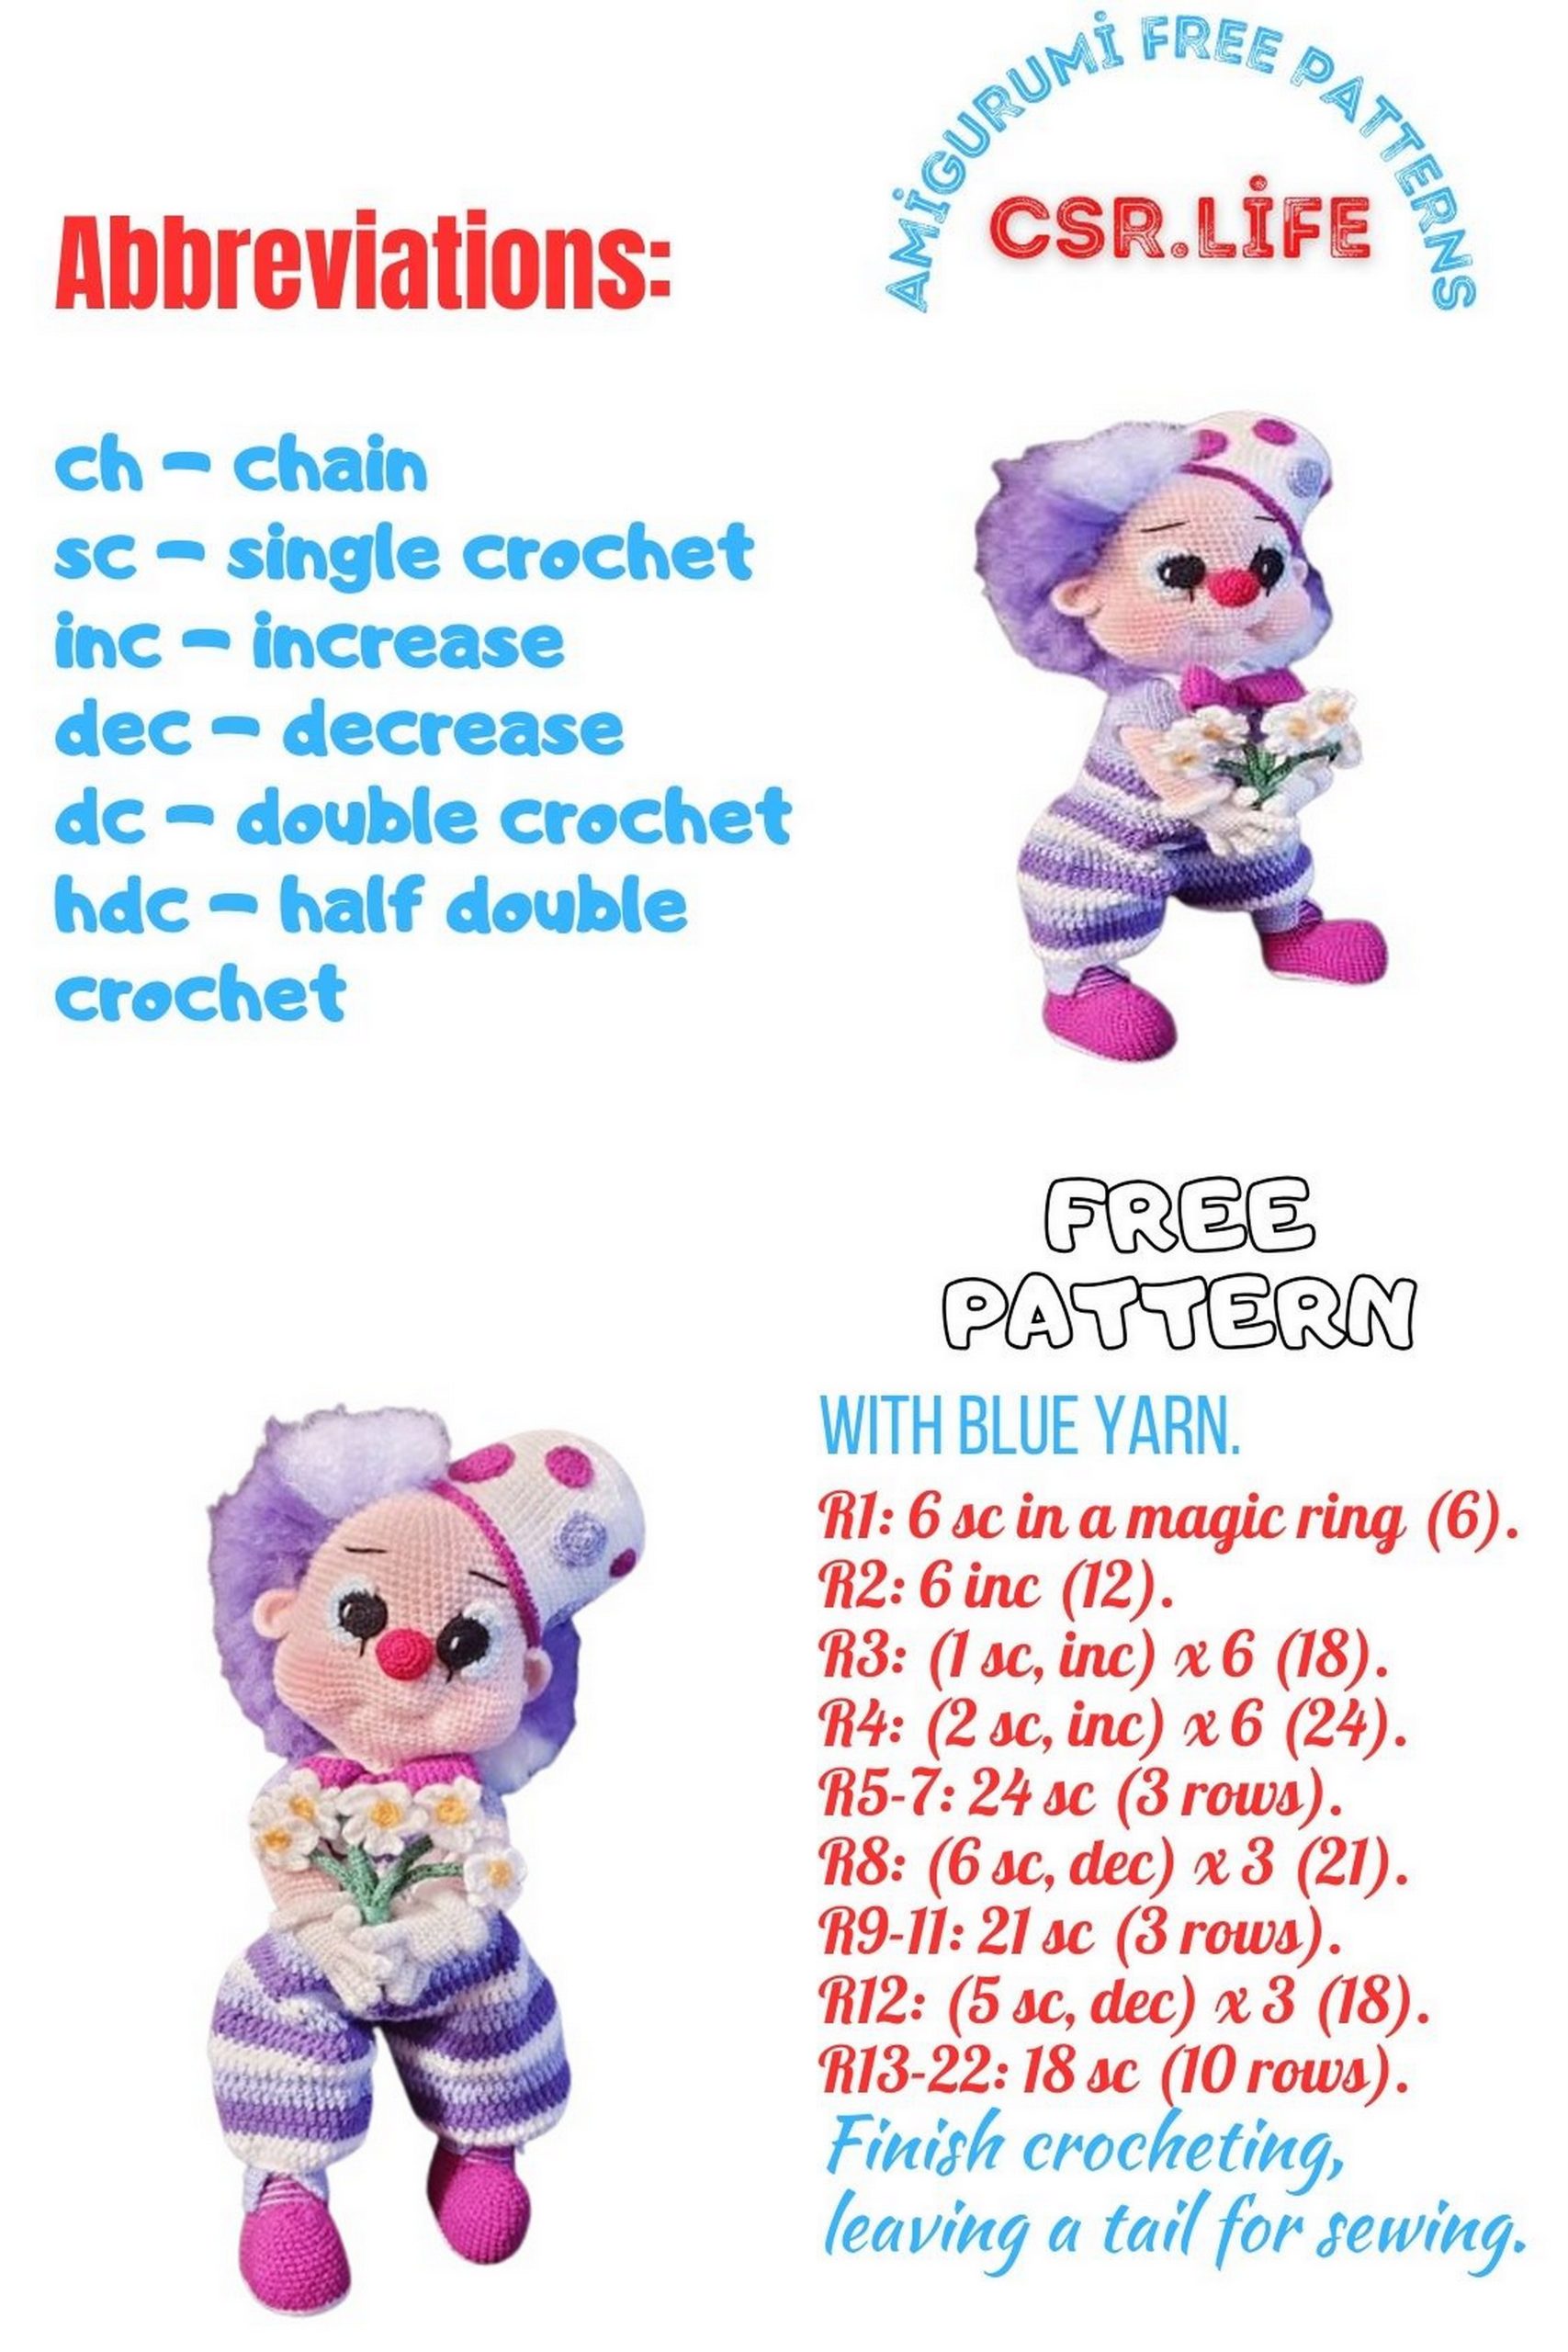
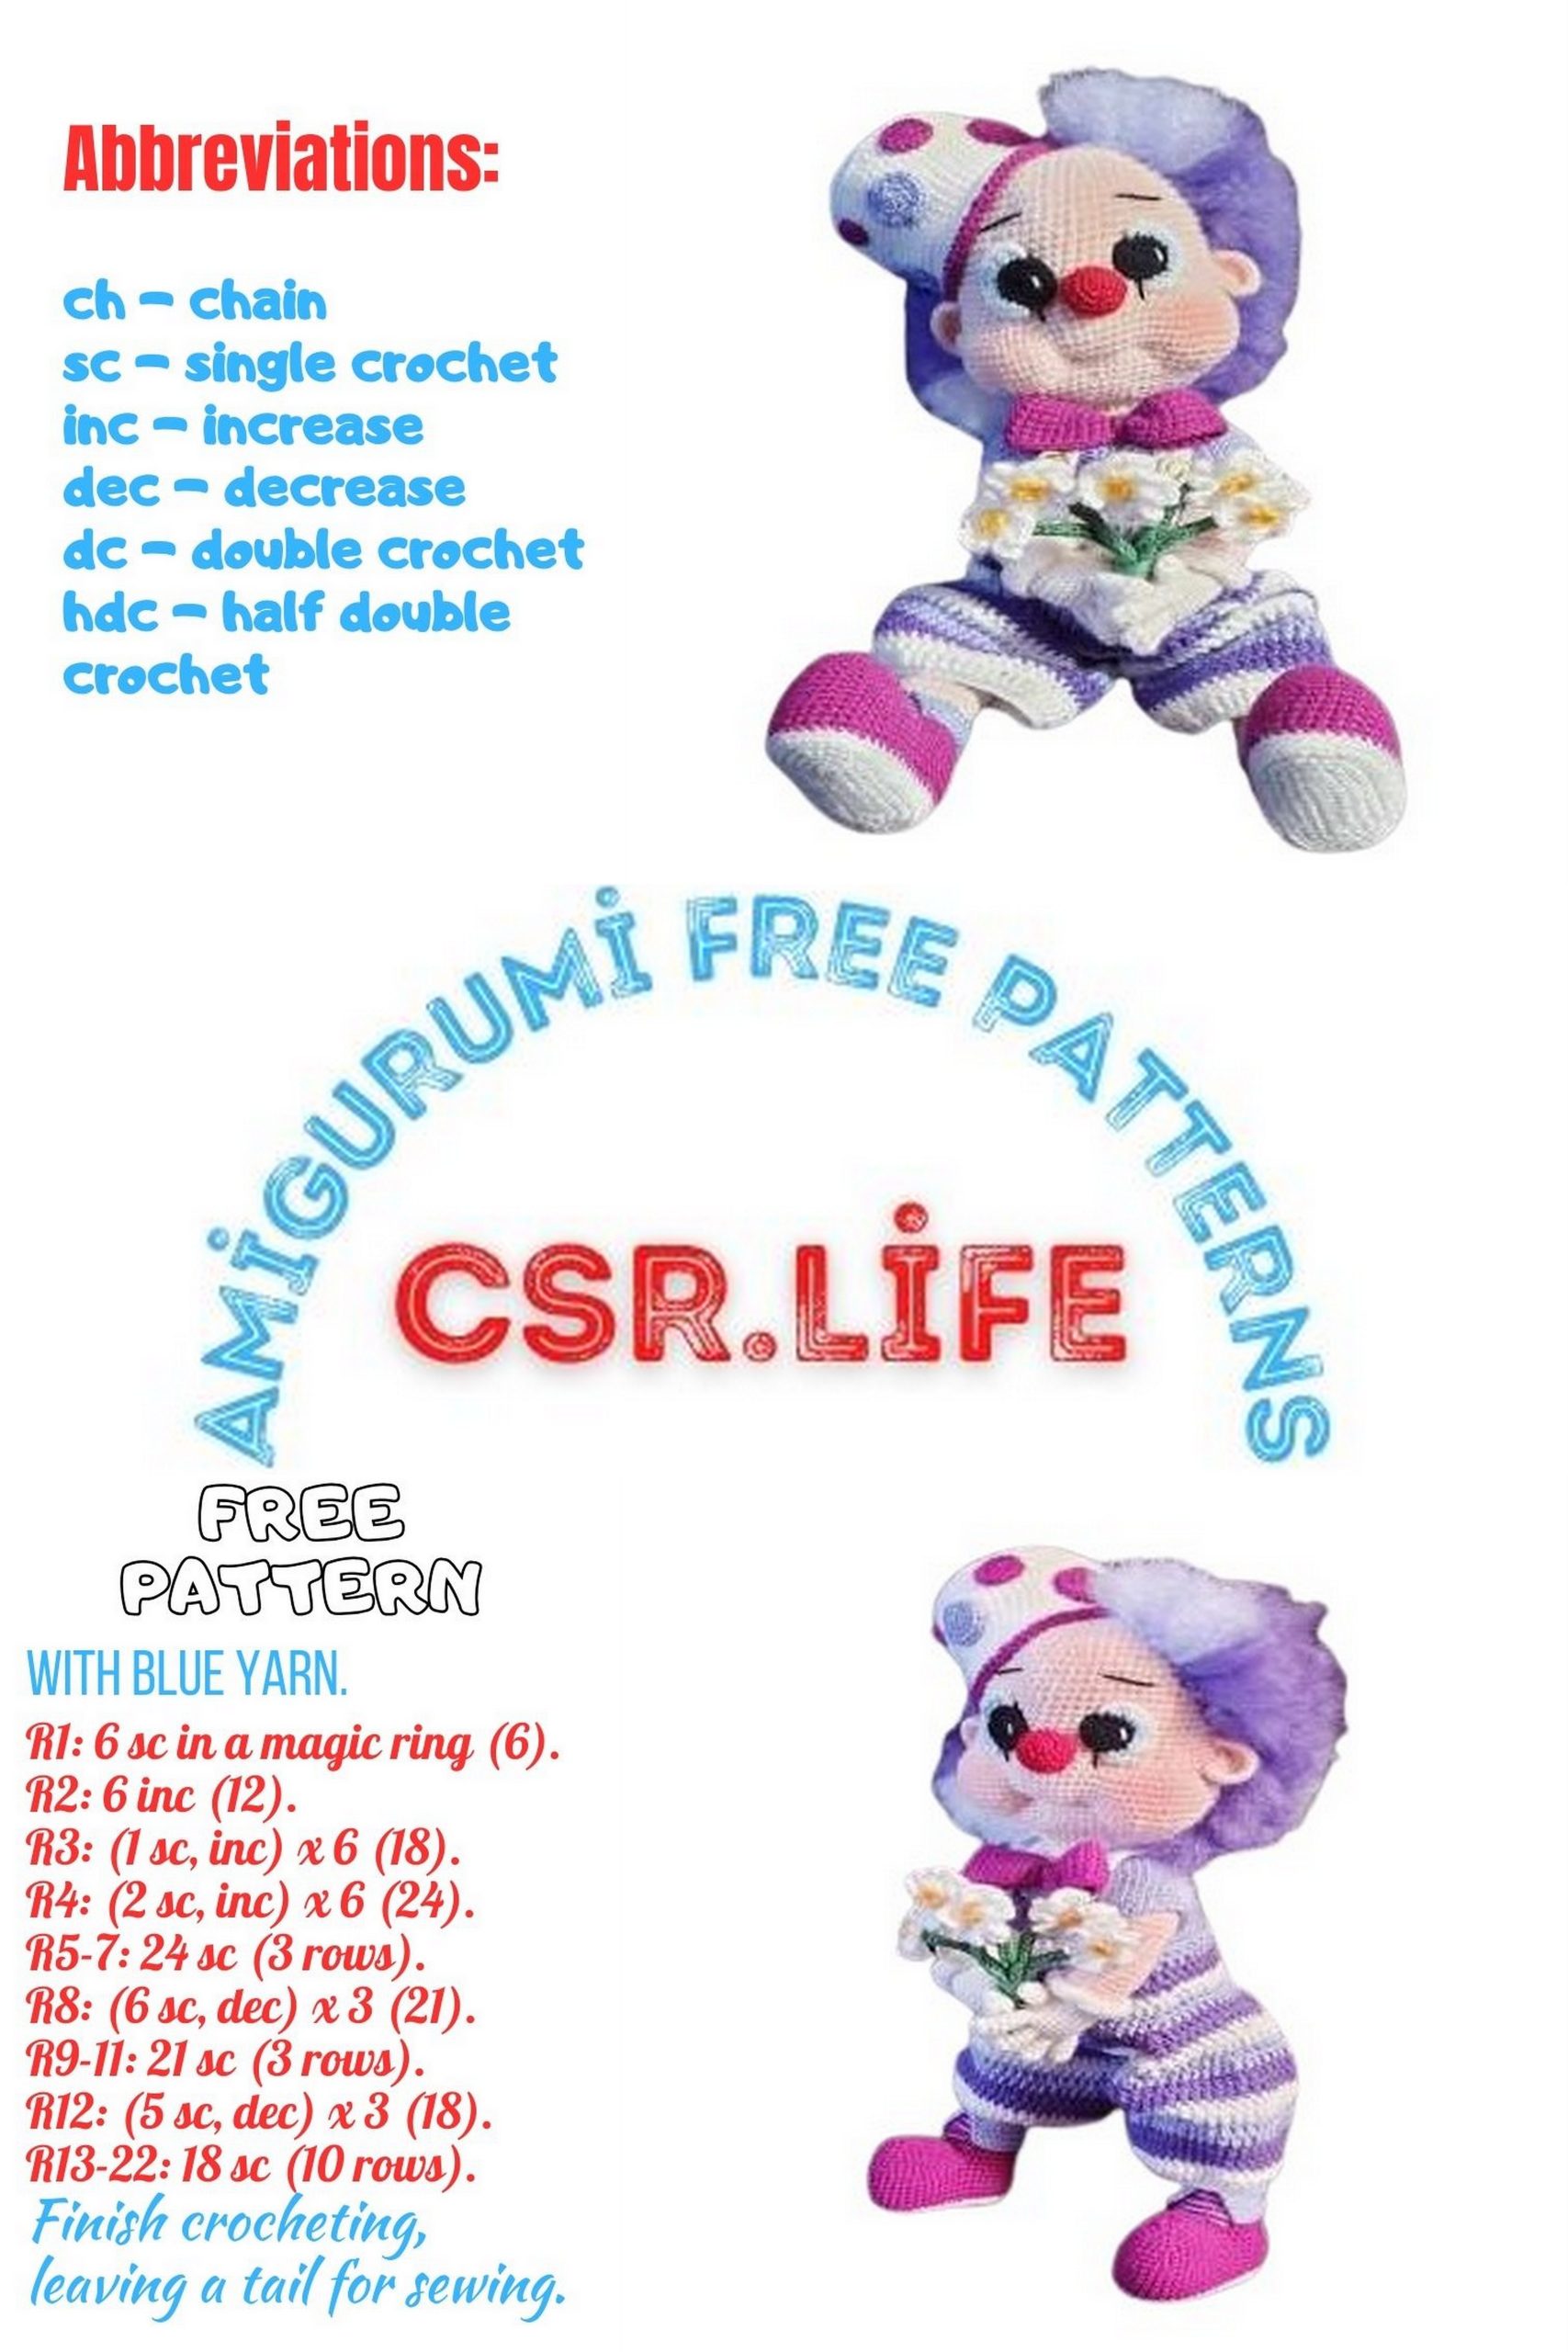
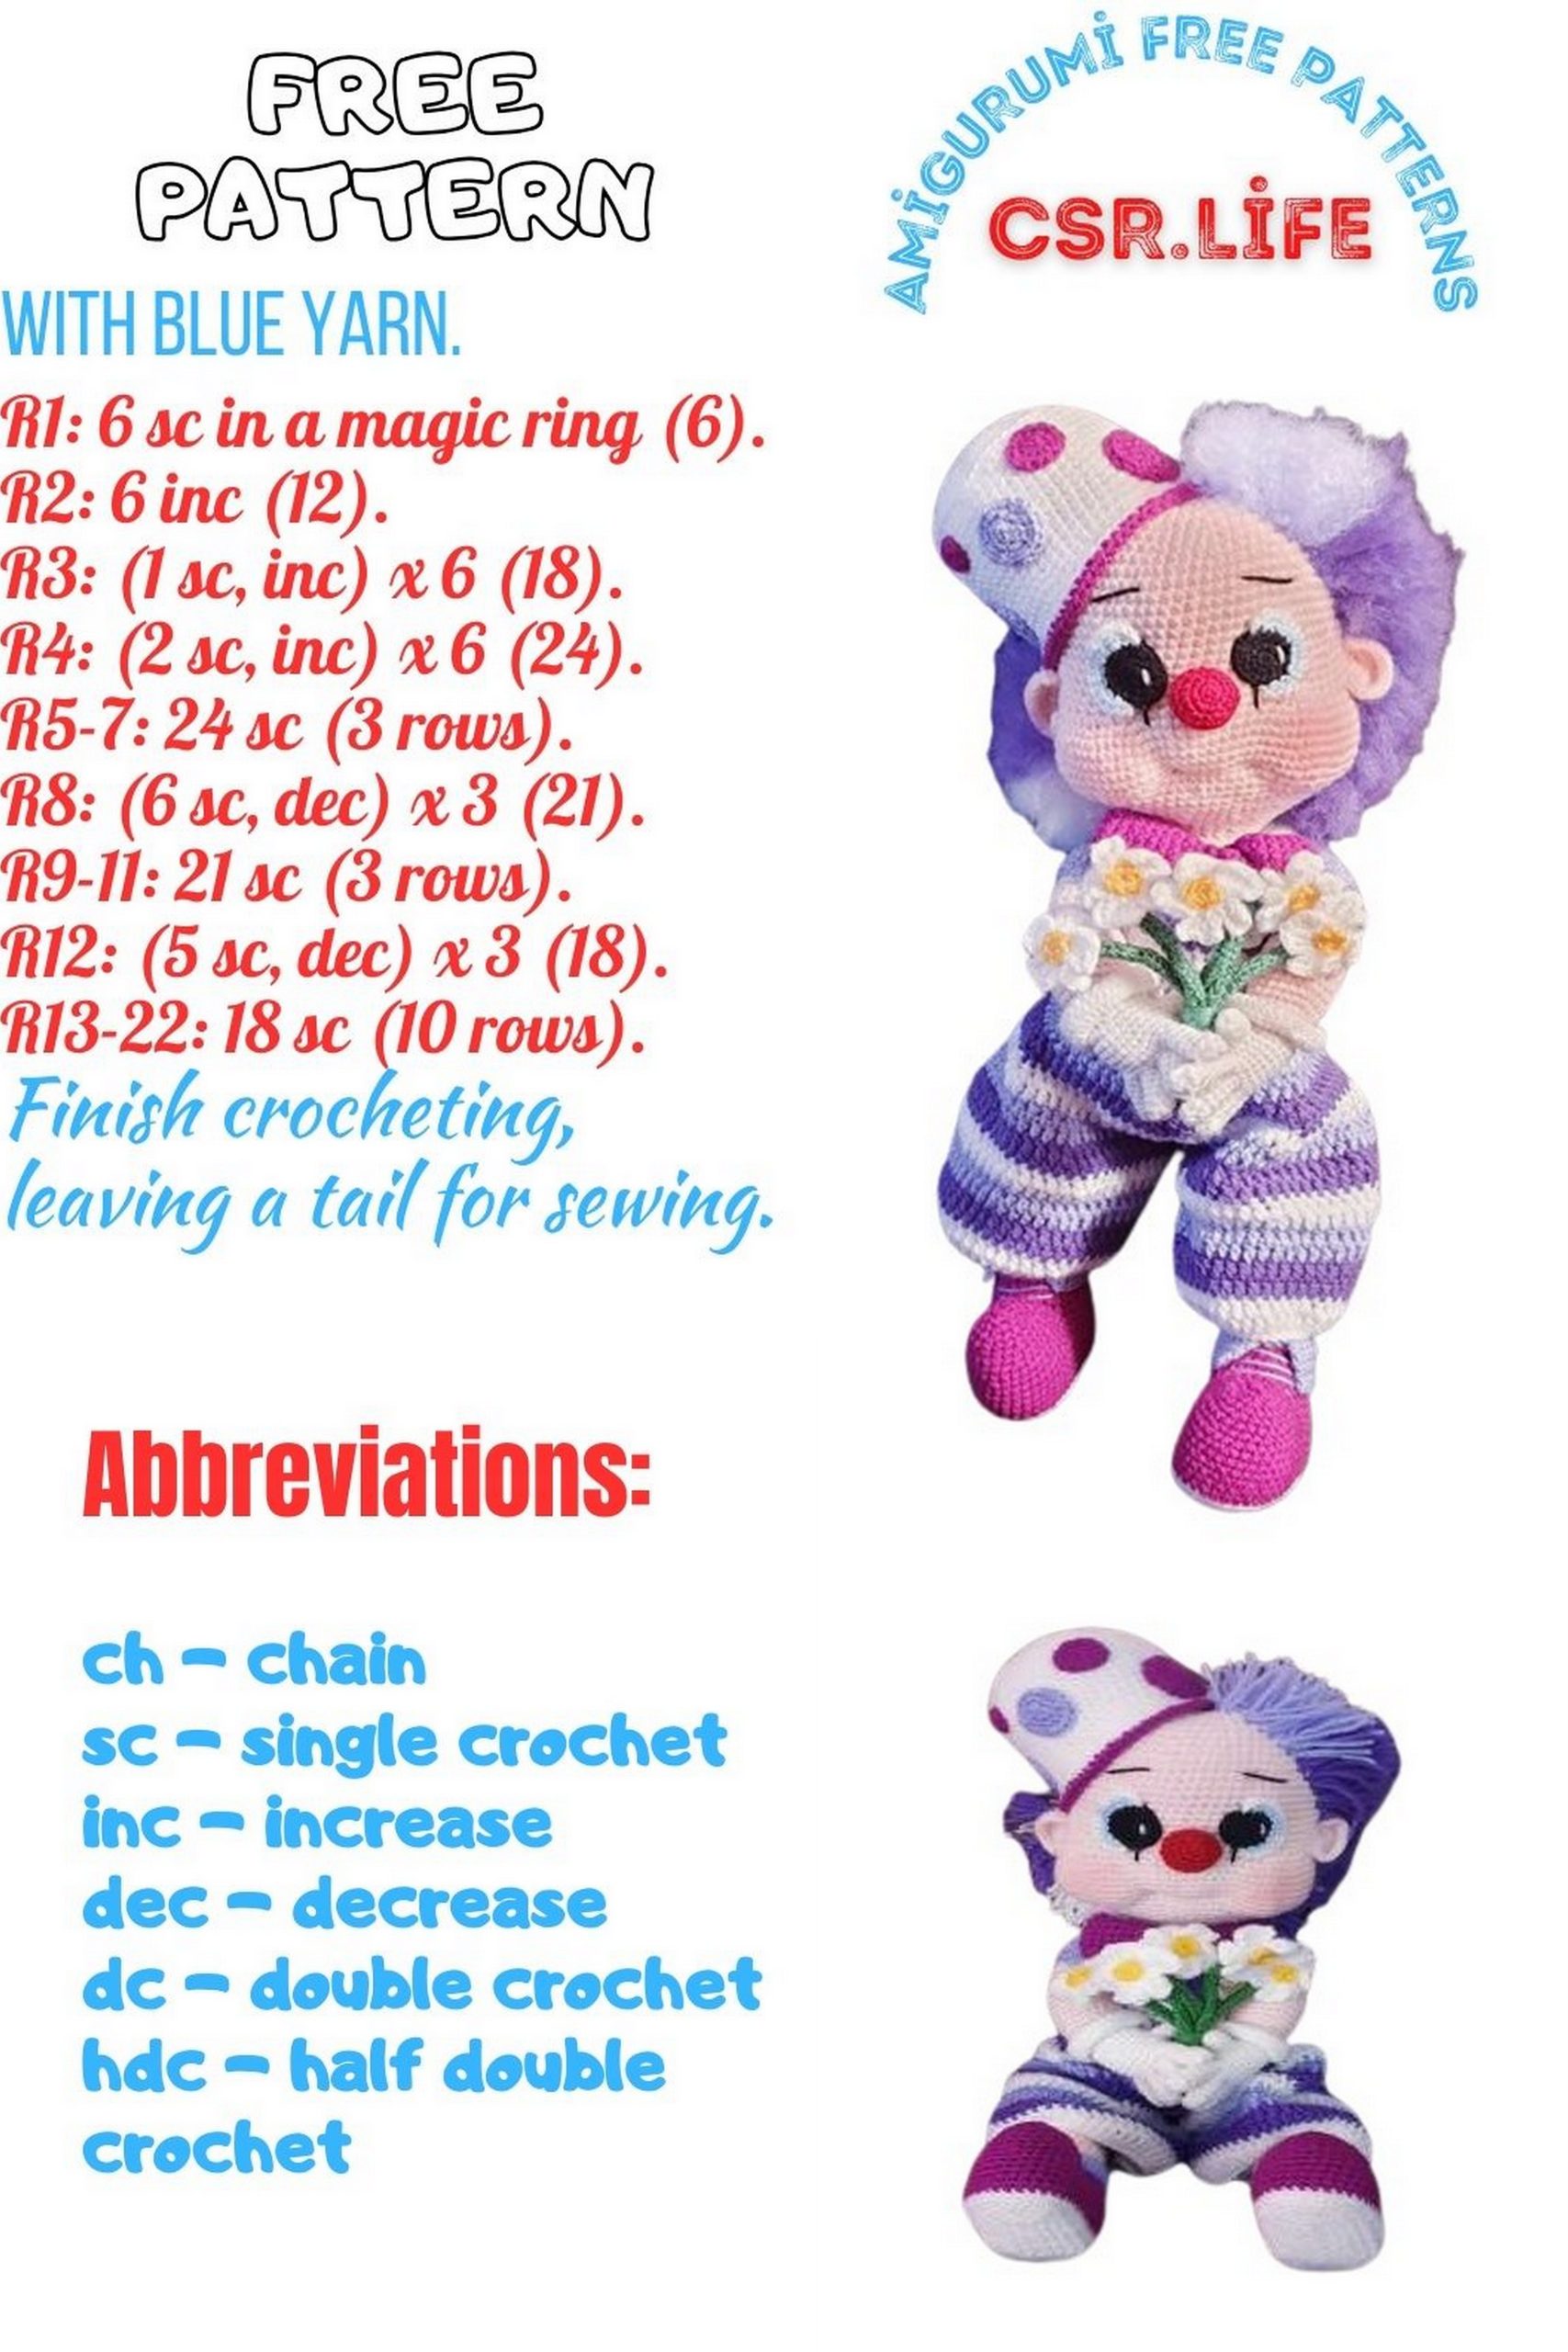
Free Amigurumi Pattern: Clarence The Clown – Crochet Delight
Welcome to our whimsical world of crochet! Dive into the enchanting realm of amigurumi with our latest free pattern: Clarence The Clown. This adorable amigurumi design will charm both beginners and seasoned crocheters alike. With its vibrant colors and delightful details, Clarence brings joy to every stitch. Follow our step-by-step instructions to create your very own Clarence The Clown and add a touch of magic to your crochet collection.
Abbreviations
CH=Chain (s)
MR=Magic Ring
SC=Single Crochet
DC=Double Crochet
TR=Treble Crochet
INC=Increases
DEC=Decreases
FLO=Front Loops Only
BLO=Back Loops Only
ST=Stitch
STS=Stitches
SKP=Skip
NXT=Next
SLST= Slip Stitch
F.O=Fasten Off
Materials
Hayfields Bonus Flesh DK Yarn-200g (2 x 100g balls)
Hayfields Bonus White DK Yarn-100g (1 x 100g ball)
Hayfield’s Bonus Sunflower Yellow DK Yarn-100g (1 x 100g ball)
Hayfield’s Bonus Emerald DK Yarn-100g (1 x 100g ball)
King Cole Pricewise Black DK Yarn-100g (1 x 100g ball)
King Cole Pricewise Light Blue DK Yarn-100g (1 x 100g ball)
King Cole Pricewise Cherry Red DK Yarn-100g (1 x 100g ball)
King Cole Pricewise Lilac DK Yarn-100g (1 x 100g ball)
King Cole Pricewise Purple DK Yarn-100g (1 x 100g ball)
King Cole Pricewise Plum DK Yarn-100g (1 x 100g ball)
2.00mm hook
2.50mm hook
2 x small white buttons
Darning Needle
Sculpting Needle
White Ribbon (Optional)
Card
Wire (Oasis Aluminium Silver Wire-100g-11.5mm x 2mm)
Wire Cutters
Wire Pet Grooming Brush
Electrical Tape
Measuring Tape
Fibre Stuffing
Scissors
Stitch Marker
Blush (For cheeks!)
Now that we have listed all of the materials for ‘Clarence’ we will now move on to
make him, firstly we will be making his head and facial features, so continue:-
PATTERN
Head
Using Flesh DK Yarn and a 2.00mm hook:-
1)6sc into a MR (6)
2)(inc) x 6 (12)
3)(sc,inc) x 6 (18)
4)Sc,inc (2sc,inc) x 5, sc (24)
5)(3sc,inc) x 6 (30)
6)2sc,inc (4sc,inc) x 5, 2sc (36)
7)(5sc,inc) x 6 (42)
8)3sc,inc (6sc,inc) x 5, 3sc (48)
9)(7sc,inc) x 6 (54)
10)4sc,inc (8sc,inc) x 5, 4sc (60)
11)(9sc,inc) x 6 (66)
12)5sc,inc (10sc,inc) x 5, 5sc (72)
13-18)Sc around (72)
19)5sc,dec (10sc,dec) x 5, 5sc (66)
20-23)Sc around (66)
24)21sc (inc) x 6, 12sc, (inc) x 6, 21sc (78)
25)21sc (3sc,inc) x 3, 12sc, (inc,3sc) x 3 21sc (84)
26)21sc (4sc,inc) x 3, 12sc, (inc, 4sc) x 3, 21sc (90)
27-30)Sc around (90)
31)21sc (4sc,dec) x 3, 12sc, (dec,4sc) x 3, 21sc (84)
32)21sc (3sc,dec) x 3, 12sc, (dec,3sc) x 3, 21sc (78)
33)21sc, (dec) x 6, 12sc, (dec) x 6, 21sc (66)
34)(9sc,dec) x 6 (60)
35)Sc around (60)
36)4sc,dec (8sc,dec) x 5, 4sc (54)
37)(7sc,dec) x 6 (48)
38)3sc,dec (6sc,dec) x 5, 3sc (42)
39)(5sc,dec) x 6 (36)
40)2sc,dec (4sc,dec) x 5, 2sc (30)
41)(3sc,dec) x 6 (24)
42)Sc around, Sl St and F.O, Leaving a long thread for sewing! (24)
What you will need to do now is stuff the head firmly stuffing around making sure
that you really pack out those cheeks, once you have done that put the head to
the side as we will now be making the facial features, Firstly we will be making the
eyes, so continue:-
Eyes x 2
Starting with Black DK Yarn and a 2.00mm hook:-
1)6sc into a MR (6)
2)(inc) x 6 (12)
3)(sc,inc) x 6, Sl St, F.O (18)
Change to Light Blue DK Yarn with a Sl St and Ch1:-
4)(inc) x 8 , Sl St into nxt st and F.O(There should be 16sts in total including 1 sl st at
each end) (18)
Change to White DK Yarn working it into the 1st Blue stitch you worked (looking at
the eye it’s the 1st blue stitch on the right) with a Sl St and Ch1:-
5)In BLO:-Sc into each st, Sl St and F.O (18)
(See Photo)
Weave in the ends leaving enough Black and White thread to sew the eye to the
head, using some White DK Yarn embroider on white flecks to the black parts of
the eyes. (See Photo)
Pin the eyes to the head and sew them into place. (See Photo)
Once you have completed this step, we will move on to working the nose, so
continue:-
Nose
Using Cherry Red DK Yarn and a 2.00mm hook:-
1)6sc into a MR (6)
2)(inc) x 6 (12)
3)(sc,inc) x 6 (18)
4-5)Sc around (18)
6)(sc,dec) x 6 ,Sl St and F.O, leaving a long thread for sewing! (12)
Stuff the nose lightly and pin to the head, once happy with positioning sew into
place, once you have done that we will move on to embroidering the eyebrows
and under the eye parts and sculpting the mouth, so continue:-
Using Black DK Yarn and a darning needle, embroider on the eyebrows and just
underneath each eye, we will now move on to sculpting the mouth:-
Sculpting The Mouth
Take a sculpting needle and a long thread of Flesh DK yarn, take the needle down
through the top of the head. (See Photo.)
Now bring the needle out 6 rows down from the bottom of the nose and 3sts out
from the right of the nose.
You will now need to count 9sts to the left and insert the needle. (See Photo)
Bringing the needle back out of the top of the head, pull tight to form a mouth, tie
a knot to secure and weave in the end.
Now that we have completed sculpting the mouth, we will now move on to
making the ears, so continue:-
Ears x 2
Firstly we will make the left ear. So using Flesh DK Yarn and a 2.00mm hook:-
1)6sc into a MR, Ch1 and turn (6)
2)(inc) x 6, Ch1 and turn (12)
3)11sc,4sc into last st, Ch1 and turn (15)
4)Sc into each st, Ch1 and turn (15)
5)Sl St into each st and F.O , Leaving a long thread for sewing! (15)
We will now move on to making the right ear, so continue:-
1)6sc into a MR, Ch1 and turn (6)
2)(inc) x 6, Ch1 and turn (12)
3)4sc into 1st st, 11sc, Ch1 and turn (15)
4)Sc into each st, Ch1 and turn (15)
5)Sl St into each st, F.O, Leaving a long thread for sewing! (15)
Put the ears to the side for now.
We will sew them to the head once the hat has been made at the end of this
pattern, we will now now move on to working the body, so continue:-
Body
Using Flesh DK Yarn and a 2.00mm hook:-
1)6sc into a MR (6)
2)(inc) x 6 (12)
3)(sc,inc) x 6 (18)
4)sc,inc (2sc,inc) x 5, sc (24)
5)(3sc,inc) x 6 (30)
6)2sc,inc (4sc,inc) x 5, 2sc (36)
7)(5sc,inc) x 6 (42)
8)3sc,inc (6sc,inc) x 5, 3sc (48)
9)(7sc,inc) x 6 (54)
10)4sc,inc (8sc,inc) x 5, 4sc (60)
11)(9sc,inc) x 6 (66)
12)5sc,inc (10sc,inc) x 5, 5sc (72)
13-16)Sc around (72)
17)5sc,dec (10sc,dec) x 5, 5sc (66)
18-20)Sc around (66)
21)(9sc,dec) x 6 (60)
22-23)Sc around (60)
24)4sc,dec (8sc,dec) x 5, 4sc (54)
25-26)Sc around (54)
27)(7sc,dec) x 6 (48)
28-29)Sc around (48)
30)3sc,dec (6sc,dec) x 5, 3sc (42)
31-32)Sc around (42)
33)(5sc,dec) x 6 (36)
34-35)Sc around (36)
36)2sc,dec (4sc,dec) x 5 2sc (30)
37-38)Sc around (30)
39)(3sc,dec) x 6 (24)
40)Sc around, Sl St and F.O, Leaving a long thread for sewing! (24)
Stuff the body firmly. (See Photo)
Using your chosen head support sew the head to the body, when sewing the head
to the body stuff the neck and around your chosen head support to give more
stability to the head.
Now that you have done that, we will now move on to working the feet and legs
so continue:-
Feet & legs x 2
Starting with White DK Yarn and a 2.00mm hook:-
Ch13, starting from the 2nd Ch from the hook:-
1)3sc into the 2nd Ch from the hook, 10sc, 3sc into last Ch -Turning and working on
the opposite side-10sc and place your marker. (26)
2)(inc) x 3, 10sc, (inc) x 3, 10sc (32)
3)(sc,inc) x 3, 10sc, (sc,inc) x 3, 10sc (38)
4)(2sc,inc) x 3, 10sc, (2sc,inc) x 3, 10sc (44)
5)(3sc,inc) x 3, 10sc, (3sc,inc) x 3, 10sc (50)
6)In BLO:-Sc around, Sl St and F.O (50)
Change to Plum DK Yarn with a Sl St and Ch1:-
7)In BLO:-Sc around (50)
8-11)Sc around (50)
12)20sc, Ch8, Join Ch with a Sc to the 4th st from the marker, 4sc (32)
13)20sc, Sc into each of 8ch, 4sc (32)
14)(14sc,dec) x 2 (30)
15)Sc around (30)
16)(3sc,dec) x 6 (24)
17)Sc around (24)
18)(2sc,dec) x 6 ,Sl St and F.O (18)
Draw around the bottom of the foot onto a piece of card, cut out and place into
the bottom of the foot, continue:-
With Plum DK Yarn, join the yarn to the right corner of the foot with a Sl St and
Ch1:-
1)Sc around (35)(33sts + 1sc into each corner to avoid gaps!)
2)(5sc,dec) x 5 (30)
3)Sc around (30)
4)(3sc,dec) x 6 (24)
5)Sc around (24)
6)(2sc,dec) x 6 (18)
7)Sc around (18)
8)(sc,dec) x 6 (12)
9)(dec) x 6 (6)
10)(dec) x 3, Sl St and F.O, Weave in end. (3)
Stuff the foot and continue stuffing from this point onwards, we will now work the
leg so continue:-
Join Flesh DK Yarn to the back centre of the foot with a Sl St and Ch1:-
1)In BLO:-Sc around (18)
2)Sc around (18)
3)(2sc,inc) x 6 (24)
4-5)Sc around (24)
6)(11sc,inc) x 2 (26)
7-9)Sc around (26)
10)(12sc,inc) x 2 (28)
11-13)Sc around (28)
14)(13sc,inc) x 2 (30)
15-18)Sc around (30)
19)28sc(Leave the last 2sts unworked as now you will be working the knee cap-this
will be your new starting point so place your marker)(28)
20)(dec) x 4, 8sc, (inc) x 4, 10sc (30)
21-24)Sc around (30)
25)(inc) x 4, 8sc, (dec) x 4, 10sc (30)
26)Sc around (30)
27)(14sc,inc) x 2 (32)
28-29)Sc around (32)
30)(15sc,inc) x 2 (34)
31-32)Sc around (34)
33)(16sc,inc) x 2 (36)
34-35)Sc around (36)
36)(17sc,inc) x 2 (38)
37)Sc around (38)
38)(18sc,inc) x 2 (40)
39)Sc around (40)
40)(19sc,inc) x 2 (42)
41)Sc around (42)
42)(5sc,dec) x 6 (36)
43)(4sc,dec) x 6 (30)
44)(3sc,dec) x 6 (24)
45)(2sc,dec) x 6 (18)
46)(sc,dec) x 6 (12)
47)(dec) x 6 (6)
48)(dec) x 3, Sl St and F.O, Leaving a long thread for sewing! (3)
Repeat this for the 2nd Leg, then once you have done that we will move on to
working the boot cuffs, so continue:-
Boot Cuffs x 2
Using Lilac DK Yarn and a 2.00mm hook:-
Ch29, starting from the 2nd Ch from the hook:-
1)Sc into each Ch, Ch1 and turn (28)
2)Sc into each st, Ch1 and turn (28)
3)In BLO:-Sc into each st, Ch1 and turn (28)
4-8)Sc into each st, Ch1 and turn (28)
9)Sc into each st, Sl St and F.O (28)
Leave a long thread for sewing.
Once you have made the 2nd Boot Cuff, place each cuff around the ankle and
secure by sewing around the bottom with a darning needle and the thread you
have left over, then fold over. You’ll notice that the cuff folds naturally then with a
long thread of Lilac DK Yarn embroider on laces. (See Photos for guidance.)
Now that we have completed the boot cuffs, we will now move on to sculpting the
legs to the body, so continue:-
Sculpting The Legs
Take a long sculpting needle and the thread you have left over from one of the
legs. Position the leg to the side of the body (between R12-R13) and push the
needle all the way through to the other side, pull tight and then take it back
through to the side the leg is, repeat this a further 2 more times, repeat this
method for the 2nd leg, once you are happy we will move on to make the hands
and arms, so continue:-
(See Photos for guidance)
We will now be working the hands and arms, so continue:-
Firstly we will be making the left hand and arm:-
Left Hand and Arm
Starting with White DK Yarn and a 2.00mm hook:-
Thumb
1)6sc into a MR (6)
2-3)Sc around (6)
4)Sc around, Sl St and F.O (6)
Put to the side for now!
Fingers x 4
1)6sc into a MR (6)
2-5)Sc around (6)
6)Sc around, Sl St and F.O (6)(First 3 fingers only!)
Keeping the yarn still attached to the last finger, join them as follows:-
1)(1st finger=3sc, 2nd finger=3sc, 3rd finger=3sc, 4th finger=6sc, 3rd finger=3sc, 2nd
finger=3sc, 1st finger=3sc)(Place your marker here- 24sts in total)
2-5)Sc around (24)
We will now be joining the thumb, continue:-
6)Sc,(Sc through 1 stitch of the thumb and 1 stitch of the hand) x 3, 20sc (24)
7)Sc,(Sc around the thumb) x 3 , 20sc (24)
8)Sc around (24)
9)(2sc,dec) x 6 (18)
Stuff the thumb, fingers and hand and continue stuffing from this point onwards,
continue:-
10)In FLO:-Sc around (18)
11)(2sc,inc) x 6 (24)
12)(3sc,inc) x 6 (30)
13-14)Sc around (30)
15)(4sc,inc) x 6 (36)
16)Sc around, Sl St and F.O, Weave in the end. (36)
Join Flesh DK Yarn to the back loops of R10 with a Sl St and Ch1:-
10)Into the unworked back loops:-Sc around (18)
11)(5sc,inc) x 3 (21)
12)Sc around (21)
13)(6sc,inc) x 3 (24)
14-19)Sc around (24)
20)(6sc,dec) x 3 (21)
21)(5sc,dec) x 3 (18)
22)Sc around (18)
23)(2sc,inc) x 6 (24)
24)Sc around (24)
25)(11sc,inc) x 2 (26)
26)Sc around (26)
27)(12sc,inc) x 2 (28)
28)Sc around (28)
29)(13sc,inc) x 2 (30)
30-32)Sc around (30)
33)(3sc,dec) x 6 (24)
34)Sc around (24)
35)(2sc,dec) x 6 (18)
36)Sc around (18)
37)(sc,dec) x 6 (12)
38)(dec) x 6 (6)
39)(dec) x 3, Sl St and F.O, Leaving a long thread for sewing! (3)
We will now make the right hand and arm so continue:-
Right Hand and Arm
Starting with White DK Yarn and a 2.00mm hook:-
Thumb
1)6sc into a MR (6)
2-3)Sc around (6)
4)Sc around, Sl St and F.O (6)
Put to the side for now, we will now make the fingers:-
Fingers x 4
1)6sc into a MR (6)
2-5)Sc around (6)
6)Sc around, Sl St and F.O (6)(First 3 fingers only!)
Keeping the yarn still attached to the last finger, join the fingers as follows:-
1)(1st finger=3sc, 2nd finger=3sc, 3rd finger=3sc, 4th finger=6sc, 3rd finger=3sc, 2nd
finger=3sc, 1st finger=3sc)(Place your marker here-24sts in total) (24)
2-4)Sc around (24)
5)21sc(Leave the 22nd, 23rd and 24th sts unworked as this is where you will be
placing the thumb)(21)
6)(Join the thumb into the unworked 22nd, 23rd and 24th sts going through 1 stitch of
the thumb and 1 stitch of the hand) x 3, 21sc (24)
7)(Sc around the thumb) x 3, 21sc (24)
8)Sc around (24)
9)(2sc,dec) x 6 (18)
Stuff the thumb, fingers and hand and continue stuffing from this point onwards,
continue:-
10)In FLO:-Sc around (18)
11)(2sc,inc) x 6 (24)
12)(3sc,inc) x 6 (30)
13-14)Sc around (30)
15)(4sc,inc) x 6 (36)
16)Sc around, Sl St and F.O, Weave in end. (36)
Join Flesh DK Yarn to the unworked Back loops of R10 with a Sl St and Ch1:-
10)Into the unworked back loops:-Sc around (18)
11)(5sc,inc) x 3 (21)
12)Sc around (21)
13)(6sc,inc) x 3 (24)
14-19)Sc around (24)
20)(6sc,dec) x 3 (21)
21)(5sc,dec) x 3 (18)
22)Sc around (18)
23)(2sc,inc) x 6 (24)
24)Sc around (24)
25)(11sc,inc) x 2 (26)
26)Sc around (26)
27)(12sc,inc) x 2 (28)
28)Sc around (28)
29)(13sc,inc) x 2 (30)
30-32)Sc around (30)
33)(3sc,dec) x 6 (24)
34)Sc around (24)
35)(2sc,dec) x 6 (18)
36)Sc around (18)
37)(sc,dec) x 6 (12)
38)(dec) x 6 (6)
39)(dec) x 3, Sl St and F.O, Leaving a long thread for sewing! (3)
Now that we have completed the hands and arms, we will now sculpt them to the
body, so continue:-
Sculpting The Arms
Take a long sculpting needle and the thread you have left over from one of the
arms, position the arm to the side of the body (between R35-R36) and push the
needle all the way through to the other side, pull tight and then take it back
through to the side where the arm is, Repeat this a further 2 more times then
repeat this for the other arm, once you have done this we will move on to making
his clothing so continue:-
Firstly we will make the t-shirt, so continue:-
T-Shirt
Using Lilac DK Yarn and a 2.50mm hook:-
Ch45, starting from the 2nd Ch from the hook:-
1)Sc into each Ch, Ch1 and turn (44)
2)5sc, (Sc, Ch2, Sc)- all into nxt st, 10sc, (Sc, Ch2, Sc)-all into nxt st, 10sc, (Sc, Ch2, Sc)-
all into nxt st, 10sc, (Sc, Ch2, Sc)-all into nxt st, 5sc, Ch1 and turn (48)
3)5sc, inc, (Sc, Ch2,Sc)- all into nxt ChSp, inc, 10sc, inc, (Sc, Ch2, Sc)- all into nxt ChSp,
inc, 10sc, inc, (Sc, Ch2,Sc)- all into nxt ChSp, inc, 10sc, inc, (Sc, Ch2, Sc)-all into nxt
ChSp, inc, 5sc, Ch1 and turn (62)
4)8sc, inc into ChSp, Ch10, Skp16sts, inc into ChSp, 16sc, inc into ChSp, Ch10,
Skp16sts, inc into ChSp, 8sc, Ch1 and turn (40)
5)10sc, Sc into each of 10ch, 20sc, Sc into each of 10ch, 10sc, Ch1 and turn (60)
6-13)Sc into each st, Ch1 and turn (60)
14)Sc into each st, Sl St and F.O Leaving a long thread for sewing! (60)
We will now be working on the t-shirt sleeves, so continue:-
Sleeves x 2
1)Join the same coloured yarn to the back of the sleeve with a Sl St and Ch1 and
work 26sts around (26):-
2-6)Sc around (26)
7)Sc, (2sc,dec) x 6, sc (20)
8)Sc around, Sl St and F.O (20)
Repeat this for the 2nd Sleeve, then weave in ends, Put the t-shirt on to Clarence
and using the left over thread and a darning needle sew the opening closed at the
back. (See Photo.)
Now that you have completed the t-shirt, we can now work the dungarees, so
continue:-
Dungarees
Firstly, we will make the leg parts to the dungarees, so continue:-
Leg Parts x 2
Starting with White DK Yarn and a 2.50mm hook:-
Ch48 and join with a Sl St to form a circle:-
1)Sc into each Ch (48)(Place your marker here)
2)Ch2, Dc around, Sl St and Ch2(48)
3)Dc around, and Sl St (48)
Change to Purple DK Yarn with a Sl St and Ch2:-
4)Dc around, Sl St and Ch2(48)
5)Dc around and Sl St (48)
Change to Lilac DK Yarn with a Sl St and Ch2:-
6)Dc around, Sl St and Ch2 (48)
7)Dc around and Sl St (48)
Change to White DK Yarn with a Sl St and Ch2:-
8)Dc around, Sl St and Ch2 (48)
9)Dc around and Sl St (48)
Change to Purple DK Yarn with a Sl St and Ch2:-
10)Dc around, Sl St and Ch2 (48)
11)Dc around, Sl St and F.O (48)
(Left Leg Part Only!)
Once you have completed the right leg part join Lilac DK Yarn with a Sl St and Ch2:-
1)Dc 10 around Right Leg, join with a Sl St to the Left Leg and Ch2 (This will count as
your 1st Dc),Dc around Left Leg (47sts) Dc 38 around Right Leg and Place Marker (96)
2)(14dc,dec) x 6 and Sl St (90)
Change to White DK Yarn with a Sl St and Ch2:-
3)(13dc,dec) x 6 (84)
4)(12dc,dec) x 6 and Sl St (78)
Change to Purple DK Yarn with a Sl St and Ch2:-
5)(11dc,dec) x 6 (72)
6)(10dc,dec) x 6, and Sl St (66)
Change to Lilac DK Yarn with a Sl St and Ch2:-
7)(9dc,dec) x 6 (60)
8)(8dc,dec) x 6, and Sl St (54)
Change to White DK Yarn with a Sl St and Ch2:-
9)(7dc,dec) x 6 (48)
10)Dc around and Sl St (48)
Change to Purple DK Yarn with a Sl St and Ch2:-
11)Dc around (48)
12)Dc around and Sl St (48)
Change to Lilac DK Yarn with a Sl St and Ch2:-
13)Dc around (48)
14)Dc around, Sl St and F.O (48)
For the next part you will need a stitch marker to mark the centre back. (See
Photo.)
Then count 18sts to the left and join White DK Yarn with a Sl St and Ch2:-
1)12dc, Ch2 and turn (12)
2)12dc and Sl St (12)
Change to Purple DK Yarn with a Sl St and Ch2:-
3)12dc, Ch2 and turn (12)
4)12dc , Sl St and F.O, Then weave in the end. (12)
We will now move on to working the straps for the dungaree’s so continue:-
Straps x 2
Using White DK Yarn and a 2.50mm hook:-
Ch39, starting from the 2nd Ch from the hook:-
1)Sc into each Ch, Ch1 and turn (38)
2)Sc into each st, Ch1 and turn (38)
3)Sc into each st and F.O (38)
Repeat this for the 2nd Strap and then do as follows:-
For this part we used 2 small white buttons, but with your chosen buttons sew to
one end of each strap and sew the other end to the back of the dungarees, cross
the straps and sew to the dungaree panel at the front. (See Photo)
You will now slide the dungarees onto Clarence, once you have done that we will
move on to working the bow, so continue:-
Bow
Using Plum DK Yarn and a 2.50mm hook:-
Ch40, join to the 1st Ch to form a circle and Ch1:-
1)Sc into each Ch and place your marker (40)
2-5)Sc around (40)
6)Sc around, Sl St and F.O,Leaving a long thread! (40)
Use the thread to wrap around the middle several times to form the bow and sew
to the front of Clarence’s top. (See photo of completed bow!)
Now that we have completed the bow we will move onto working the hat, so
continue:-
Hat
Starting with White DK Yarn and a 2.50mm hook:-
1)6sc into a MR (6)
2)(inc) x 6 (12)
3)(sc,inc) x 6 (18)
4)(2sc,inc) x 6 (24)
5)(3sc,inc) x 6 (30)
6)(4sc,inc) x 6 (36)
7)(5sc,inc) x 6 (42)
8)(6sc,inc) x 6 (48)
9)(7sc,inc) x 6 (54)
10)In BLO:-Sc around (54)
11-21)Sc around (54)
22)(8sc,inc) x 6 (60)
23)(9sc,inc) x 6 (66)
24)(10sc,inc) x 6 (72)
25)Sc around and Sl St (72)
Change to Plum DK Yarn with a Sl St and Ch1:-
26)In BLO:-Sc around, Sl St and F.O (72)
Now that we have made the hat, we will make the spots that go on to the hat so
continue:-
Spots For The Hat
You will make 2 x small Plum Spots and 2 x small Lilac Spots, using a 2.50mm
hook:-
1)6sc into a MR, Sl St and F.O (6)
You will now make 2 x medium Plum Spots and 2 x medium Lilac Spots, using the
same hook:-
1)6sc into a MR (6)
2)(inc) x 6, Sl St and F.O (12)
You will now make 2 x large Plum Spots and 2 x large Lilac Spots, using the same
hook:-
1)6sc into a MR (6)
2)(inc) x 6 (12)
3)(sc,inc) x 6, Sl St and F.O (18)
What you will now need to arrange the spots randomly around the hat and sew
them into place, lightly stuff the hat and sew at an angle to the head. (See Photo of
completed hat and spots!):-
Now that you have sewn the hat to the head, you can now sew the ears to the
head, we will now move on to how to implant the hair, so continue:-
Hair
For this part you will need a darning needle, Black DK Yarn, Purple DK Yarn, Lilac
DK Yarn, White DK Yarn, a measuring tape, scissors, a pet grooming wire brush and
a crochet hook, do as follows:-
Take a long length of Black DK Yarn and darning needle and mark loosely where
you want the colours to go on the head (See Photos!):-
With a measuring tape and scissors Cut lengths of 5-6” of each colour and using
the marked lines on the head, insert the hair as follows:-
Place the hook into one of the holes in the head, fold a length in half and place
onto the hook, pull the length through and up to form a loop, then place the
fastened off ends through the loop and pull tight to secure, repeat this method
around the head in each colour, then once happy trim hair into shape.
This next part is optional, we used a pet grooming wire brush, and brushed
through the lengths thoroughly to give Clarence big fluffy hair. If you don’t want to
do this then we will move on to the next stage which is making the flowers so let’s
continue:-
Flowers x 5
Starting with White DK Yarn and a 2.50mm hook:-
Ch6, join to the 1st Ch to form a circle, this is the 1st petal:-
*Ch4, work 4Tr into the Ch6 space, Ch4, Sl St into the Ch6 space *
Repeat from * to * 4 more times and weave in the end. (See photo’s):-
You will now be using Sunflower Yellow DK Yarn and the same hook:-
With the yellow:-
6sc into a MR, Sl St and F.O- sew this to the centre of the flower, repeat all of the
above for the next 4 flowers (See Photo.)
We will now be working on the stems for the flowers, so continue:-
Flower Stems x 5
Using Emerald Green DK Yarn and a 2.50mm hook:-
Ch31, starting from the 2nd Ch from the hook:-
1)Sc into each Ch, Ch1 and turn (30)
2)Sc into each st, and F.O leaving a long thread for sewing! (30)
Repeat this for the other 4 stems.(See Photo):-
For this next part you will need wire, wire cutters, a measuring tape, electrical tape
and a darning needle, do as follows:-
With the measuring tape, measure out 5 x 4.5” of wire and then cut, then wrap the
wire lengths in electrical tape. (See Photo)
Take a darning needle and using the thread left over from the stems you made sew
up the length of the stem and then sew to the back of the flower, repeat this for
the other 4 flowers. (See Photos)
What you will now need to do is bunch all the flowers together and wrap some of
the Green yarn around the stems to hold them together, tie a knot to secure, Take
a length of White Ribbon (optional) to tie a bow around the stems, you can either
leave the bunch loose or sew them to Clarence’s hands so it looks like he’s holding
them. (See Photo):-
Well done, you now have your very own little version of ‘Clarence’ we hope you
enjoyed making him as much as we enjoyed designing him, if you have any
questions or require any assistance please do not hesitate to contact us, we are on