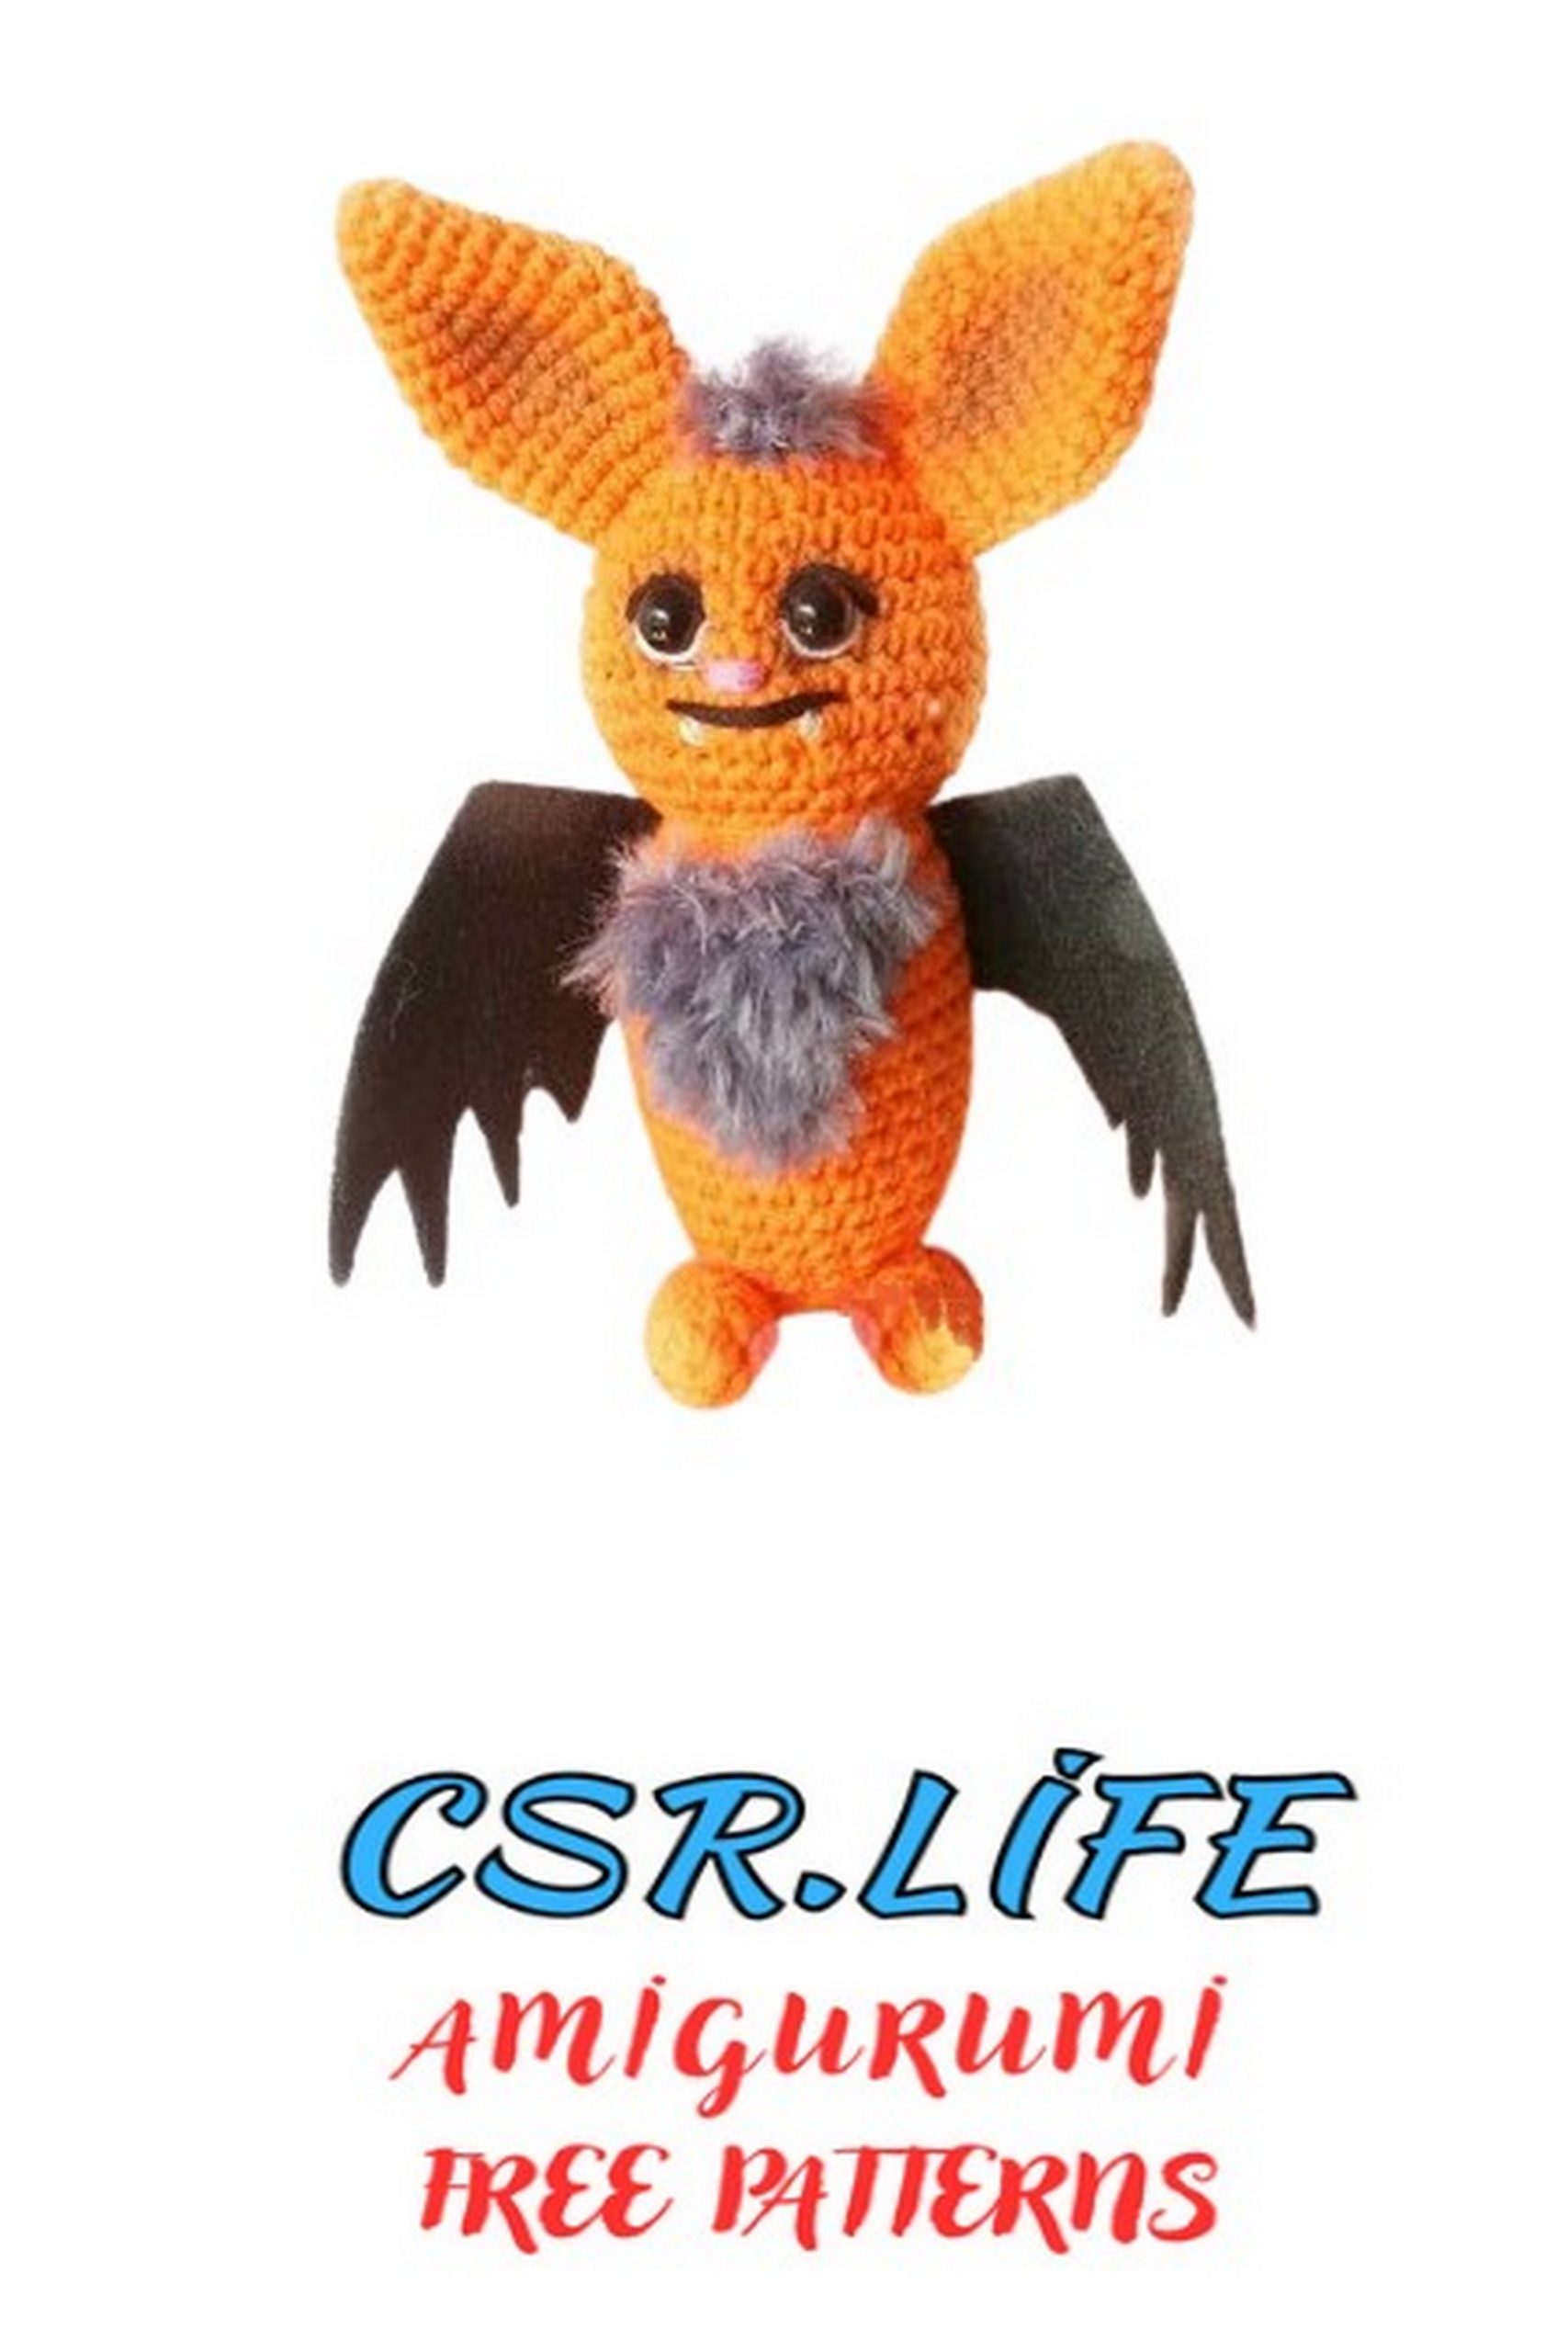
Halloween Bat Amigurumi Free Pattern – Crochet Tutorial
Get into the spooky spirit of Halloween with our free Halloween Bat Amigurumi pattern and crochet tutorial.
Whether you’re a beginner or an experienced amigurumi crocheter, this comprehensive guide provides step-by-step instructions and clear photos to help you craft a cute yet creepy bat.
Perfect for adding a touch of whimsy to your Halloween decor or for gifting to fellow Halloween enthusiasts, this bat amigurumi is sure to be a hit.
Start your Halloween Bat Amigurumi project today and let your creativity take flight!
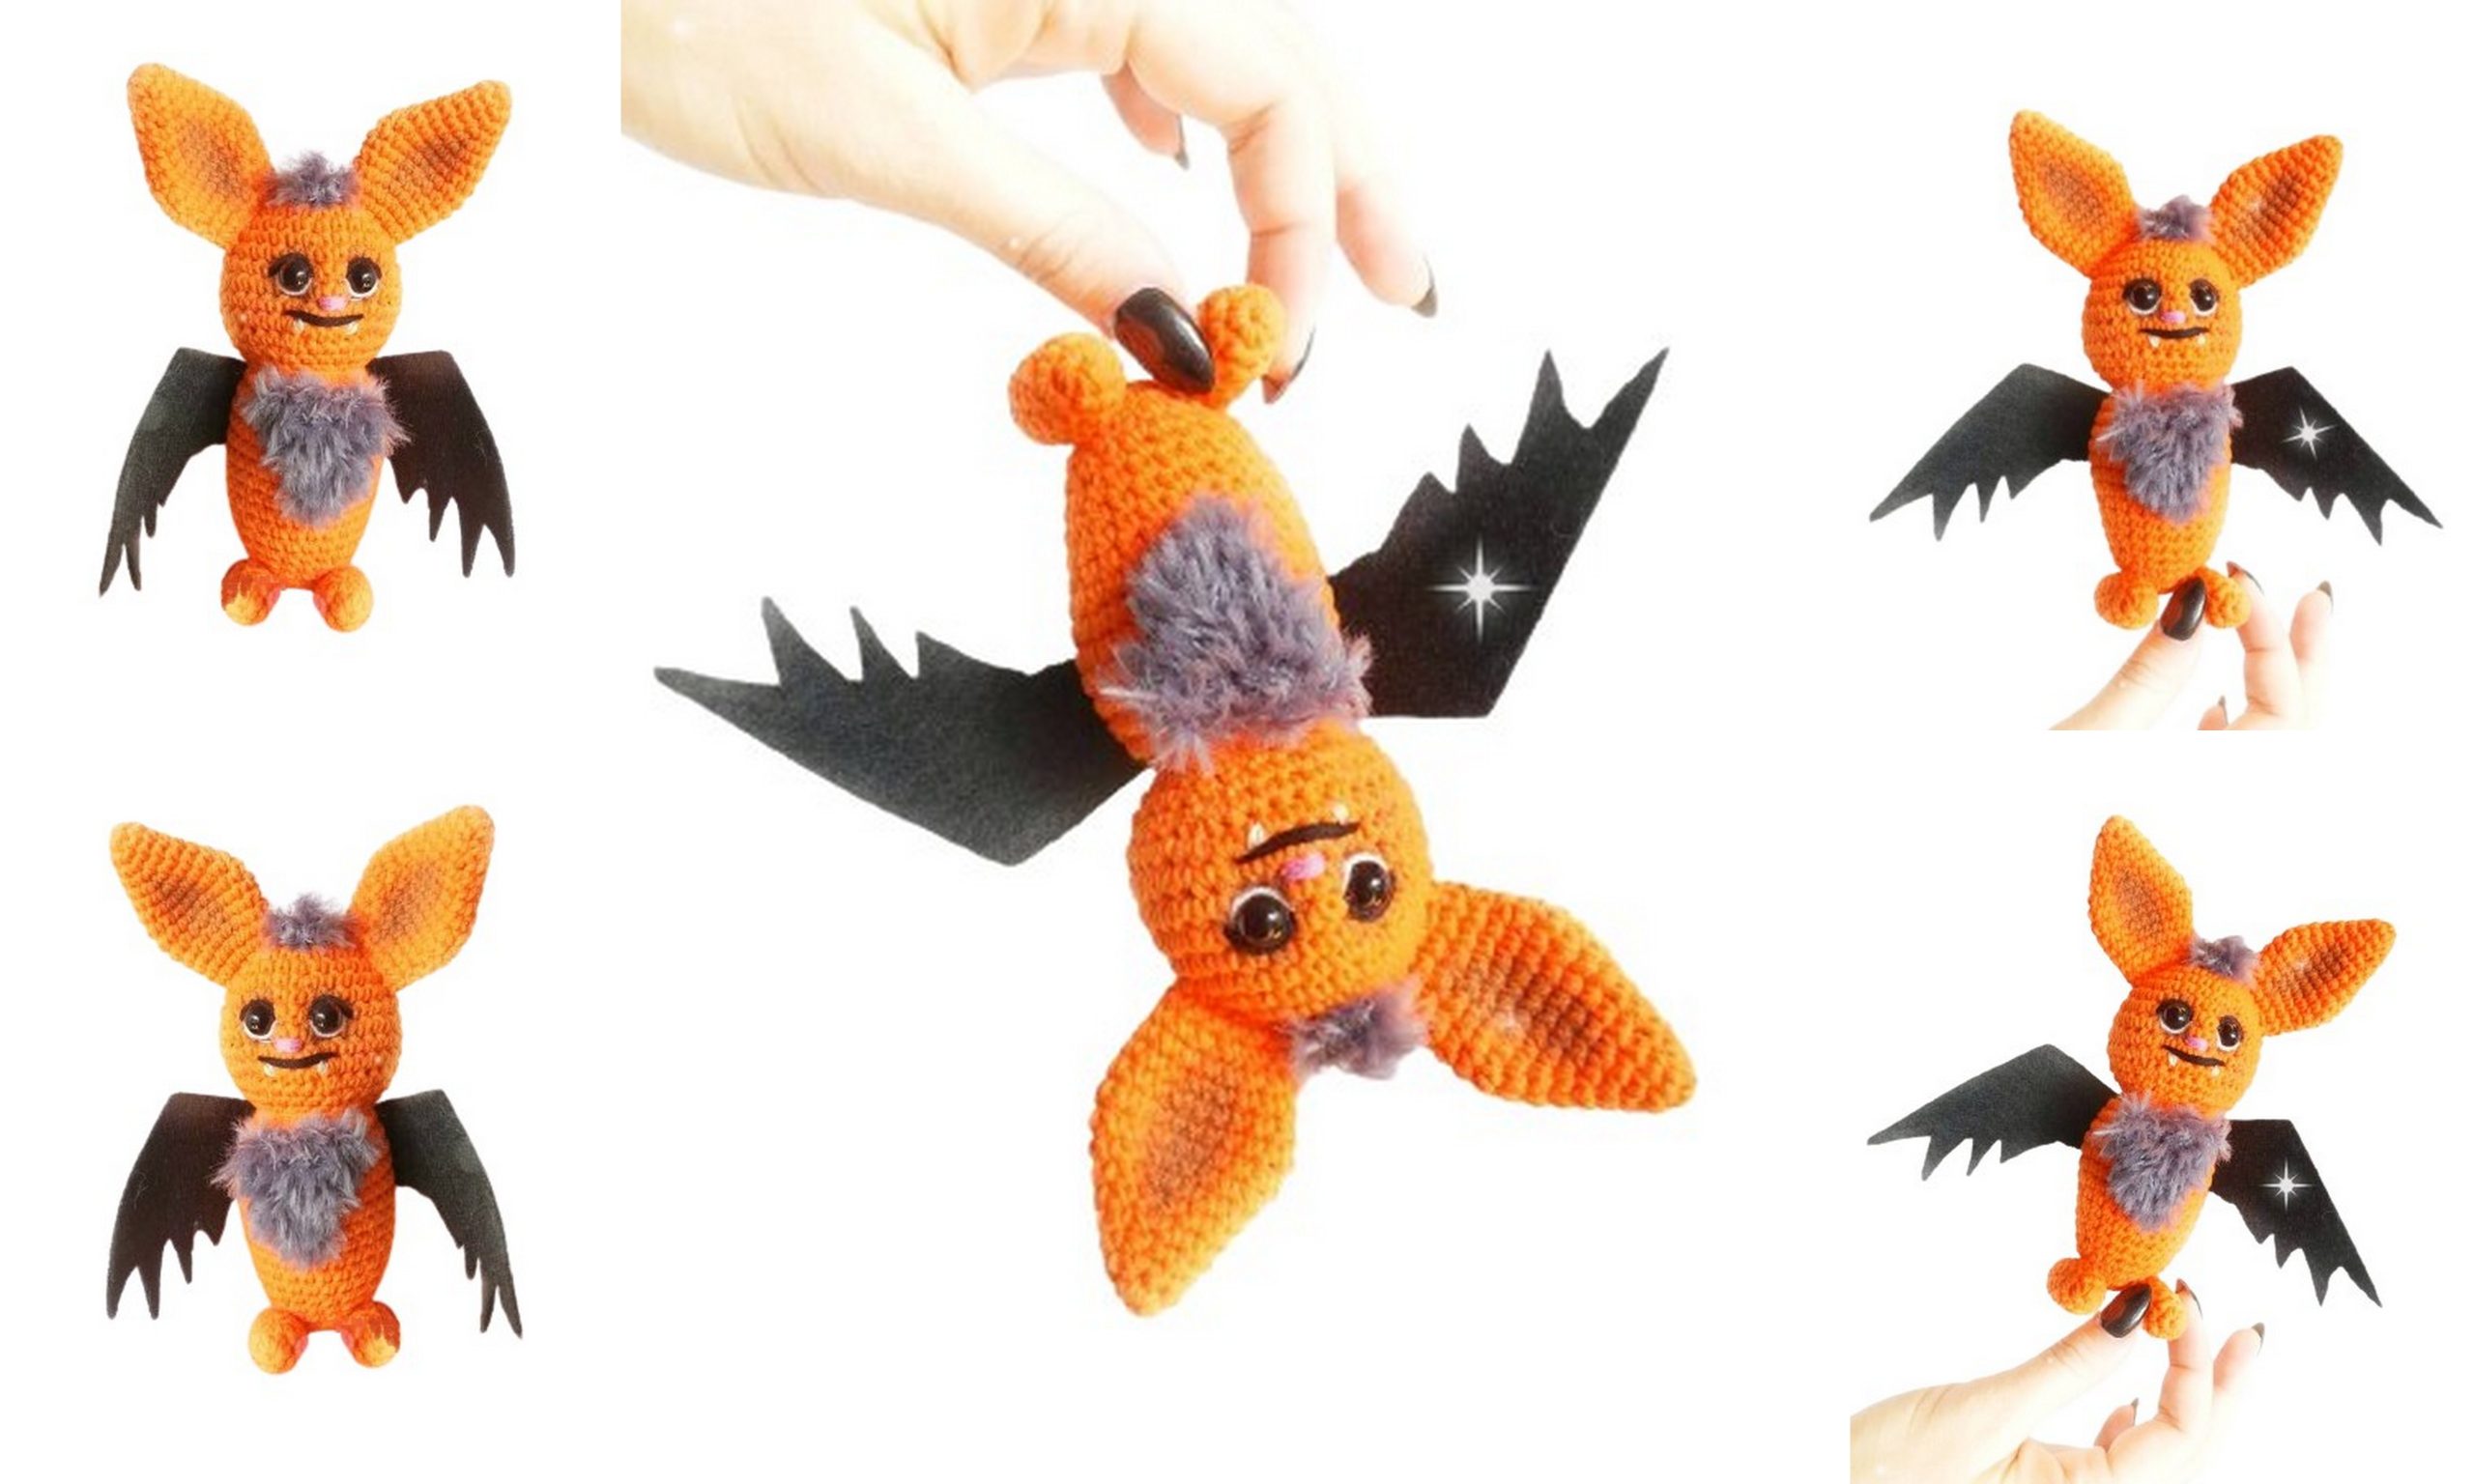
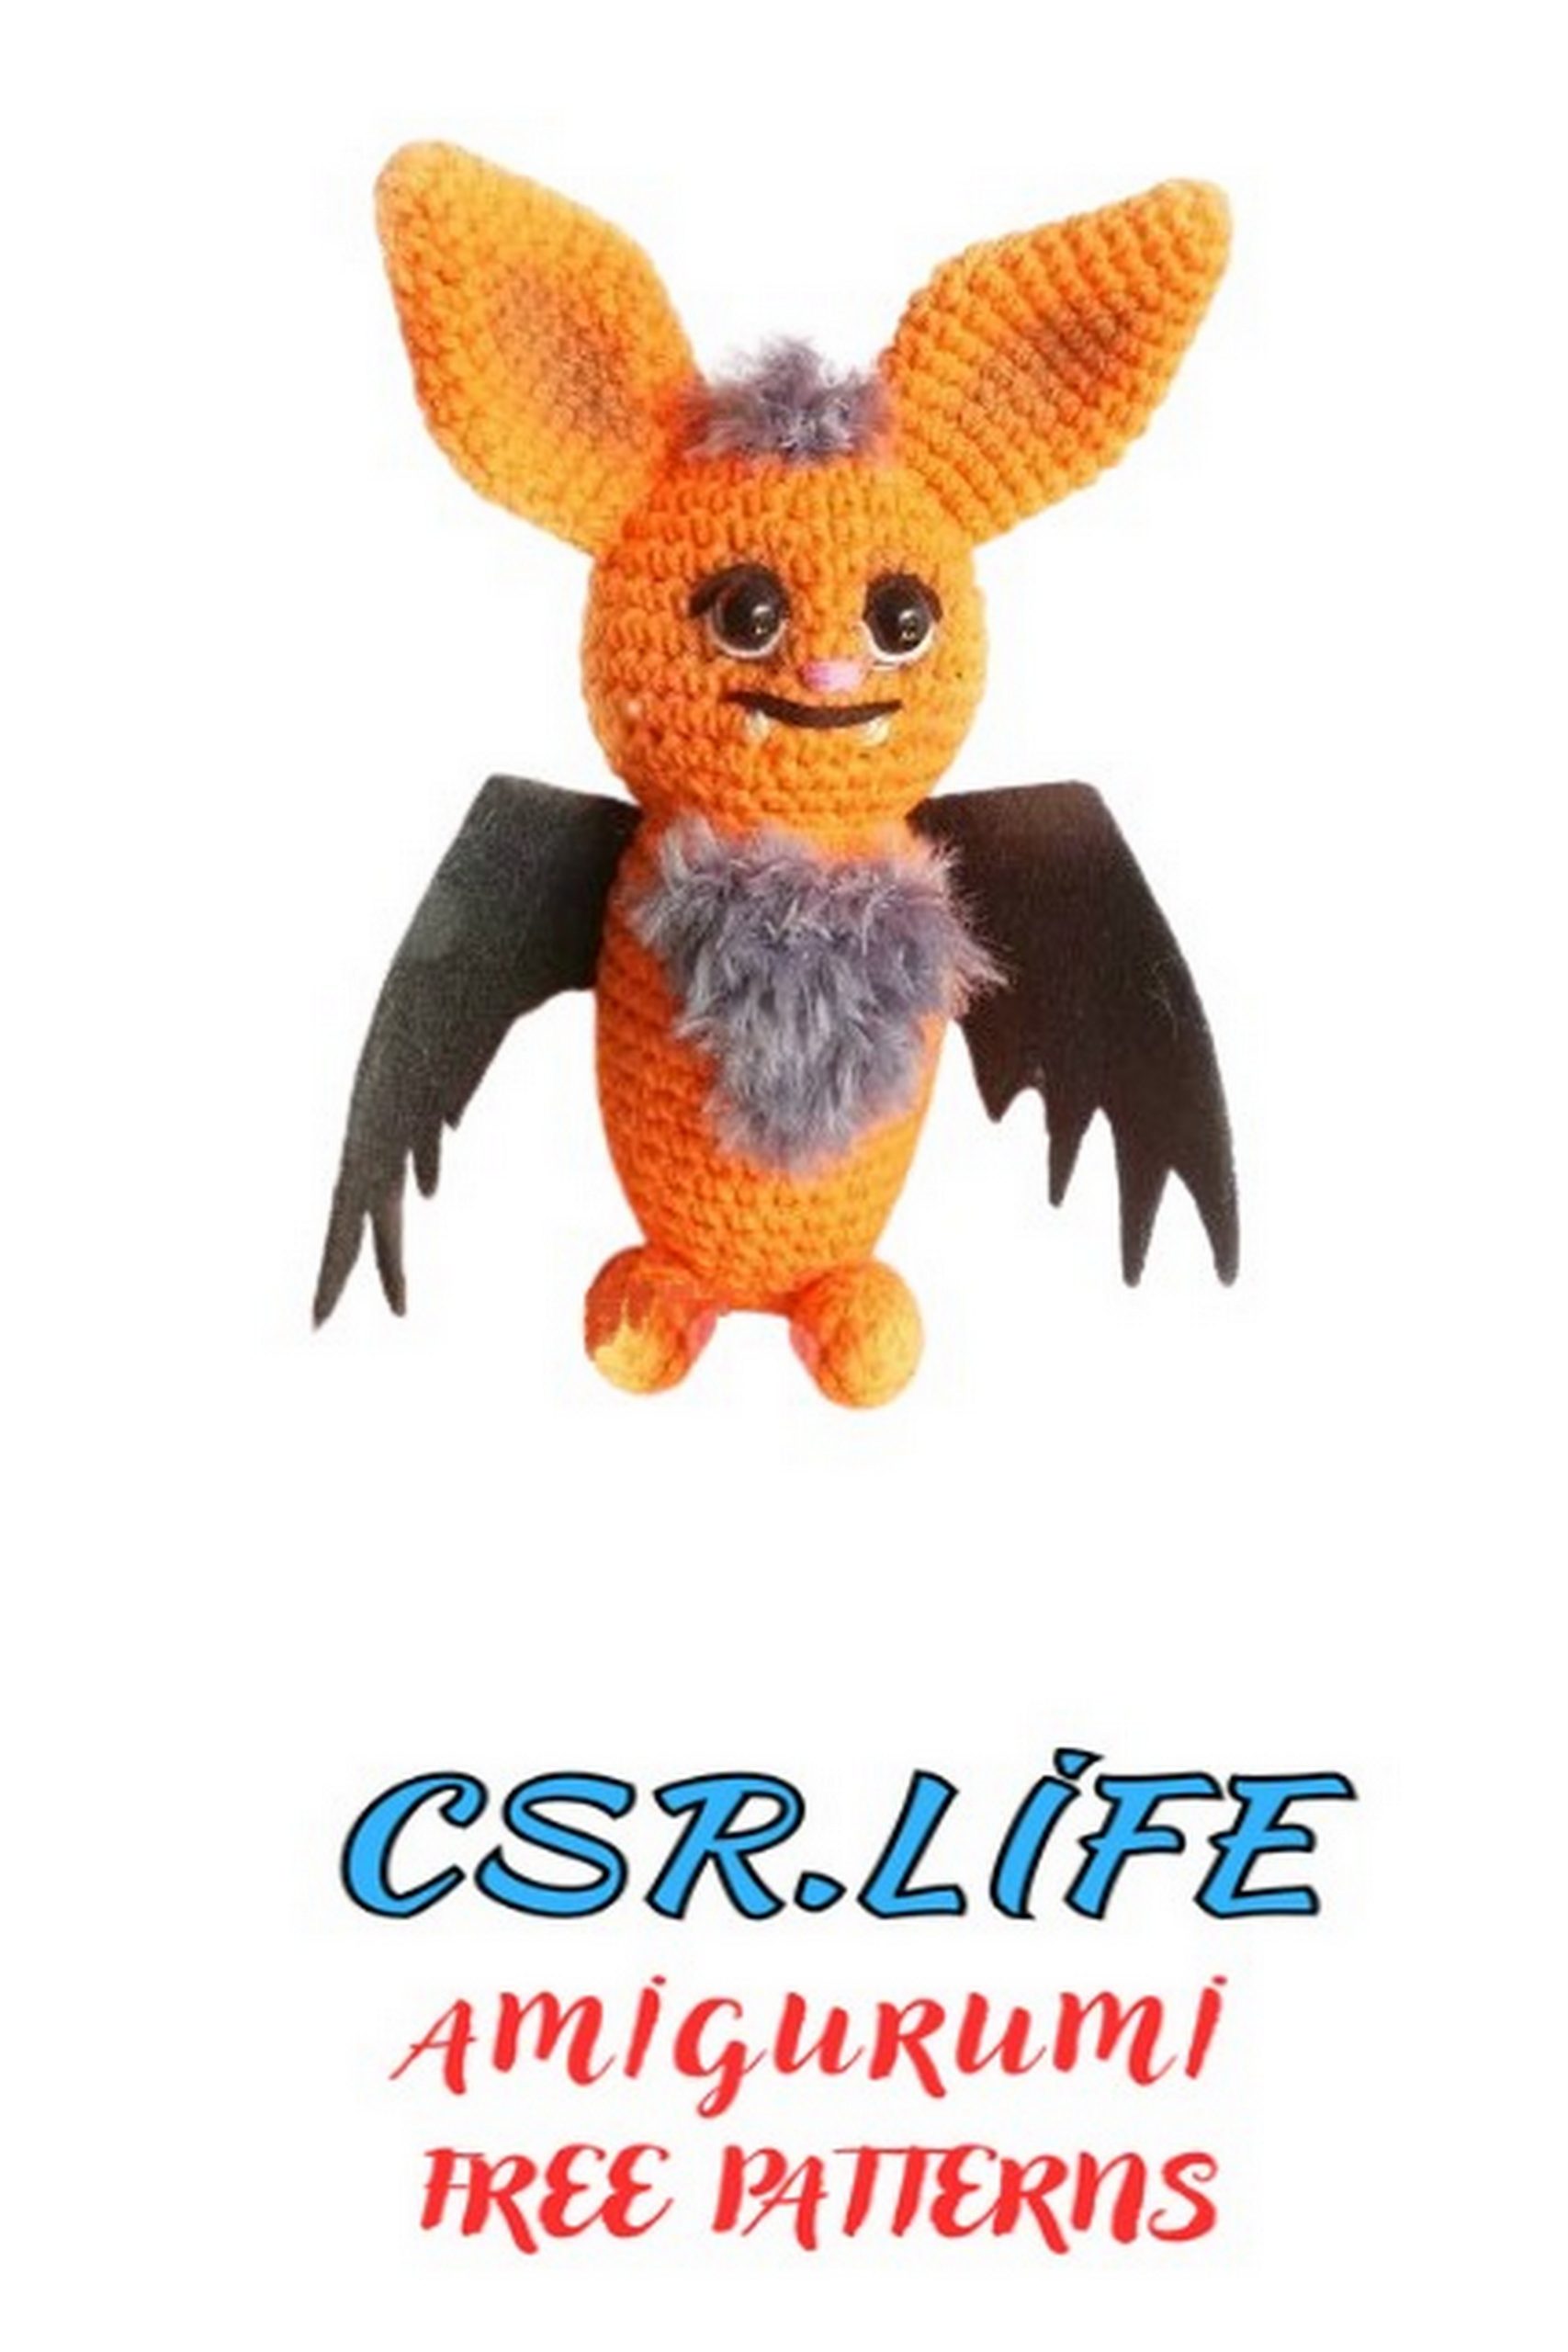
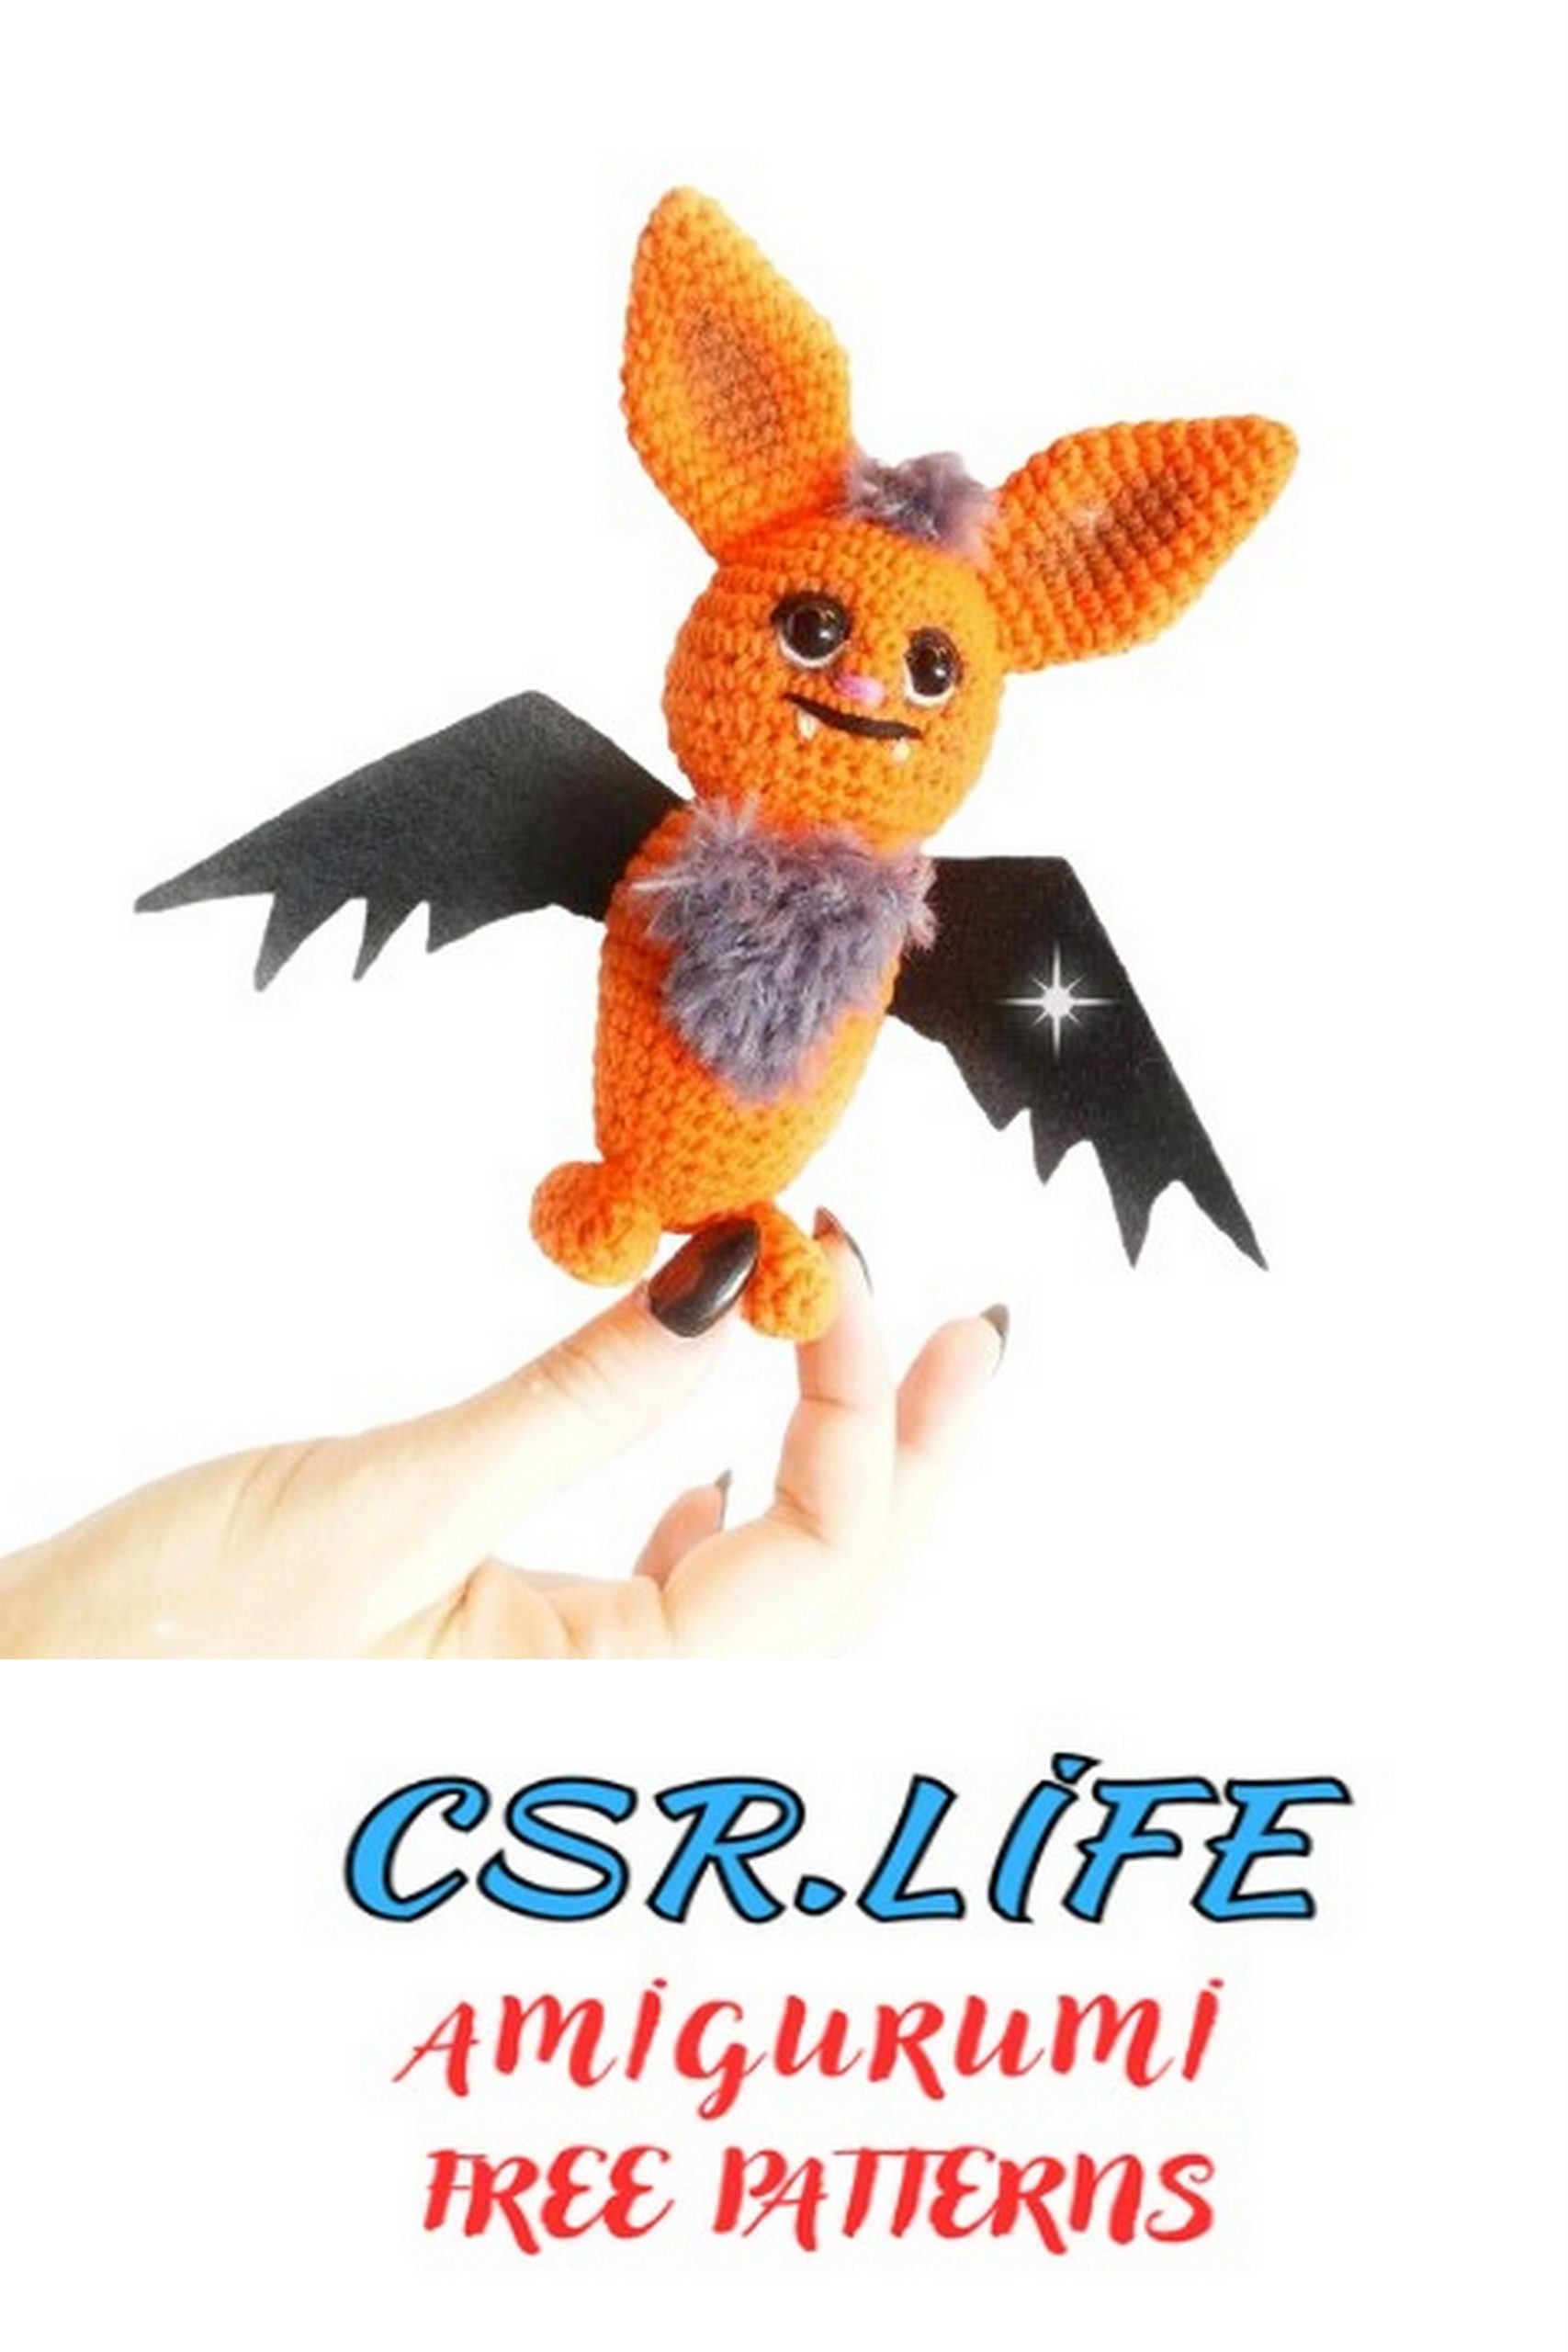
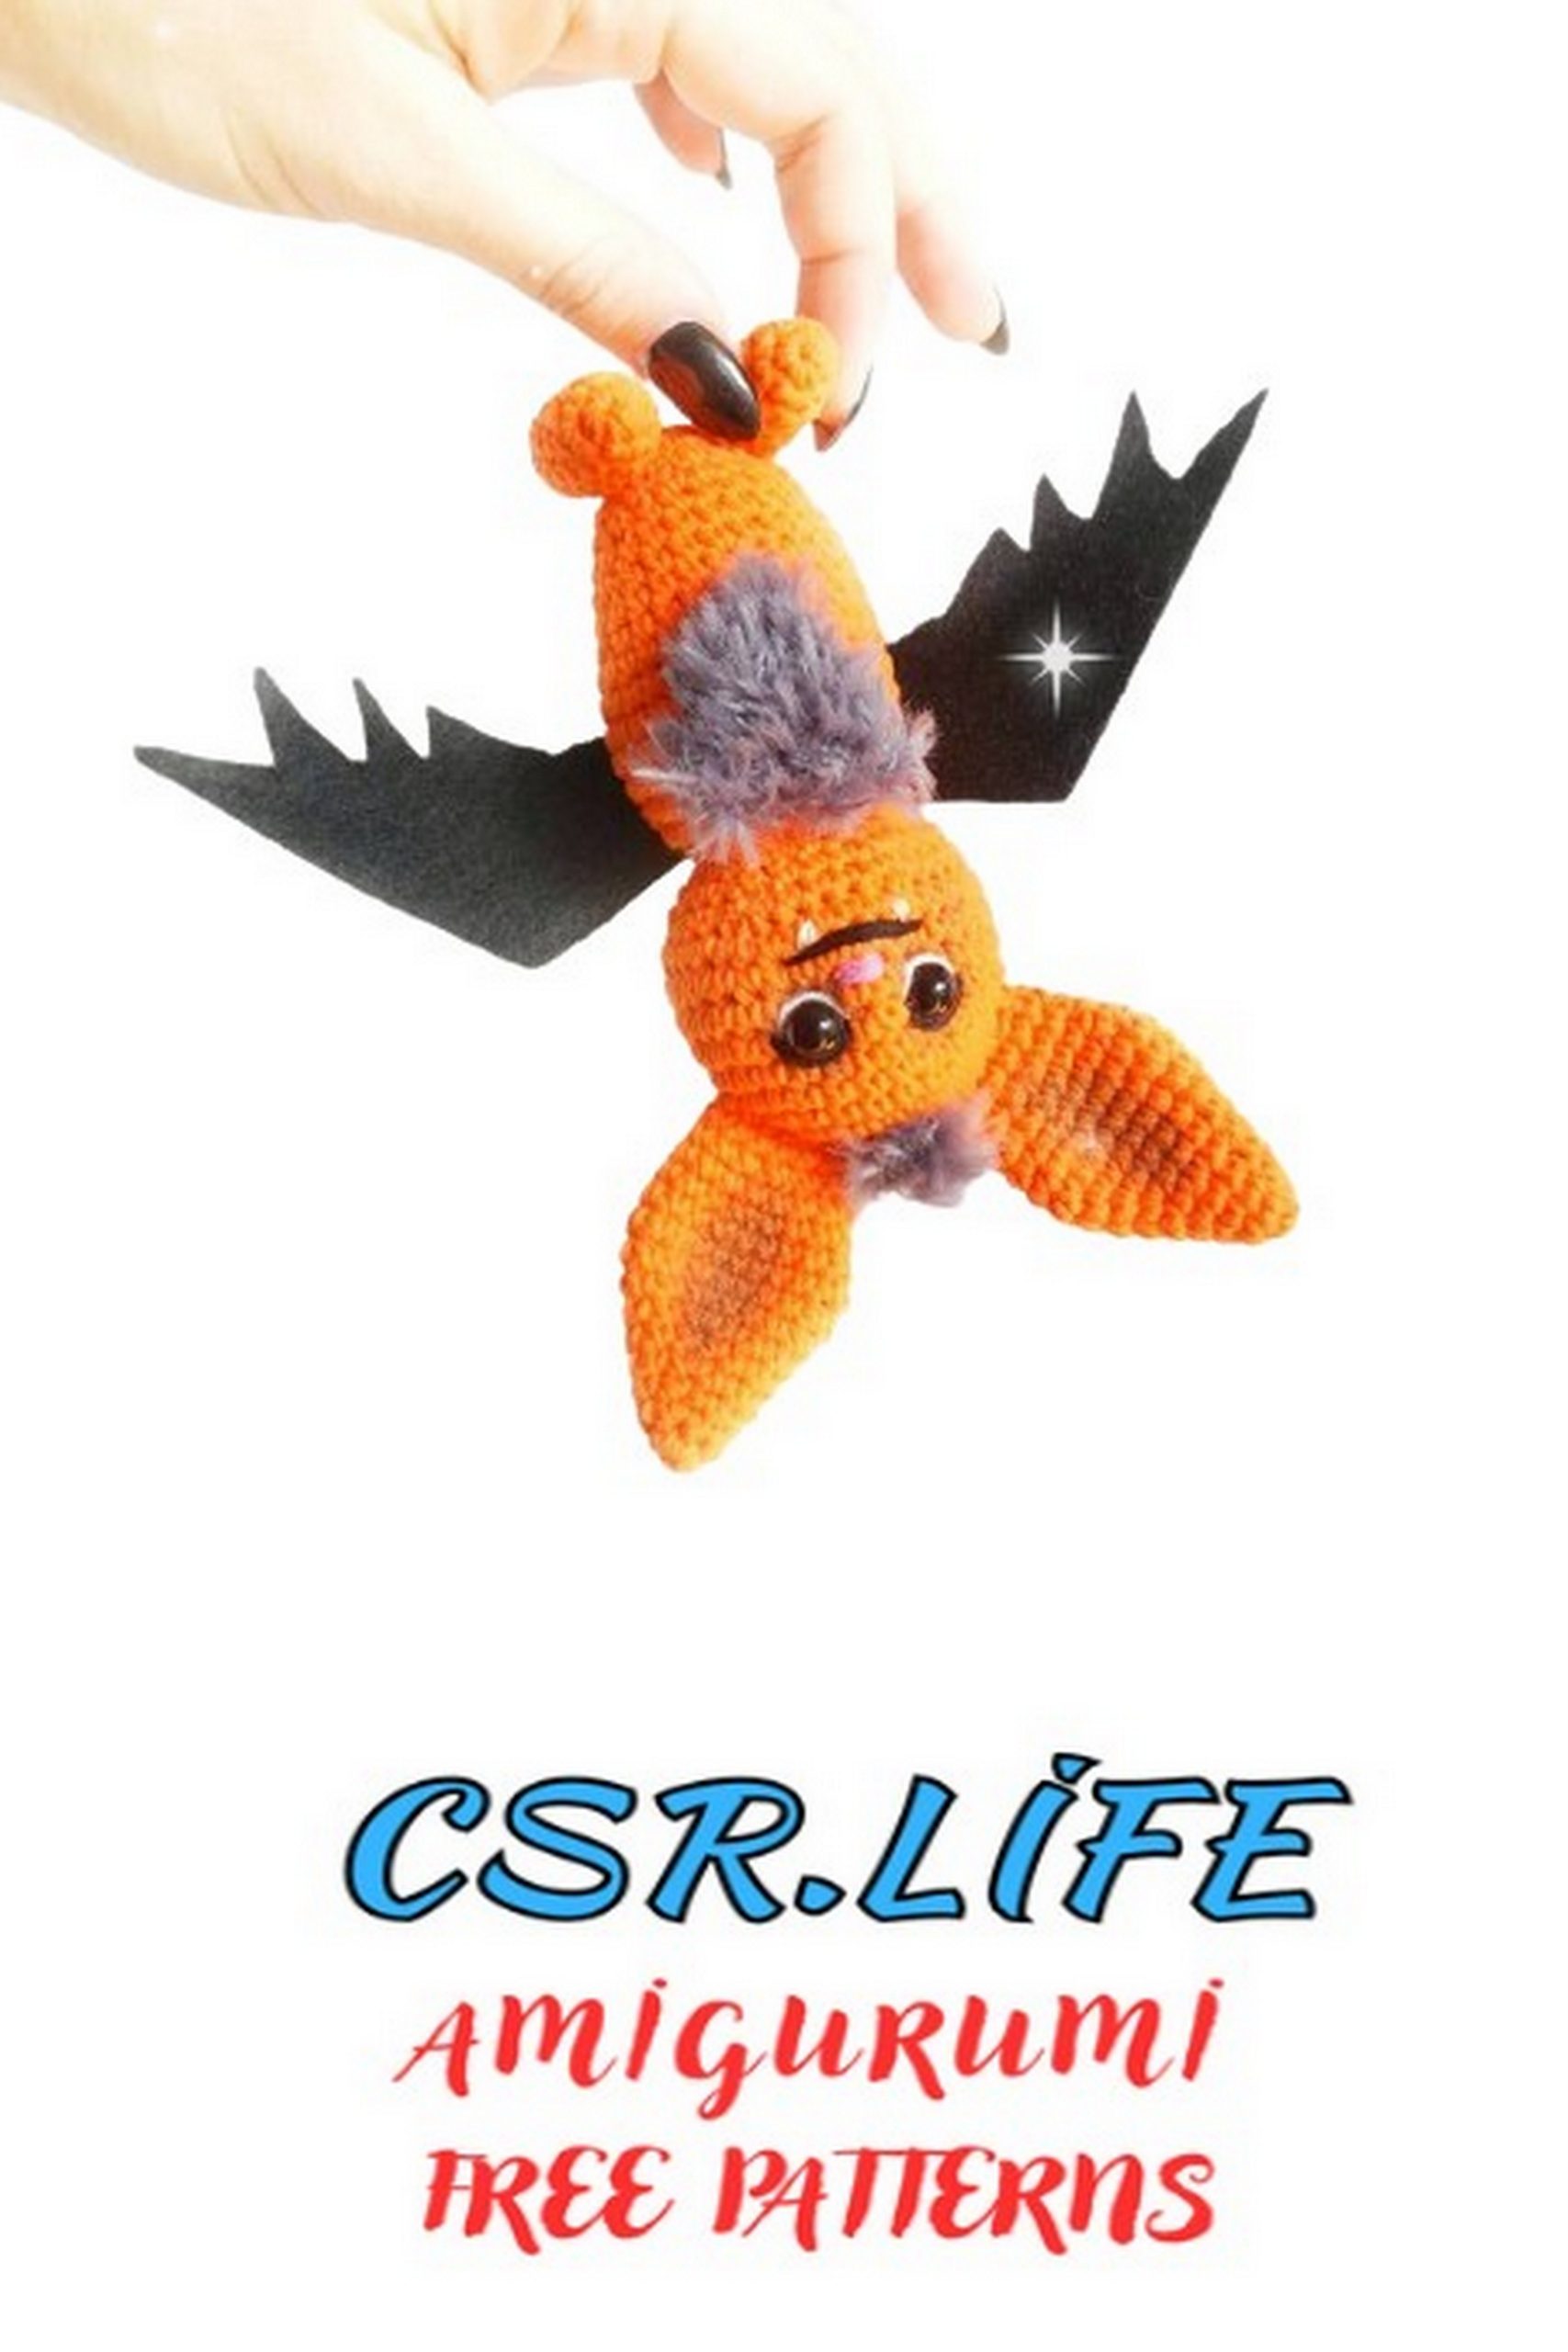
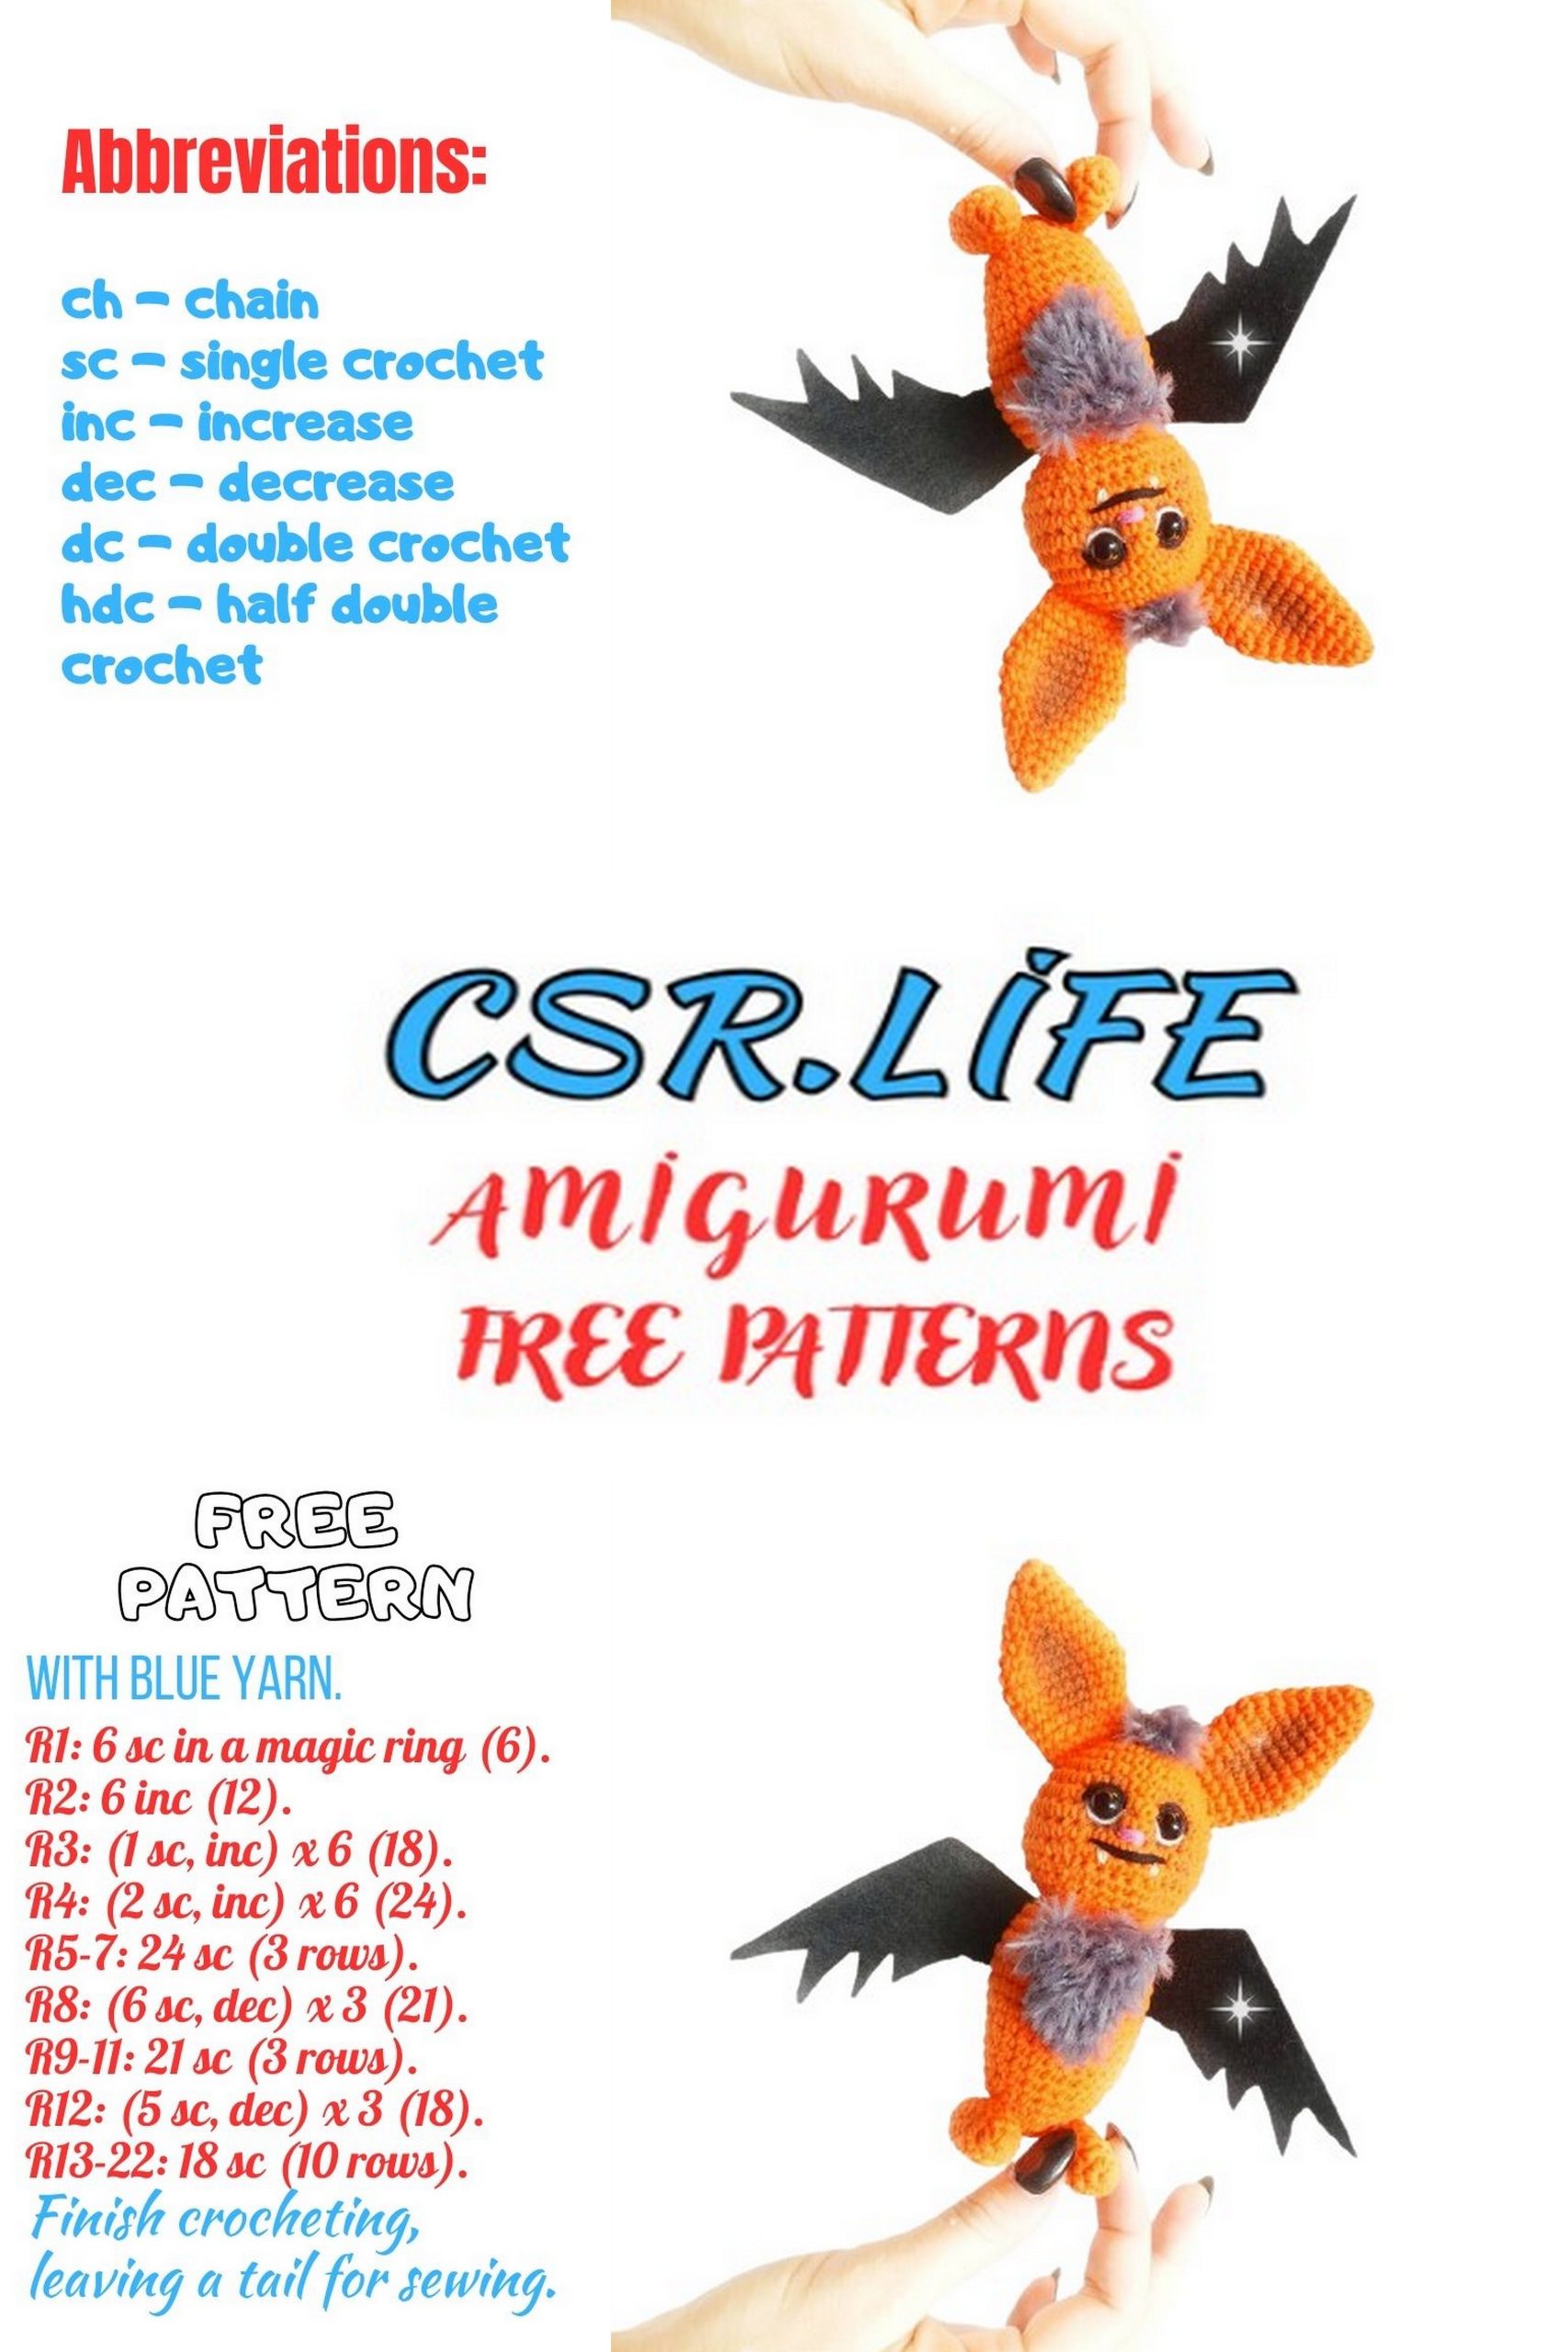
Let me introduce you to a little amigurumi bat. After all, Halloween is coming soon, and a bat will be just right.
You can crochet the toy from any yarn.
Cotton or acrylic yarn would be best, and you’ll also need a bit of textured yarn for the chest and tuft.
Use a crochet hook that matches the size of your yarn.
The bat’s eyes are plastic with secure fastening, size – 8 mm.
The head and body are crocheted as one piece.
The wings are cut out of black felt and sewn on.
1000+ Free Amigurumi Patterns – Download App – and you can Visit this website.
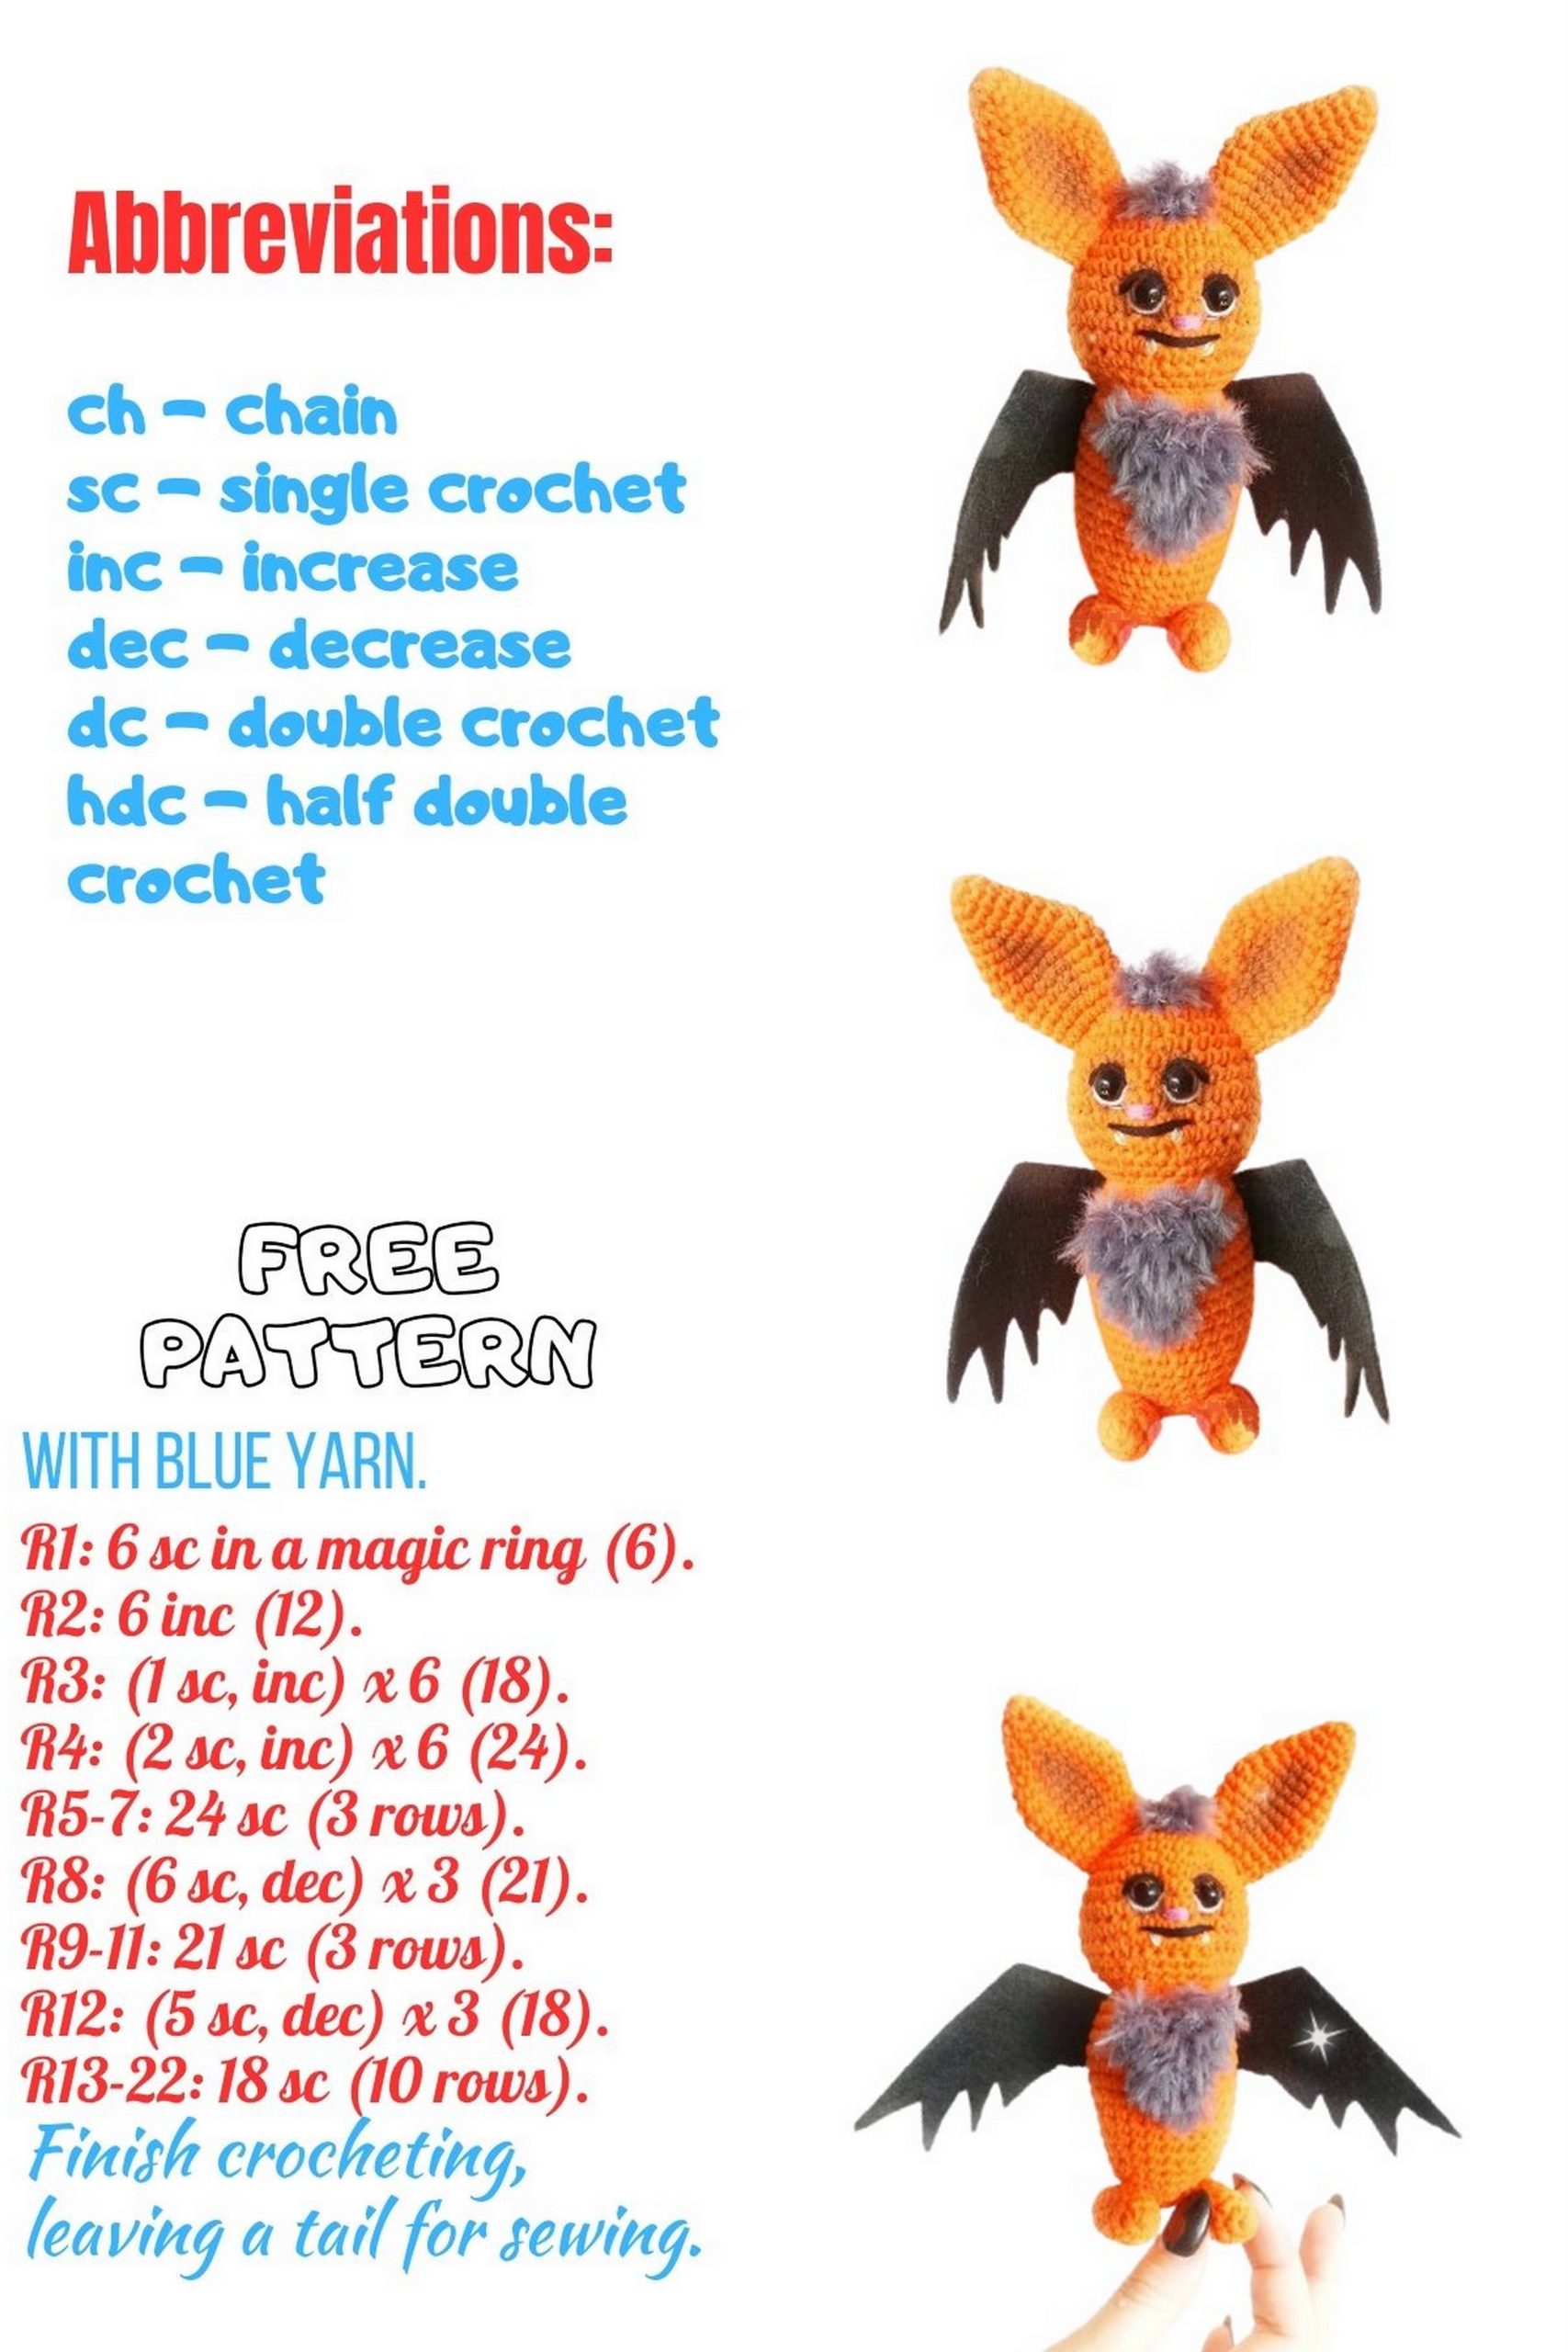
Abbreviations:
MC – magic circle
ch – chain
sl st – slip stitch
sc – single crochet
inc – increase
dec – decrease
(…) * 6 – repeat the instructions in parentheses 6 times
Halloween Bat Pattern
Head-Body: Halloween Bat
1: 6 sc in MC
2: 6 inc (12)
3: (sc, inc) * 6 (18)
4: (2 sc, inc) * 6 (24)
5: 24 sc
6: (3 sc, inc) * 6 (30)
7: 30 sc
8: (4 sc, inc) * 6 (36)
9-11: 36 sc
12: (4 sc, dec) * 6 (30)
13: (3 sc, dec) * 6 (24)
Stuff the head as you crochet, insert eyes between rows 7 and 8. Adjust eye placement as needed.
14: (2 sc, dec) * 6 (18)
15: (sc, dec) * 6 (12)
16: (sc, inc) * 6 (18)
17: (sc, inc) * 9 (27)
18: (8 sc, inc) * 3 (30)
19-24: 30 sc (6 rounds)
25: (8 sc, dec) * 3 (27)
26: 27 sc
Stuff the body as you crochet.
27: (7 sc, dec) * 3 (24)
28: 24 sc
29: (6 sc, dec) * 3 (21)
30: (5 sc, dec) * 3 (18)
31: (4 sc, dec) * 3 (15)
32: (3 sc, dec) * 3 (12)
33: (2 sc, dec) * 3 (9)
34: Close the opening, cut yarn, and weave in the end.
Creating the Face
Tighten the eye sockets from the inside and below. Embroider the nose, mouth, and fangs. For more expressive eyes, embroider beneath the eyes in white, and above the eyes in black, as shown in the photo. You can also lightly shade the area around the eyes.
Ears (make 2) – Halloween Bat
1: 6 sc in MC
2: (sc, inc) * 3 (9)
3: 9 sc
4: (2 sc, inc) * 3 (12)
5: 12 sc
6: (3 sc, inc) * 3 (15)
7: (4 sc, inc) * 3 (18)
8: (5 sc, inc) * 3 (21)
9: 21 sc
10: (5 sc, dec) * 3 (18)
11: (4 sc, dec) * 3 (15)
12: 15 sc
13: (3 sc, dec) * 3 (12)
14: 12 sc
Fasten off, leave a tail for sewing to the head.
Sew on the ears. You can lightly shade the ears.
Legs (make 2) – Halloween Bat
1: 6 sc in MC
2: (sc, inc) * 3 (9)
3-8: 9 sc
9: (sc, dec) * 3 (6)
Close the opening, cut yarn, and weave in the end.
Sew the legs perpendicular to the body. This way, the bat can stand independently.
Cut the wings out of felt.
A tip for sizing the wings correctly: place our bat on a piece of paper and trace its wings. Cut out these wings from paper, place them on the felt, trace, and cut out. You can glue or sew the wings on.
Crochet a tuft and chest with textured yarn.
Tuft – Halloween Bat
1: 6 sc in MC
Sew onto the head.
Chest – Halloween Bat
1: Chain 6, 1 sl st, turn
2: 6 sc, sl st
3: 6 sc, sl st
4: dec, 2 sc, dec, sl st (4)
5: dec twice, sl st (2)
6: dec
Pull yarn through, cut, and fasten off.
Sew the chest to the bat.
Our amigurumi bat is ready!