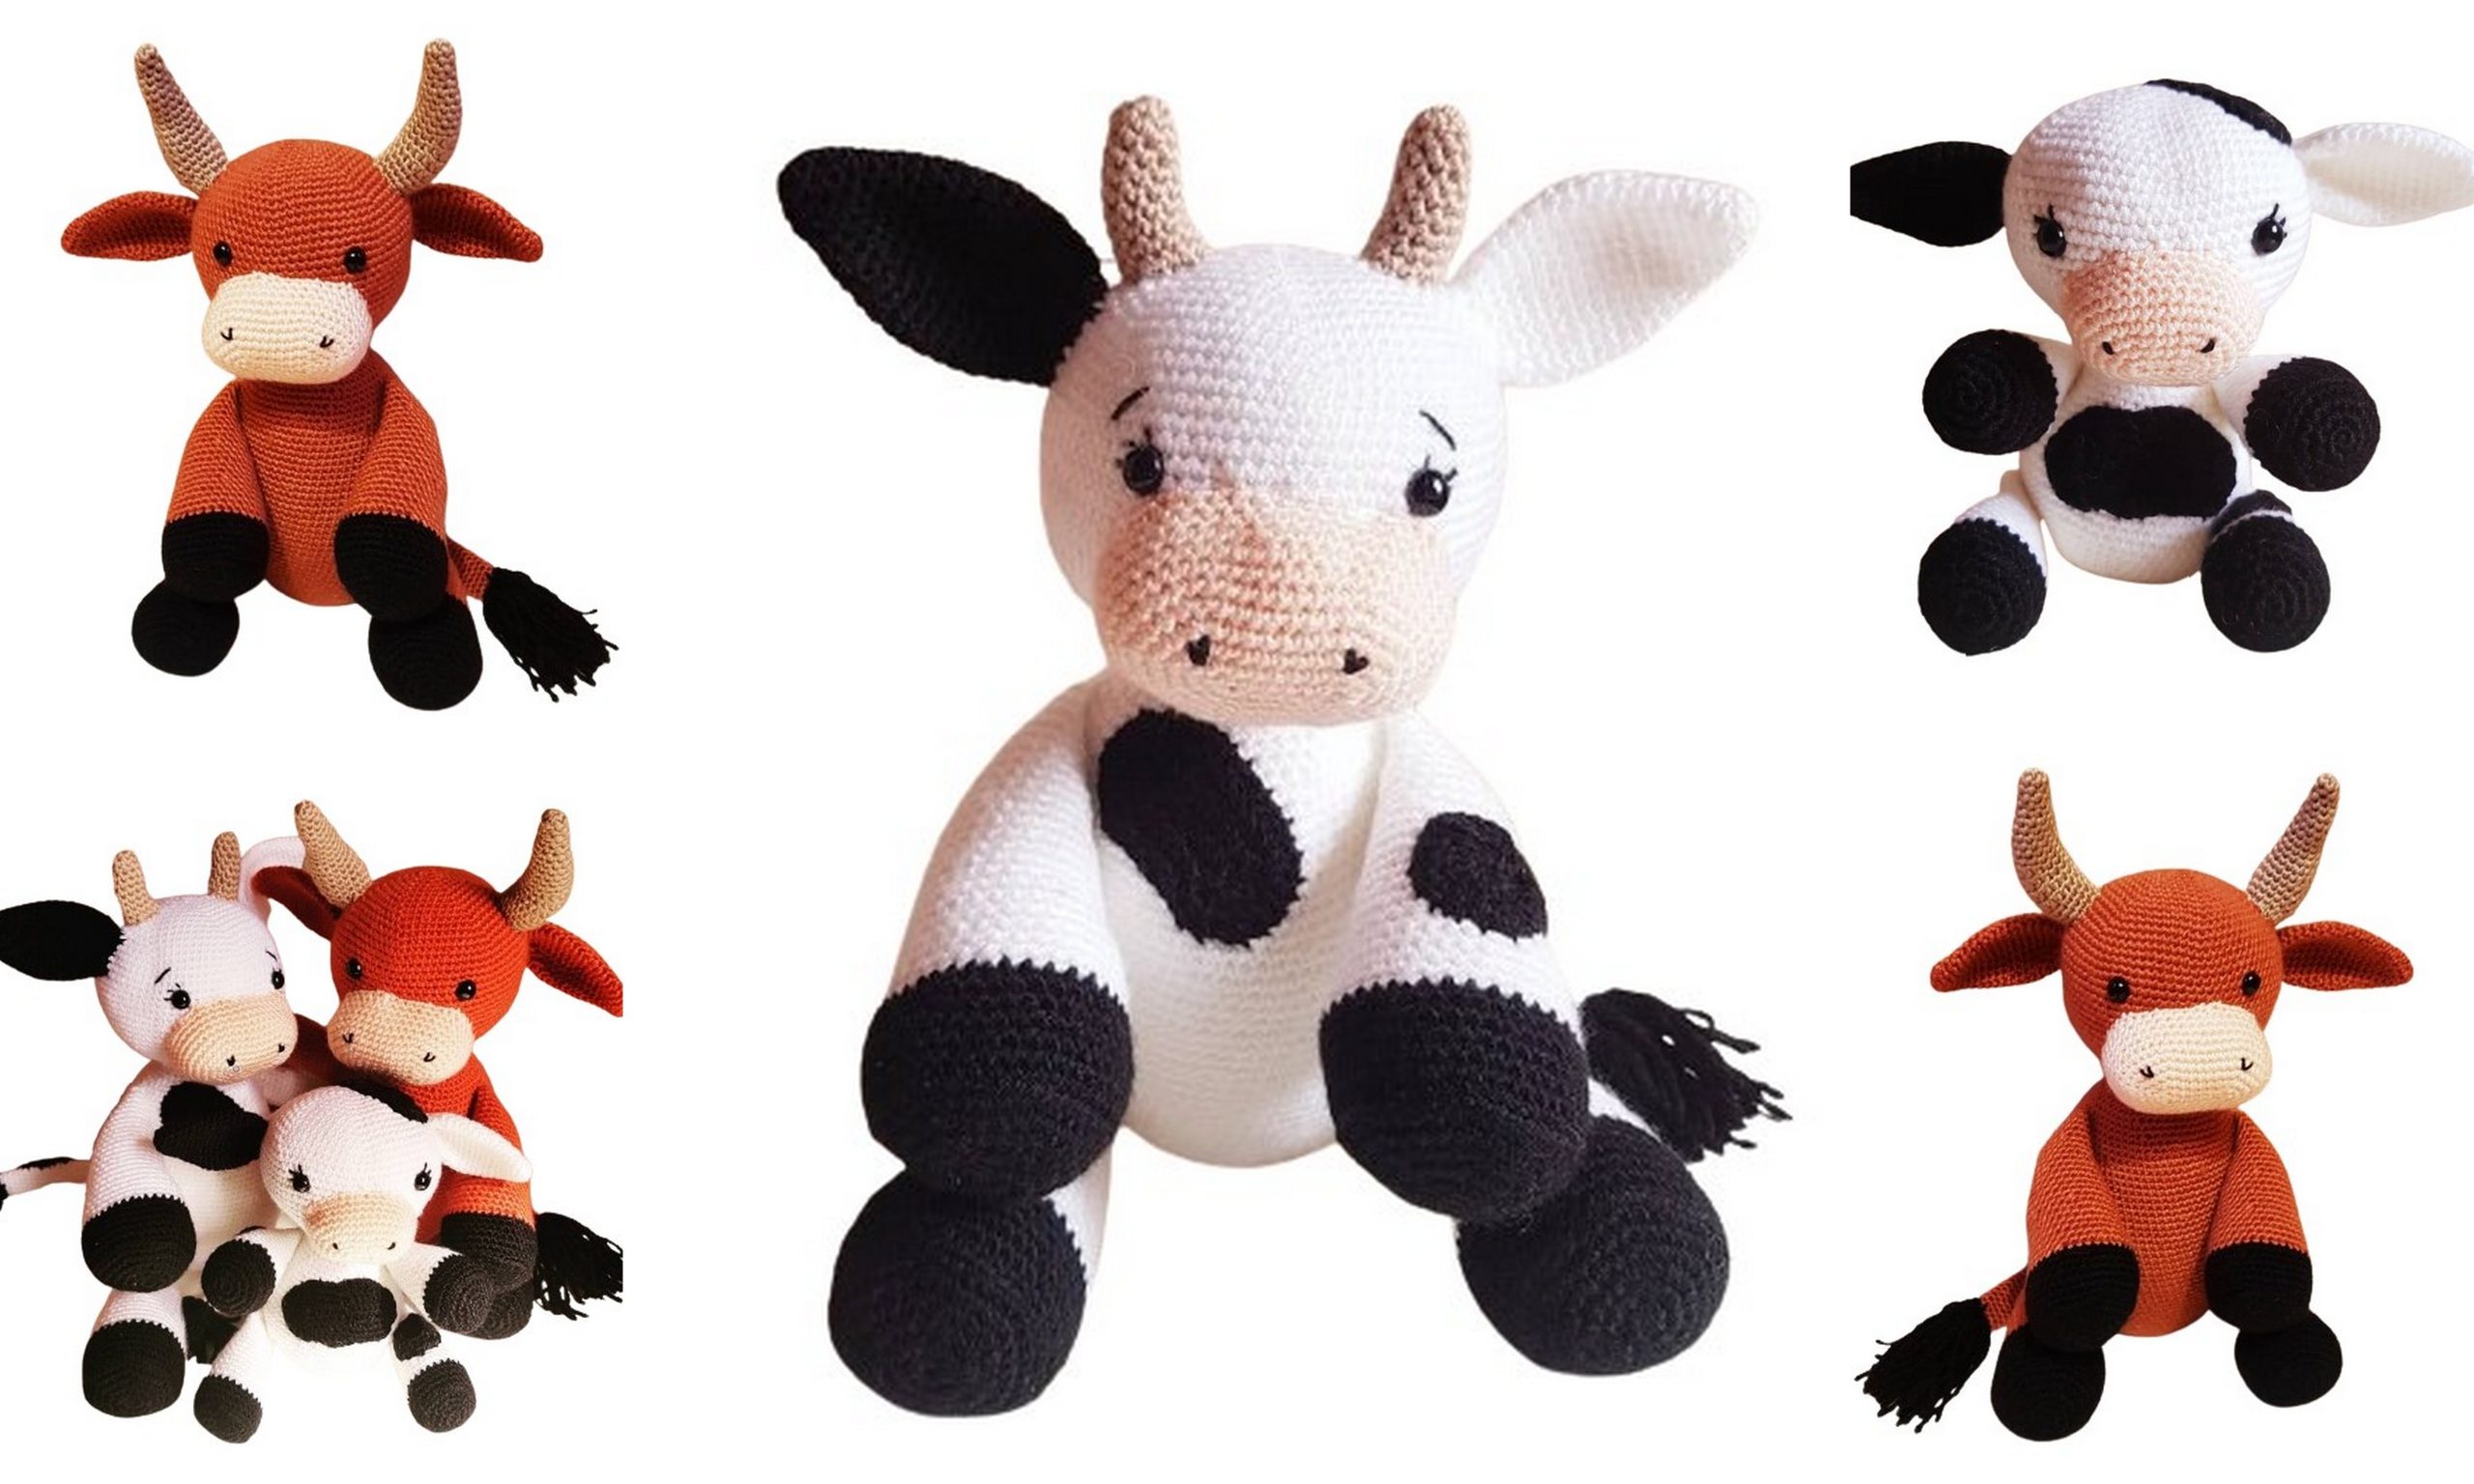
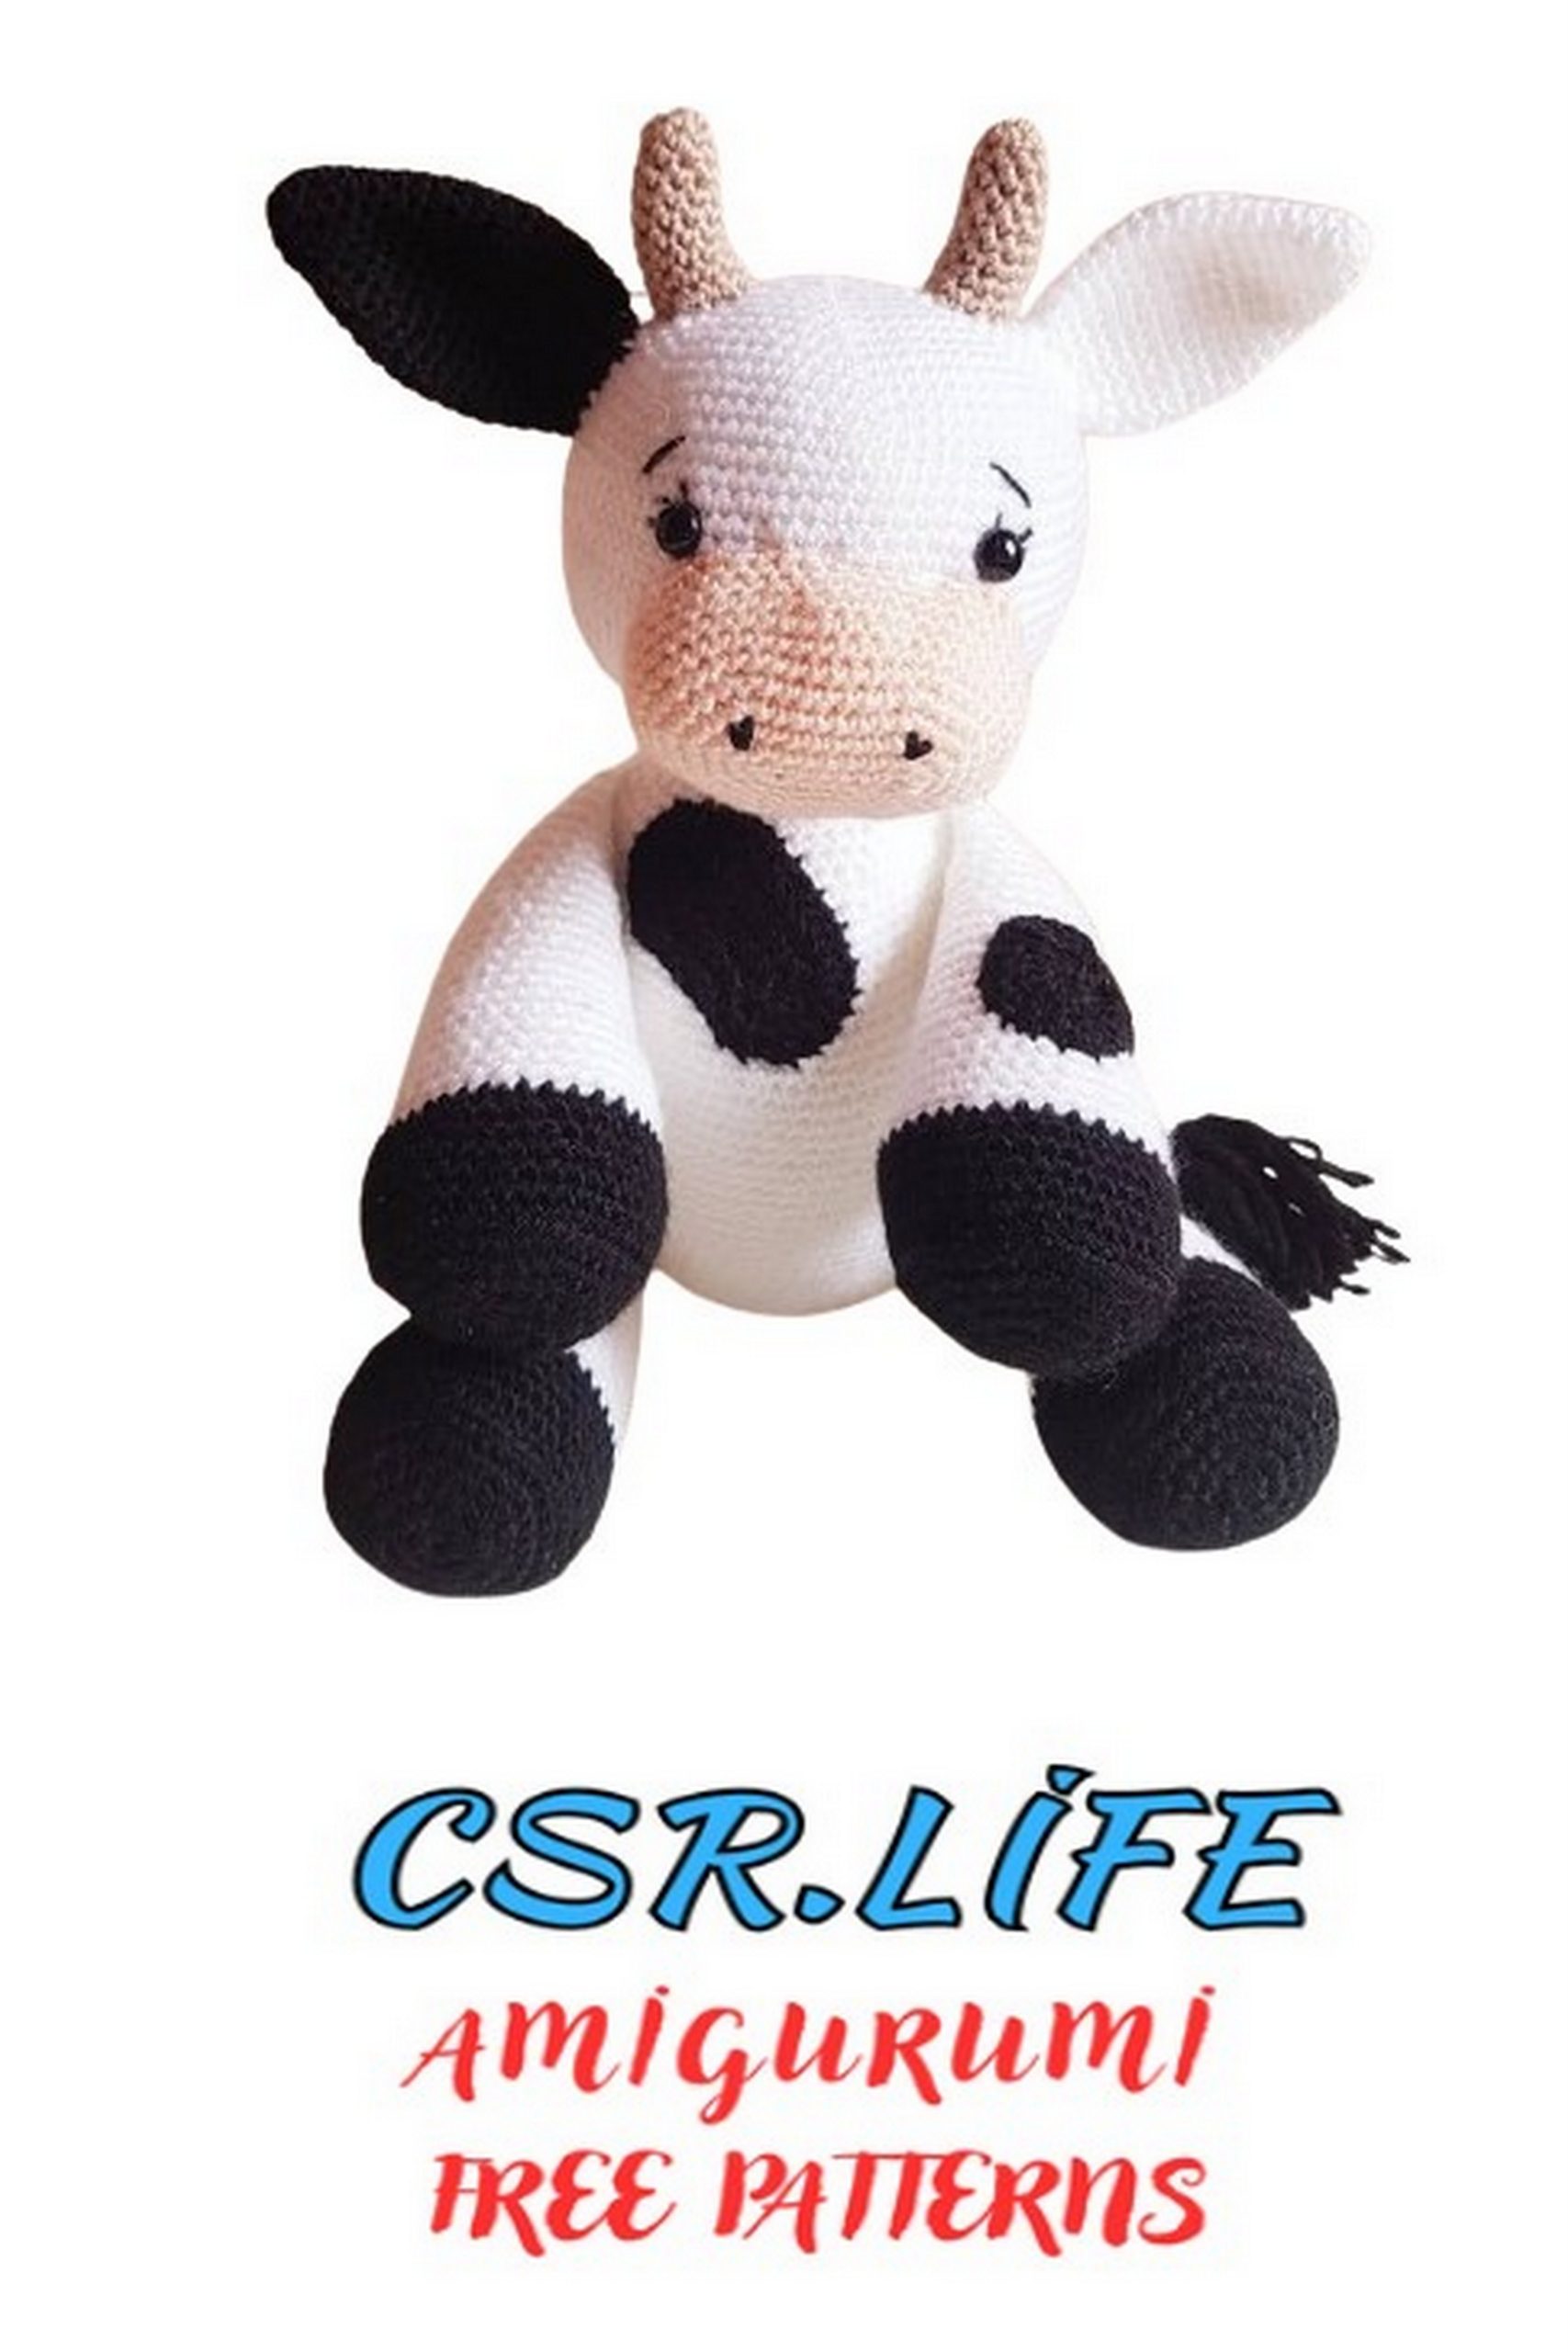
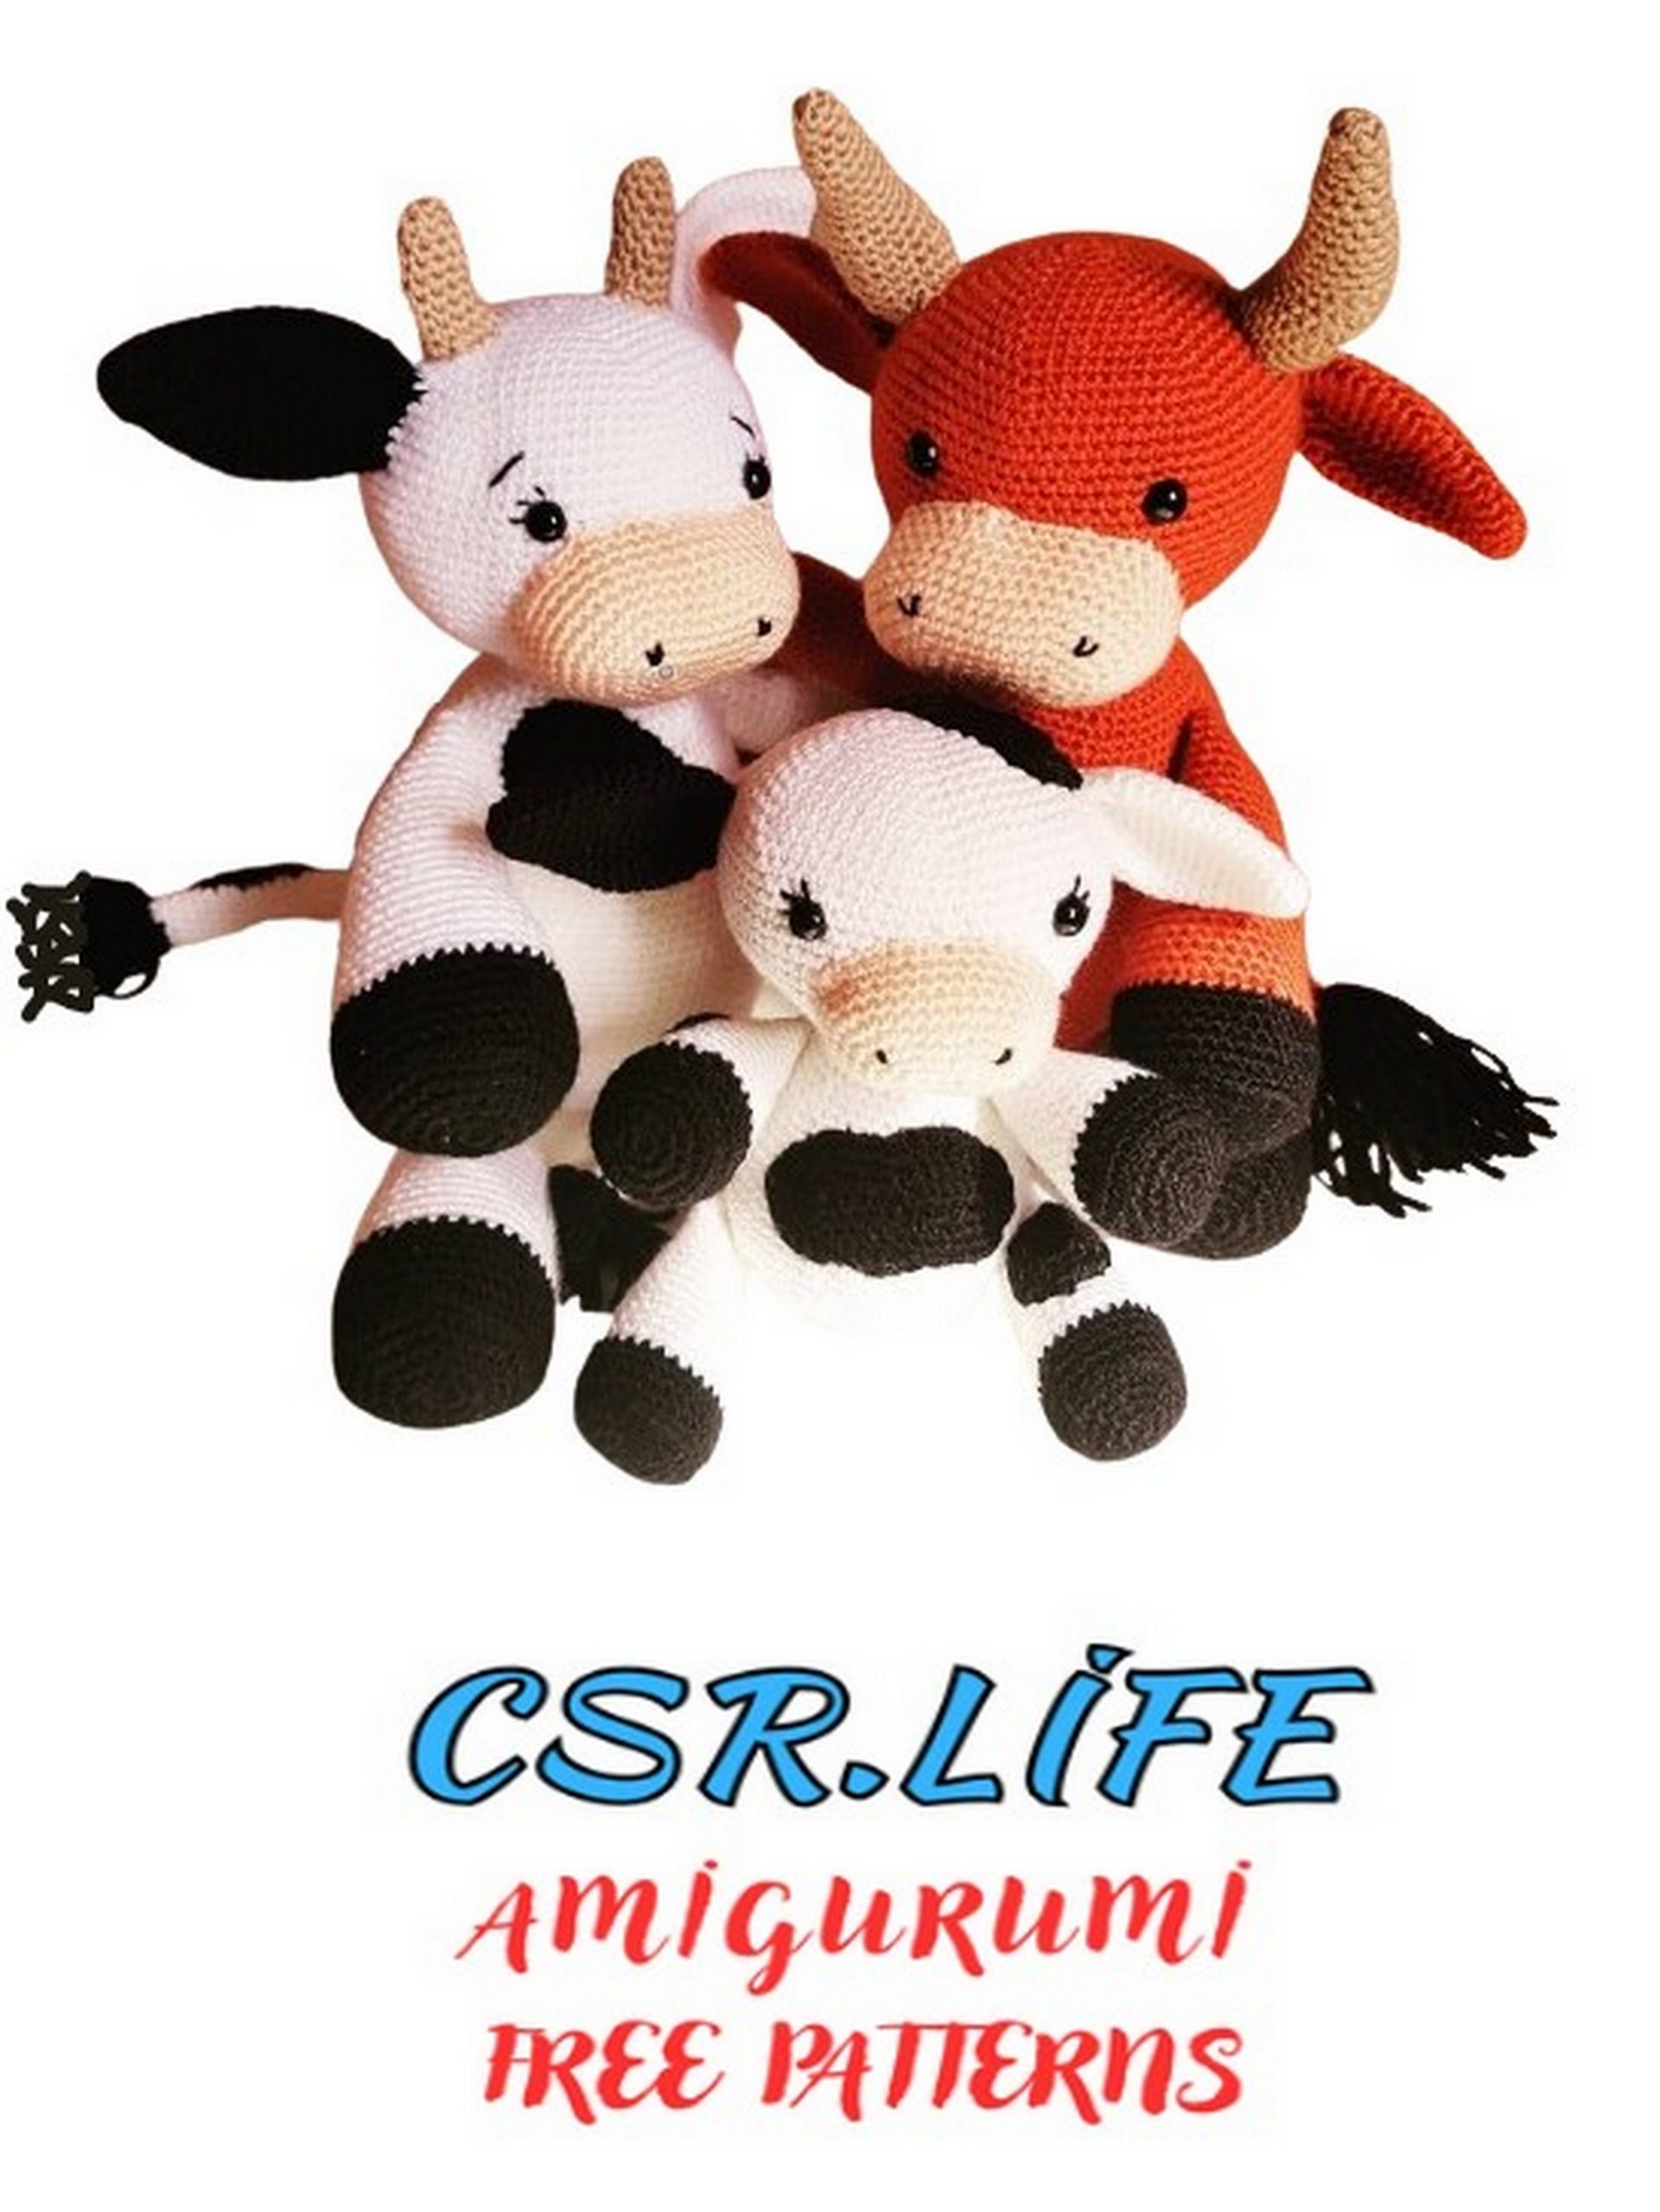
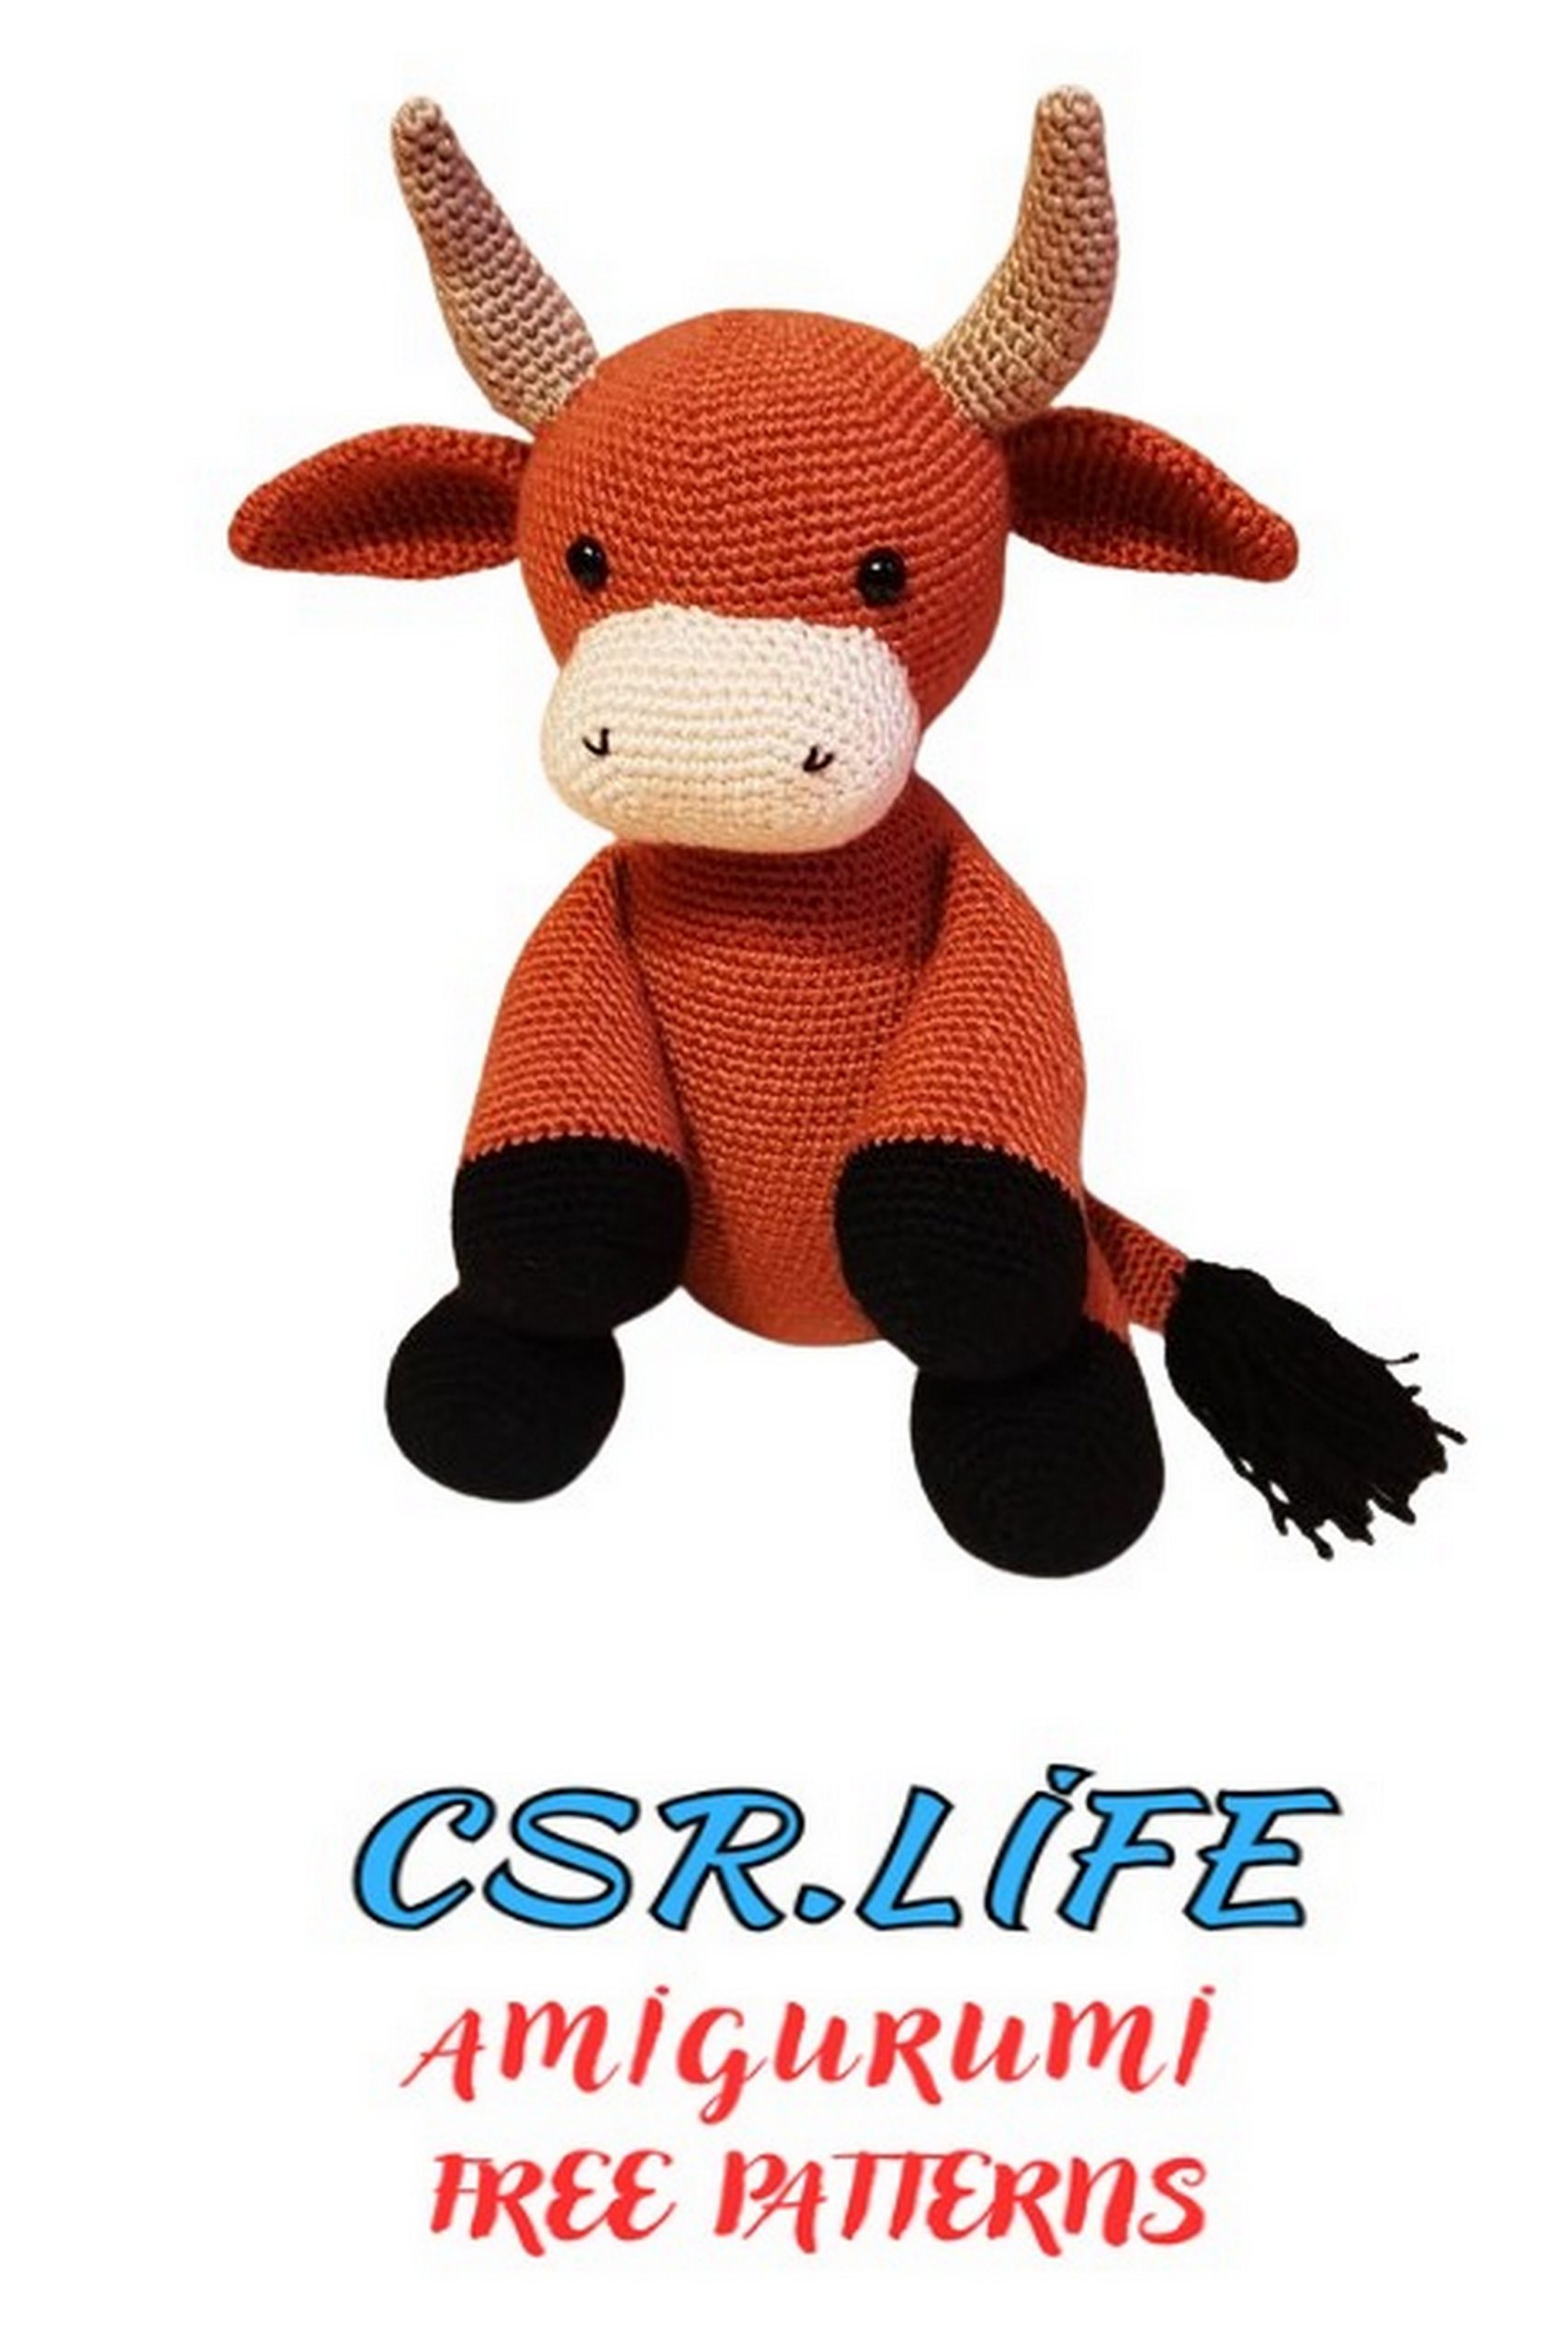
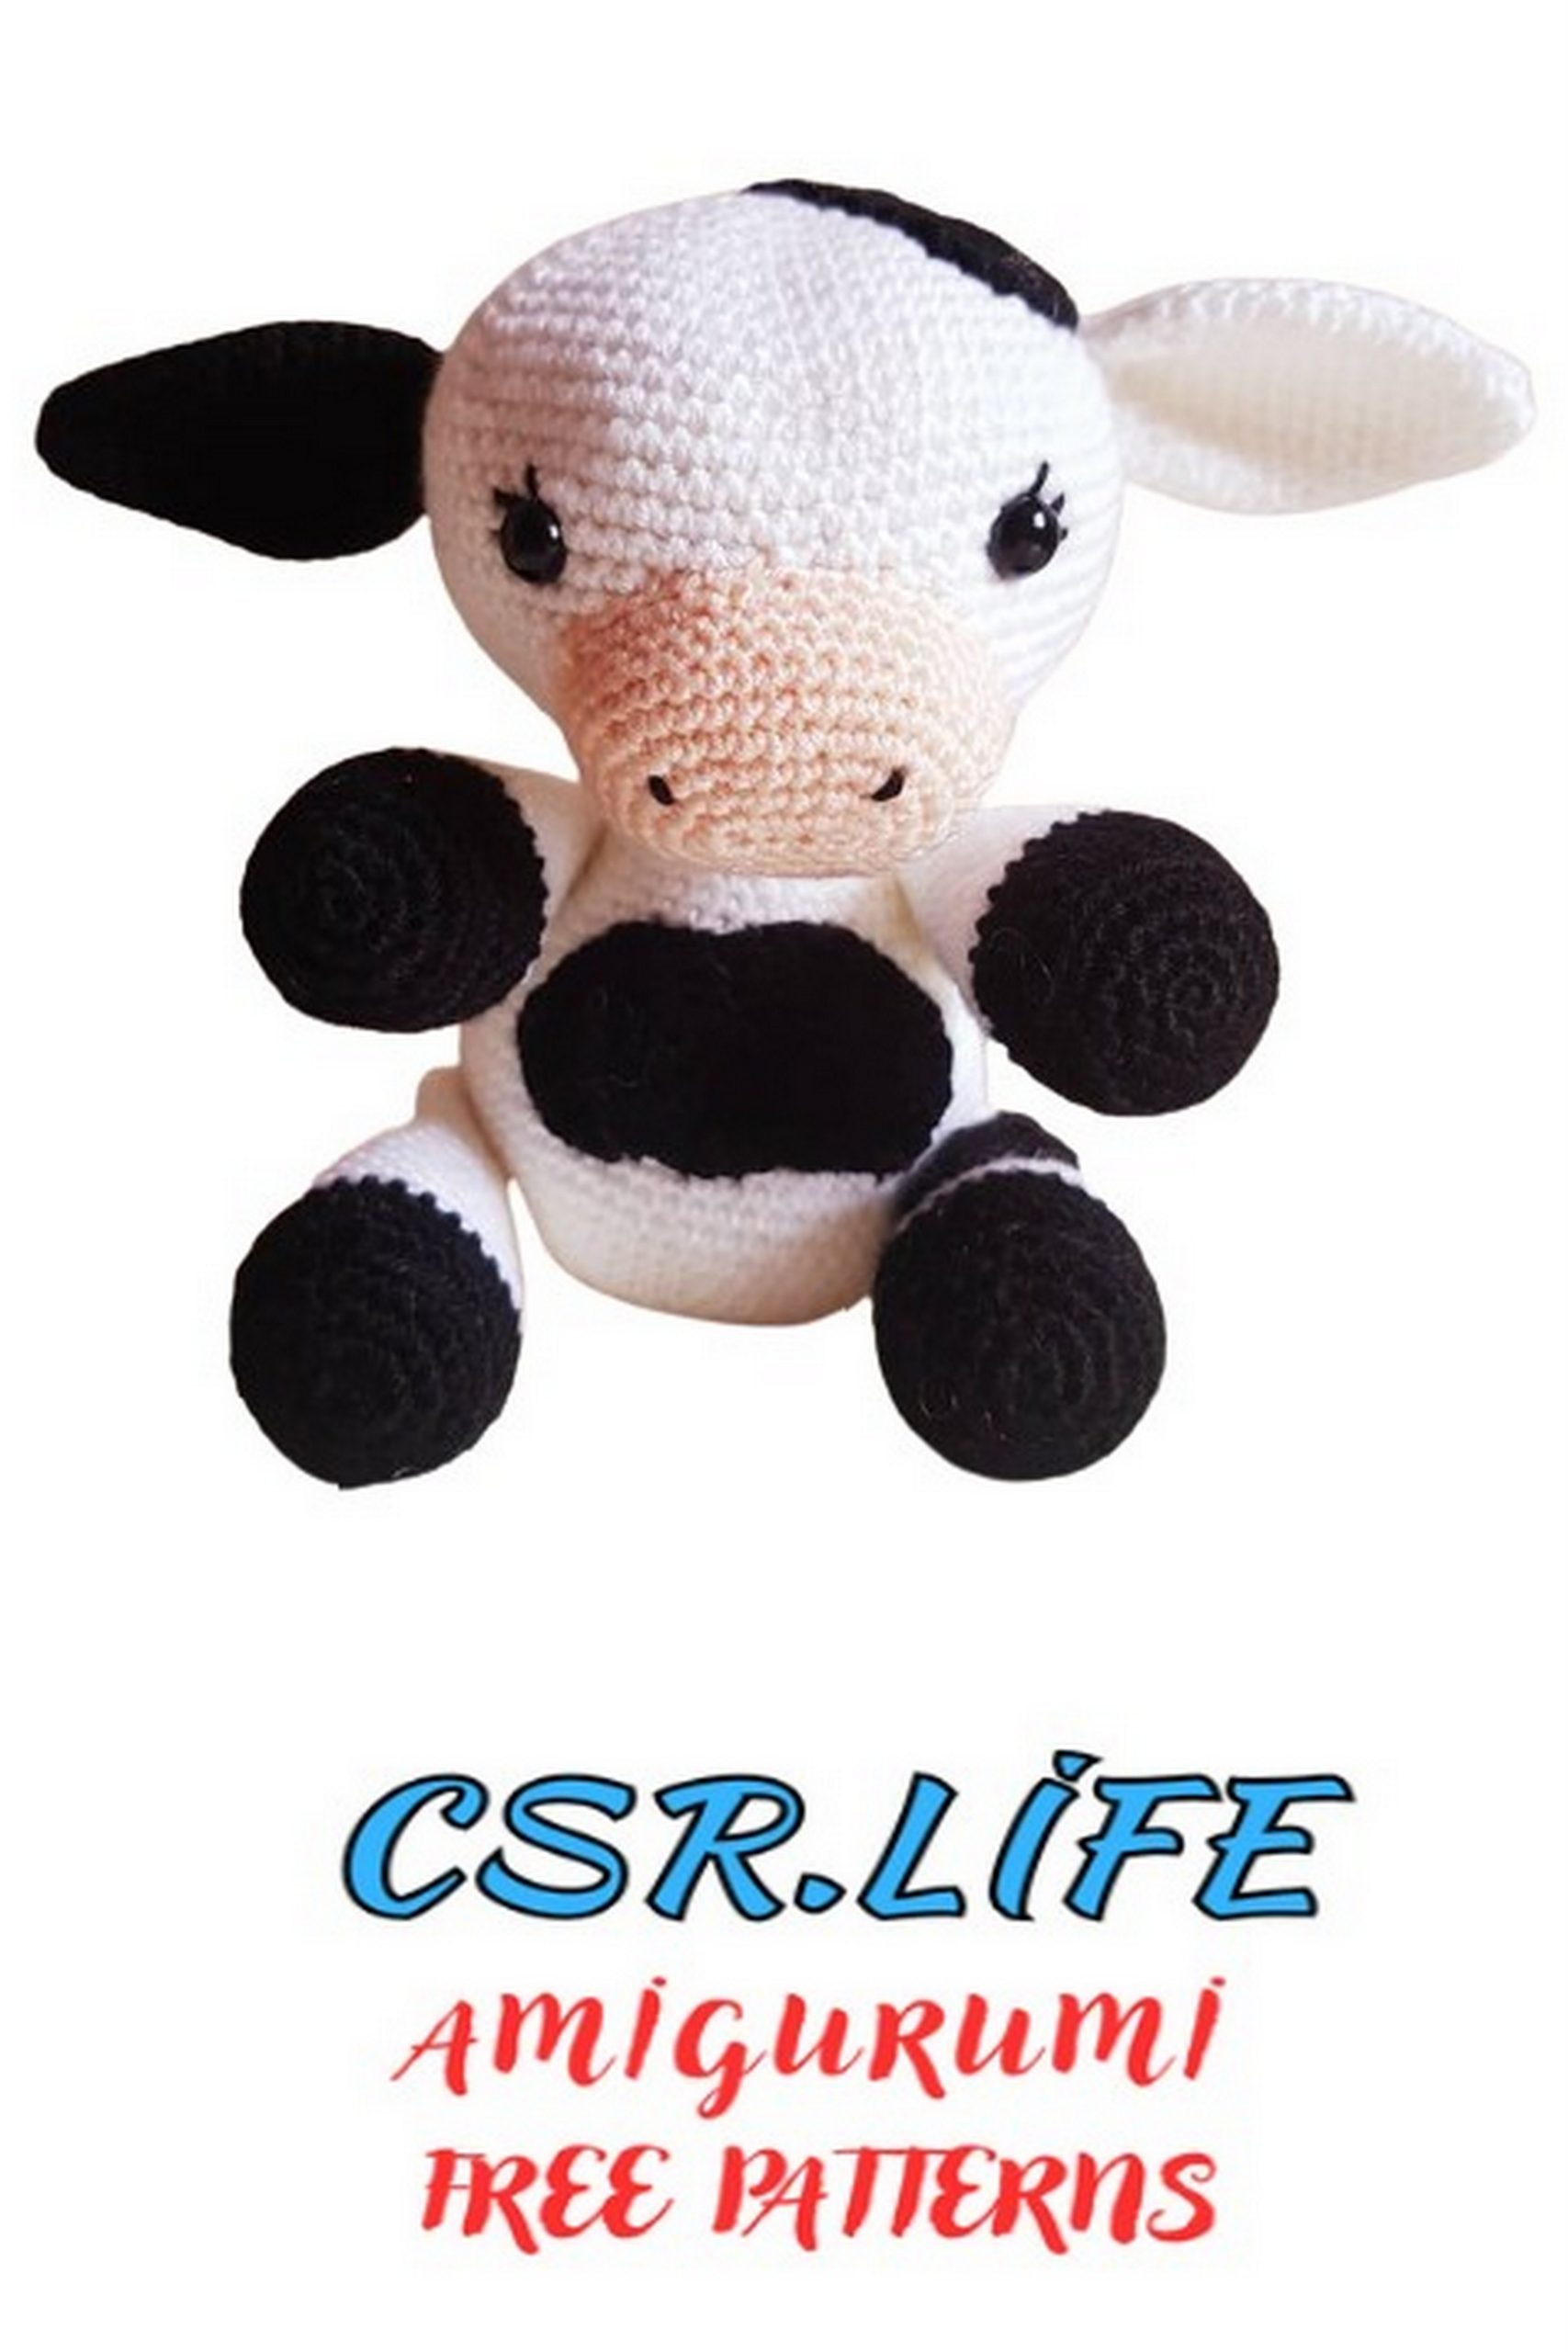
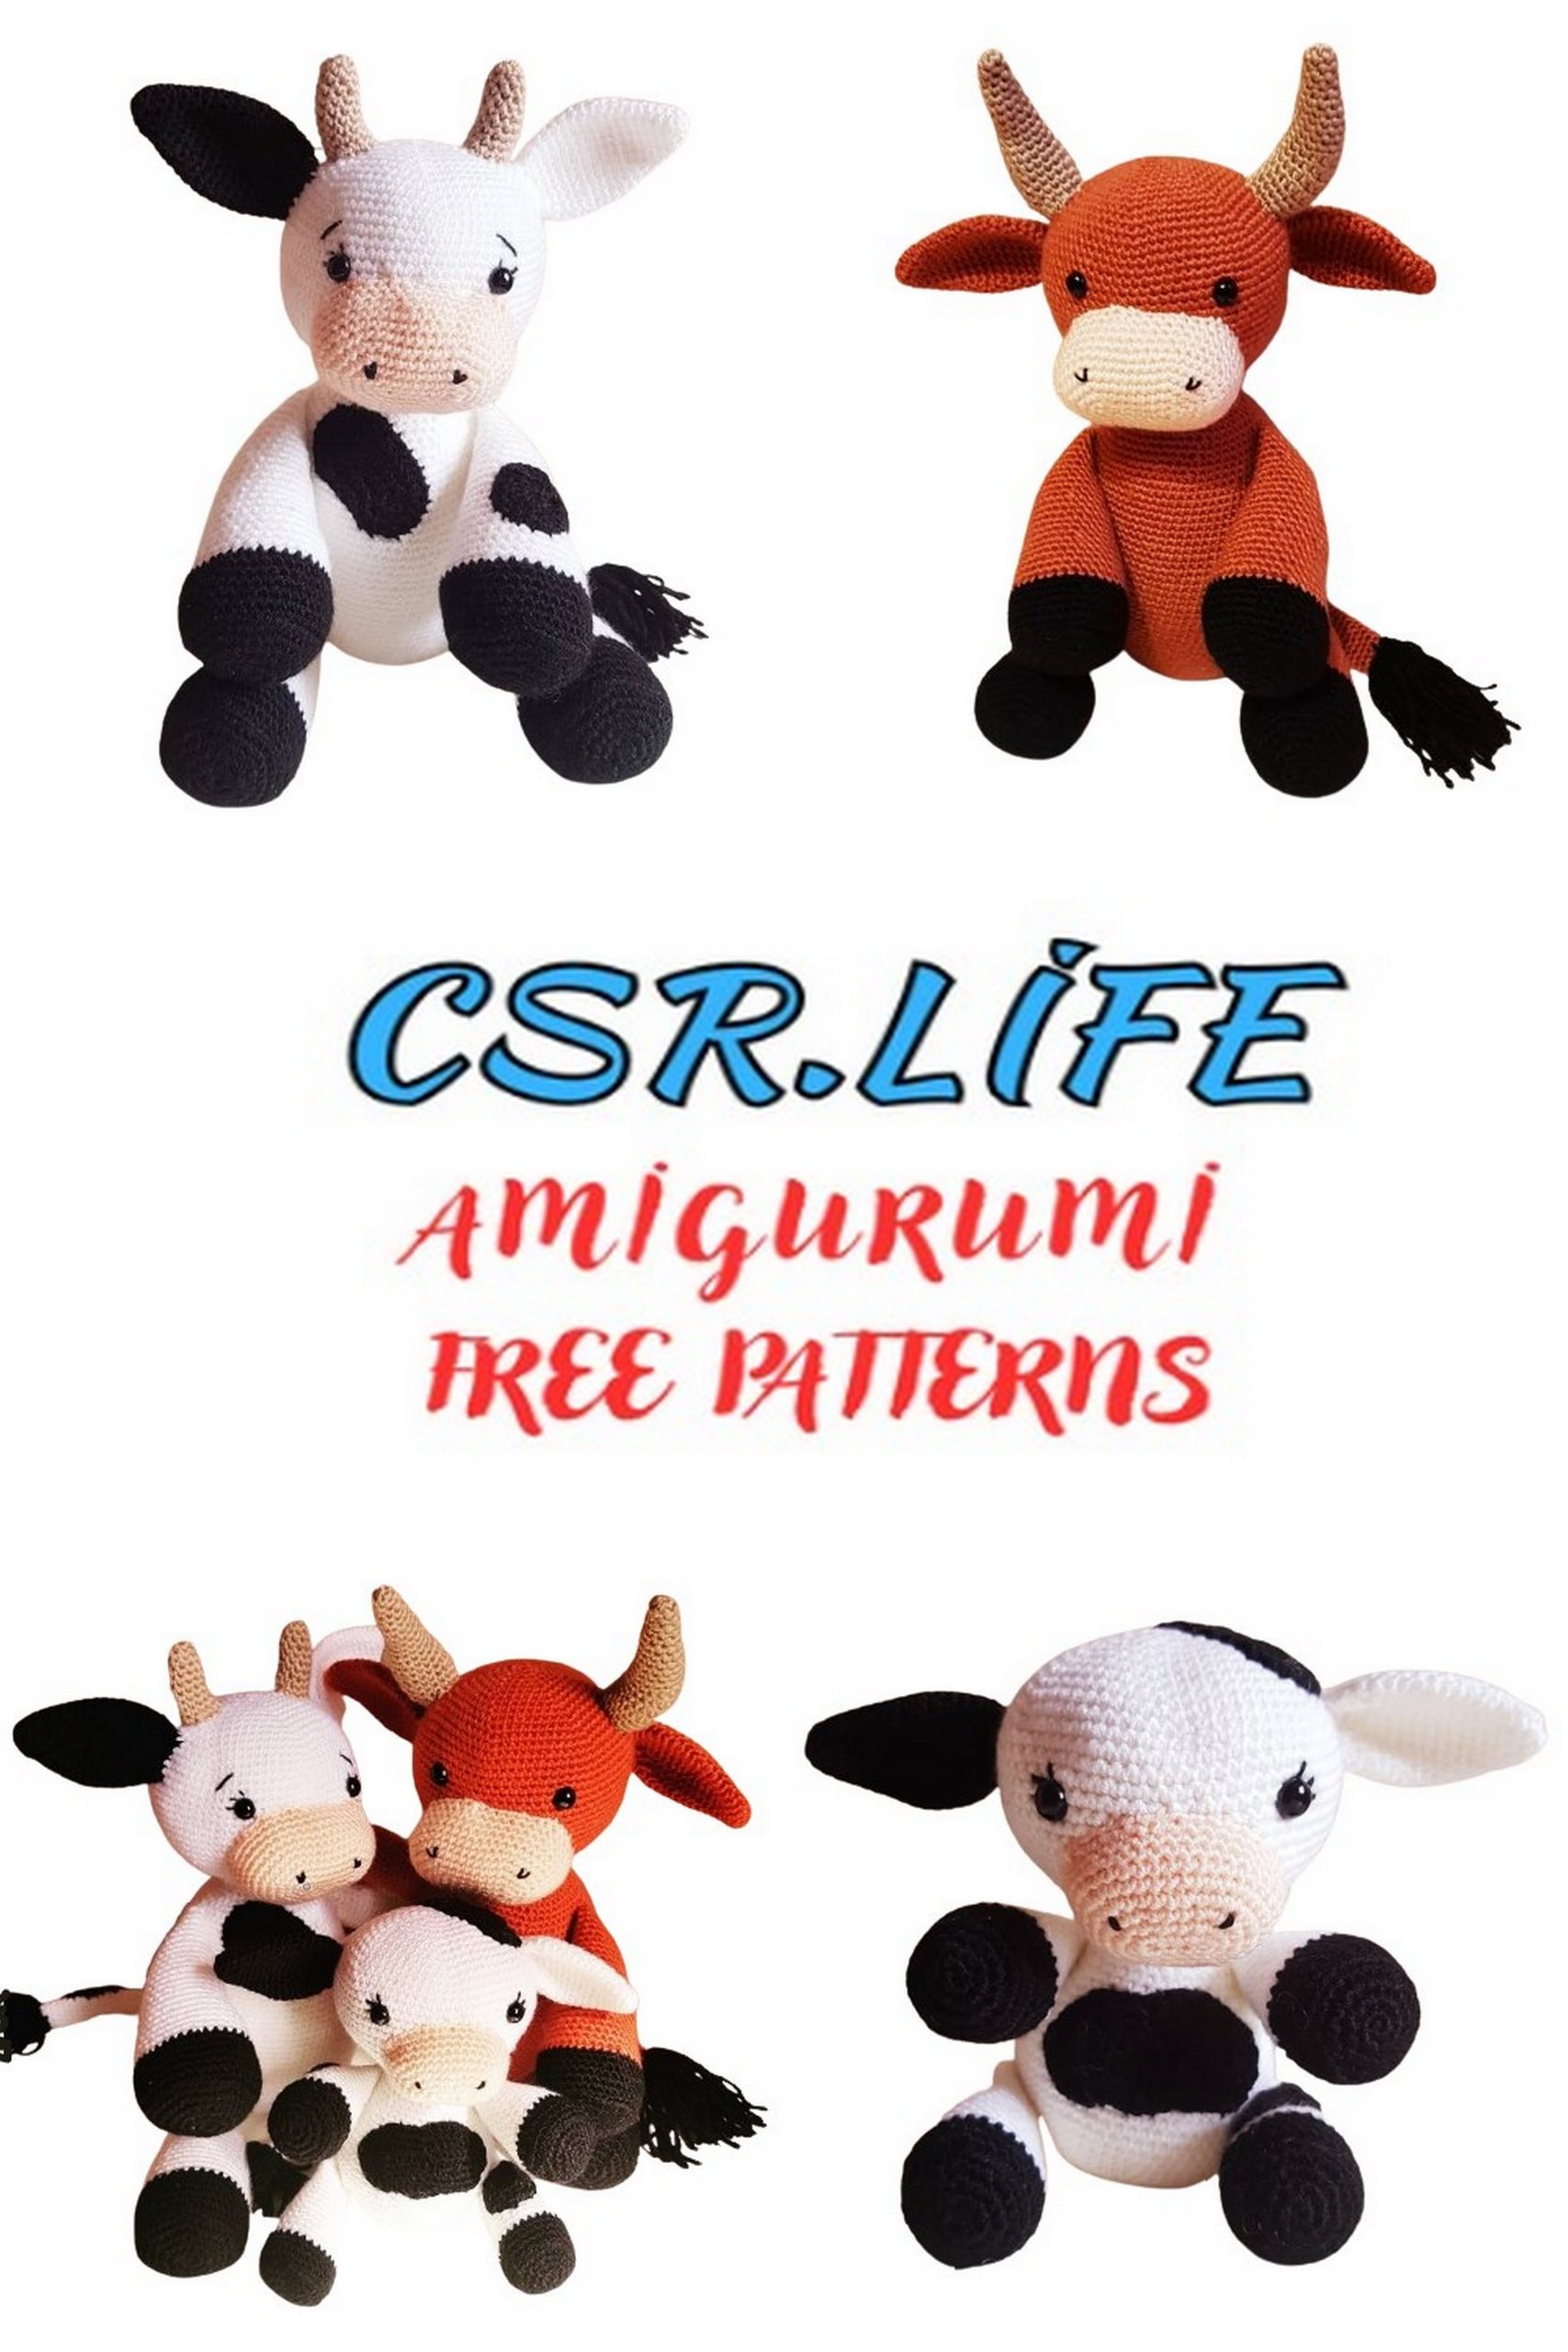
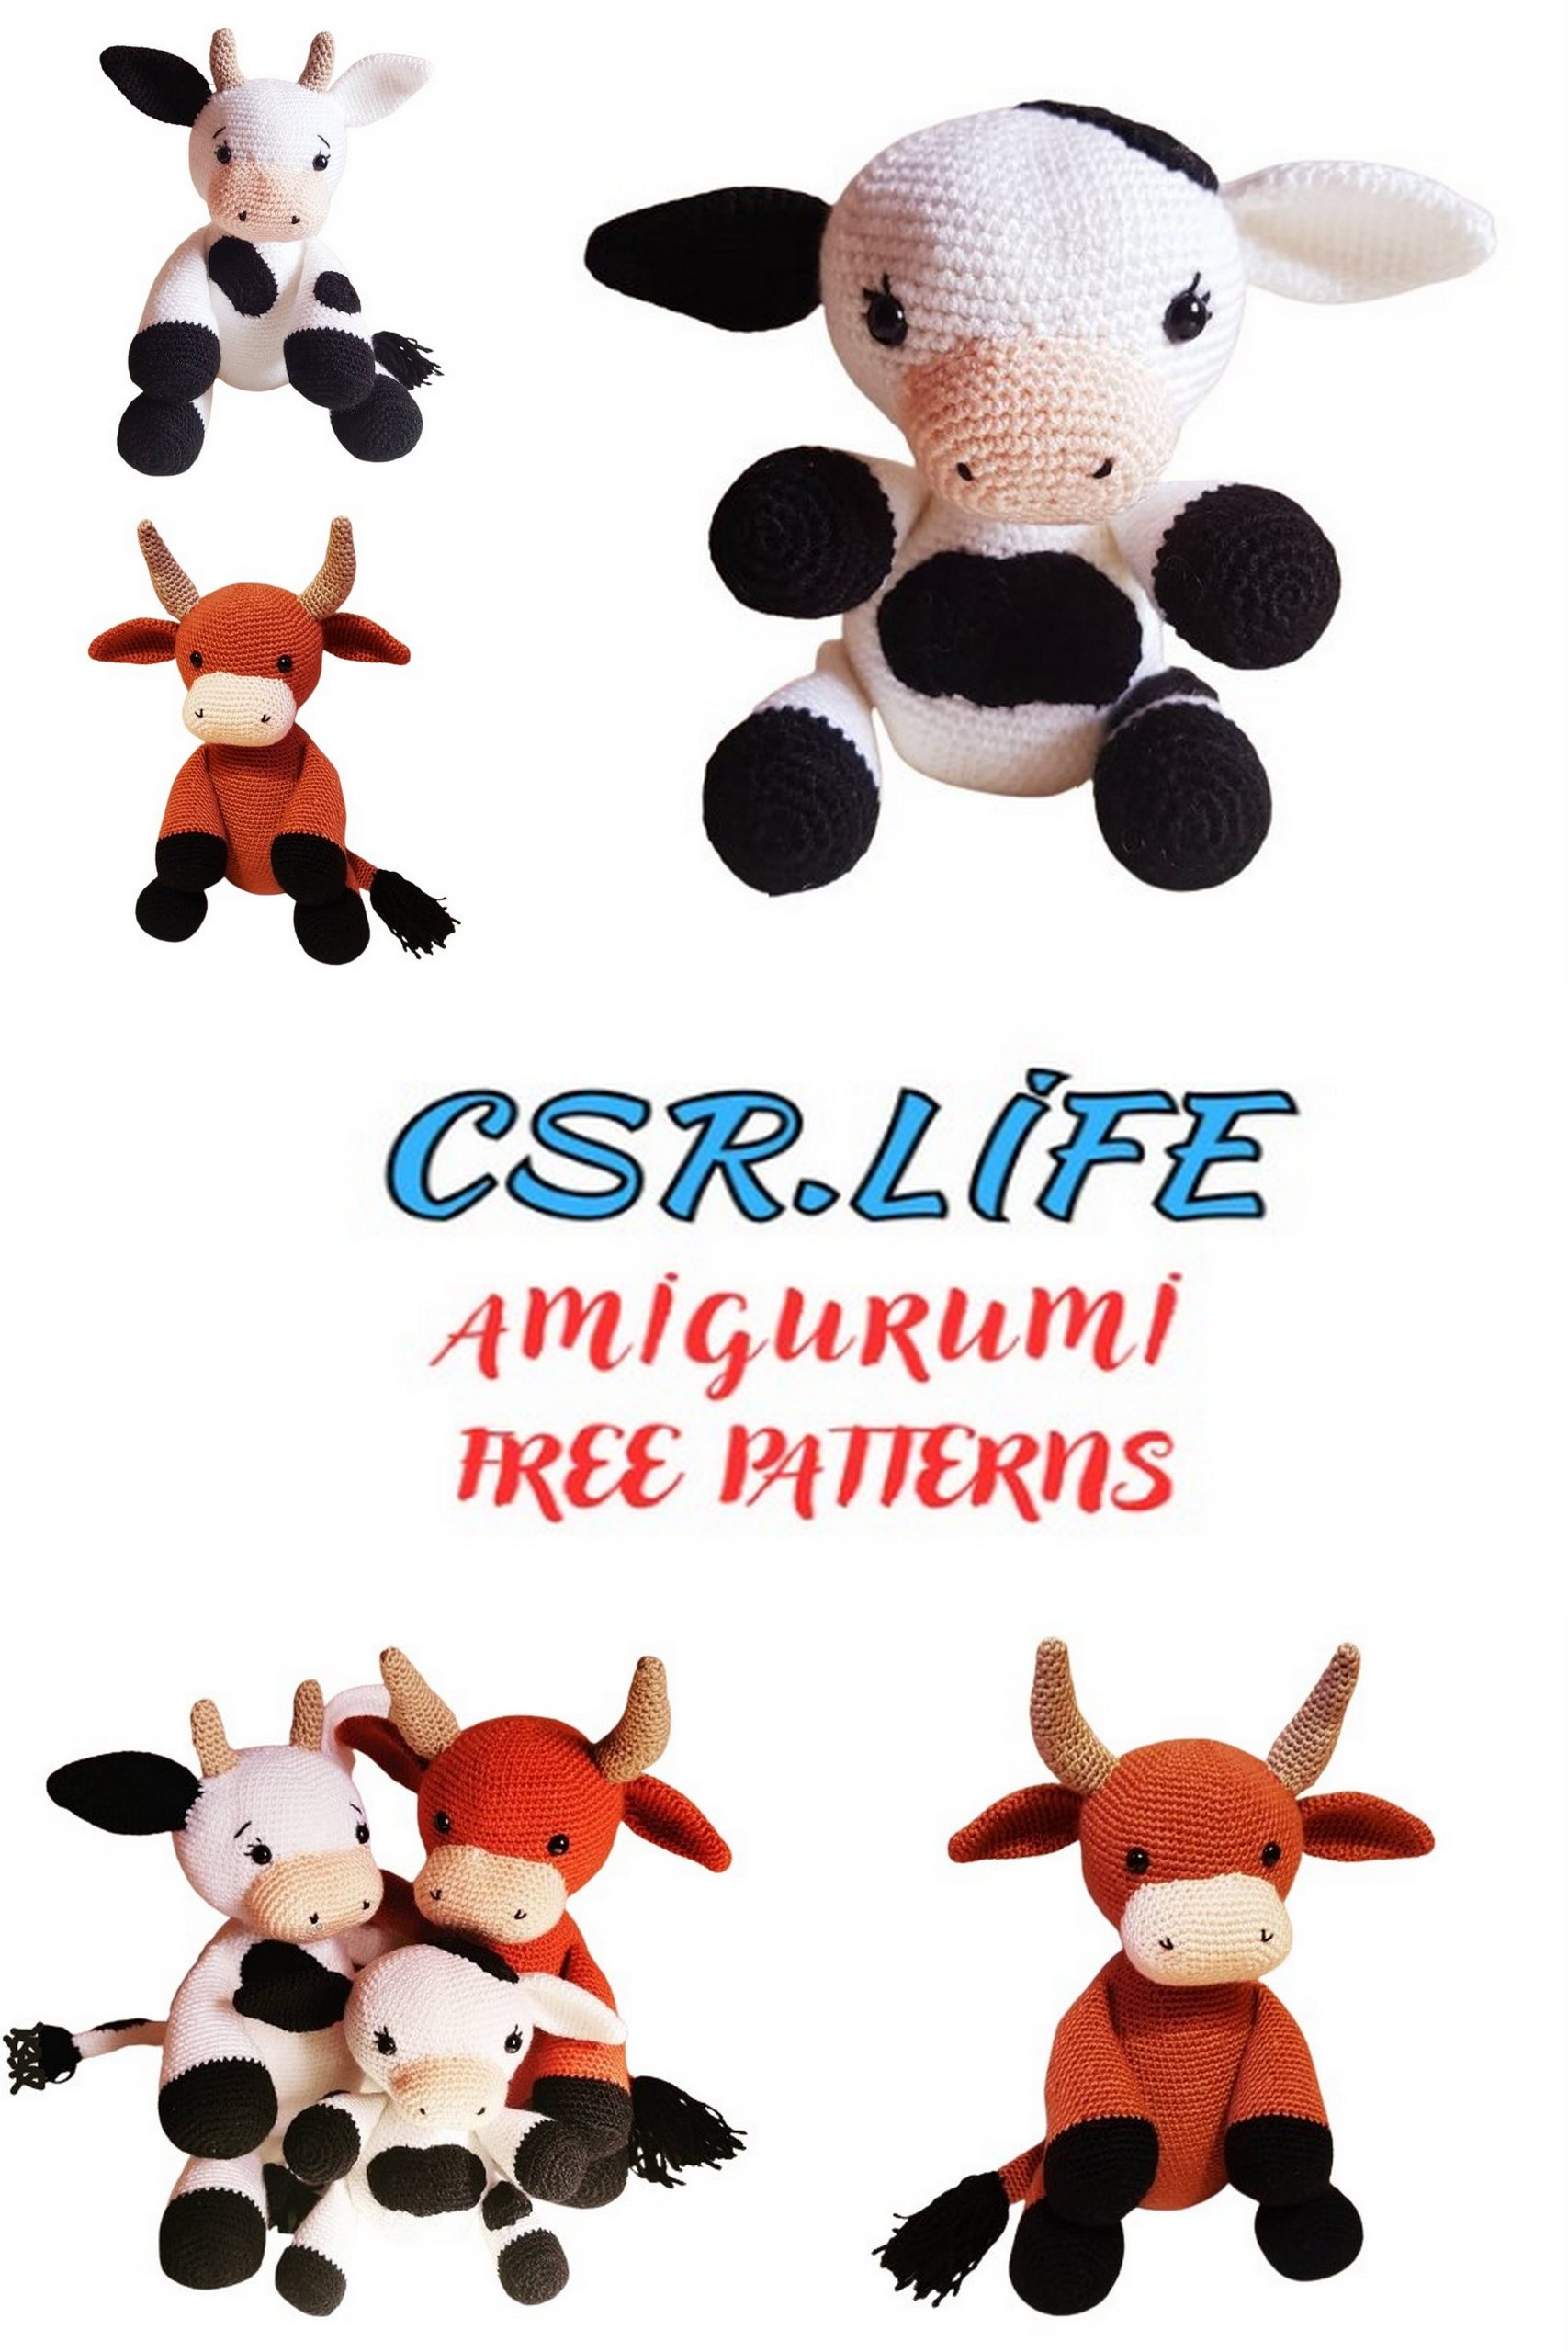
Free Cute Cow Amigurumi Pattern – Adorable and Easy Crochet Tutorial
Moo-ve into the world of adorable crochet with our free Cute Cow Amigurumi pattern! This charming design is perfect for crocheters of all skill levels, offering clear, step-by-step instructions and helpful photos directly on the page. Whether you’re making this lovable cow as a gift, for a nursery, or just for fun, its sweet details and cuddly appearance are sure to bring joy. Grab your crochet hook, some yarn, and let’s start creating this delightful cow together!
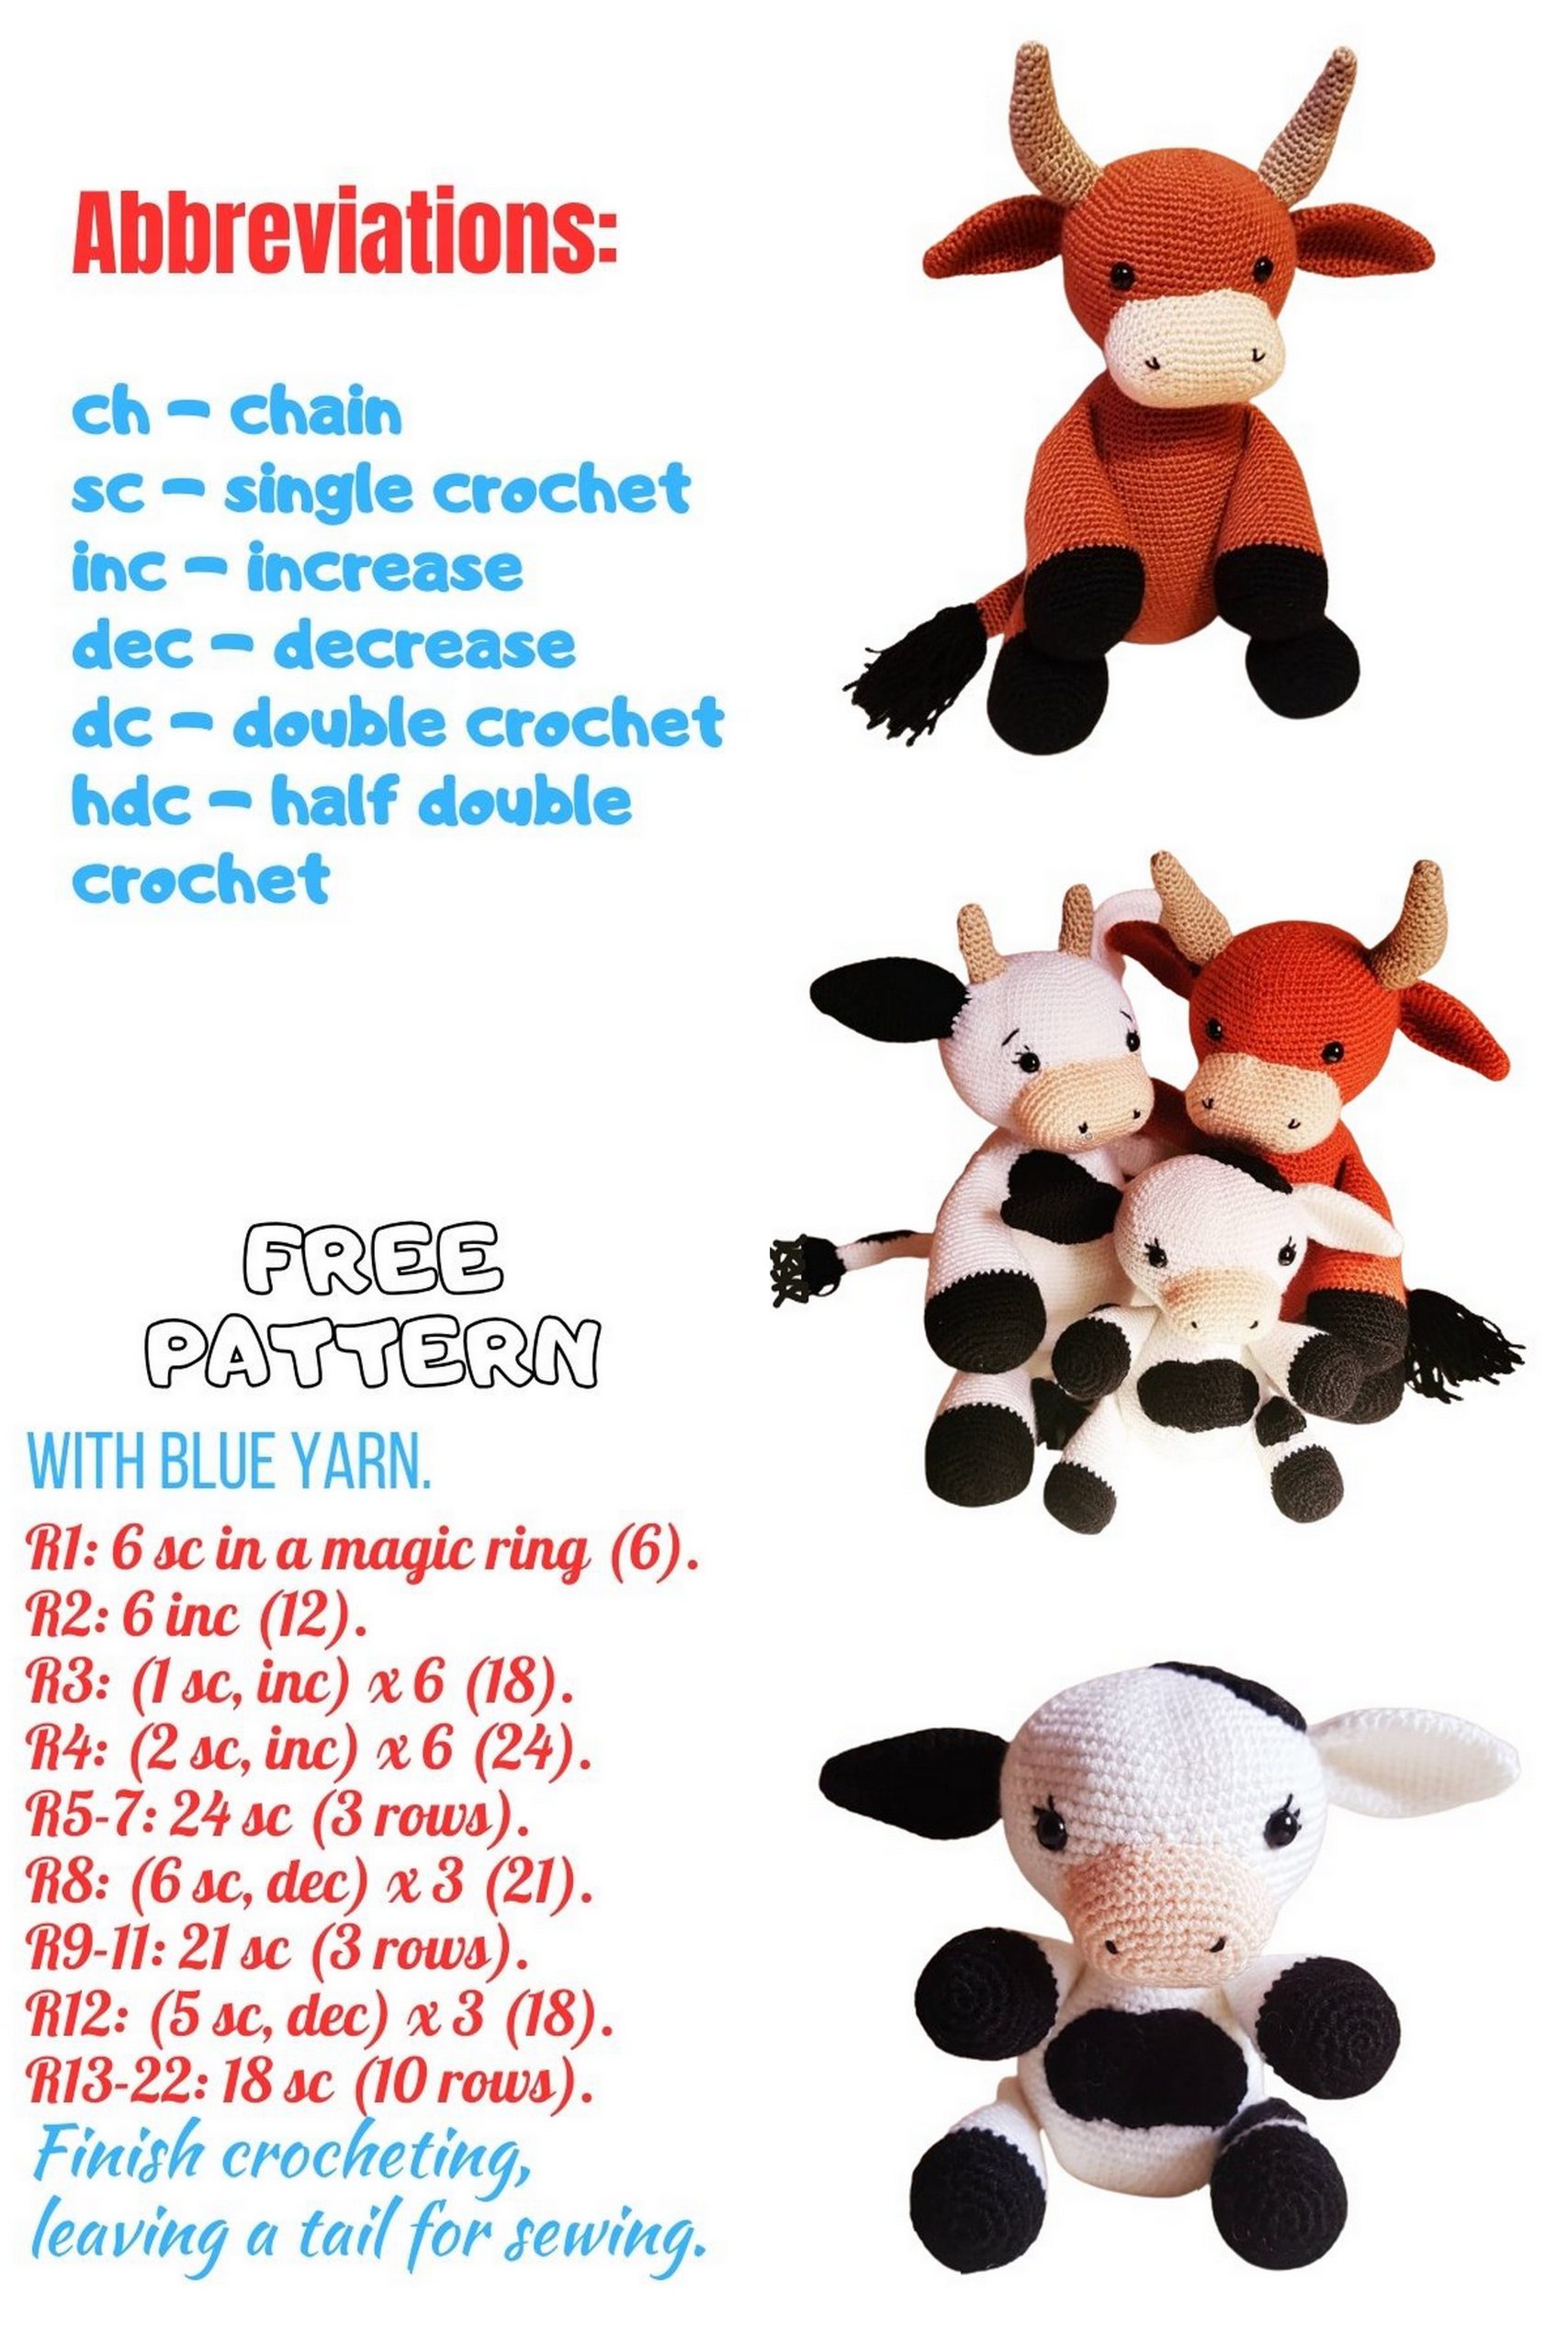
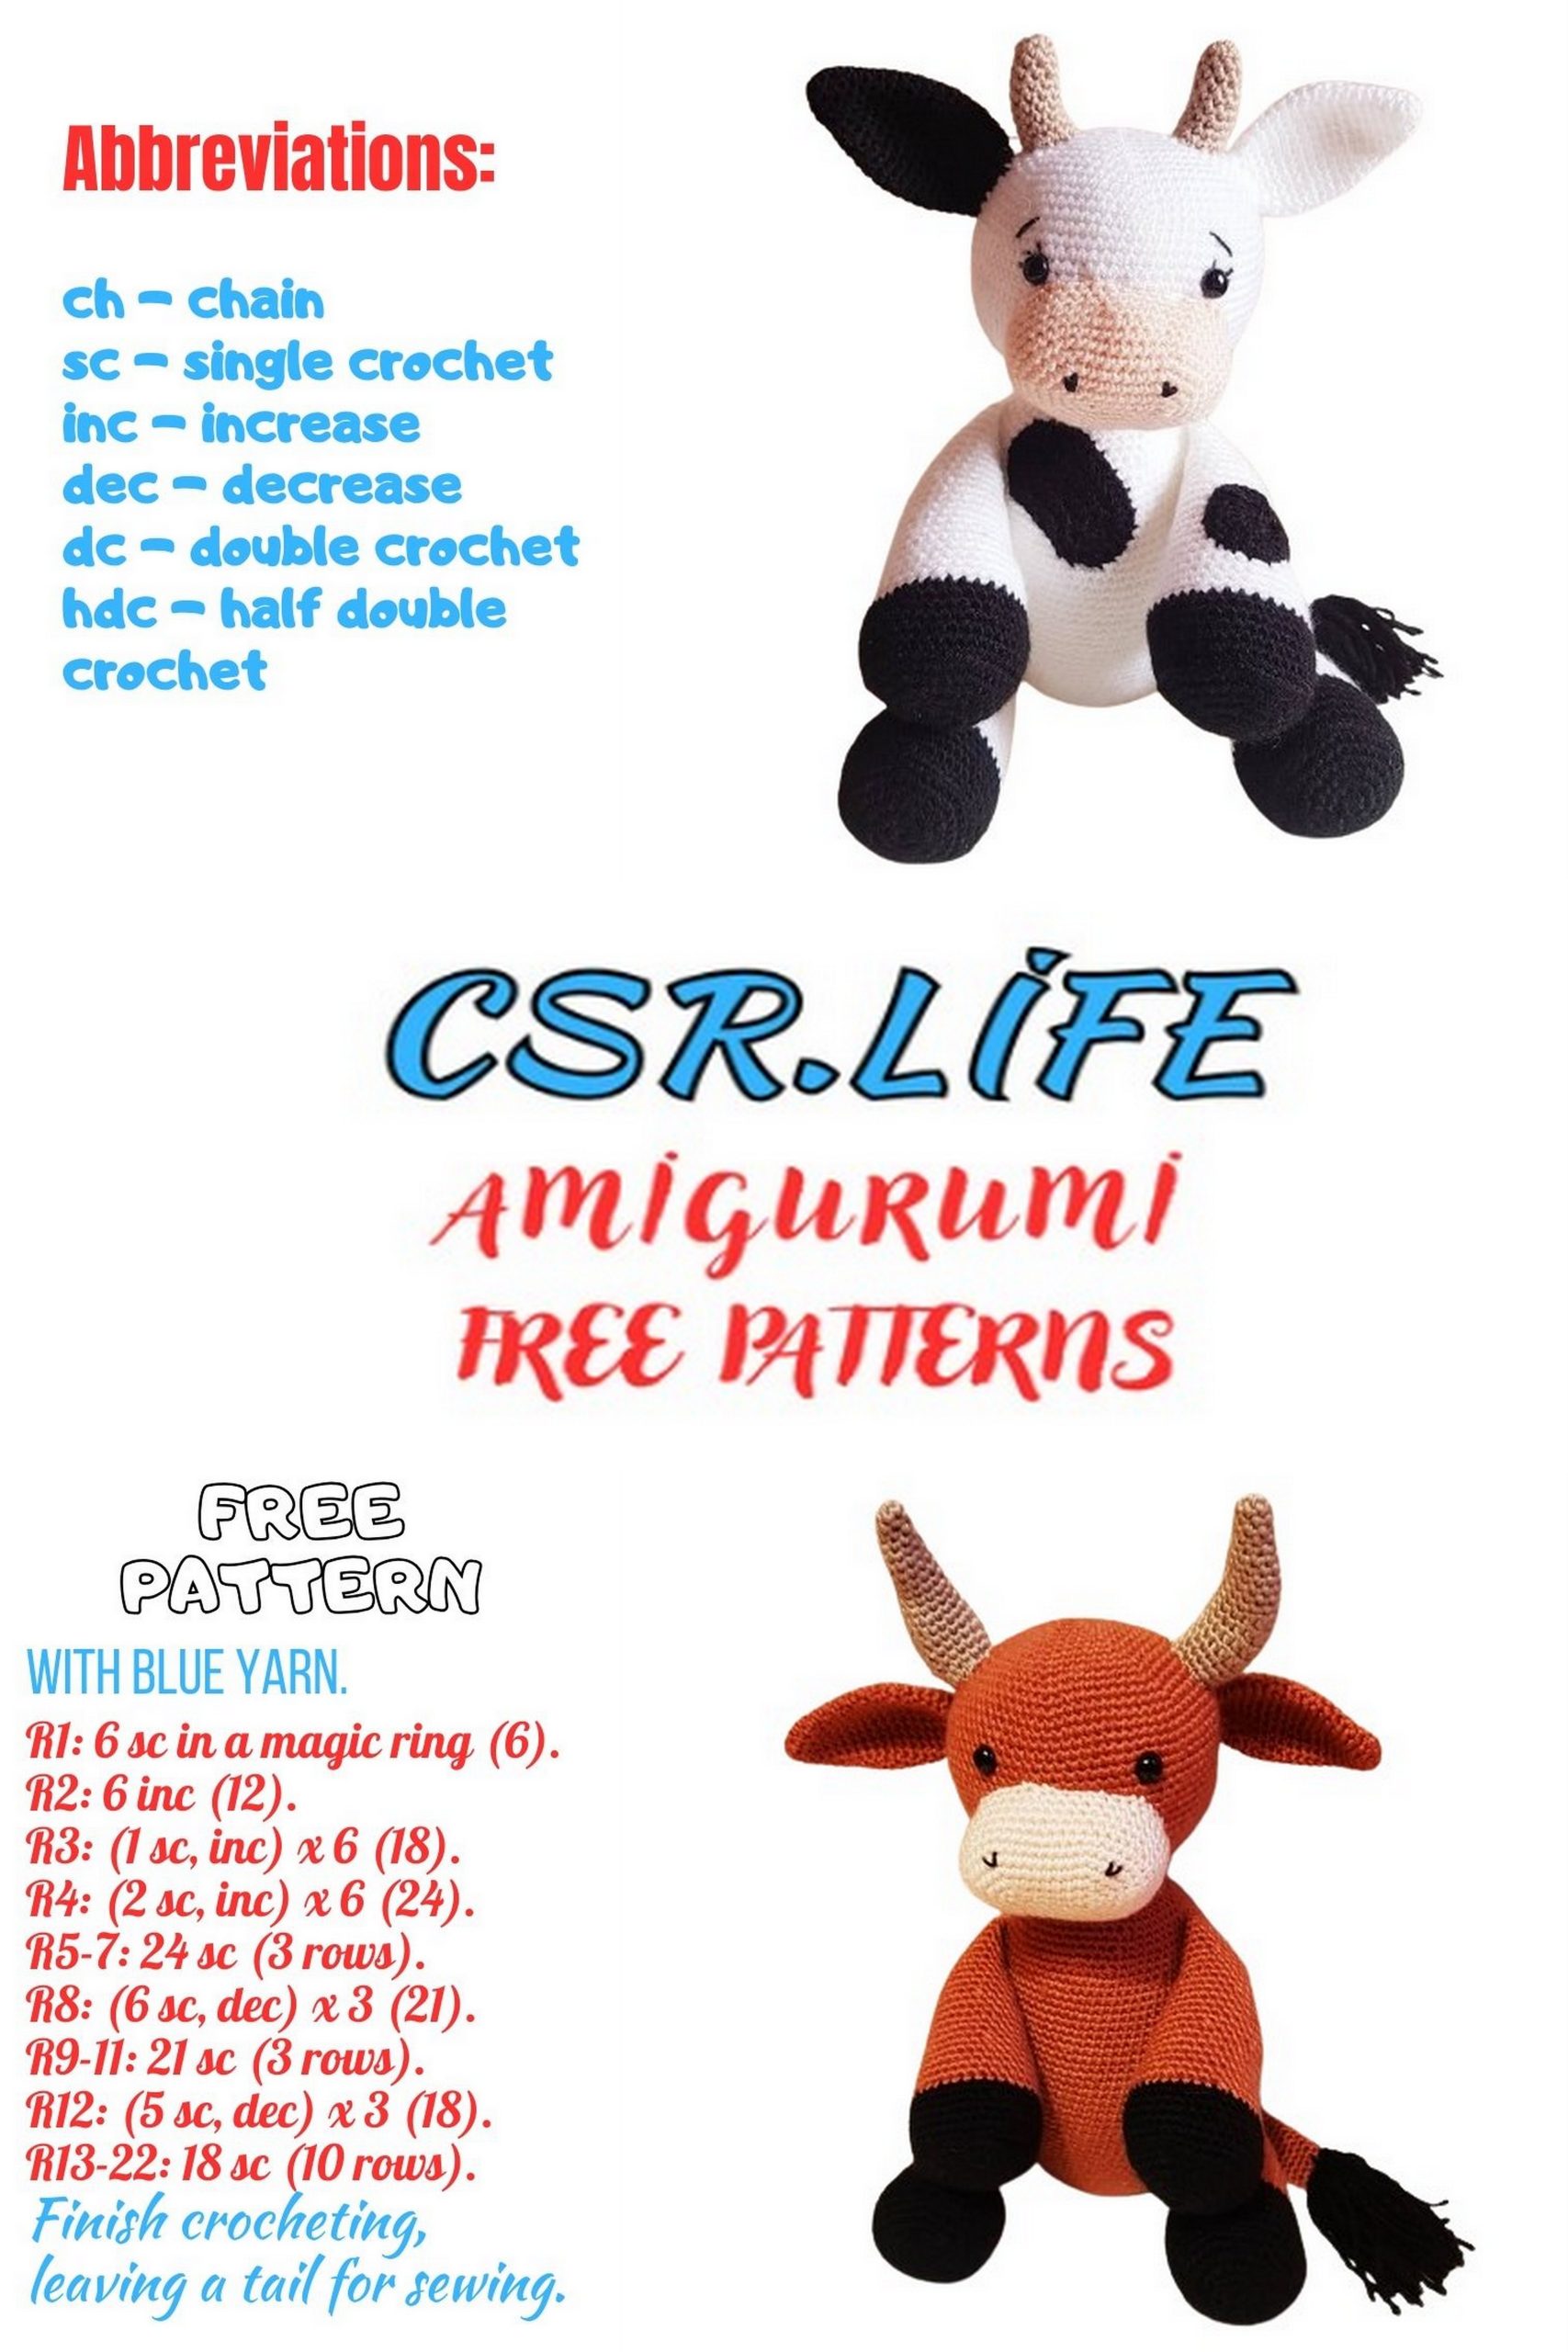
Abbreviations
MR – magic ring
ch – chain
sl st – slip stitch
sc – single crochet
hdc – half double crochet
dc – double crochet
inc / sc2in1 – 2 single crochet in one stitch (increase)
st / sts – stitch / stitches
dec / sc2tog – single crochet 2 stitches together (decrease)
(sc2in1, sc2) around – repeat what’s in the brackets until end of the row
(sc10, dec) – 2x – repeat what’s in the brackets 2 times
*decrease only through front loops – it looks much better
Materials used:
Crochet hook size: 3,5mm.
Yarn used:
Himalaya Everyday colors black and white (100g/250m)
Himalaya Everyday Bebe Lux crème (color number 70437, 100g/250m)
If you use other kind of yarn and hook size you’ll just get different size of the
toy. My finished work is around 15-16cm tall.
Black thread for nose, eyelashes, eyebrows (if you want to make them).
Safety eyes or buttons.
Some toy or pillow stuffing.
*work in continuous rounds.
PATTERN:
Head:
(white yarn, start stuffing around row 26)
Row 1: sc8 in MR
Row 2: (sc2in1) around (16 sts)
Row 3: (inc, sc1) around (24)
Row 4: (inc, sc3) around (30)
Row 5: (inc, sc4) around (36)
Row 6: (inc, sc5) around (42)
Row 7: (inc, sc6) around (48)
Row 8: (inc, sc7) around (54)
Row 9: (inc, sc8) around (60)
Row 10: (inc, sc9) around (66)
Row 11: (inc, sc10) around (72)
Row 12 – 22: sc72 (11 rows)
Row 23: (dec, sc10) around (66)
Row 24: (dec, sc9) around (60)
Row 25: (dec, sc8) around (54)
Row 26: (dec, sc7) around (48)
Row 27: (dec, sc6) around (42)
Row 28: (dec, sc5) around (36)
Row 29: (dec, sc4) around (30)
Row 30: (dec, sc3) around (24)
Sl st, fasten off, leave a tail to sew head to the body.
Around row 25 stop working and put safety eyes between rows 14 and 15.
Set them as far apart as you like, I did 15sts distance between the eyes.
You can also sew eyelashes and / or eyebrows if you like.
Body:
(white yarn, stuff when you start decreasing)
Row 1: sc6 in MR
Row 2: (sc2in1) around (12)
Row 3: (sc1, inc) around (18)
Row 4: (sc2, inc) around (24)
Row 5: (sc3, inc) around (30)
Row 6: (sc4, inc) around (36)
Row 7: (sc5, inc) around (42)
Row 8: (sc6, inc) around (48)
Row 9: (sc7, inc) around (54)
Row 10: (sc12, inc, sc13, inc) – x2 (58)
Row 11: sc7, inc, sc14, inc, sc15, inc, sc14, inc, sc4 (62)
Row 12: (sc14, inc, sc15, inc) – x2 (66)
Row 13 – 17: sc66 (5 rows)
Row 18: (sc20, dec) – x3 (63)
Row 19: (sc19, dec) – x3 (60)
Row 20: sc9, dec, (sc18, dec) –x2, sc9 (57)
Row 21: (sc17, dec) –x3 (54)
Row 22: sc8, dec, (sc16, dec) – x3, sc8 (51)
Row 23: (sc15, dec) – x3 (48)
Row 24: sc7, dec, (sc14, dec) – x2, sc7 (45)
Row 25: (sc13, dec) – x3 (42)
Row 26: sc6, dec, (sc12, dec) –x2, sc6 (39)
Row 27: (sc11, dec) – x3 (36)
Row 28: sc5, dec, (sc10, dec) – x2, sc5 (33)
Row 29: (sc9, dec) – x3 (30)
Row 30: sc4, dec, (sc8, dec) – x2, sc4 (27)
Row 31: (sc7, dec) – x3 (24)
Row 32: sc24
Sl st, fasten off, weave in the end.
Ears (make 2):
(I made 1 with white yarn and 1 with black yarn. Do not stuff the ears)
Row 1: sc6 in MR
Row 2: (sc2, inc) – x2 (8)
Row 3: (sc3, inc) – x2 (10)
Row 4: (sc4, inc) – x2 (12)
Row 5: (sc5, inc) – x2 (14)
Row 6: (sc6, inc) – x2 (16)
Row 7: (sc7, inc) – x2 (18)
Row 8: (sc8, inc) – x2 (20)
Row 9: (sc9, inc) – x2 (22)
Row 10: (sc10, inc) – x2 (24)
Row 11 – 15: sc24 (5 rows)
Row 16: (sc6, dec) – x3 (21)
Row 17: (sc5, dec) – x3 (18)
Row 18: (sc4, dec) – x3 (15)
Row 19: sc15
Sl st, fasten off, leave a tail to sew to the head.
Nose:
(cream color, do not stuff yet)
ch5, start the row with the second ch from the hook.
Row 1: inc, sc2, inc, (now on the other side of the chain) inc, sc2, inc (12)
Row 2: (sc2in1) – x2, sc2, (sc2in1) – x4, sc2, (sc2in1) – x2 (20)
Row 3: (sc1, inc) – x2, sc2, (sc1, inc) – x4, sc2, (sc1, inc) – x2 (28)
Row 4: (sc2, inc) – x2, sc2, (sc2, inc) – x4, sc2, (sc2, inc) – x2 (36)
Row 5 – 9: sc36 (5 rows)
Sl st, fasten off, leave a tail.
With black thread sew the nose „dots”
Legs (4x):
(stuff as you go)
Start with black yarn:
Row 1: sc8 in MR
Row 2: (sc2in1) around (16)
Row 3: (sc1, inc) around (24)
Row 4: (sc3, inc) around (30)
Row 5: this row back loops only – sc30
Row 6: sc30
Row 7: (sc13, dec) – x2 (28)
Row 8: sc28
Change color to white:
Row 9: sc6, dec, sc12, dec, sc6 (26)
Row 10: sc26
You can tie together black and white yarn ends, make a knot and just leave it inside the leg.
Row 11: (sc11, dec) – x2 (24)
Row 12: sc24
Row 13: sc5, dec, sc10, dec, sc5 (22)
Row 14: sc22
Row 15: (sc9, dec) – x2 (20)
Row 16: sc20
Row 17: sc4, dec, sc8, dec, sc4 (18)
Row 18: sc18
Row 19: (sc7, dec) – x2 (16)
Row 20 – 23: sc16 (4 rows)
Sl st, fasten off, leave a tail.
When I stuff legs I like to leave some unstuffed part so they fall more loosely from the body.
Tail:
(do not stuff)
Start with black yarn:
Row 1: sc6 in MR
Row 2: (sc1, inc) – x3 (9)
Row 3 and 4: sc9
Row 5: this row back loops only: sc9
Change yarn to white:
Row 6: this row back loops only: sc9
Row 7 and every next row: sc9 – continue until you get the length you like, for me it was around 13cm.
Around row 8 or 9: tie together black and white yarn ends, make a knot and just leave it inside the tail.
Finish with sl st and leave a tail to sew to the body.
In the front loops of rows 5 and 6 you need to attach pieces of black yarn to make a “brushy” end. Make some 8 – 10cm pieces and attach them like on the picture below.
*I crocheted an extra part of tail only in white color so you can see better how I attached the pieces of yarn. After you finish, you can cut the ends to the length you like but I didn’t do anything because for me it looks just fine. You can also use a smaller size of a hook to make it easier to pull through.
Spots:
I made 7 of those, but you can crochet them your way
Below I wrote down what I made and attached to this baby cow. Of course all are crocheted in black yarn.
Every time you finish the spot with a sl st and leave a long tail to sew. The end from the beginning of the spot you just weave in and cut.
Spot 1:
Row 1: sc6 in MR
Row 2: (sc2in1) around (12)
Row 3: (sc1, inc) around (18)
Row 4: (sc2, inc) around (24)
Spot 2:
ch4, start the first row from the second ch from the hook
Row 1: sc2in1, sc1, sc2in1, on the other side of the chain: sc2in1, sc1, sc2in1 (10)
Row 2: (sc2in1) – x2, sc1, (sc2in1) – x4, sc1, (sc2in1) – x2 (18)
Row 3: (inc, sc1) – x2, sc1, (inc, sc1) – x4, sc1, (sc2in1) – x2 (26)
Row 4: (sc2, inc) – x2
Spots 3 i 4:
ch7, start from the second ch from the hook.
Row 1: sc2in1, sc4, sc2in1, on the other side of the hook: sc2in1, sc4, sc2in1 (16)
Row 2: (sc2in1) – x2, , sc4, (sc2in1) – x4, sc4, (sc2in1) – x2 (24)
Spot 5:
ch13, start from the second ch from the hook.
Row 1: sc2in1, sc10, sc2in1, on the other side of the hook: sc2in1, sc10, sc2in1
Row 2: (sc2in1) – x2, sc2, dc2, sc6, (sc2in1) – x4, sc2, dc4, sc4, (sc2in1) – x2
Row 3: (sc1, inc) – x2, sc1, dc4, hdc1, sc5, (sc1, inc) – x4, dc6, hdc1, sc3, sc2in1, sc1, sc2in1
Row 4: dc2in1, dc2, dc2in1, sc1, sc1
*with dc and hdc I was trying to get some irregular edges.
Spots 6 and 7:
these are the most difficult ones ch11, start from the second ch from the hook.
Row 1: sc2in1, sc4, sc3in1, sc3, sc2in1, on the other side of the hook: sc2in1, sc2, sc3tog, sc3, sc2in1
Row 2: (sc2in1) – x2, sc4, (sc2in1, sc2) – x2, (sc2in1) – x4, sc2, sc3tog, sc1, (sc2in1) – x2
Row 3: (sc1, sc2in1) – x2, hdc1, dc4, hdc1, (sc1, sc2in1) – x2, sc1, hdc1, dc1, dc2in1, hdc1, sc2in1, sc1, sc2in1, sc2, sc2tog, sc1, hdc1, (dc2tog, dc1) – x2
Row 4: dc1, hdc1, sc2in1, sc1, hdc1, dc1, dc2tog, hdc1, sc2, dc2tog, dc3, sc2in1, sc6, (sc2, sc2in1) – x3, sc1, sc3tog, sc2, dc2, dc2in1, sc1
Now you need to sew everything together. Attach ears more / less at the eyes line. Stuff the nose when there is only small hole left when you sew. Attach spots wherever you like – it’s a cow so they can be somewhere different each time Weave in all the ends and cut the remaining tails of yarn.