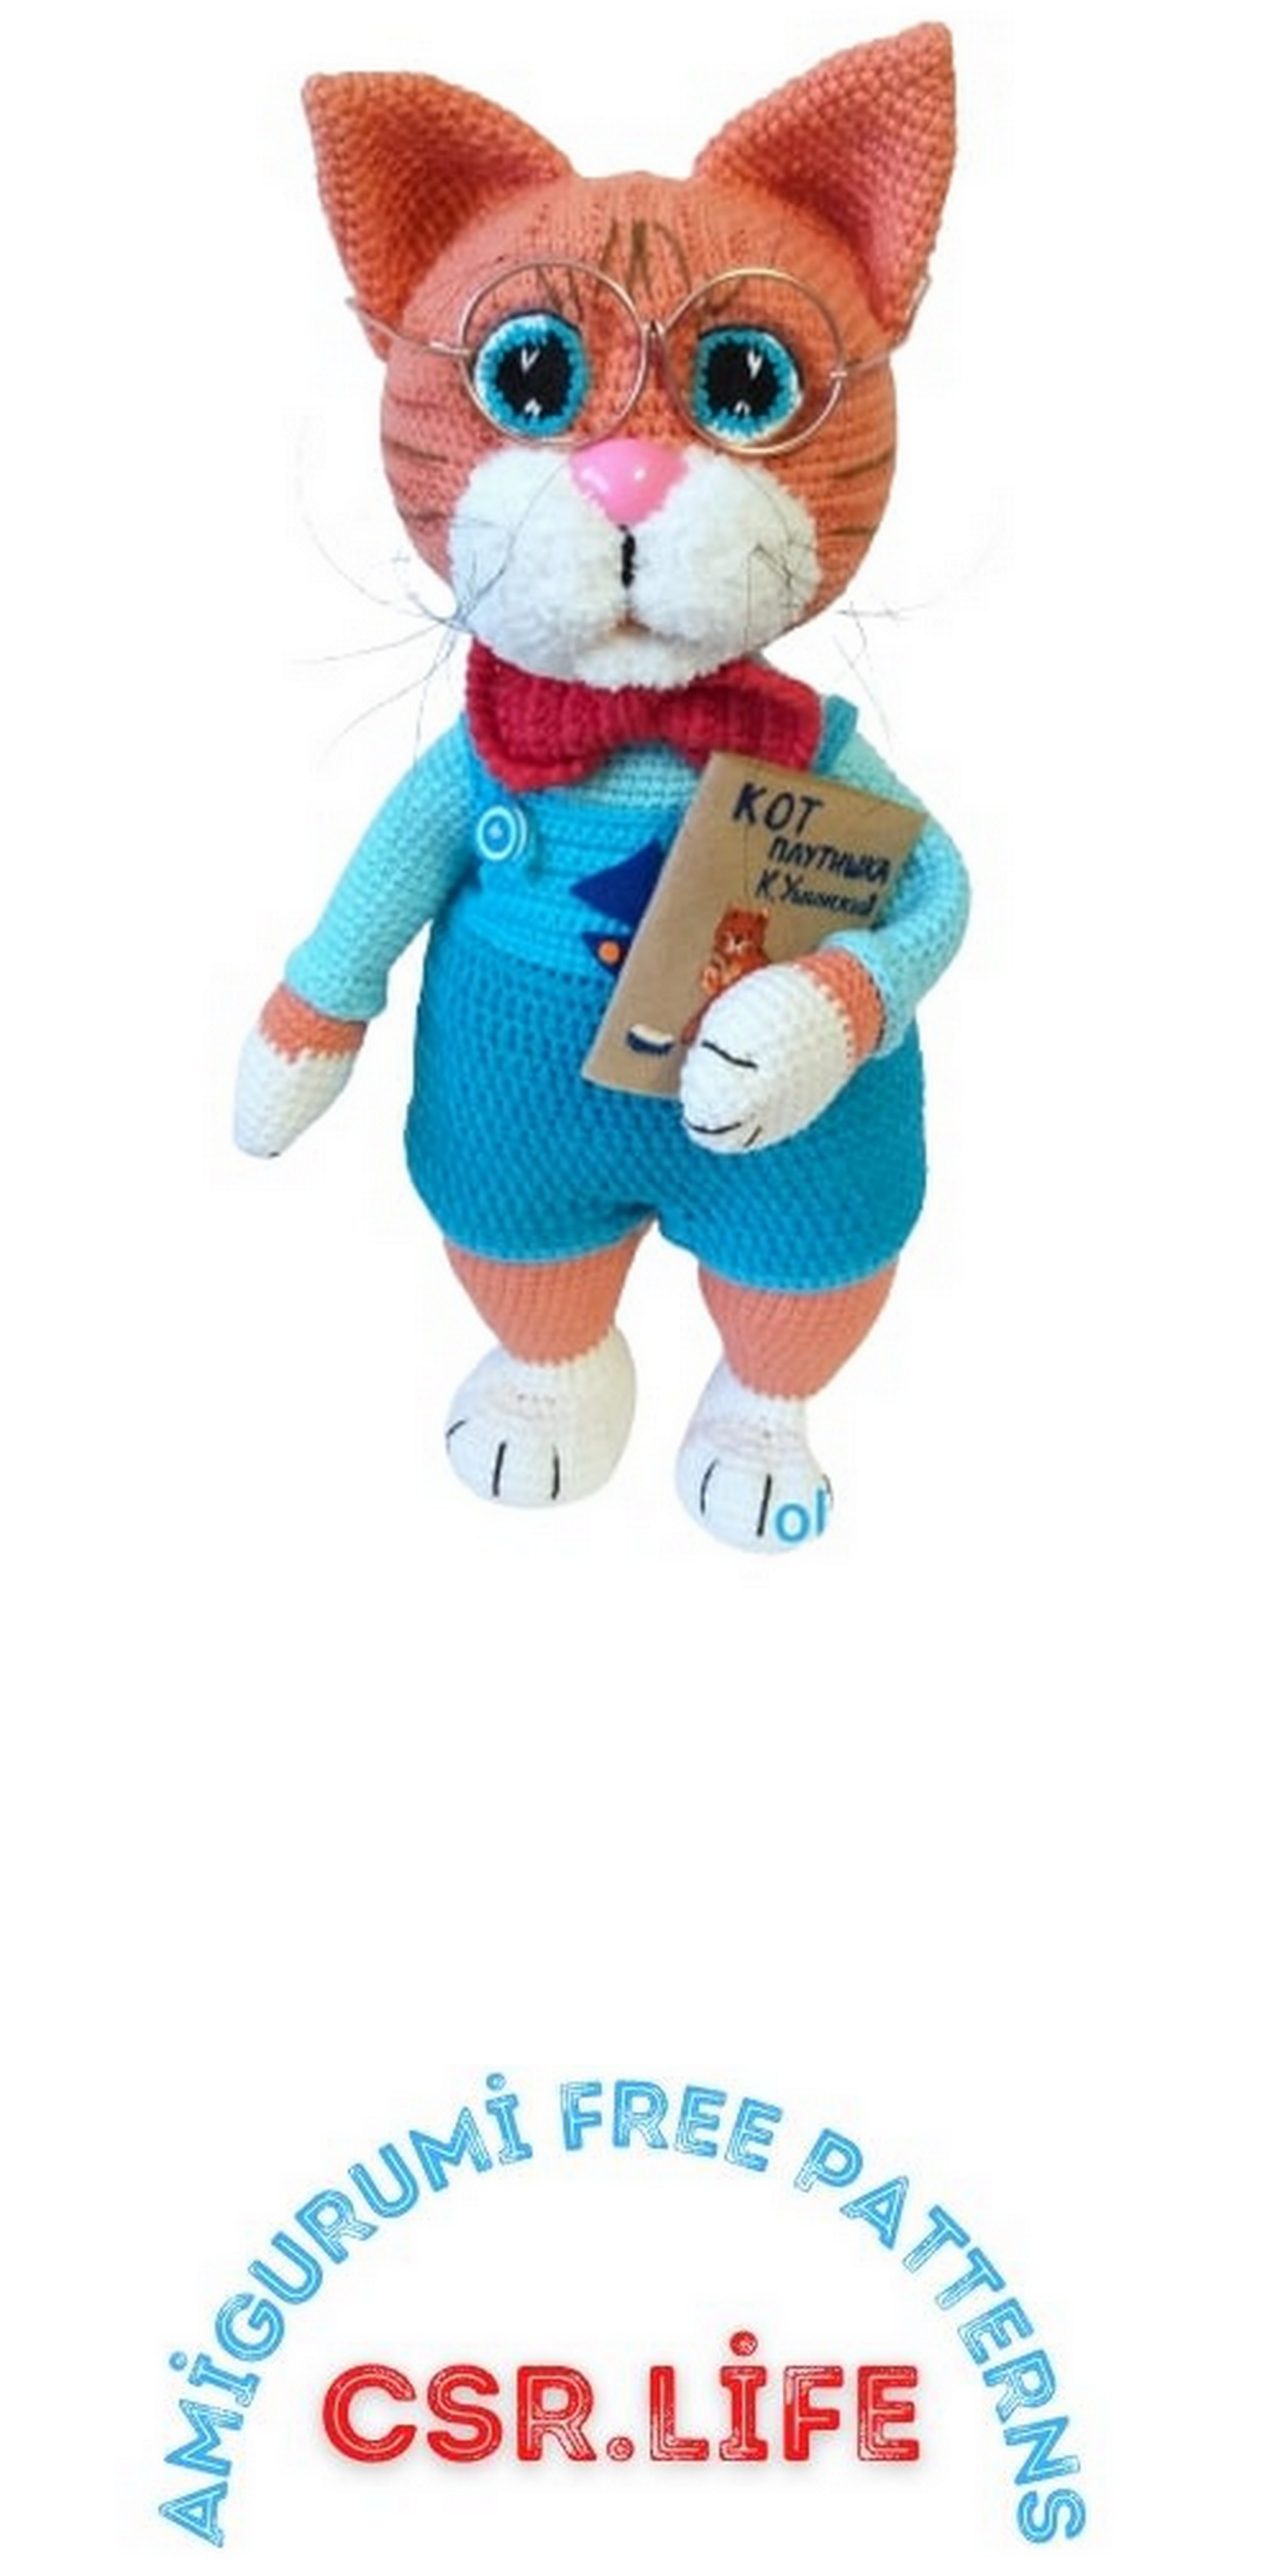
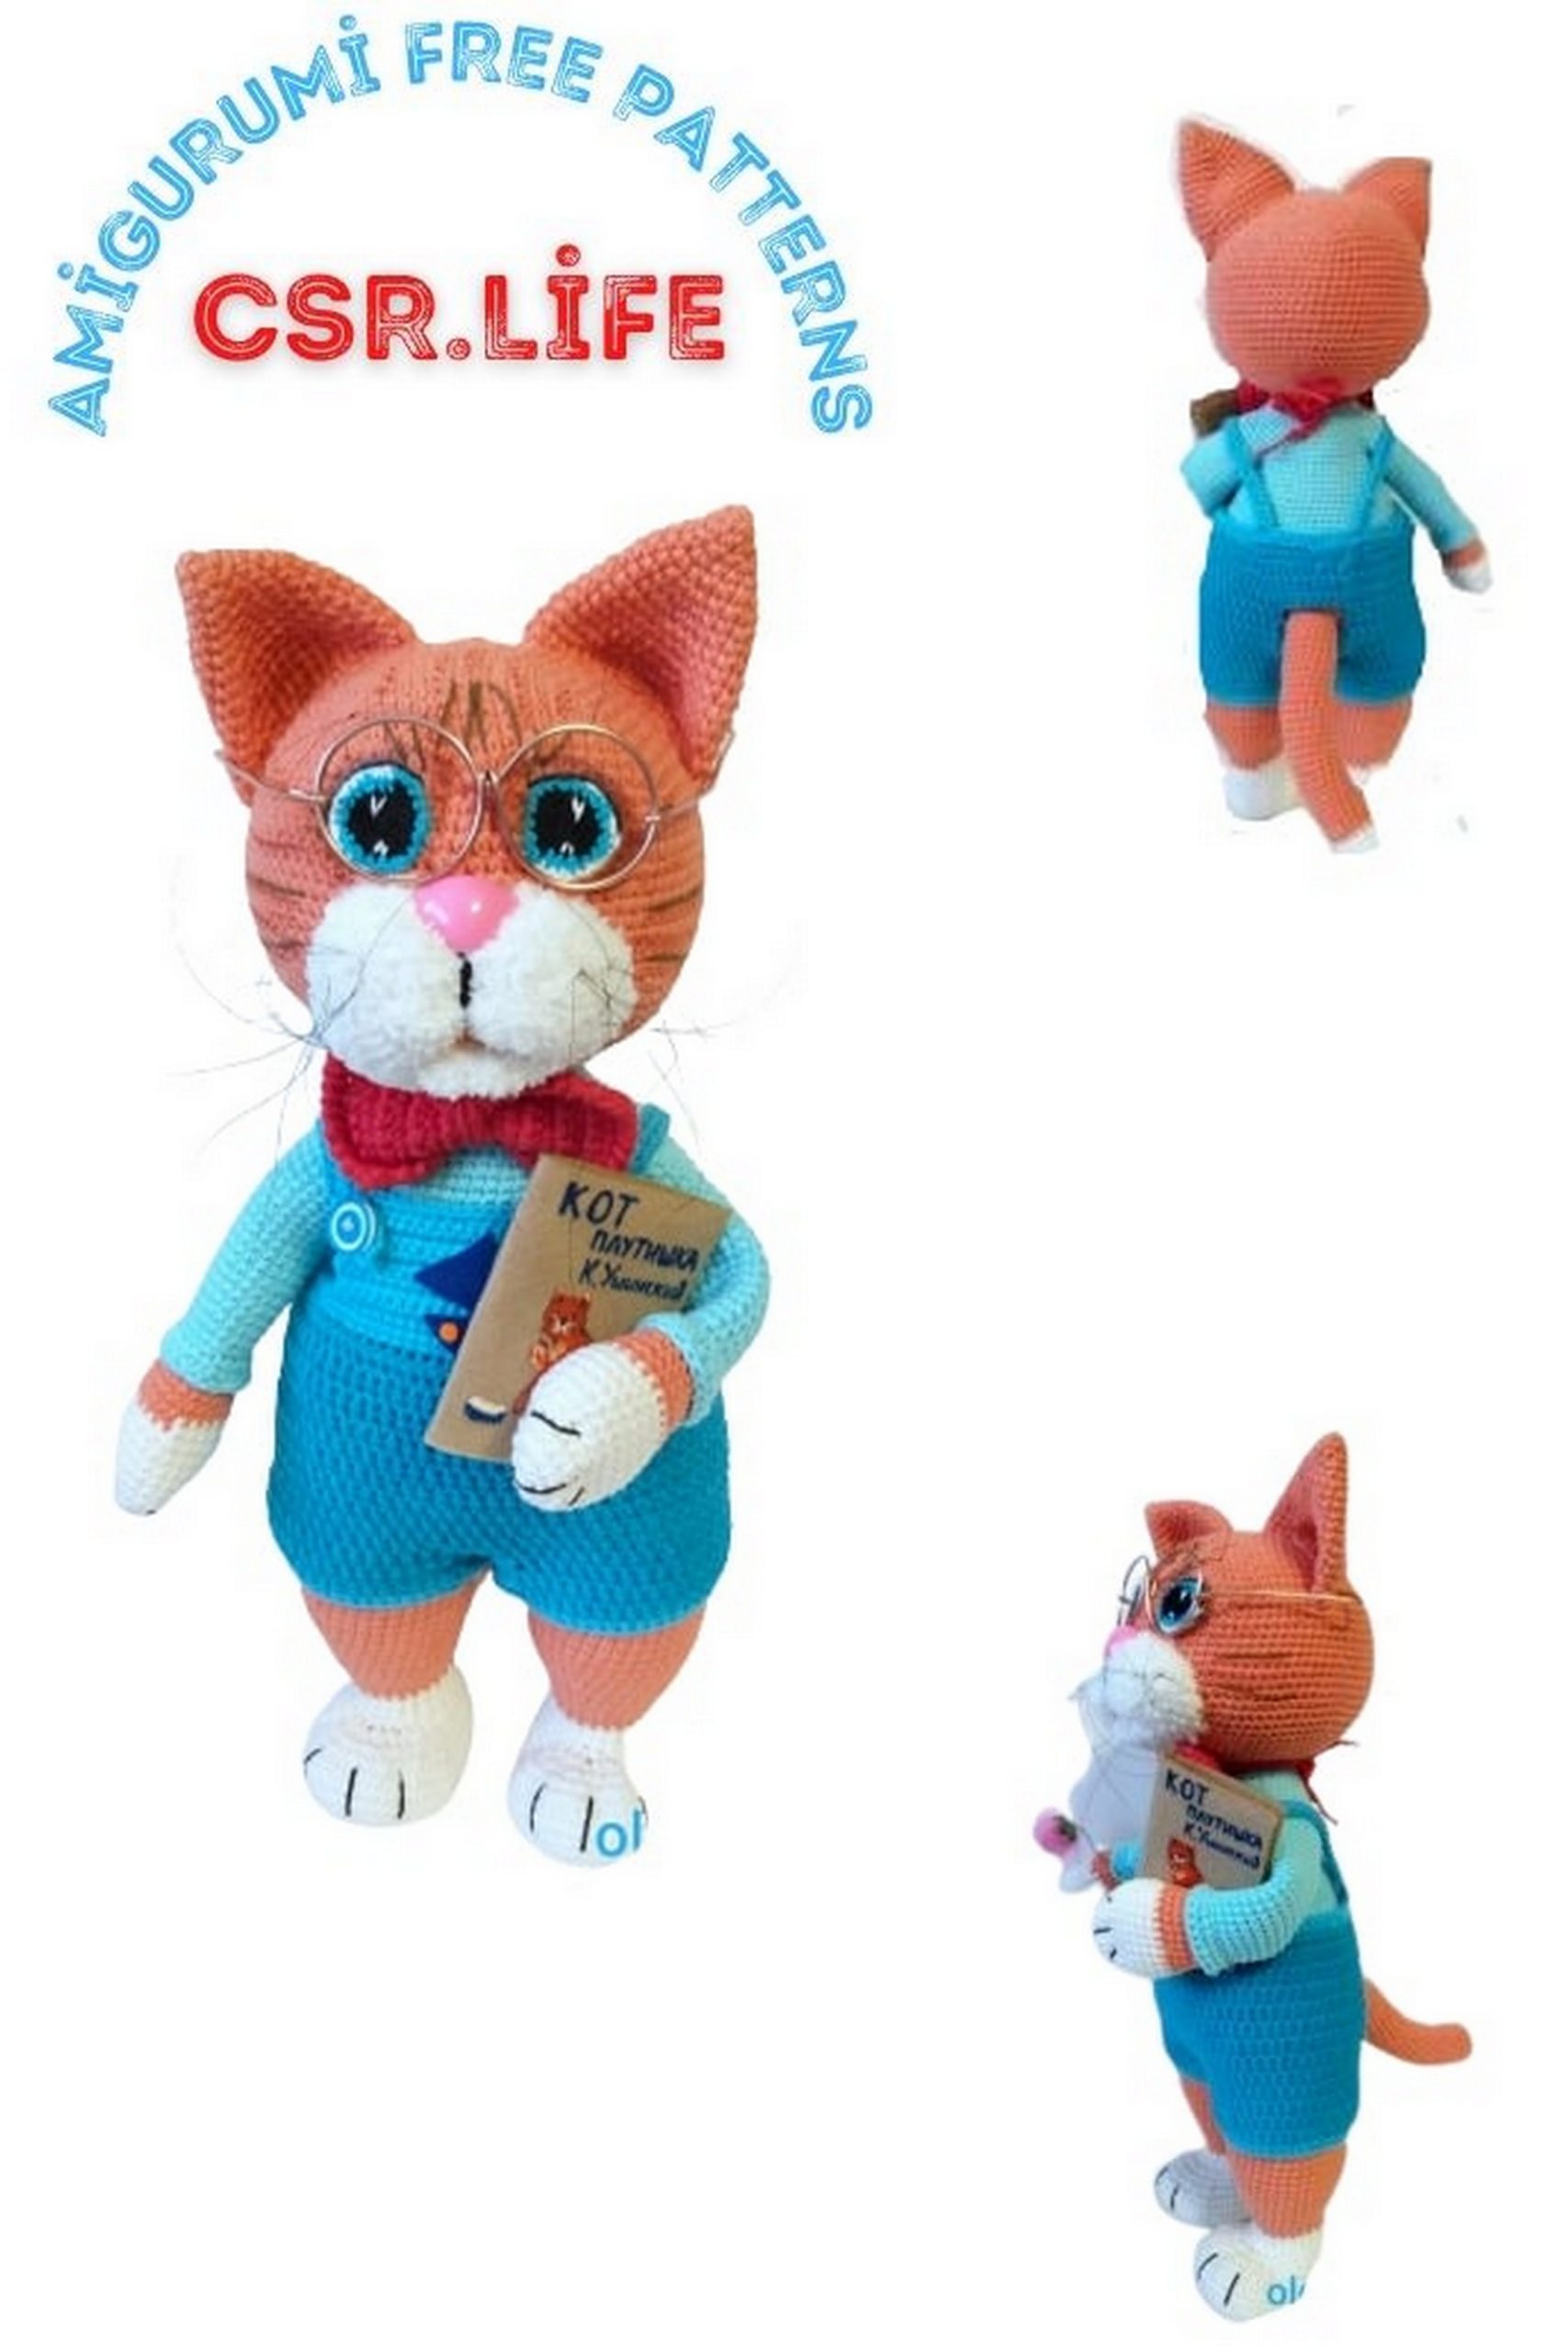
Teacher Cat Amigurumi Free Pattern
The best quality amigurumi animal patterns are on this site for free. In this article, amigurumi cat pattern is with you.
When using the recommended materials, you tie a toy measuring 30-32 cm.
The size may vary slightly depending on your knitting density.
We do not make any offset loops, if this is not indicated in the description!
Materials:
1. Jeans yarn (160 / 50g) a little more than one skein for the body; the fourth part of a skein of your favorite color for a jacket (I have a light turquoise); some white jeans yarn for the legs; one skein of jeans yarn (can be Baby novelty or similar in thickness) for shorts.
2. Yarn Softy white for the muzzle, you need quite a bit.
3. Threads for the eyes: black, white and turquoise (or green) colors.
4. A small piece of felt for the book and two small pieces for the applique.
5. Buttons (I have 10mm).
6. Black line for a mustache or nanofilament (beading line).
7. Plastic spout, I have it ready, you can blind; also the nose can be embroidered.
8. Soft wire 1 or 1.5 mm for the tail and glasses. You will also need 30-32 cm of ordinary copper wire braided for hands, with a cross section of 1.5 mm.
9. Filler for toys (I have synthetic fluff).
10. Chalk brown toning pastels.
11. Hook # 1.75 or 2.
Abbrevations:
CH-Chain
SL-ST- slip stitch
SC single crochet
DC double crochet
HDC- Half double crochet
INC) – increase (two sc knitted from one loop)
DEC-decrease (one sc knitted from two loops of the previous row)
All parts are knitted in a spiral, we do not make any displacement loops, if this is not indicated in the description!
All details are filled in as you knit.
1. Head:
We start knitting with the main body color, I have a red (bleached orange).
1.6sc into magic ring
2.6INC (12)
3. (sc, INC) * 6 (18)
4. (2sc, INC) * 6 (24)
5. (3sc, INC) * 6 (30)
6. (4sc, INC) * 6 (36)
7. (5sc, INC) * 6 (42)
8. (6sc, INC) * 6 (48)
9. (7sc, INC) * 6 (54)
10. (8sc, INC) * 6 (60)
11. (9sc, INC) * 6 (66)
12. (10sc, INC) * 6 (72)
13. (11sc, INC) * 6 (78)
14. (12sc, INC) * 6 (84)
15.-28. 84sc (14 rows)
29. (12sc, DEC) * 6 (78)
30. (11sc, DEC) * 6 (72)
31. (10sc, DEC) * 6 (66)
32. (9sc, DEC) * 6 (60)
33. (8sc, DEC) * 6 (54)
34. (7sc, DEC) * 6 (48)
35. (6sc, DEC) * 6 (42)
36. (5sc, DEC) * 6 (36)
37. (4sc, DEC) * 6 (30)
38. (3sc, DEC) * 6 (24) Fill the head.
39. (2sc, DEC) * 6 (18)
40. (sc, DEC) * 6 (12) Fill the part to the end.
41. 6DEC Pull the hole, fasten the thread and cut.
Ears (2pcs):
We knit in the main color:
1.6sc into magic ring
2. (INC, 2sc) * 2 (8)
3. (INC, 3sc) * 2 (10)
4. (INC, 4sc) * 2 (12)
5. (INC, 3sc) * 3 (15)
6. (INC, 4sc) * 3 (18)
7. (INC, 8sc) * 2 (20)
8. (INC, 9sc) * 2 (22)
9. (INC, 10sc) * 2 (24)
10. (INC, 7sc) * 3 (27)
11.27sc
12. (INC, 8sc) * 3 (30)
13. (INC, 9sc) * 3 (33)
14.33sc
15. (INC, 10sc) * 3 (36)
16. 36sc Fasten the thread, cut, leaving the end for sewing.
Muzzle:
We knit with a white or milk thread Softy.
1.6 sc into magic ring
2.6INC (12)
3. (sc, INC) * 6 (18)
4. (2sc, INC) * 6 (24)
5. (3sc, INC) * 6 (30)
6.3sc, (2sc, INC) * 3, 6sc, (INC, 2sc) * 3, 3sc (36)
7.3sc, (3sc, INC) * 3, 6sc, (INC, 3sc) * 3, 3sc (42)
8.-10. 42sc Leave thread for sewing on the face.
The lower part of the muzzle (imitating the mouth):
1.6sc into magic ring
2.6INC (12)
3.12 sc
Eyes:
We knit with a floss thread in three threads crochet 1.25 two parts. We start with a black thread:
1.6sc into magic ring
2.6INC (12)
3. (sc, INC) * 6 (18)
Change the color to turquoise or green:
4. (2sc, INC) * 6 (24)
Change the thread to white:
5. (2sc, INC) * 3, 2sc, 2sl-st. Embroider glare on the eyes with the same white thread.
The photo shows the change of thread:
When all the details are connected, we proceed to the design of the head.
Face design:
With pins we pin all parts of the muzzle, the muzzle itself, eyes and ears, to the head and see if the head looks harmonious. If we like everything, then we sew the muzzle first.
After we have sewn the muzzle, we find its middle and make a tightening.
We need to pull it down exactly in the middle, forming fluffy “cheeks” on both sides.
To do this, take a strong black thread and insert it into a gypsy needle so that a loop forms at the tip.
Mentally, we divide our muzzle into four parts and insert a needle into the middle. We withdraw the needle from the opposite side, where the nose will be located, pull the thread and through the top, pull the needle and thread into the loop, while pulling it, making the muzzle tighten. We make a securing knot and hide the thread.
We take the second part of the muzzle (lower) and sew it exactly under the tightening, after folding it so that it is flat.
Sew on the eyes. I sew the eyes like this: first I sew the white part with white thread, then the turquoise turquoise part of the eye. With a black thread along the upper line of the eye, embroider a line imitating the line of eyelash growth.
Sew on the ears. Embroider the stripes on the face with brown thread (optional). Stick on the nose.
Make a mustache with a thin fishing line (I have a beading line).
I make long antennae on the cheeks and a pair of short antennae above the eyes.
I just insert the fishing line into the needle, hook the loop from the canvas and drag the fishing line, tie it into three or four knots.
You can make the antennae your own way.
We do tint with pastel brown chalk.
Scrape a little chalk into a small container, or on paper, and with a small brush we apply tint to the mouth area, into the hole between the two details of the face.
We also apply tint inside the ears.
With a pastel pencil, carefully so as not to stain the eyes, we tint the area around them.
We put the head aside and continue to knit the body.
2. Front legs (2pcs):
We start knitting in white:
1.6sc into magic ring
2.6INC (12)
3. (sc, INC) * 6 (18)
4. (2sc, INC) * 6 (24)
5. (INC, 11sc) * 2 (26)
6.-10. 26sc (5 rows)
11. (DEC, 11sc) * 2 (24)
Change the color to the main one:
12.-13. 24sc
14. (DEC, 10sc) * 2 (22)
15.22sc
16. (DEC, 9sc) * 2 (20)
Change the color to the color of the jacket (I have turquoise):
17.20sc
18. Behind the back p / p: (INC, 9sc) * 2 (22)
19.-30. 22sc (12 rows)
31. INC, 21sc (23)
32.23sc
33. INC, 22sc (24)
34.-39. 24sc (6 rows) Fill the paws only at the bottom, where we will tighten.
We mark the places of the tightening with pins and embroider them with black thread.
For the half-loops left in the 18th row, tie the sleeves of the sc.
3. Hind feet (2 pieces):
We start knitting in white:
1. Cast on a chain of 10 ch and from the second from the hook: 8sc, 4sc in the last loop, 7sc, INC (21)
2. INC, 7sc, 4INC, 7sc, INC, sc (27)
3.sc, INC, 7sc, (sc, INC) * 4, 8sc, INC, sc (33)
4.sc, INC, 8sc, (2sc, INC) * 4, 8sc, INC, 2sc (39)
5.2sc, INC, 8sc, (3sc, INC) * 4, 8sc, INC, 3sc (45)
6.3sc, INC, 9sc, (INC, 2sc) * 6, 10sc, INC, 3sc (53)
7.-9. 53sc
10.15sc, (DEC, 2sc) * 7, 10sc (46)
11.DEC, 12sc, (DEC, sc) * 7, 9sc, DEC (37)
12.12sc, 7DEC, 11sc (30)
13.9sc, 6DEC, 9sc (24)
14.-15. 24sc
Change the color to red:
16.24sc
17.12sc, INC, 11 sc (25)
18. (6sc, INC) * 3, 4sc (28)
19. INC, 27sc (29)
20. INC, 28sc (30)
21. (9sc, INC) * 3 (33)
22.33sc
23. (10sc, INC) * 3 (36)
24.36sc
25. (11sc, INC) * 3 (39)
26.-28. 39sc
29. (INC, 12sc) * 3 (42)
30.-35. 42sc (6 rows) Legs fill.
On the legs, tighten the fingers, having previously outlined the places for tightening with pins.
We do not cut the thread at the second leg, we knit 16 more loops and continue to knit the torso.
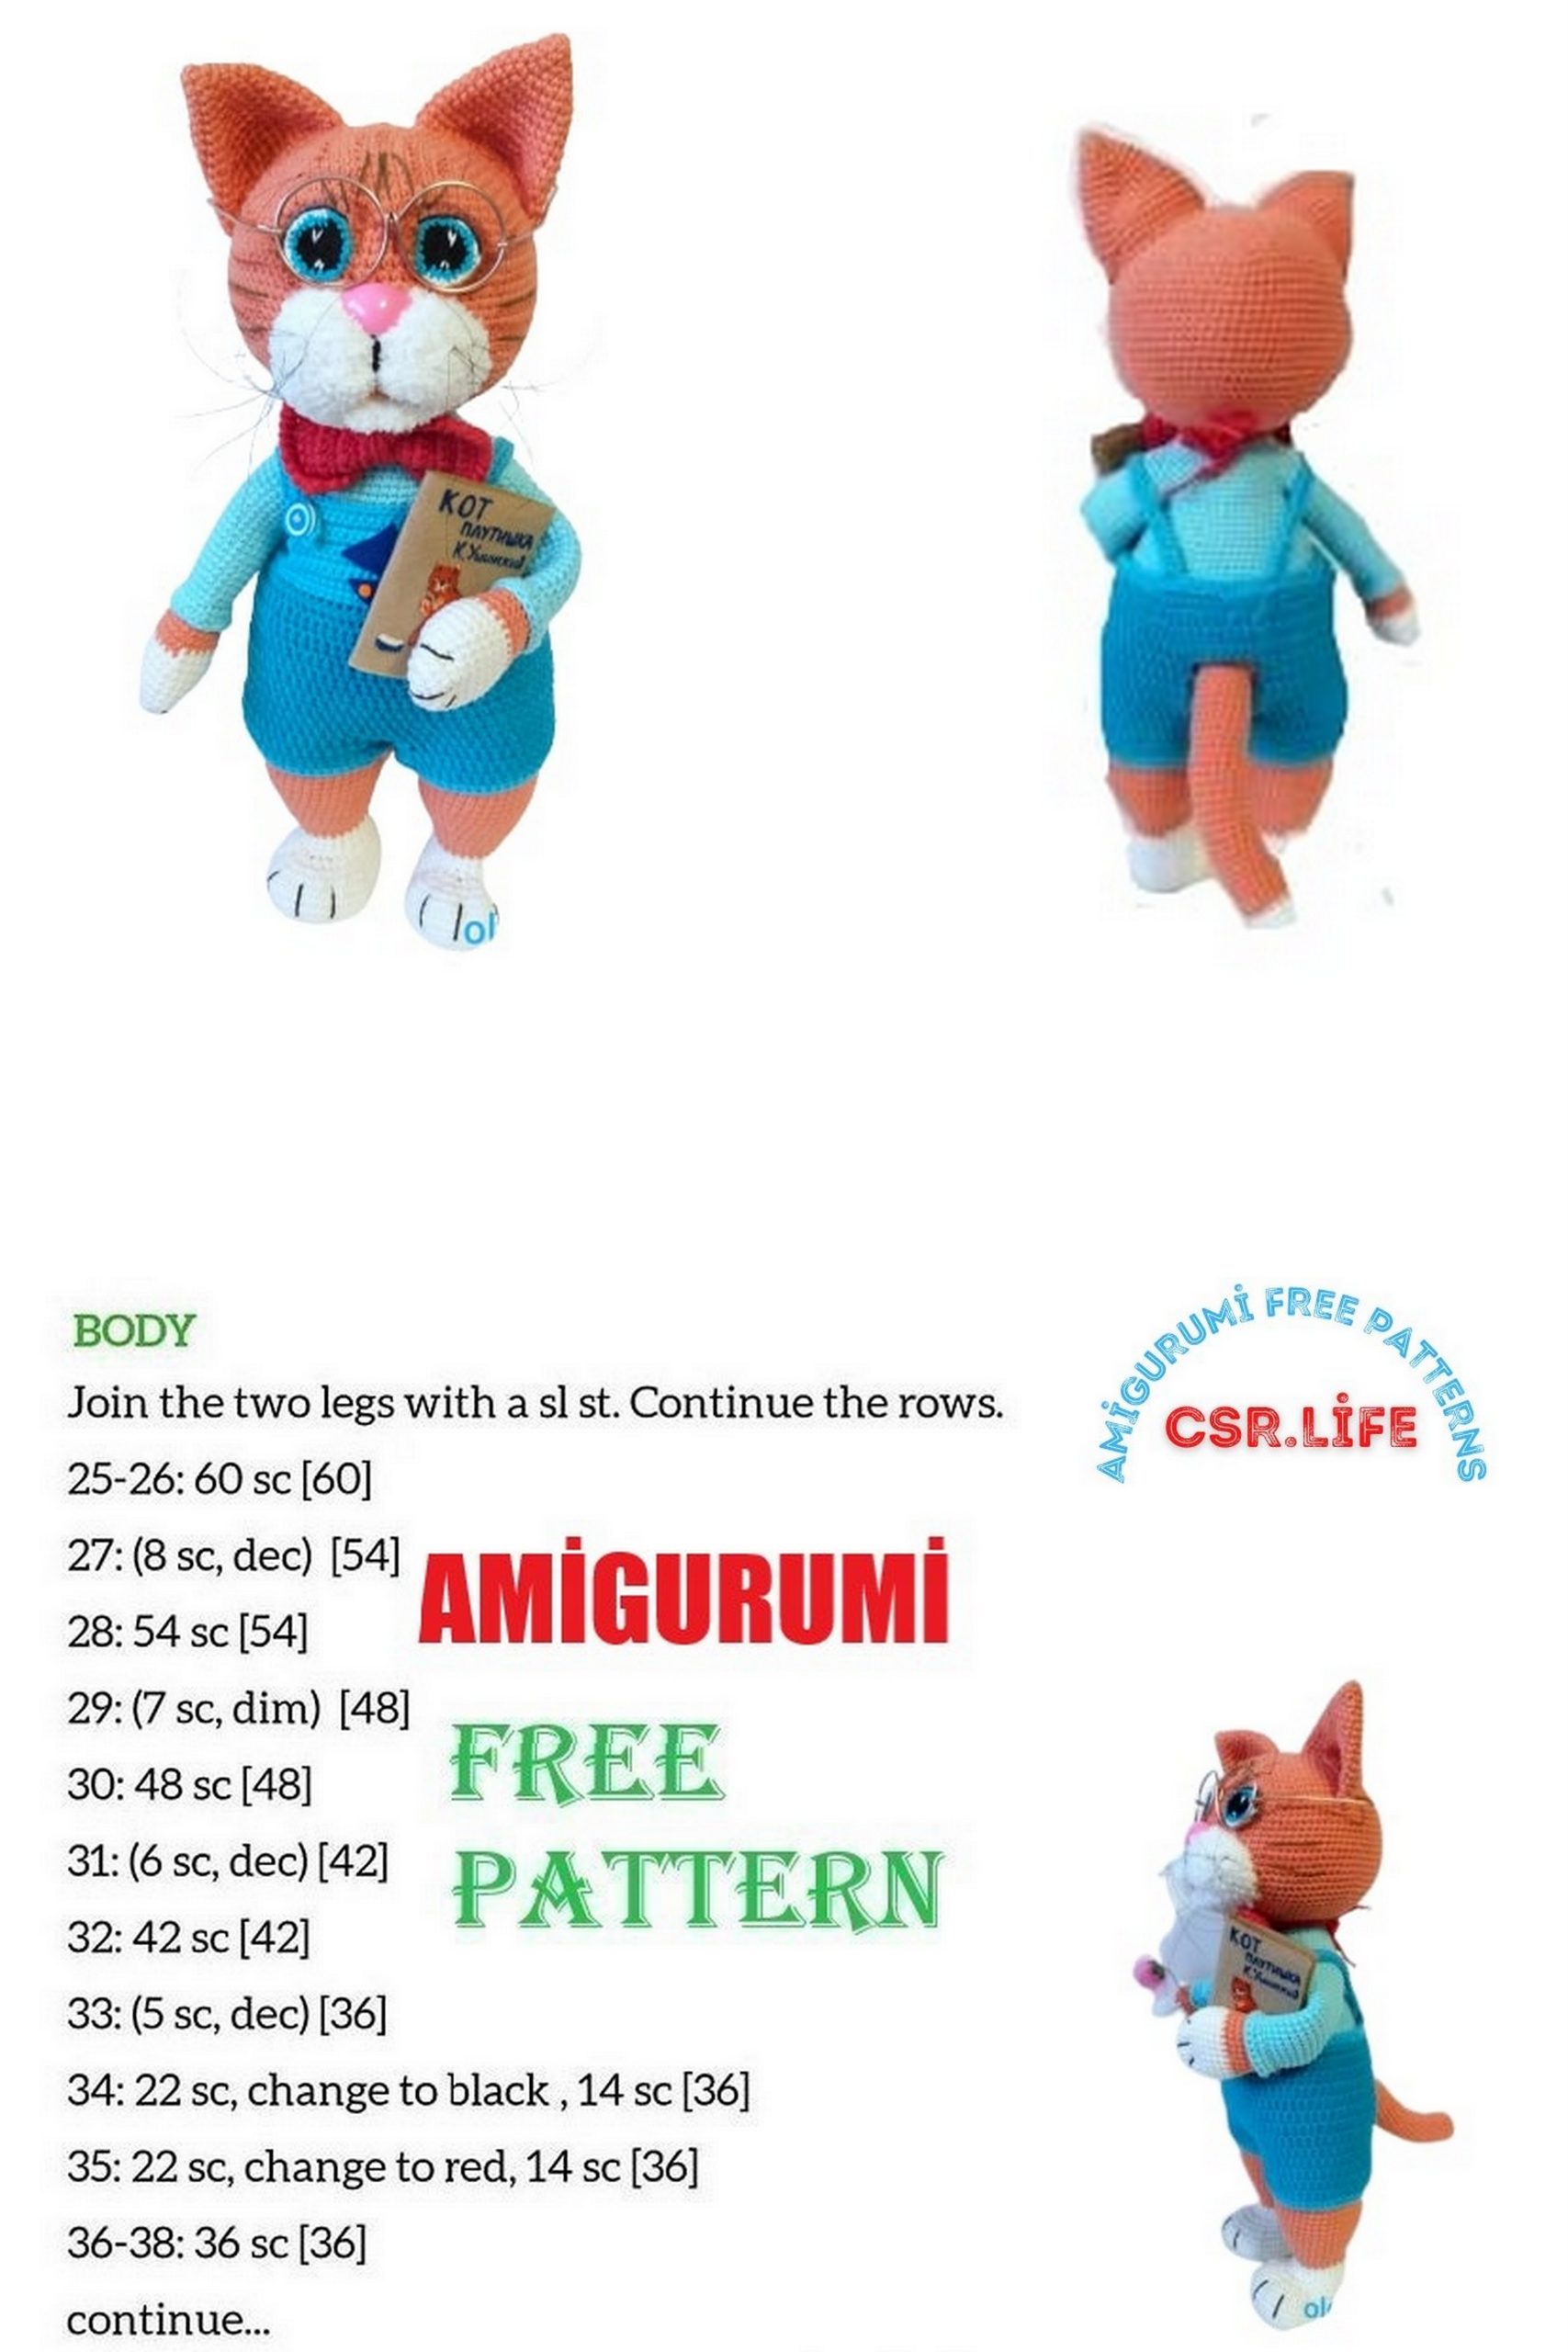
4. Torso:
We do one ch and join the other leg:
1.42sc for the leg, sc for ch, 42sc for the second leg, sc for ch (86)
2. (42sc, INC) * 2 (88)
3. (43sc, INC) * 2 (90)
4.-13. 90 sc (10 rows)
14. (28sc, DEC) * 3 (87)
Change the thread to red:
15. (27sc, DEC) * 3 (84)
16.-17. 84sc
18. (12sc, DEC) * 6 (78)
19.-20. 78sc
21. (24sc, DEC) * 3 (75)
22. (23sc, DEC) * 3 (72)
23.72sc
24. (22sc, DEC) * 3 (69)
25. (21 sc, dec) * 3 (66)
26. (20sc, DEC) * 3 (63)
27. (19sc, DEC) * 3 (60)
28.-32. 60sc (5 rows)
33. (8sc, DEC) * 6 (54)
34.-35. 54sc
36. (7sc, DEC) * 6 (48)
37.48sc
Next, we knit the front legs. To do this, knit another 6 offset loops to align the marker exactly in the middle of the back.
38.7sc along the back, 10sc with the paw, 14sc along the chest, 10 sc with the paw, 7sc along the back. (48)
39.7sc, 14sc on the paw, 14sc on the chest, 14sc on the paw, 7sc on the back (56)
We fill the torso.
After filling the torso, insert the wire into the upper legs.
We cut off the wire, see 30-32, (for the paws I used an ordinary copper wire from a hardware store with a cross section of 1.5 mm) and bend it on both sides. Wrap the bent edges with adhesive tape (you can use masking tape). Insert the resulting arc into your hands.
We fill the handles quite a bit, just to give them volume.
We press the wire into the body and fill it further.
40.56sc
41. (5sc, DEC) * 8 (48)
42. (6sc, DEC) * 6 (42)
43. (5sc, DEC) * 6 (36)
44.-46. 36sc (neck)
47. (4sc, DEC) * 6 (30)
48. (3sc, DEC) * 6 (24)
49. (2sc, DEC) * 6 (18) Fill to the end.
50. (sc, DEC) * 6 (12)
51.6DEC. Leave the thread for sewing on the head.
Tail:
We start with white:
1.6sc into magic ring
2.6INC (12)
3. (sc, INC) * 6 (18)
4.-8. 18sc (5 rows)
Change the color to the main one:
9.-40. 18sc (32 rows) The tail can be knitted longer if desired.
We insert a soft wire (after bending the ends on both sides and wrapping it with adhesive plaster) into the tail and fill it not too tightly.
Sew the tail back to the body.
Sew on the head.
5. Clothes:
Shorts:
1. Cast on a chain of 75 ch and close into a ring, knit in a circle 74hdc.
Next, knit hdc in a circle, while at the beginning of each row we make 2ch and finish the row with sl-st.
2.-4. 2ch, 74hdc, sl-st.
5. knit a hole for the tail: 2ch, 66hdc, skip 8 loops, 8ch, sl-st to the top of the first hdc.
6.-10. 2ch, 74 hdc, sl-st
At the back, where the hole for the tail, we find the middle 2 loops and we sew a long strip of 2 loops, 12 rows in total.
Measure 34 leg loops on each side of the placket, and join the middle 2 loops on the opposite side of the shorts.
Next, we knit both legs in turn.
11.-13. 2ch, 46hdc, sl-st
14.-15. Ch, 46sc, sl-st.
Tie the top of the shorts (at the waist) with 74 sc-2 rows.
Next, we knit the chest part. To do this, in the front we find the middle 22 loops and attach the thread. We knit in rotary rows:
1.-9. ch, 22sc, turn.
We knit the straps on the back of the shorts. There should be 10 loops between the straps.
For each strap:
Cast on 28 ch, from the second loop from the hook: 2sc, 2ch, skip 2 loops (button loop), 23sc, secure with a connecting post.
Sew buttons on the corners of the bib.
To make an applique from pieces of felt, I made a boat.
Bow:
1. Cast on a chain of 11 ch, and from the second loop from the hook, knit 10sc.
2.-17. ch, 10sc, turn
Tie the part with a crustacean step.
With the same yarn, winding it around the part, form a bow.
Make strings (chain from ch).
Points:
We take the same soft wire as for the tail, and wind it on end glue, then in the middle we fix one end of the drag and wind the other end.
Thus, we have got round glasses.
With the help of pliers we bite off small pieces of wire and make the temples of the glasses.
Book:
Cut off a small piece of light felt, mine is beige, this will be the cover of our book.
Draw an illustration with acrylic paint and write the name with a toothpick.
Cut out a few details from the album sheet slightly smaller than our cover, these are the pages of our book. Sew the pages together and paste into the cover.