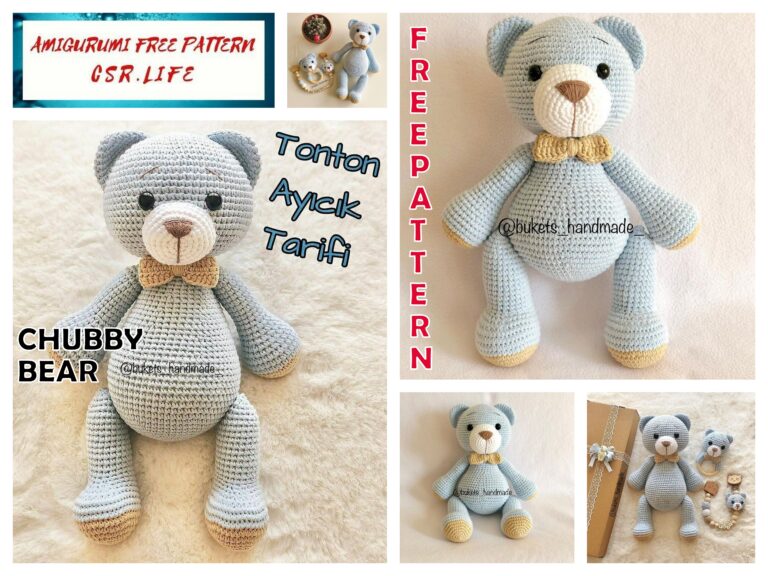
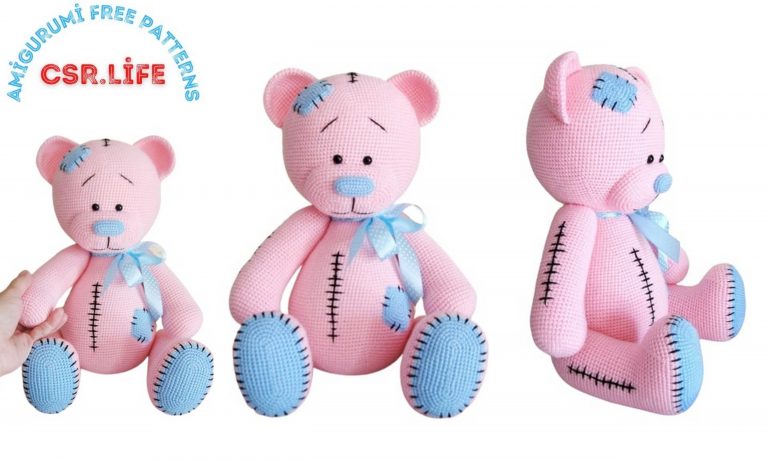
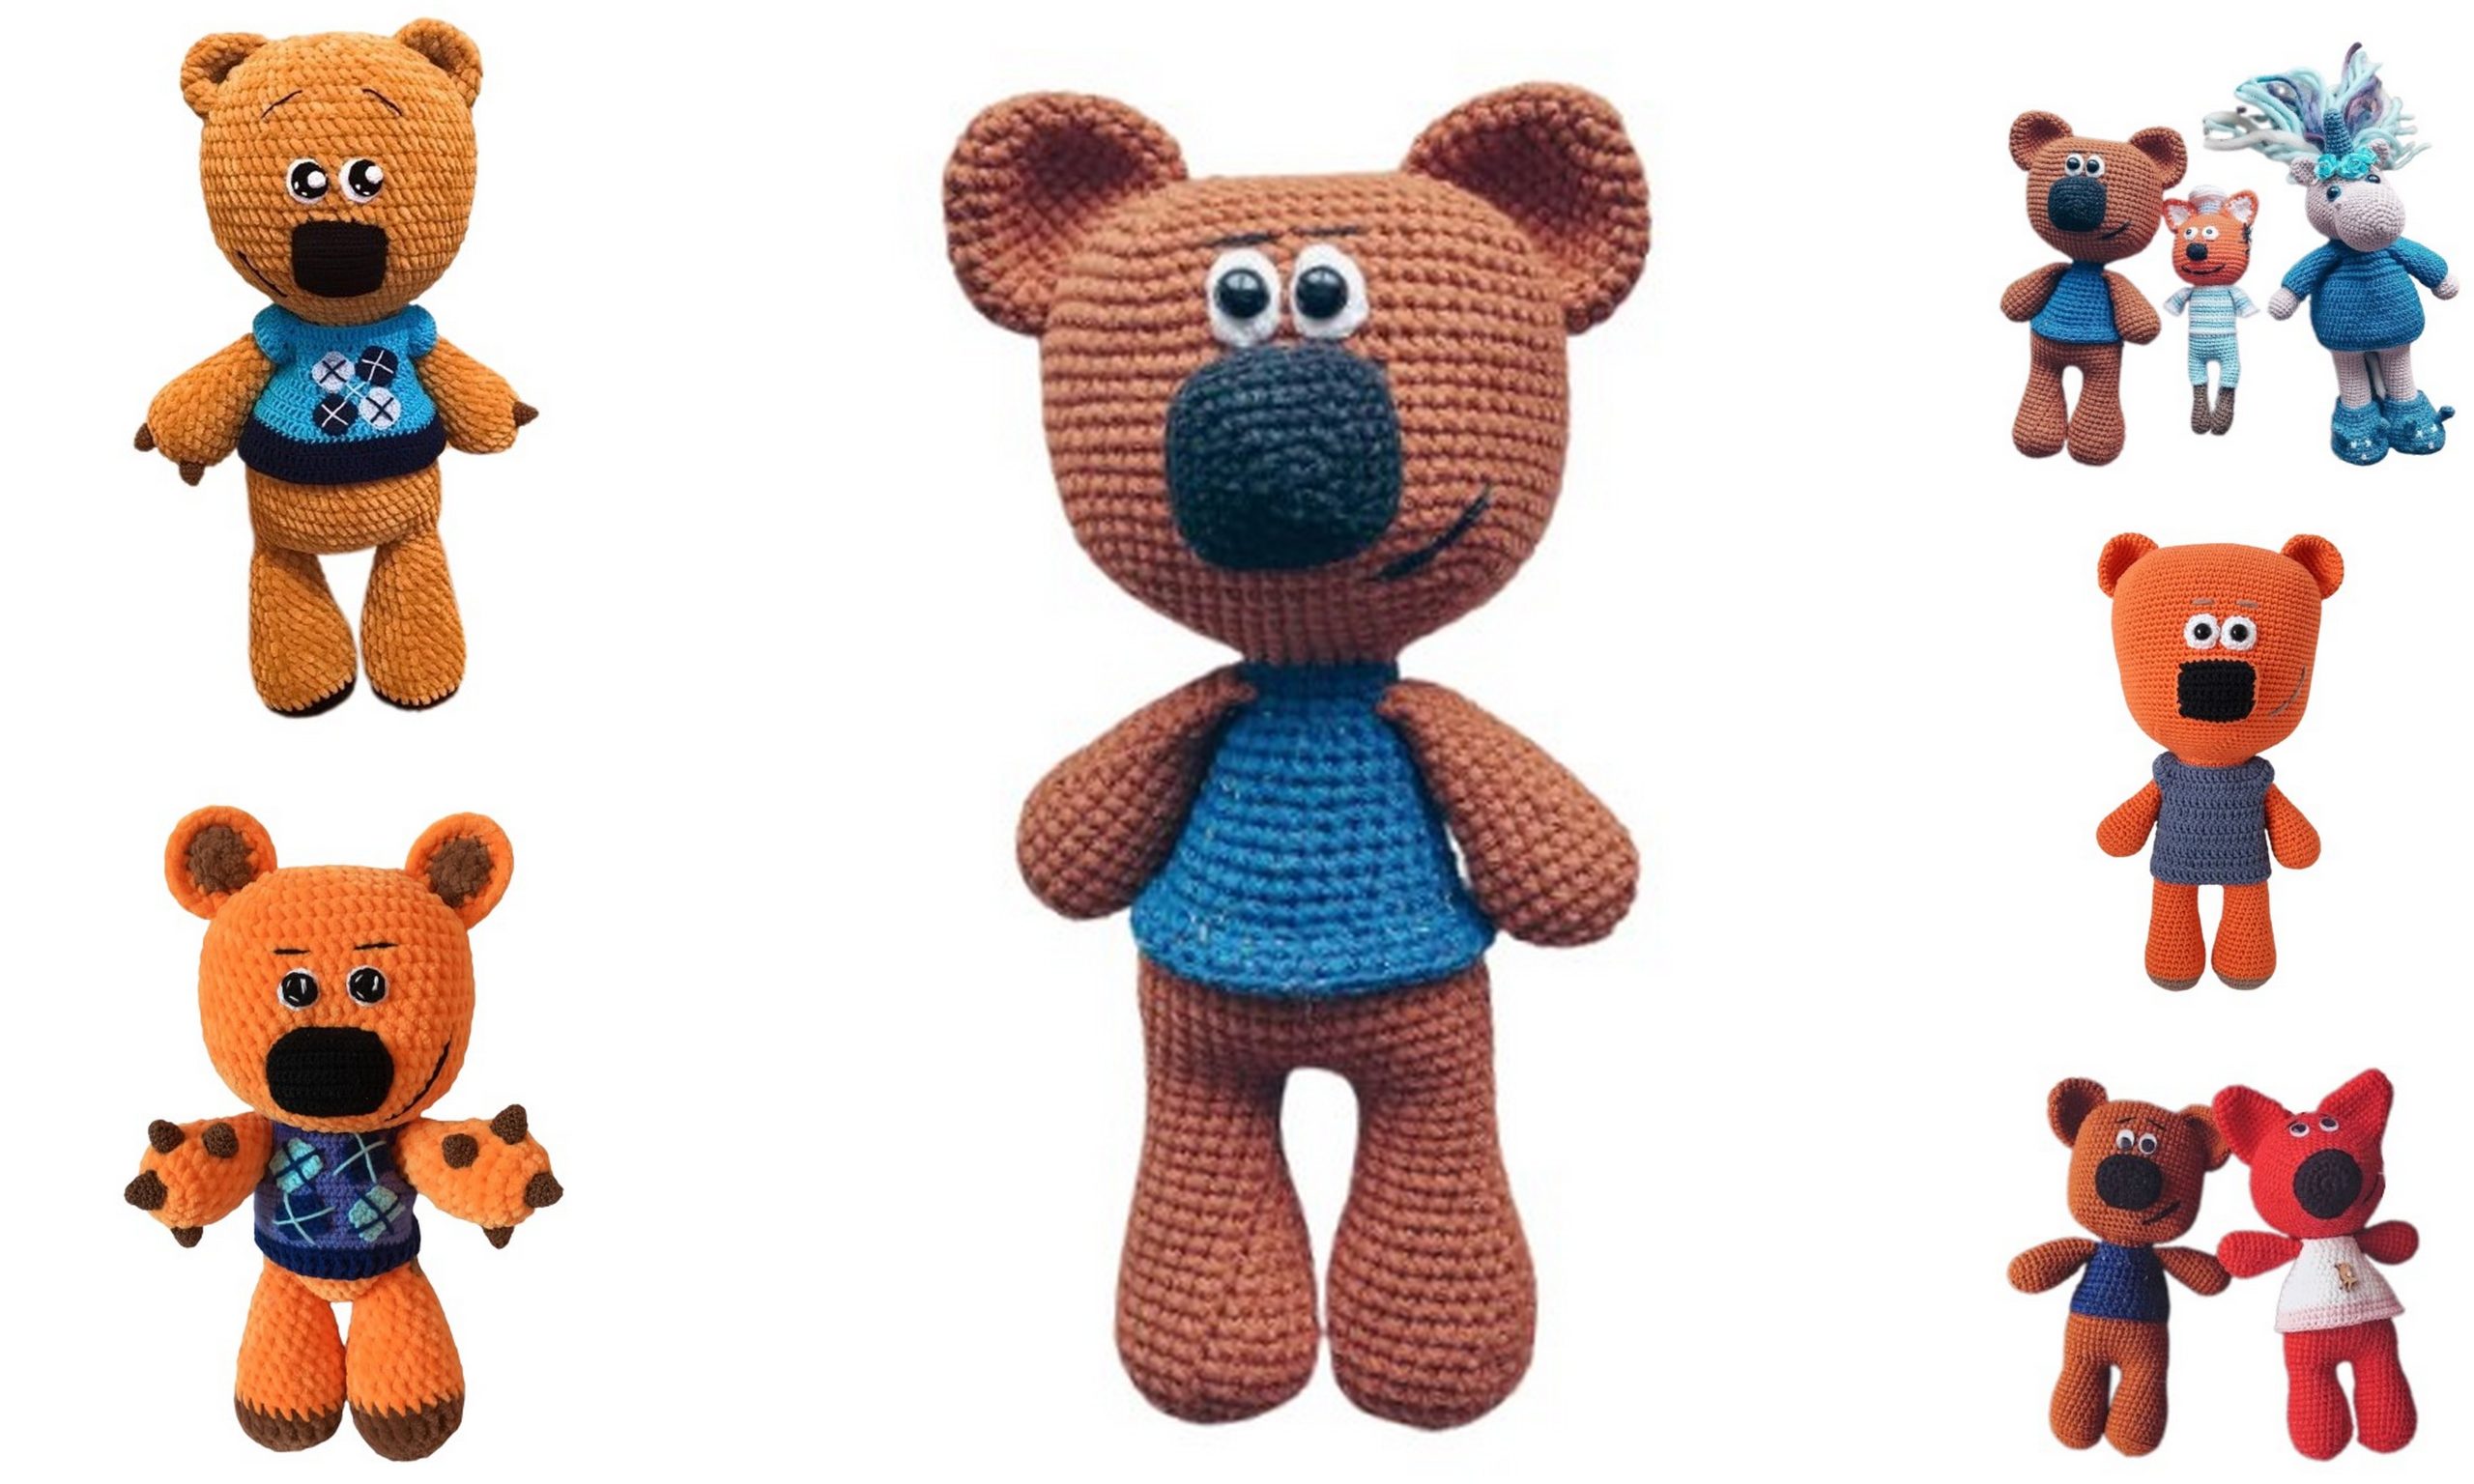
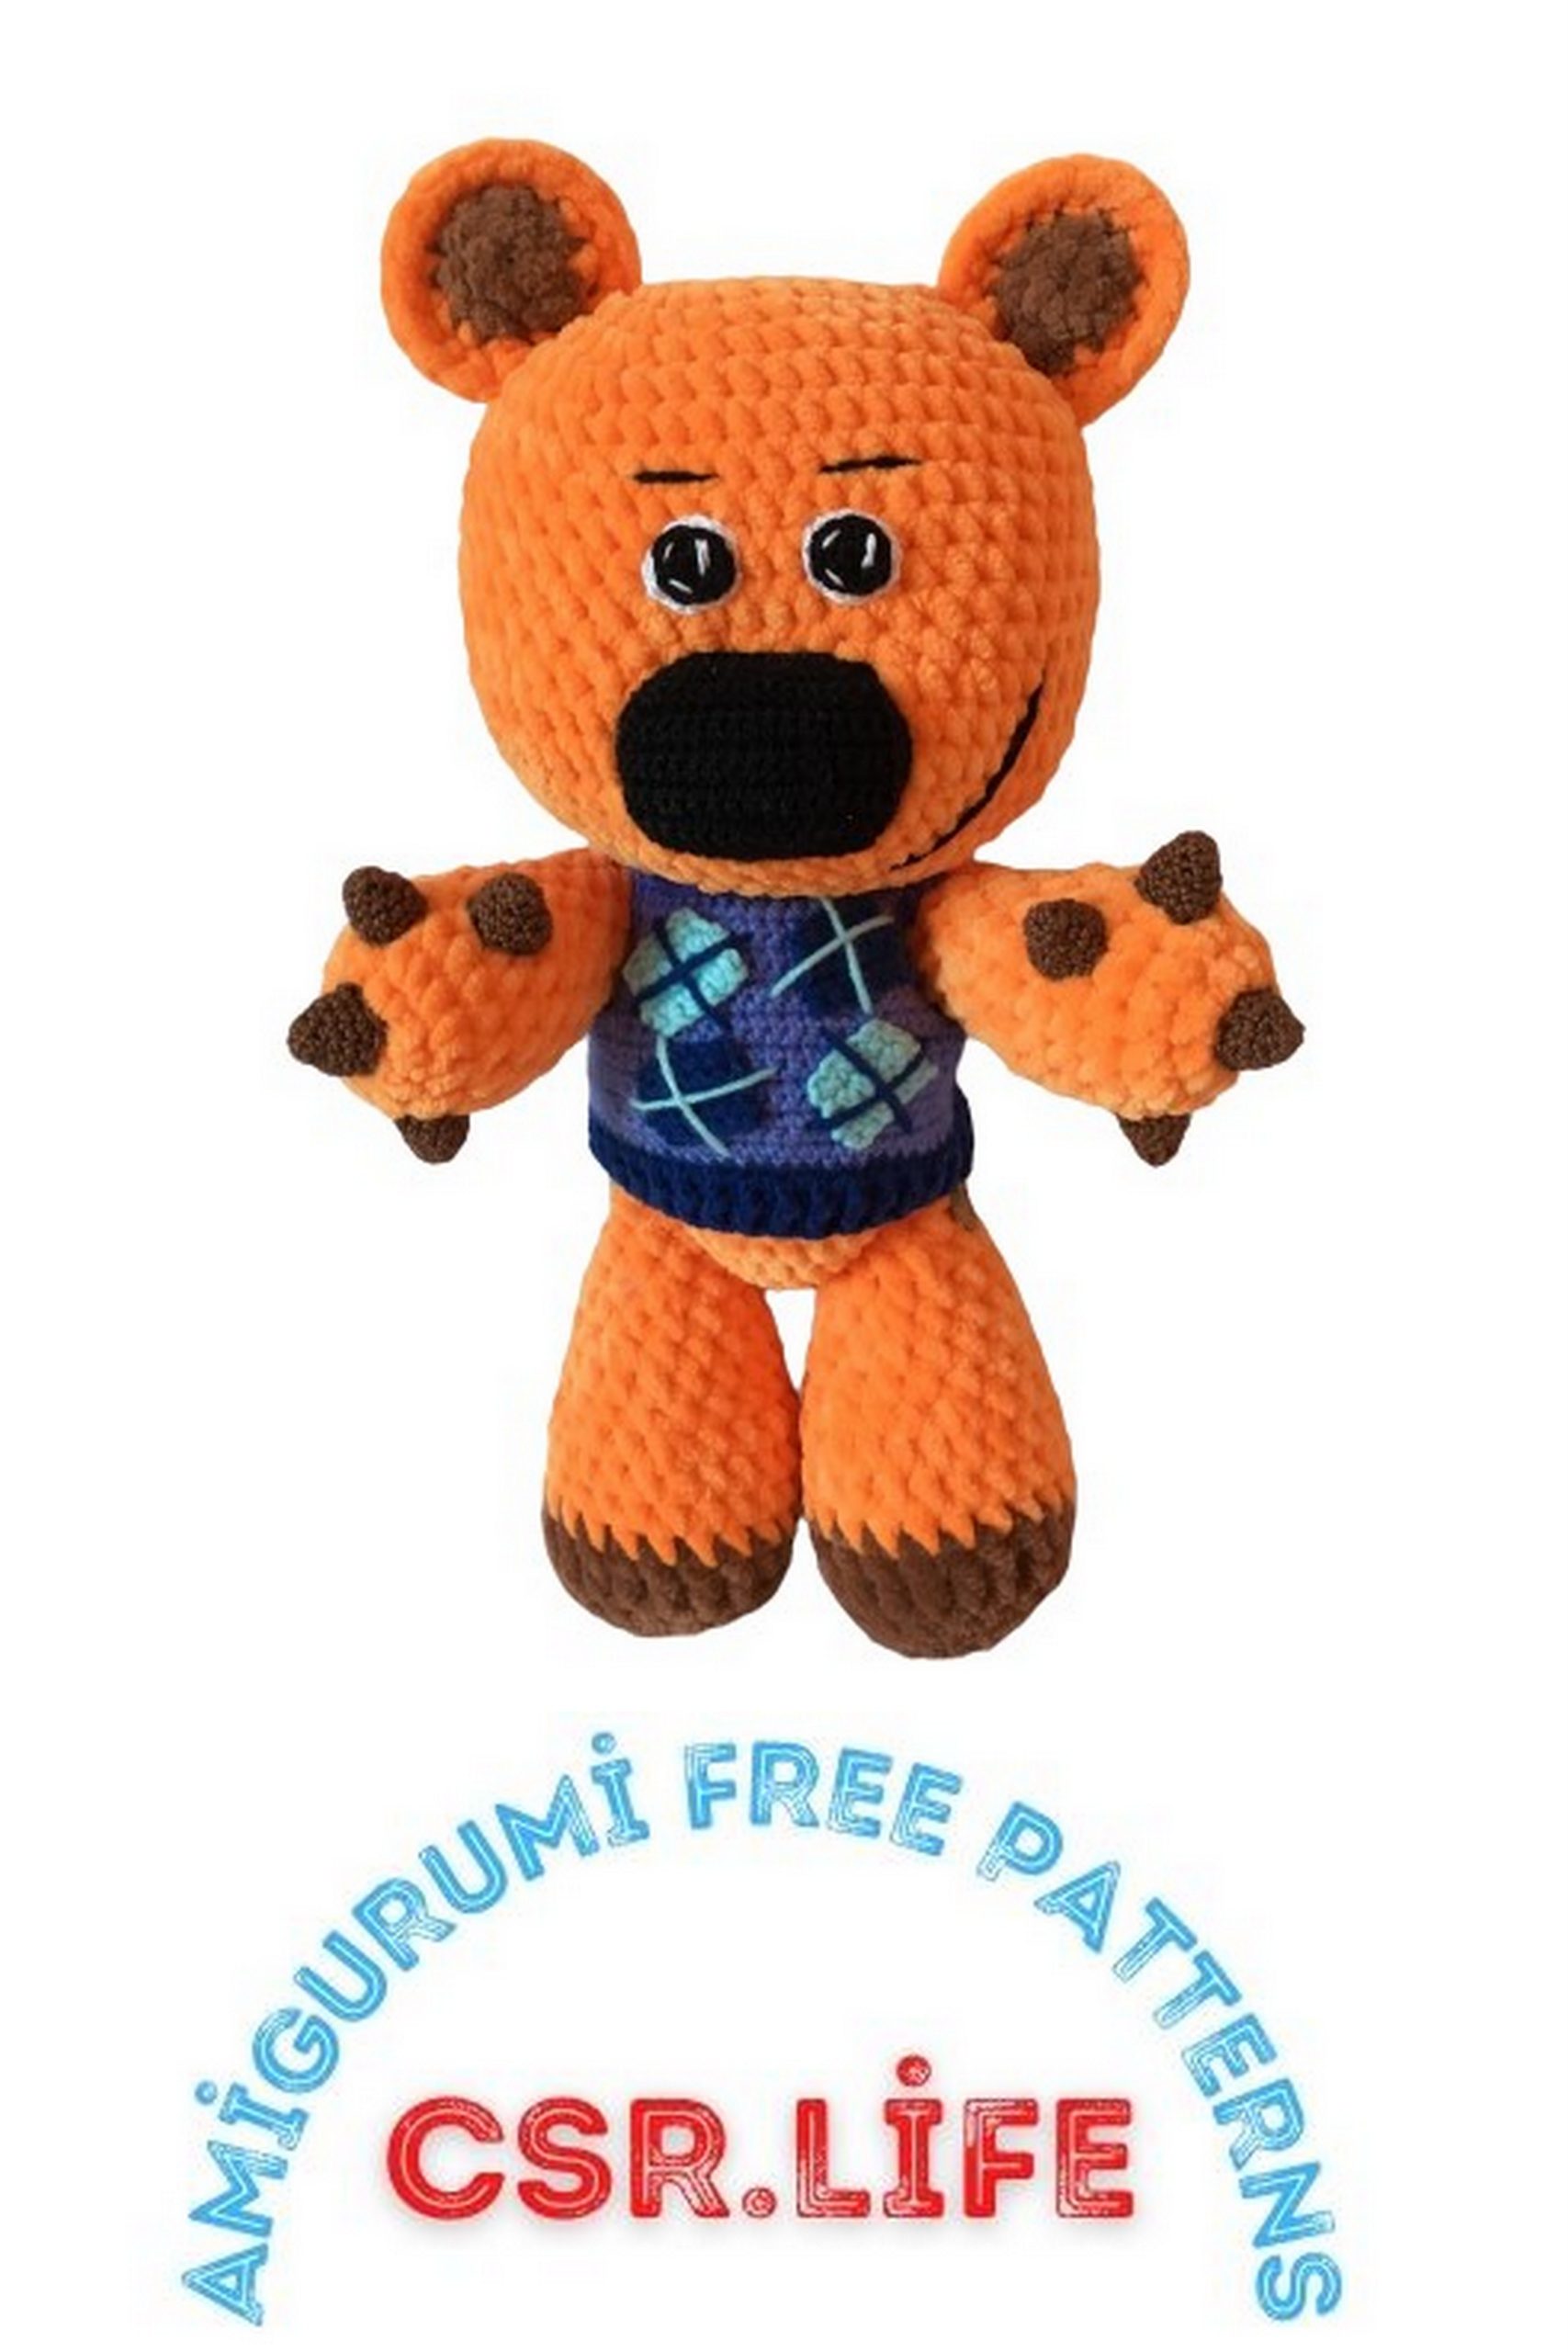
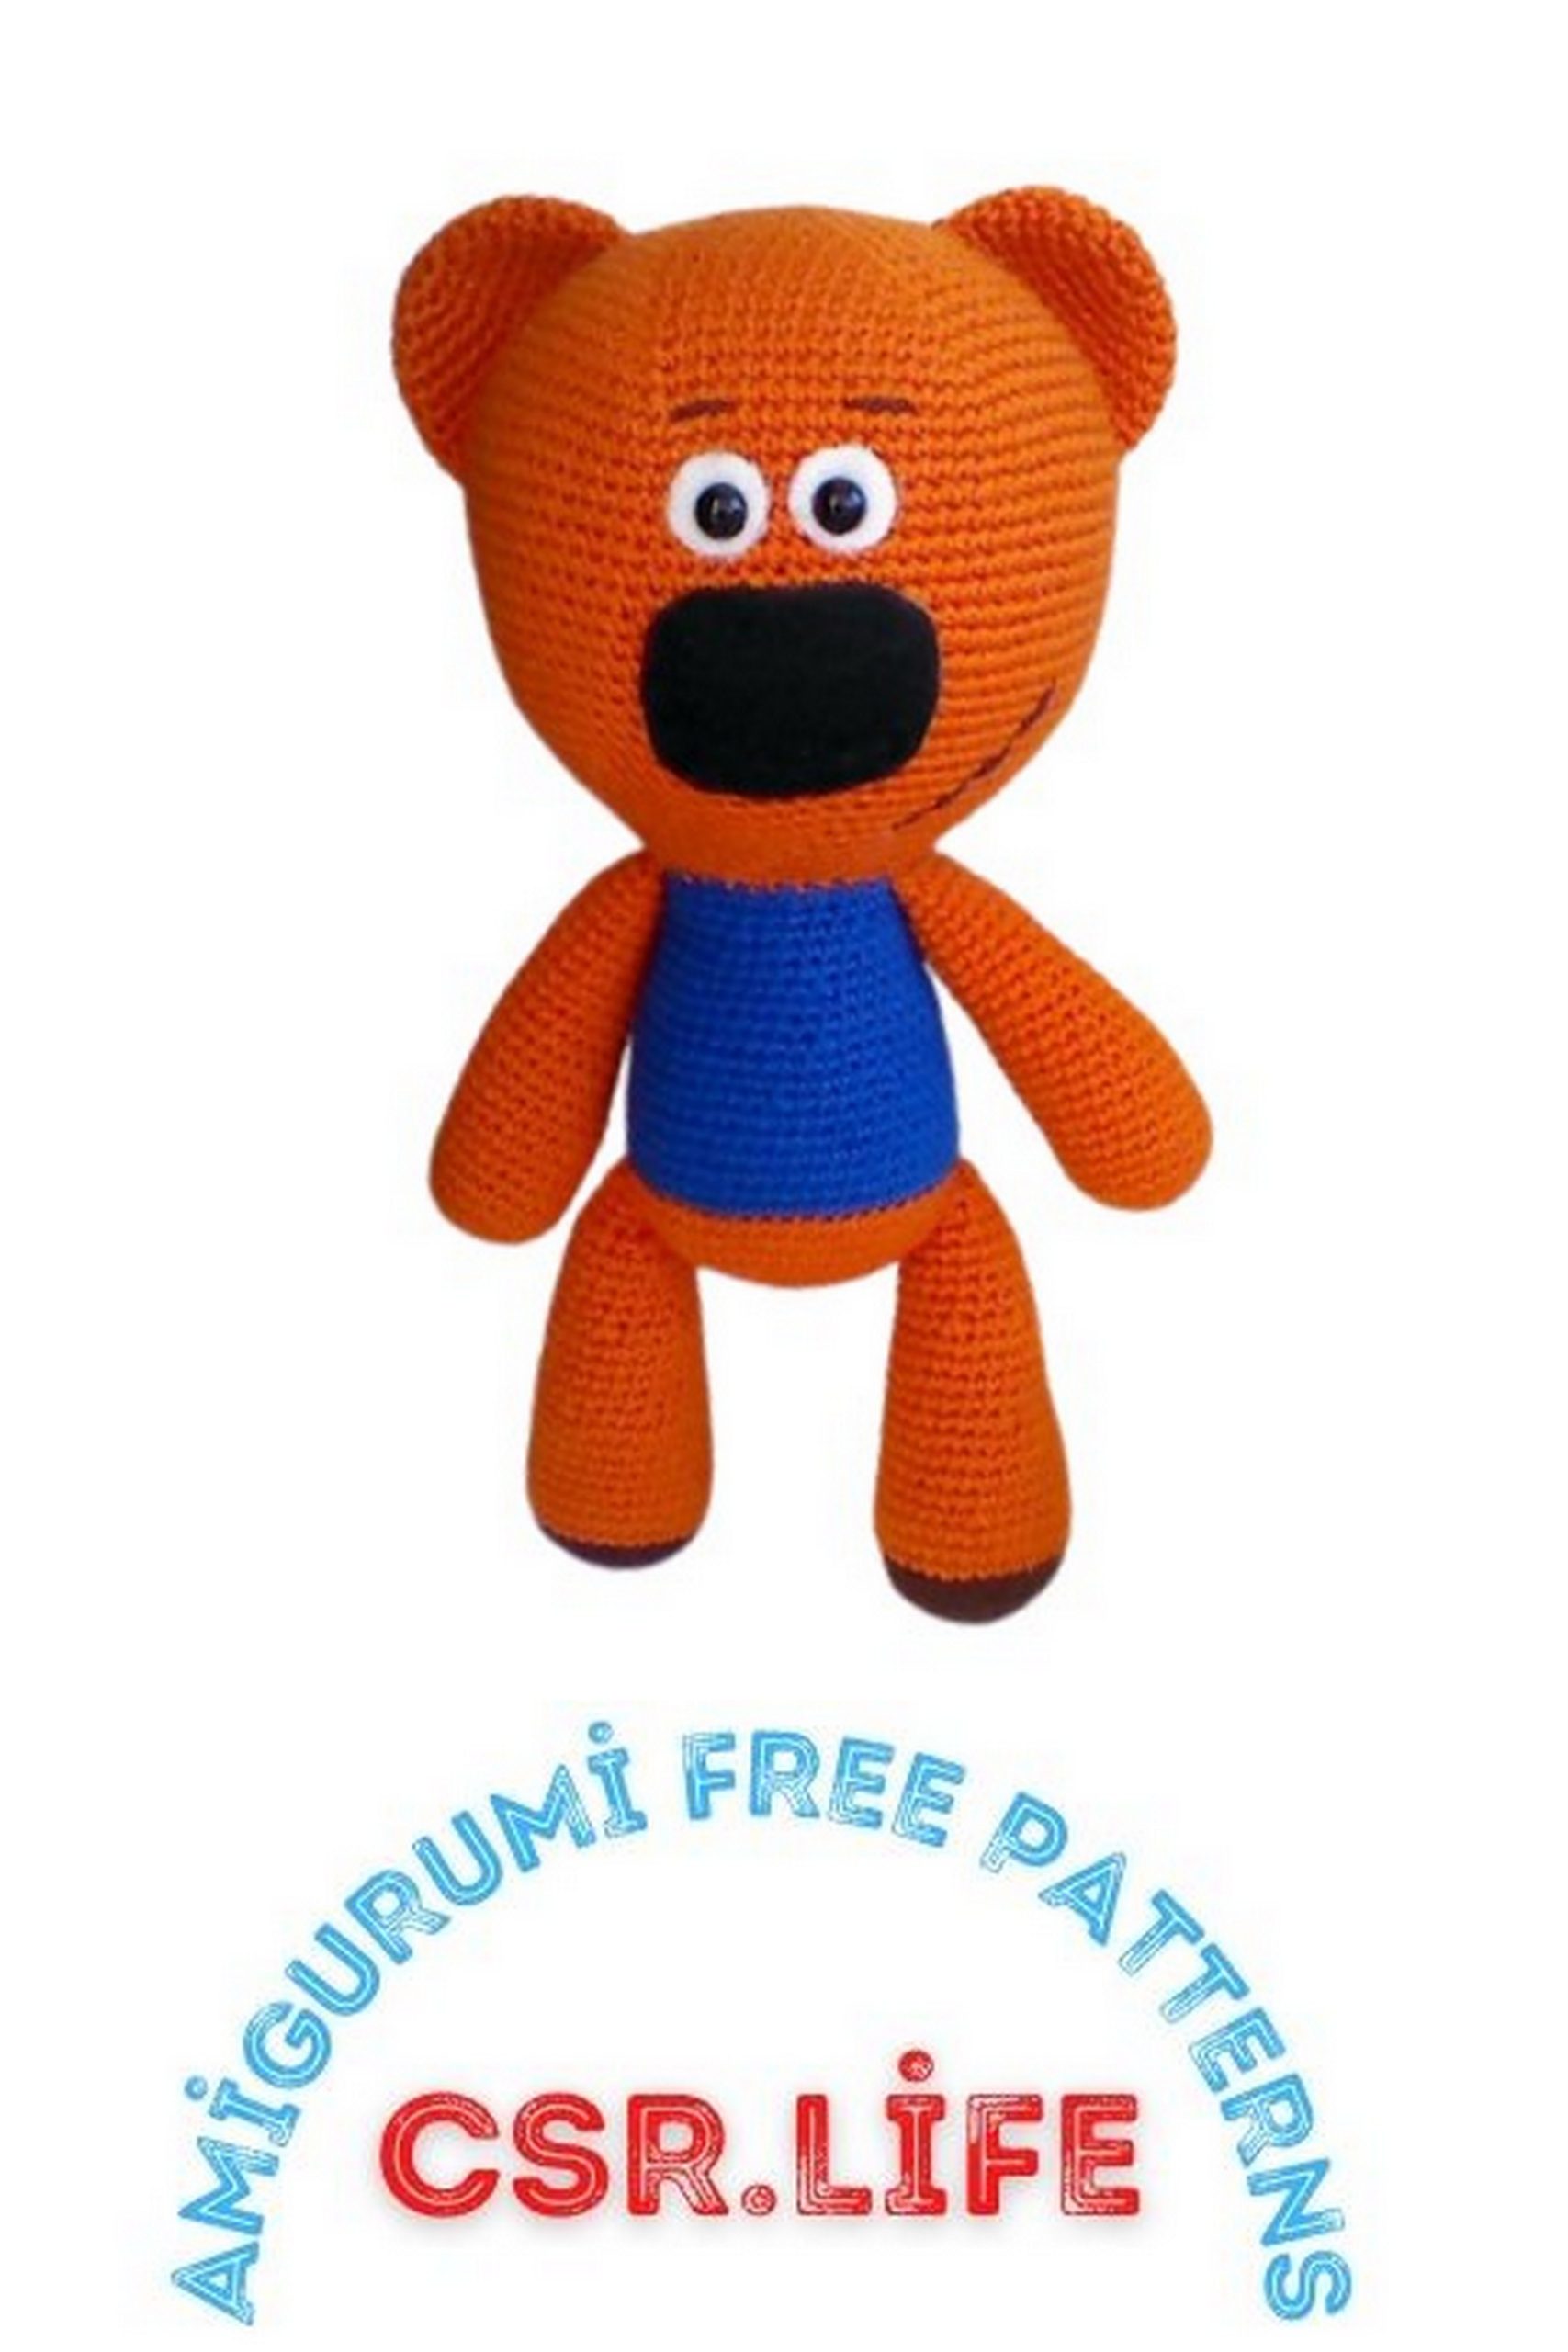
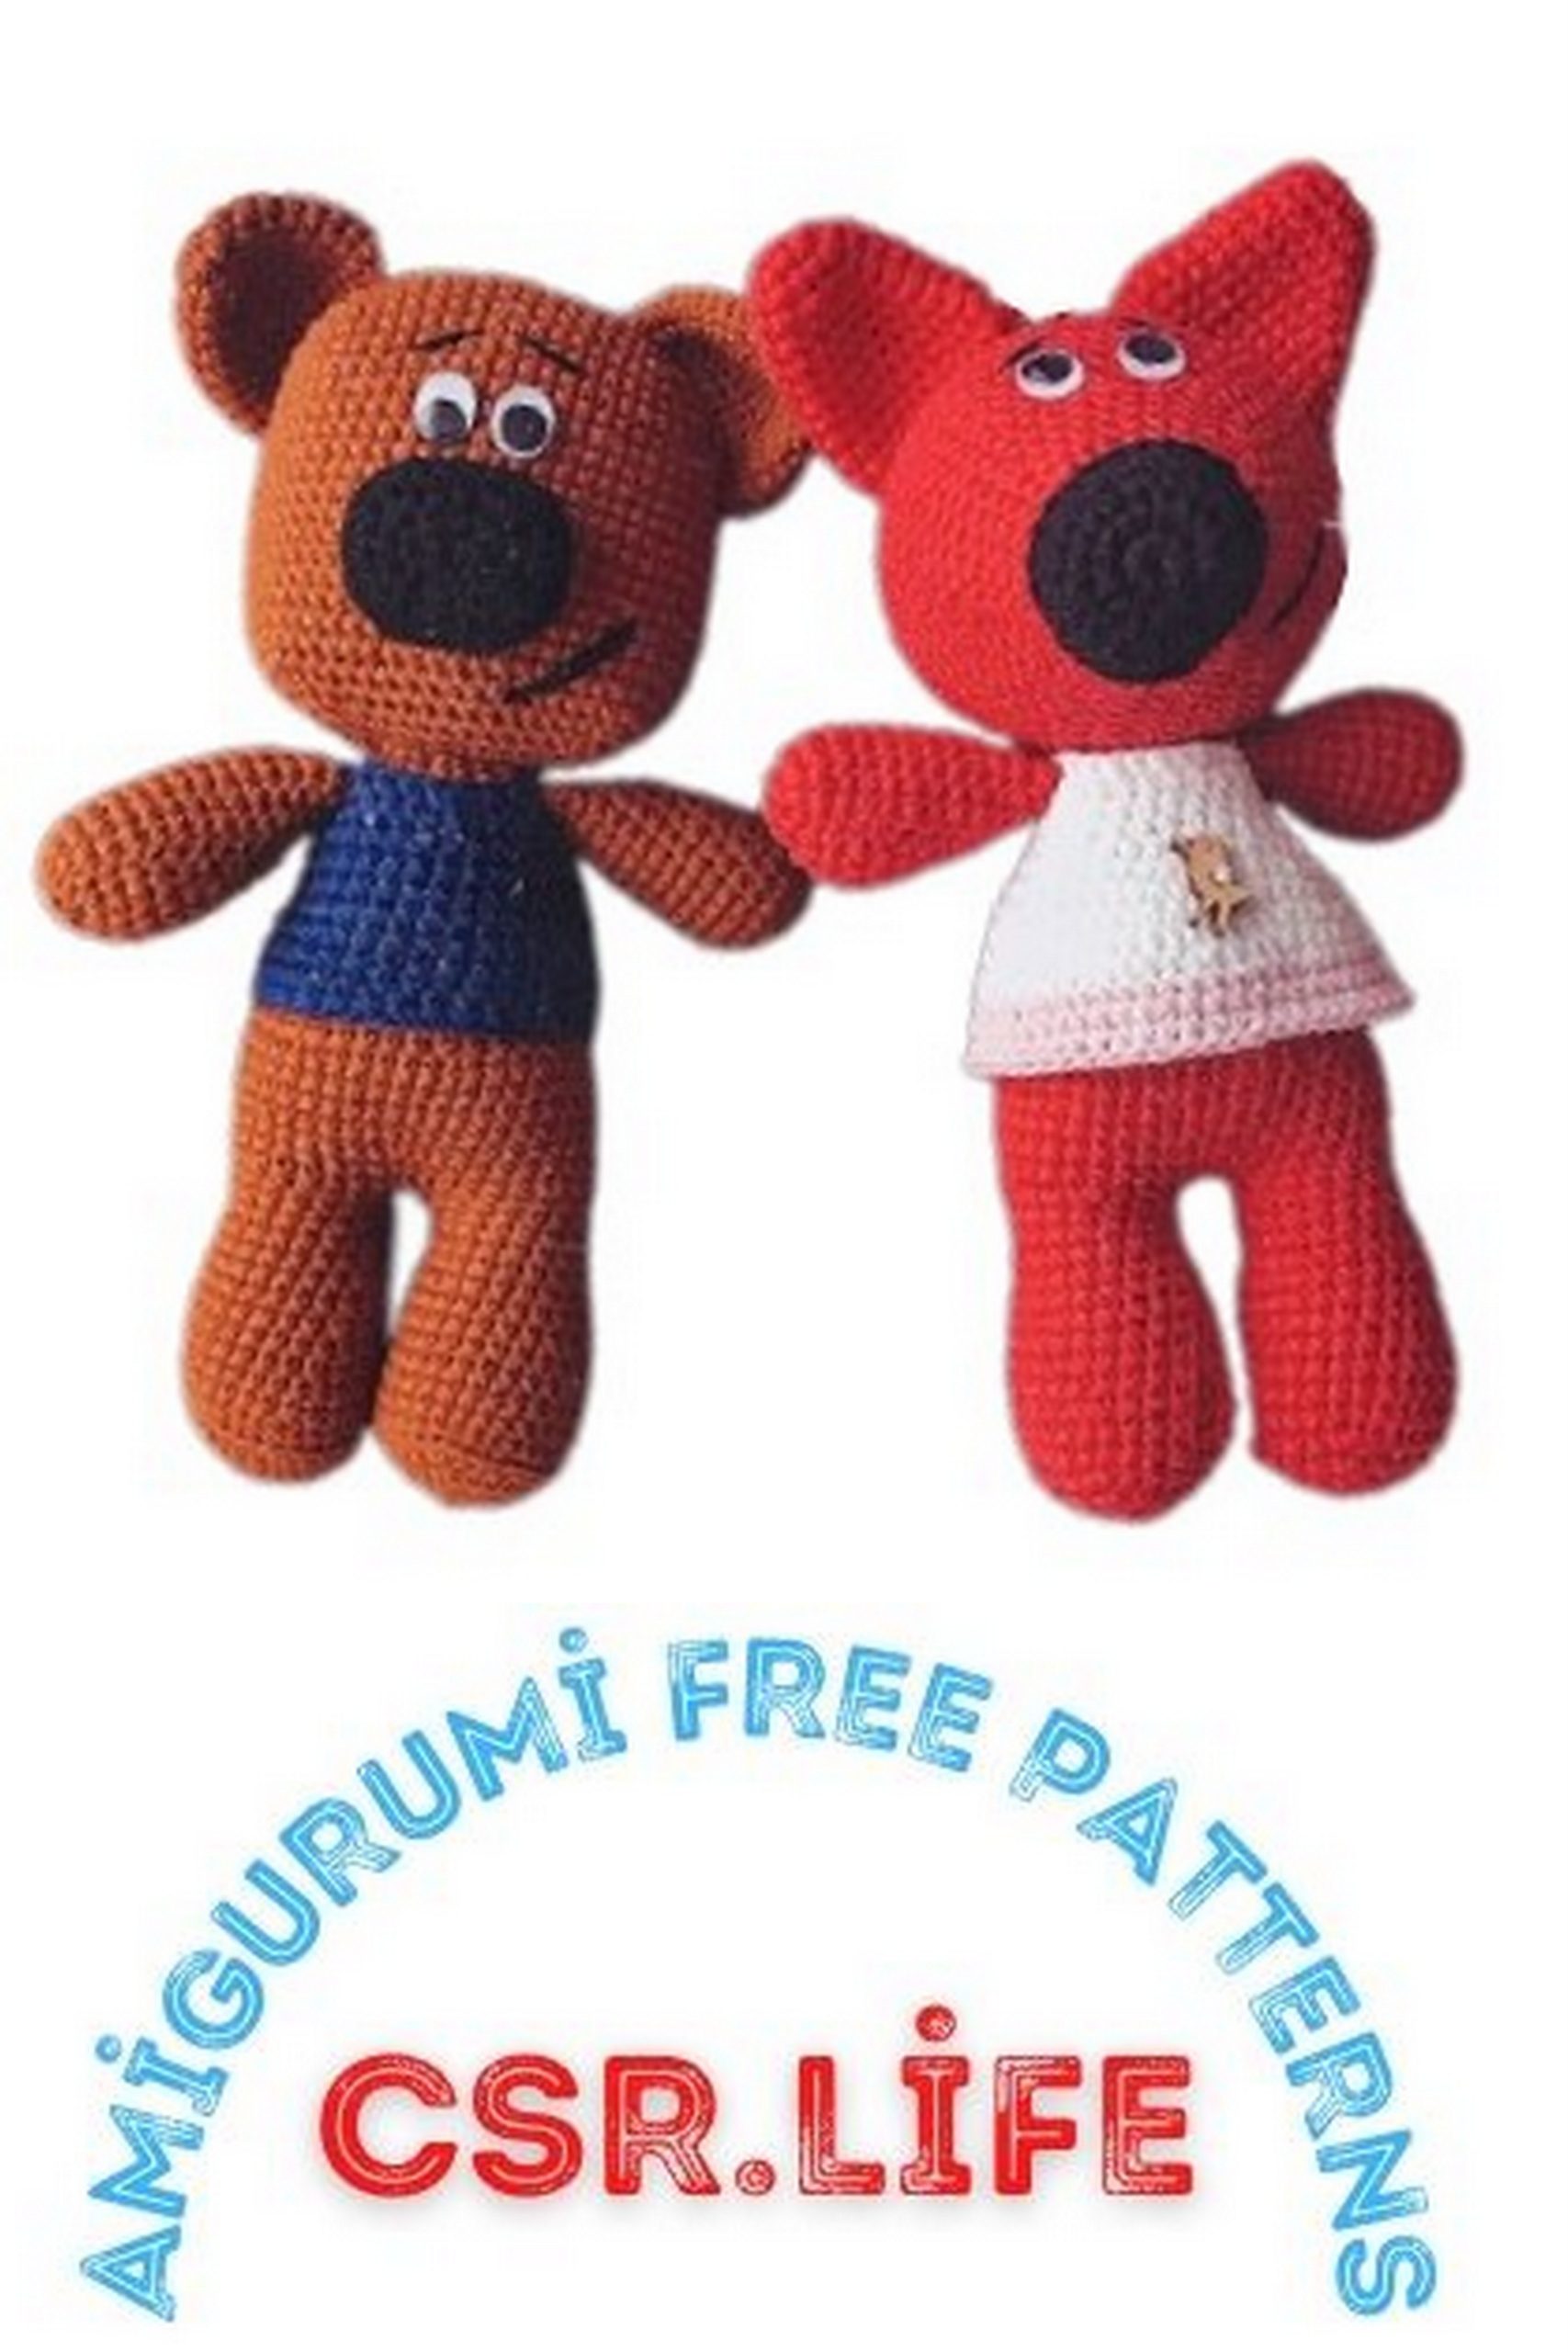
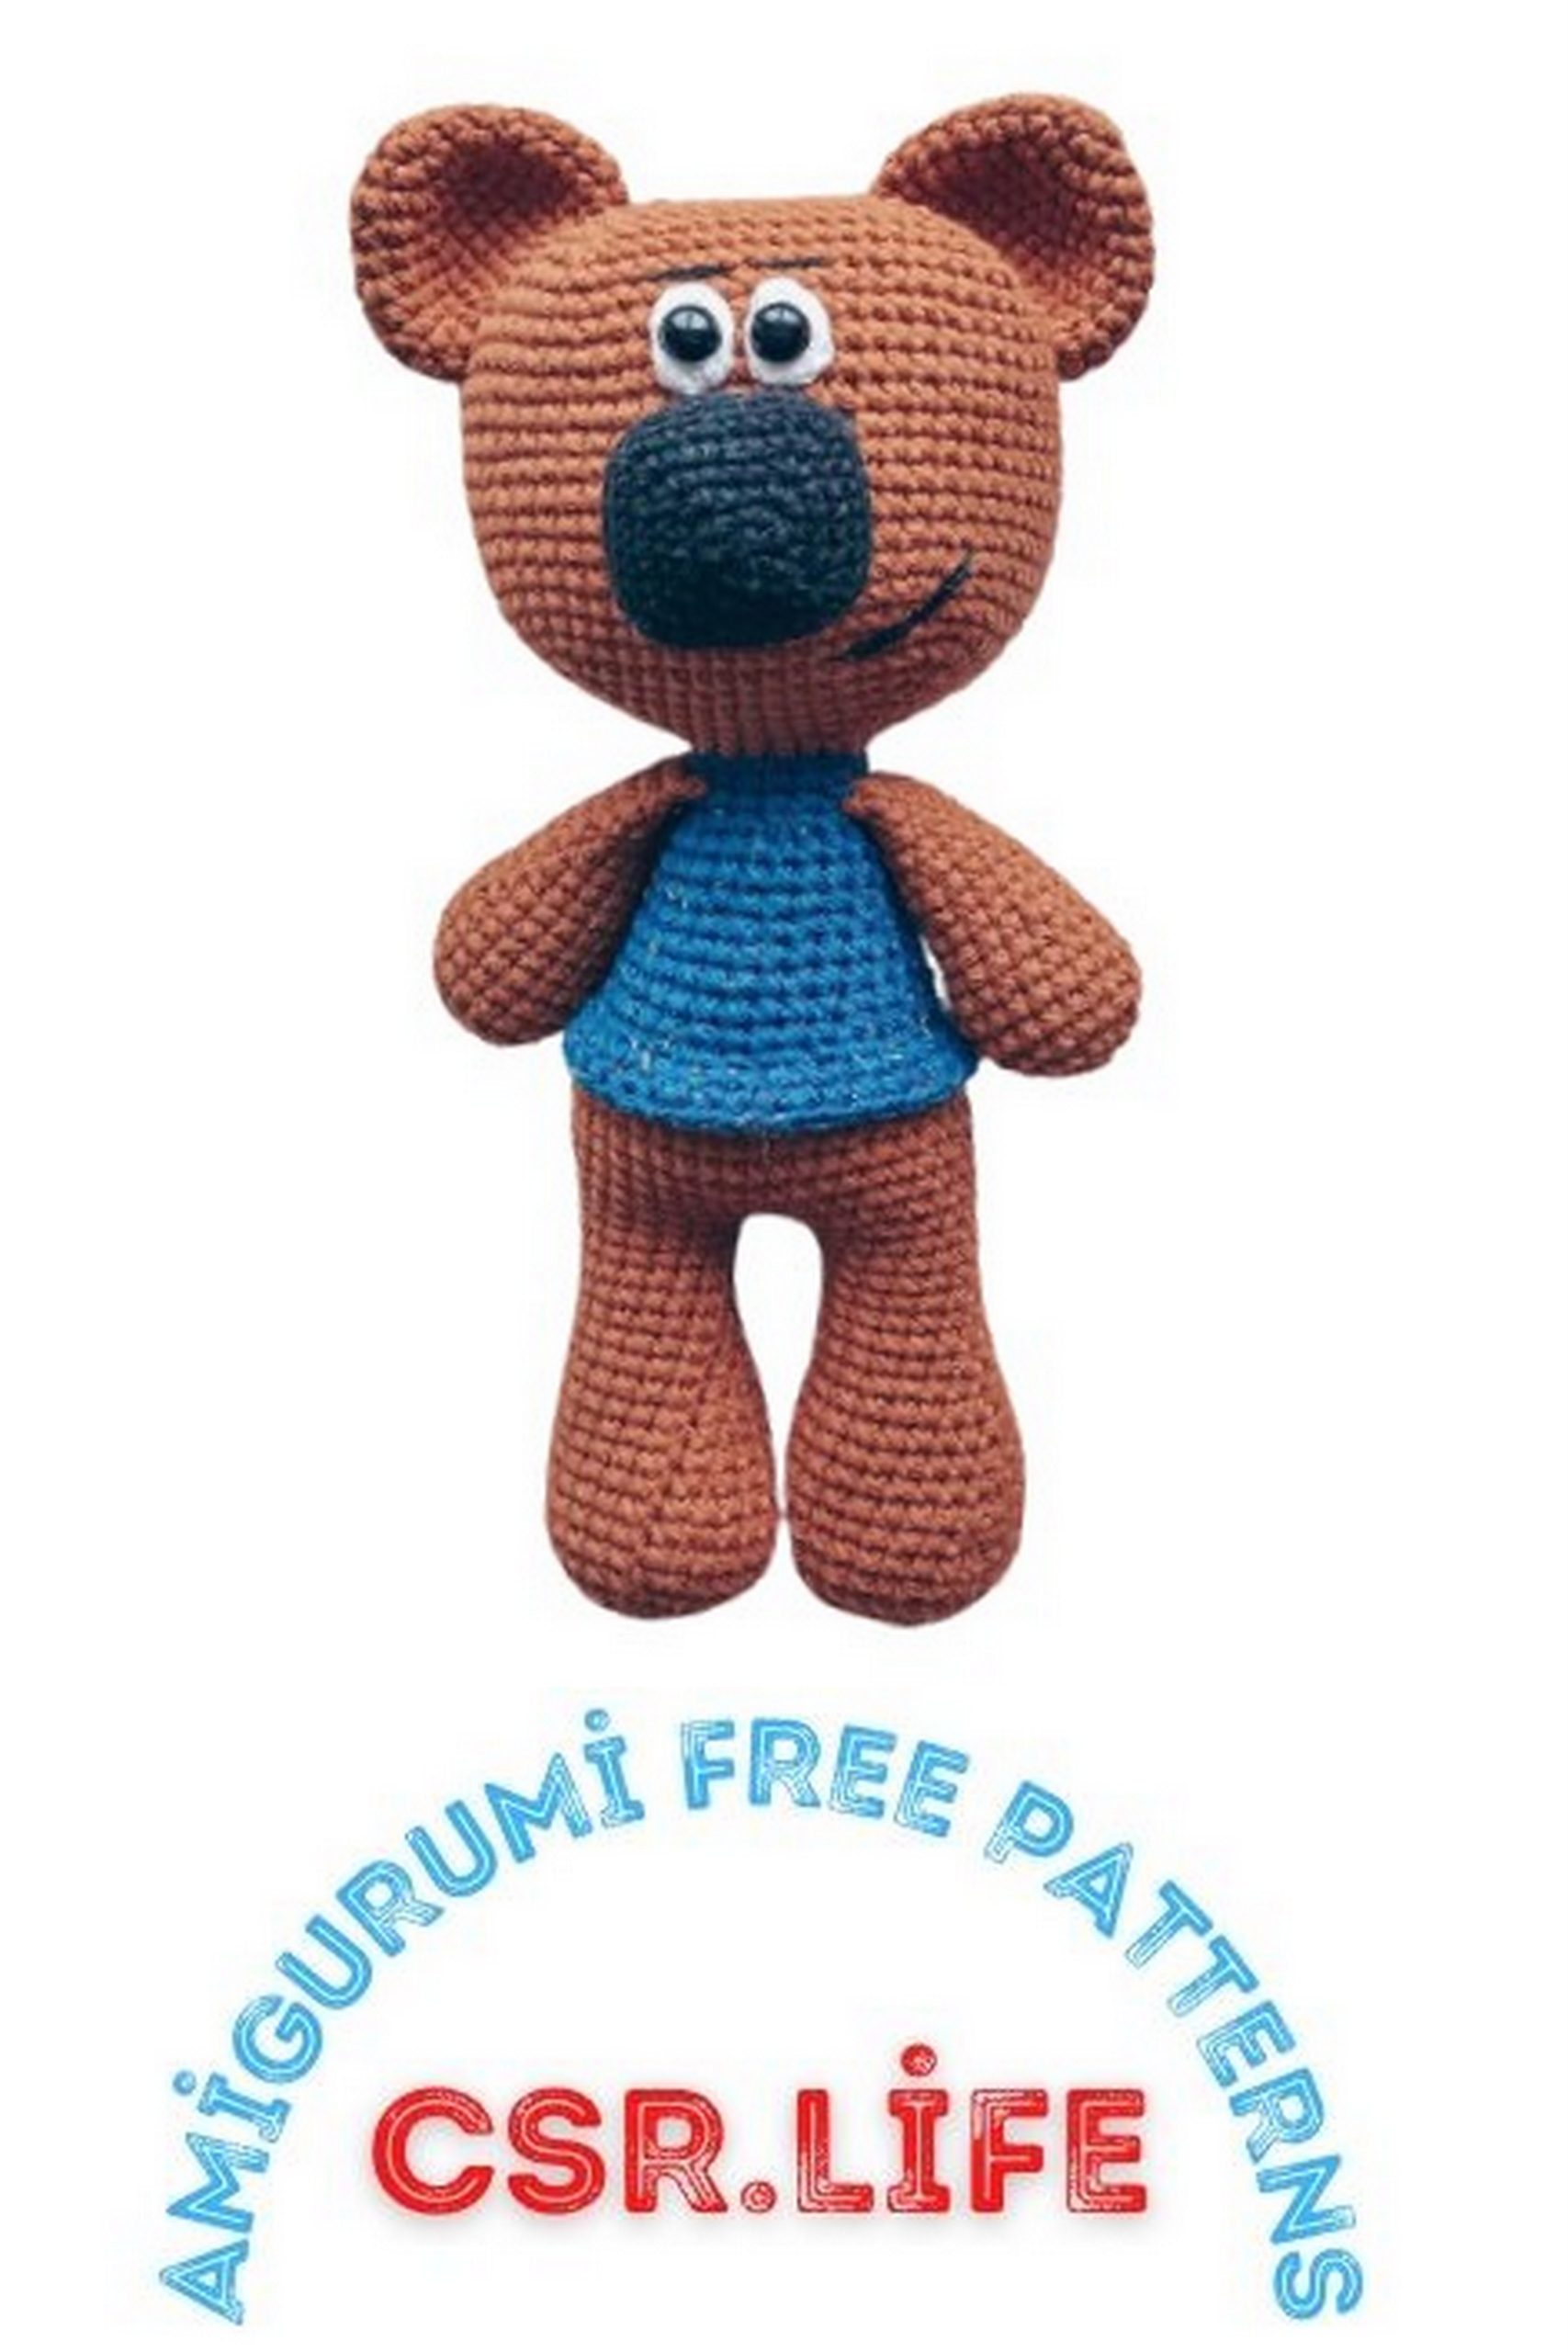
Teddy Bear Kesha Amigurumi Free Pattern – Crochet your own cuddly friend!
Welcome to our delightful Teddy Bear Kesha Amigurumi Free Pattern! If you’re passionate about crocheting and adore crafting adorable amigurumi animals, you’re in for a treat. In this article, we’re excited to share a step-by-step guide to creating your very own Kesha the Teddy Bear using our amigurumi free pattern. Whether you’re a beginner or an experienced crocheter, this project is perfect for you. So, grab your yarn, crochet hook, and let’s get started on this fun and rewarding DIY journey to make your own huggable teddy bear.
Tools & Materials:
Alize cotton gold plus yarn (100 g/200 m), main color + sweater color.
Yarn Art Jeans black yarn (for the nose).
Black embroidery floss for embroidering eyebrows and mouth.
Ready-made oval-shaped eyes, known as “safety eyes.”
Polyester fiberfill (stuffing).
A 2.50 mm crochet hook for the main teddy bear and a 2.00 mm crochet hook for the eyes and nose.
Stitch marker.
Scissors.
Pins.
Needle.
Attention:
Abbreviations:
MC – Magic Circle (Amigurumi Ring).
Sc – Single Crochet.
Ch – Chain.
Inc – Increase (two single crochets in one stitch).
Dec – Decrease (single crochet two stitches together).
Sl st – Slip Stitch.
Start crocheting from the bottom to the top.
PATTERN
Arms (Make 2):
Round 1: 6 sc in MC.
Round 2: Inc in each sc (12 sc).
Round 3: 1 sc, Inc (18 sc).
Round 4: 8 sc, Inc (20 sc).
5-6. Round 5-6: 20 sc.
Round 7: 8 sc, Dec (18 sc).
Round 8: 18 sc.
Round 9: 7 sc, Dec (16 sc).
Round 10: 16 sc.
Round 11: 6 sc, Dec (14 sc).
Round 12: 14 sc.
Round 13: 5 sc, Dec (12 sc).
Round 14: 12 sc.
Round 15: 4 sc, Dec (10 sc).
16-17. Round 16-17: 10 sc.
Stuff the arms with polyester fiberfill halfway, fold in half, and crochet the piece closed through both sides with 5 sc. Make the second arm the same way.
Legs (Make 2):
Round 1: 6 sc in MC.
Round 2: Inc in each sc (12 sc).
Round 3: 1 sc, Inc (18 sc).
Round 4: 2 sc, Inc (24 sc).
Round 5: 3 sc, Inc (30 sc).
Round 6: 30 sc.
Round 7: 13 sc, Dec (28 sc).
Round 8: 4 sc, Dec, 16 sc, Dec (26 sc).
Round 9: 11 sc, Dec (24 sc).
Round 10: 24 sc.
Round 11: 10 sc, Dec (22 sc).
Round 12: 22 sc.
Round 13: 9 sc, Dec (20 sc).
Round 14: 8 sc, Dec (18 sc).
Round 15: 18 sc.
Round 16: 7 sc, Dec (16 sc).
17-21. Round 17-21: 16 sc.
Stuff the legs firmly. Cut the yarn for the first leg but leave it for later. For the second leg, don’t cut the yarn; we’ll continue working on the body using the same yarn.
Continue with the second leg, do not cut the yarn, and follow the instructions.
Body:
Round 1: From the second leg, crochet 2 chains and join in the first leg’s single crochet (sc in which you started the round). Crochet 36 sc around the legs. Move the stitch marker two stitches ahead. This marker indicates the teddy bear’s back.
Round 2: 5 sc, Inc (42 sc).
3-8. Round 3-8: 42 sc (6 rounds).
Round 9: 5 sc, Dec (36 sc).
Change yarn color to the color of the vest (in this case, blue), and crochet 36 sc.
Round 11: 36 sc through the back loop (this is to create a border for the vest).
12-13. Round 12-13: 36 sc.
Round 14: 4 sc, Dec (30 sc).
15-17. Round 15-17: 30 sc.
Round 18: 3 sc, Dec (24 sc).
19-21. Round 19-21: 24 sc.
Round 22: 2 sc, Dec (18 sc).
Round 23: 18 sc.
In this round, crochet the arms as follows: crochet 2 sc for the body, crochet 5 sc for the arm, attach the arm to the body by crocheting 5 sc through both the body and arm, crochet 4 sc for the body, crochet 5 sc for the second arm, and finally, crochet 2 sc. Ensure the arms are evenly spaced on the body. If needed, adjust the stitches for your version. (Crochet the arms in the blue color of the vest.)
Change yarn color back to the main color and crochet 18 sc without any changes. At this point, the body is complete. Gradually stuff the body with polyester fiberfill. Next, crochet the vest on the body with blue yarn. Find round 11 where you crocheted stitches through the back loop. Take the blue yarn and crochet 1 sc in each front loop of this round. Crochet 1 or 2 rounds at your discretion. Cut the yarn and hide the ends.
Head:
The head has a rectangular shape. Pay attention to increases and decreases in the following rounds:
Round 1: 4 sc, Inc, 2 sc, Inc, 5 sc, Inc, 2 sc, 1 sc.
Round 2: 5 sc, Inc, 4 sc, Inc, 7 sc, Inc, 4 sc, 2 sc.
Round 3: 6 sc, Inc, 6 sc, Inc, 9 sc, Inc, 6 sc, 3 sc.
Round 4: 7 sc, Inc, 8 sc, Inc, 11 sc, Inc, 8 sc, 4 sc.
Round 5: 8 sc, Inc, 10 sc, Inc, 13 sc, Inc, 10 sc, 5 sc.
Round 6: 9 sc, Inc, 12 sc, Inc, 15 sc, Inc, 12 sc, 6 sc.
You should have a total of 66 sc.
7-21. Round 7-21: 66 sc.
Starting from the next round, begin decreases. Decreases are made approximately in the same places where you increased, but since you are crocheting in a spiral, the stitches may shift slightly. You might need to move them forward by 1-2 stitches. Decrease in the same spots where you previously increased.
Round 22: 9 sc, Dec, 12 sc, Dec, 15 sc, Dec, 12 sc, 6 sc.
Round 23: 8 sc, Dec, 10 sc, Dec, 13 sc, Dec, 10 sc, 5 sc.
Round 24: 7 sc, Dec, 8 sc, Dec, 11 sc, Dec, 8 sc, 4 sc.
Round 25: 6 sc, Dec, 6 sc, Dec, 9 sc, Dec, 6 sc, 3 sc.
Round 26: 5 sc, Dec, 4 sc, Dec, 7 sc, Dec, 4 sc, 2 sc.
Stuff the head firmly with polyester fiberfill. If the head doesn’t stand up straight, you can insert wire or cotton swabs.
Round 27: 4 sc, Dec, 2 sc, Dec, 5 sc, Dec, 2 sc, 1 sc.
Round 28: Crochet all stitches together by decreasing 2 sc in each stitch. Cut the yarn, thread it through a needle, and sew up the remaining stitches. Hide the thread.
Ears (Make 2):
Round 1: 6 MC.
Round 2: Inc in each sc (12 sc).
Round 3: 1 sc, Inc (18 sc).
Round 4: 18 sc.
Round 5: 2 sc, Inc (24 sc).
Round 6: 3 sc, Inc (30 sc).
7-9. Round 7-9: 30 sc.
Round 10: 3 sc, Dec (24 sc).
Cut the thread, secure it, and leave a long tail for sewing. Make the second ear the same way.
Nose:
Crochet the nose using black yarn. If you are using Yarn Art Jeans, you have two options:
If you are using two strands of yarn, crochet three rounds of increases.
If you are using one strand of yarn, continue increasing in the appropriate spots until you reach the desired size.
Start with a chain of 4 ch and begin crocheting in the second chain from the hook:
Round 1: 2 sc, increase in one stitch, 2 sc, increase in one stitch.
Round 2: 2 sc, increase in one stitch, 1 sc, increase in one stitch, 2 sc, increase in one stitch, 1 sc, increase in one stitch.
Round 3-5: 27 sc.
Cut the thread, secure it, and leave a long tail for sewing. When it comes to the eyes, you have several options:
You can purchase and attach safety eyes.
You can cut out white ovals from felt and insert small black eyes, then sew them in place.
Choose the option that suits your preference. Sew the ears on opposite sides of the head. Place the nose at the lower part of the face. Don’t forget to embroider the mouth on the side and add eyebrows.
Your cute Keshi teddy bear is ready! I hope this tutorial was helpful, and you’ll be able to make adorable amigurumi bears!