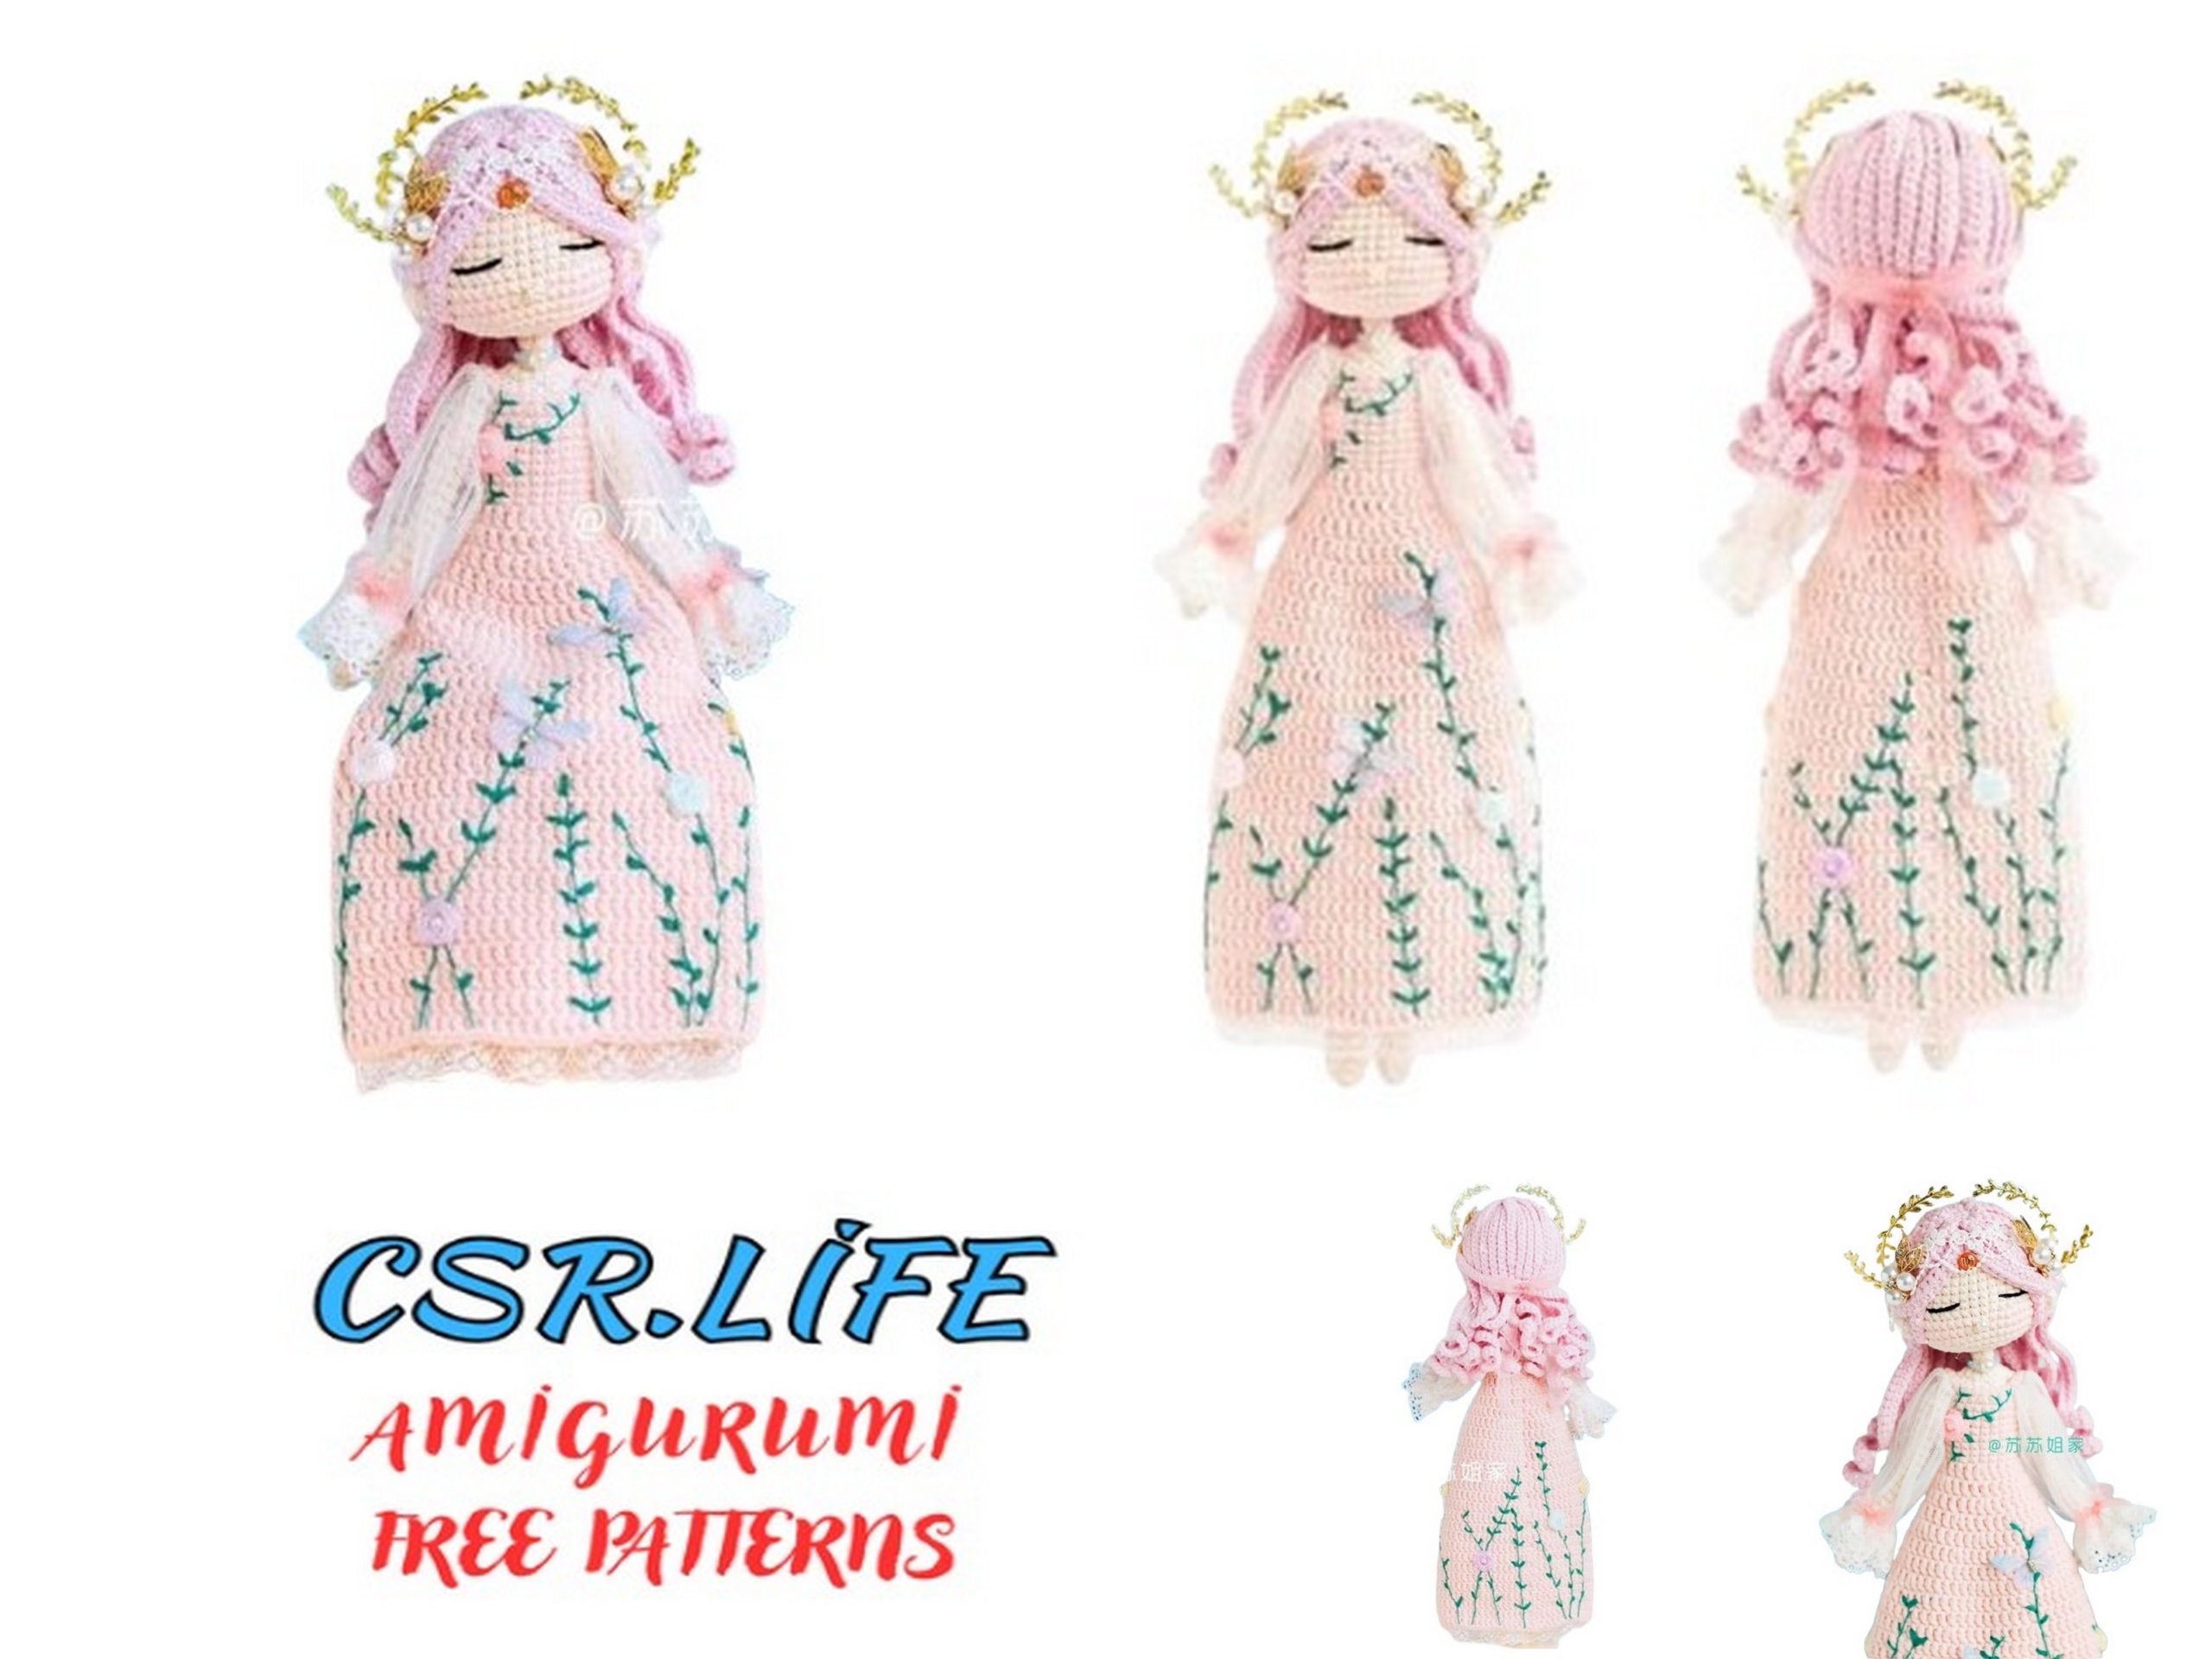
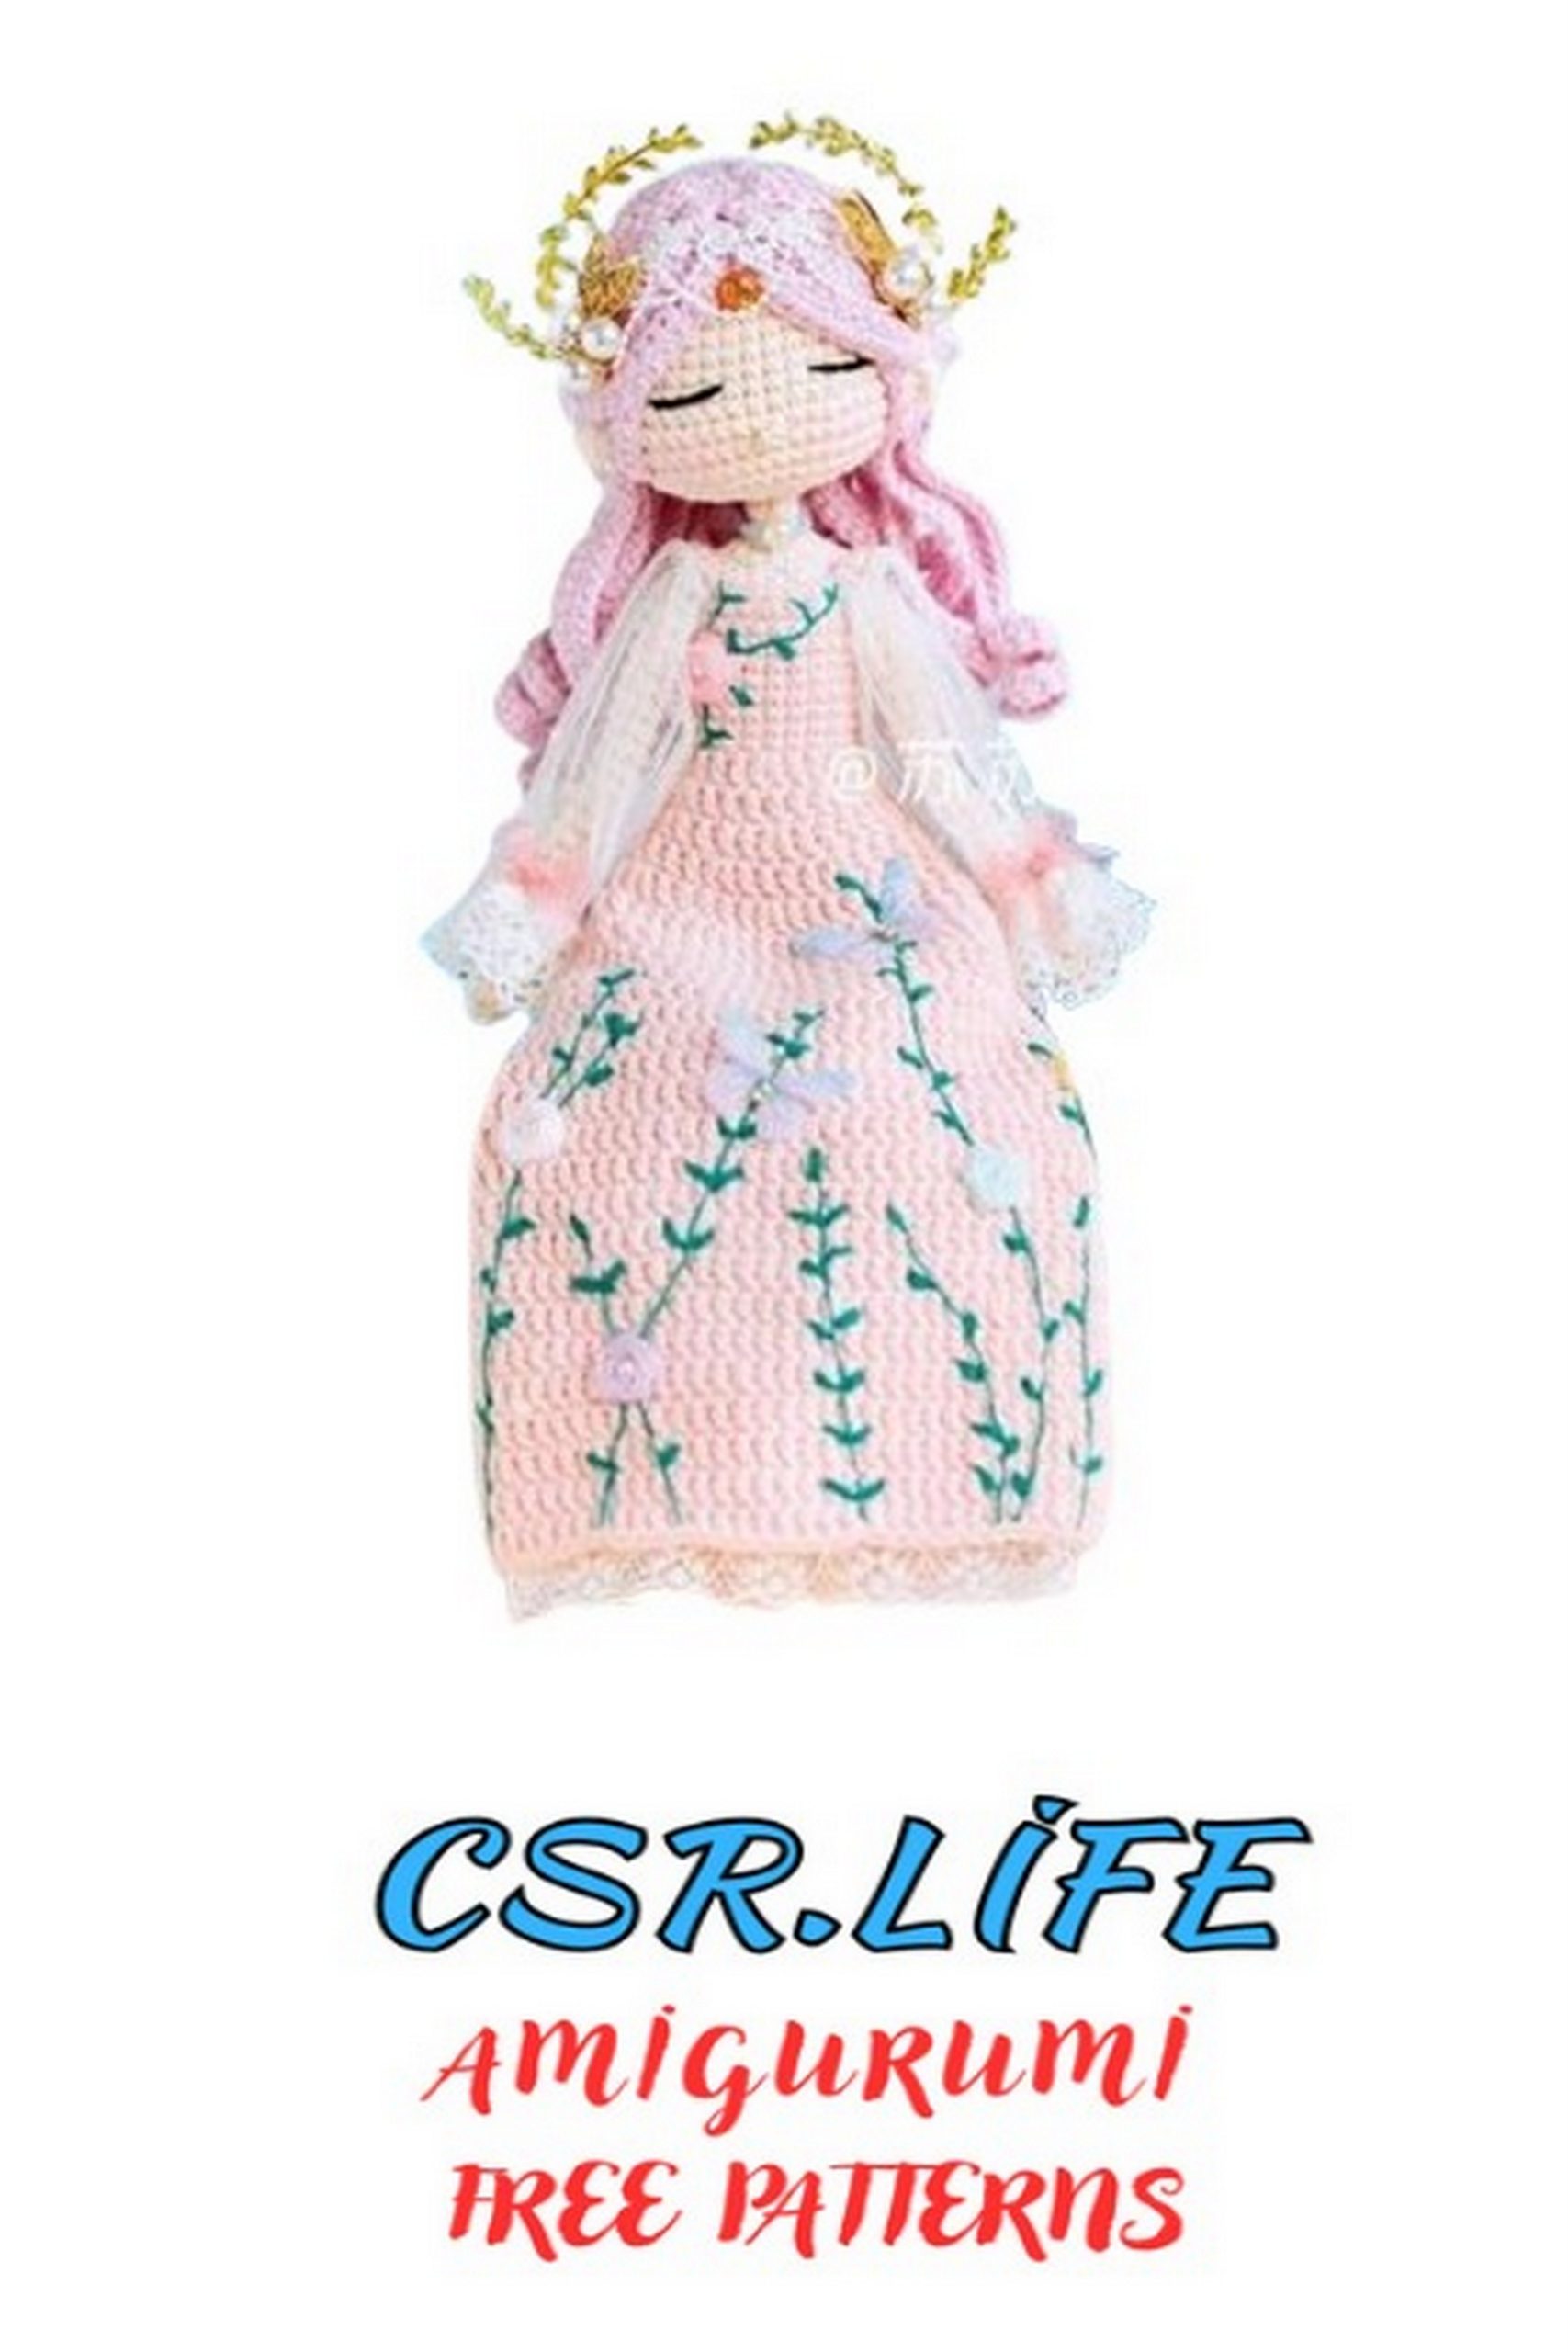
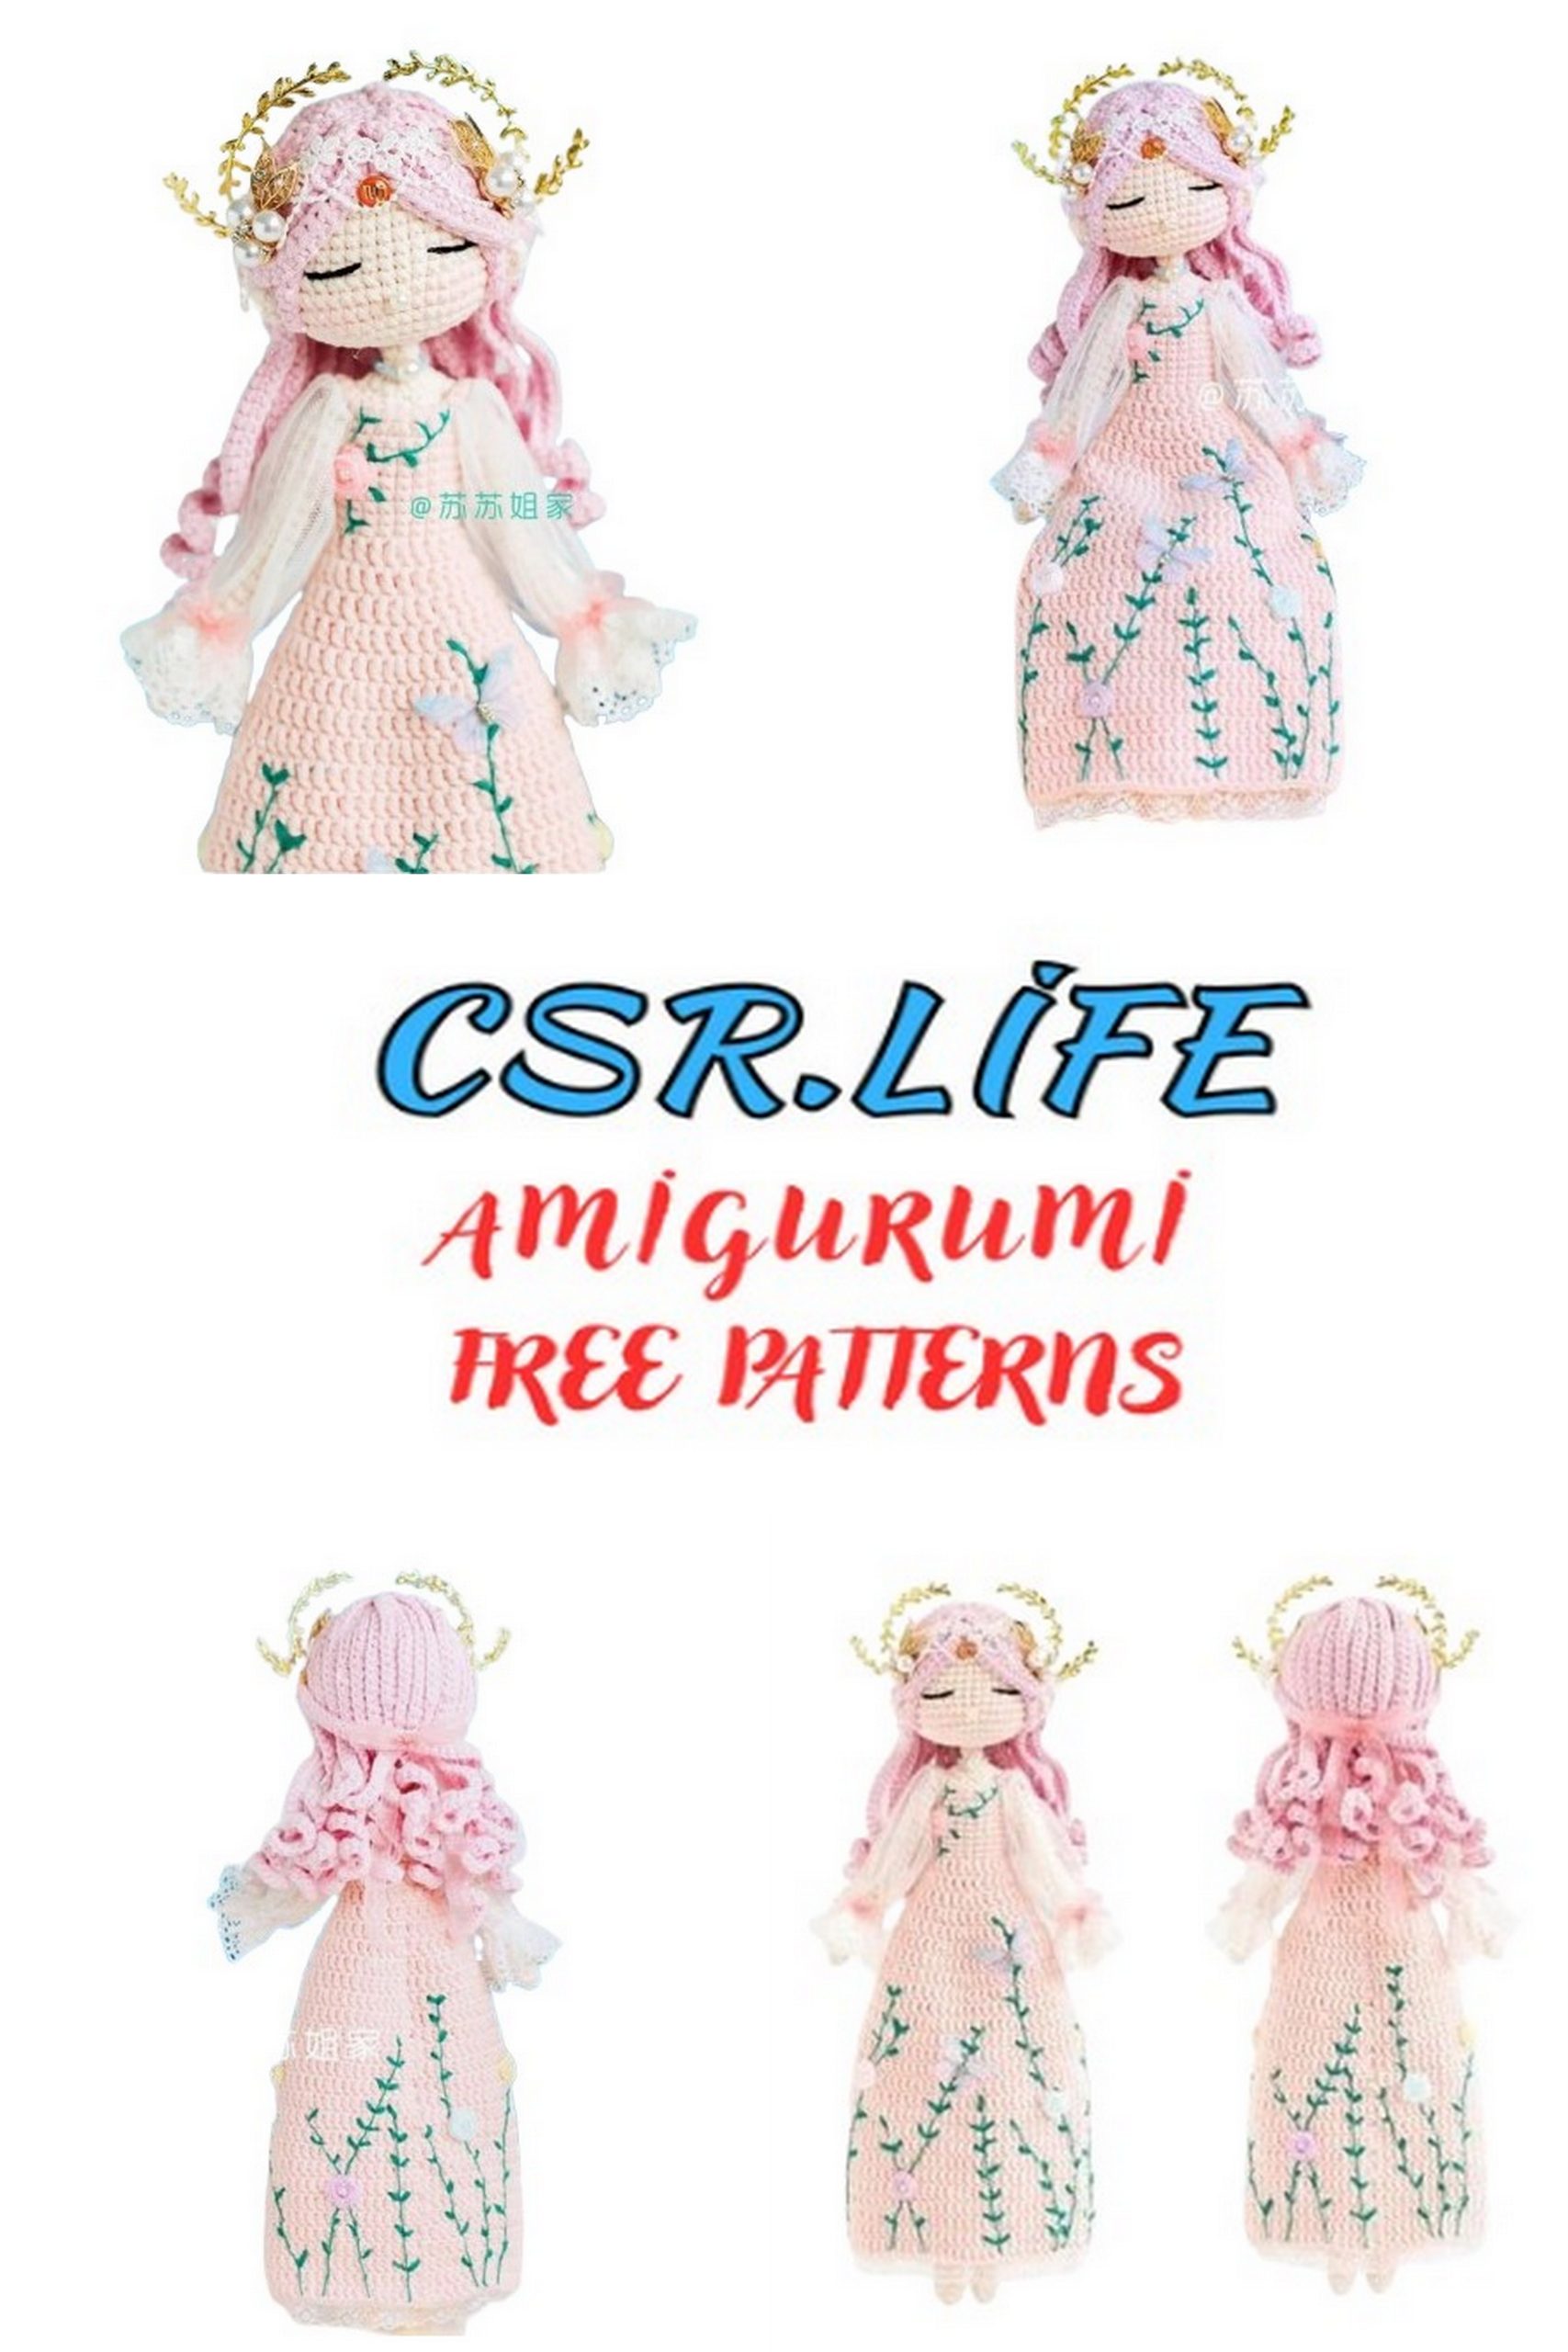
Virgin Zodiac Doll Amigurumi Free Pattern: Crochet Innocence for Handmade Happiness!
Step into the enchanting world of crochet with our endearing amigurumi free pattern for a virgin doll amigurumi! Whether you’re a seasoned crocheter or just beginning your crafting journey, this charming project is sure to evoke feelings of innocence and handmade happiness. Perfect for collectors, gifts, or as a whimsical decor piece, this virgin doll embodies the purity of handmade craftsmanship. With detailed instructions and helpful tips, crafting your own doll is a delightful adventure in creativity and nostalgia. So, pick up your crochet hook and let’s weave some magic into our stitches!
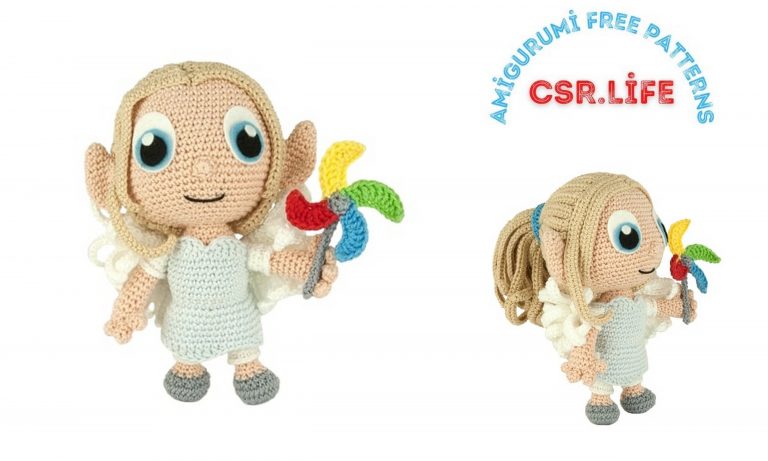
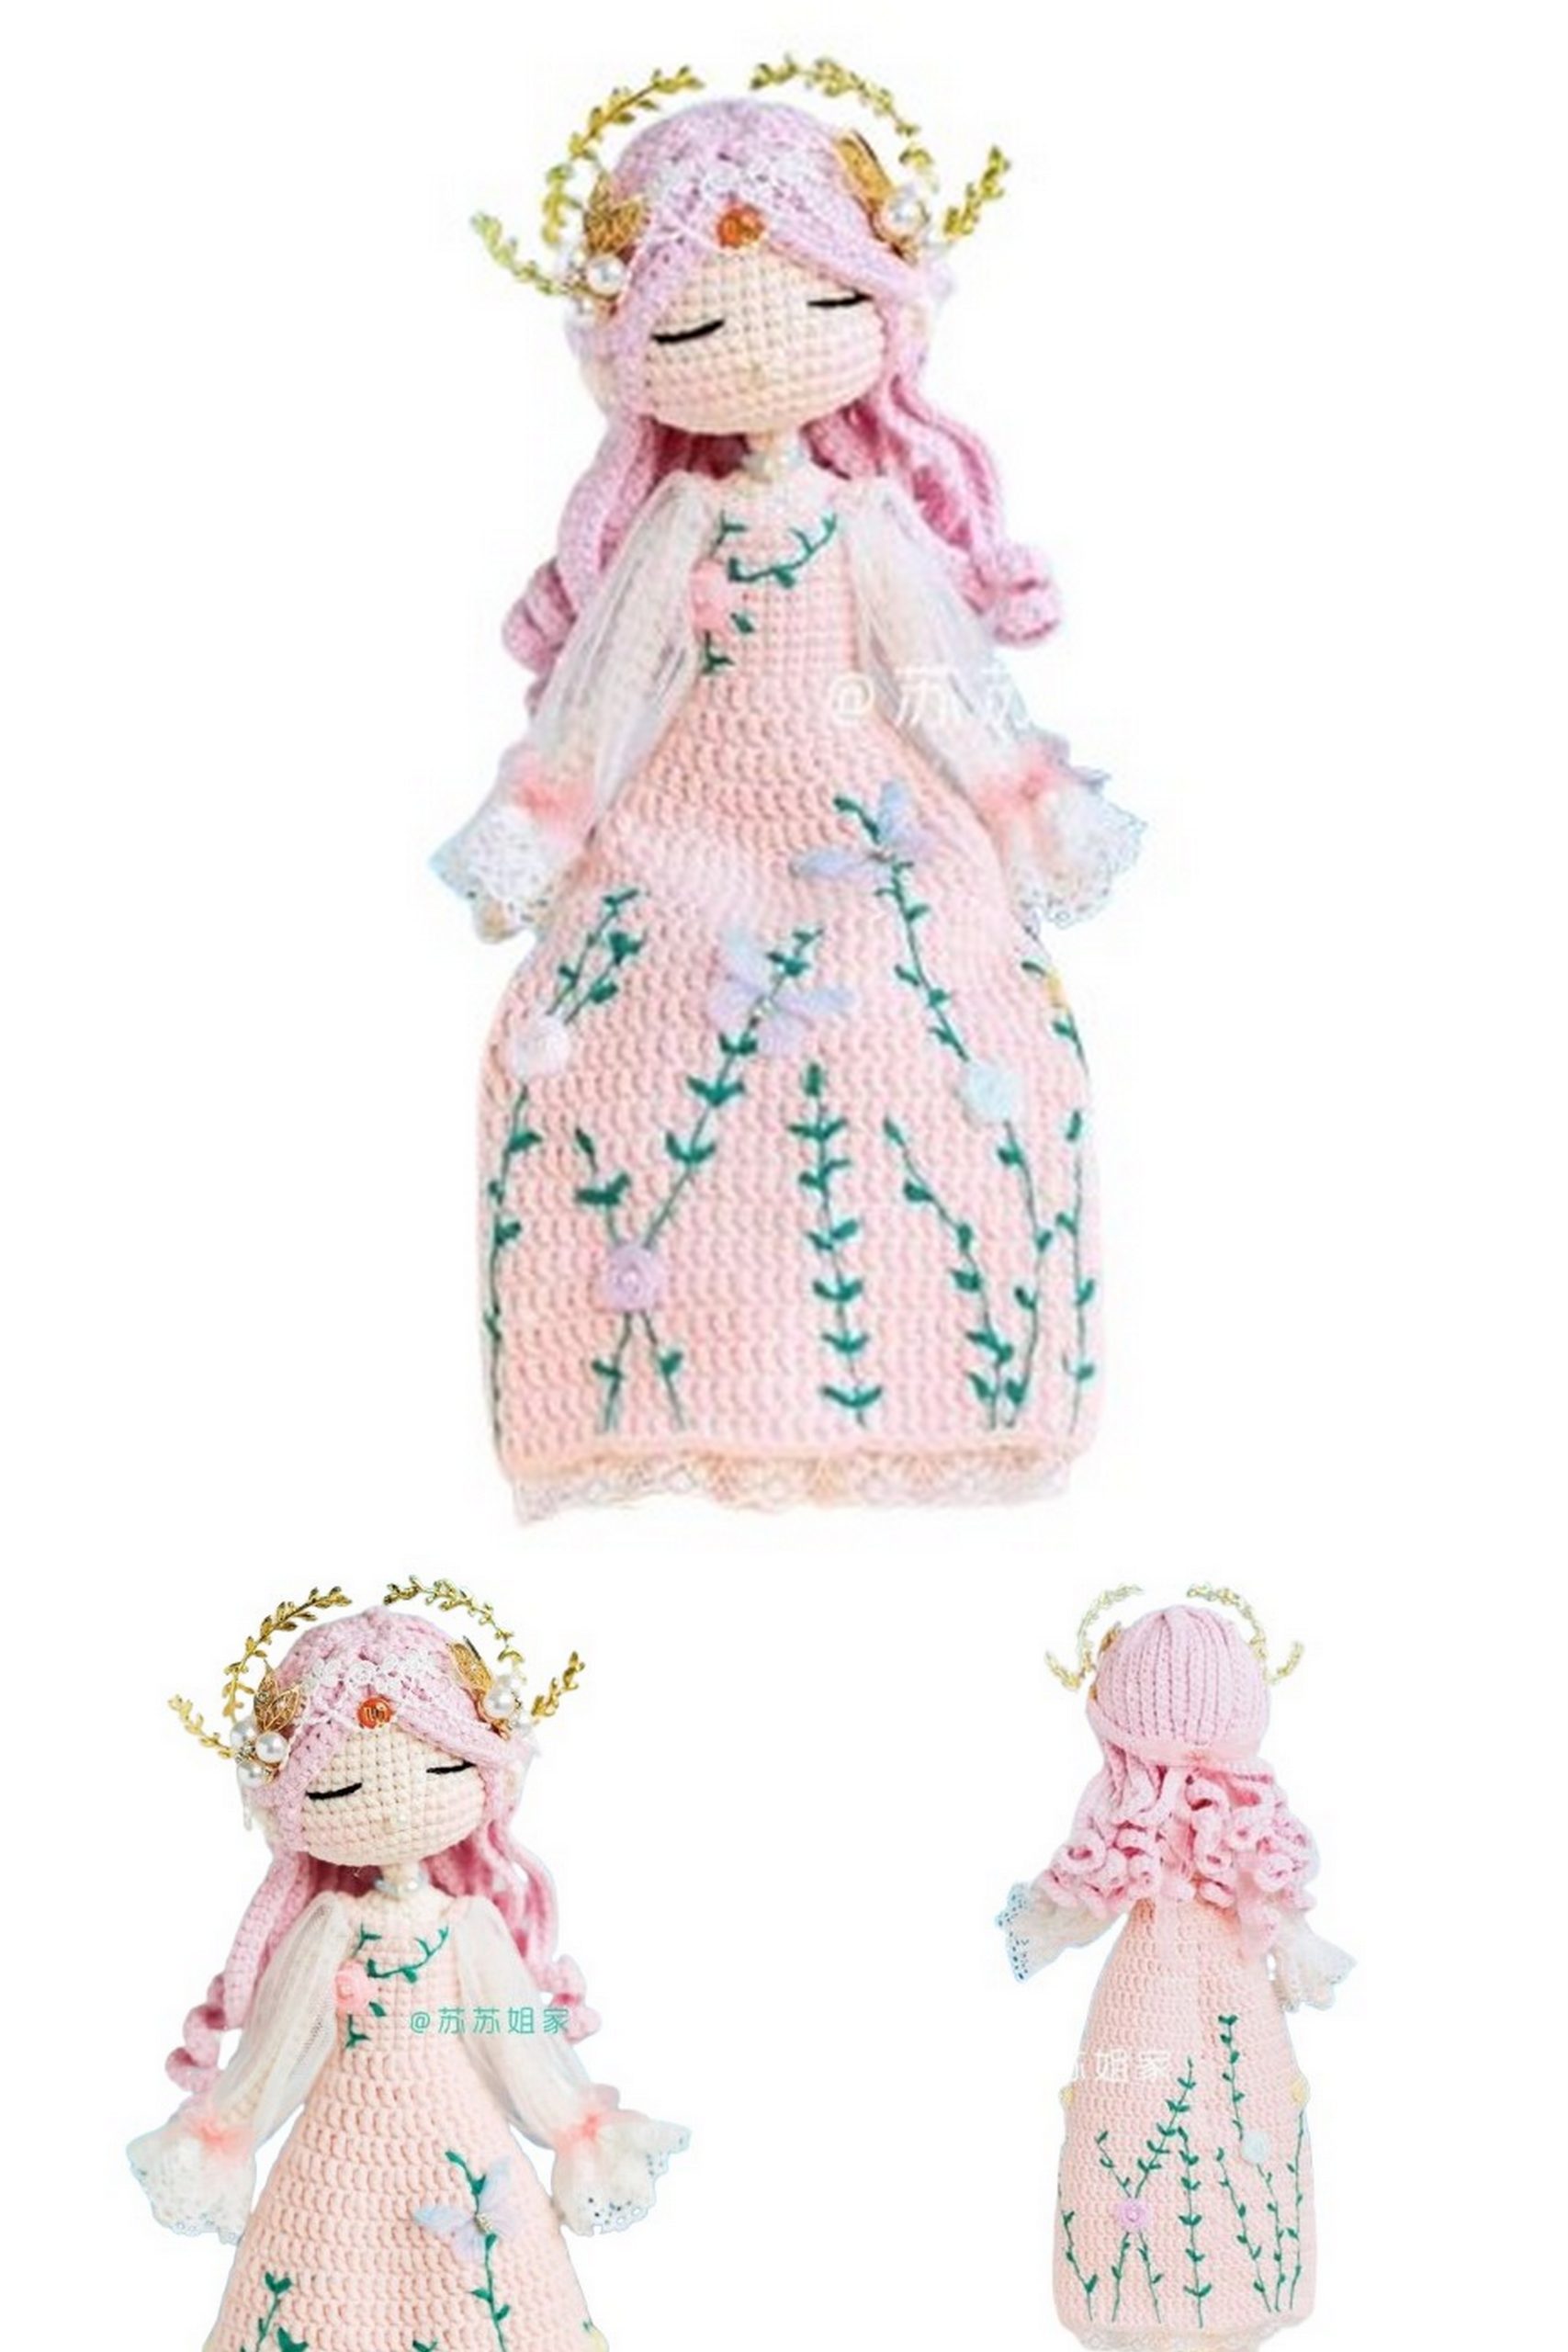
DOLL consists of the main body and accessories: the main body includes four parts: arms, legs, body, and head, while the accessories include facial features, hair, necklace, and dress. First, crochet the main part of the item, and then the accessories.
Height about 31 cm —
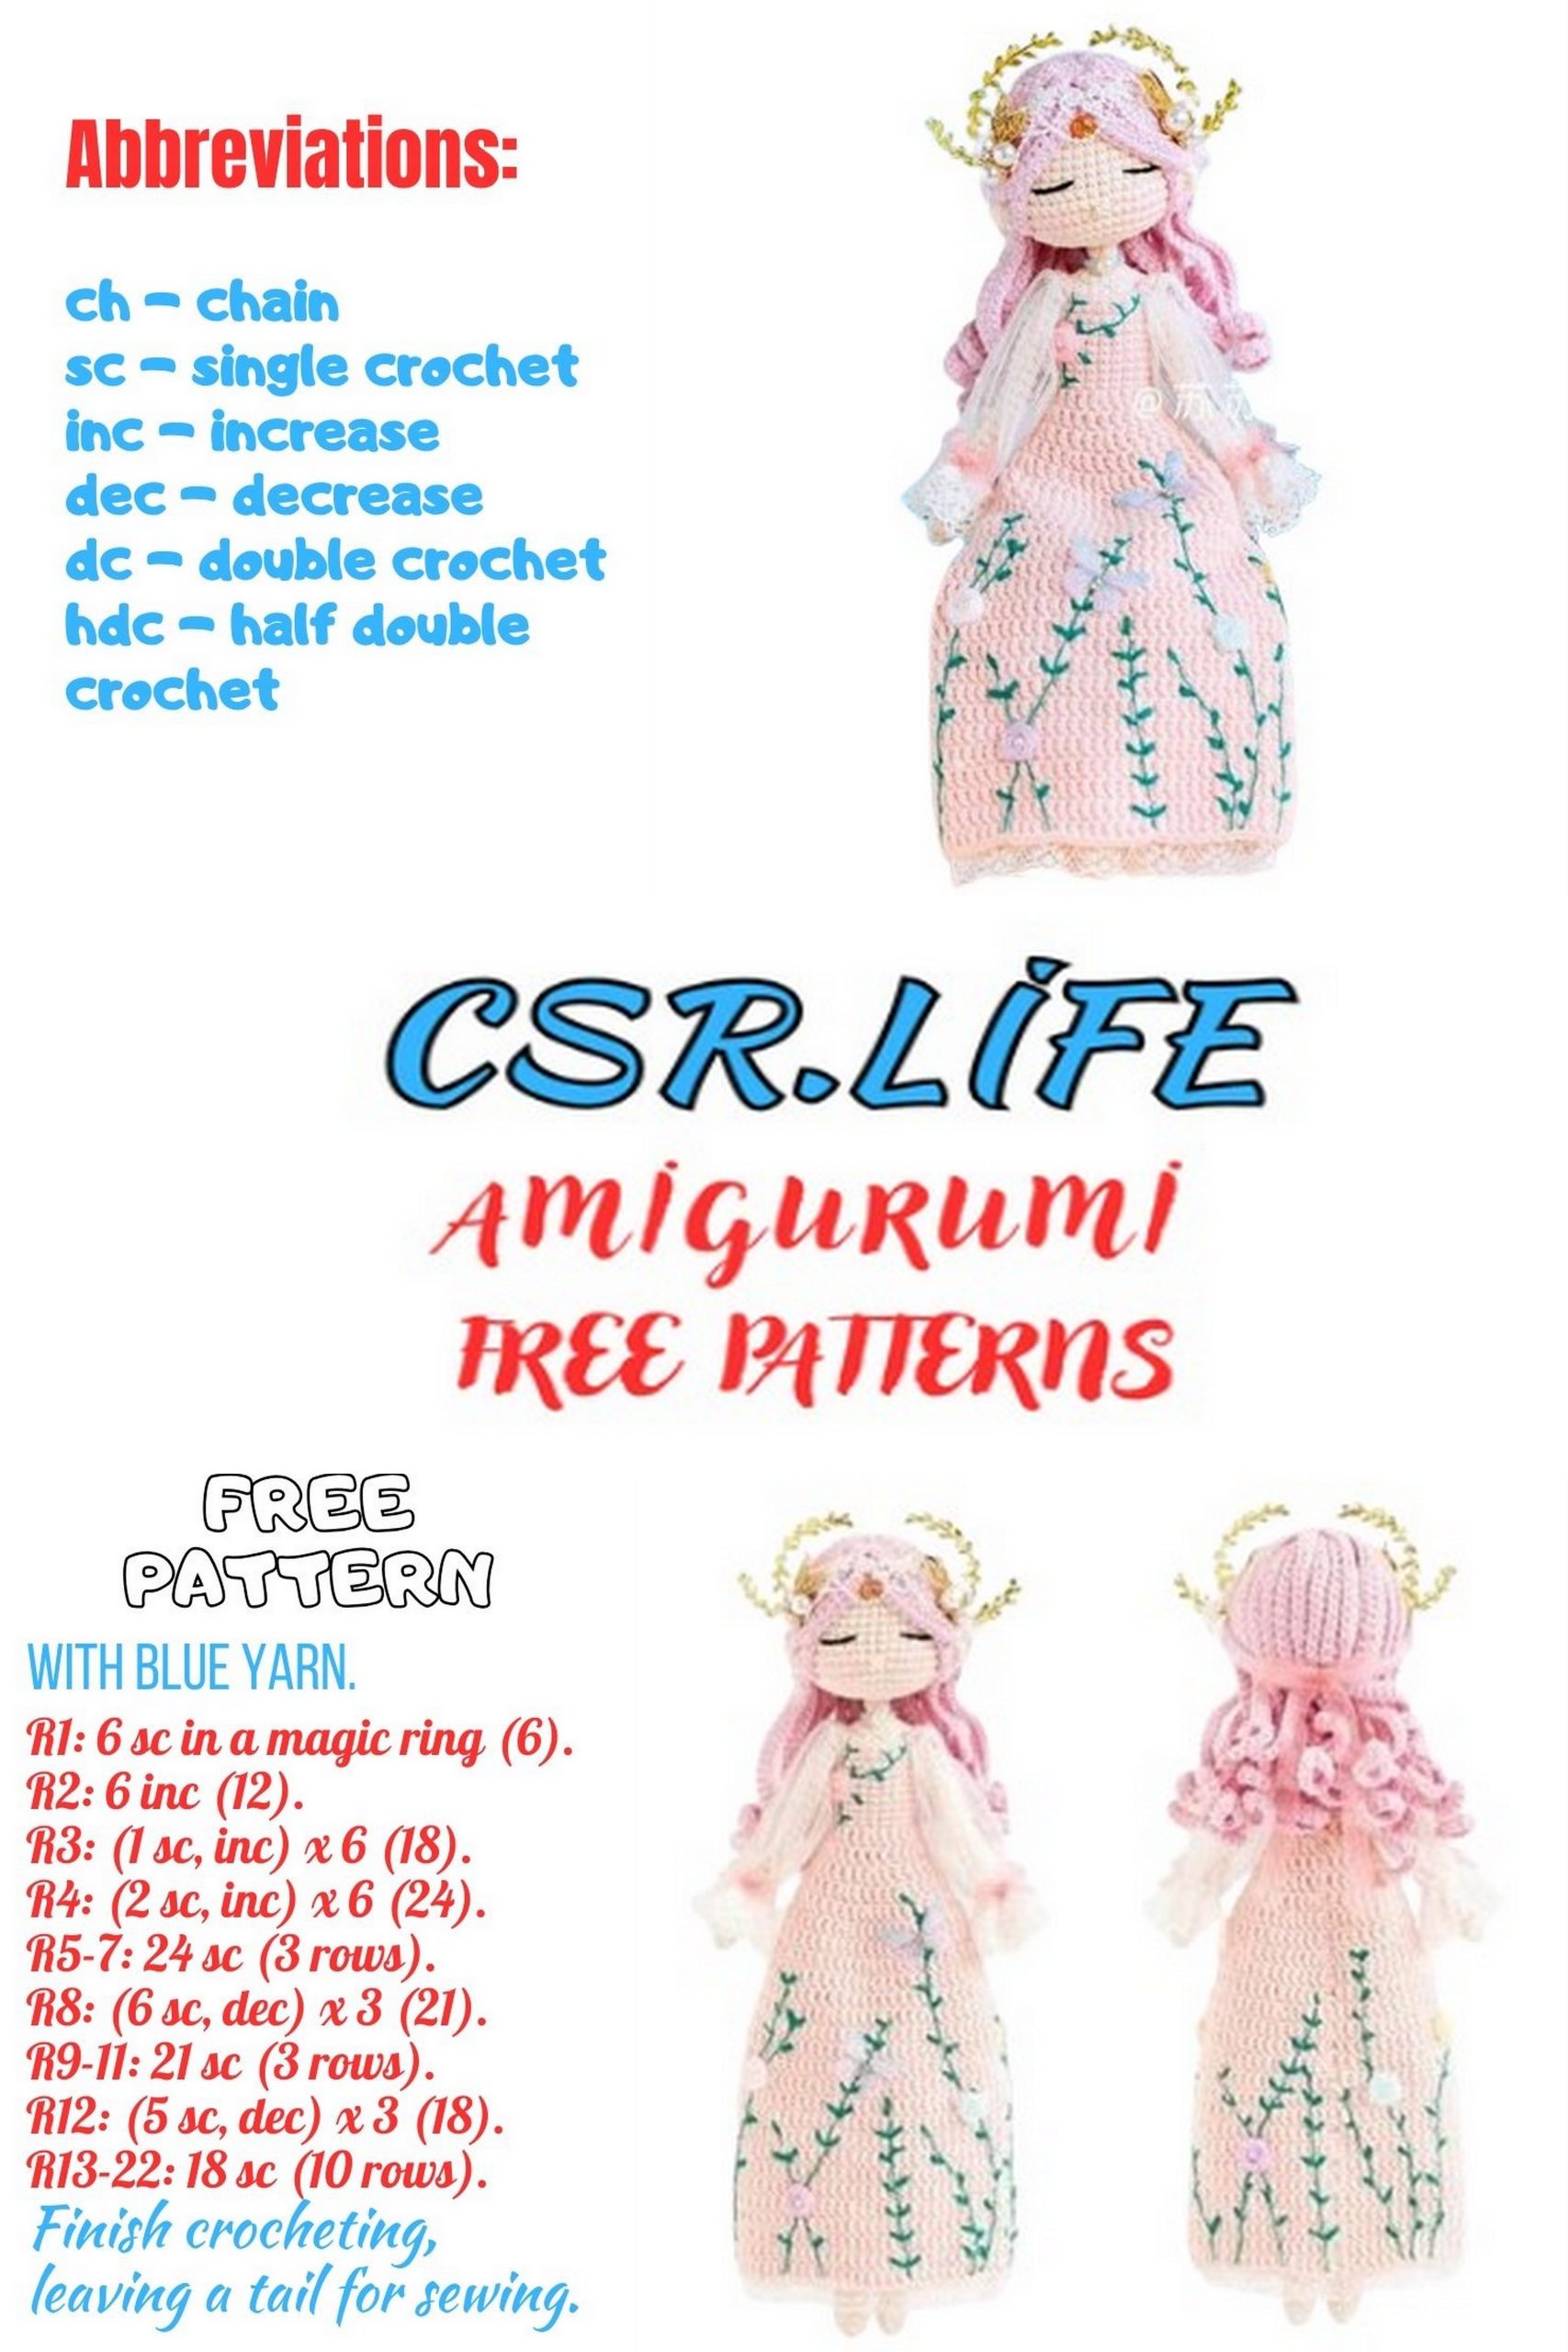
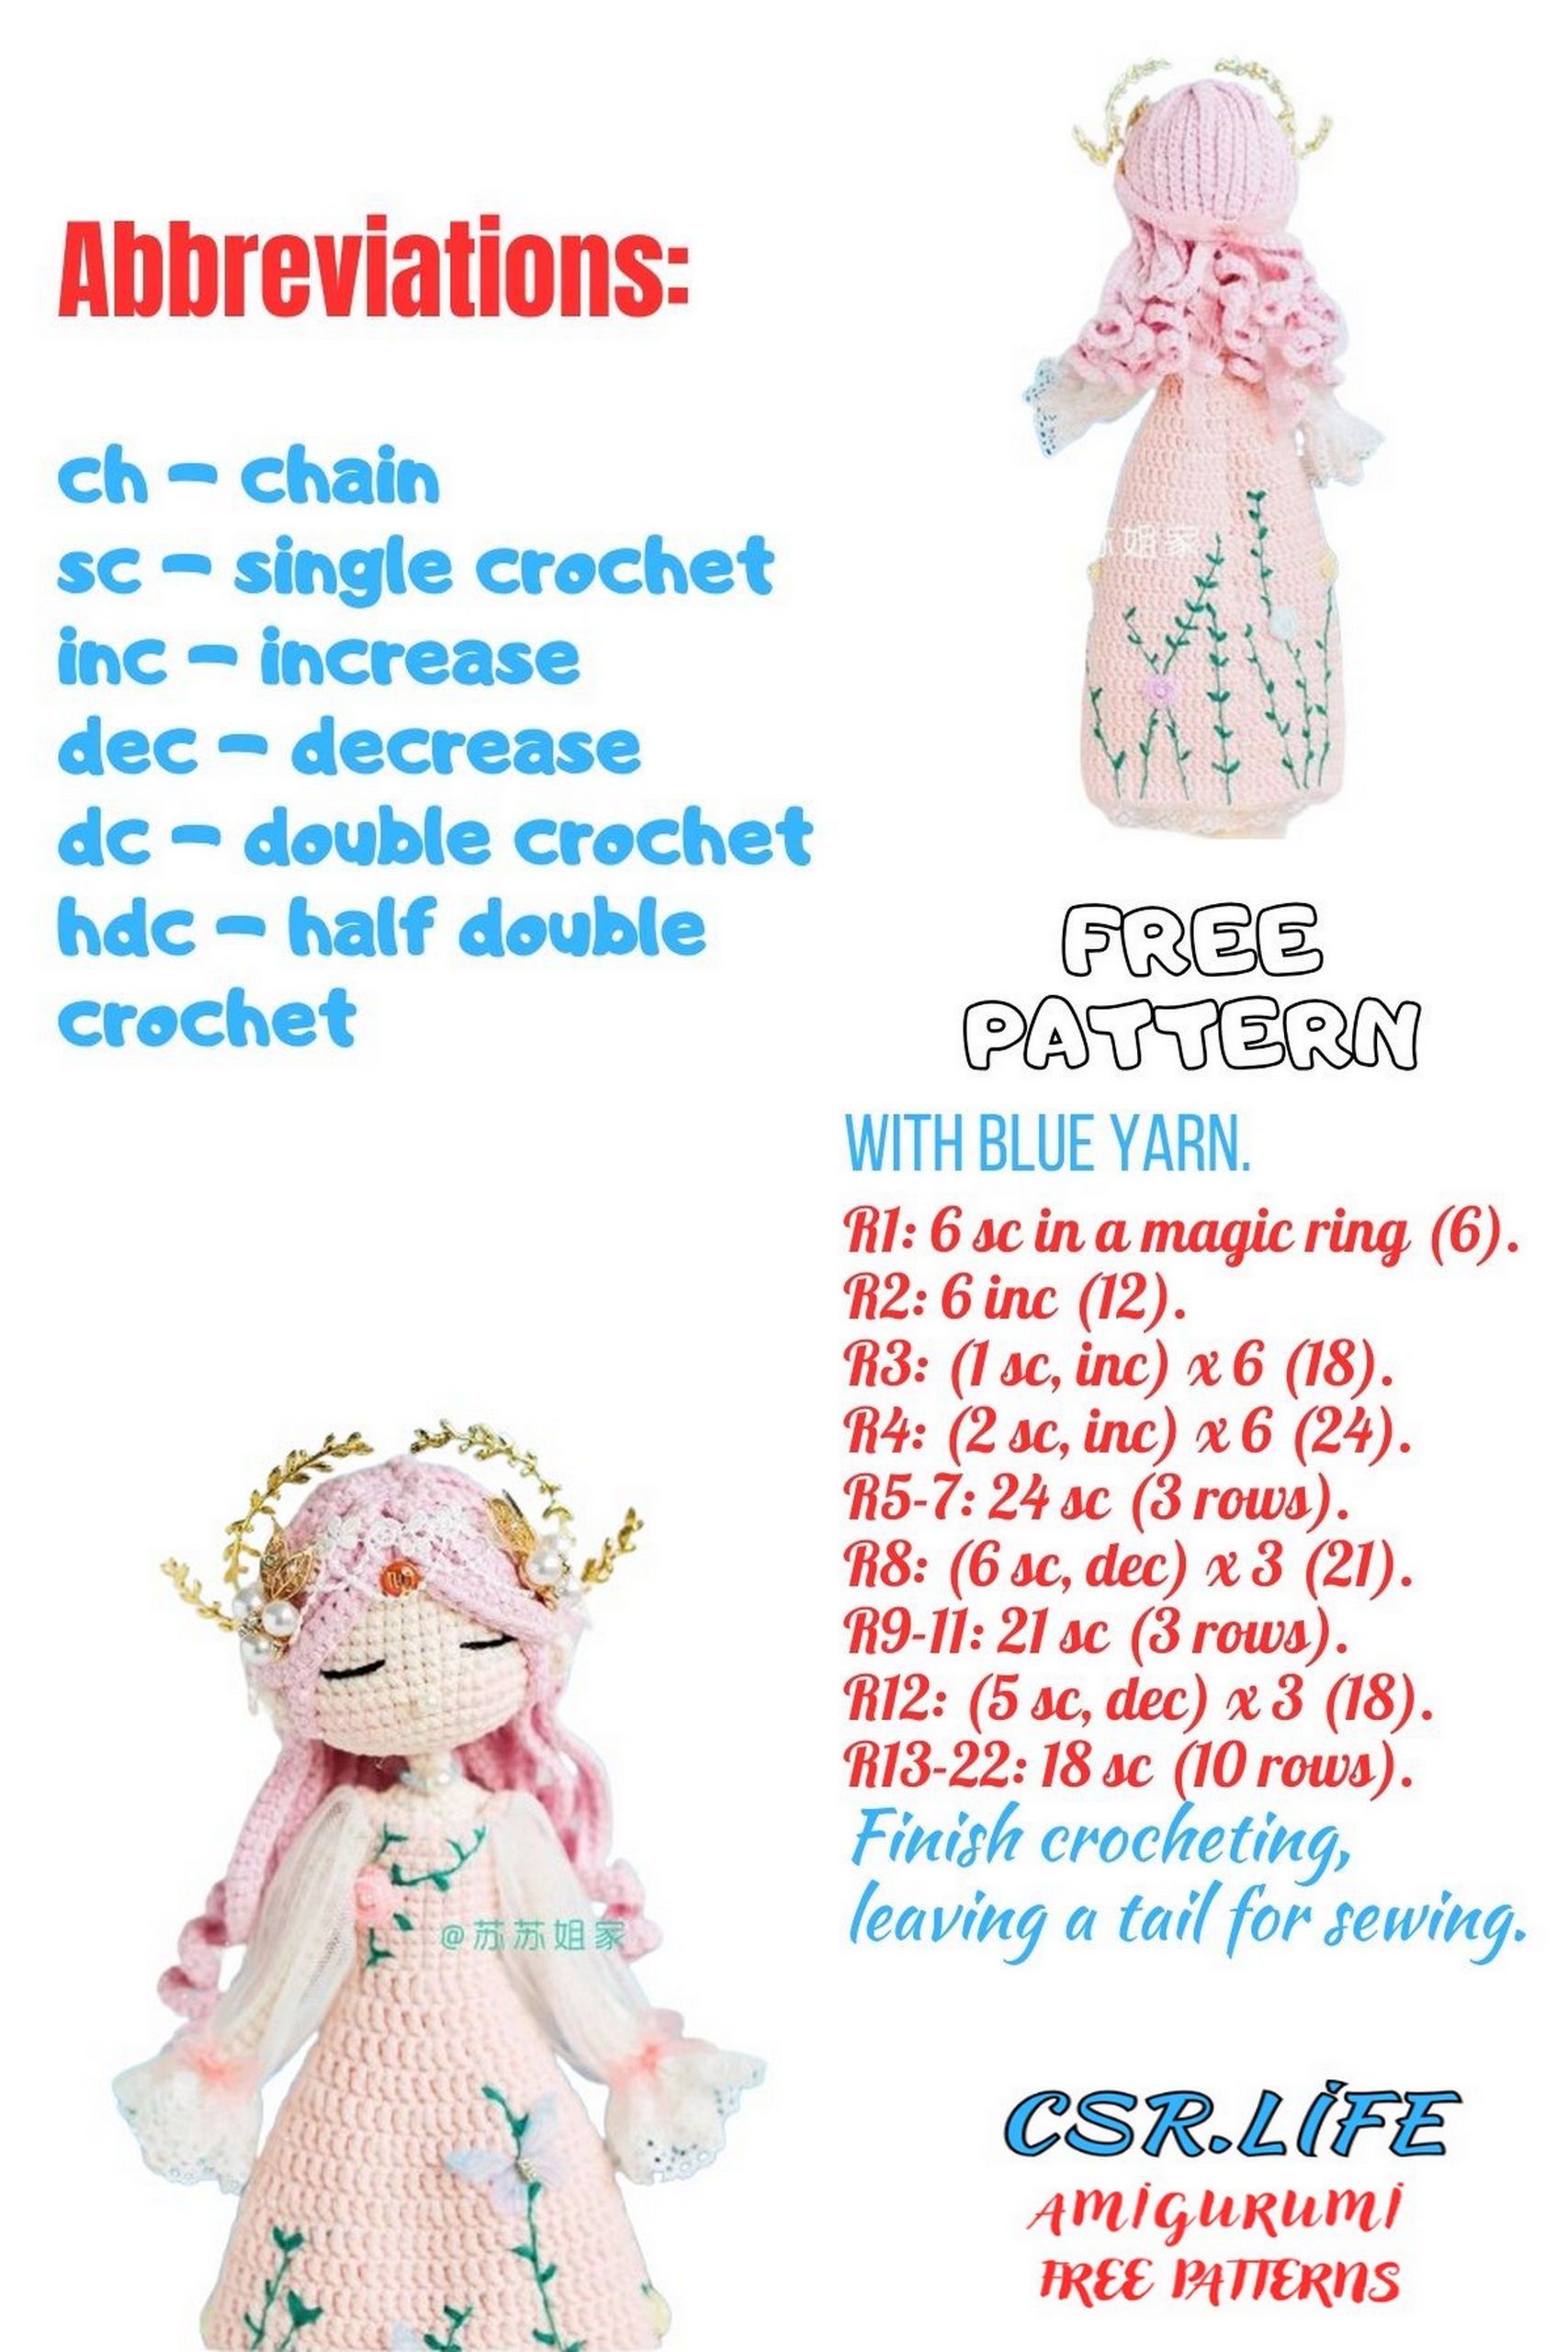
ABBREVIATIONS:
MR – Magic Ring in amigurumi
CH – Chain Stitch
SC – Single Crochet
INC – Increase
DEC – Decrease
HDC – Half Double Crochet
DC – Double Crochet
FPSC – Front Post Single Crochet
BPSC – Back Post Single Crochet
PATTERN
PART 1 Main Body (crochet in continuous rounds)
STEP 1. ARMS *2
R1. 6 sc in MR
R2. 5 sc, inc (7)
R3. 3 sc, 3 sc in one stitch, 3 sc (9)
R4. 9 sc
R5. 3 sc, 2 dec, 2 sc (7)
R6~23. 7 sc
Note: After completing each arm, leave about 15 cm of yarn.
STEP 2 LEGS, BODY
Crochet 2 legs in continuous rounds. After completion, insert a shaping wire and stuff. After completing, join them for the body. Then, attach the arms and insert shaping wire into them. Stuff as you crochet.
Legs *2
R1. 6 sc in MR
R2. sc, inc, 2 sc, inc, sc (8)
R3~4. 8 sc
R5. 2 inc, 6 sc (10)
R6. sc, 2 inc, 7 sc (12)
R7. sc, 2 dec, 7 sc (10)
R8. 2 dec, 6 sc (8)
R9. dec, 6 sc (7)
R10~11. 7 sc
R12. inc, 6 sc (8)
R13~14. 8 sc
R15. sc, inc, 6 sc (9)
R16~17. 9 sc
R18. 2 sc, inc, 6 sc (10)
R19. 3 sc, inc, 6 sc (11)
R20. 4 sc, inc, 6 sc (12)
R21~24. 12 sc
R25. 4 sc, dec, 6 sc (11)
R26. 3 sc, dec, 6 sc (10)
R27. 2 sc, dec, 2 sc, 4 inc (13)
R28. 5 sc, 4 dec (9)
R29. 2 sc, inc, 6 sc (10)
R30. 3 sc, inc, 6 sc (11)
R31. 4 sc, inc, 6 sc (12)
R32. 5 sc, inc, 6 sc (13)
R33. 6 sc, inc, 6 sc (14)
R34. 6 sc, inc, 7 sc (15)
R35. 7 sc, inc, 7 sc (16)
R36. 16 sc
R37. 7 sc, inc, 8 sc (17)
R38. 17 sc
R39. 8 sc, inc, 8 sc (18)
R40~42. 18 sc
Insert wire and stuff.
R43. Right leg 23 sc / Left leg 13 sc.
Leave about 15 cm of yarn on the left leg, do not cut the yarn on the right leg. Left and right legs are distinguished when the front of the body is facing you.

BODY.
R1. Join two legs with 2 CH, 18 sc, 2 inc, 18 sc, 2 inc (40)
R2-3. 40 sc
R4. (6 sc, dec) *5 (35)
R5. 35 sc
R6. (5 sc, dec) *5 (30)
R7. 30 sc
R8. (4 sc, dec) *5 (25)
R9. (3 sc, dec) *5 (20)
R10~18. 20 sc
R19. 5 sc, 1 sc with arm, 9 sc, 1 sc with arm, 4 sc (20)
R20. 8 sc, dec, 14 sc, dec, 6 sc (30)
Insert wire for shaping arms.
R21. (3 sc, dec) *6 (24)
R22. (2 sc, dec) *6 (18)
R23. (sc, dec) *6 (12)
R24. 6 dec (6)
R25~34. 6 sc
Note: Leave about 15 cm of yarn for closing.
STEP 3 HEAD.
R1. 6 sc in MR
R2. 6 inc (12)
R3. (sc, inc) *6 (18)
R4. (inc, 2 sc) *6 (24)
R5. (3 sc, inc) *6 (30)
R6. (2 sc, inc, 2 sc) *6 (36)
R7. (5 sc, inc) *6 (42)
R8~12. 42 sc
R13. 12 sc, (sc, inc) *3, 5 sc, (sc, inc) *3, 13 sc (48)
R14~16. 48 sc
R17. (2 sc, dec, 2 sc) *8 (40)
R18. (3 sc, dec) *8 (32)
R19. (dec, 2 sc) *8 (24)
R20. (sc, dec) *8 (16)
R21. 8 dec (8)
R22~24. 8 sc
Note: Leave about 5 cm of yarn.
PART 2 Accessories
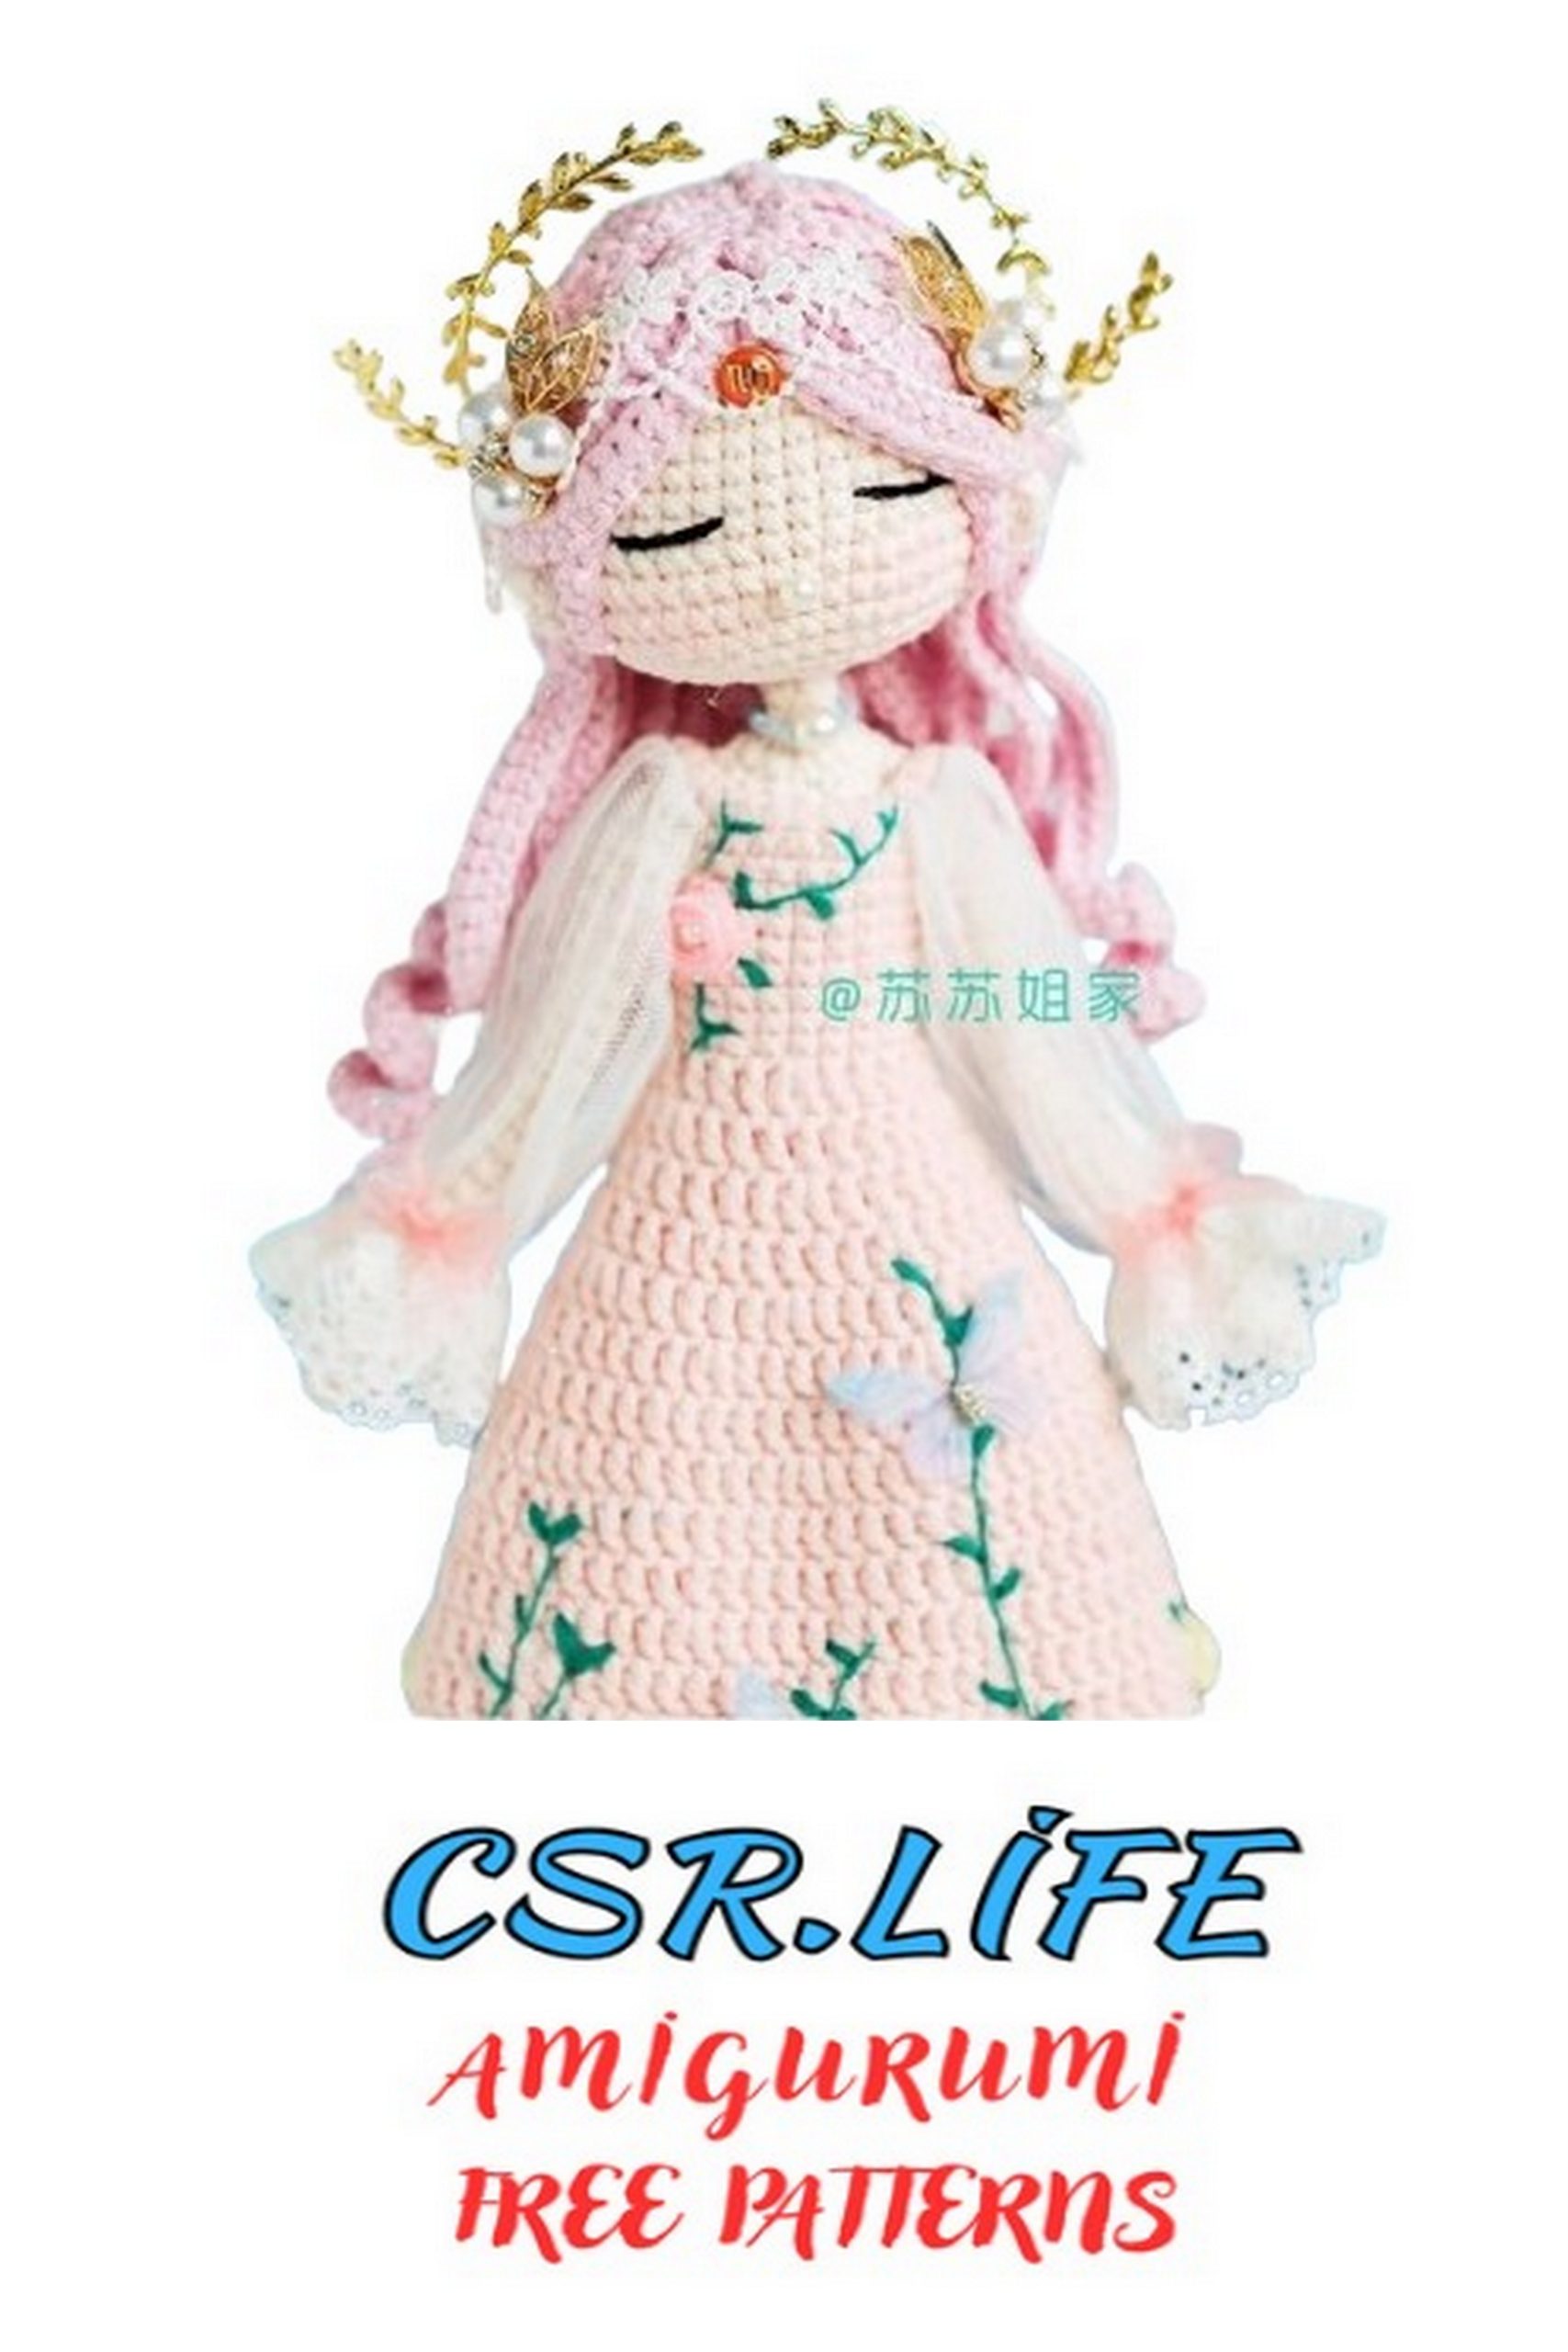
STEP 1 Facial Features
Embroider eyes and nose on the front of the head, apply blush, sew on ears, and finally, put on earrings.
EARS *2
R1. In MR: 1 CH, sc, 2 HDC, sc, SS
Note: Leave 15 cm of yarn.
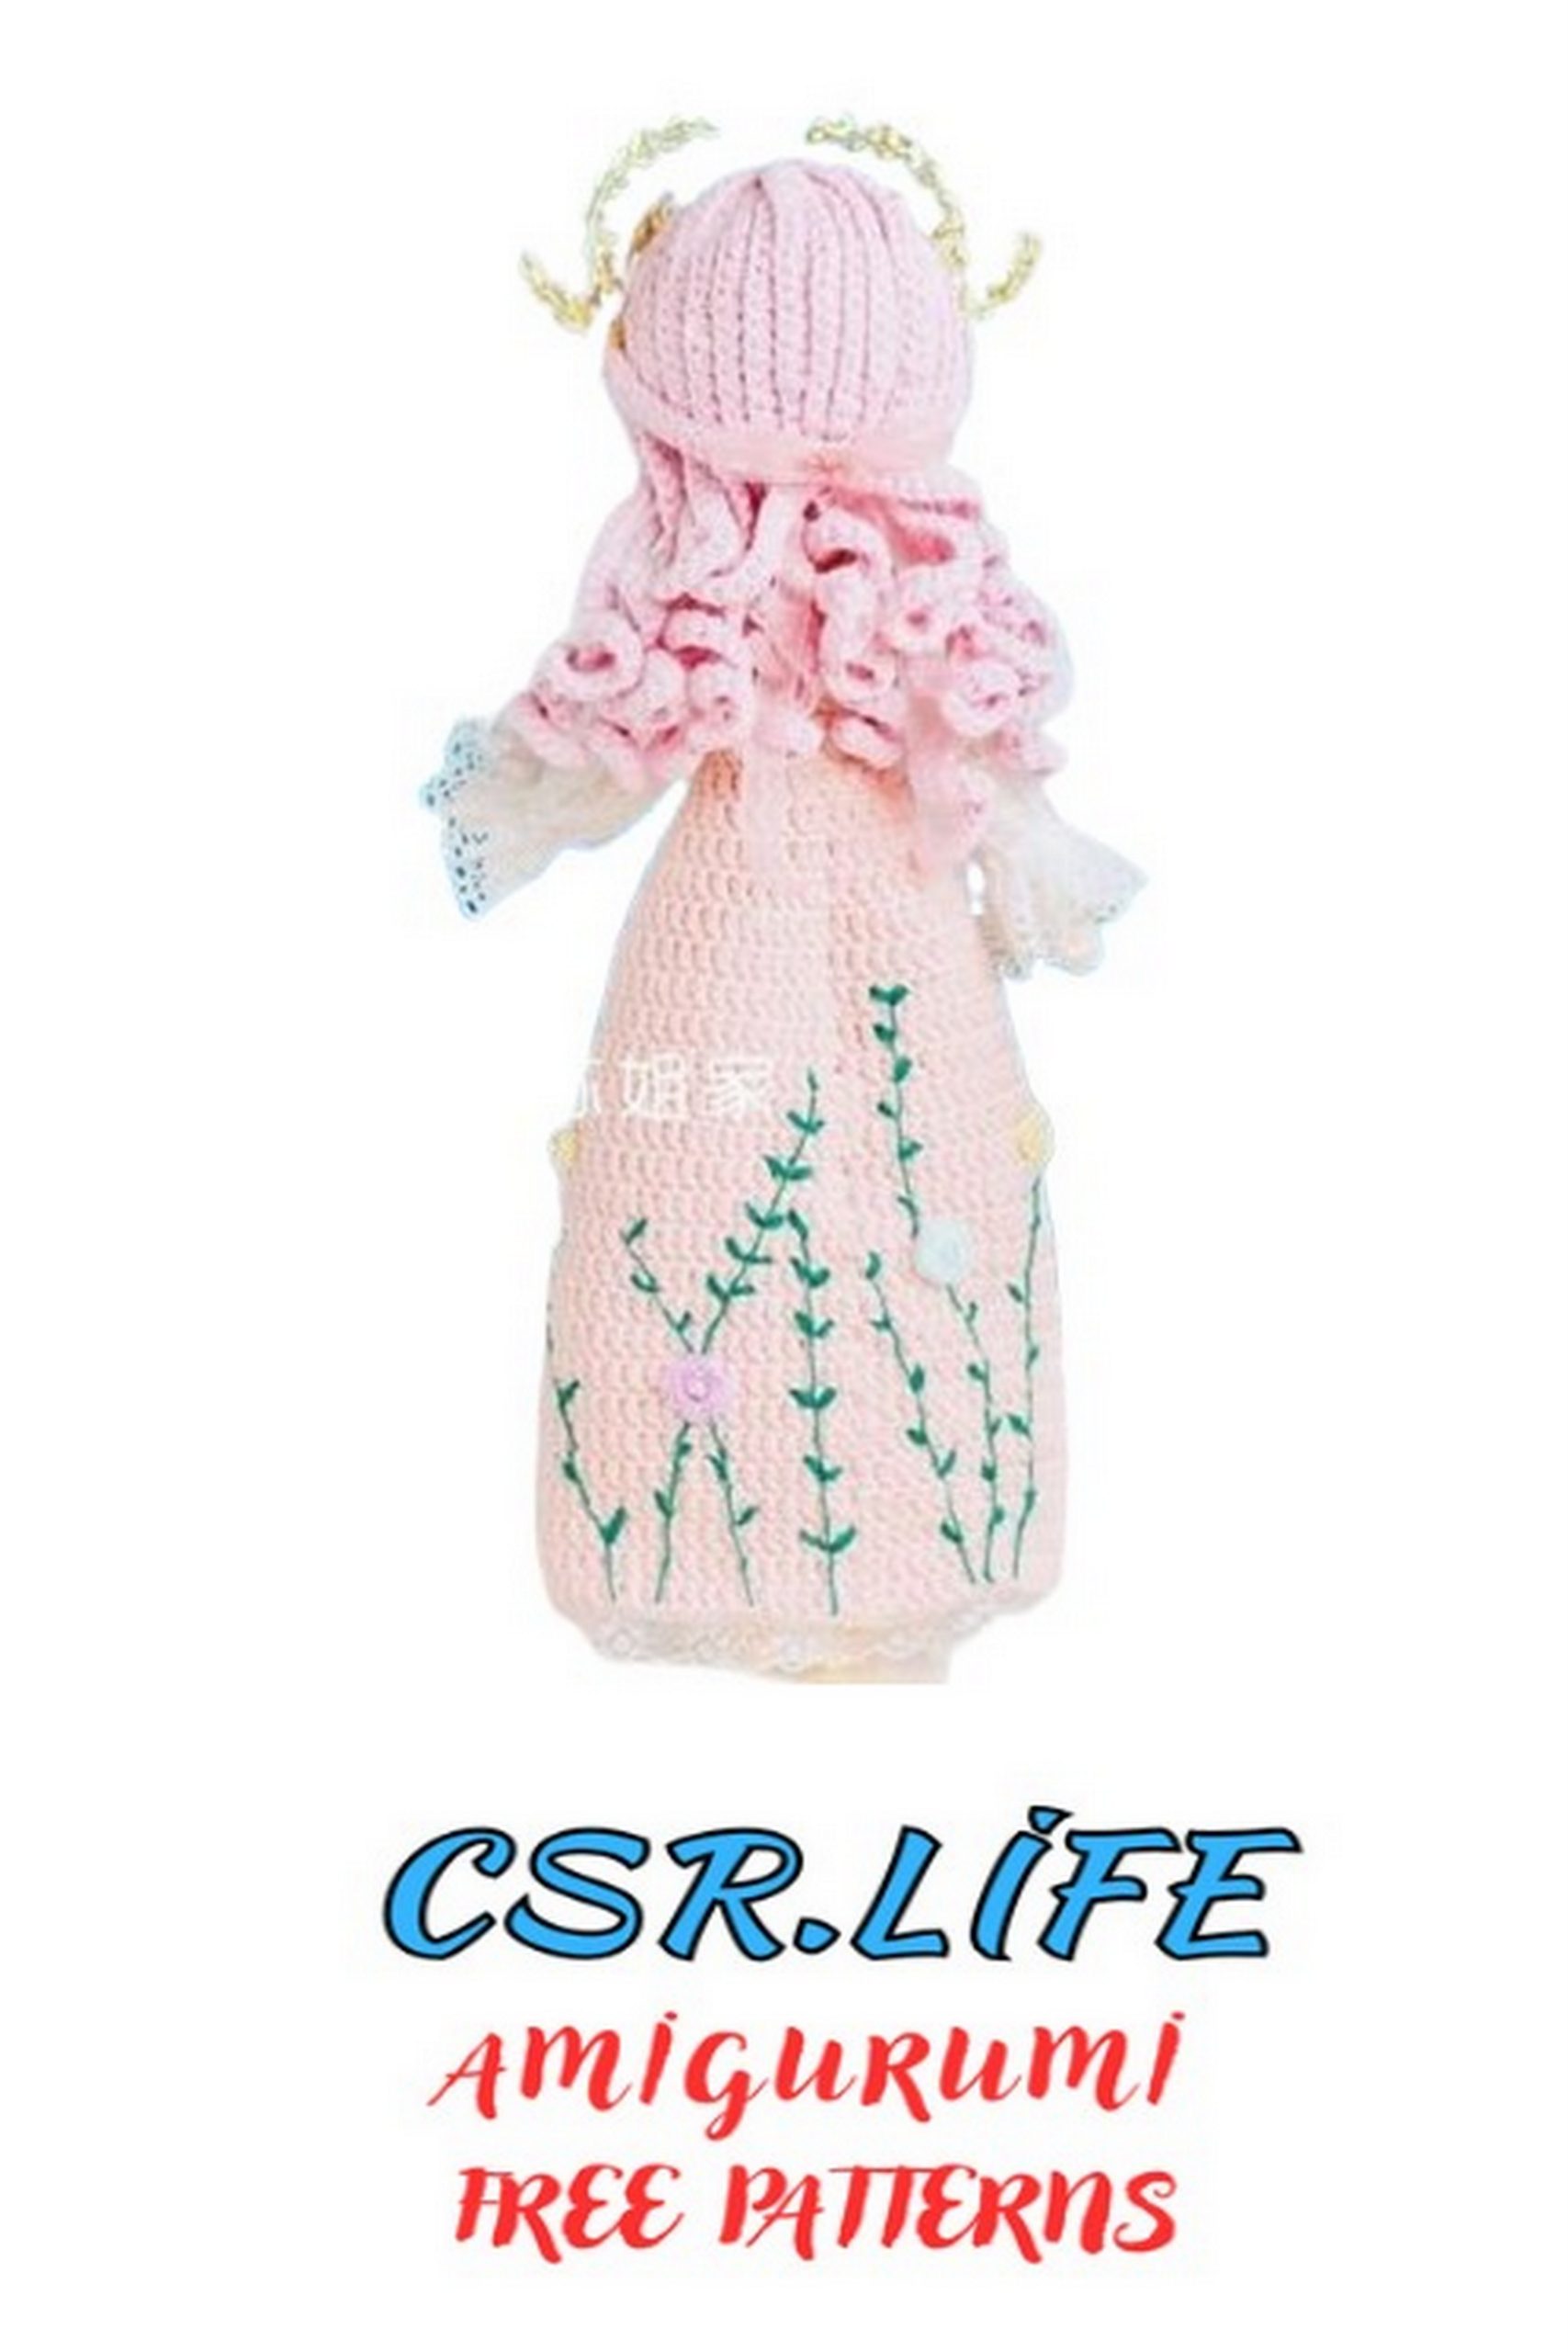
STEP 2 HAIR
Hair includes a base, curls, and hair accessories. First, crochet the base, then the curls, after completing, attach it to the head, and decorate with hair accessories.
BASE.
R1. 8 sc in MR
R2. FPSC: 8 inc (16)
Note: At the beginning of each row, chain 1, and at the end of the row, SS.
First row of curls.
1-14: 51 CH, starting from the 2nd loop from the hook, 5 SS, 30 sc, 7 HDC, 3 PHDC, 5 sc, SS
15-18: 14 CH, starting from the 2nd loop from the hook, SS, sc, 9 PHDC, 2 sc, SS
Second row of curls crochet behind the half loops of the 2nd row of the base.
1-6: 51 CH, starting from the 2nd loop from the hook, 5 SS, 30 sc, 7 HDC, 3 PHDC, 5 sc, SS
7-8: 18 CH, starting from the 2nd loop from the hook: 2 SS, 2 sc, 10 PHDC, 3 sc, SS
STEP 3 NECKLACE
Use the yarn used for the head, make a necklace, then put it on the body.
STEP 4. DRESS
Dresses are divided into skirts and sleeves. The skirt consists of fabric panels and decorative accessories.
The skirt detail is crocheted in the round, leaving holes for the sleeves during crocheting. After completion, attach decorative accessories, including lace, leaves, flowers, and butterflies. Then crochet the sleeves.
DRESS.
R1. 30 CH, join in a ring, 30 sc
R2. 4 sc, 2 CH, skip 7 stitches, 3 sc, inc, 4 sc, 2 CH, skip 7 stitches, 4 sc (21)
R3-10. 21 sc
R11. 3 CH, 5 FPSC, inc in FPSC, (6 FPSC, inc in FPSC) *2 (24)
R12. 3 CH, 3 FPSC, inc in FPSC, (7 FPSC, inc in FPSC) *2, 3 FPSC (27)
R13. 3 CH, 7 FPSC, inc in FPSC, (8 FPSC, inc in FPSC) *2 (30)
R14. 3 CH, 3 FPSC, inc in FPSC, (4 FPSC, inc in FPSC) *5 (36)
R15. 3 CH, 2 FPSC, inc in FPSC, (5 FPSC, inc in FPSC) *5, 2 FPSC (42)
R16. 3 CH, 5 FPSC, inc in FPSC, (6 FPSC, inc in FPSC) *5 (48)
R17. 3 CH, 47 FPSC (48)
R18. 3 CH, 6 FPSC, inc in FPSC, (7 FPSC, inc in FPSC) *5 (54)
R19-20. 3 CH, 53 FPSC (54)
R21. 3 CH, 7 FPSC, inc in FPSC, (8 FPSC, inc in FPSC) *5 (60)
R22-23. 3 CH, 59 FPSC (60)
R24. 3 CH, 8 FPSC, inc in FPSC, (9 FPSC, inc in FPSC) *5 (66)
R25-36. 3 CH, 65 FPSC (66)