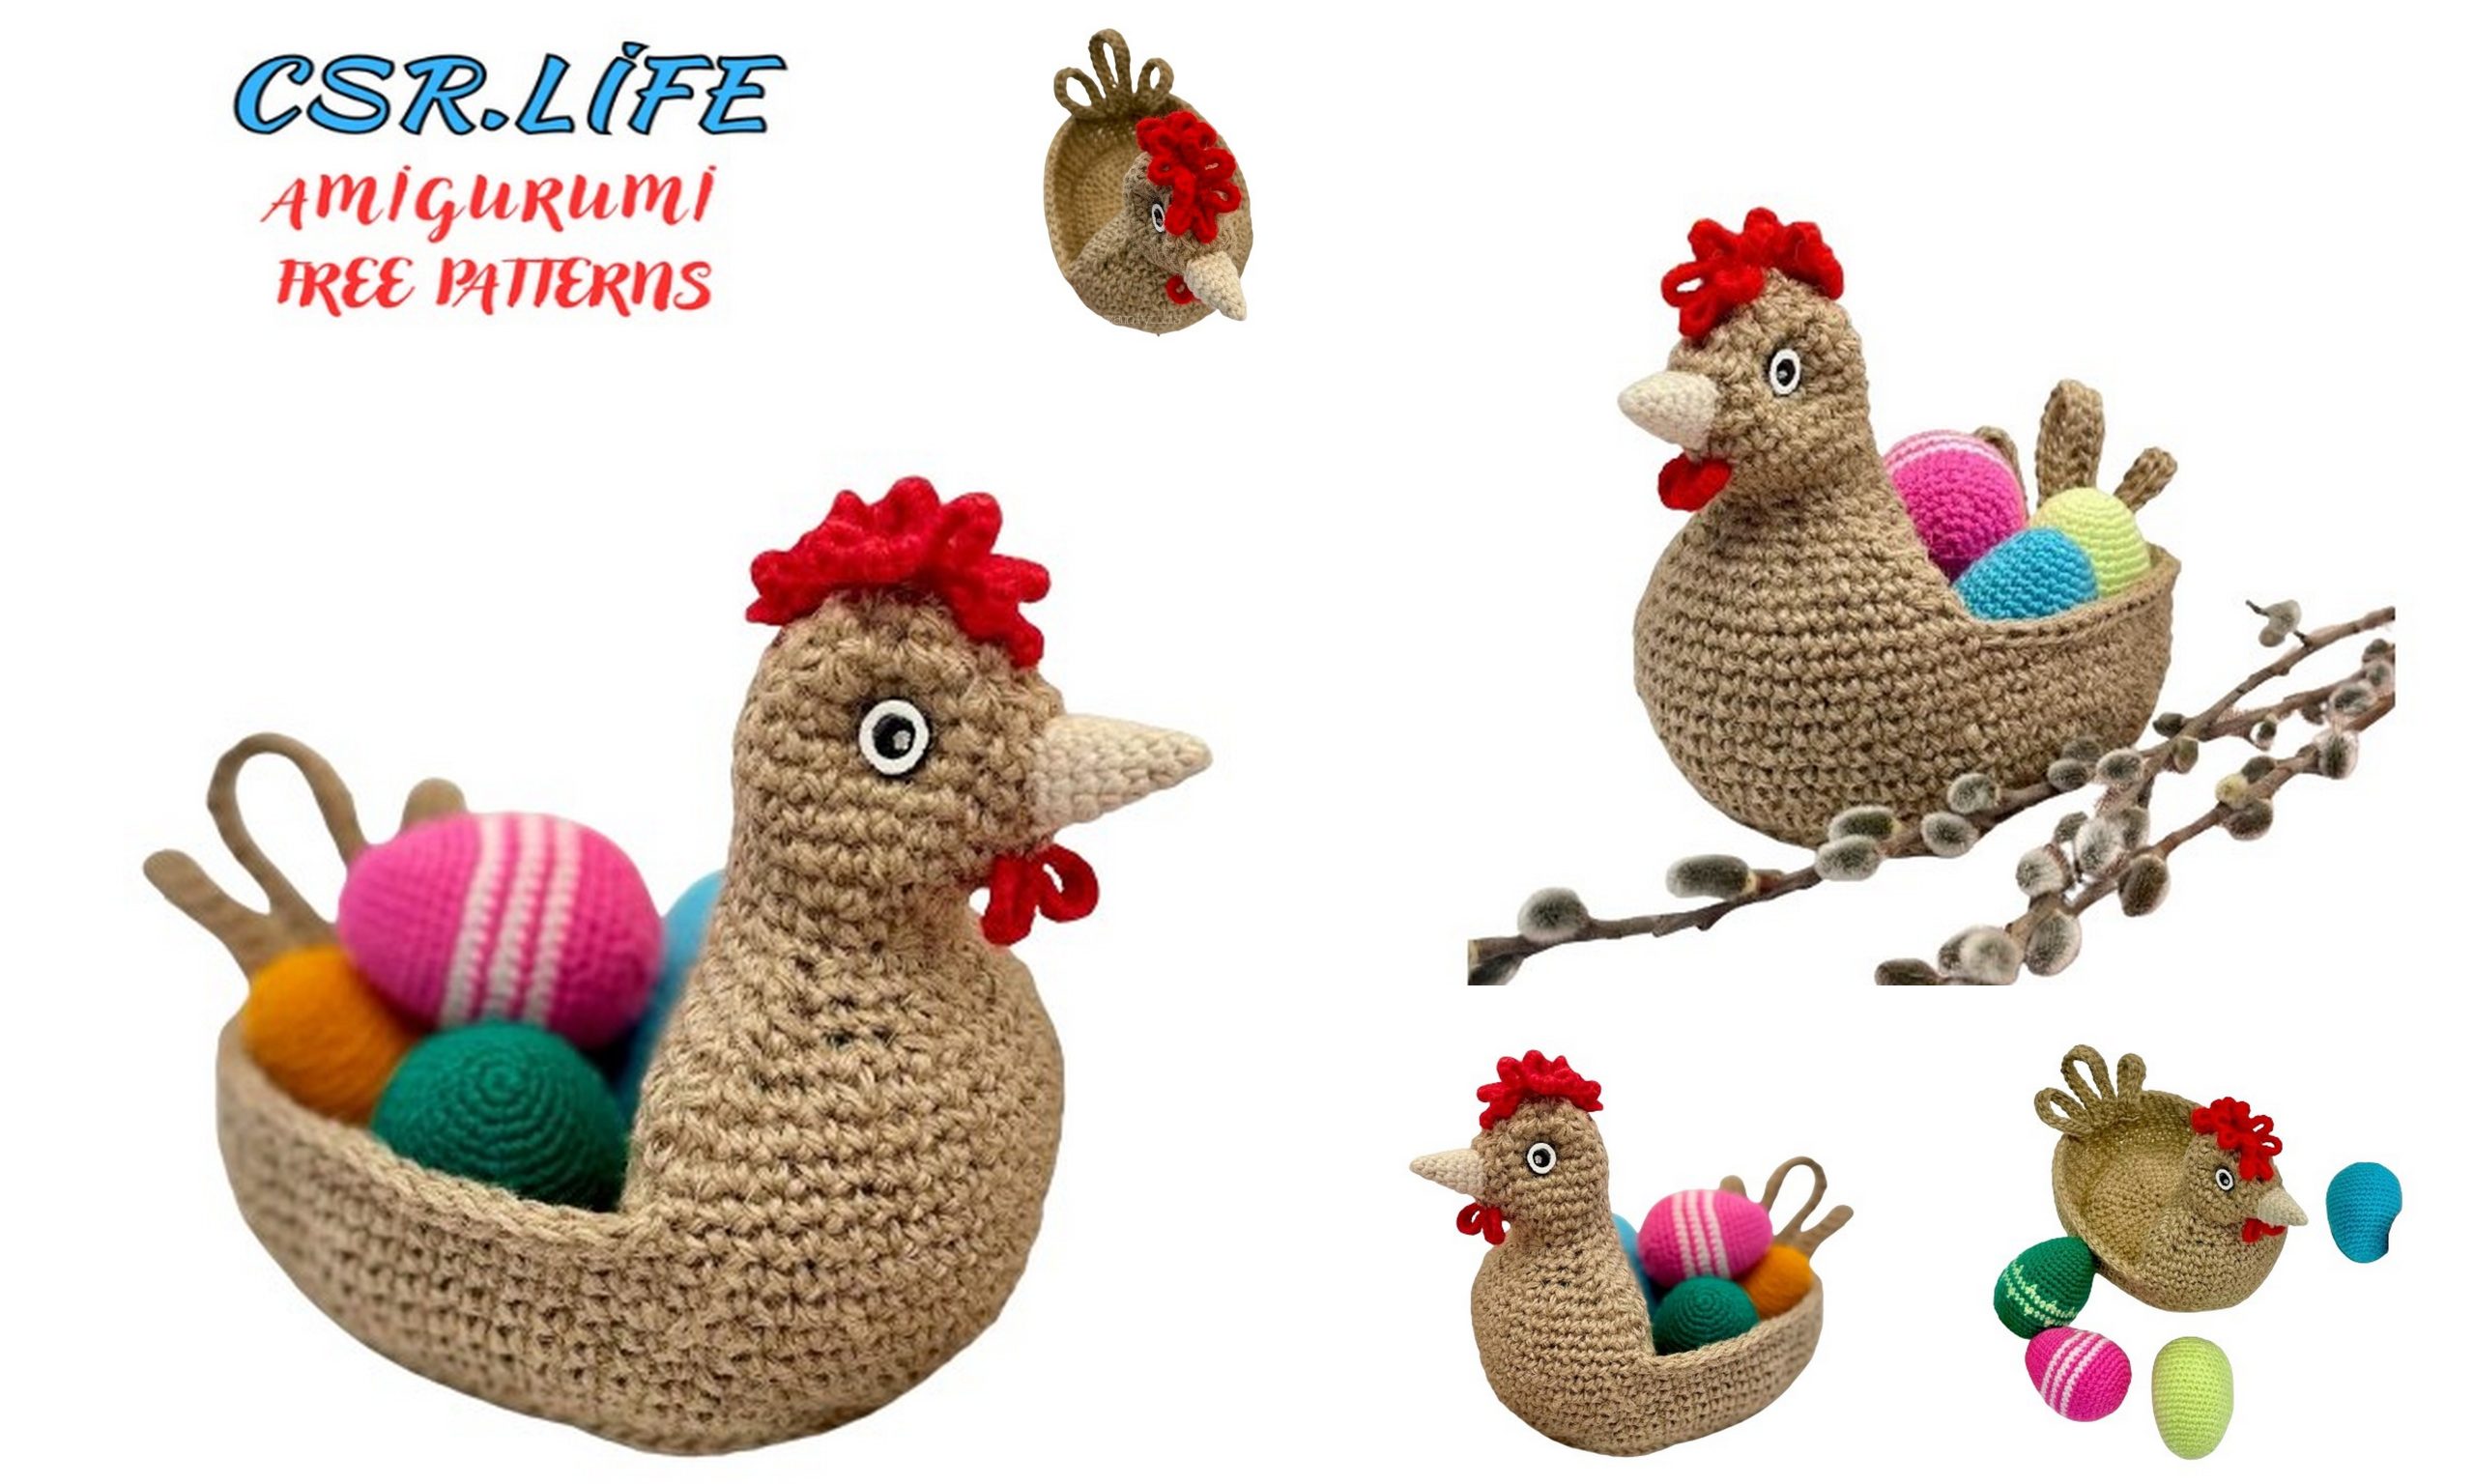
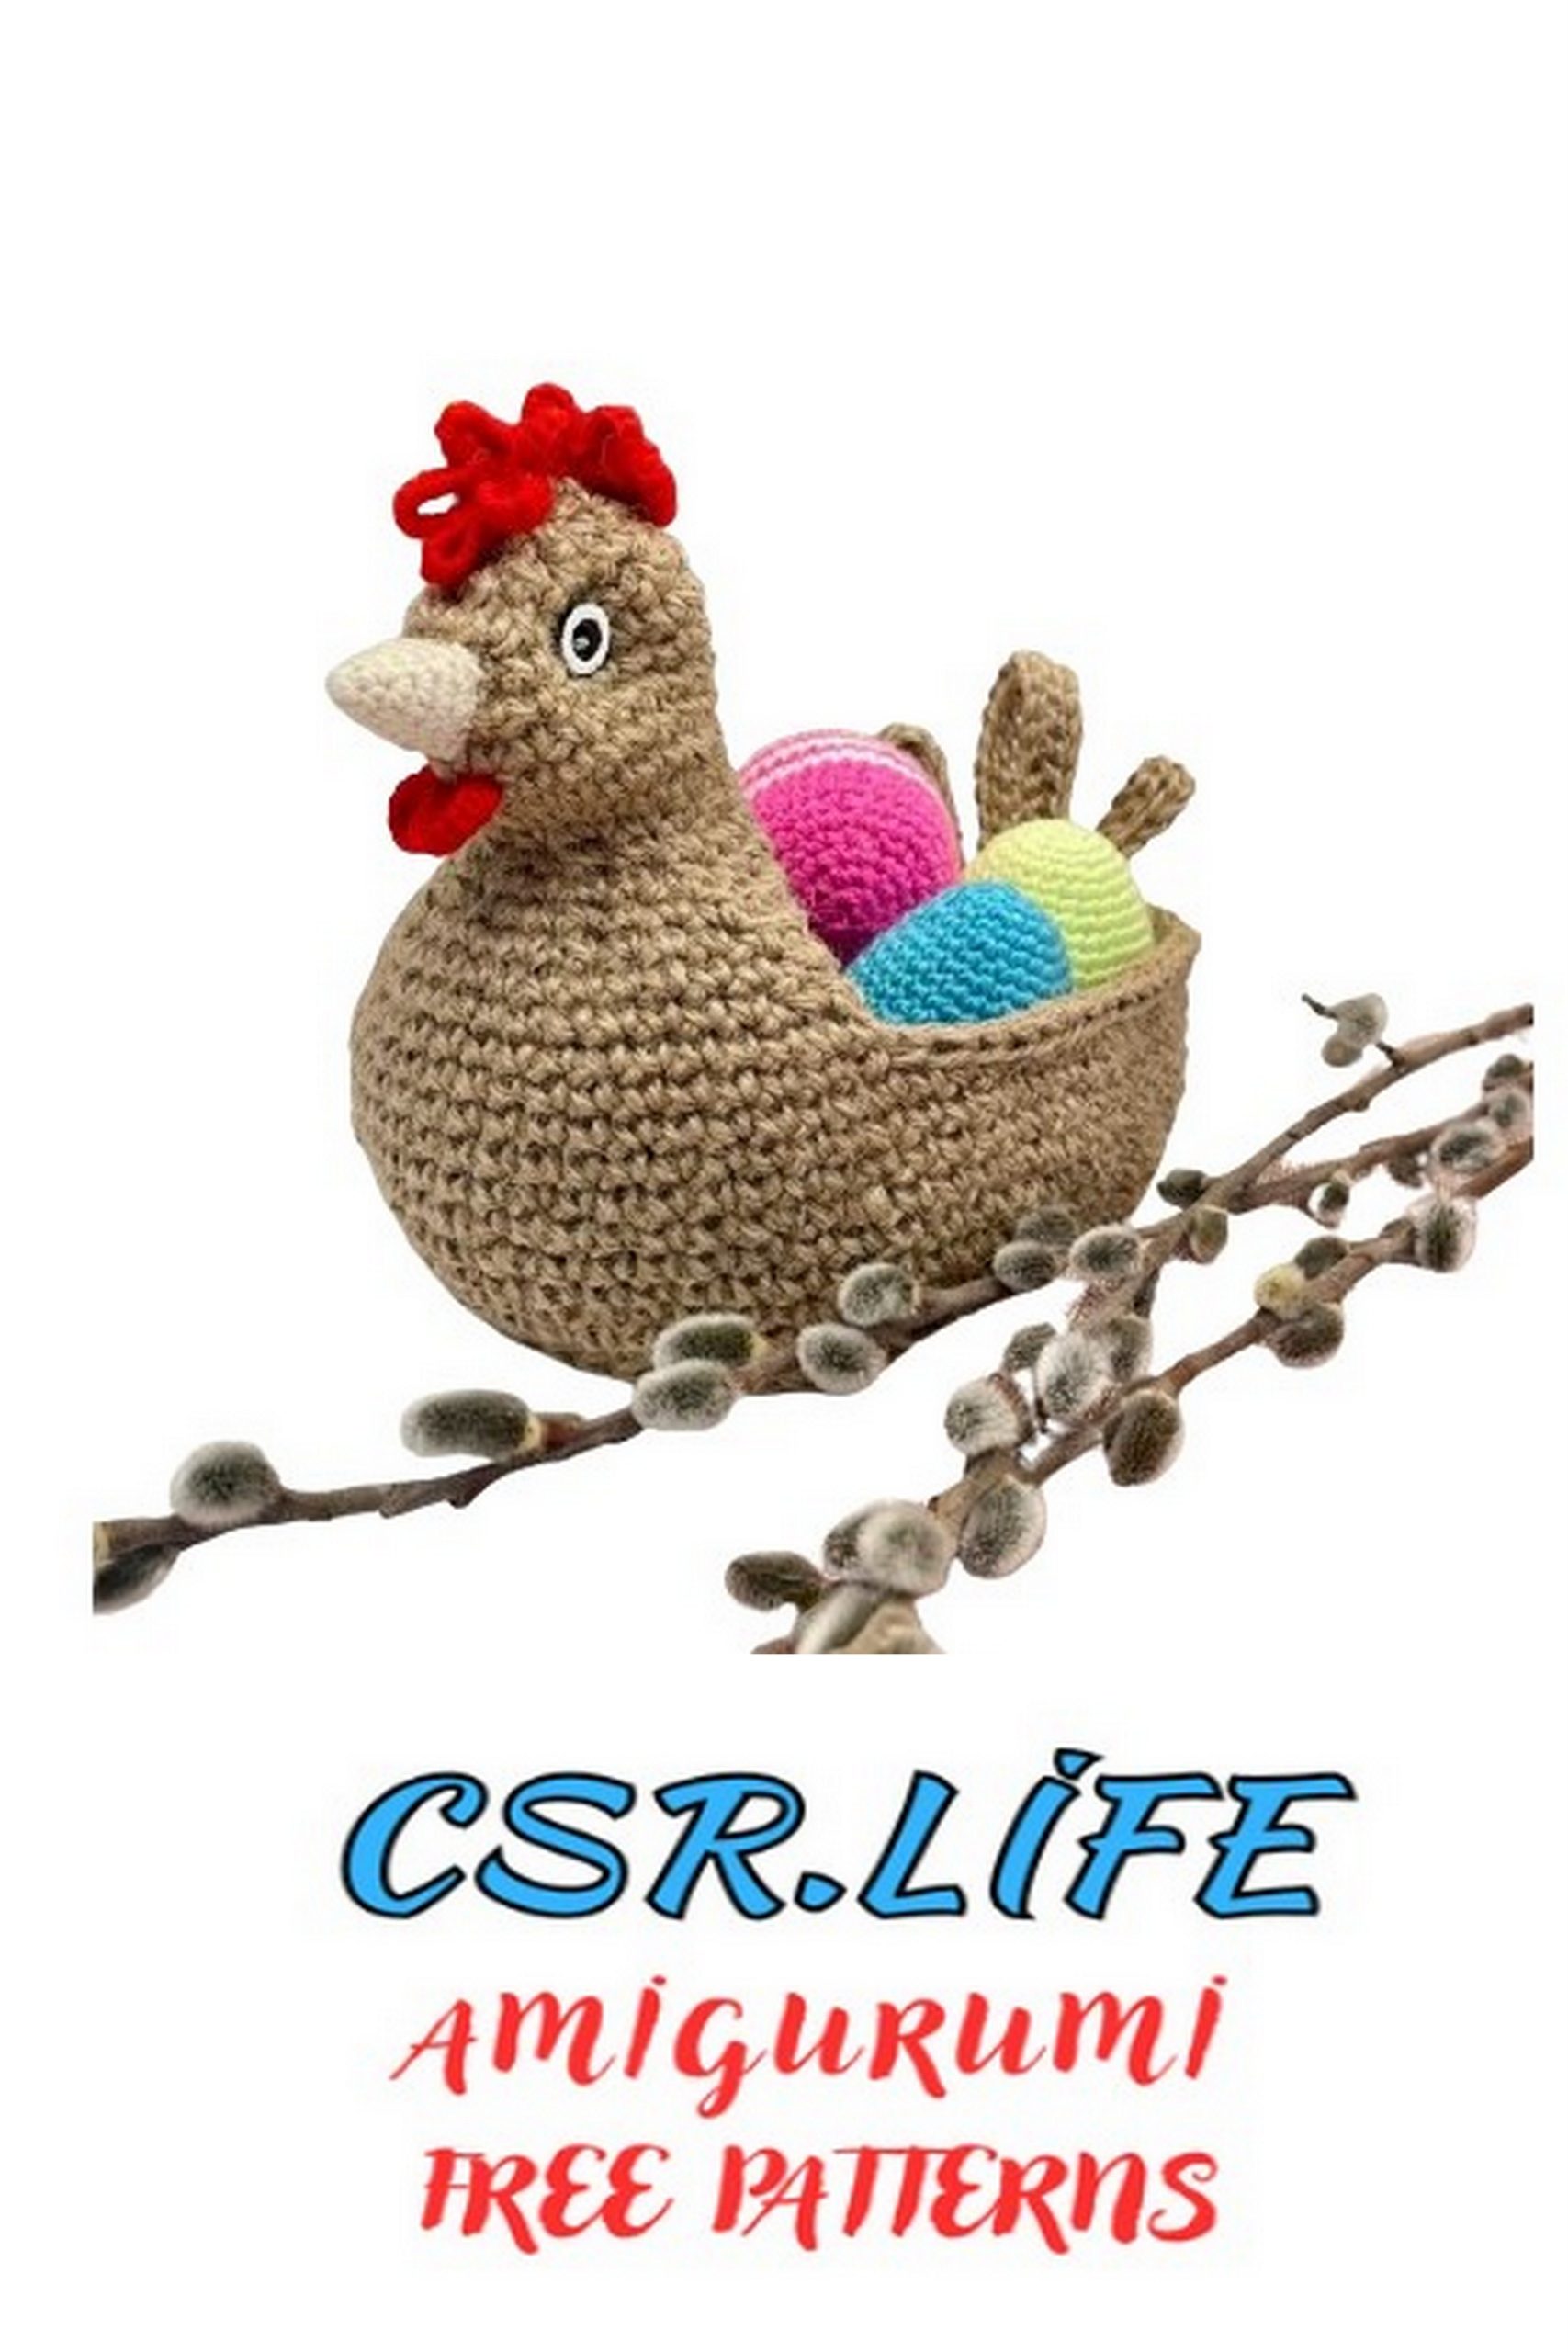
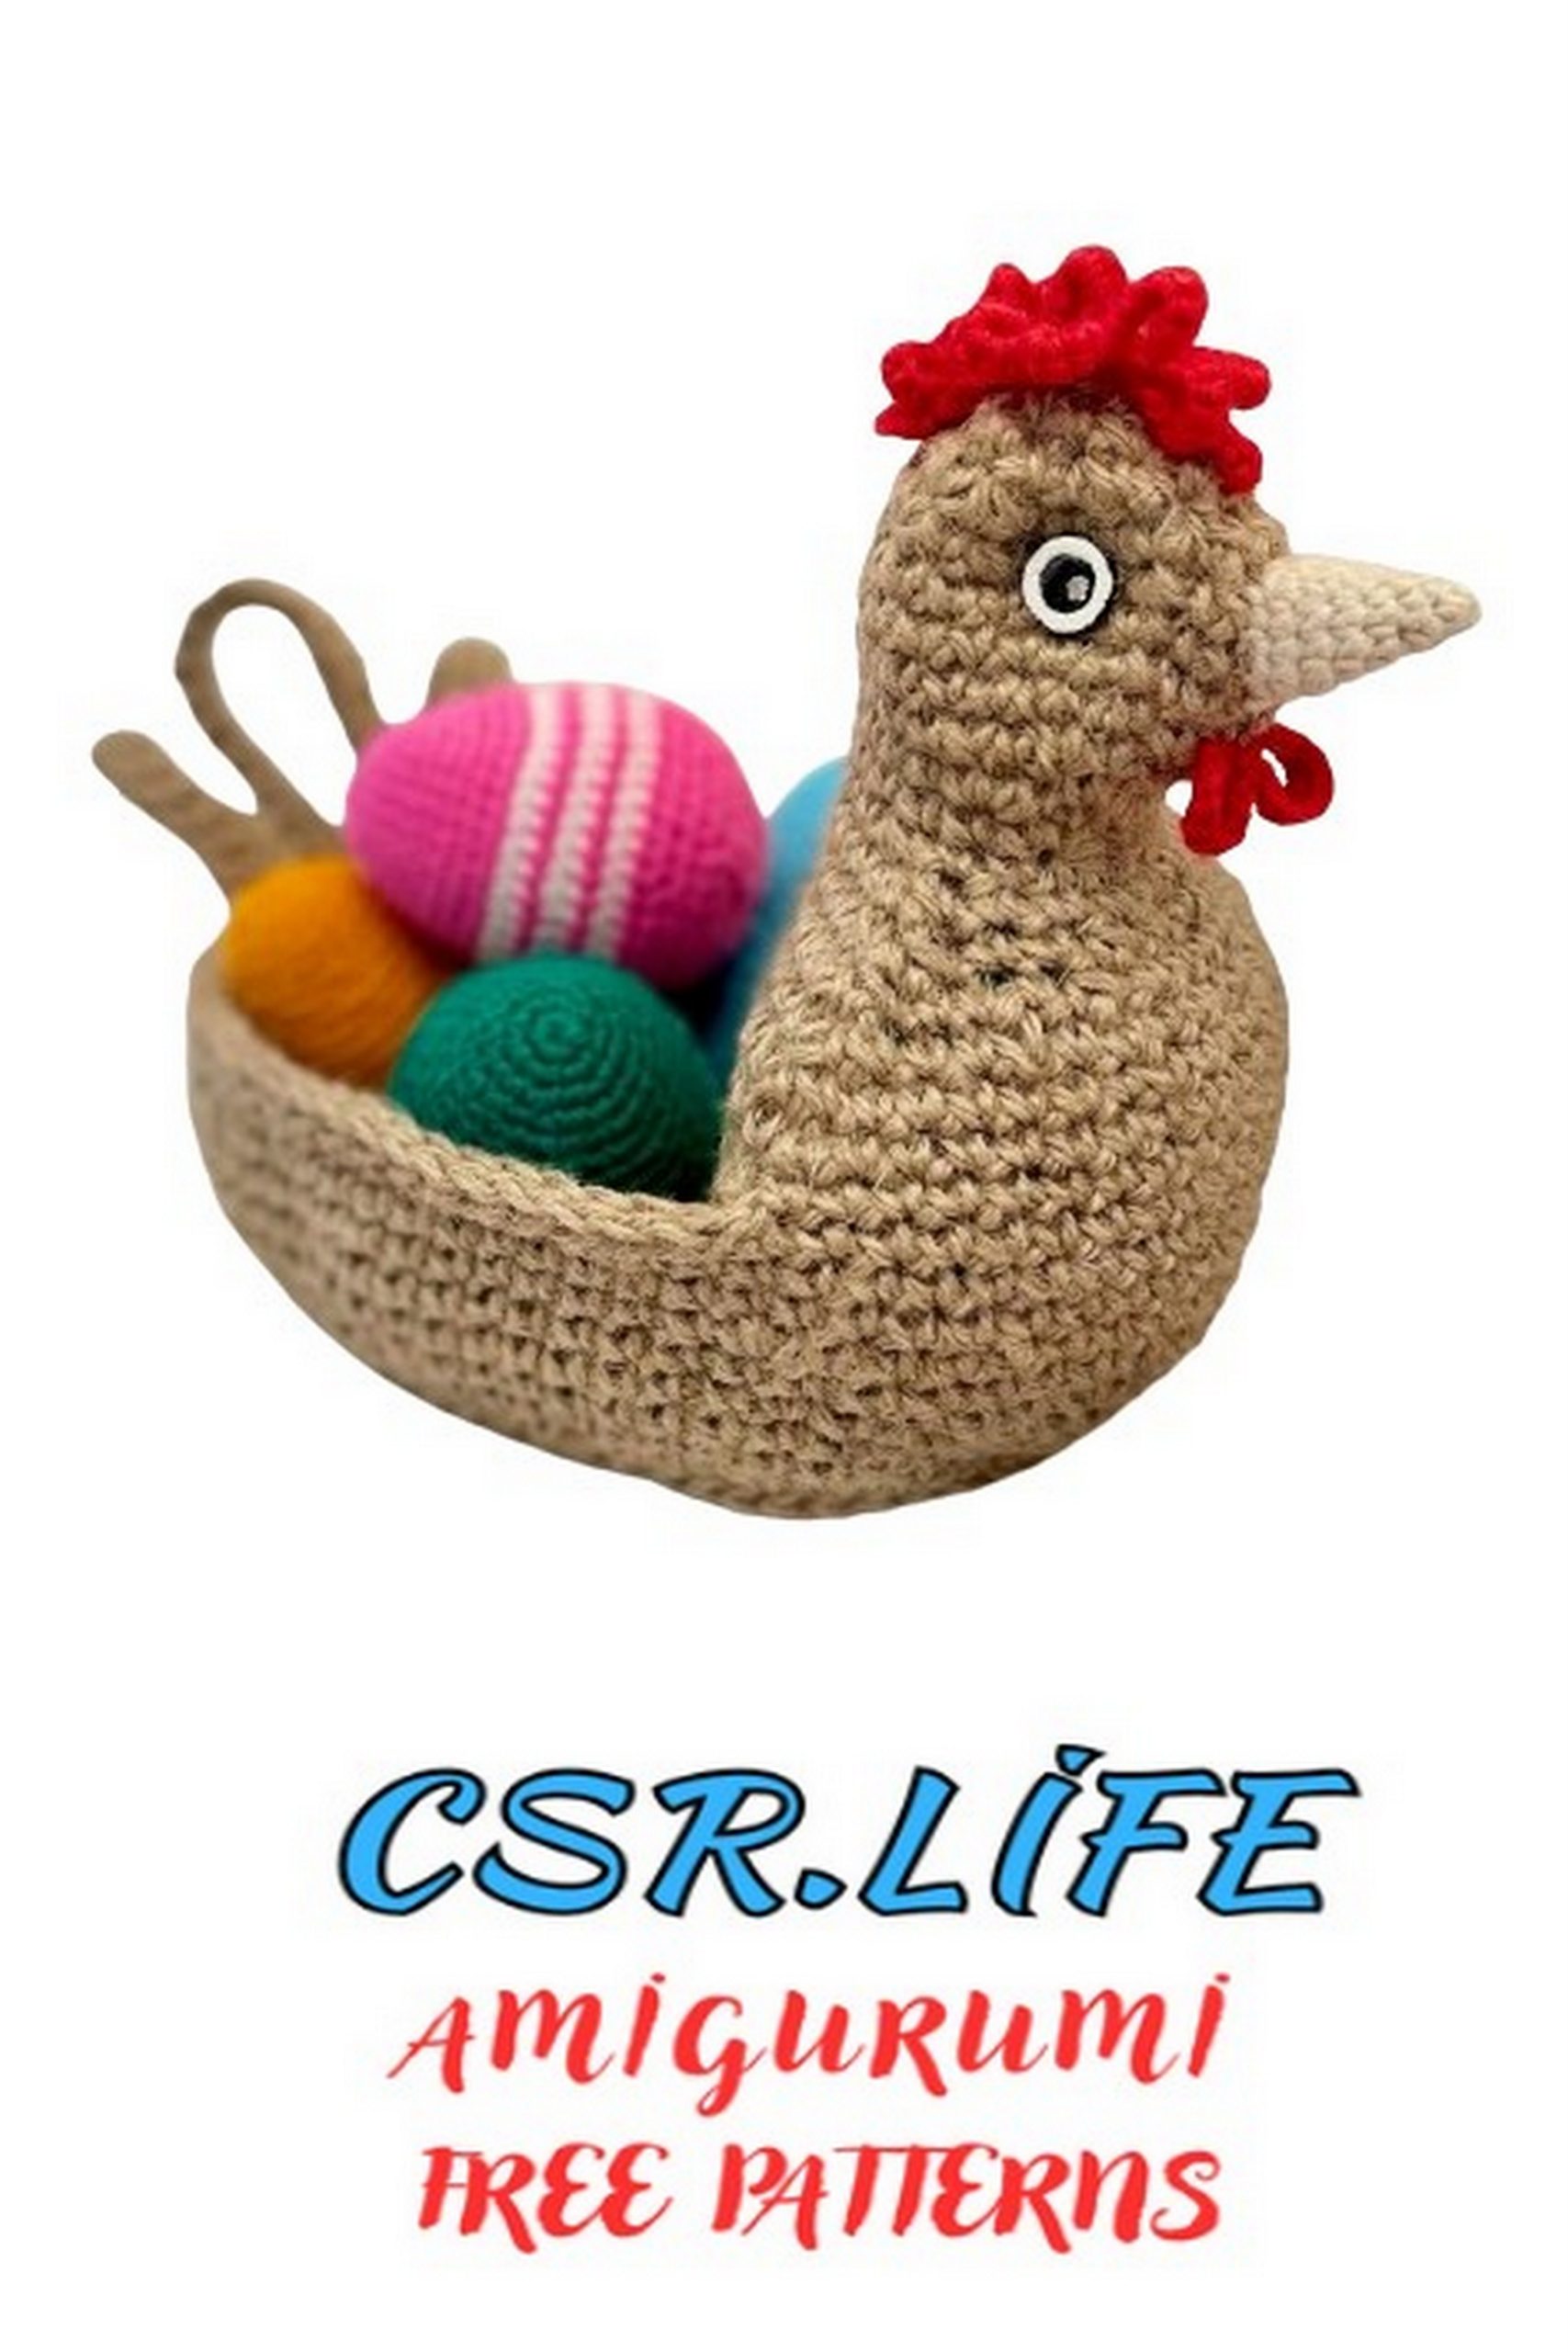
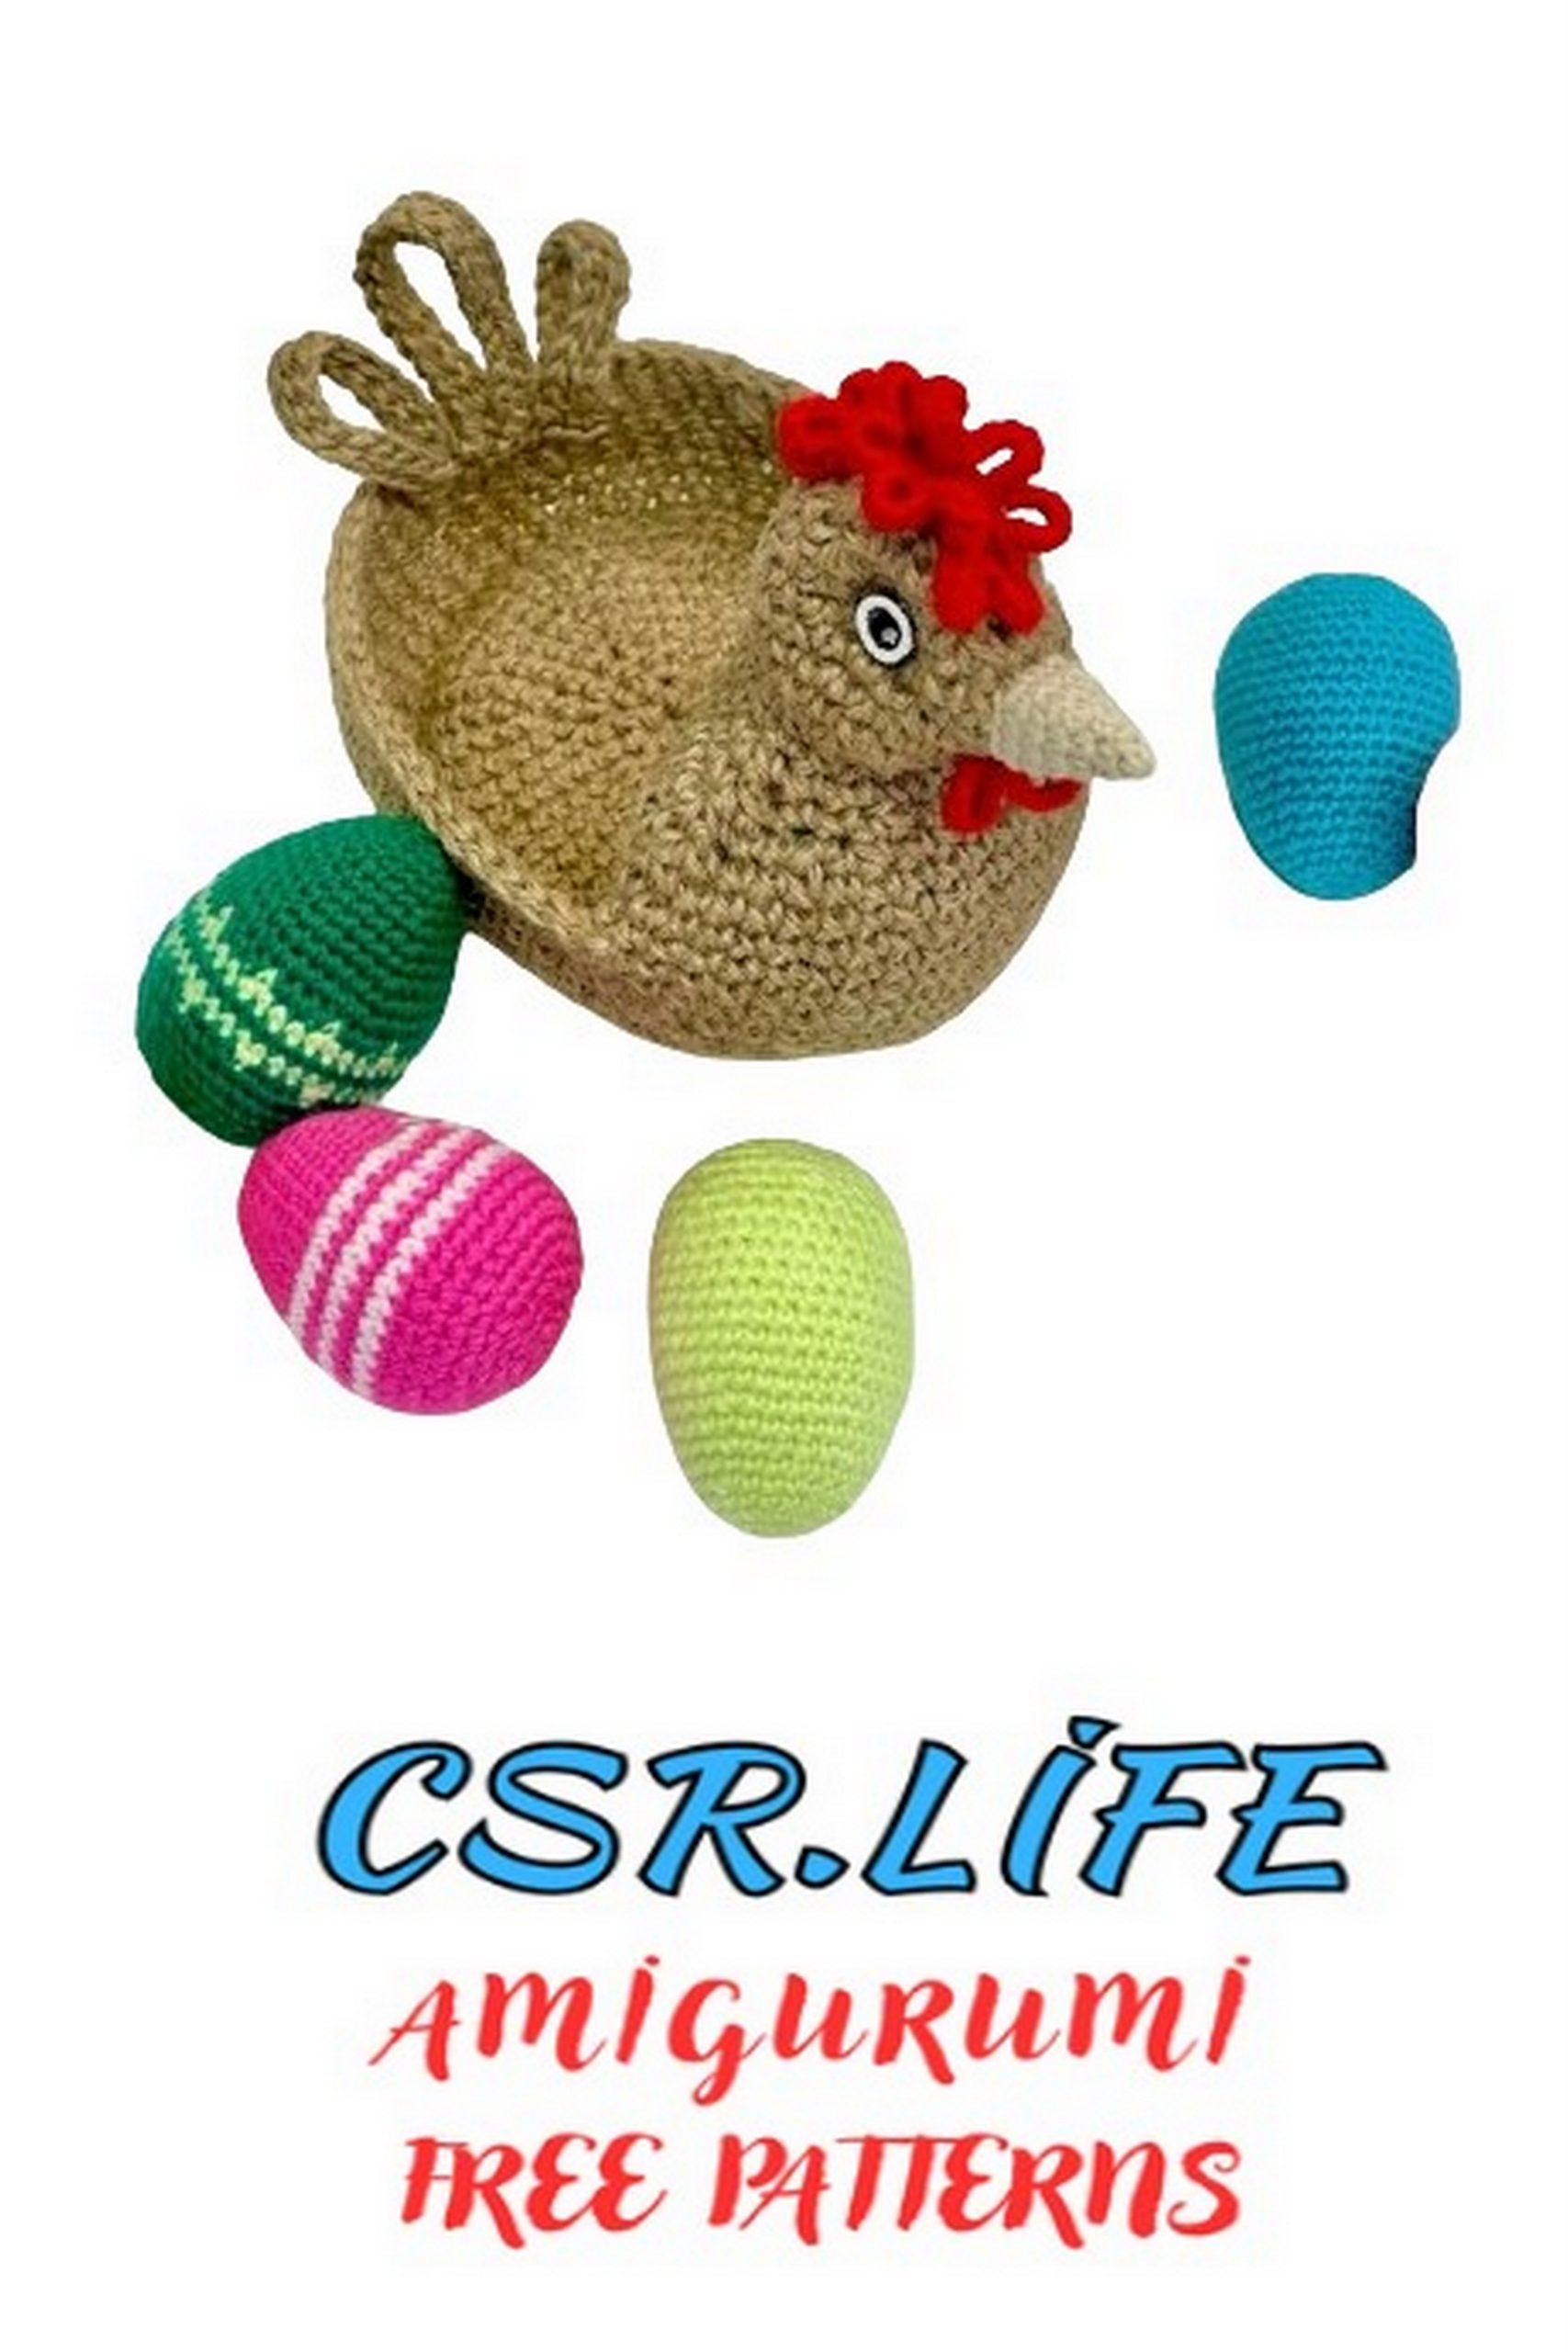
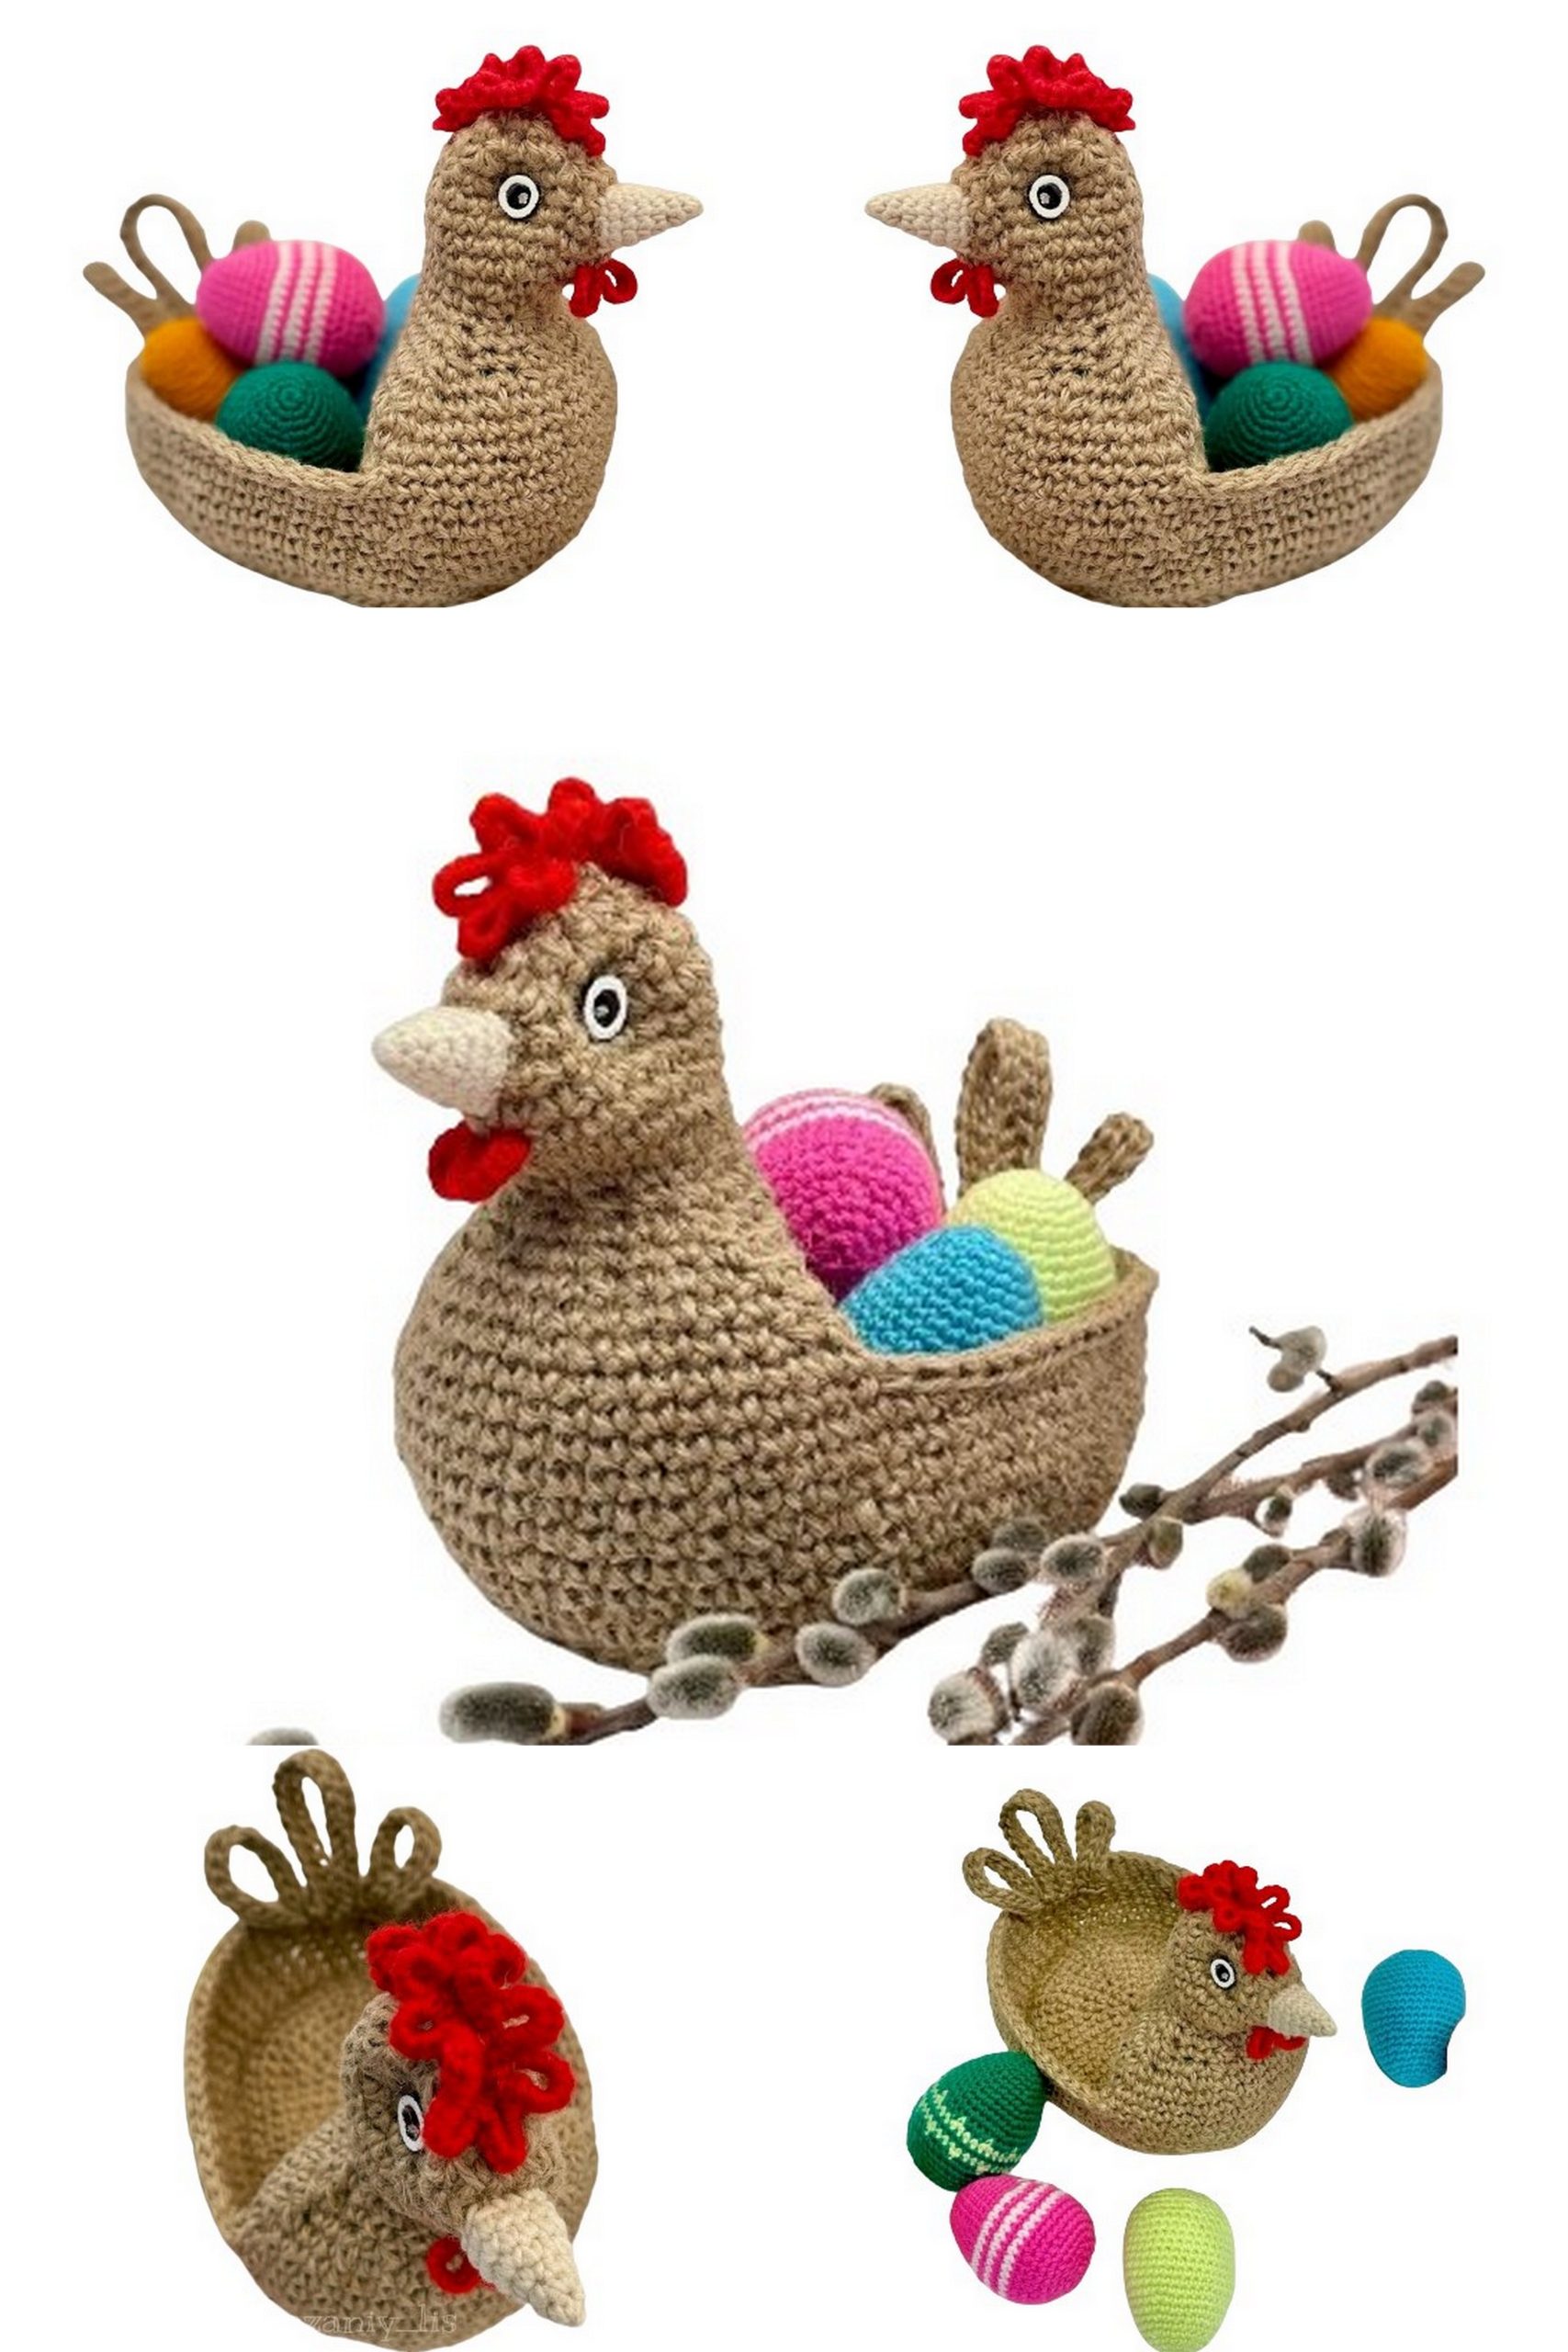
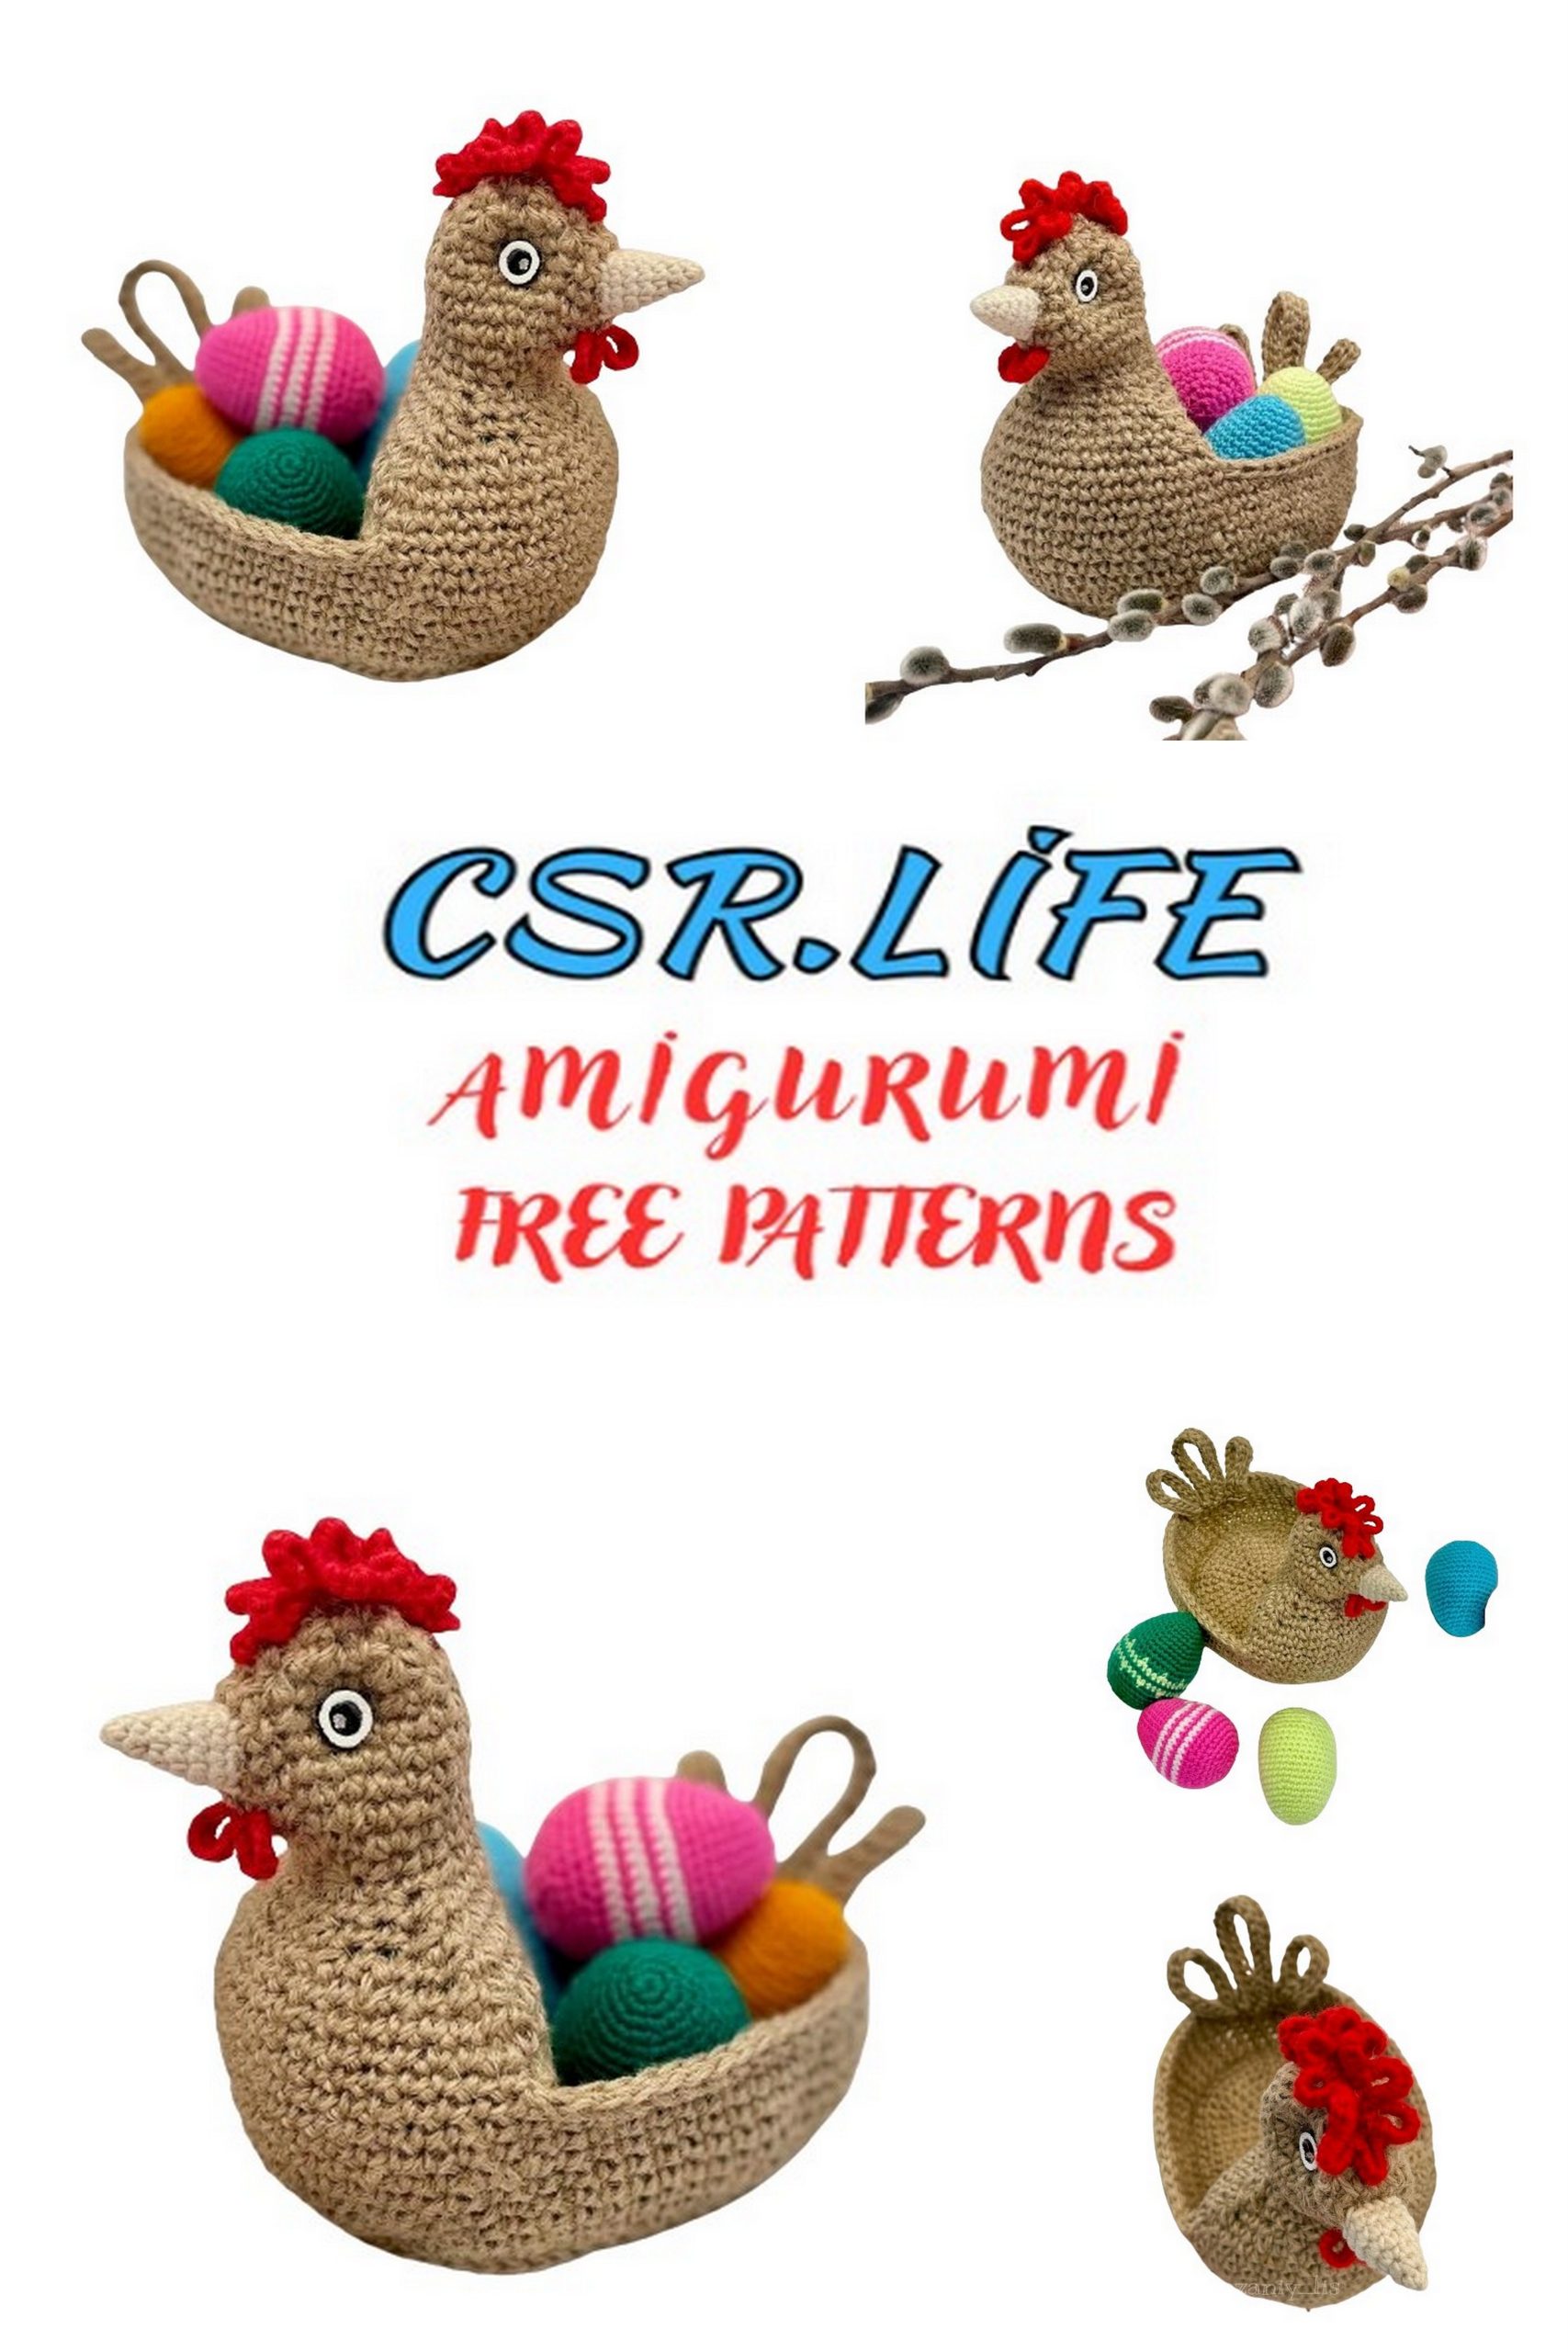
Adorable Easter Basket Chicken Amigurumi Free Pattern for Your Next Crochet Project
Get ready to add a touch of cuteness to your Easter festivities with our amigurumi free crochet pattern for an adorable Easter Basket Chicken Amigurumi! Whether you’re a seasoned crocheter or just starting out, this project is perfect for bringing a smile to your face and adding a homemade touch to your holiday décor. Follow along with our step-by-step instructions and create your very own fluffy chick to nestle into Easter baskets or adorn your home. Let’s hop into the joy of crafting this charming Easter delight!
Materials:
Jute 2 mm – approximately 220 m
Hooks 2 mm and 4.5 mm
Buttons 5-7 mm for eyes – 2 pieces
Any stuffing
Yarn for comb and beak (red and grey-beige, for example YarnArt half-cotton) – a very small amount
Scissors, yarn needle
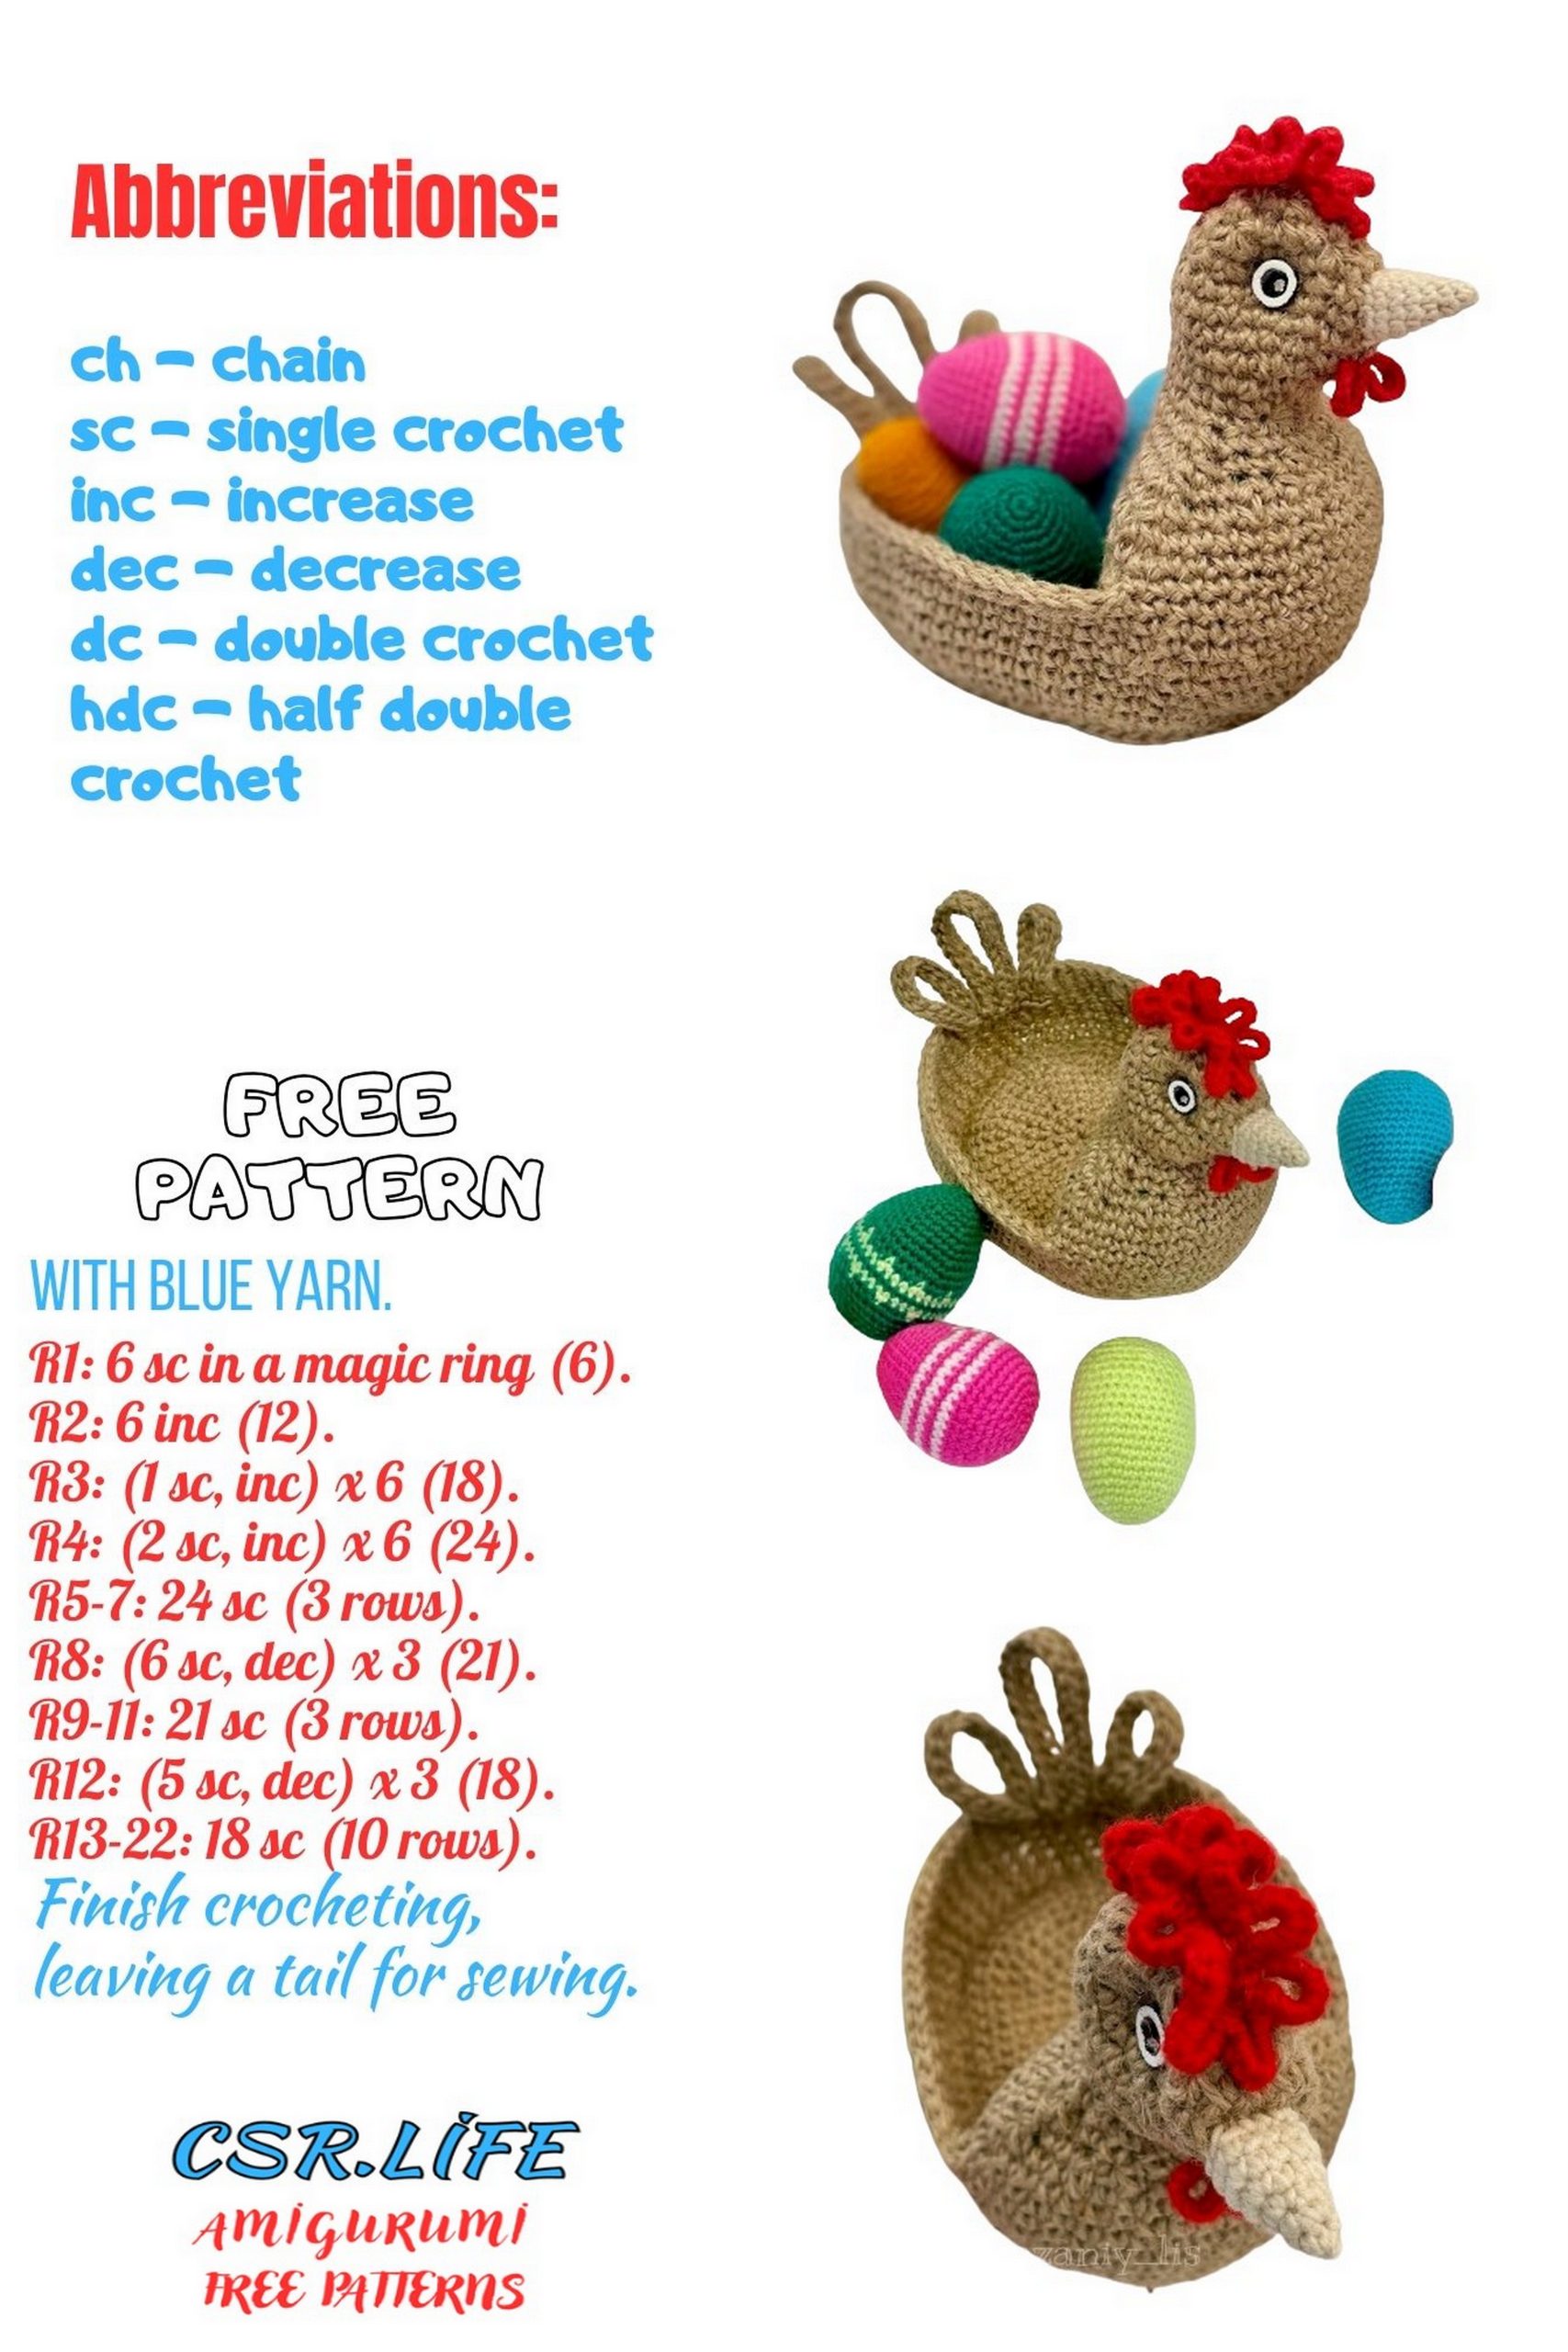
Abbreviations:
MC – magic circle
sc – single crochet
ch – chain
inc – increase (work 2 sc in one stitch)
dec – decrease (work 2 stitches together)
sl st – slip stitch
PATTERN
PLANK
First, let’s crochet a rectangular plank piece (turning rows). It will be sewn into the finished basket and serve as the back of the Hen’s neck.
1: Ch 16
2-10: Ch 1 (turning chain), 16 sc, starting from the second stitch from the hook.
Fasten off, leaving a long tail for sewing.
BASKET
We start by crocheting the bottom of the basket, working in rounds.
1: MC, ch 5 (5)
2: Ch 2 (turning chain), 3 sc in the second chain from the hook, 3 sc, 4 sc in 1 stitch, 3 sc (14)
3: sl st, sc in the same stitch, 3 inc, 3 sc, 4 inc, 3 sc (22)
4: sl st, sc in the same stitch, 1 sc, (inc, 1 sc) x3, 3 sc, (inc, 1 sc) x4, 3 sc (30)
5: sl st, ch 1, 2 sc, (inc, 2 sc) x2, 1 inc, 8 sc, (inc, 2 sc) x2, 1 inc, 5 sc (36)
6: sl st, ch 1, 3 sc, (inc, 3 sc) x2, 1 inc, 9 sc, (inc, 3 sc) x2, 1 inc, 5 sc (42)
7: sl st, ch 1, 4 sc, (inc, 4 sc) x2, 1 inc, 10 sc, (inc, 4 sc) x2, 1 inc, 5 sc (48)
8: sl st, ch 1, 7 sc, 1 inc, 6 sc, 1 inc, 16 sc, 1 inc, 6 sc, 1 inc, 8 sc (52)
9: sl st, ch 1, 7 sc, 1 inc, 8 sc, 1 inc, 16 sc, 1 inc, 8 sc, 1 inc, 8 sc (56)
10: sl st, ch 1, 5 sc, 1 inc, 14 sc, 1 inc, 12 sc, 1 inc, 14 sc, 1 inc, 6 sc (60)
11: Start working the basket walls: 60 sc worked in the back loops only (60)
12-13: 60 sc (60)
14: (14 sc, inc) x4 (64)
15: 64 sc (64)
16: 7 sc, 1 inc, (15 sc, inc) x3, 8 sc (68)
17-18: 68 sc (68)
19: Work 6 sc and place a marker here (68)
20: From the marker, work 20 sc, place another marker, then work 48 sl st to the first marker (68). Do not cut the yarn, we will continue crocheting from this point later.
Sew the plank, orienting by the markers: sew the short sides of the plank (from the markers) to the sides of the basket from the inside, and one of the long sides to the bottom of the basket.
Next, crochet (in rounds) the neck and head of the Hen, stuffing as you go. Stuff the head lightly, until about round 13-14.
Start from the loop with the leftover yarn – along the front edge of the basket, then along the plank.
1-2: 36 sc (36)
3: 1 sc, 1 dec, 16 sc, 1 dec, 15 sc (34)
4: 1 dec, 15 sc, 1 dec, 15 sc (32)
5: 1 dec, 3 sc, 1 dec, 4 sc, 1 dec, 3 sc, 1 dec, 14 sc (28)
6: 1 dec, (2 sc, 1 dec) x3, 1 dec, 10 sc, 1 dec (22)
7: 1 dec, 7 sc, 1 dec, 11 sc (20)
8: 2 sc, 1 dec, 1 sc, 1 dec, 2 sc, 1 dec, 7 sc, 1 dec (16)
9: (2 sc, 1 inc) x2, 10 sc (18)
10: (1 sc, 1 inc) x2, 2 sc, 1 inc, 1 sc, 1 inc, 9 sc (22)
11: 7 sc, 1 inc, 14 sc (23)
12-14: 23 sc (23)
15: 5 sc, 1 dec, (6 sc, dec) x2 (20)
16: 2 sc, 1 dec, (3 sc, dec) x3, 1 sc (16)
17: (1 sc, 2 dec) x2, (1 sc, 1 dec) x2 (10)
18: 5 dec (5)
Pull the hole closed, cut the yarn, and hide the end.
Secure the yarn at the edge of the basket base and work a row of 60 sl st along the remaining front loops. Cut the yarn and hide the end.
TAIL (turning rows)
Ch 16, ch 1 (turning chain), 16 sl st, starting from the second chain from the hook. Ch 1 (turning chain), turn, 16 sl st, starting from the second stitch from the hook. Fold the resulting strip – feather in half and crochet 3 sc through both layers. Fasten off, leaving a long tail for sewing. Make three such feathers, two with 16 chains and one slightly longer, with 22 chains.
BEAK (grey-beige yarn)
Ch 4 (4)
(1 sc, 1 inc) x2 (6)
(1 sc, 1 inc) x3 (9)
(2 sc, 1 inc) x3 (12)
(3 sc, 1 inc) x3 (15)
15 sc (15)
Fasten off, leaving a long tail for sewing.
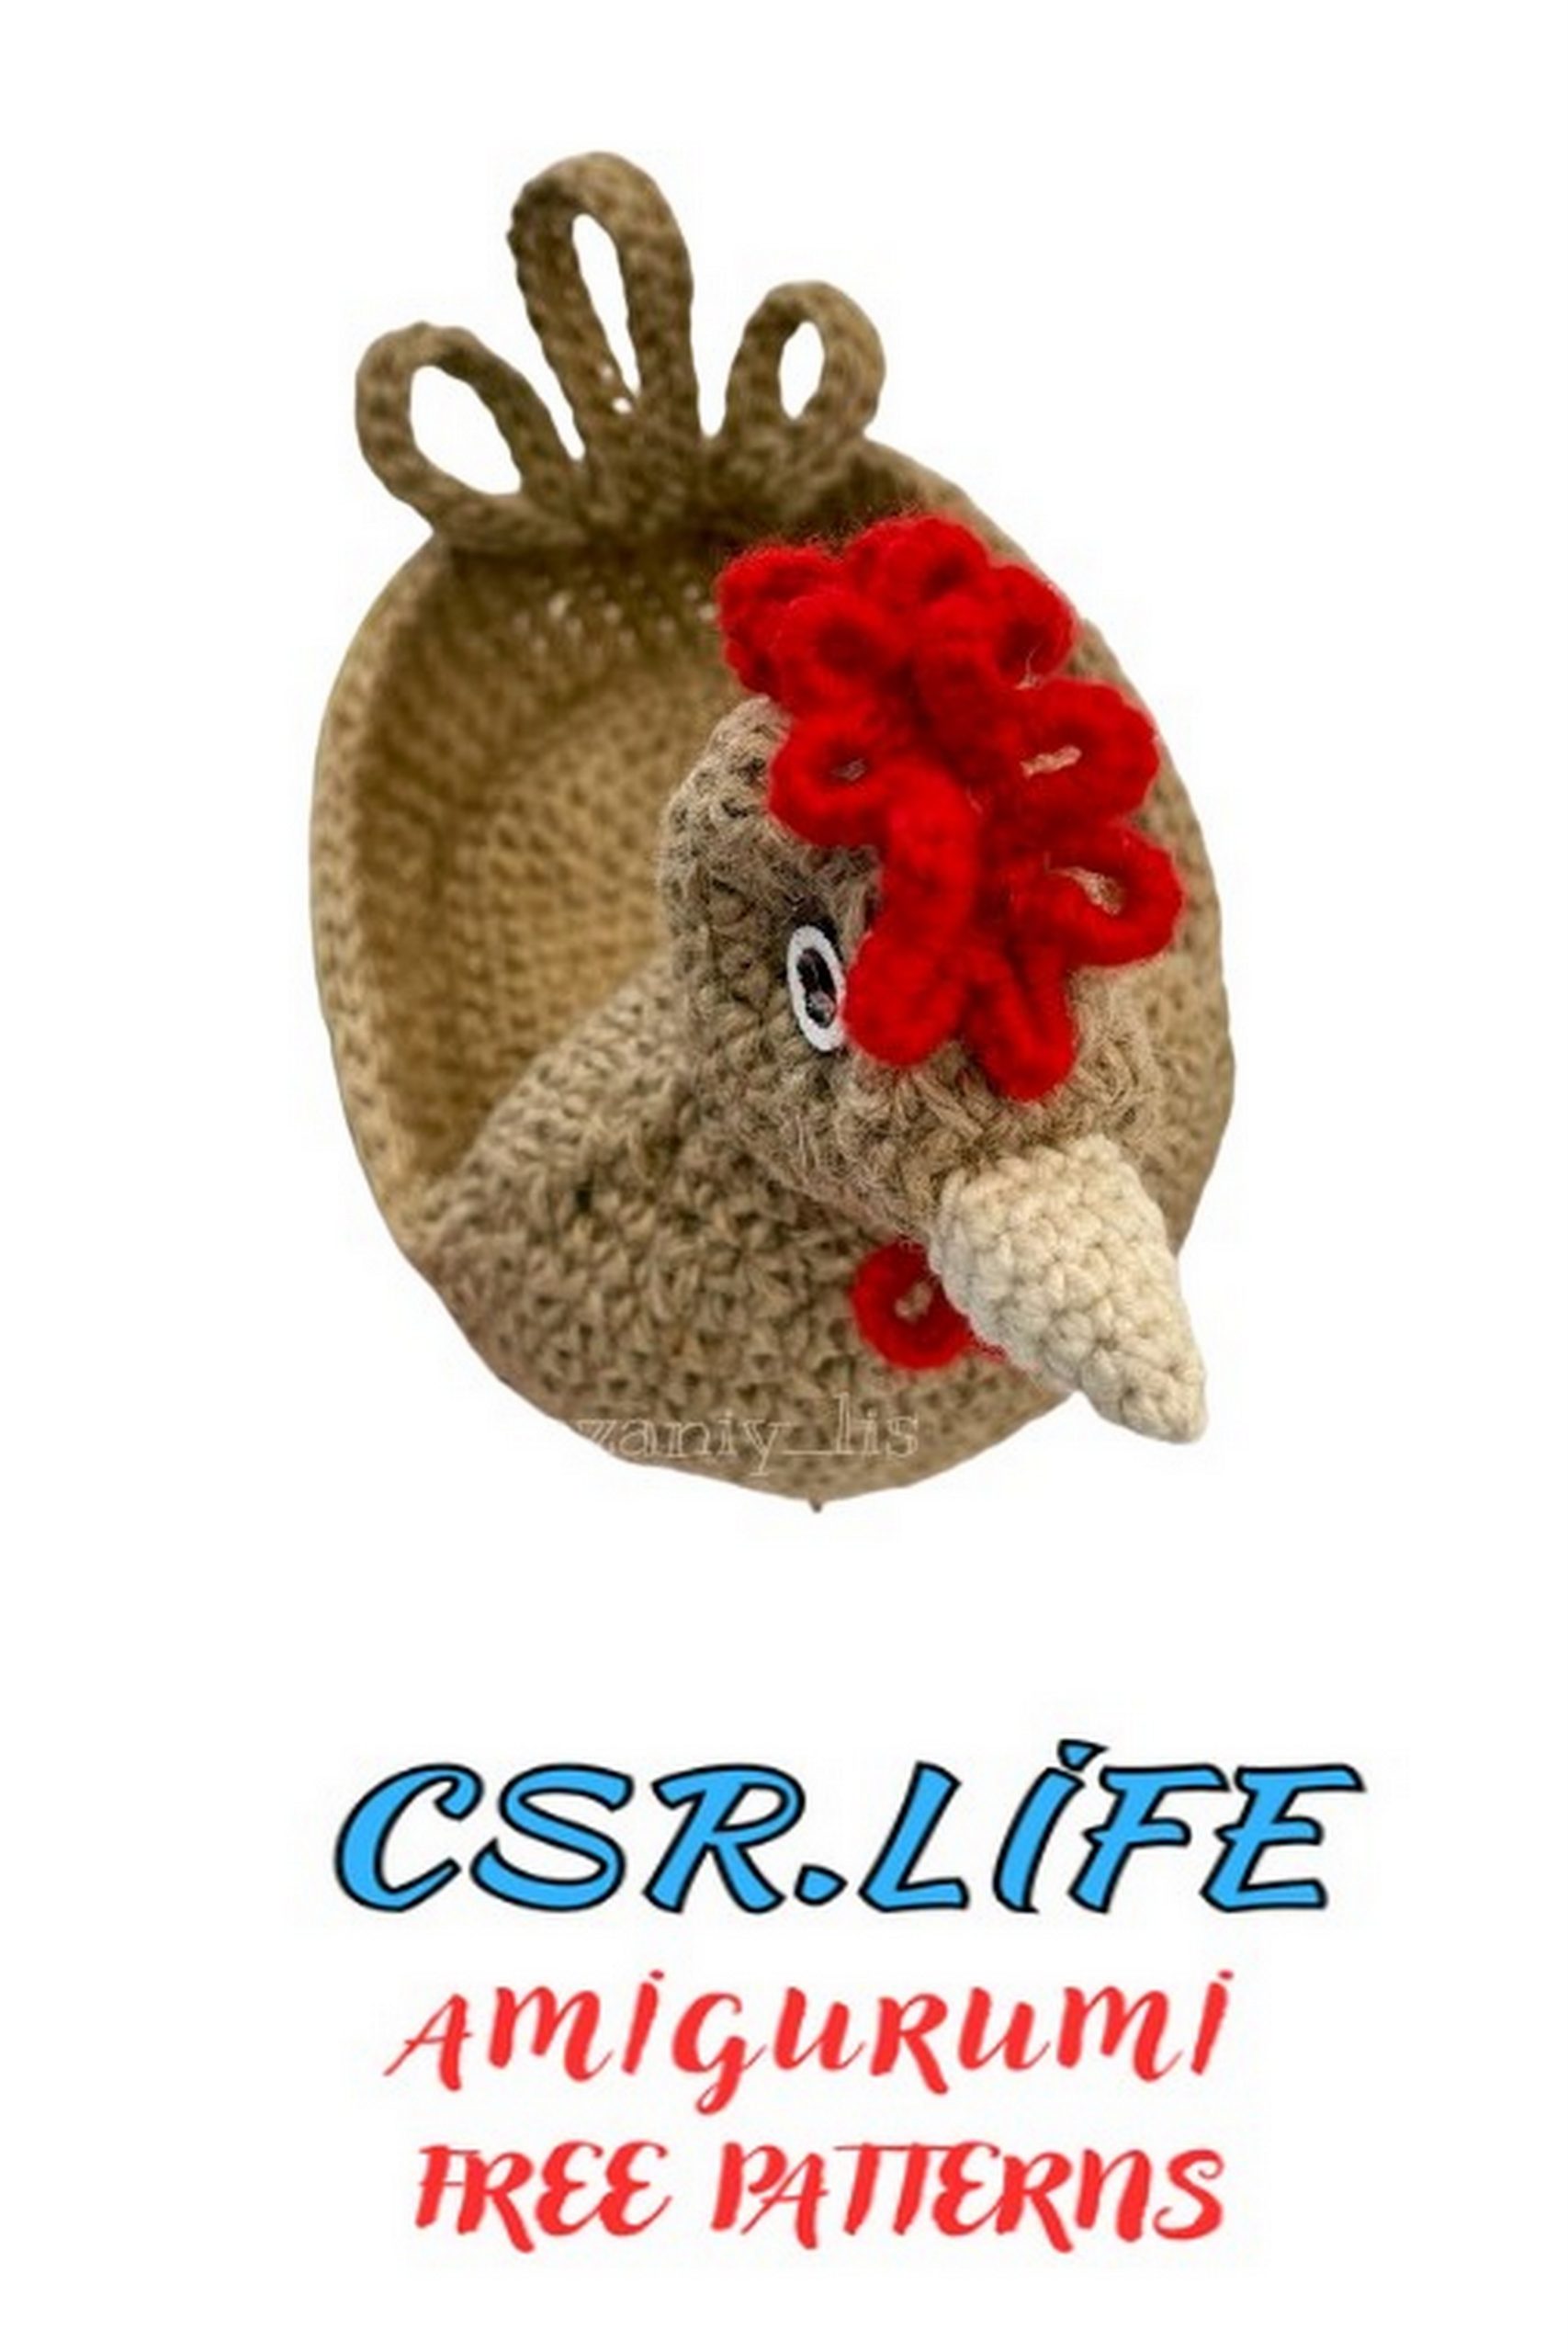
COMB (red yarn, turning rows)
1: Ch 25 (25)
2: Ch 1 (turning chain), starting from the second chain from the hook: 1 inc, (4 sc, inc) x5 (31)
3: Create loops for the comb from chains, finishing them with sl st in the second chain from the beginning, i.e., skip 1 chain under each comb loop. Work the loops in the following order: (5 ch, sl st) x2, (6 ch, sl st) x3, (7 ch, sl st) x2, (8 ch, sl st) x1, (7 ch, sl st) x2, (6 ch, sl st) x3, (5 ch, sl st) x2
4: Work sc around the loops, with sl st between loops: (5 sc, sl st) x2, (7 sc, sl st) x3, (8 sc, sl st) x1, (9 sc, sl st) x1, (10 sc, sl st) x1, (9 sc, sl st) x1, (8 sc, sl st) x1, (7 sc, sl st) x3, (5 sc, sl st) x2
5: Fasten off, cut the yarn, leaving a long tail for sewing.

ASSEMBLY
Sew the tail made of three feathers to the back of the basket, from the inside (for convenience, you can first join them (crochet a row) with a common base, but this is not necessary).
Sew the button eyes (with a slight squint) on the sides of the head between rounds 14 and 15.
Sew on the comb and beak. Crochet a small beard. To do this, secure red yarn under the beak, symmetrically to the beak, make two loops of 8 ch + sl st, in the next row work 10 sc around each loop + sl st. Fasten off, cut the yarn, hide the ends inside the head.
Your Easter basket is ready!