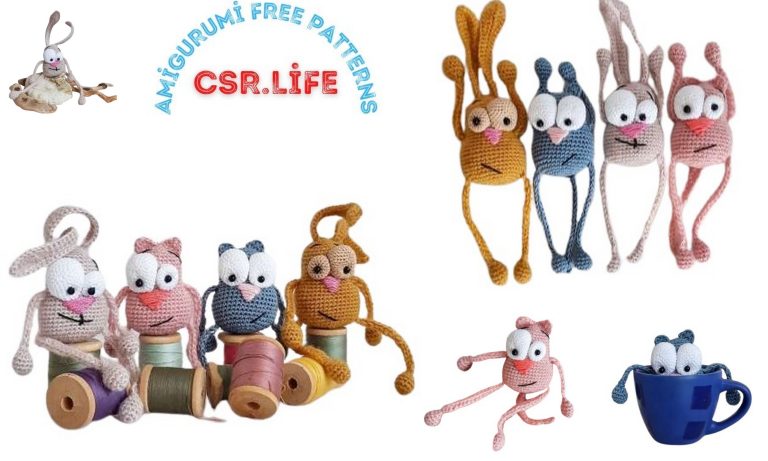
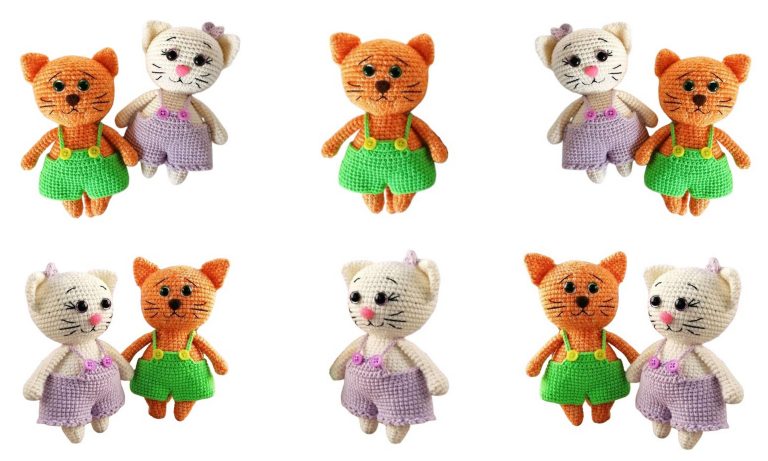
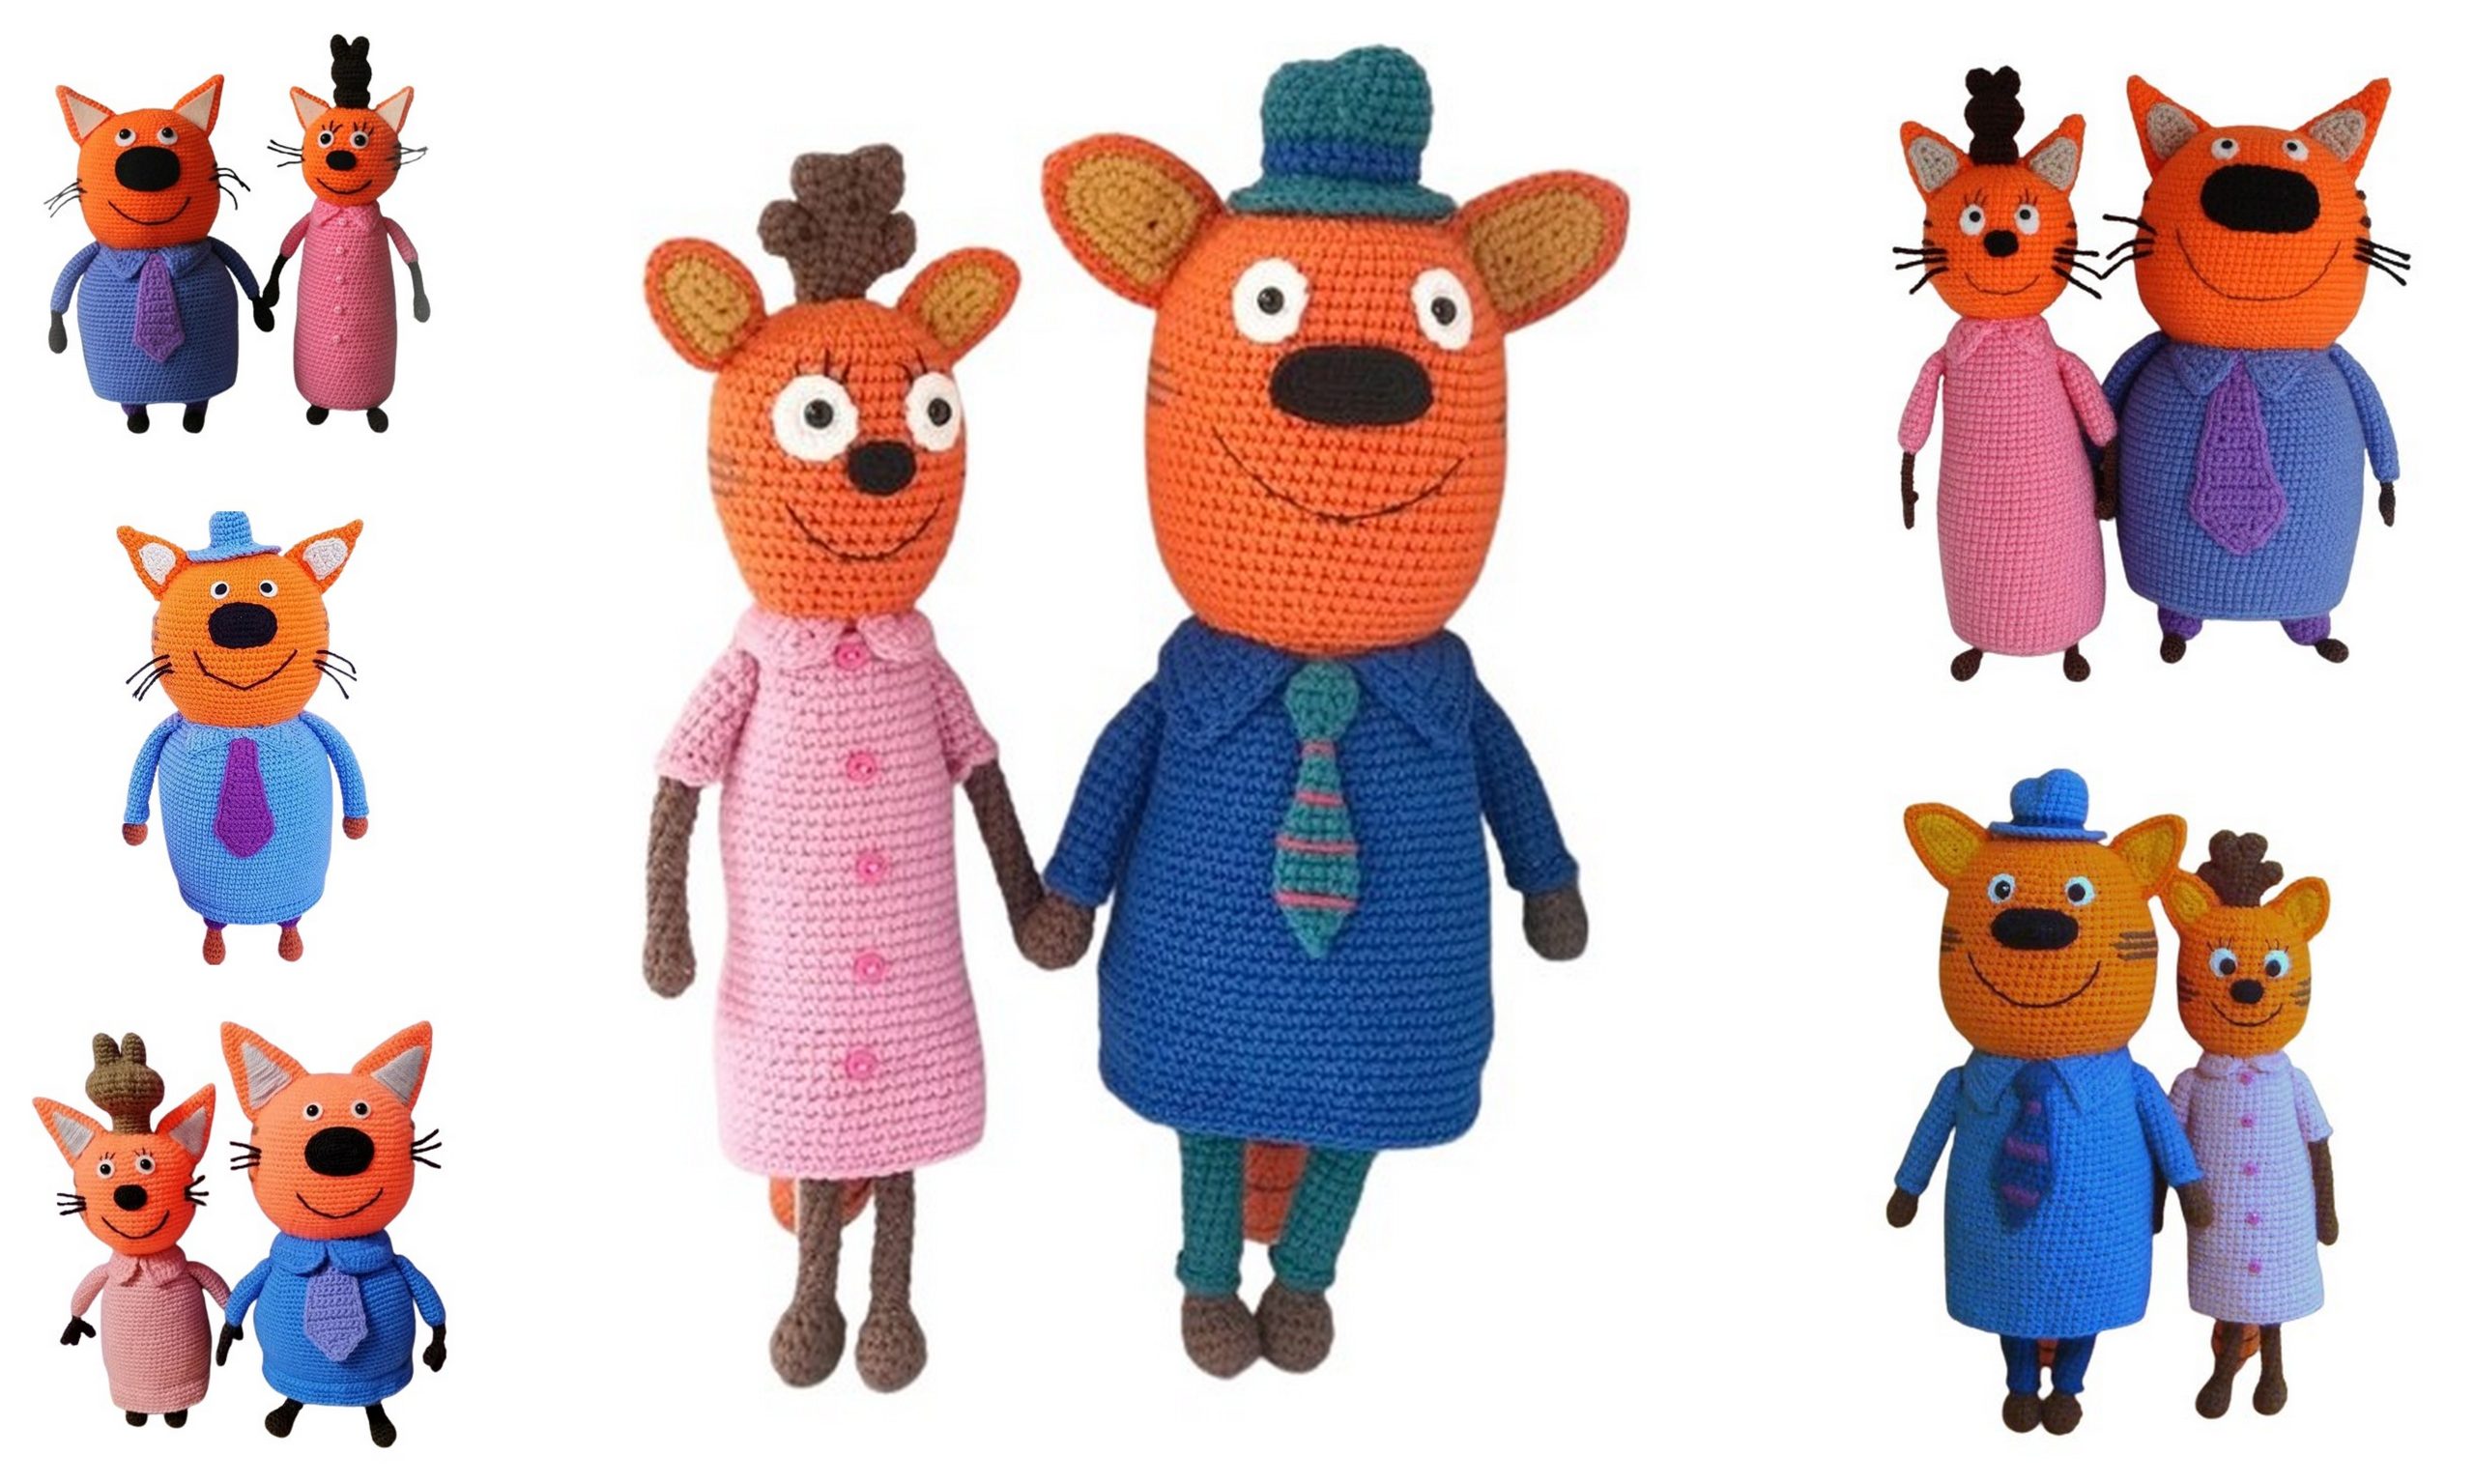
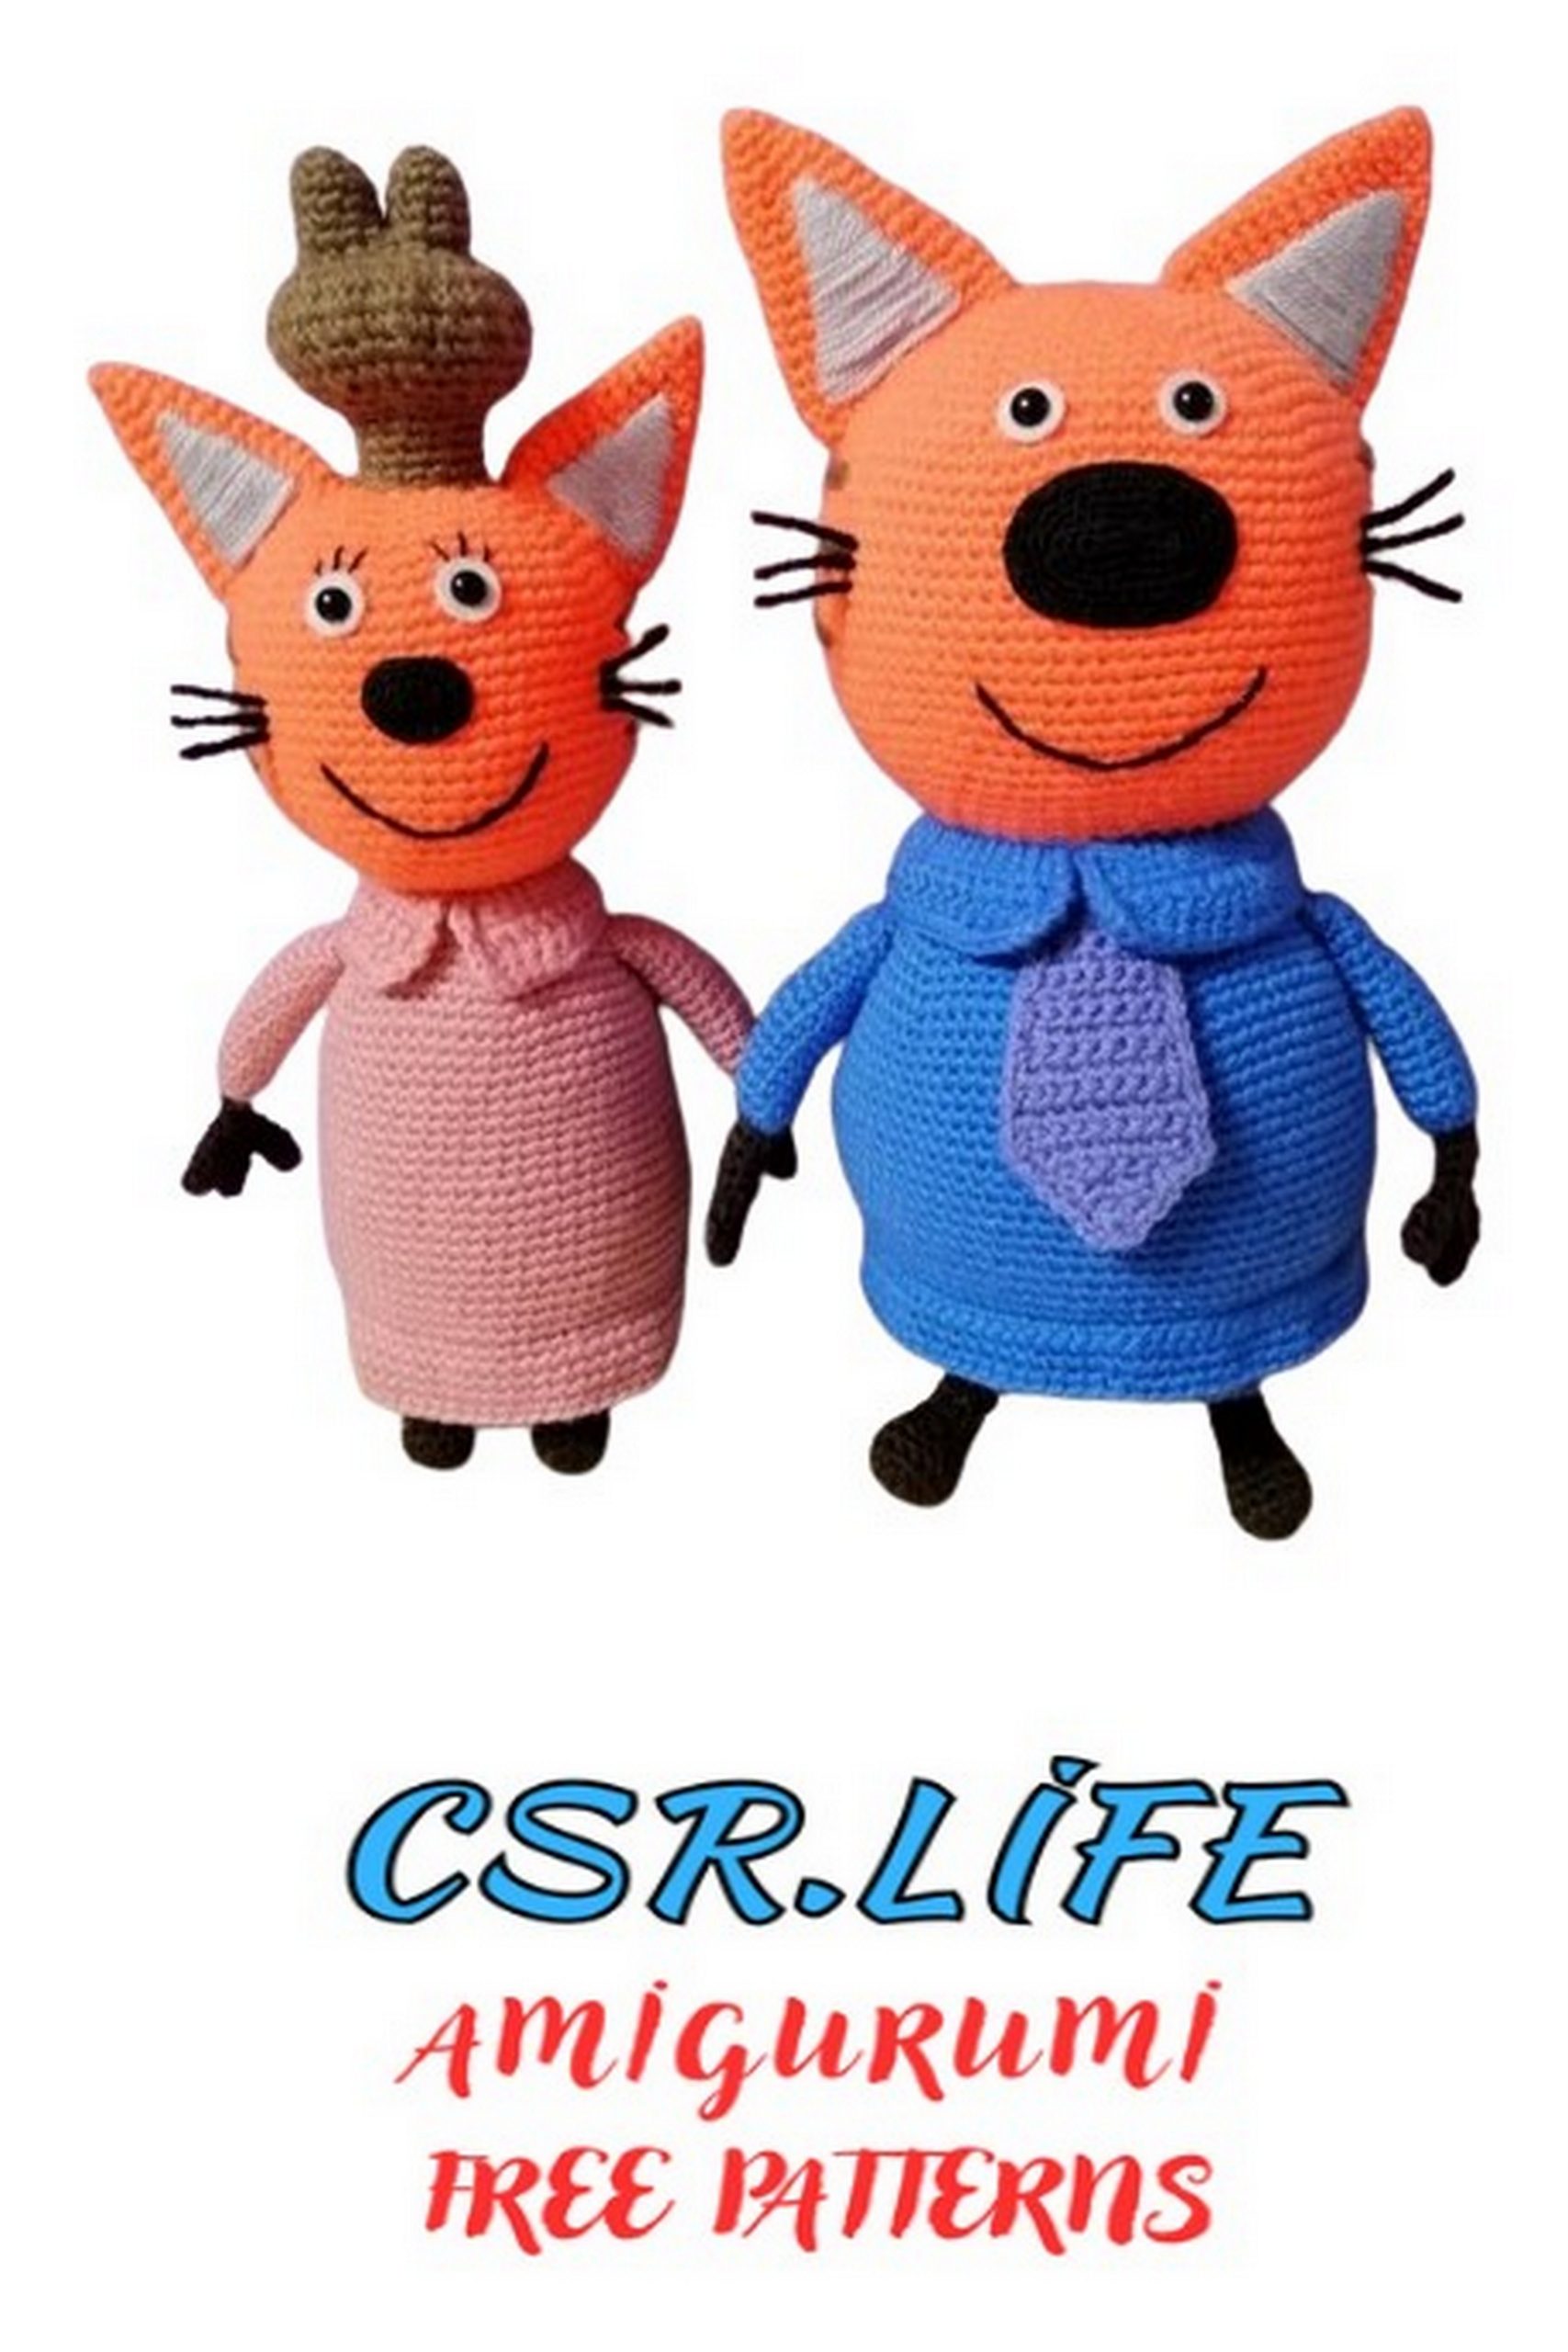
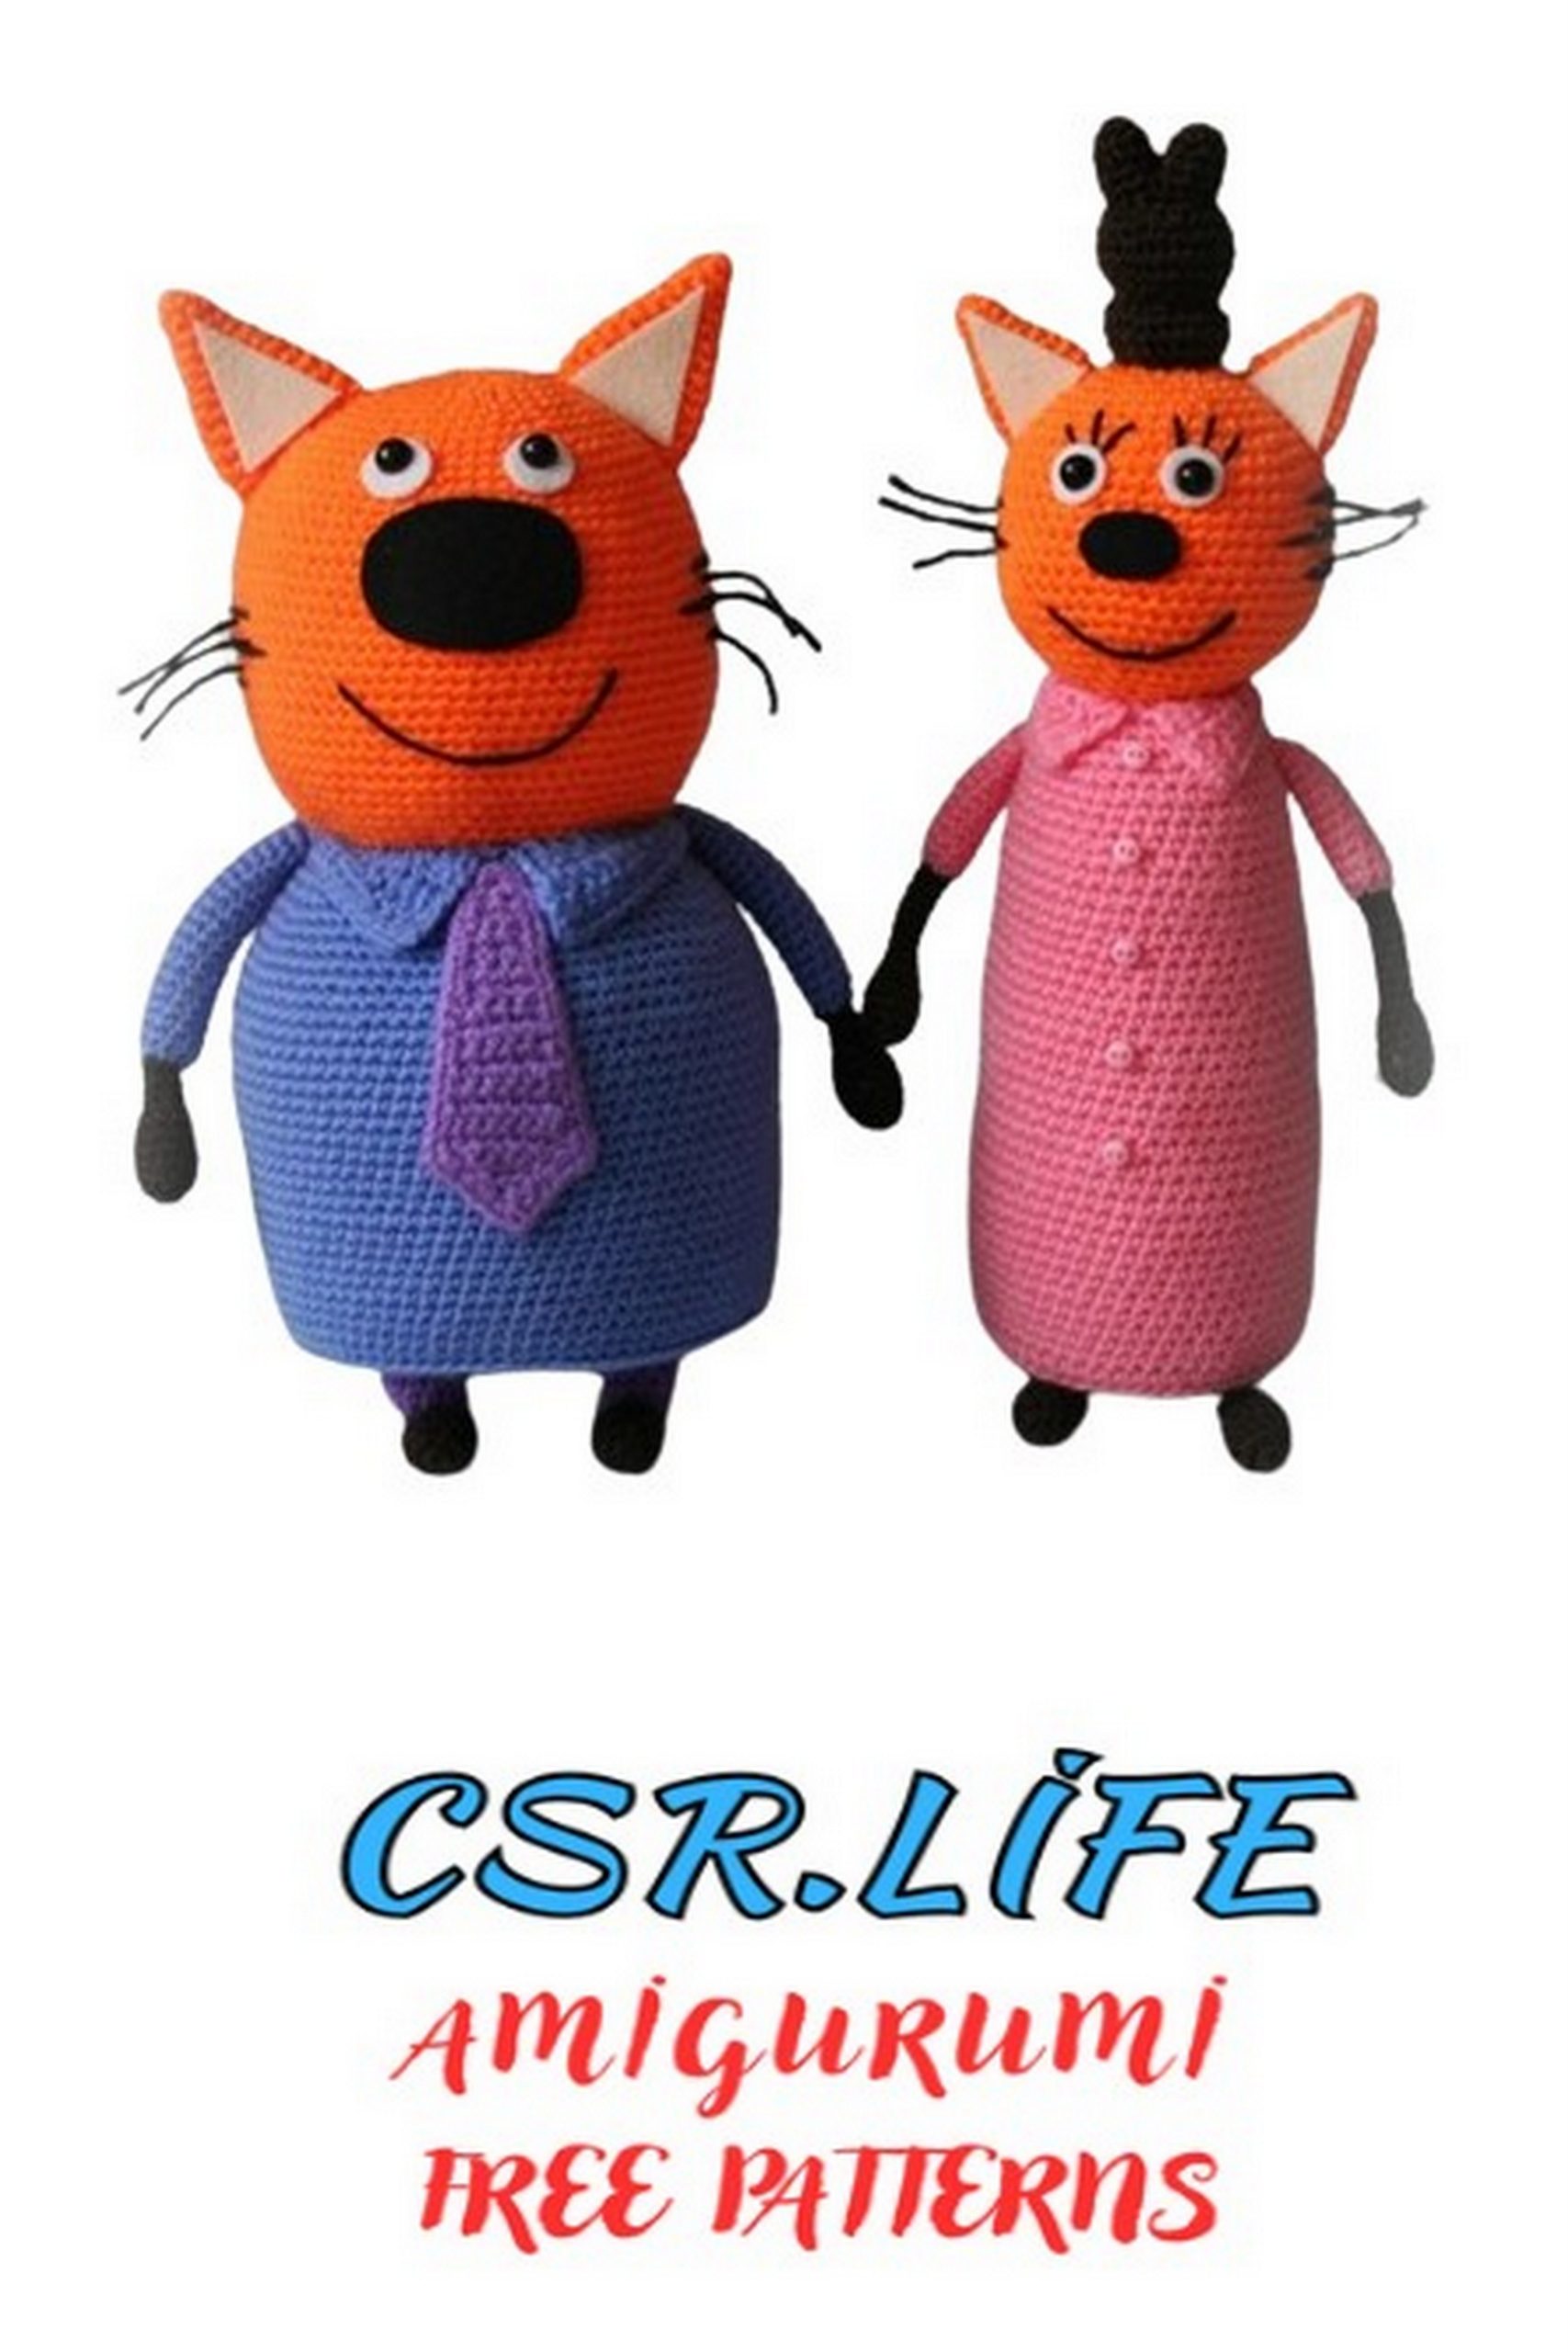
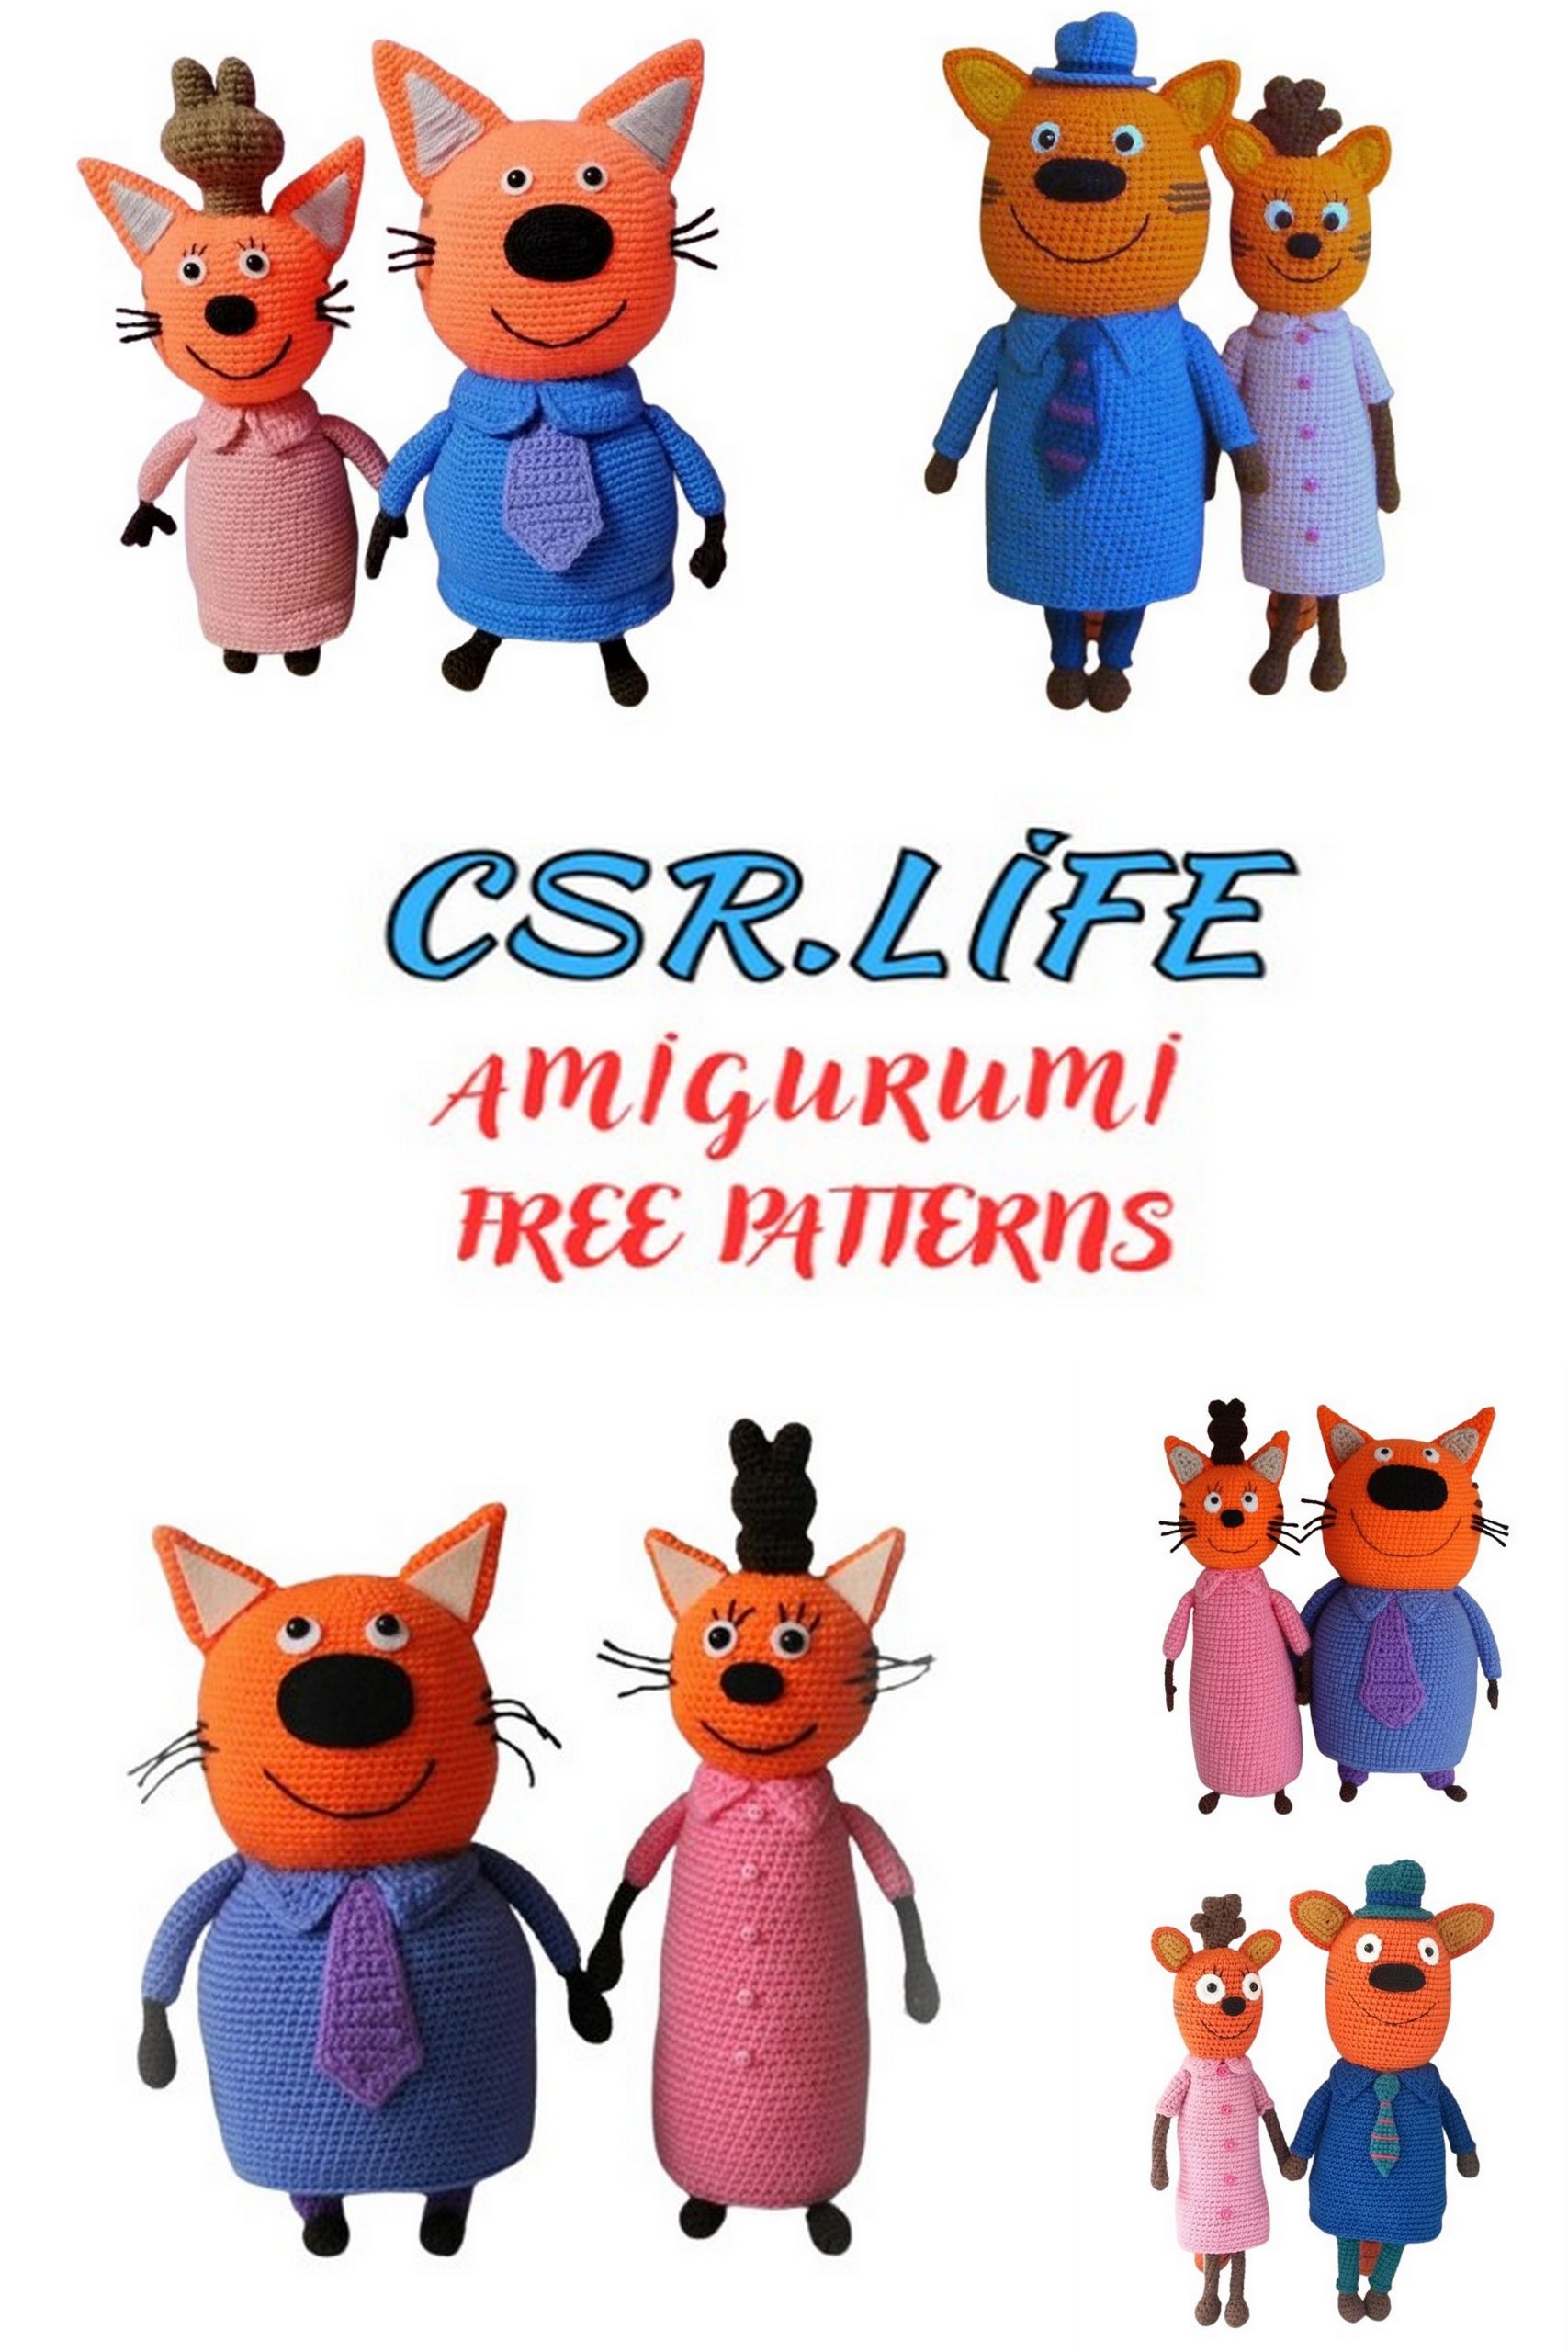
Amigurumi Cat Mom and Dad Free Pattern – Crochet Tutorial
Embark on a heartwarming crochet journey with our free Amigurumi Cat Mom and Dad pattern and tutorial.
Whether you’re a novice or a seasoned crocheter, this comprehensive guide offers detailed instructions and helpful visuals to assist you in creating these adorable cat parents.
Perfect for gifting or adding a touch of charm to your own collection, crafting these lovable felines is a joyous experience for all. Begin your Amigurumi Cat Mom and Dad project today and witness the magic of handmade creations!
100+ Amigurumi cat free patterns – Download App and Website
Heights of the toys including hairstyle and hat:
Mom: 28 cm
Dad: 31 cm
Tools and materials:
Hook sizes: 2.5 or 2 mm; 1.5 or 1.25 mm for eyes and noses
Filler: Hollow fiber
Yarn: ALIZE Cotton Gold, 55% cotton, 45% acrylic, 330 m/100 g. YarnArt Jeans can be used as an equivalent.
For Mom:
Orange
Dark brown
Yellow
Pink
For Dad:
Orange
Dark brown
Yellow
Dark blue
Blue
Purple
Additional materials:
A small amount of smooth, thin white yarn for the eyes and black yarn for the noses. In this example, VITA cotton COCO is used, but any yarn with at least 200 m/50 g is suitable.
Black embroidery floss for mouth stitching.
4 black sew-on rhinestones, 8 mm in diameter.
5 buttons, 6 mm, matching the pink yarn but brighter (e.g., dark pink, lavender, red).
Amigurumi Cat Pattern
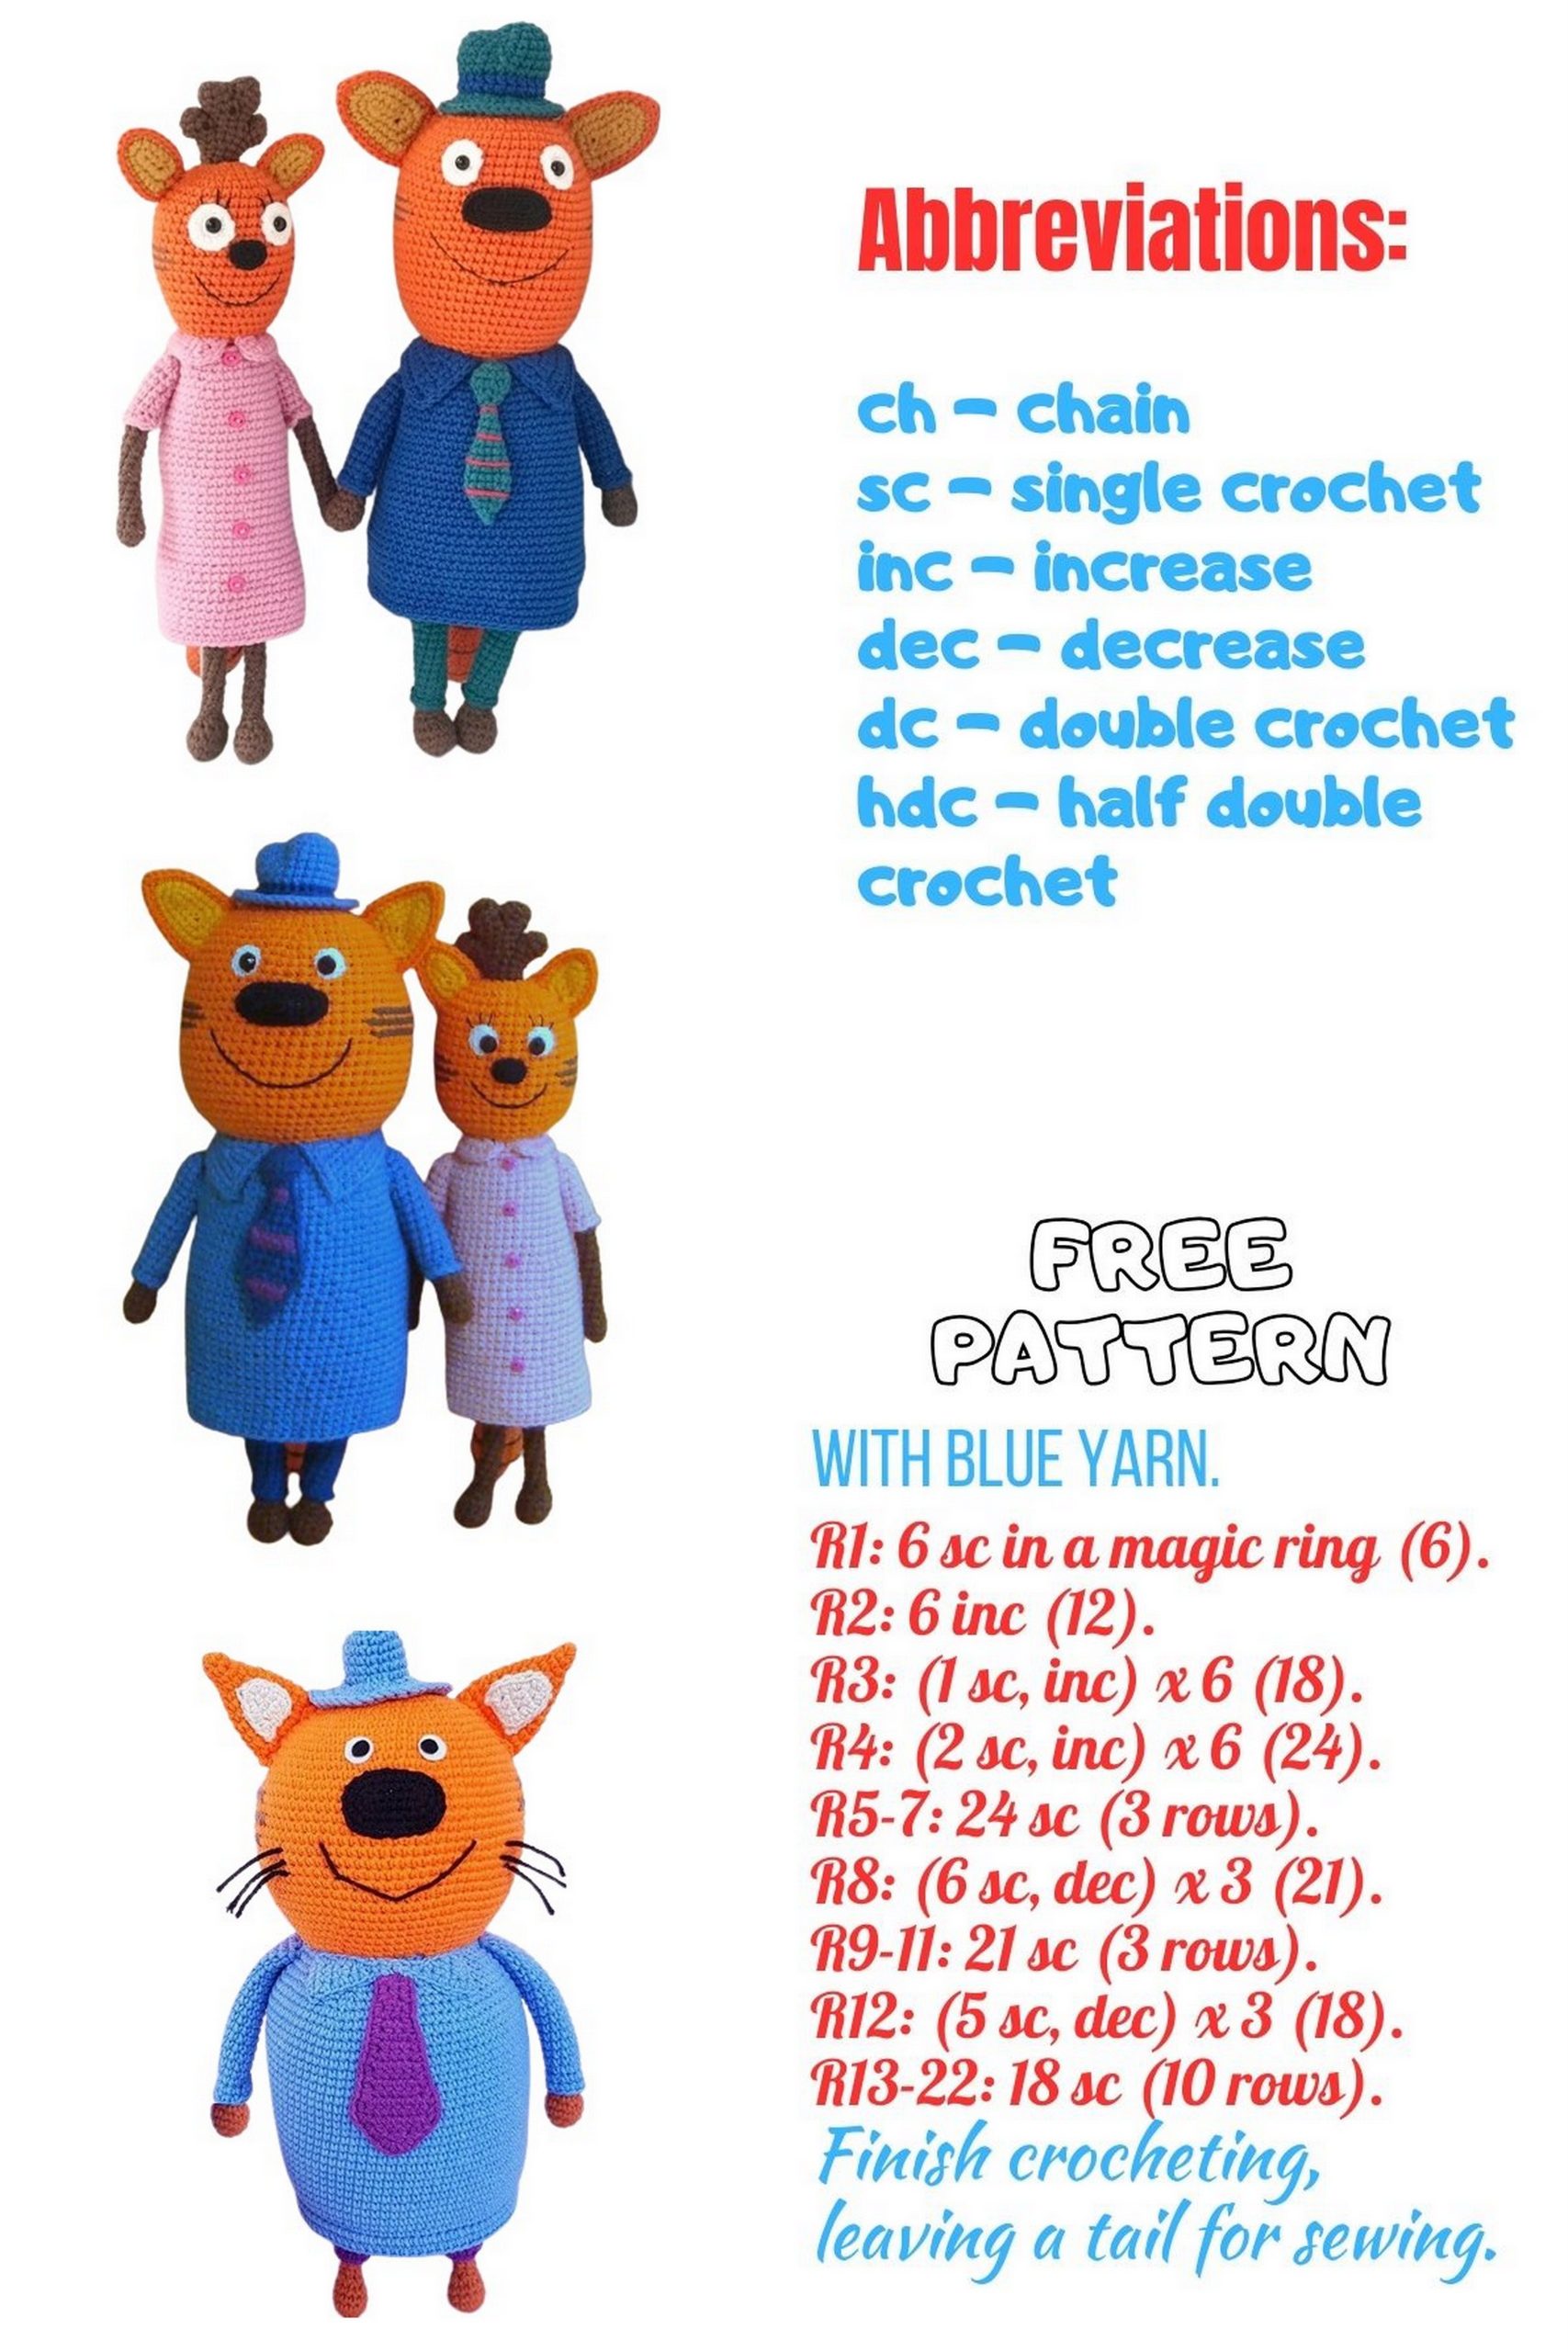
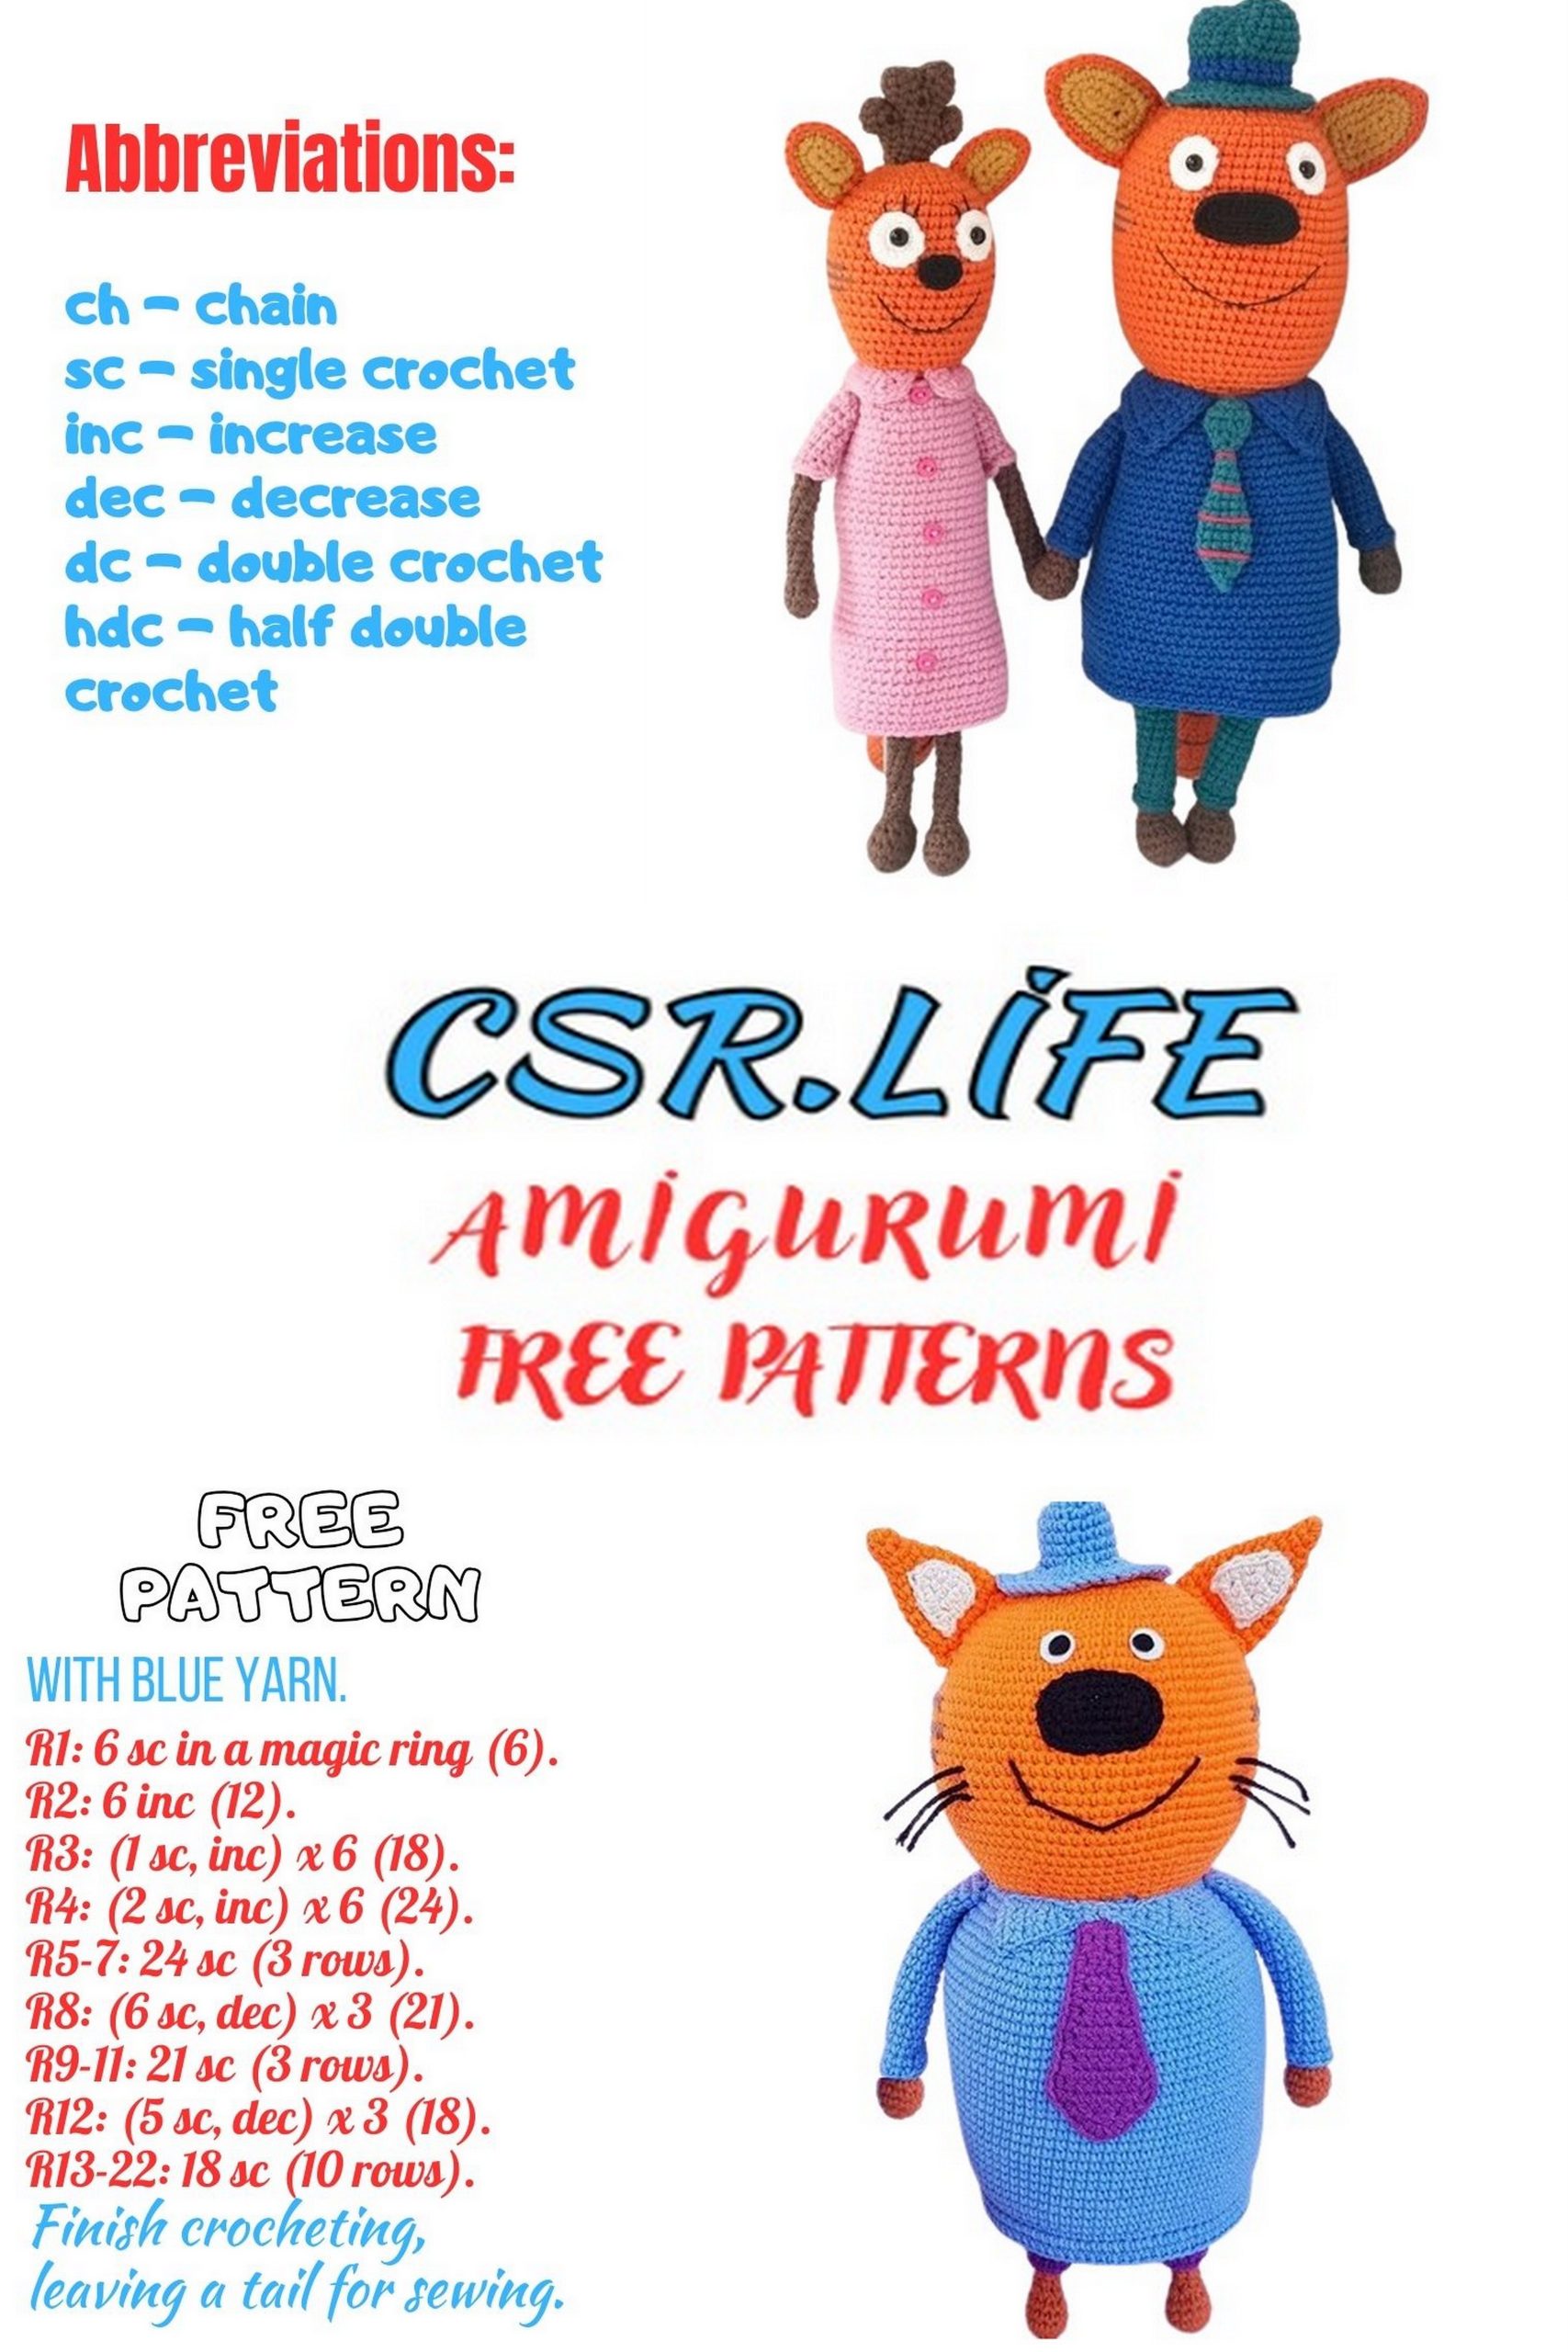
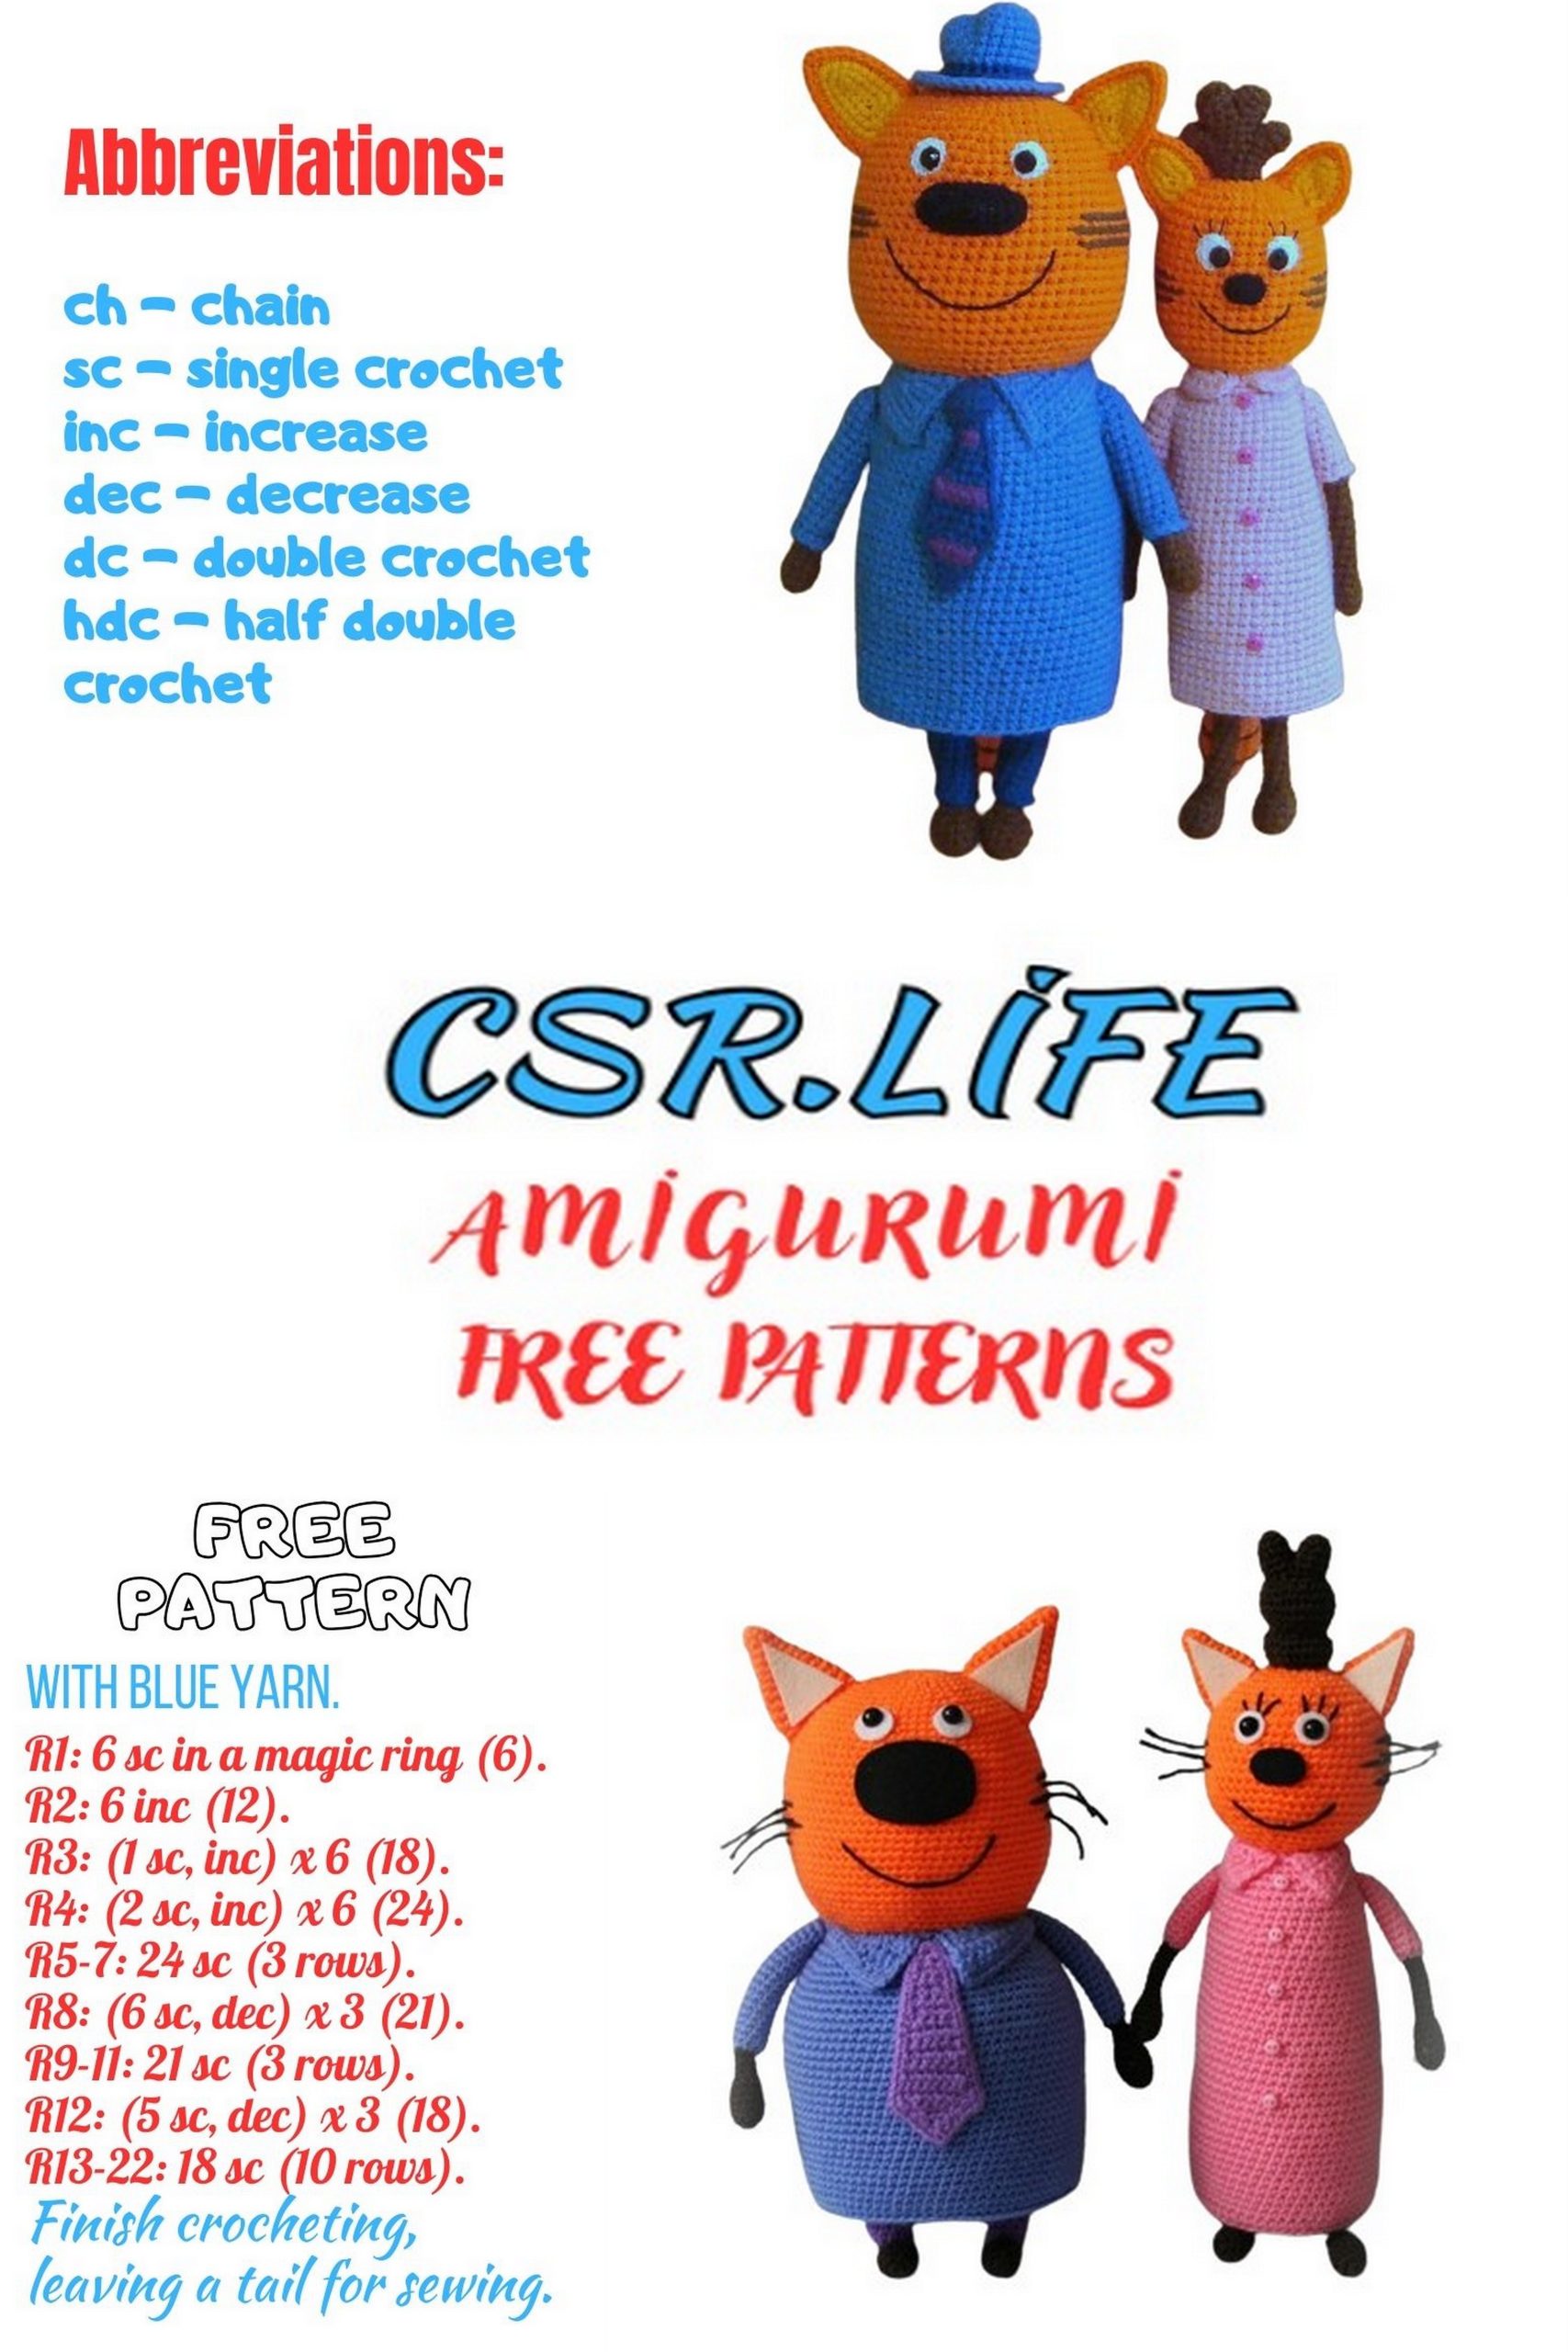
Abbreviations:
CH ( ) – Chain stitch
SC ( ) – Single crochet
SL ST ( ) – Slip stitch
INC ( ) – Increase
DEC ( ) – Decrease
INC 3in1 ( ) – Increase 3 single crochets in 1 stitch
Unless specified otherwise, all parts are worked in a spiral.
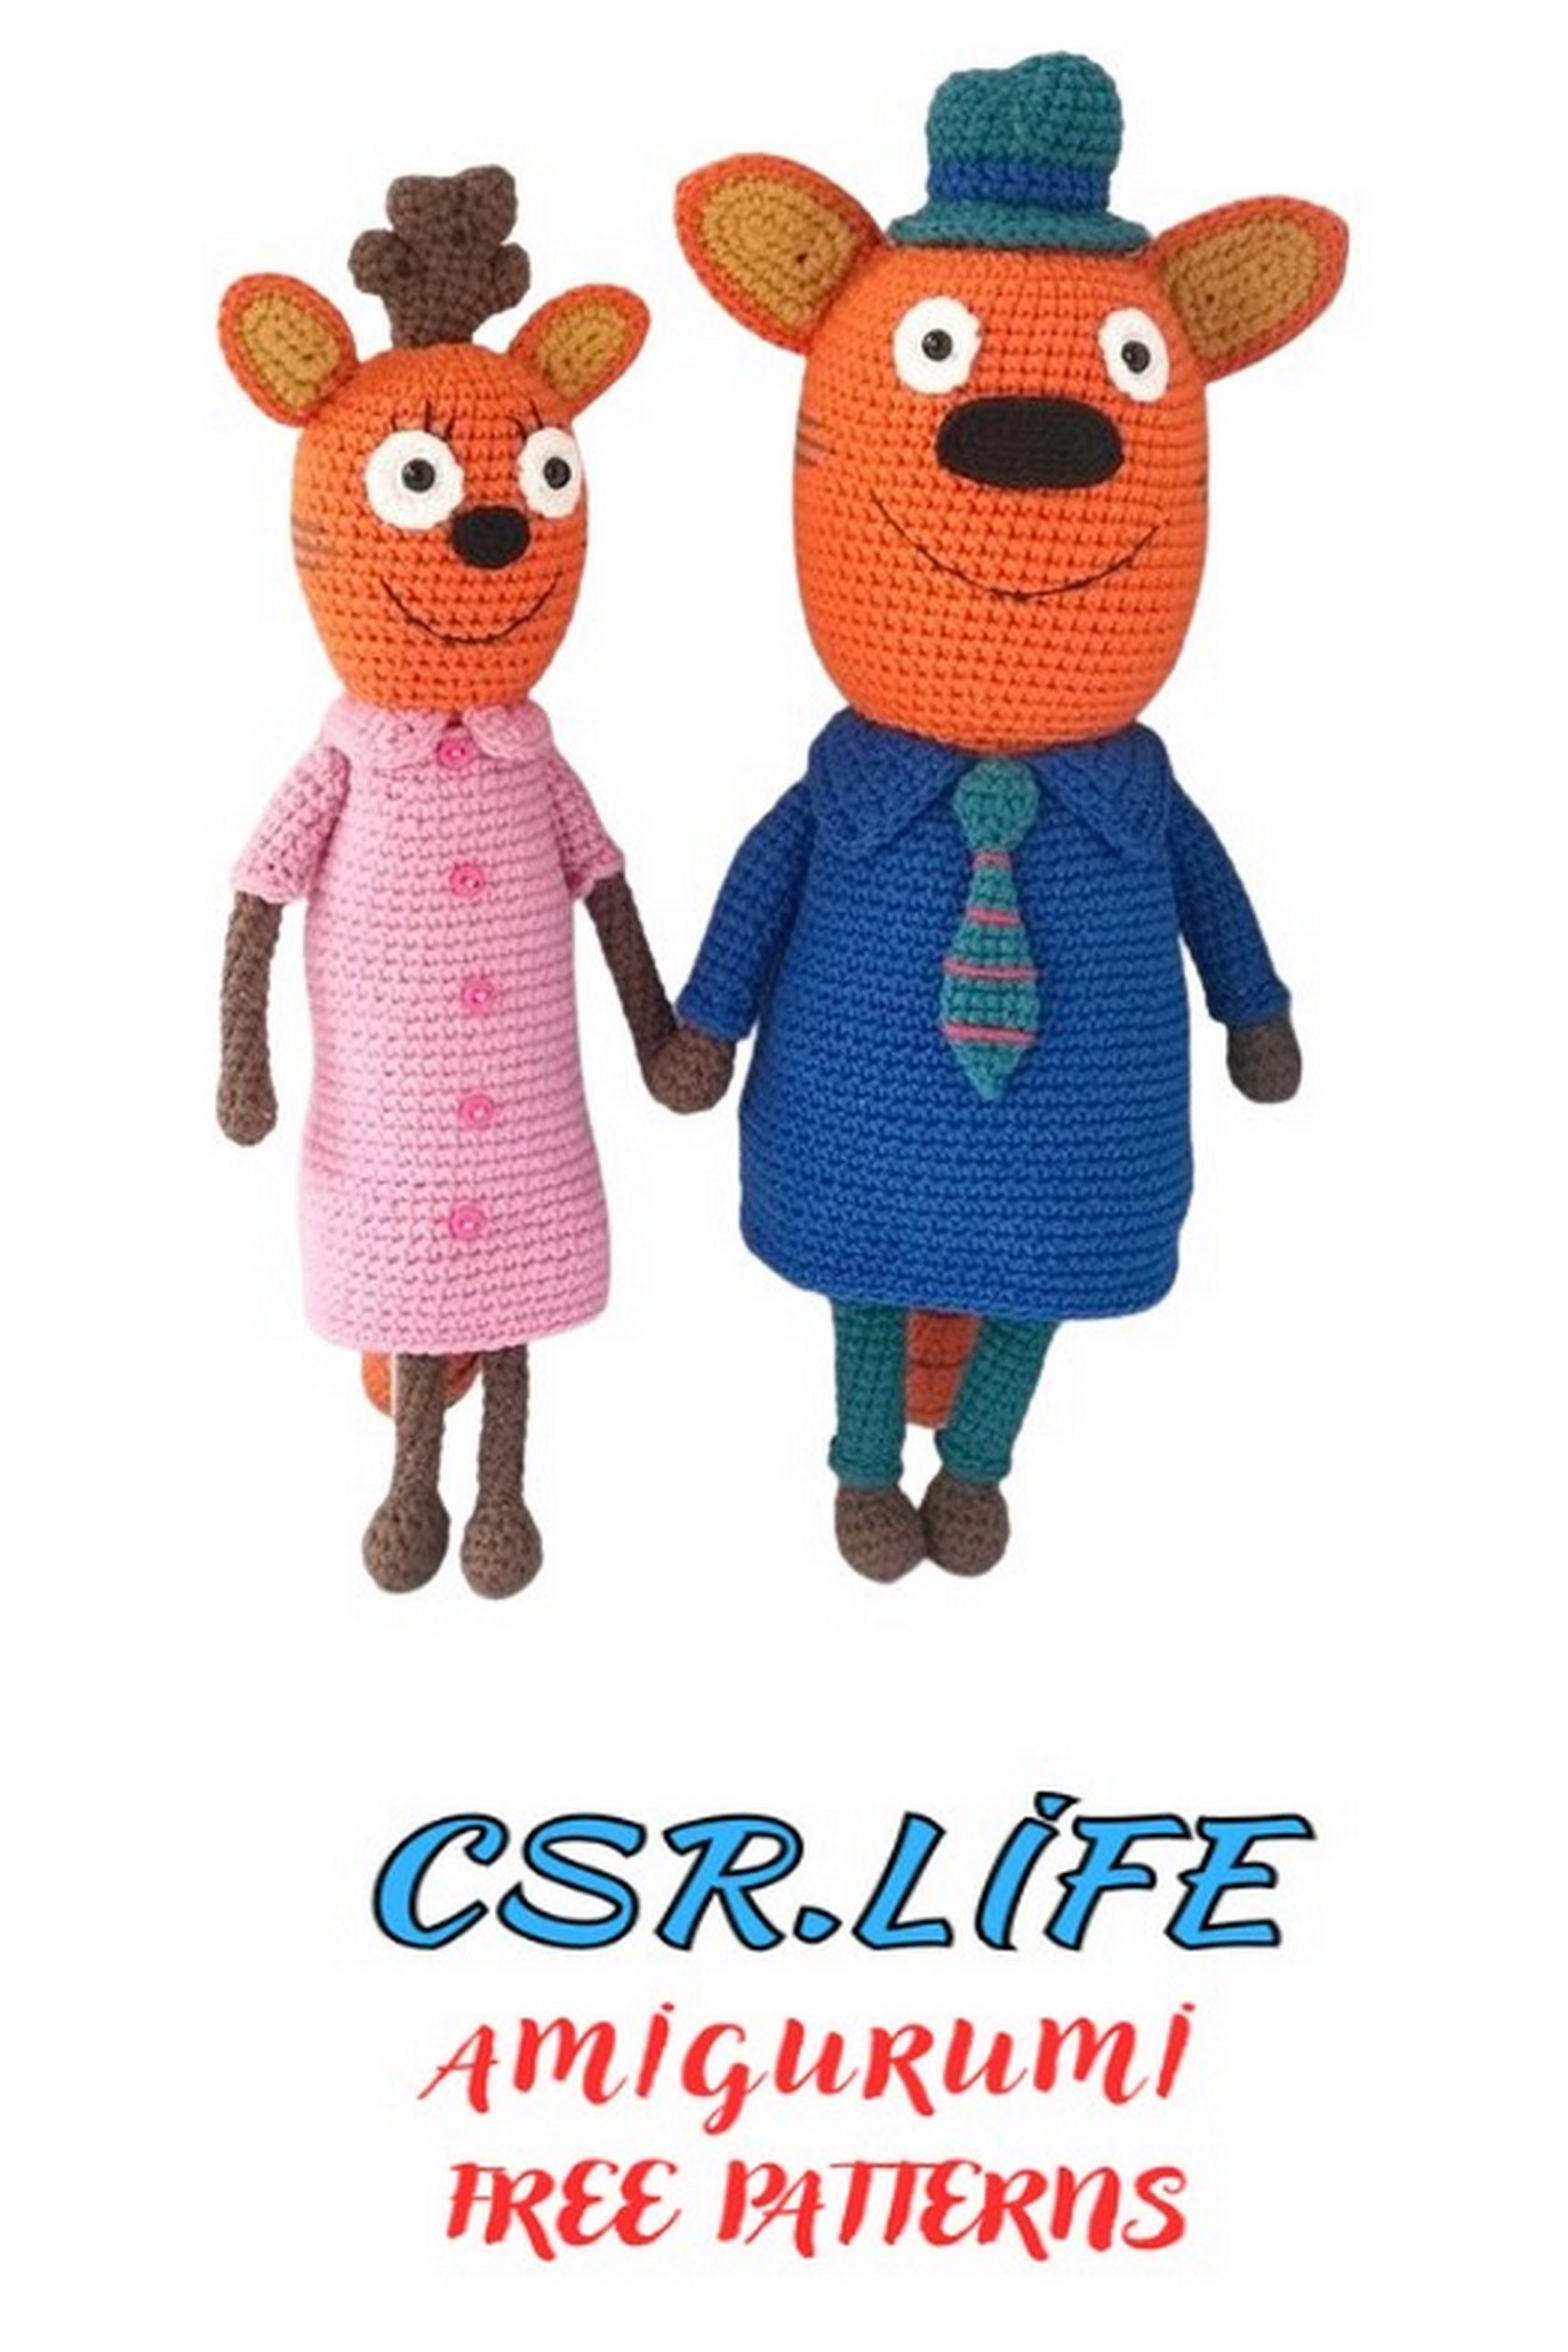
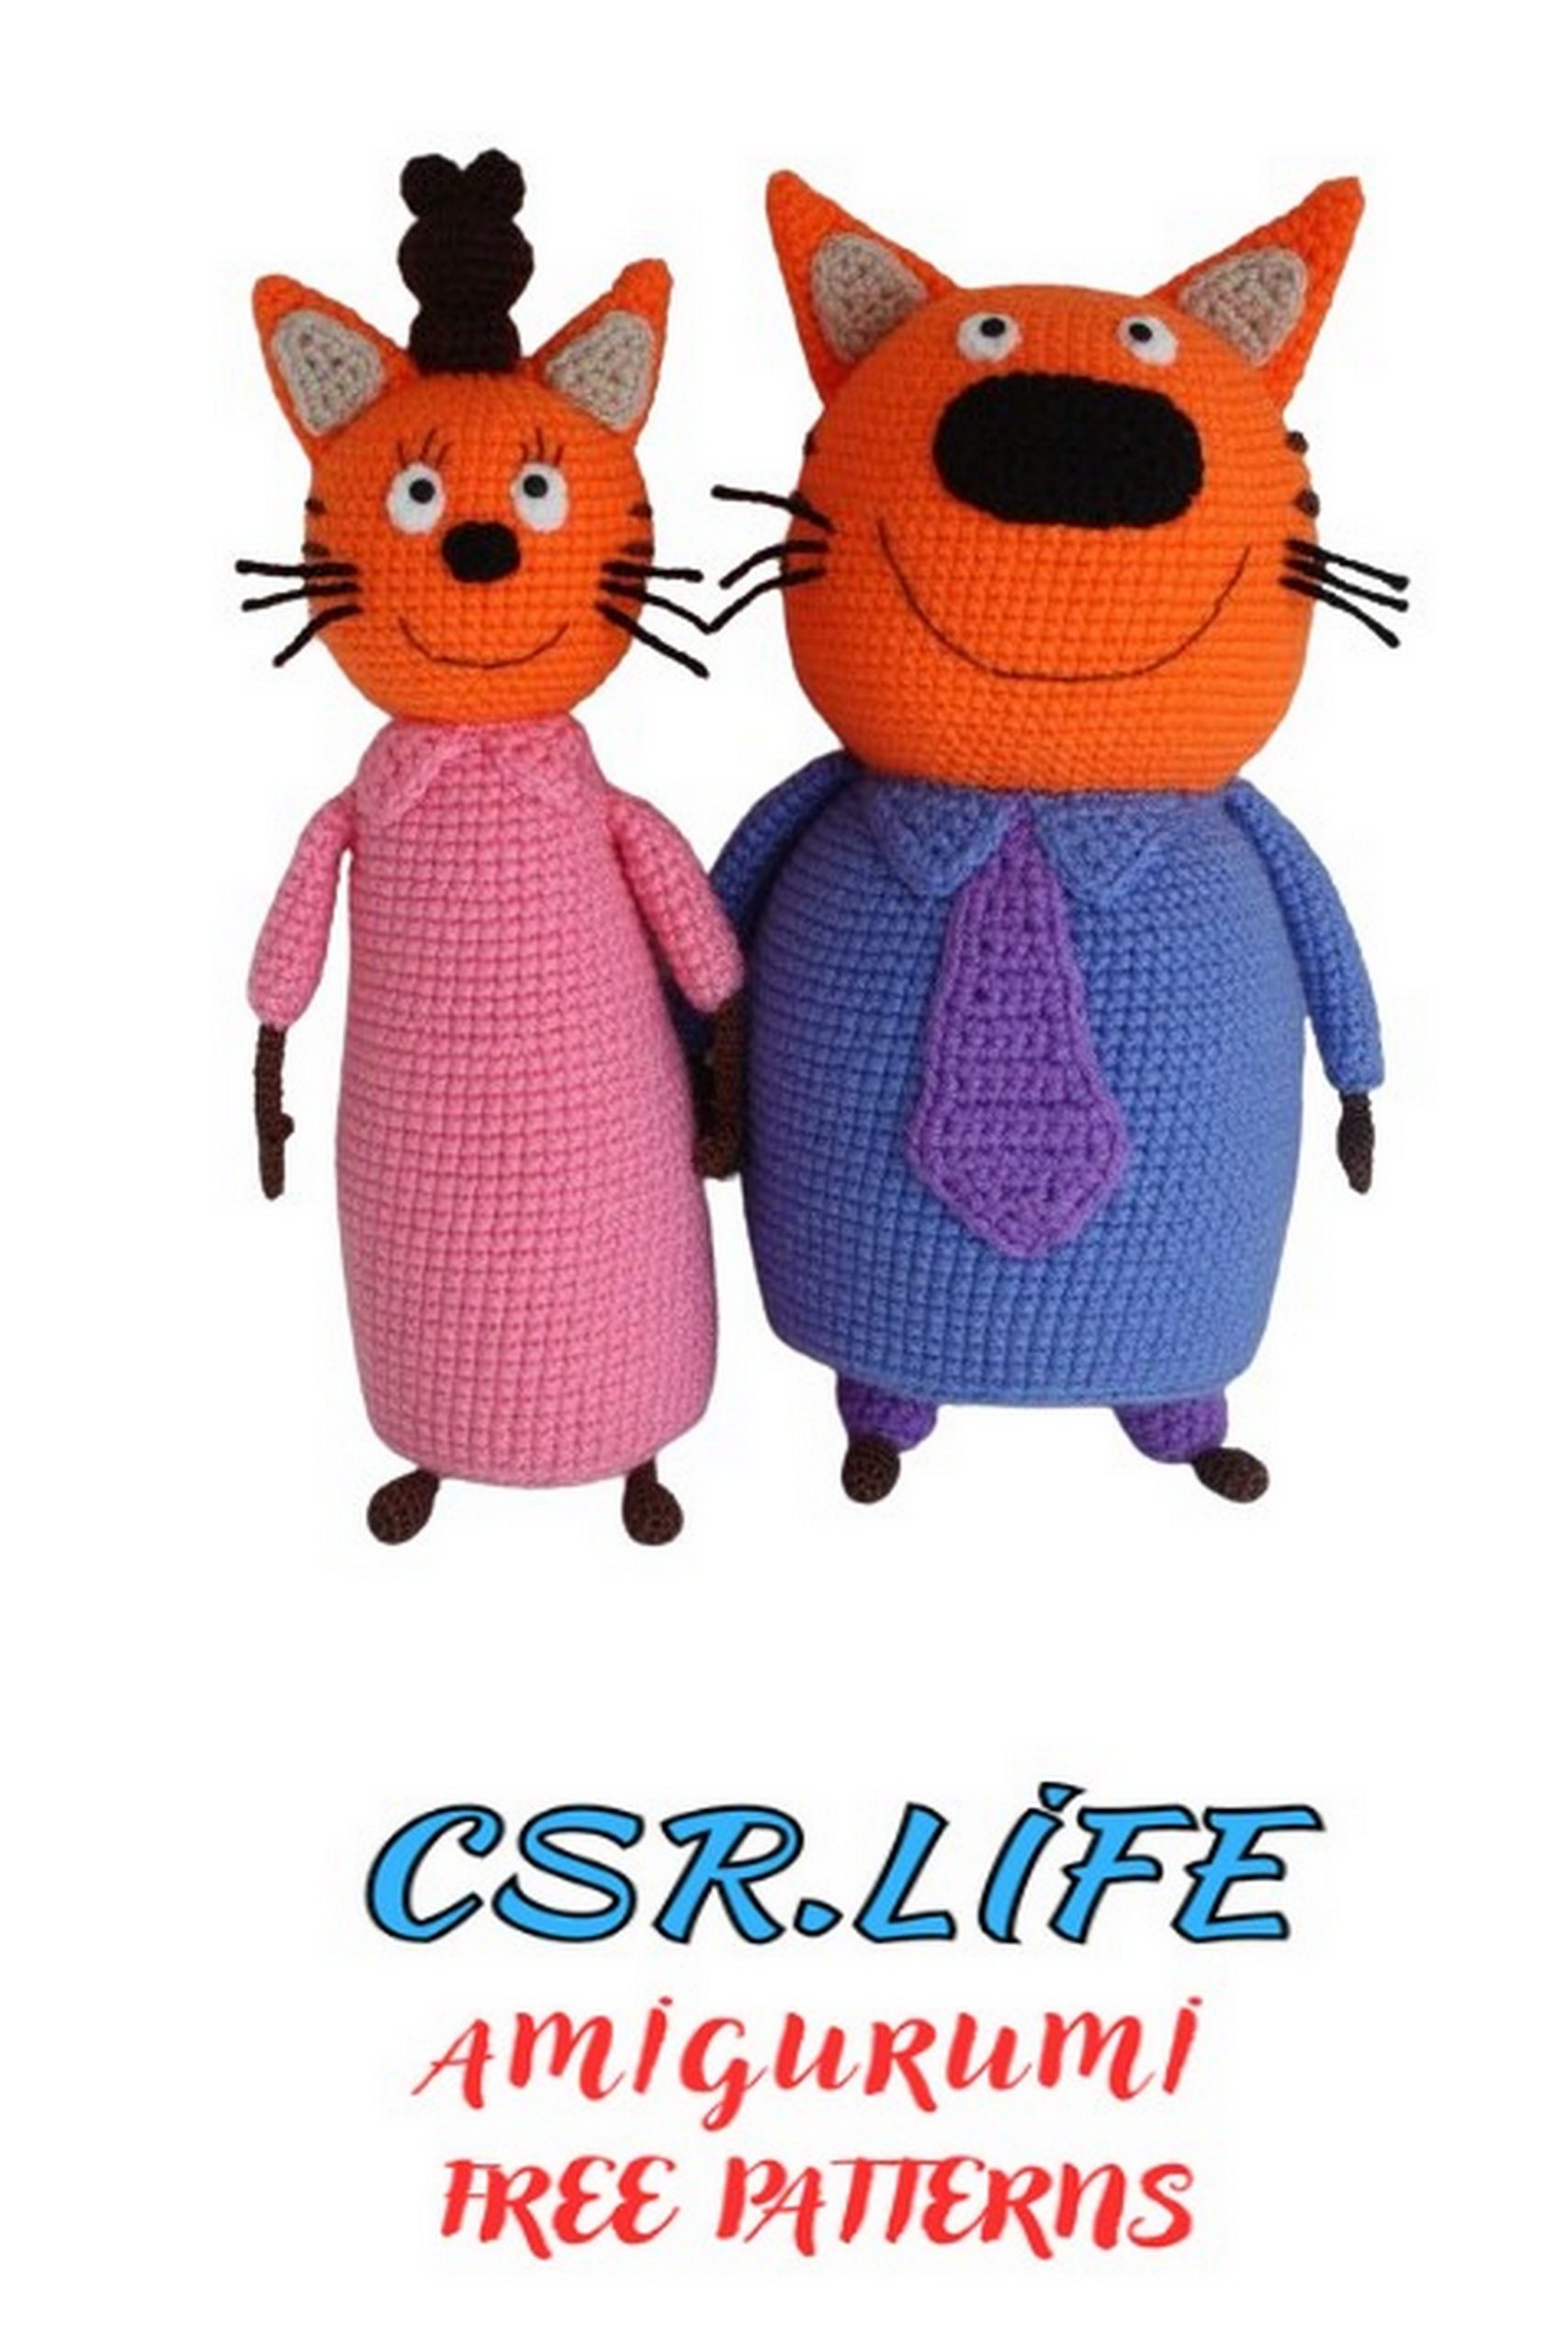
Mom – Amigurumi Cat
Head (orange): – Amigurumi Cat
1st row: 6 SC in a magic ring
2nd row: 6 INC = 12 SC
3rd row: (INC, SC)*6 = 18 SC *( )6 means repeat 6 times
4th row: (2 SC, INC)*6 = 24 SC
5th row: (INC, 3 SC)*6 = 30 SC
6th row: (3 SC, INC, 1 SC)*6 = 36 SC
7th row: (INC, 11 SC)*3 = 39 SC
8th-19th rows: 39 SC
20th row: (3 SC, DEC, 8 SC)*3 = 36 SC
21st row: (DEC, 4 SC)*6 = 30 SC
22nd row: (2 SC, DEC, 1 SC)*6 = 24 SC
Stuff the head
23rd row: (DEC, 2 SC)*6 = 18 SC
24th row: (1 SC, DEC)*6 = 12 SC
25th row: 6 DEC = 6 SC, SL ST, finish stuffing, cut the yarn, pull the end through all stitches, tighten the hole, secure the yarn with a knot, and hide it inside.
Legs-Body (dark brown): – Amigurumi Cat
Chain 5 (the loop on the hook never counts)
1st row: Starting from the 2nd chain from the hook, 2 SC in the first stitch, 2 SC, 5 SC in one stitch (this should be the end stitch of the chain), continue around: 2 SC, 3 SC in one stitch (this should be the end stitch of the chain you started with) = 14 SC
2nd-3rd rows: 14 SC
4th row: 3 SC, 4 DEC, 3 SC = 10 SC
5th row: 1 SC, 4 DEC, 1 SC = 6 SC
Stuff the shoe
6th-19th rows: 6 SC
Stuff the leg gradually.
It’s convenient to stuff through small holes using blunt closed scissors. Push the filler in very small pieces; otherwise, it will bulge the leg and come out between the stitches. In the last row, make a SL ST, cut and secure the yarn.
Make the second leg the same way, but do not cut the yarn at the end. Now, we will join the legs to form the body. Hold the legs so both feet point forward. There will be 3 CH between them. Finish the row to the joining point, chain 3. From the next stitch (joining the second leg), start counting rows again.
1st row: 6 SC, 3 SC along the chain, 6 SC, 3 SC along the other side of the chain = 18 SC
2nd row: (2 SC, 2 INC, 2 SC, 3 INC)*2 = 28 SC
3rd row: 28 SC
4th row: (INC, 6 SC)*4 = 32 SC
5th-14th rows: 32 SC
15th row: (DEC, 14 SC)*2 = 30 SC
16th-19th rows: 30 SC
20th row: (7 SC, DEC, 6 SC)*2 = 28 SC
21st-24th rows: 28 SC
25th row: (DEC, 12 SC)*2 = 26 SC
Feet forward
6 SC
Row start
6 SC
26th row: 26 SC
27th row: (6 SC, DEC, 5 SC)*2 = 24 SC
28th row: 24 SC
29th row: (DEC, 10 SC)*2 = 22 SC
Make a SL ST, cut the yarn leaving a tail for sewing, and secure. Stuff the body and sew it to the head. When there’s a small opening left, stuff firmly, then finish sewing.
Dress (pink): – Amigurumi Cat
Hold the toy facing you and around the head, close to the body, work a row of SC (row 1). It’s best to start from the back. Join the yarn, make a CH – this is the first stitch. There should be about 22-24 SC.
2nd row: Depending on how many you have, use even increases to get to 27 = 27 SC
Secure and hide the starting yarn end; it’s difficult to do this later.
3rd row: (5 SC, INC, 3 SC)*3 = 30 SC
4th row: (INC, 9 SC)*3 = 33 SC
5th row: (6 SC, INC, 4 SC)*3 = 36 SC
6th row: 36 SC
7th row: (INC, 17 SC)*2 = 38 SC
8th-9th rows: 38 SC
10th row: (10 SC, INC, 8 SC)*2 = 40 SC
11th-15th rows: 40 SC
16th row: (INC, 19 SC)*2 = 42 SC
17th-21st rows: 42 SC
22nd row: (11 SC, INC, 9 SC)*2 = 44 SC
23rd-27th rows: 44 SC
28th row: (INC, 21 SC)*2 = 46 SC
29th-35th rows: 46 SC
Make a SL ST, cut the yarn, secure, and hide it inside the dress.
Neckline (pink): – Amigurumi Cat
Mark three central stitches in the front, which will be skipped for now. We will crochet around them.
Crochet using front and back rows. Reverse single crochets are worked the same way as regular ones, but the hook is inserted from behind the work and the yarn is pulled from the front.
Turn the doll so that the head is facing you and start crocheting from the marked stitches around the neck.
1st row: crochet a row of single crochets (excluding the 3 marked front stitches), approximately 20 sc, chain 1, and turn.
In the following rows, increases at the beginning and end of the row should remain unchanged. If the initial number of stitches around the neck is not 20, slightly adjust the number of stitches in the description of the back part of the collar.
2nd row (reverse): 3-in-1 inc, inc, 5 sc, inc, 4 sc, inc, 5 sc, inc, 3-in-1 inc, sl st into the nearest of the three front stitches, do not chain, turn.
3rd row: starting from the 1st stitch from the hook, 1 sc, inc, 1 sc, inc, 21 sc, inc, 1 sc, inc, 1 sc, sl st into the nearest of the three front stitches.
Cut the yarn, leaving a tail, and secure. Use the remaining yarn end to pull the collar edges closer to the body for a neater appearance, secure the yarn, and hide it inside the body.
Arms (dark brown, pink), 2 pcs: – Amigurumi Cat
Start crocheting with dark brown yarn.
1st row: 8 sc in a magic ring.
2nd-3rd rows: 8 sc.
4th row: (dec, 2 sc) * 2 = 6 sc.
Stuff the fist. Gradually stuff the arm as you crochet.

From the 1st row:
5th-14th rows: 6 sc.
15th row: 6 sc, change to pink yarn on the last stitch of the row. Leave a 40 cm end of the new yarn before starting to crochet. The dark brown yarn can be cut (secure and hide it).
16th row: (inc, 1 sc) * 3 = 9 sc.
17th row: 9 sc crocheted in the back loops only.
18th-23rd rows: 9 sc.
24th row: (dec, 1 sc) * 3 = 6 sc.
Sl st, cut the yarn leaving a tail for sewing, finish stuffing and close the opening.
Turn the arm so the fist is facing up. Crochet 9 sc in the remaining front loops of the initial row with the yarn end. Secure and hide the yarn inside the arm.
Attach the arms to the sides just under the collar. Sew them slanted so the arms hang down, not sticking out to the sides. Sew the buttons.
Eyes (white), 2 pcs: – Amigurumi Cat
Use a fine hook and thin yarn for the eyes.
1st row: 6 sc in a magic ring.
2nd row: 6 inc = 12 sc, sl st, cut the yarn leaving a tail for sewing, and secure.
Sew the eyes 8 rows down from the top of the head, approximately 2.5 stitches apart. Flatten the eye before each stitch to make it as round as possible.
Sew the black rhinestones at a slant downwards and inwards. Sew each with two stitches of doubled thread, pulling the thread tightly after each stitch to ensure the rhinestone is firmly attached. Secure the thread end slightly lower, where it will be hidden by the nose.
Nose (black): – Amigurumi Cat
Use a fine hook and thin yarn for the nose.
1st row: 6 sc in a magic ring.
2nd row: 6 inc = 12 sc.
3rd row: 12 sc.
Sl st, cut the yarn leaving a tail for sewing, and secure.
Shape the nose into an oval and sew it about half a row below the eyes. Do not stretch the nose while sewing as it will be slightly stuffed. Leave a small opening, stuff the nose, and finish sewing.
Hairstyle (dark brown): – Amigurumi Cat
Pieces 1 and 2:
1st row: 6 sc in a magic ring.
2nd row: (inc, 2 sc) * 2 = 8 sc.
3rd row: 7 sc, sl st, cut the yarn, and secure.
Piece 3:
1st row: 6 sc in a magic ring.
2nd row: (2 inc, 1 sc) * 2 = 10 sc.
3rd row: 9 sc, sl st, cut the yarn, and secure.
Piece 4:
1st row: 6 sc in a magic ring.
2nd row: (2 inc, 1 sc) * 2 = 10 sc.
3rd row: 10 sc.
Attach piece 3. Crochet 3 sc, joining pieces 3 and 4 together. Now the row begins here.
4th row: crochet the remaining stitches of pieces 3 and 4 in one row = 14 sc.
5th row: 3 sc, dec, 5 sc, dec, 2 sc = 12 sc.
In the next row, the side pieces 1 and 2 will be joined similarly to piece 3, connecting with 2 stitches each.
6th row: 2 sc, 2 sc with piece 1, 4 sc, 2 sc with piece 2, 2 sc = 20 sc in total.
7th row: 4 sc, dec, 8 sc, dec, 4 sc = 18 sc.
8th row: (dec, 7 sc) * 2 = 16 sc.
9th row: (6 sc, dec) * 2 = 14 sc.
10th row: (3 sc, dec, 2 sc) * 2 = 12 sc.
11th row: 12 sc.
Sl st, cut the yarn leaving a tail for sewing, and secure.
Stuff the hairstyle and sew it to the top of the head.
Ears (yellow, orange), 2 pcs: – Amigurumi Cat
First, crochet the inner (front) part of the ear with yellow yarn, following the pattern/description for rows 1-2.
Chain 4 (the loop on the hook does not count).
1st row: starting from the 2nd chain from the hook, 2 sc in the first stitch, 1 sc, 5 sc in the last chain (this should be the end of the chain), continue around: 1 sc, 3 sc in the last chain (this should be the starting chain of the row) = 12 sc.
2nd row: 3-in-1 inc, 4 sc, 3-in-1 inc, 4 sc, 3-in-1 inc (the third stitch of the increase is made with a sl st), cut the yellow yarn, and secure.
Crochet the outer (back) part of the ear with orange yarn in the same way (rows 1-2), do not cut the orange yarn.
Place the pieces wrong sides together and, with the yellow side facing you, crochet them together following row 3 (highlighted in red on the pattern).
3rd row: starting from the far-left stitch of the 3-in-1 inc on the yellow part and from the 3rd stitch from the hook on the orange part: 3-in-1 inc, 5 sc, 3-in-1 inc (make a chain between the second and third stitches of the increase), 5 sc, 3-in-1 inc.
Cut the yarn, leaving a tail for sewing, and secure.
Hide all ends inside the ear. Sew the ears to the top sides of the head, almost touching the hairstyle. Sew them flat, attaching each side separately.
Starting from the far stitch of the 3-in-1 inc, insert the working yarn between the pieces, from the 3rd stitch from the hook.
Tail (orange): – Amigurumi Cat
1: 6 single crochets (sc) in magic ring.
2: 6 increases (inc) = 12 sc.
3: (inc, 2 sc)*4 = 16 sc.
4-7: 16 sc.
8: (decrease, 6 sc)*2 = 14 sc.
9-11: 14 sc.
12: (3 sc, decrease, 2 sc)*2 = 12 sc.
13-15: 12 sc.
16: (decrease, 4 sc)*2 = 10 sc.
17-18: 10 sc.
19: (2 sc, decrease, 1 sc)*2 = 8 sc.
20-21: 8 sc.
Make a slip stitch (ss), cut the yarn leaving a tail for sewing, and fasten off. Stuff the tail.
Using dark brown yarn, embroider three stripes with the tambour stitch. The first stripe should be made approximately 5 rows from the starting ring, then continue embroidering stripes every 3 rows. Make the stitches between rows, going through the gaps between stitches. Since the piece is crocheted in a spiral and rows do not form a perfect circle, carefully transition between rows. Do this over several stitches and always on one side of the tail; later, this side will be hidden underneath.
Sew the tail onto the body approximately 2 rows from the bottom.
Using the same dark brown yarn, embroider the cheeks with the tambour stitch. The middle stripe should be at the level of the bottom of the nose, approximately 3 stitches away from it, and consist of 7 stitches. The other two stripes are sewn above and below, one row apart from the first, approximately 6 stitches away from the nose. Start all stitches from the nose side. Repeat the same process on the other side, starting each stitch from the nose side. Secure the thread on the head.
Using the tambour stitch with three strands of embroidery floss, embroider the smile. Bring the end of the thread above the eye. Make eyelashes with regular stitches. Secure the thread on the black nose.
Dad: – Amigurumi Cat
Head (orange): – Amigurumi Cat
1-19: Follow the increasing pattern to reach 60 single crochets (sc).
20-24: Decrease as indicated to reach 54 sc.
25-33: Decrease as indicated to reach 42 sc.
Fasten off, leaving a tail for sewing. Stuff the head.
Legs-Torso (dark brown, dark blue): – Amigurumi Cat
Start with dark brown yarn.
2-4: 14 sc.
Switch to dark blue yarn.
1: Starting from the 2nd chain from the hook, sc in the first chain, 2 sc, 5 sc in the next chain, continue around: 2 sc, 3 sc in the next chain = 14 sc.
5: 3 sc, 4 decreases, 3 sc = 10 sc.
6: 2 sc, 3 decreases, 2 sc = 7 sc.
Stuff the shoe.
7: 7 sc, switch to dark blue on the last stitch of the row.
Leave a tail of approximately 50 cm before starting to crochet with the new yarn. Cut the dark brown yarn (secure and hide it inside the shoe).
8: Inc, 1 sc, inc, 2 sc, inc, 1 sc = 10 sc.
9-18: 10 sc.
Remember to stuff the leg gradually. At the end of the last row, make a slip stitch, cut the yarn, and fasten off.
Turn the shoe upside down and, against the direction of crocheting, sc in the remaining front loop with the starting tail, creating 10 sc (like the arms on Mom). Repeat the same process for the second leg, leaving the yarn end uncut.
Stuff the legs.
We will connect them to the torso. Keep the feet facing forward. There should be 4 chains between them. Continue crocheting until reaching the connection point, then make 4 chains. Count the rows anew from the next stitch (where the second leg is attached).
1: 10 sc, 4 chains in the air, 10 sc, 4 chains in the air = 28 sc.
2: (Inc, 1 sc)*5, 4 inc, (1 sc, inc)*5, 1 sc, 2 inc, 1 sc = 44 sc.
3: (6 sc, inc, 4 sc)*4 = 48 sc.
4: 48 sc.
5: (Inc, 23 sc)*2 = 50 sc.
6: 50 sc.
7: (13 sc, inc, 11 sc)*2 = 52 sc.
8: 52 sc.
9: (Inc, 25 sc)*2 = 54 sc.
10: 54 sc.
11: (14 sc, inc, 12 sc)*2 = 56 sc.
12-19: 56 sc.
20: (Dec, 26 sc)*2 = 54 sc.
21-24: 54 sc.
Make 10 sc.
Begin the row.
Make 10 sc.
25: (13 sc, dec, 12 sc)*2 = 52 sc.
26-27: 52 sc.
28: (Dec, 24 sc)*2 = 50 sc.
29: 50 sc.
30: (12 sc, dec, 11 sc)*2 = 48 sc.
31: (Dec, 22 sc)*2 = 46 sc.
32: (11 sc, dec, 10 sc)*2 = 44 sc.
33: (Dec, 20 sc)*2 = 42 sc.
Make a slip stitch, cut the yarn, leaving a tail for sewing, and fasten off.
Do not change the yarn color for the torso; crochet everything using dark blue (the thread ran out, and it won’t be visible here anyway).
Stuff the torso and sew it to the head, placing the bottom part of the head where you stopped crocheting. Sew it almost all the way around. When there’s a small opening left, stuff it tightly and finish sewing it shut.
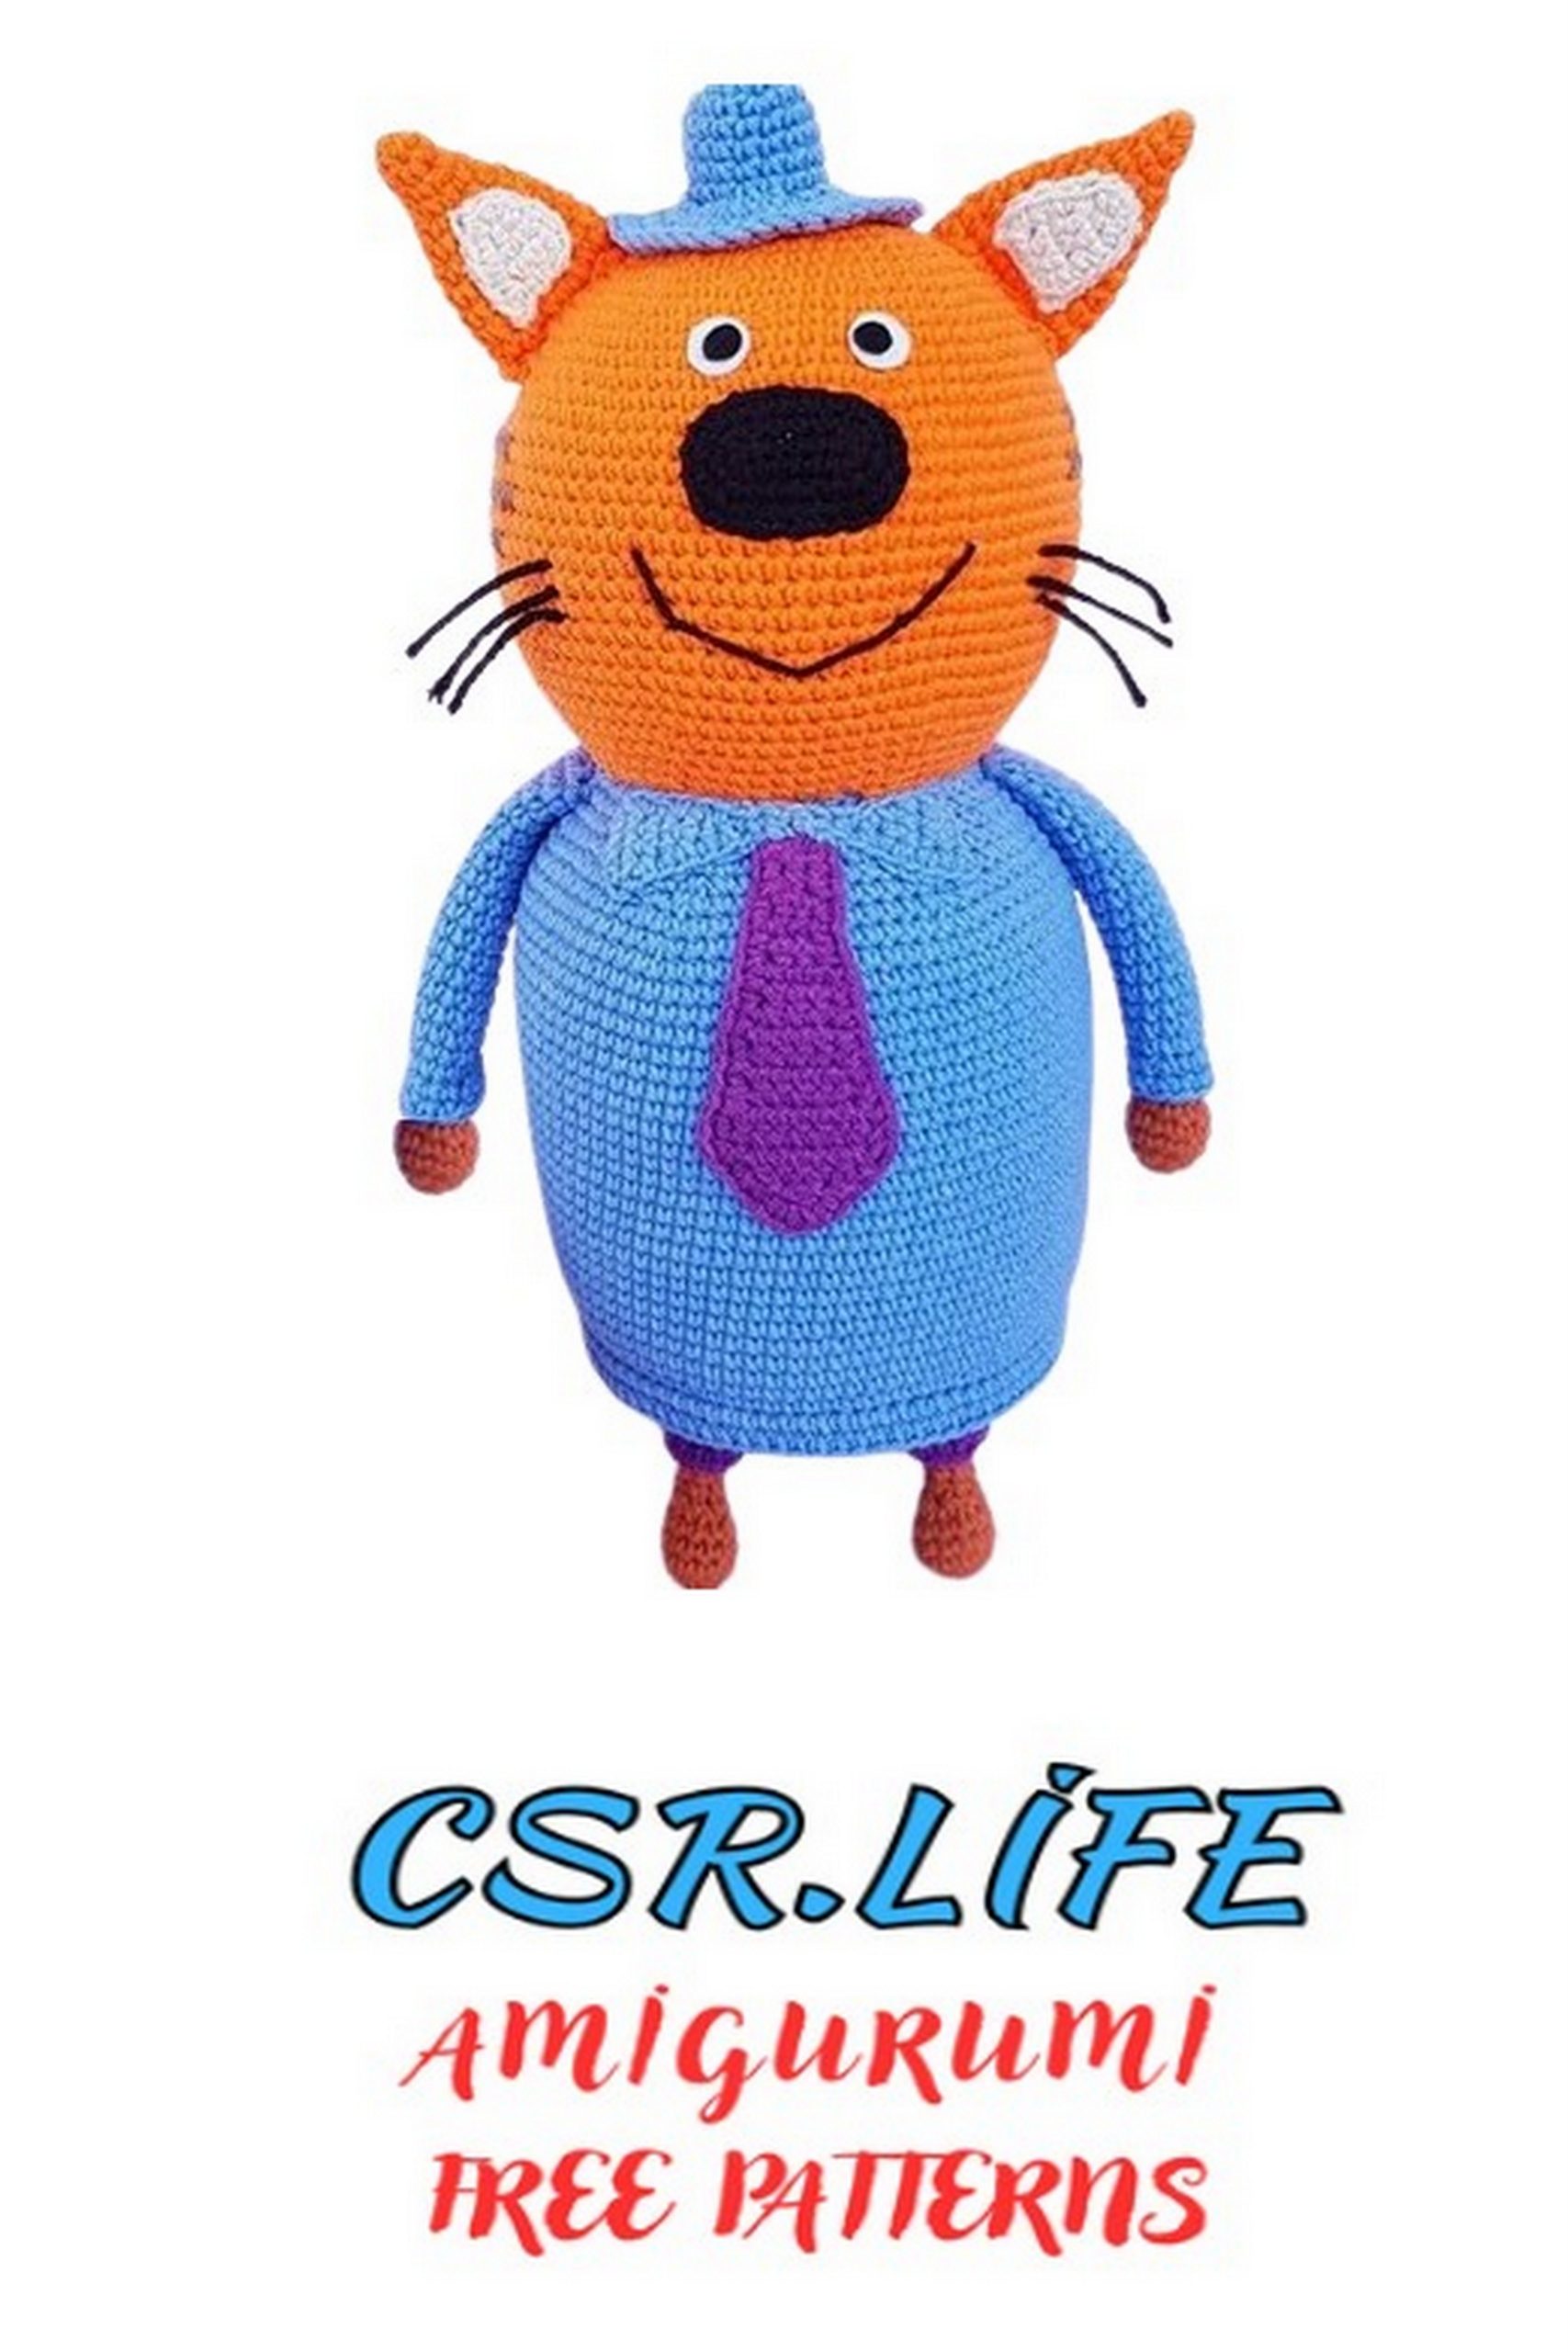
Jacket (blue): – Amigurumi Cat
We crochet following the same principle as for the mom’s dress. Around the sewn body, we start crocheting single crochets directly over the head. We crochet almost tightly to the body. It turns out to be ≈ 44 single crochets, ±2 stitches are acceptable.
2nd row: depending on how many stitches were crocheted, we evenly increase their number to 48 = 48 single crochets.
Fasten off and weave in the initial yarn end.
3rd row: (inc, 15 sc)*3 = 51 sc
4th row: (9 sc, inc, 7 sc)*3 = 54 sc
5th row: (inc, 17 sc)*3 = 57 sc
6th row: (10 sc, inc, 8 sc)*3 = 60 sc
7th-10th rows: 60 sc
11th row: (inc, 19 sc)*3 = 63 sc
12th-15th rows: 63 sc
16th row: (11 sc, inc, 9 sc)*3 = 66 sc
17th-31st rows: 66 sc
Slip stitch, cut the yarn, fasten off, and pull the yarn end up inside the jacket.
Collar (blue): – Amigurumi Cat
Mark the three middle stitches in the front and skip them for now. We will crochet around them. Turn the jacket with the head towards you and start crocheting from the marked stitches around the neck, along the body.
1st row: 2 sc, slip stitch, turn the work.
2nd row (WS): starting from the 1st stitch from the hook (the loop on the hook doesn’t count) 3 sc, ch 1, turn.
3rd row: starting from the 2nd stitch from the hook, 5 sc, slip stitch (pick up the last 2 sc and slip stitch directly along the body), turn the work.
4th row (WS): starting from the 1st stitch from the hook, 6 sc, ch 1, turn.
5th row: starting from the 2nd stitch from the hook, 9 sc, slip stitch.
6th row (WS): starting from the 1st stitch from the hook, 10 sc, ch 1, turn.
7th row: starting from the 2nd stitch from the hook, 10 sc, inc, 9 sc, inc, 9 sc, inc, 10 sc, ch 1, turn the work.
When increasing in this row, simply pick up 2 stitches in the same place.
8th row (WS): starting from the 2nd stitch from the hook, 2 sc, slip stitch, turn the work.
Continue the pattern as per the instructions provided for the collar.
Continue following the pattern provided for the collar, working the specified number of rows and stitches for each row, making increases and decreases as indicated.
After completing the collar, fasten off, leaving approximately 40 cm of yarn for sewing. You can cut off the brown yarn (fasten off and weave in).
Arms (dark brown, blue), 2 pieces: – Amigurumi Cat
Start with the dark brown color.
1st row: 6 sc in magic ring.
2nd row: (2 inc, 1 sc)*2 = 10 sc
3rd-4th rows: 10 sc
5th row: dec, 1 sc, dec, 2 sc, dec, 1 sc = 7 sc
Stuff the fist.
6th row: 7 sc
7th row: 7 sc, change to blue color on the last stitch of the row.
Leave approximately 40 cm of blue yarn before crocheting. You can cut off the dark brown yarn (fasten off and weave in).
Continue following the instructions for the arms, making increases and maintaining the stitch count as specified.
Tie (dark blue, purple): – Amigurumi Cat
Crochet with dark blue yarn.
Follow the provided pattern for the tie, working the specified number of stitches for each row, making increases and decreases as indicated.
After completing the tie, fasten off, leaving a tail for sewing. Fasten off the initial end of the yarn and weave it inside the tie.
Embroider stripes with purple yarn using tambour stitch on the front side of the tie.
1: Sew only one part of the fabric, not through.
2: Sew 2 stripes across the row, then connect them with regular stitches along one edge of the loops.
3: Sew through the knot, through the inner part, so the stitch is not visible.
If it seems like it’s sticking out forward, sew it a little lower below the knot, pulling towards the body.
Eyes (white), 2 pieces: – Amigurumi Cat
For eyes, use a thin crochet hook and thin yarn.
1st row: 6 sc in magic ring.
2nd row: 6 inc = 12 sc, slip stitch, cut the yarn, leaving a tail for sewing, and fasten off.
Sew the eyes approximately 11 rows from the top, with about 5 stitches between them. Flatten the eye before each stitch, trying to make it even and round. Sew rhinestones as pupils, angled downwards and inwards.
Nose (black): – Amigurumi Cat
For the nose, use a thin crochet hook and thin yarn.
3rd row: (inc, 3 sc)*6 = 30 sc
Chain 7 stitches (the loop on the hook doesn’t count).
1st row: starting from the 2nd stitch from the hook, 2 sc in the first loop, 4 sc, 5 sc in one loop (the edge loop of the chain), continue around: 4 sc, 3 sc in one loop (the edge loop of the chain where the row started) = 18 sc
2nd row: inc, 6 sc, 3 inc, 6 sc, 2 inc = 24 sc
11 rows
≈ 5 stitches
4th row: 29 sc, slip stitch, cut the yarn, leaving a tail for sewing, and fasten off.
Sew approximately one row below the eyes. Sew not all the way, when there’s a small hole left, stuff it and finish sewing.
Hat (blue, dark blue): – Amigurumi Cat
Begin with the blue color.
1st row: 6 sc in magic ring.
2nd row: 6 inc = 12 sc
3rd row: (inc, 1 sc)*6 = 18 sc
4th row: (inc, 5 sc)*3 = 21 sc
5th row: (4 sc, inc, 2 sc)*3 = 24 sc
6th-9th rows: 24 sc
Slip stitch, cut the yarn, and fasten off. Continue crocheting with dark blue yarn.
For the 10th row, work front post single crochet stitches.
10th row: 24 front post sc
4 rows
11th row: 24 sc
Slip stitch, cut the yarn, and fasten off.
Switch back to blue yarn, and again work front post single crochet stitches for the next row.
If increases are indicated, simply pick up the yarn in the same place twice.
12th row (front post): (2 sc, inc)*8 = 32 sc
13th row: (inc, 3 sc)*8 = 40 sc
14th row: 40 sc
Slip stitch, cut the yarn, leaving a long tail for sewing (this will also be used to cinch), and fasten off.
Guide the yarn end through the next stitch and weave it inside, using small stitches to transition to the dark blue color.
Stuff the hat, sew it onto the head (better to start from the back). After sewing, secure the yarn and bring it out through the hat at a distance of 4 rows from the dark stripe, slightly to the side. Guide it back along the hat, pull, secure, and hide it.
To keep the hat brims down, wet them and straighten.
Ears (yellow, orange), 2 pieces: – Amigurumi Cat
First, crochet the inner (front) part of the ear with yellow yarn. Follow the pattern/description for rows 1-3.
Chain 5 stitches (the loop on the hook doesn’t count).
1st row: starting from the 2nd stitch from the hook, 2 sc in the first loop, 2 sc, 5 sc in one loop (this should be the edge loop of the chain), continue around: 2 sc, 3 sc in one loop (this should also be the edge loop of the chain where the row started) = 14 sc
2nd row: 3 inc, 5 sc, 3 inc, 1 sc
3rd row: 1 sc, 3 inc, 7 sc, 3 inc (the third stitch of the increase is worked as a slip stitch) – incomplete row, cut the yellow yarn and fasten off.
Similarly (rows 1-3), crochet the outer (back) part of the ear with orange yarn, but do not cut the orange yarn.
Just like mom, fold the pieces with the wrong sides together and, with the yellow side facing you, crochet them together according to the pattern/description for 4 rows (highlighted in red).
4th row: starting from the leftmost stitch of the increase on the yellow part and from the 3rd stitch from the hook on the orange part: 3 inc, 8 sc, 3 inc (make a ch between the second and third stitches of the increase), 8 sc, 3 inc
Cut the yarn, leaving a tail for sewing, and fasten off.
Attach the side edges of the hat brims to the head, so that the ears, when sewn on, don’t stick out too close. Sew the ears to the sides around the hat. Sew flat, but separately on each side.
Tail (orange): – Amigurumi Cat
1st row: 6 sc in magic ring.
2nd row: 6 inc = 12 sc
3rd row: (inc, 1 sc)*6 = 18 sc
4th-7th rows: 18 sc
8th row: (4 sc, dec, 3 sc)*2 = 16 sc
9th-10th rows: 16 sc
11th row: (dec, 6 sc)*2 = 14 sc
12th-13th rows: 14 sc
14th row: (3 sc, dec, 2 sc)*2 = 12 sc
15th-20th rows: 12 sc
Slip stitch, cut the yarn, leaving a tail for sewing, and fasten off.
Stuff the tail. Using dark brown yarn, embroider three stripes with tambour stitch. The first one is through 5 rows from the initial ring, then every 4 rows.
Attach the tail to the butt ≈ 2 rows from the legs.
Using dark brown yarn and tambour stitch, embroider cheeks. The middle stripe is at the level of the lower edge of the nose, ≈ 3-3.5 stitches away from it, with a length of 12 stitches.
The other two are above and below, one row apart from the first one and one stitch further from the nose, i.e., with 11 stitches each. Do the same on the other side.
Embroider a smile with 3 strands of floss in 3 folds.
5 rows
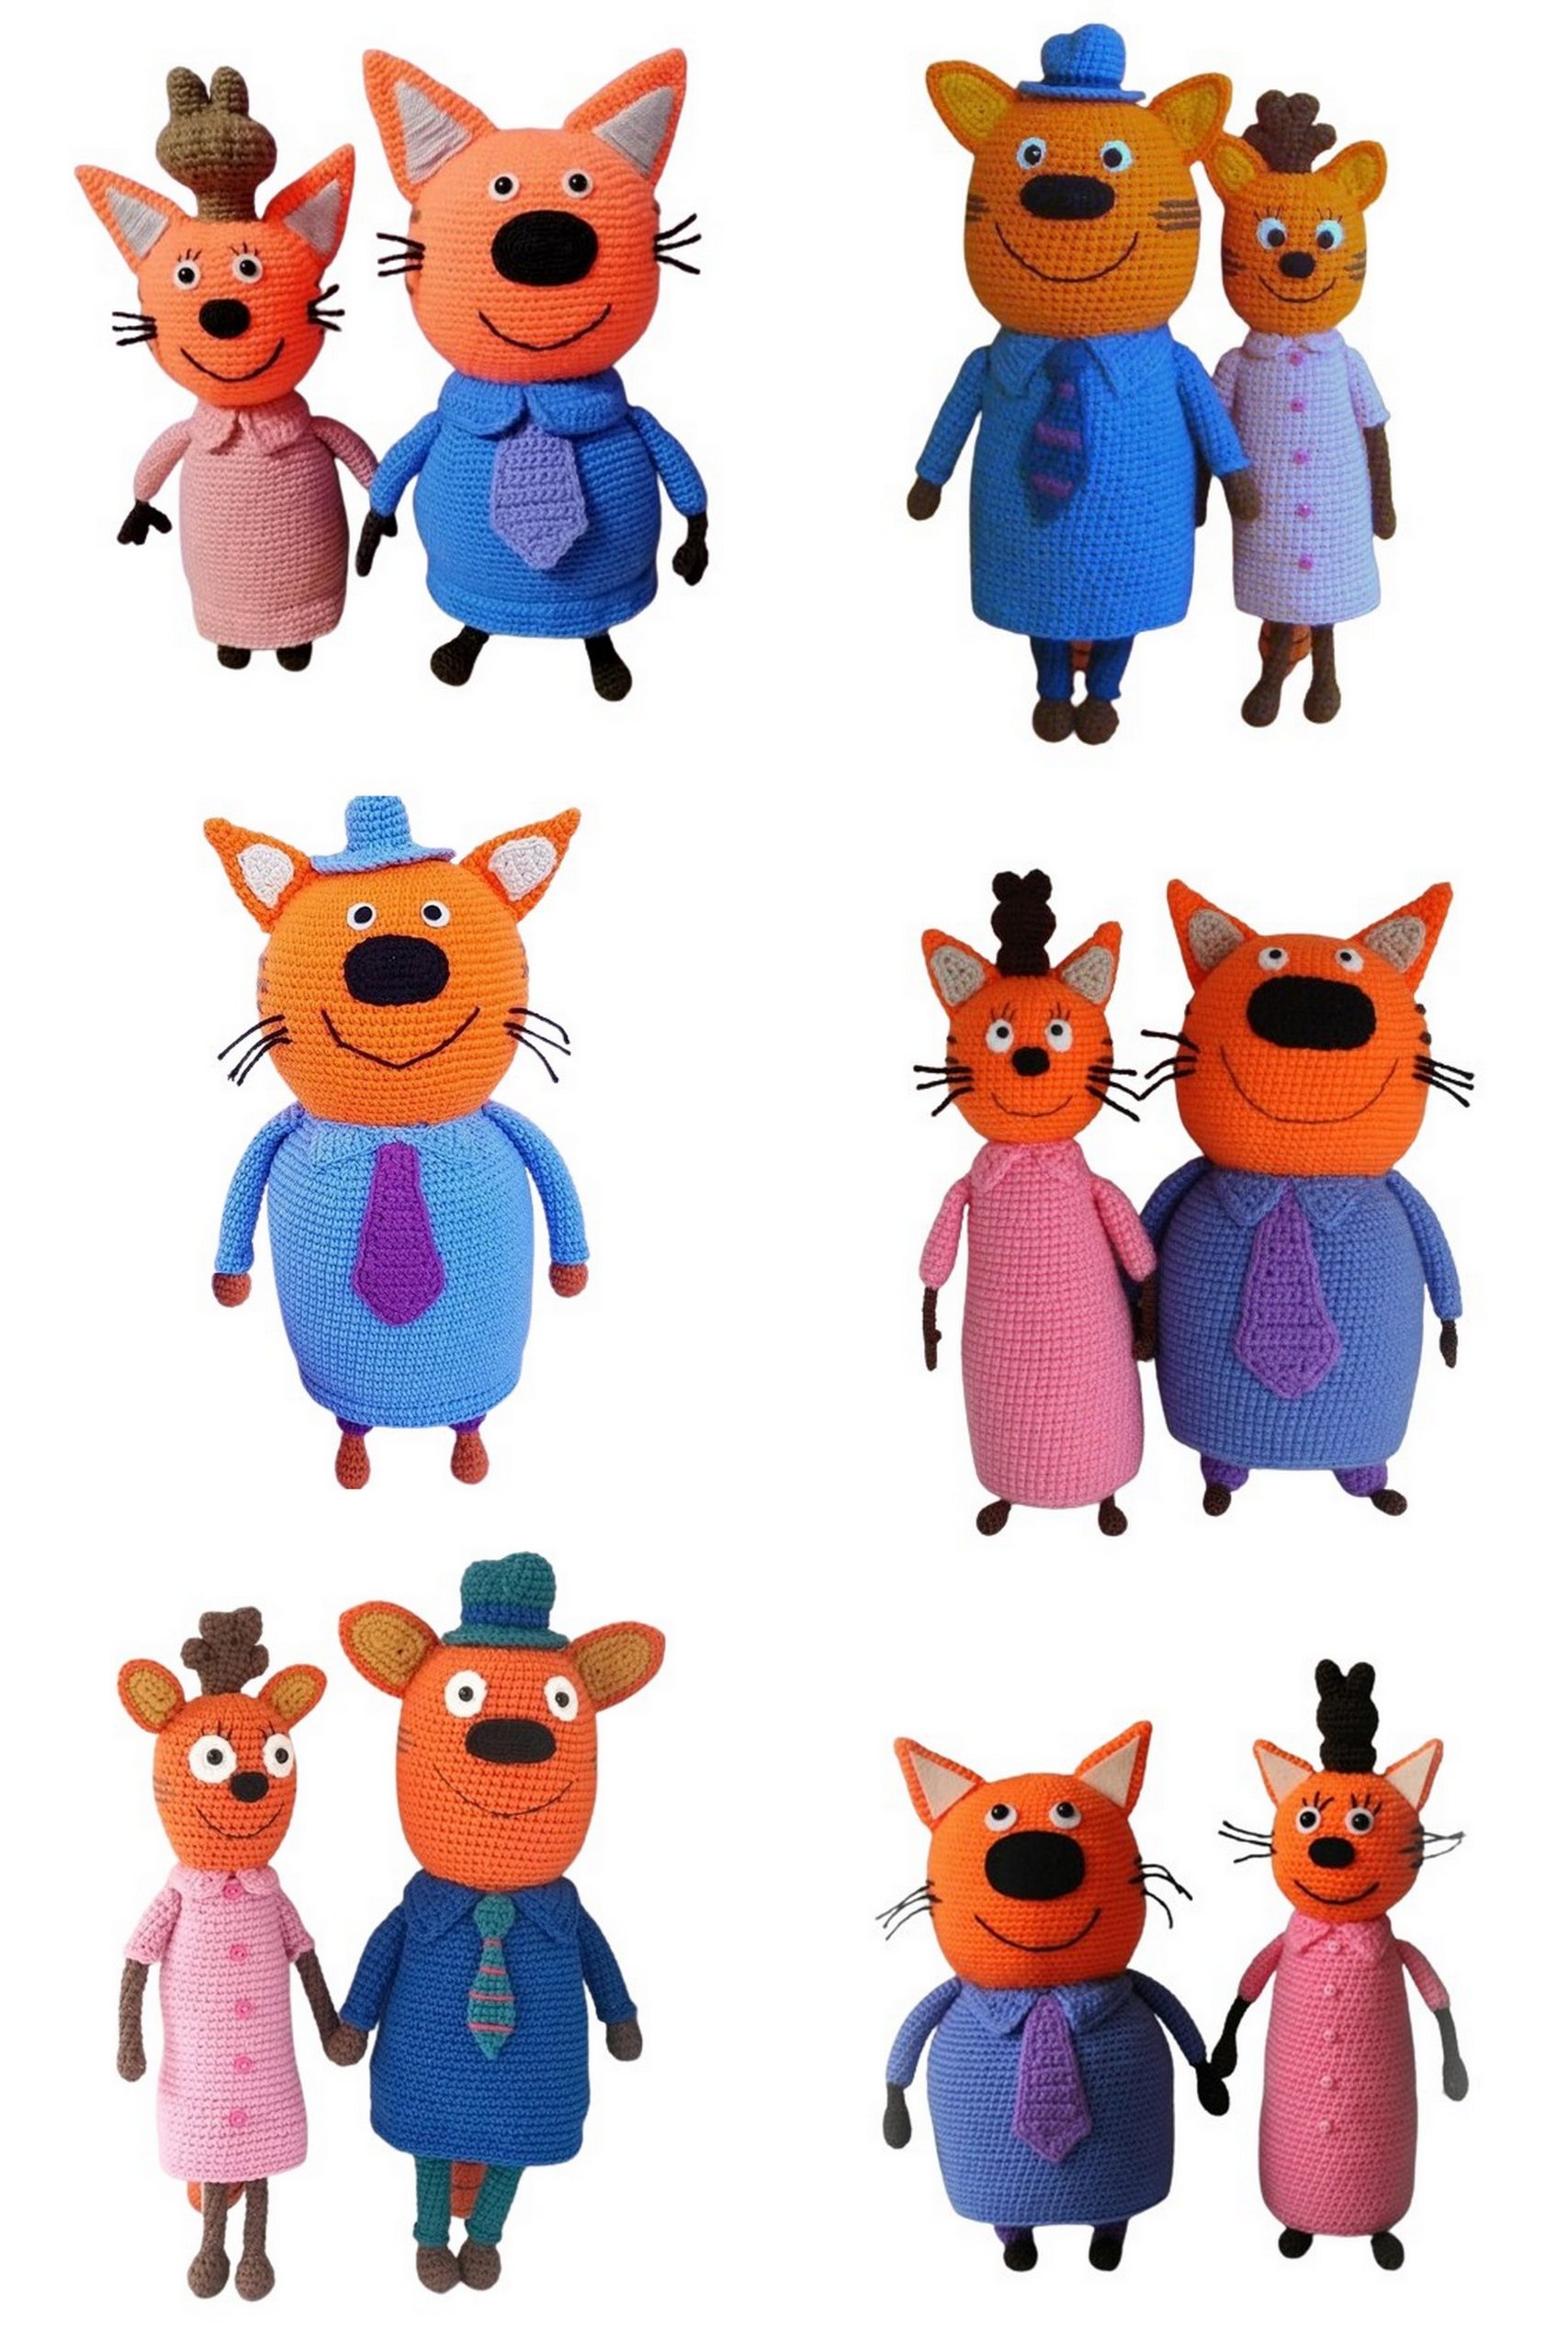
Mom and Dad are DONE!