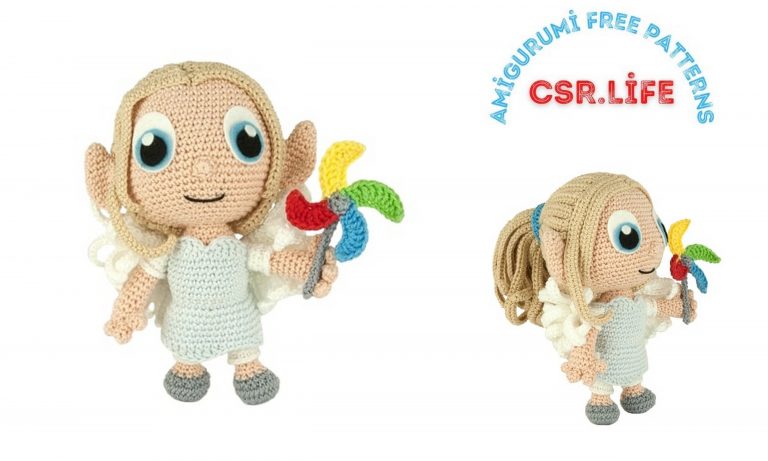
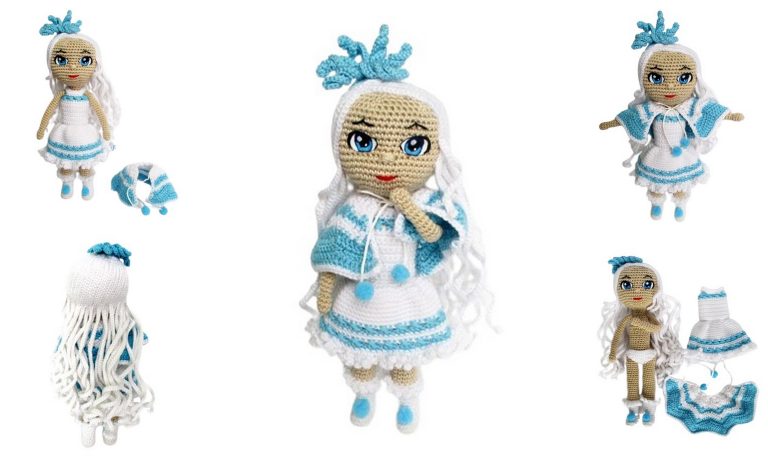
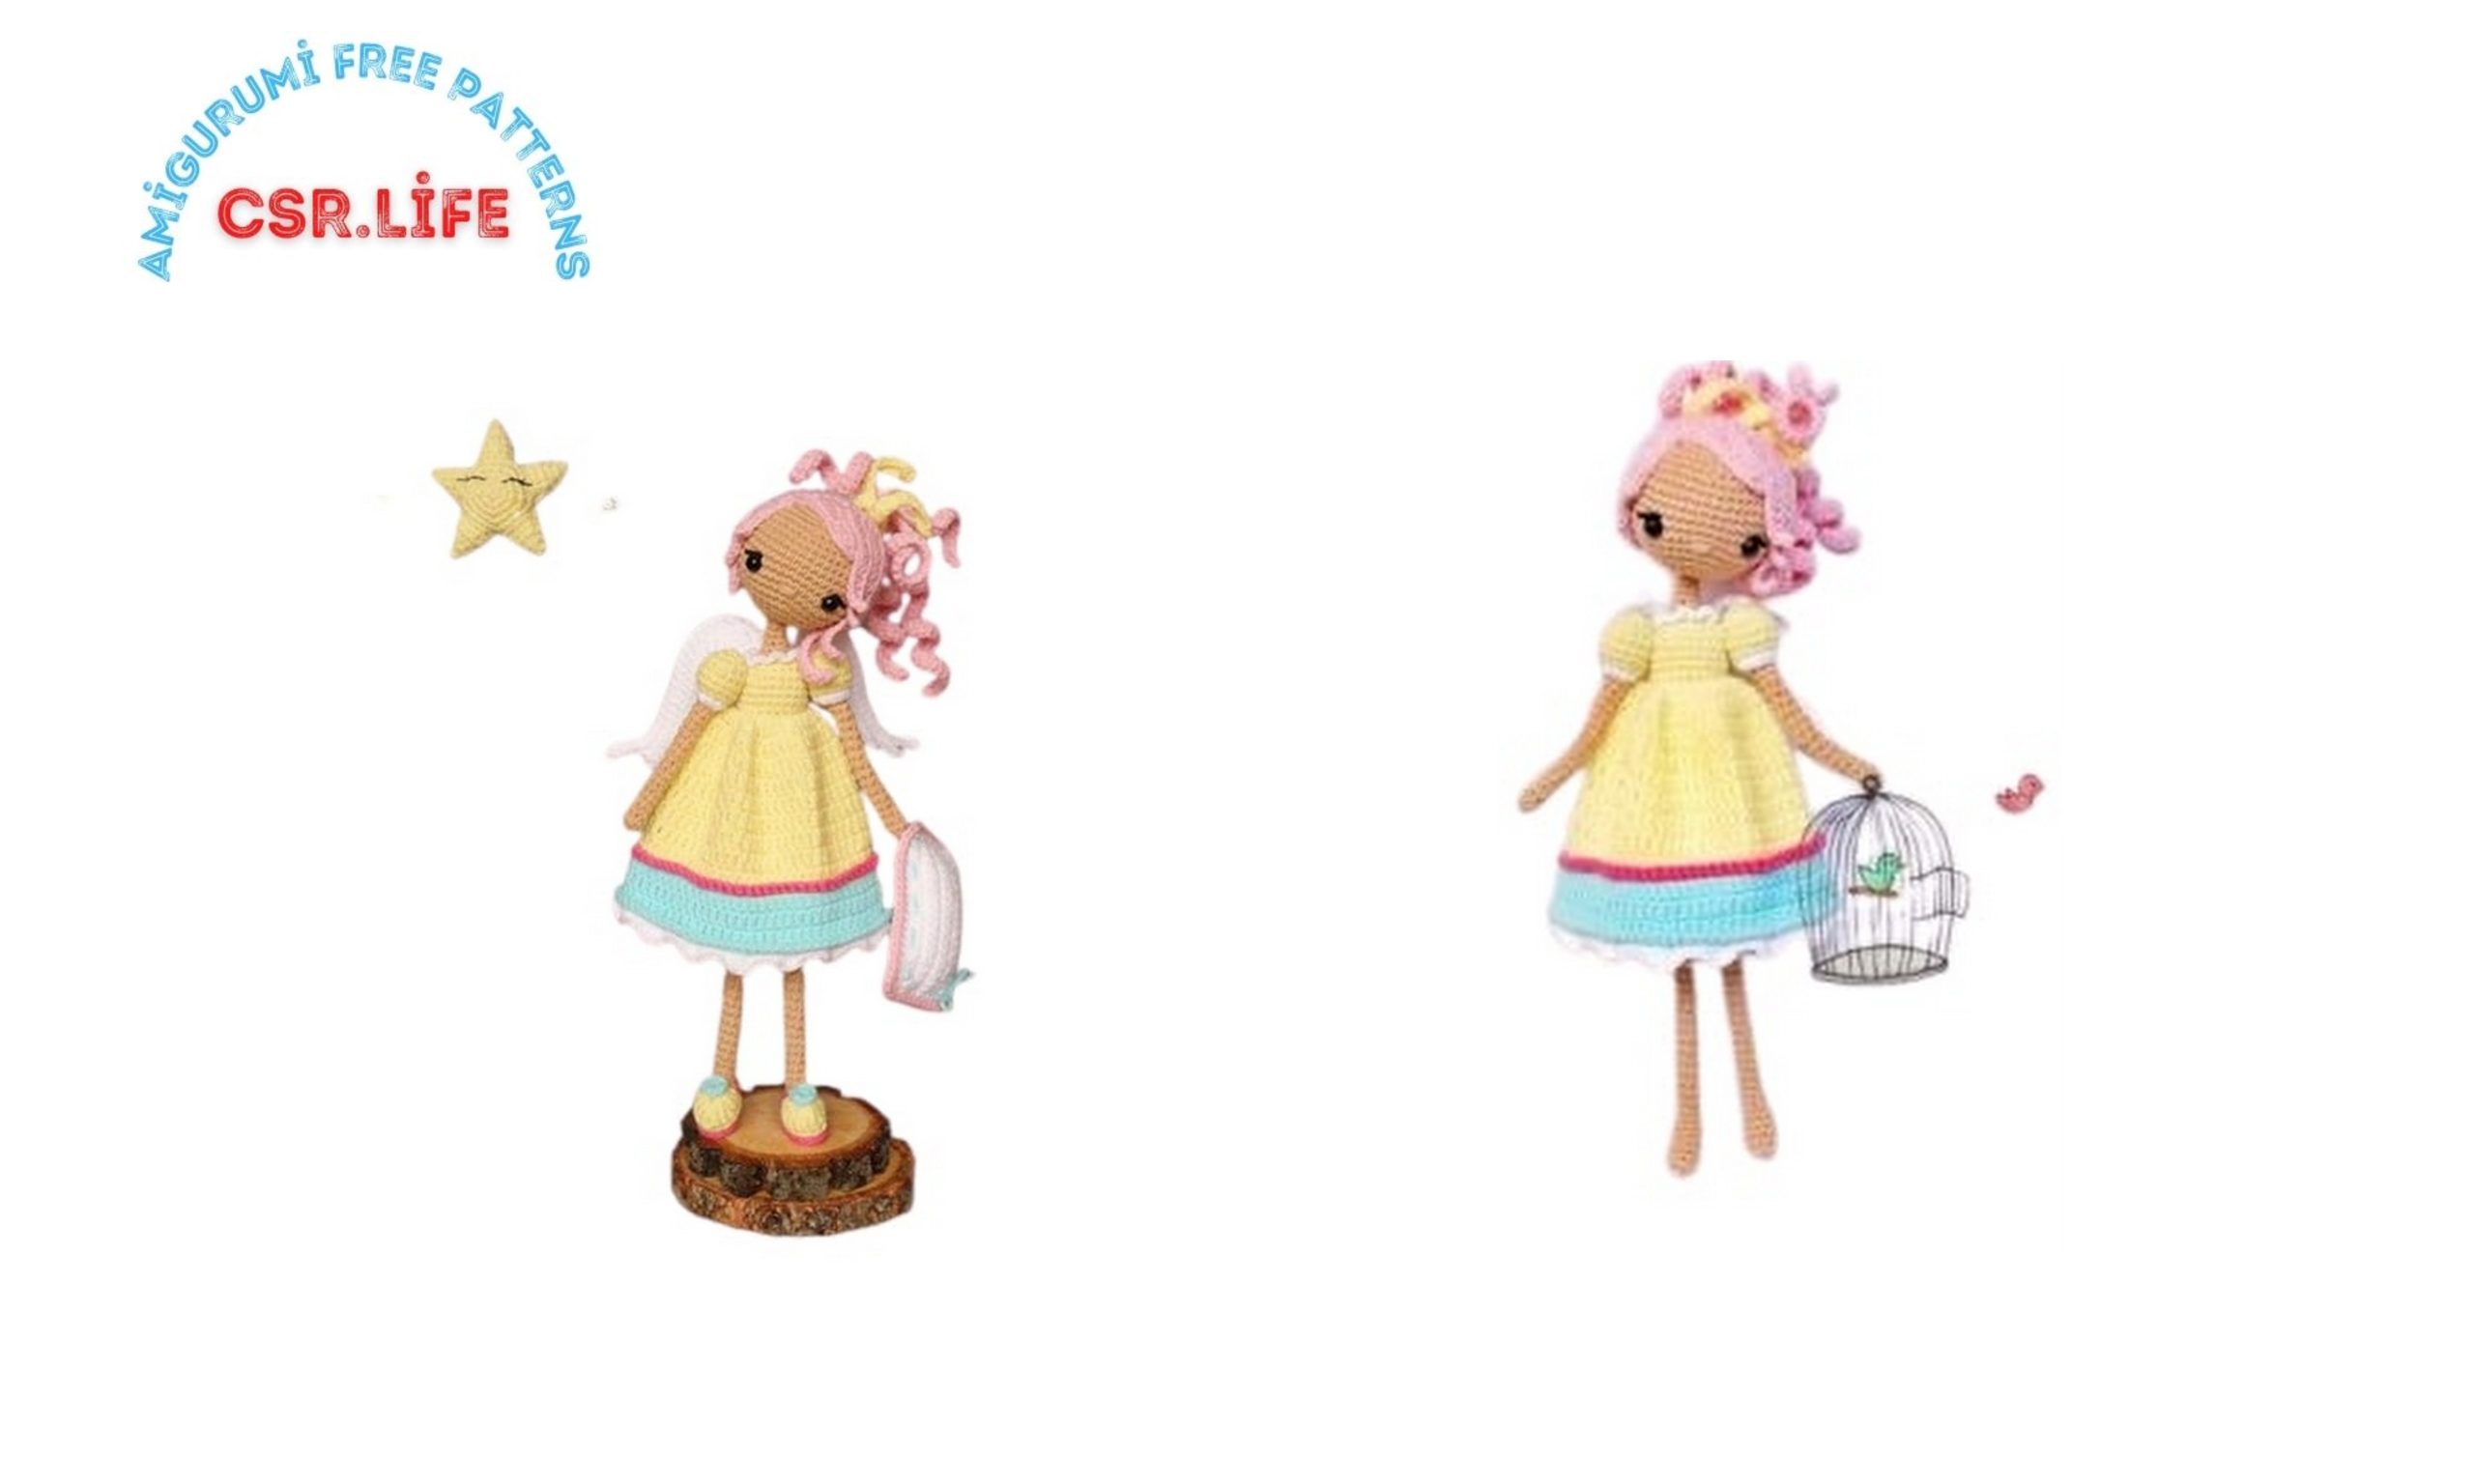
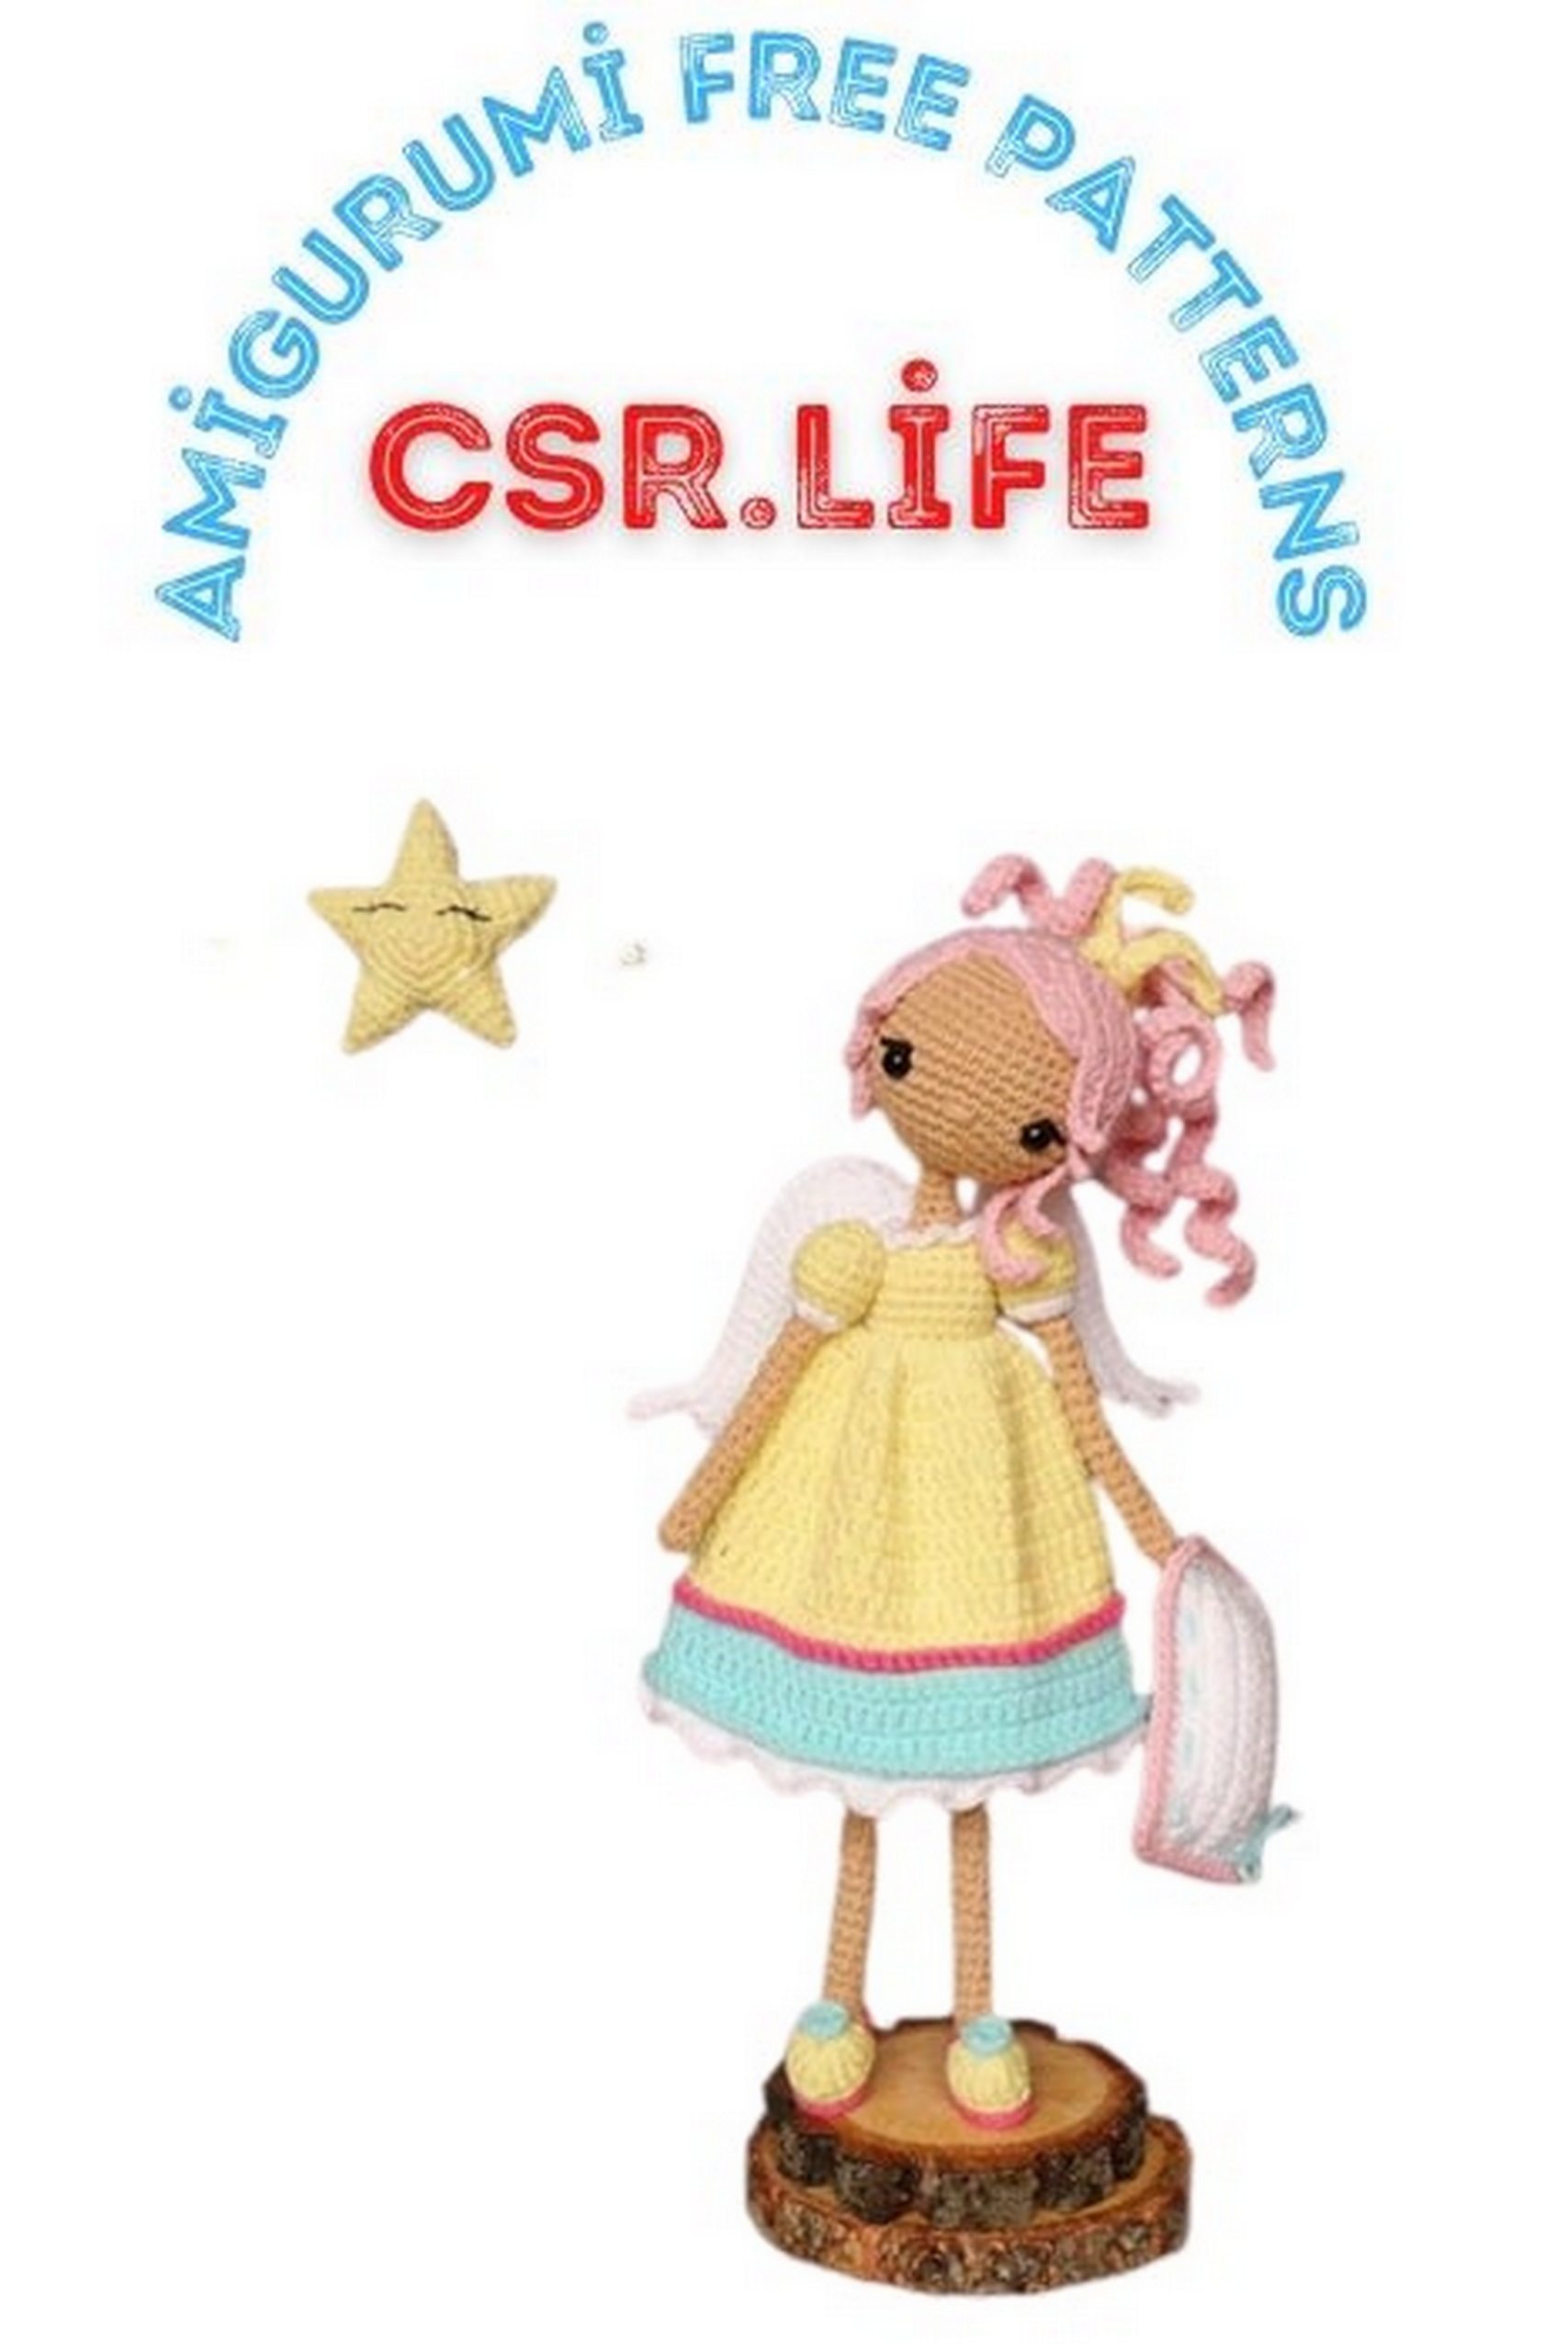
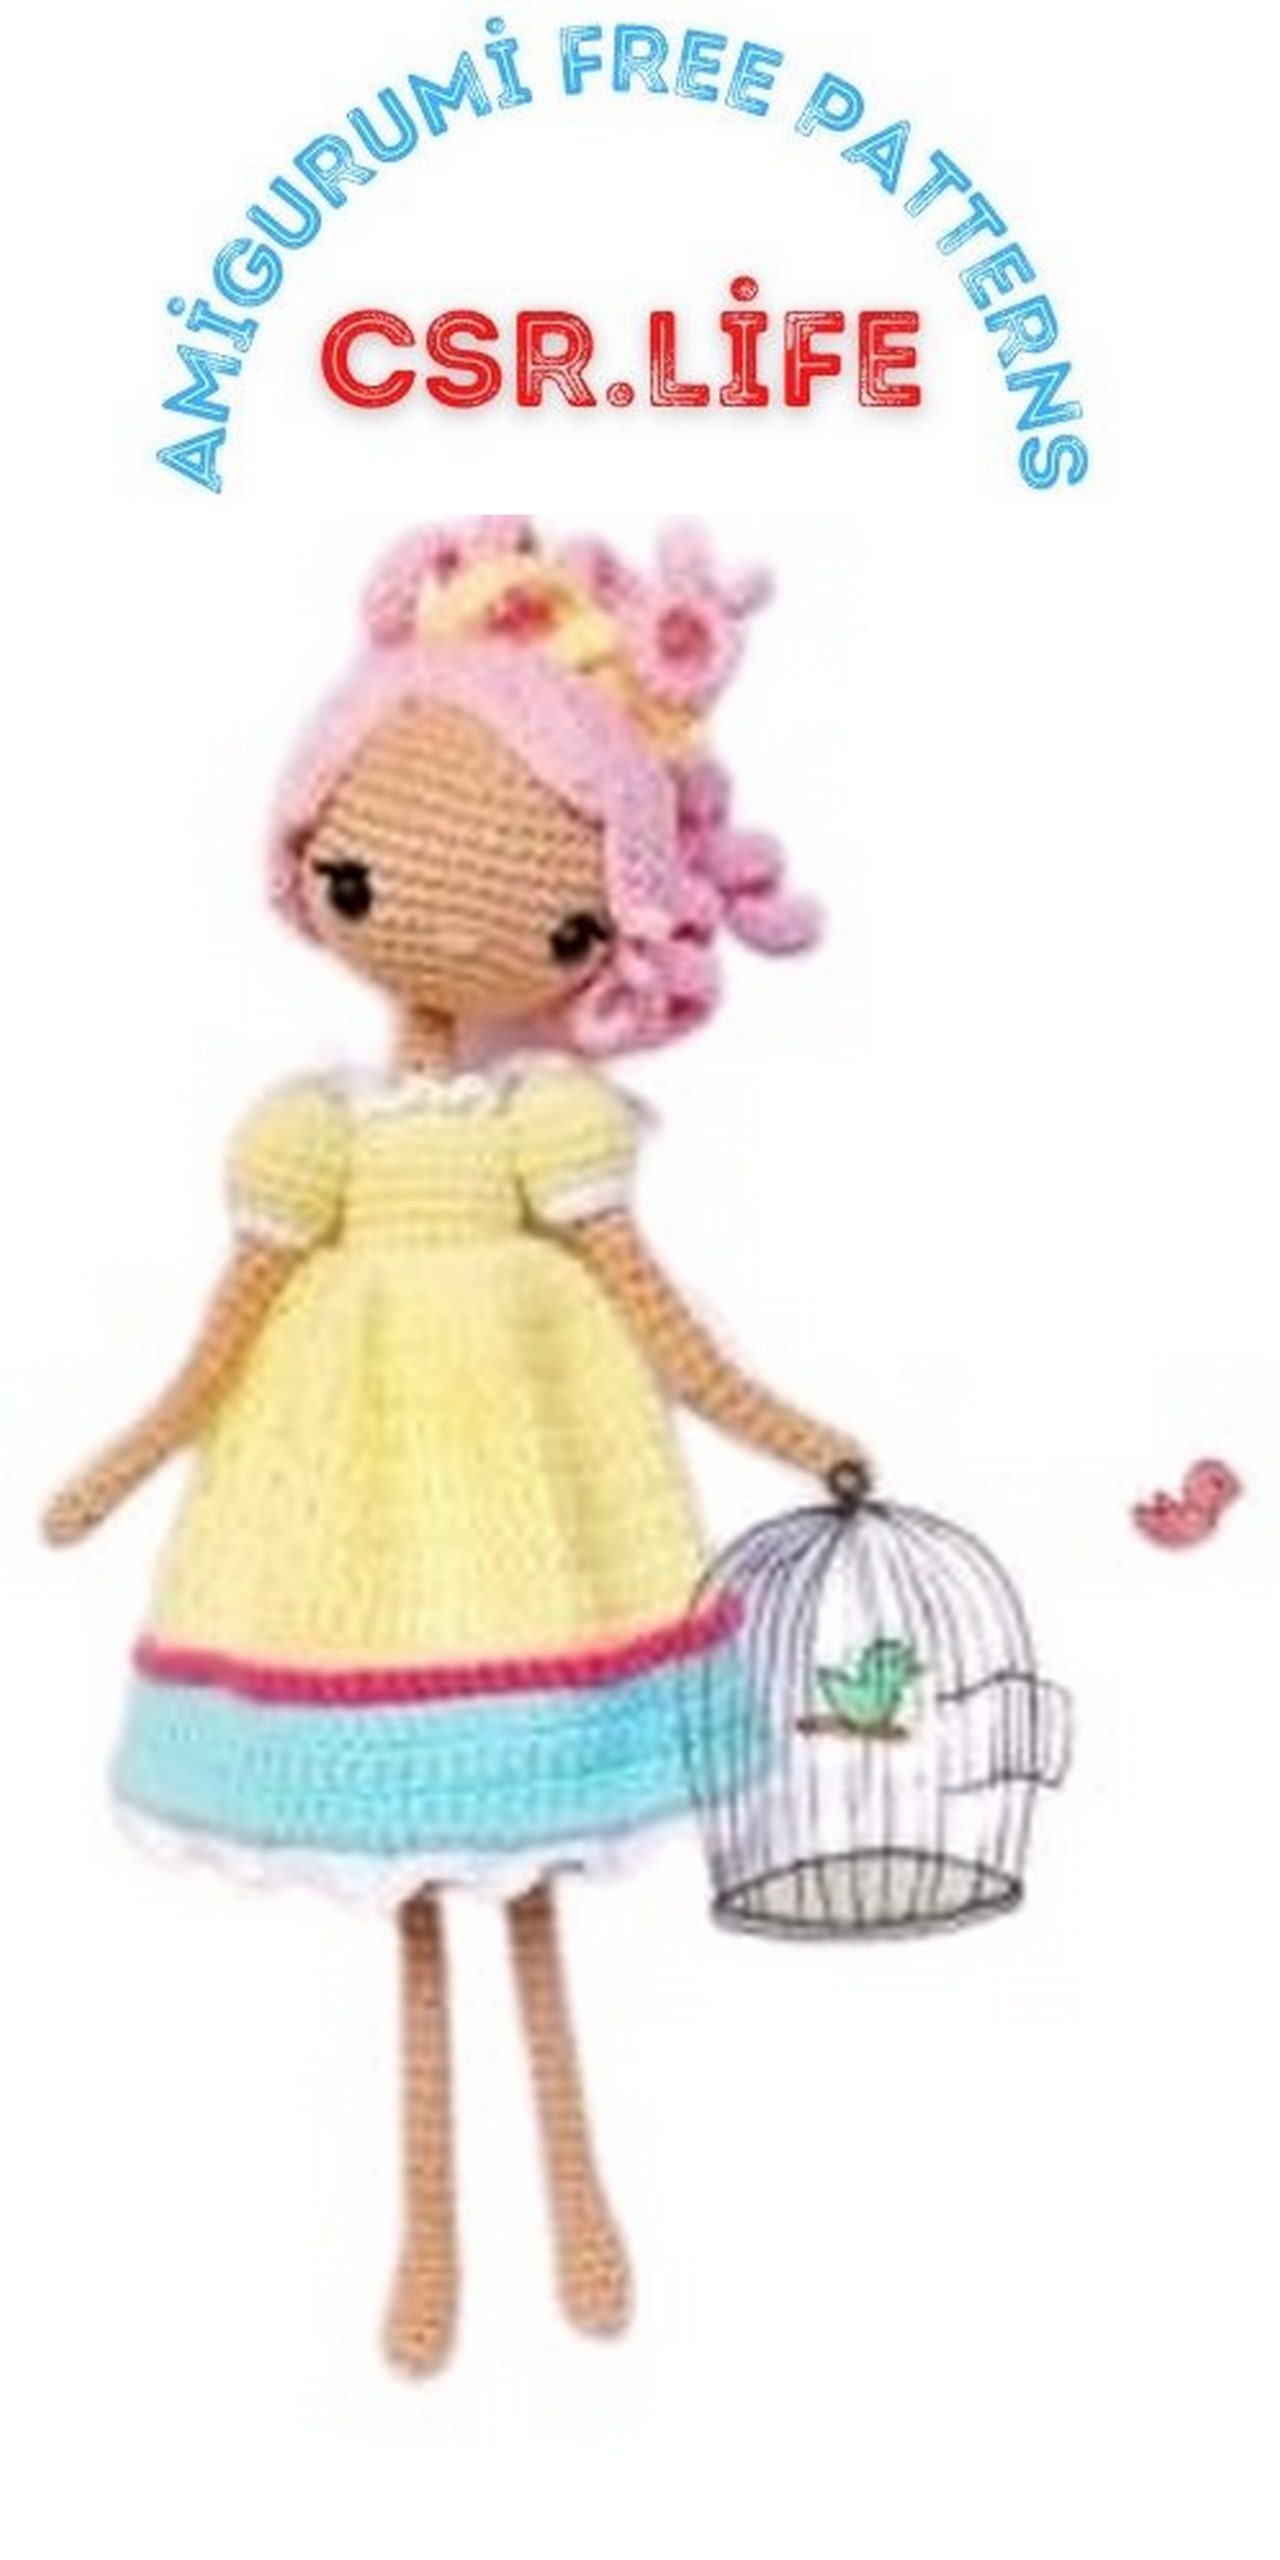
Amigurumi Dream Fairy Doll Free Crochet Pattern
Welcome to our website where you can find the most beautiful and highest quality samples of Amigurumi patterns. All the amigurumi patterns you can’t find are available on our website. Every day we continue to share new amigurumi patterns for you. Stay tuned to reach these amigurumi patterns before anyone else.
ABBREVIATIONS
ch= chain
MR= magic ring
Rnd= Round
sc= single crochet
Sl-st= slip stitch
inc= increase
dec= decrease
BLO= back loop only
FLO= front loop only
DC= double crochet
HDC= half double crochet
TR= treble crochet
(x,y)*= repeat stiches within brackets
(…)= stitches
{…}=work the stitches all into the same stitch
MATERIELS
1) Yarn 50gr/160m (%50 acrylic %50 cotton)
2) 2mm crochet hook or the size according to the yarn you us
3) One pair of 6mm safety eyes.
4) 1.5 mm thick copper electrical wire
5) Stitch markers or diferent color yarn.
6) Sewing needle
7) Stuffing
8) Scissors
Don’t forget to replace all markers as you go. Stitch count is in( ) at the end of each round. Work from the bottom of the feet to head. Stuff your doll as you go.
Let’s begin!
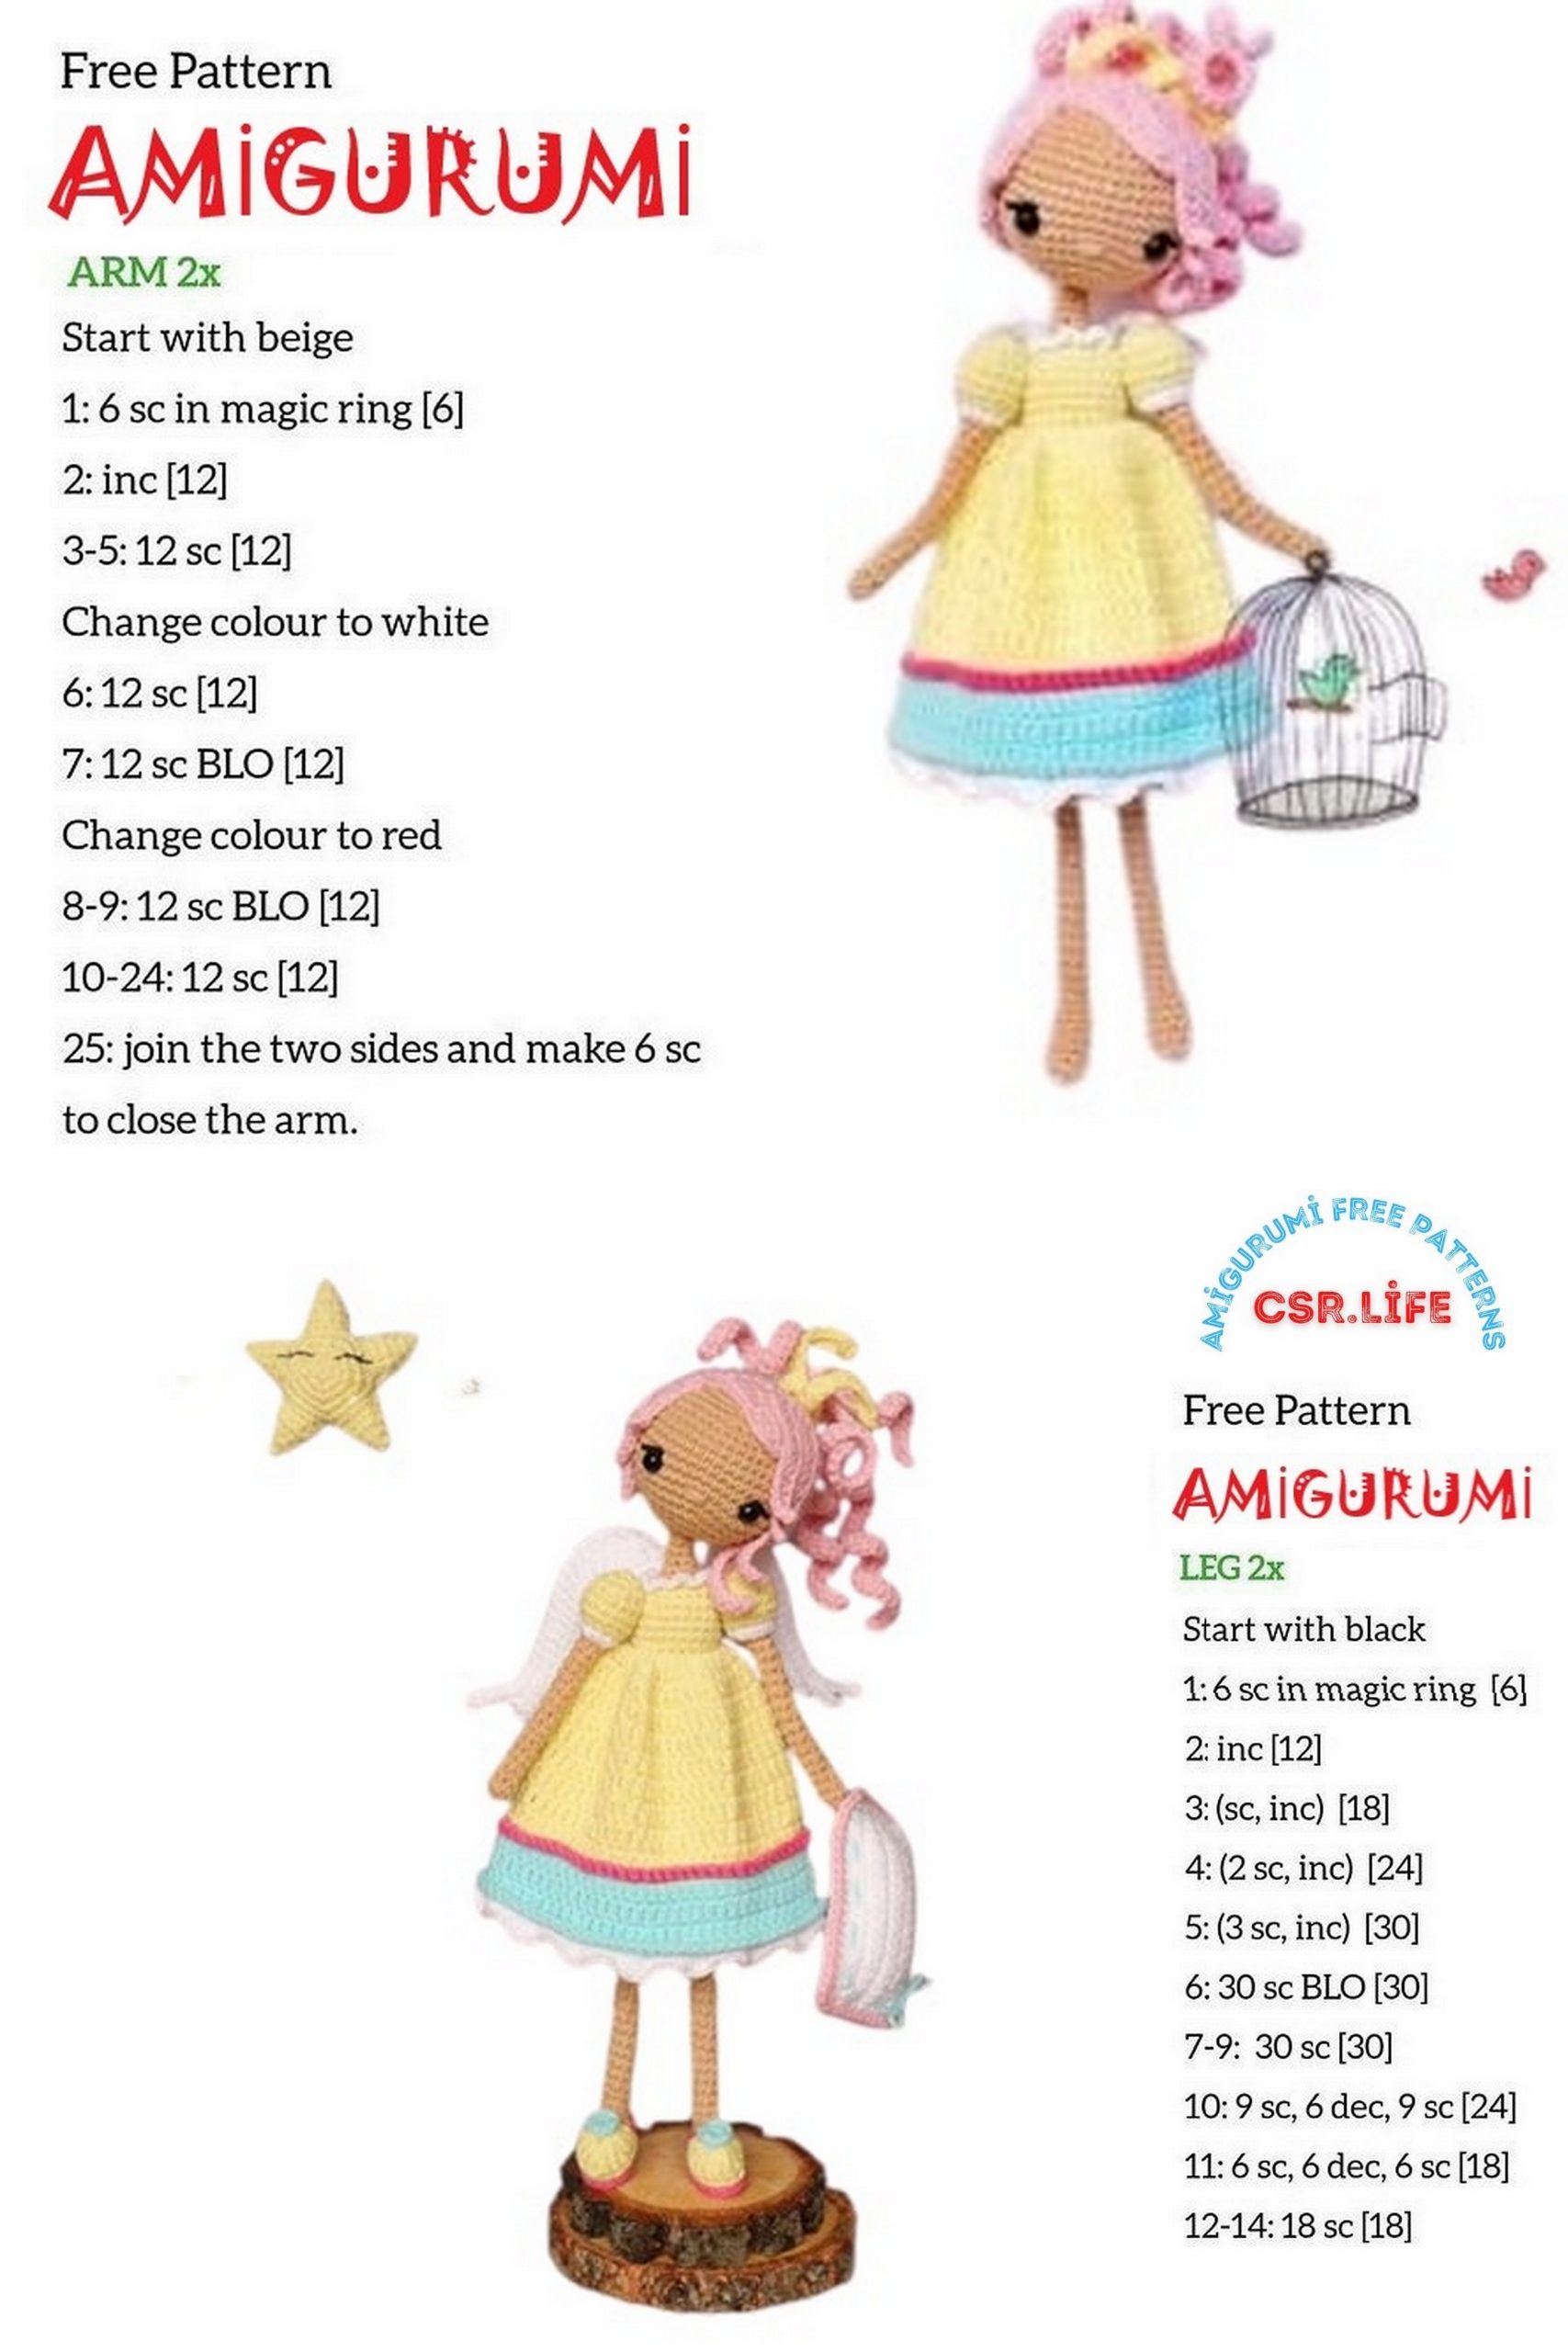
THE ARMS
Crochet in Colour(A) (make 2) start with a magic ring
1.Rnd 5sc (5)
2-17.(16 Rnd) 5sc (5)
Change to color(D)
18.Rnd FLO, (inc)*5 times (10)
19.Rnd FLO, 10sc (10)
Change to color(B)
19.Rnd (same round!)BLO, (sc,inc)*5 (15)
20-21.(2 Rnd) 15sc (15)
22.Rnd [Ch3, skip 3 stitches], 12sc (15)
23.Rnd (dec,sc)*5 times (10)
24.Rnd (dec)*5 times (5)
Stuff only yellow sides of the arms. Break yarn and fasten off your work.
THE LEGS
Don’t stuff the legs as you go.
Crochet in Colour(A) (make 2) start with a magic ring
1.Rnd 4sc (4)
2.Rnd (inc)*4 times (8)
3-5.(3 Rnd) 8sc (8)
6.Rnd 2sc, dec, 2sc, dec (6)
7-35.(29 Rnd) 6sc (6)
Change to color(F)
36-37.(2 Rnd) 6sc (6)
When the first leg is finished, cut the yarn and fasten off. Crochet the other leg.
After finishing second leg, chain 5 and join to first leg with sc.
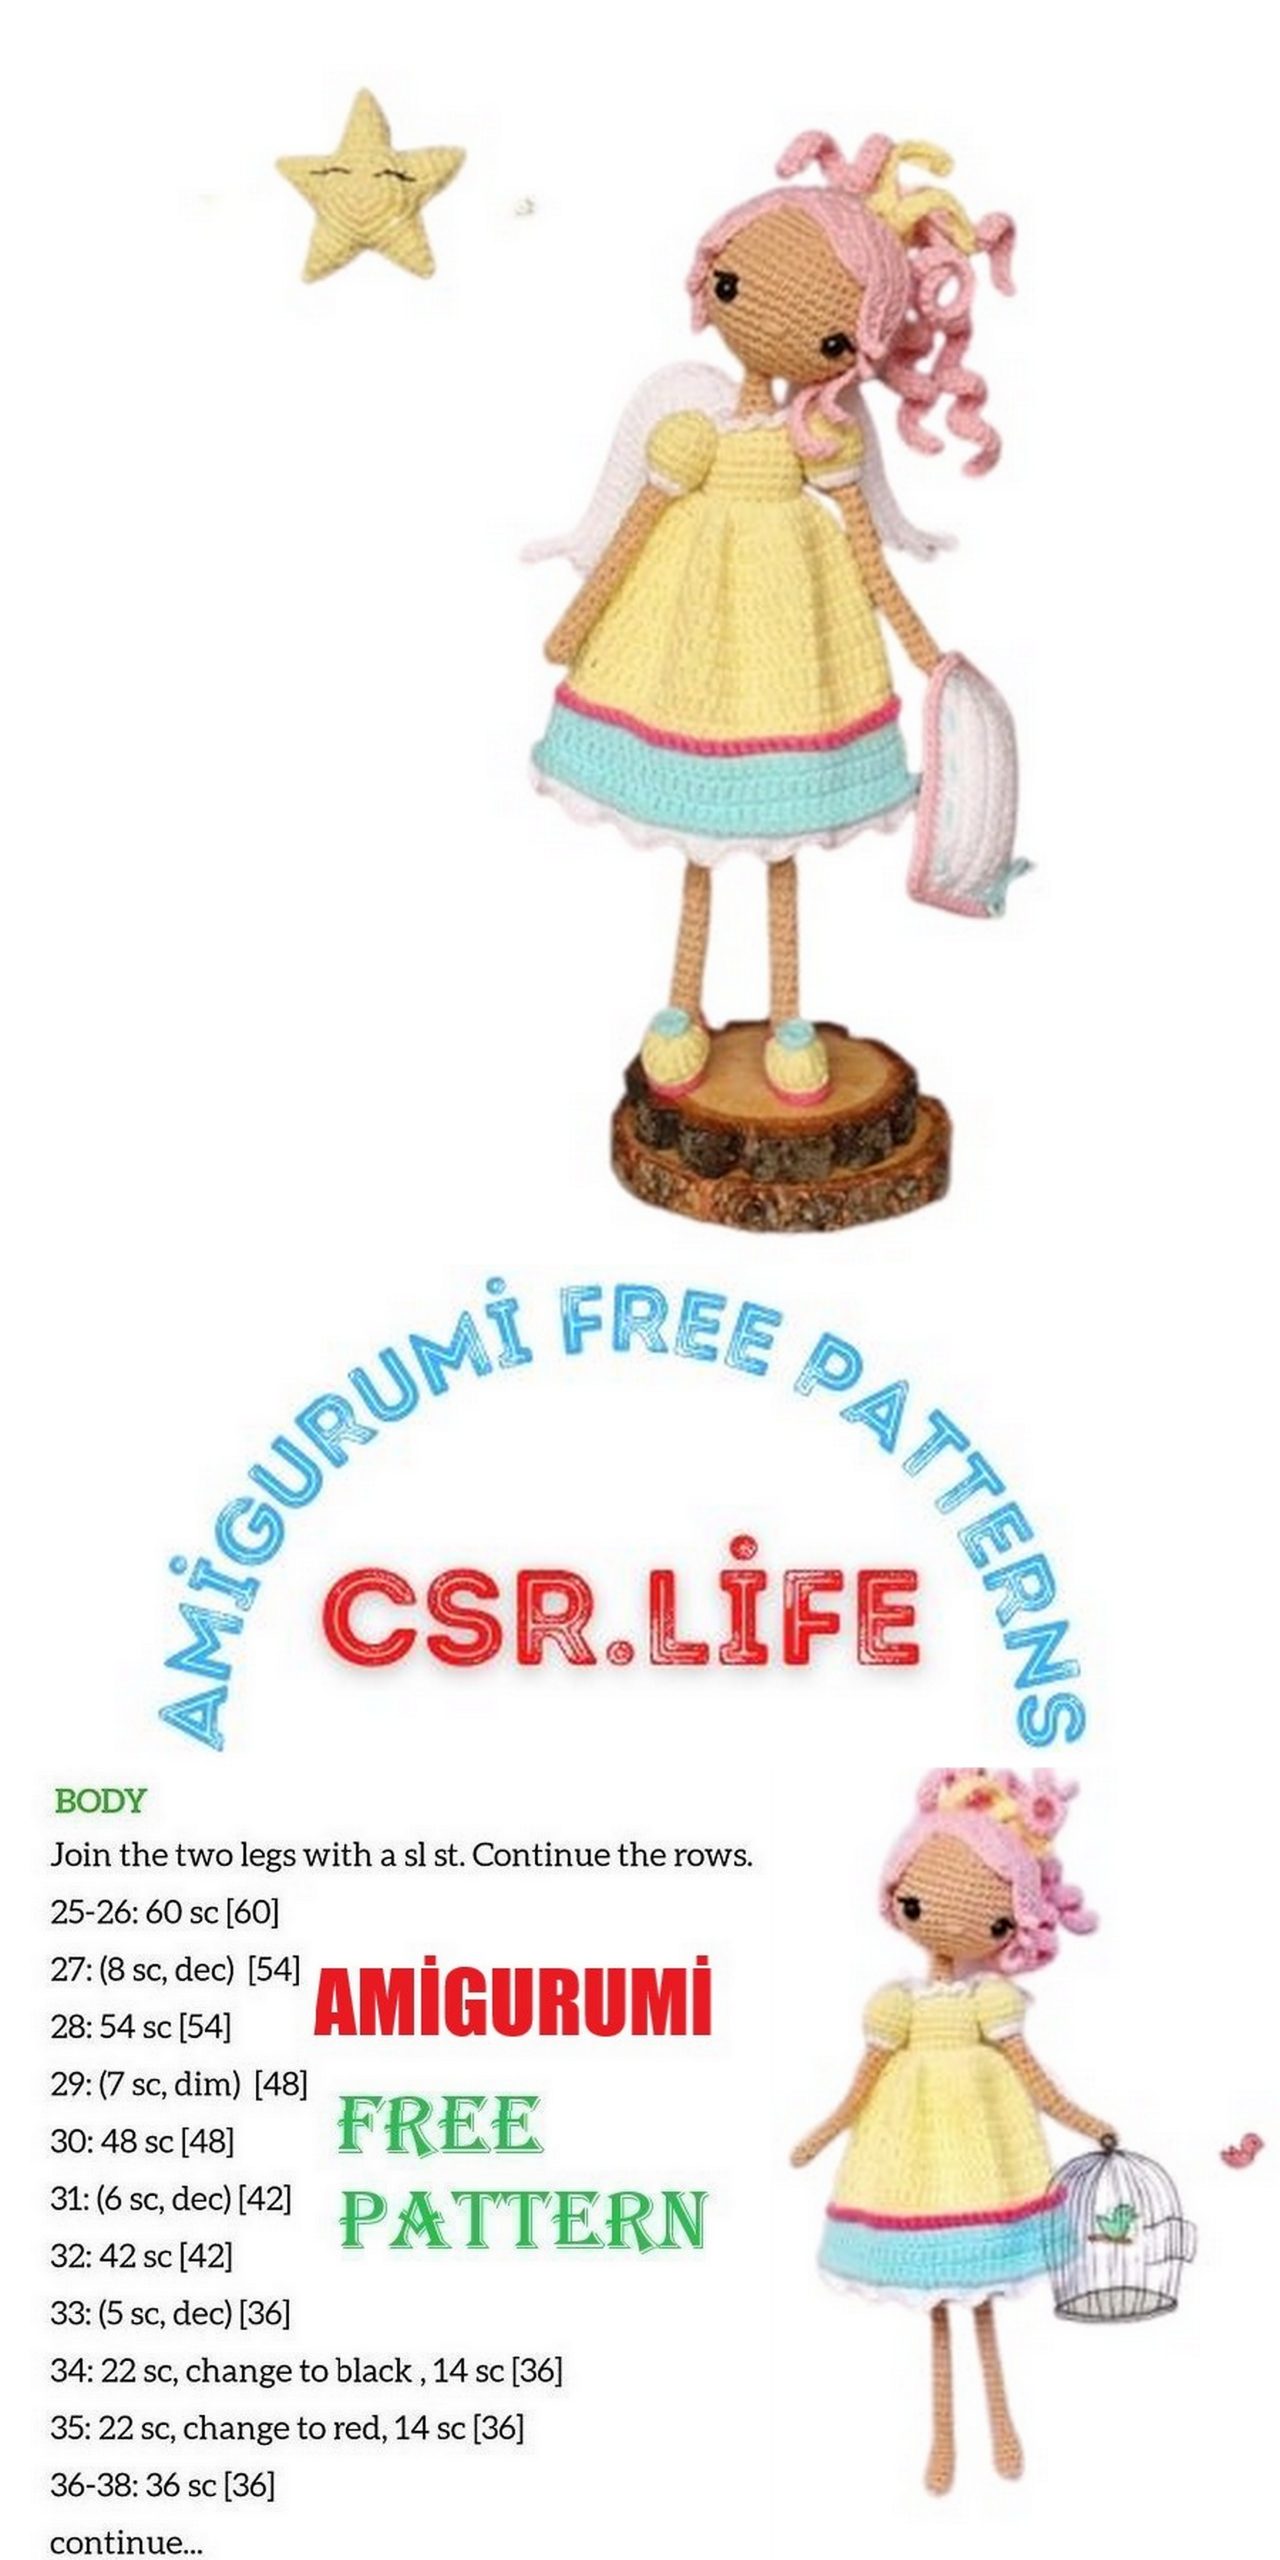
38.Rnd (1.Rnd of body) Crochet 6 sc on first leg, crochet 5 sc on one of the sides of chain, then 6 sc on second leg and 5 sc on the other side of the chain 6sc, 5sc, 6sc, 5sc (22)
Don’t break yarn and continue to the body
THE BODY
I use wire (1.5 mm thick copper electrical wire) to make the legs and arms flexible
~2 pieces for legs : 26cm(10.2inches), 1 piece for arms: 18cm (7 inches)
~Curl 1,5 cm wires of the legs as in the picture. Now the wire of legs are 24,5 cm. Then insert the wire into the legs and fix this wires by taping as in the picture.
~Before crocheting the neck, curl one of the wire into the body so the neck is thinner.
~If you don’t want to insert copper wire into the body, you can stuff the legs lightly as you go.
Crochet in Colour(F)
1.Rnd 6sc, 5sc, 6sc, 5sc (22)
2-3. (2 Rnd) 22sc (22)
Change to color(A)
4-12. (9 Rnd) 22sc (22)
Change to color(B)
13.Rnd 22sc (22)
14.Rnd in BLO, 22sc (22)
15-17. (3 Rnd) 22sc (22)
18.Rnd For arms hole;
2sc, [Ch3 and skip 3st], 8sc, [Ch3 and skip 3st], 6sc (22)
19.Rnd 3dec, 6sc, 3dec, 4sc (16)
Change to color(A)
20.Rnd in BLO, 2dec, 4sc, 2dec, 4sc (12)
21.Rnd (dec, sc)*4 times (8)
22.Rnd dec, 2sc, dec, 2sc (6)
23-25.(3 Rnd) 6sc (6)
The frills; 20.Rnd, in FLO, [Ch3, (Sl-st)*2] repeat during the round.
Don’t break yarn and continue to the head.
THE HEAD
1.Rnd (inc)*6 times (12)
2.Rnd (sc, inc)*6 times (18)
3.Rnd (2sc, inc)*6 times (24)
4.Rnd (3sc, inc)*6 times (30)
5.Rnd (4sc, inc)*6 times (36)
6.Rnd (5sc, inc)*6 times (42)
7.Rnd (6sc, inc)*6 times (48)
8-15. (8 Rnd) 48sc (48)
16.Rnd (6sc, dec)*6 times (42)
17.Rnd (5sc, dec)*6 times (36)
18.Rnd (4sc, dec)*6 times (30)
19.Rnd (3sc, dec)*6 times (24)
20.Rnd (2sc, dec)*6 times (18)
!!!Place the safety eyes
21.Rnd (sc, dec)*6 times (12)
22.Rnd (dec)*6 times (6)
~Place the safety eyes between round 8 and 9 leave 11 stitches between them. After closing the back of the safety eyes, embroider the eyelashes like in the picture with black yarn and needle
~ Stuff the head. Cut the yarn and fasten off
THE EARS
Crochet in Colour(A) (make 2)
1.Rnd Ch4, then start with the second chain from hook, sc, inc, sc (4)
Break yarn and leave a long tail to sew the ears in position.
The body is completely ready!
NIGHT GOWN
~Join each round with a Sl-st in the first DC.
~As soon as the skirt is finished, put it on doll, tie the magic ring and fix it with the sewing.
Crochet in Colour(B) start with a magic ring
1.Rnd MR, 33DC into it (33)
2.Rnd (2DC, inc)*11 times (44)
3.Rnd (3DC, inc)*11 times (55)
4-5.(2 Rnd) 55DC (55)
6.Sıra (10DC, inc)*5 times (60)
7-8.(2 Rnd) 60DC (60)
9.Rnd (11DC, inc)*5 times (65)
Change to color(C)
10.Rnd in BLO, 65DC (65)
11.Rnd 65DC (65)
12.Rnd (12DC, inc)*5 times (70)
13.Rnd in FLO, 70sc (single crochet)! (70)
Change to color(D)
13.Rnd bindibg tape (same round!) in BLO, (4sc, {4DC})*14 (112) fasten off
10.Rnd, in FLO, with color (E) 65sc (65) fasten off your work
SEWING THE ARMS TO THE BODY
Insert the wire that is 18cm throught the arm holes then fix the arms onto the body with sewing as in the picture.
SEW THE SKIRT TO THE BODY:
After the skirt is finished, put it on doll, tie the magic ring and fix it with the sewing on 14.Rnd, in FLO as in the picture.
THE SLIPPER
1-Crochet in Colour(E) (make 2)
1.Rnd Chain 8 skip the first chain and insert your hook in second chain, inc, 4sc, 1hdc, {6hdc}, 1hdc, 4sc, inc (21)
2.Rnd (Sl-st)* 21 times (21)
2- Crochet in Colour(B) (make 2) start with a magic ring. 1.Rnd 12 TR (treble crochet) (12)
Break yarn and leave a long tail to sew.
3- Crochet in Colour(C) (make 2) start with a magic ring.
1.Rnd 6sc (6)
Break yarn and leave a long tail to sew.
Fix the pieces of the slipper as in the picture
HAIR
1.Crochet in Colour(F) Start with a magic ring.
1.Rnd 12DC (12)
2.Rnd (inc)*12 times (24)
3.Rnd (DC, inc)*12 times (36)
4.Rnd (5DC, inc)*6 times (42)
6.Rnd 42DC (42)
7.Rnd 13DC (13)
Break yarn and leave a long tail to sew.
2.Crochet in Colour(F)
1.Rnd Ch10, insert hook in second ch from hook Sl-st, 8HDC (9)
2.Rnd Ch10, insert hook in second ch from hook Sl-st, 8HDC (9)
3.Rnd Ch10, insert hook in second ch from hook Sl-st, 8HDC (9)
4.Rnd Ch10, insert hook in second ch from hook Sl-st, 8HDC (9)
5.Rnd Ch15, insert hook in second ch from hook Sl-st, 13HDC (14)
6.Rnd Ch15, insert hook in second ch from hook Sl-st, 13HDC (14)
6.Rnd Ch20, insert hook in second ch from hook Sl-st, 18HDC (19)
6.Rnd Ch21, insert hook in second ch from hook Sl-st, 19HDC (20)
3.Crochet in Colour(F)
1.Rnd Ch30, crochet 29 single stitch into the chain (29)
2.Rnd Ch30, crochet 29 single stitch into the chain (29)
3.Rnd Ch30, crochet 29 single stitch into the chain (29)
4.Rnd Ch40, crochet 39 single stitch into the chain (39)
5.Rnd Ch40, crochet 39 single stitch into the chain (39)
6.Rnd Ch40, crochet 39 single stitch into the chain (39)
7.Rnd Ch50, crochet 49 single stitch into the chain (49)
Break yarn and leave a long tail to sew
HAIR RIBBON
Crochet in Colour(B)
1.Rnd Ch50, crochet 49 single stitch into the chain (49)
Fasten off.
• You should use thinner yarn when sewing hair onto the head. You can follow the picture.
3. Top of the head 12DC should be here
THE WINGS
Crochet in Colour(D)(make 2)
1.Rnd Ch7, turn and start on second ch from hook, 6sc, ch&turn (6)
2-5.(4 Rnd) 6sc, ch, turn (6)
6.Rnd 6sc, turn the corner&continue, 6sc, ch8, turn&keep going on 2. ch from hook (19)
7.Rnd 13sc, turn the corner&continue, 4sc, dec, ch&turn (18)
8.Rnd 17sc, ch5, turn&keep going on 2. ch from hook (21)
9.Rnd 19sc, dec, ch&turn (20)
10.Rnd 19sc, ch5, turn&keep going on 2. ch from hook (23)
11.Rnd 23 Sl-st, turn the corner&continue, 17 Sl-st (40)
Please follow the pictures.
PILLOW
Crochet in Colour(D)(make 2)
1.Rnd Ch18, turn and start on second ch from hook, 17sc, ch&turn (17)
2-10.(9 Rnd) 17sc, ch&turn (17)
11.Rnd 17sc (17)
Crochet in Colour(D).
Place the two panels togather, matching up all sides. Begin attaching the panels togather by 56sc around the outside of panel. (56)
Crochet in Colour(F)
Sc around the pillow, increase in corners (64)
Embrioider in Colour(C) as in the picture then tie. Finished:)
READY İS DREAM FAİRY…