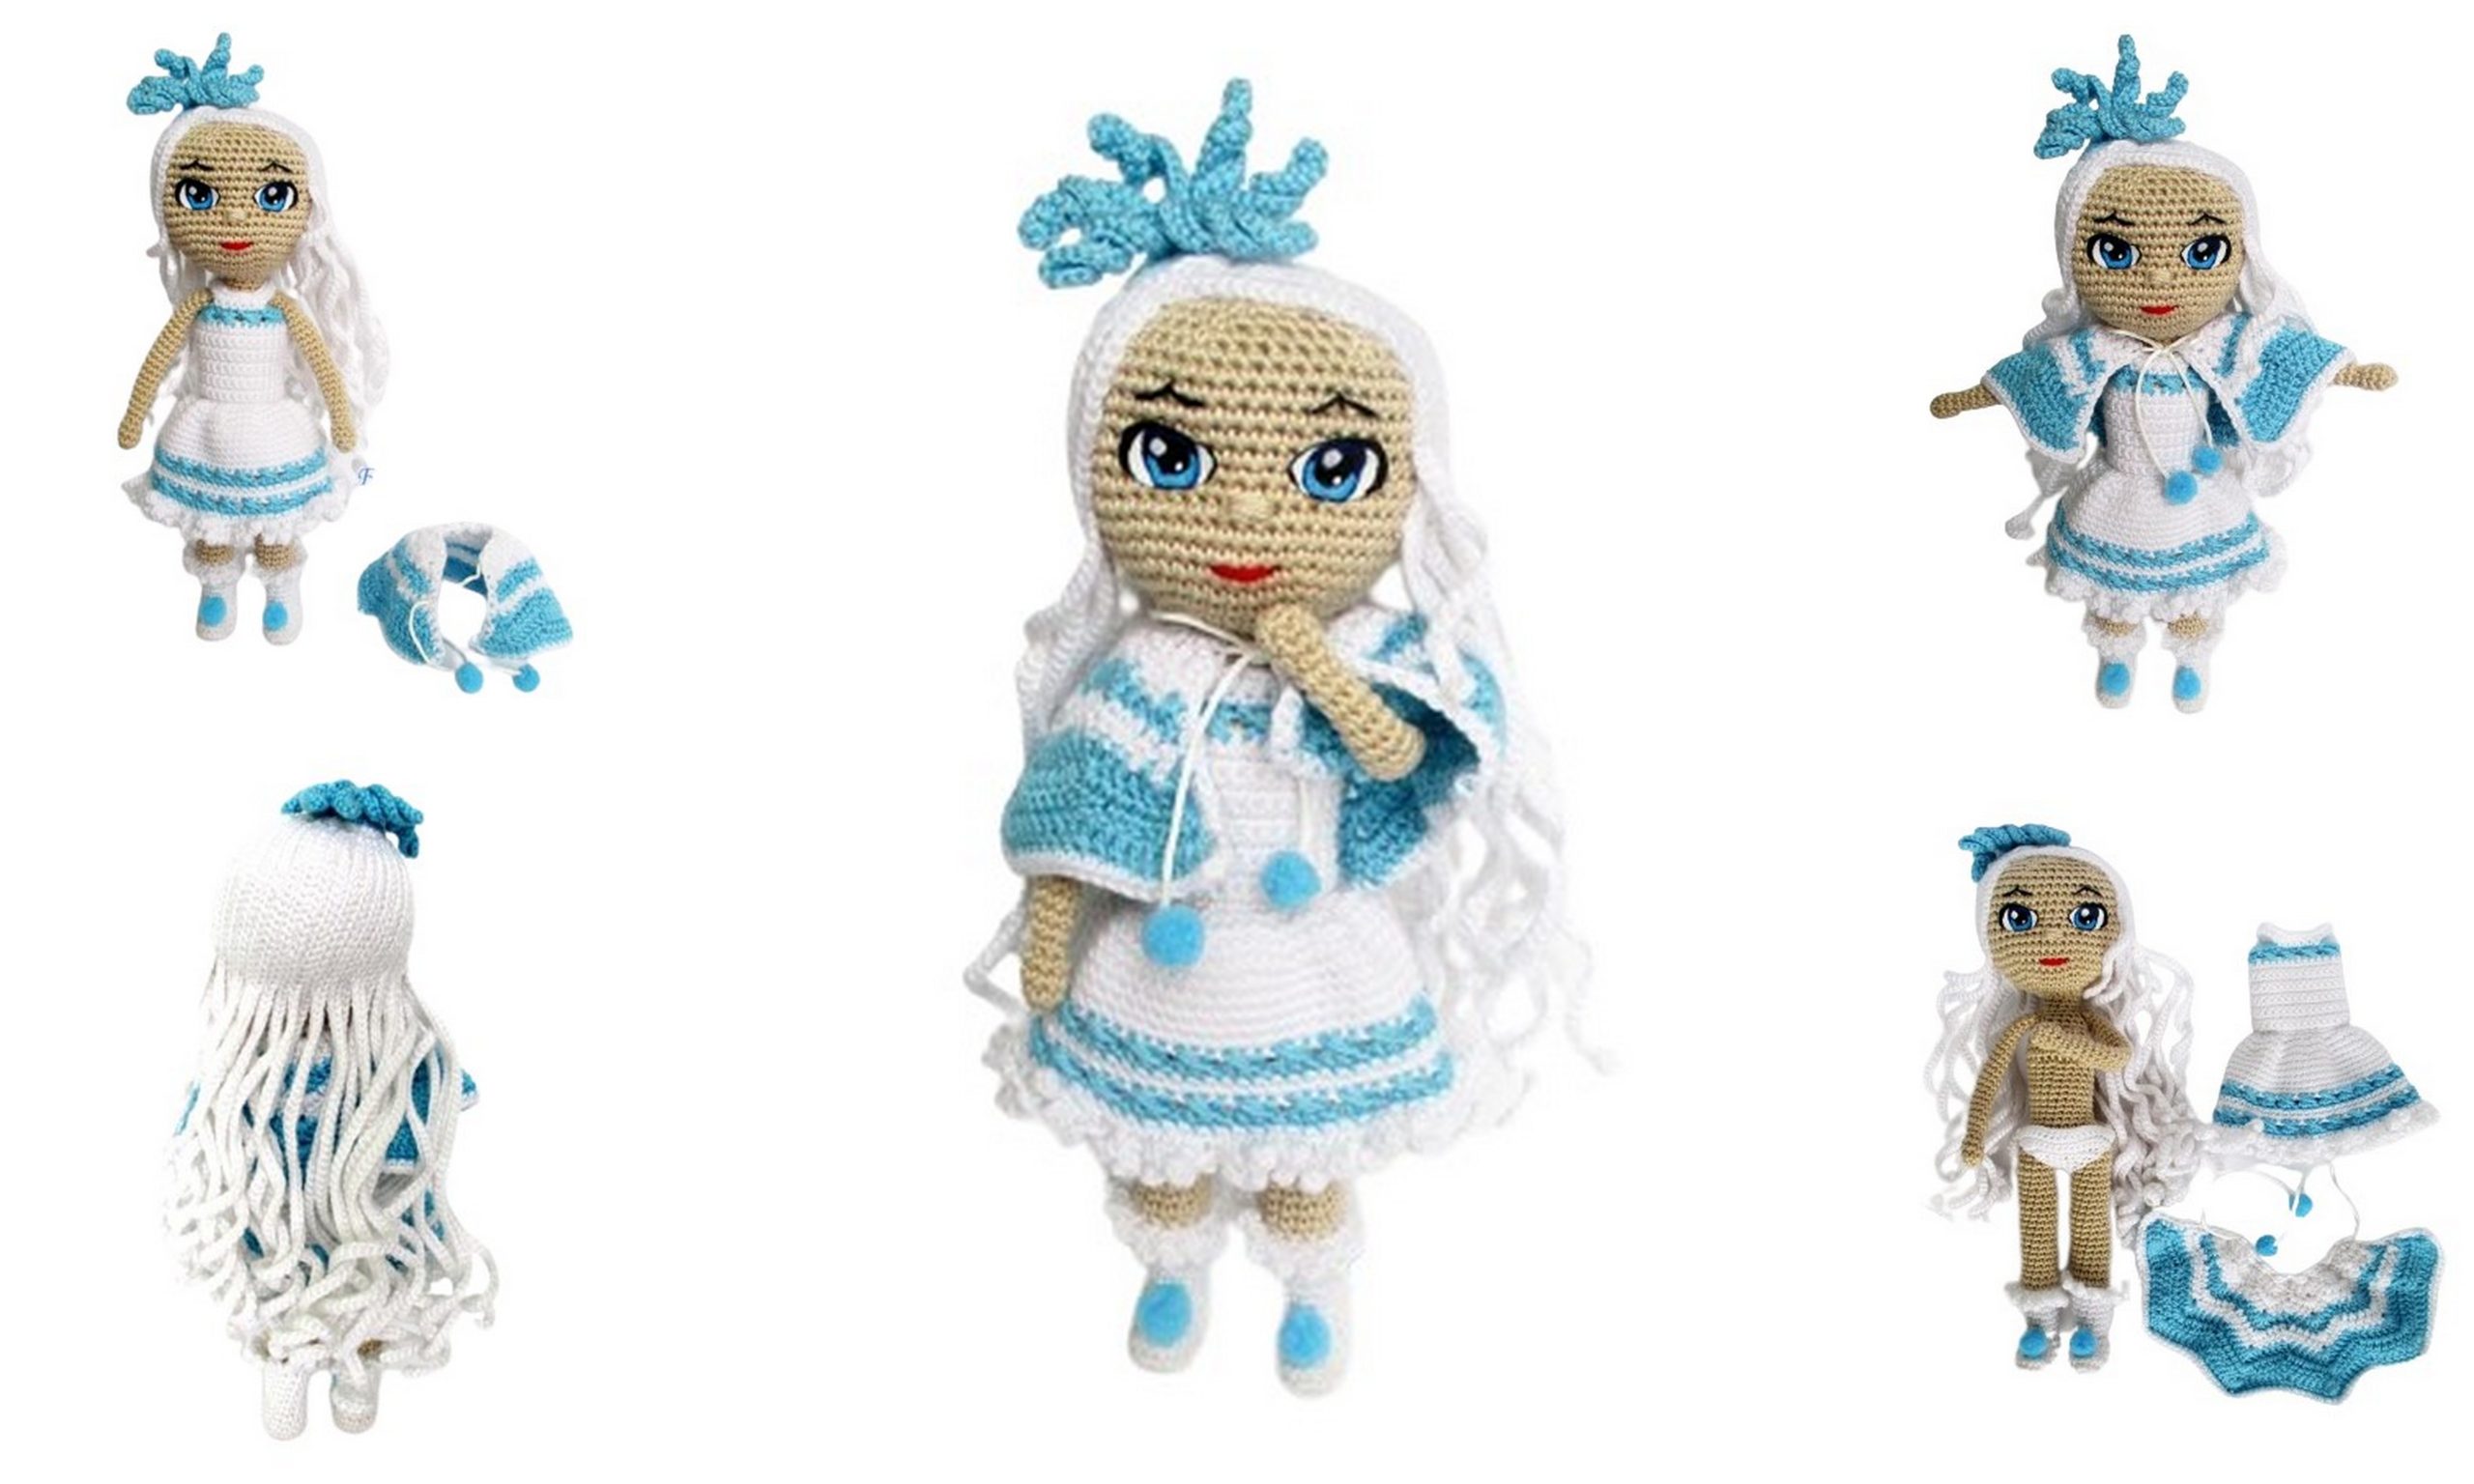
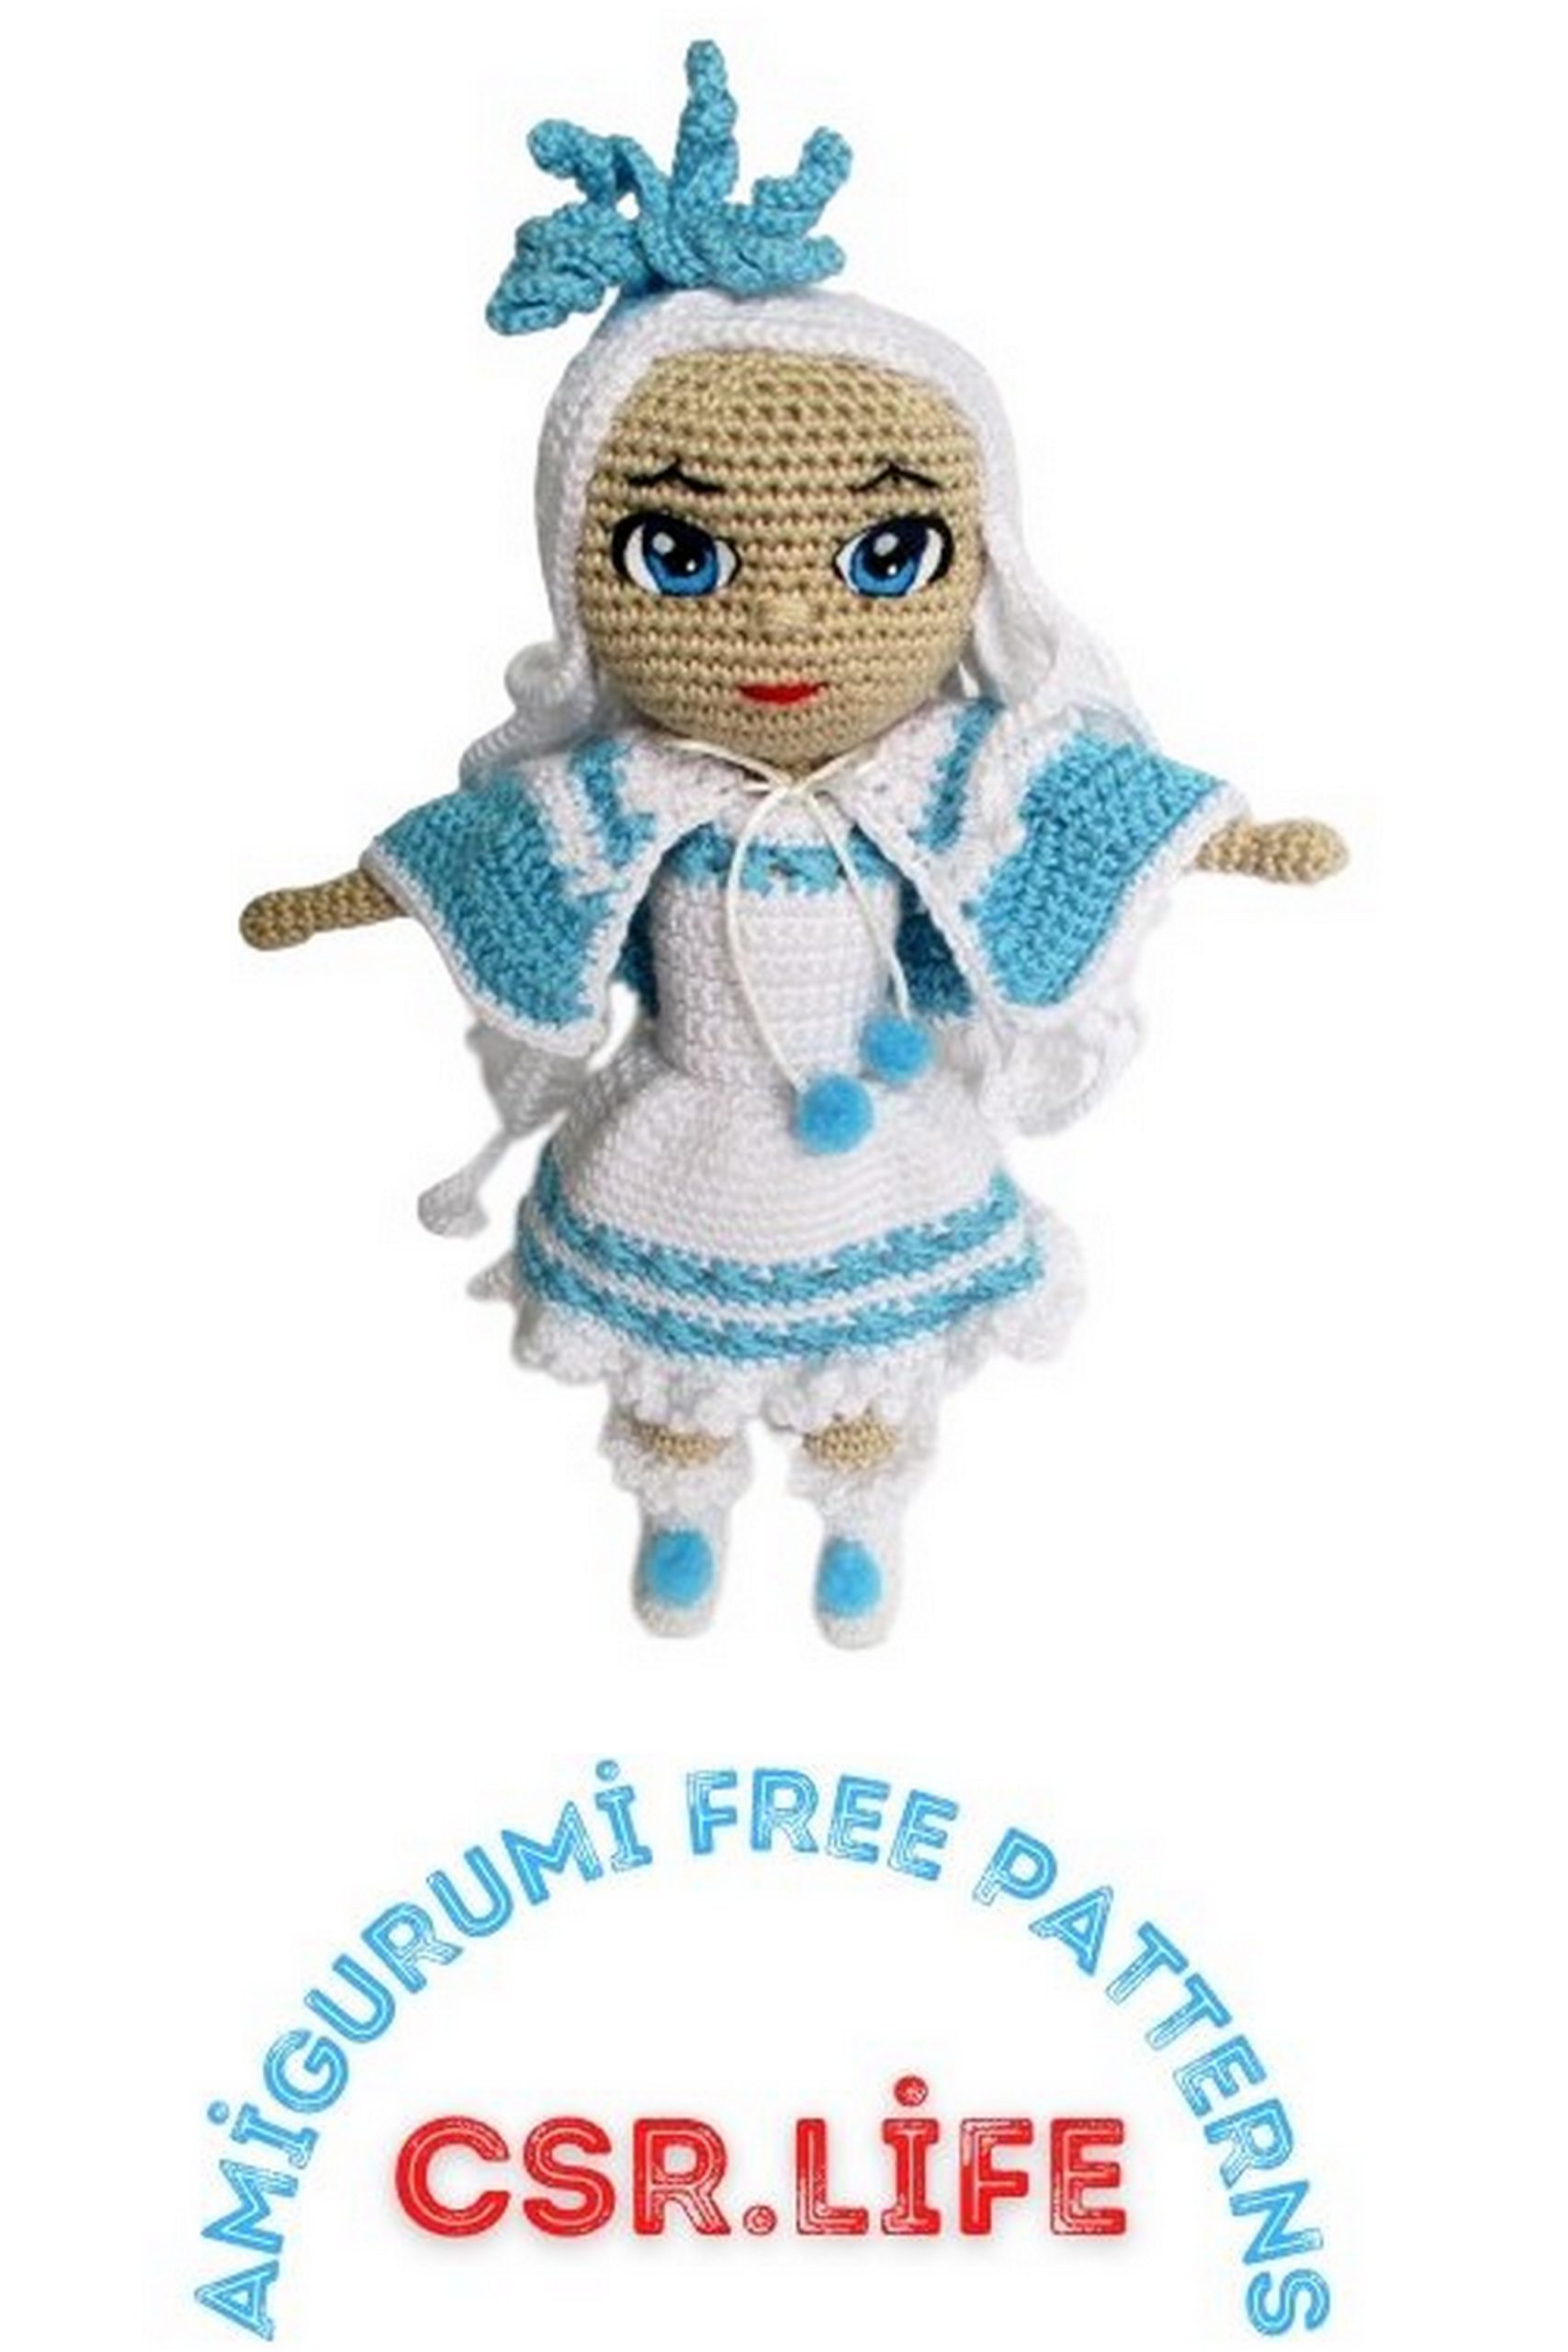
Free Amigurumi Katrina Doll Pattern: Crochet Your Own Adorable Toy
Are you ready to embark on a delightful crochet journey? Explore our Amigurumi Katrina Doll free pattern, designed for all levels of crocheters. With this pattern, you can craft an enchanting toy that’s perfect for playtime or as a cherished gift.
In this tutorial, we’ll guide you through the process of creating your very own Katrina Doll Amigurumi . Whether you’re a crochet novice or a seasoned pro, our step-by-step instructions will help you bring this adorable doll to life. Let your creativity shine as you customize colors and add personal touches to make your Katrina Doll truly unique.
Get your crochet hooks ready, gather your materials, and let’s dive into this fun and rewarding project. Whether you’re making it for yourself or a loved one, the Amigurumi Doll Katrina is sure to bring joy and charm to any crochet collection.
Materials Needed:
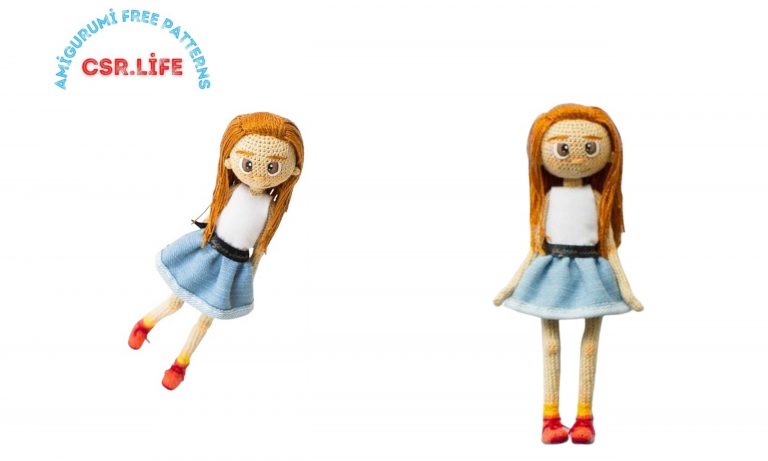
- Any flesh-colored yarn. I used YarnArt Begonia, 169m/50g, Color 4660, and a 1.65mm crochet hook, approximately 25g.
- For clothing (dress, boots, poncho), as well as hair, I used Alize Diva yarn, 350m/100g, in white and blue, with a 1.65mm crochet hook.
- For making underpants, I used finer Alize Miss yarn, 280m/50g, in white, with a 1.65mm crochet hook.
- Crochet hook suitable for your yarn. I used a 1.65mm hook.
- Polyester fiberfill or stuffing.
- Wire for the frame.
- Material for wrapping the wire – medical tape, or adhesive tape.
- Needle for sewing.
- Pom-poms and buttons for clothing embellishments.
- Acrylic paints, brush, varnish, or eye fixtures.
- Super glue.
Finished toy height with the materials mentioned: 21 cm.
Difficulty level: Intermediate.
Abbreviations:
- sc – single crochet.
- inc – increase (work 2 sc in one stitch).
- dec – decrease (work 2 sc together through the front loops).
- sl st – slip stitch.
- hdc – half double crochet.
- ch – chain.
- FLO – front loop only.
- BLO – back loop only.
- cluster – 2 hdc with a common top, leaving 1 loop in between.
PATTERN
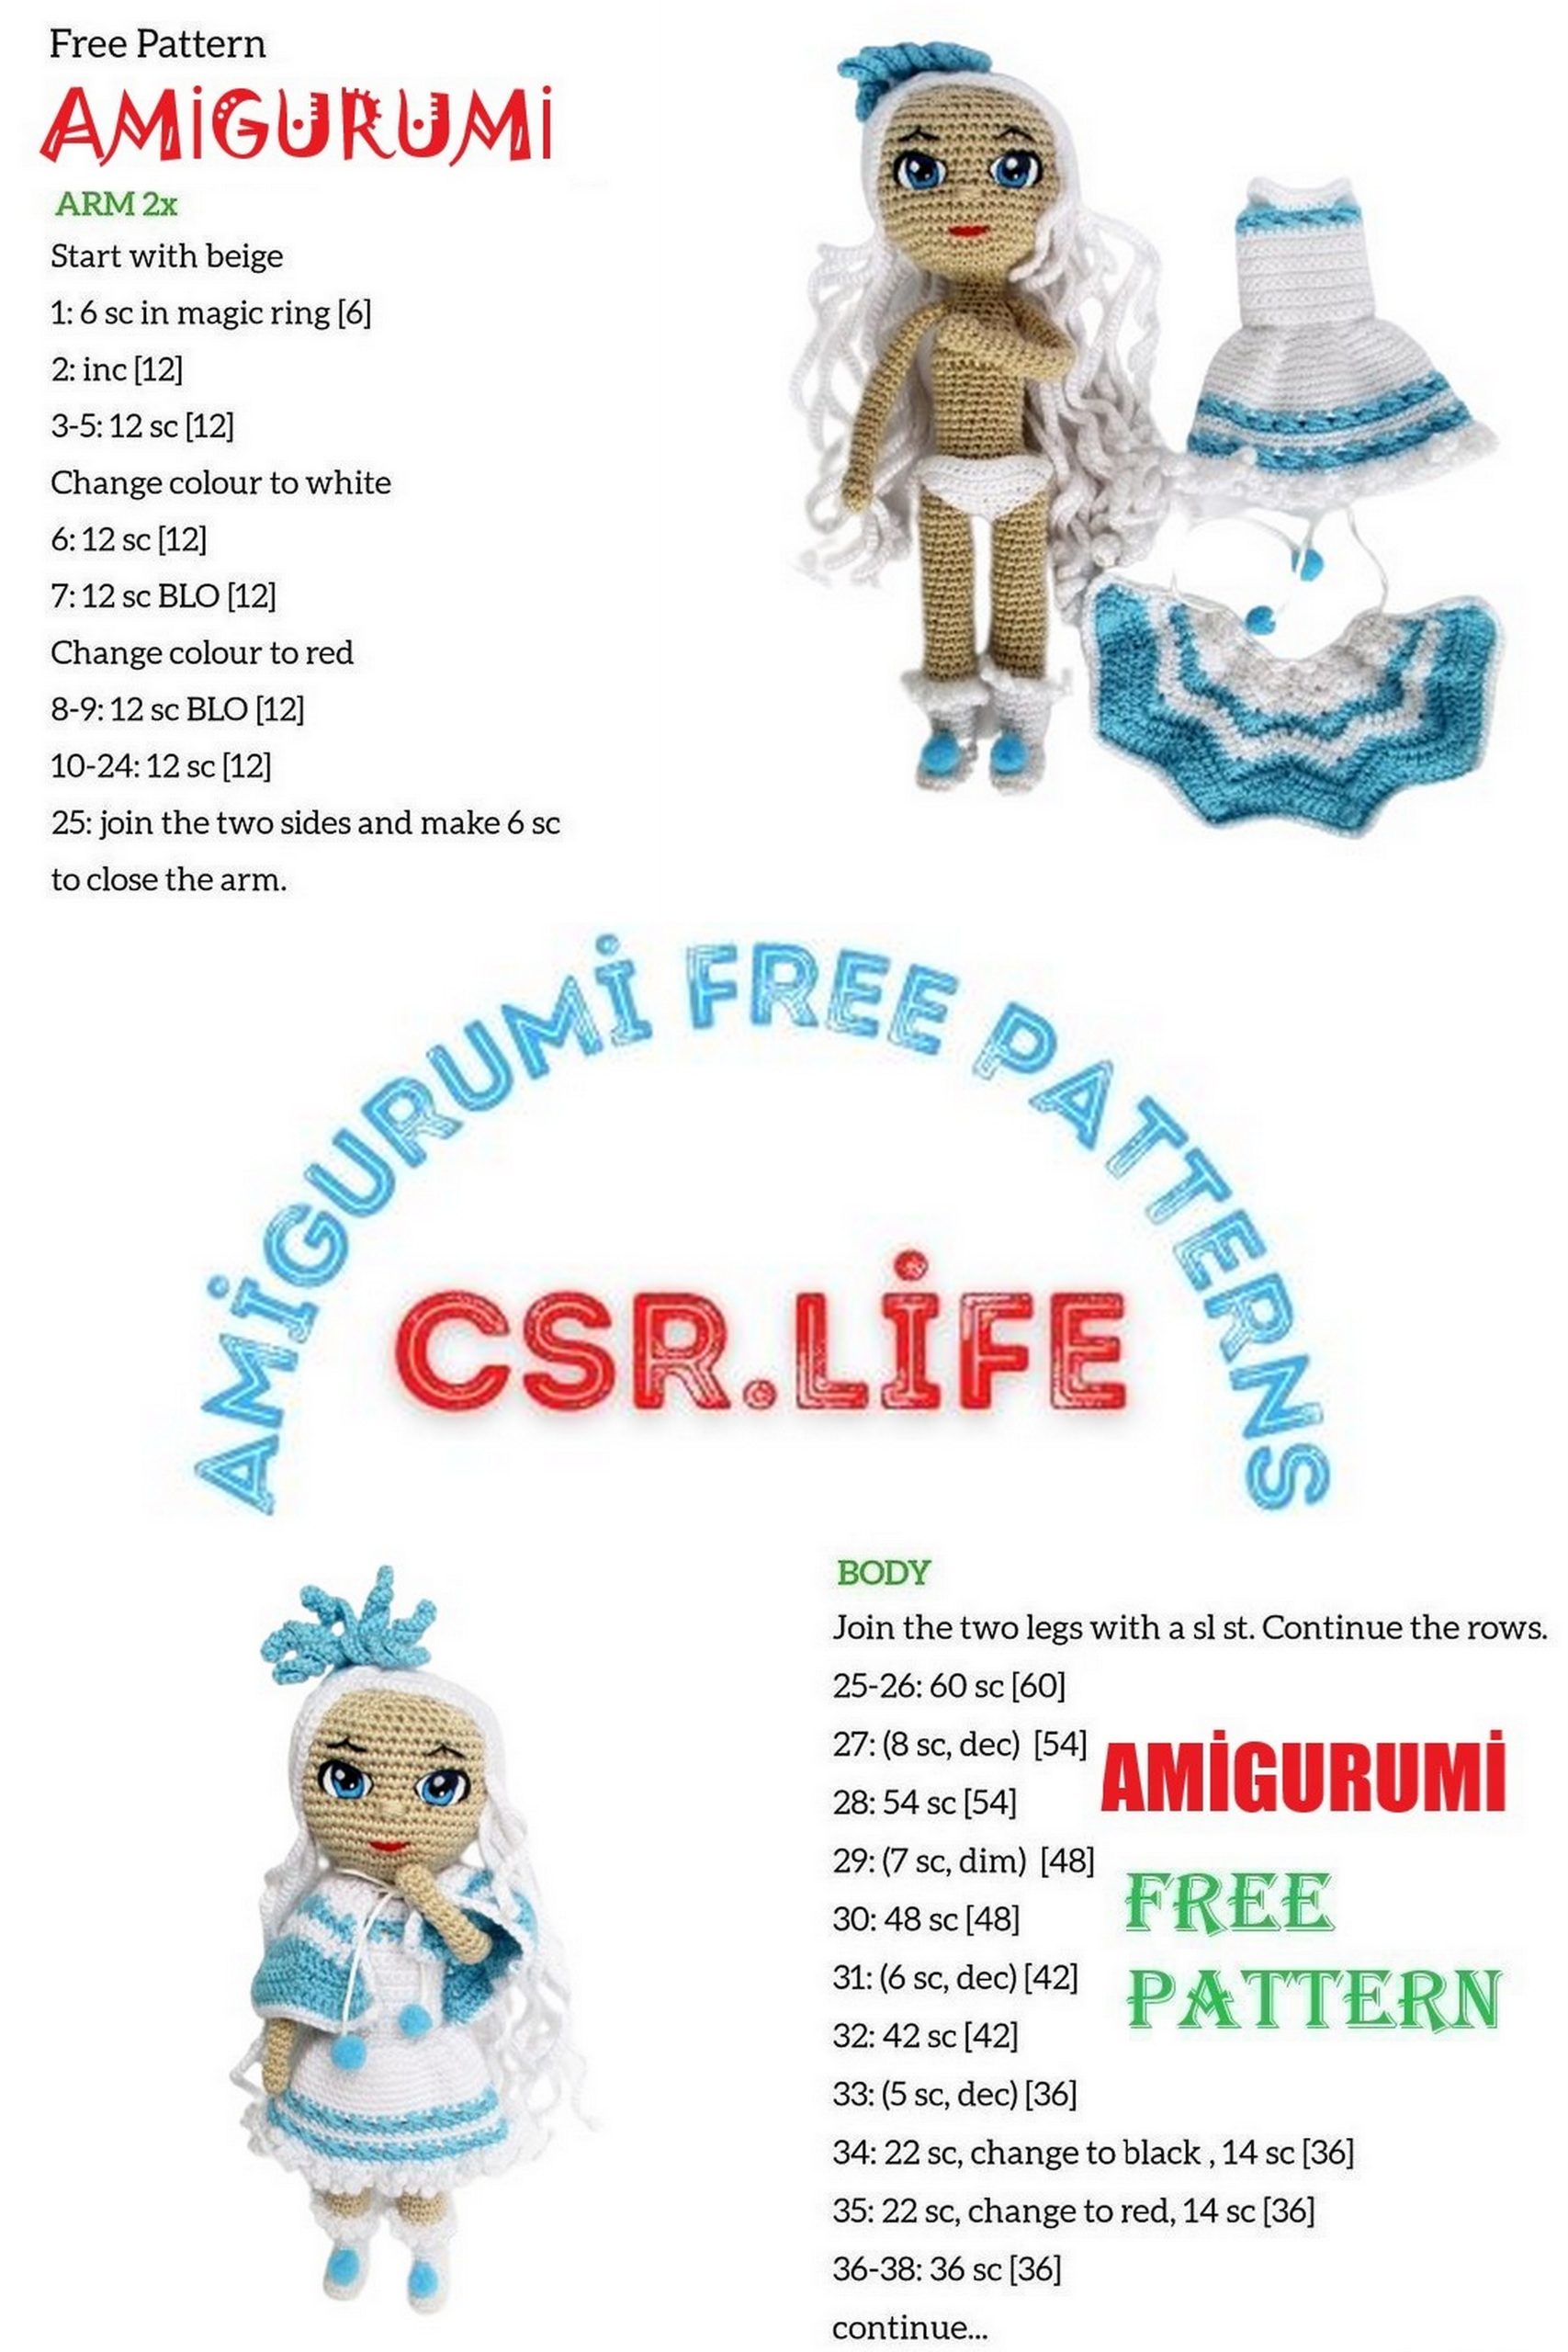
Arms (2 pieces):
Row 1: 6 sc in a magic ring (6).
Row 2: (2 sc, inc)*2 (8).
Rows 3-4: 8 sc (8).
Row 5: (2 sc, dec)*2 (6).
Row 6: (2 sc, inc)*2 (8).
Rows 7-26: 8 sc (8).
Cut and hide the yarn. The arm can be slightly stuffed; I didn’t stuff mine. You’ll insert wire to make the arms movable.
Legs (2 pieces):
We start crocheting the boot part using white yarn.
Row 1: Ch 8.
Row 2: Starting from the 2nd ch from the hook, work 6 sc, 4 sc in the last ch, turn the work, and on the other side of the chain, work 5 sc, inc (17).
Row 3: Inc, 5 sc, 4 inc, 5 sc, 2 inc (24).
Row 4: 24 sc (24).
Row 5: 7 sc, 10 hdc, 7 sc (24).
Row 6: 7 sc, 5 dec, 7 sc (19). Decreases are done in the FLO. Cut out the sole and insert it.
Row 7: 7 sc, 3 dec, 6 sc (16).
Row 8: 5 sc, 3 dec, 5 sc (13). Stuff the boot as you go if desired. Optionally, you can twist wire into the shape of the leg and insert it.
Rows 9-15: 13 sc (13).
Row 16: Crochet in the BLO (ch 3, starting from the 2nd ch from the hook, work 2 sc, sc into the base of the leg)*13 (13). Cut and secure the yarn.
Continue crocheting the leg by changing the yarn color to beige.
Row 17: Crochet in the FLO of the 16th row: 13 sc (13).
Rows 18-35: 13 sc (13).
On one leg, cut and secure the yarn. Similarly crochet the second leg, but do not cut the yarn. Stuff the legs.
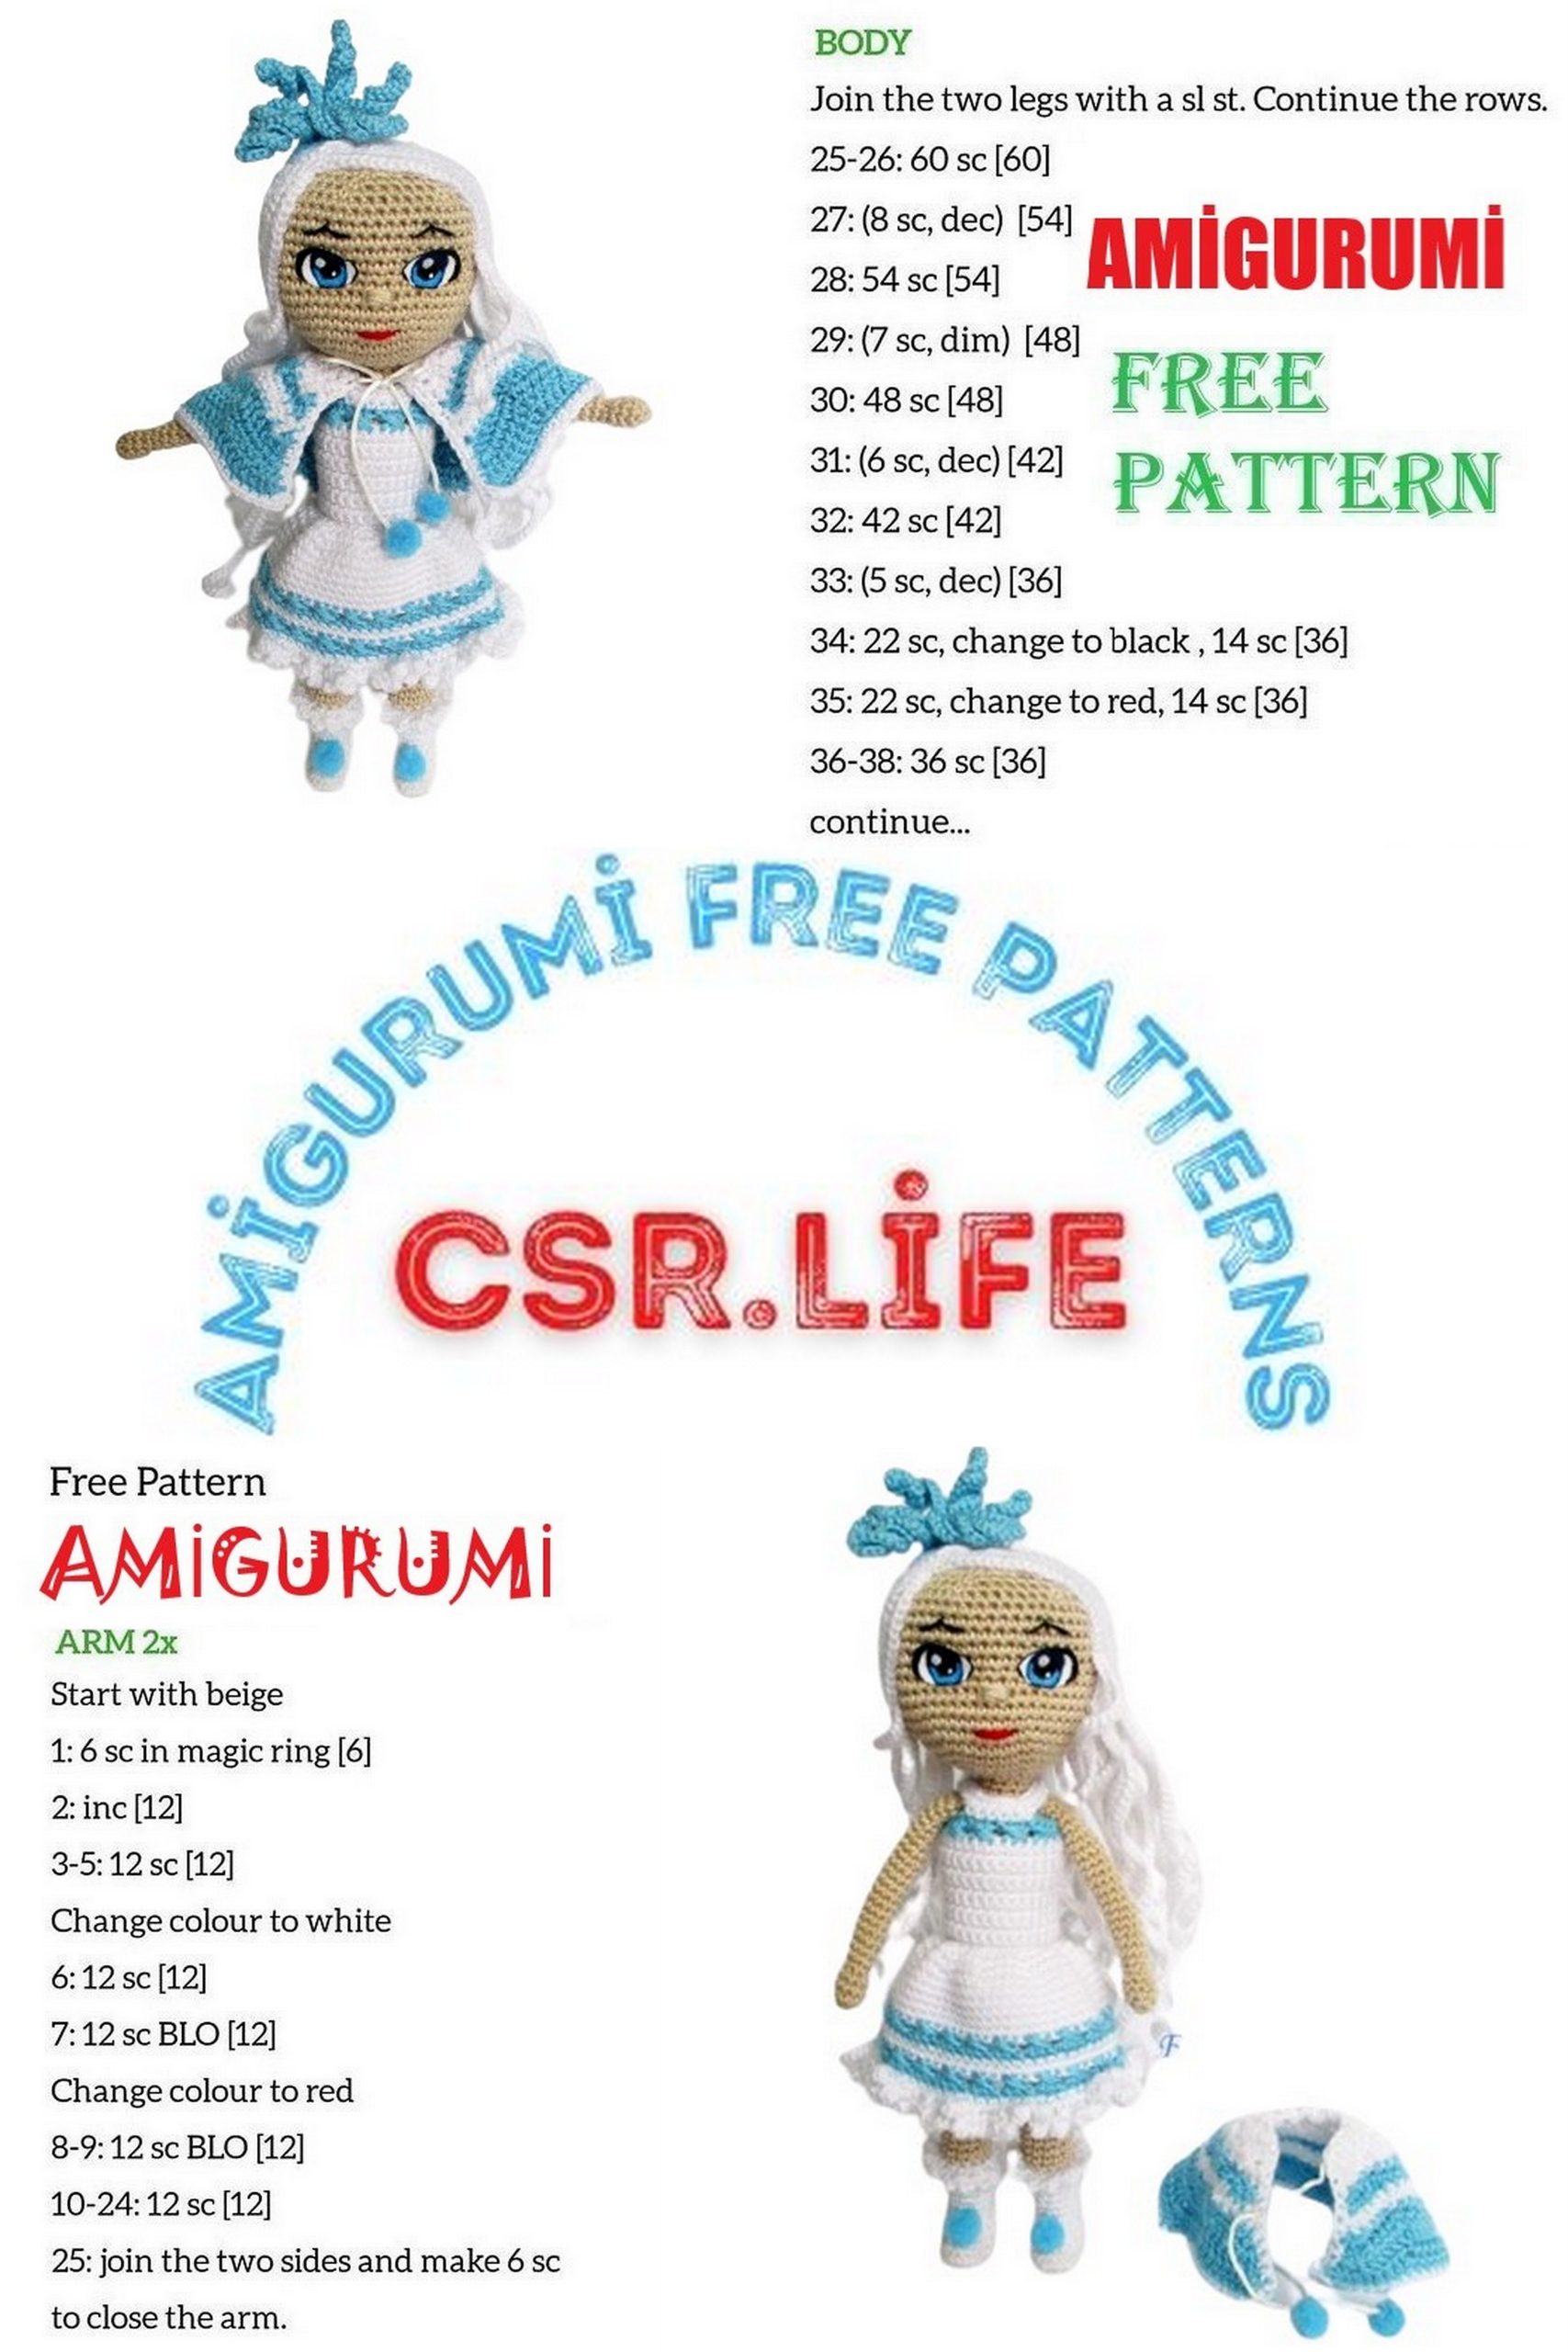
Body:
Continue crocheting with beige yarn. Crochet the required number of sc on the leg where you left the yarn, so that the loop is on the inner side of the leg. The legs should be facing you with their toes. In my case, only 1 sc was needed. A marker will go in the front of the doll’s body, right in the center.
Row 36: Ch 3, 13 sc on the second leg, 3 sc in the ch, 13 sc on the first leg, 3 sc in the ch (32).
Row 37: 7 sc, (sc, inc)*3, 3 sc in one stitch, (inc, sc)*3, 10 sc (36). Note: The 3 sc in one stitch should be placed right in the middle of the backside.
Row 38: 16 sc, dec, 18 sc (35).
Row 39: 16 sc, dec, 17 sc (34).
Row 40: 6 sc, 2 dec, 13 sc, 2 dec, 7 sc (30).
Row 41: 30 sc (30).
Row 42: 5 sc, 2 dec, 11 sc, 2 dec, 6 sc (26).
Row 43: 6 sc, (dec, sc)*4, dec, 6 sc (21).
Rows 44-50: 21 sc (21).
Row 51: 17 sc, (sc, inc)*2 (23).
Row 52: sc, (inc, sc)*2, 18 sc (25).
Rows 53-54: 25 sc (25).
Row 55: 20 sc, dec, sc, dec (23).
Row 56: 2 dec, sc, dec, 16 sc (20).
Attach the arms.
Row 57: 4 sc, attach the right arm, crochet 4 sc over the arm and body, 6 sc on the back, 4 sc over the arm and body, 2 sc (20).
Fill the body. Cut a piece of wire to the desired length; mine is 16 cm. If you plan to make loops at the ends of the wire, take this into account. Wrap it with medical tape and insert it first into one arm, then the other. Continue crocheting.
Row 58: 3 sc, 3 dec, 4 sc, 3 dec, sc (14).
Row 59: 4 sc, dec, 5 sc, dec, sc (12).
Rows 60-62: 12 sc (12). Without cutting the yarn, continue crocheting the head.
Head:
Row 63: 12 inc (24).
Row 64: (3 sc, inc)*6 (30).
Row 65: (4 sc, inc)*6 (36).
Row 66: (5 sc, inc)*6 (42).
Row 67: (6 sc, inc)*6 (48).
Row 68: (7 sc, inc)*6 (54).
Rows 69-79: 54 sc (54).
To prevent the head from wobbling, insert wire into the body so that it reaches the center of the head. Cut a piece of wire, 9 cm in my case, wrap it with medical tape, and insert it into the body. Continue crocheting.
Row 80: (7 sc, dec)*6 (48).
Row 81: (6 sc, dec)*6 (42).
Row 82: (5 sc, dec)*6 (36).
Row 83: (4 sc, dec)*6 (30).
Row 84: (3 sc, dec)*6 (24).
Row 85: (2 sc, dec)*6 (18).
Row 86: (sc, dec)*6 (12).
Row 87: 6 dec (6). Drawstring the opening, fasten and hide the thread.
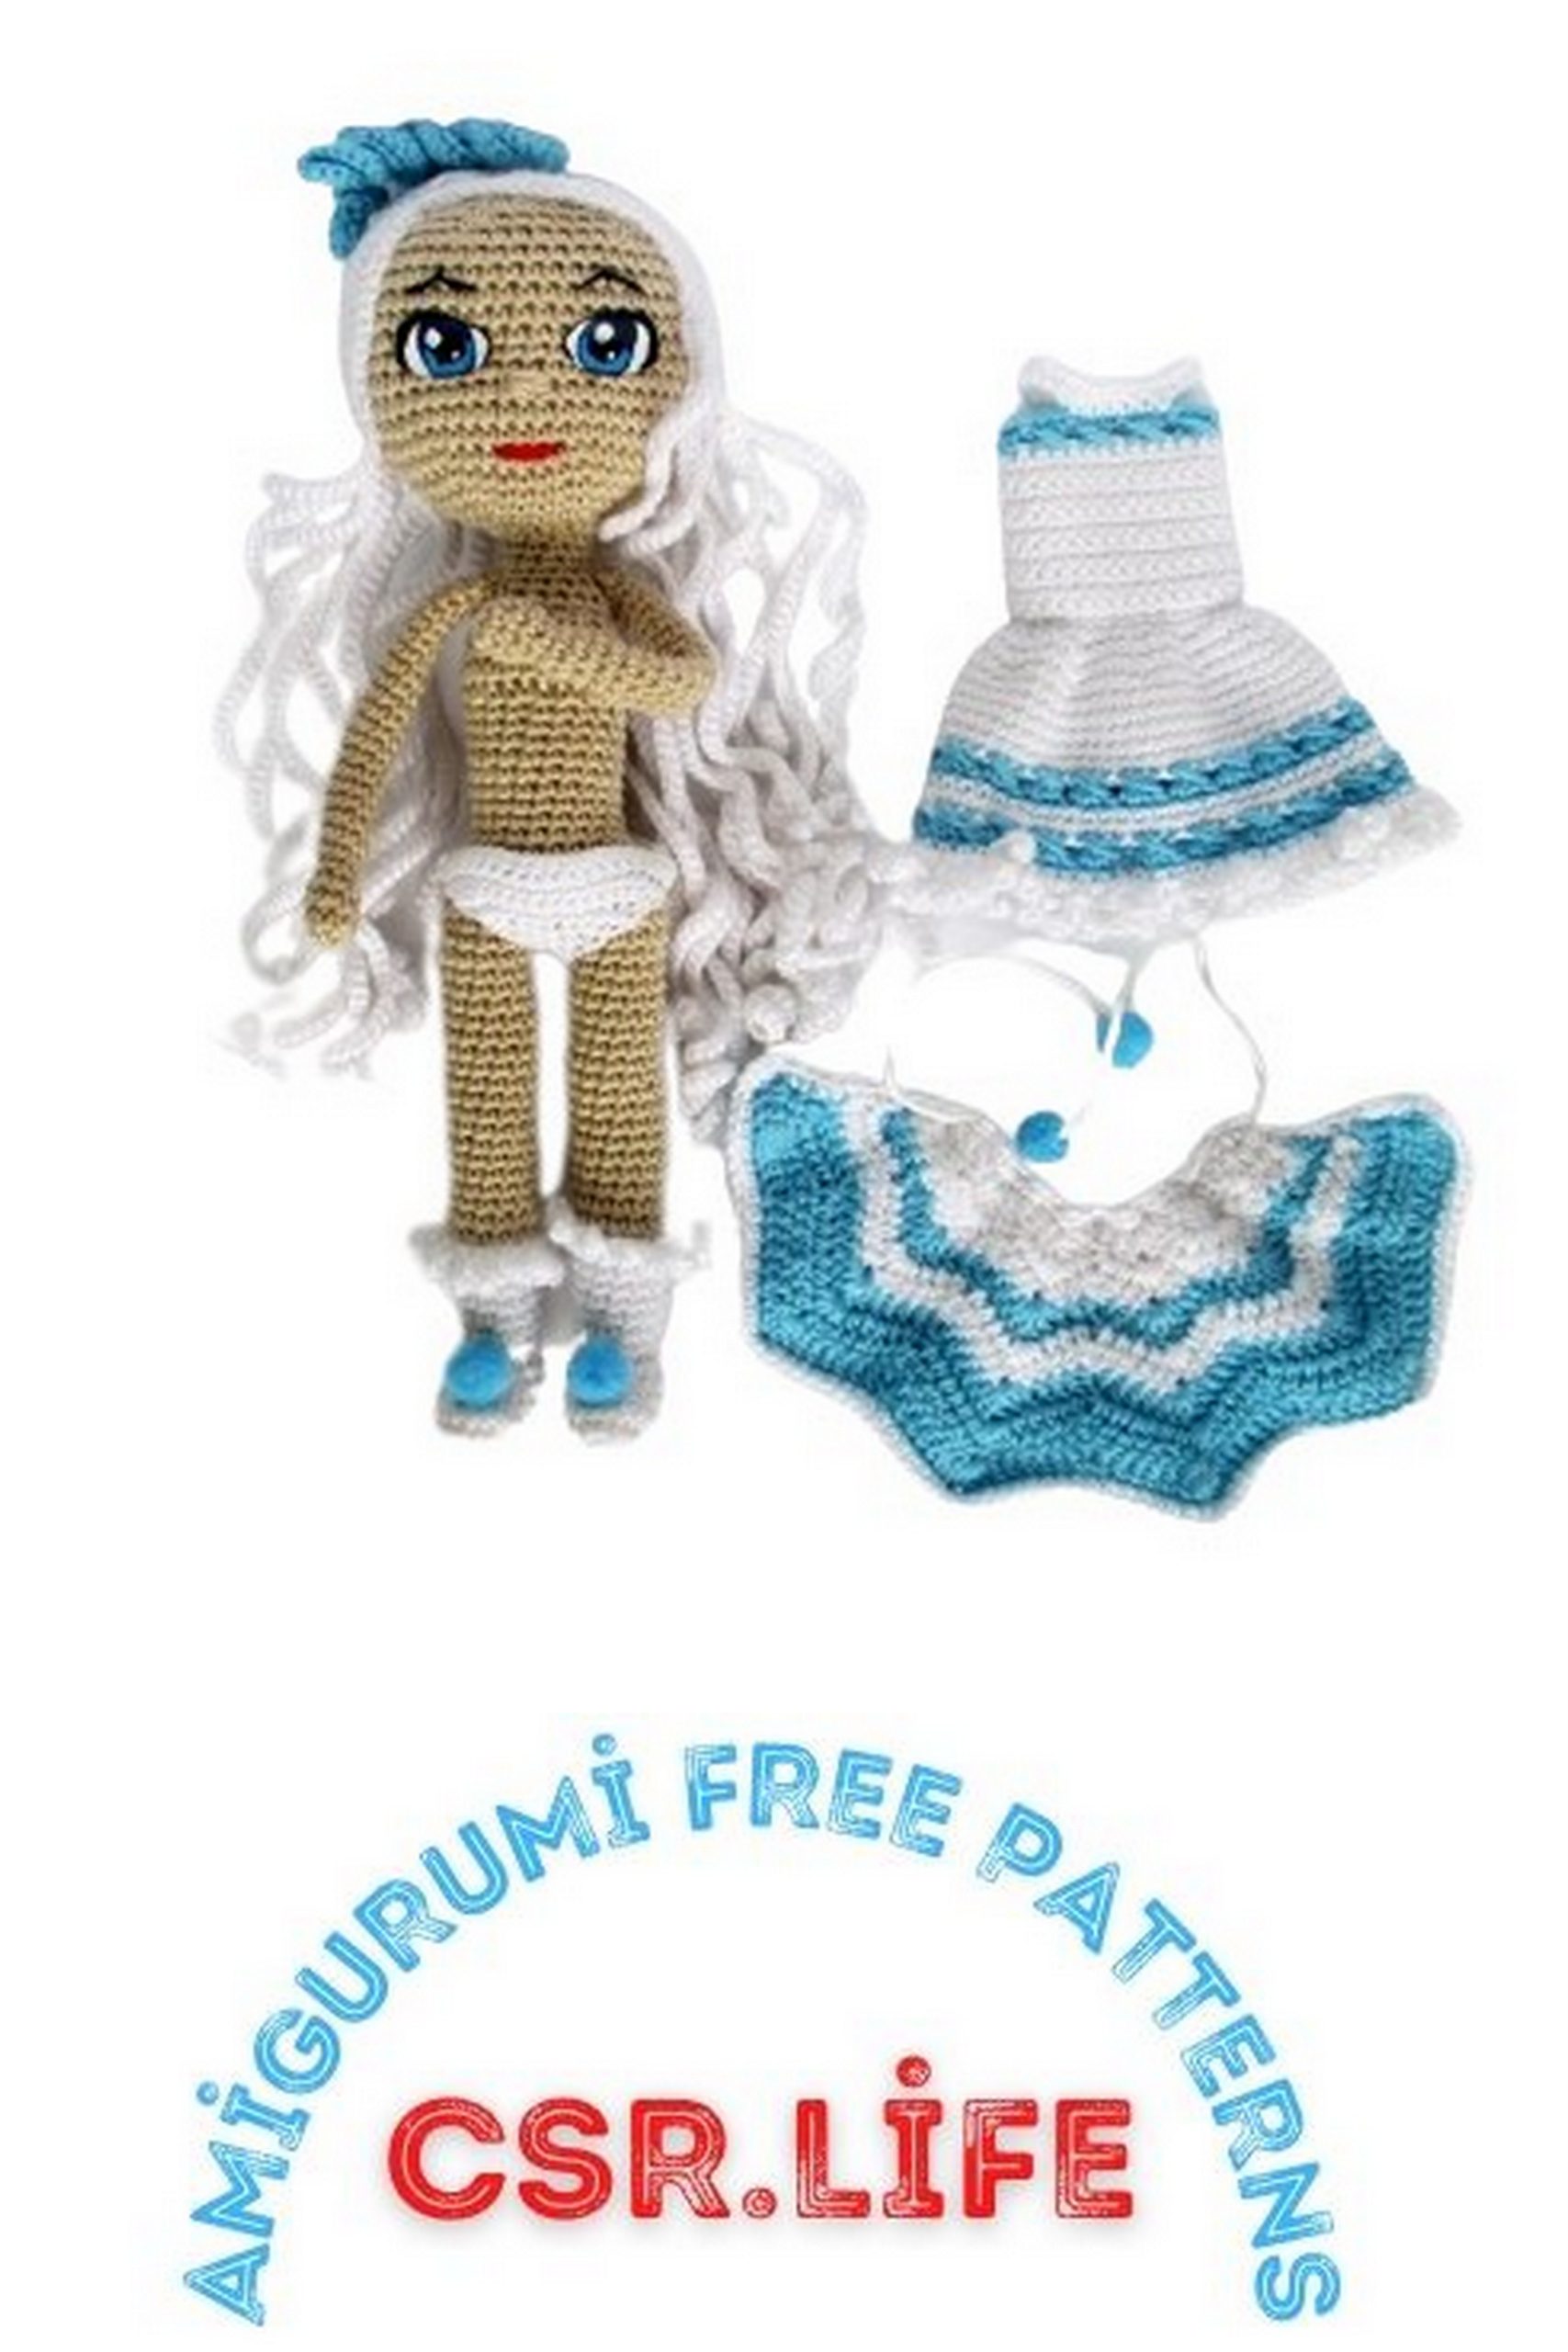
Underpants:
Use Alize Miss yarn in white. The pattern is designed for thin yarn, so adjust the stitch count if you’re using thicker yarn.
Row 1: Start with a chain of 21.
Row 2: Starting from the 2nd chain from the hook, work 20 single crochets (sc), turn (20).
Row 3: Chain 1, 20 sc (20).
Row 4: Chain 1, decrease (dec), 16 sc, dec (18).
Row 5: Chain 1, 2 dec, 10 sc, 2 dec (14).
Row 6: Chain 1, 2 dec, 6 sc, 2 dec (10).
Row 7: Chain 1, 2 dec, 2 sc, 2 dec (6).
Row 8: Chain 1, dec, 2 sc, dec (4).
Row 9-13: Chain 1, 4 sc (4).
Row 14: Chain 1, inc, 2 sc, inc (6).
Row 15: Chain 1, 2 inc, 2 sc, 2 inc (10).
Row 16: Chain 1, 2 inc, 6 sc, 2 inc (14).
Row 17: Chain 1, 2 inc, 10 sc, 2 inc (18).
Row 18: Chain 1, inc, 16 sc, inc (20).
Row 19-20: 20 sc (20).
Try the underpants on the doll to ensure they fit. If they fit well, cut and secure the yarn, then sew the sides together.
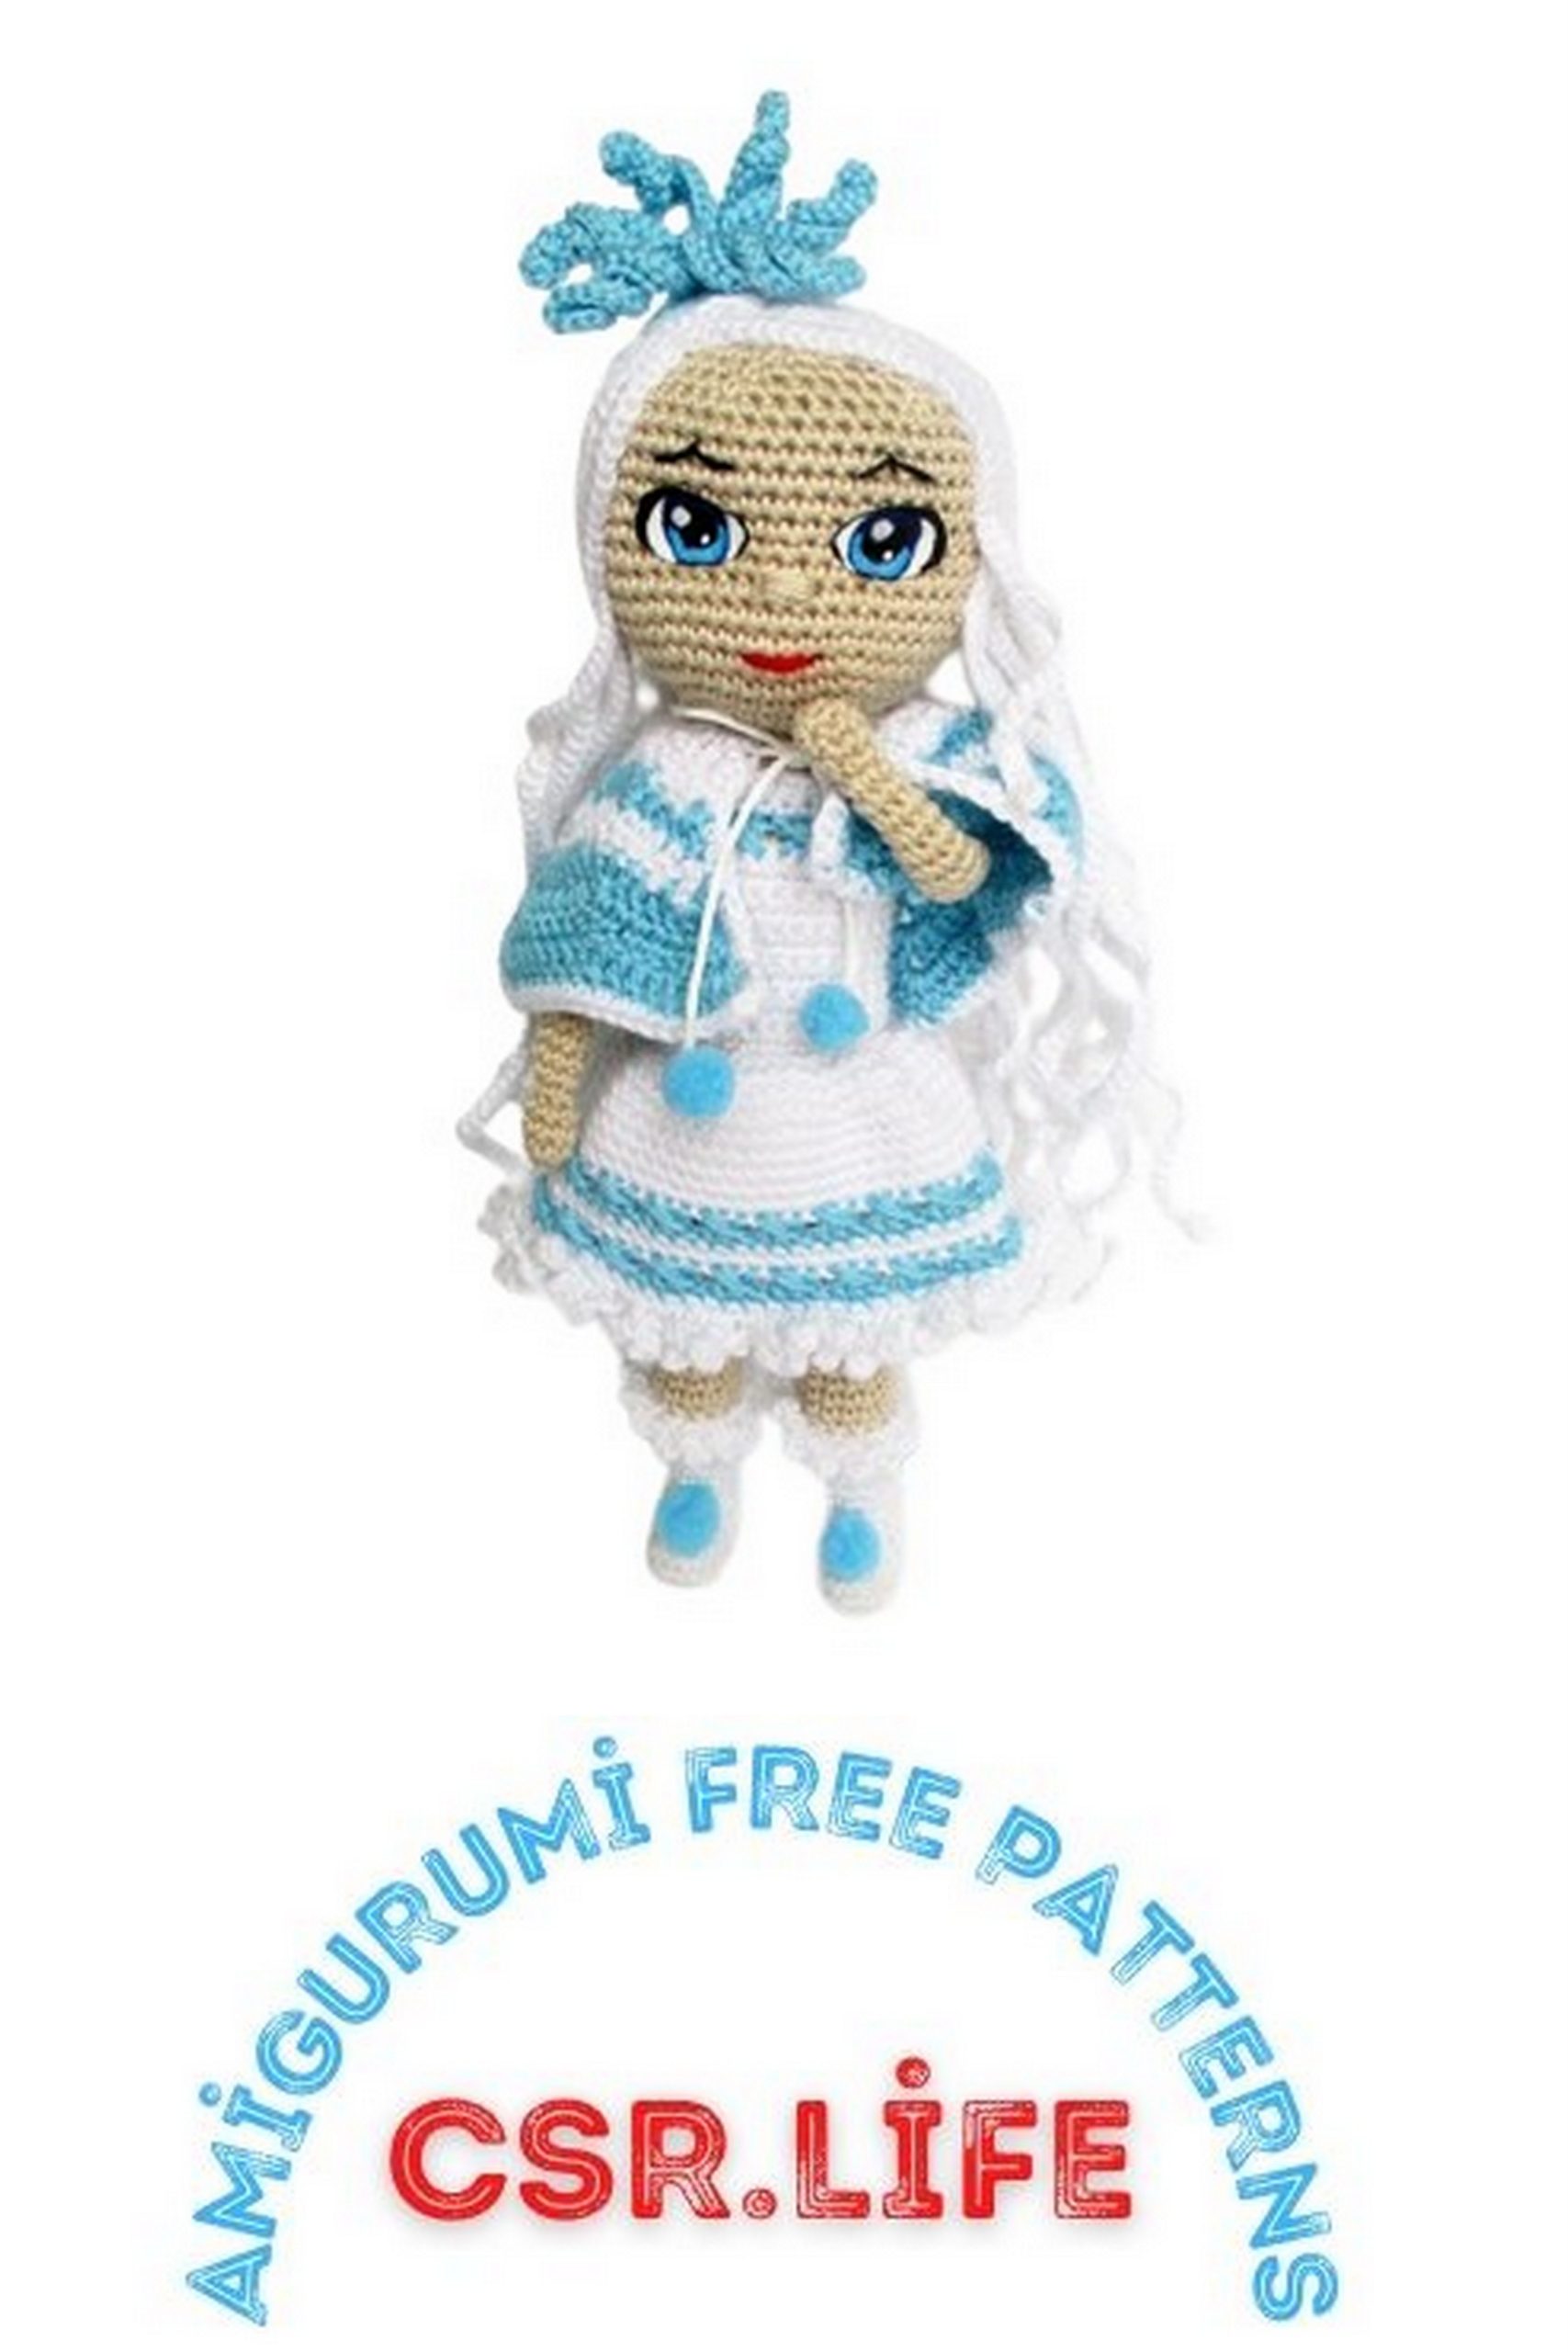
Dress:
Start with white yarn for the top part of the dress. Crochet in turned rows without joining.
Row 1: Chain 31.
Row 2: Starting from the 2nd chain from the hook, work 30 single crochets (sc), turn (30).
Row 3-13: Chain 1, 30 sc (30).
Switch to blue yarn.
Row 14: Chain 3, (skip 1st sc, work a front post double crochet around the next 2 sc, now go back and work the 3rd front post double crochet around the skipped 1st sc) repeated 10 times, front post double crochet around the last 2 sc, turn (30).
Switch back to white yarn.
Row 15: Chain 4, 4 sc, form sleeves with 8 chains, skip 8 sc, work 6 sc starting from the 9th sc, 8 chains, skip 8 sc, work 4 sc (30).
Row 16: Chain 1, 30 sc (30). Cut and secure the yarn.
Now, let’s crochet the bottom part of the dress (the skirt). Use white yarn and work in a spiral without joining.
Row 1: (2 sc, inc) repeated 10 times (40). Continue crocheting in the spiral.
Row 2: (3 sc, inc) repeated 10 times (50).
Row 3: (4 sc, inc) repeated 10 times (60).
Row 4-9: 60 sc (60).
Switch to blue yarn.
Row 10: (3 front post double crochets around the same stitch, skip 2 stitches, 3 front post double crochets around the next stitch) repeated 10 times (60).
Switch back to white yarn.
Row 11-12: 60 sc (60).
Switch to blue yarn.
Row 13: (3 front post double crochets around the same stitch, skip 2 stitches, 3 front post double crochets around the next stitch) repeated 10 times (60).
Switch back to white yarn.
Row 14: 60 sc (60).
Create icicles: (chain 4, 3 sc in the 2nd chain from the hook, sc in the base of the chain) repeated 60 times (60). Cut and secure the yarn.
Sew buttons to the dress and create loops for them. You can also sew a zipper, buttons, or other embellishments if you prefer. If you don’t want the dress to be removable, simply sew the back seam. You can decorate it with rhinestones or other ornaments if desired.
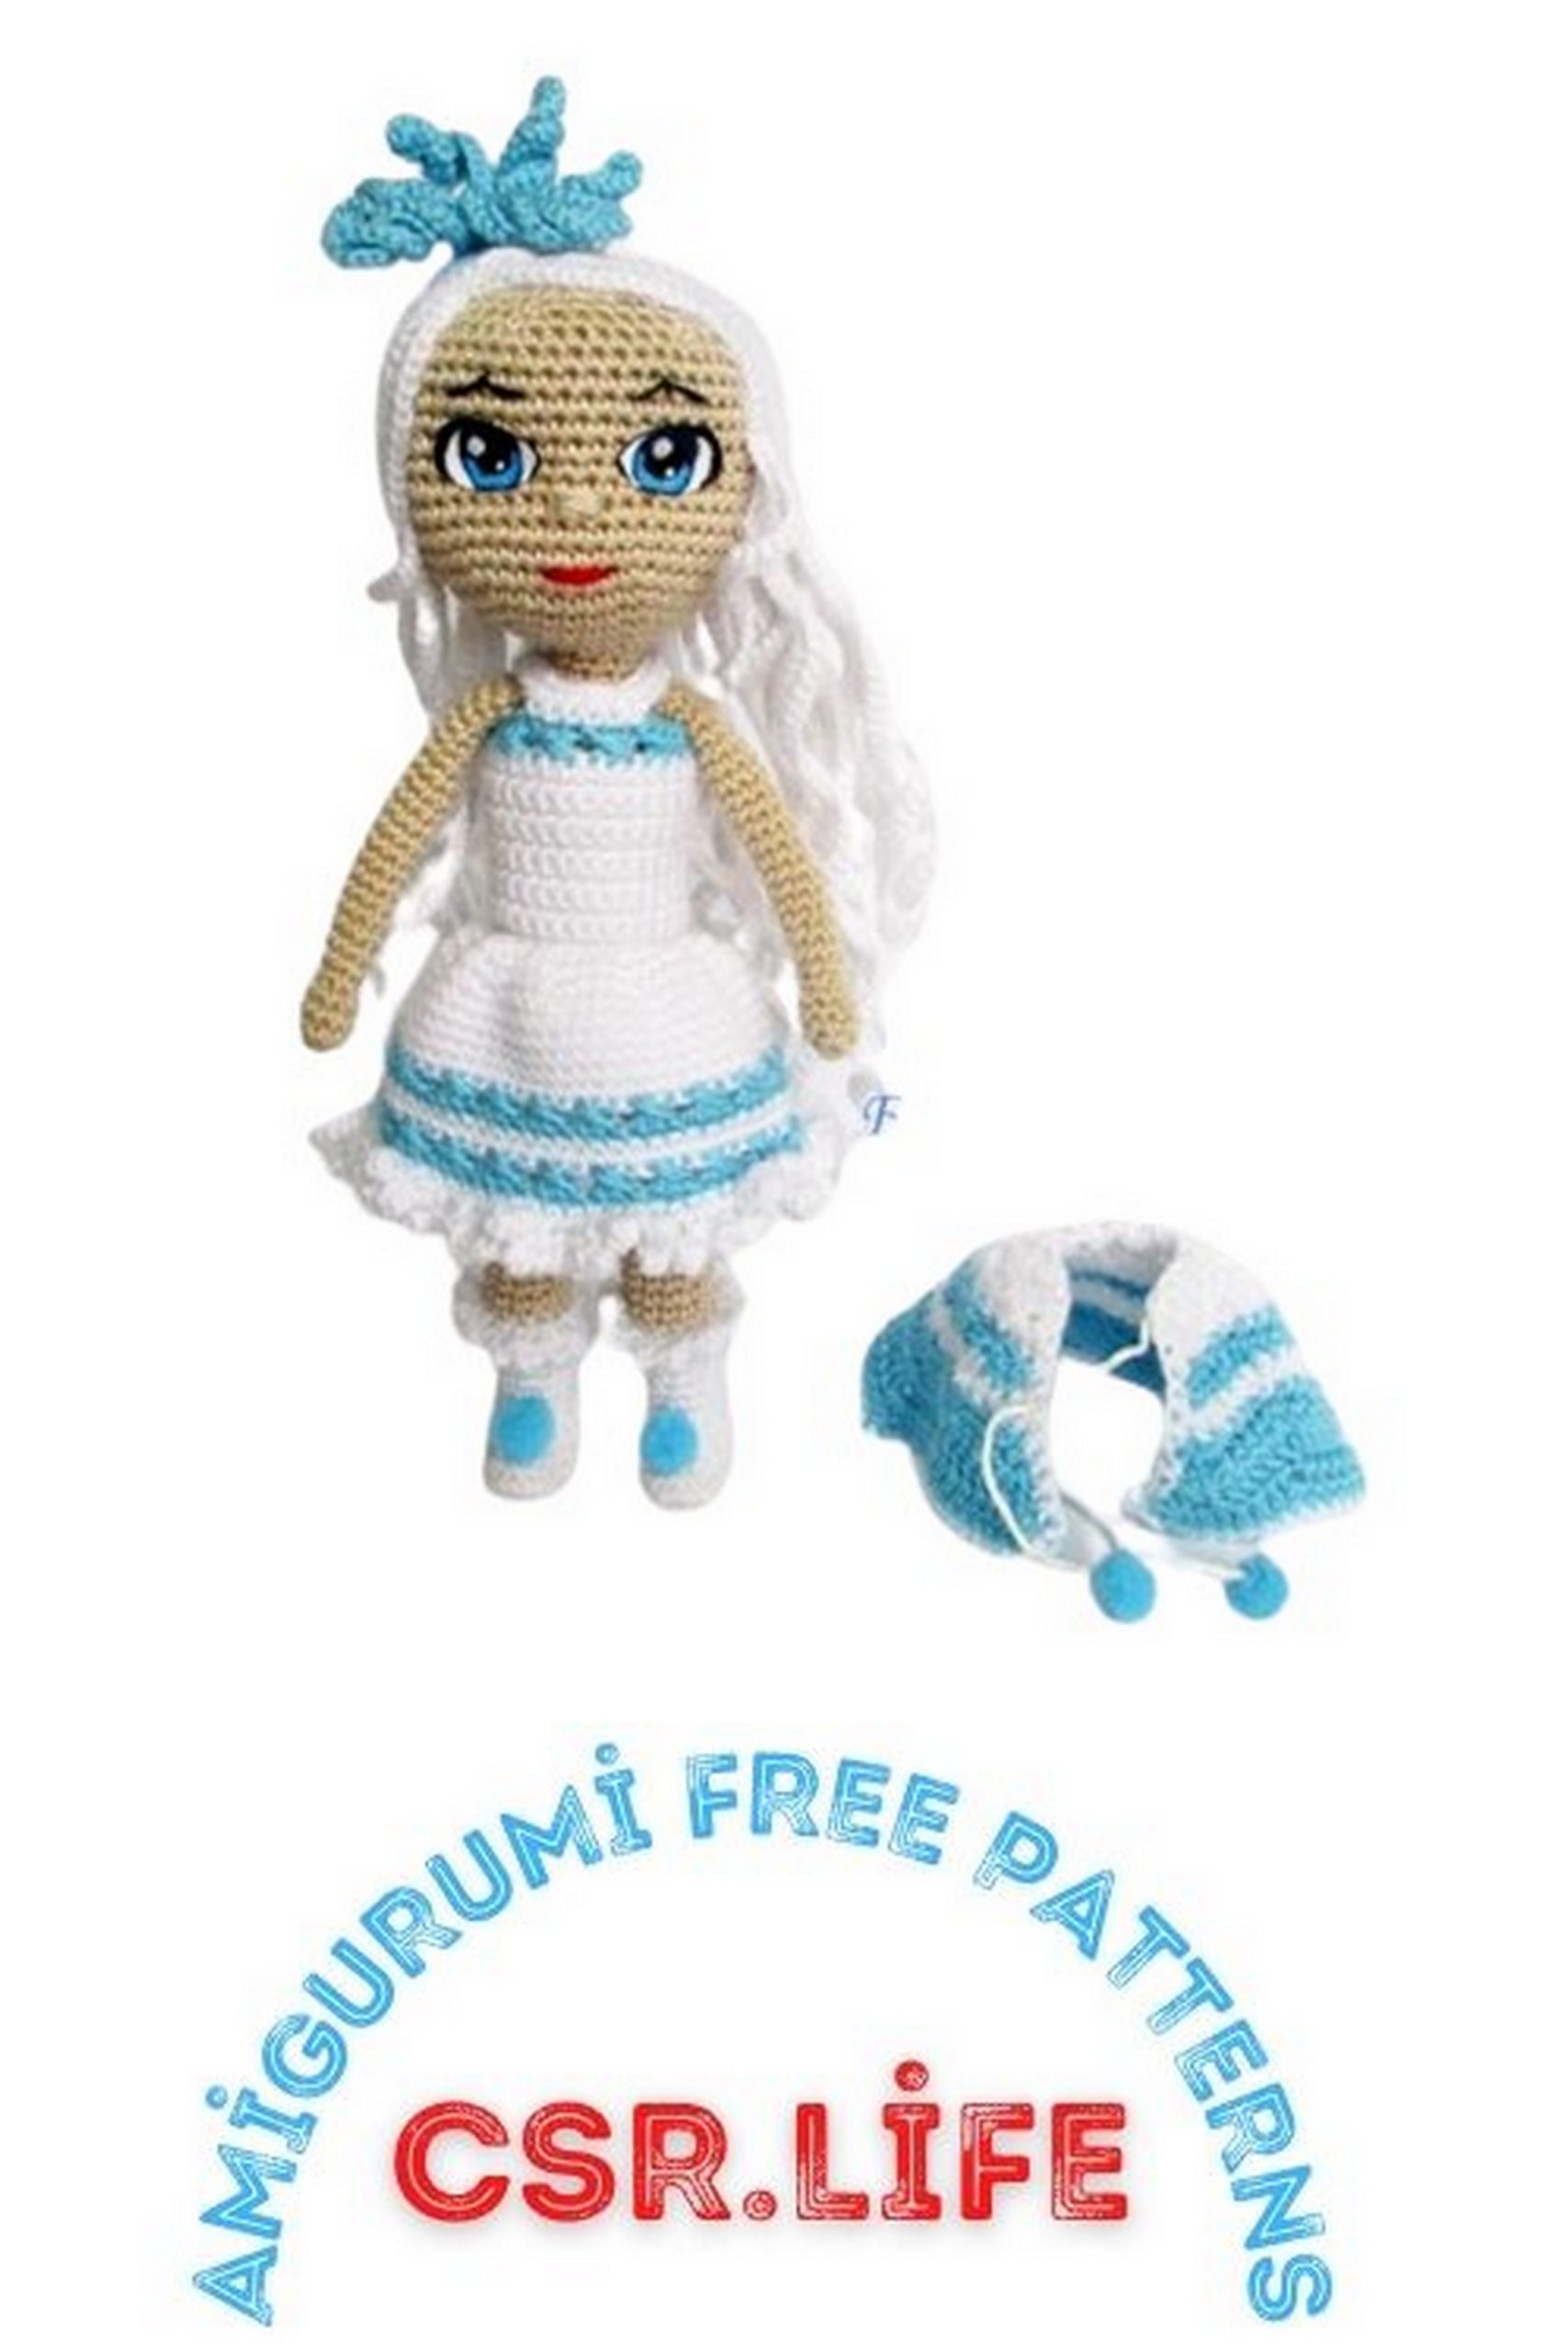
Poncho:
You can follow a separate pattern for the poncho. You can find various crochet poncho patterns online, and you can choose one that matches the size and style you want for your doll. Just make sure to use blue yarn to match the doll’s outfit.
Hair:
For the doll’s hair:
Start with white yarn in a round:
Round 1: 6 single crochets in a magic ring (6).
Round 2: 6 increases (12).
Round 3: (1 sc, inc) repeated 6 times (18).
Round 4: Back post stitch (bps) (2 sc, inc) repeated 6 times (24).
Round 5: (3 sc, inc) repeated 6 times (30).
Crochet the curls. For each curl:
Rows 6-24: Chain 91, starting from the 2nd chain from the hook, work 90 single crochets, slip stitch into the base.
Create 30 curls in total.
Cut the yarn and secure it. Attach the curls to the doll’s head as desired. You can use pins or sew them in place. Style the hair as you like.
Face Embellishments:
Paint the doll’s eyes using acrylic paints. You can create templates for the eyes and transfer them to white cotton fabric. Then, color the eyes with acrylic paints. Allow the paint to dry completely and apply several coats of clear nail polish for a glossy finish.
You can also embroider the mouth, nose, and eyebrows as desired. Be creative with the facial expressions to give your doll a unique character.
That completes your doll’s clothing and finishing touches. Enjoy your handmade doll!