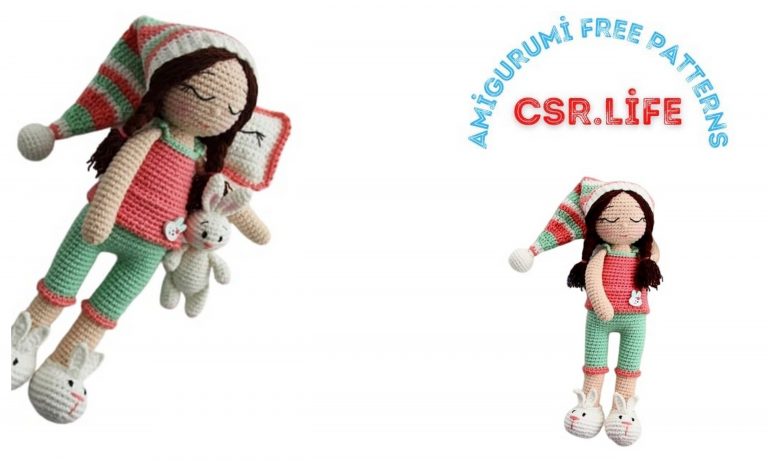
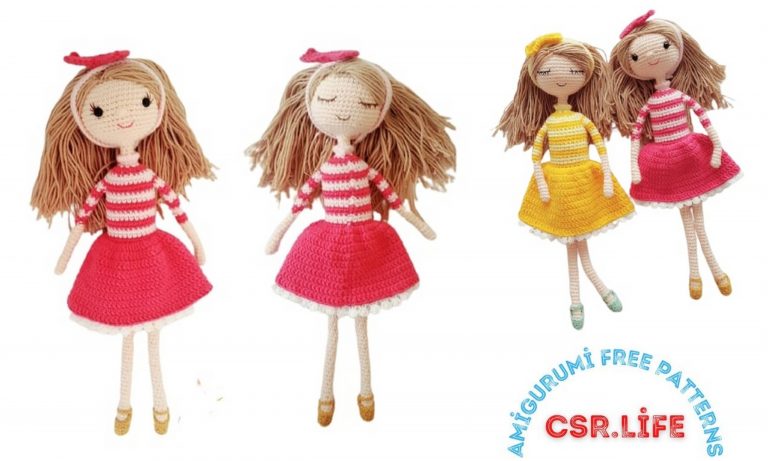
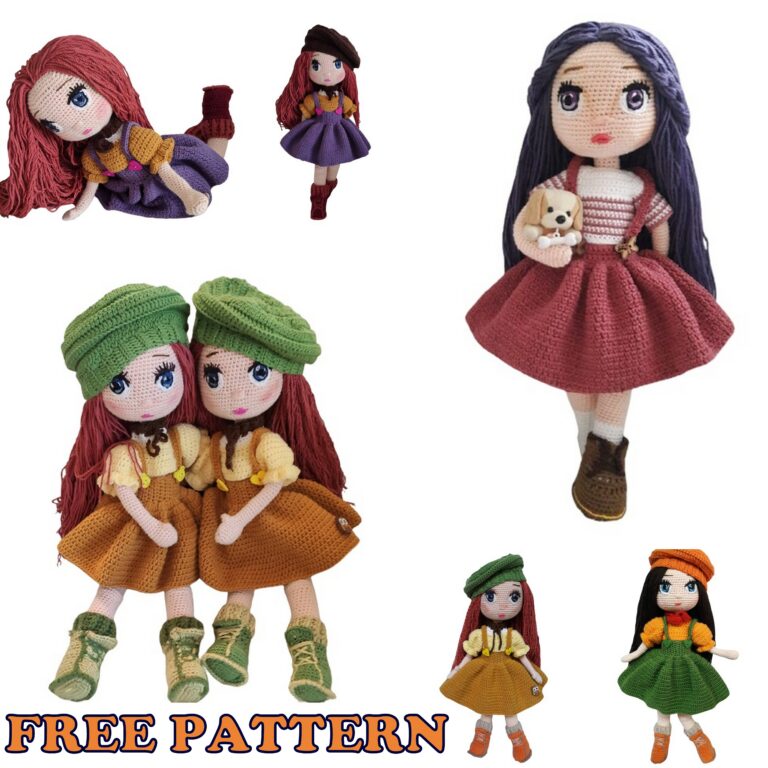
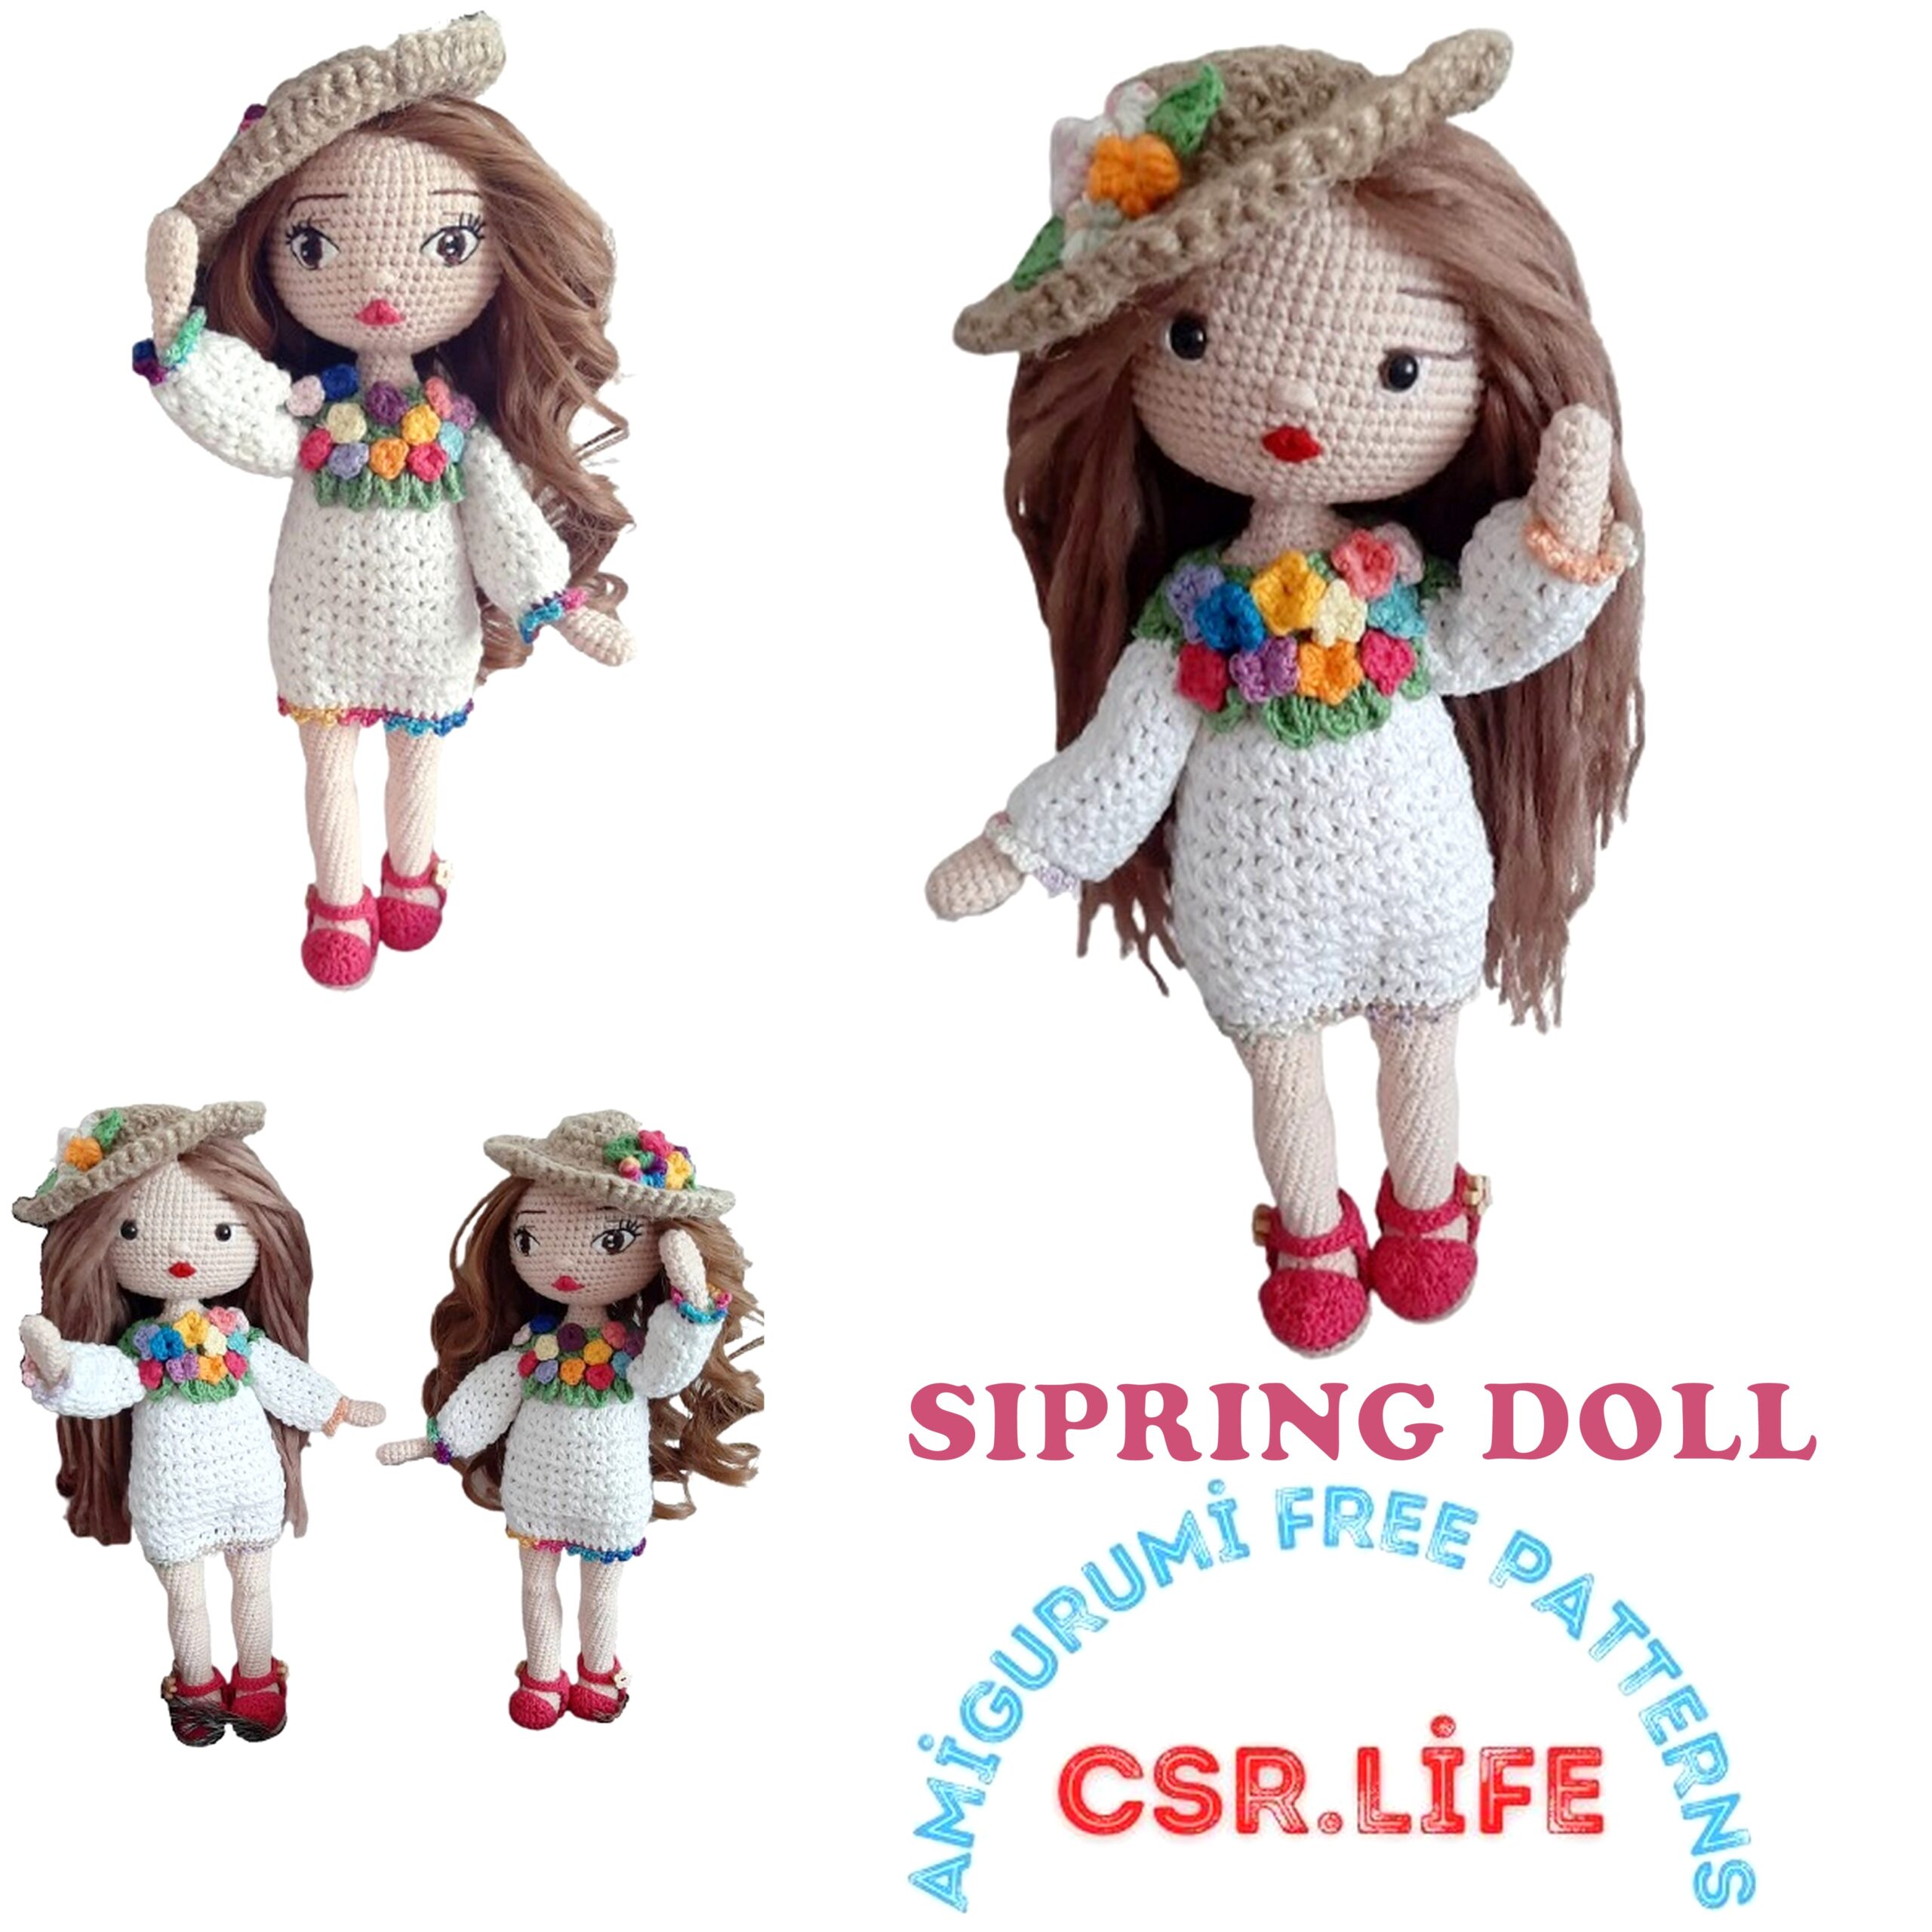
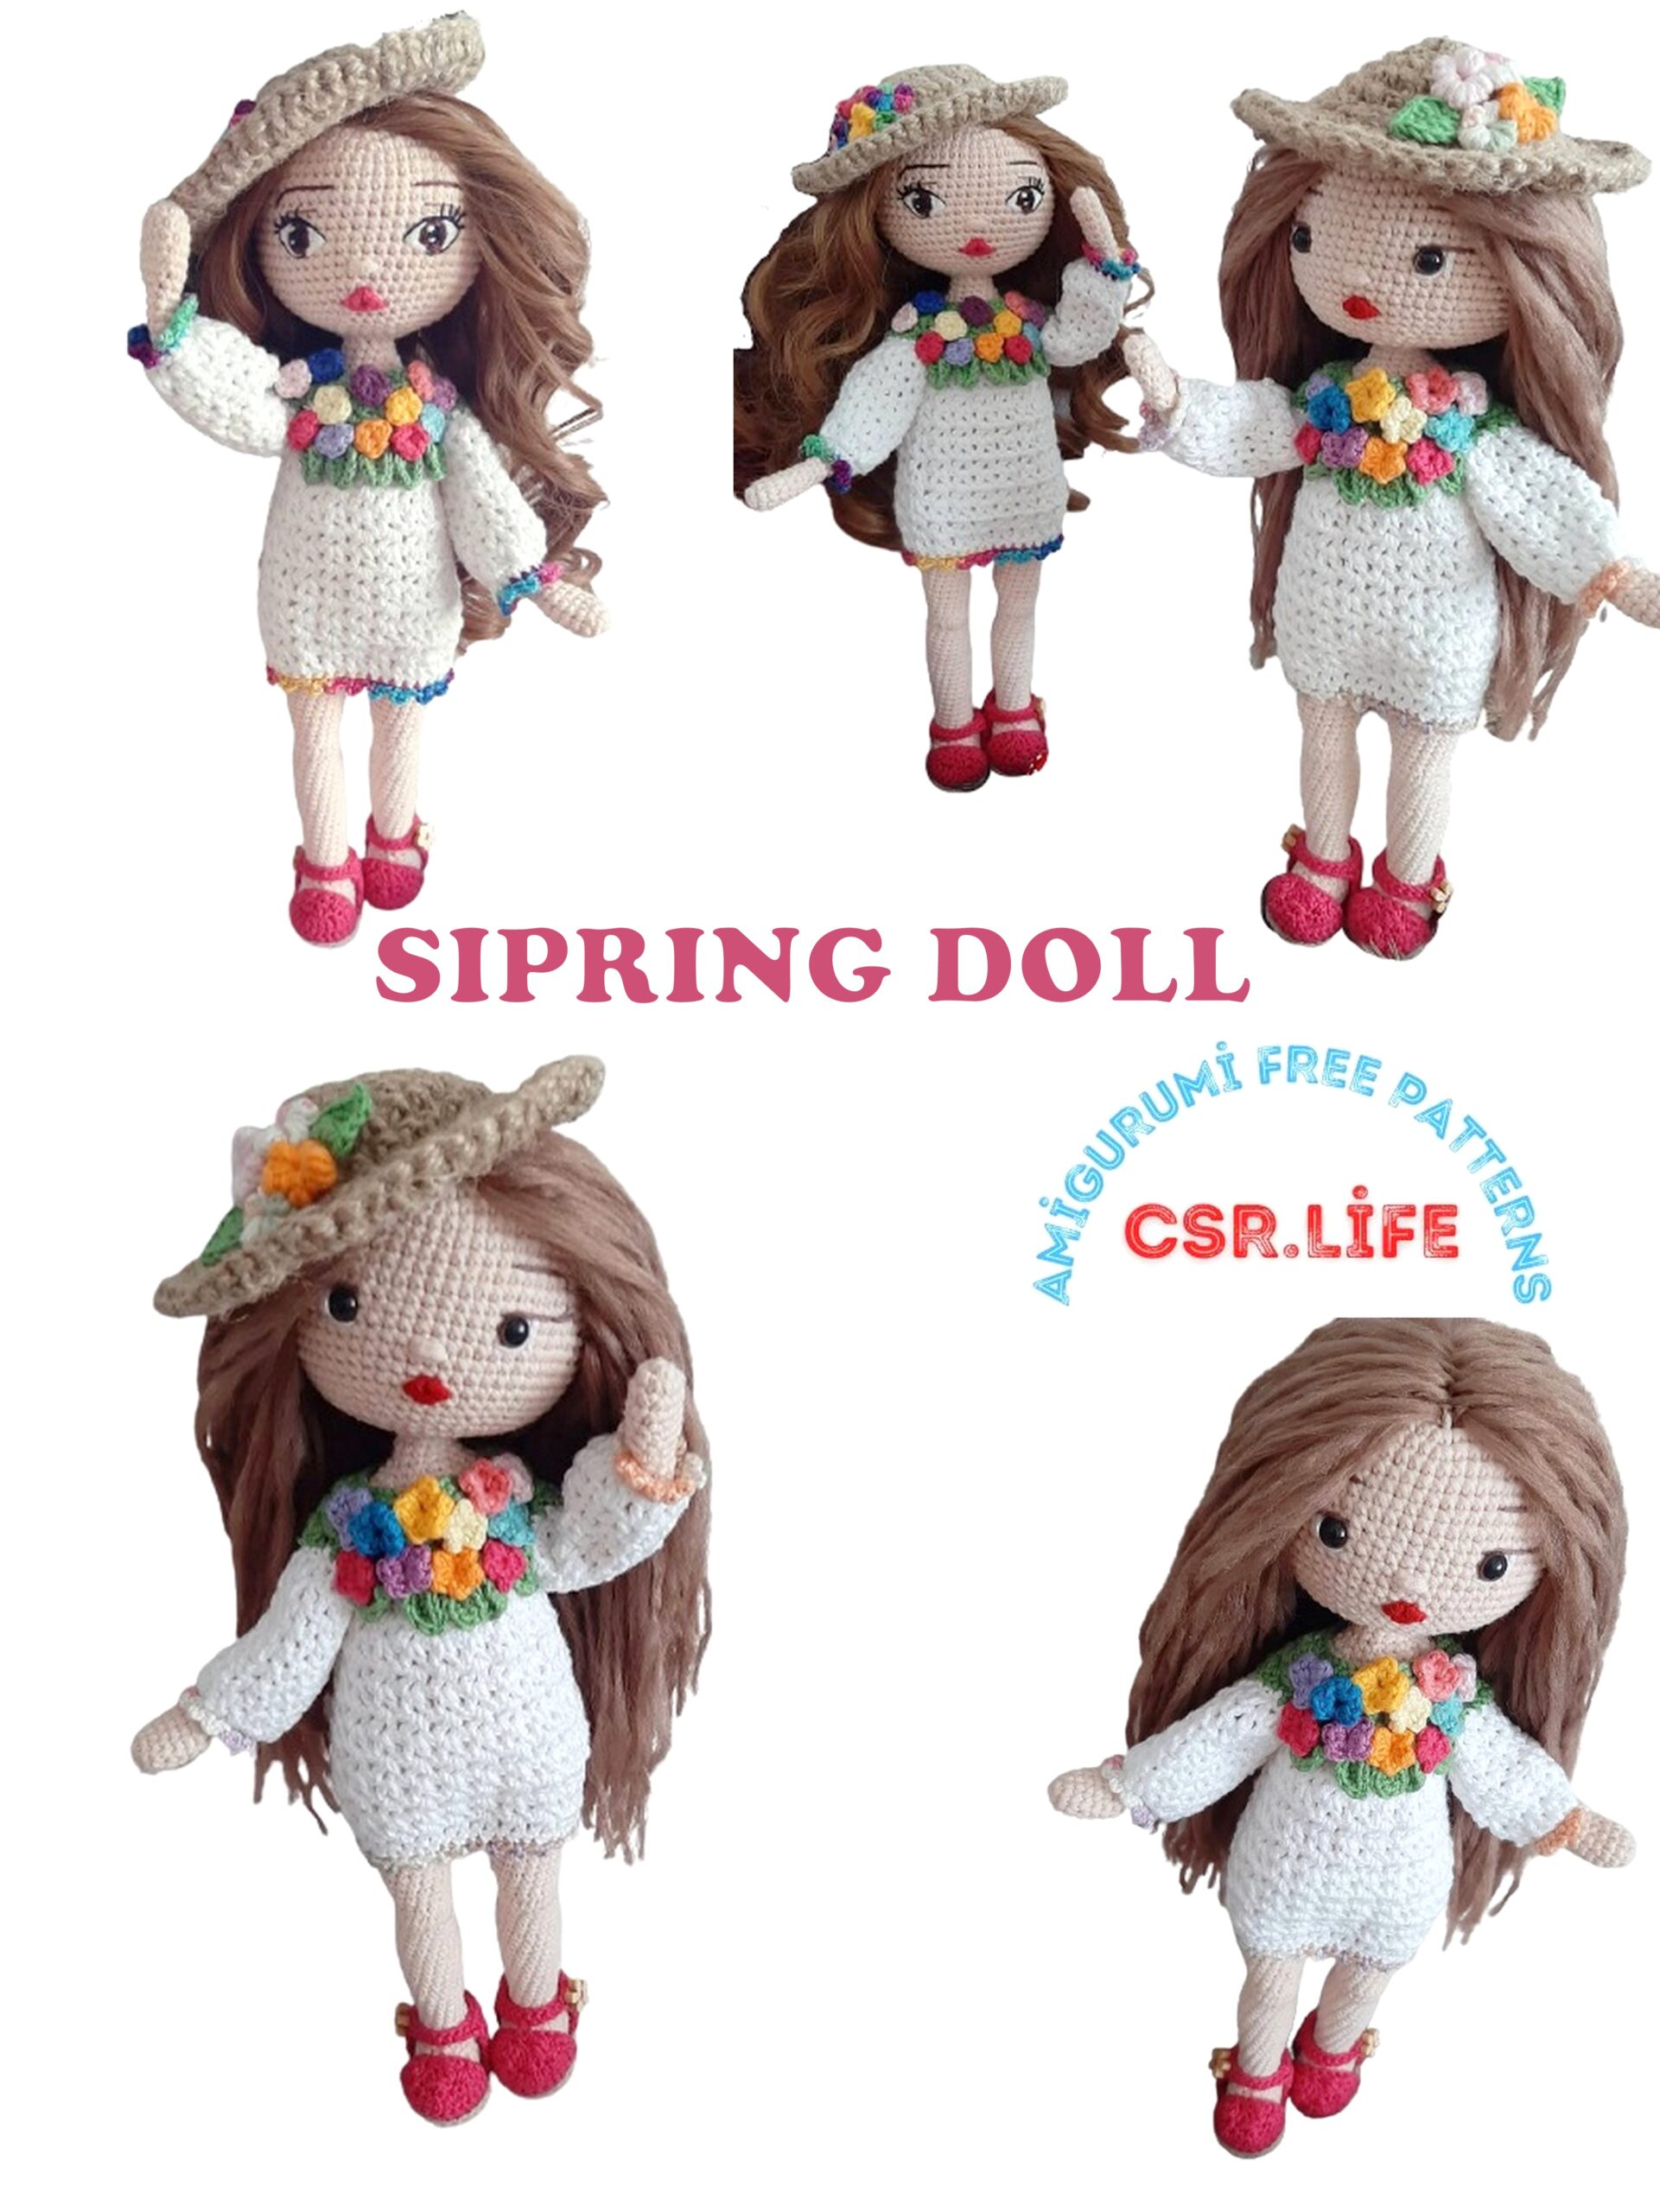
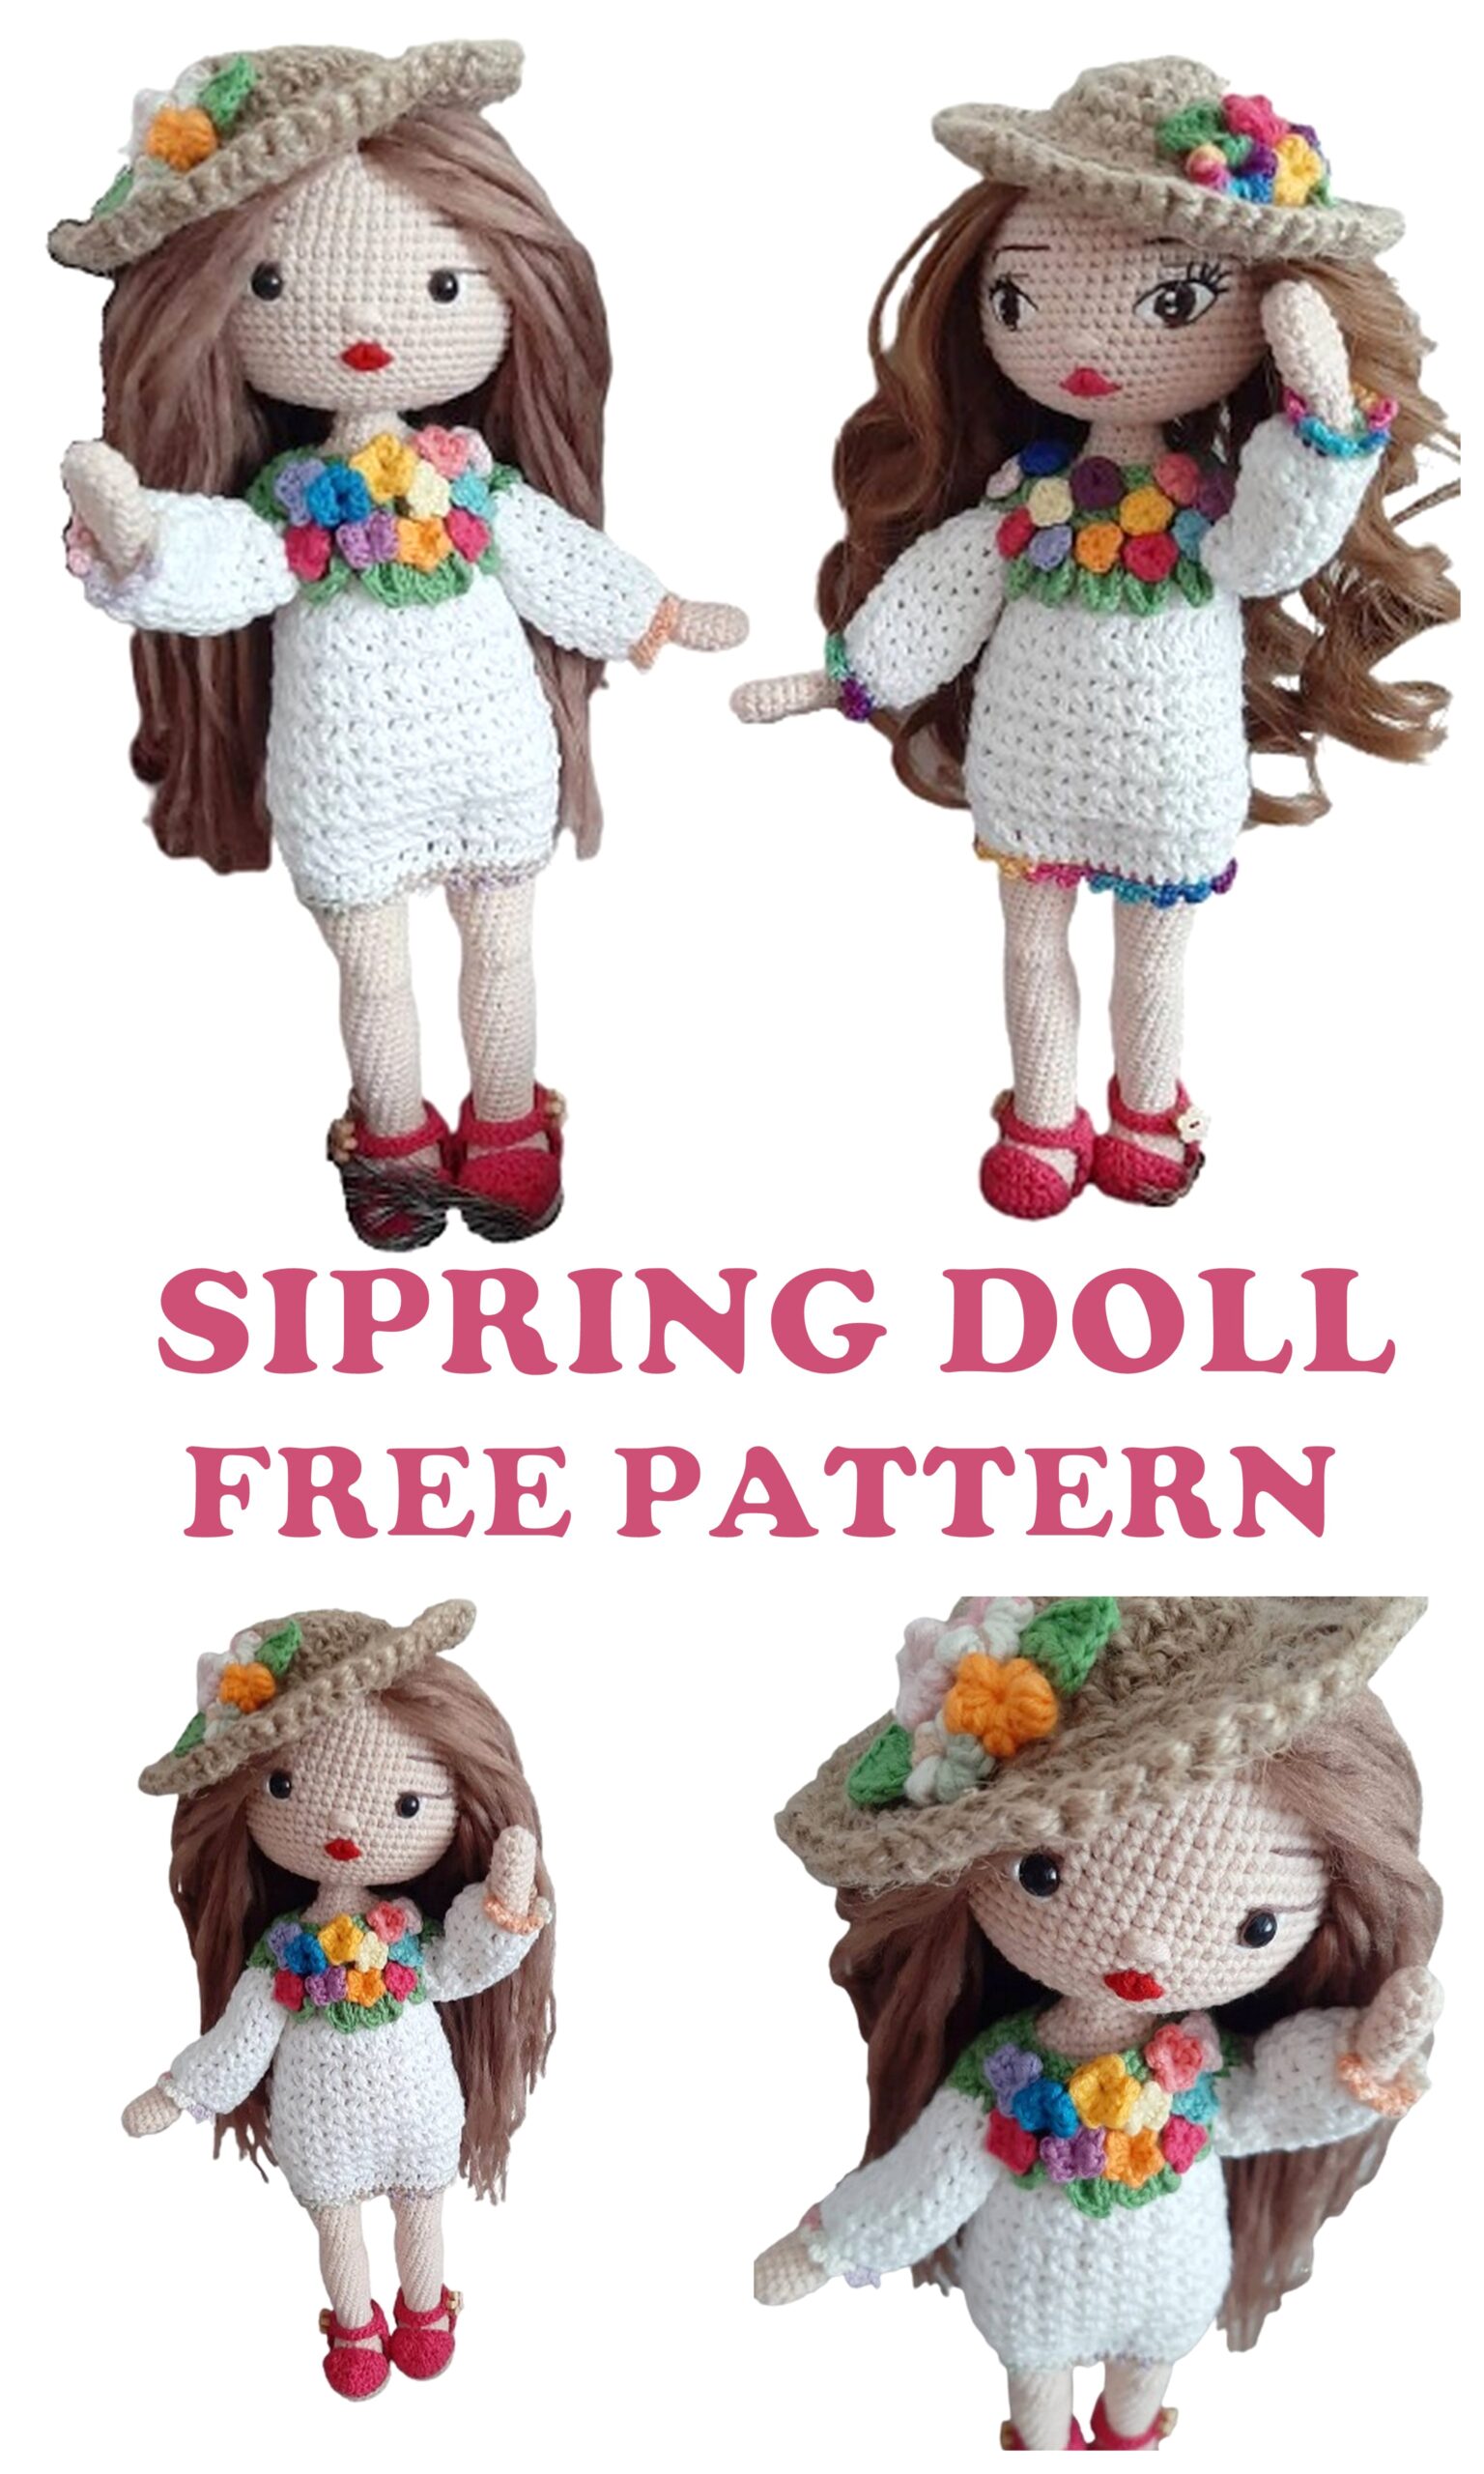
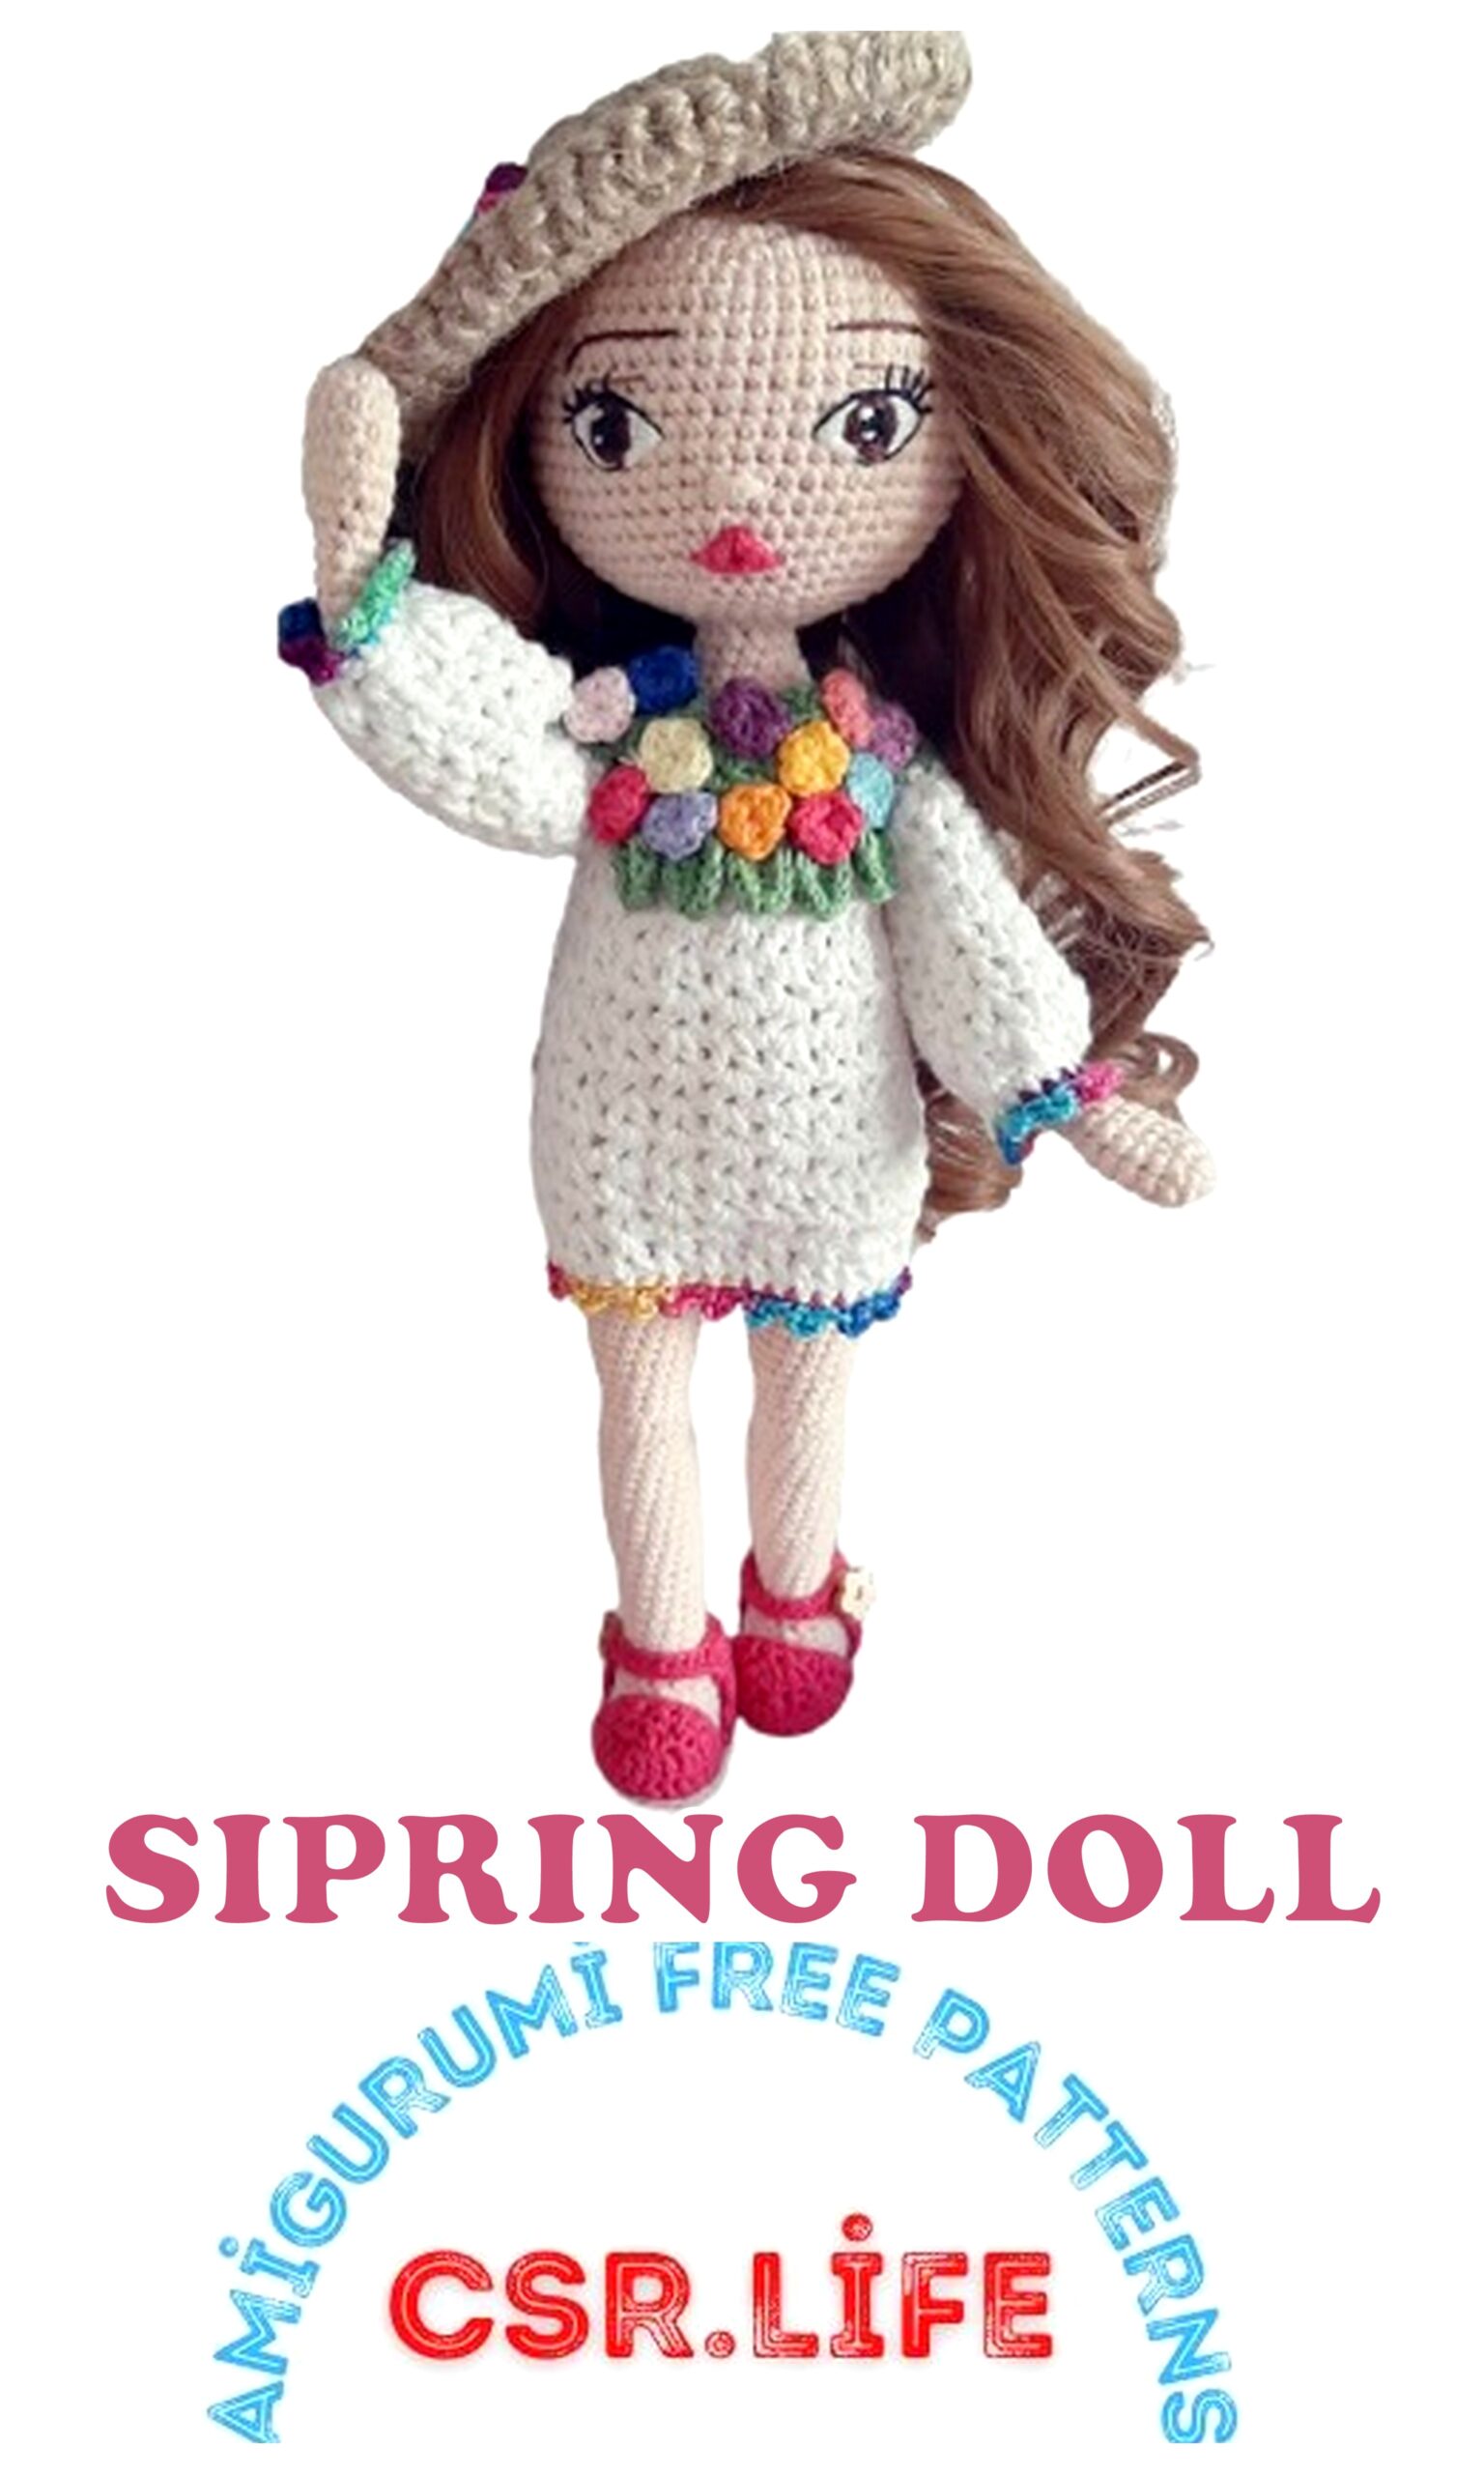
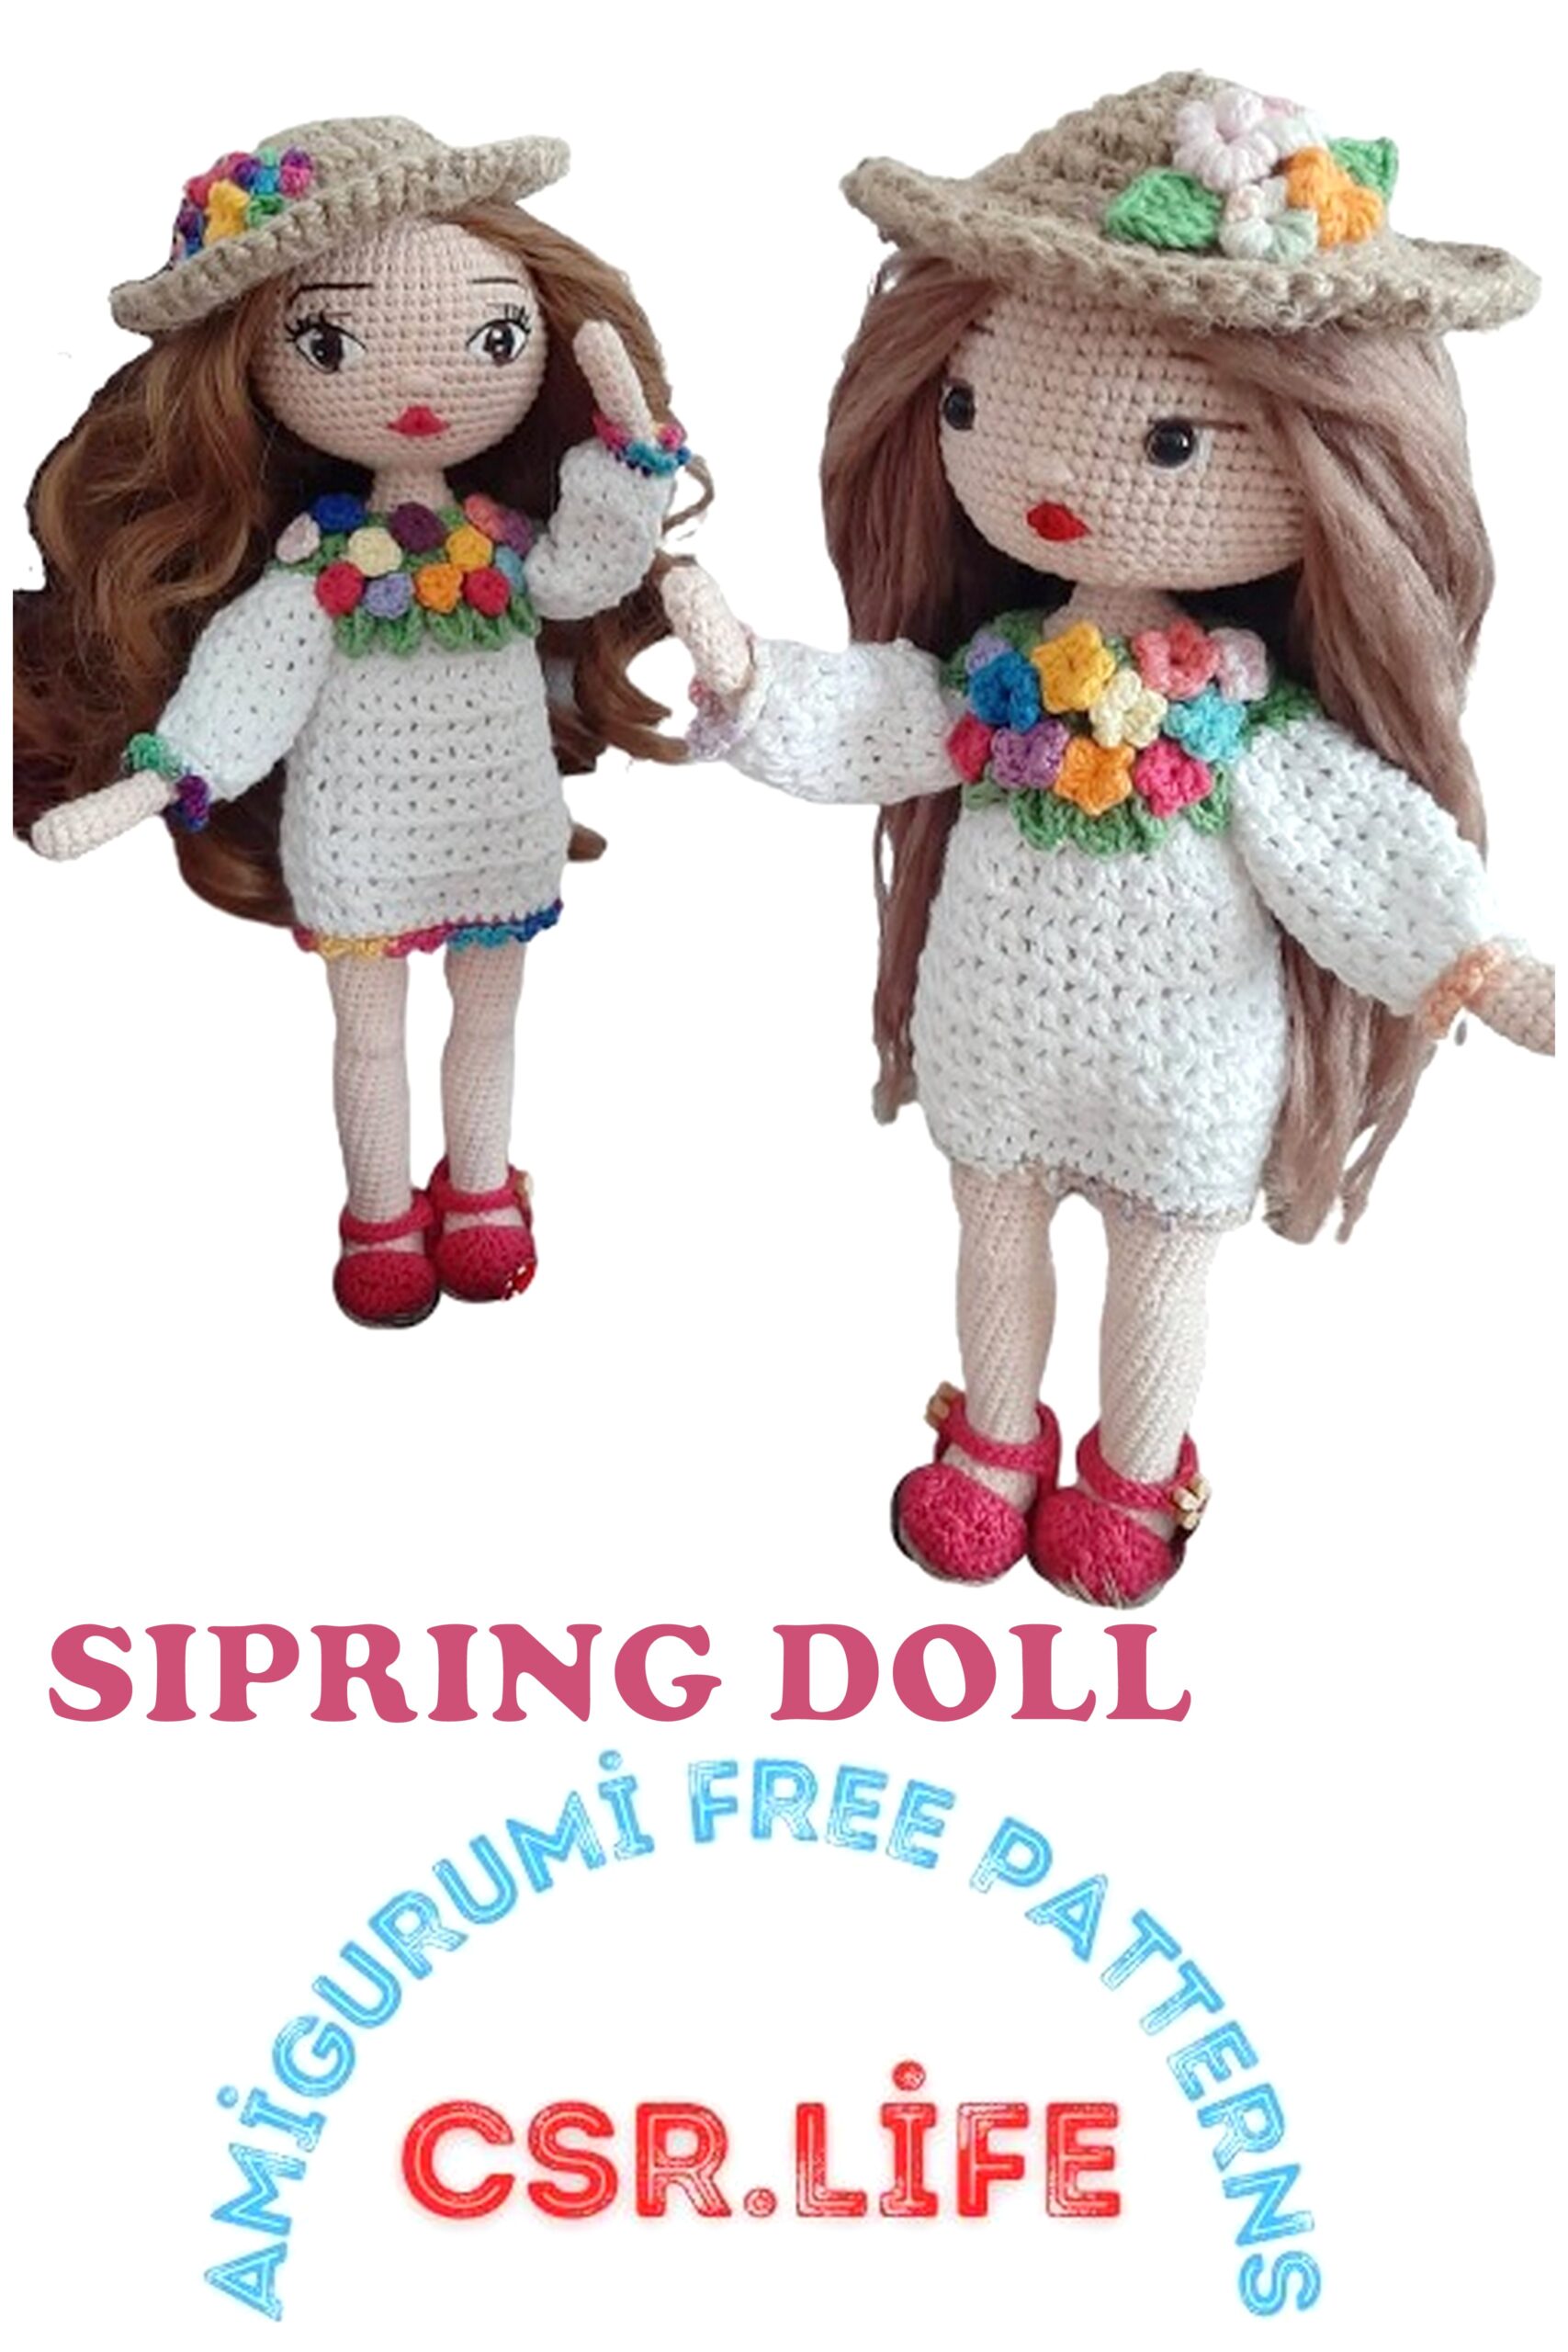
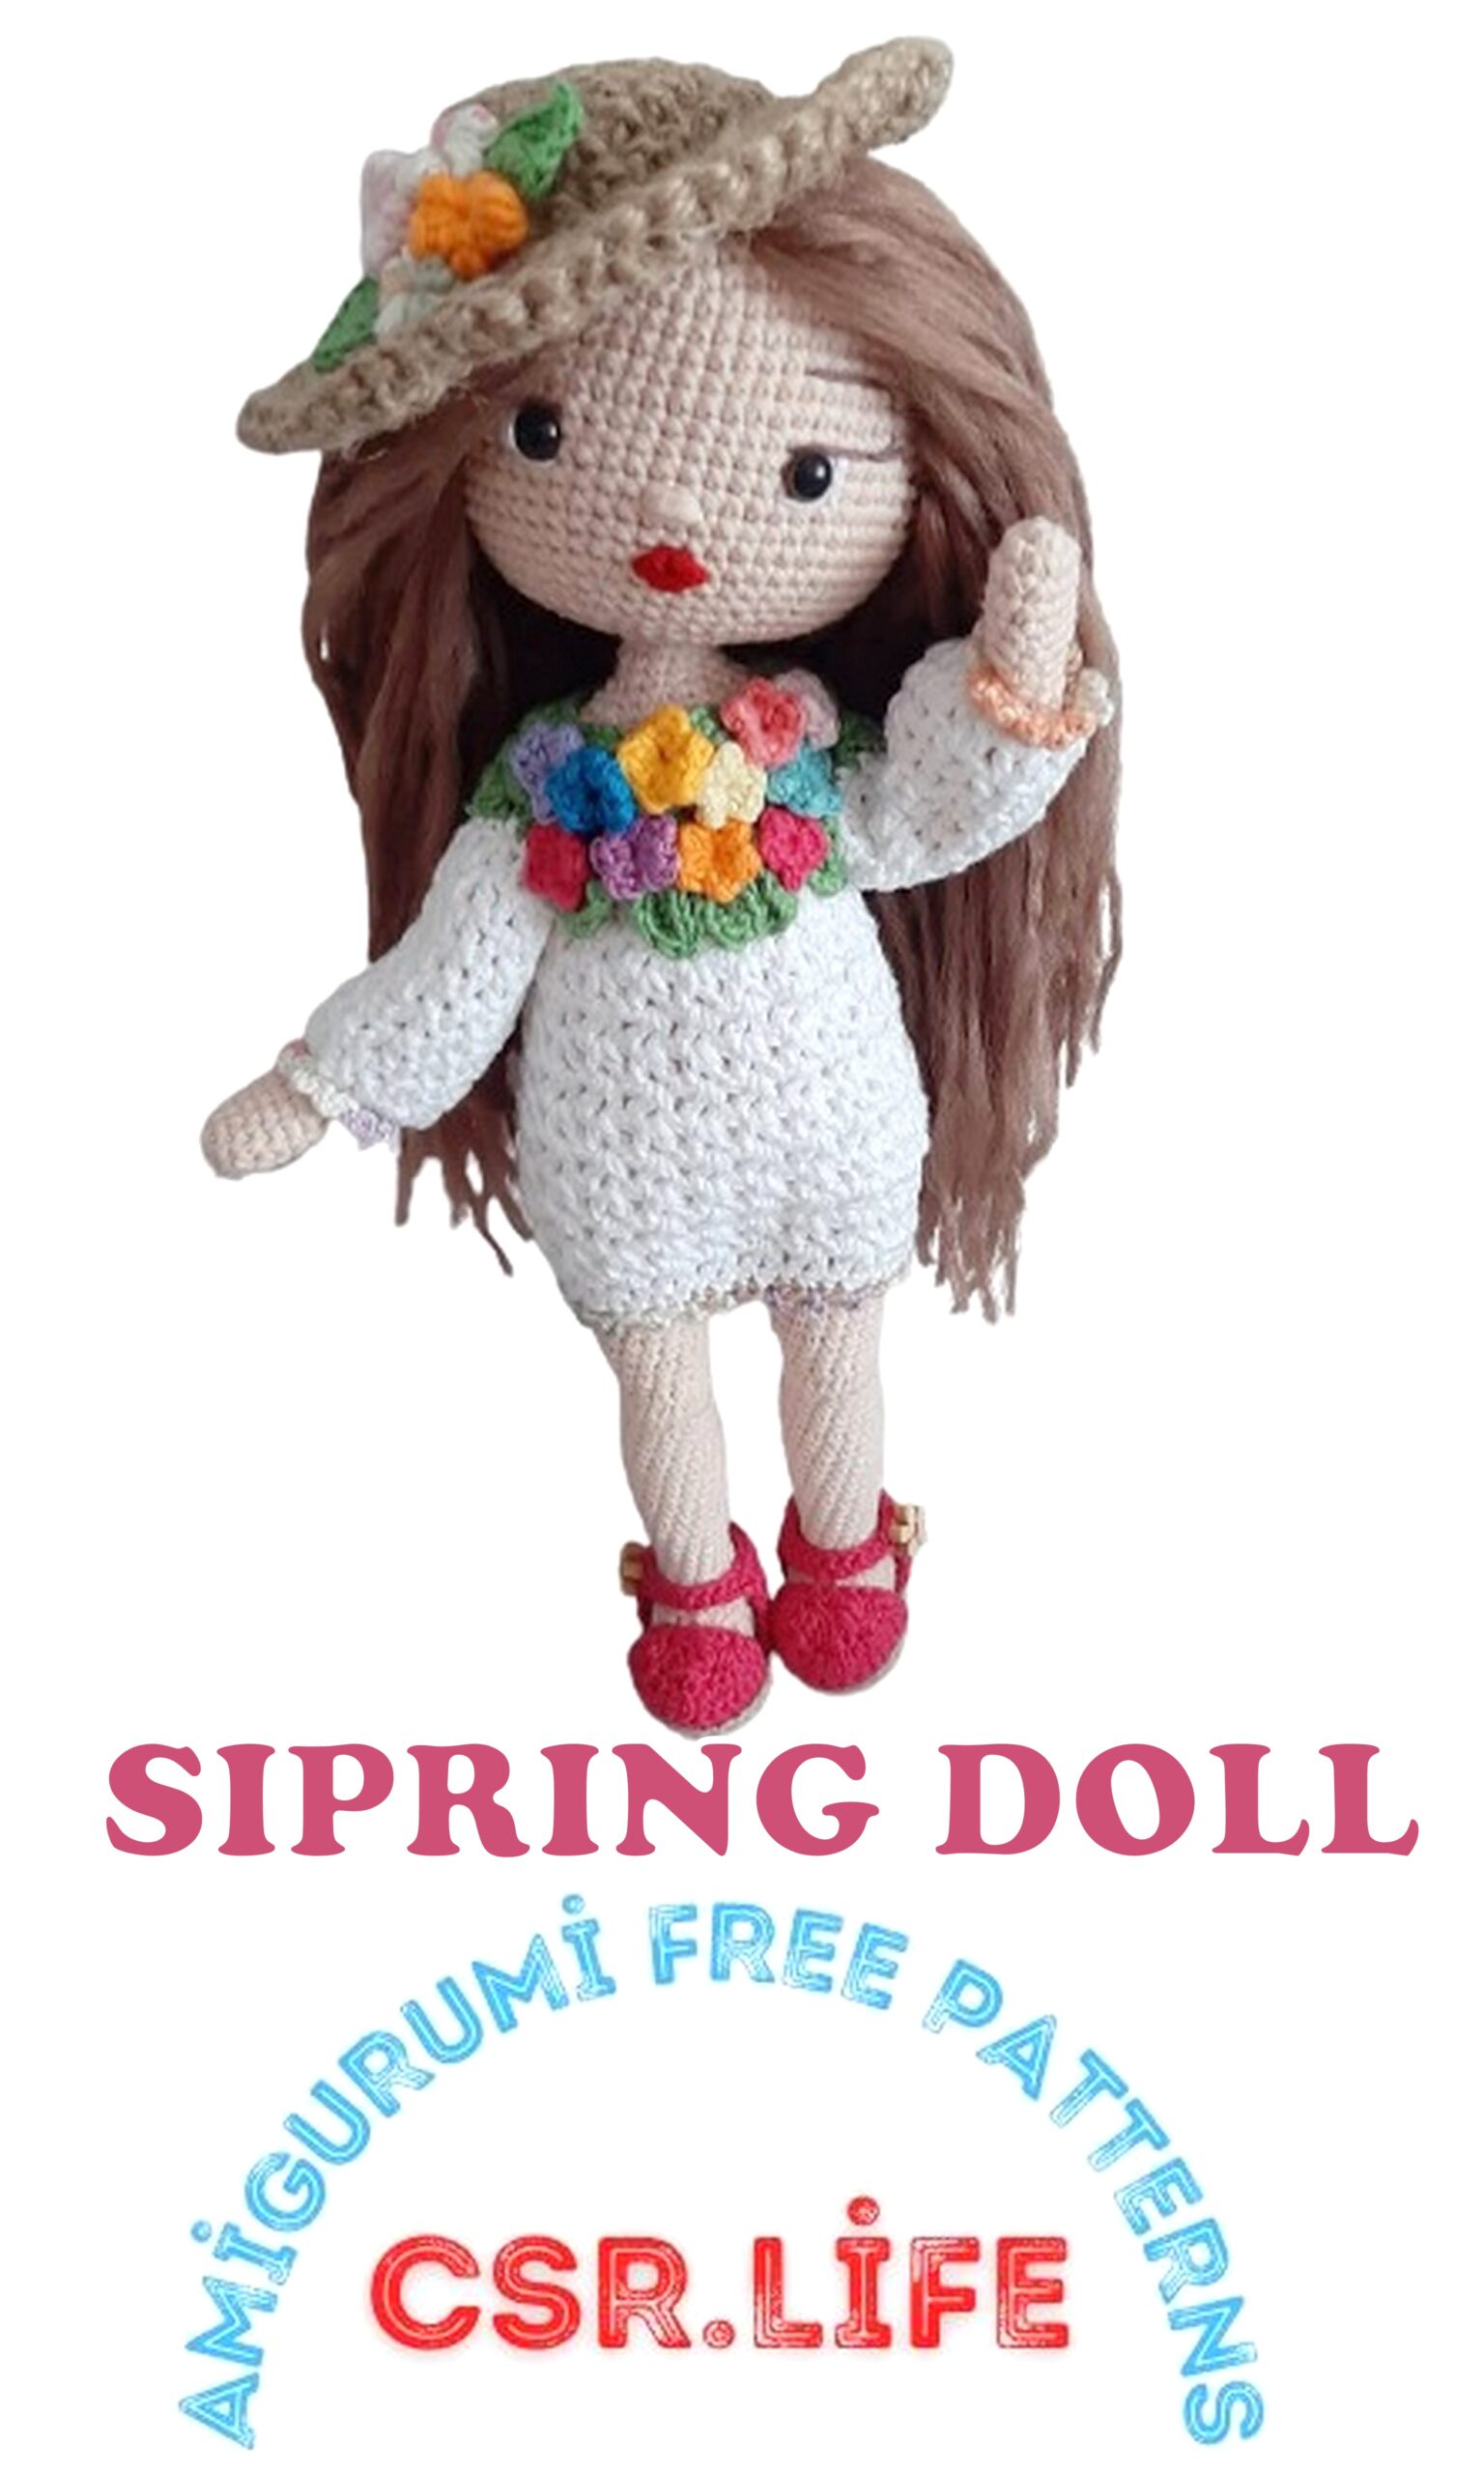
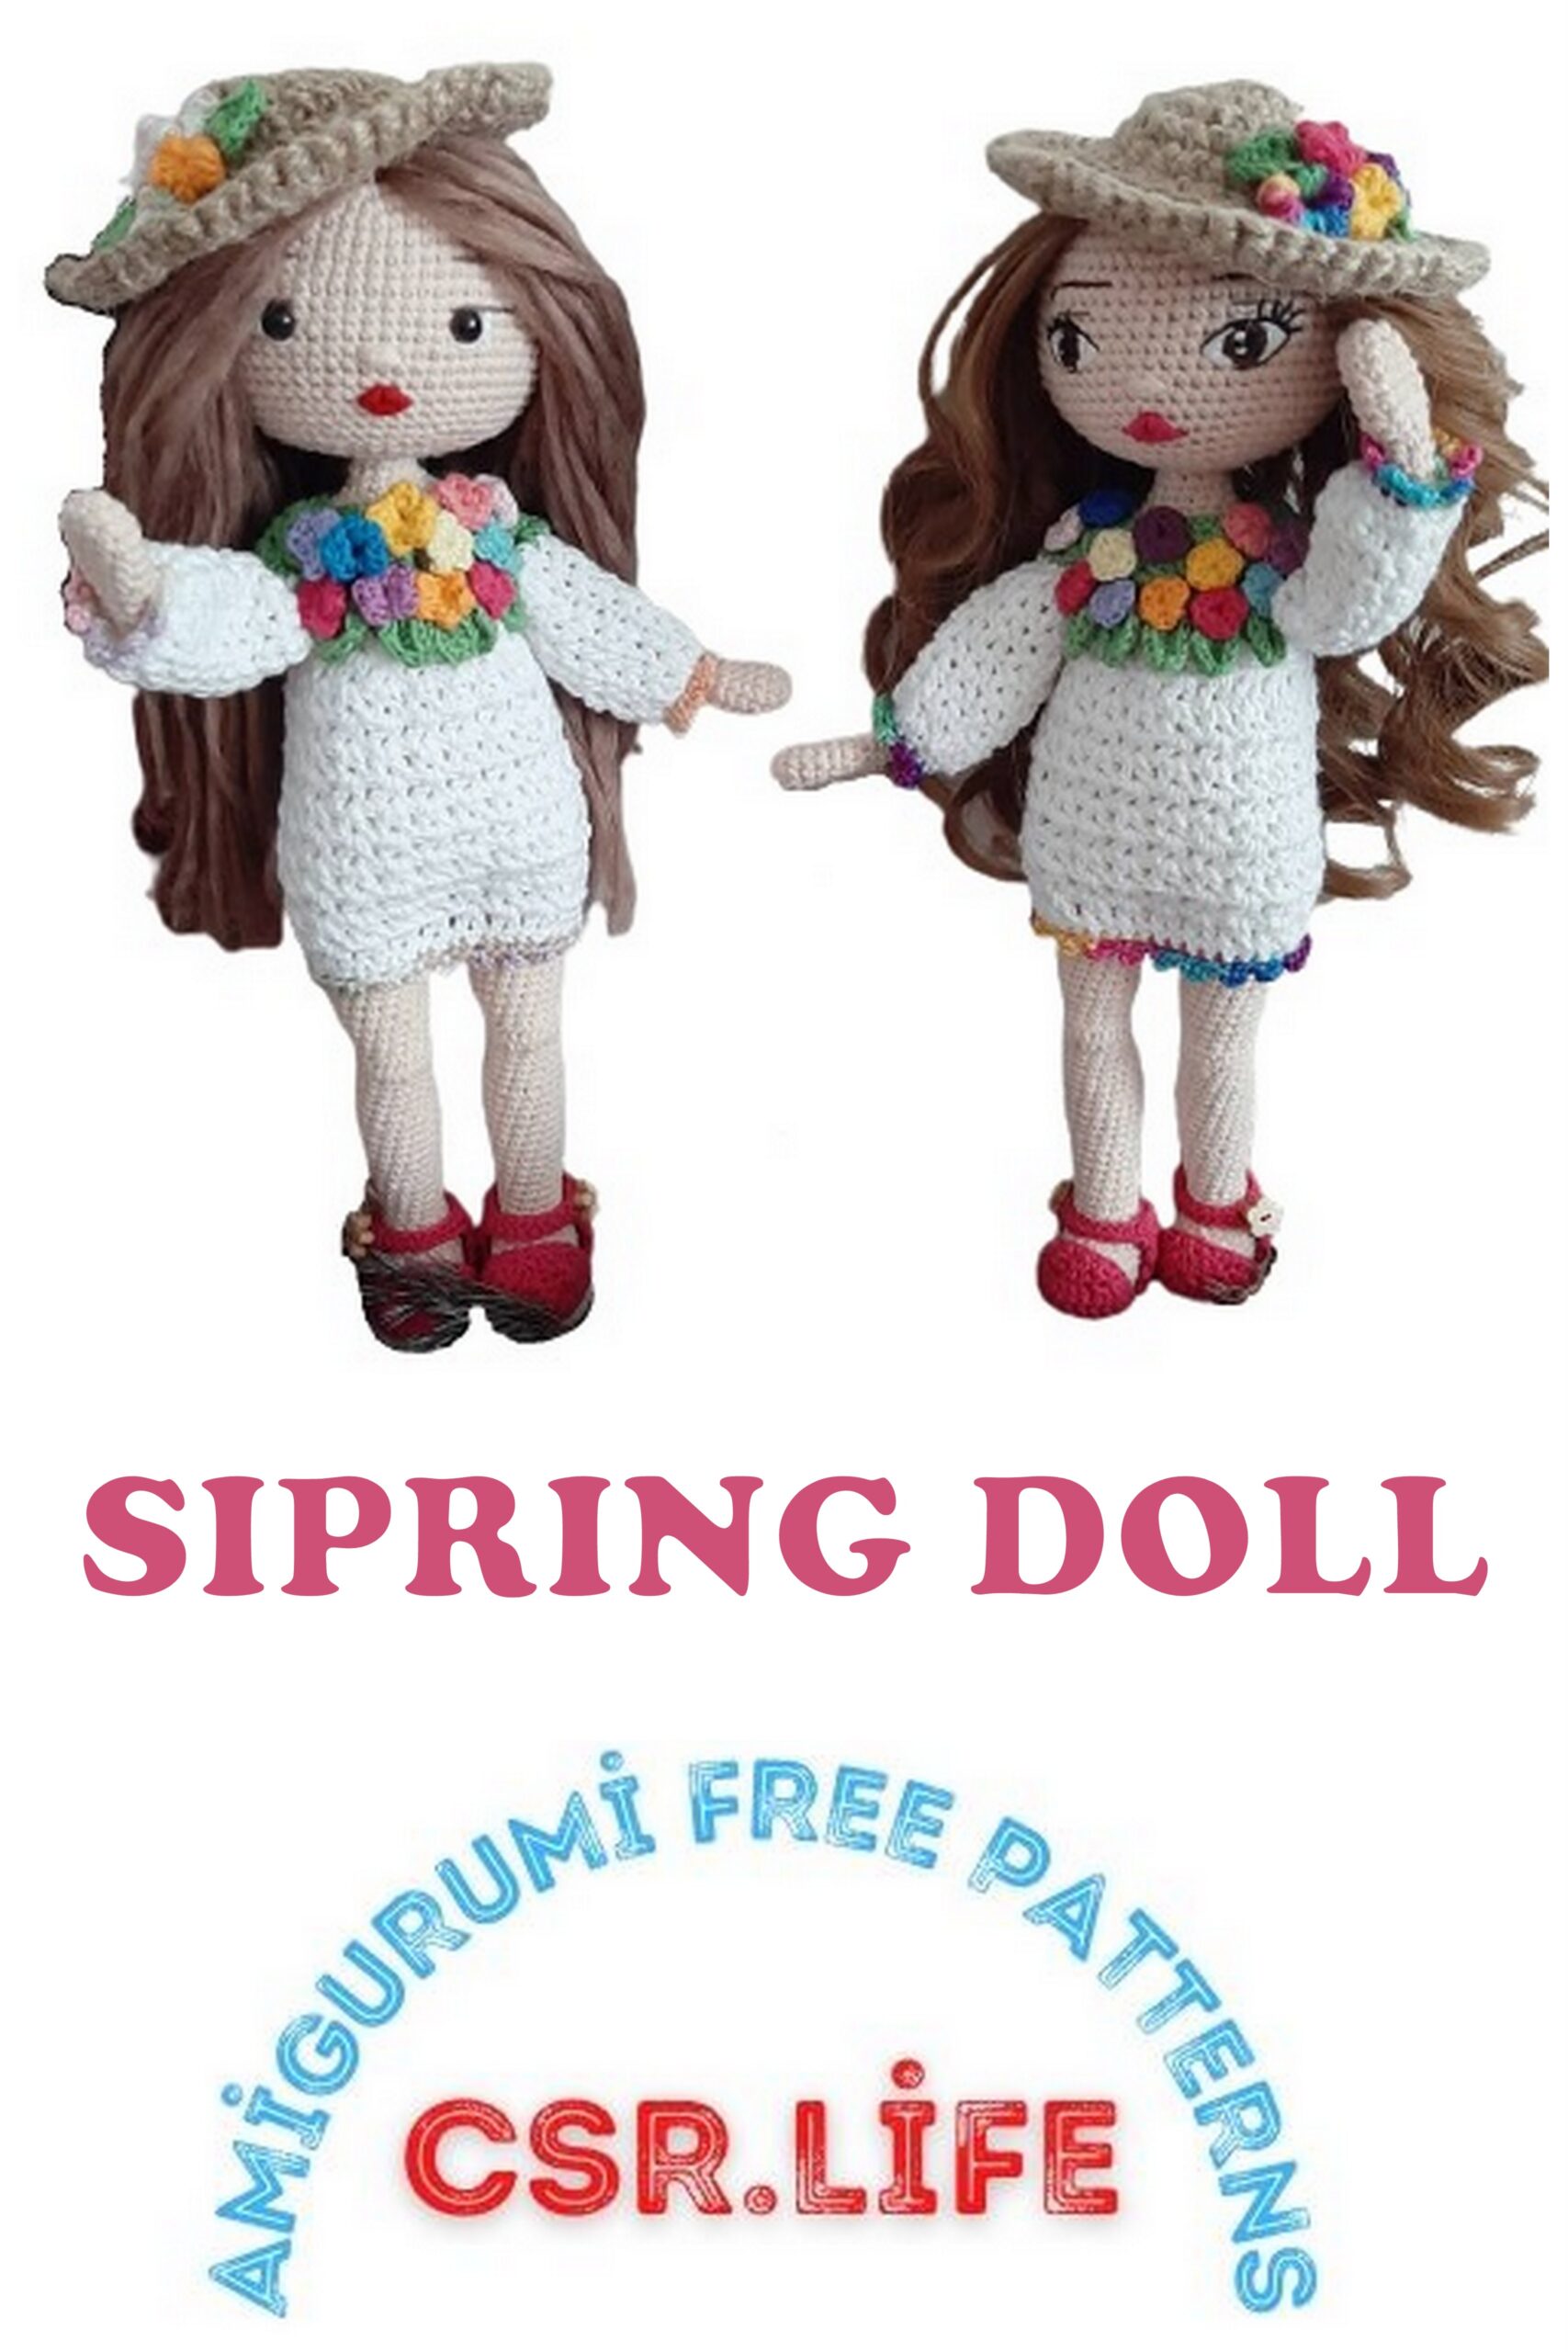
Sipring Doll Amigurumi Free Crochet Pattern
The best amigurumi doll patterns meet you for free. Amigurumi sipring doll pattern is with you in this article.
USED TERMS:
~ ch: Chain
~ sc: single crochet
~ *: Number of repetitions
~ inc: Increase
~ dec: Decrease
~ m: Three stitches decrement at the same time
~ flo: knitting from the front loop
~ blo: knitting from the back loop
~ dc: double crochet
~ hdc: half double crochet
~ hdc (dec): half double crochet decrease
~ hdc (inc): half double crochet increase
~ sl-st: slip stitch
USED MATERIALS
~ Lanoso Alara 937 (Skin color)
~ Lanoso Alara 955
~ Gazzal Baby Cotton 3449
~ Gazzal Baby Cotton 3446
~ Gazzal Baby Cotton 3432
~ Gazzal Baby Cotton 3415
~ Catania Color 00093
~ Colorful threads for dress collar flowers
~ 5 buttons (3 for dresses, 2 for shoes)
~ Thread for eye, lip and eyebrow processing
~ 30 cm wire for handles
~ Synthetic hair
~ Jute rope
~ 2,20 mm – 4 mm crochet hook
~ Bead fiber
~ Needle
HEAD:
We knit a spiral.
1: 6sc (6sc) into magic ring
2: 1inc (12sc) into each loop
3: 1sc, 1inc (18sc)
4: 2sc, 1inc (24sc)
5: 3sc, 1inc (30sc)
6: 4sc, 1inc (36sc)
7: 5sc, 1inc (42sc)
8: 6sc, 1inc (48sc)
9: 7sc, 1inc (54sc)
10: 8sc, 1inc (60sc)
11: (29sc, 1inc) * 2 (62sc)
12-22: (62sc)
23: (29sc, 1dec) * 2 (60sc)
24: 8sc, 1dec (54sc)
25: 7sc, 1dec (48sc)
26: 6sc, 1inc (42sc)
27: 5sc, 1inc (36sc)
28: 4sc, 1inc (30sc)
29: 3sc, 1inc (24sc)
30: 2sc, 1inc (18sc)
31: (2sc, 1dec) * 4, 1dec (13sc)
IMPORTANT NOTE:
IF YOU DO EYE TREATMENTS AND NOSE BEFORE FILLING THE HEAD, YOU WILL NOT HAVE THE PROBLEM OF FIBER REMOVED WHILE WORKING.
IF YOU PRODUCE LIP PROCESSING AFTER THE HEAD FILLED, YOU WILL GET A HEALTHY IMAGE.
EYE PROCESSING:
Nose: Centering 1 row down from eye, process between 2sc.
Lip: The lower lip is processed 3 rows down from the nose, and the upper lip 2 rows down.
In the 17th row, we make SC on a frequent needle with black thread. We fill the SC around it as a square.
We make a circle around the black area with our colored thread
We fill the inside of our round line with our colored yarn.
We make 1 row of passes on both sides with our white thread.
The outer sides of the eye are on the 17th row. Inner sides
We process it as a triangle under the 17th row.
We fill in the white line.
We embroider 2 lines one after another with white thread in the middle of the black and colored area
We process the eye area with black thread and make eyelashes
We process the eyebrows 2 rows up from the eye in 4sc length and we curve 1 row down diagonally.
READY EYE MAKING:
Eyebrows: We process 2 rows up from the eye in a length of 4sc and we curve 1 row down diagonally.
Nose: Centering 1 row down from eye, process between 2sc.
Lip: The lower lip is processed 3 rows down from the nose, and the upper lip 2 rows down.
The eyes are placed between 17-18 rows with 11 rows between them.
When you wear the eyes, there will be 9sc left in between
Before attaching the back lock of the eye, process the white area then the lash and attach the back lock. Without a lock, it will be easier for you to process the eyelashes and white area.
LIP PROCESSING:
Thread the needle anywhere and remove the needle from where you want to create the mouth. Draw a straight line into 3 frequent needles. And wrap the rope without getting too tight.
After the lower lip is finished, we give the shape of an inverted triangle to form the upper lips, first one side and then the other side, we fill the rope gently.
After the wrapping process is finished, we take the needle thread back from the place where we first passed it, tie it and pull it inside.
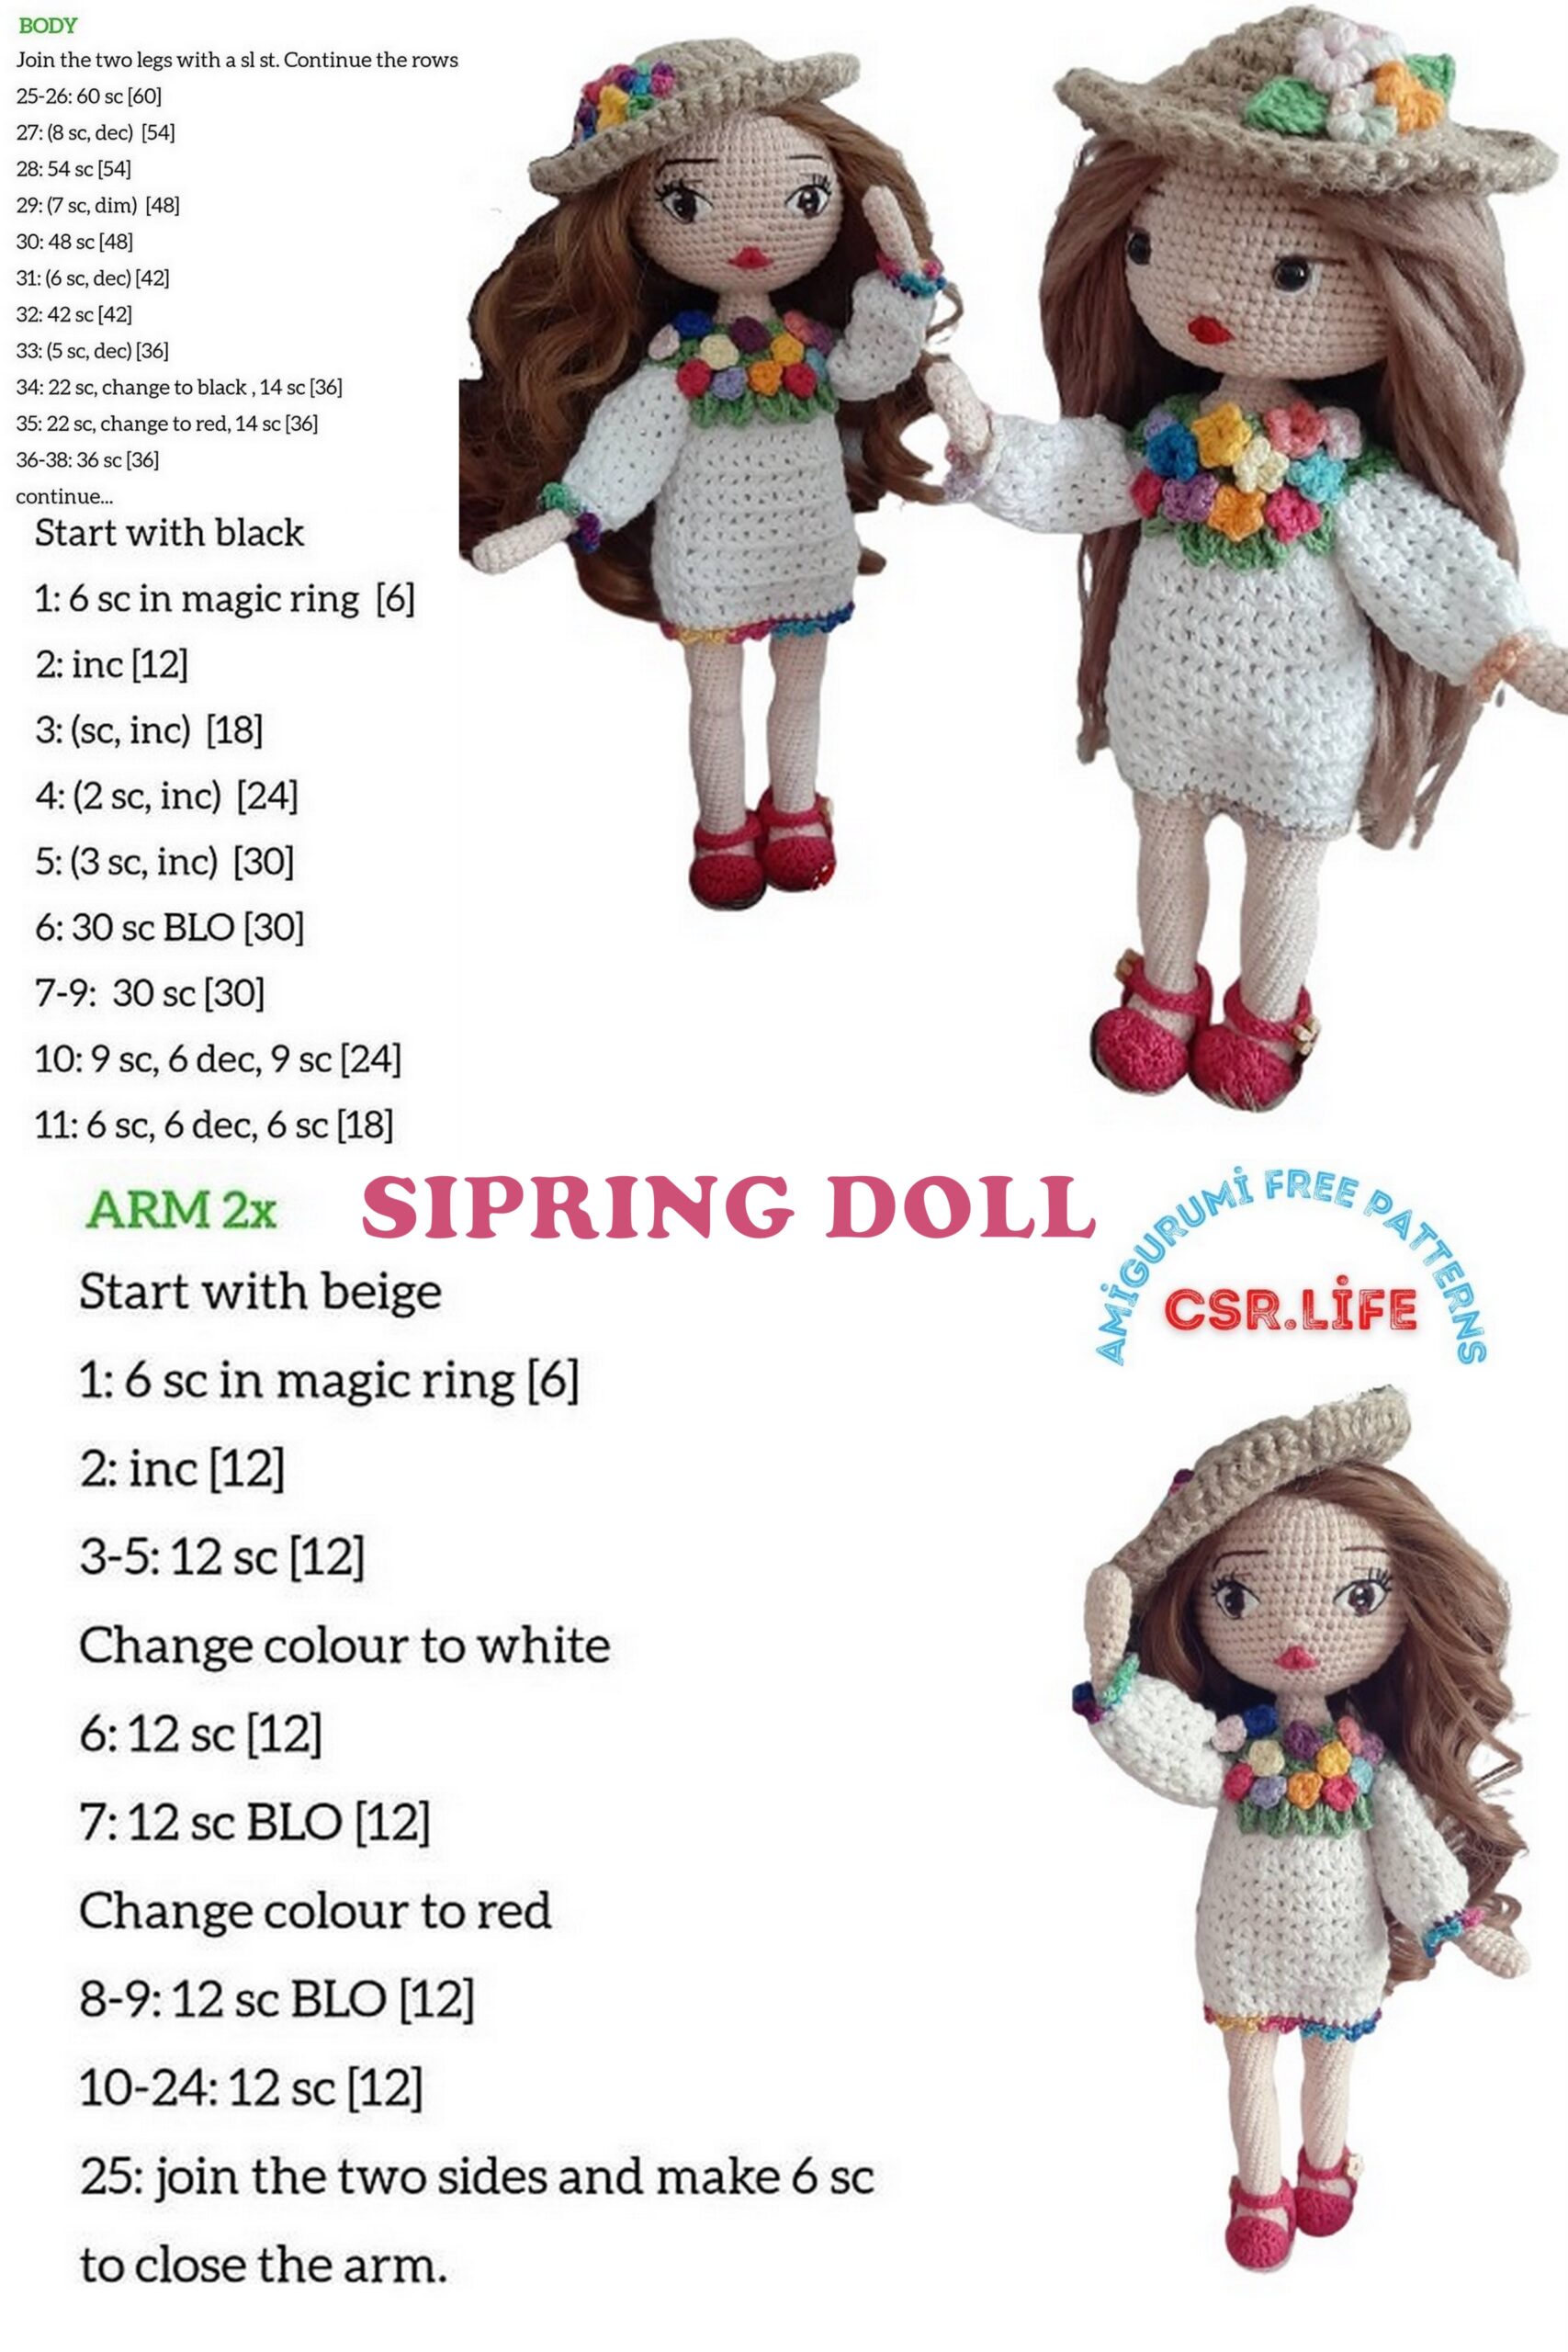
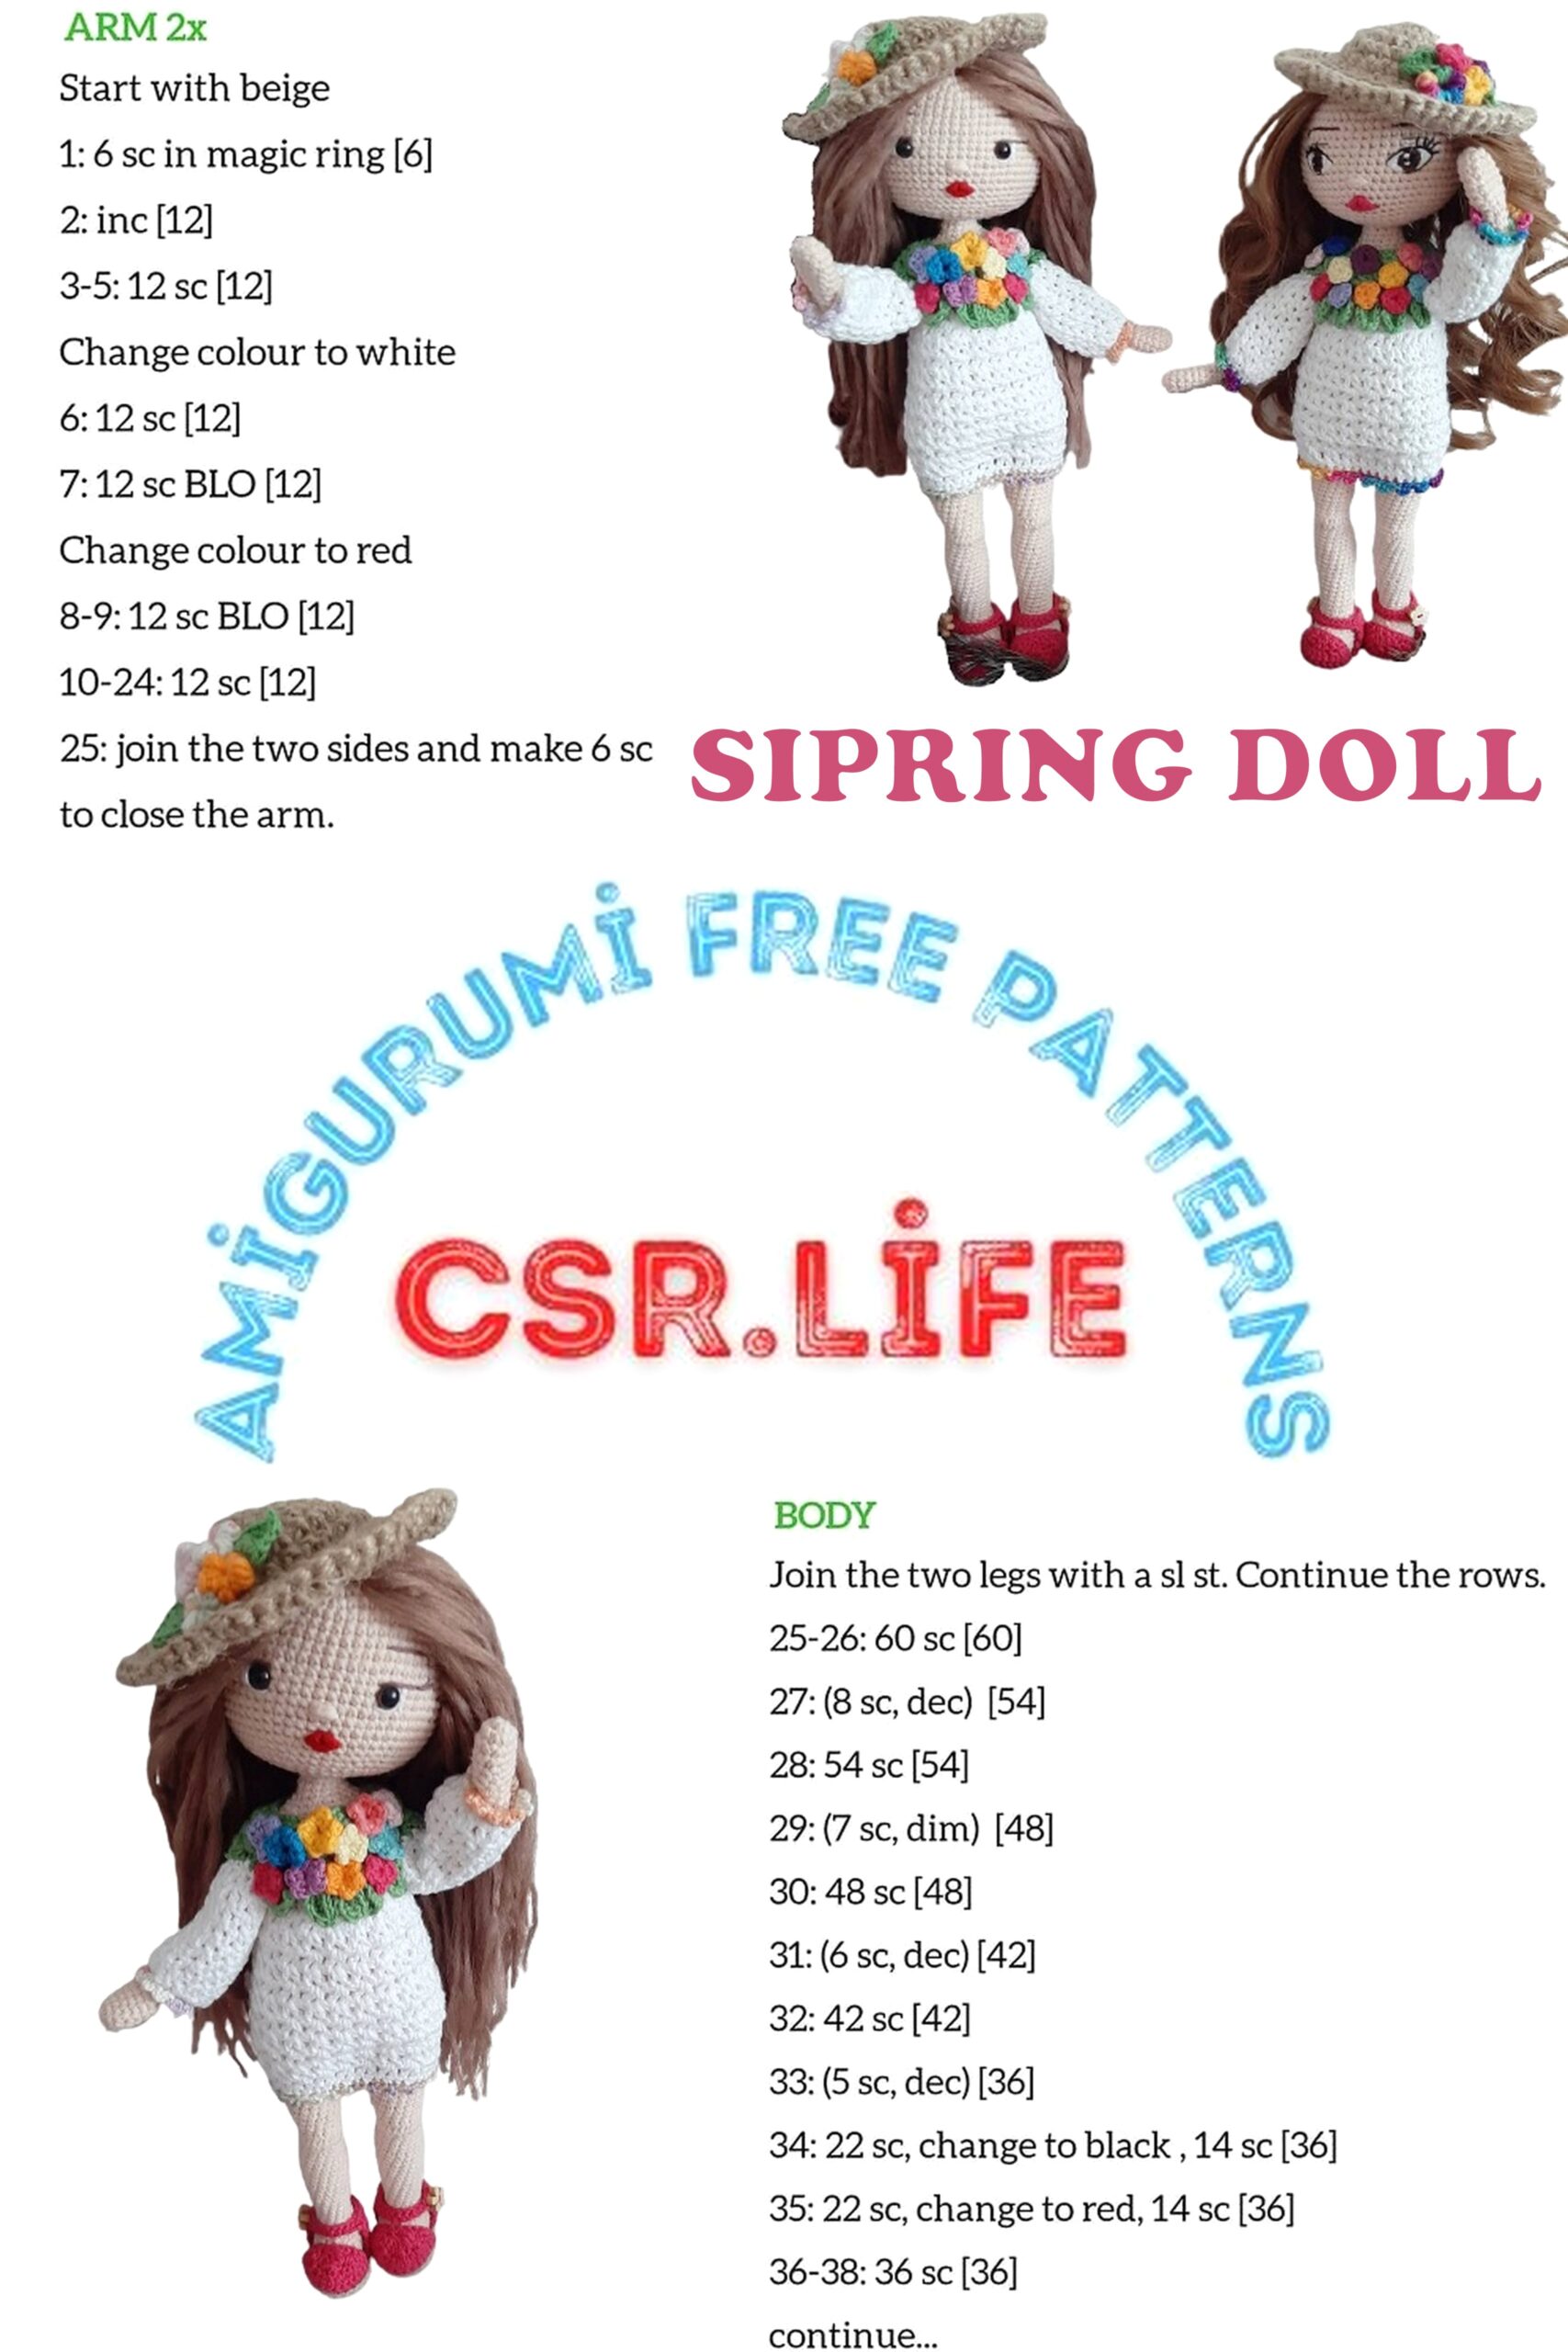
ARMS:
We knit a spiral.
We do not fill the arms. We put wire in it. We divide the wire into 2, 15 cm.
1: 6sc (6sc) into magic ring
2: 5inc, 1sc (11sc)
3-7: (11sc)
We bend the end of the wire in this way and attach it before going to the 7th row and start knitting together with the wire.
8: 4sc, 2dec. 3sc (9sc)
9: 3sc, 1dec, 4sc (8sc)
10-33: (8sc)
The strands need to increase from the arms, then we will bend the strands to the neck after attaching them to the body.
FEET AND LEGS:
We knit a spiral. While knitting, take care to fill the fiber at certain intervals.
Check 1: 9 ch. From the 2nd chain;
7sc, 3sc into same loop, 6sc, 2sc into same loop (18sc)
2: 1inc, 6sc, 3inc, 6sc, 2inc (22sc)
3: 1inc, 9sc, 2inc, 11sc, 1inc (28sc)
4-5: (28sc)
6: 9sc, 4dec, 11sc (24sc)
7: 6sc, 5dec, 8sc (19sc)
8: 7sc, 1m, 9sc (17sc)
9: 5sc, 1dec, 1sc, 1dec, 7sc (15sc)
10: (15sc)
11: 1dec, 11sc, 1dec (13sc)
12: (13sc)
13: 1inc, 11sc, 1inc (15sc)
14-18: (15sc)
19: 1inc, 14sc (16sc)
20: (16sc)
21: 1sc, 1inc, 14sc (17sc)
22: (17sc)
23: 2sc, 1inc, 14sc (18sc)
24-27: (18sc)
28: 1sc, 3dec, 11sc (15sc)
29-30: (15sc)
31: 9sc, 4hdc (inc), 2sc (19sc)
32: 9sc, 4dec, 2sc (15sc)
33: (15sc)
34: 1sc, 4inc, 10sc (19sc)
35-45: (19sc)
NOTE:
At the end of the 1st leg, we cut the rope.
At the end of the 2nd leg, we do not cut the rope and knit 3sc more, crossing the white rope in the 4th loop and joining it by centering it on the other leg.
BODY:
We knit a spiral. While knitting, take care to fill the fiber at certain intervals.
1: We connect the legs by crossing the white rope and pulling 3 ch.
– 19sc, 3sc on 3ch, 19sc, 3sc on 3ch (44sc)
2: 7sc, 1inc, 3sc, 1inc, 17sc, 1inc, 3sc, 1inc, 10sc (48sc)
3: 8sc, 1inc, 4sc, 1inc, 18sc, 1inc, 4sc, 1inc, 10sc (52sc)
4-8: (52sc)
9: 8sc, 1dec, 4sc, 1dec, 18sc, 1dec, 4sc, 1dec, 10sc (48sc)
10: 7sc, 1dec, 3sc, 1dec, 17sc, 1dec, 3sc, 1dec, 10sc (44sc)
11: (44sc)
12: At this time, we switch to skin color, but before passing, we knit another 21sc with white color and switch to skin color at 22, without changing the starting place of the line to come to the back of the joining place. (44sc)
13: 7sc, 1dec, 3sc, 1dec, 15sc, 1dec, 3sc, 1dec, 8sc (40sc)
14: 6sc, 1dec, 2sc, 1dec, 14sc, 1dec, 2sc, 1dec, 8sc (36sc)
15-24: (36sc)
25: 8sc, 1dec, 18sc, 1dec, 6sc (34sc)
26: (34sc)
27: 8sc, 1dec, 16, 1dec, 6sc (32sc)
28-31: (32sc)
32: Meanwhile, we’re adding the handles. The arms are added exactly to the sides, – 8sc, 4sc over the arm (we do not knit the arm in 2 layers, 4sc will remain idle), 12sc, 4sc over the arm (we do not knit the arm 2 layers 4sc will remain idle), 4sc (32sc)
33: 8sc, 4sc (we knit the tight needles from the arm, we do not take a loop from the stem), 11sc, 4sc (we knit the thick needles from the arm, we do not take the loop from the stem), 4sc (32sc)
34: 6sc, 1dec, 4sc, 1dec, 8sc, 1dec, 4sc, 1dec, 2sc (28sc)
35: 6sc, 1dec, 2sc, 1dec, 8sc, 1dec, 2sc, 1dec, 2sc (24sc)
36: 5sc, 1dec, 1sc, 1dec, 7sc, 1dec, 1sc, 1dec, 1sc (20sc)
37: (2sc, 1dec) * 5 (15sc)
38: 4sc, 1dec, 2sc, 1dec, 2sc, 1dec, 1sc (12sc)
39-42: (12sc)
NOTE: In the 33rd row, bend the arms inwards on both sides, this will be the shoulder. And the upward curl will form the neck here.
Move forward by filling the body with fiber as much as possible, now that the reduction will begin.

DRESS MAKING:
We pull 1: 46 ch and skip 7 ch (this will be the button hole) and turn.
– 9sc, 1inc, 18sc, 1inc, 10sc (41sc)
We draw 2: 1 ch and turn (now our goal is to create a box)
(1dc, 1ch, skip 1 stitch) * 5
the middle of the increments (2dc, 1ch, 2dc)
(1dc, 1ch, skip 1 stitch) * 9
the middle of the increments (2dc, 1ch, 2dc)
(1dc, 1ch, skip 1 stitch) * 5
Fill the loops that increase in this way with 1dc at the turning points.
3-4: We start by pulling 1 ch in each turn
We do 1dc inside the boxes, we do not forget to draw 1 ch between each dc.
We do it again (2dc, 1ch, 2dc) in the middle of the increment places.
5: We draw 7 ch, turn and do 1sc. Now we will fill the boxes with a tight needle and we will make a dress sleeve.
– 3 times we do 1inc in each box. This is the right back when we dress the baby.
– We draw 4 ch and skip 5 boxes (including 2dc in the increment points)
– 8 times, we make 1th in each box.
– We draw 4 ch and skip 5 boxes (including 2 dc in the increment places)
– 4 times we make 1 in each box. This is the left back when we dress the baby.
We do 1sc on the last loop remaining.
6: We switch to our white colored rope. We start from where we turned by pulling 7 ch with green.
– Now we do 12 rows (1dc, 1ch, 1dc) and repeat the process, skipping 1 loop without pulling the chain.
– We start the line by pulling 2 ch at the turns. You can count the chain as 1 dc.
– To make a dress sleeve, we do it 2 times (1dc, 1ch, 1dc) where we pulled 4 ch.
(1st row will be 20th.)
I made it in 12 rows, if you want to make the white part of the dress longer, you can repeat the process for a few more rows.
We make buttonholes without breaking the white thread. Make sure that it coincides with the buttonholes in the green section.
– We pull 4sc, 7ch upwards, we turn without knitting, and by skipping 1 row, we pull 5sc, 7ch, we turn without knitting and by skipping 1 row, we pull 6sc, 7ch, we return without knitting and 2sc by skipping 1 row.
1: We take out 18sc with white rope from the sleeve.
We do 2-8: (1dc, 1ch, 1dc) and repeat the process, skipping 1 loop without pulling the chain.
– We start the line by pulling 2 ch at the turns. You can count the chain as 1 dc.
(1st row will be 9th.)
9: (2sc, 1dec) * 4, 1dec (13sc)
10: (13sc)
11: We are going to the colored rope, and we will do the needlework.
– (4ch, sl-st) we repeat the same process throughout the row and get 13 votes
Hem ruffles:
1: We do 1 row 20sc with colored rope and turn
We pull 2: 4ch and tie it to the same loop with sl-st. We do 2sl-st and draw 4ch before moving on to the other lace. We repeat the process until the end of the row.
DRESS LEAF AND FLOWER MAKING:
LEAVES: We make 7 pieces. (For 5 dresses, 2 for hats.)
– We pull 6ch and return from the 2nd Loop
– 2sc, 1hdc, 1dc, we end in the same loop with 3dc, 1dc, 1hdc, 1sc and sl-st.
FLOWER: You can make it in the colors you want. (For 12 dress collars, 4 hats.)
– We make 5 pieces of 3dcli poppers inside the magic ring.
POPCORN MADE:
We draw 1 ch. We do 3 dc without removing the last loops. Then we cut them all together with sl-st, do 1sc to the top and repeat the process by pulling sl-st-1ch to the side space.
SHOE MAKING:
We knit 4 bases. We close the line breaks with sl-st.
Check 1: 8 ch from 2.ch
– 4sc, 2hdc, 4 hdc into the same loop, 2hdc, 3sc, 2sc into the same loop
2: 2inc, 2sc, 3hdc, 3hdcinc, 3hdc, 2sc, 2inc
3: We always make this order hdc. 1hdc, 1hdcinc, 6hdc, (1hdc, 1hdcinc) * 4, 7hdc, 1inc
In this way, we put 2 pieces on top of each other, please pay attention to the overlap of the side loops. We join the pieces by sl-st.
The joining directions of the right and left shoes will be different, you need to pay attention to this.
You should have removed a total of 30 sl-st in one shoe sole.
Starting from the sides (the two base starts are different from each other), we move one foot sole from left to right, and another from right to left, starting from the sides so that the sl-st construction can create 13sc at the back as in the image.
Shoe back:
1: We subtract 13sc from the loops we made sl-st. (It’s okay if a flat loop on a shoe will have a reverse loop on a shoe.)
2-8: (13sc)
We draw 9: 16 ch. We skip 7 loops (it will be button buttonhole) and we fix it to the area we knit by making 9sc more.
Shoe front:
1: We subtract 13sc from the front, leaving 2 sl-st idle on both sides of the back.
2-3: (13sc)
4: 2hdc (dec), 1hdc, 1hdc (m), 1hdc, 2hdc (dec)
5: 1hdc (dec), 1hdc (m), 1hdc (dec)
We continue to knit 6: 4sc towards the base. We do the 1 sl-st green loop shift left on the base and we turn and knit 12sc and at the end of the row we do the 1sl-st green loop shift at the bottom.
HAT MAKING:
We knit with a 3.5 or 4 mm crochet. We close the line breaks with sl-st.
1: 6sc into the magic ring
2: 1inc (12sc) per loop
3: 1sc, 1inc (18sc)
4: 2sc, 1inc (24sc)
5: 3sc, 1inc (30sc)
7: 3sc, 1dec (24sc)
8: Blo (1sc, 1inc) * 12 (36sc)
9: (2sc, 1inc) * 12 (48sc)
10: (48sc)
– We plant 4 flowers and 2 leaves in a corner of your choice
SYNTHETIC HAIR SEWING
We fix the hair on the head so that the forehead will be left open and the hair will be on the face. When sewing, the hair may get mixed together, do not worry, you can straighten it.
Adjust your distances in the turn depending on the length of your hair.
1 row is enough so that the front of the head is not too wide, you can leave 2-3 rows of margins from the back.
When it is finished, the hair will close the visible gaps. You need to increase hair up to 8-10 cm from the hair you sew, and then we will add from the remaining part to the top. We leave the top point open in this way so that we will sew the remaining hair here.
We cut the remaining part to form the top part and stitch it rotate as in the image. After sewing, we sew this piece in the space we left at the vertex.
After the sewing process is finished, we shape the hair that comes to the front back and wrap it with stretch film in a way that it will not pass water and keep it in hot water for 1 minute. This process is a necessary application for hair to take shape. Then you can straighten the hair by removing the stretch film.
APPLICATION OF AMIGURUMI HAIR PIN:
We plant the hair 5 rows above the eyebrows by centering 14 strands across 14 rows.
The planting process is as in the image: We pass the crochet through the loop where we will transplant and we take the hair in 2 layers and remove the end from the loop. We pass the remaining strand of hair through the first end to form a knot.
We add hair to the sides, counting 2sc from the eyebrows, up to the 3rd dense needle.
We plant 9 pieces of hair by determining the bottom of the eyes.
We planting by moving diagonally so that the combination of the sides and the vertex is not sharp.
After determining the middle part, we transplant hair up to 6 rows of top, side and side.
To prevent the appearance of gap, separate 1 strand from the hair we planted in a row, right and left.
After the transplantation of the front part of the face is finished, we begin to transplant hair on the neck.
Based on the hair strand ending on the sides, we plant 1 row of hair along the line to the neck.
We transplant hair in 3 rows, starting from the nape, along the line towards the top. When you come to the place where we planted the middle part of the hair, fill the gaps by making hair transplantation with 2 frequent needles.