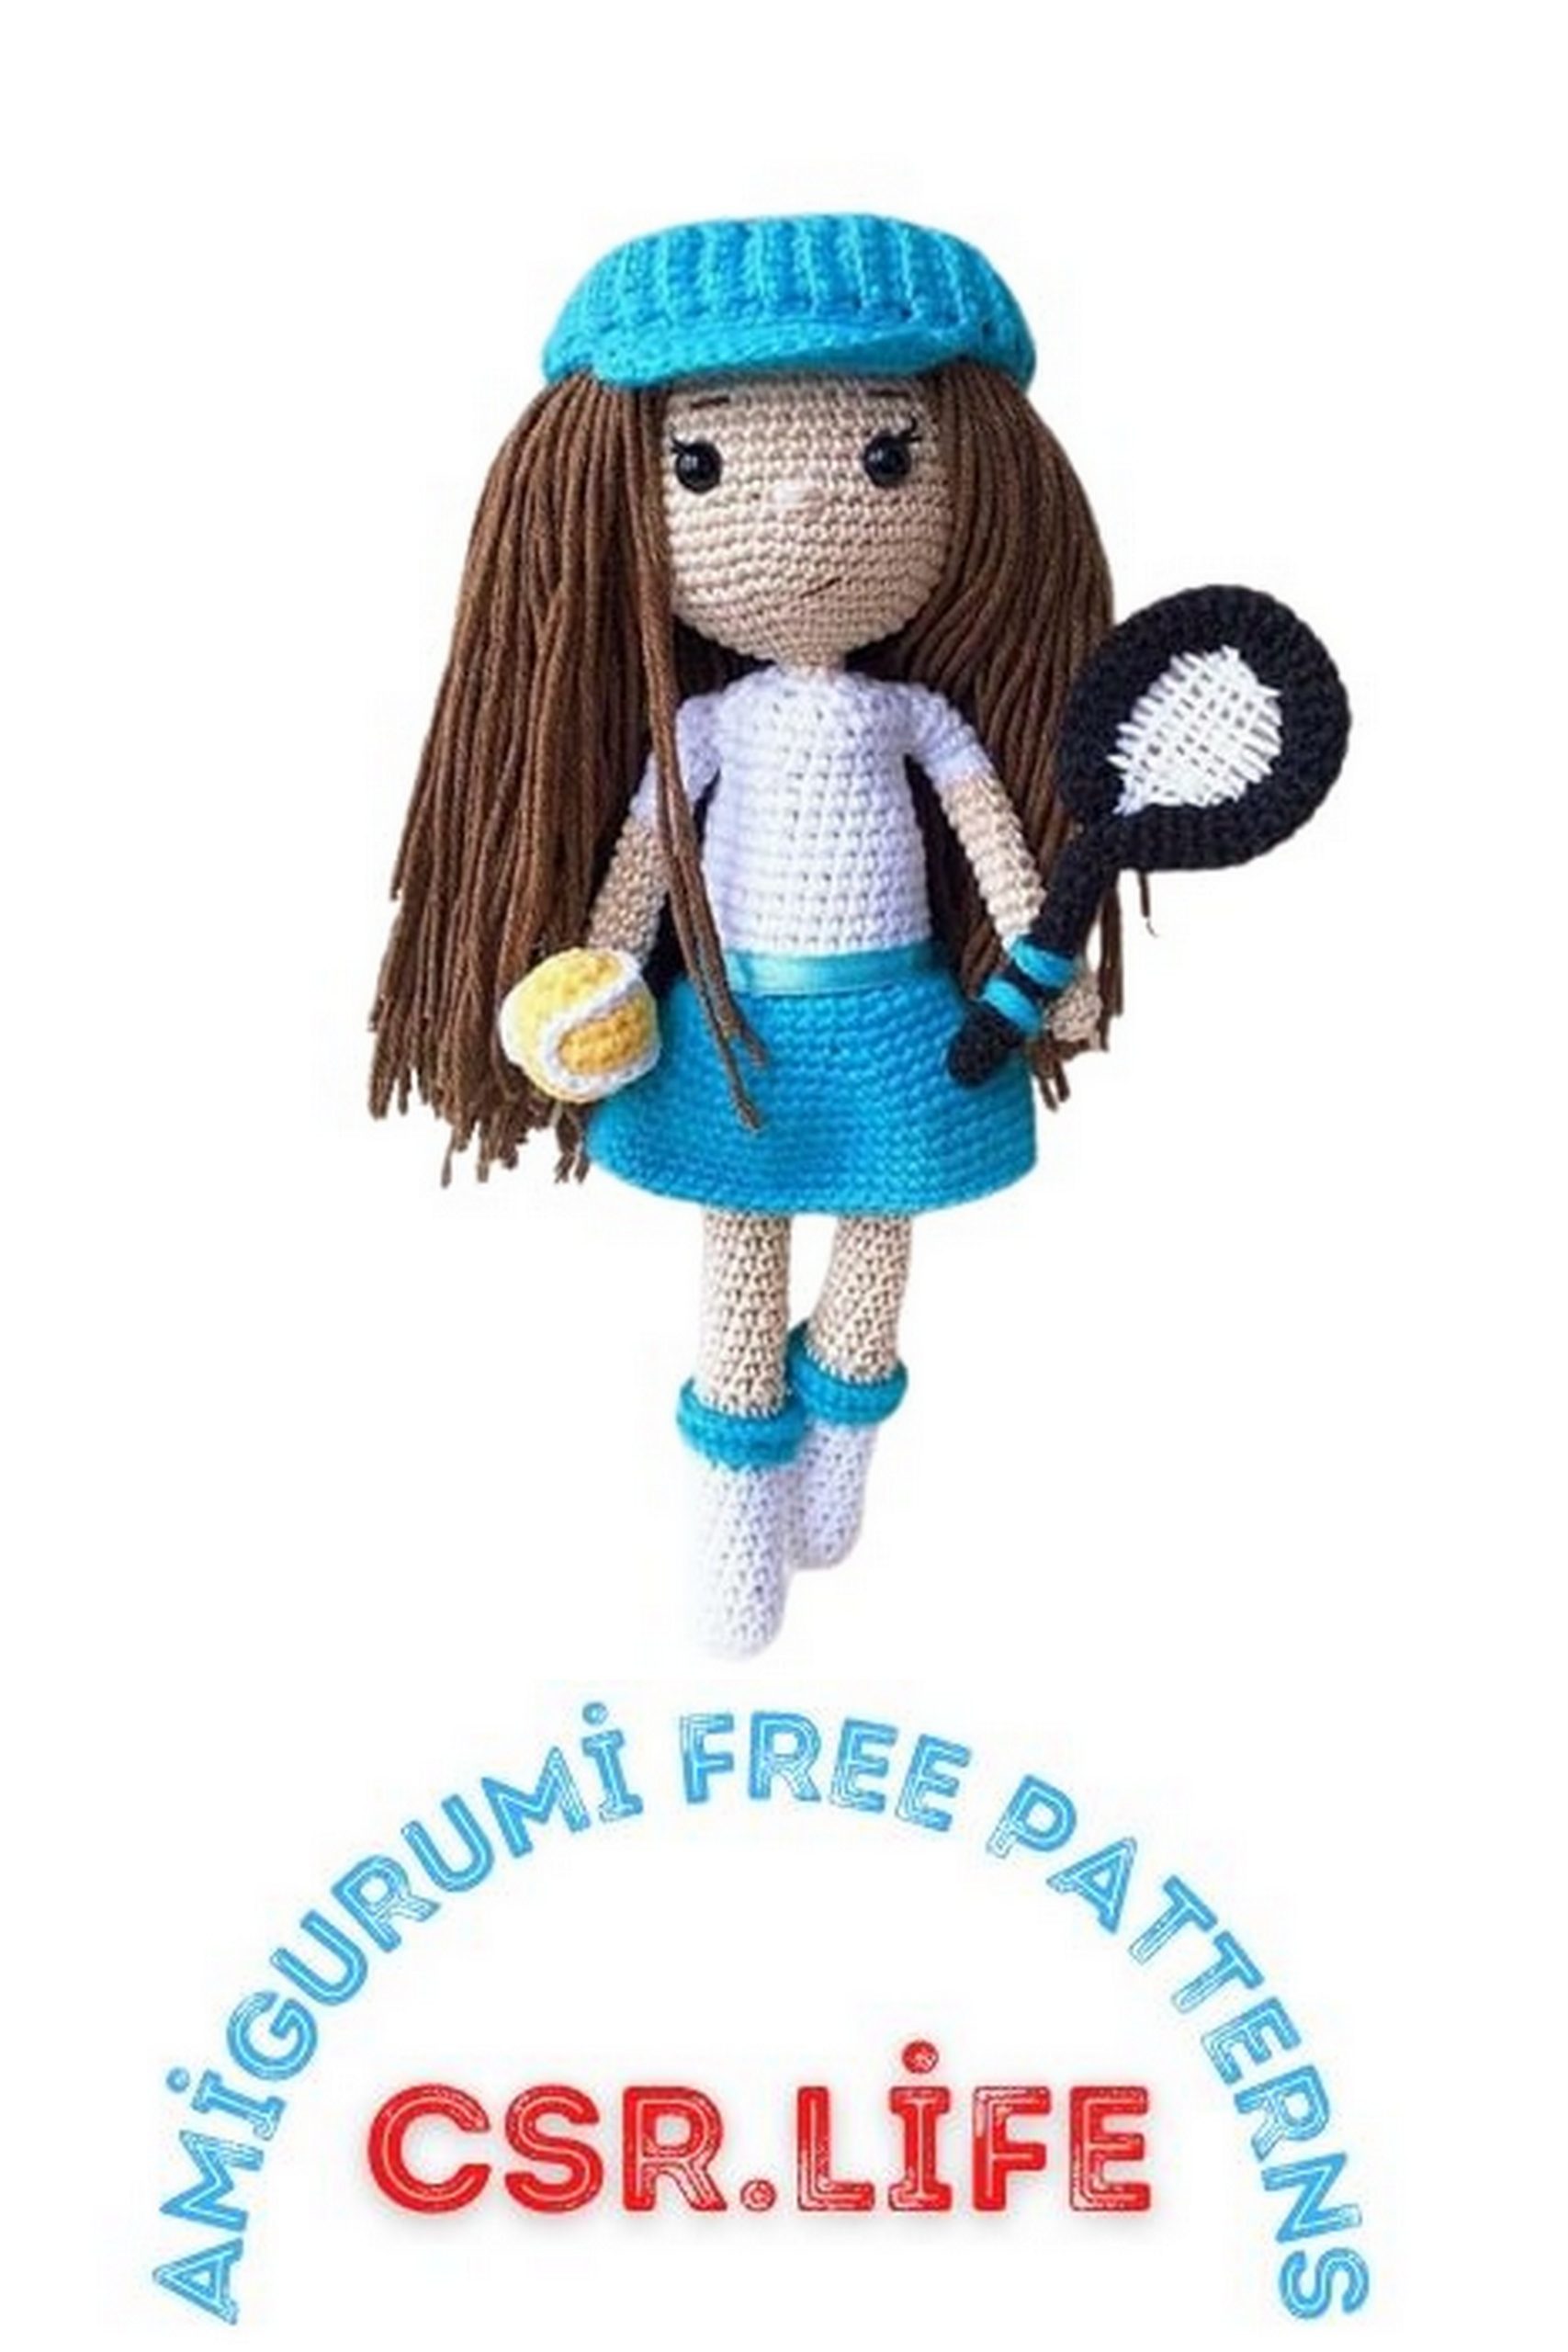
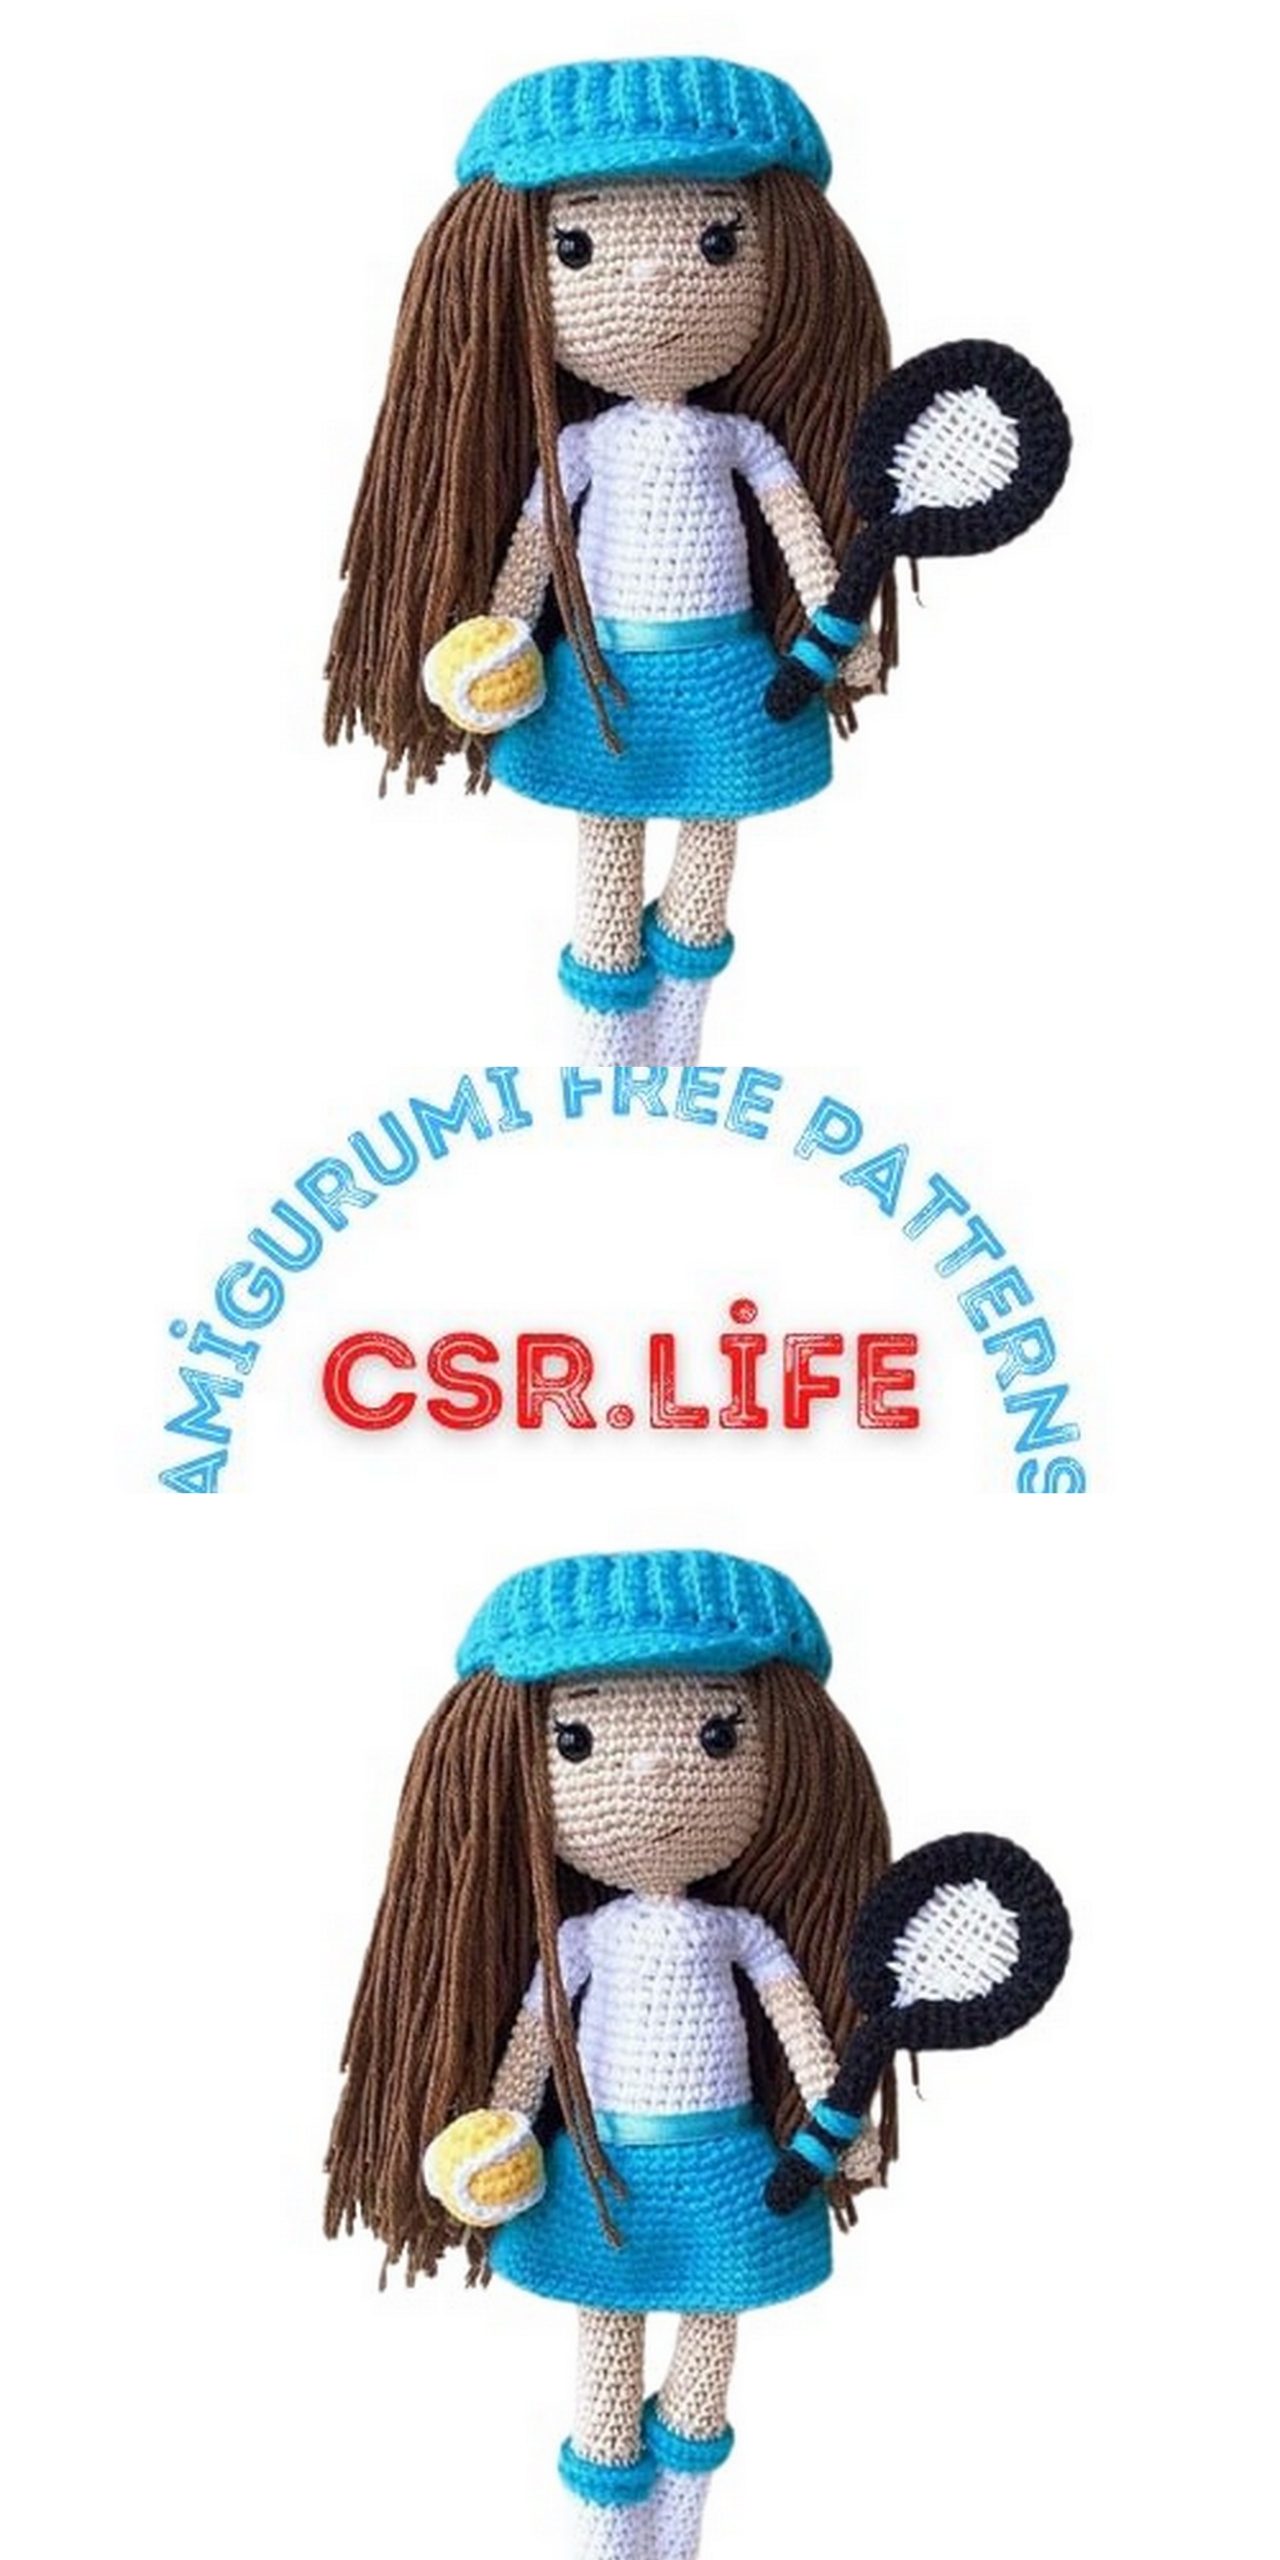
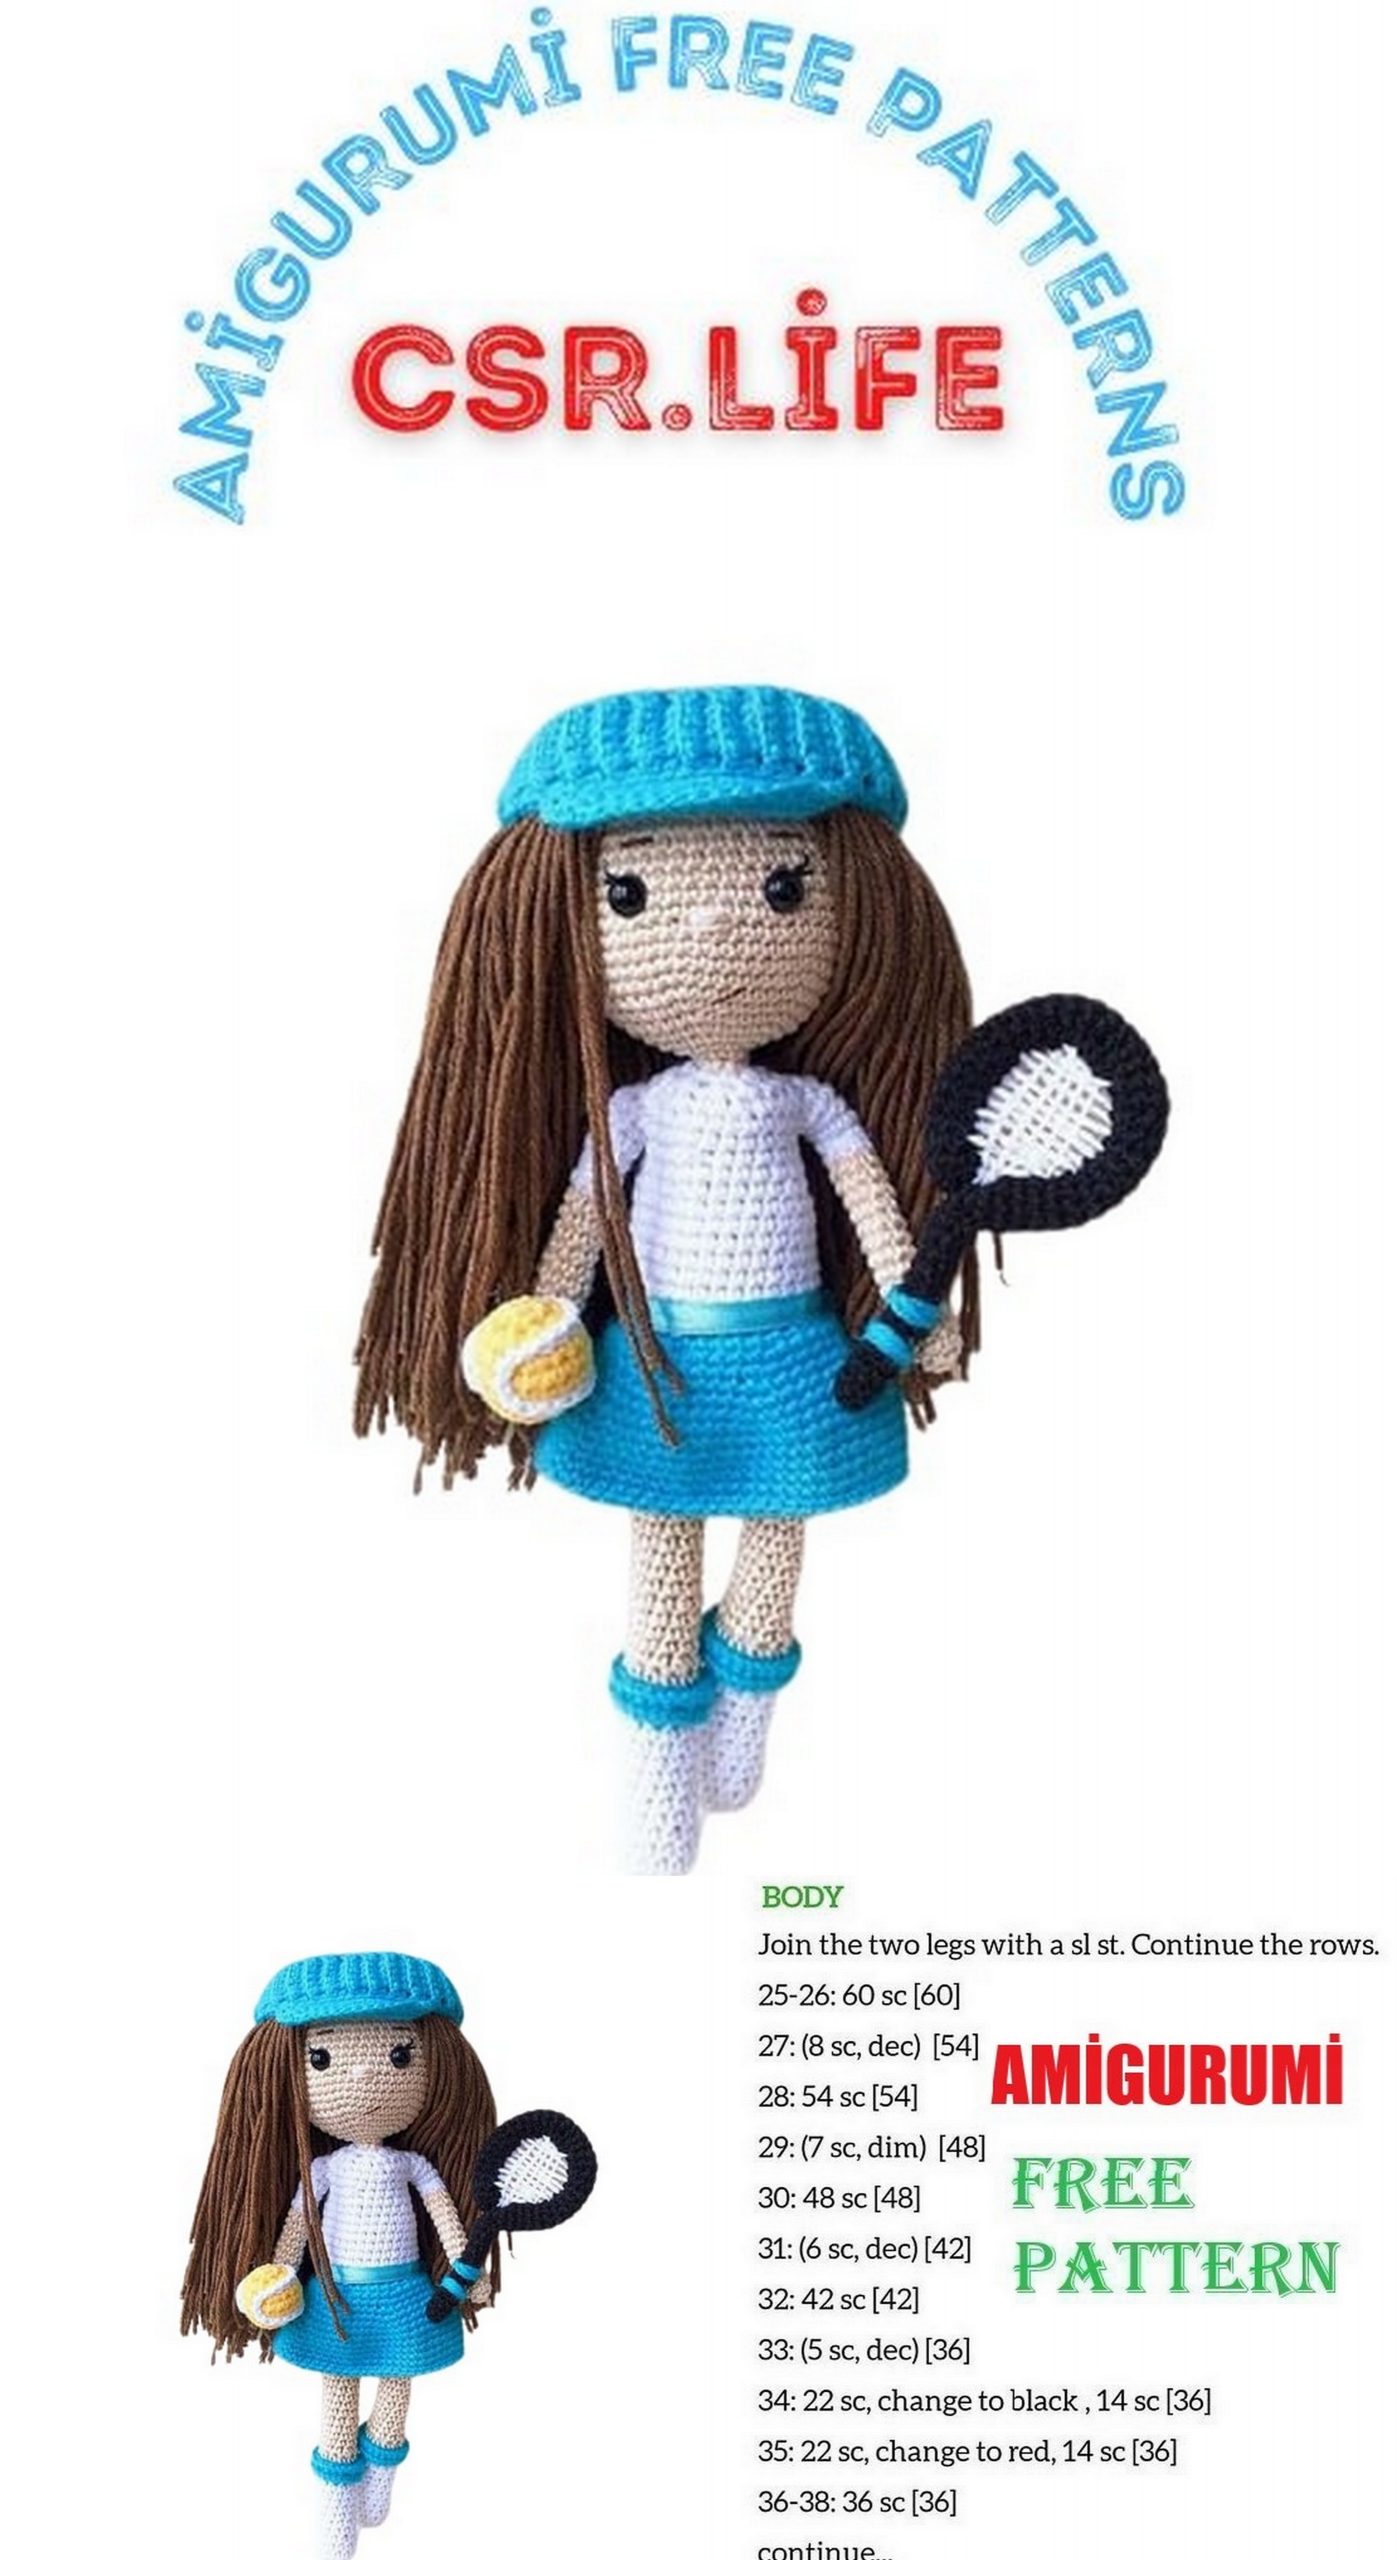
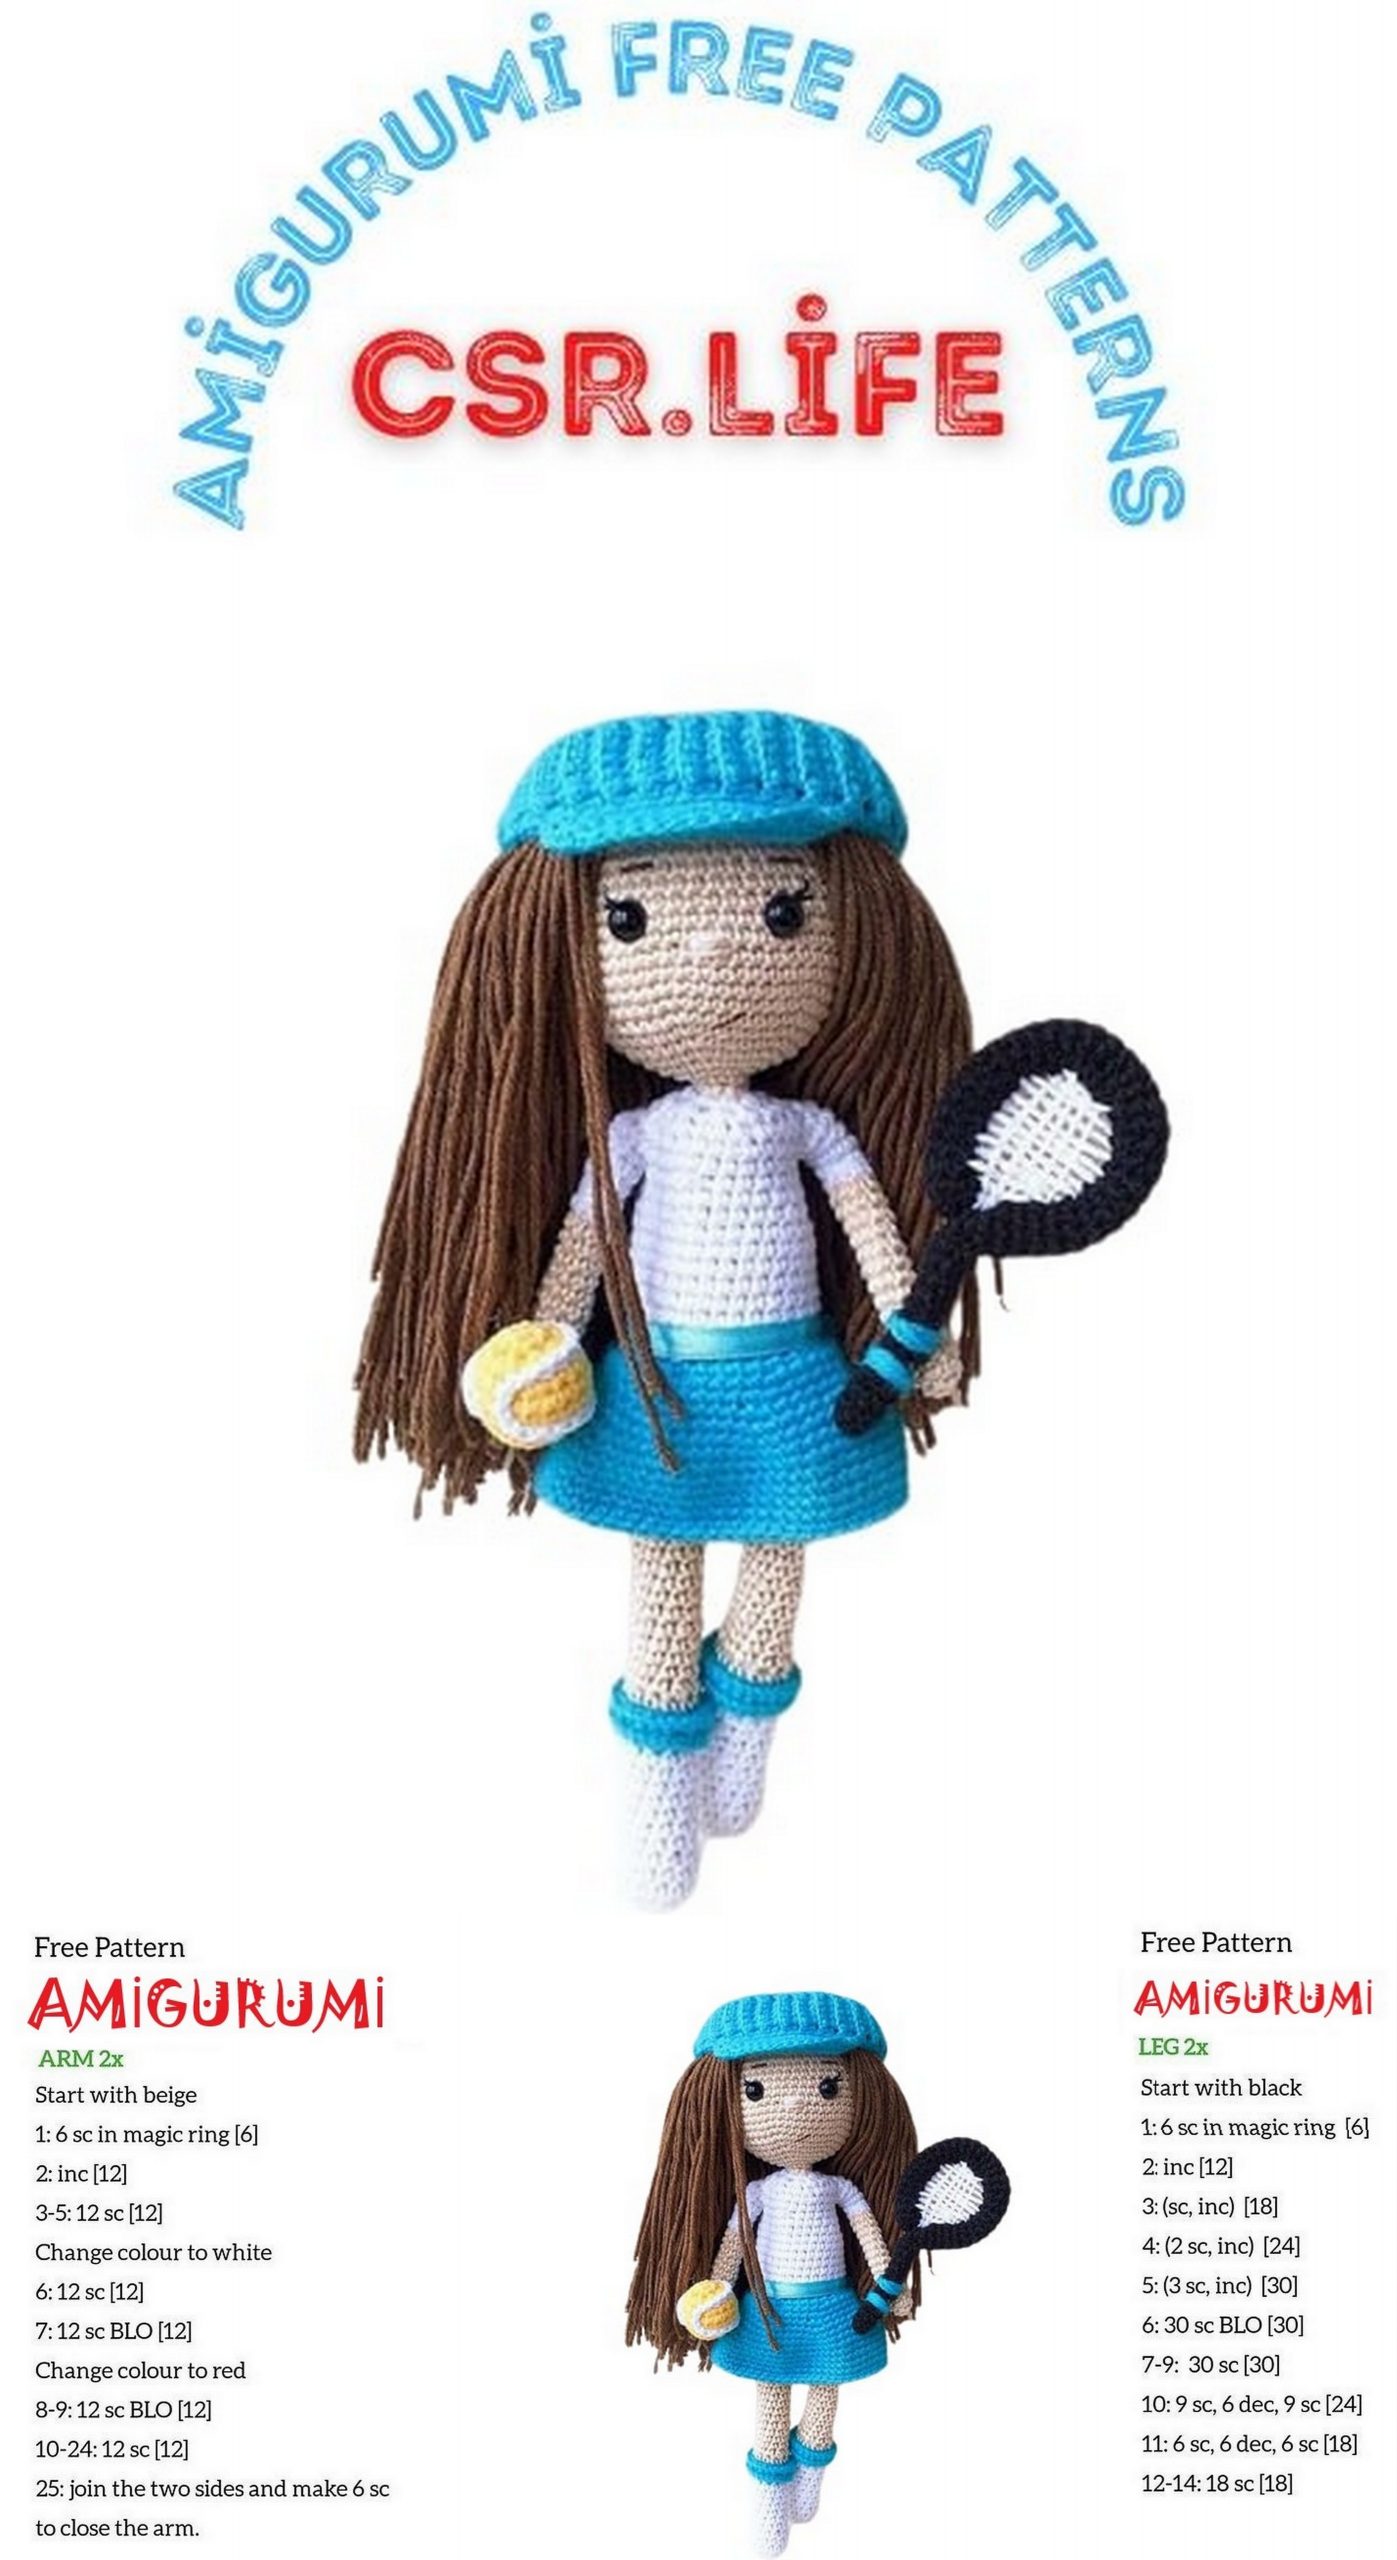
Amigurumi Tennis Girl Free Pattern
Welcome to our website where you can find the most beautiful and highest quality samples of Amigurumi patterns. All the amigurumi patterns you can’t find are available on our website. Every day we continue to share new amigurumi patterns for you. Stay tuned to reach these amigurumi patterns before anyone else
Term Used:
slst – slip stitch
ch – chain
sc – single crochet
inc – increase
dec – decrease
Materials:
Yarn
YarnArt Jeans 62 or 01 (for socks and T-shirts)
Gazzal Baby Cotton 3428 (for skirts, ruffles, socks and caps)
Alpin Anabel 172 or 174 (primary body color)
YarnArt Jeans 40 (for hair)
Acrylic or cotton in yellow and black (for a tennis ball and rackets)
You can use any other colors and analogues of yarn
2 mm hook, scissors, needle, marker, filler, eyes 8 mm, wooden skewer, brown and black floss for face design.
The whole toy is knitted in a spiral.
Doll height using these materials 28 cm
This master class is my work of authorship. MK is free, its commercial use is prohibited. Master the class does not contain crochet lessons.

Pens. (2 parts)
We start in beige:
1r. 4 sc into magic ring
2 p. 4 inc (8)
3-14r. 8 sc (12 rows)
Change the thread to white:
15-18r. 8 sc (4 rows)
Cut the thread. We knit the second handle.
Legs. (2 parts)
We start with the socks in white:
1r. 6 sc into magic ring
2 p. 6 inc (12) set marker
3-12r. 12 sc. (10 rows) change the thread to blue
13 RUR 12 sc. We fill
14 p. 12 sc for the back half loop. Change to beige
15 p. 12 sc for the rear half loop
16 p. (4 sc, dec) x2 (10)
17-28 RUR 10 sc (12 rows)
29 RUR (4 sc, inc) x 2 (12) + 3 sc to the edge of the leg.
Cut the thread.
We turn to knitting socks frills.
Take the blue yarn and attach to the 14th row behind the front half loop. In each half loop do by inc
Get 24 sc. Finish sl-st, fasten, cut the thread, hide tips
In the same way, we knit the second leg, but do not cut the thread.
Joining legs
30 RUR From the second leg 4 ch.
Take the first leg, attach sl-st. And knit 12 sc on the first leg.
Next 4 sc by ch. + 12 sc on the second leg. Then 4 sc by ch. Total
32 sc. Insert marker.
31 RUR 5 sc, inc, 15 sc, inc, 10 sc (34)
32-35r. 34 sc (4 rows)
36 p. 5 sc, dec, 15 sc, dec, 10 sc (32)
37 RUR 5 sc, dec, 14 sc, dec, 9 sc (30)
We knit 12 sc so that the seam is on the back
Change the thread to blue:
38 p. 30 sc
39 RUB 30 sc for the rear half loop
Getting to knitting T-shirts.
White thread:
40-43 p. 30 sc
44 RUR 8 sc, dec, 13 sc, dec, 5 sc (28)
45 RUR 6 sc, 2 dec, 11 sc, 2 dec, 3 sc (24)
46 p. 24 sc
47 RUR 6 sc, dec, 11 sc, dec, 3 sc (22)
We fill the body.
We turn to knitting skirts.
Take the blue thread and attach to the half loop 39 rows:
1r. 30 sc
2 p. (4 sc, inc) x 6 (36)
3 p. (5 sc. Inc) x 6 (42)
4 p. (6 sc, inc) x 6 (48)
5 p. (7 sc, inc) x 6 (54)
6 p. (8 sc, inc) x 6 (60)
7 p. 60sc. Continue to the desired length.
We continue to knit the body.
Joining hands:
1r. 7 sc, 8 sc on the arm, 12 sc, 8 sc on the arm,
3 sc (38)
2 p. 6 sc, 2 dec, sc, 2 dec, 11 sc, 2 dec, sc, 2 dec, 3 sc (30)
3 p. (3 sc. Dec) x 6 (24)
4 p. (2 sc. Dec) x 6 (18)
5 p. (sc.dec) x 6 (12)
6 p. 6 dec
Getting to the head
Change the thread to beige color:
1r. 6 sc
2 p. 6 inc (12)
3 p. (1 sc. Inc) x 6 (18)
4 p. (2 sc. Inc) x 6 (24)
5 p. (3 sc. Inc) x 6 (30)
6 p. (4 sc. Inc) x 6 (36)
7 p. (5 sc. Inc) x 6 (42)
8 p. (6 sc. Inc) x 6 (48)
9 p. (7 sc. Inc) x 6 (54)
10 p. (8 sc. Inc) x 6 (60)
11-20r. 60 sc (10 rows)
We insert the eyes between 17 and 18p at a distance of 8 sc.
The wooden skewer is divided into two parts. Edges can be filed a nail file. Insert them into the neck, adding filler for density and sustainability.
21 RUR (8 sc. Dec) x6 (54)
22 p. (7 sc. Dec) x 6 (48)
23 RUR (6 sc. Dec) x6 (42)
24 RUR (5 sc. Dec) x6 (36)
25 RUR (4 sc. Dec) x6 (30)
26 p. (3 sc. Dec) x6 (24)
27 RUR (2 sc. Dec) x6 (18)
28 p. (sc.dec) x6 (12)
29 RUR 6 dec.
Tighten the hole. Hide the tips.
We turn to the design of hairstyles.
Take a brown thread, cut the “hairs” we need lengths. I have it about 35 cm. Each thread is threaded into sc, forming a hairstyle.
Getting to knitting caps.
In blue:
1r. 7 ch, in the second loop 6 sc + 1ch
2 p. 6 sc behind the back half loop + 1 ch
3 p. 6 sc for the back half loop + 1 ch.
We continue knitting with an elastic band. We knit the required amount rows of head circumference.
Next we knit a visor.
Take a new thread and knit sc along the edge, placing the visor along center
1r. 26 sc, turn
2 p. 26 sc for the front half loop, turn
3 p. dec, 20 sc, dec
We continue to the desired visor size, making dec with each side.
Racket (2 parts)
In black:
First part: 6 sc into magic ring, 6 sc. Next, we continue to a length of 12 cm
Second part: 6 sc into magic ring, 6 sc. Further 6 cm in length.
We sew the details with the needle, forming a racket. We make a net with a white thread.
Ball.
Yellow
1r. 6 sc into magic ring
2 p. 6 inc
3 p. (Sc.inc) x 6 (18)
4-6r. 18 sc
7 p. (sc. Dec) x6 (12)
8 p. 6 dec. Tighten the hole
We make a white thread tennis seam on the ball sc.
We make a face: embroider eyebrows, cilia, nose, mouth.
Dress the cap. The racket and ball can be sewn to the handles.
If desired, you can tie a belt with a satin ribbon.