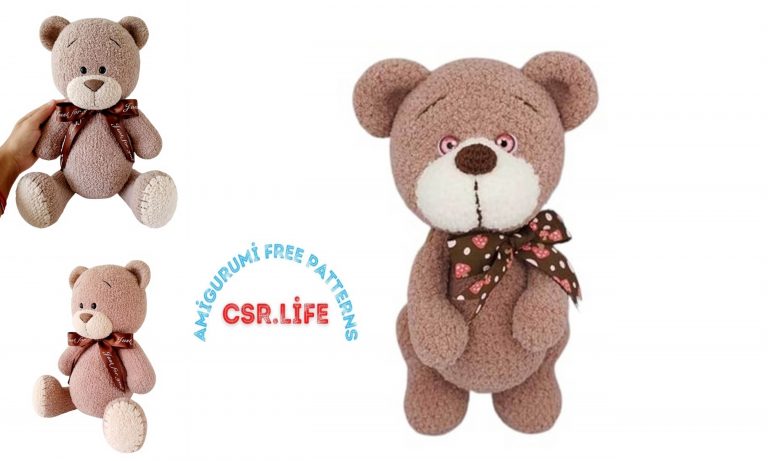
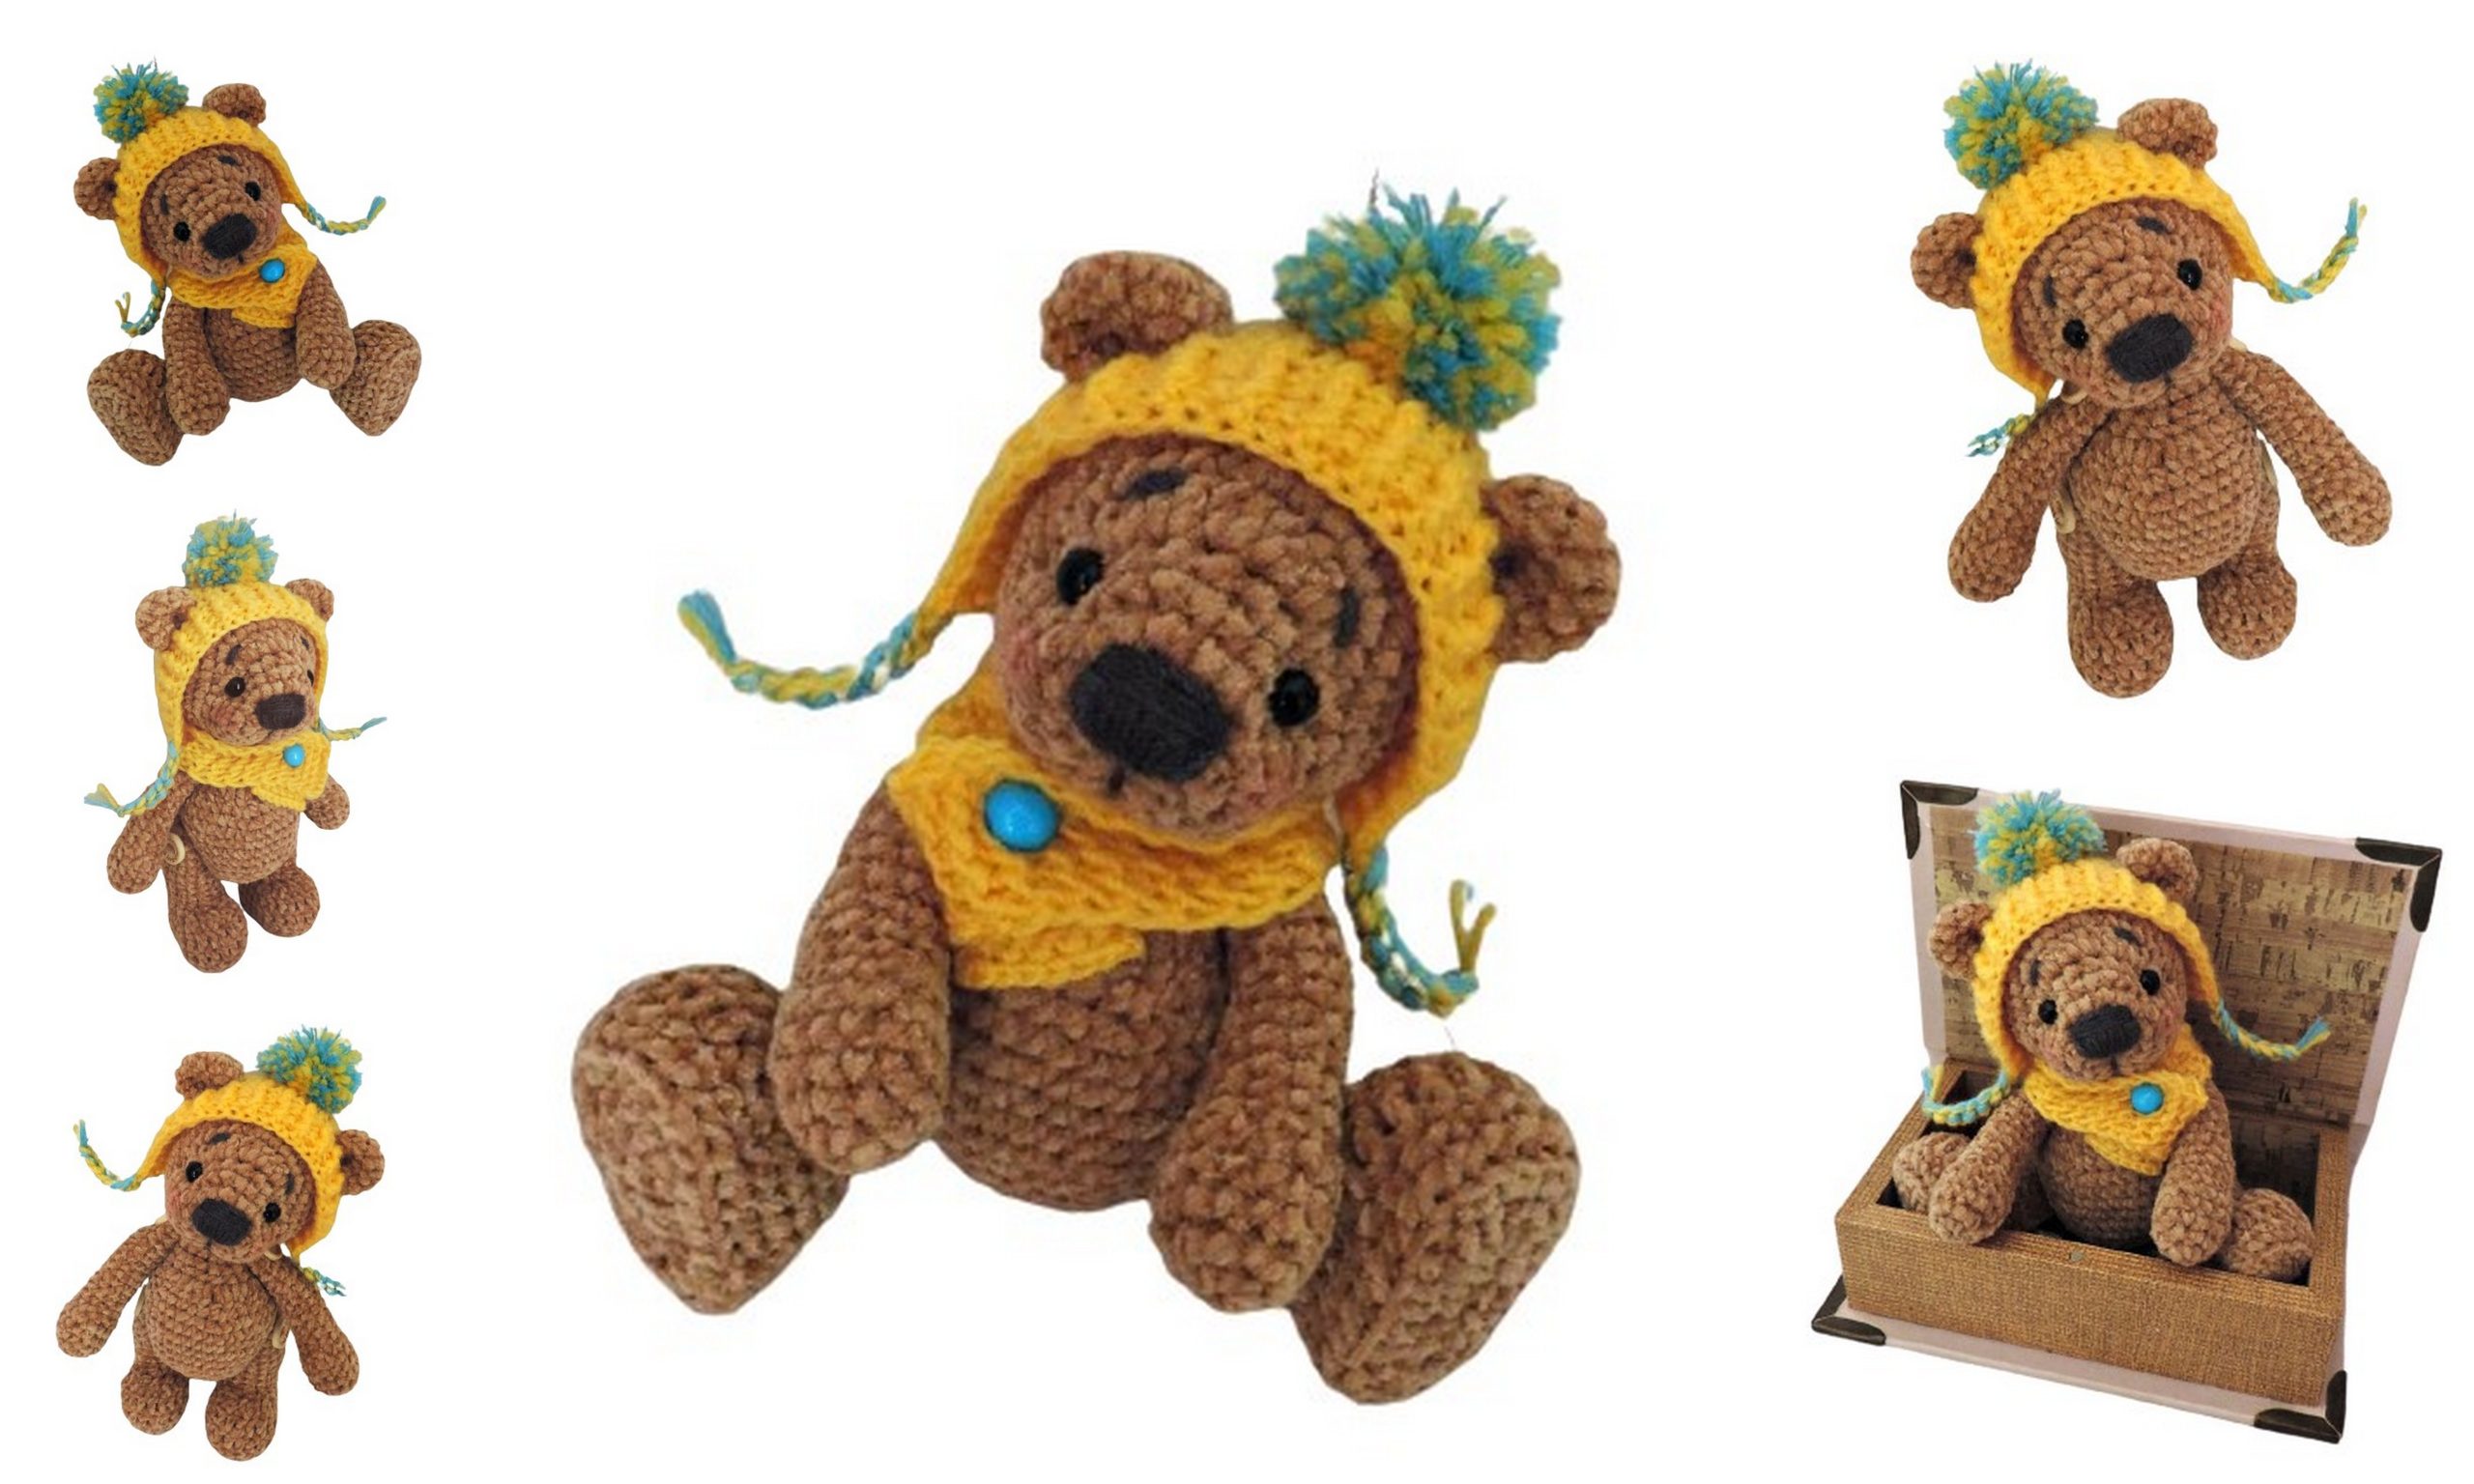
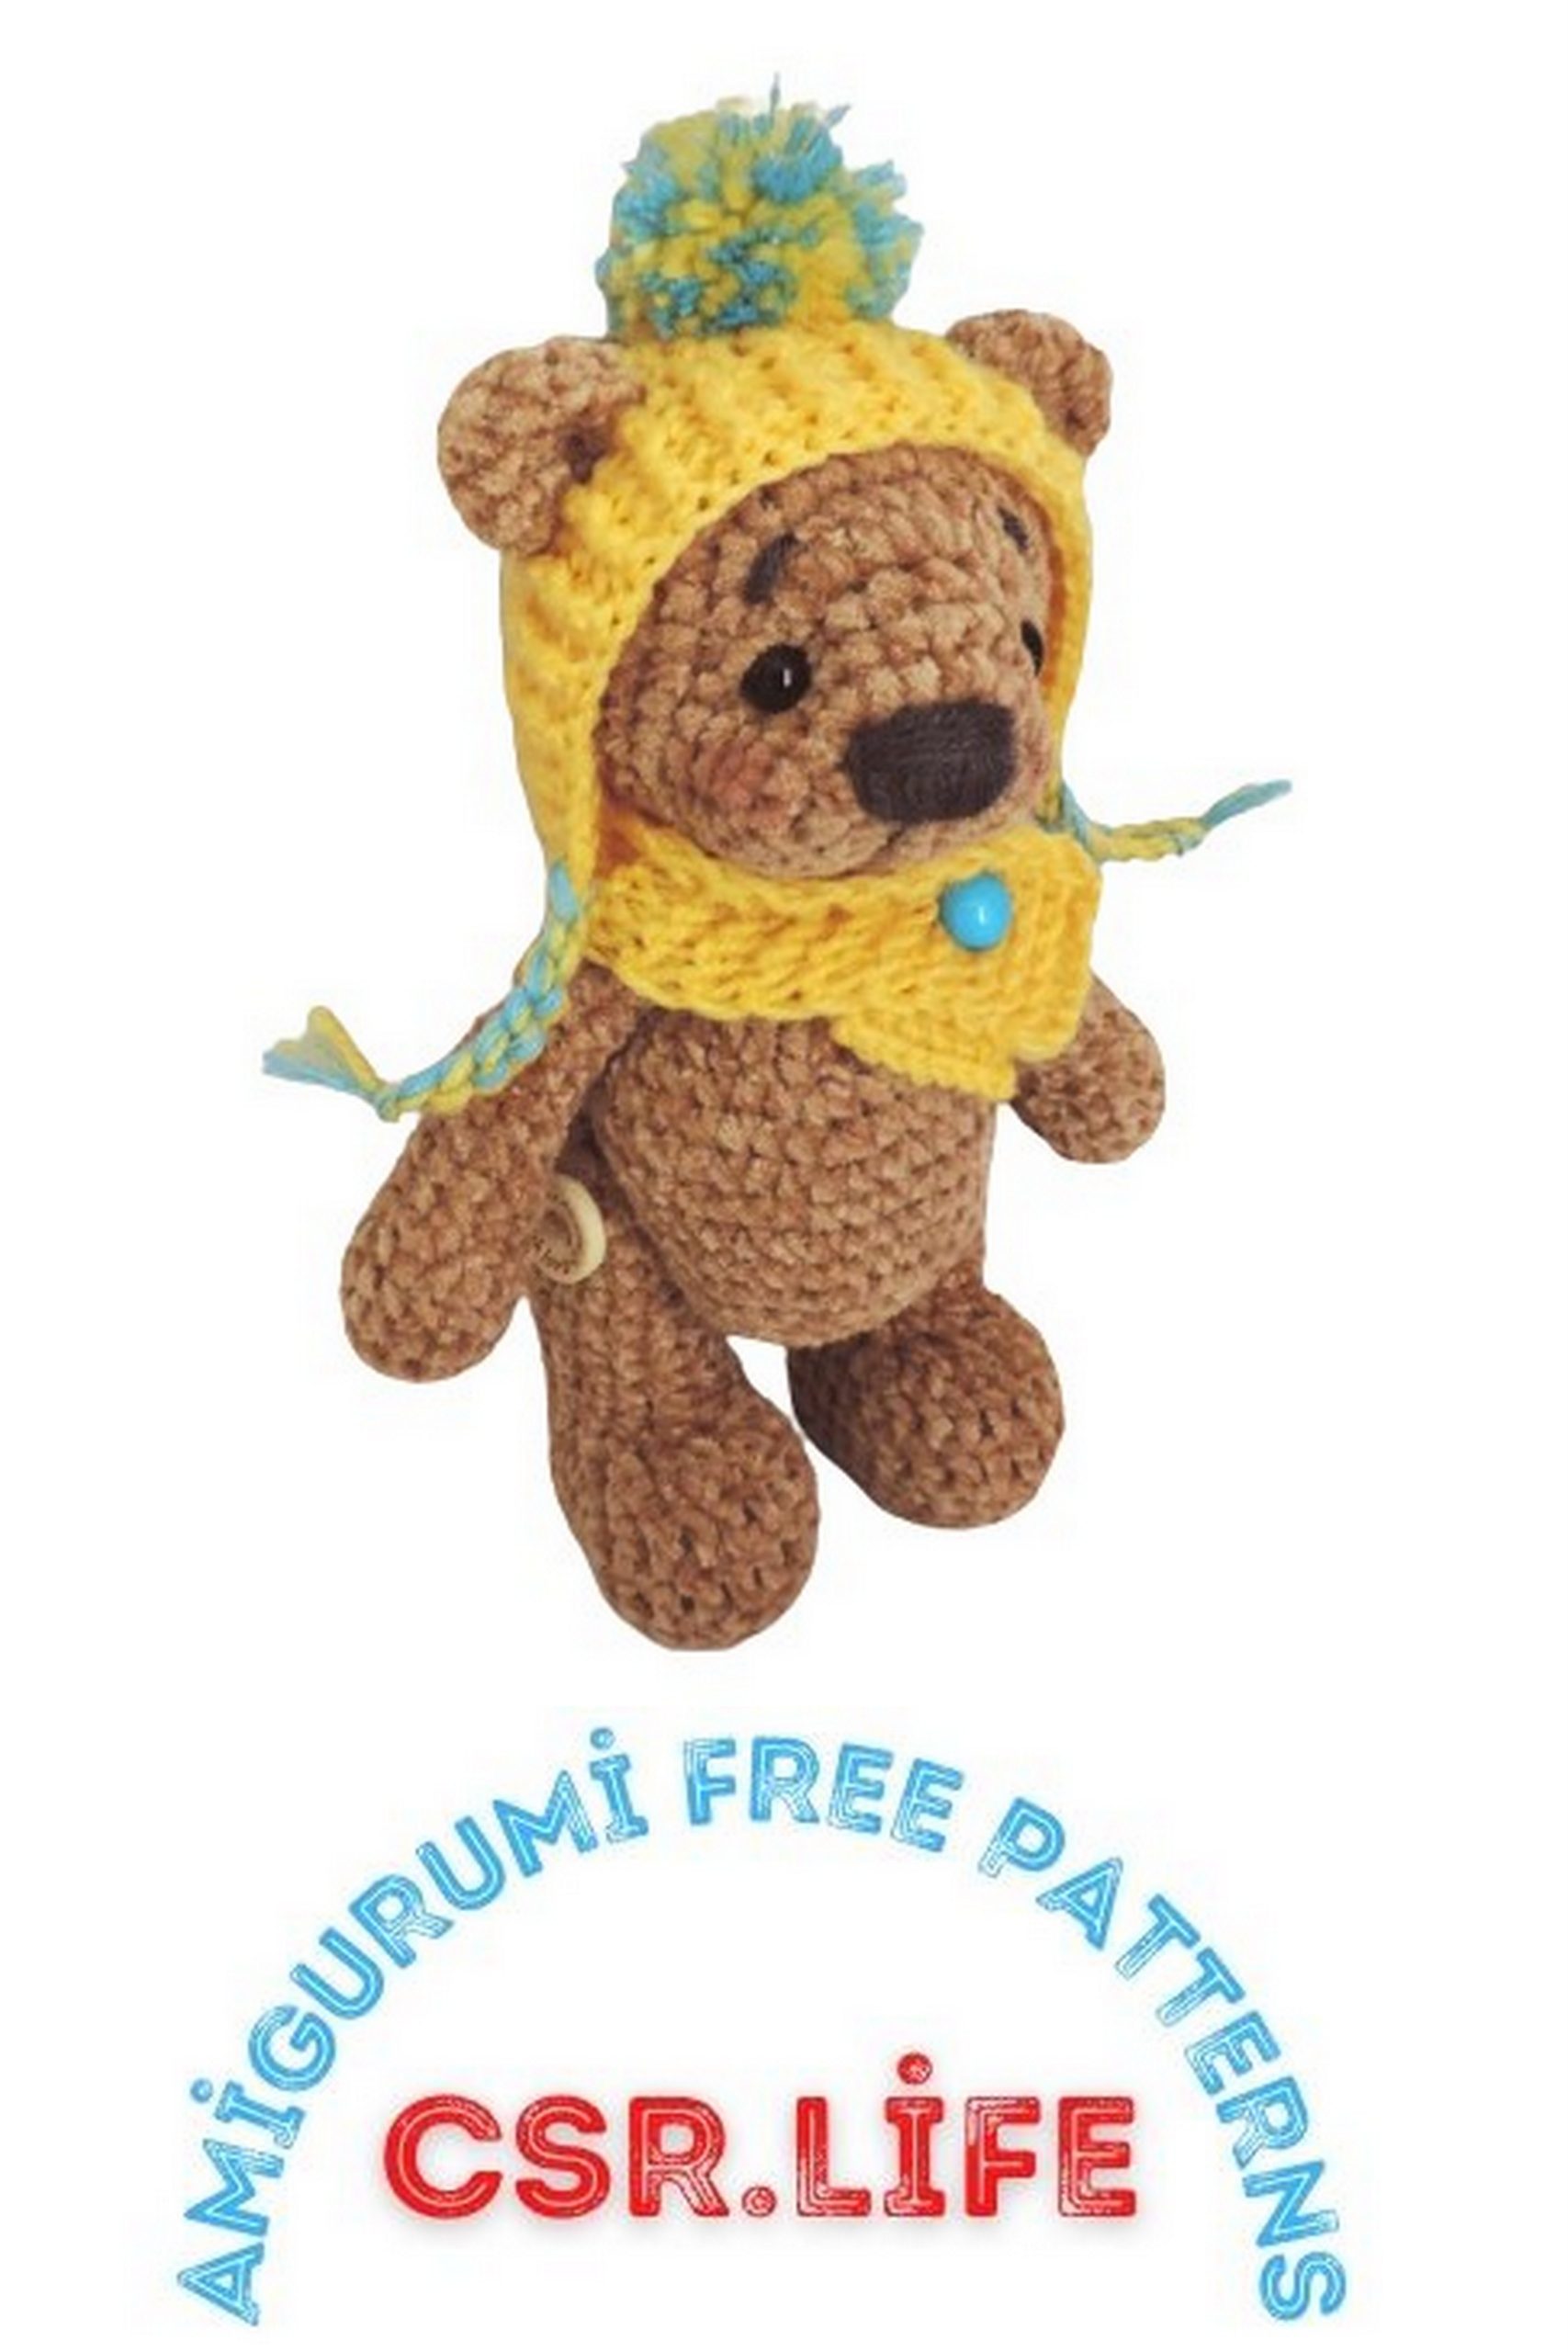
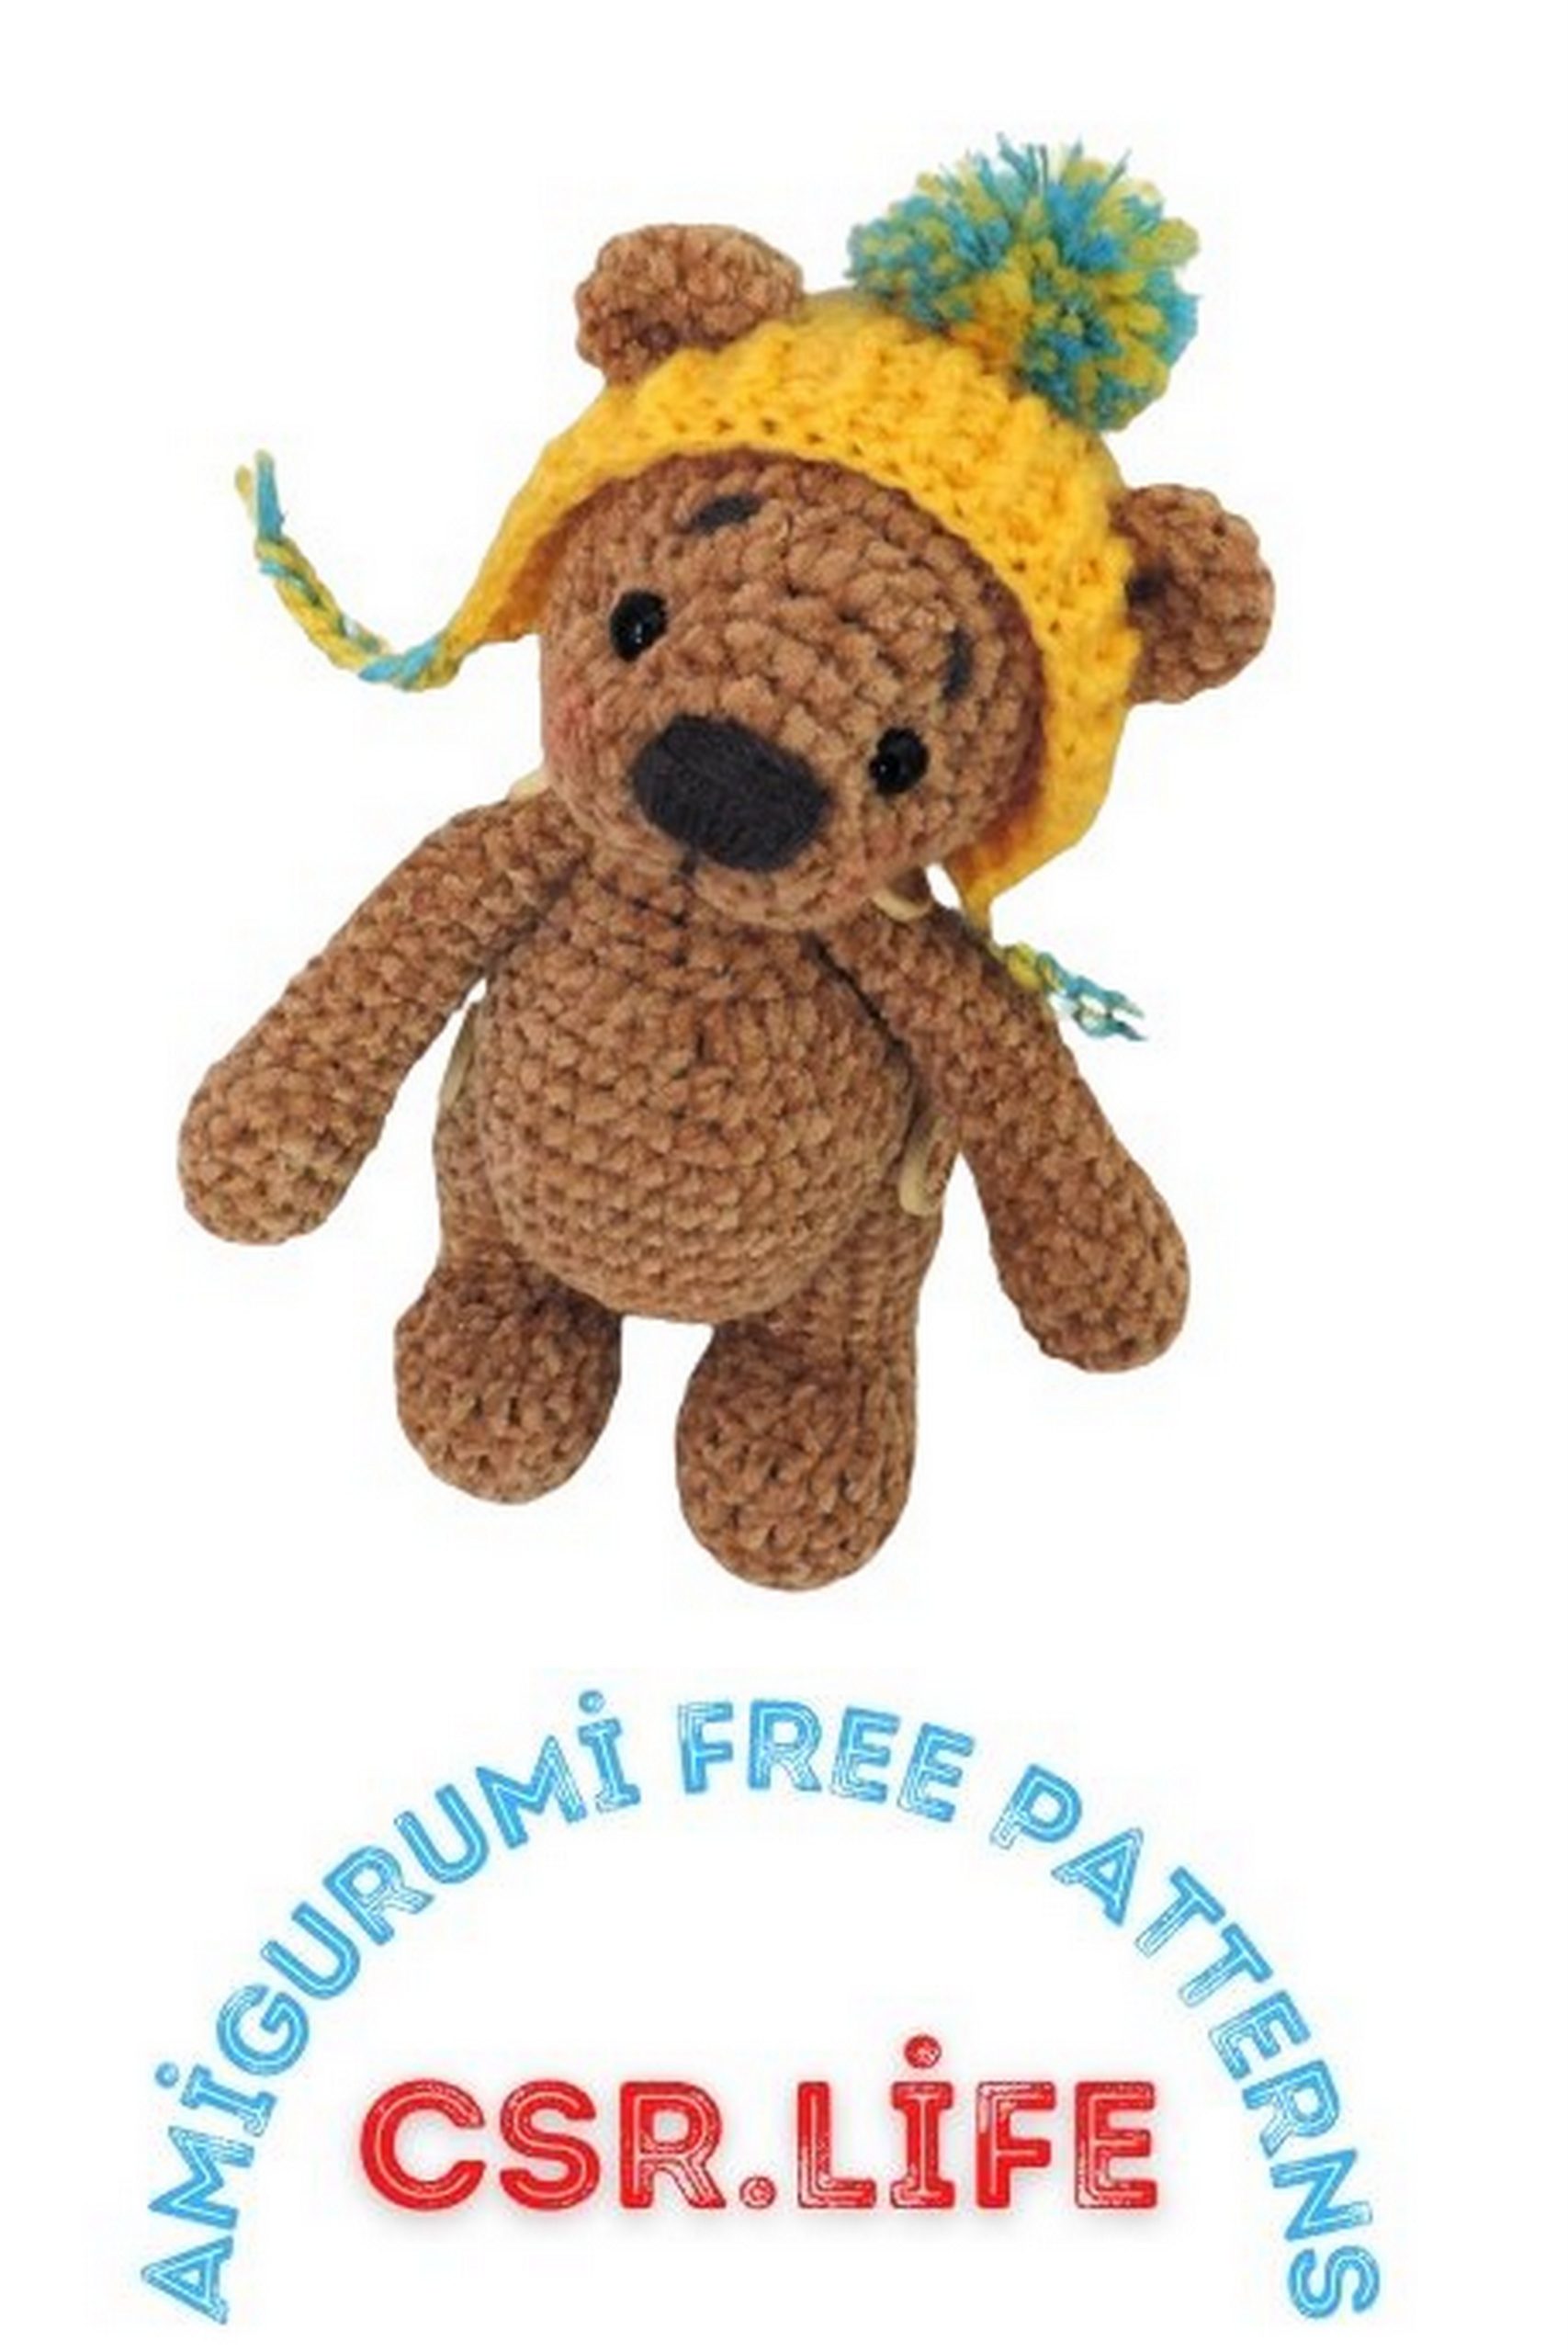
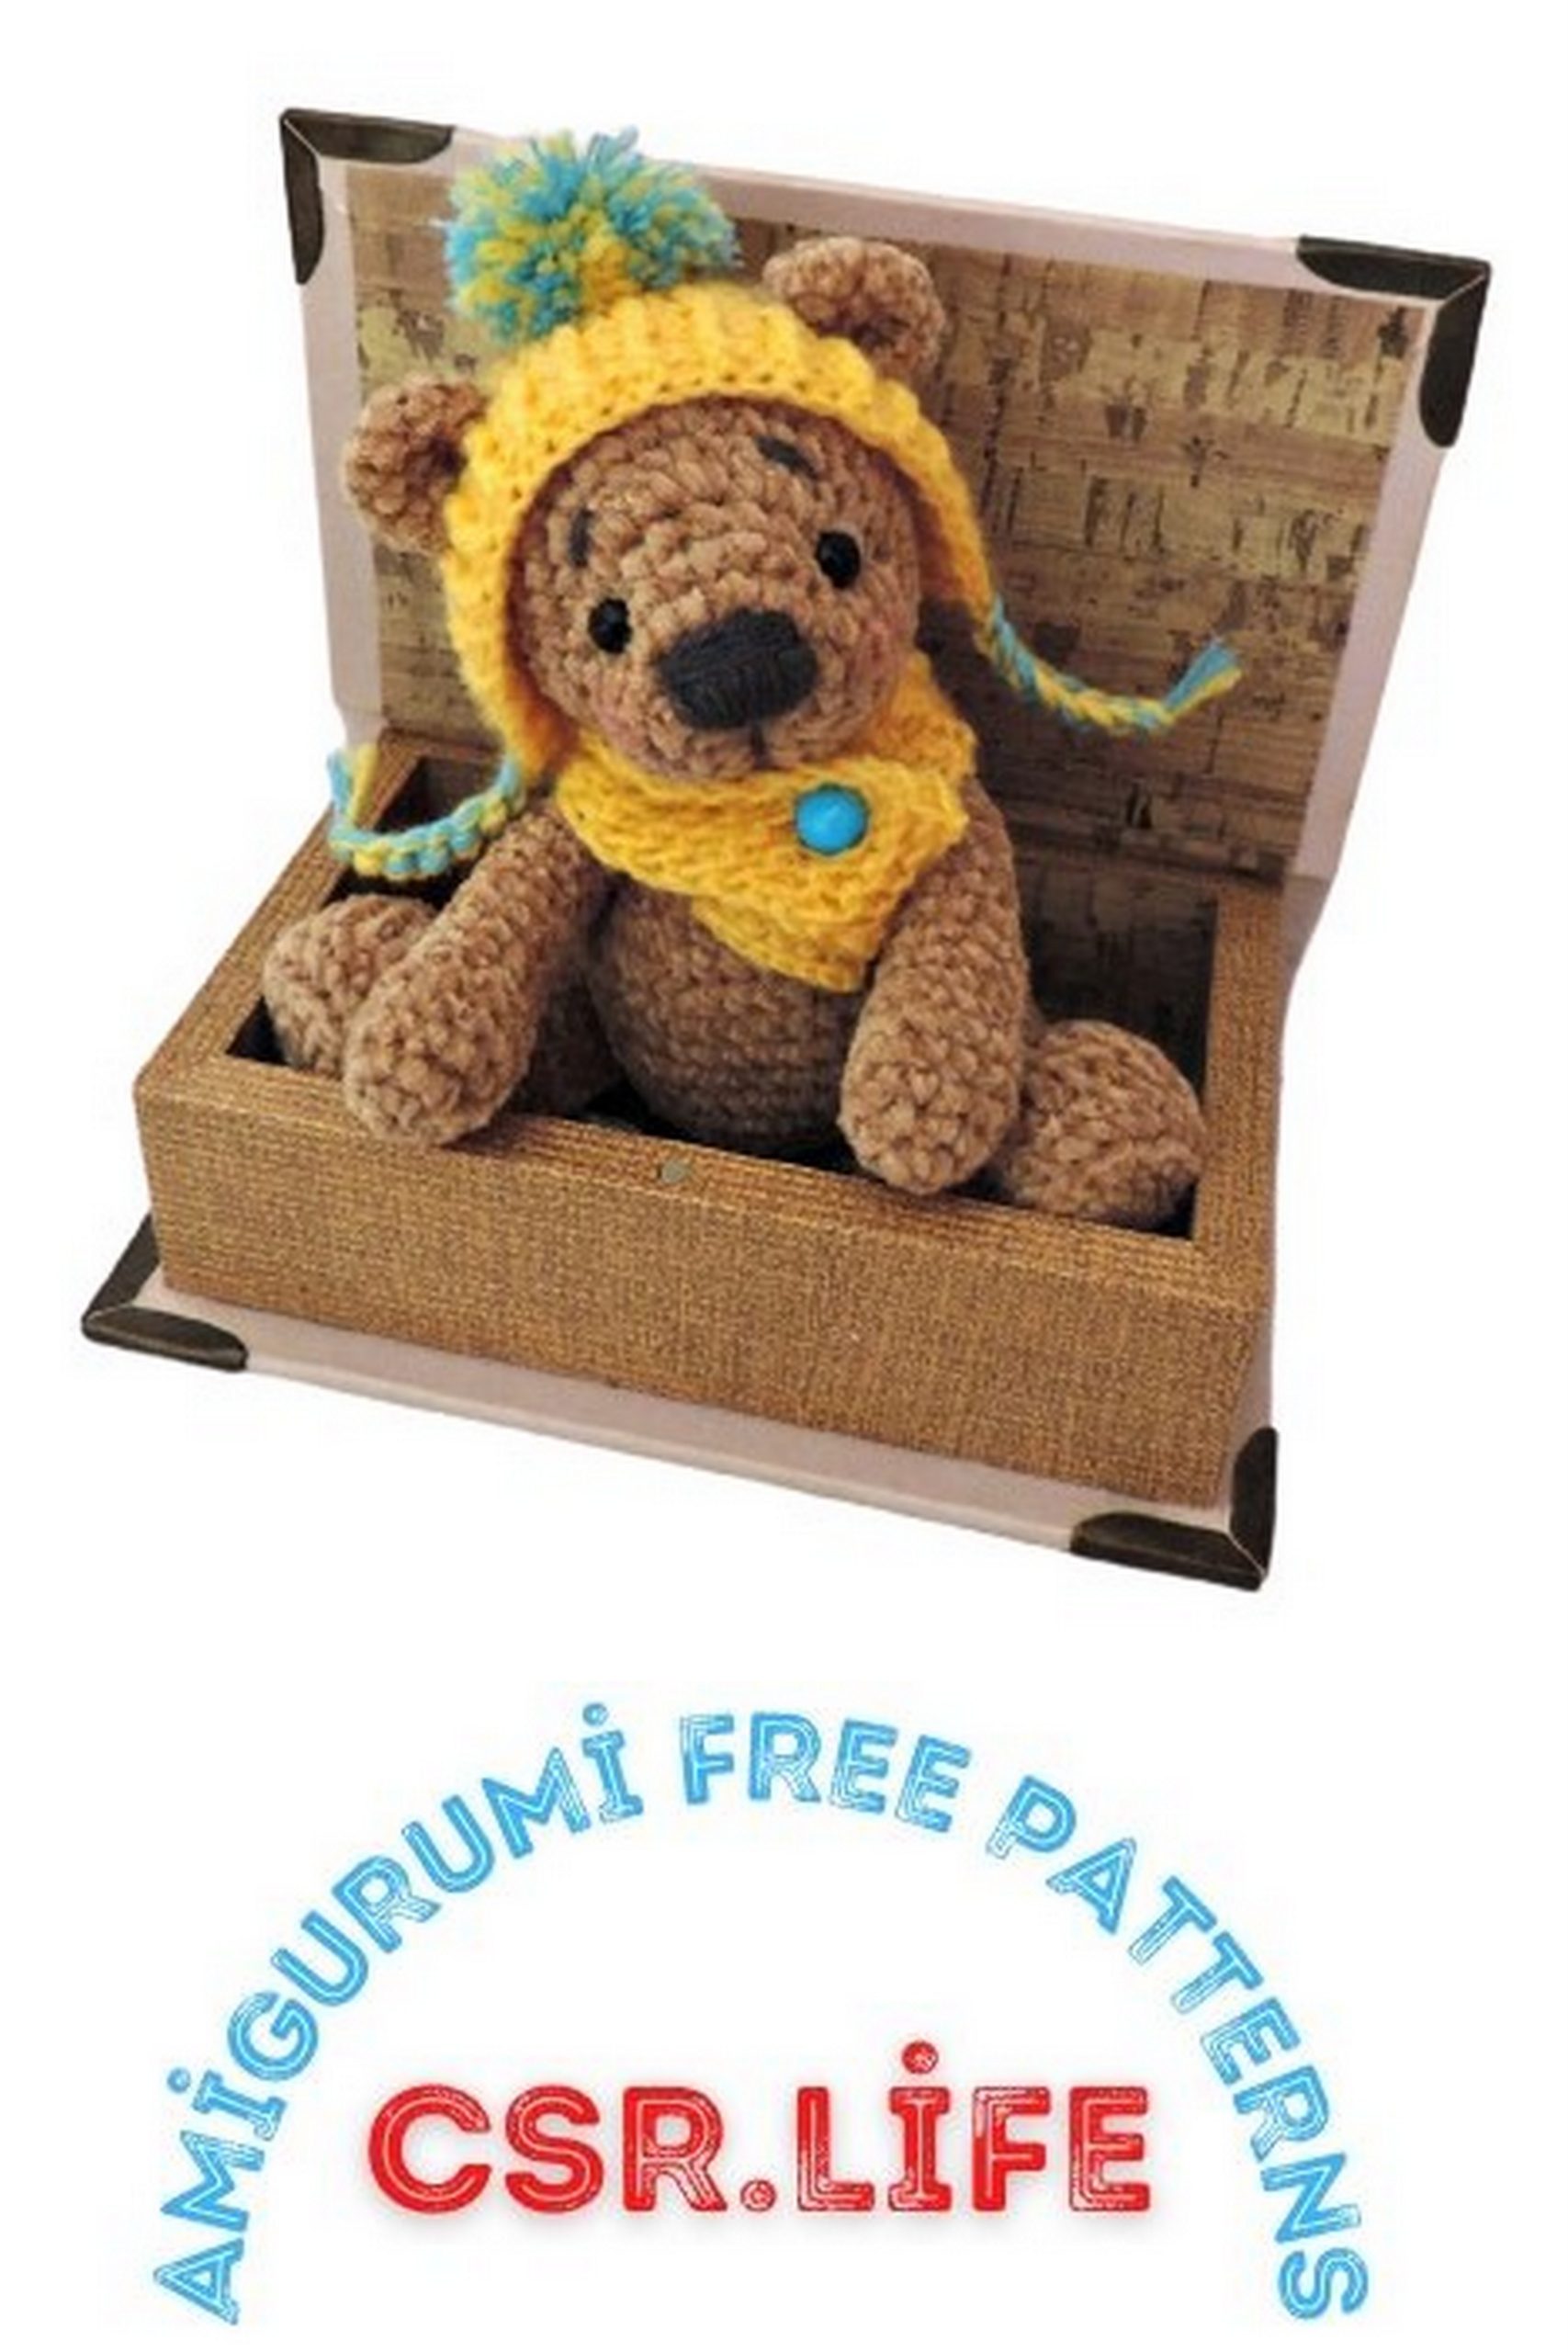
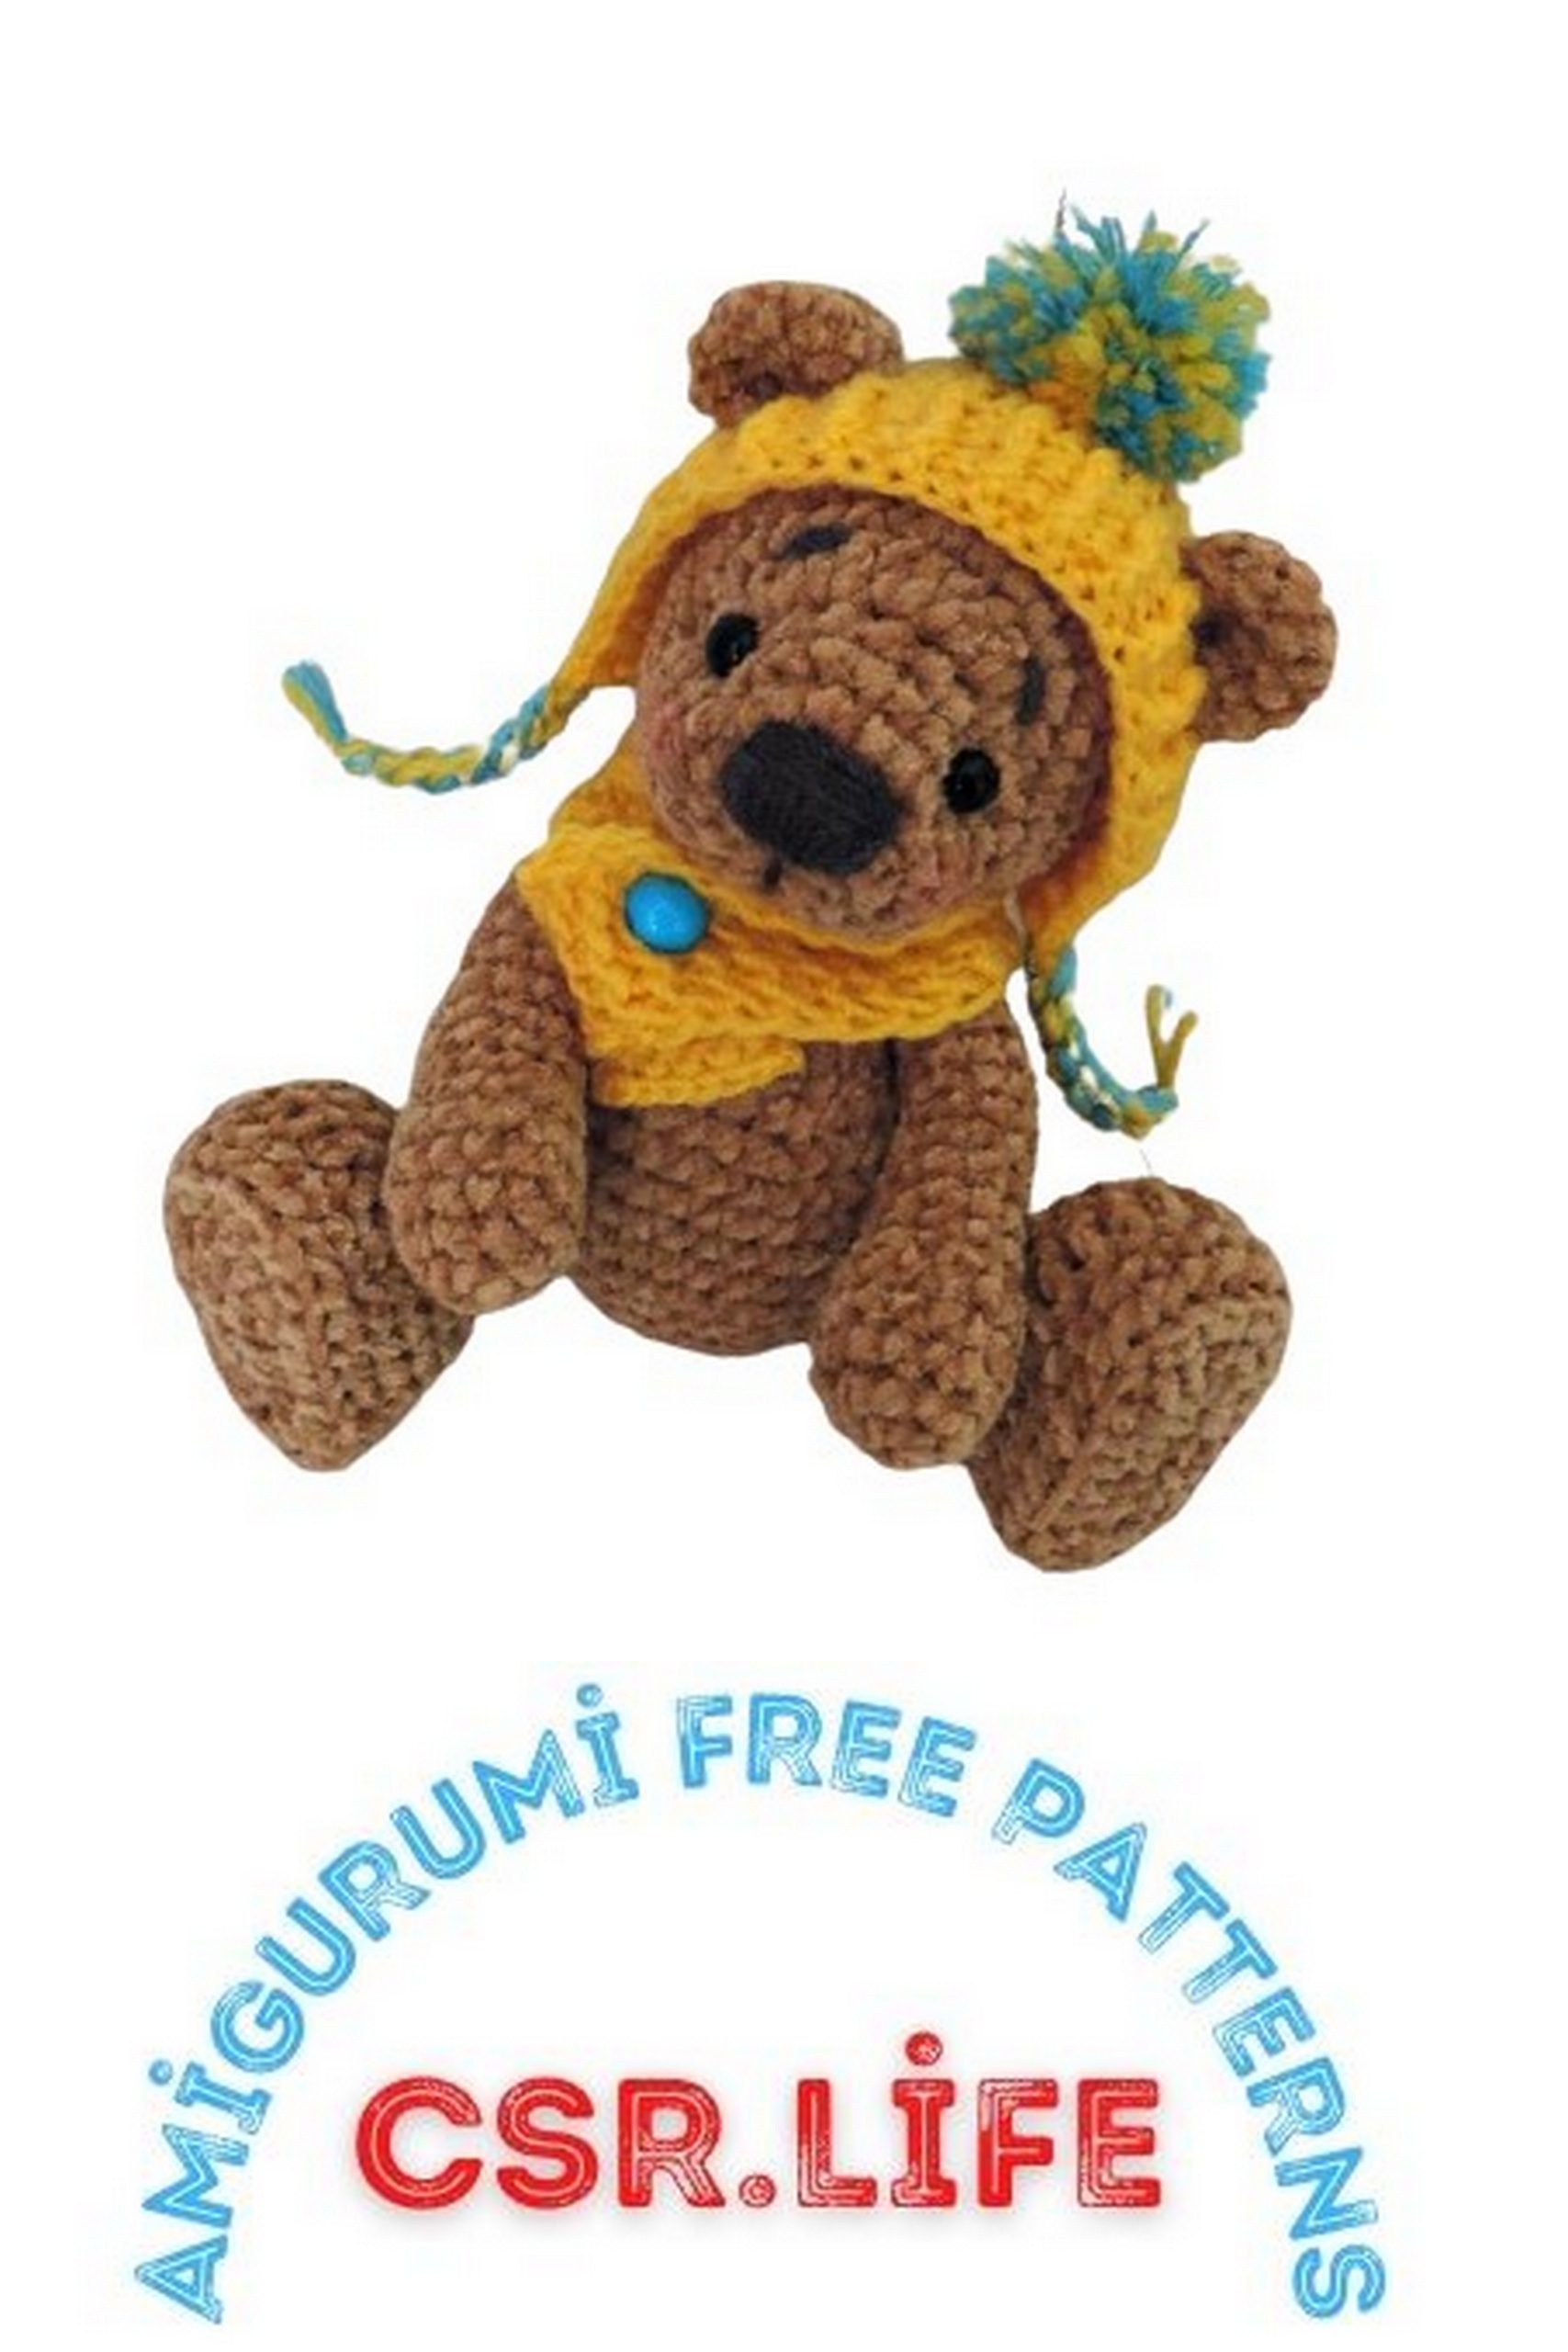
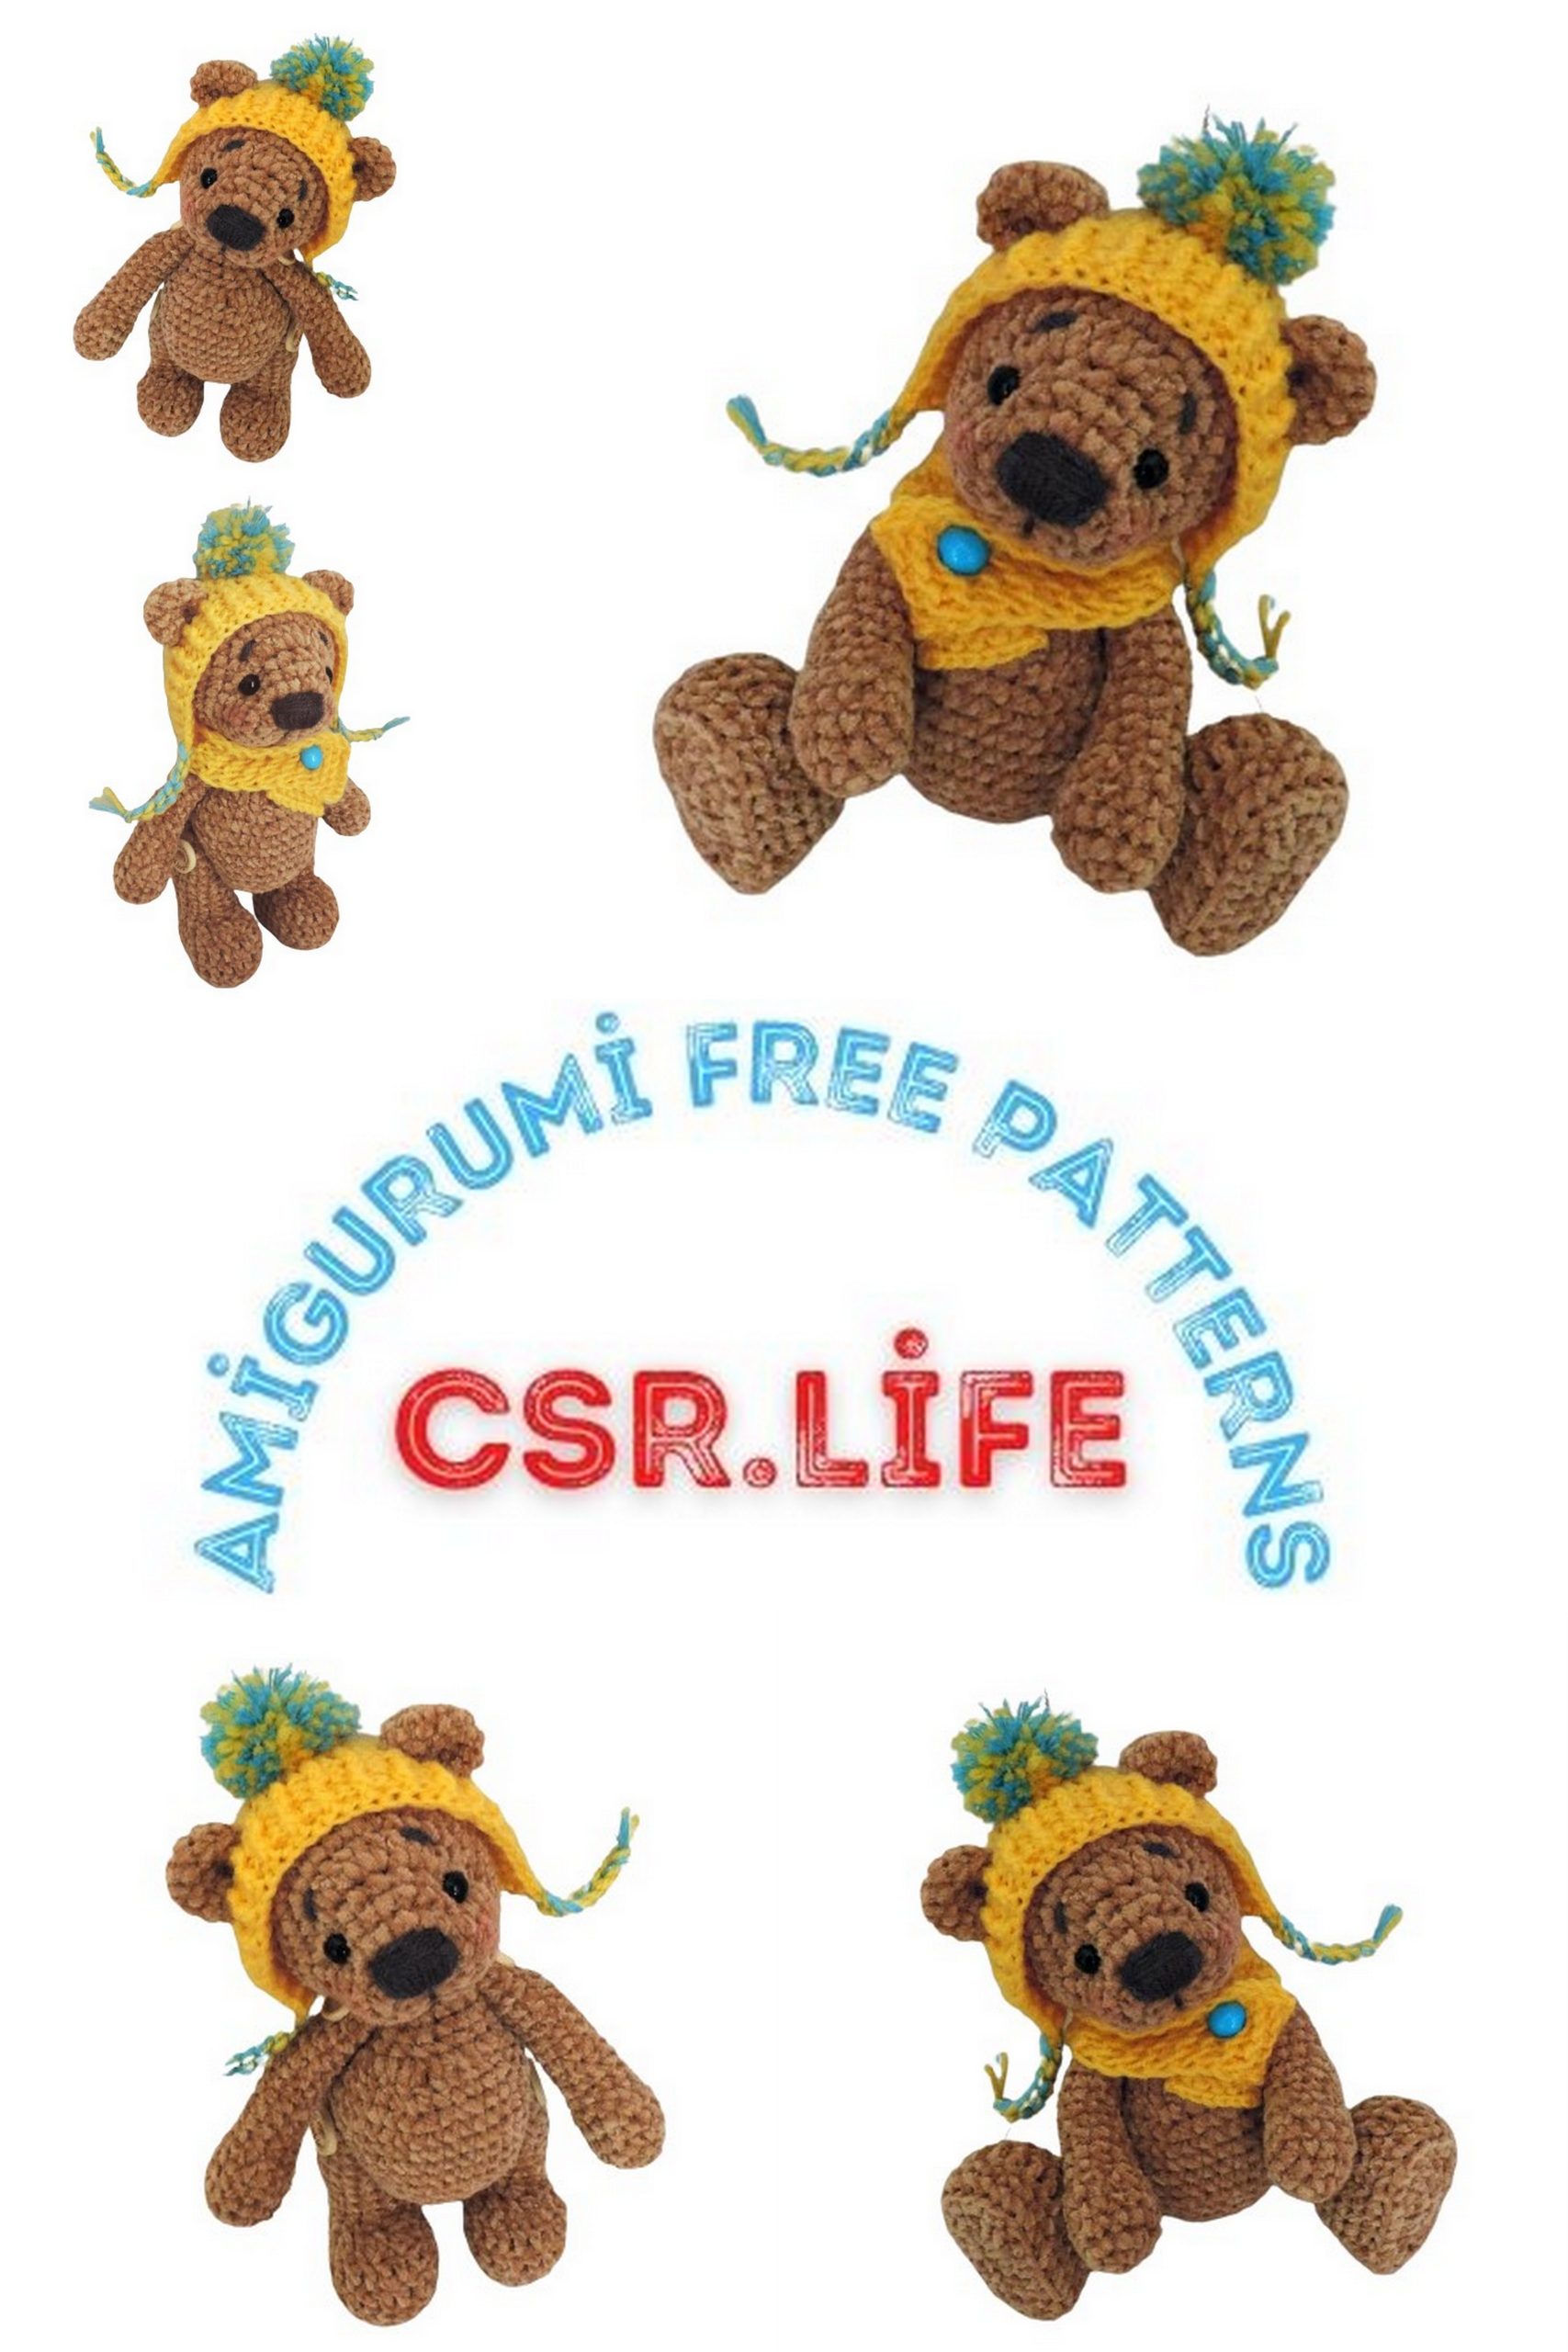
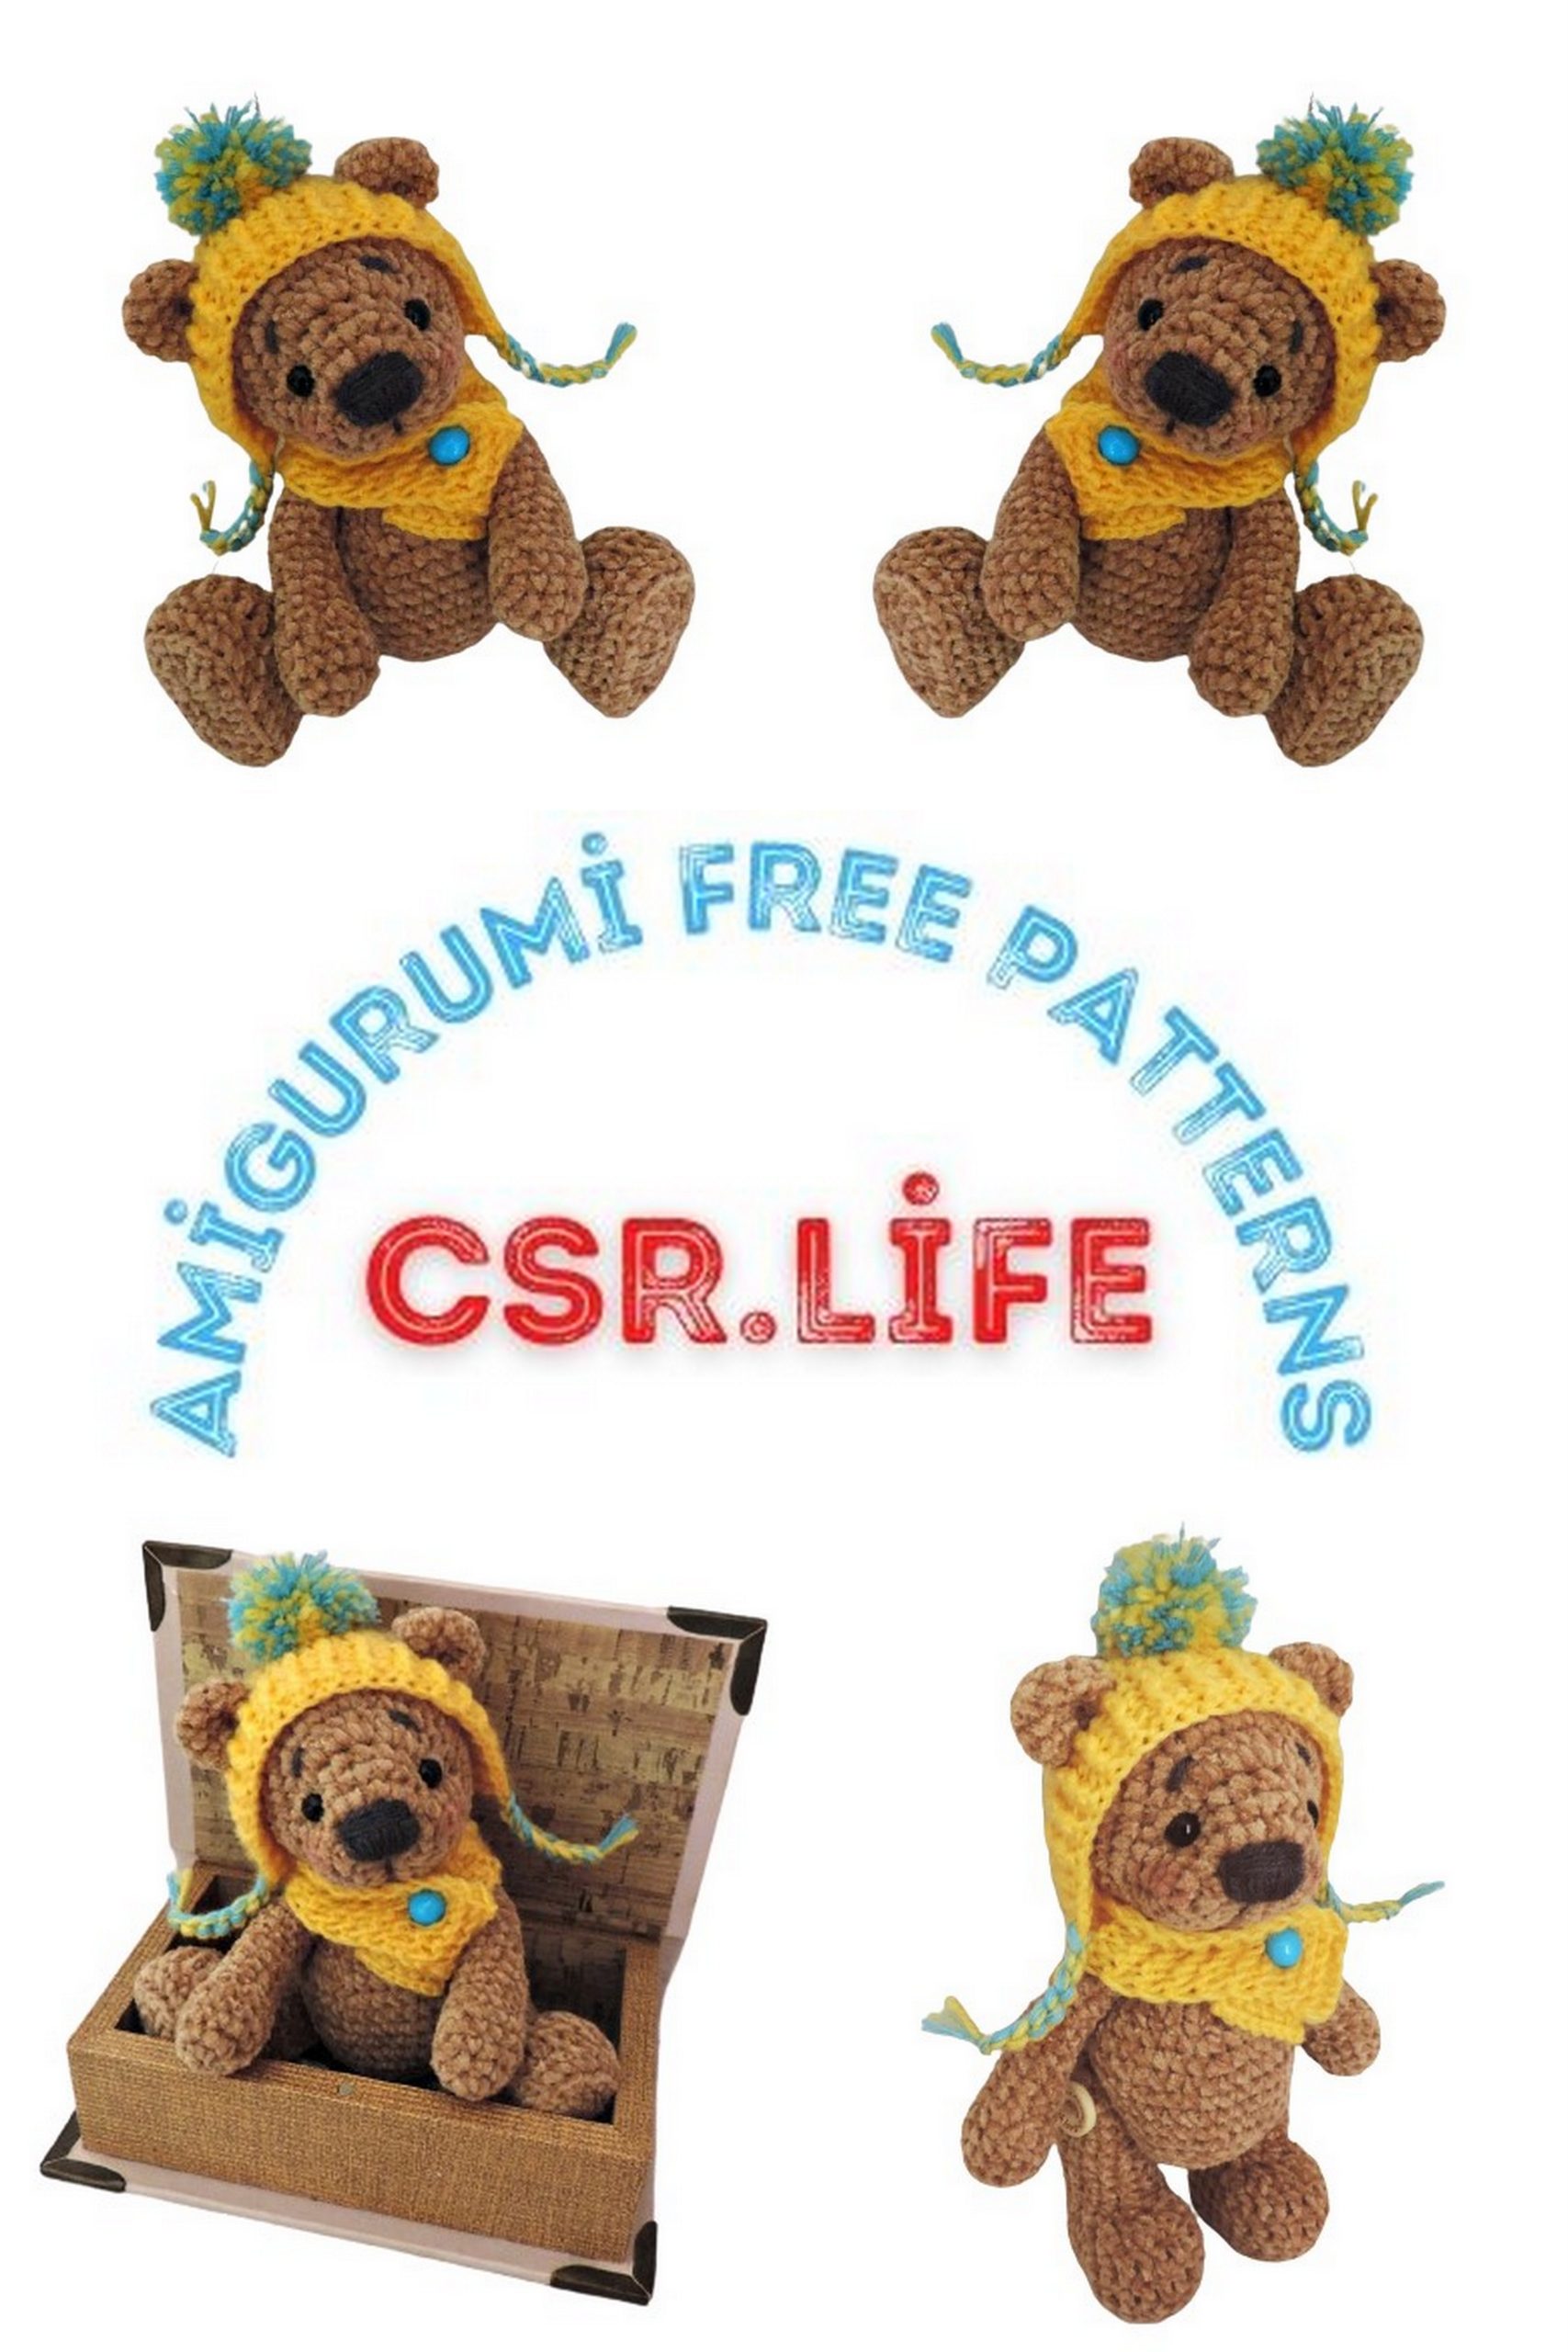
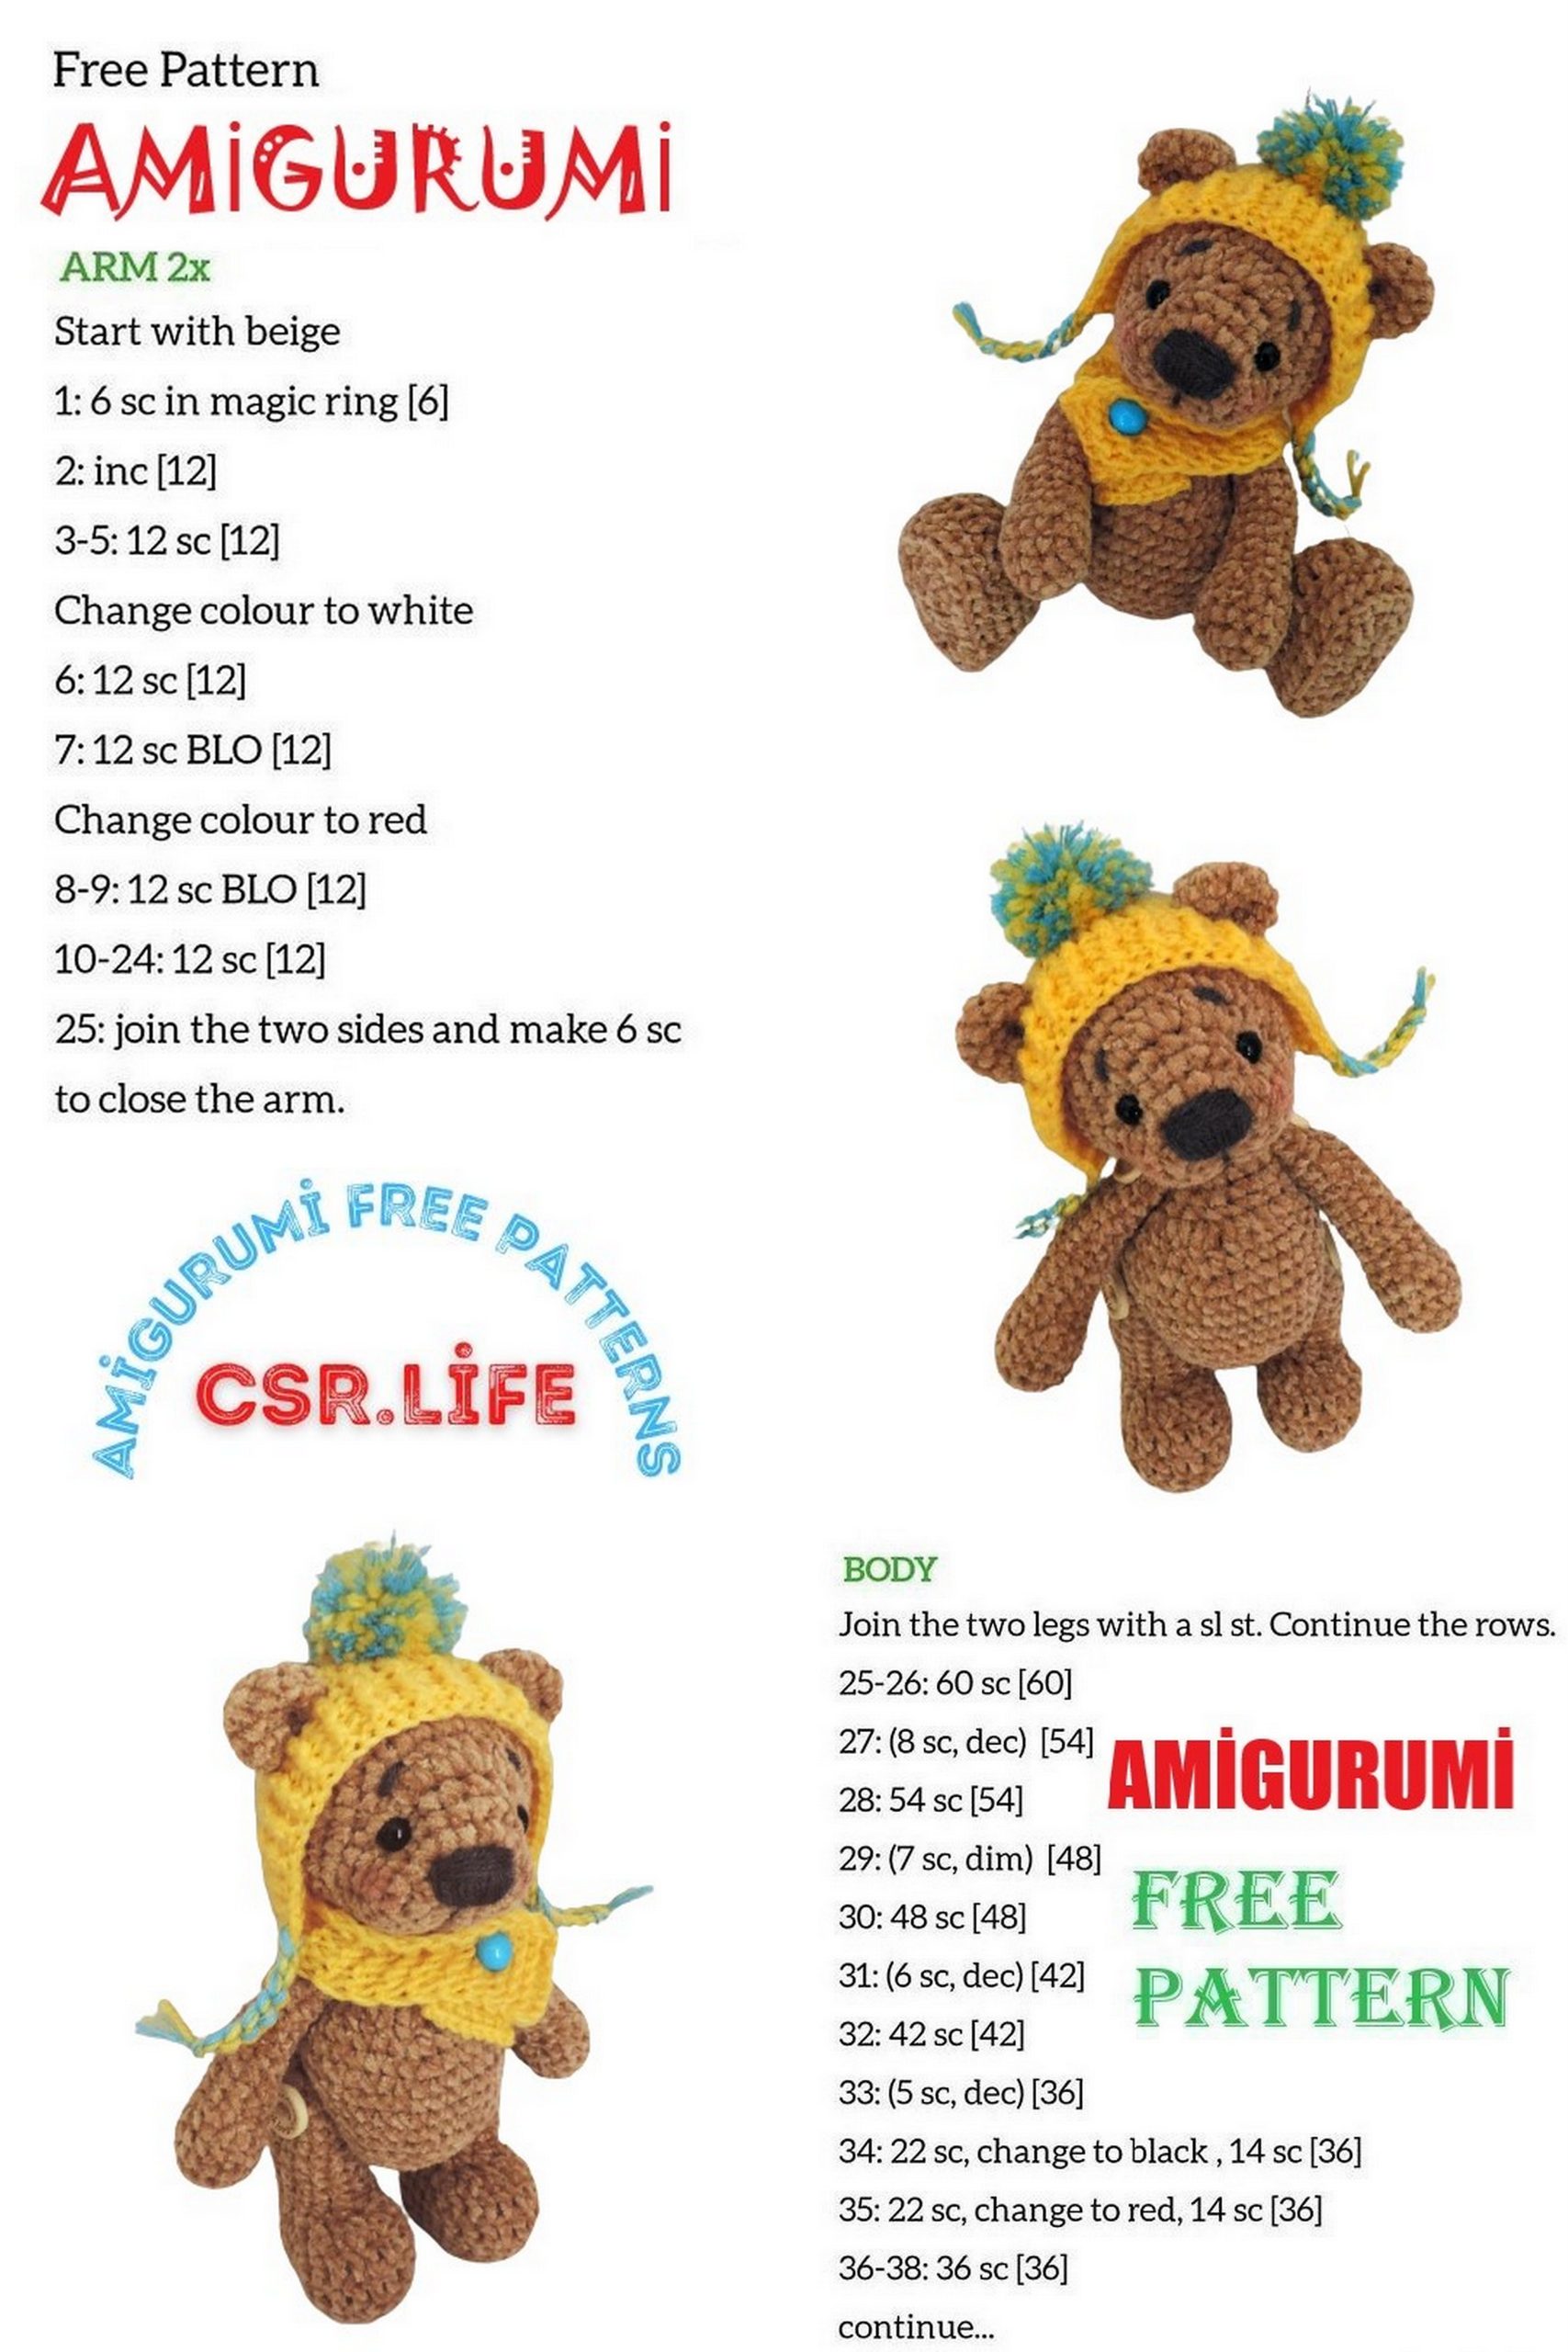
Cute Bear Amigurumi with Hat and Scarf – Free Pattern
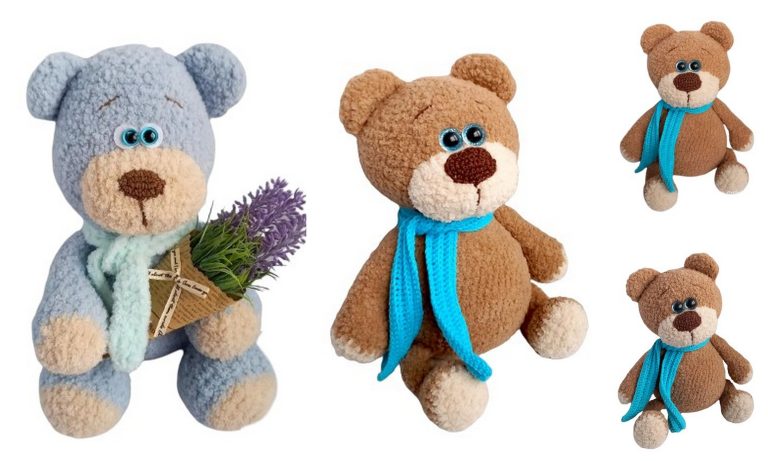
Meet our adorable amigurumi bear! This free pattern guides you through creating a lovable bear complete with a charming hat and scarf. Whether you’re a crochet enthusiast or just starting, this project offers a delightful experience. Follow along and bring this cute bear to life with your crochet skills.
Crochet your own charming bear with a hat and scarf using this free amigurumi pattern. Perfect for beginners and seasoned crocheters alike. Create a cuddly friend today!
Abbreviations:
sc – single crochet
dc – double crochet
sc2tog – single crochet with yarn over
inc – increase (two single crochets in one loop)
dec – decrease (two single crochets worked together)
ch – chain stitch
PATTERN
Head and Body
(Work according to the same pattern)
(using the main brown color):
1st row: 6 sc into the amigurumi ring = 6
2nd row: 6 inc = 12
3rd row: (1 sc, inc)* 6 = 18
4th row: (2 sc, inc)* 6 = 24
5th-6th rows: 24 sc = 24
7th row: 9 sc, 6 inc (2 sc in each stitch), 9 sc = 30
8th row: (4 sc, inc)* 6 = 36
9th row: (5 sc, inc)* 6 = 42
10th-14th rows: 42 sc = 42
15th row: (5 sc, dec)* 6 = 36
16th row: (4 sc, dec)* 6 = 30
17th row: (3 sc, dec)* 6 = 24
18th row: (2 sc, dec)* 6 = 18
Stuff the head and body firmly.
19th row: (1 sc, dec)* 6 = 12
20th row: 6 dec = 6
Finish the work with decreases or by drawing the stitches together.
Upper Front Legs (2 pieces):
1st row: 8 sc into the amigurumi ring = 8
2nd row: (1 sc, inc)* 4 = 12
3rd row: (2 sc, inc)* 4 = 16
4th-5th rows: 16 sc = 16
6th row: (1 sc, dec)* 5, 1 sc = 11
7th-18th rows: 11 sc = 11
Stuff the legs moderately, especially near the “shoulders.”
19th row: 5 dec, 1 sc = 6
Finish the work with decreases or by drawing the stitches together.
Lower Front Legs (2 pieces):
1st row: Crochet 5 chains.
1a. 3 chains (as a turning chain for ss2tog), 7 ss2tog in the 4th chain from the hook, 3 sc, 6 sc in one chain (the last one in the chain), 3 sc = 17
2nd row: 2 sc, 4 inc, 7 sc, 2 inc, 5 sc = 26
The next row is worked in the back loops only:
3rd row: 26 sc = 26
4th row: 26 sc = 26
5th row: 11 dc, 15 sc = 26
Cut out solid, dense material in the shape of the sole of the foot (to make it stand independently). Insert the “insoles” inside the legs and continue crocheting.
6th row: 2 sc, 10 ss2tog, 6 sc, 2 dec, 4 sc = 24
7th row: 1 sc, 6 dec (ss2tog), 11 sc = 18
8th row: 1 sc, 3 dec (sc2tog), 11 sc = 15
9th-15th rows: 15 sc = 15
Stuff the legs firmly as you go.
16th row: (1 sc, dec)* 5 = 10
17th row: 5 dec = 5
Finish the work with decreases or by drawing the stitches together.
Ears (2 pieces):
Do NOT stuff the ears!
1st row: 8 sc into the amigurumi ring = 8
2nd row: 8 inc = 16
3rd-4th rows: 16 sc = 16
5th row: 8 dec = 8
Cut the yarn, leaving a sufficient length for sewing the ears.
Tail:
1st row: 6 sc into the amigurumi ring = 6
2nd row: 6 inc = 12
3rd row: 12 sc = 12
Cut the yarn, leaving a sufficient length for sewing the tail.
Assembly of Parts:
1st row: Sew the head and body together (see photo 1).
2nd row: Attach the lower legs at the level of the 6th-7th rows (counting from the bottom), making them poseable with button fastening (see photo 2). To do this, use a long needle and very strong thread (multiple strands if necessary) to pass it as shown in the illustration (see photo 2). Pull tightly to make the legs fit snugly into the body, tie a secure knot, and cut the thread. Hide the tail inside the leg or body using a crochet hook.
3rd row: Attach the upper legs using the same principle as the lower legs. Slightly less tight.
4th row: Attach the ears. Pinch the ears with your fingers to shape them like a “saucer.” Sew one ear at the level of the 12th row from the tip of the nose, with a distance of 9 stitches between the ears (see photo 3).
5th row: Sew the tail at the leg level (see photo 4). You can add a little stuffing to it.
Embroider the face. Use a needle and thread to create eye sockets (at the level of the 6th-7th rows from the tip of the nose, with a distance of 8 stitches between the “sockets”) and a mouth (at the level of the 3rd-4th rows from the tip of the nose) (see photo 5). Sew or glue the eyes.
Embroider the nose and eyebrows with gray or dark brown thread.

Scarf:
The scarf is quite simple and easy to make. You can use knitting needles or a crochet hook. I knitted it with knitting needles in a garter stitch with 8 stitches. The length of the scarf should be sufficient for your bear, taking into account that it is fastened with a button. If your knitting is loose, you won’t need a special buttonhole. Try on the scarf and sew on the button!
Hat:
When knitting the hat, you’ll need to constantly try it on to “adjust” the size.
1st row: 10 ss2tog into the amigurumi ring = 10
2nd row: 10 inc = 20
3rd row: (1 ss2tog, inc)* 10 = 30
4th row: (2 ss2tog, inc)* 10 = 40
5th row: (3 ss2tog, inc)* 10 = 50
6th row: 50 ss2tog = 50
Try the hat on your bear’s head. If it doesn’t reach from the neck to the ears, crochet another row without increases. Now you need to create “holes” for the ears. The part of the hat that “sits” on the bear’s neck remains as it is. Start crocheting “from the shoulder” (see photo 1):
1st row: 10 sc (crochet the necessary number of sc to the ear)
2nd row: 6 ch (crochet a sufficient number to “go around the ear”)
3rd row: 10 ss (before starting the second ear)
4th row: 6 ch *
5th row: 10 sc *
(see photo 2)
Unfold your work and crochet back towards the bear’s neck (until starting sc). In other words, don’t crochet in the round!:
6th-8th rows: 42 sl st (ribbing). I’m attaching a link to a video on crocheting ribbing with a crochet hook: (provide the link if needed)
Use chain stitches or braids to form ties for the hat. Make a POMPOM and sew it to the top of the hat.
I hope this helps with your amigurumi project! If you have any further questions or need clarification, feel free to ask.