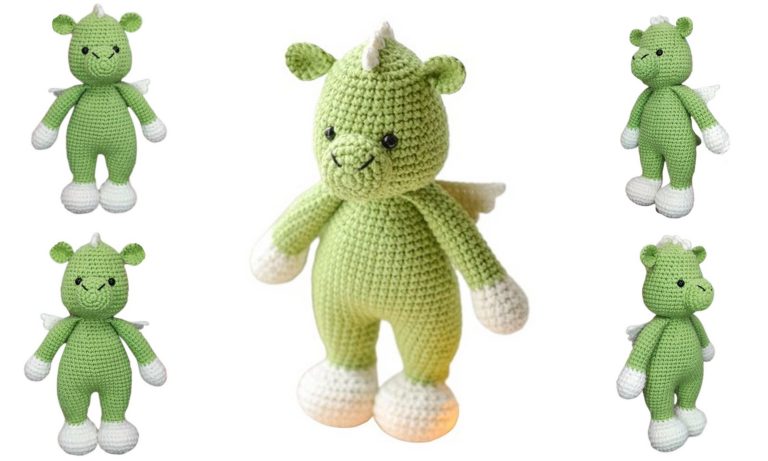
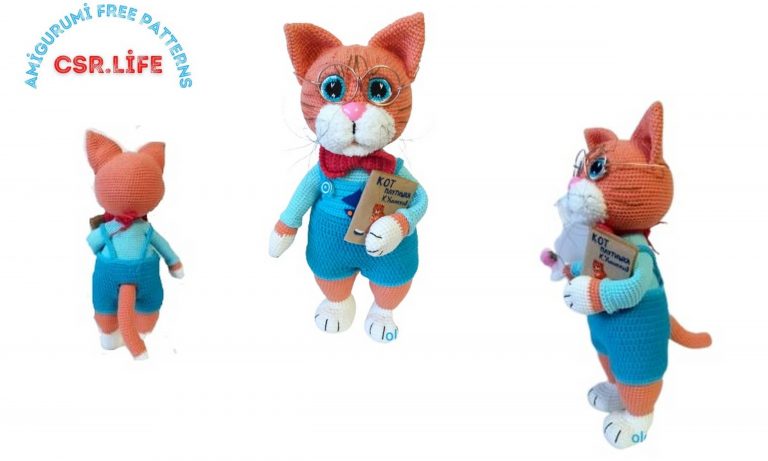
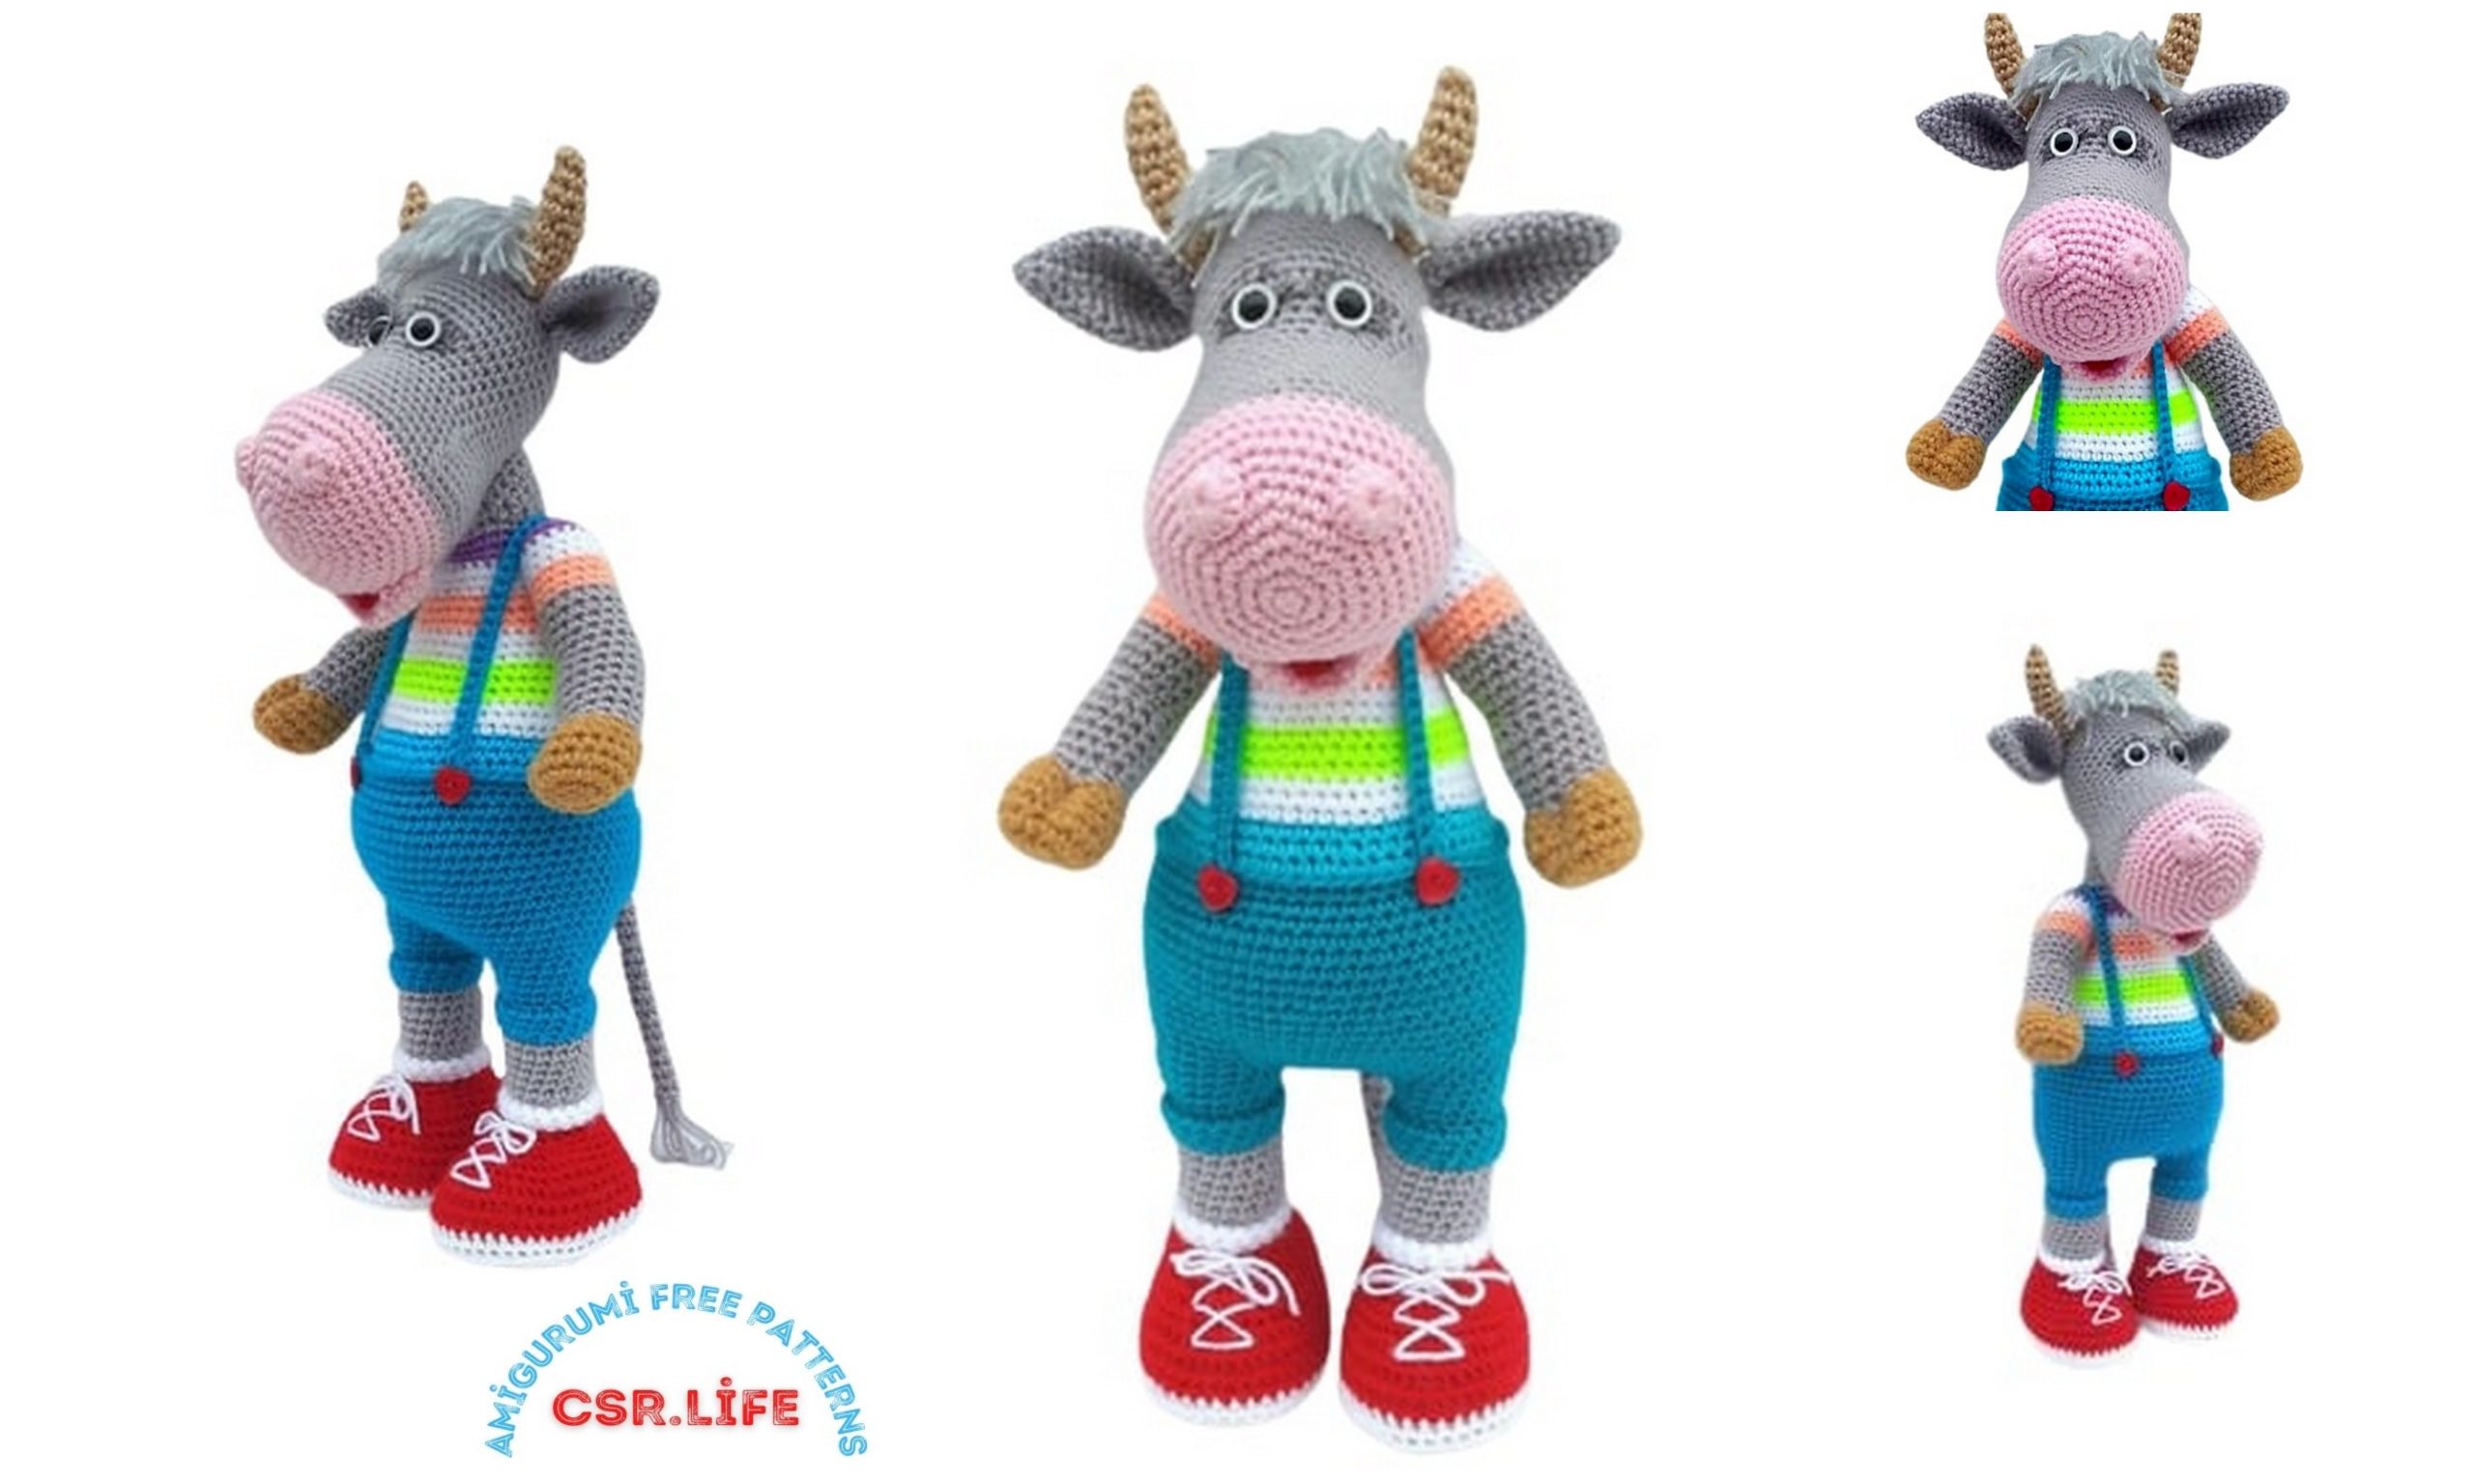
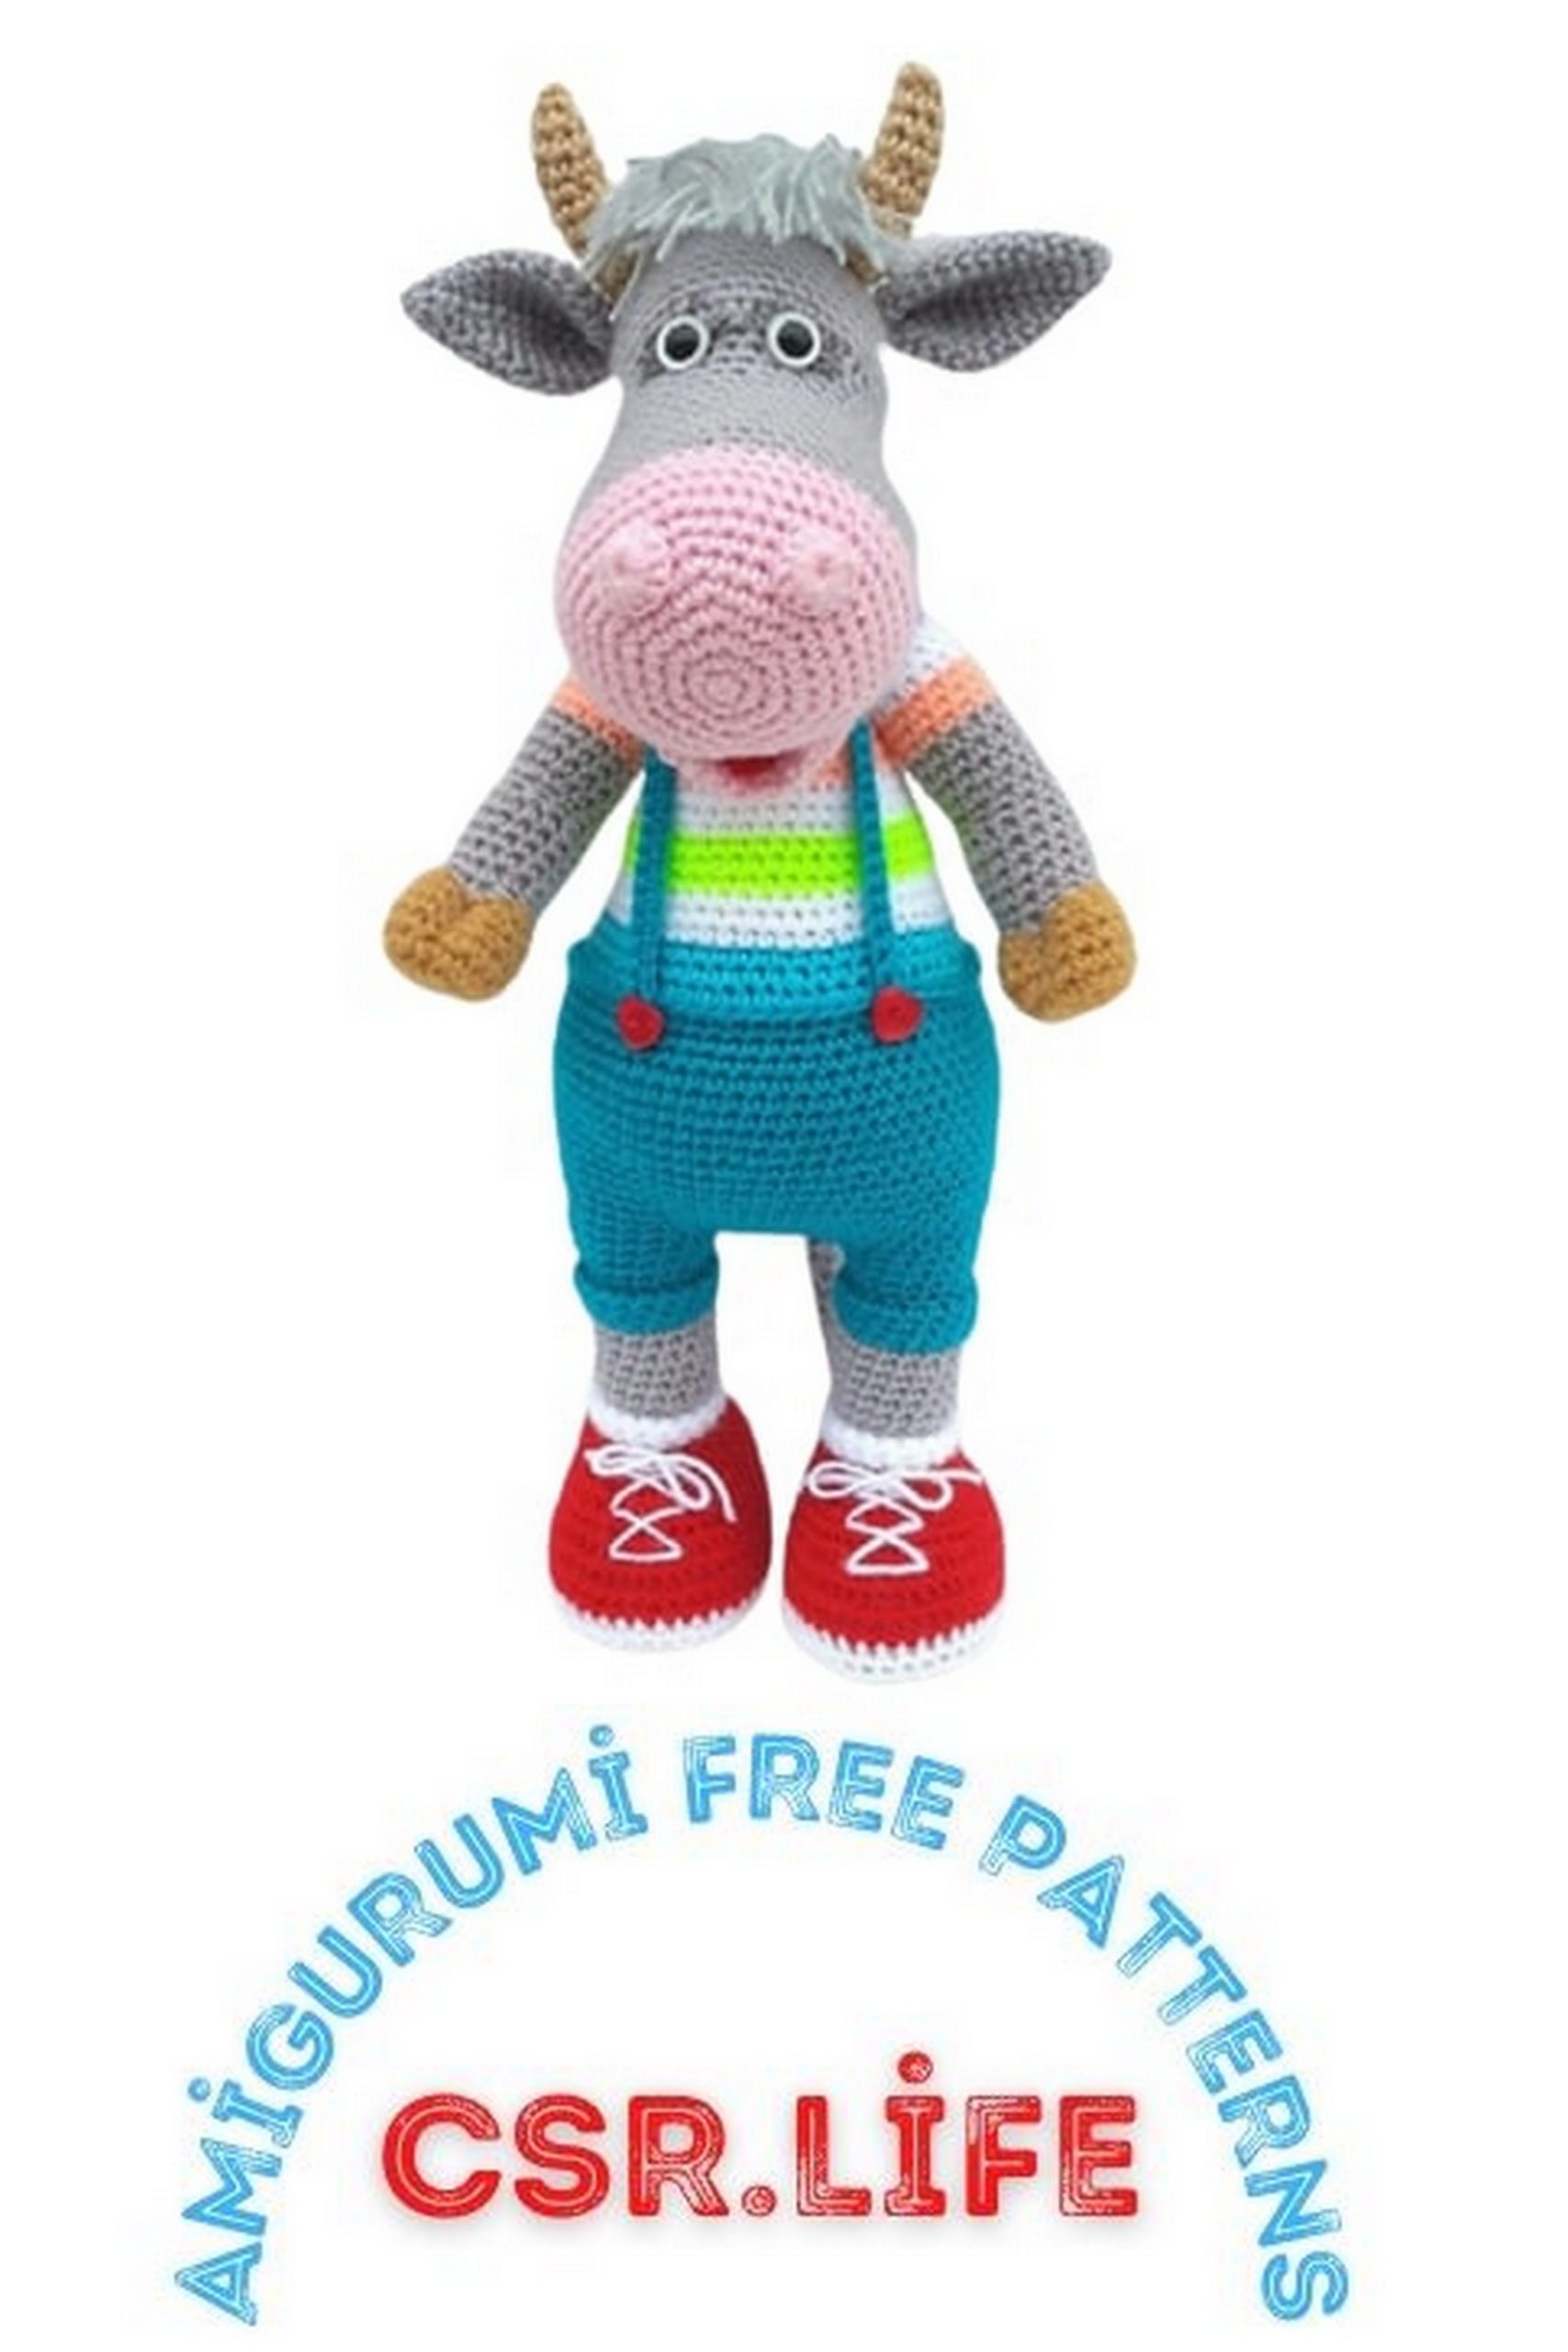
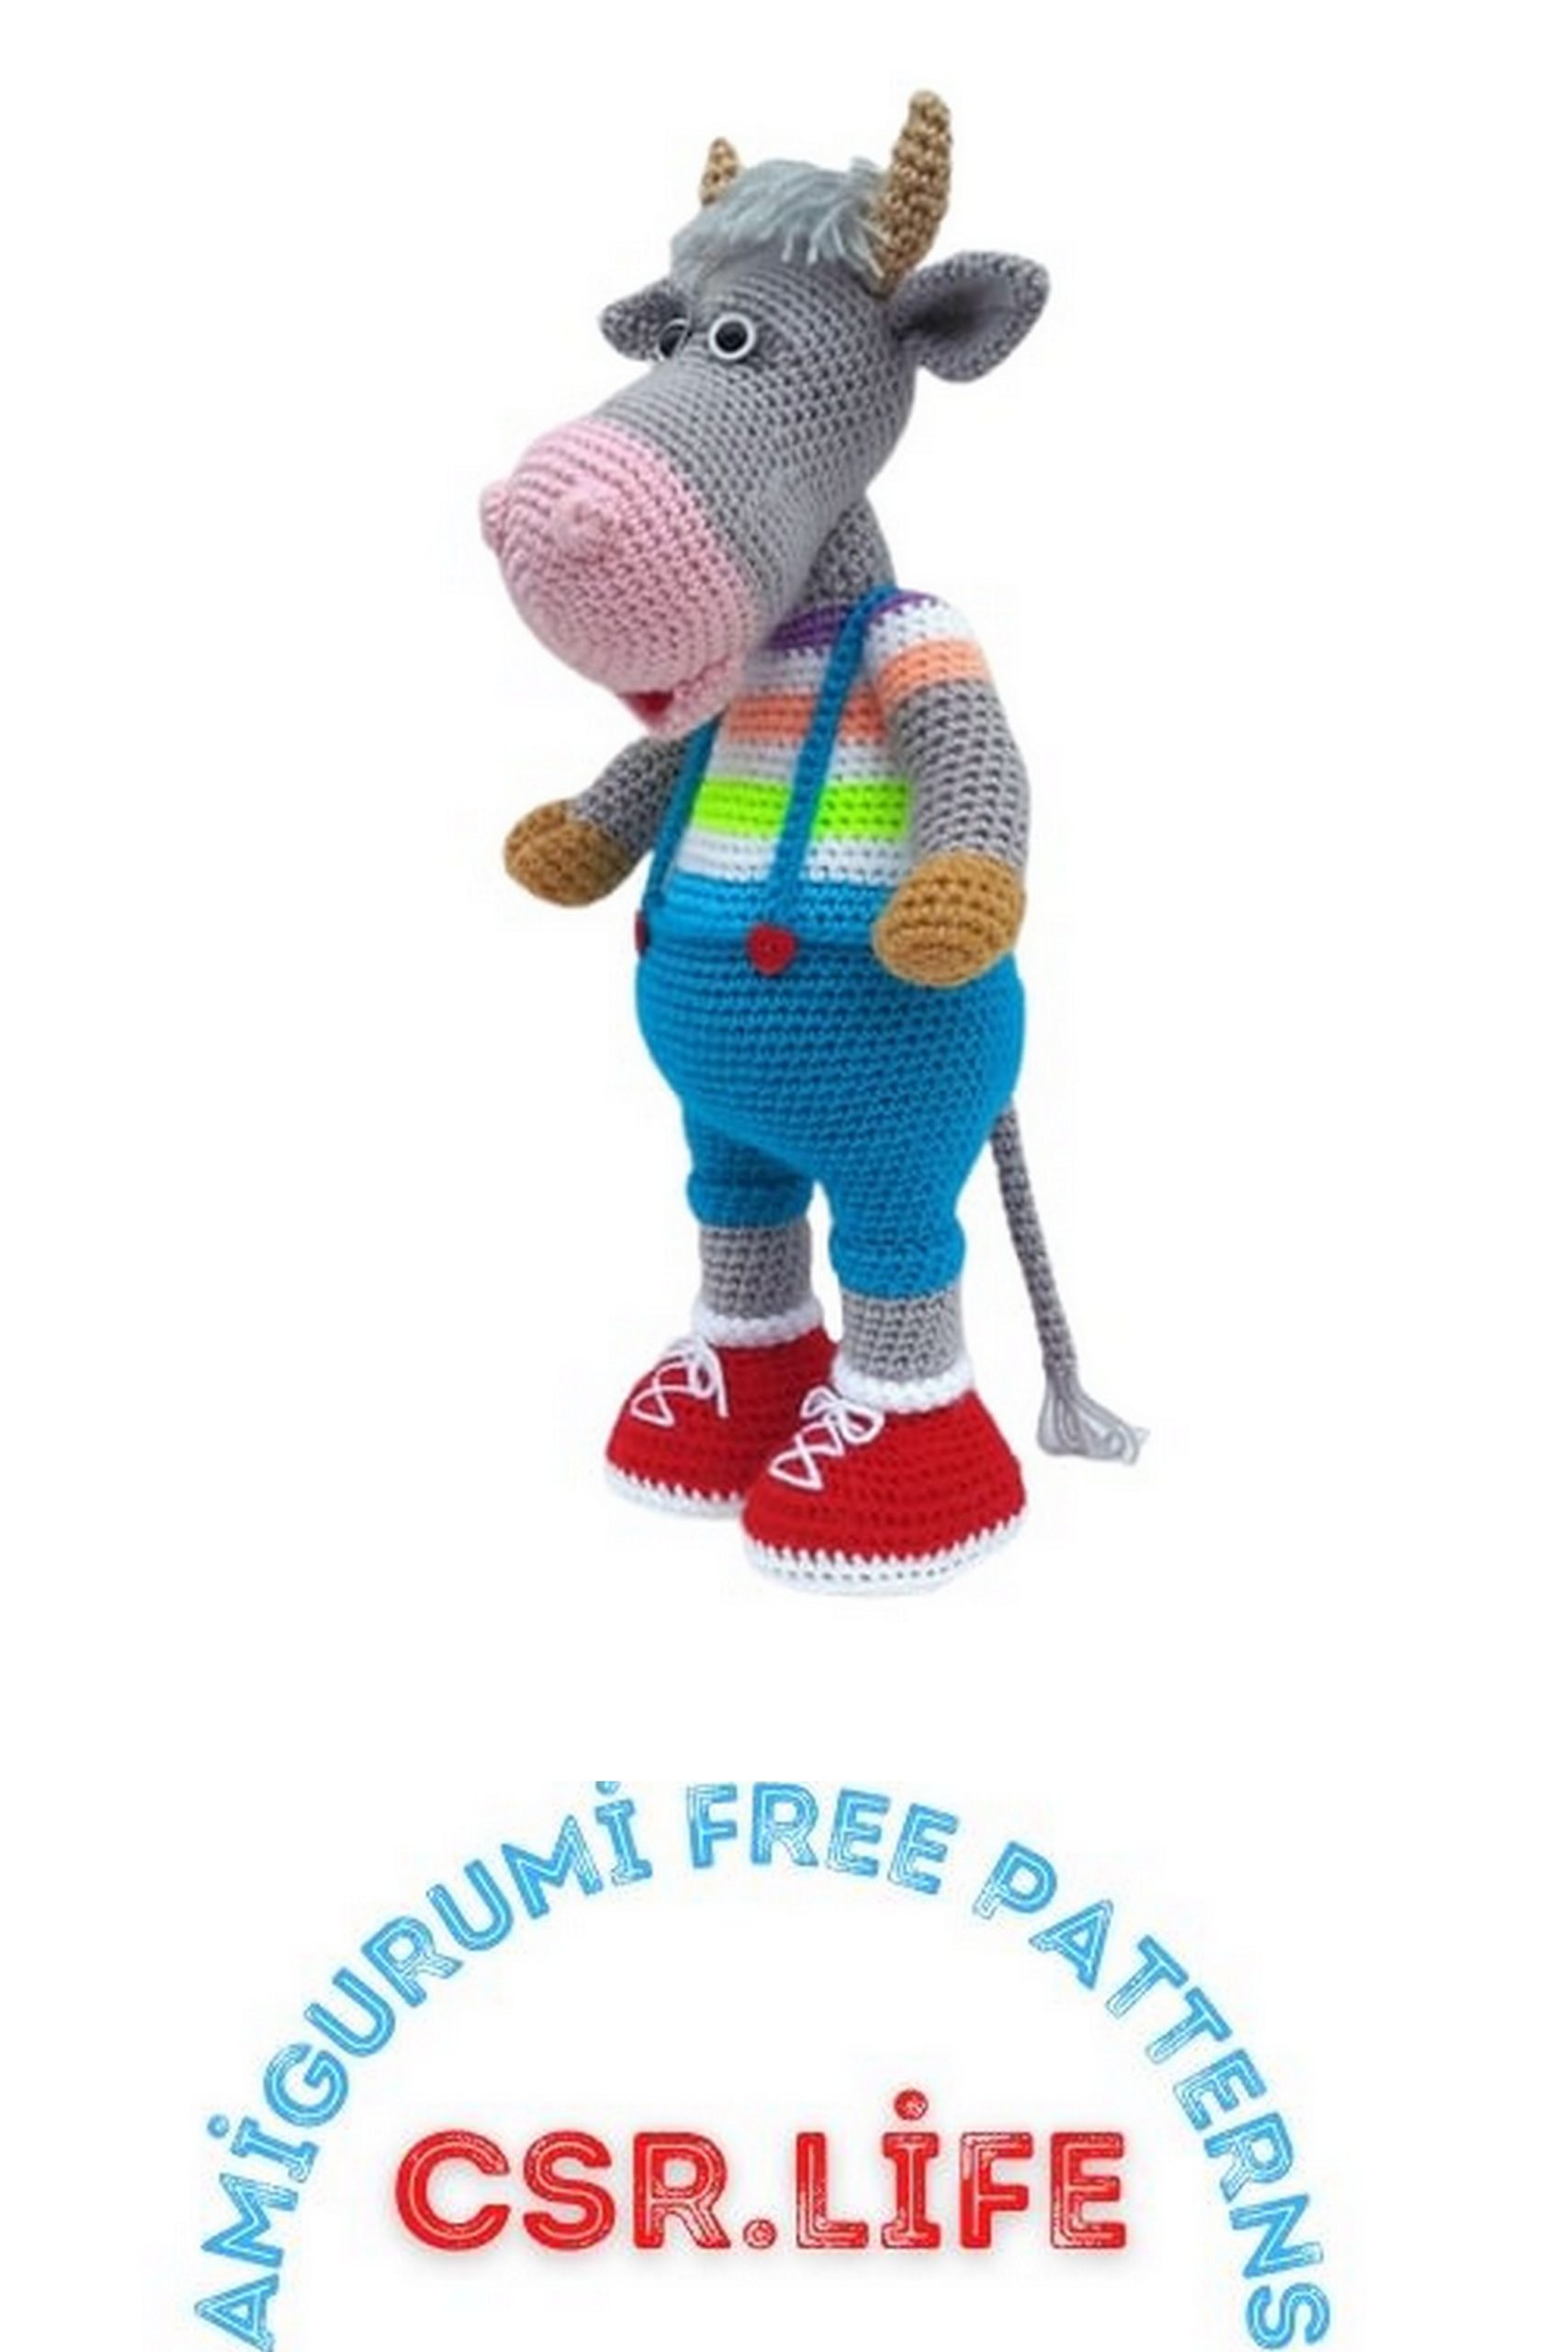
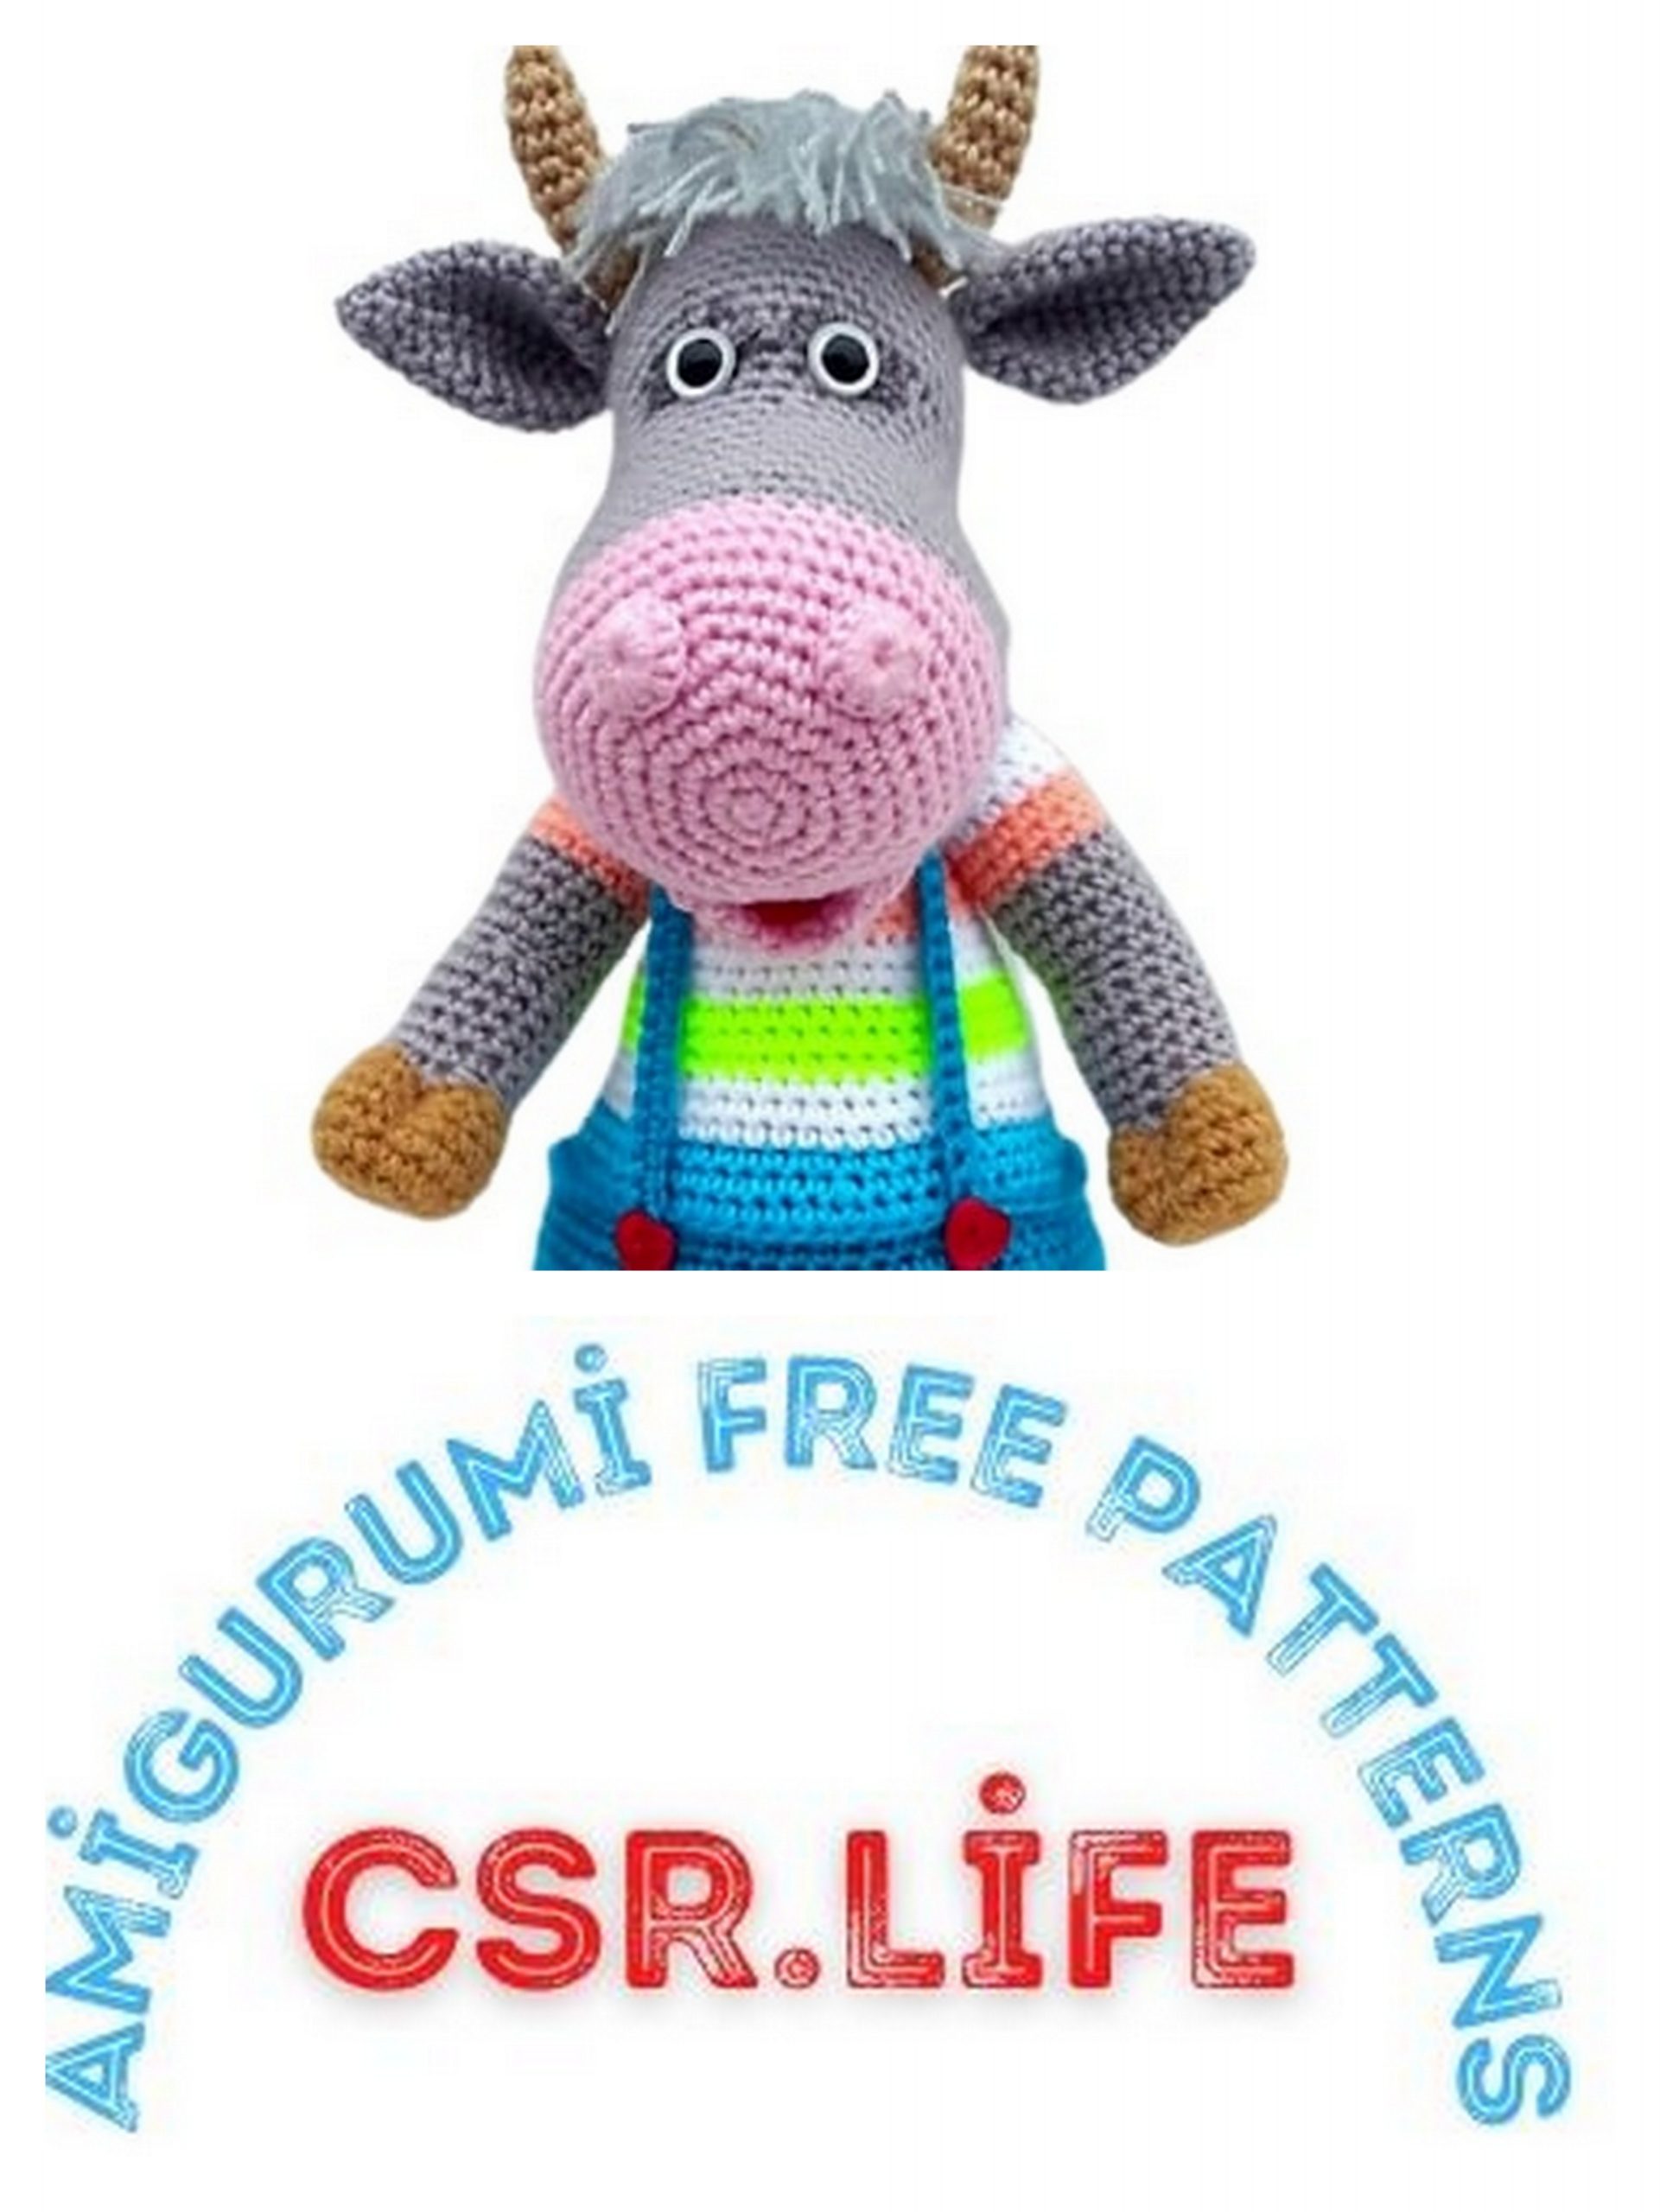
Cute Bull Amigurumi Free Crochet Pattern
Amigurumi animal patterns are on this site for free. In this article I shared with you amigurumi cute bull pattern.
Materials:
➢ Light gray – basic (for body)
➢ Soft pink – for the face
➢ Flesh light – for horns
➢ Fleshly dark – for hooves
For clothes:
➢ Dark Emerald
➢ White
➢ Red poppy
➢ Blue
➢ Neon
➢ Salmon
➢ Purple
Some woolen yarn for bangs (I cut about 30 strands) gray, light gray or white.
➢ Safety eyes 12 mm. I have sewn ones with a white bow. If you are using eyes with a smaller diameter, then felt for the whites of the eyes is needed – cut out circles with a diameter of 15-17 mm and make a hole in them, into which to insert the peephole.
I glued the eyelashes to the inside of the eyelet with Moment glue.
➢ Hook 2.00
➢ Buttons for panties 2 pcs. at your discretion
➢ Needle for stitching parts
➢ Cardboard for insoles
When using the specified materials, the height of the toy is about 35 cm
Abbrevations:
ch – chain
sc. – single crochet
sl-st – slip stitch
HDC – half double crochet
inc – increase
dec – decrease
We knit the details in a circle, connecting the rows of sl-st. Each new row starts with a ch up.
When knitting parts connected in a spiral, MK has a special indication of this knitting method.
HEAD
We start knitting with light pink yarn
1 row – 6 sc.into magic ring
2nd row – (inc) * 6 – (12)
3 row – (1 sc., Inc) * 6 – (18)
4 row – (2 sc., Inc) * 6 – (24)
5 row – (3 sc., Inc) * 6 – (30)
6 row – (4 sc., Inc) * 6 – (36)
7 row – (5sc., Inc) * 6 – (42)
8 row – (6 sc., Inc) * 6 – (48)
9 row – (7 sc., Inc) * 6 – (54)
10-11 rows – 54 sc.
12 row – (7 sc., Dec) * 6 – (48)
Change the thread to light gray
13 row – 48 sc.
14 row – (7 sc., Inc) * 6 – (54)
15 row – 12 sc., Dec, 25 sc., Dec, 13 sc. – (52)
16 row – 12 sc., Dec, 24 sc., Dec, 12 sc. – (fifty)
17 row – 11 sc., Dec, 23 sc., Dec, 12 sc. – (48)
18 row – 11 sc., Dec ,. 22 sc., Dec, 11 sc. – (46)
Row 19 – 11 sc., Dec, 21 sc., Dec, 10 sc. – (44)
Row 20 – 10 sc., Dec, 20 sc., Dec, 10 sc. – (42)
21 row – (5 sc., Dec) * 6 – (36)
22-24 rows – 36 sc.
Start stuffing the part.
25 row – dec, 14 sc., 7 inc HDC, 13 sc. – (42)
26-33 rows – 42 sc.
34 row – (dec, 5 sc.) * 6 – (36)
35 row – (dec, 4 sc.) * 6 – (30)
If you have prepared eyes that are not sewn on, but with fasteners, then now is the time to insert them into the canvas. Insert the eyes between the 24th and 25th rows.
36 row – (3 sc., Dec) * 6 – (24)
37 row – (dec, 2 sc.) * 6 – (18)
38 row – (1 sc., Dec) * 6 – (12)
Fill the part to the end.
39 row – (dec) * 6 – (6)
Pull the hole, cut the thread and hide the tip with a needle in the part.
NOZDRI 2 details
1 row – 5 sc.into magic ring – (5) do not tighten the ring tightly, since we will knit the next row into it
2nd row – in the same KA 12 sc. – (12)
Bring the tip of the thread remaining from the tightening of the CA to the wrong side. Tighten the loop more tightly. We will sew the nostrils with the wrong side out.
UNDERLIP
1 row – 6 sc. into magic ring – (6)
2nd row – (inc) * 6 – (12)
3 row – (1 sc., Inc) * 6 – (18)
4 row – (2 sc., Inc) * 6 – (24)
5-6 rows – 24 sc.
Fold and knit over both sides 12 sc.
LANGUAGE (red thread)
INTO MAGIC RING 2 sc., 2 HDC, 2 sc. – (6)
Sew the tongue to the inside of the lip.
Sew the lower lip to the head, aligning the lower lip with the lower part of the muzzle. Sew the edges of the lip too, leaving only the central part not sewn.
Sew on nostrils on both sides of the muzzle (see photo)
We knit the HORNS in a spiral – 2 pieces (light flesh thread)
10 ch close in a ring
1-2 rows – 10 sc.
3 row – 2 sc., Dec, 2 sc., 4 sl-st – (9)
4th row – 9 sc.
5 row – 2 sc., Dec, 1 sc., 4 sl-st – (8)
6 row – 8 sc.
7 row – 1 offset loop; dec, 1 sc., 4 sl-st – (7)
8-9 rows – 7 sc.
10 row – 2 sc., Dec, 3 sc. – (6)
11 row – decreases to the end.
Pull off, hide the thread.
Fill the horns evenly and not too tightly.
Sew on between 32 and 36 rows of the head
EARS 2 parts
1 row – 6 sc.into magic ring – (6)
2nd row – 6 sc.
3 row – (1 sc., Inc) * 3 – (9)
4th row – 9 sc.
5 row – (2 sc., Inc) * 3 – (12)
6 row – (3 sc., Inc) * 3 – (15)
7 row – 15 sc.
8 row – (4 sc., Inc) * 3 – (18)
9 row – (5 sc., Inc) * 3 – (21)
10 row – 21 sc.
11 row – (5 sc., Dec) * 3 – (18)
12 row – (dec, 4 sc.) * 3 – (15)
13 row – (3 sc., Dec) * 3 – (12)
14 row – 12 sc.
Do not stuff the ears, fold in half and sew. Fold in half again when sewing on. Sew under the horns.
Cut the woolen thread for the bangs and attach between the horns at your discretion.
LEGS 2 details
We start with white yarn
Dial a chain of 7 ch + 1 ch
1 row – in 2nd st. From the hook: inc, 5 sc., 4 sc. In one loop, 5 sc., Inc – (18)
2 row – 1 sc., Inc, 4 sc., 6 inc, 4 sc., Inc, 1 sc. – (26)
3 row – 2 sc., Inc, 4 sc., (1 sc., Inc) * 6, 4 sc., Inc, 2 sc. – (34)
4 row – inc, 9 sc., Inc, (2 sc., Inc) * 5, 8 sc – (41)
5 row – inc, 40 sc – (42)
Cut out the insole.
6 row – behind the back wall of the loop – 42 sc.
We change to a red thread.
7-9 rows – 42 sc.
10 row – 12 sc., Dec, (2 sc., Dec) * 5, 8 sc. – (36)
11 row – 36 sc.
12 row – 11 sc., Dec, (1 sc., Dec) * 5, 8 sc. – (thirty)
Insert insole
Row 13 – 10 sc., 6 dec, 8 sc. – (24)
14 row – 24 sc.
15 row – (2 sc., Dec) * 6 – (18)
16 row – 18 sc.
Change to white thread
17 row – 18 sc.
18 row – behind the front wall – 18 sc.
19-20 rows – 18 sc.
Cut the white thread. We hide the tip.
Unscrew the top of the shoe and continue knitting the leg with light gray thread.
Fill the boots tightly.
18 row – 18 sc. for the left half loops of 18 rows
19-24 rows – 18 sc.
Change the thread to a dark emerald and start knitting the trousers.
25 row – behind the back walls of the loops – 18 sc.
On the front loops, later knit a 4-row leg lapel and sew to the 2nd row of legs – you get a small roll-lapel
26-30 rows – 18 sc.
Finish the work, cut the thread.
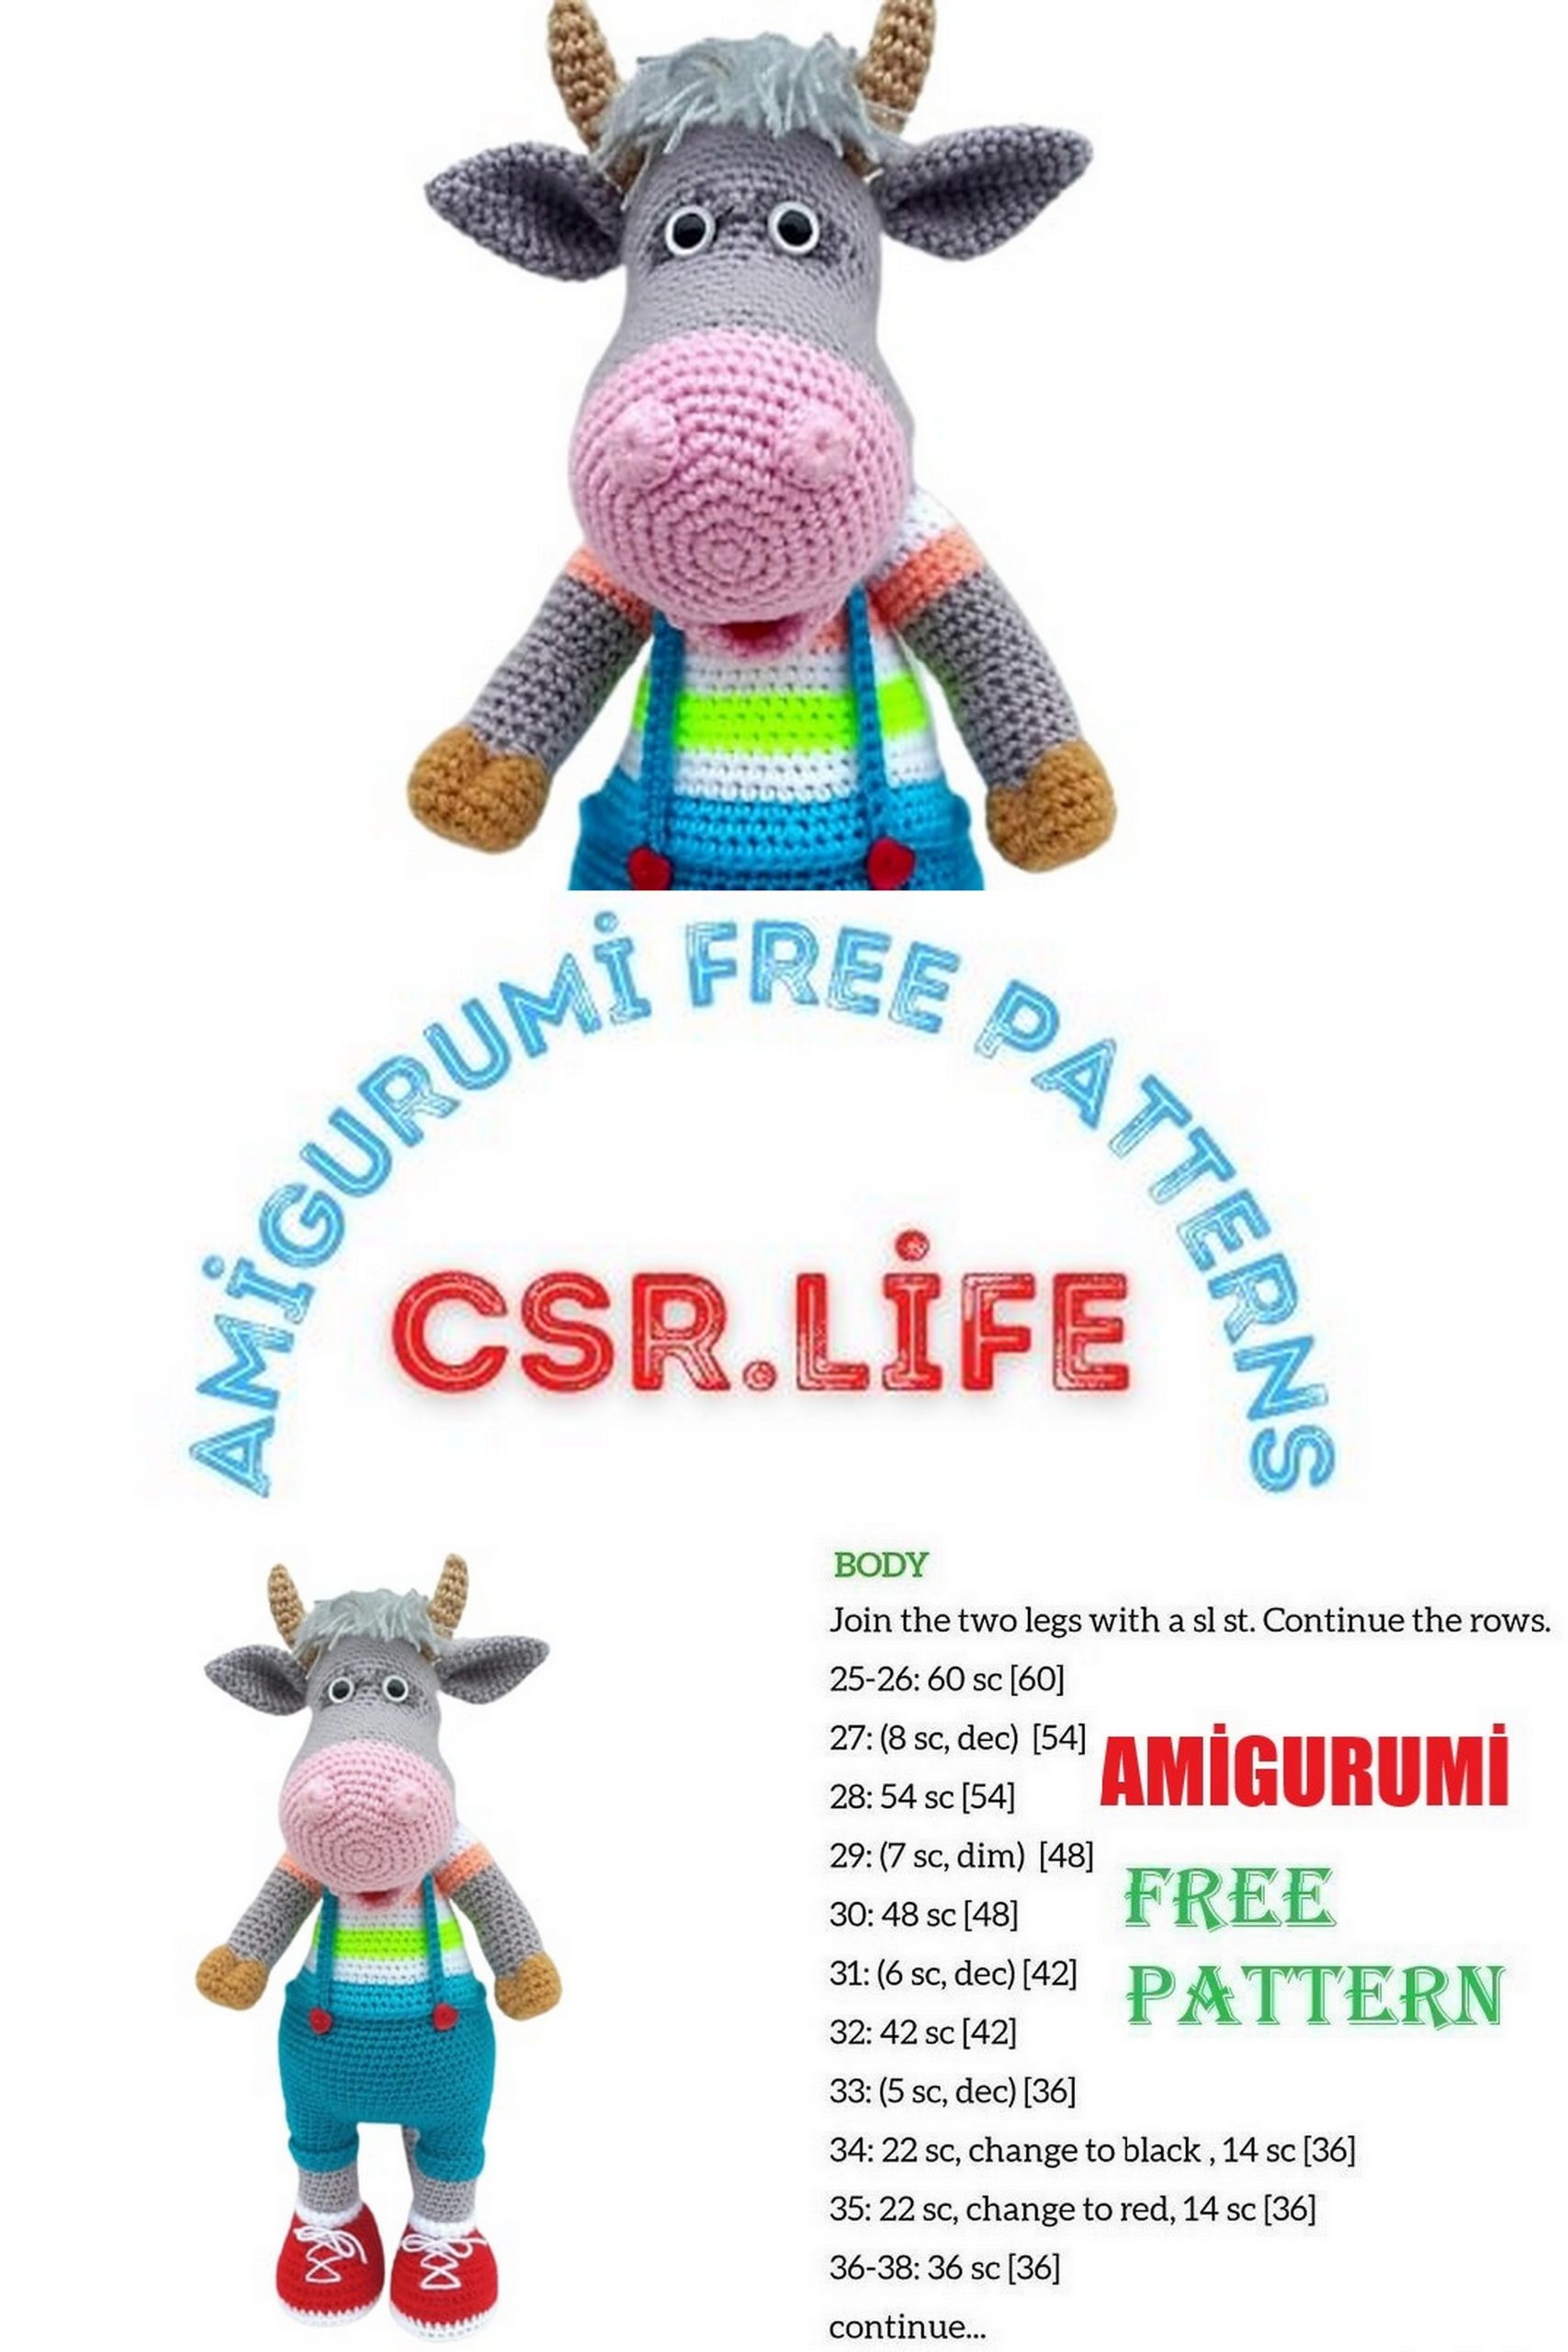
TRUNK
Thread color – dark emerald
1 row – 6 sc. into magic ring
2nd row – (inc) * 6 – (12)
3 row – (1 sc., Inc) * 6 – (18)
We begin to tie the legs. To do this, fold the leg in half, while the fold lines are located as follows: the back – the middle of the heel, the front – the middle of the toe.
Find the middle 4 loops – for them we will tie the legs to the body. Watch the legs look straight.
4 row – 1 sc on the body, 4 sc. simultaneously with the left leg and trunk, 5 sc. on the body, 4 sc. simultaneously with the right leg and torso, 4 sc.
5 row – 1 sc., Inc, 14 sc. left leg, inc, 5 sc. on the torso, inc, 14 sc. on the right leg, inc, 4 sc. – (46)
6 row – 2 sc., Inc, 7 sc., Inc, 7 sc., Inc, 2 sc., (Inc) * 2, 2 sc., Inc, 7 sc., Inc, 7 sc., Inc, 2 sc., (inc) * 2 – (56)
7 row – 56 sc.
8 row – (1 sc., Inc) * 2, 17 sc., * Inc, 10 sc., Inc * (from * to * – formation of the tummy), 17 sc., Inc, (1 sc., Inc) * 2, 1 sc. – (63)
9-12 row – 63 sc.
Row 13 – 25 sc., * Inc, 5 sc., Inc, 5 sc., Inc * (from * to * – tummy formation), 25 sc. – (66)
14-18 rows – 66 sc.
19 row – (1 sc., Dec) * 3, 48 sc., (1 sc., Dec,) * 3 – (60) – formed the ass
20-21 rows – 60 sc.
Change the thread to a blue thread and start knitting a T-shirt
22 row – knit 60 sc for the back wall of the loops.
23 row – (8 sc., Dec) * 6 – (54)
24 row – 54 sc.
Change the thread to white
Rows 25-26 – 54 sc.
27 row – (7 sc., Dec) * 6 – (48)
Change the thread to neon
28-30 rows – 48 sc.
Change the thread to white
31 row – (6 sc., Dec) * 6 – (42)
32-33 rows – 42 sc.
Change the thread to salmon
34 row – (5 sc., Dec) * 6 – (36)
35-36 rows – 36 sc.
Change the thread to white
37 row – (4 sc., Dec) * 6 – (30)
38-39 rows – 30 sc.
Change the thread to lilac
40 row – (3 sc., Dec) * 6 – (24)
41-42 rows – 24 sc.
Change the thread to light gray
43 row – 24 sc.
Next, we knit in rotary rows.
44 row – 11 sc., Sl-st, 1 ch, turn
In sl-st of previous row 1st sc. do not knit
45 row – 12 sc., Sl-st, 1 ch, turn. The last sc. we knit at the same point where we knitted sl-st of the previous row
46 row – 13 sc., Sl-st, 1 ch, turn
47 row – 14 sc., Sl-st, 1 ch, turn
48 row – 15 sc., Sl-st, 1 ch, turn
49 row – 16 sc., Sl-st, 1 ch, turn
Row 50 – knit 24 sc, finish with sl-st. Leave the long end of the thread for sewing on the head.
Stuff the body well, not forgetting about the legs. Check filling. If everything suits you, then you can sew on the head (see photo).
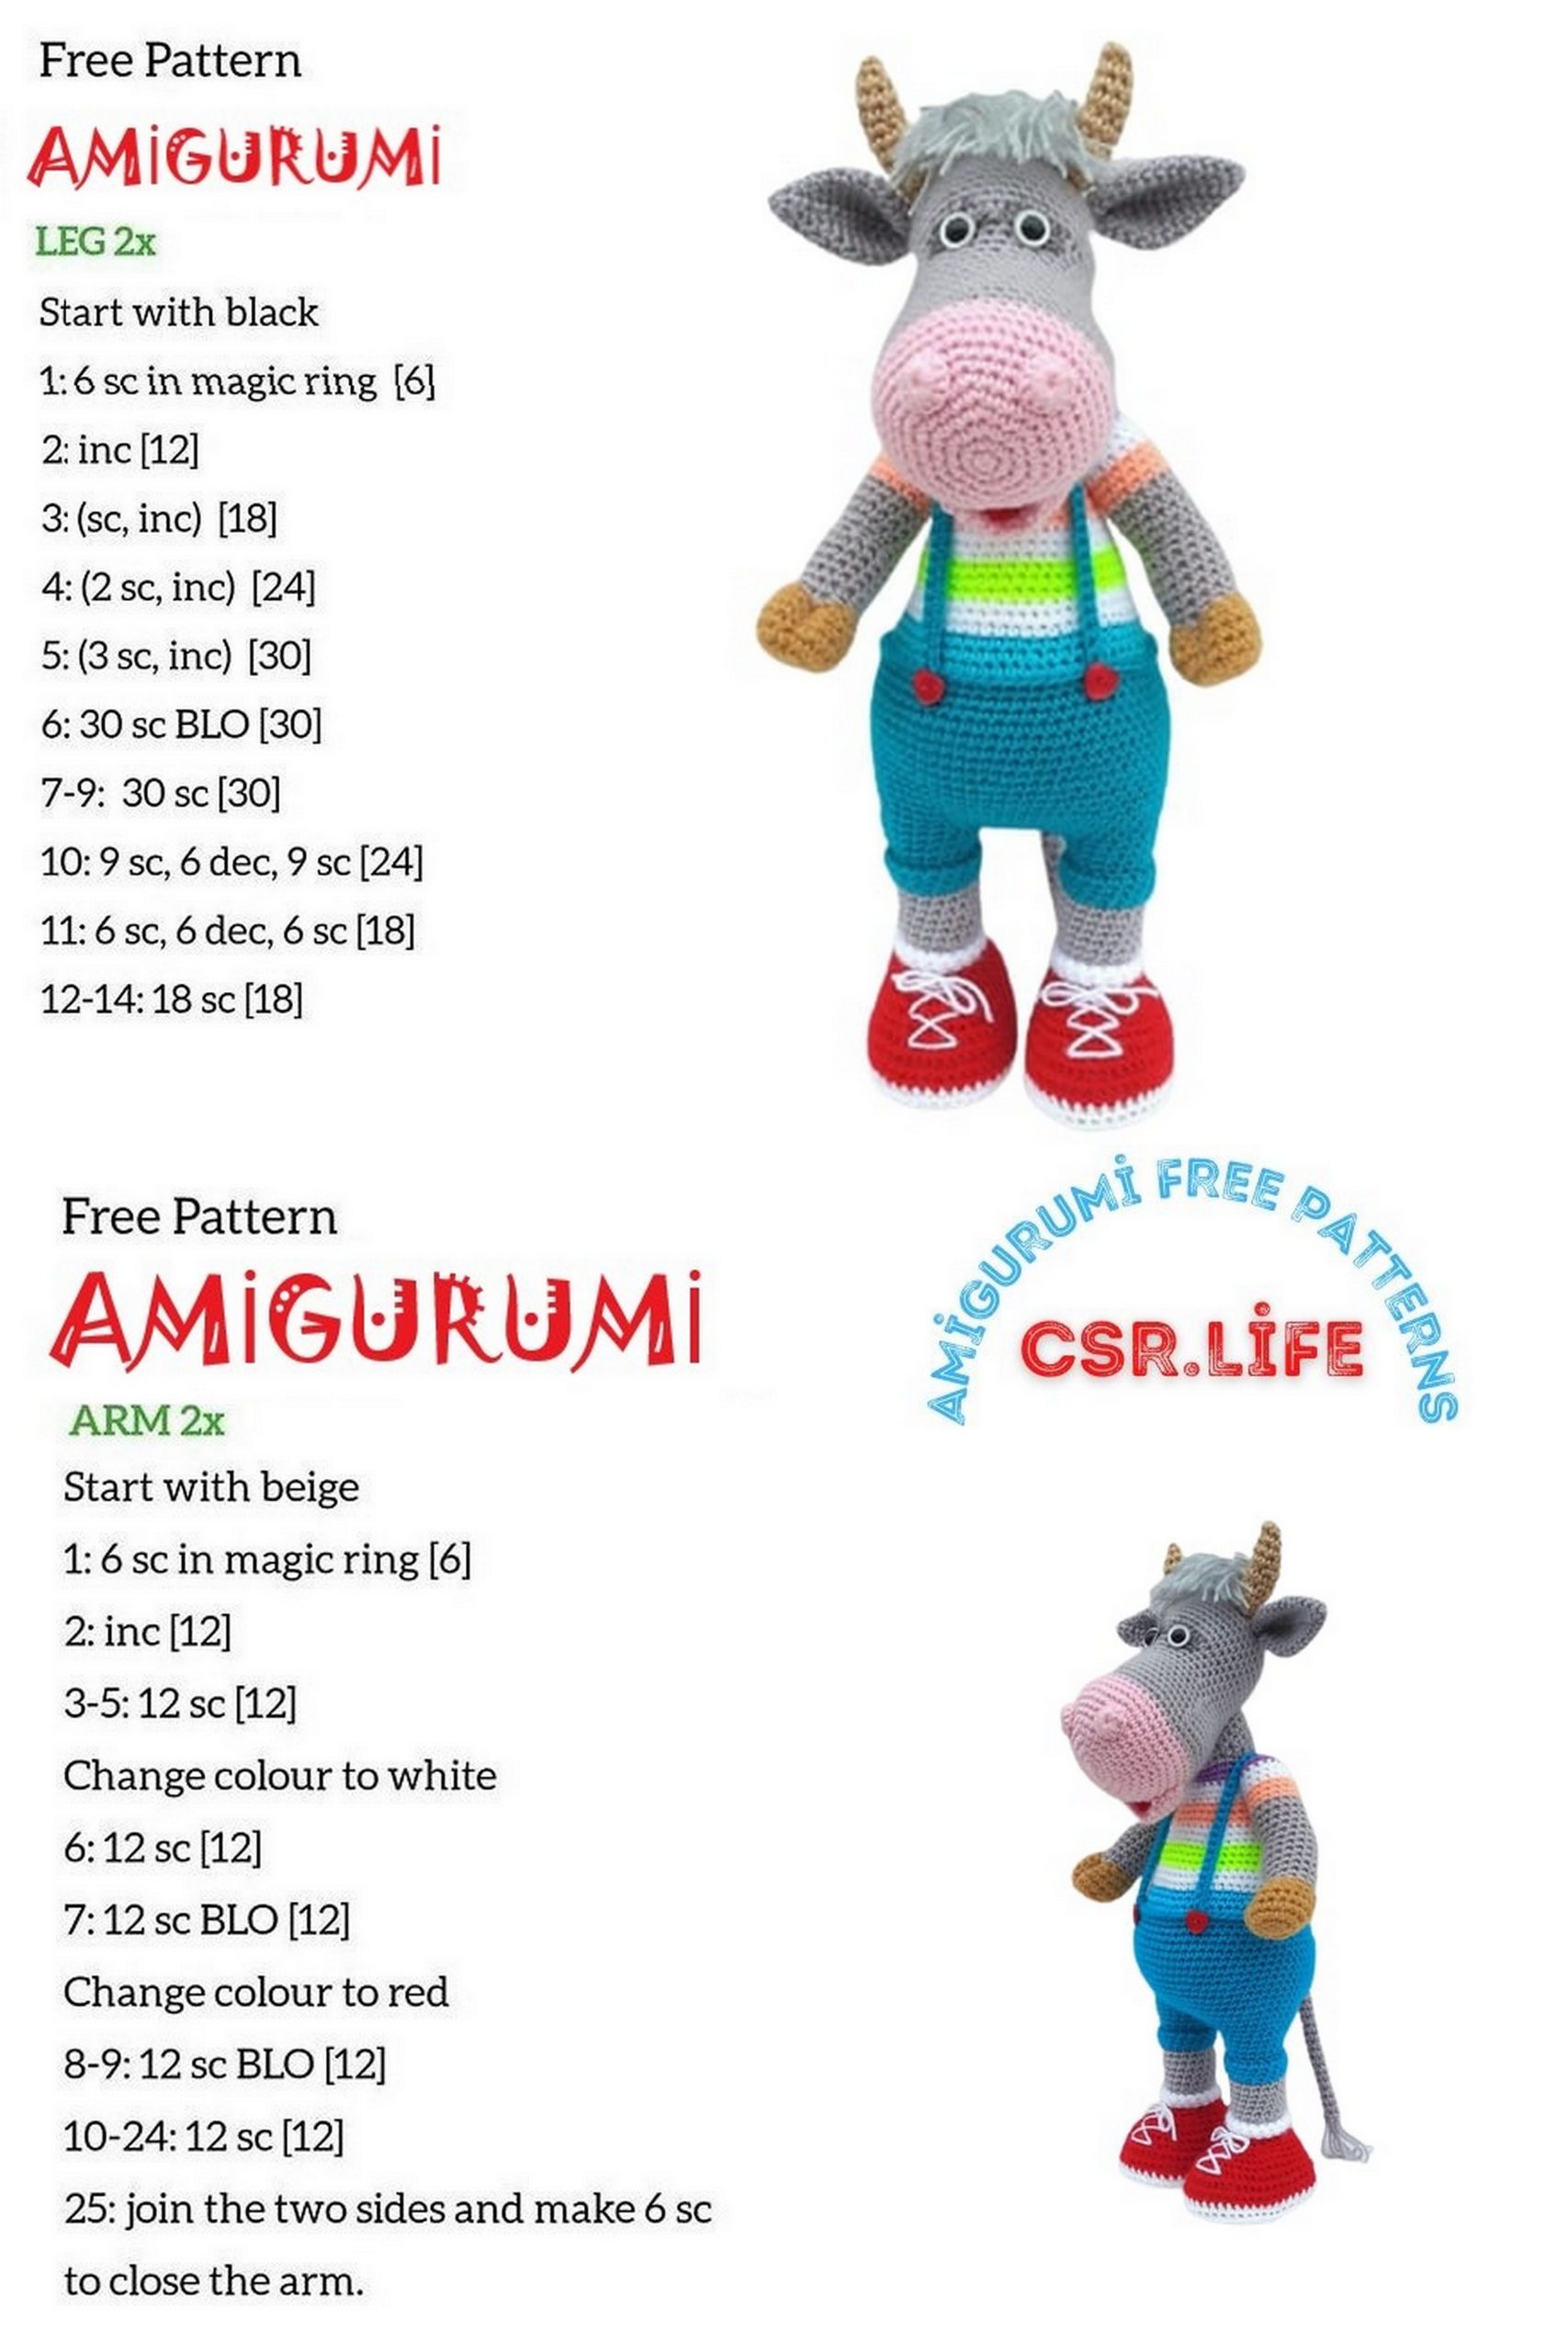
HANDLES 2 parts
We start with the hooves – the yarn is dark beige.
1 row – 6 sc. into magic ring – (6)
2nd row – (inc) * 6 – (12)
3 row – (1 sc., Inc) * 6 – (18)
4-6 rows – 18 sc.
7 row – (4 sc., Dec) * 3 – (15)
Change the thread to light gray
8 row – 5 sc., (Dec) * 2, 5 sc., Inc – (14)
9 row – inc, 13 sc. – (15)
10-13 rows – 15 sc.
14 row – (inc HDC) * 2, 6 sc., (Dec) * 2, 3 sc. – (15)
15 row – 15 sc.
16 row – (dec HDC) * 2, 6 sc., (Inc) * 2, 3 sc. – (15)
17 – 19 rows – 15 sc.
Change to salmon thread
20-22 rows – 15 sc.
Change to white thread
23-25 rows – 15 sc.
The part can be started to fill.
Strengthen the hoof by placing, for example, a flat button of a suitable diameter (d corresponds to the first three rows of the part). Or put a coin of a suitable diameter, then the toy will be meaningful – bringing wealth
Change to lilac thread
26 row – 15 sc.
27 row – (3 sc., Dec) * 3 – (12)
Fill the part to the end.
28 row – (dec) * 6 – (6)
Pull off the hole.
Now you need to make tightening, forming the hoof. To do this, you need to insert the needle into the points marked in the photo with red beads, connecting them.
Note that the back wall of the hoof remains flat.
Sew the handles on both sides of the body, observing the color stripes of the garment.
TAIL
We knit a part in a spiral
1 row – 5 sc. into magic ring
Rows 2-24 – 5 sc.
Finish sl-st. At the tip of the tail, attach the threads to each sc.
STRAP STANISHES 2 parts
45 ch
1 row – 44 sc. Work
finish, sew on each strap in the back with the left threads.
The straps crisscross the back.
Sew on the front straps with buttons.
Sew on the tail.