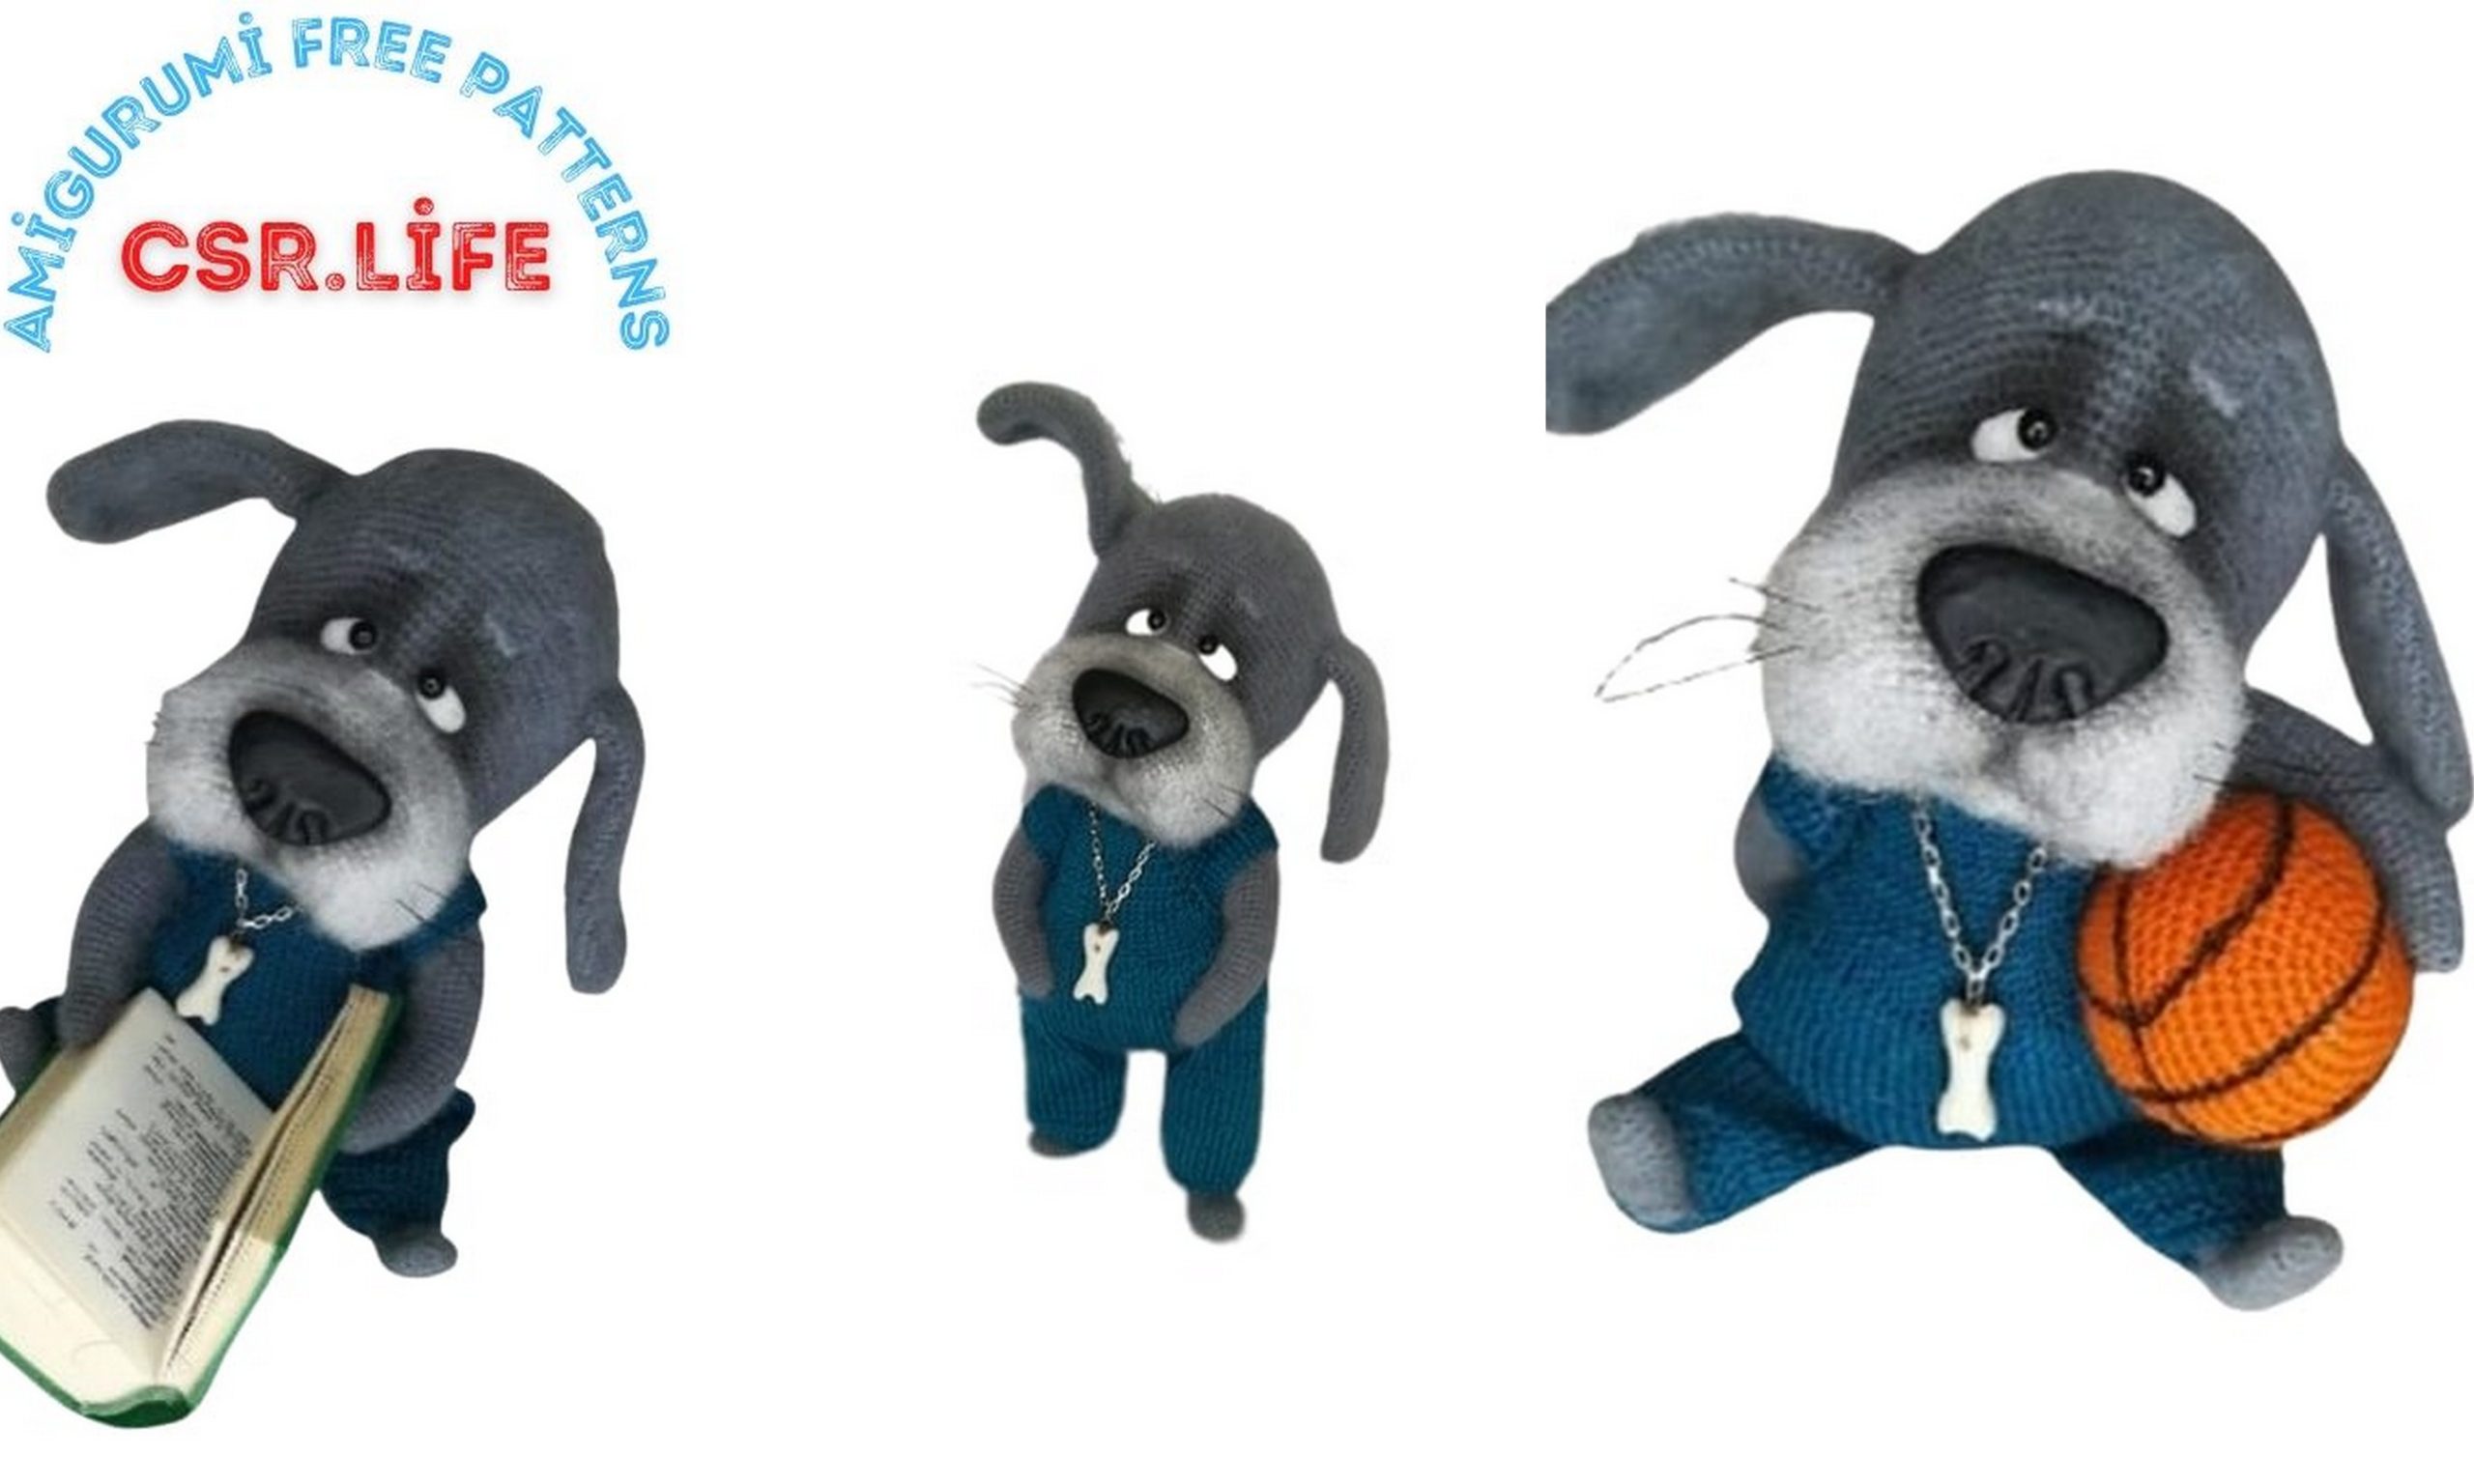
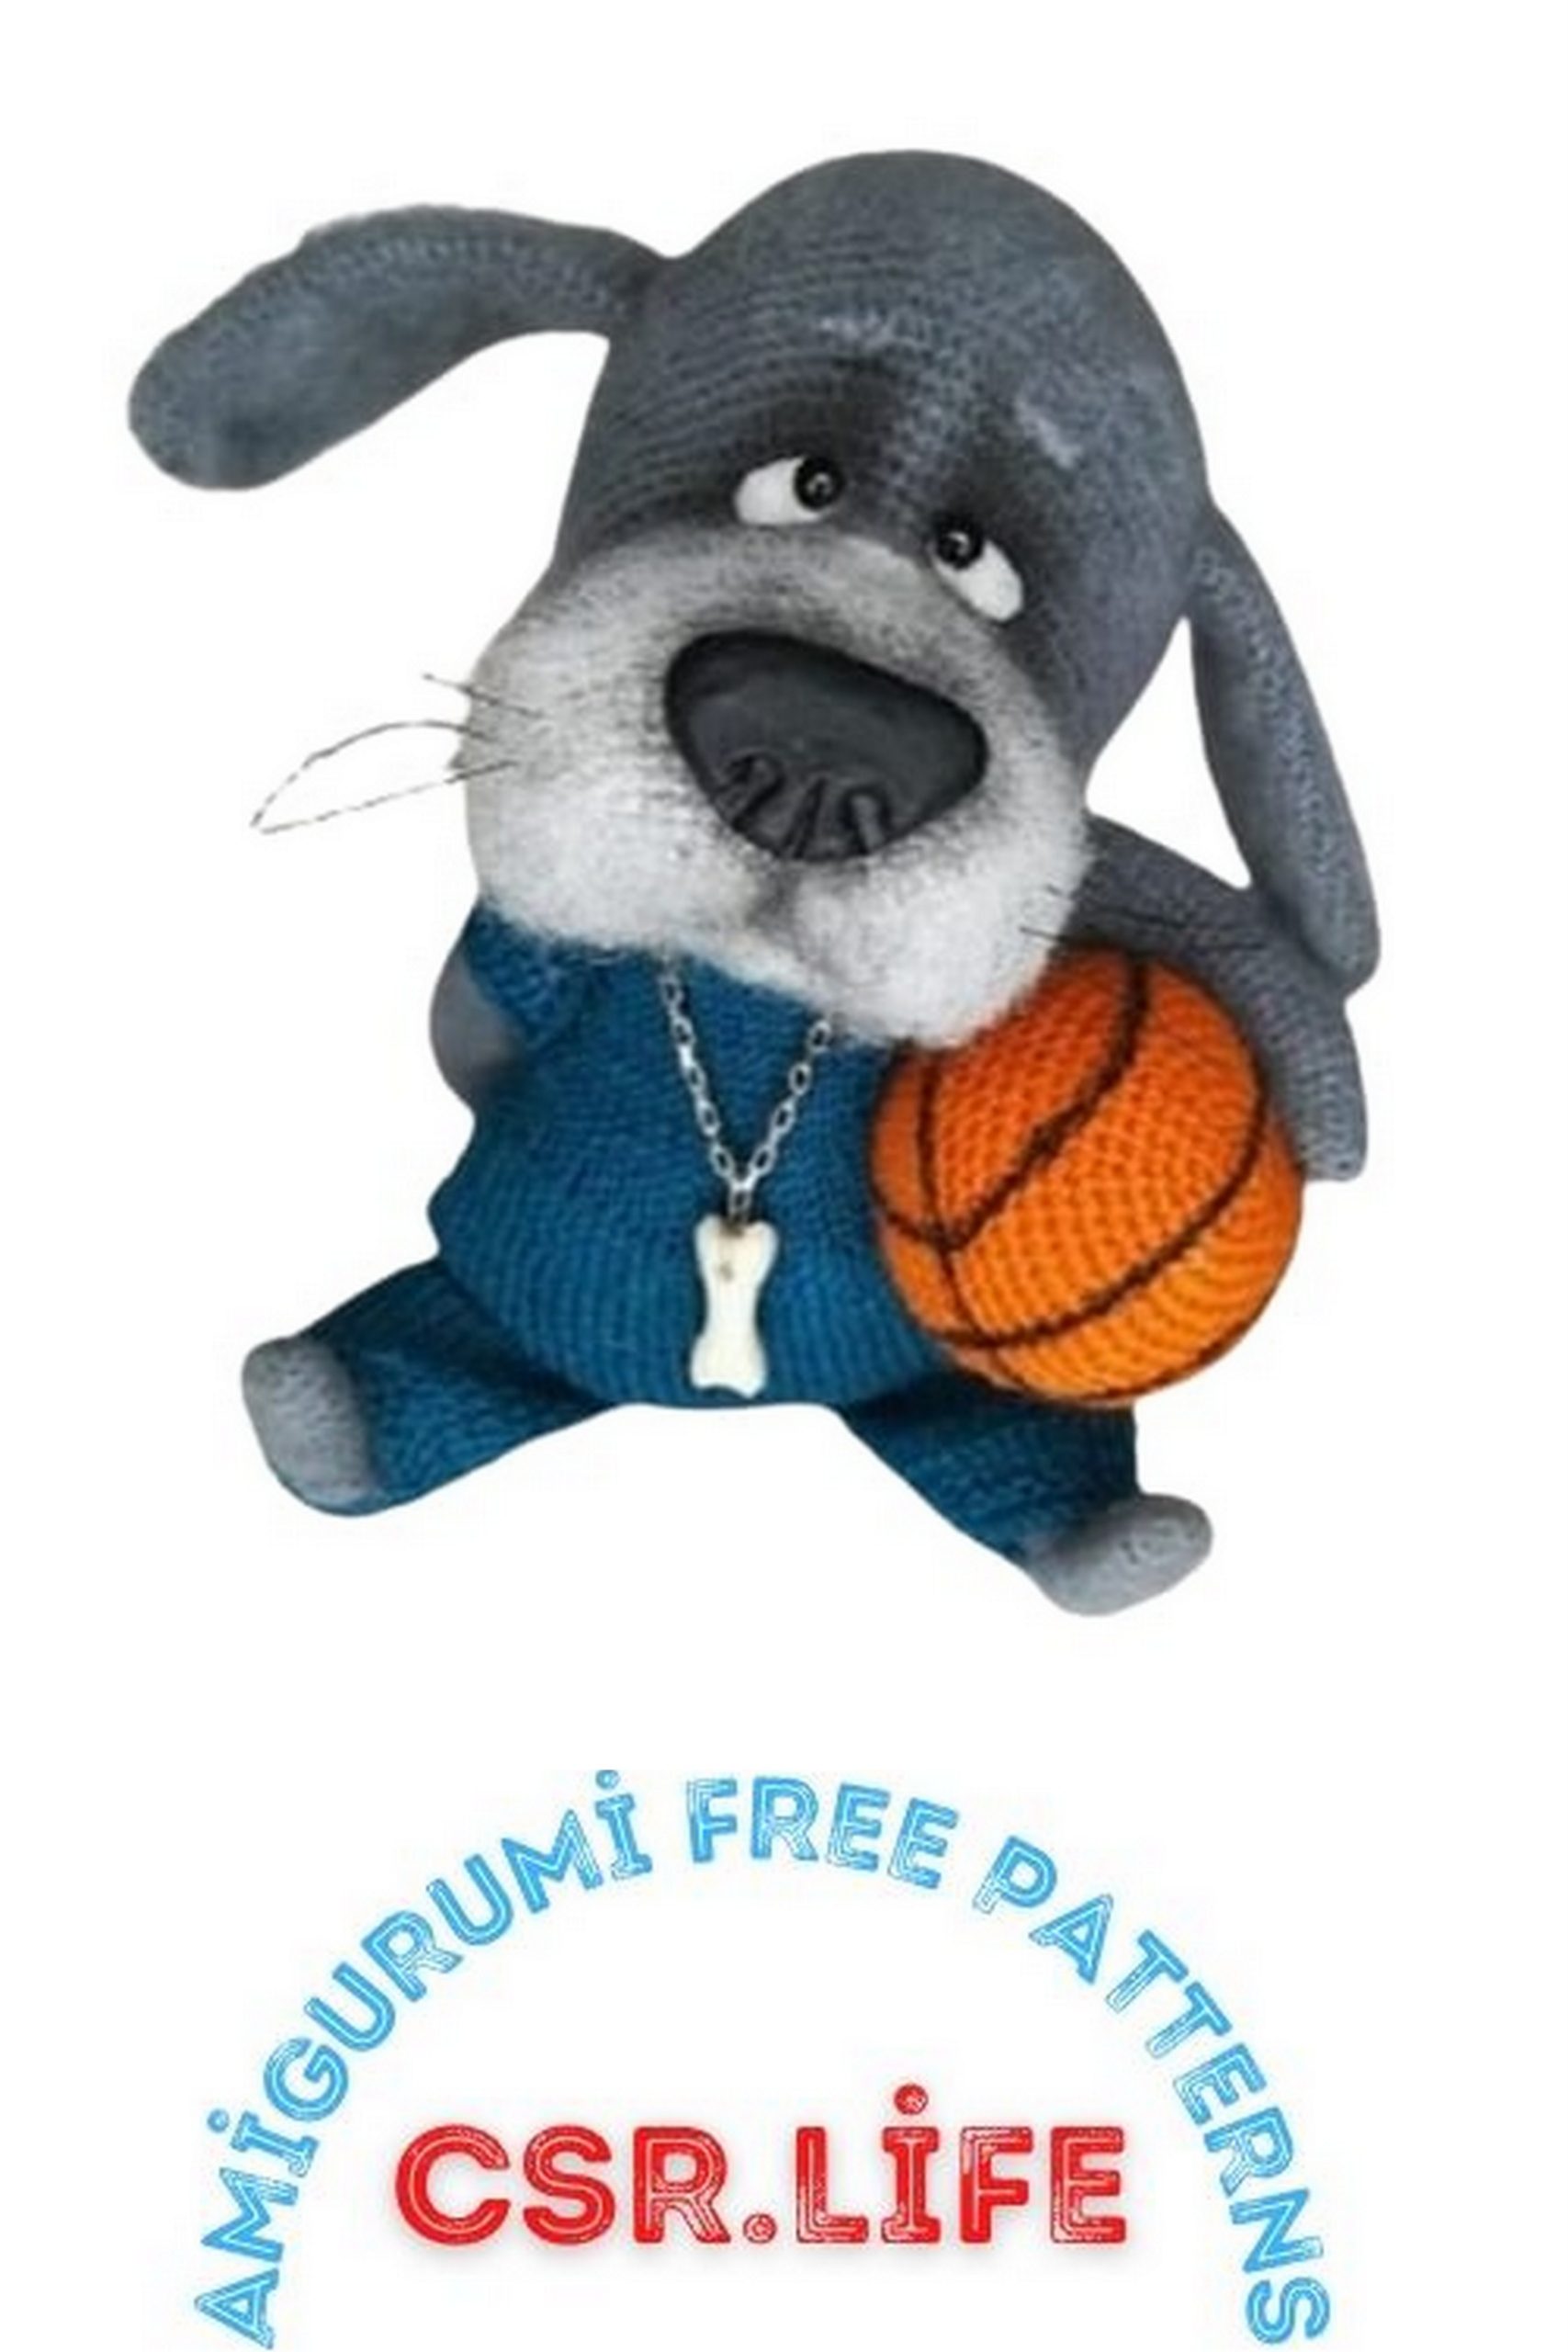
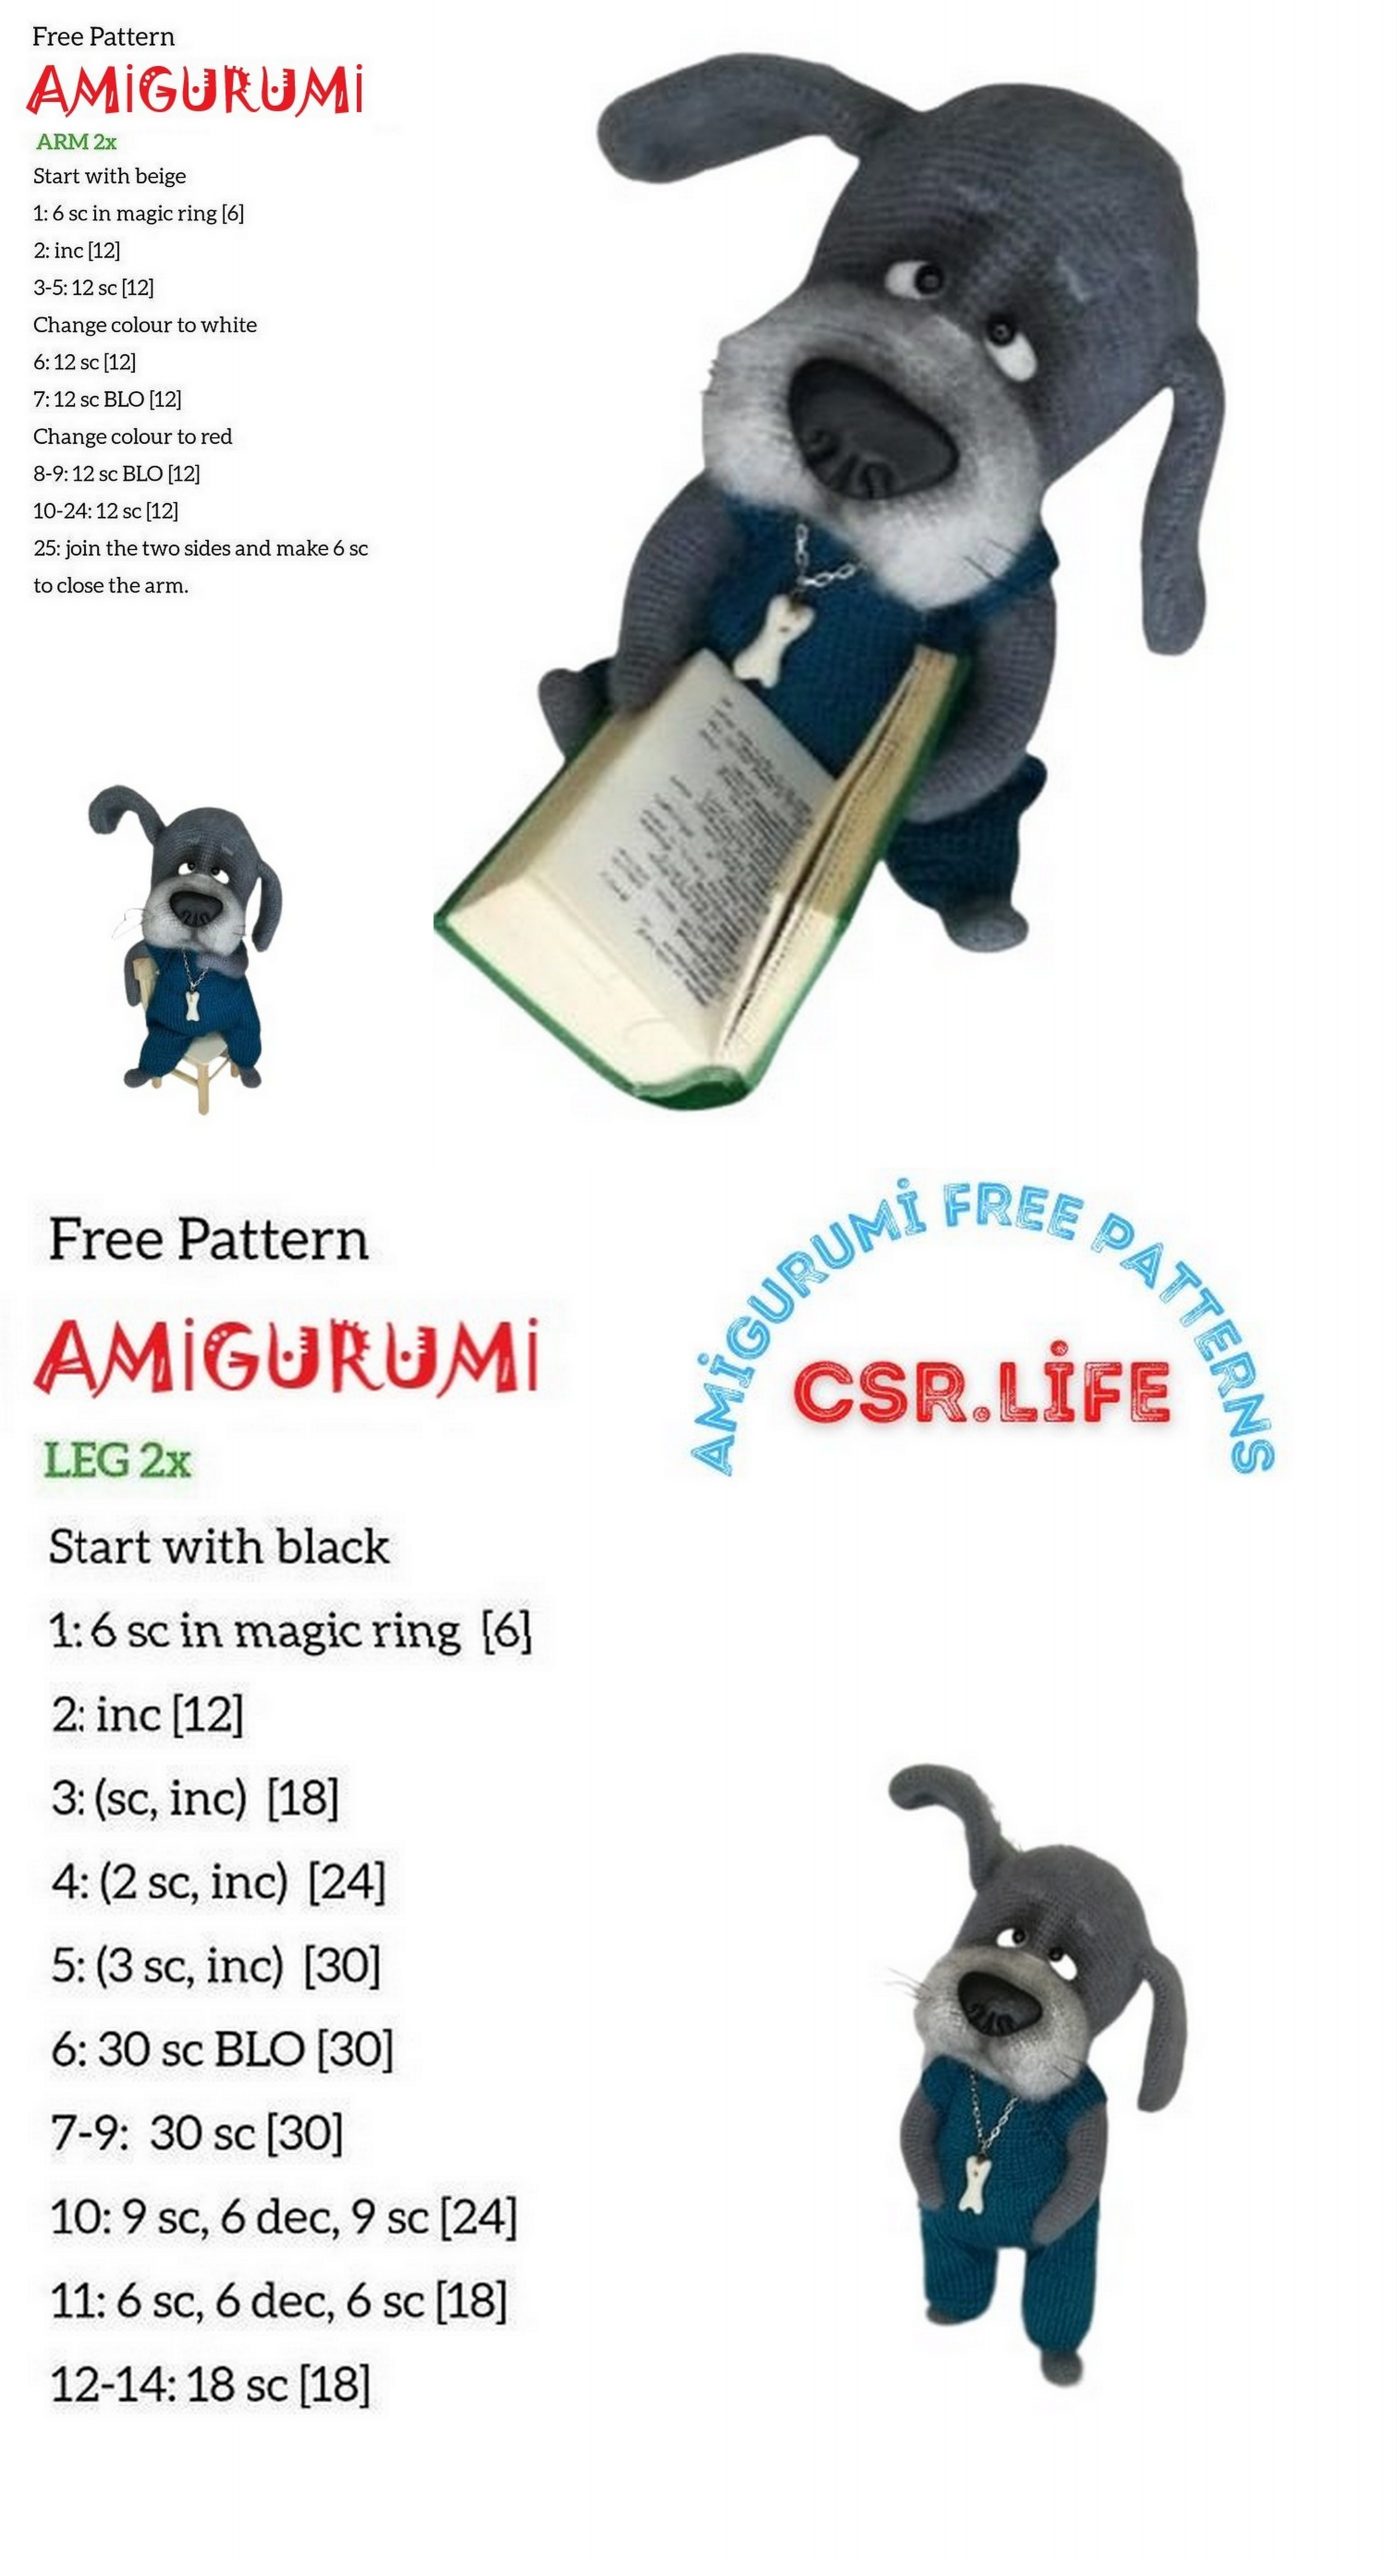
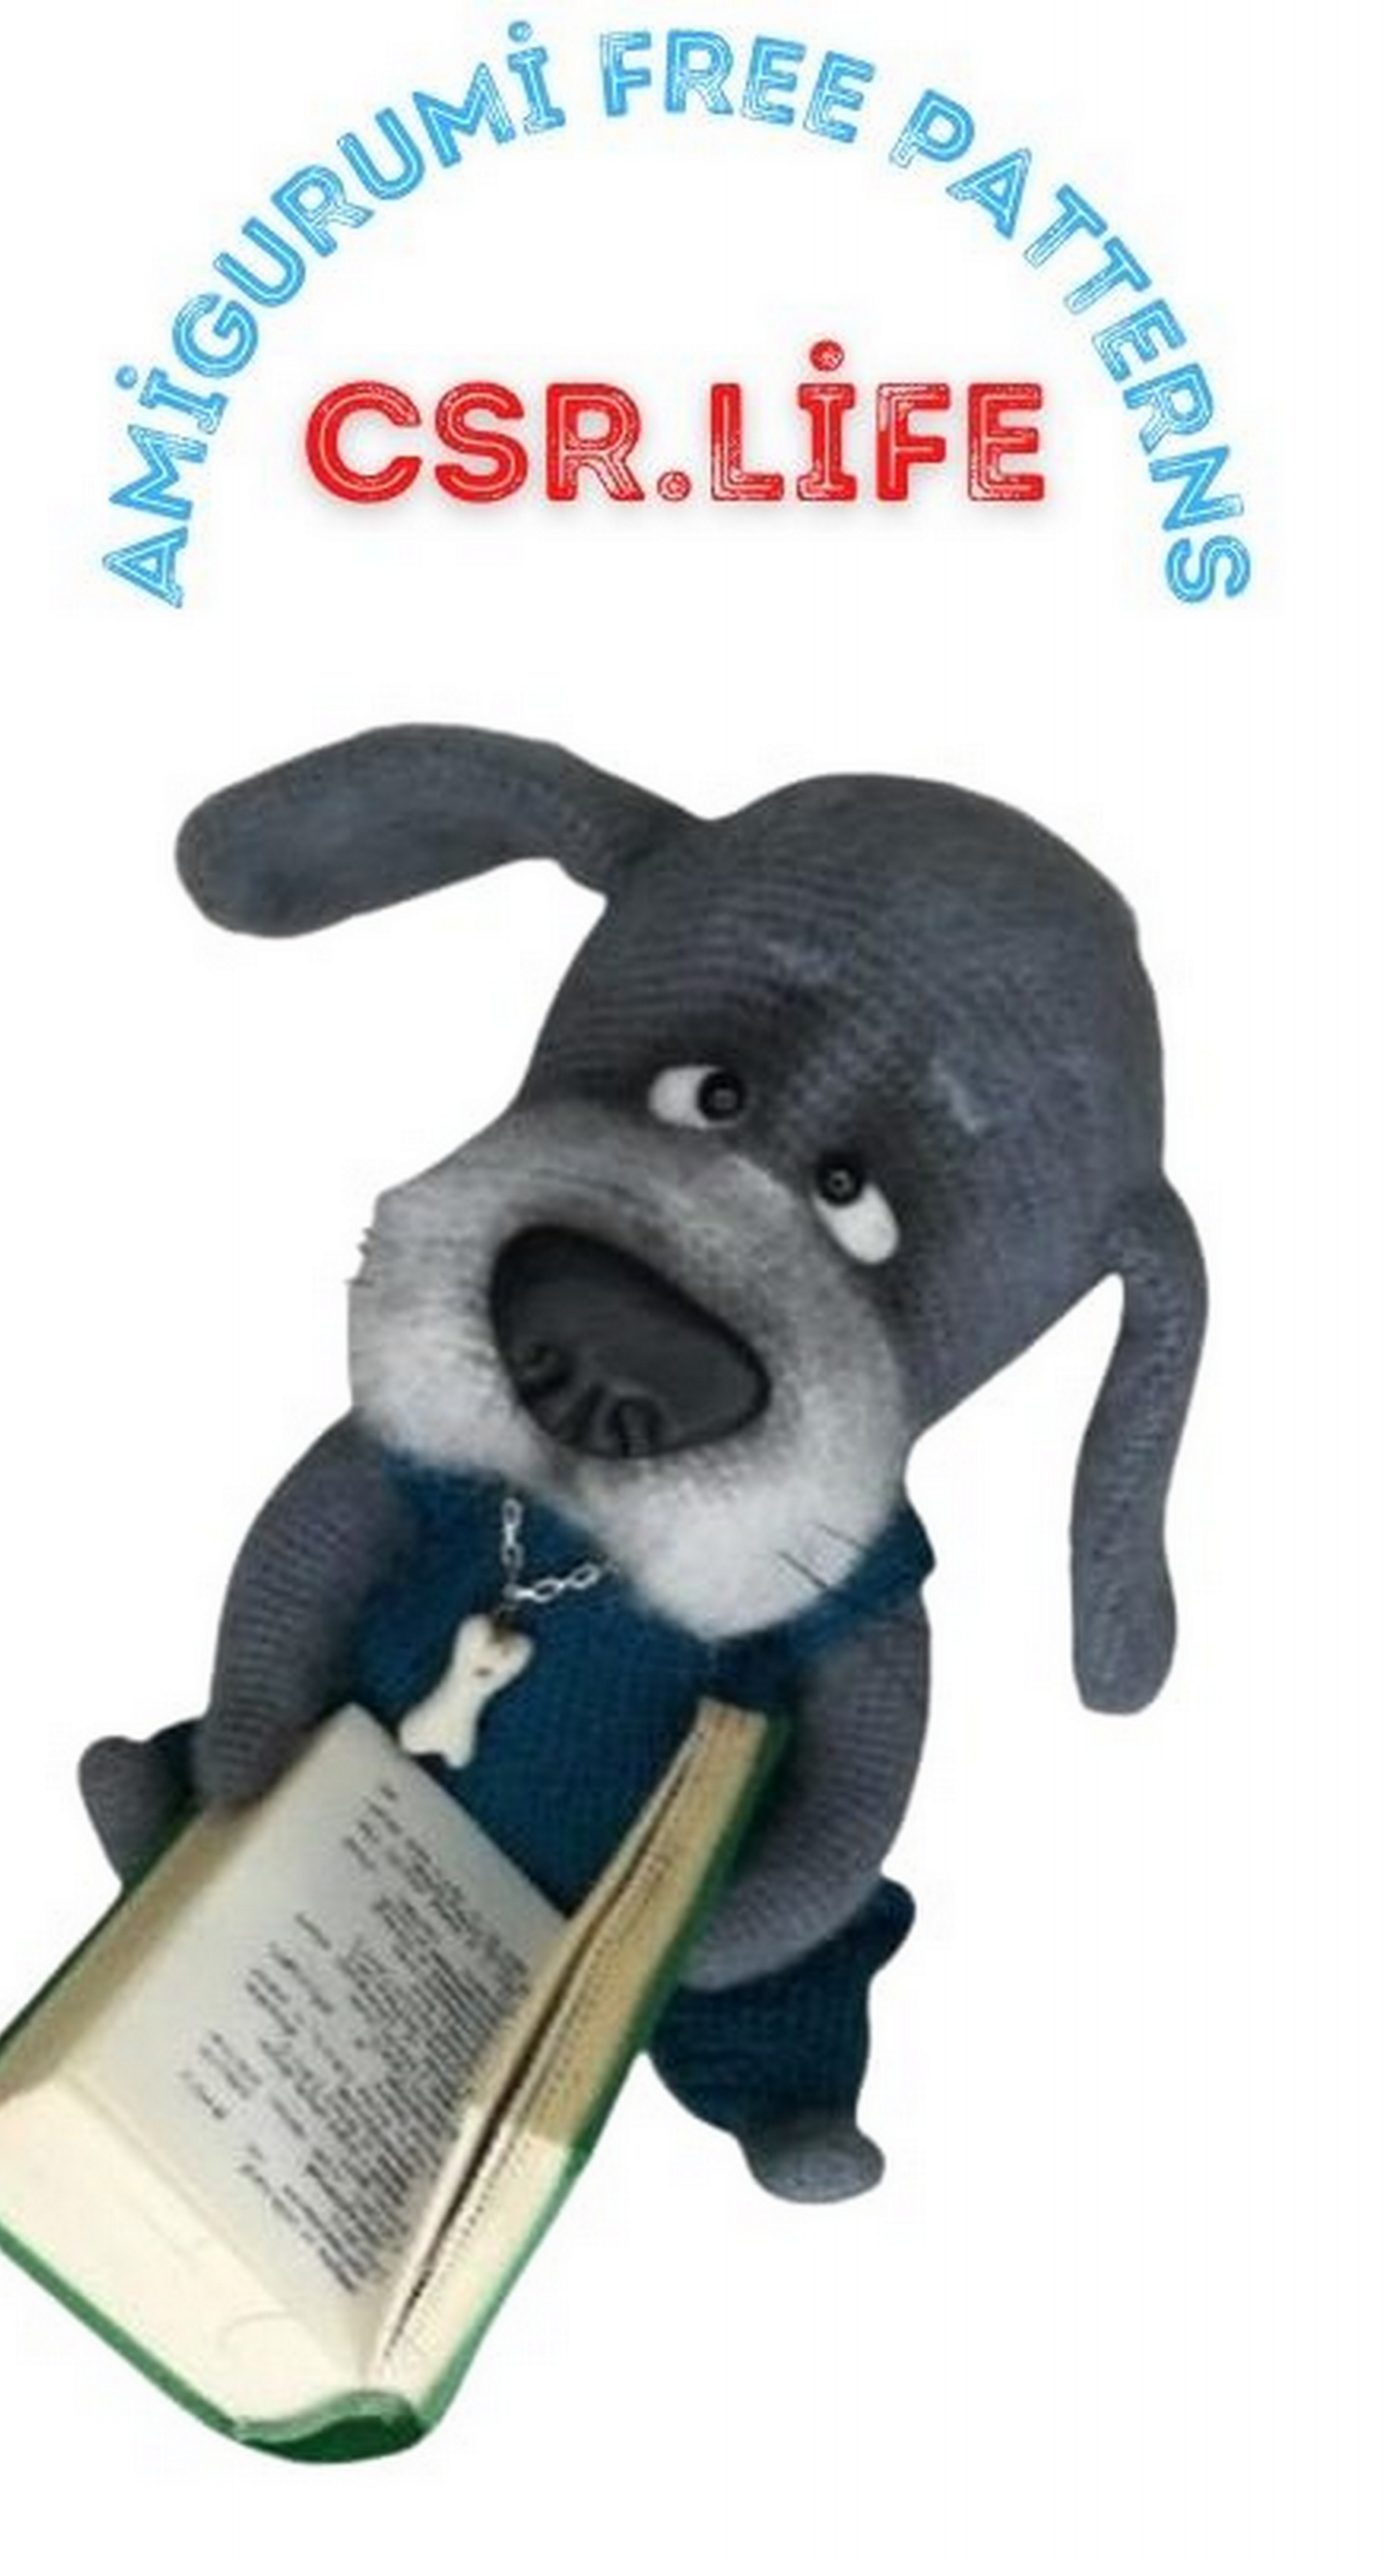
Dog Bulka Amigurumi Free Crochet Pattern
Hundreds of amigurumi dog patterns are waiting for you for free. You will love this wonderful amigurumi dog bulka pattern.
Difficulty: medium
Height: 24 cm (excluding ears)
Materials and tools:
✓ Yarn “Angora Magig Delicate” in the main gray color and a little light gray for the muzzle. (500m / 100g)
✓ Yarn for overalls Soso Vita cotton (50 g / 240 m)
✓ Hook 1.5 or any other suitable for your yarn.
✓ Stocking needles 1.5
✓ 2 finished eyes (6 mm)
✓ Ready spout, if you will not sculpt from clay
✓ Polymer clay of white and black colors
✓ Filler: holofiber.
✓ Copper wire of the frame.
✓ Toning Pastel art
✓ The needle is long for sewing parts and making ties.
✓ Transparent glue “Crystal”.
✓ Cloth-based adhesive plaster.
✓ Thin mustache line
✓ Small button for jumpsuit
Symbols
CH – Air loop
SC – Table without crochet
İNC – Increase (knit 2 SC from 1SC)
DEC – Decrease (from 2 SC we knit 1 SC)
(… ..) *… p- this means that the operations indicated in brackets repeat the number of times indicated after *.
- 1 offset loop (knit another loop, the row will start from here)
Advice Use a contrasting thread as a marker.
When crocheting toys, use a crochet hook that is thinner than recommended for the thread you choose.
The thicker the threads, the larger the toy.
The toy is knitted in a spiral. It is not necessary to connect the rows to each other.
In the process of knitting, it is necessary to monitor the symmetry of the part. That is, if the marker begins to deviate to the right, an additional column must be knitted at the end of the row.
This is the so-called offset loop – it is not shown in the description.
Upper legs (2 parts)
Knit with the main color (gray)
1st row: 6 İNTO MAGİC RİNG
2nd row: 6 İNC = 12
3-7 rows: 12 SC
8 row: (İNC, 5SC) * 2 p = 14
9-11 rows: 14 SC
12 row: (İNC, 6 SC) * 2 p = 16
13-14 rows: 16 SC
15 row: (İNC, 7 SC) * 2 p = 18
16-25 rows: (10 rows) 18 SC
26 row: (İNC, 8 SC) * 2 p = 20
27-38 rows: (12 rows) 20 SC
Cut and fasten the thread
Tail
We knit in the main color.
1st row: 6 İNTO MAGİC RİNG
2nd row: 6 SC
3rd row: (İNC, 2 SC) * 2 p = 8
4-5 rows: 8 SC
6 row: (İNC, 3 SC) * 2 p = 10
7-8 rows: 10 SC
Cut and fasten the thread
Ears (2 parts)
We knit in the main color
The marker runs from the side
1st row: 6 İNTO MAGİC RİNG
2nd row: 6 İNC = 12
3rd row: (1 SC, İNC) * 6 p = 18
4th row: (2 SC, İNC) * 6 p = 24
5 row: (3SC, İNC) * 6 p = 30
6-14 rows: (9 rows) 30 SC
15 row: (DEC, 13 SC) * 2 p = 28
16-18 rows: 28 SC
19 row: (DEC, 12 SC) * 2 p = 26
20-22 rows: 26 SC
23 row: (DEC, 11 SC) * 2 p = 24
24 row: 24 SC
25 row: (DEC, 10 SC) * 2 p = 22
26-30 rows: 22 SC
Fold in half and tie 10 SC. Leave the thread for sewing.
Lower legs (2 parts)
We knit in the main color
The marker runs from the side. Strictly observe symmetry. If necessary, knit offset loops.
1st row: 6 İNTO MAGİC RİNG
2nd row: 6İNC = 12
3rd row: (1 SC, İNC) * 6 p = 18
4-6 rows: 18 SC
7 row: (DEC, 7 SC) * 2 p = 16
8 row: 16 SC
9 row: (DEC, 6 SC) * 2 p = 14
10 row: 14 SC
11 row: (DEC, 5 SC) * 2 p = 12
12th row: 6 SL-ST, 6 HDC = 12
13 row: 12 SC
14 row: (İNC, 5 SC) * 2 p = 14
15 row: (İNC, 6 SC) * 2p = 16
16 row: (İNC, 7 SC) * 2 p = 18
17 row: 18 SC
18 row: (İNC, 8 SC) * 2 p = 20
19-25 rows: 20 SC
26 row: (İNC, 9 SC) * 2p = 22
27 row: 22 SC
28 row: (İNC, 10 SC) * 2 p = 24
Rows 29-31: 24 SC
32 row: (İNC, 11 SC) * 2 p = 26
33 row: 26 SC
34 row: (İNC, 12 SC) * 2 p = 28
35 row: 28 SC
Cut and fasten the thread
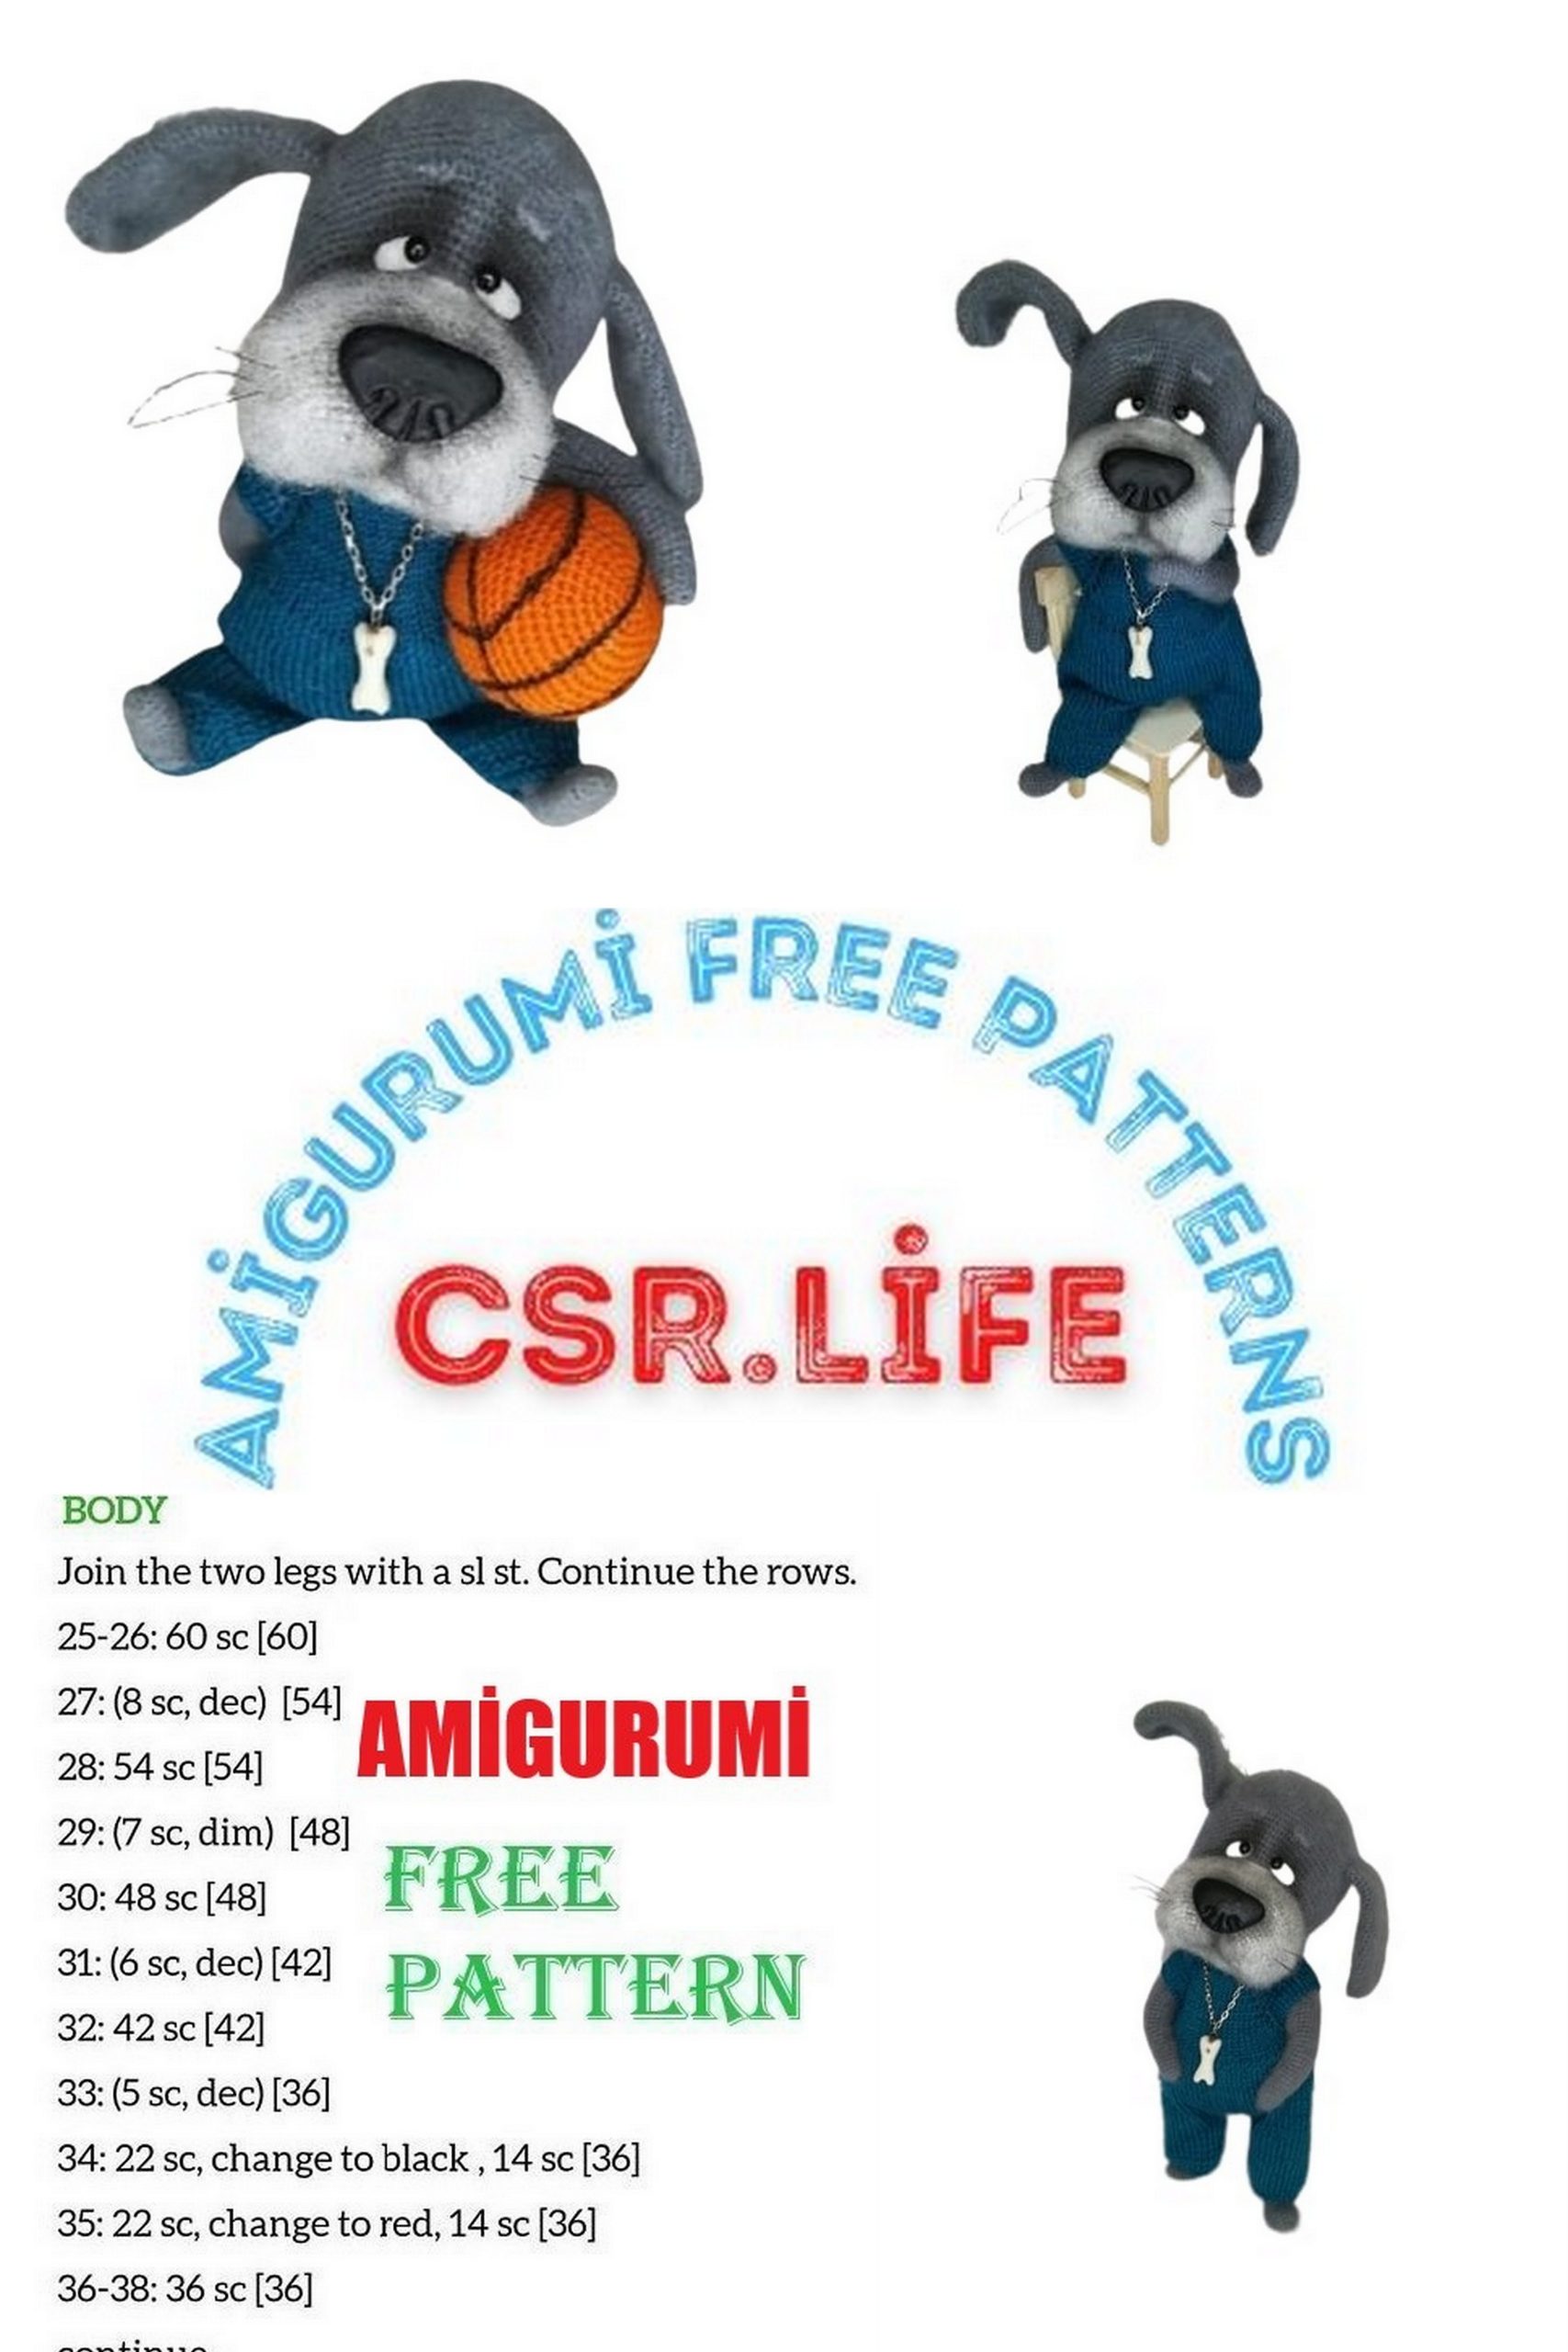
Torso
We knit in the main color
1st row: 6 İNTO MAGİC RİNG
2nd row: 6 İNC = 12
3rd row: (1 SC, İNC) * 6 p = 18
4th row: 3 SC, 3 SC in one loop, 1 SC, 3 SC in one loop, 6 SC, 3 SC in one loop, 1 SC, 3 SC in one loop, 3 SC = 26
5 row: 4 SC, 3 SC in 1 loop, 3 SC, 3 SC in one loop, 8 SC, 3 SC in one loop, 3 SC, 3 SC in one loop, 4 SC = 34
6 row: 5 SC, 3 SC in one loop, 5 SC, 3 SC in one loop, 10 SC, 3 SC in one loop, 5 SC, 3 SC in one loop, 5 SC = 42
At this stage, we knit the lower legs. Pay attention to the position of the feet. They should be pointed forward towards the marker.
Row 7: 6 SC on the trunk, 9 SC with 9 sts on the right leg, 12 SC on the trunk, 9 SC with 9 sts on the left leg, 6 SC on the trunk Place a marker. The marker runs down the center of the front.
Strictly observe symmetry. If necessary, knit offset loops.
Row 8: 6 SC on the trunk, 19 SC on the right leg, 12 SC on the trunk, 19 SC on the left leg, 6 SC on the trunk = 62
9th row: (1 SC, İNC) * 6 p, 9 SC, (İNC, 2 SC) * 3 p, 2 İNC, (2 SC, İNC) * 3 p, 9 SC, (İNC, 1 SC) * 6 p = 82
10 row: 4 SC, İNC, 2 SC, İNC, 22 SC, İNC, 3 SC, İNC, 12 SC, İNC, 3 SC, İNC, 22 SC, İNC, 2 SC, İNC, 4 SC = 90
11-16 rows: (6 rows) 90 SC
17 row: 43 SC, 4 SC together with 4 tail loops (the tail must be exactly in the center of the back), 43 SC = 90
18 row: 43 SC, 6 SC along the remaining loops of the tail. 43 SC = 92
19-23 rows: 92 SC
24 row: 12 SC, DEC, 18 SC, DEC, (3 SC, DEC) * 2 p, 4 SC, (DEC, 3 SC) * 2p, DEC, 18 SC, DEC, 12 SC = 84
25 row: 1 SC, DEC, (2 SC, DEC) * 4 p, 10 SC, DEC, 3 SC, DEC, 12 SC, DEC, 3 SC, DEC, 10 SC, (DEC 2 SC) * 4 p, DEC, 1 SC = 70
26 row: 2 SC, DEC, 3 SC, DEC, 6 SC, DEC, 10 SC, DEC, 12 SC, DEC, 10 SC, DEC, 6 SC, DEC, 3 SC, DEC, 2 SC = 62
27 row: 8 SC, DEC, 12 SC, DEC, 4 SC, DEC, 2 SC, DEC, 4 SC, DEC, 12 SC, DEC, 8 SC = 56
28 – 29 rows: 56 SC
30 row: 15 SC, DEC, 22 SC, DEC. 15 SC = 54
31 row: 15 SC, DEC, 20 SC, DEC, 15 SC = 52
32 row: (16 SC, DEC) * 2 p, 16 SC = 50
At this stage, prepare the frame. Cut off two pieces of wire, 30 cm each. Make a loop at the end of each wire. At the junction, we wrap it with an adhesive plaster on a fabric base.
We insert the wire into each leg and connect it together. We wrap the junction with adhesive tape. We stuff the carcass tightly enough during the knitting process.
33-35 rows: 50 SC
36 row: 13 SC, DEC, 20 SC, DEC, 13 SC = 48
37-41 rows: 48 SC
42 row: 8 SC, 10 SC with 10 loops of the right foot, 12 SC, 10 SC with 10 loops of the left foot, 8 SC = 48
43 row: 8 SC, 10 SC on the remaining loops of the right foot, 12 SC, 10 SC on the remaining loops of the left foot, 8 SC = 48
Prepare the frame for the upper legs. We cut the wire to the length of 2 handles + width + 2 cm. Bend the ends of the wire, insert into the legs.
We connect with the wire coming from the lower legs. Wrap the junction with adhesive plaster.
We insert the frame into the legs and fill in the details.
44 row: 7 SC, DEC, 8 SC, DEC, 10 SC, DEC, 8 SC, DEC, 7SC = 44
45 row: 7 SC, DEC, 6 SC, DEC, 10 SC, DEC, 6 SC, DEC, 7 SC = 40
46 row: (6 SC, DEC) * 2 p, 8 SC, (DEC, 6 SC) * 2 p = 36
47 row: (5 SC, DEC) * 2 p, 8 SC, (DEC, 5 SC) * 2 p = 32
48-50 rows: 32 SC
Leave the thread for sewing.
Fill the carcass tightly, but not to a stone state.
Head
The marker runs from the side. Remember to keep an eye on symmetry
We knit with light gray yarn
1 row: 12 air loops
2nd row: knit in the 2nd loop from the hook: İNC, 9 SC, 3 SC in one loop, on the other side: 9 SC, İNC = 25
3rd row: 2 İNC, 9 SC, 3 İNC, 10 SC, İNC = 31
4th row: 2 İNC, 10 SC, 5 İNC, 10 SC, 4 İNC = 42
5th row: 3 SC, İNC, (6 SC, İNC) * 5 p, 3 SC = 48
6 row: (7 SC, İNC) * 6 p = 54
7 row: 54 SC
8 row: 4 SC, İNC, (8 SC, İNC) * 5 p, 4 SC = 60
9 row: (9 SC, İNC) * 6 p = 66
10 row: 5 SC, İNC, (10 SC, İNC) * 5 p, 5 SC = 72
11-20 rows: (10 rows) 72 SC
21 row: 5 SC, DEC, (10 SC, DEC) * 5 p, 5 SC = 66
22 row: 66 SC
23 row: (9 SC, DEC) * 6 p = 60
24 row: 60 SC for back half loops
Cut and fasten the thread
We count 15 loops and place a marker. The marker now passes over the top of the muzzle, in the center. We knit in the main color.
25 row: 2 SC, İNC, (1 SC, İNC) * 5 p, 34 SC, (İNC, 1 SC) * 5 p, İNC, 2 SC = 72
26 row: 1 SC, (İNC, 3 SC) * 2 p, İNC, 5 SC, İNC, 40 SC, İNC, 5 SC, İNC, (3 SC, İNC) * 2 p, 1 SC = 80
27 row: 2 SC, İNC, 6 SC, İNC, 8 SC, İNC, 42 SC, İNC, 8 SC, İNC, 6 SC, İNC, 2 SC = 86
28 row: 86 SC
29 row: (2 SC, İNC) * 3 p, 68 SC, (İNC, 2 SC) * 3 p = 92
30 row: 40 SC, 12 CH, skip 12 loops (we form a hole for the frame), 40 SC = 92
31 row: (2 SC, İNC) * 3 p, 31 SC, 12 SC on air loops, 31 SC, (İNC, 2 SC) * 3 p = 98
32 row: 98 SC
33 row: 3 SC, İNC, 2 SC, İNC, 84 SC, İNC, 2 SC, İNC, 3 SC = 102
34 row: 36 SC, DEC, 26 SC, DEC, 36 SC = 100
35 row: 100 SC
36 row: 3 SC, İNC, 92 SC, İNC, 3 SC = 102
37-39 rows: 102 SC
40 row: (15 SC, DEC) * 6 p = 96
41 row: 96 SC
42 row: 7 SC, DEC, (14 SC, DEC) * 5 p, 7 SC = 90
Row 43: 90 SC
44 row: (13 SC, DEC) * 6p = 84
45 row: 6 SC, DEC, (12 SC, DEC) * 5p, 6 SC = 78
46 row: (11 SC, DEC) * 6 p = 72
47 row: 5 SC, DEC, (10 SC, DEC) * 5 p, 5 SC = 66
48 row: (9 SC, DEC) * 6 p = 60
49 row: 4 SC, DEC, (8 SC, DEC) * 5 p, 4 SC = 54
50 row: (7 SC, DEC) * 6 p = 48
We insert the frame into the head through the hole. We stuff the head tightly enough, but not to a stone state.
51 row: 3 SC, DEC, (6 SC, DEC) * 5 p, 3 SC = 42
52 row: (5 SC, DEC) * 6 p = 36
53 row: 2 SC, DEC, (4 SC, DEC) * 5 p, 2 SC = 30
54 row: (3 SC, DEC) * 6p = 24
55 row: 1 SC, DEC, (2 SC, DEC) * 5 p, 1 SC = 18
56 row: (1 SC, DEC) * 6 p = 12
57 row: 6 DEC = 6
Pull the loops, cut the thread and fasten.
Registration
First, we sew the head to the body.
Then we make markings for tightening the muzzle.
We count from the beginning of knitting 26 rows up and from the center (from the marker) we retreat four loops to the left (point B) and four loops to the right (point E). Mark the points with needles.
Next, mark points A and D
Distance between points B — A 3 loops
Distance between points E – D 3 loops
Distance between points E — B 8 loops
The design of the face is one of the most important stages. It’s no secret that many toys are knitted according to the same principle. Their difference is in the design of the muzzle or face.
We count down 6 rows from the beginning of knitting, and then 3 loops from the center to each side.
These are points F and C
For tightening we need a long needle and strong thread.
We introduce the needle to point A and bring it to point C. Then we need to insert the needle nearby (the left corner of the mouth is formed) and output it at point A.
We retreat from point A two loops and bring the needle to point B and bring it to point C.
We return to the starting point A. Tie the two ends of the thread into a knot so that we get indentations for the eyes and mouth. We hide the ends of the threads in the head.
Similarly, we make a tightening on the other side.
D – F, F – D, D – E, E – F, F – D
We tint the area under the eyes and the mouth with dry pastel to give expressiveness to the muzzle.
Now let’s start sewing on the ears.
We count from the place where the loops are closed 12 rows, fix the ears with needles and sew them tightly to the head along the entire perimeter.
The eyes and nose can be molded from polymer clay.
We sculpt the whites of the eyes from white clay.
Roll up small balls, flatten slightly and make a depression with a half bead.
We sculpt the nose from black clay in the shape you like.
Bake the whites of the eyes and the nose according to the instructions on the package.
Glue the eyes and nose.
Attach the antennae in any way convenient for you. Roll or embroider eyebrows.
Tint the mouth with dry pastels and draw a line from the nose to the mouth in the center of the muzzle.
Overalls
Symbols
KNİT – front hinge
PURL – purl loop
Arr. from broach skr. – increase from the broach crossed
This jumpsuit is tied to a toy with a height of 24 cm
Cast on 32 stitches
Knit in rotary rows
Raglan = yarn, front loop, yarn
1st row: 4 KNİT, raglan, 6 KNİT, raglan, 8 KNİT, raglan, 6 KNİT, raglan, 4 KNİT = 40
2nd row: 40 PURL
3rd row: 5 KNİT, raglan, 8 KNİT, raglan, 10 KNİT, raglan, 8 KNİT, raglan, 5 KNİT = 48
4th row: 48 PURL
5 row: 6 KNİT, raglan, 10 KNİT, raglan, 12 KNİT, raglan, 10 KNİT, raglan, 6 KNİT = 56
6 row: 56 PURL
7 row: 7 KNİT, raglan, 12 KNİT, raglan, 14 KNİT, raglan, 12 KNİT.reglan, 7 KNİT = 64
8 row: 64 PURL
9th row: 8 KNİT, raglan, 14 KNİT, raglan, 16 KNİT, raglan, 14 KNİT, raglan, 8 KNİT = 72
10 row: 72 PURL
11 row: 9 KNİT, raglan, 16 KNİT, raglan, 18 KNİT, raglan, 16 KNİT, raglan, 9 KNİT = 80
12 row: 80 PURL
13th row: 10 KNİT, raglan, 18 KNİT, raglan, 20 KNİT, raglan, 18 KNİT, raglan, 10 KNİT = 88
14 row: 88 PURL
15 row: 11 KNİT, raglan, 20 KNİT, raglan, 22 KNİT, raglan, 20 KNİT, raglan, 11 KNİT = 96
16 row: 96 PURL
17 row: 13 KNİT, close 22 loops (sleeve), 26 KNİT, close 22 loops (sleeve), 13 KNİT = 52
18 row: 52 PURL
19 row: 52 KNİT
20 row: 52 PURL
21 row: go to circular knitting (on 5 knitting needles), distributing 13 loops on each knitting needle, knit 52 KNİT
22 row: (2 KNIT, approx. From the broach skr.) * 26 times = 78
23 – 28 rows: 78 KNIT
29 row: We knit a hole for the tail: close 3 loops, 72 KNİT. close 3 loops
30 row: Above closed loops we collect 3 loops, 72 KNIT, over closed loops we collect 3 loops = 78
31 – 45 rows: 78 KNIT
Next, we knit again in rotary rows, knitting each half of the trousers separately
46 – 59 rows: 39 stitches
If desired, you can make decreases on the bottom or knit an elastic band. Close the loops The second half of the trousers knit the same way – on the remaining 39 loops, repeat 46 – 59 rows, attaching a thread to them. Close the hinges.
Sew the trousers from the inside.
We make a buttonhole. Sew on a button.
So our little dog Bulka is ready!
Let him give you joy and good mood!