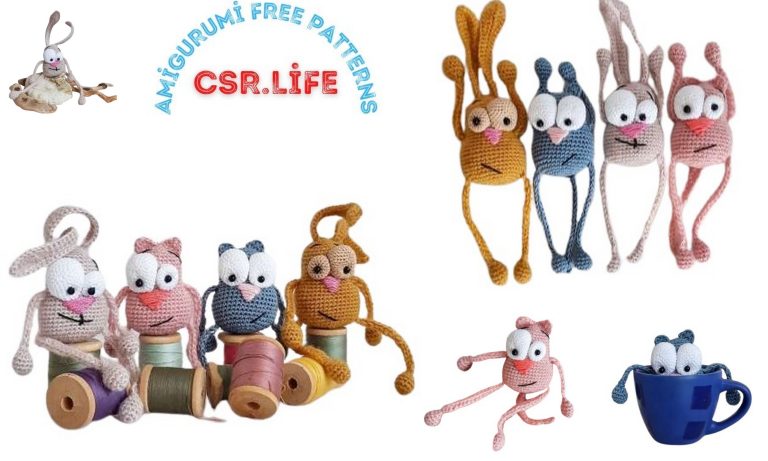
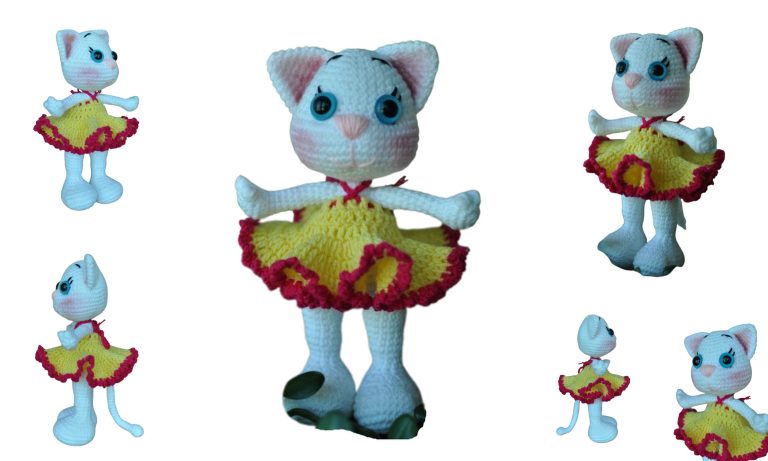
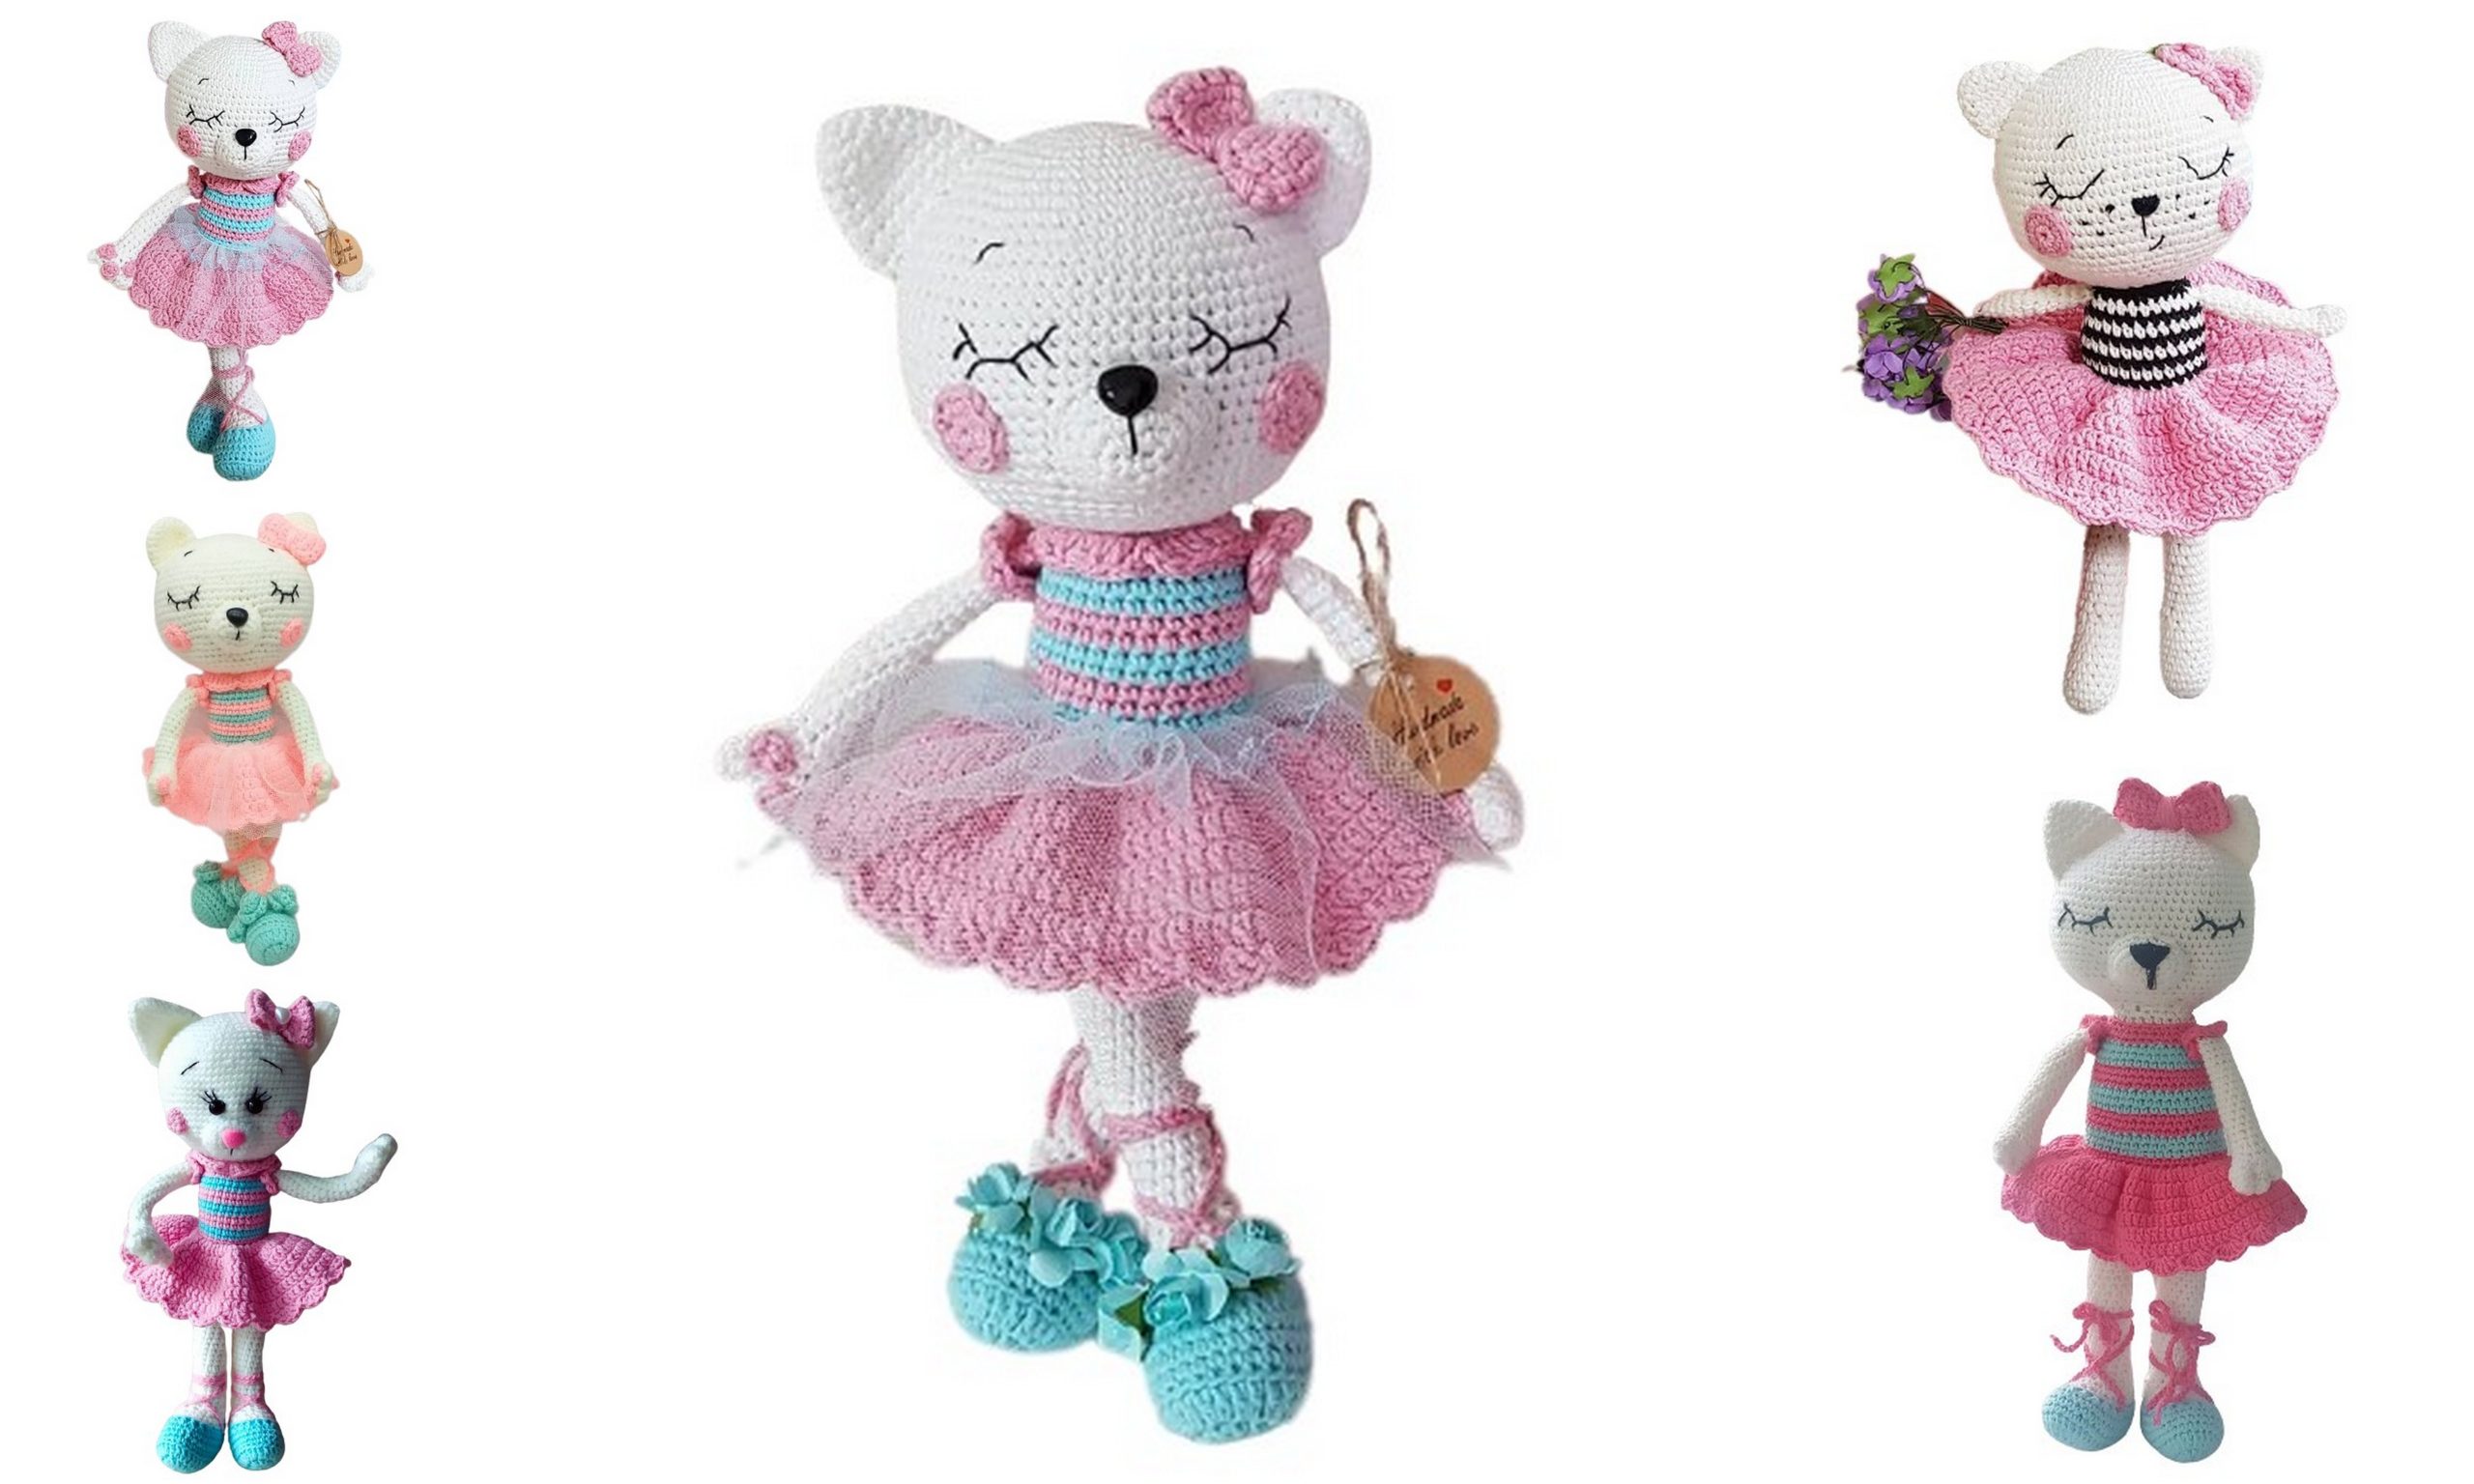
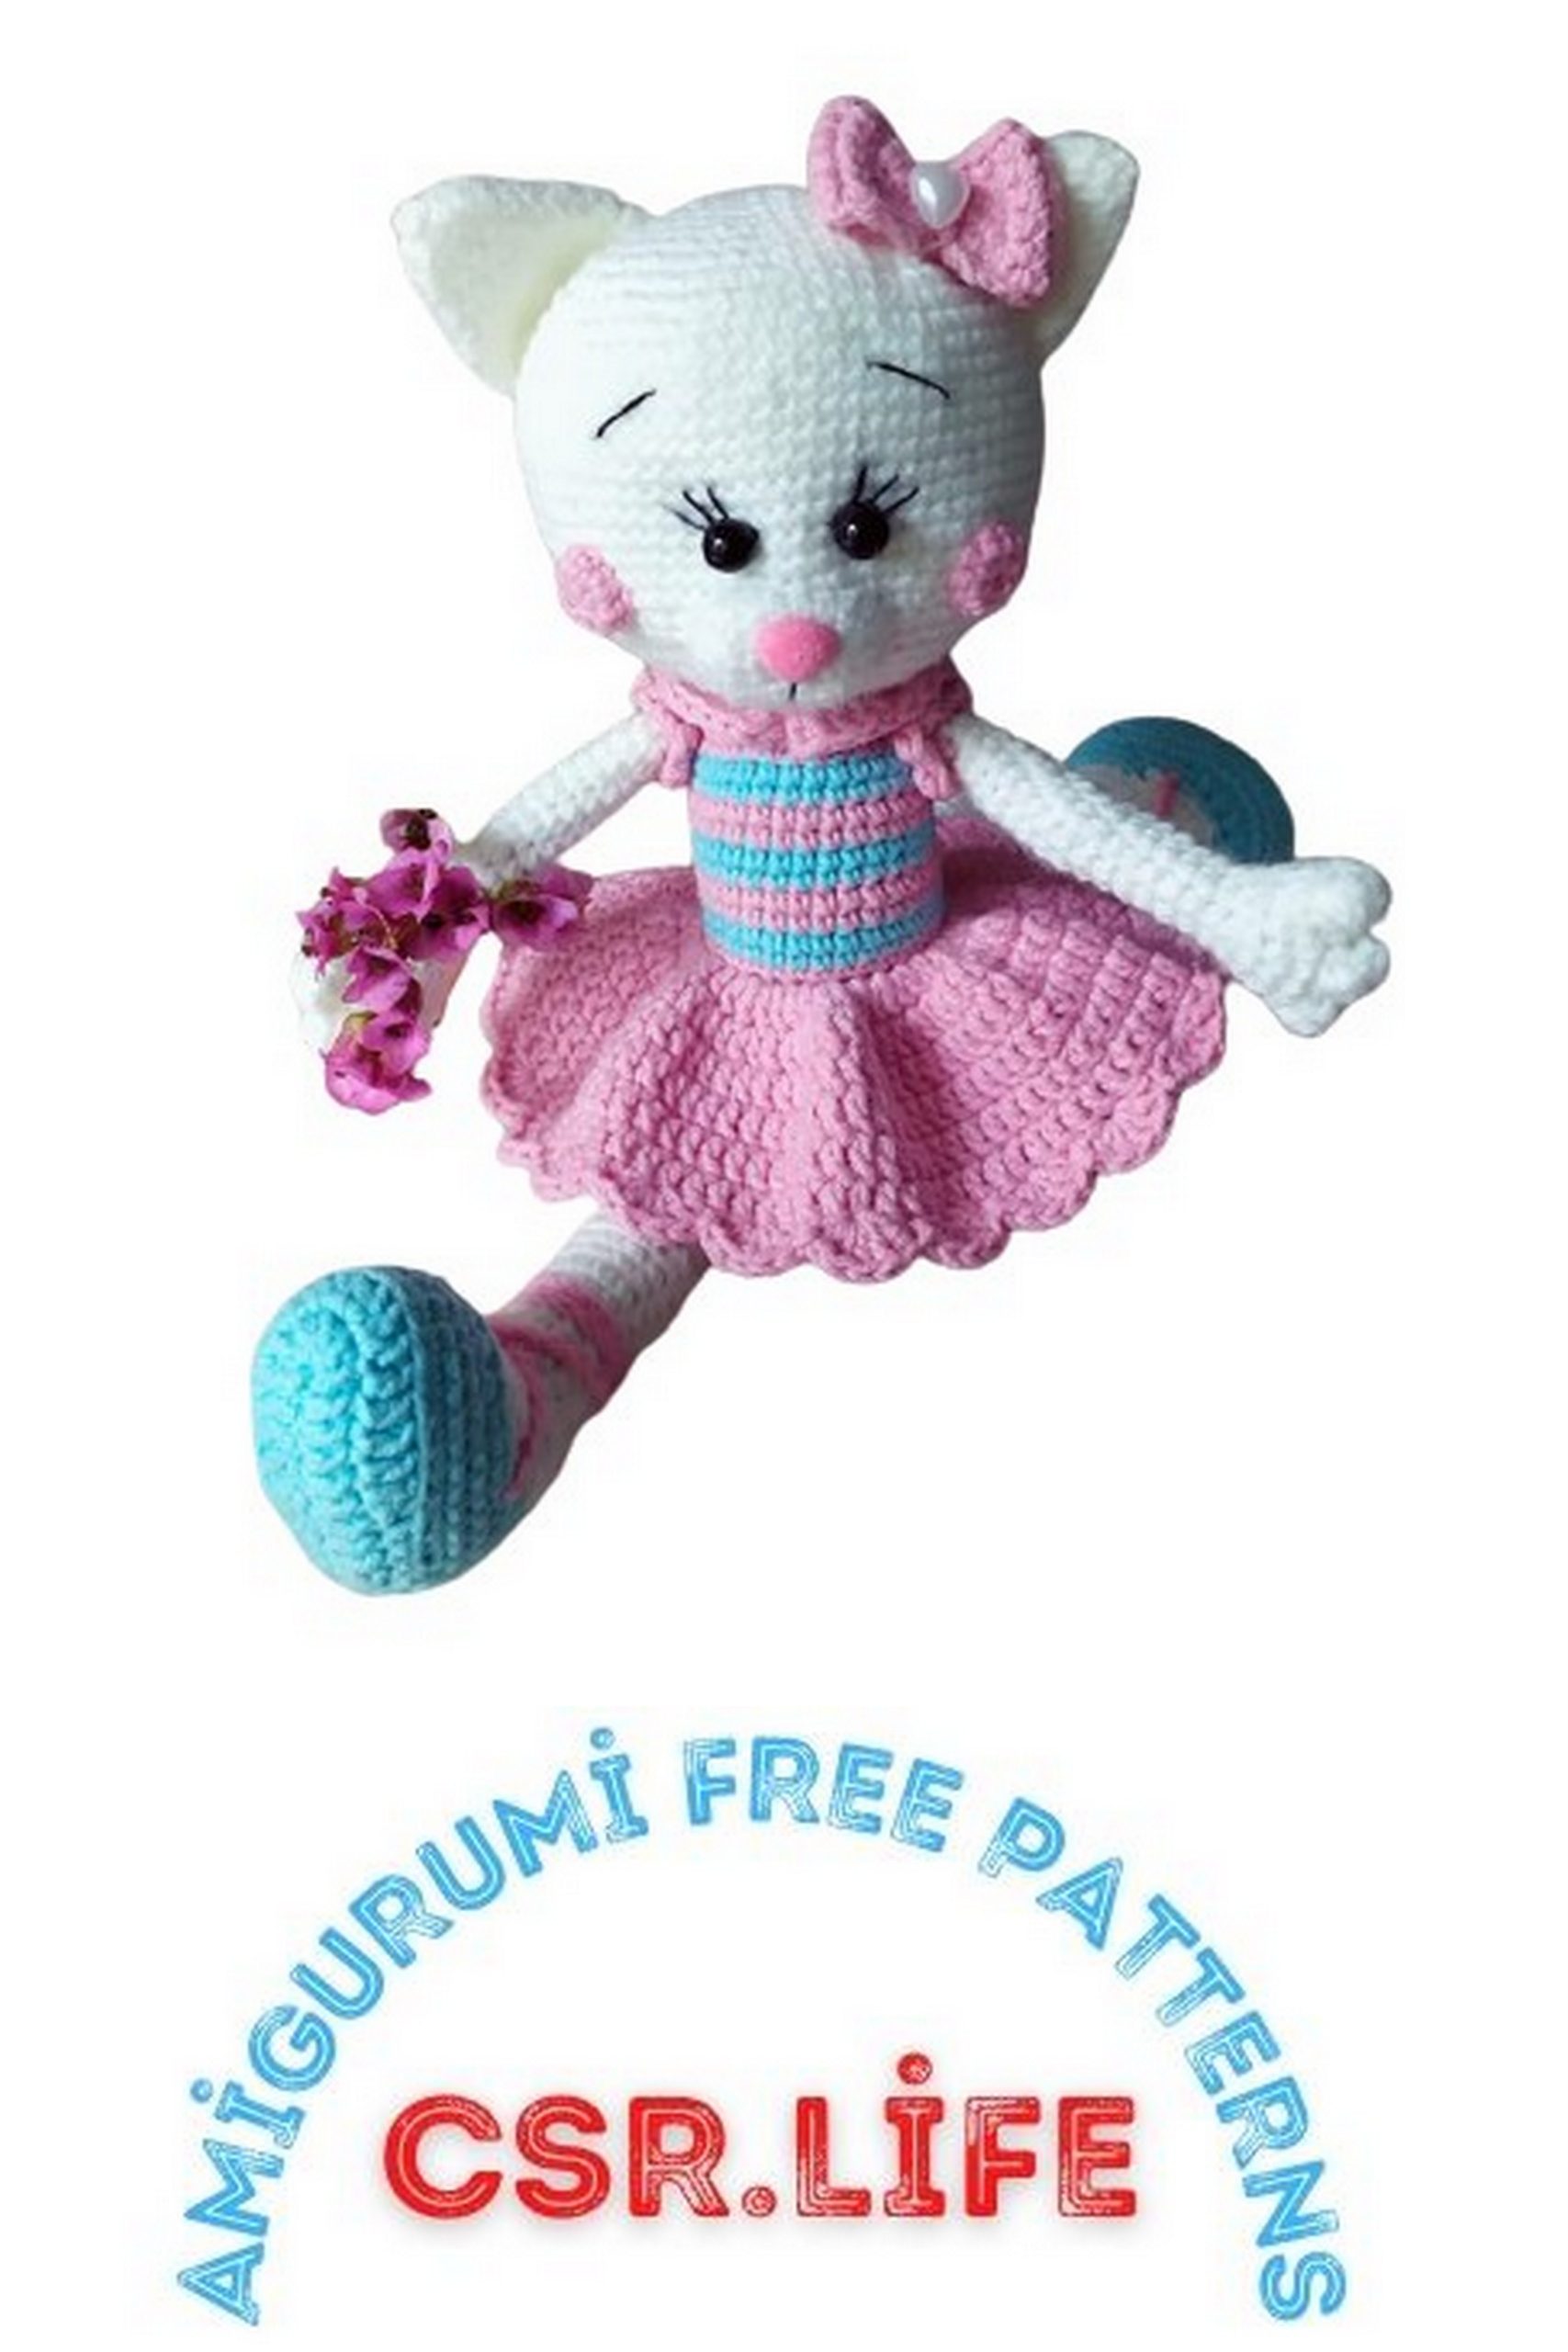
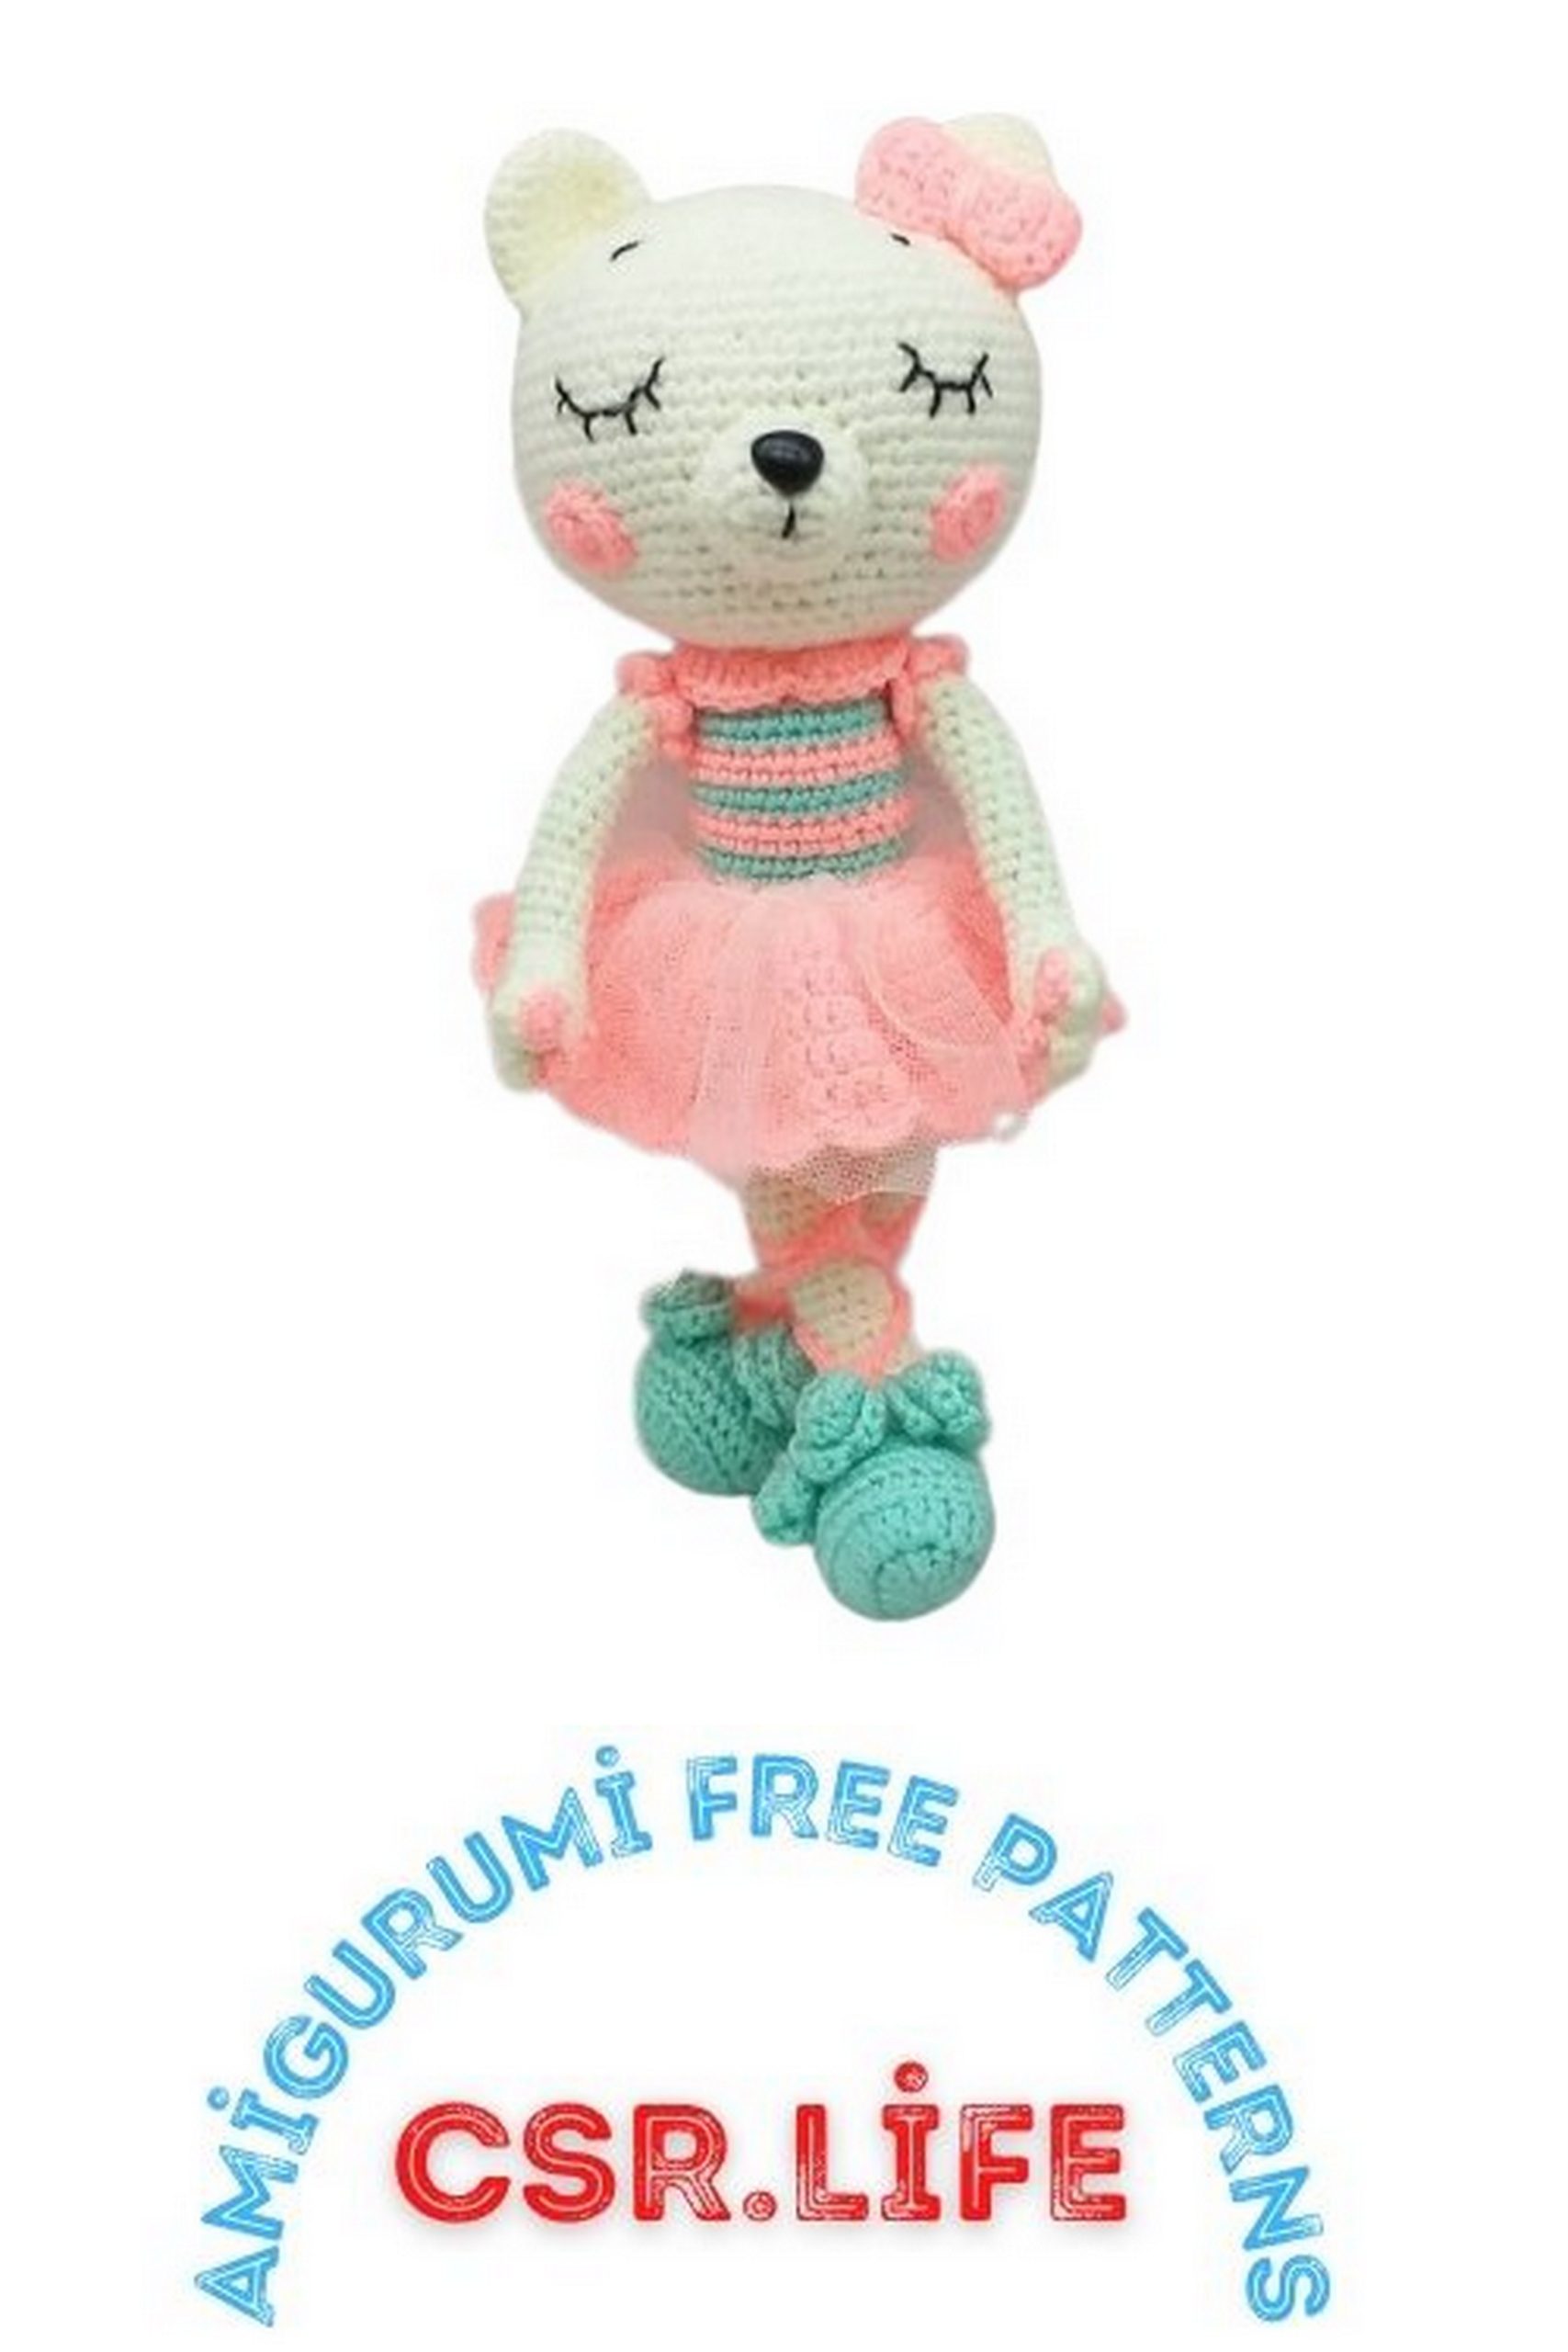
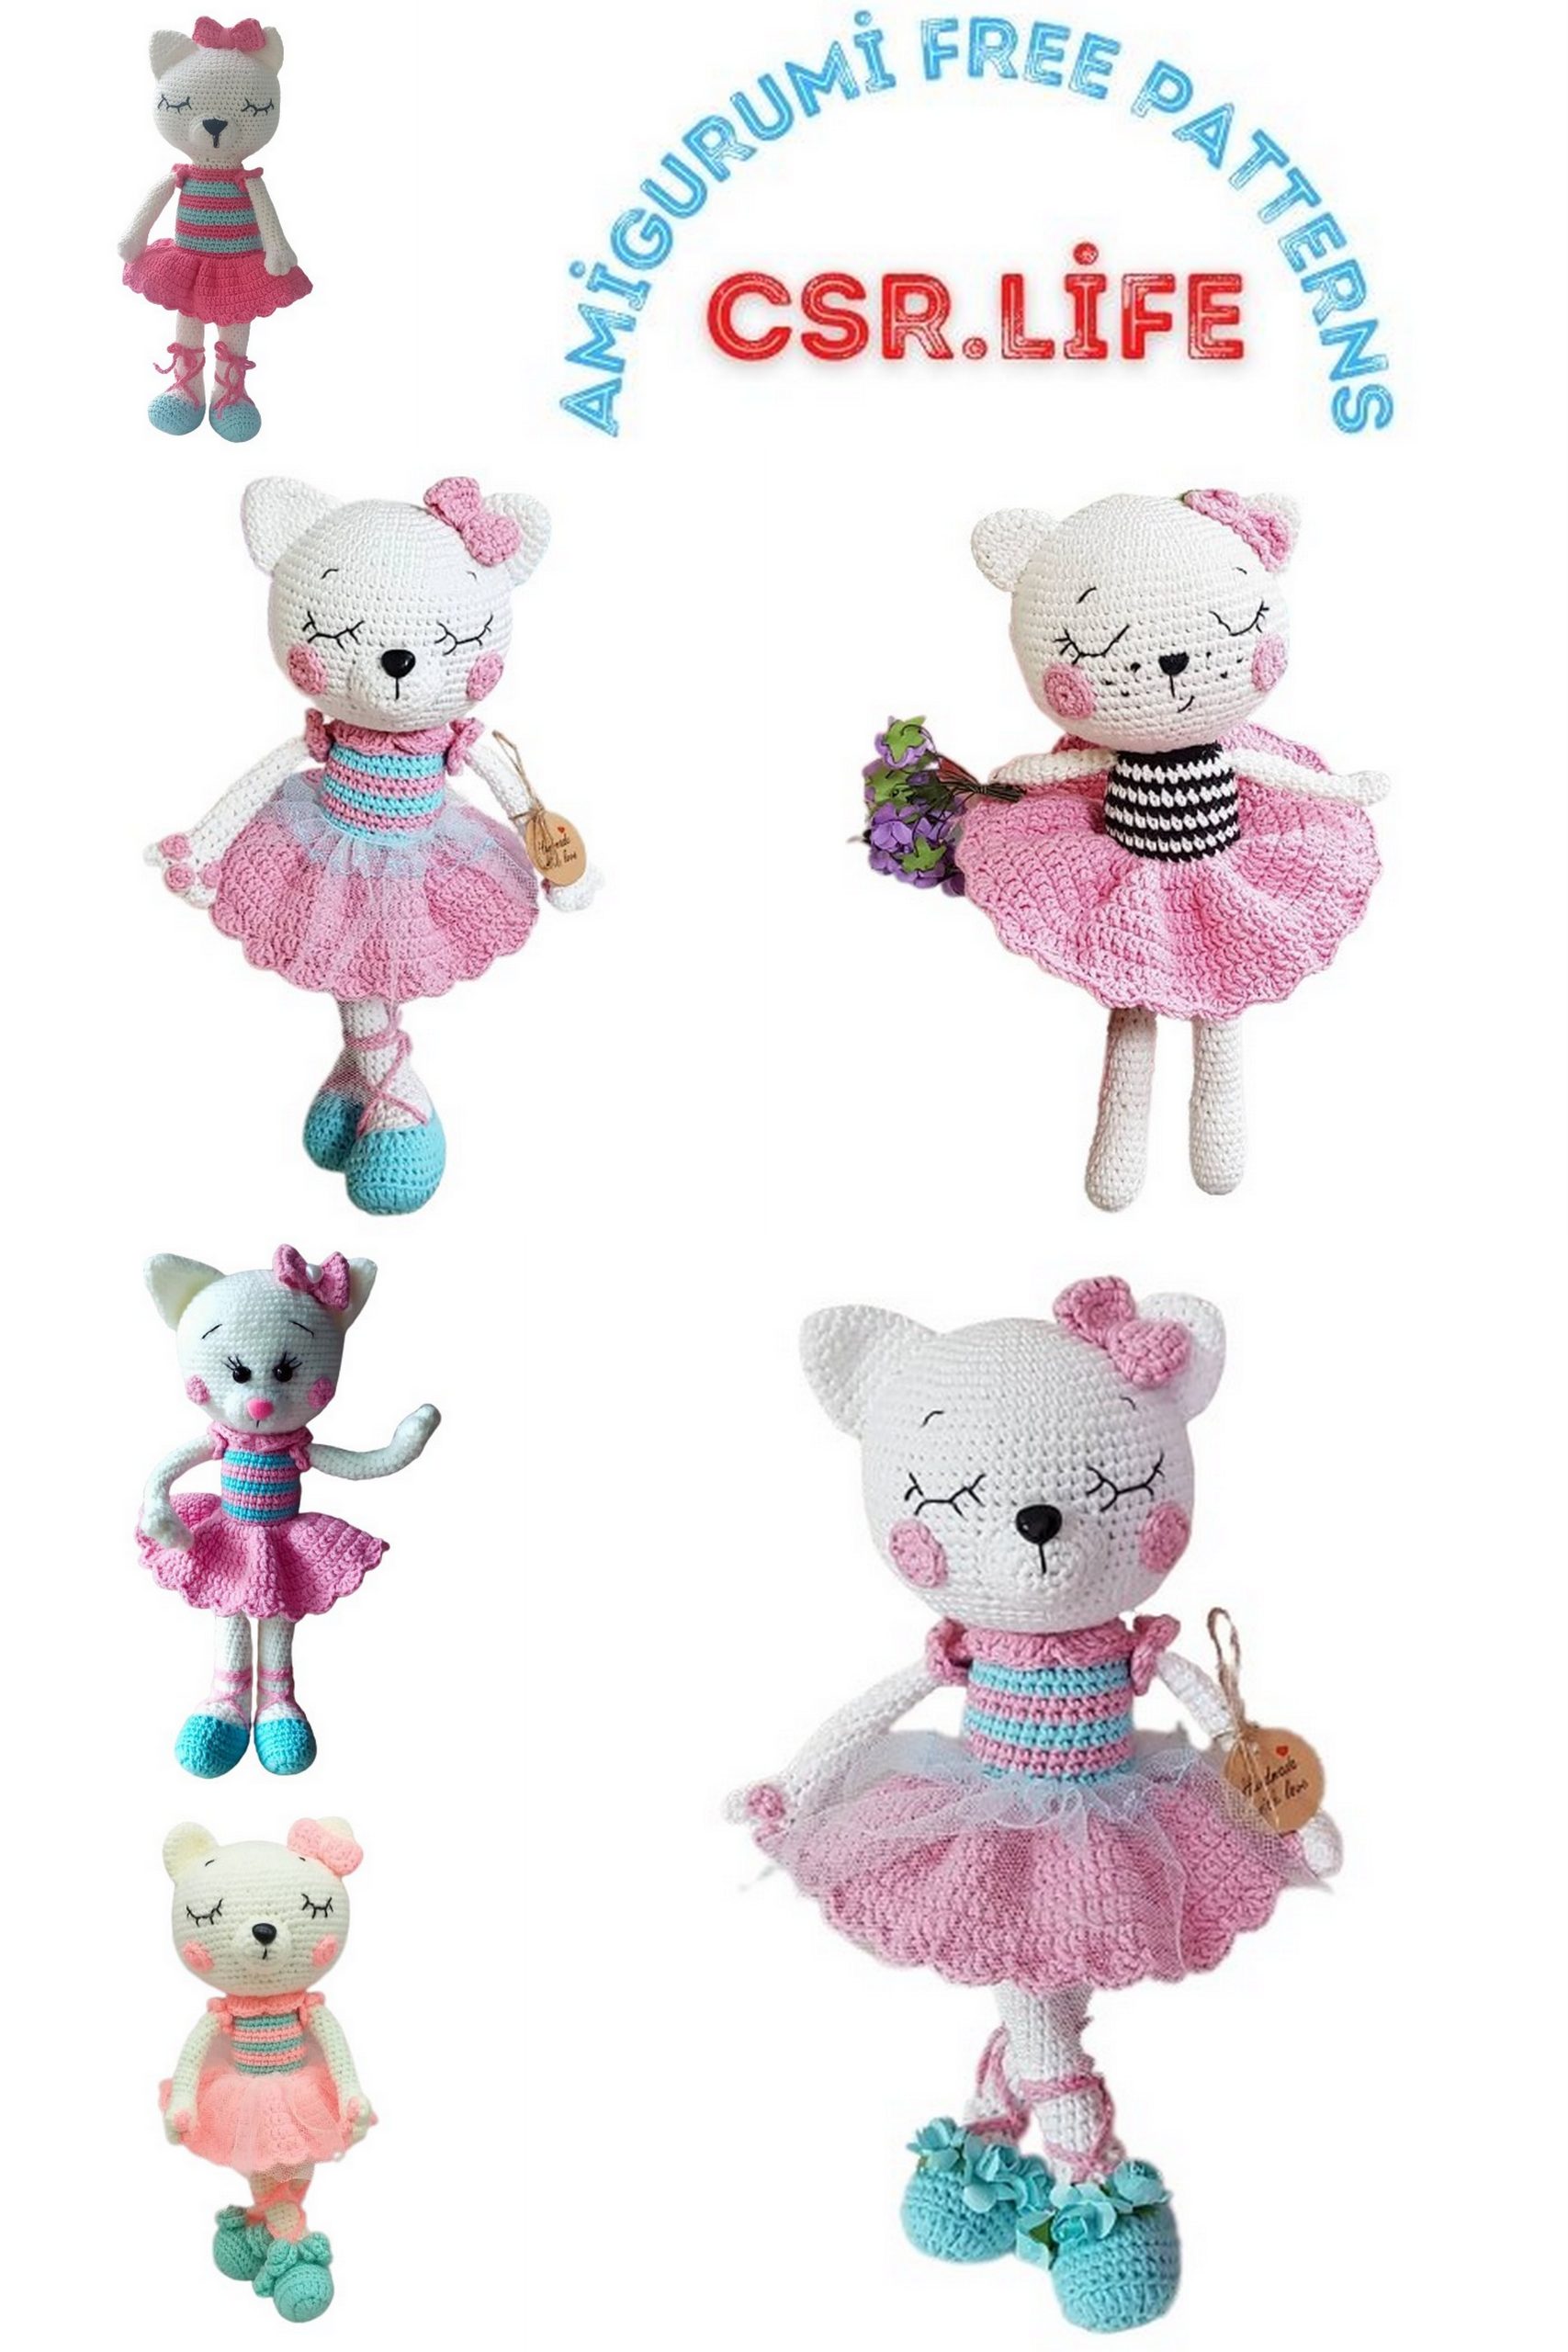
Free Amigurumi Ballerina Cat Pattern – Create Your Adorable Crochet Kitty!
Welcome to the enchanting realm of crochet, where creativity knows no bounds. If you’re a fan of both amigurumi and cats, you’re in for a treat! Our free amigurumi ballerina cat pattern combines the charm of a cuddly kitty with the grace of a ballet dancer, resulting in an adorable and whimsical creation that will steal your heart.
Creating your own amigurumi ballerina cat is not only a fun and rewarding project, but it also allows you to showcase your crochet skills. Whether you’re a seasoned crocheter or a beginner looking for a new challenge, this pattern is designed to be accessible and enjoyable for all.
In this pattern, you’ll find step-by-step instructions, detailed crochet diagrams, and a list of materials you’ll need to bring this elegant feline to life. You can personalize your ballerina cat with different colors and yarn types, giving it a unique personality that reflects your style.
Once completed, your amigurumi ballerina cat can become a cherished gift for a loved one or a charming addition to your own collection. Whether it graces a nursery shelf or accompanies you on your desk, this crochet creation is sure to bring a smile to anyone’s face.
ABBREVIATIONS:
SC – single crochet
DC – double crochet
SS – slip stitch
INC – increase (two SC worked in one stitch)
DEC – decrease (two SC worked together)
MATERIALS NEEDED:
Yarn in the main color for the body – pink, YarnArt Jeans, semi-cotton, 50 g/160 m, I used #36 pink, #71 turquoise, #01 white.
Yarn for embroidering eyes – I used black iris thread.
Hook No 1.5
Stuffing – polyester fiberfill
Scissors, thick needle for sewing parts together
Plastic nose
Small piece of tulle for the skirt
Safety eyes
PATTERN
HEAD (white yarn):
Rnd 1: 6 SC in magic ring.
Rnd 2: INC in each stitch around. (12)
Rnd 3: (1 SC, INC) repeat around. (18)
Rnd 4: (2 SC, INC) repeat around. (24)
Rnd 5: (3 SC, INC) repeat around. (30)
Rnd 6: 2 SC, INC, (4 SC, INC) x 5, 2 SC. (36)
Rnd 7: (5 SC, INC) repeat around. (42)
Rnd 8: 3 SC, INC, (6 SC, INC) x 5, 3 SC. (48)
Rnd 9: (7 SC, INC) repeat around. (54)
Rnd 10: 4 SC, INC, (8 SC, INC) x 5, 4 SC. (60)
Rnd 11: (9 SC, INC) repeat around. (66)
Rnd 12: 5 SC, INC, (10 SC, INC) x 5, 5 SC. (72)
Rnd 13-23: 72 SC (11 rounds)
Rnd 24: 5 SC, DEC, (10 SC, DEC) x 5, 5 SC. (66)
Rnd 25: (9 SC, DEC) repeat around. (60)
Rnd 26: 4 SC, DEC, (8 SC, DEC) x 5, 4 SC. (54)
Rnd 27: (7 SC, DEC) repeat around. (48)
Rnd 28: 3 SC, DEC, (6 SC, DEC) x 5, 3 SC. (42)
Rnd 29: (5 SC, DEC) repeat around. (36)
Rnd 30: 2 SC, DEC, (4 SC, DEC) x 5. (30)
Rnd 31: (3 SC, DEC) repeat around. (24)
FACE (white yarn):
Rnd 1: 5 CH, in 2nd CH from hook 1 SC, 2 SC, 3 SC in 1 stitch, 2 SC, INC. (12)
Rnd 2: 2 SC in each of the next 2 stitches, 2 SC, (2 SC in 1 stitch) x 3, 2 SC, 2 SC in the same stitch. (18)
Rnd 3: 1 SC, INC, 2 SC, (1 SC, INC) x 3, 2 SC, (1 SC, INC) x 2. (24)
Rnd 4: 24 SC.


EARS (2 pieces, white yarn):
Rnd 1: 4 SC in magic ring.
Rnd 2: INC in each stitch around. (8)
Rnd 3: (1 SC, INC) repeat around. (12)
Rnd 4: 12 SC.
Rnd 5: (2 SC, INC) repeat around. (16)
Rnd 6: 16 SC.
Rnd 7: (3 SC, INC) repeat around. (20)
Rnd 8: 20 SC.
Fold the ear in half and crochet 10 slip stitches through both layers.
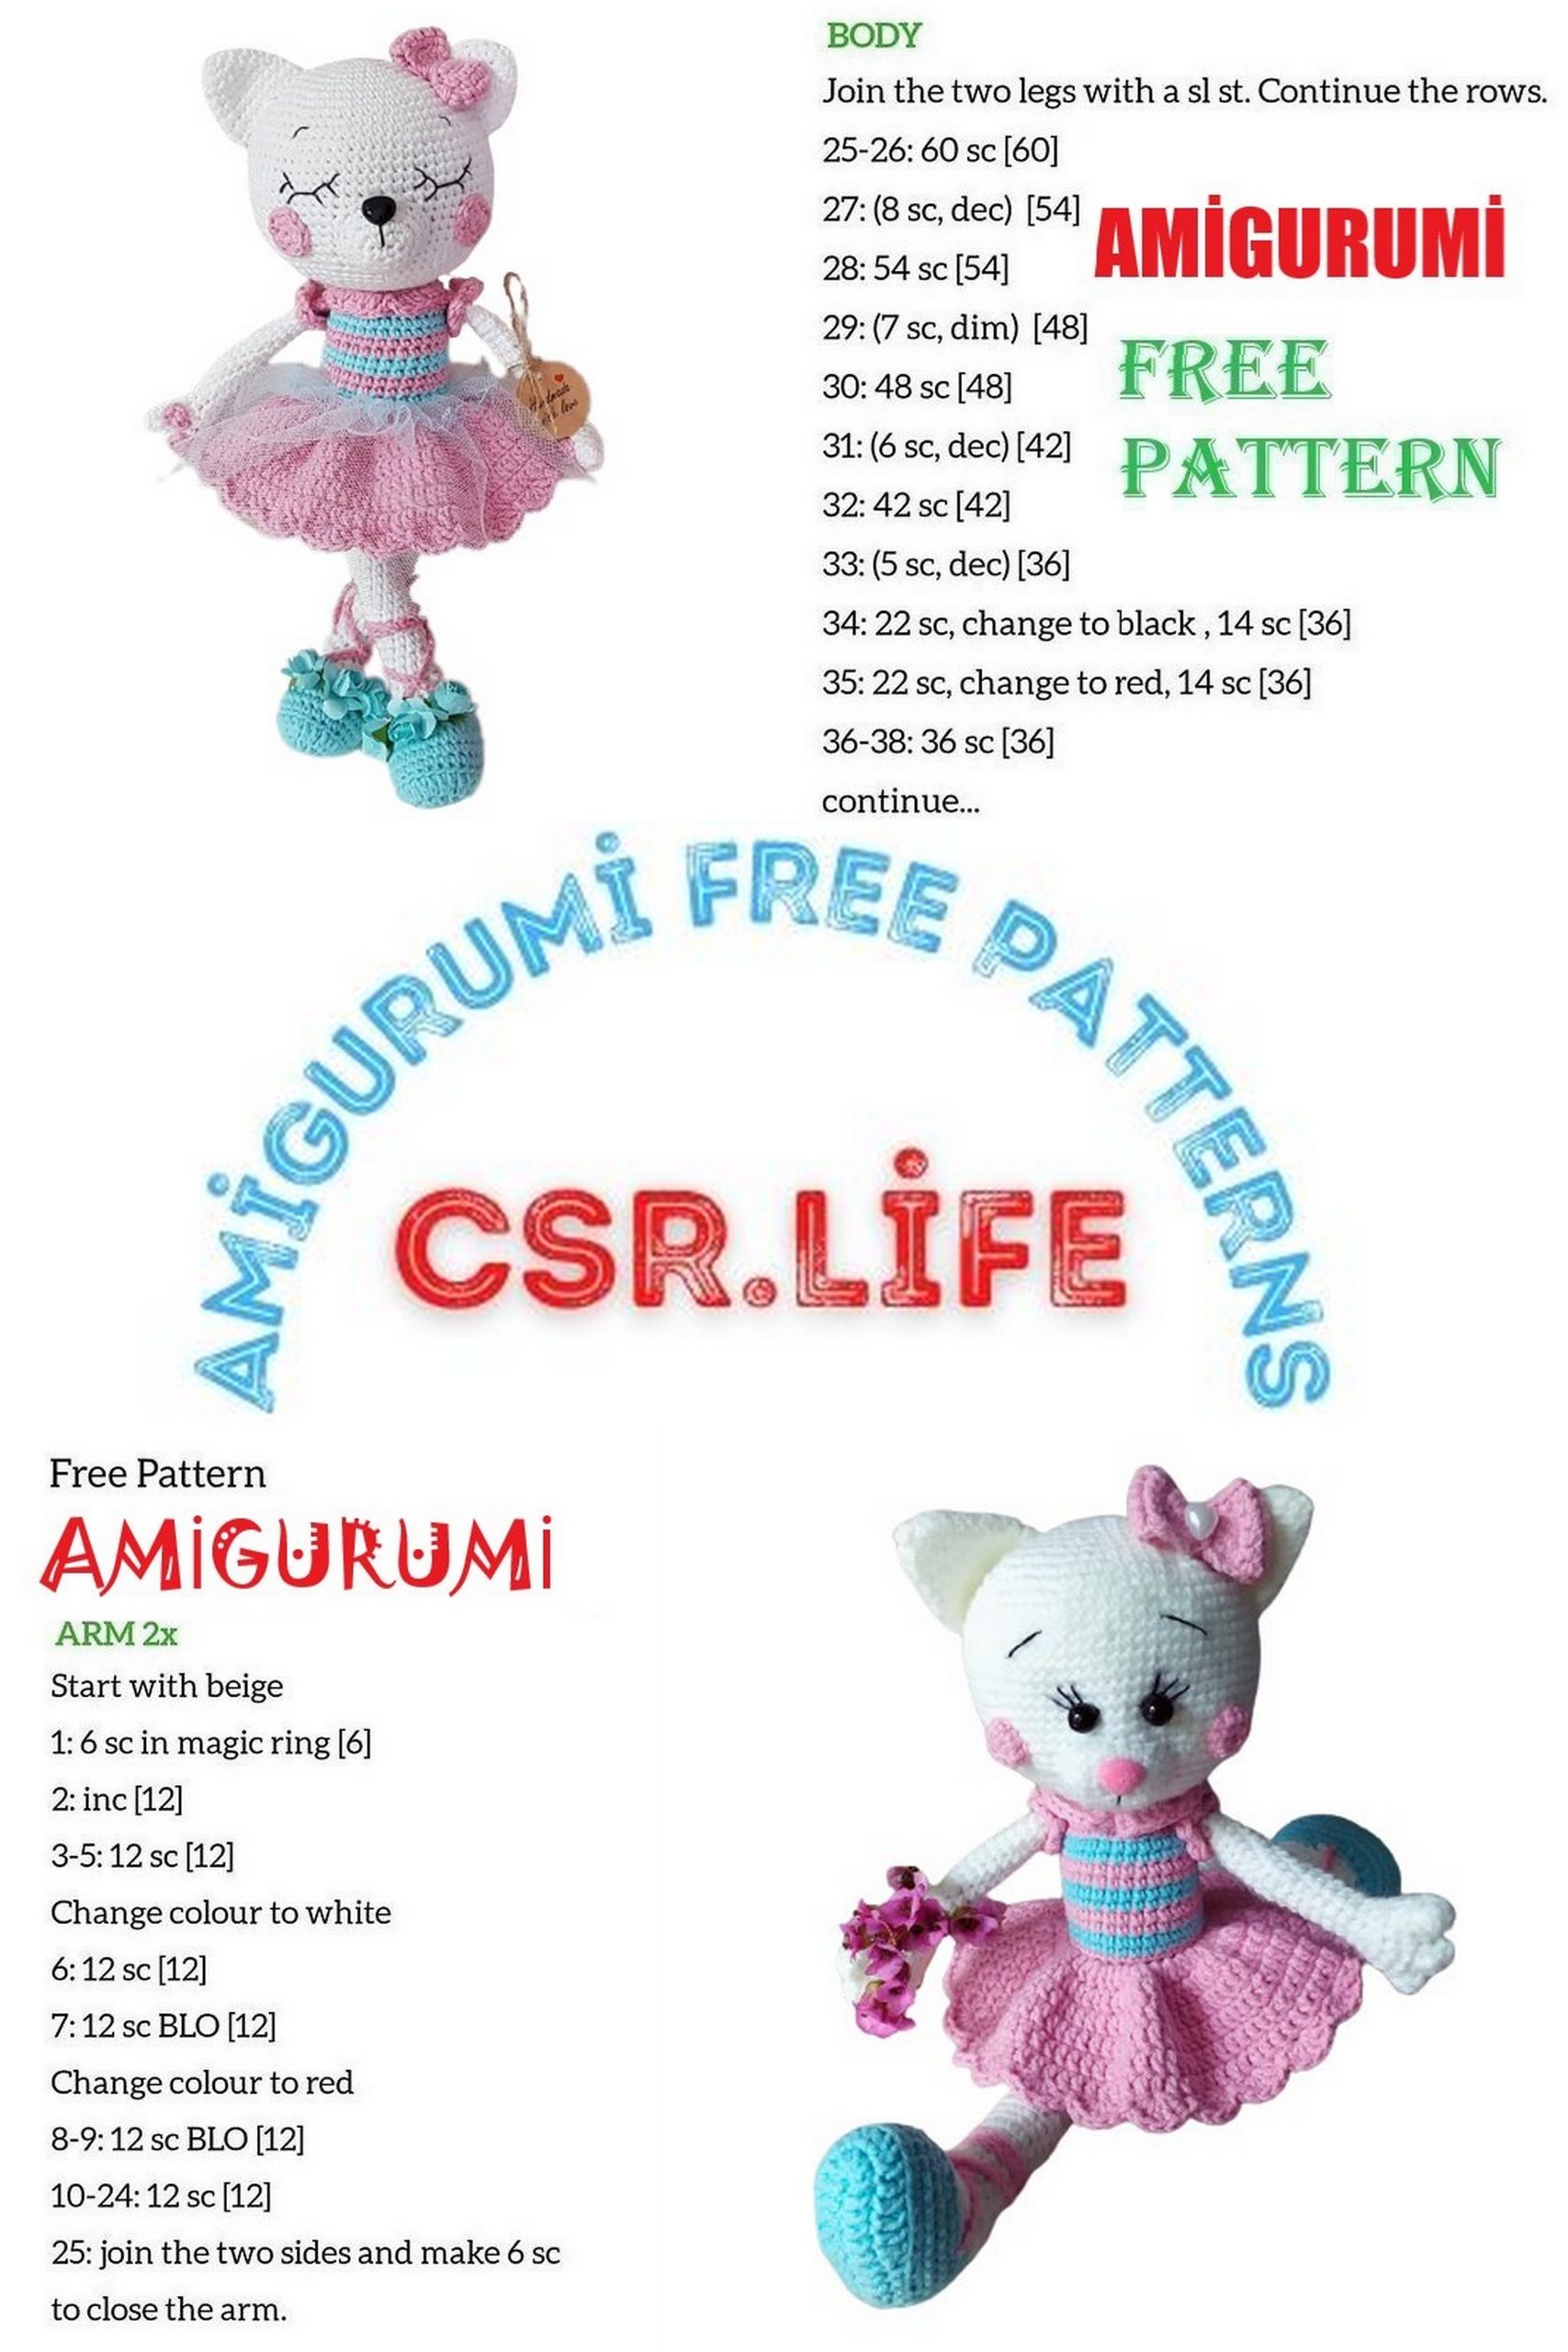
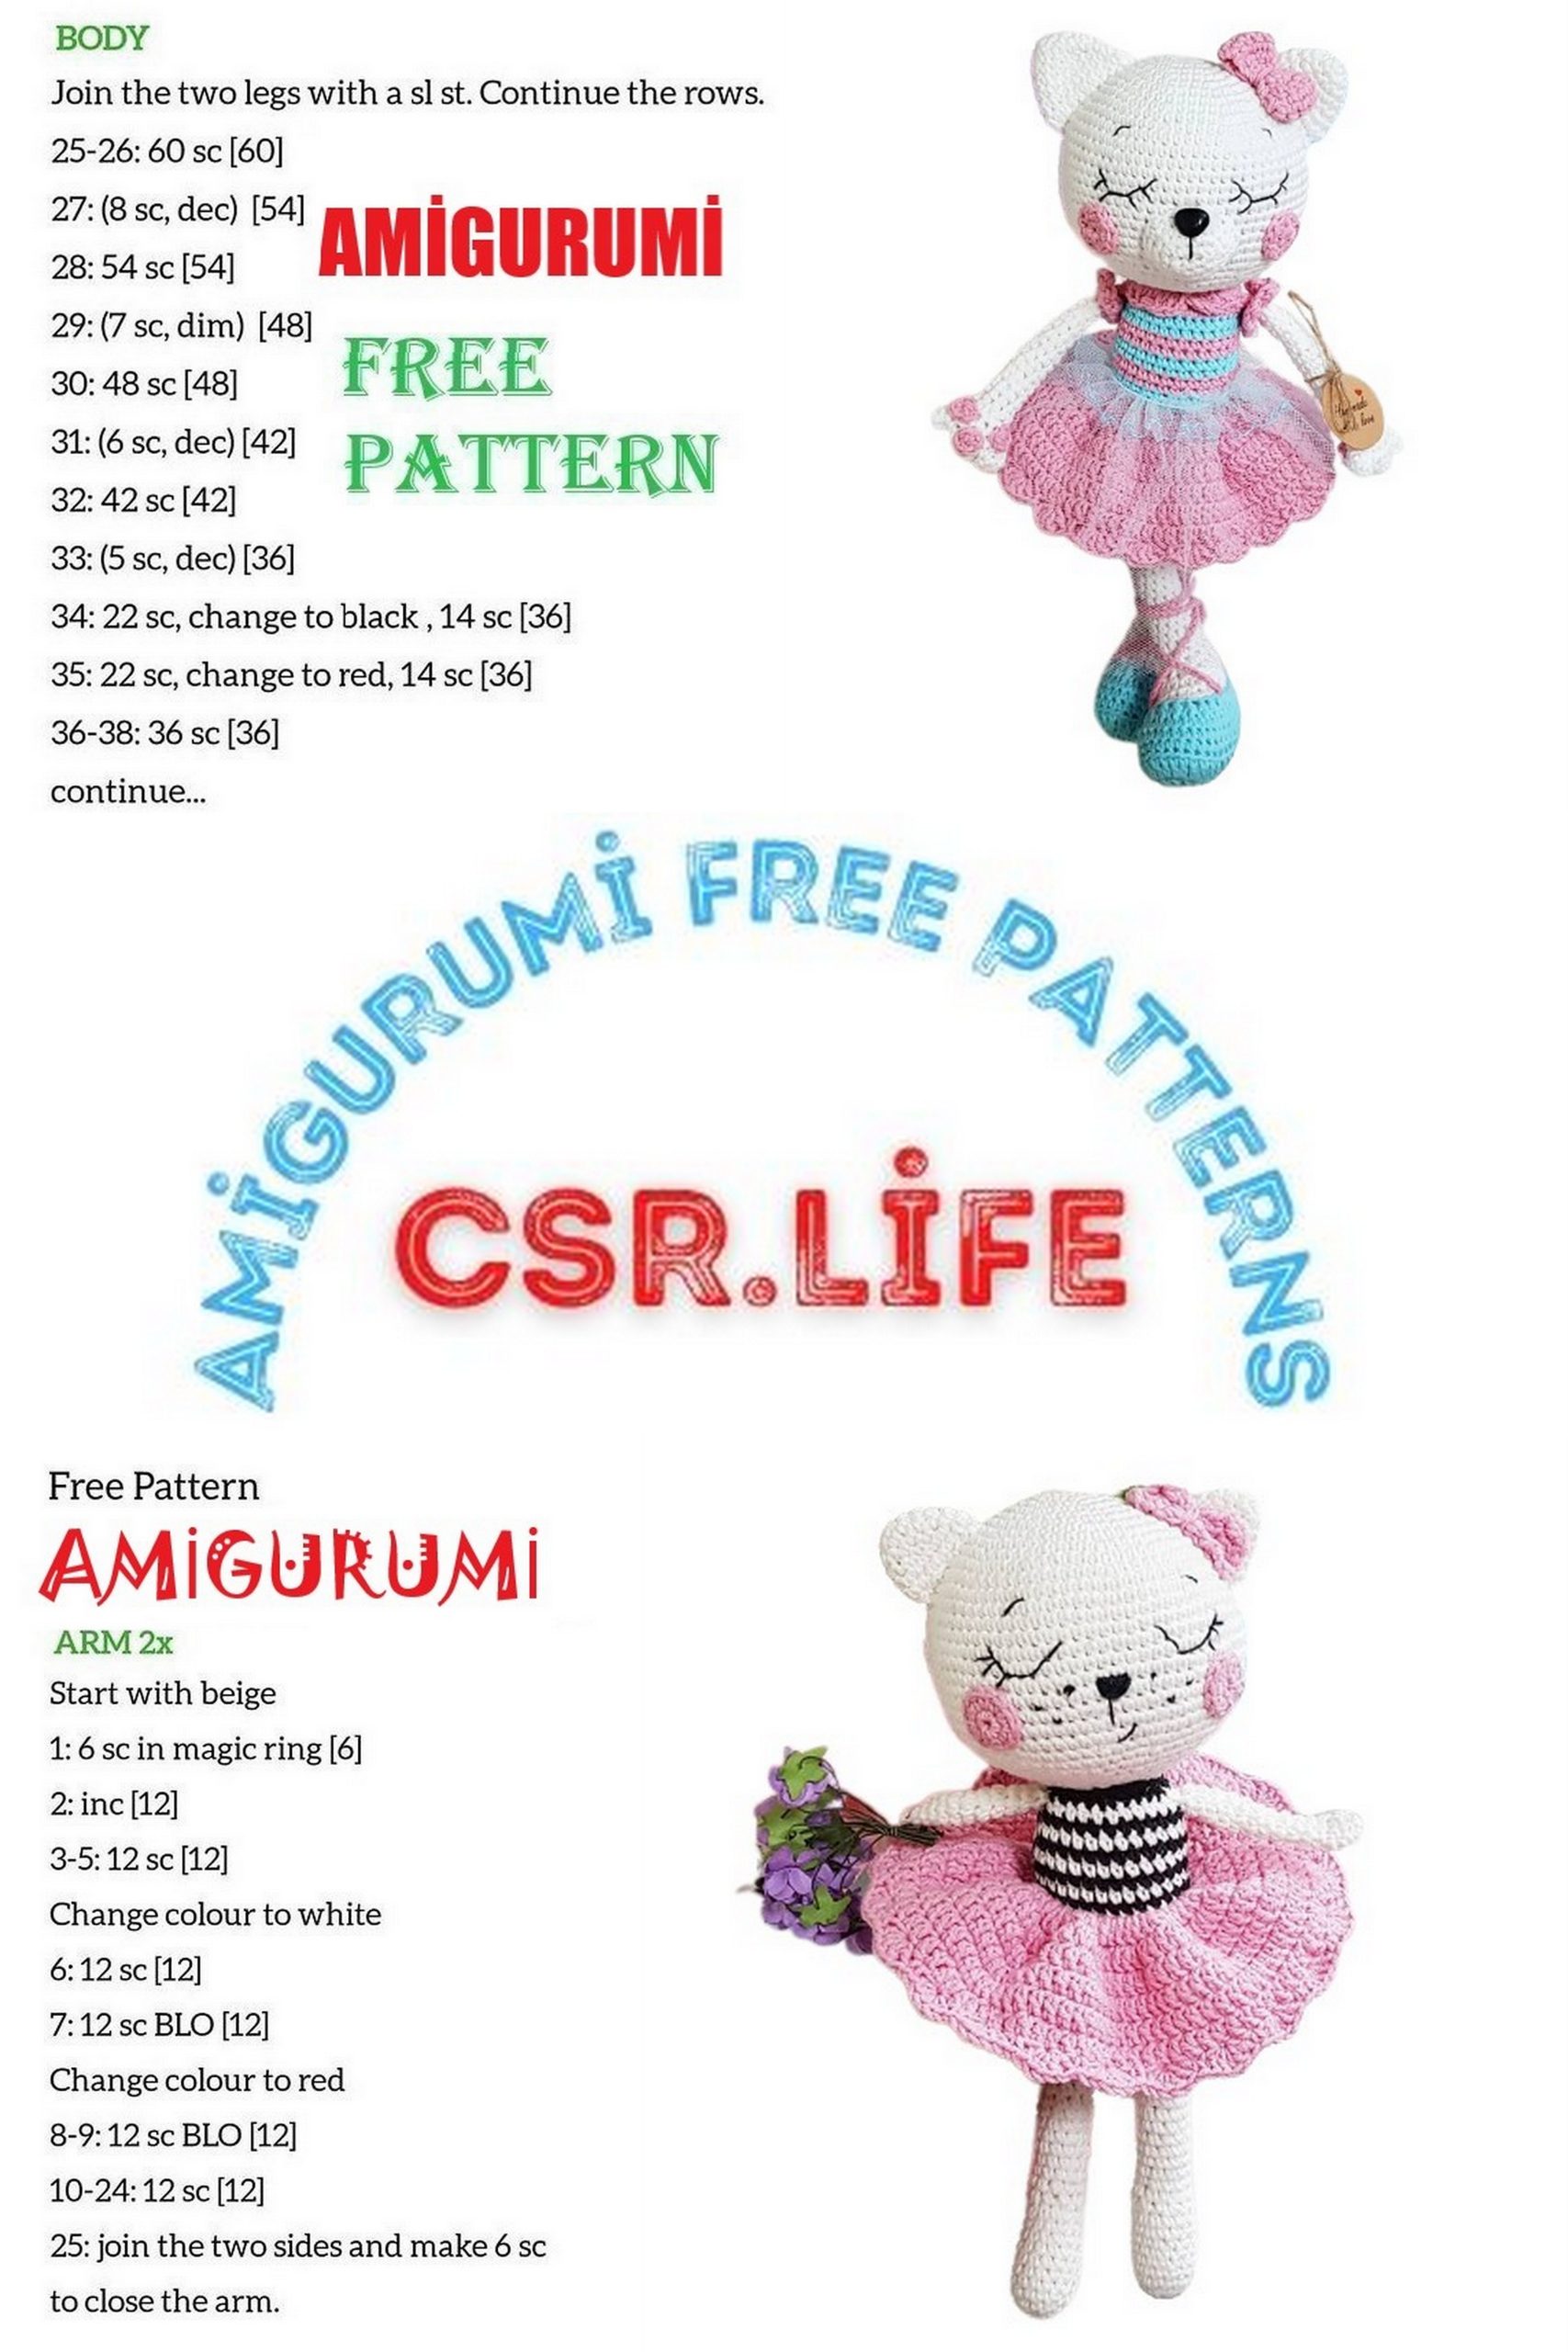
HANDS (2 pieces, white yarn):
Rnd 1: 6 SC in magic ring.
Rnd 2: 6 SC.
Rnd 3: Make 3 of these pieces. Do not cut the yarn after the third piece. Attach the second piece by crocheting 3 SC, then attach the third piece by crocheting 6 SC, 3 SC from the second piece, and 6 SC from the first piece.
Rnd 4: 18 SC.
Rnd 5: (1 SC, DEC) repeat around. (12)
Rnd 6: 12 SC.
Rnd 7: (1 SC, DEC) repeat around. (8)
Rnd 8-22: 8 SC.
Switch to pink yarn.
Rnd 23: 8 SC.
Rnd 24: 8 SC in back loops only.
RUFFLES (pink yarn):
5 SC in magic ring (6 times).
On the arm, attach the ruffle as follows: (1 SC, 1 DC, 1 SC) in each back loop.

TAIL (white yarn):
Rnd 1: 5 SC in magic ring.
Rnd 2: INC in each stitch around. (10)
Rnd 3-23: 10 SC.
You can choose to stuff the tail or leave it unstuffed. Fold it in half and crochet 4 SC through both layers.
LEGS (2 pieces, turquoise yarn):
Chain 13.
Rnd 1: In the 4th CH from hook, work 1 DC, 8 DC, 5 DC in 1 stitch, 9 DC, 4 DC in 1 stitch. (38)
Rnd 2: 2 SC in 1 stitch, 3 SC, 1 HDC, 5 DC, (2 DC in 1 stitch) x 5, 5 DC, 1 HDC, 3 SC, (2 SC in 1 stitch) x 4. (38)
Rnd 3: 38 SC in back loops only.
Rnd 4-5: 38 SC.
Shift the work by 2 SC.
Rnd 6: 4 SC, (DEC in HDC) x 10, 14 SC. (28)
Rnd 7: Switch to white yarn, 28 SC in back loops only.
Rnd 8: 3 SC, (1 SC, DEC) x 4, 13 SC. (24)
Rnd 9: 1 SC, (1 SC, DEC) x 6, 11 SC. (18)
Rnd 10: (1 SC, DEC) x 6. (12)
Rnd 11-32: 12 SC.
BODY:
Rnd 1: Using the yarn from the second leg, chain 3, and work 12 SC on the first leg, 3 SC in the chain, 12 SC on the second leg, 3 SC in the chain. (30)
Rnd 2-5: 30 SC.
Rnd 6: 30 SC, crochet the tail.
Rnd 7: (Switch to pink yarn) 30 SC.
Rnd 8: 30 SC in back loops only.
Rnd 9-10: (turquoise yarn) 30 SC.
Rnd 11-12: (pink yarn) 30 SC.
Rnd 13-14: (turquoise yarn) 30 SC.
Rnd 15-16: (pink yarn) 30 SC.
Rnd 17-18: (turquoise yarn) 30 SC.
Rnd 19: (pink yarn) Attach both hands with 30 SC.
Rnd 20: (pink yarn) (3 SC, DEC) x 6. (24)
Rnd 21: (white yarn) 24 SC in back loops only.
SKIRT:
Rnd 1: 2 DC in 1 stitch (work in every back loop on the body).
Rnd 2: (2 DC in 1 stitch, 1 DC) around.
Rnd 3-6: 1 DC in each stitch.
RIBBON:
Chain 6.
Work 5 SC (20 rows).
Fold in half, crochet through both layers with slip stitches, and turn it right side out. Tie a ribbon with thread.
CHEEKS:
6 SC in magic ring.
Rnd 1: INC in each stitch around. (12)
COLLAR:
Chain 21 + 2 (for turning chain; you may need more depending on the neck circumference). 9 DC, 2 DC in 1 stitch, SS, 2 DC in 1 stitch, 9 DC.
I hope you find this translation helpful! Enjoy making your amigurumi ballerina kitty. If you have any questions or need further clarification on any part of the pattern, please feel free to ask.”