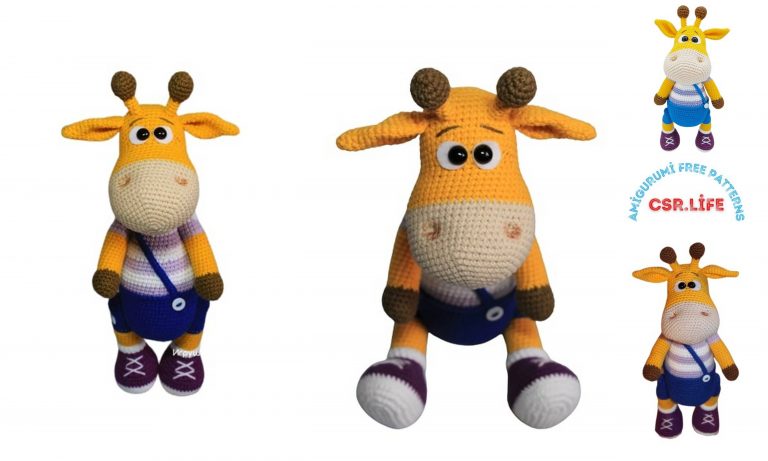
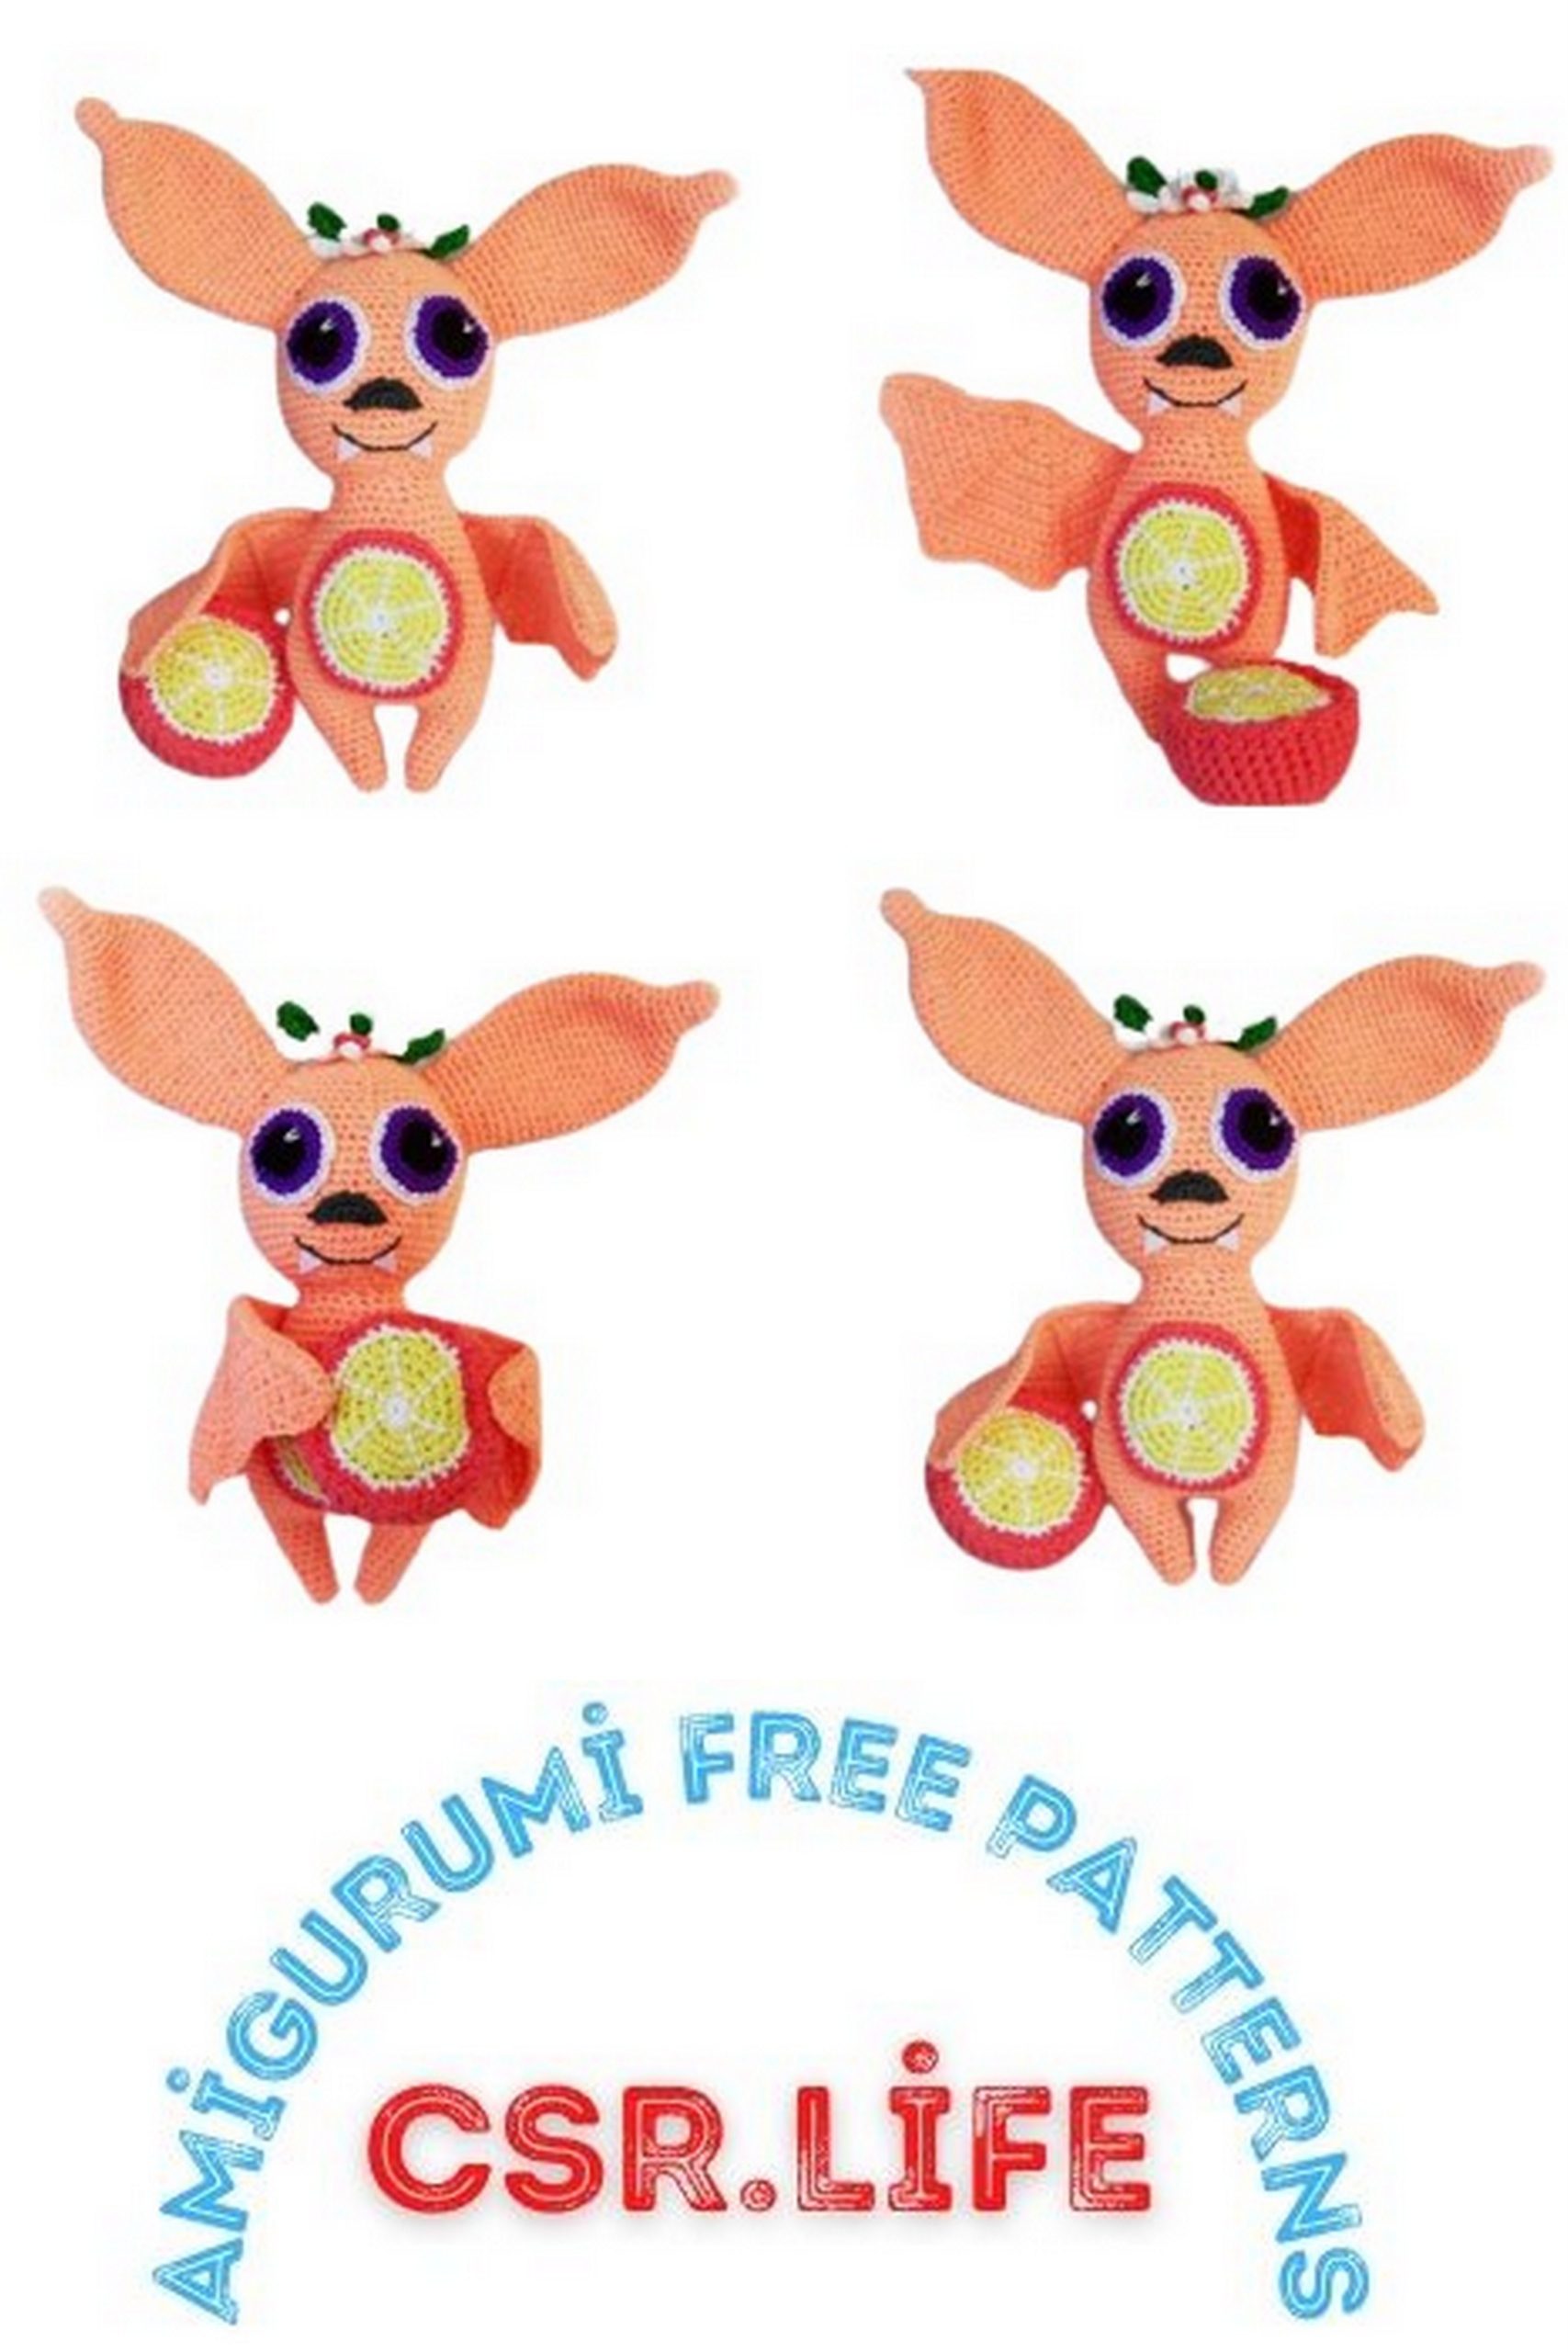
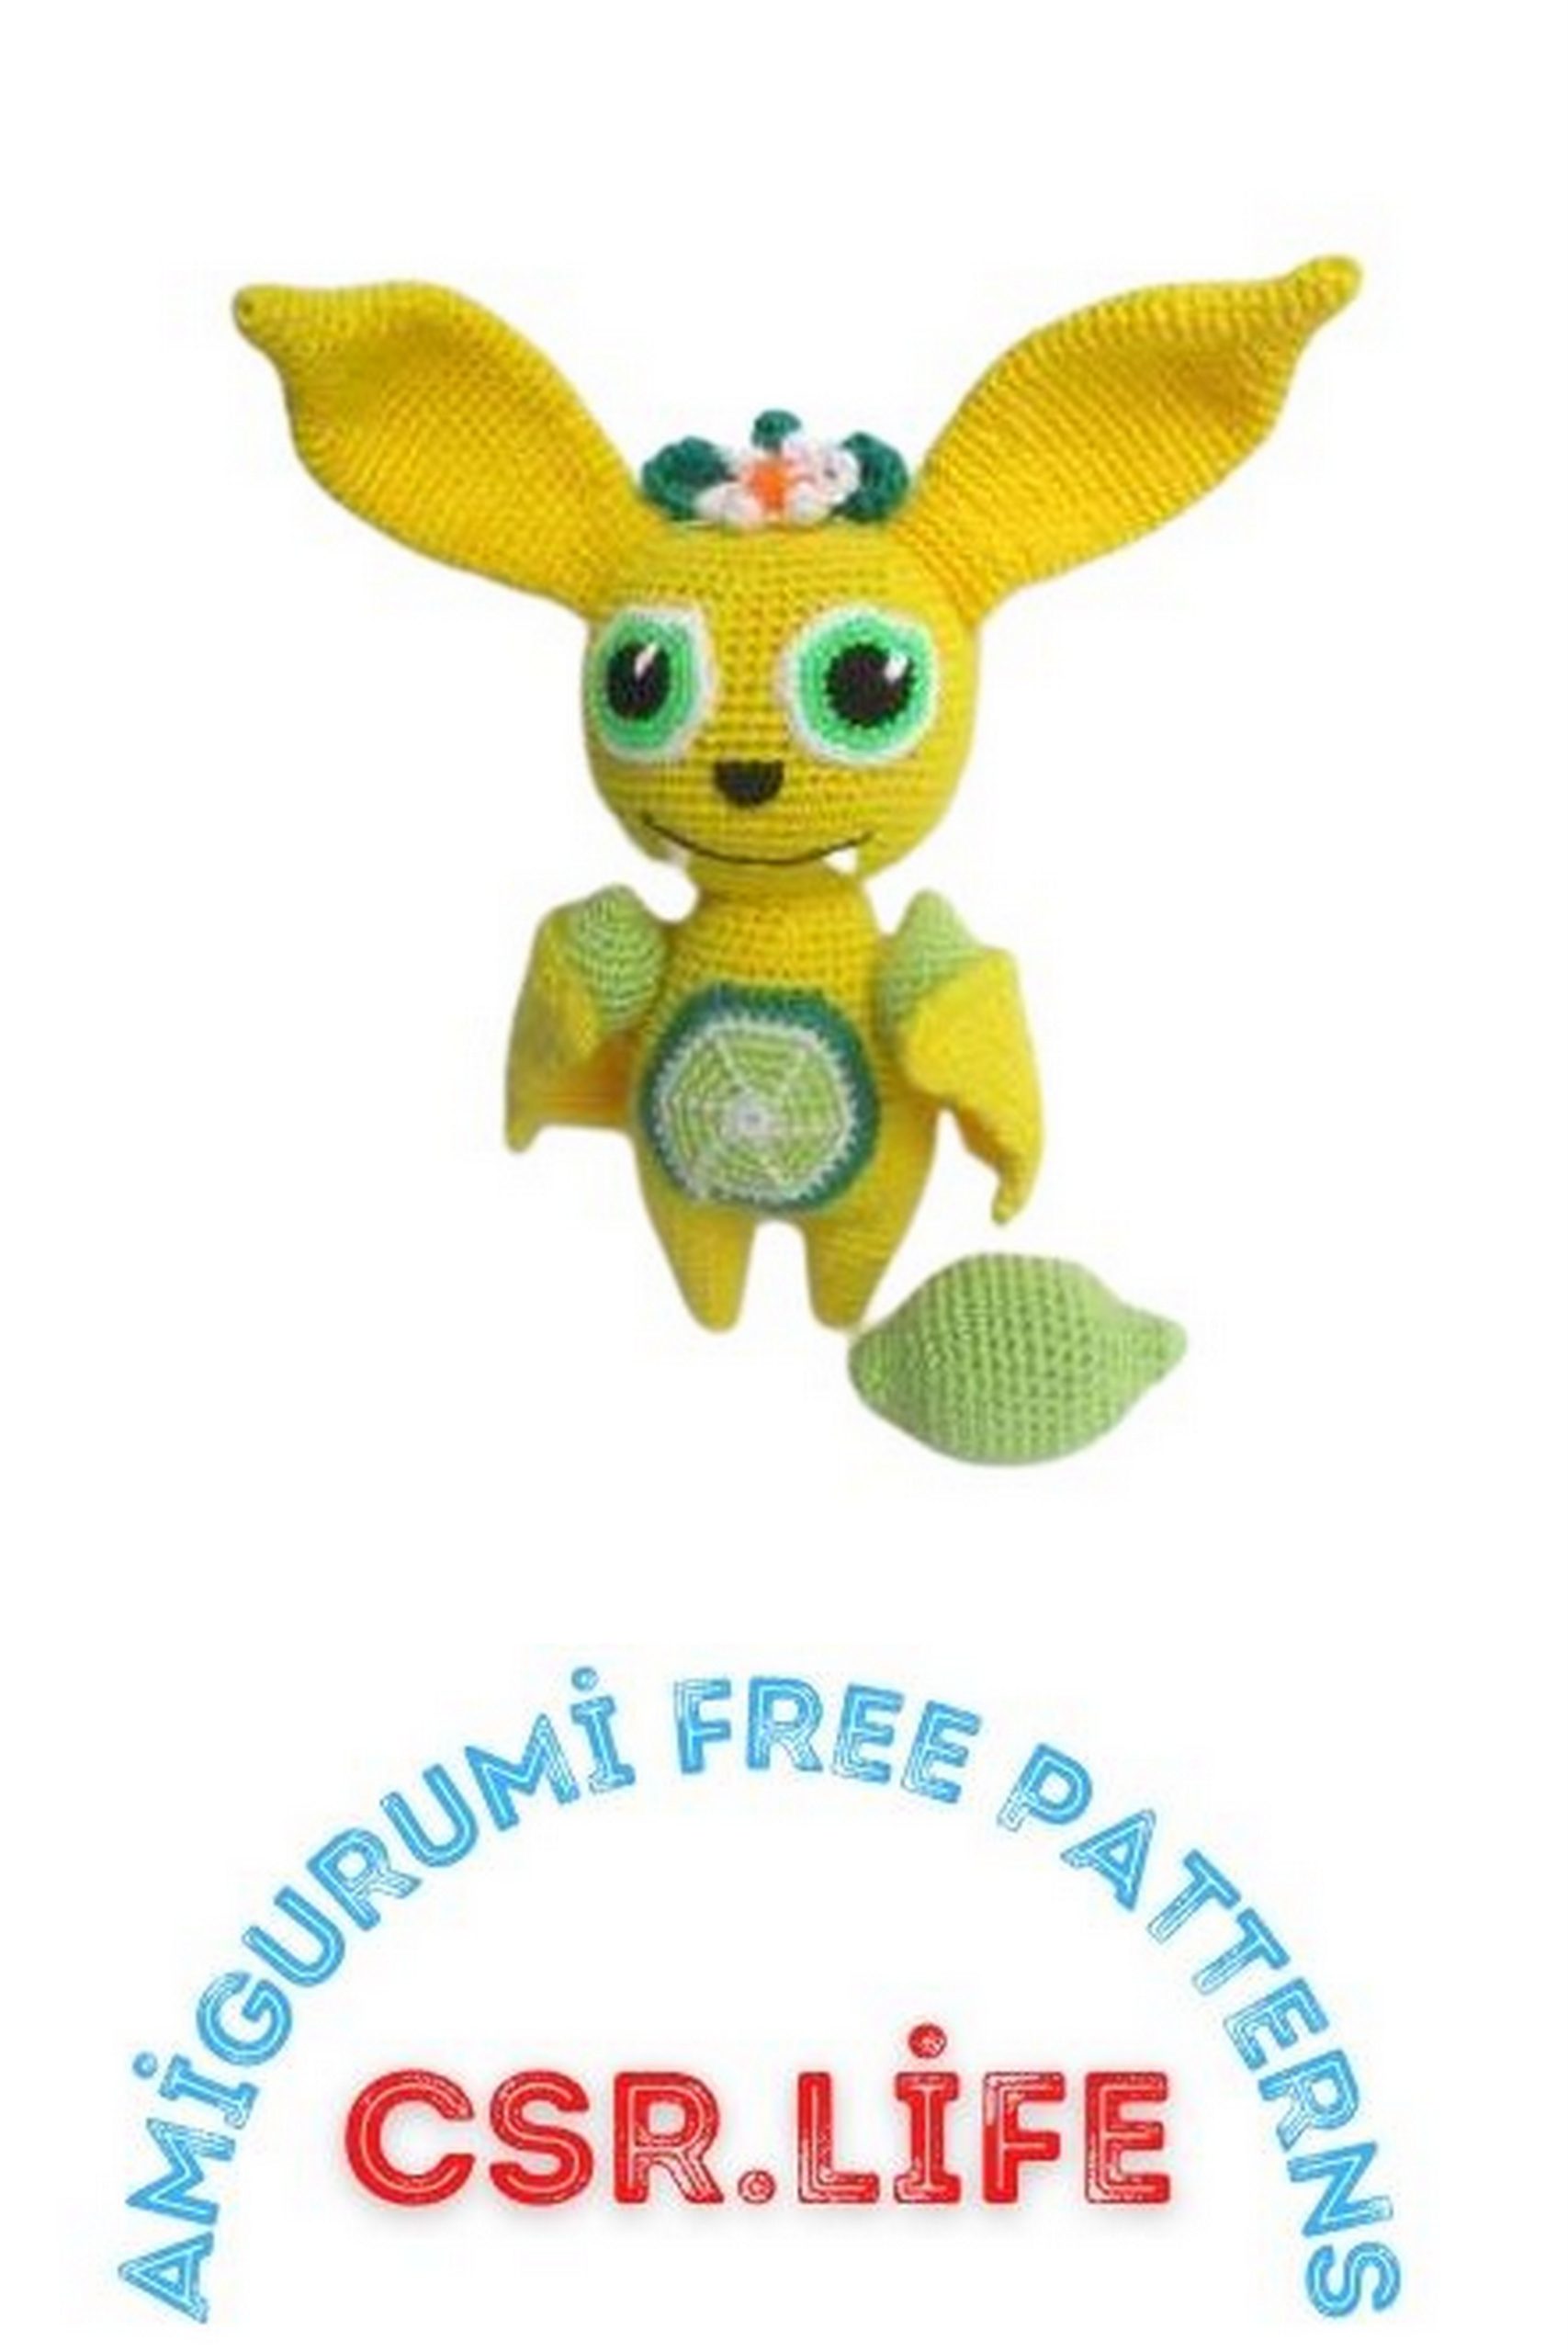
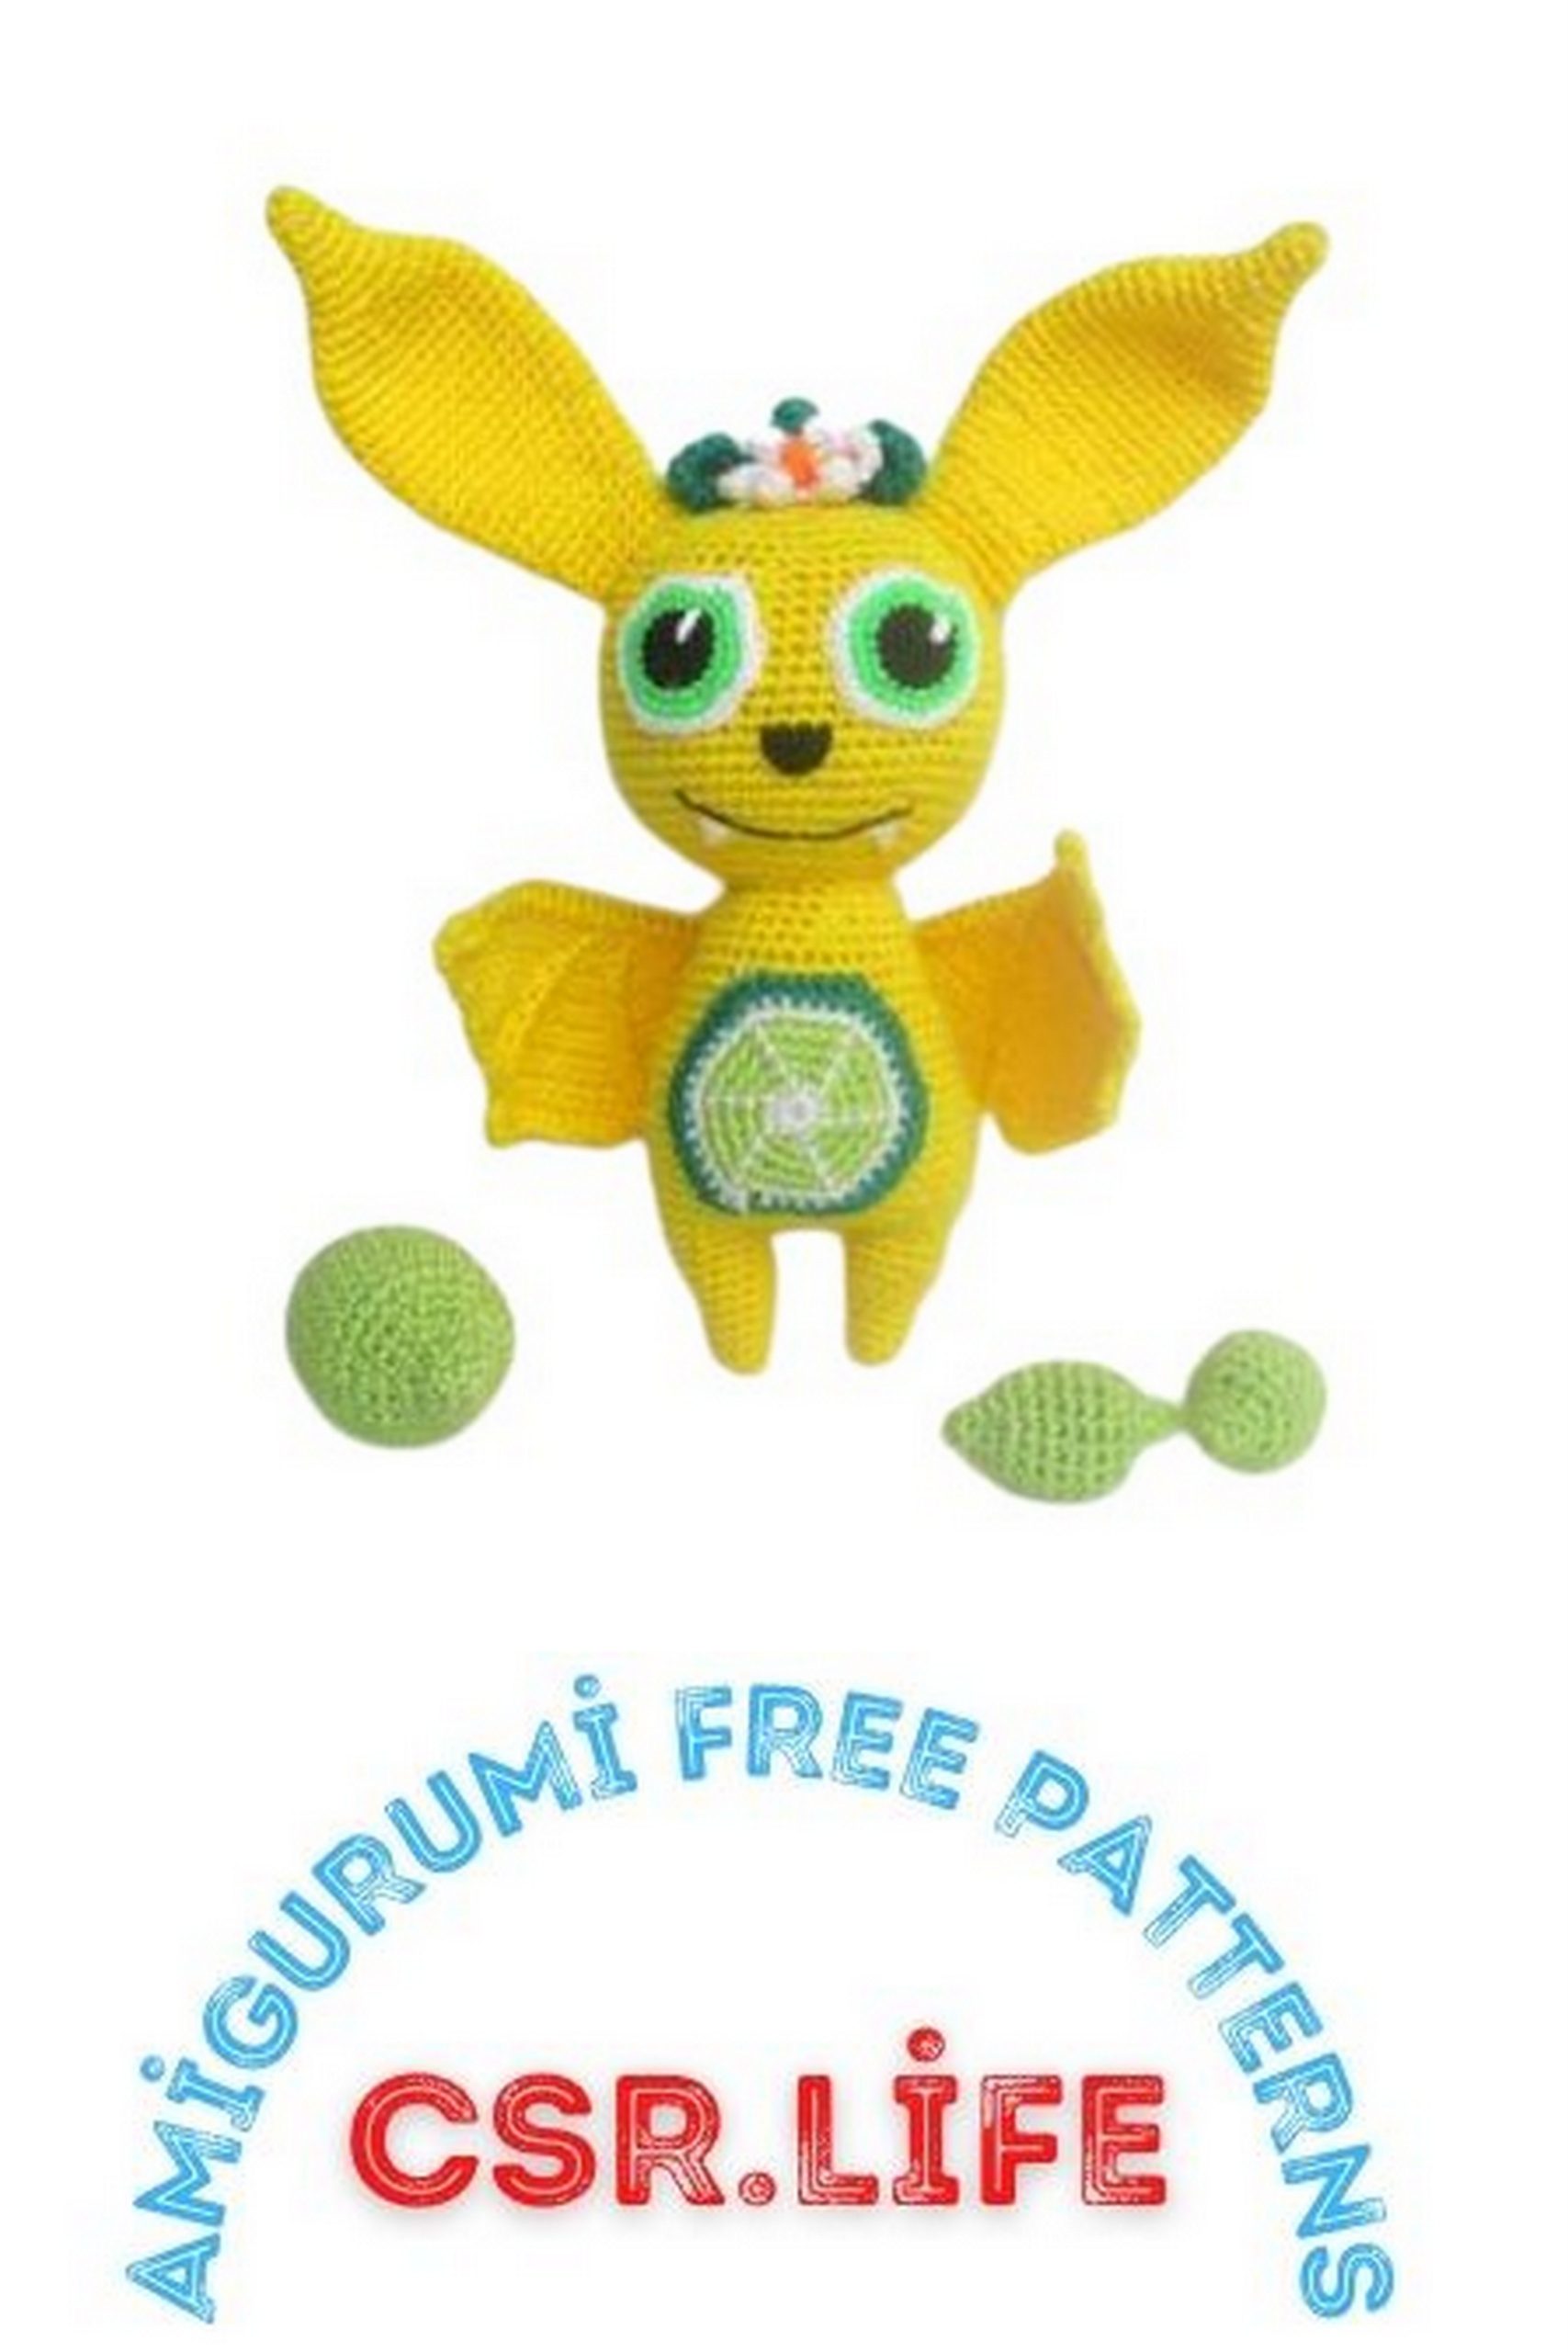
Free Amigurumi Jayosa Pattern – Crochet Your Own Adorable Toy
Welcome to our world of creativity and crochet magic! If you’re a fan of amigurumi, you’re in for a treat. In this post, we’re excited to share our free Amigurumi Jayosa pattern with you. Get ready to embark on a crafting adventure that will result in an adorable and huggable toy.
Amigurumi, the art of crocheting cute stuffed creatures, has captured the hearts of crafters worldwide. Whether you’re a seasoned crochet enthusiast or a beginner looking for a fun and rewarding project, our Amigurumi Jayosa pattern is perfect for you.
This pattern is designed to be beginner-friendly, with detailed step-by-step instructions and helpful tips along the way. Even if you’re new to amigurumi, you’ll find this project manageable and enjoyable.
Why choose Amigurumi Jayosa free pattern? With its endearing design and cuddly appeal, Jayosa is sure to become a cherished companion or a delightful gift for a loved one. Crochet your own Jayosa and watch as its personality comes to life in your hands.
So, gather your crochet hooks, pick your favorite yarn colors, and let’s get started on this enchanting amigurumi journey. Follow our instructions, unleash your creativity, and craft your very own Amigurumi Jayosa. Get ready to experience the joy of bringing a charming character to life, stitch by stitch.
Scroll down to access the amigurumi free pattern and dive into the world of Amigurumi Jayosa. Happy crocheting!
Materials Needed:
Any yellow yarn. I used Alize Diva 350m/100g for crocheting the mouse. Hook size: 1.6mm.
Light green yarn for the belly and limes. I used YarnArt Begonia 169m/50g.
Thinner yarn for the eyes, white and black. Hook size: 1.0mm. Acrylic embroidery floss in green color.
Any white, dark green, and orange yarn for crocheting leaves and a flower.
Crochet hook suitable for your yarn. I used sizes 1.65mm and 1.0mm.
Polyester fiberfill stuffing.
Wire for the wings.
Materials for wrapping the wire, like medical tape or electrical tape.
Needle for sewing.
White felt for teeth.
Hot glue gun for attaching teeth and the flower.
Finished toy height with the specified materials: 15 cm (without ears), 20 cm (including ears).
Difficulty level: Intermediate.
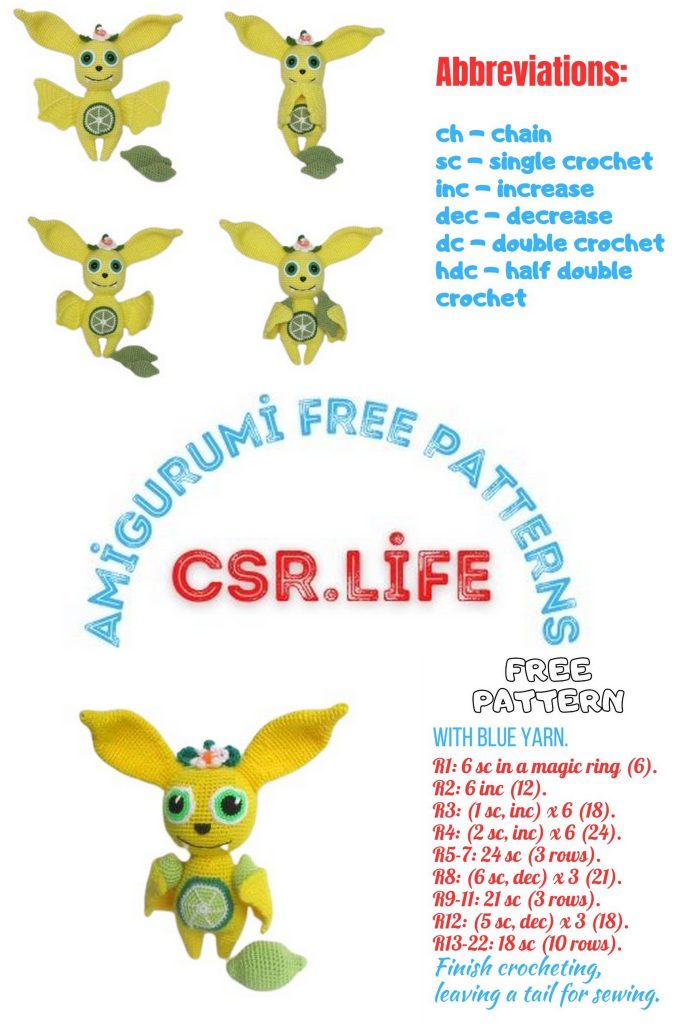
Abbreviations:
MR – Magic Ring
sc – Single Crochet
inc – Increase (2 sc in the same stitch)
dec – Decrease (decrease 2 sc into 1)
sl st – Slip Stitch
ch – Chain
hdc – Half Double Crochet
dc – Double Crochet
BLO – Back Loop Only
FLO – Front Loop Only
PATTERN

Legs (2 pieces):
Use yellow yarn.
Row 1: 6 sc in MR (6).
Row 2: inc in each st around (12).
Row 3: (sc, inc) x 6 (18).
Row 4: (2 sc, inc) x 6 (24).
Row 5-10: 24 sc (24).
Fasten off one leg, leaving a long tail for sewing. Continue with the second leg, but do not fasten off.
Body:
Continue with yellow yarn, stuffing the body as you go.
Join the two legs together, ensuring that the increases on the legs are on the outside (see photo).
Row 11: Ch 4, attach the second leg, sc 14 around the second leg, sc 4 in the chain, sc 14 around the first leg, sc 4 in the chain (36).
Row 12: (5 sc, inc) x 6 (42).
Row 13: (6 sc, inc) x 6 (48).
Row 14-20: 48 sc (48).
Row 21: (6 sc, dec) x 6 (42).
Row 22-25: 42 sc (42).
Row 26: 8 sc, 2 dec, 17 sc, 2 dec, 9 sc (38). Note: Decreases should be on the sides of the body. Don’t forget to stuff.
Row 27-28: 38 sc (38).
Row 29: 8 sc, dec, 18 sc, dec, 8 sc (36).
Row 30: (10 sc, dec) x 3 (33).
Row 31: (9 sc, dec) x 3 (30).
Row 32: 30 sc.
Row 33: (3 sc, dec) x 6 (24).
Row 34: (2 sc, dec) x 6 (18).
Do not cut the yarn; continue crocheting the head.
Head:
Continue with yellow yarn.
Row 35: 18 inc (36).
Row 36: (5 sc, inc) x 6 (42).
Row 37: (6 sc, inc) x 6 (48).
Row 38: (7 sc, inc) x 6 (54).
Row 39: (8 sc, inc) x 6 (60).
Row 40-50: 60 sc (60).
Row 51: (8 sc, dec) x 6 (54).
Row 52: 54 sc (54).
Row 53: (7 sc, dec) x 6 (48).
Stuff the head as you go.
Row 54: 48 sc (48).
Row 55: (6 sc, dec) x 6 (42).
Row 56: 42 sc (42).
Row 57: (5 sc, dec) x 6 (36).
Row 58: (4 sc, dec) x 6 (30).
Row 59: (3 sc, dec) x 6 (24).
Row 60: (2 sc, dec) x 6 (18).
Row 61: (sc, dec) x 6 (12).
Row 62: 6 dec.
Stuff the head thoroughly. Cut the yarn, leaving a long tail for sewing.
Ears (2 pieces):
Use yellow yarn.
Row 1: 6 sc in MR (6).
Row 2: (sc, inc) x 3 (9).
Row 3-4: 9 sc (9).
Row 5: (2 sc, inc) x 3 (12).
Row 6-7: 12 sc (12).
Row 8: (sc, inc) x 6 (18).
Row 9: 18 sc (18).
Row 10: (2 sc, inc) x 6 (24).
Row 11: (3 sc, inc) x 6 (30).
Row 12-23: 30 sc (30).
Row 24: (3 sc, dec) x 6 (24).
Row 25-28: 24 sc (24).
Row 29: (2 sc, dec) x 6 (18).
Row 30-32: 18 sc (18).
Do not stuff. Cut the yarn, leaving a long tail for sewing.
Wings (2 pieces):
Use yellow yarn and work in turned rows.
Row 1: 3 sc in MR (3), turn.
Row 2: ch 1, 3 inc (6), turn.
Row 3: ch 1, (1 sc, inc) x 3 (9), turn.
Row 4: ch 1, (2 sc, inc) x 3 (12), turn.
Row 5: ch 1, (3 sc, inc) x 3 (15), turn.
Row 6: ch 1, (4 sc, inc) x 3 (18), turn.
Row 7: ch 1, (5 sc, inc) x 3 (21), turn.
Row 8: ch 1, (6 sc, inc) x 3 (24), turn.
Row 9: ch 1, (7 sc, inc) x 3 (27), turn.
Row 10: ch 1, (8 sc, inc) x 3 (30), turn.
Row 11: ch 1, (9 sc, inc) x 3 (33), turn.
Row 12: ch 1, (10 sc, inc) x 3 (36), turn.
Row 13: ch 1, (11 sc, inc) x 3 (39), turn.
Row 14 (partial row): ch 3, 2 dc, 2 hdc, 1 sc, 3 sl st, 1 sc, 2 hdc, 2 dc, 13 sc (26), turn.
Row 15: ch 1, 13 sc (13), turn.
Row 16: ch 3, 2 dc, 2 hdc, 1 sc, 3 sl st, 1 sc, 2 hdc, 2 dc, ch 1, sl st in the previous row’s loop (as shown in the photo), 2 dc, 2 hdc, 1 sc, 3 sl st, 1 sc, 2 hdc, 2 dc (26).
Do not cut the yarn; we will use it to edge the wing. Take a thin wire slightly longer than the wing (approximately 10 cm, excess will be trimmed). Wrap one end with medical tape. Apply the wire to the wing and sc around the upper part of the wing only. Ensure that the taped end of the wire is hidden and adjust it closer to the center of the wing (see photo). Cut the yarn, leaving a long tail. Neatly stitch the areas where the medical tape is visible. Secure and trim the yarn.
Similarly, crochet the second wing. Note: For the second wing, wrap the wire from the opposite side to ensure you have one left and one right wing. Use your reference.
Webbing on the wings:
Crochet the webbing on the back side of the wings, where you made increases. Do not pull the stitches tightly to avoid shrinking the wing. Insert the hook into the top of the wing and bring the loop out on the side where the webbing should be. Insert the hook with the loop back into the same stitch and pull it out one row below, catch the yarn and make a sc. Continue this pattern until the very bottom. Cut the yarn and secure.
Repeat this for the other 3 webbings.
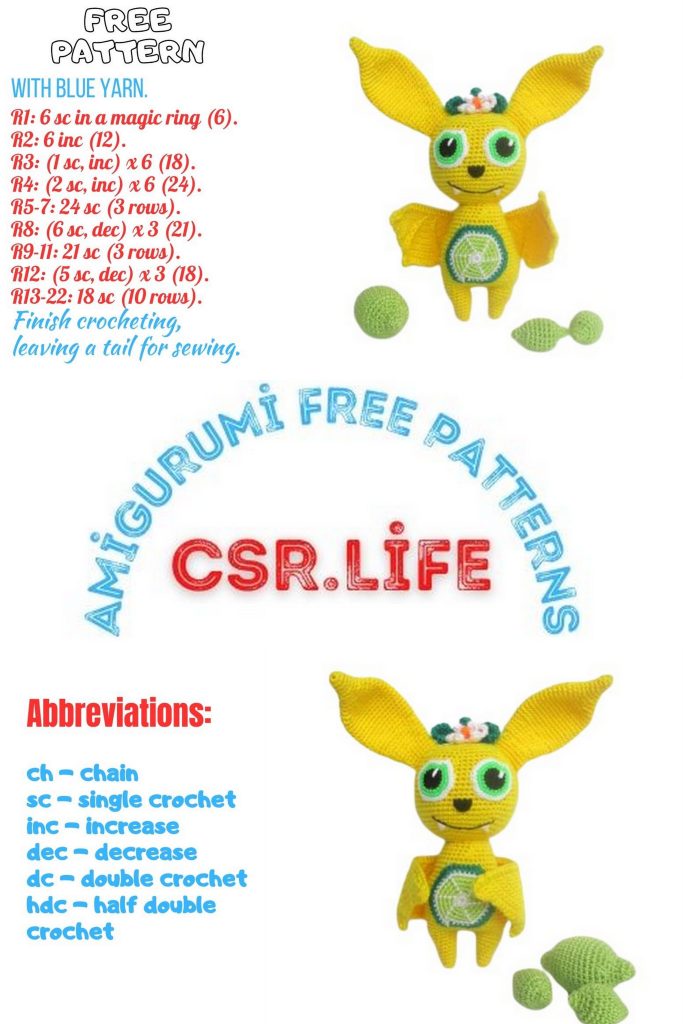
Belly:
Switch to white yarn.
Row 1: 6 sc in MR (6).
Switch to light green yarn.
Row 2: 6 inc (12).
Row 3: (1 sc, inc) x 6 (18).
Row 4: (2 sc, inc) x 6 (24).
Row 5: (3 sc, inc) x 6 (30).
Switch to white yarn.
Row 6: (4 sc, inc) x 6 (36).
Switch to green yarn.
Row 7: (5 sc, inc) x 6 (42).
Cut the yarn, leaving a long tail for sewing. Embroider stripes on the belly-lime using white yarn.
Tail:
Crochet with green yarn.
Row 1: 6 sc in MR (6).
Row 2: 6 ch loops (6).
Row 3-5: 6 sc (6).
Row 6: 6 inc (12).
Cut the yarn, leaving a long tail for sewing.
Leaves (2 pieces):
Crochet with green yarn.
Row 1: Ch 10, starting from the 2nd chain from the hook, work 3 hdc, 1 sc, sl st, sc2tog, sl st, hdc2tog, hdc, ch 3, working on the opposite side of the chain, hdc2tog, sl st, sc2tog, sl st, 3 hdc, 3 sc.
Flower:
Crochet with white yarn.
Row 1: 6 sc in MR (6).
Row 2: sc, ch 5, starting from the 2nd chain from the hook, work 4 sc, sc in the base)*6. You should have 6 petals. Thread the orange thread through the center of the flower. Secure it, you can use glue to prevent the center from coming out. Cut the thread. If you plan to sew the flower, leave a long end. I glued the flower to the head, so I secured and cut the thread.
Eyes (2 pieces):
Crochet with a finer yarn, you can use embroidery floss or acrylic yarn folded in half. Use a 1.0mm hook. I used Alize Miss yarn (white and black colors). For the iris, I used green embroidery floss.
Crochet with black yarn, a 1.0mm hook.
Row 1: 6 sc in MR (6).
Row 2: 6 inc (12).
Row 3: (1 sc, inc) x 6 (18).
Switch to green yarn.
Row 4: (2 sc, inc) x 6 (24).
Row 5: (3 sc, inc) x 6 (30).
Switch to white yarn.
Row 6: (4 sc, inc) x 6 (36).
Cut the yarn, leaving a long tail for sewing. Embroider highlights with white yarn.
Assembly:
Attach the ears symmetrically to the head using pins to make sure they are symmetrical. Sew them on.
Sew the belly, tail, leaves, and flower to the body. You can glue the flower using a hot glue gun.
Sew on the eyes, embroider the nose and mouth. Cut out two small teeth from felt and glue or sew them on.
Sew the wings inside the body. Wrap the ends of the wire with medical tape and insert them into the body of the bat in the middle. Carefully sew the wings to the body.
Big Lime:
Crochet with light green yarn.
Row 1: 6 sc in MR (6).
Row 2: (1 sc, inc) x 3 (9).
Row 3: 9 sc (9).
Row 4: (2 sc, inc) x 3 (12).
Row 5: (1 sc, inc) x 6 (18).
Row 6: (2 sc, inc) x 6 (24).
Row 7: (3 sc, inc) x 6 (30).
Row 8-16: 30 sc (30).
Stuff as you go.
Row 17: (3 sc, dec) x 6 (24).
Row 18: (2 sc, dec) x 6 (18).
Row 19: (1 sc, dec) x 6 (12).
Row 20: (2 sc, dec) x 3 (9).
Row 21: 9 sc (9).
Row 22: (1 sc, dec) x 3 (6).
Cut the yarn, secure, and hide it inside the lime.
Small Lime:
Crochet with light green yarn.
Row 1: 6 sc in MR (6).
Row 2: 6 sc (6).
Row 3: (1 sc, inc) x 3 (9).
Row 4: 9 inc (18).
Row 5-10: 18 sc (18).
Stuff as you go.
Row 11: (1 sc, dec) x 6 (12).
Row 12: (2 sc, dec) x 3 (9).
Row 13: (1 sc, dec) x 3 (6).
Cut the yarn, secure, and hide it inside the lime.
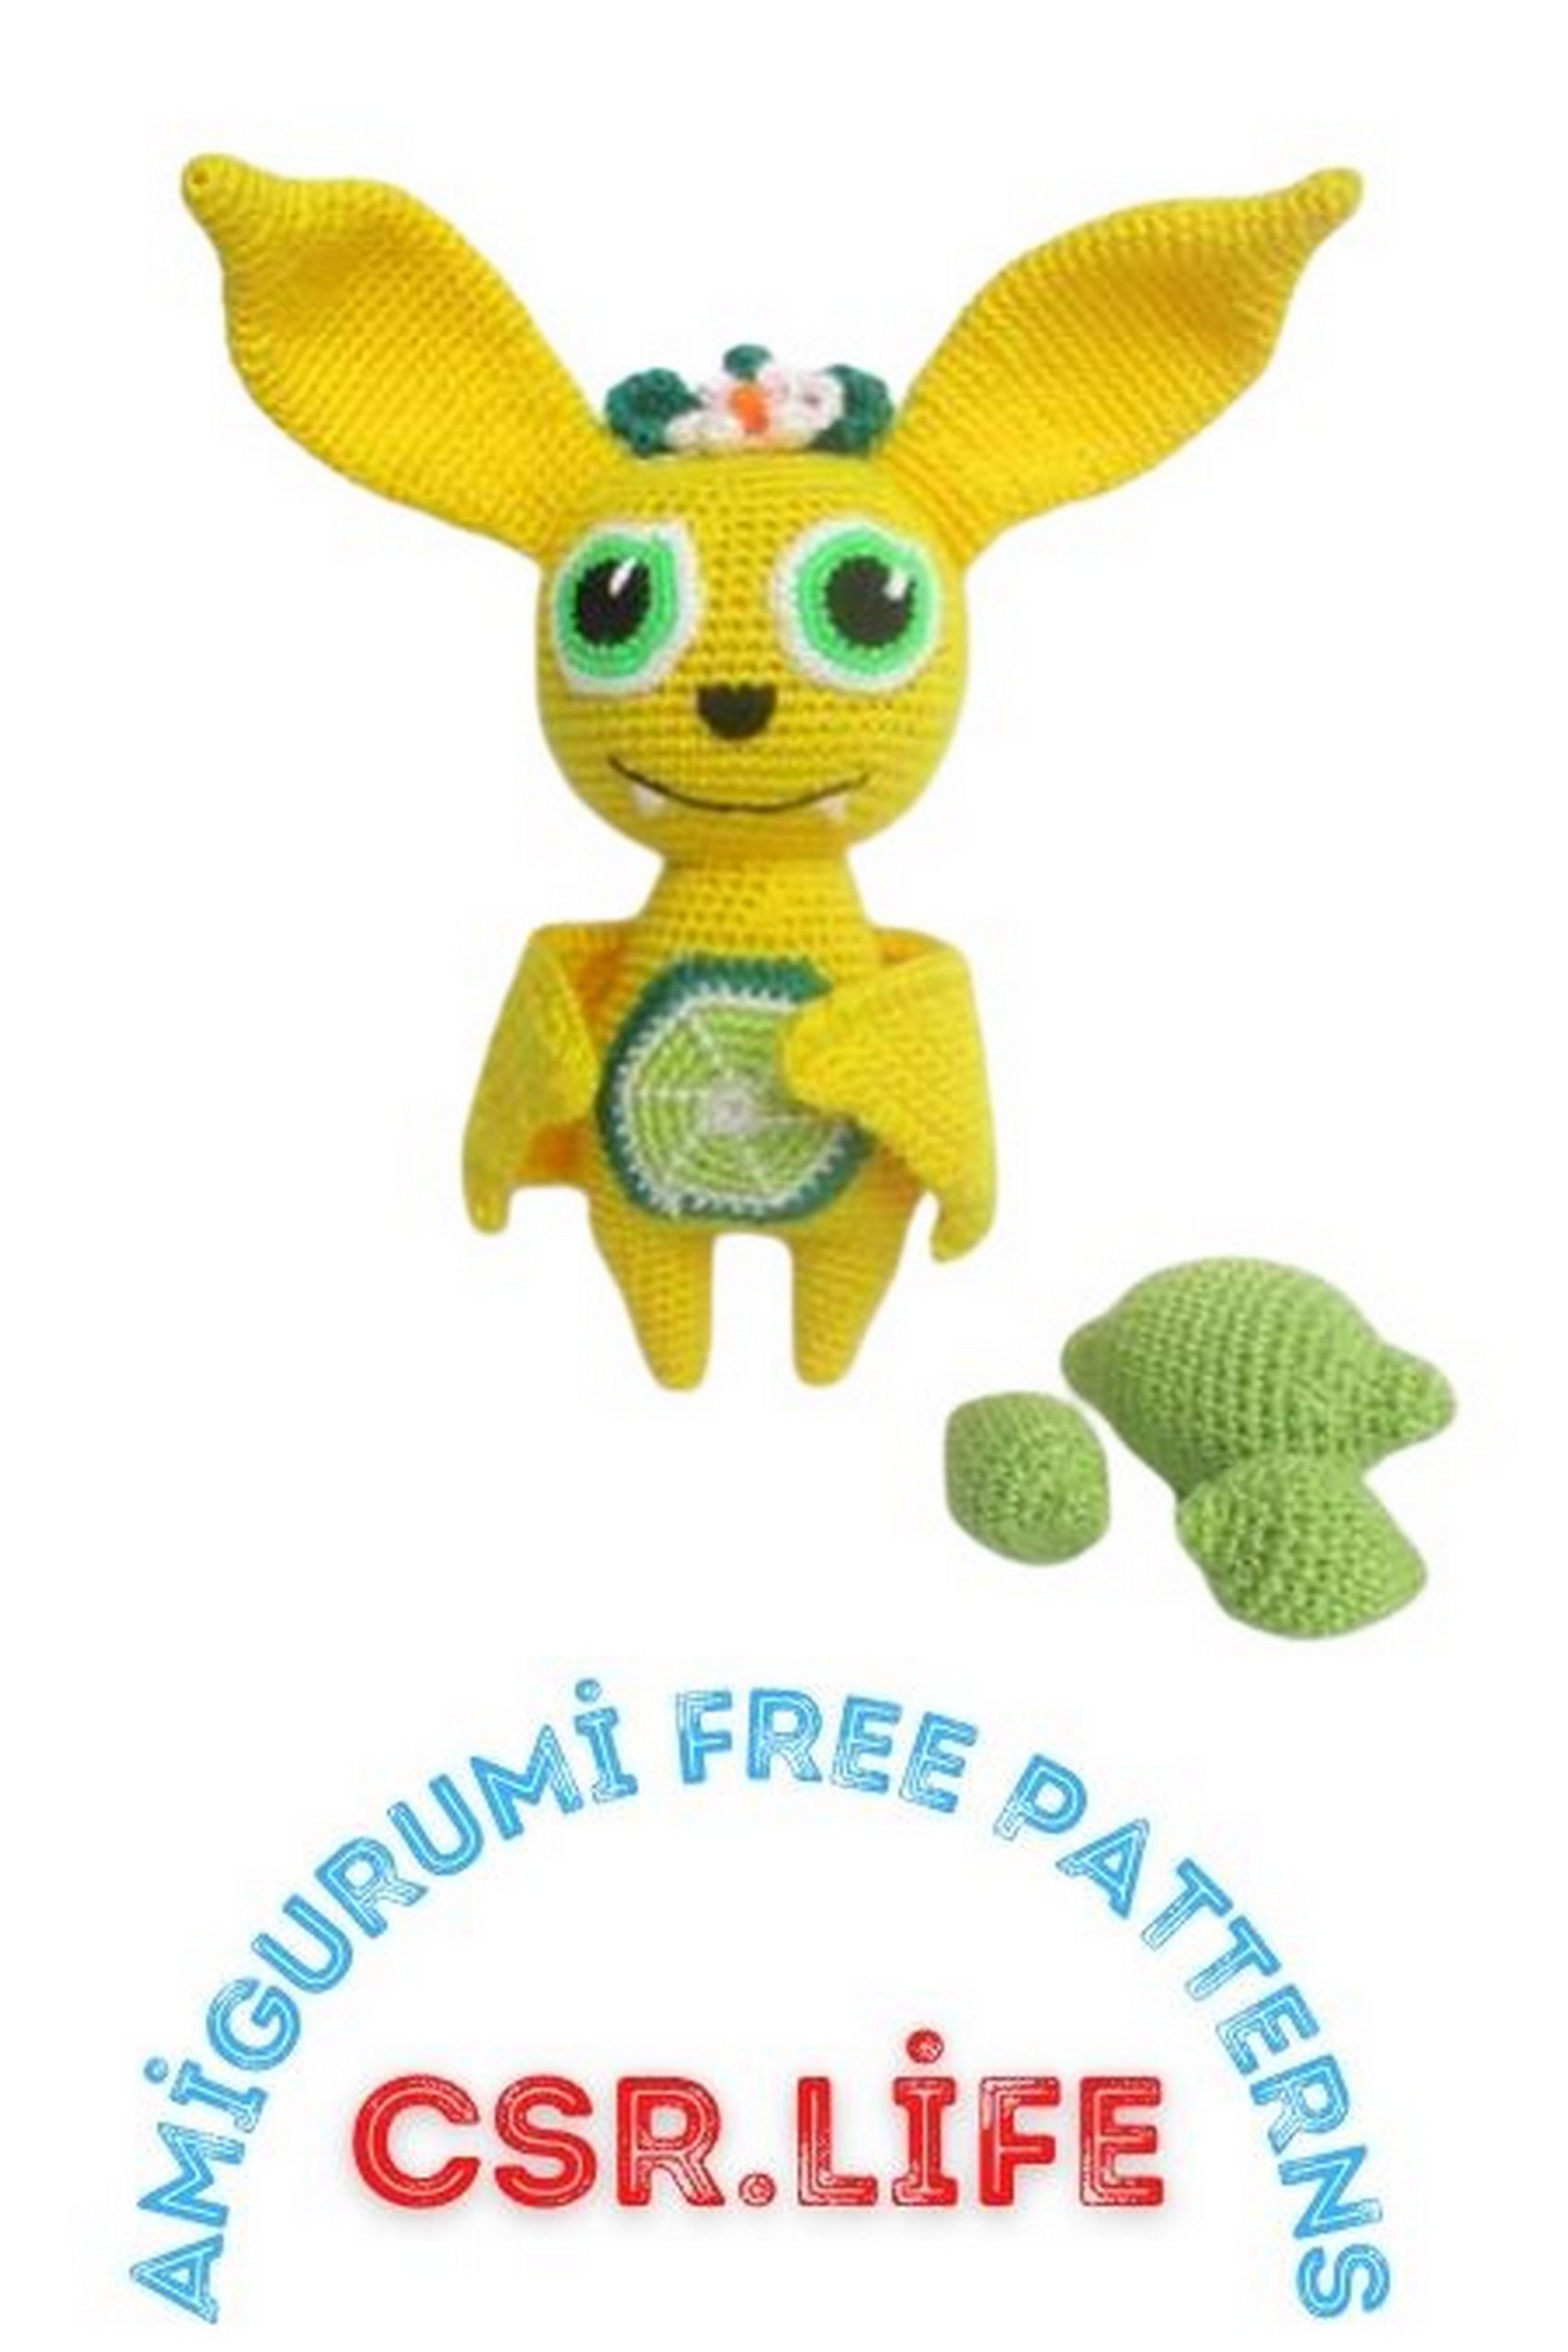
That’s it! Your lime-themed bat is ready. Thank you for using my tutorial!