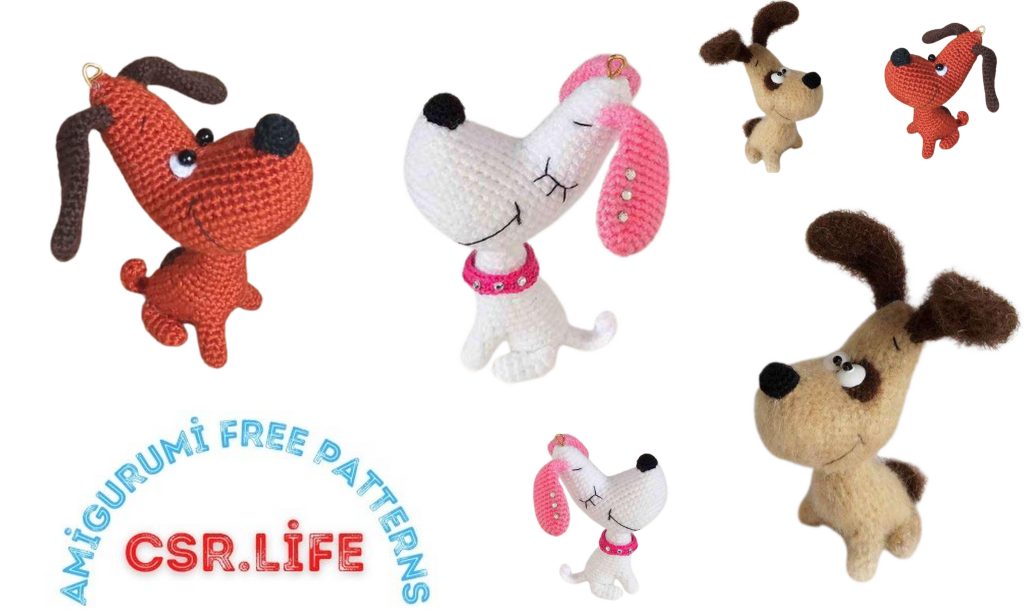
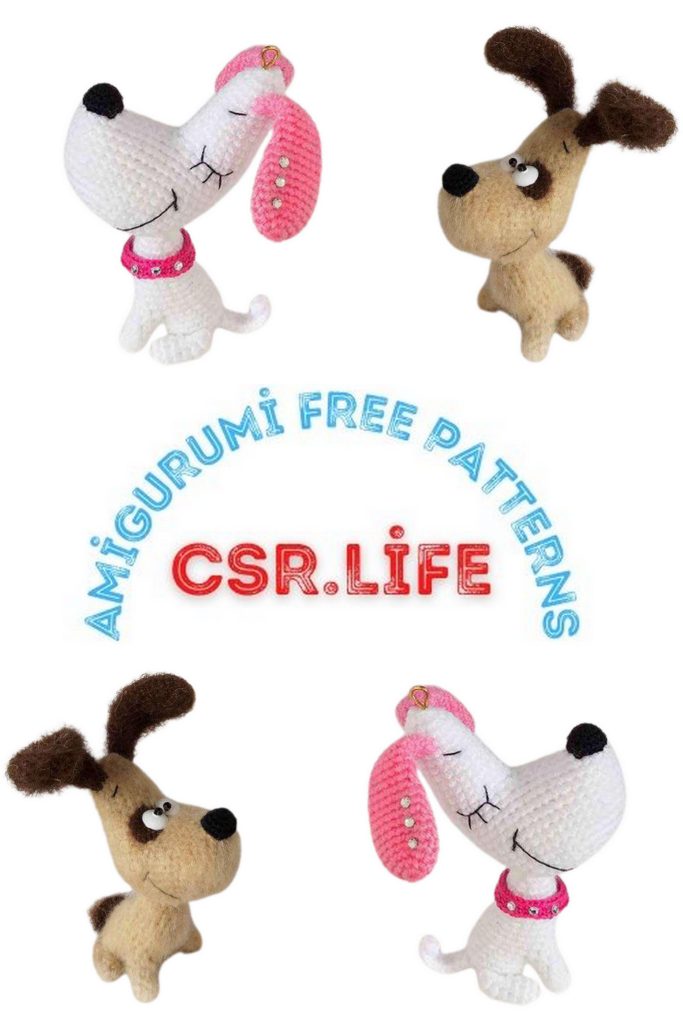
Free Cheerful Puppy Amigurumi Pattern: Crochet Your Way to Cuteness!
Are you a crochet enthusiast looking for your next delightful project? Look no further! Our free Cheerful Puppy Amigurumi pattern is here to bring a dose of cuteness to your crafting endeavors.
Materials and Tools:
Yarn in the main color (color of your choice) – I used Wool with Acrylic 400 m/100 g for the body and ears. A small amount of black yarn of the same thickness for the nose.
Stuffing (polyfill).
Crochet hook suitable for the yarn (I used a 1.25 mm Clover hook).
Scissors.
Large-eyed needle.
Beads – 6 mm for the eyes or ready-made safety eyes.
Black cotton thread (e.g., embroidery floss) for attaching the eyes and embroidering the mouth.
Wire with a diameter of 1-1.5 mm, cut to a length of 15 cm.
Wire cutters (recommended).
Abbreviations:
MC – Magic Circle (magic ring)
sc – single crochet
hdc – half-double crochet
ch – chain
= number – the number of stitches in a row
sl st – slip stitch
inc – increase (work two single crochets in the same stitch)
dec – decrease (work two single crochets together through the front loop)
*N – repeat N times
Work in a spiral with single crochets (sc) unless otherwise indicated. The right side should be facing out.
PATTERN
Head:
Row 1: Make a magic circle and crochet 7 sc into it. (7)
Row 2: (Inc)*7. (14)
Row 3: (1 sc, inc)*7. (21)
Row 4: (2 sc, inc)*7. (28)
Row 5: (3 sc, inc)*7. (35)
Row 6: (4 sc, inc)*7. (42)
Row 7-15: = 42
Row 16: 20 sc, skip 21 stitches, 1 sc. (21)
Continue crocheting in a smaller circle.
Row 17-18: = 21
Row 19: 9 sc, dec, 10 sc. (20)
Row 20-21: = 20
Row 22: 5 sc, dec, 6 sc, dec, 5 sc. (18)
Row 23: = 18
Row 24: 7 sc, dec, 7 sc, dec. (16)
Row 25: = 16
Row 26: 8 sc, dec, 6 sc. (15)
Row 27: (3 sc, dec)*3. (12)
Row 28: (2 sc, dec)*3. (9)
Row 29: 3 dec, fasten off, weave the end inside the head.
*Stuff the head moderately. Start by stuffing the top, then the snout area.
*Thread an additional piece of yarn (about 20 cm) into a large-eyed needle and sew the snout starting from the “nose,” leaving about 7-8 mm from the end of the nose. (I’ve demonstrated with white yarn.) Add stuffing to give the snout enough volume. You can leave the hole open.

Legs (4 pieces):
Row 1: Make a magic circle and crochet 6 sc into it. (6)
Row 2-6: = 6
For the two rear legs, leave a 20 cm tail for sewing.
Body:
Row 1: Make a magic circle and crochet 6 sc into it. (6)
Row 2: (Inc)*6. (12)
Row 3: (1 sc, inc)*6. (18)
Row 4-7: = 18
Now, attach the front legs.
Row 8: 6 sc, 2 sc along the inner side of the left leg, 2 sc, 2 sc along the inner side of the right leg, 6 sc. (18)
Row 9: 6 sc, 4 sc along the left leg loops, 2 inc, 4 sc along the right leg loops, 6 sc. (24)
Row 10: = 24.
Stuff the legs (firmly) and the lower part of the body moderately.
Row 11: (6 sc, dec)*3. (21)
Row 12: = 21
Row 13: (5 sc, dec)*3. (18)
Row 14: = 18.
Continue moderately stuffing as you go.
Row 15: (4 sc, dec)*3. (15)
Row 16-17: = 15
Row 18: (3 sc, dec)*3. (12)
Row 19: = 12
Row 20: (2 sc, dec)*3. (9)
Row 21: = 9
Fasten off, leave a thread (15-20 cm) for sewing.
Ears (2 pieces):
Row 1: Make a magic circle and crochet 7 sc into it. (7)
Row 2: (Inc)*7. (14)
Row 3: (6 sc, inc)*2. Place a marker. This is the edge of the ear.
Row 4-10: = 16
Row 11: 8 sc, dec, 6 sc. (15)
Row 12: dec, 13 sc. (14)
Row 13: = 14
Row 14: 7 sc, dec, 5 sc. (13)
Row 15: dec, 11 sc. (12)
Row 16: = 12
Row 17: 3 sc, dec, 4 sc, dec, 1 sc. (10)
Row 18: = 10
Row 19: 2 sc, dec, 3 sc, dec, 1 sc. (8)
Row 20: 7 sc, sl st, fasten off, leave 15-20 cm of thread for sewing.
Tail:
Row 1: Chain 11. In the second chain from the hook, crochet: sl st, 2 sc, 2 hdc, 2 hdc in one stitch, 2 hdc, 2 sc. Leave a thread for sewing at the end.
Nose:
Row 1: Make a magic circle and crochet 6 sc into it. (6)
Row 2: (Inc)*6. (12)
Row 3: (3 sc, inc)*3. (15)
Row 4: 15, fasten off, leave 15-20 cm of thread for sewing.
Assembling the Toy:
*Cut a 15 cm long piece of wire. The wire serves as the body’s frame and allows you to adjust the head’s position. Bend one end. If the wire is wrapped, uncover most of it with a knife.
*Insert the end of the wire with the bend into the neck hole. Push the wire almost to the end of the body by rotating it. Add stuffing to the body and neck.
*Mark the point on the head for attaching the neck; it’s between the 7th and 8th rows from the beginning of the head. (See the photo.)
*Mark the eye placement. Sew on the eyes. Insert the needle near the marked neck hole, bring it out near the eye area, then bring it back to the starting point. When sewing the eyes, you can create a slight indentation to make the eyes sit deeper. Repeat 2-3 times. Do the same for the second eye.
*Widen the opening, for example, with a thick needle. Insert the wire into the marked point on the head and bring it out at the crown.
*Sew the body to the head.
*Stuff the rear legs about 2/3 full. Position the puppy and mark the location of the front legs. Fold the leg in half and sew it, catching both edges. Press it against the body and continue sewing until about the middle of the leg.
*Sew on the tail.
*If the puppy will be a keychain, create a loop at the end of the wire using flat-nose pliers. If the puppy will be a toy, cut off the excess wire.
*Place the nose on the muzzle hole and sew it, adding some stuffing to the nose.
*Sew the ears about 4-5 rows below the crown.
*Embroider a smile, starting at about the 10th row from the beginning of the head. Use the same thread to embroider eyebrows.
*If desired, create a tuft of hair.
Hooray, the cheerful puppy is ready!
This description by the author Margarita Yakovleva is intended for personal use. Thank you for choosing my tutorial!