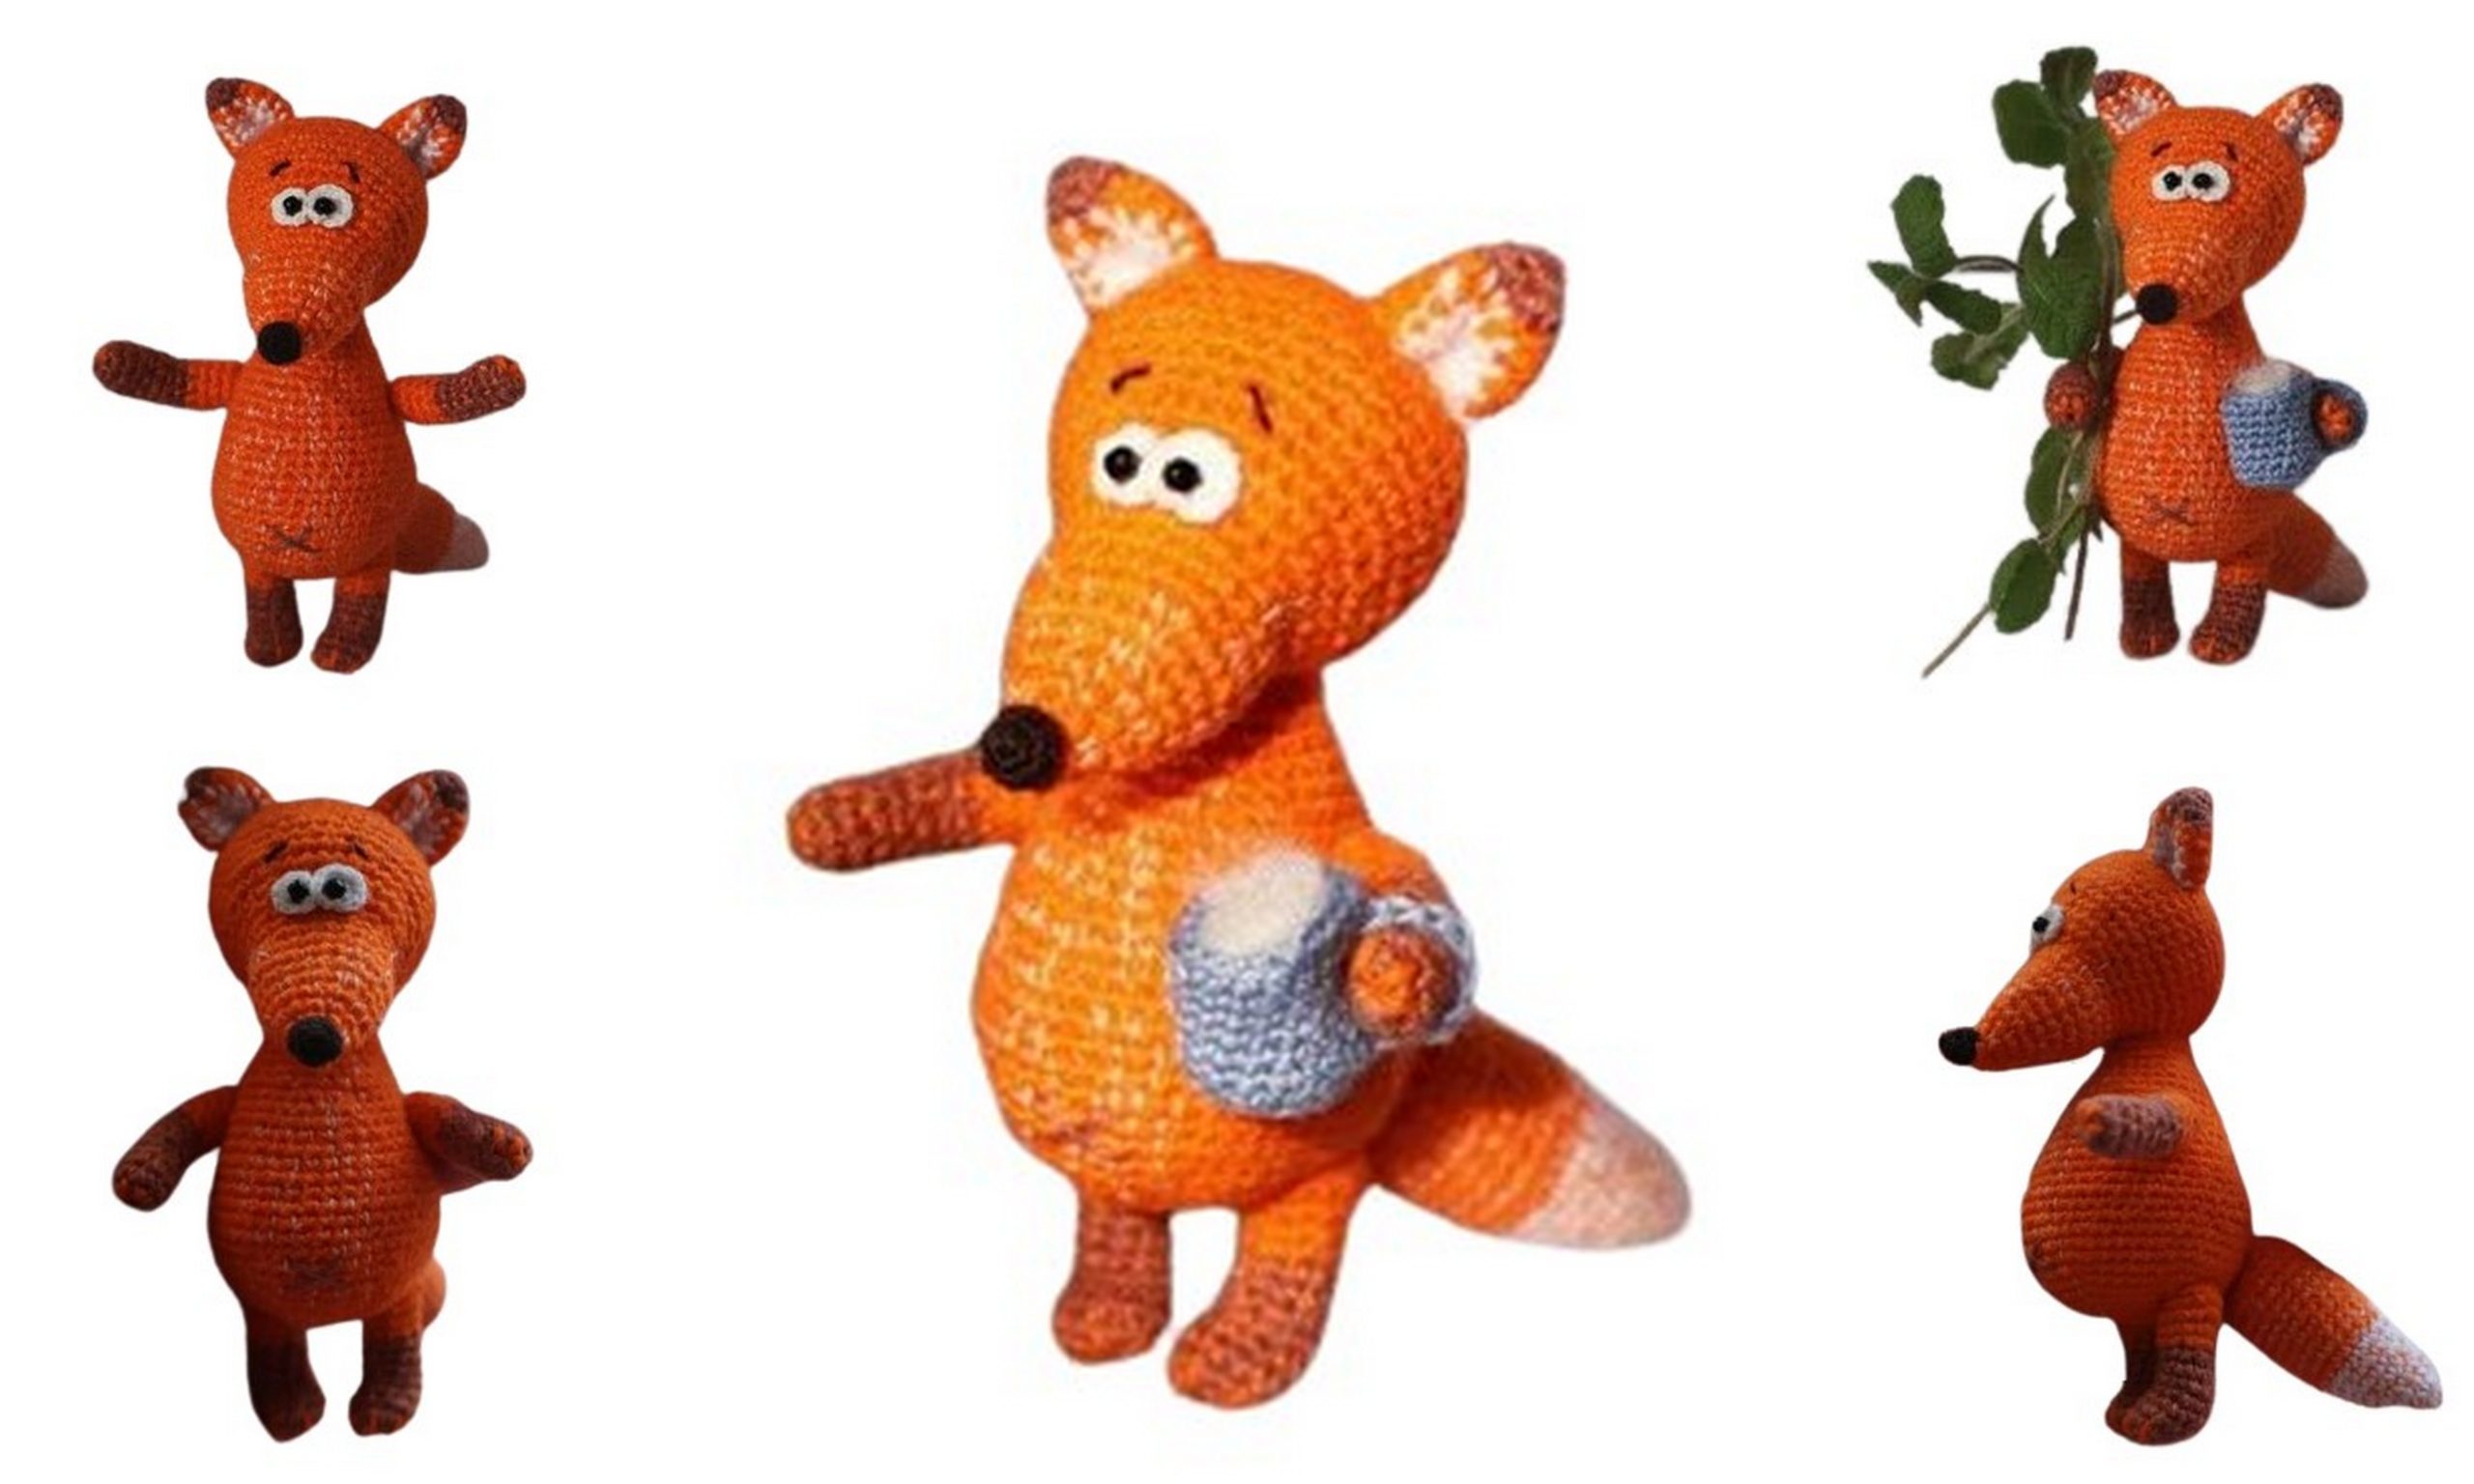
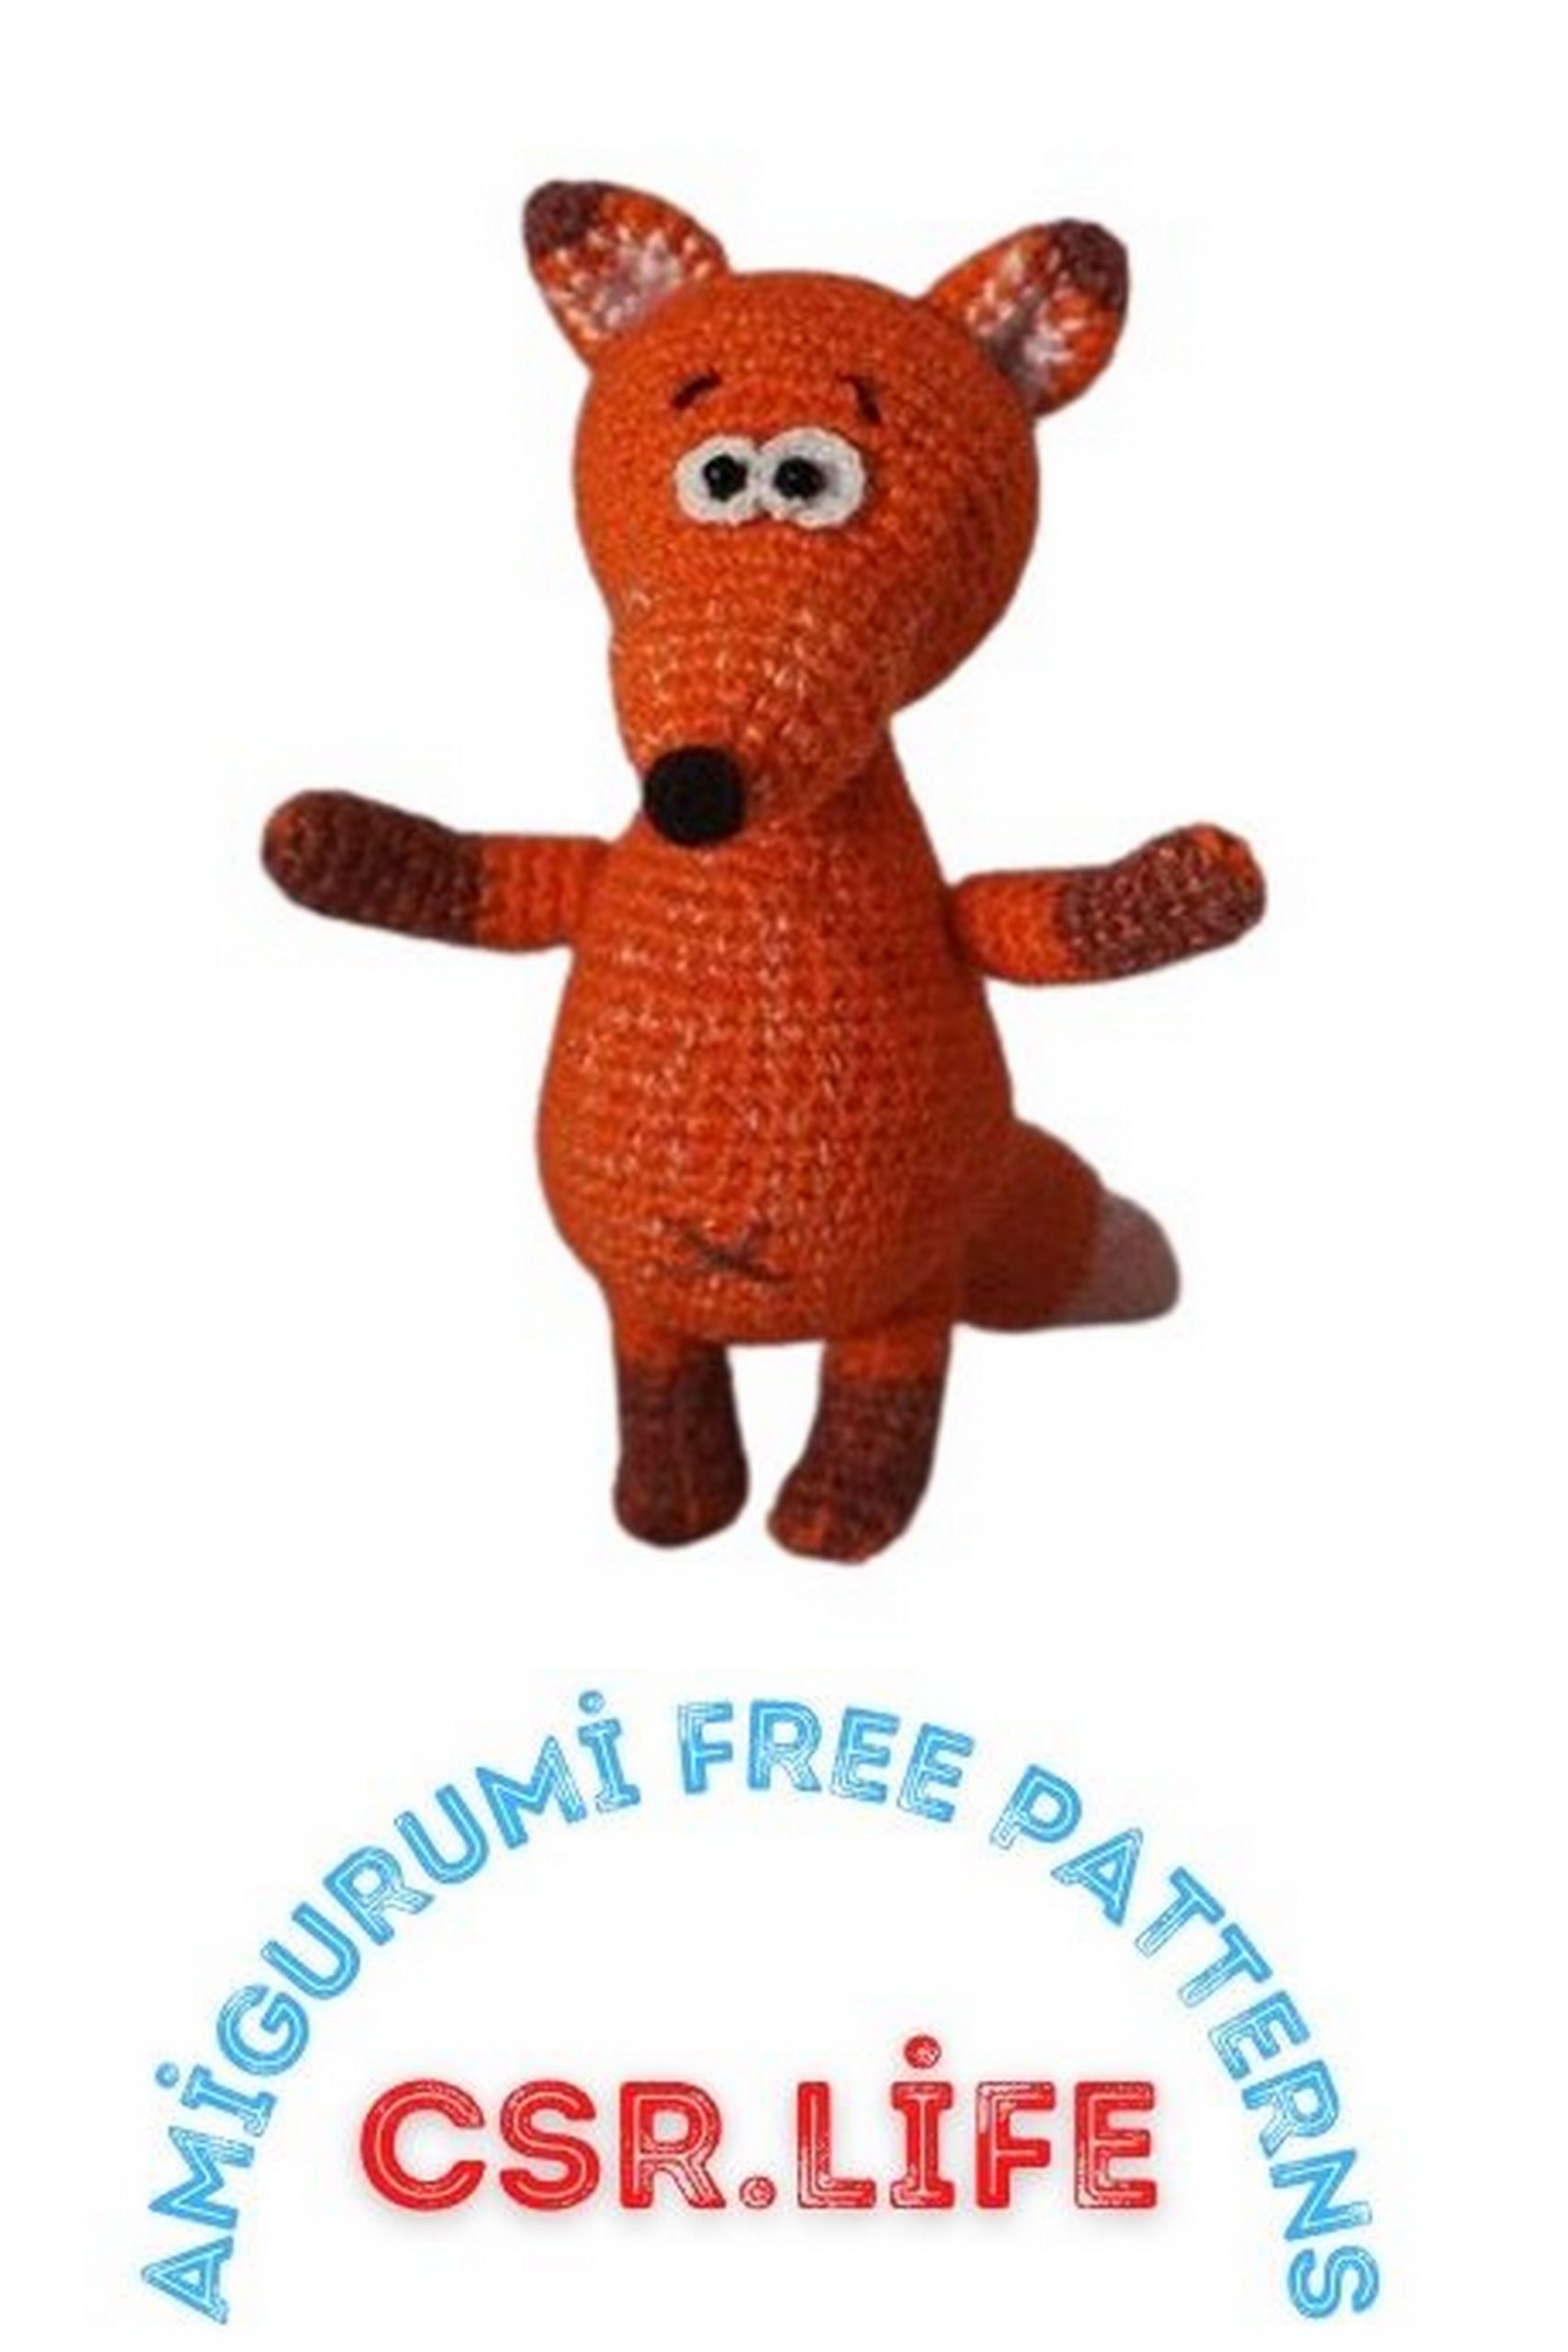
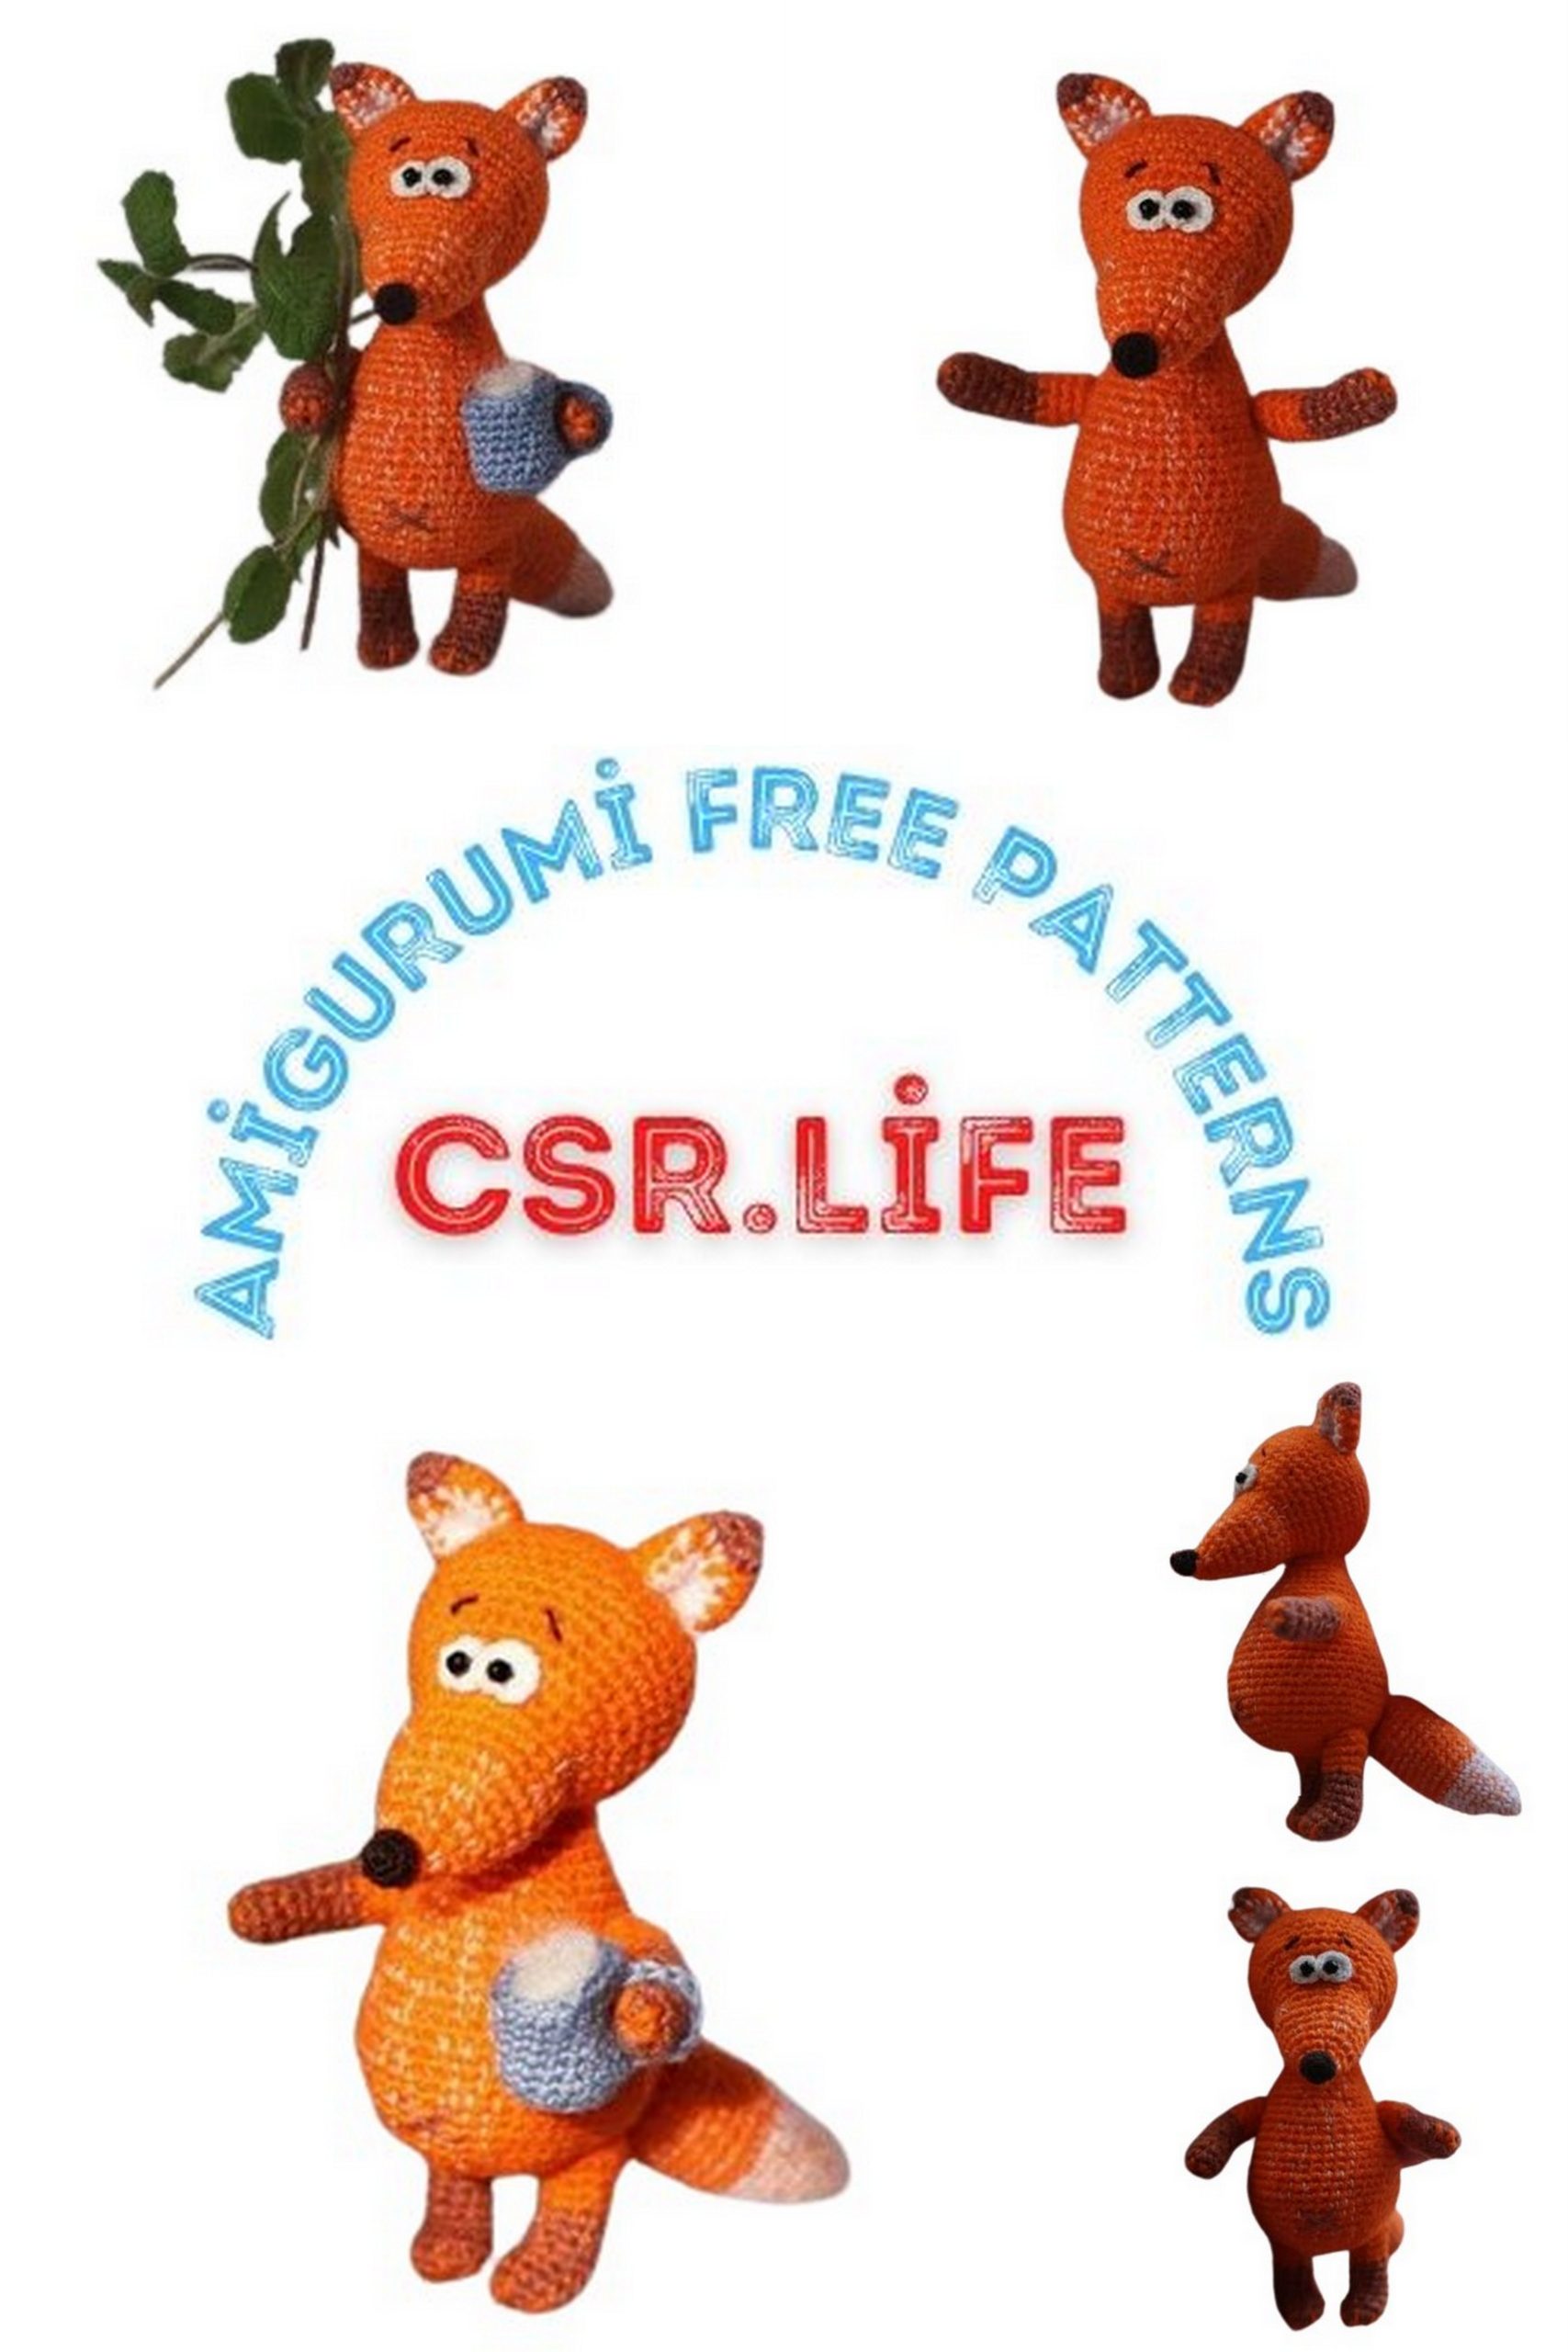
Free Fox and Crow Amigurumi Pattern – Crochet Tutorial and Step-by-Step Instructions
Discover the joy of creating adorable amigurumi with our free pattern for a charming fox and crow duo! Whether you’re a seasoned crochet enthusiast or just starting your crafting journey, our step-by-step tutorial will guide you through crafting these delightful characters. Dive into the world of crochet and bring these lovable creatures to life with our easy-to-follow instructions.
Materials
For the Fox:
Iris yarn, brown, orange, white.
Sewing threads, white and orange (matching the color of the orange Iris yarn). Optional, but adds texture to the figure.
Embroidery threads – dark brown and white (for eye and nose detailing). You can also use Iris, but I prefer using thinner thread.
For the Crow:
Iris yarn, dark grey and yellow.
White sewing thread.
General:
Monofilament for assembling pieces (optional, I prefer using it because it’s “invisible” and stitches will never be noticeable).
Crochet hook 0.7 (you’ll also need 0.5 for eye and nose detailing).
Wire for the frame and ability to pose the figure.
Polyester fiberfill.
Good mood 🙂
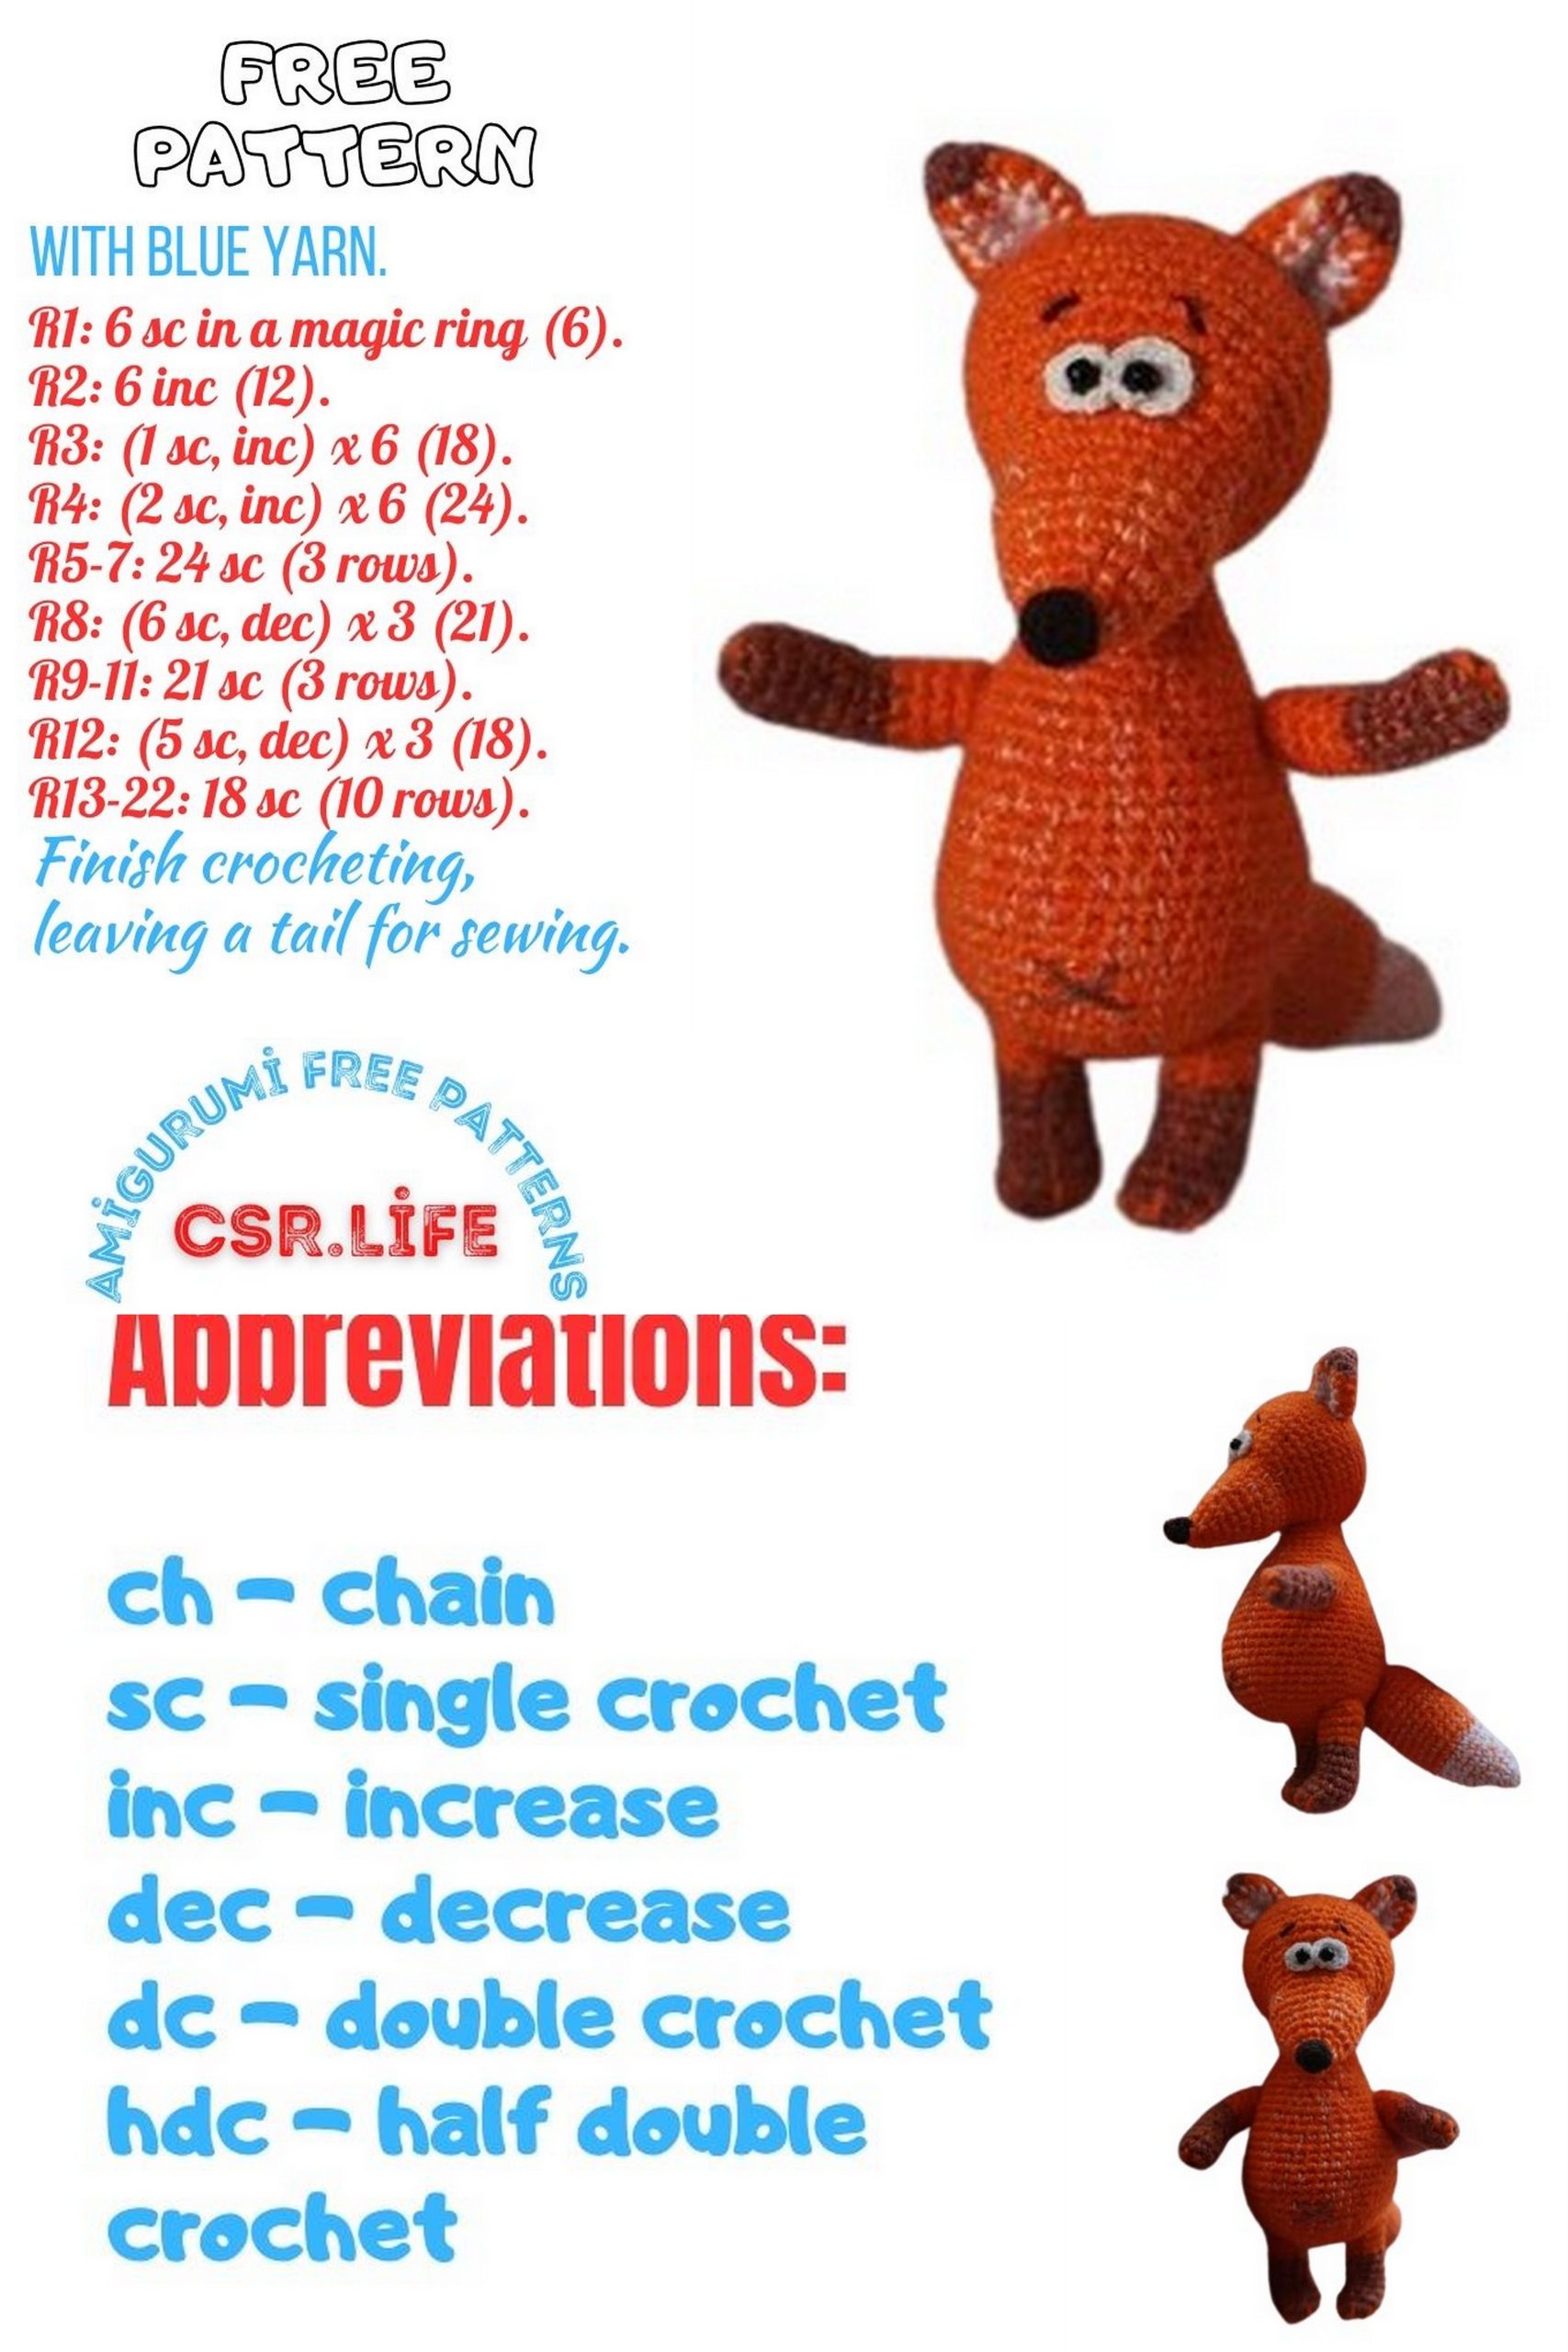
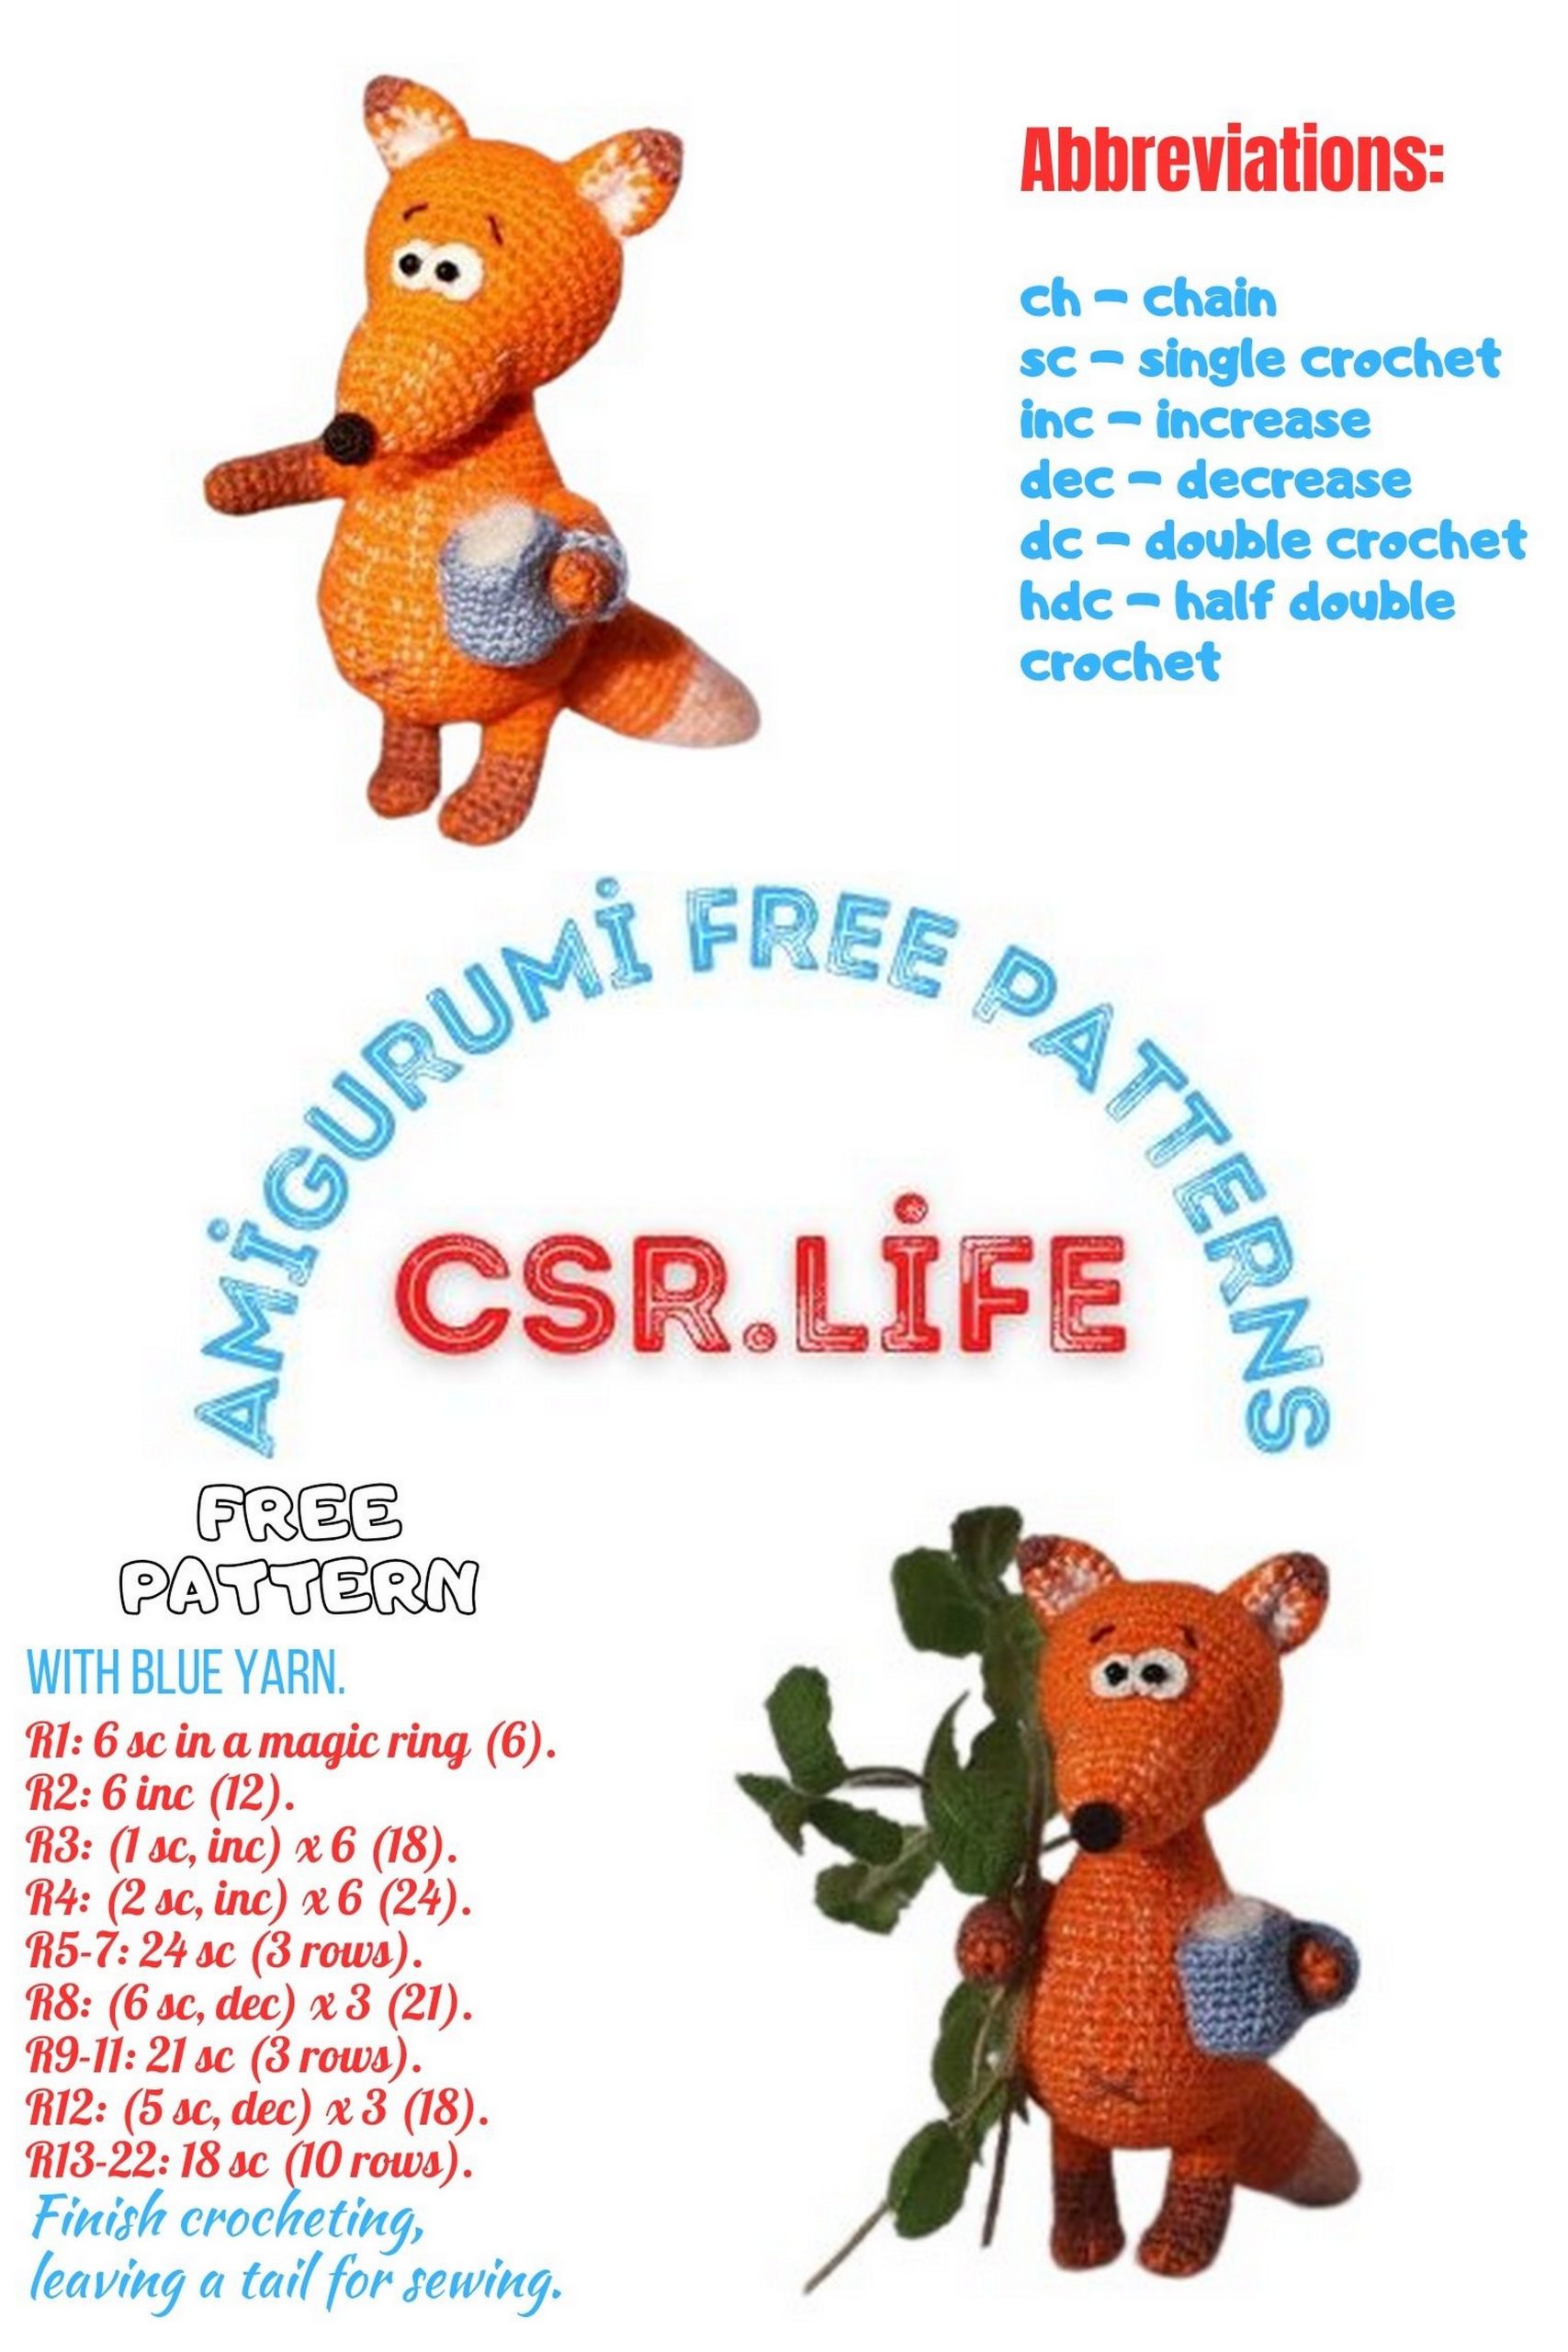
PATTERN
Body
6 sc in Magic Ring
6 inc = 12
(1 sc, inc) * 6 = 18
(2 sc, inc) * 6 = 24 (use white sewing thread in the second sector)
(3 sc, inc) * 6 = 30 continue adding white thread over the same loops of the previous row. Don’t worry if there are fewer white stitches somewhere than you’d like. You can manually add them later.
(4 sc, inc) * 6 = 36
(5 sc, inc) * 6 = 42
(13 sc, inc) * 3 = 45
7 sc, inc, 14 sc, inc, 14 sc, inc, 7 sc = 48
48 sc
Repeat row 10 two more times
(14 sc, dec) * 3 = 45
45 sc
(13 sc, dec) * 3 = 42
42 sc
(12 sc, dec) * 3 = 39
39 sc
(11 sc, dec) * 3 = 36
(10 sc, dec) * 3 = 33
(9 sc, dec) * 3 = 30
(8 sc, dec) * 3 = 27 start stuffing the figure for even density
(7 sc, dec) * 3 = 24
(6 sc, dec) * 3 = 21
21 sc
21 sc
Stuff firmly without closing the hole.
Lower Right Paw
Use brown Iris yarn with added orange sewing thread.
6 sc in Magic Ring
6 inc = 12
12 sc
Dec, 10 sc = 11
Dec, 9 sc = 10
10 sc
10 sc
10 sc
Change yarn to orange Iris
3 sc, inc, 6 sc = 11
4 sc, inc, 6 sc = 12
5 sc, inc, 6 sc = 13
6 sc, inc, 3 sc = 14
Insert wire, stuff lightly. Don’t close the hole.
Lower Left Paw
Use brown Iris yarn with added orange sewing thread.
6 sc in Magic Ring
6 inc = 12
12 sc
Dec, 10 sc = 11
Dec, 9 sc = 10
10 sc
10 sc
10 sc
Change yarn to orange Iris
6 sc, inc, 3 = 11
6 sc, inc, 4 sc
6 sc, inc, 5 sc
6 sc, inc, 3 sc
Insert wire, stuff lightly. Don’t close the hole.

Upper Paws (2 pieces)
Use brown Iris yarn with added orange sewing thread.
6 sc in Magic Ring
6 inc = 12
Dec, 10 sc = 11
Dec, 9 sc = 10
Dec, 8 sc = 9
9 sc
Change yarn to orange.
9 sc, stuff the piece
(1 sc, dec) * 3 = 6
Close the hole.
Tail
Use white Iris yarn with added orange sewing thread.
6 sc
(1 sc, inc) * 3 = 9
(2 sc, inc) * 3 = 12
(3 sc, inc) * 3 = 15
15 sc
(4 sc, inc) * 3 = 18
18 sc
(5 sc, inc) * 3 = 21
21 sc
Change yarn to orange Iris with white sewing thread
21 sc
Rows 11-15: 21 sc
(6 sc, inc) * 3 = 24
24 sc
(2 sc, dec) * 6 = 18 start stuffing the piece
(1 sc, dec) * 3 = 12
6 dec
Add stuffing if necessary.
Head
6 sc in Magic Ring
6 inc = 12
(1 sc, inc) * 6 = 18
(2 sc, inc) * 6 = 24
(3 sc, inc) * 6 = 30
(4 sc, inc) * 6 = 36
36 sc
36 sc
36 sc
36 sc
(4 sc, dec) * 6 = 30
30 sc
(3 sc, dec) * 6 = 24
24 sc
The next two rows are crocheted with added white sewing thread, starting from 6 stitches of each row
24 sc
24 sc
Now you can always crochet with added white thread
24 sc
24 sc
(6 sc, dec) * 3 = 21
(5 sc, dec) * 3 = 18 start stuffing the piece
(4 sc, dec) * 3 = 15
(3 sc, dec) * 3 = 12
(2 sc, dec) * 3 = 9
(1 sc, dec) * 3 = 6
Close the hole.
Ears
Use brown Iris yarn.
6 sc in Magic Ring
(1 sc, inc) * 3 = 9
Change yarn to orange
(2 sc, inc) * 3 = 12
Crochet the next rows with orange Iris for 2 repeats, then 1 repeat with white Iris
(3 sc, inc) * 3 = 15
(4 sc, inc) * 3 = 18
(5 sc, inc) * 3 = 21
Don’t stuff. Optionally, add stitches with white thread where colors change.
Nose
Crochet with dark brown embroidery thread, preferably with a smaller hook (0.5).
6 sc
6 inc = 12
12 sc
Eyes
Crochet with white embroidery thread, preferably with a smaller hook (0.5).
6 sc
6 inc = 12
Crow
Brief calculation of stitches for the crow. The scheme of increases and decreases is standard.
Head and Body
6 12 18 24 30 30 36 36 30 30 24 18 12
18 24 30
36 36 36 36 36 36 36
30 30 30 30
30, last 5 stitches for back stitches
24 18 12 6
Tail
4 6 6 6
Beak
6 9 9 12 12
Wings (2 pieces)
6 9 12 12 15 15 18 18 12 6
Assembly and Decoration Tips
When assembling, it’s better to first try the pieces on with pins to see how the figure looks.
I recommend sewing with monofilament to make the stitches completely invisible.
On the contrary, it’s better to sew the eyes with dark thread in several layers to avoid showing a hole in the bead.
As you sew the pieces, don’t forget to shape the figure a little with your fingers as if it were made of clay. This way, the stuffing inside won’t clump into one corner, and the figure will keep a symmetrical neat shape.
Don’t rush to give the figure a playful pose and bend the legs during assembly. It’s much easier to sew the arms and legs in a T-pose.
Optionally, add embroidery on the paws, belly, and eyebrows.