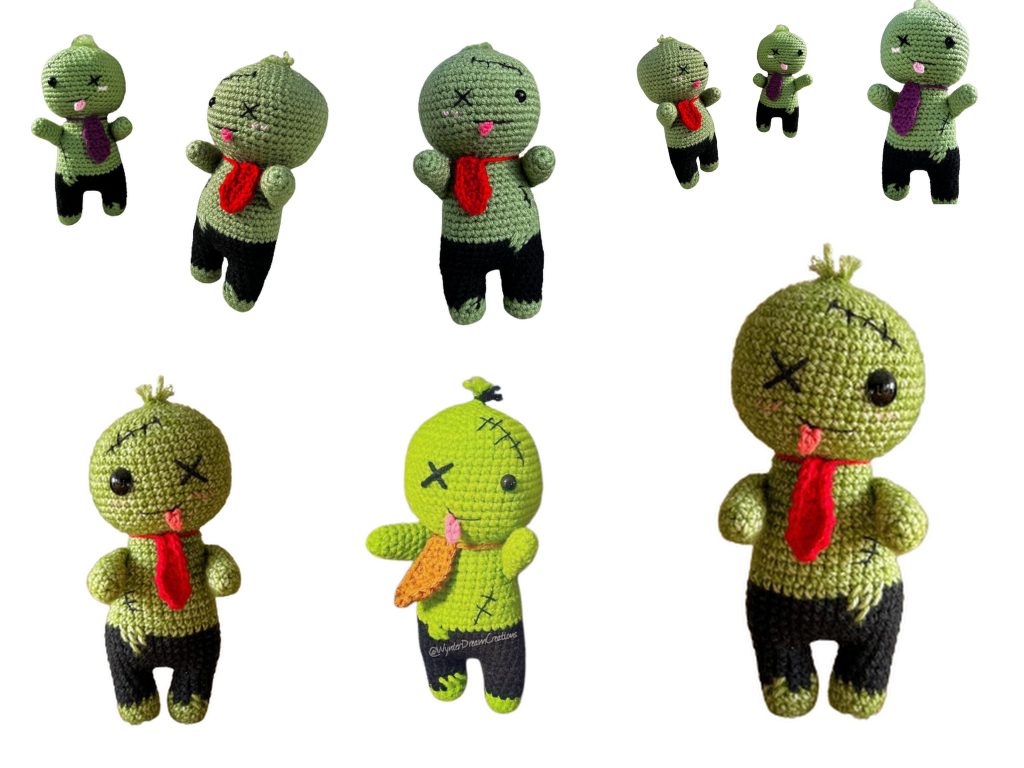
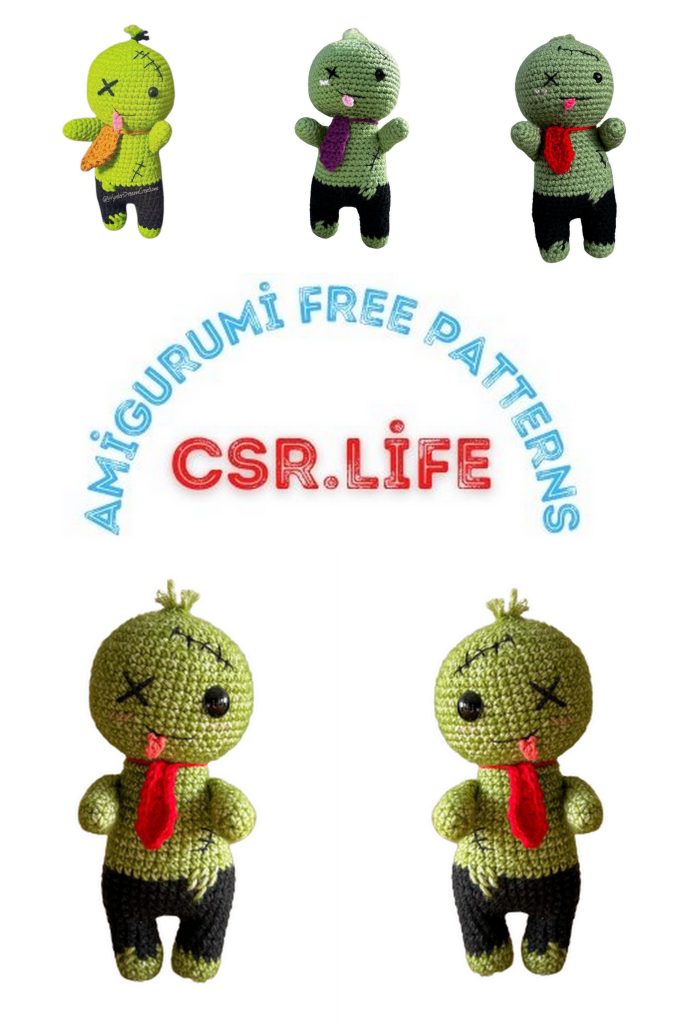
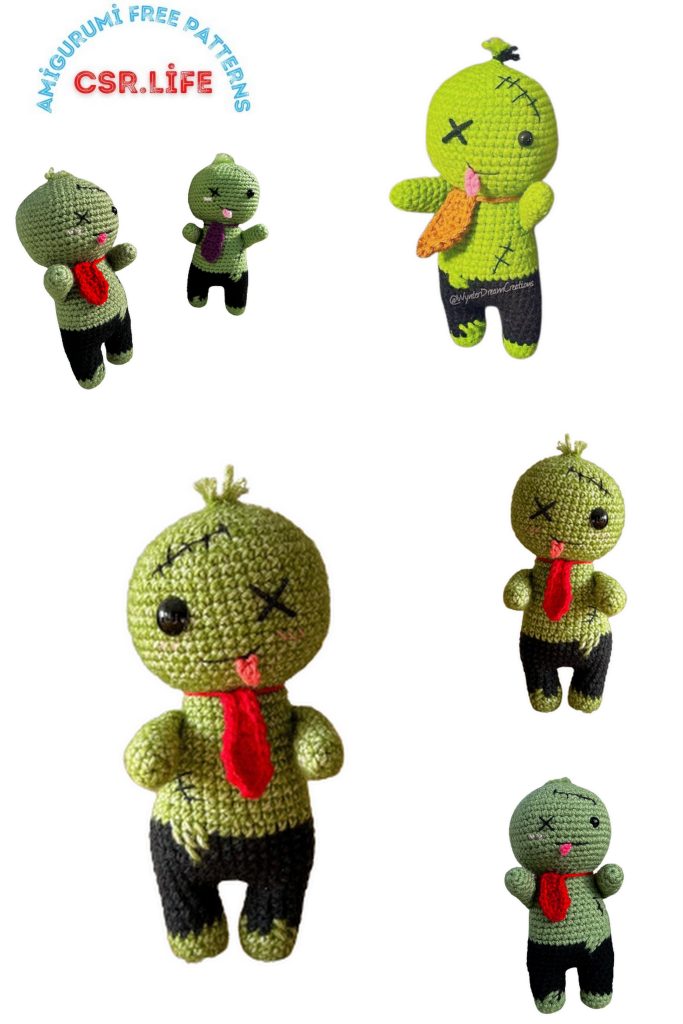
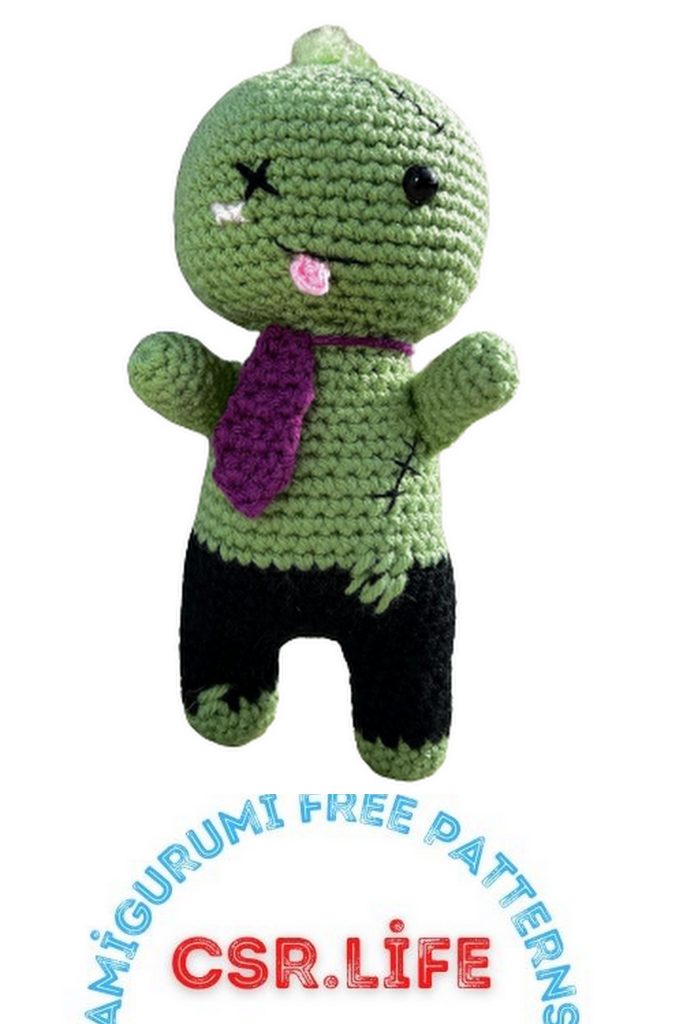
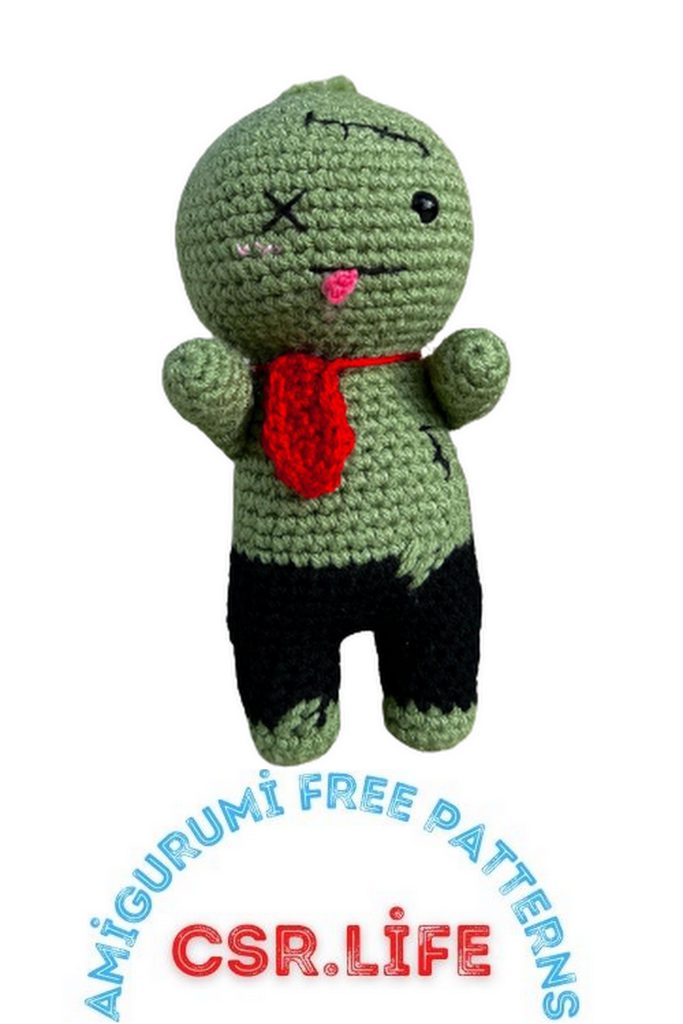
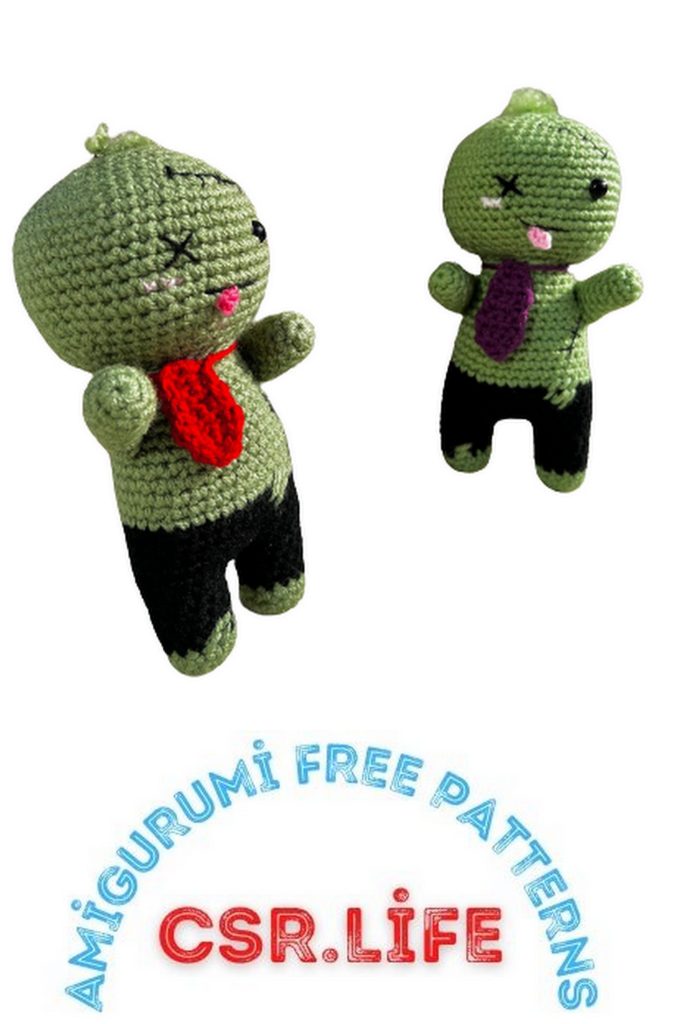
Halloween Zombie Amigurumi Free Pattern | Craft a Spooky, Cute Crochet Creation
Get into the Halloween spirit with our free Halloween Zombie Amigurumi pattern. This spooky yet cute crochet creation is a fun and festive way to add some charm to your Halloween decorations. Whether you’re an experienced amigurumi crafter or a beginner looking for a new project, this pattern is perfect for you.
Craft a delightful zombie with step-by-step instructions and easy-to-follow photos. This adorable undead friend is sure to bring a smile to your face and spooktacular vibes to your Halloween amigurumi festivities. Let’s embark on a hauntingly fun crochet adventure!
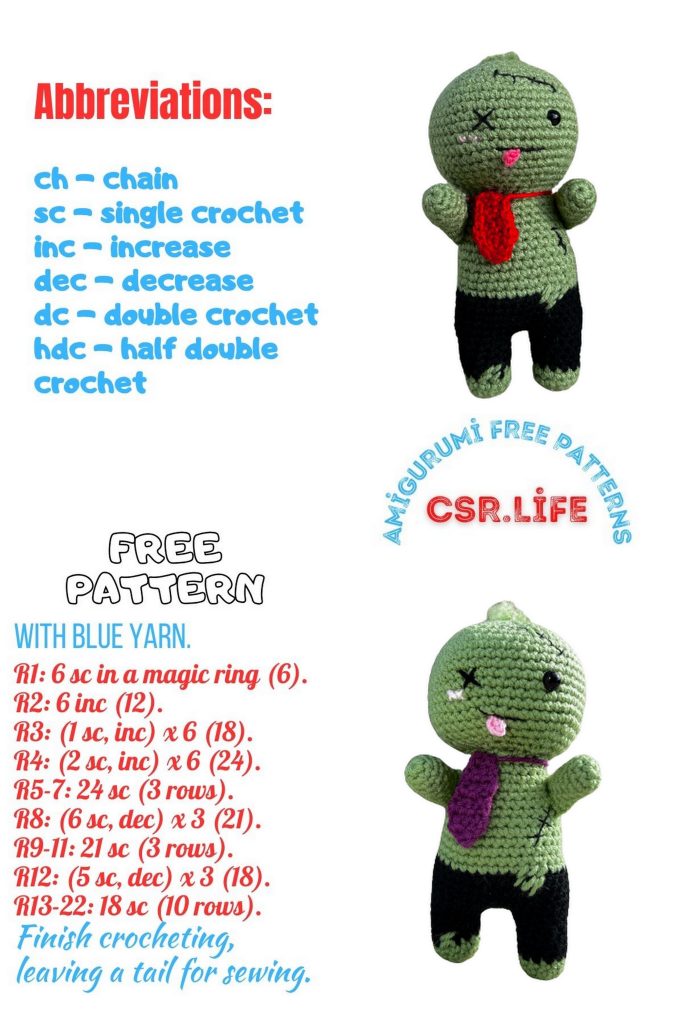
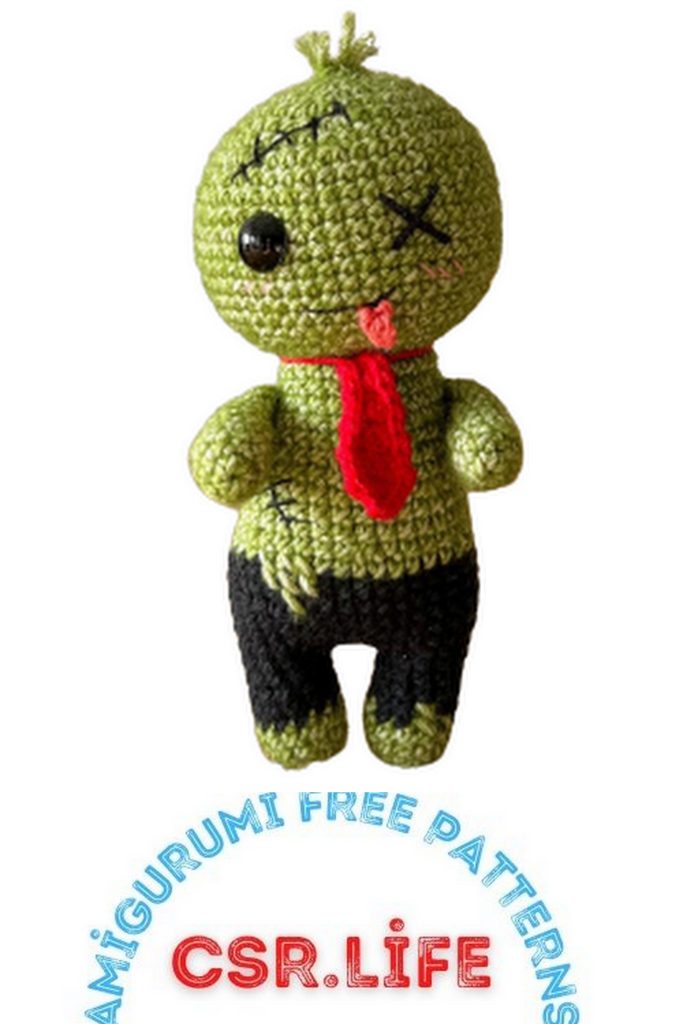
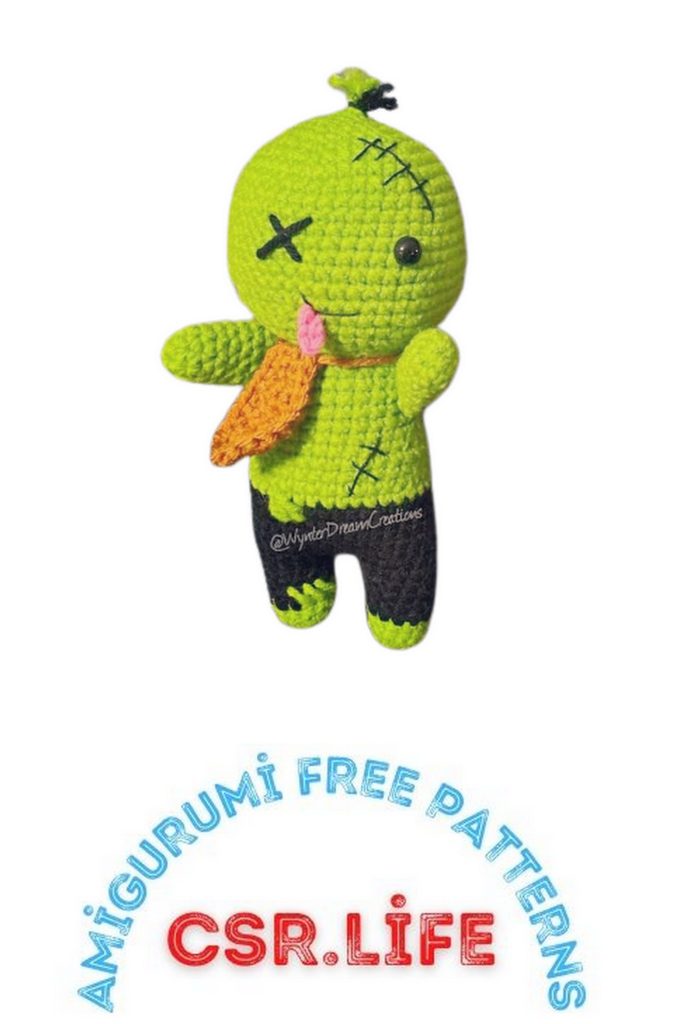
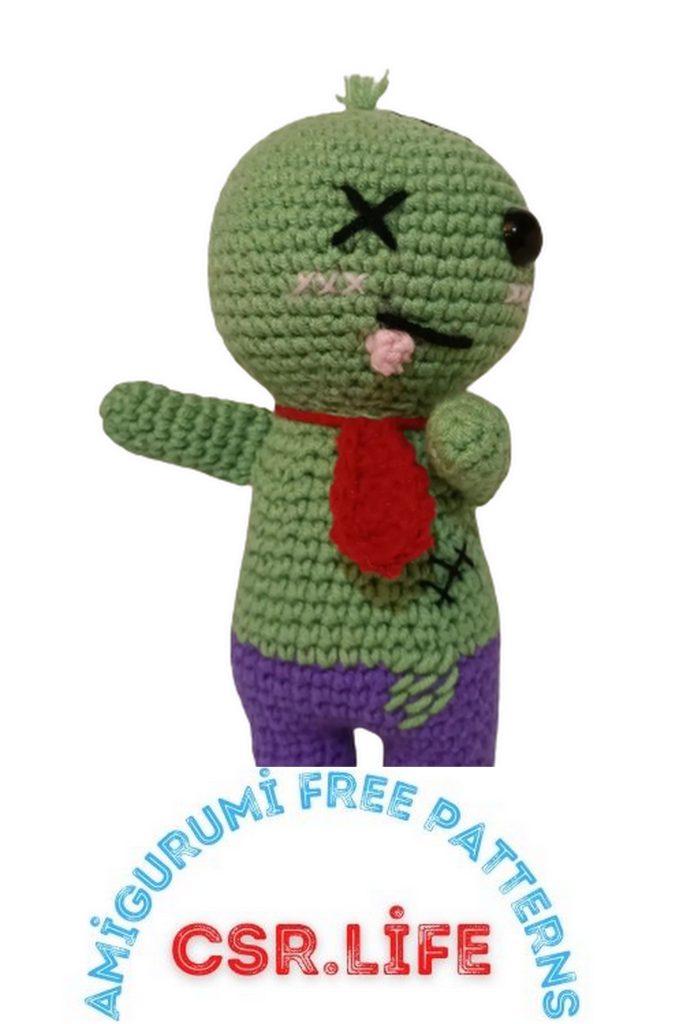
Zombie size = 15 cm
Materials:
Scheepjes stone washed yarn
Creative Cotton yarn from Rico Design
Hook size: 3.0 mm
12 mm safety eyes
Black and pink embroidery thread
Tapestry needle
Scissors
Stitch marker
Fiberfill stuffing
Abbreviations:
ch = chain
sl st = slip stitch
sc = single crochet
inc = increase (2 sc in the next stitch)
dec = decrease (single crochet 2 stitches together)
Pattern
Head
With green color:
Row 1: 6 sc in magic ring (6)
Row 2: (inc)*6 (12)
Row 3: (1 sc, inc)*6 (18)
Row 4: (2 sc, inc)*6 (24)
Row 5: (3 sc, inc)*6 (30)
Row 6: (4 sc, inc)*6 (36)
Row 7: (5 sc, inc)*6 (42)
Row 8: (6 sc, inc)*6 (48)
Row 9-17: 48 sc (9 rows)
Row 18: (6 sc, dec)*6 (42)
Row 19: (5 sc, dec)*6 (36)
Row 20: (4 sc, dec)*6 (30)
Row 21: (3 sc, dec)*6 (24)
Fasten off. Leave a long tail for sewing.
Place safety eye between Row 13 and Row 14. Embroider the second eye approximately 7 sc apart.
Embroider the cut on the head and the mouth with a black thread.
Embroider the cheeks with a pink yarn if you like.
Legs and body (one piece)
Legs (make 2)
With green color:
Row 1: 6 sc in magic ring (6)
Row 2: (inc)*6 (12)
Row 3-4: 12 sc (2 rows)
Change to black color:
Row 5-8: 12 sc (4 rows)
Fasten off and cut the yarn on the first leg.
Make another leg in the same way.On the second leg don’t cut the yarn, continue to crochet.
Body
From the second leg: 3 ch, join with the first leg.
Row 9: 12 sc on the 1st leg, 3 sc in 3 ch, 12 sc on 2nd leg, 3 sc in 3 ch (opposite side) (30)
Row 10: (4 sc, inc)*6 (36)
Row 11-15: 36 sc (5 rows)
Change to green color:
Row 16: 36 sc
Row 17: (10 sc, dec)*3 (33)
Row 18-19: 33 sc (2 rows)
Row 20: (9 sc, dec)*3 (30)
Row 21: 30 sc
Row 22: (8 sc, dec)*3 (27)
Row 23-24: 27 sc (2 rows)
Row 25: (7 sc, dec)*3 (24)
Row 26-27: 24 sc (2 rows)
Fasten off. Leave a long tail for sewing.


Tongue
With red color:
Make 3 ch.
Row 1: From the 2nd ch from hook: 2 sl st
Fasten off. Leave a long tail for sewing.
Arms (make 2)
With green color:
Row 1: 6 sc in magic ring (6)
Row 2: (1 sc, inc)*3 (9)
Row 3-9: 9 sc (7 rows)
Fold the edges together and single crochet them with 4 sc.
Fasten off. Leave a long tail for sewing.
Tie
With red color:
Make 2 ch.
Row 1: From the 2nd ch from hook: inc, 1 turning chain
Row 2: 2 inc, 1 turning chain
Row 3-4: 4 sc, 1 turning chain
Row 5: 1 sc, dec, 1 sc, 1 turning chain
Row 6-7: 3 sc, 1 turning chain
Row 8: 1 sc, dec, 1 turning chain
Row 9: 2 sc, 1 turning chain
Row 10: 2 sc
Turn your work 90 degrees and make a sl st in every row end along the left side, than along the right side of the tie.
Fasten off. Leave a long tail for sewing.
Assembly
Sew the tongue to the head.
Sew the head to the body.
Sew the arms to the body between Row 25 and Row 22.
Embroider the cut on the body with the black thread.
Embroider the broken part on the pants with the green yarn you used for the body.
Attach couple of green yarn cut-offs to the top of the head for the hair.
Fasten on the back or sew the tie.