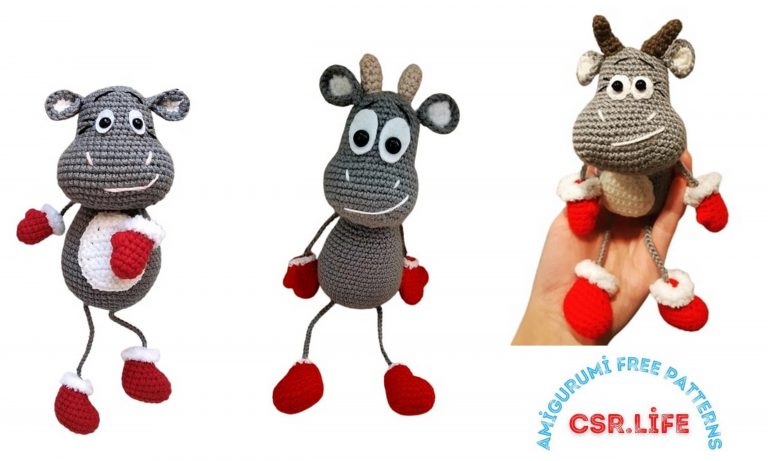
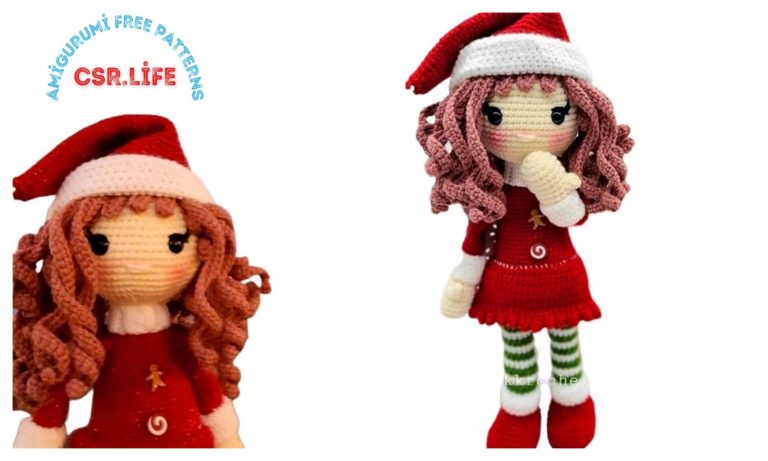
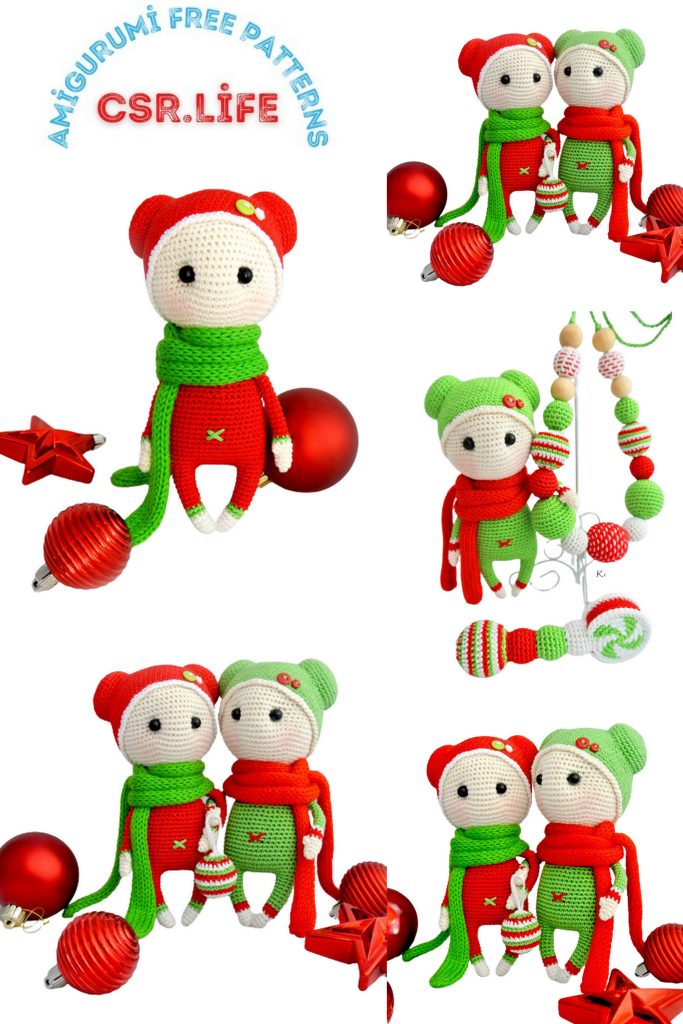
Ring in the Holidays with Joy: Free New Year Christmas Doll Amigurumi Pattern!
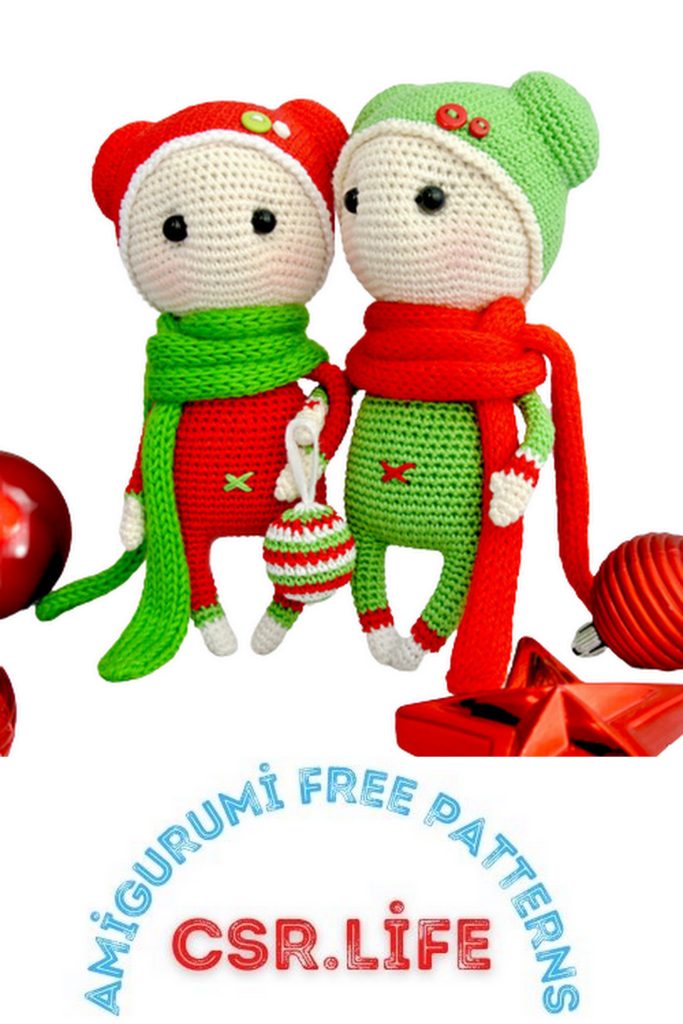
As the festive season approaches, what better way to celebrate than with our Free New Year Christmas Doll Amigurumi Pattern! This delightful project combines the magic of the holidays with the charm of handmade craftsmanship. Picture crafting your own festive doll adorned with New Year and Christmas-themed details, bringing warmth and joy to your seasonal décor.
Designed for crocheters of all levels, this pattern is a perfect blend of creativity and celebration. Whether you’re a crochet enthusiast looking for a festive project or a beginner eager to explore the world of amigurumi, this doll is sure to become a cherished part of your holiday traditions.
Get ready for the fact that the process will take 8-10 hours (of course, it depends on individual speed).
I want to reassure you; the instructions are not complicated, and crocheting will be easy.
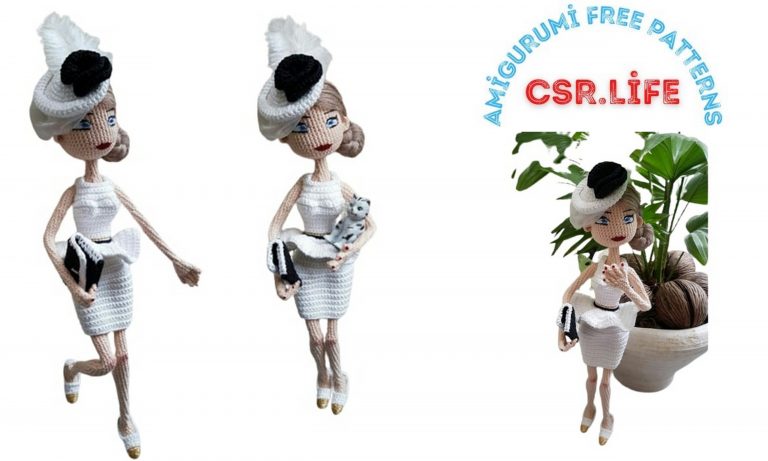
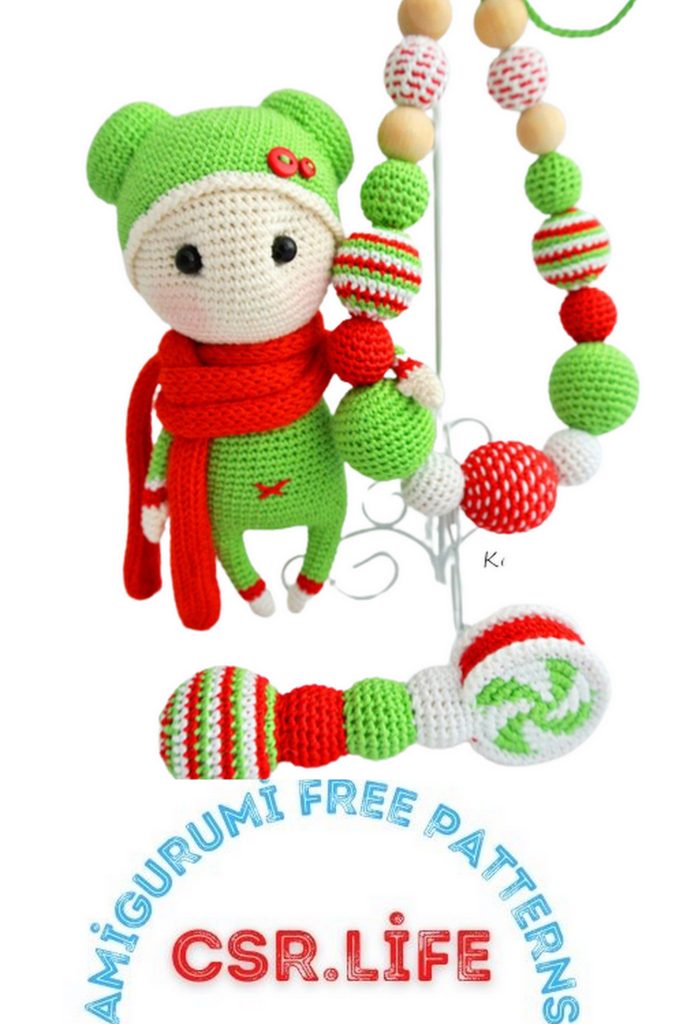
In the end, you should have a cute doll about 18 cm tall (including the bumps).
The doll can be not only for the New Year but also “all-season” 🙂
It all depends on your imagination.
For work, you will need:
Cotton in 2 colors (I used Pekhorka “Children’s Cotton” Thread length in a skein: 330m Weight of a skein: 100g).
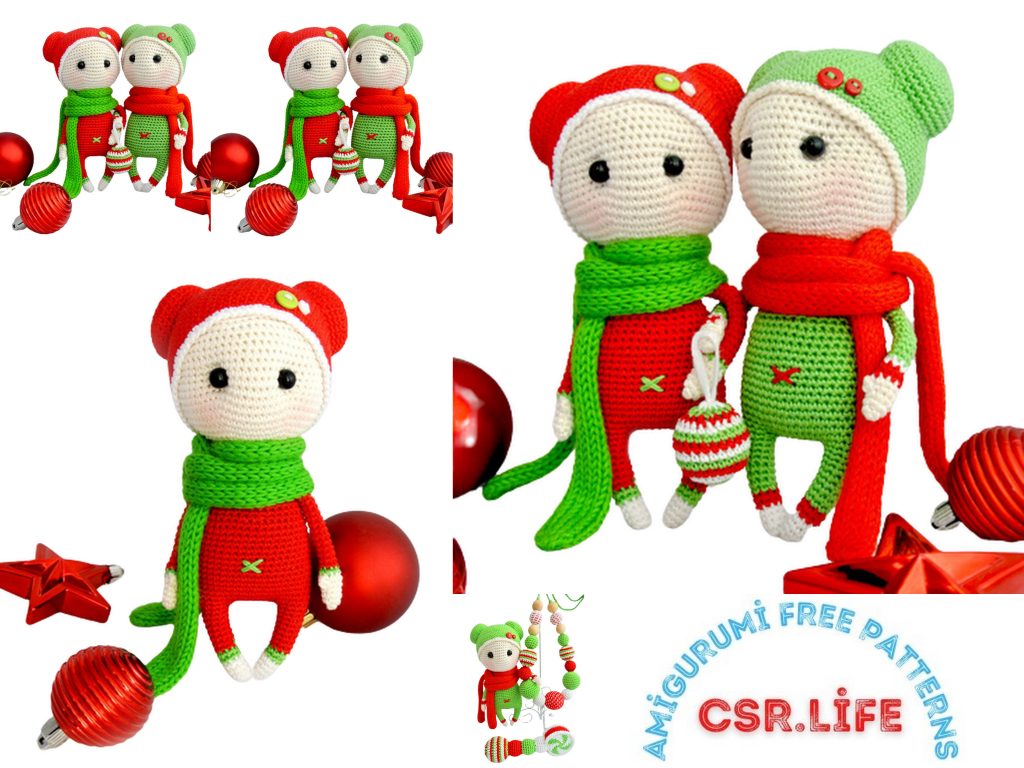
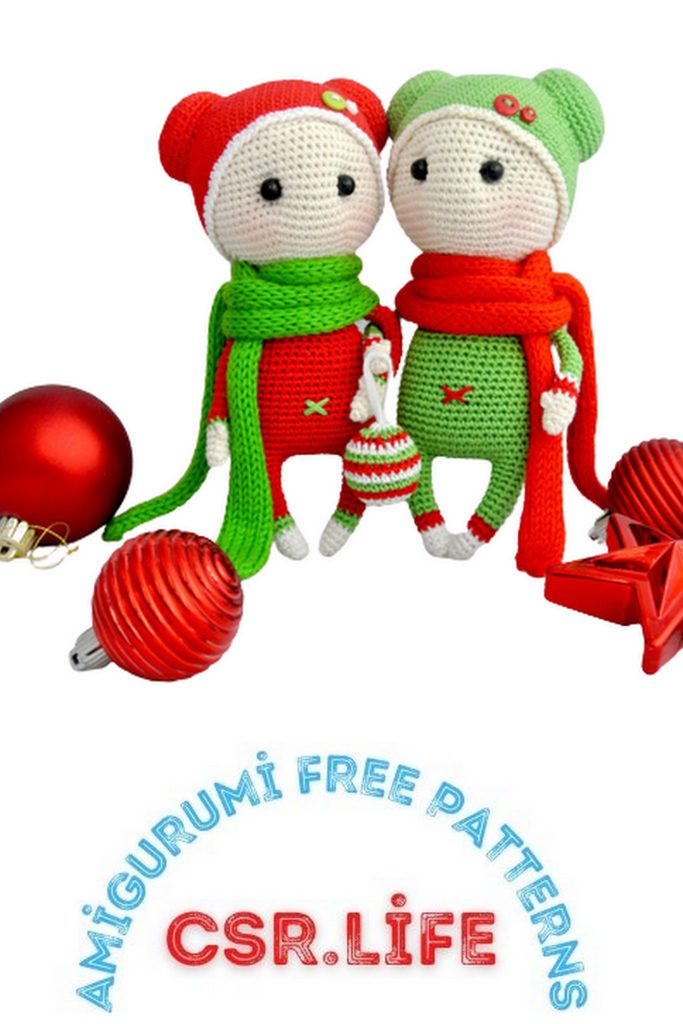
For the body and hat in the New Year version, use green or red (about 1/3 of a skein per doll).
To avoid eye strain in the tutorial, I used the color “mint” for the head and hands.
Yarn for the scarf (you can use any leftover yarn).
Beads for eyes 2 pieces black, diameter – 0.6 or 0.8 mm.
Holofiber or synthetic padding (about 80 g, depending on how tightly you want to stuff the toy).
Long needle (9 cm).
Piece of wire 20 cm.
Adhesive plaster in a skein (need a piece about 10 cm long).
Cotton swabs 5 pieces or nylon dowel 12*60 (photo will be below).
Hook No. 1.25.
Needles No. 2.
Stitch marker and pins.
Dry pastel or pink pencil.
Buttons 2 pieces.
Positivity and confidence that everything will work out!
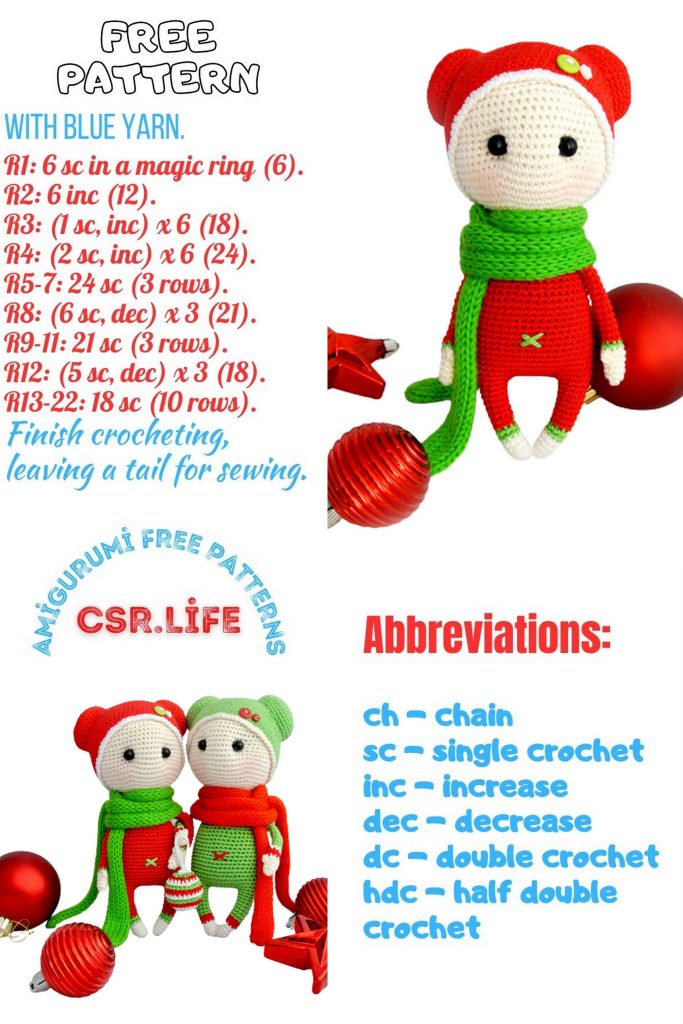
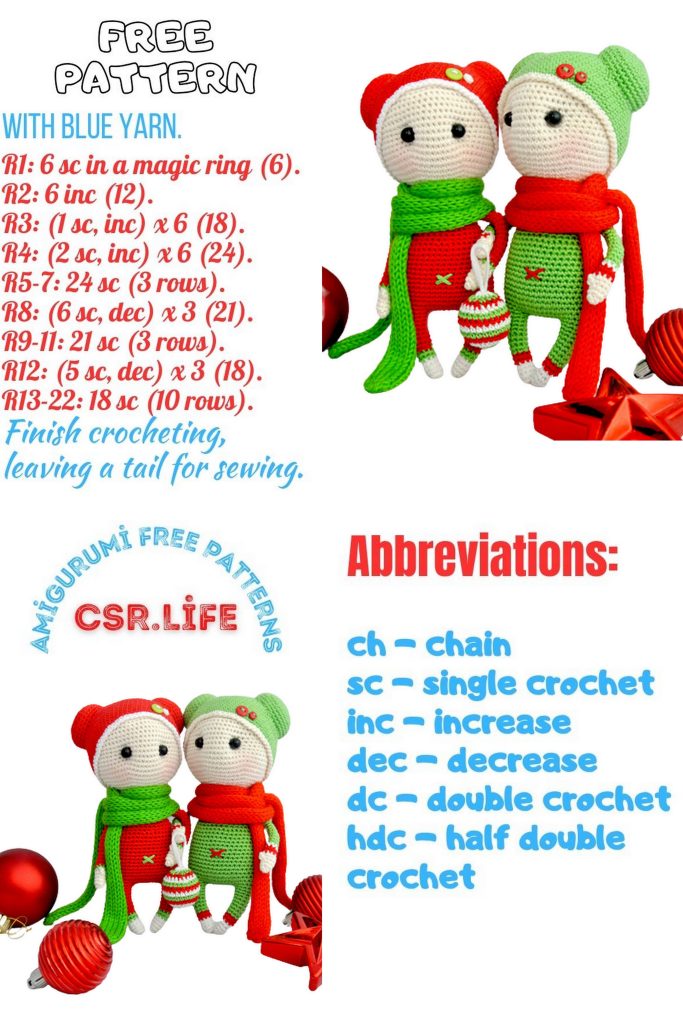
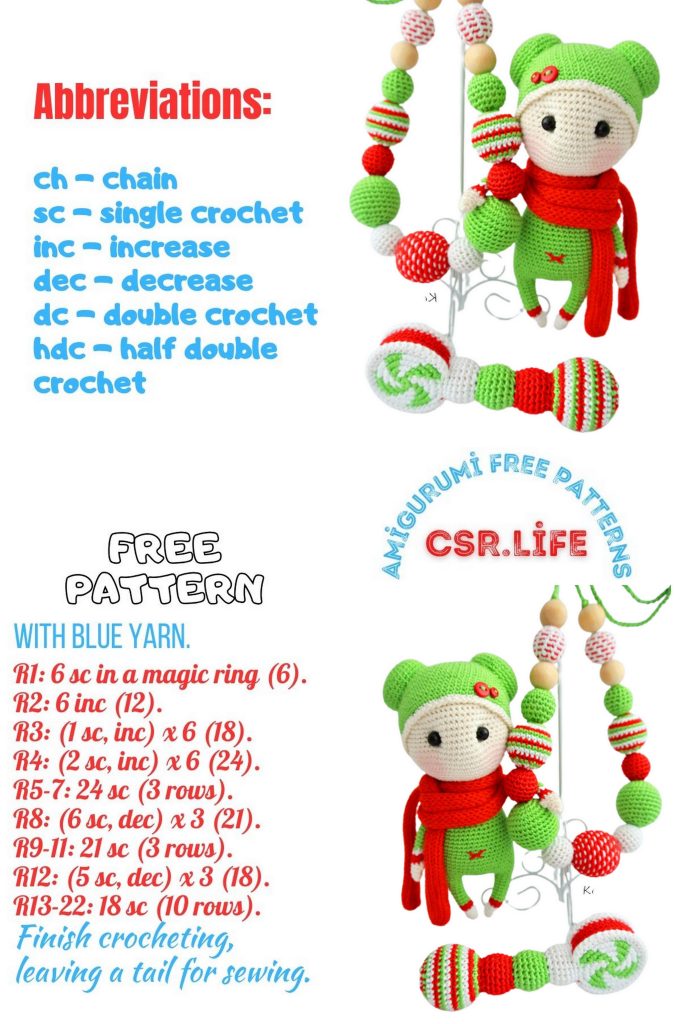
Abbreviations:
SC – single crochet.
INC – increase.
DEC – decrease.
Magic ring.
Step 1: Make a loop about 2.5 cm from the end of the thread. Place the working thread between the index and middle fingers.
Step 2: Insert the hook into the loop, grab the working thread, and pull it in front of the loop.
Step 3: Grab the working thread and pull it through the formed loop.
Step 4: Pull the working thread and tighten. This loop does not count as the first single crochet in the magic ring.
Step 5: Bring the hook from below under both threads forming a large loop. Grab the working thread.
Step 6: Pull the loop and grab the working thread again. Pull the working thread through the two loops on the hook. This way, we have crocheted the first single crochet without an increase in the magic ring.
Crochet tightly in a spiral using 2 loops per stitch!!!
PATTERN
LEGS:
Mint color.
Row 1: 5 SC in the magic ring.
Row 2: 1 SC, INC in each stitch (9 SC).
Row 3-15: Crochet 9 stitches in each row (14 rows).
Make 2 legs. Cut the thread on the right leg, leaving a long tail. On the second leg, don’t cut; continue crocheting the body.
BODY:
Mint color.
Row 1: Connect the two legs, making increases on the sides: crochet 5 SC on the left leg, place a marker; then a chain of 10 chains; then on the right leg, crochet 3 SC, INC, 1 SC, INC, 3 SC; 10 chains; on the left leg, crochet 3 SC, INC, 1 SC, INC, 3 SC.
You should have a total of 42 SC.
Row 2: 42 SC. Crochet the chains of the chain row behind 1 loop! On the legs, crochet behind 2 loops.
Row 3-14: Crochet 12 rows (behind 2 loops) without changes = 42 SC.
Sew the opening between the legs with the remainder of the thread from the right leg behind 1 loop.
Stuff the legs tightly with holofiber (I use a barbecue stick for this).
Row 15: (5 SC, DEC) 6 times = 36 SC.
Row 16-23: 36 SC.
Row 24: (4 SC, DEC) 6 times = 30 SC.
Row 25-26: 30 SC.
Row 27: (3 SC, DEC) 6 times = 24 SC.
Row 28-29: 24 SC.
Row 30: (2 SC, DEC) 6 times = 18 SC.
Row 31-32: 18 SC.
Row 33: (1 SC, DEC) 6 times = 12 SC.
Stuff the body tightly with holofiber.
Row 34: (2 SC, DEC) 6 times = 18 SC.
Row 35-36: 18 SC.
Row 37: Change the color of the thread. Skin color (raw).
Row 38: (2 SC, INC) 6 times = 24 SC.
Row 39: (3 SC, INC) 6 times = 30 SC.
Row 40: (4 SC, INC) 6 times = 36 SC.
Row 41: (5 SC, INC) 6 times = 42 SC.
Row 42: (6 SC, INC) 6 times = 48 SC.
Row 43: (7 SC, INC) 6 times = 54 SC.
Row 44: (8 SC, INC) 6 times = 60 SC.
Row 45: (9 SC, INC) 6 times = 66 SC.
Stuff the body. Insert 5 cotton swabs (fix with adhesive plaster) or dowel into the neck. If using a dowel, thread a wire for the arms through the gap in it. To do this, insert the wire from the side between the 22nd and 23rd rows of the torso, then into the gap, and then pull it out on the other side.
Row 46-47: 66 SC (12 rows).
Row 48: (9 SC, DEC) 6 times = 60 SC.
Row 49: (8 SC, DEC) 6 times = 54 SC.
Row 50: (7 SC, DEC) 6 times = 48 SC.
Row 51: (6 SC, DEC) 6 times = 42 SC.
Row 52: (5 SC, DEC) 6 times = 36 SC.
Row 53: (4 SC, DEC) 6 times = 30 SC.
Head:
Change the thread color. Skin color (raw).
Row 54: (3 SC, INC) 6 times = 24 SC.
Row 55: (2 SC, INC) 6 times = 18 SC.
Row 56: (1 SC, INC) 6 times = 12 SC.
Stuff the remaining part of the head.
Cut the thread, leaving a long tail (we will make a drawstring for the eyes).
Pull the opening tight.
DRAWSTRING:
Decide on which side the face will be (it doesn’t matter), mark the place for the eyes (you can use pins). For me, it’s between the 12th and 13th rows of the head. There should be 7-8 stitches between the eyes (as you prefer).
Thread the remaining thread into a long needle and insert it into the center of the crown. Bring it out between the rows in the presumed place for the left eye. Then insert the needle into the adjacent stitch of the same row and bring it out to the presumed place for the right eye. Repeat this process several times, tightening the “eye sockets” together. Finally, bring the thread out on the crown and secure it with a knot.
Sew black beads as eyes into the tightened areas on the head.
HANDS:
Skin color (raw).
Row 1: 4 SC in the magic ring.
Row 2: Increases in each stitch = 8 SC.
Row 3: 8 SC.
Row 4: 3 SC, INC, 1 SC, INC, 3 SC = 8 SC (for one hand). (7 SC, 3 INC with one peak = 8 SC for the other hand).
Row 5: 8 SC.
Change the color to mint.
Row 6-24: 8 SC (19 rows).
Cut the thread, leaving a long tail (it will be used for sewing).
Attach the finished hands to the wire, bend the last loop at the desired level, fixing it with adhesive plaster. Put the hands on the wire, pull them to the torso, and sew them carefully.
For those having difficulty or no wire, you can simply sew or gather the loops of the hands at the top and sew them to the torso.
HAT:
Mint color.
Row 1: 6 SC in the magic ring.
Row 2: Increases in each stitch = 12 SC.
Row 3: (1 SC, INC) 6 times = 18 SC.
Row 4: (2 SC, INC) 6 times = 24 SC.
Row 5: (3 SC, INC) 6 times = 30 SC.
Row 6: (4 SC, INC) 6 times = 36 SC.
Row 7: (5 SC, INC) 6 times = 42 SC.
Row 8: (6 SC, INC) 6 times = 48 SC.
Row 9: (7 SC, INC) 6 times = 54 SC.
Row 10: (8 SC, INC) 6 times = 60 SC.
Row 11: (9 SC, INC) 6 times = 66 SC.
Row 11-23: 66 SC (13 rows).
Cut the thread, leaving a long tail (it will be used for sewing).
BUMPS:
Mint color.
Crochet two identical bumps and sew them on the sides (New Year’s coloring).
Make 2 pieces.
Row 1: 6 SC in the magic ring.
Row 2: Increases in each stitch = 12 SC.
Row 3: (1 SC, INC) 6 times = 18 SC.
Row 4: (2 SC, INC) 6 times = 24 SC.
Row 5: (3 SC, INC) 6 times = 30 SC.
Row 6: (4 SC, INC) 6 times = 36 SC.
Row 7-10: 36 SC.
Cut the thread, leaving a long tail (it will be used for sewing).
SCARF:
Color of your choice.
Knit with knitting needles, picking up stitches arbitrarily (depending on the yarn) and the length that suits you. I knitted with knitting needles No. 2 on 11 stitches for 142 rows.
1st row – knit stitches.
2nd row – purl stitches.
Alternate until the desired length.
If you crochet, choose the number of chains depending on the desired width. For example, chain 6, then 2 chains for turning, turn, 5 single crochet.
Continue with turning rows until the desired length.
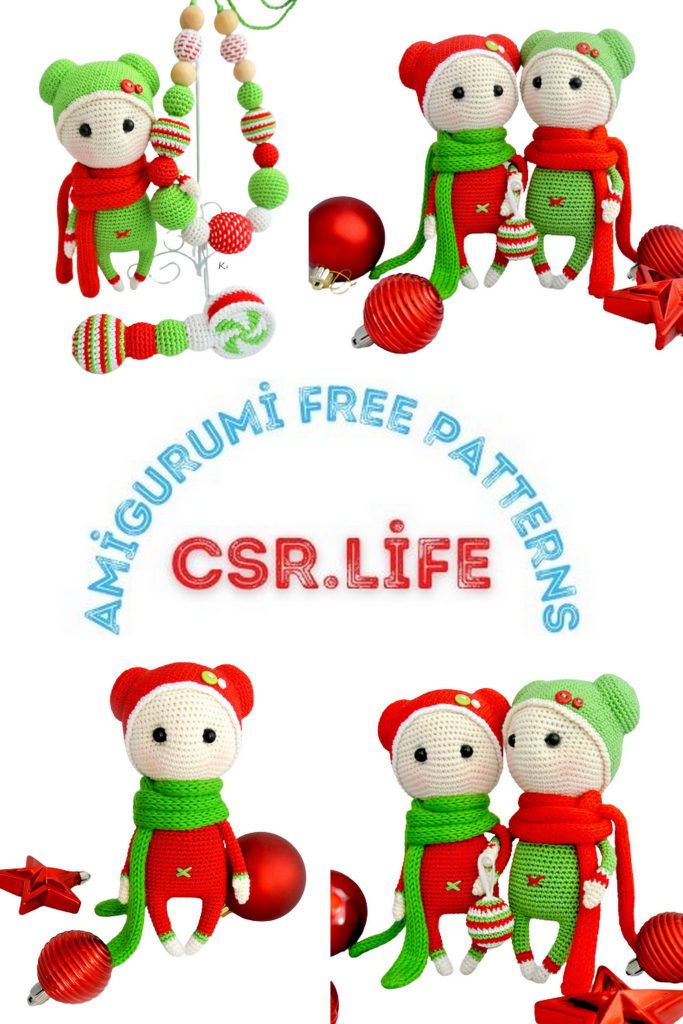
ASSEMBLY AND DECORATION:
Put the hat on the head (it should fit tightly), sew it by grabbing the thread in several places.
Place the bumps on the hat as you like, stuffing them with holofiber and sewing them.
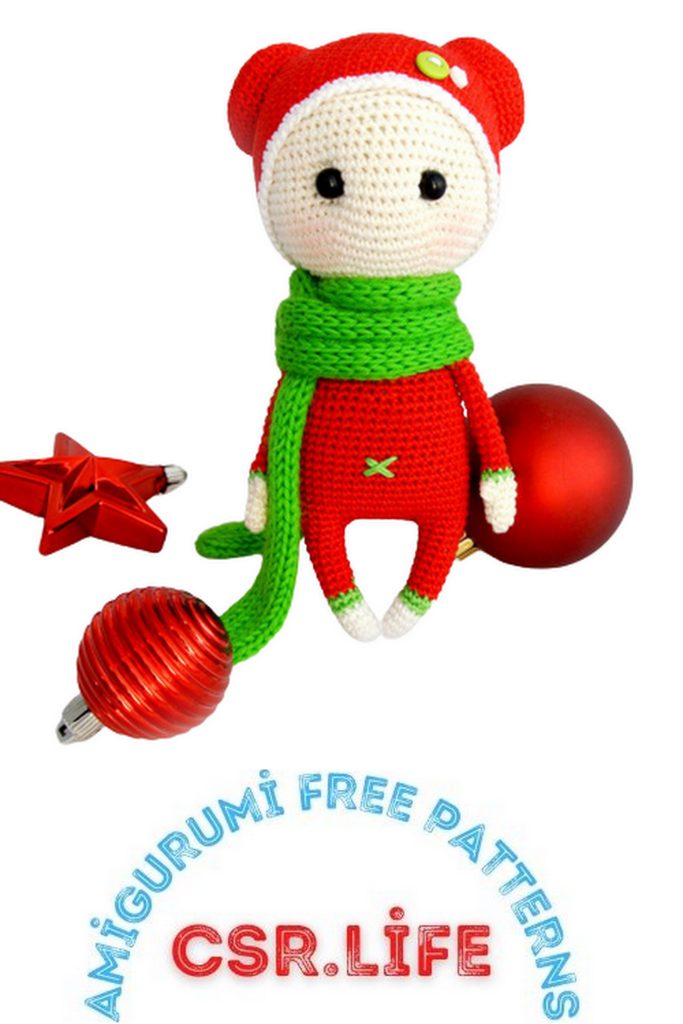
Embroider the belly button with cross-stitch.
Add a blush to the cheeks with dry pastel or a powdered pencil (use a brush or a sponge tampon).
Sew buttons to the hat.
Tie a scarf around the neck.
The New Year’s doll is ready!
Enjoy your crocheting!