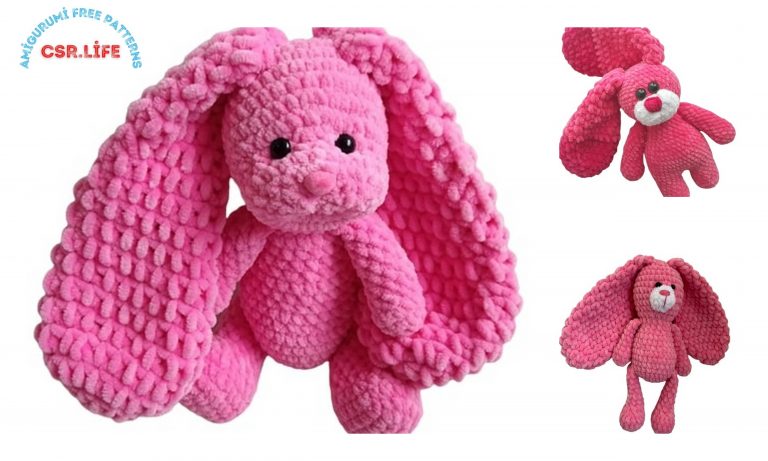
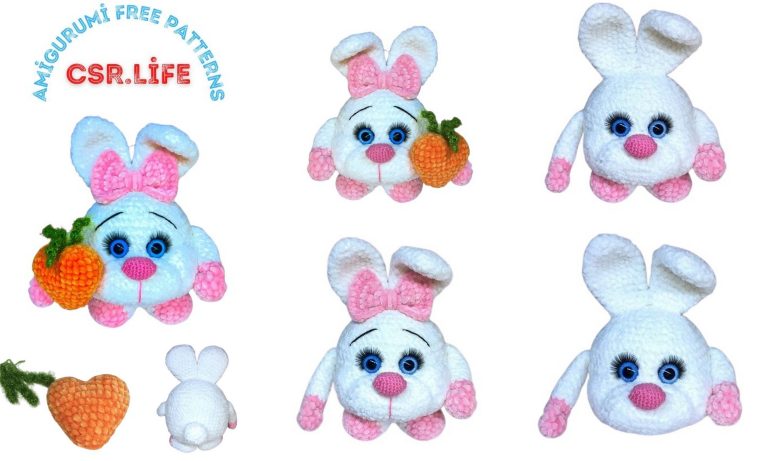
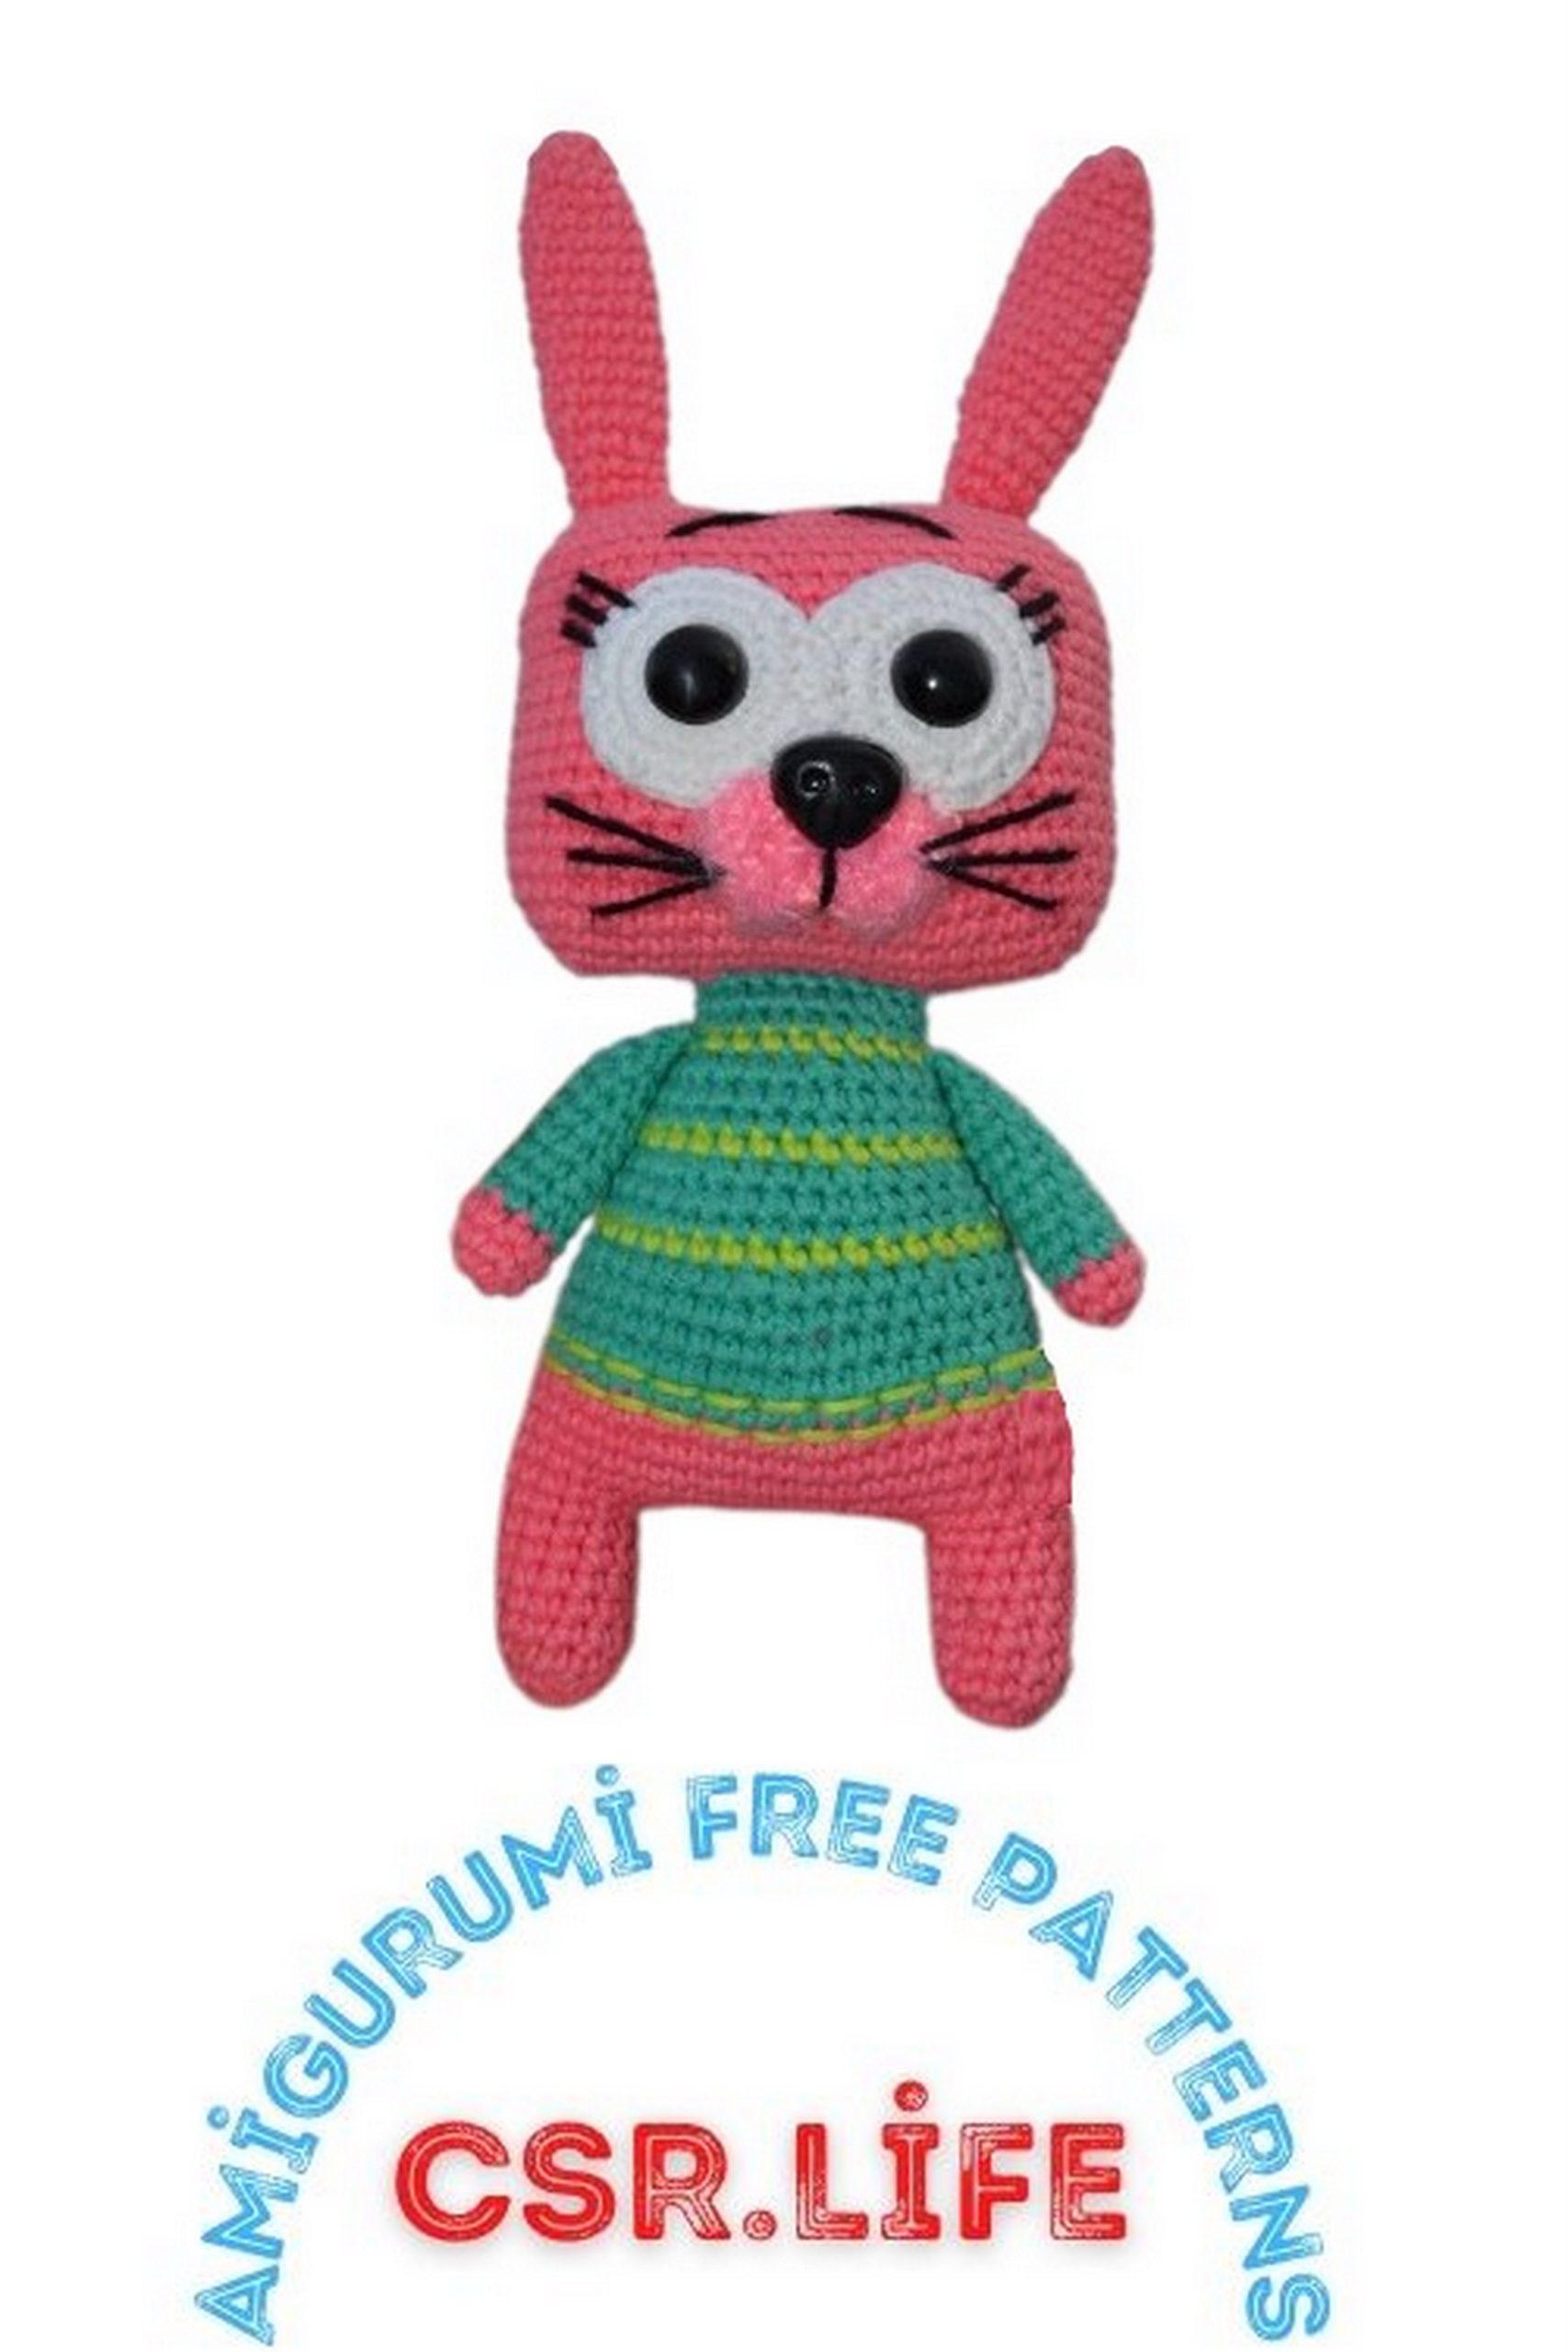
Adorable Bunny Amigurumi Free Pattern – Crochet Your Own Cuddly Friend
Welcome to our enchanting world of crochet, where creativity knows no bounds! If you’re a fan of adorable crafts and cuddly companions, you’re in for a treat. In this post, we’re thrilled to share a free pattern for crafting your very own ‘Cute Bunny Amigurumi.’ Whether you’re an experienced crocheter or a beginner looking for a fun project, this is the perfect opportunity to bring a touch of charm and whimsy into your life.
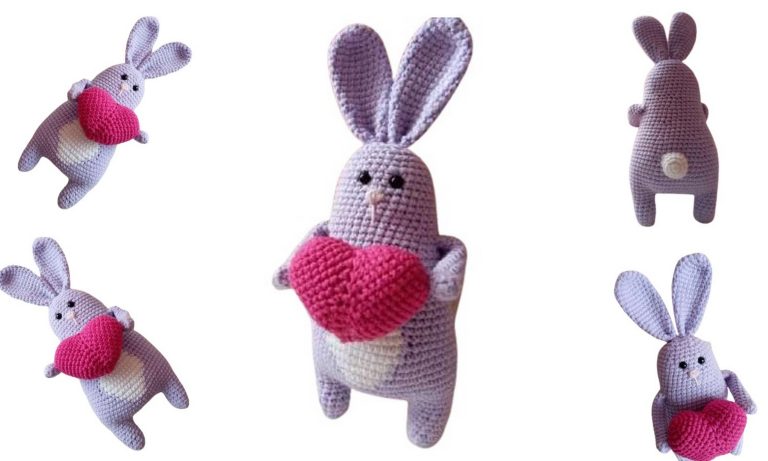
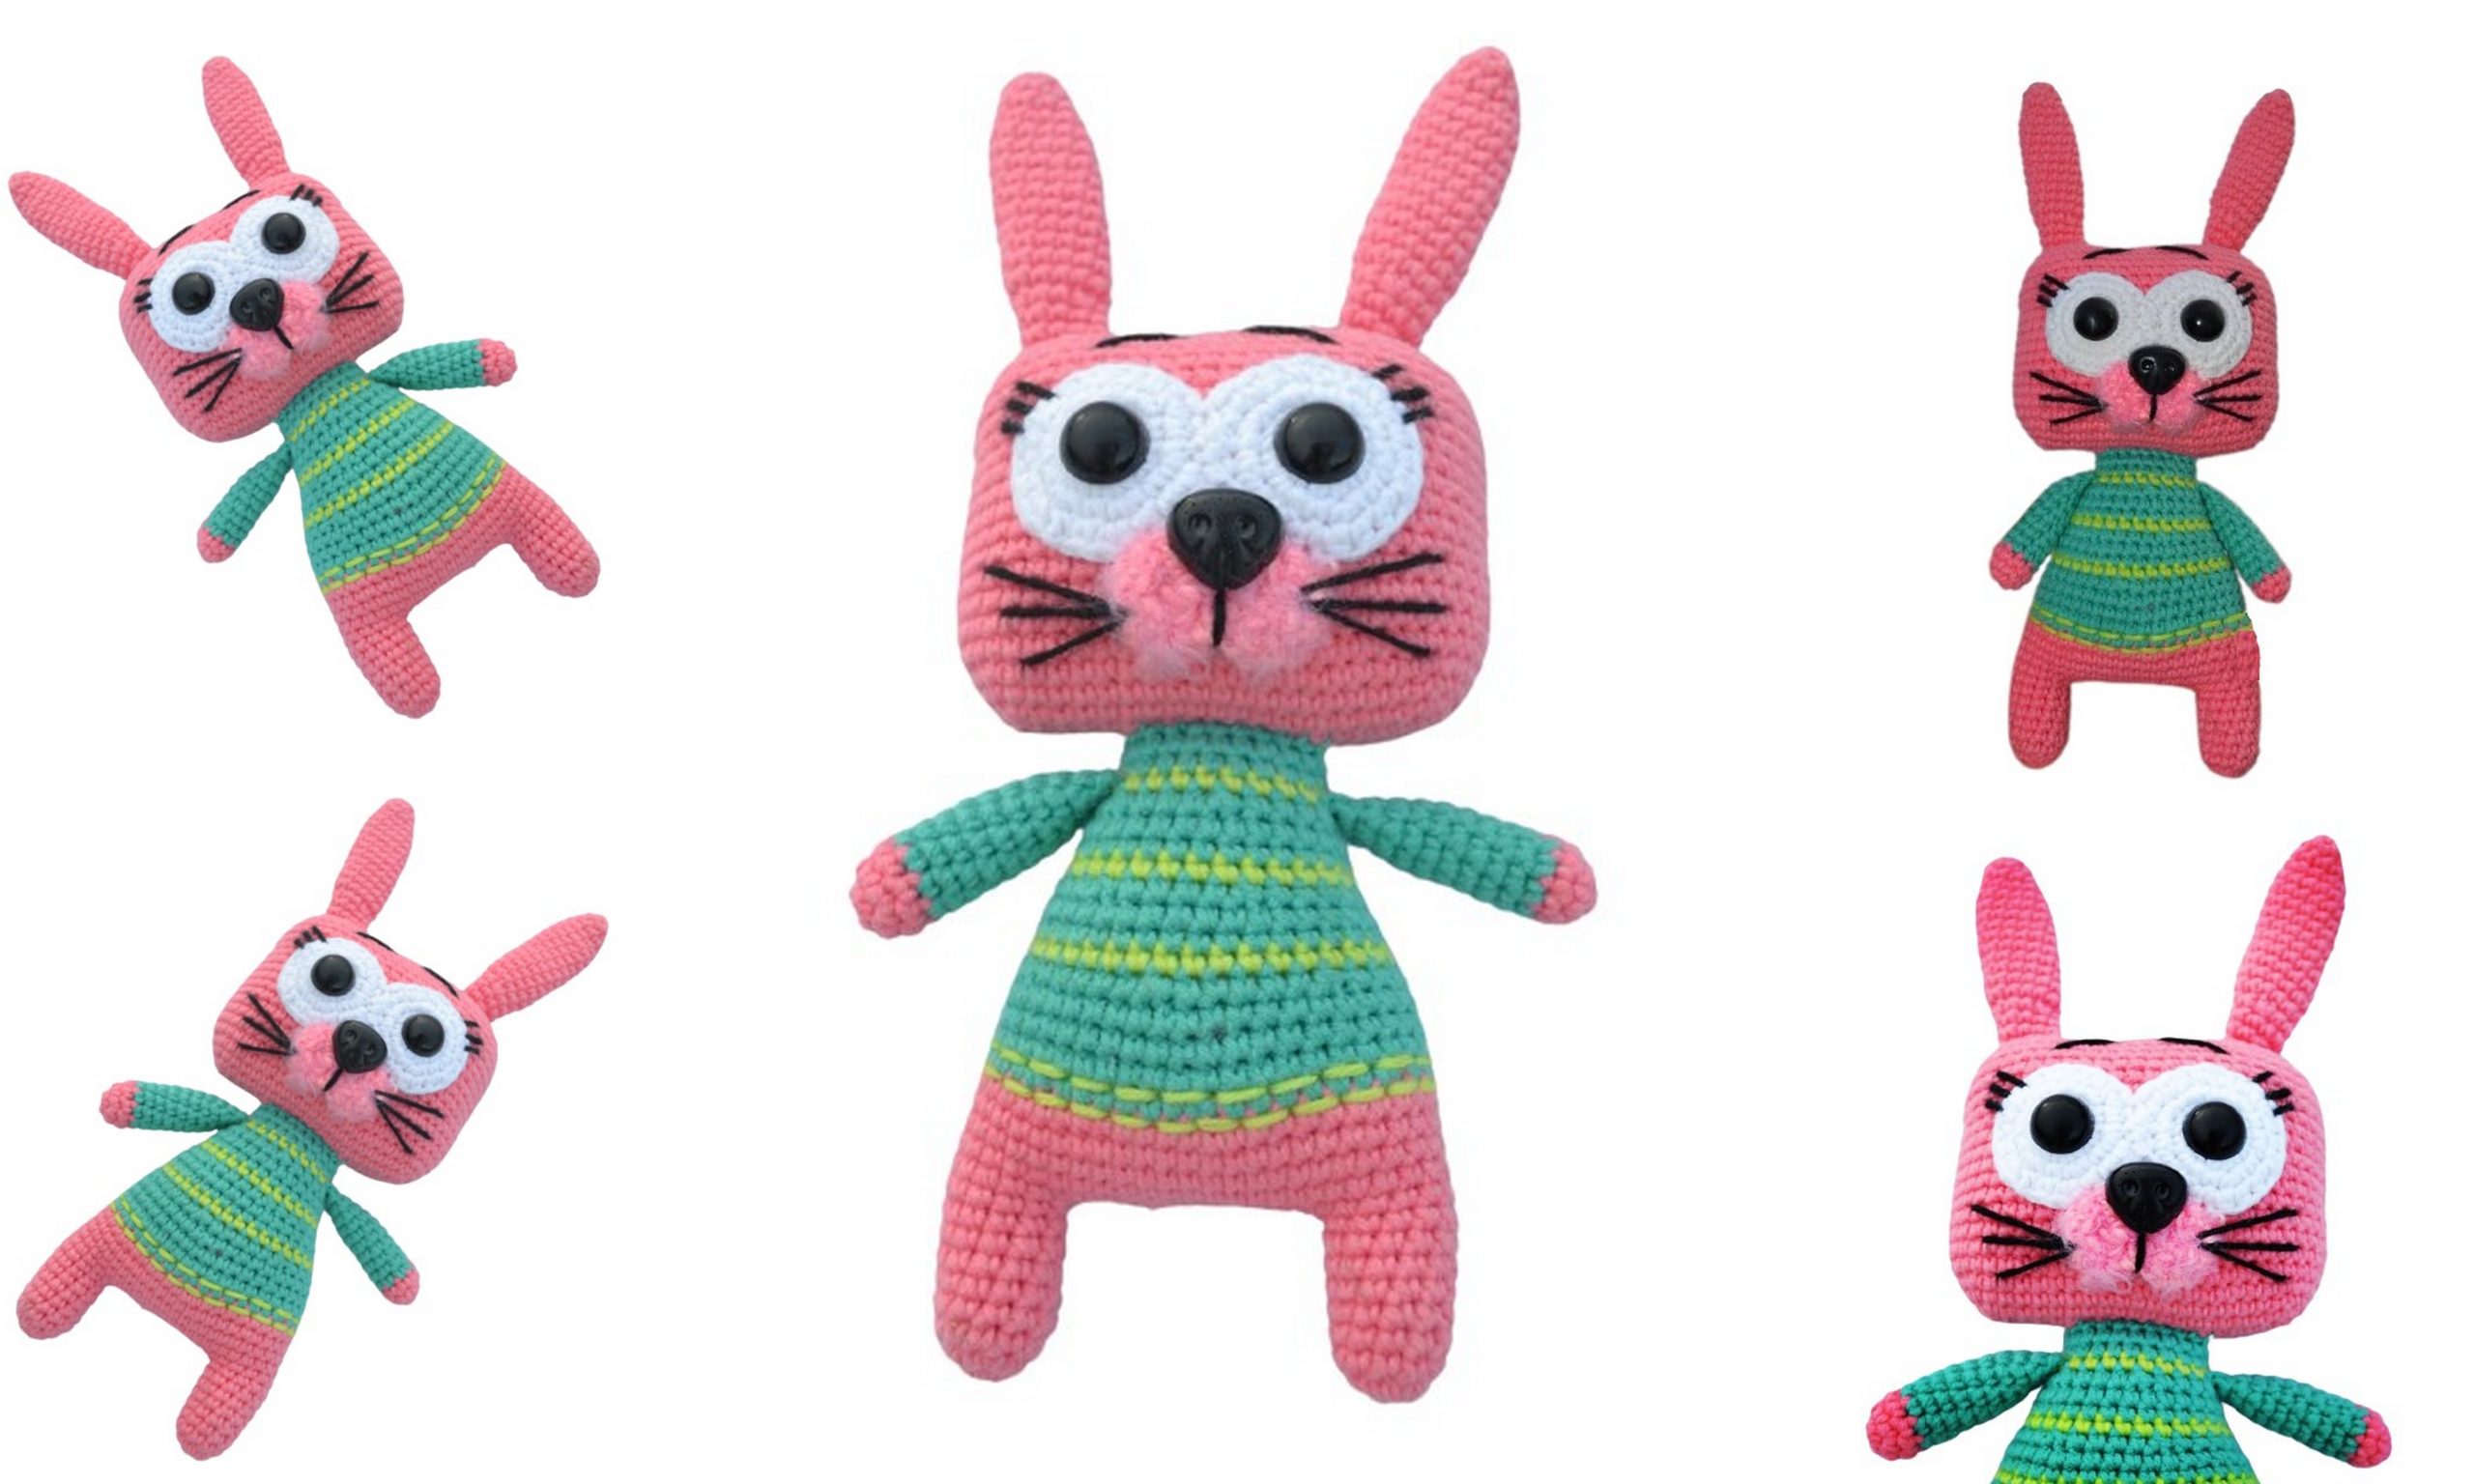
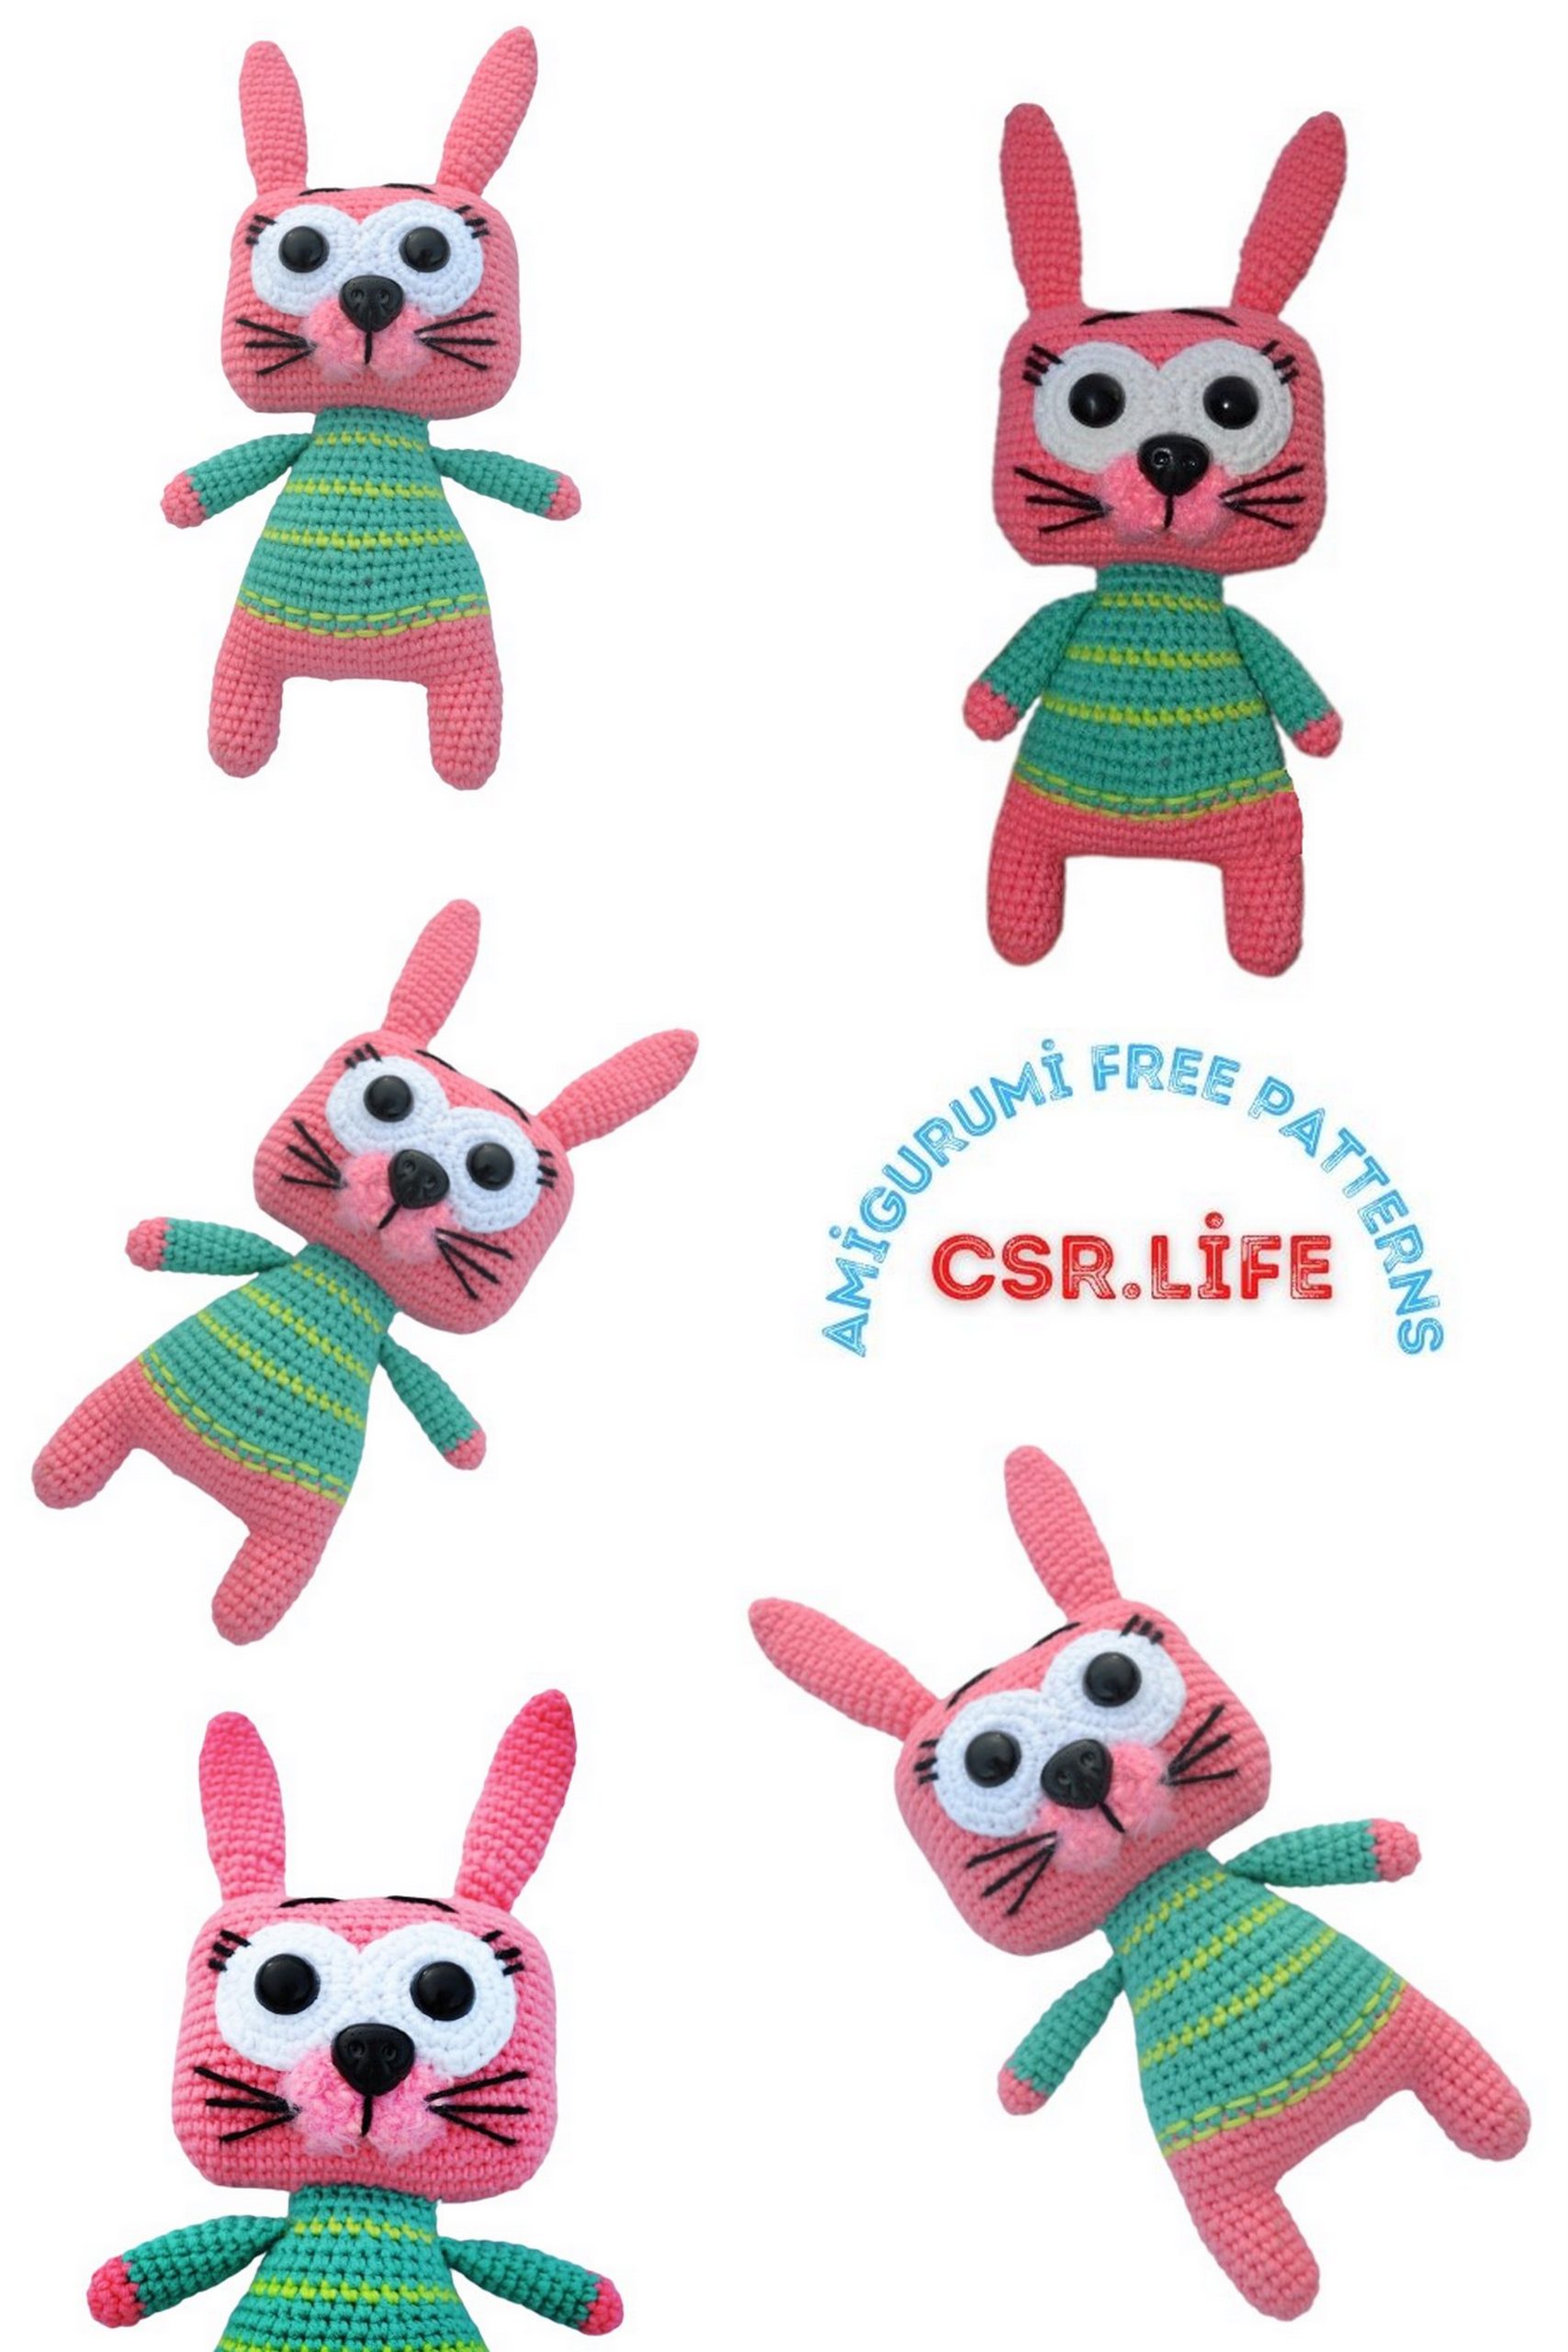
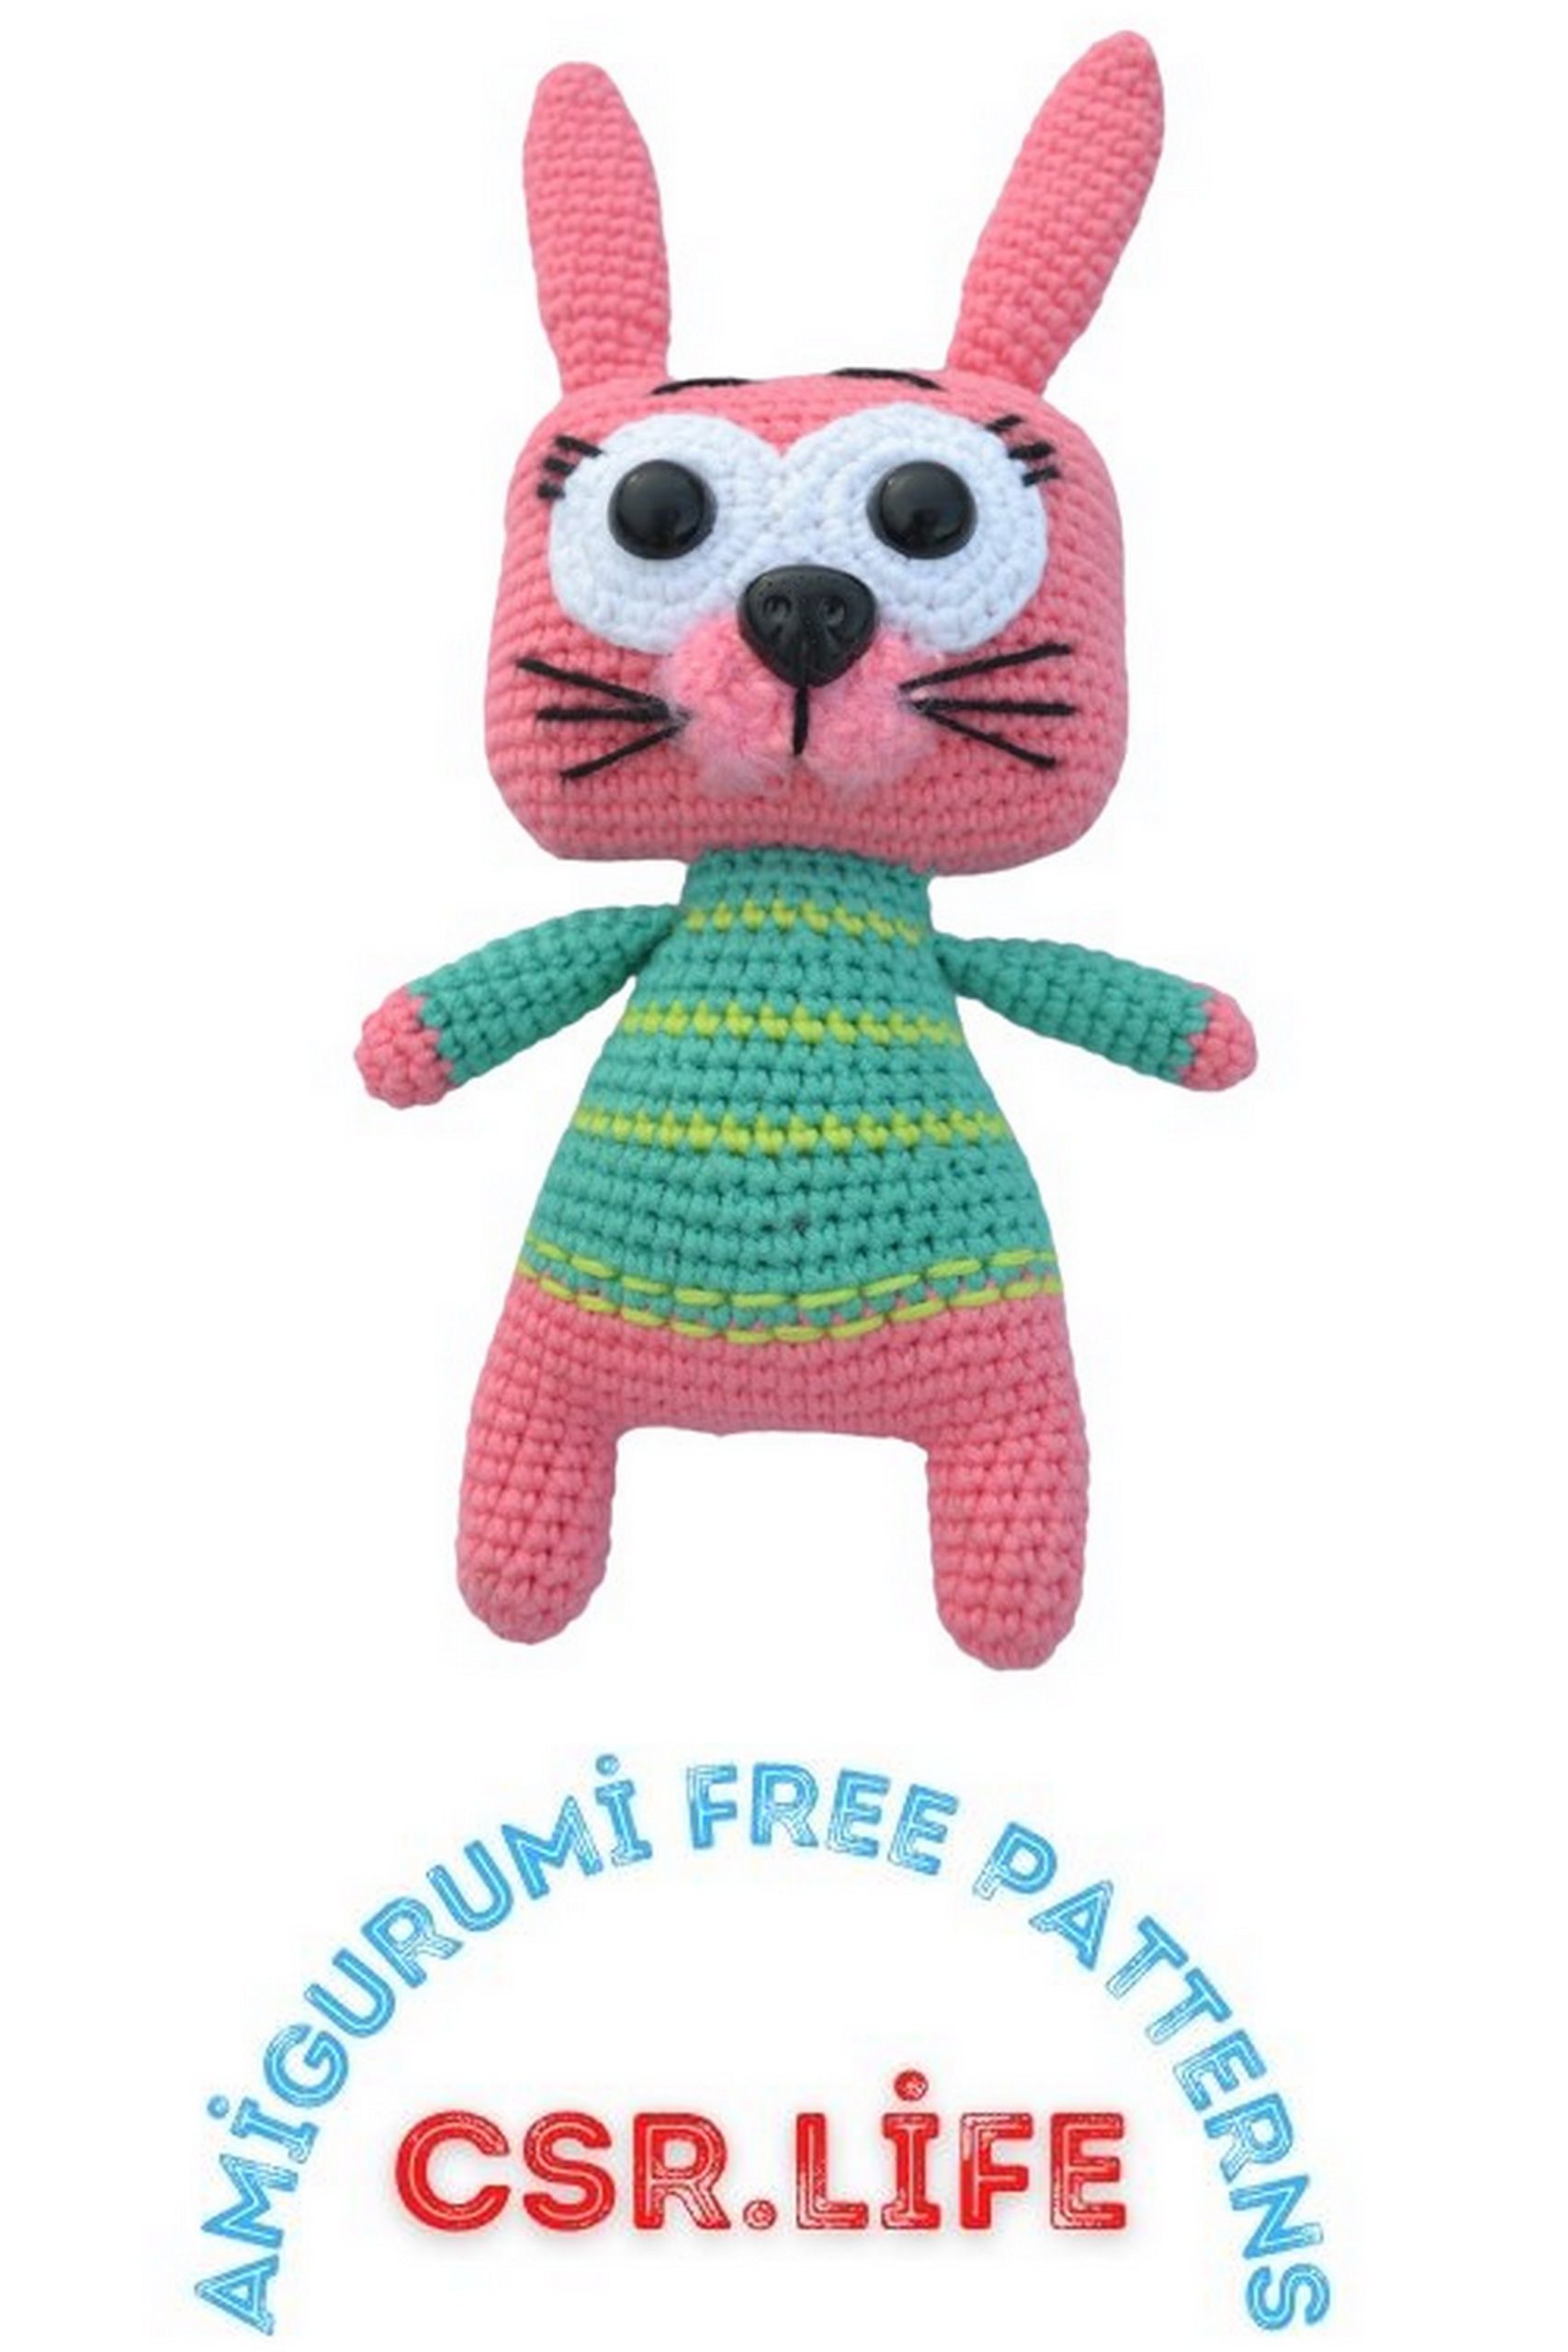
Our ‘Cute Bunny Amigurumi‘ is a delightful creation that will capture your heart from the moment you start crafting it. This project is not only a joy to make but also makes for a wonderful handmade gift or a charming addition to your home décor.
With our easy-to-follow instructions and step-by-step guidance, you’ll find that crafting this lovable bunny is an enjoyable and rewarding experience. Plus, it’s completely free! All you need are some basic crochet skills, a few materials, and a little bit of time.
So, grab your crochet hooks, choose your favorite yarn colors, and let’s embark on a crochet adventure filled with cuteness and creativity. Whether you’re looking for a new hobby, a gift idea, or simply a way to brighten up your day, our ‘Cute Bunny Amigurumi Free Pattern‘ has got you covered.
Stay tuned as we walk you through the process, from selecting the right materials to finishing touches that will make your bunny truly unique. Get ready to create a one-of-a-kind, huggable friend that will bring smiles to faces and warmth to hearts.
Let’s get started on this adorable crochet journey, where imagination and craftsmanship come together to create something truly special. Ready, set, crochet!”
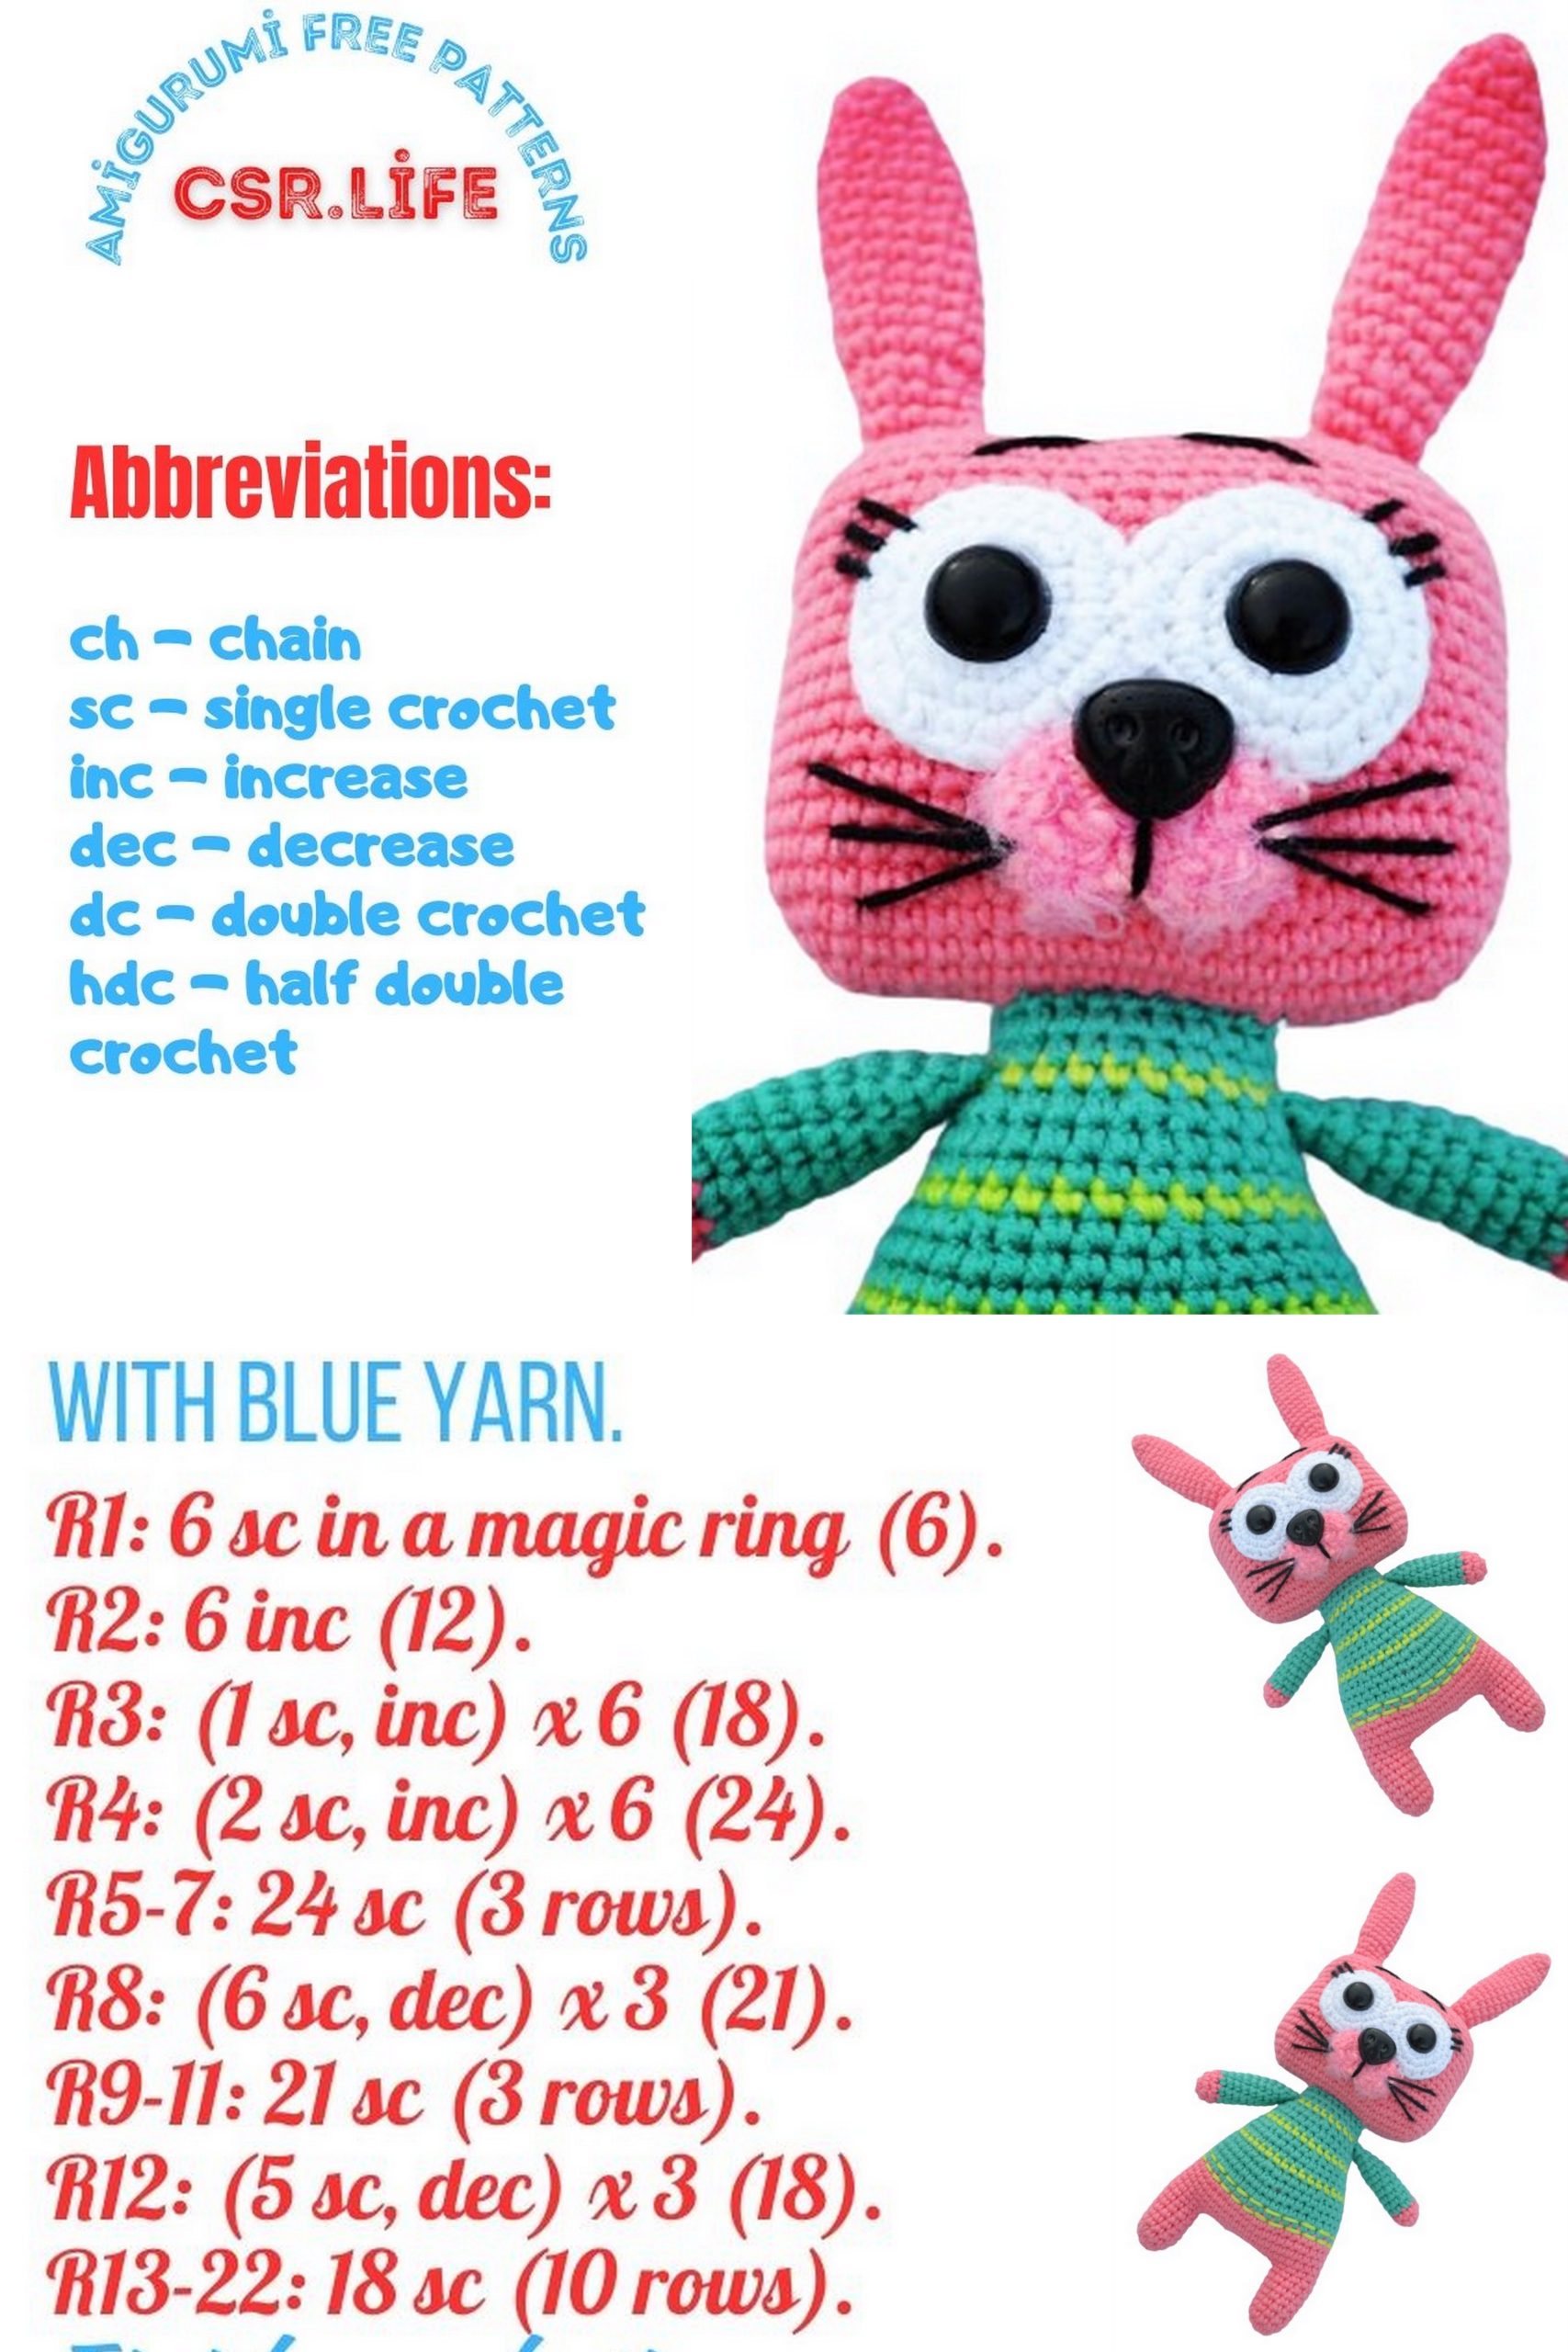
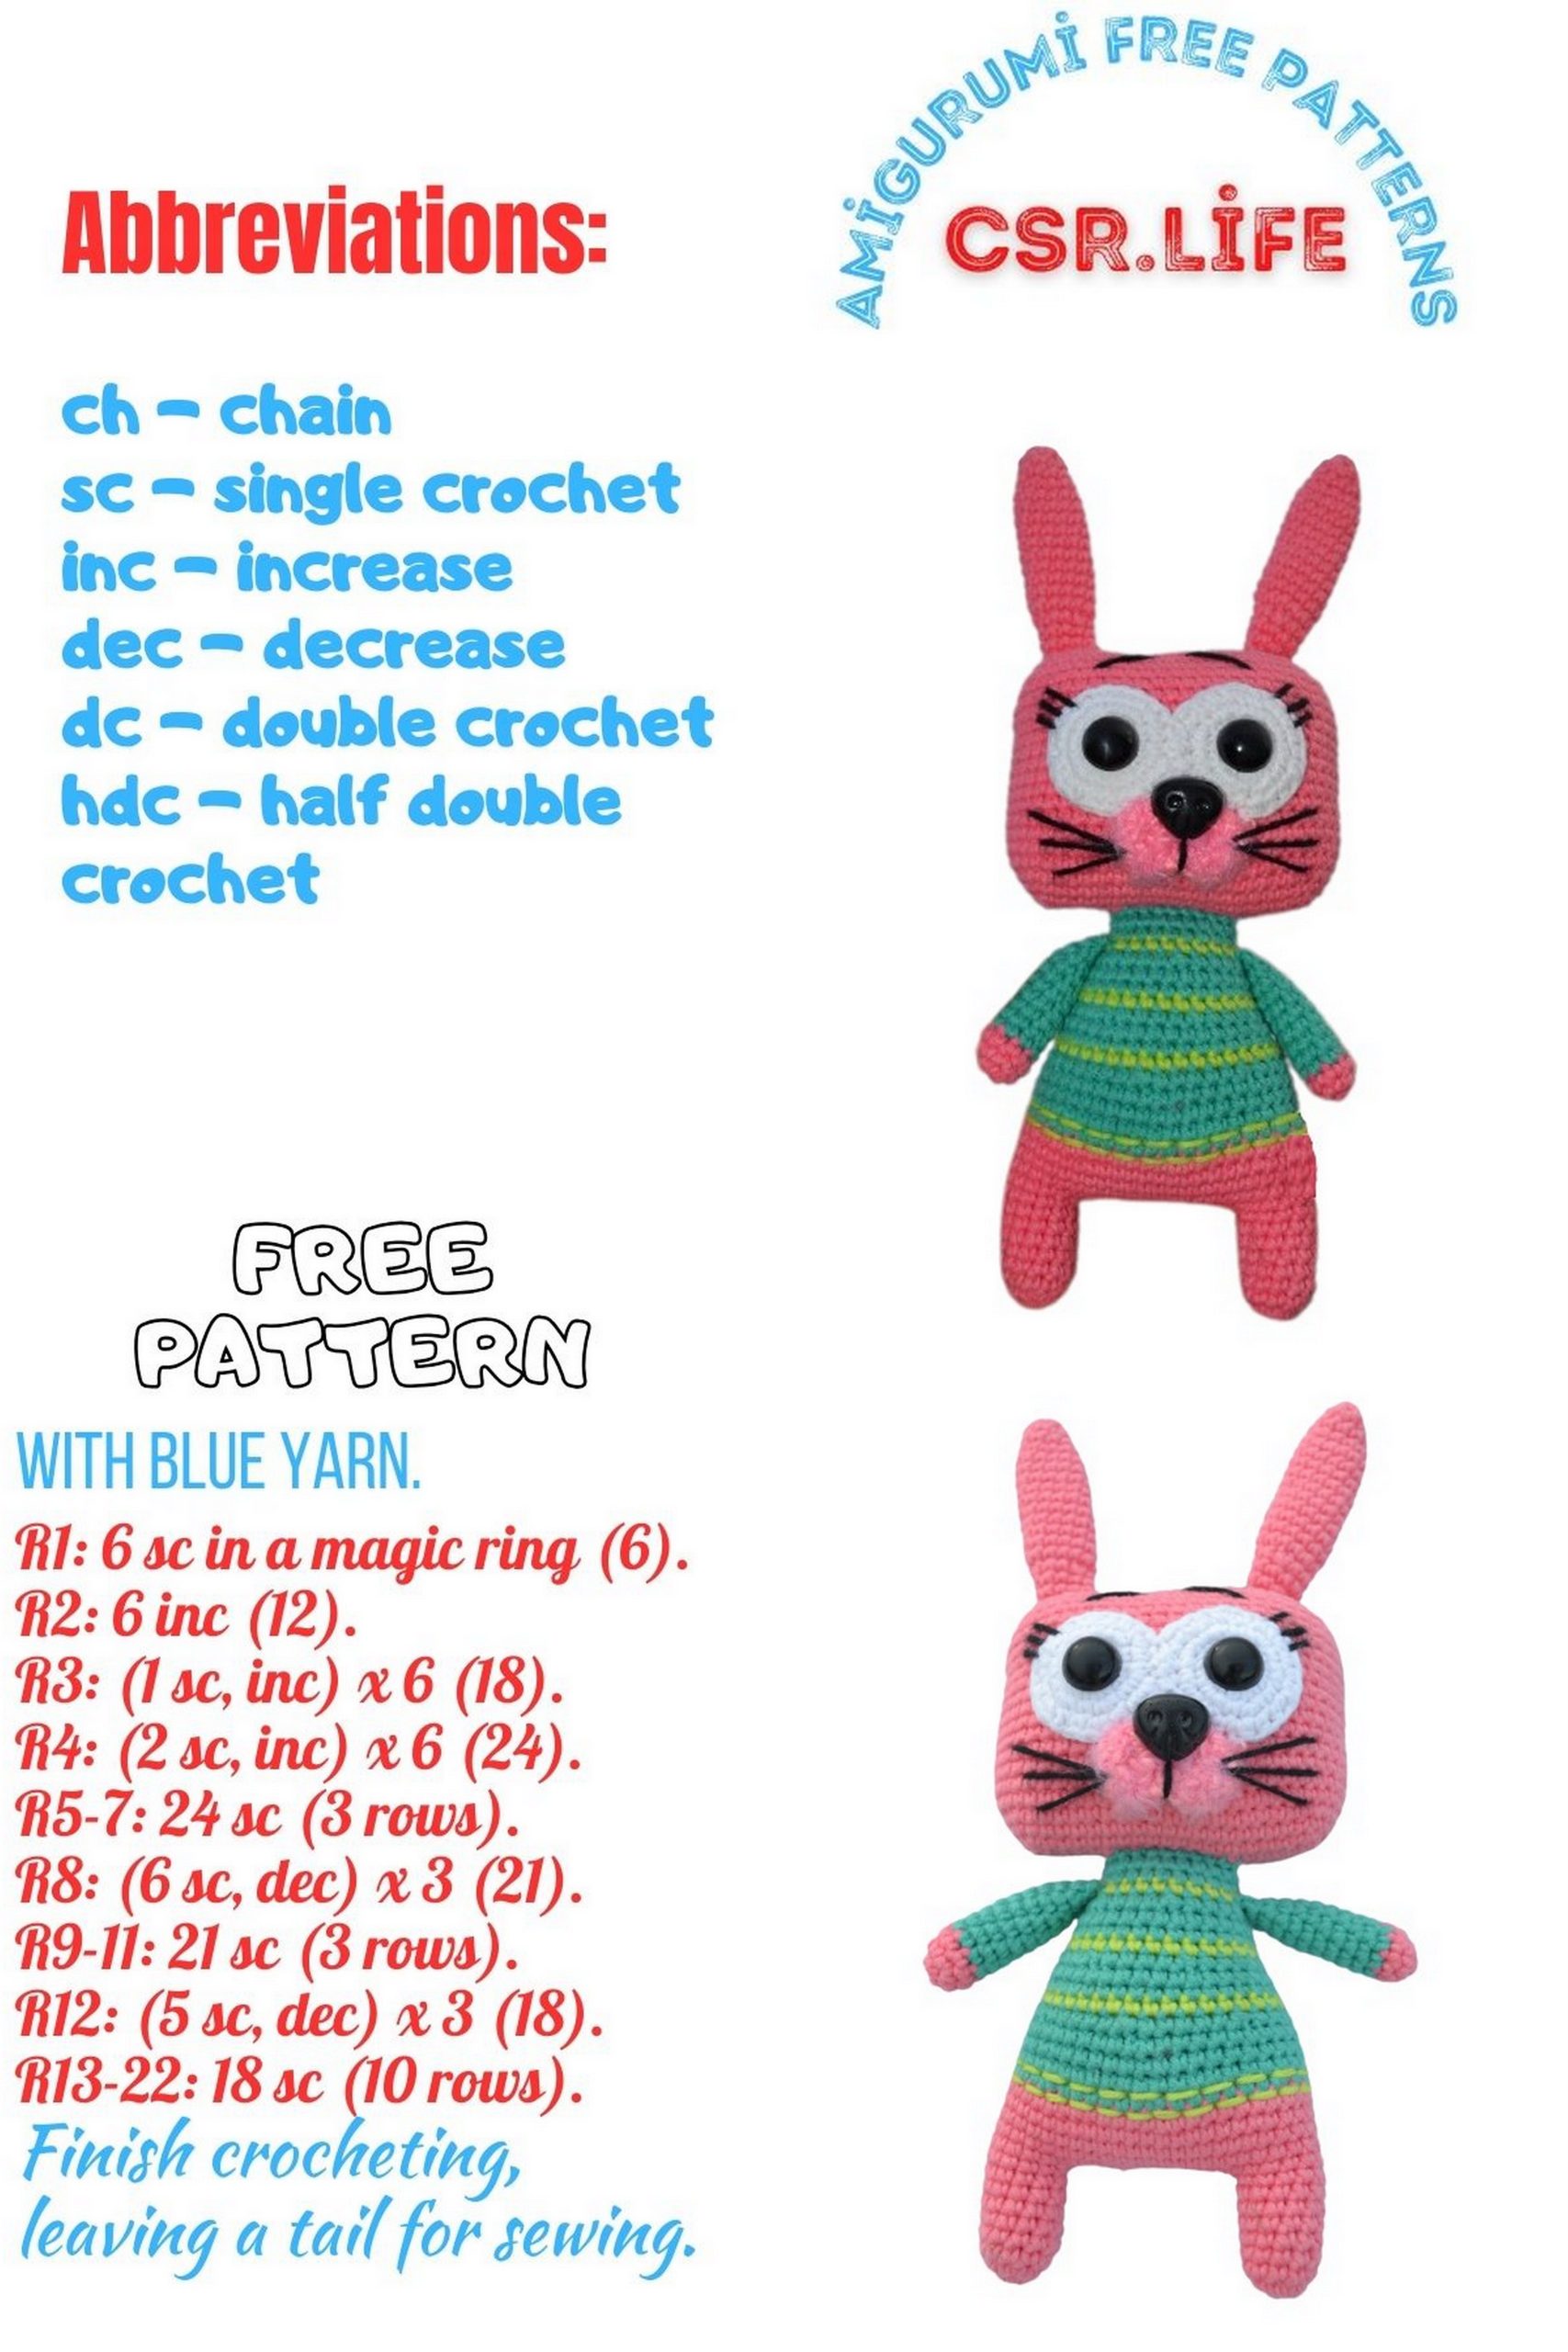
Abbreviations:
CA – amigurumi ring
ch – chain
inc – increase
dec – decrease
sc – single crochet
PATTERN
Paws and Hands (lightly stuffed):
Use the main color yarn.
1 Row: 6 sc into the amigurumi ring.
2 Row: (1 inc) * 3 (9) Change yarn color.
Sweater:
3-12 Row: 9 sc.
13 Row: Fold in half and crochet 4 sc together.
Legs, Feet, and Body (stuff as you go):
1 Row: 6 sc into the amigurumi ring.
2 Row: 6 inc (12).
3-8 Row: 12 sc.
Do not cut the yarn after the second leg; connect it with the first leg.
9 Row: 6 sc, 12 ch, 12 sc on the first leg, 12 ch, 6 sc on the second leg (48).
10-14 Row: 48 sc. Change yarn color.
15 Row: (6 sc, dec) * 6 (42).
16-18 Row: 42 sc.
19 Row: (5 sc, dec) * 6 (36).
20-22 Row: 36 sc.
23 Row: (4 sc, dec) * 6 (30).
24-26 Row: 30 sc.
27 Row: (3 sc, dec) * 6 (24).
28 Row: 13 sc, 4 sc for the arms, 7 sc (24).
29 Row: 1 sc, 4 sc for the arms, 19 sc (24).
30-31 Row: 24 sc. Finish crocheting and leave a tail for sewing.
Head (use the main color yarn):
1 Row: 21 ch, starting from the 2nd chain from the hook, sc in 19 ch, 3 sc in 1 ch, 18 sc, inc (42).
2 Row: inc, 18 sc, 3 inc, 18 sc, 2 inc (48).
3 Row: 48 sc.
4 Row: 1 sc, inc, 18 sc, (1 sc, inc) * 3, 18 sc, (1 sc, inc) * 2 (54).
5-19 Row: 54 sc.
20 Row: (1 sc, dec) * 2, 18 sc, (1 sc, dec) * 3, 18 sc, 1 sc, dec (48).
21 Row: (1 sc, dec) * 2, 15 sc, (1 sc, dec) * 3, 15 sc, 1 sc, dec (42).
22 Row: (1 sc, dec) * 2, 12 sc, (1 sc, dec) * 3, 12 sc, 1 sc, dec (36).
23 Row: (dec, 1 sc) * 2, 9 sc, (dec, 1 sc) * 3, 9 sc, dec, 1 sc (30). Finish crocheting and leave a tail. Sew up the remaining hole.
Eyes (whites):
Use white yarn.
1 Row: 6 sc into the amigurumi ring.
2 Row: 6 inc (12).
3 Row: (1 inc) * 6 (18).
4 Row: (2 inc) * 6 (24). Leave a tail for sewing.
Nose (I used textured yarn):
1 Row: 5 ch, starting from the 2nd chain from the hook, 3 sc, 3 in 1, 2 sc, inc (10).
2 Row: inc, 2 sc, 3 inc, 2 sc, 2 inc (16). Leave a tail for sewing.
Ears:
Use the main color yarn.
1 Row: 6 sc into the amigurumi ring.
2 Row: (1 inc) * 3 (9).
3 Row: 9 sc.
4 Row: (2 inc) * 3 (12).
5-14 Row: 12 sc.
15 Row: (2 dec) * 3 (9).
16-17 Row: 9 sc. Leave a tail for sewing.
Tail:
(Use the main color yarn)
1 Row: 6 sc into the amigurumi ring.
2 Row: 6 inc (12).
3 Row: 12 sc. Leave a tail for sewing.
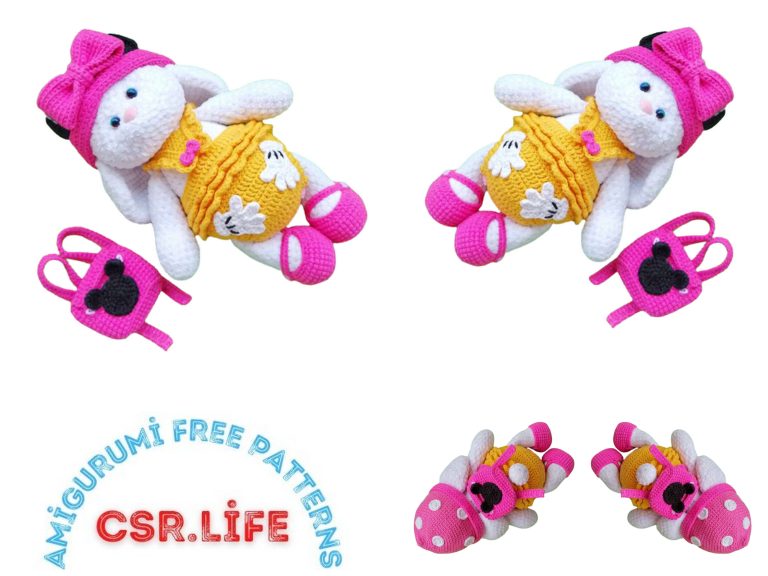
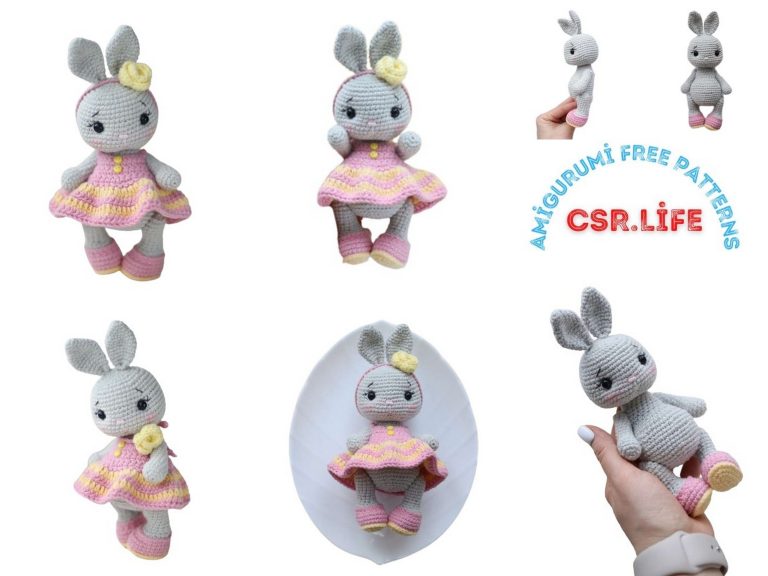
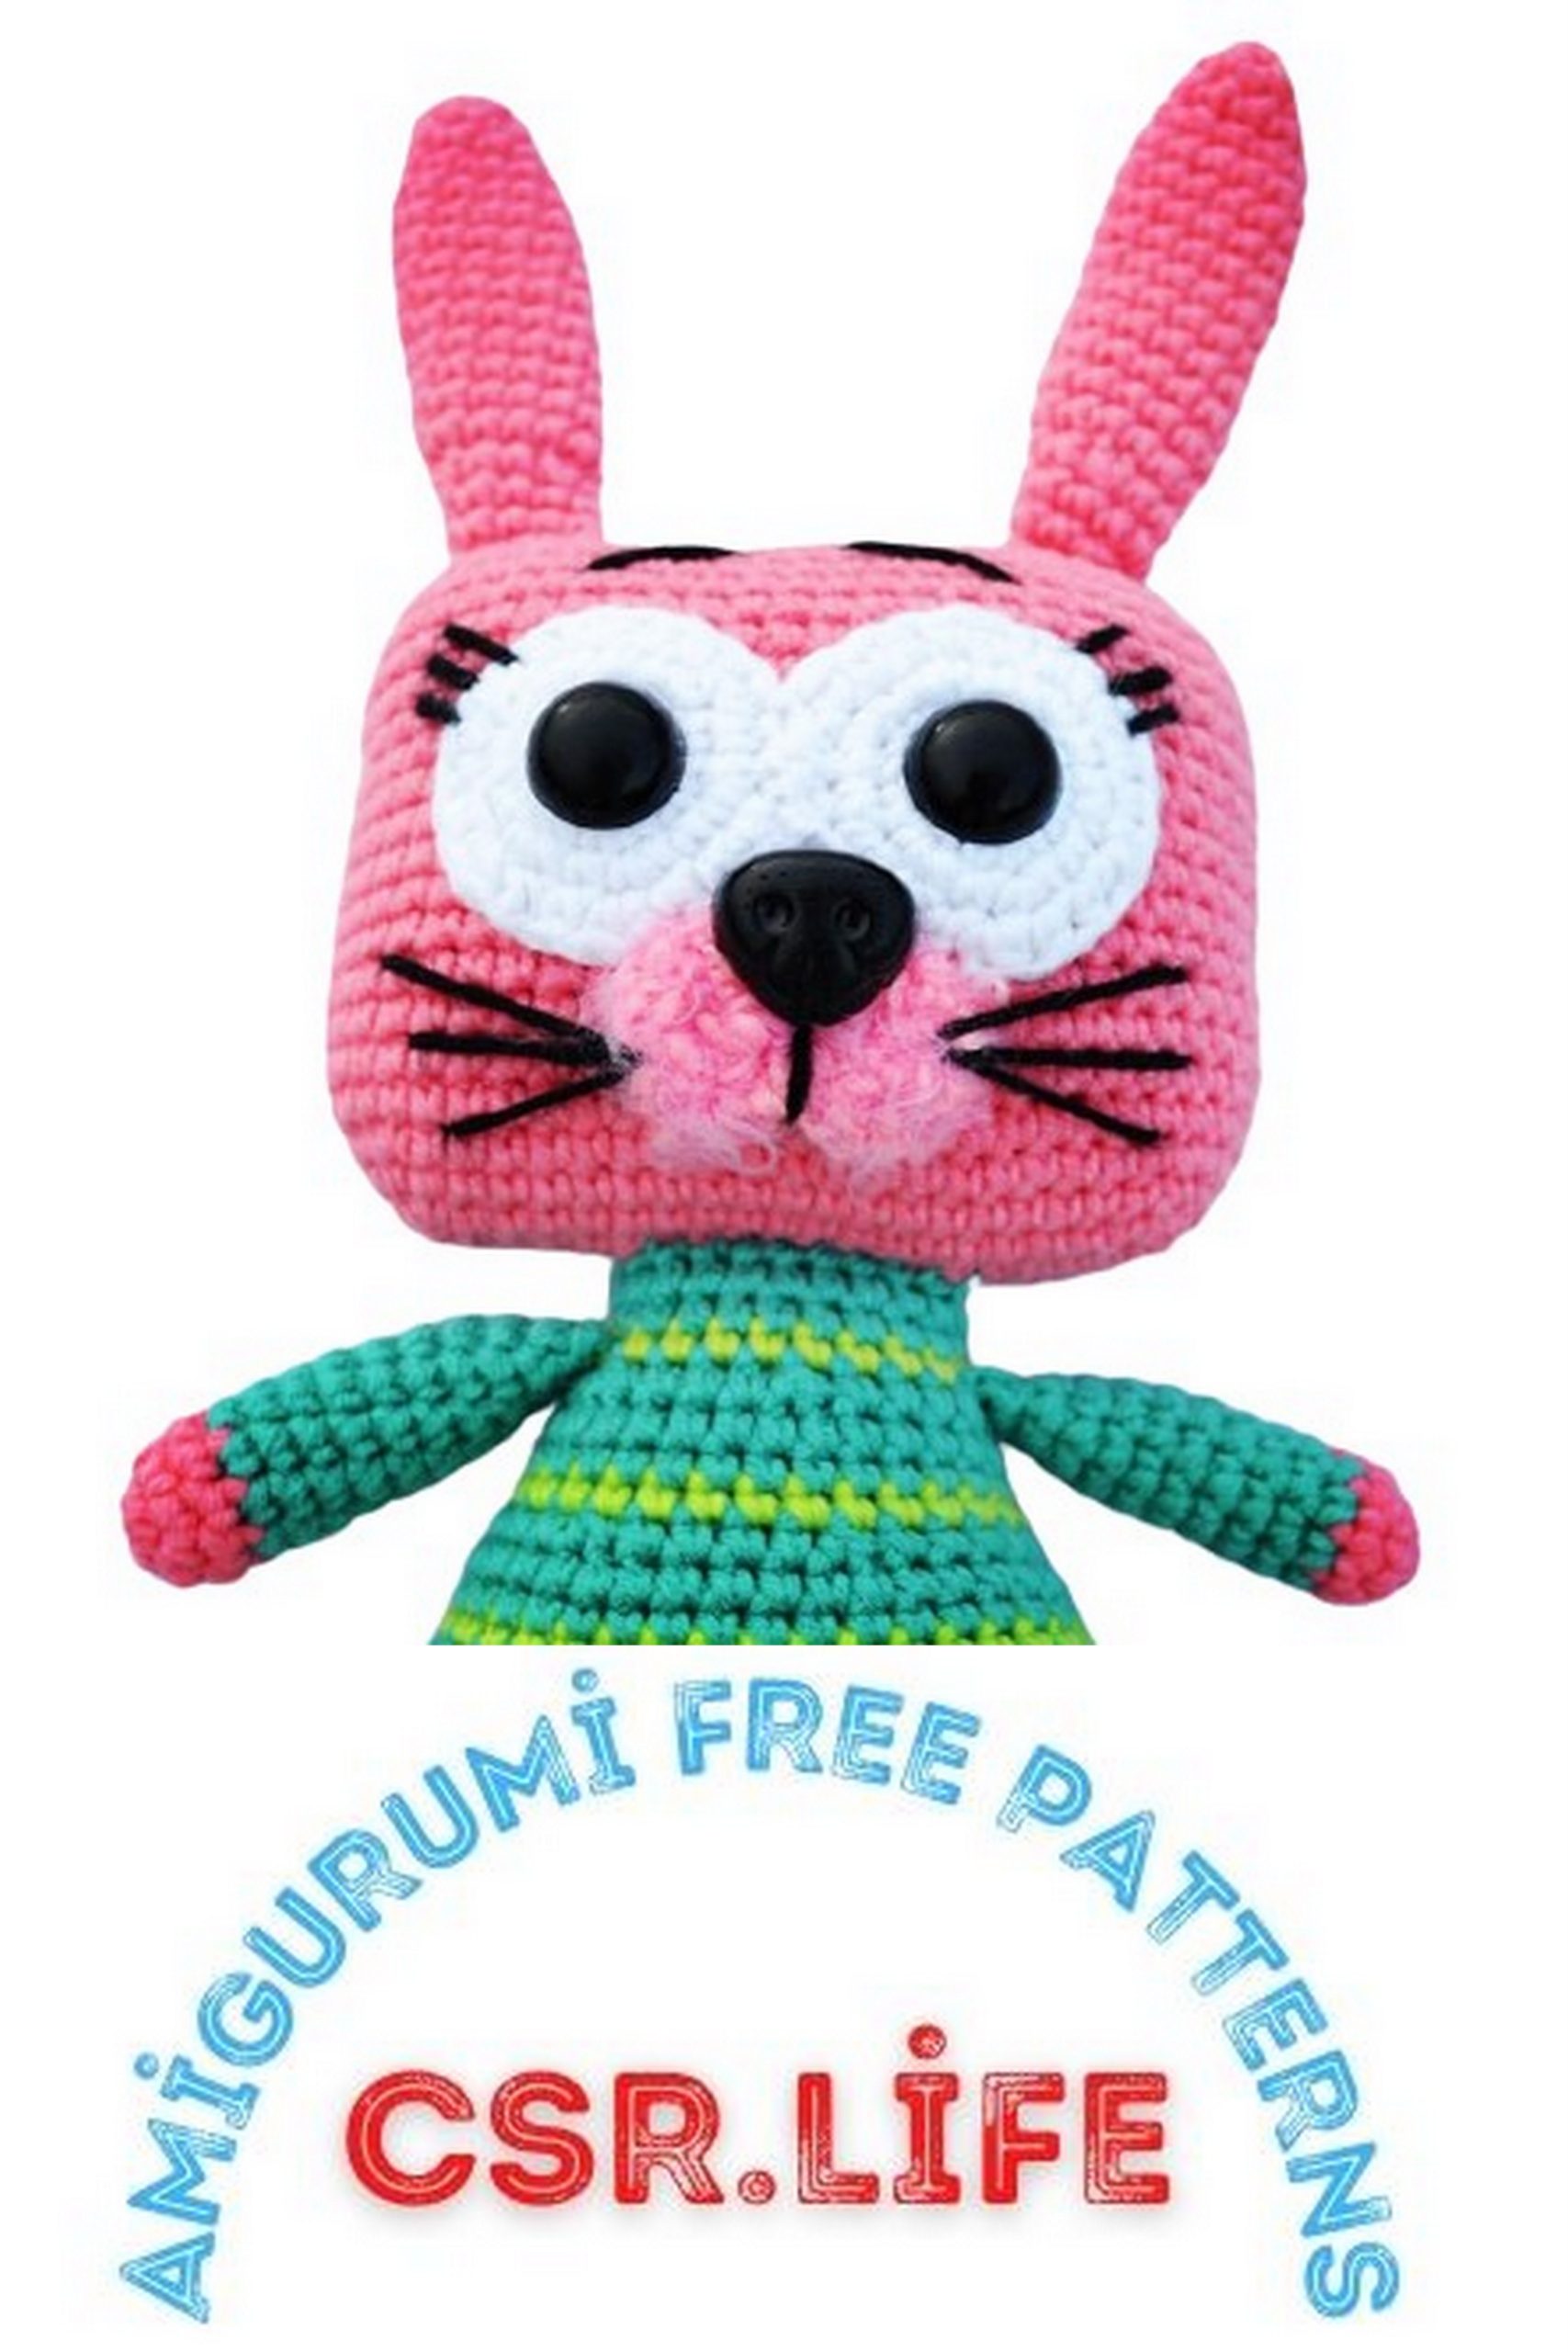
Attach the eyes, nose, and ears. Decorate the face as desired. Judy Bunny is ready to capture children’s hearts!