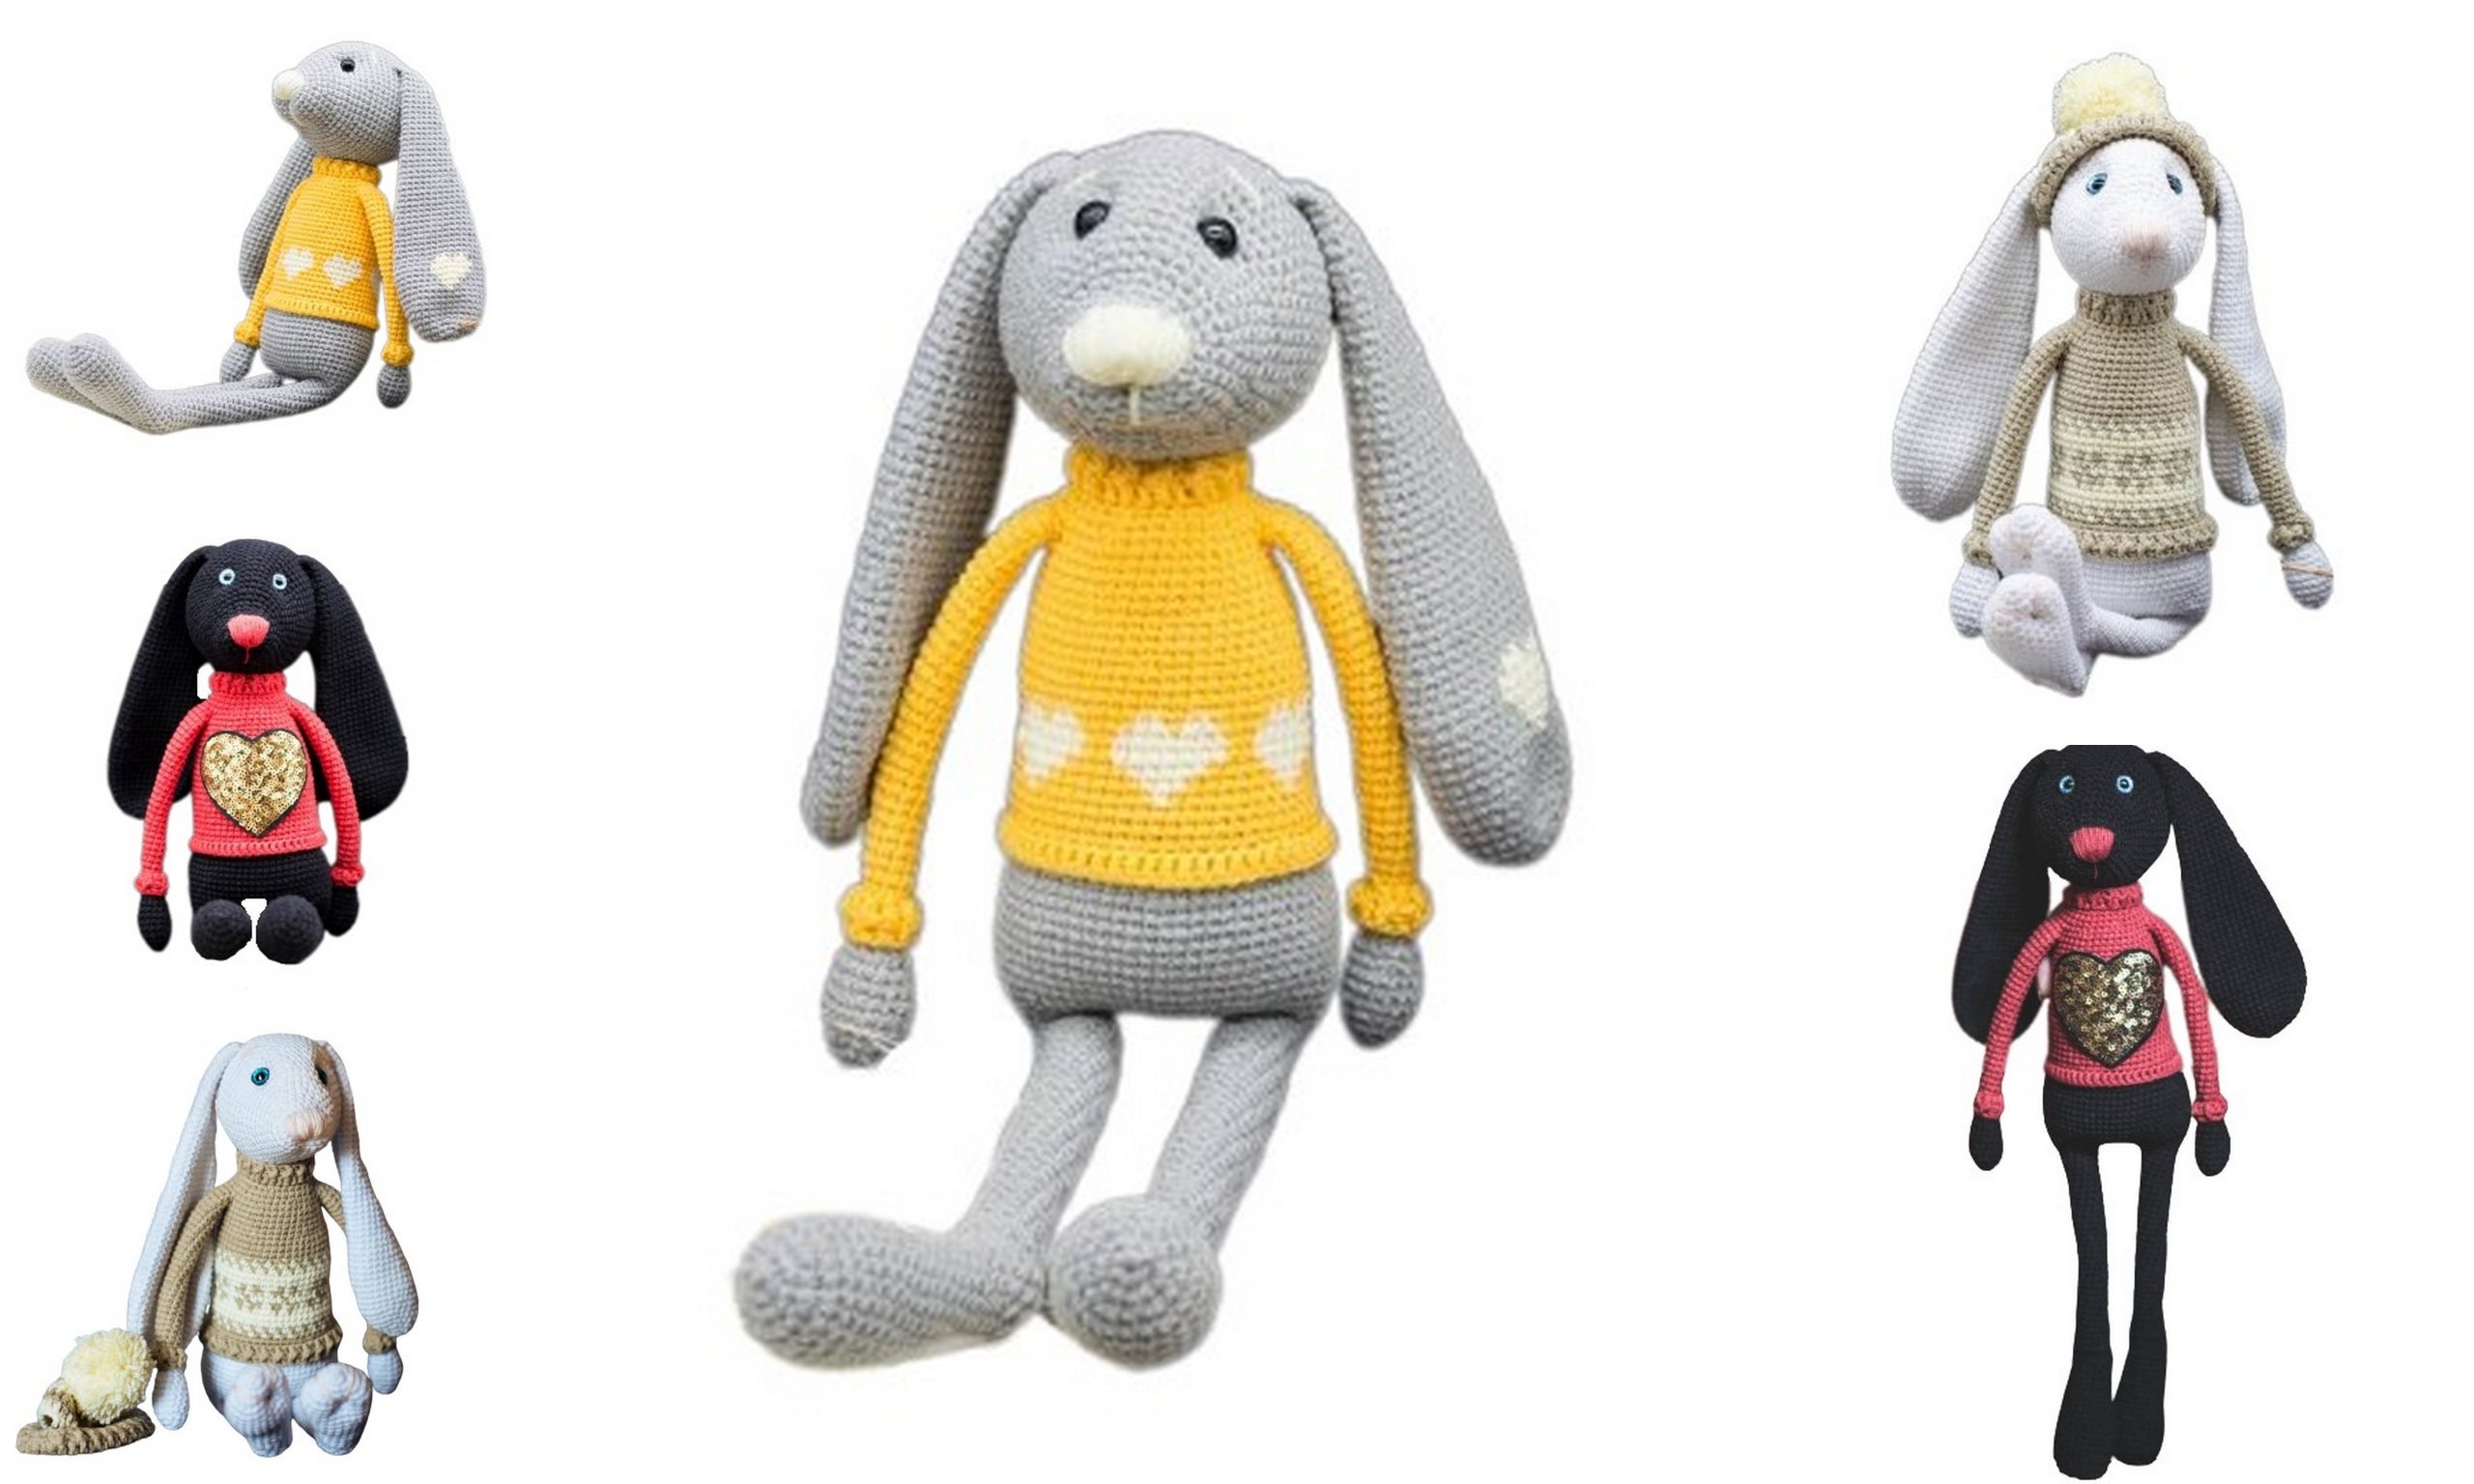
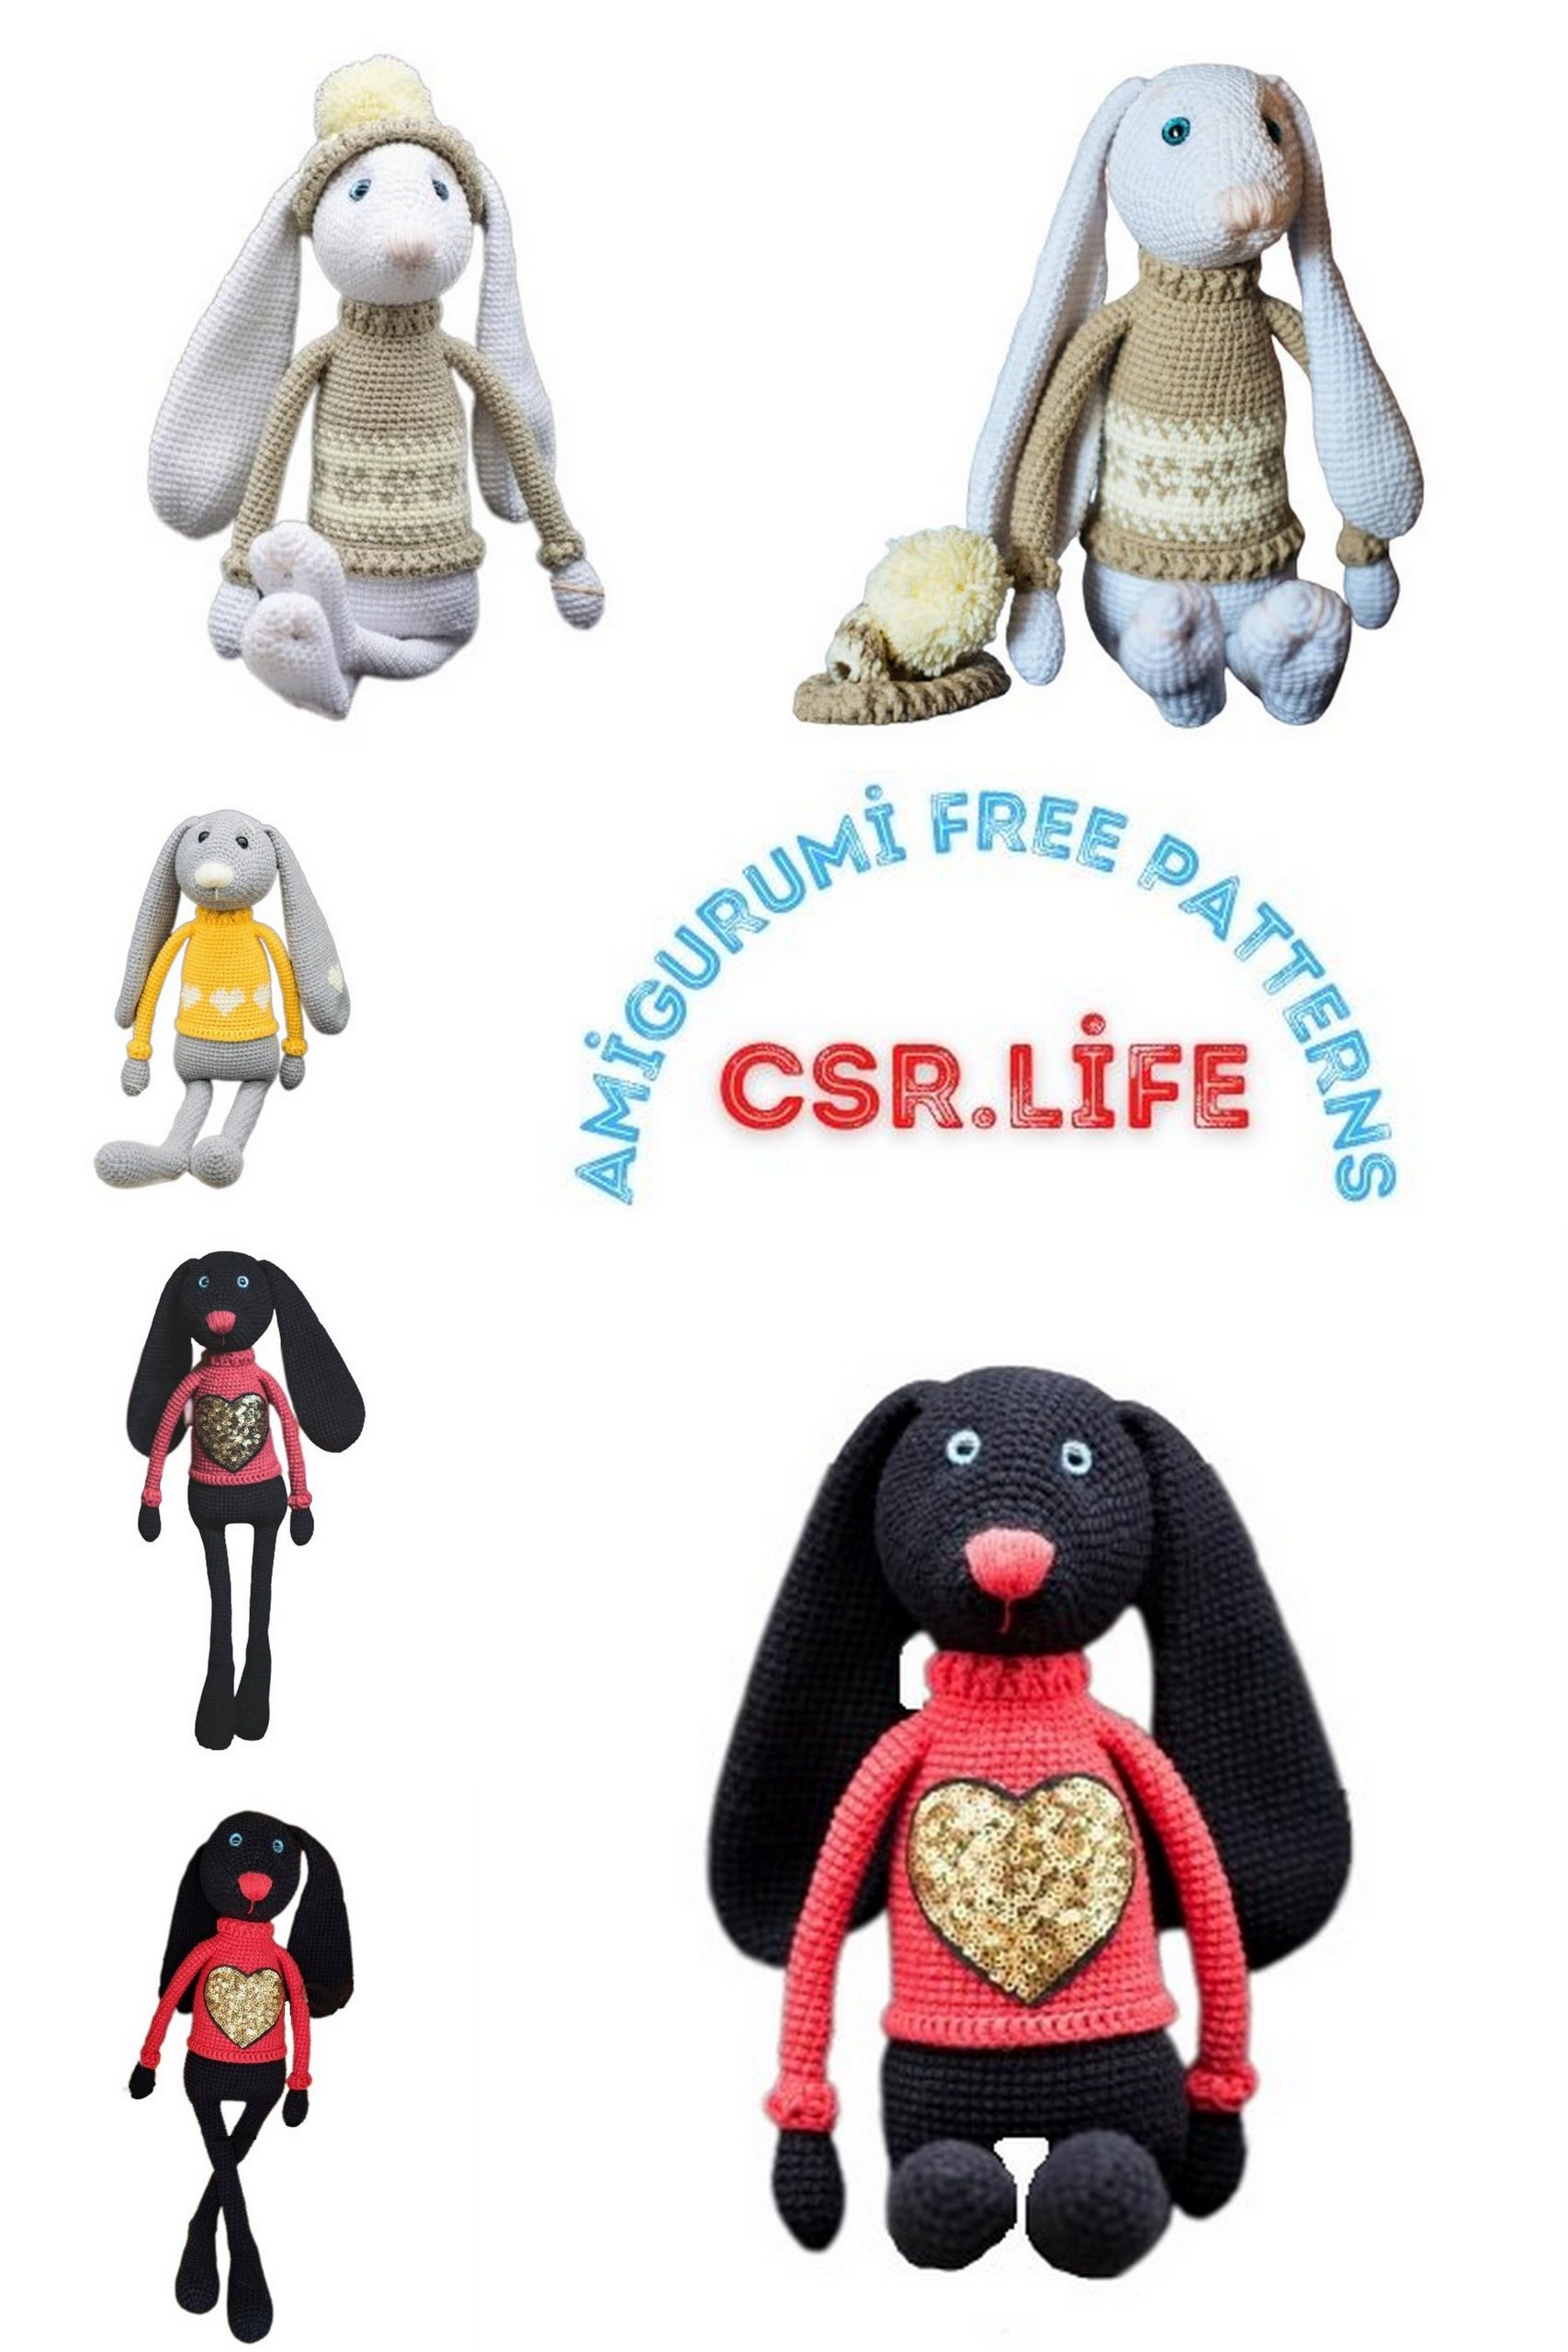
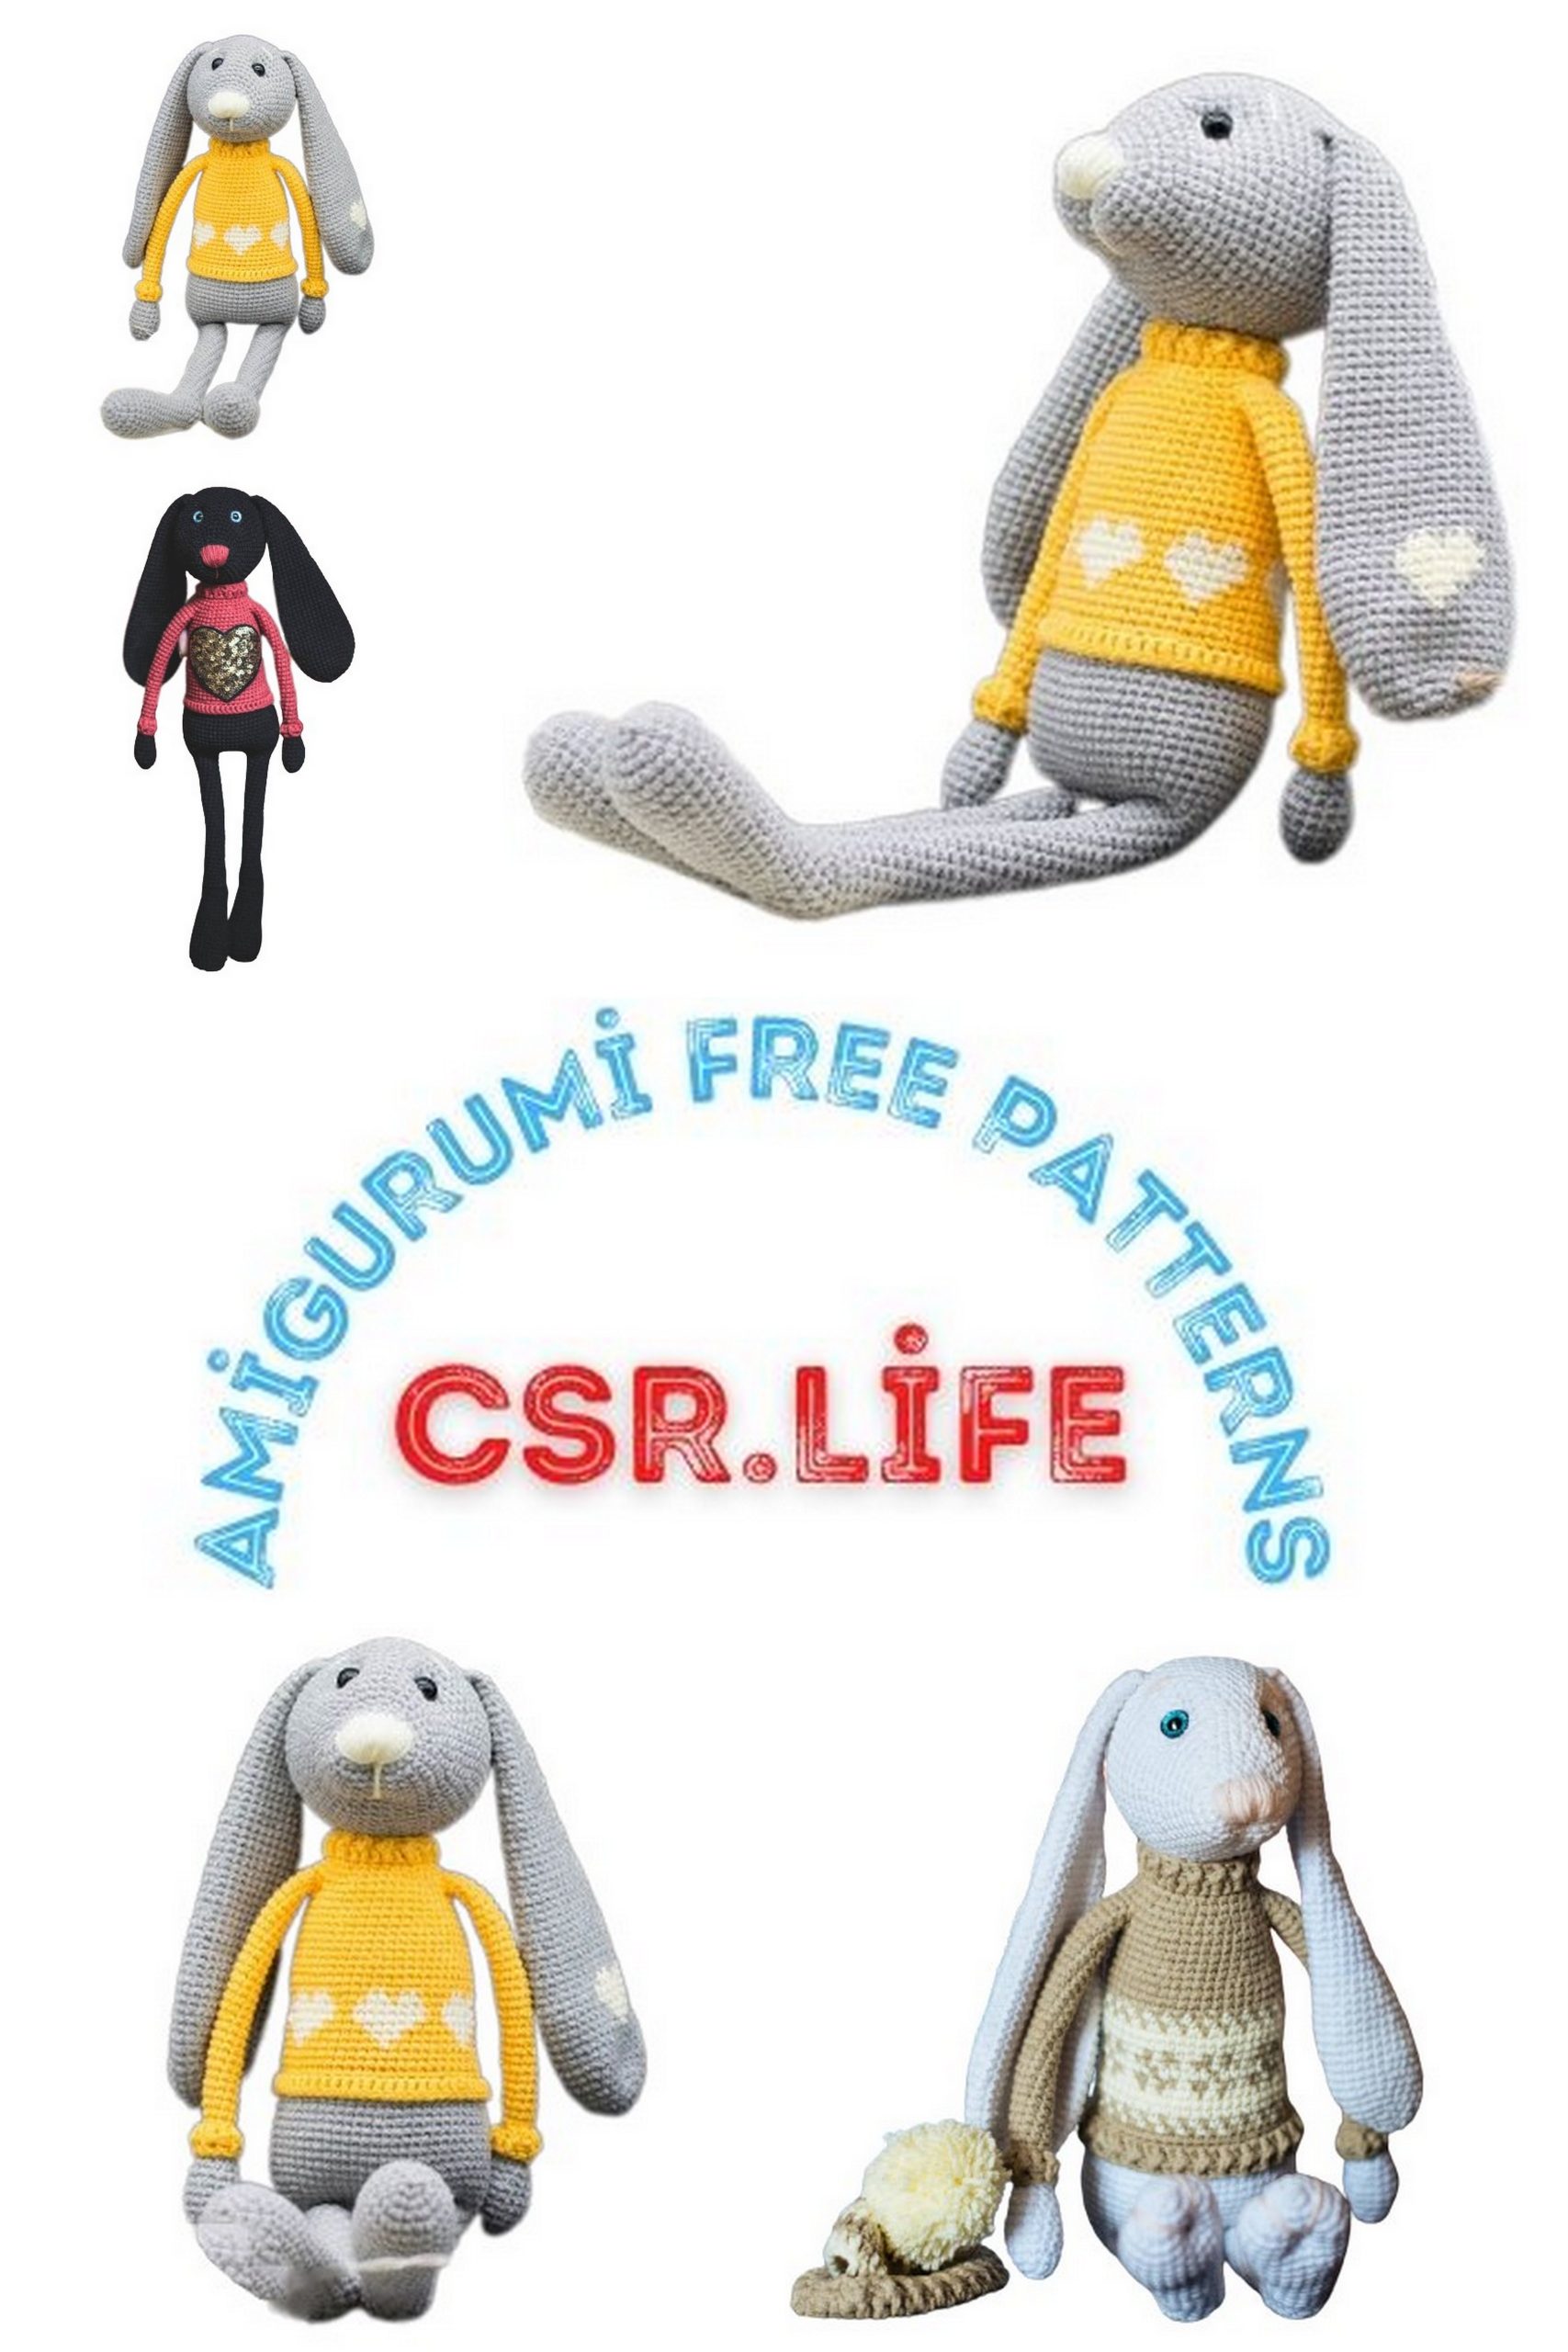
Bunny Bono Amigurumi Free Pattern | Step-by-Step Crochet Tutorial
Welcome to our Bunny Bono Amigurumi Free Pattern! If you’re a crochet enthusiast looking for a fun and creative project, you’ve come to the right place. In this tutorial, we’ll walk you through the process of making an endearing amigurumi bunny named Bono. Whether you’re a seasoned crocheter or just starting out, our step-by-step instructions will guide you with ease.
Bunny Bono is the perfect addition to your amigurumi collection or a thoughtful handmade gift for a friend or family member. Best of all, our pattern is completely free, so you can dive into this delightful project without any cost.
With our clear and detailed instructions, you’ll have your own Bunny Bono amigurumi in no time. Grab your crochet hooks and let’s get started on this charming adventure!
Don’t wait; start crocheting your Bunny Bono today and watch as this lovable rabbit comes to life in your hands. Follow our pattern for a rewarding and enjoyable crafting experience.
Materials Needed:
Yarn for the main body color Yarn Art Jeans – 2 skeins.
Yarn for knitting the sweater Yarn Art Jeans – 1 skein.
Additional yarn for embroidering the nose and creating patterns on the sweater (optional).
Fine contrasting thread as a marker.
Crochet hook suitable for your yarn.
Stuffing material (polyester fiberfill, synthetic stuffing).
Safety eyes or glass/plastic eyes, choose a size that matches the yarn thickness (e.g., 8mm and 10mm).
Yarn needle.
Scissors.
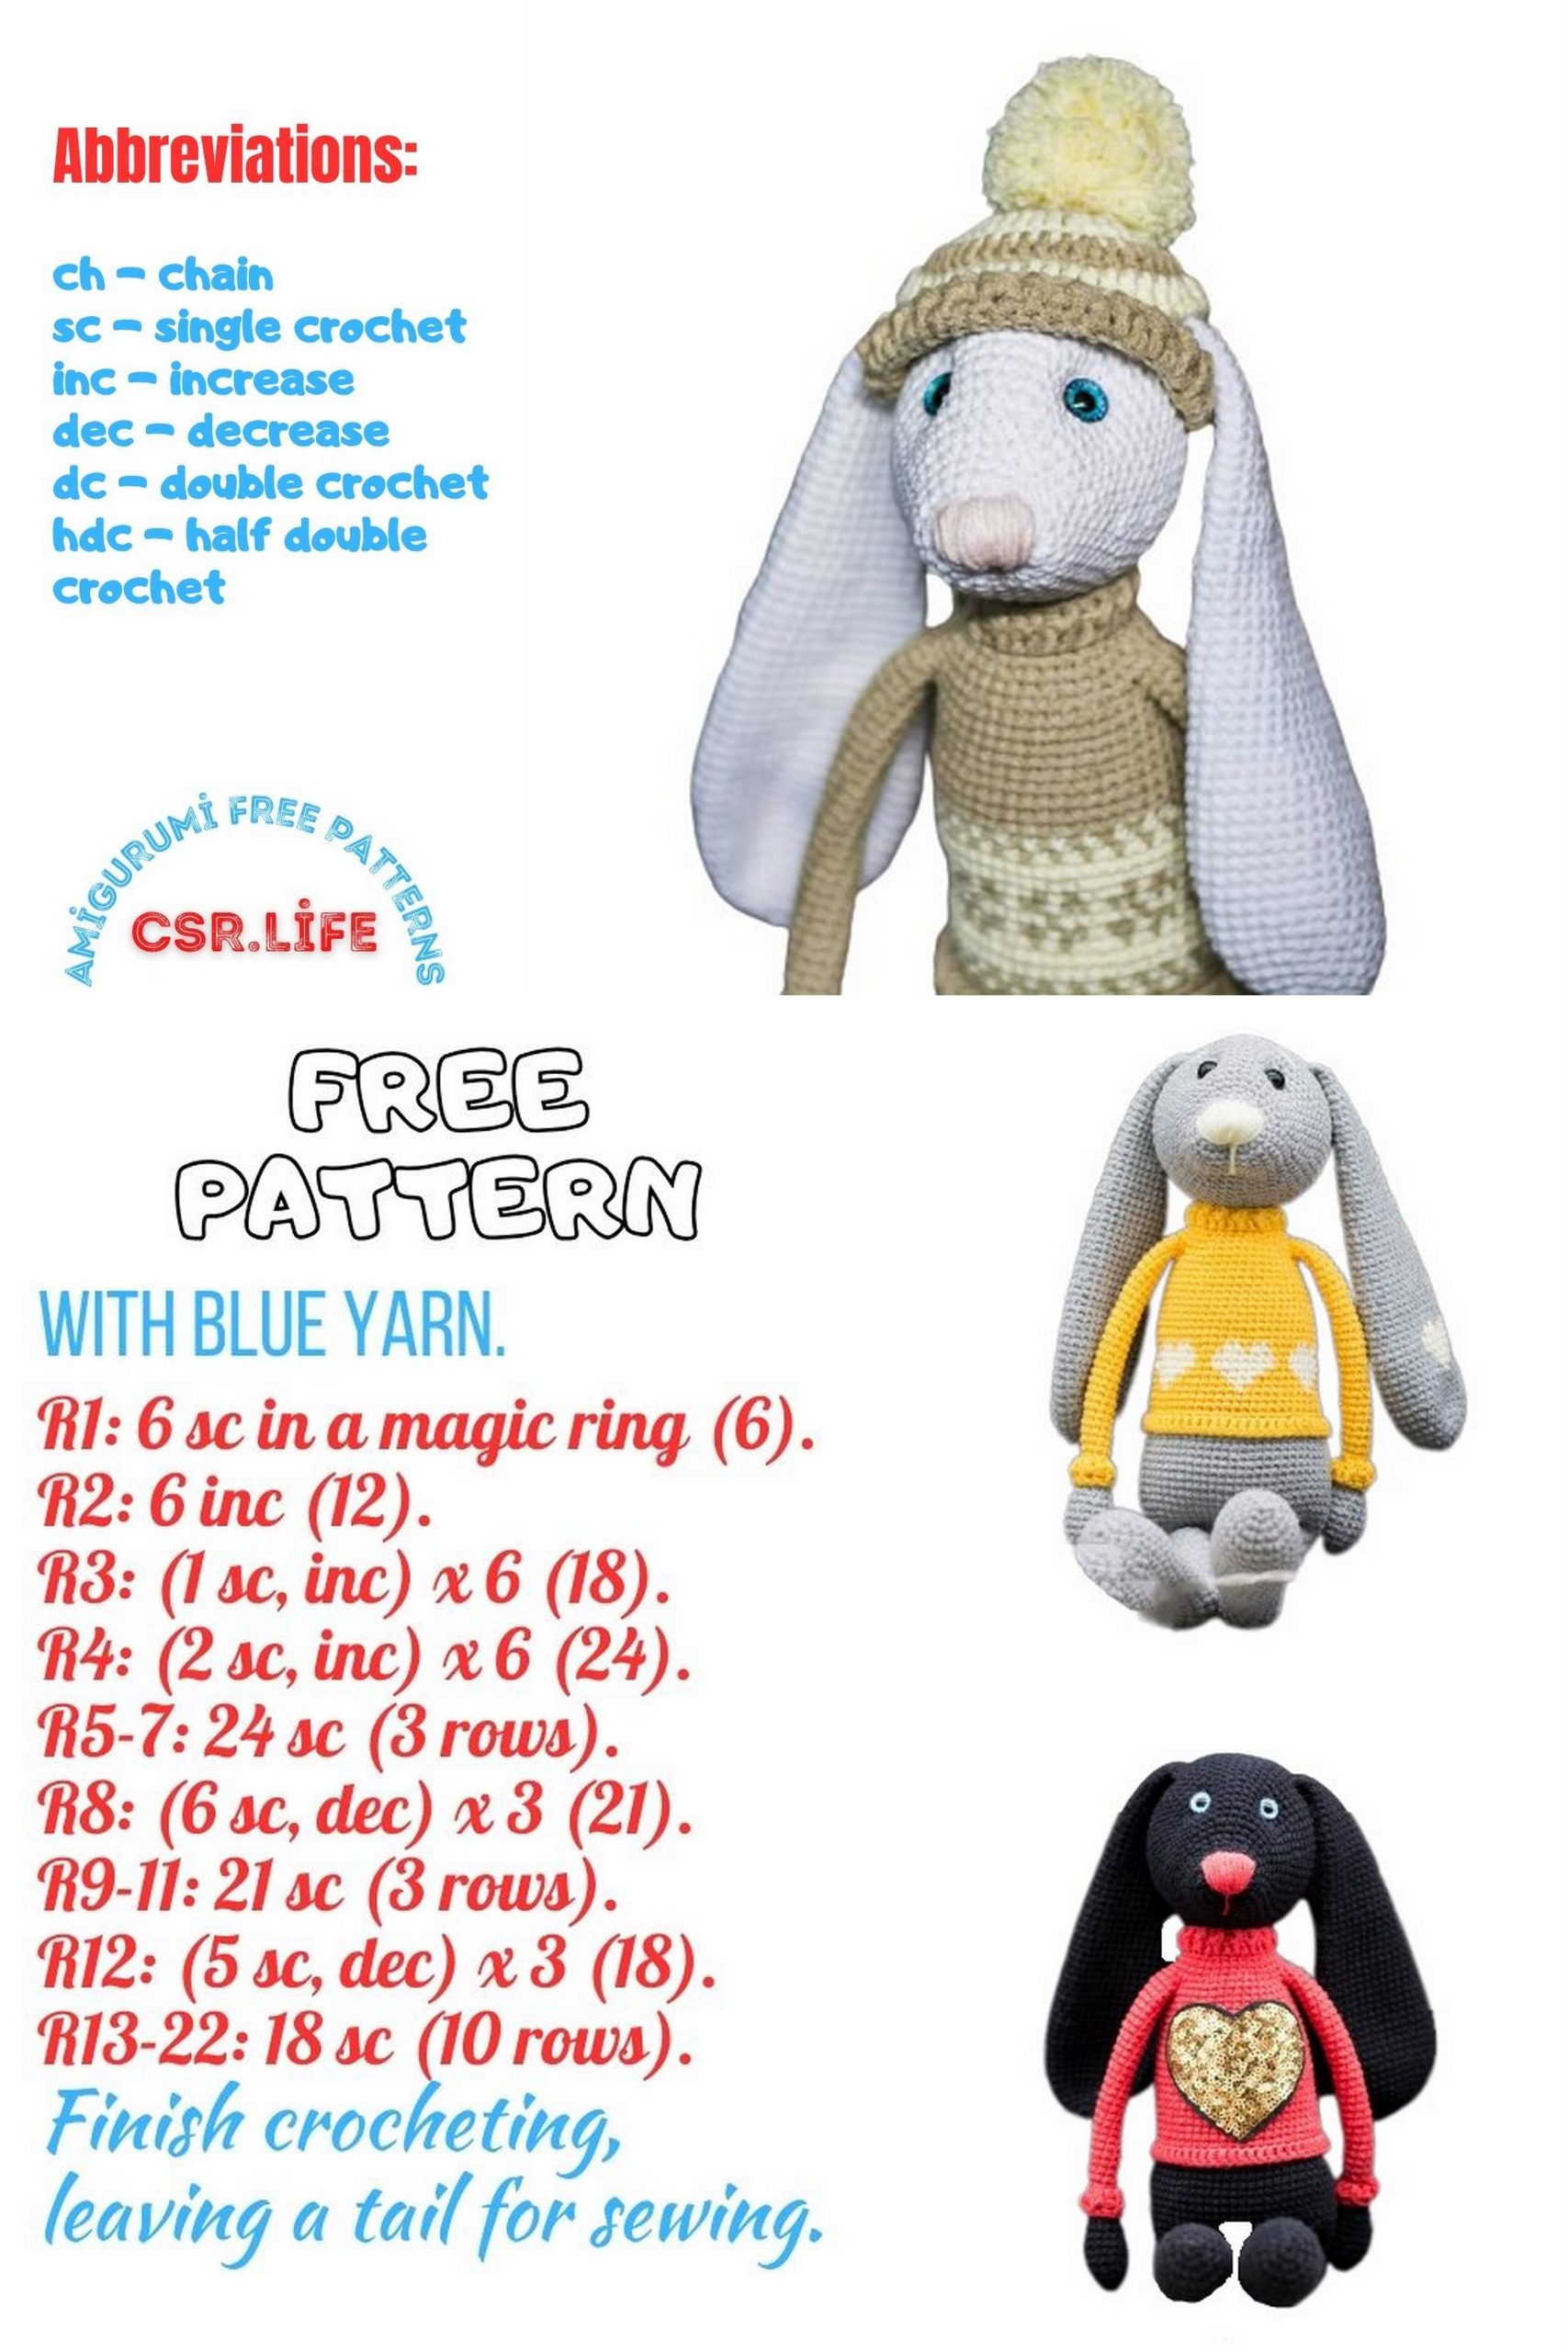
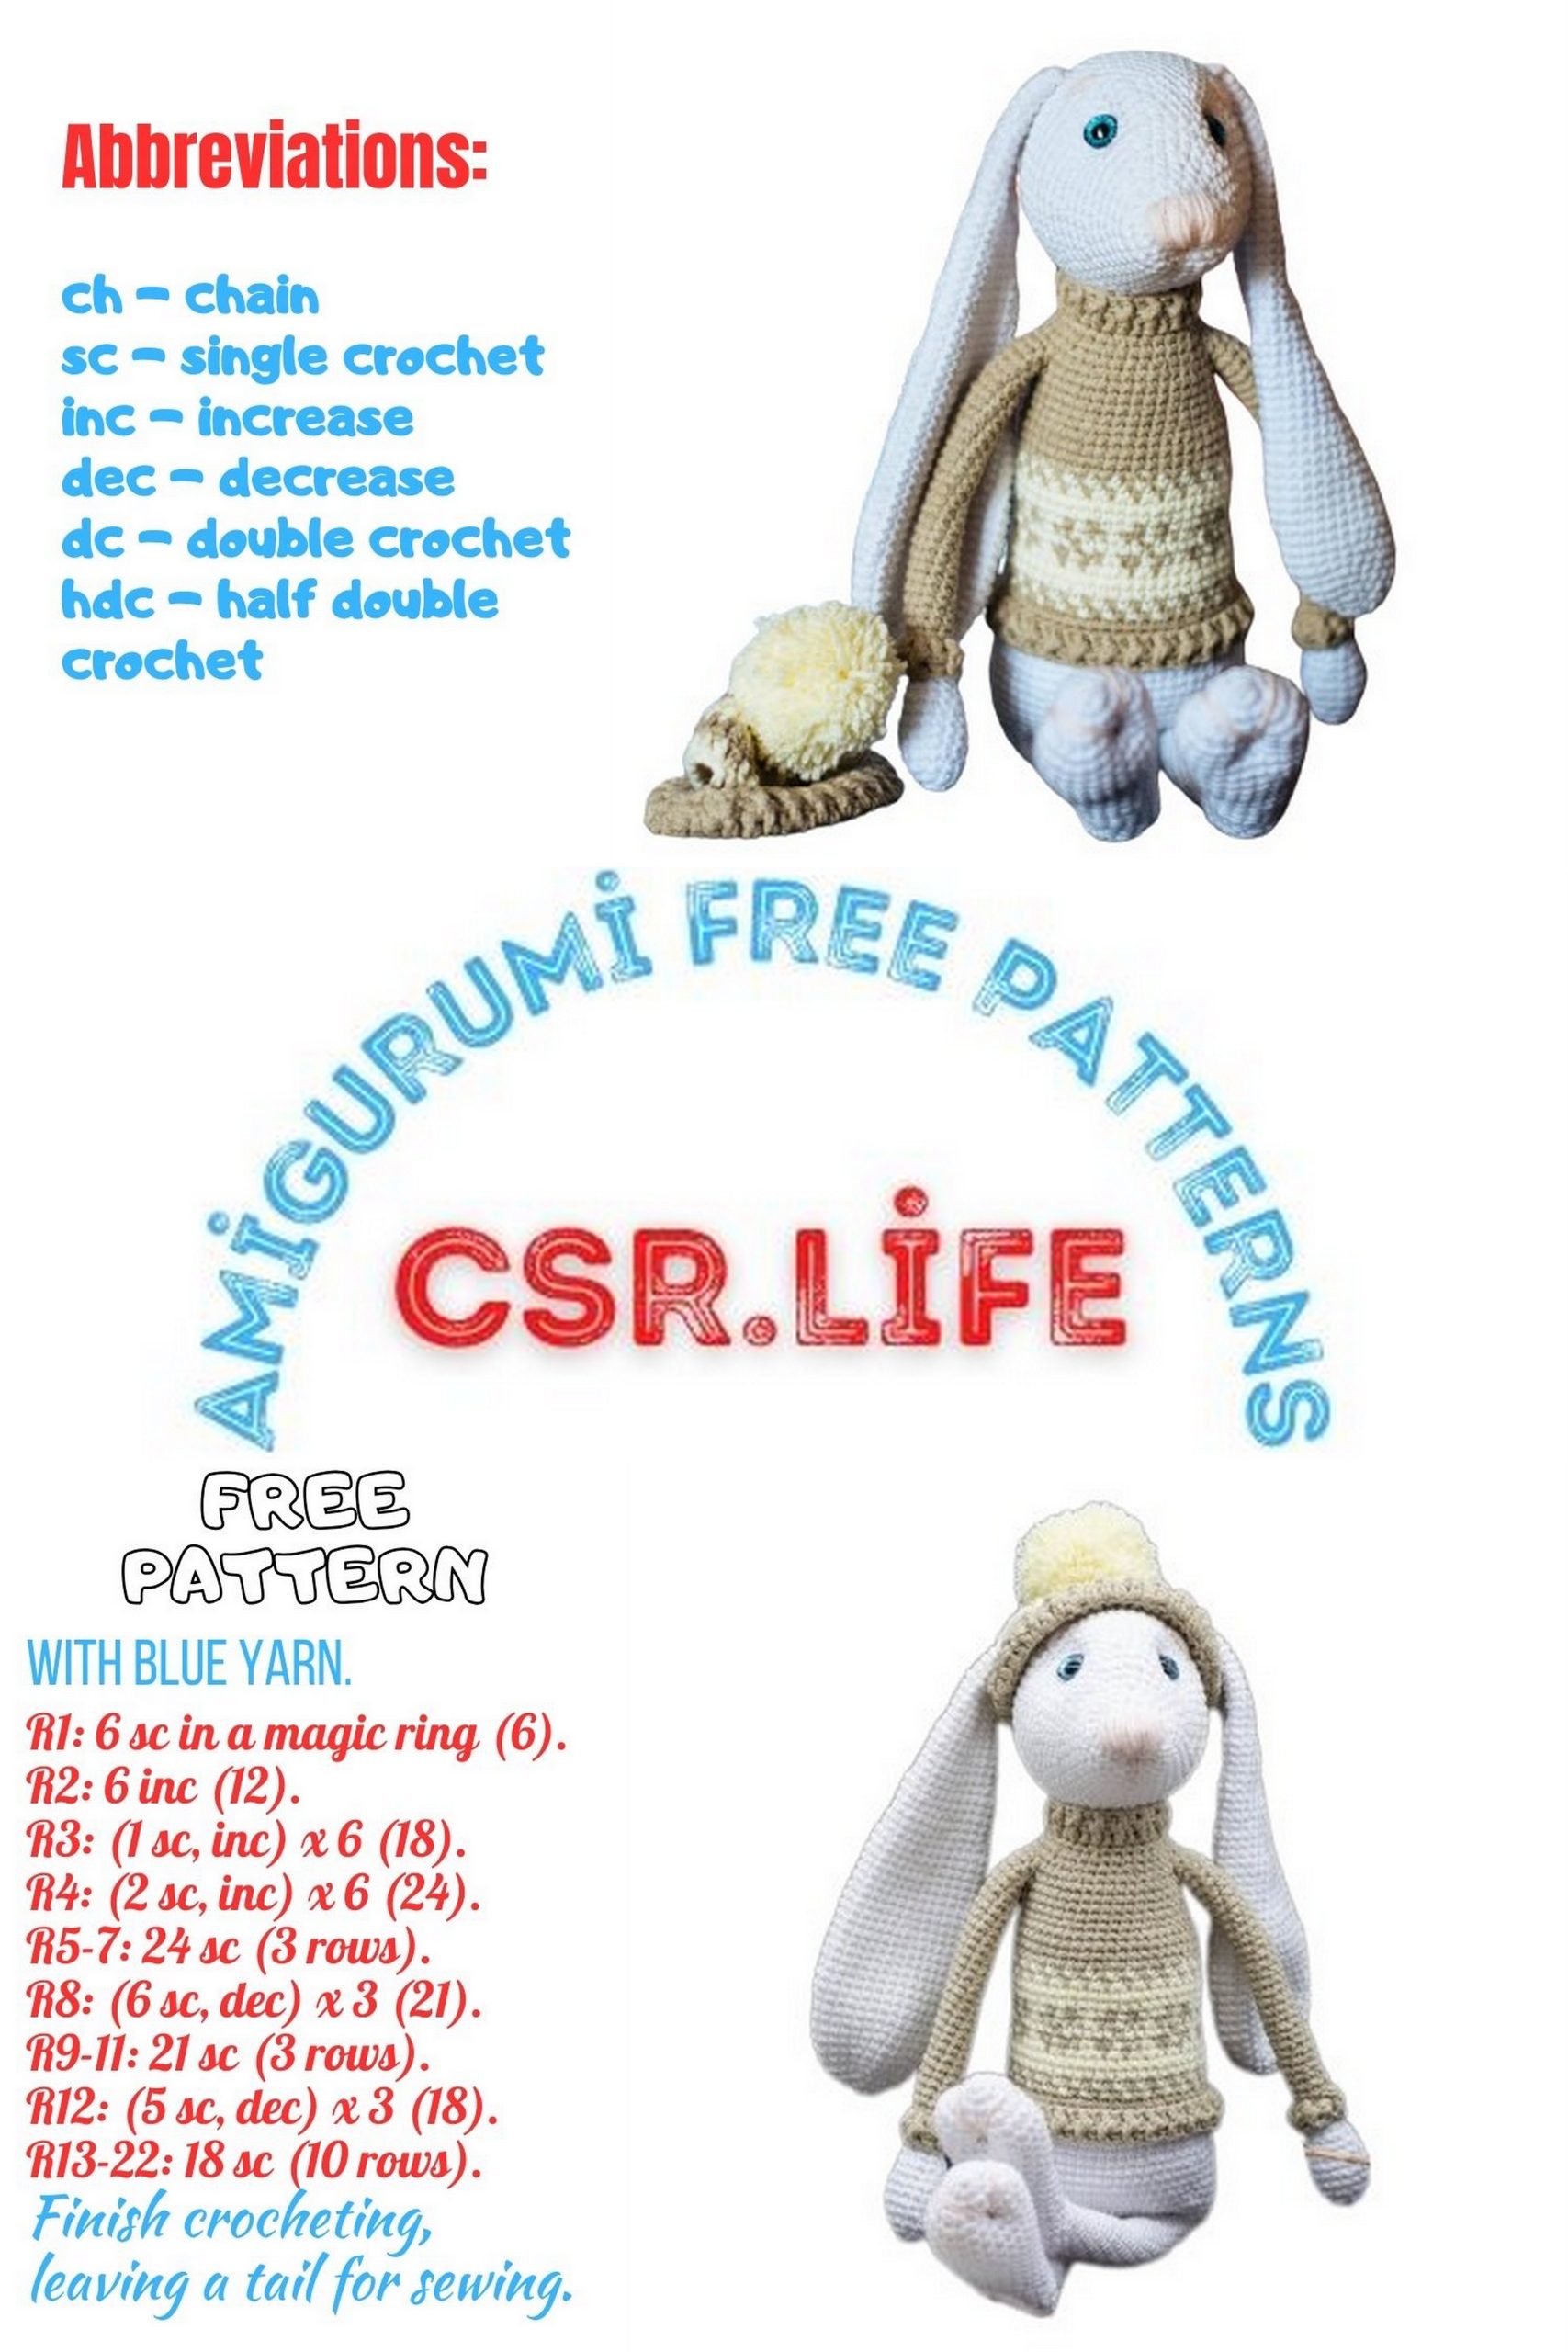
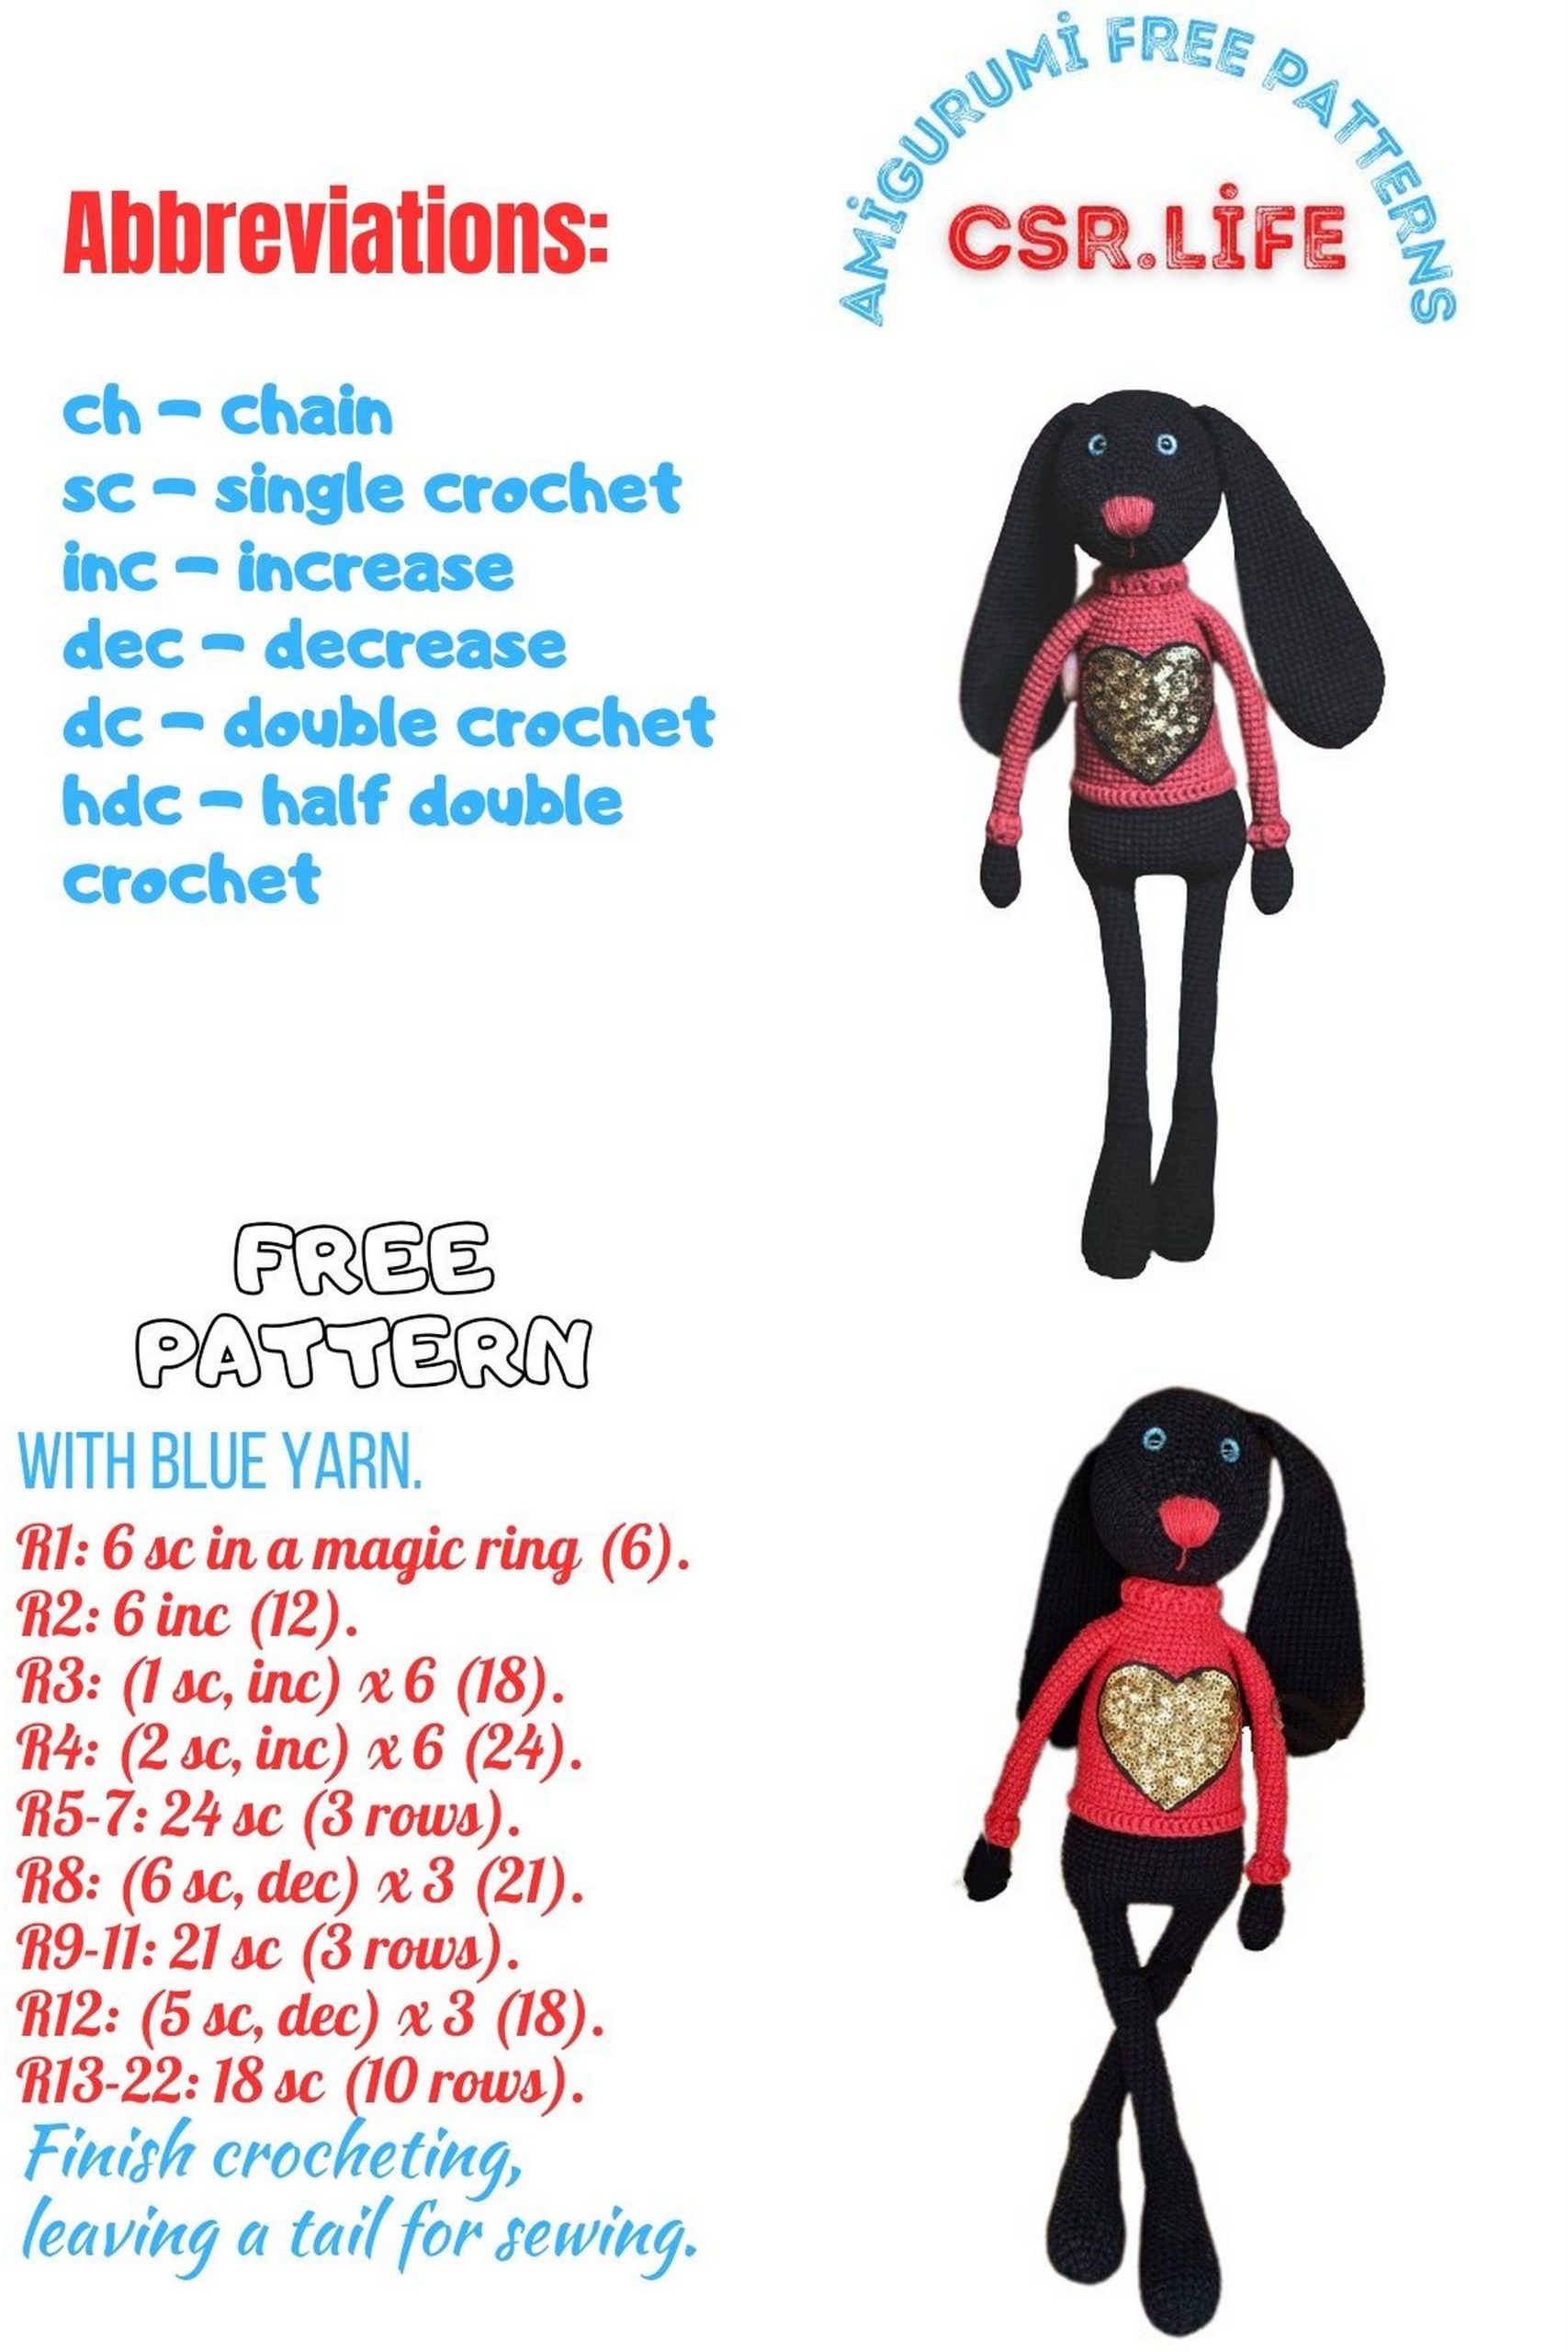
Abbreviations:
MC: Magic Circle.
SC: Single Crochet.
Ch: Chain.
SS: Slip Stitch, do not crochet it too tightly.
Dec: Decrease (SC 2 together in the front loops).
Inc: Increase (2 SC in one stitch).
HDC: Half Double Crochet.
DC: Double Crochet.
FPDC: Front Post Double Crochet.
BPDC: Back Post Double Crochet.
General Crochet Tips:
You can use any yarn to make the rabbit; it’s your choice. Thicker yarn will require more material.
You can make the rabbit without a sweater, or make the sweater removable. In that case, keep the body and legs in the main color.
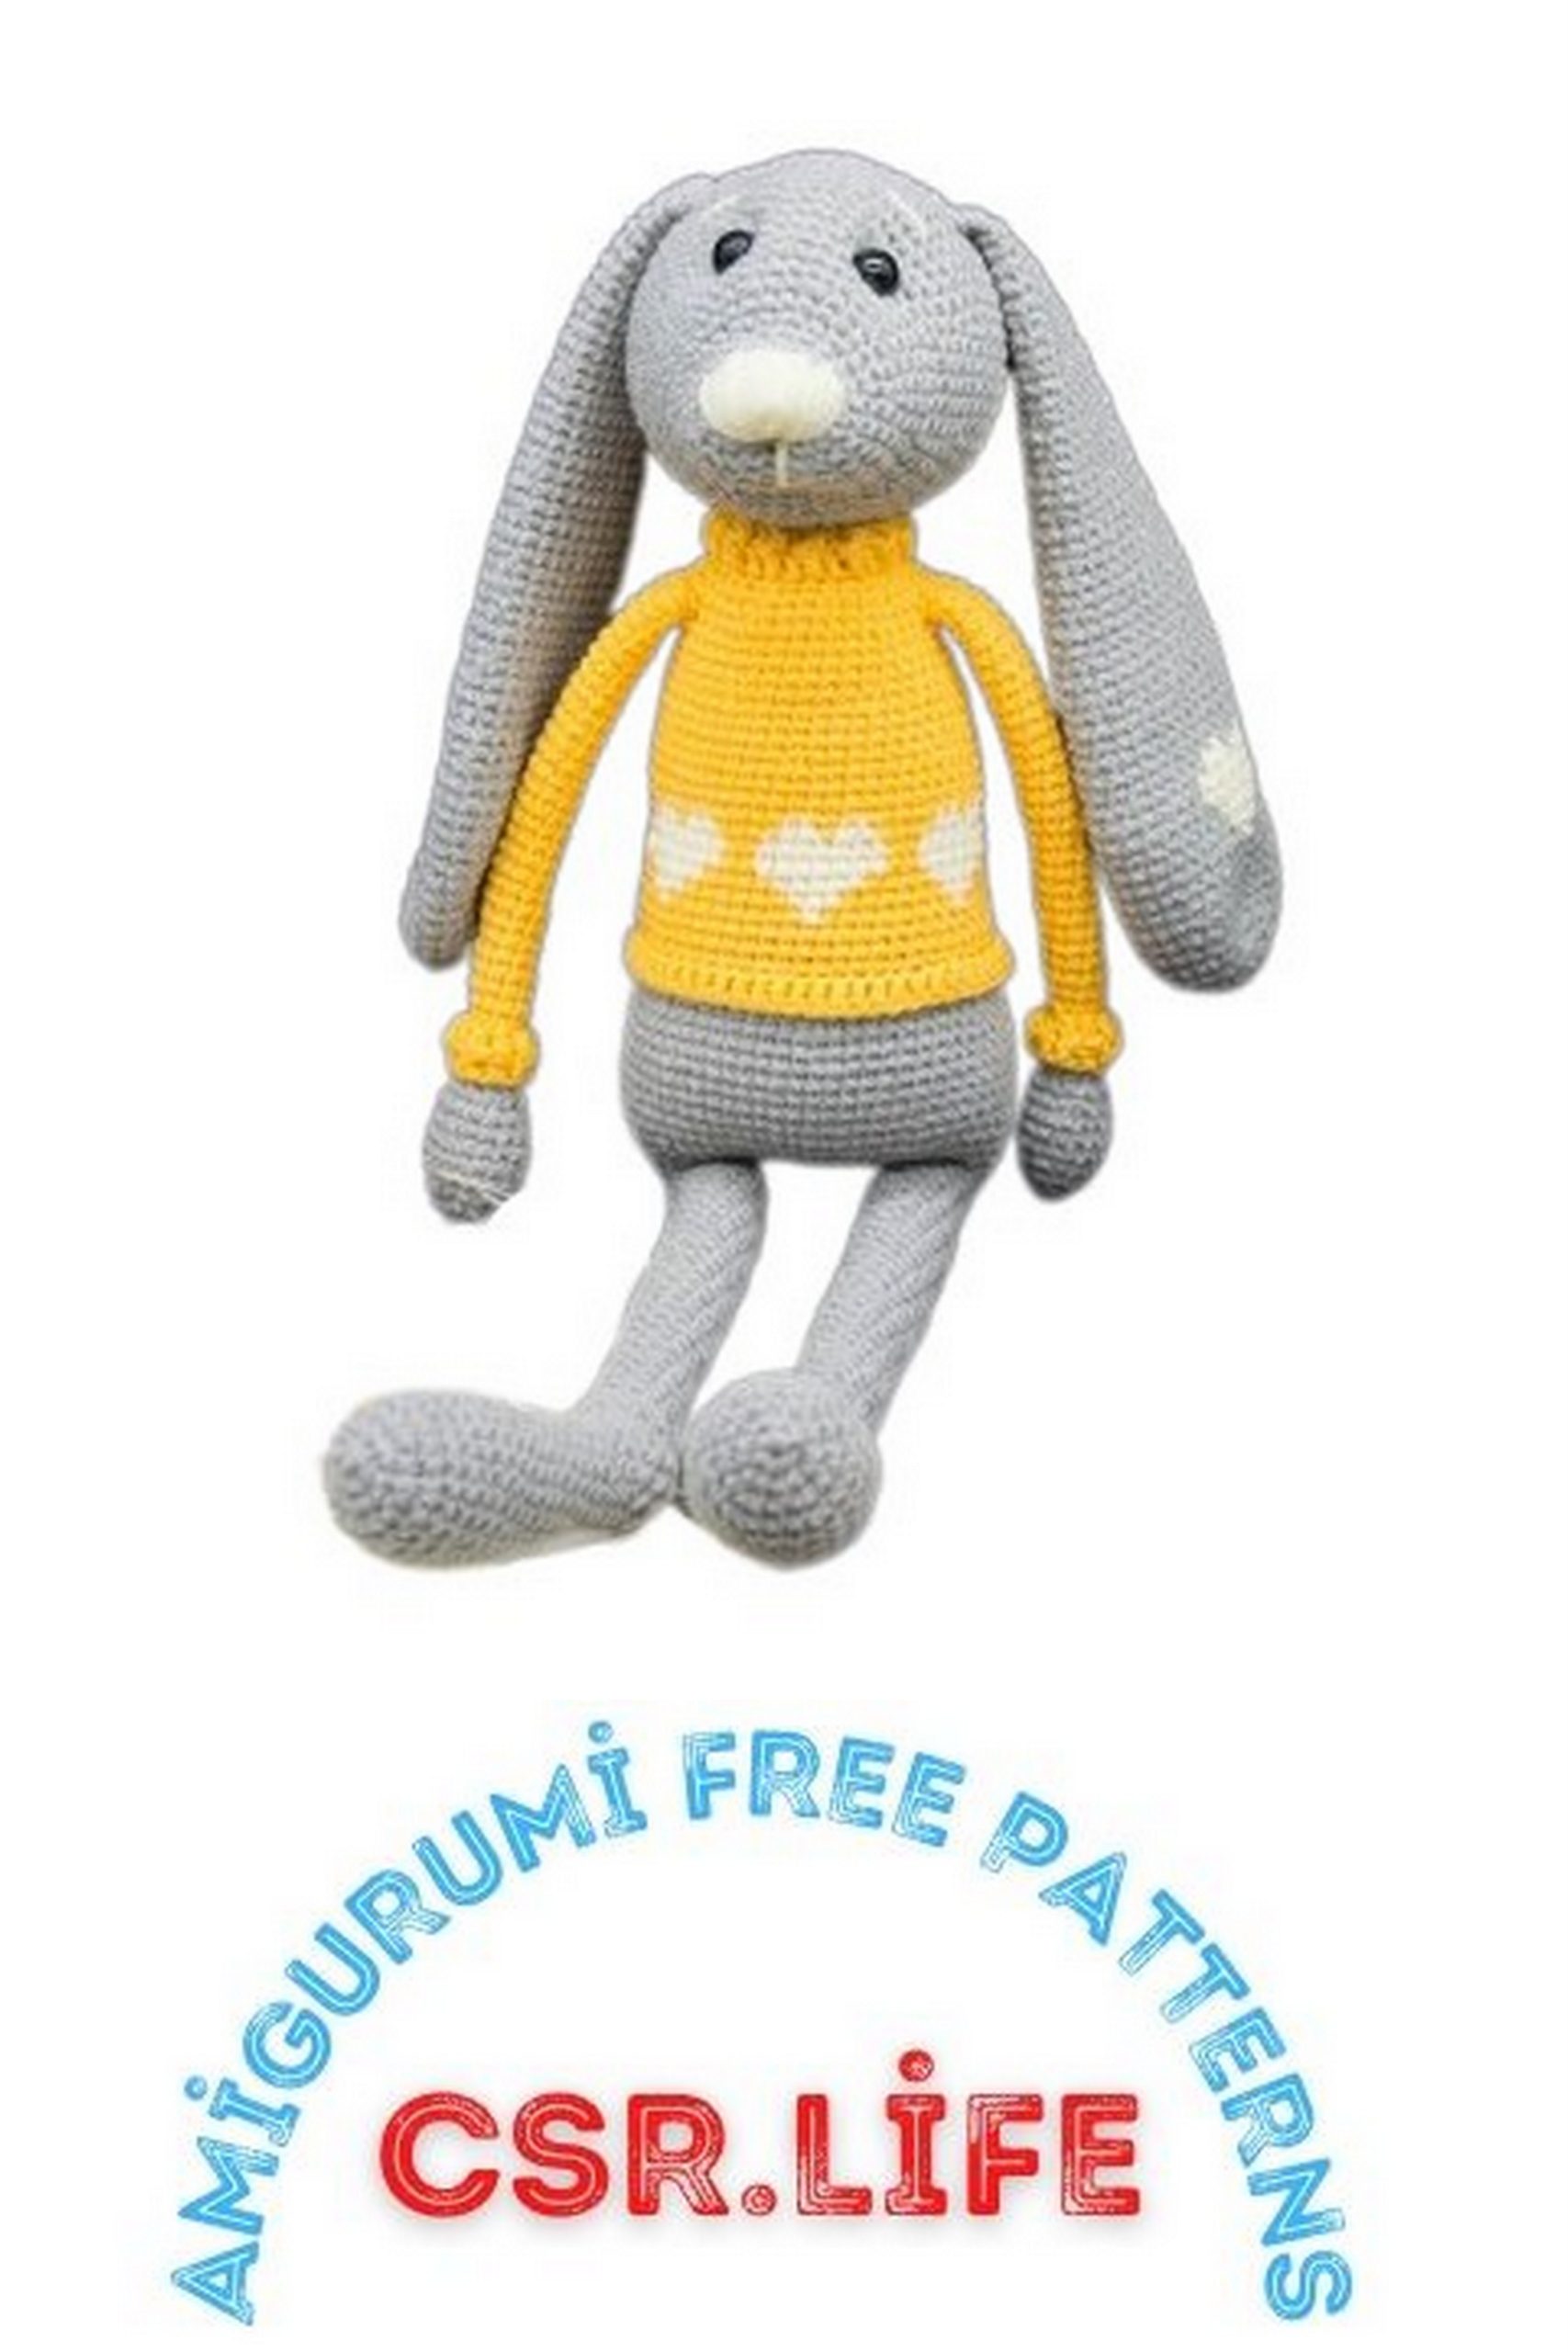
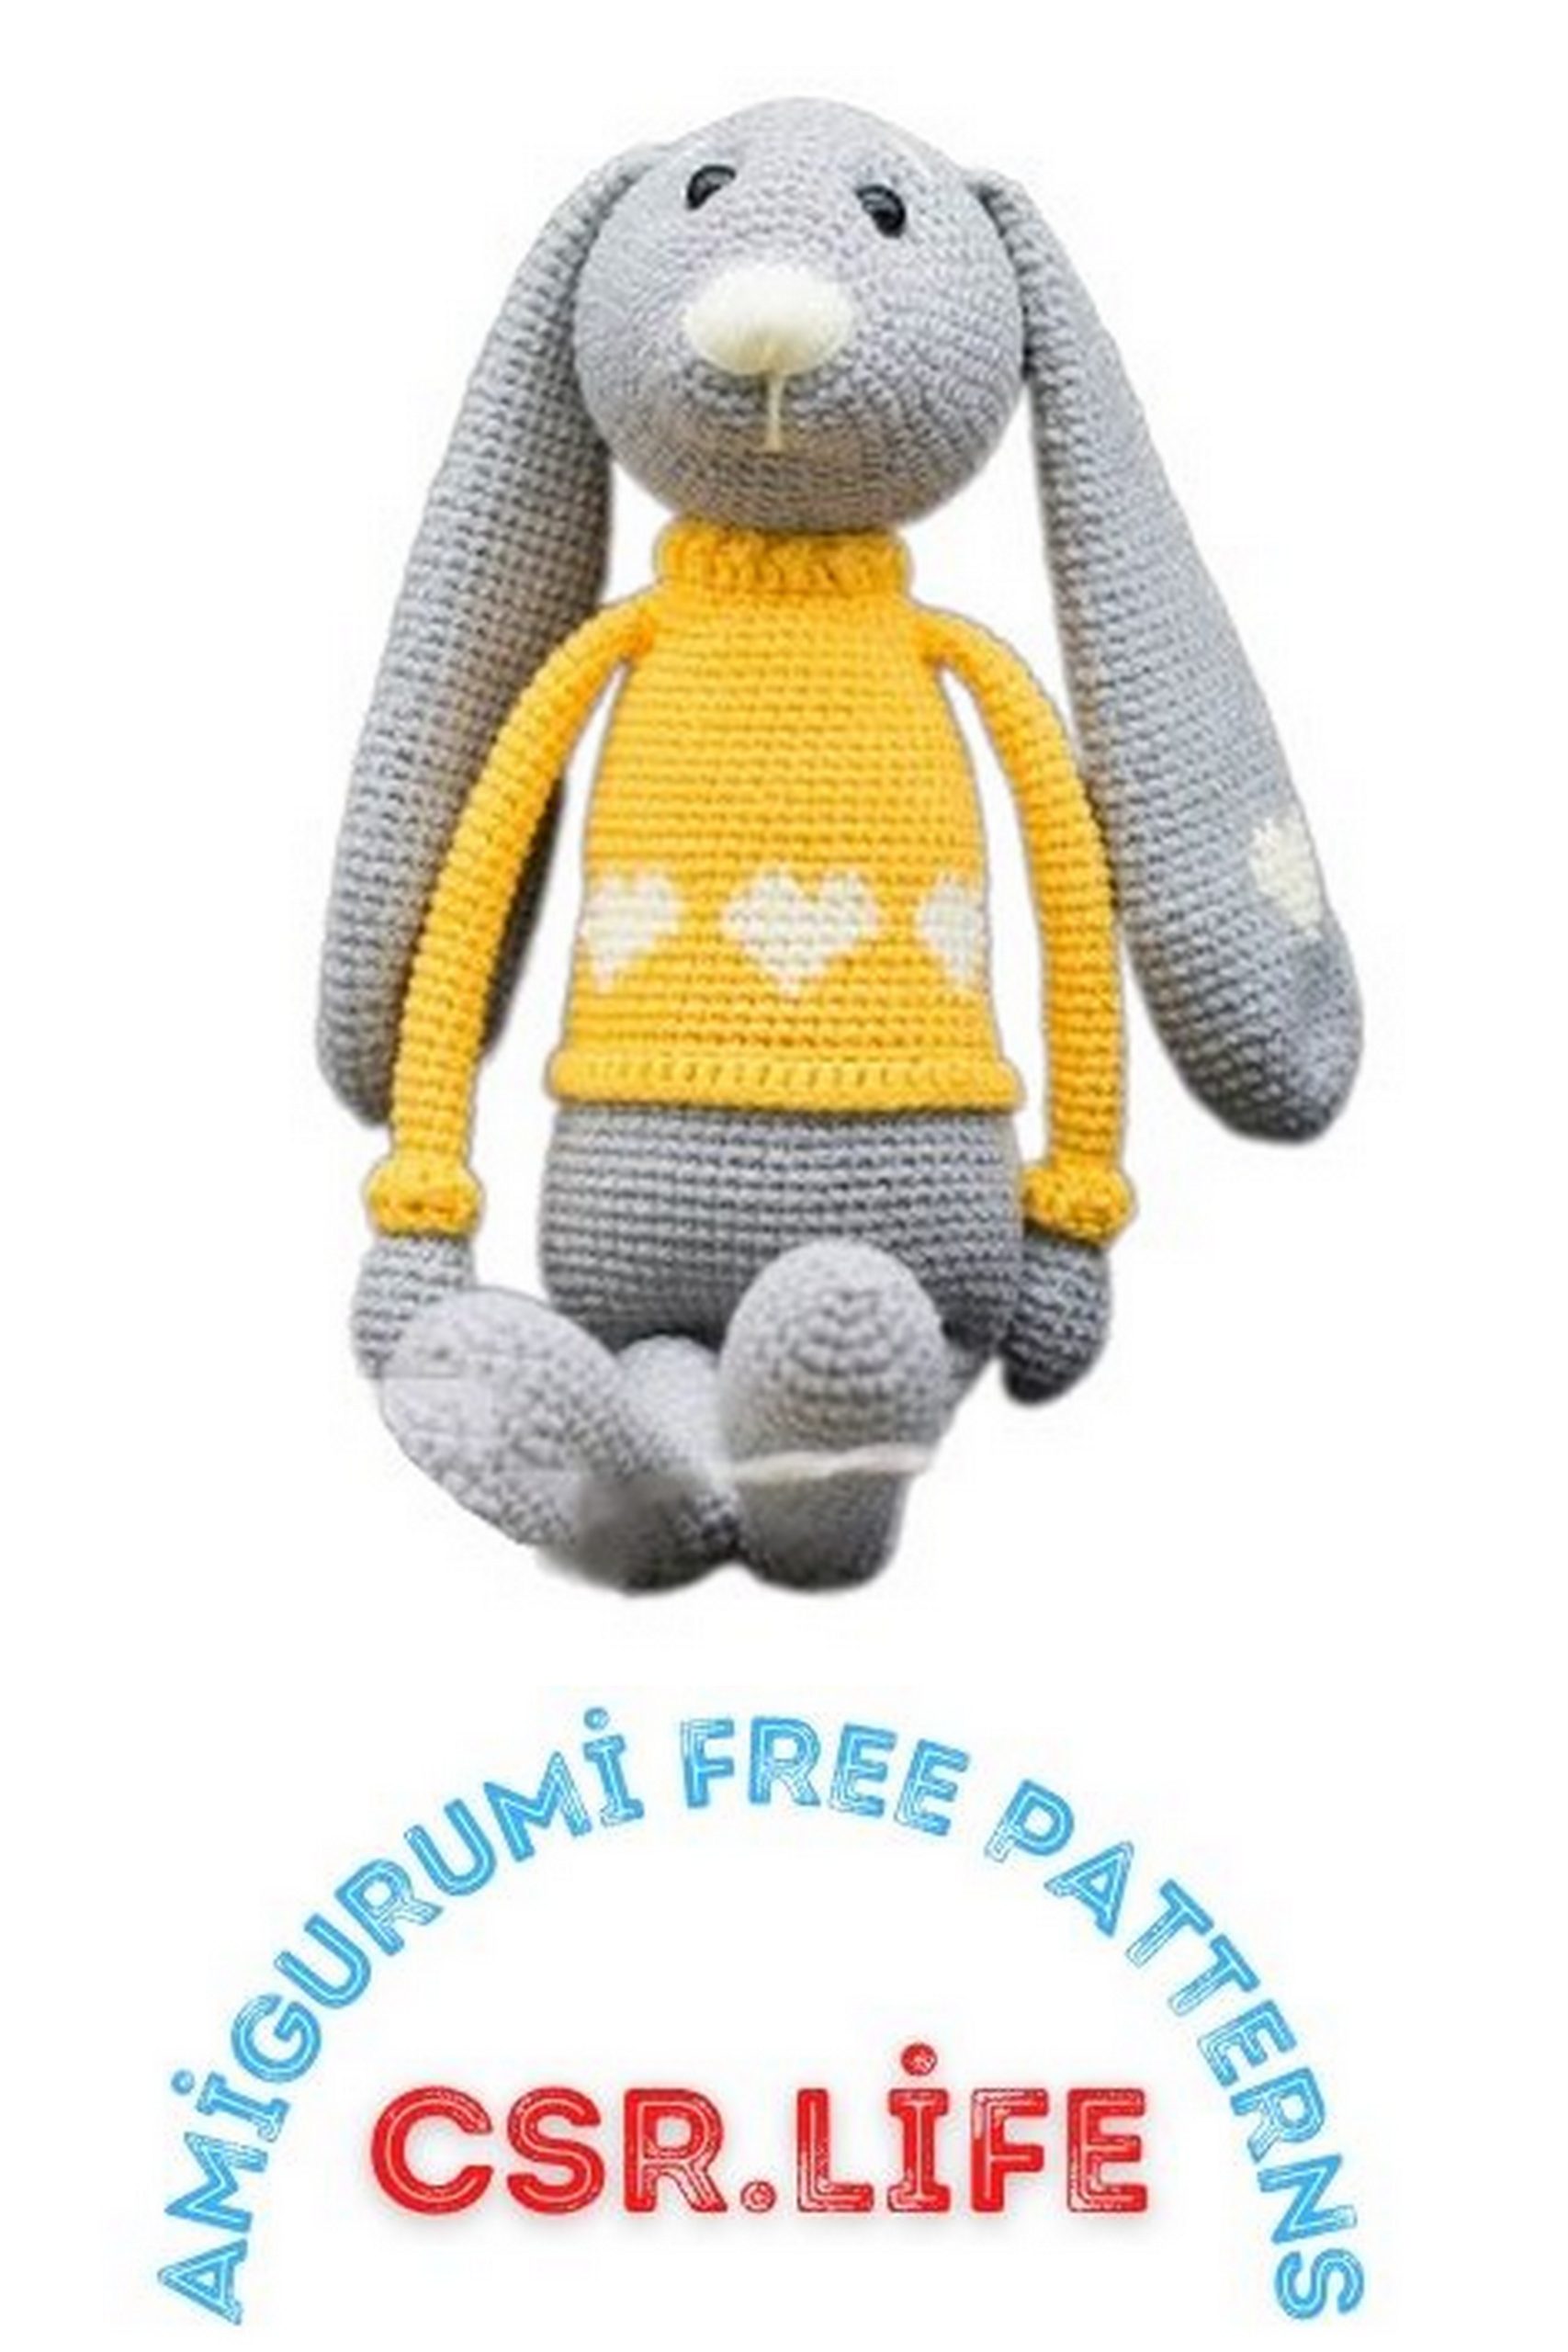
You can omit the sweater pattern or use any pattern with a 6 or 9-stitch repeat.
All parts are crocheted in a spiral, no turning chains or slip stitches are used.
Note that slip stitches should not be too tight.
Choose an appropriate hook size to achieve the right tension; there should be no gaps between stitches, but don’t crochet too tightly.
The turning chain is not used in this pattern.
Use good stuffing to prevent lumps and bumps in the toy.
Other Notes:
The toy is crocheted with the right side facing out.
To change yarn color, work the last SC of the old color until there are 2 loops on the hook, then complete the stitch with the new color.
Make sure to secure the eyes either with safety backs (if using safety eyes) or by stitching over the marked loops in Round 14.
PATTERN
Head:
Start with the main color:
1 Row: 6 SC in MC – 6 SC
2 Row: 6 Inc – 12 SC
3 Row: (1 SC, Inc) x 6 times – 18 SC
4 Row: (2 SC, Inc) x 6 times – 24 SC
5-6 Row: 24 SC
7 Row: Inc, (SC, Inc) x 5 times, 13 SC – 30 SC
8 Row: 30 SC
9 Row: Inc, (2 SC, Inc) x 5 times, 14 SC – 36 SC
10 Row: 36 SC
11 Row: (5 SC, Inc) x 6 times – 42 SC
12 Row: 42 SC
13 Row: 3 SC, Inc, (6 SC, Inc) x 5 times, 3 SC – 48 SC
In the next row, create openings for the eyes with safety fastenings. If you’re using other eyes that don’t require openings, mark the loops where you should work SC in Round 14.
14 Row: 8 SC, Ch, 10 SC, Ch, 28 SC – 48 SC
In the following row, work SC into the chains.
15 Row: (7 SC, Inc) x 6 times – 54 SC
16 Row: 54 SC
17 Row: 4 SC, Inc, (8 SC, Inc) x 5 times, 4 SC – 60 SC
18-25 Row: (8 rows) 60 SC
26 Row: 4 SC, Dec, (8 SC, Dec) x 5 times, 4 SC – 54 SC
Insert the safety eyes and tightly stuff the head as you go.
27 Row: 54 SC
28 Row: (7 SC, Dec) x 6 times – 48 SC
29 Row: 48 SC
30 Row: 3 SC, Dec, (6 SC, Dec) x 5 times, 3 SC – 42 SC
31 Row: 42 SC
32 Row: (5 SC, Dec) x 6 times – 36 SC
33 Row: 2 SC, Dec, (4 SC, Dec) x 5 times, 2 SC – 30 SC
34 Row: (3 SC, Dec) x 6 times – 24 SC
35 Row: SC, Dec, (2 SC, Dec) x 5 times, SC – 18 SC
36 Row: (SC, Dec) x 6 times – 12 SC
37 Row: 6 Dec
Leave a long tail, cut the yarn, and close the opening tightly. Make sure to anchor the eyes either under the safety backs (if using safety eyes) or in the marked loops from Round 14.
Ears:
Make two identical ears.
1 Row: 6 SC in MC
2 Row: 6 Inc – 12 SC
3 Row: (1 SC, Inc) x 6 times – 18 SC
4 Row: 1 SC, Inc, (2 SC, Inc) x 5 times, 1 SC – 24 SC
5 Row: 24 SC
6 Row: (3 SC, Inc) x 6 times – 30 SC
7 Row: 30 SC
8 Row: (14 SC, Inc) x 2 times – 32 SC
9-10 Row: 32 SC
11 Row: (15 SC, Inc) x 2 times – 34 SC
12-16 Row: (5 rows) 34 SC
17 Row: (Dec, 15 SC) x 2 times – 32 SC
18-19 Row: 32 SC
20 Row: (Dec, 14 SC) x 2 times – 30 SC
21-22 Row: 30 SC
23 Row: (Dec, 13 SC) x 2 times – 28 SC
24-25 Row: 28 SC
26 Row: (Dec, 12 SC) x 2 times – 26 SC
27-28 Row: 26 SC
29 Row: (Dec, 11 SC) x 2 times – 24 SC
30-31 Row: 24 SC
32 Row: (Dec, 10 SC) x 2 times – 22 SC
33-34 Row: 22 SC
35 Row: (Dec, 9 SC) x 2 times – 20 SC
36-37 Row: 20 SC
38 Row: (Dec, 8 SC) x 2 times – 18 SC
39-40 Row: 18 SC
41 Row: (Dec, 7 SC) x 2 times – 16 SC
42-43 Row: 16 SC
44 Row: (Dec, 6 SC) x 2 times – 14 SC
45-46 Row: 14 SC
47 Row: (Dec, 5 SC) x 2 times – 12 SC
48-49 Row: 12 SC
50 Row: (Dec, 4 SC) x 2 times – 10 SC
51-53 (3 rows) 10 SC
Crochet one chain, fold the ear in half, and work 5 SC to close the ear. Leave a long tail for sewing.
Feel free to ask if you have any further questions or need additional information.
Tail:
1 Row: 6 in MC (Magic Circle).
2 Row: 6 Inc (Increase) – 12 SC (Single Crochet).
3 Row: (SC, Inc) x 6 times – 18 SC.
4 Row: (2 SC, Inc) x 6 times – 24 SC.
5-6 Row: 24 SC.
7 Row: 8 Dec (Decrease), 8 SC – 16 SC.
8 Row: 4 Dec, 8 SC – 12 SC.
Stuff the tail, secure the yarn, leave a long end for sewing, and cut the yarn.
Upper Legs (Arms):
The legs are crocheted the same way. Stuff the palm firmly, leave the middle part slightly less stuffed, and avoid overfilling the upper part.
Start with the main color:
1 Row: 6 SC in MC.
2 Row: (Inc, SC) x 3 times – 9 SC.
3 Row: (2 SC, Inc) x 3 times – 12 SC.
4 Row: (Inc, 3 SC) x 3 times – 15 SC.
5-7 Row: (3 rows) 15 SC.
8 Row: (Dec, 3 SC) x 3 times – 12 SC.
9 Row: 12 SC.
10 Row: (2 SC, Dec) x 3 times – 9 SC.
11-12 Row: 9 SC, when working the last stitch of the 12th row, change the color to the sweater color.
13 Row: 9 SC.
14 Row: 9 SC through the back loop.
15-42 Row: (28 rows) 9 SC.
Fasten off and cut the yarn. The legs will be attached to the body. Find the loops from the 14th row, attach the sweater color yarn and crochet the cuff: 10 Front Post Double Crochet (FPDC) in the first row and 10 Back Post Double Crochet (BPDC) in the second row. If you don’t know how to crochet FPDC and BPDC, you can use regular Double Crochet (DC).
Lower Legs (Body):
Begin crocheting the legs with the main color. Stuff as you go.
1 Row: 6 in MC.
2 Row: 6 Inc – 12 SC.
3 Row: (SC, Inc) x 6 times – 18 SC.
4 Row: (2 SC, Inc) x 6 times – 24 SC.
5-9 Row: (5 rows) 24 SC.
10 Row: 5 SC, Dec, 10 SC, Dec, 5 SC – 22 SC.
11-12 Row: 22 SC.
13 Row: (Dec, 9 SC) x 2 times – 20 SC.
14-15 Row: 20 SC.
16 Row: 4 SC, Dec, 8 SC, Dec, 4 SC – 18 SC.
17-18 Row: 18 SC.
19 Row: (4 SC, Dec) x 3 times – 15 SC.
20 Row: 15 SC.
21-22 Row: 2 SC, 7 Half Double Crochet (HDC), 2 SC, 4 DC – 15 SC.
23-25 Row: (3 rows) DC, SC, 7 HDC, SC, 5 DC – 15 SC.
The orange thread in the photo is a marker for the beginning of the row.
26 Row: 15 SC.
27 Row: (3 SC, Dec) x 3 times – 12 SC.
28-57 Row: (30 rows) 12 SC.
On the first leg (left), crochet an additional 2 SC and a Slip Stitch (SS) or enough SC to finish in the middle of the right leg, secure and cut the yarn. On the second leg (right), crochet an additional 8 SC and a SS or enough SC to finish in the middle of the left leg, do not cut the yarn. From the second, right leg, crochet 6 Chain (Ch), and join with the left leg in the next loop after the SS. Crochet 12 SC along the first leg, 6 SC through the Ch, 12 SC along the second leg, 6 SC through the Ch, and place a marker at the beginning of the row. Then continue crocheting the body, stuffing as you go. Leave the connection point between the legs and body slightly less stuffed so that the bunny can sit.
1 Row: (5 SC, Inc) x 6 times – 42 SC.
2 Row: 3 SC, Inc, (6 SC, Inc) x 5 times, 3 SC – 48 SC.
3 Row: (7 SC, Inc) x 6 times – 54 SC.
4 Row: 4 SC, Inc, (8 SC, Inc) x 5 times, 4 SC – 60 SC.
5-13 Row: (9 rows) 60 SC.
14 Row: 4 SC, Dec, (8 SC, Dec) x 5 times, 4 SC – 54 SC.
15 Row: 54 SC, when working the last stitch of the row, change the color to the sweater color.
16 Row: 54 SC.
17 Row: 54 SC through the back loop.
18-29 Row: (12 rows) 54 SC.
30 Row: (7 SC, Dec) x 6 times – 48 SC.
31-33 Row: (3 rows) 48 SC.
34 Row: 3 SC, Dec, (6 SC, Dec) x 5 times, 3 SC – 42 SC.
35-36 Row: 42 SC.
In the next row, attach the upper legs. Place the legs slightly forward, not strictly at the sides. When attaching the legs, pick up the loops from the inside of the leg first, then on the body.
37 Row: 10 SC, 3 SC together with the leg, 16 SC, 3 SC together with the leg, 10 SC – 42 SC.
38 Row: 10 SC, 6 SC around the leg, 16 SC, 6 SC around the leg, 10 SC – 48 SC.
39 Row: 3 SC, Dec, (6 SC, Dec) x 5 times, 3 SC – 42 SC.
40 Row: (5 SC, Dec) x 6 times – 36 SC.
41 Row: 36 SC.
42 Row: 2 SC, Dec, (4 SC, Dec) x 5 times, 2 SC – 30 SC.
43 Row: 30 SC through the back loop, when working the last stitch of the row, change the color to the main color.
44 Row: (3 SC, Dec) x 6 times – 24 SC.
45 Row: 24 SC.
Secure the yarn, leave a long end for sewing, and cut the yarn.
Stuff the neck firmly.
Assembly and Decorating the Bunny:
Attach the sweater color yarn to the 17th row of the body and crochet a row of SC.
At the 43rd row, attach the sweater color yarn and crochet a collar for the sweater using two or three rows of SC or FPDC (Front Post Double Crochet) and BPDC (Back Post Double Crochet).
Decorate the face as desired by embroidering the nose and eyebrows.
Insert the eyes into the areas marked with yarn ends, if necessary.
Sew the head to the body, attach the ears symmetrically, and attach the tail a couple of rows below the sweater.
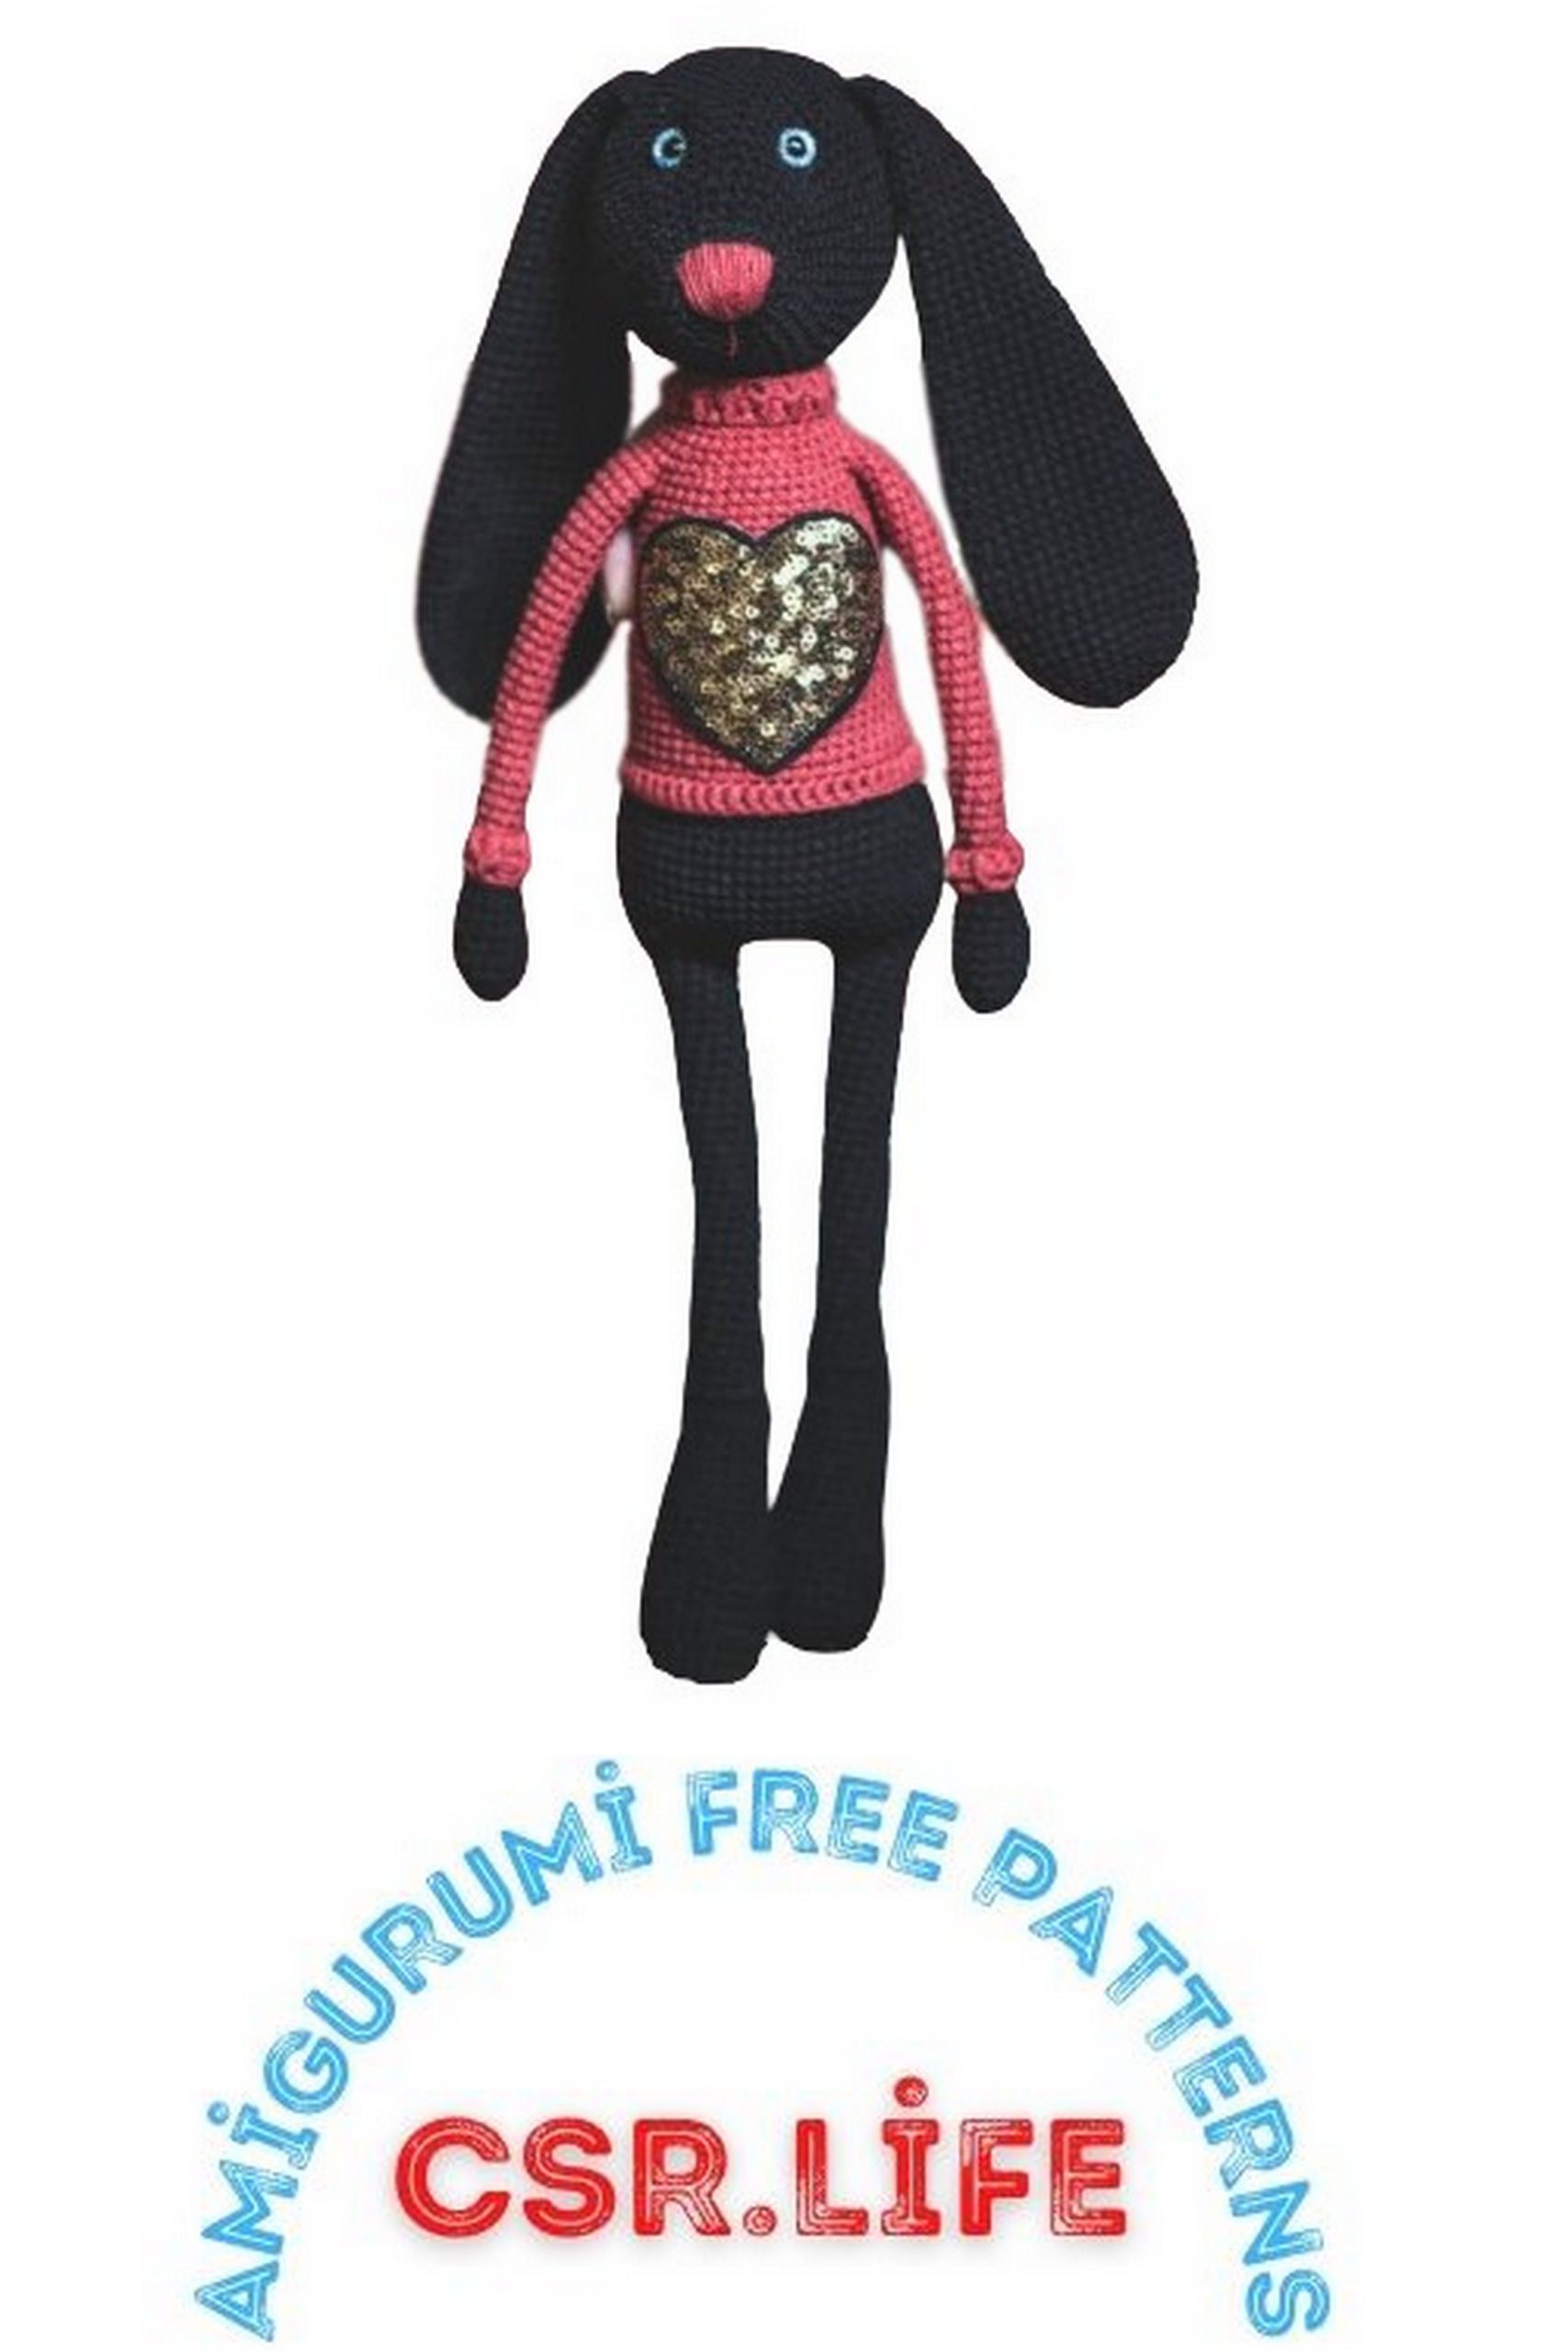
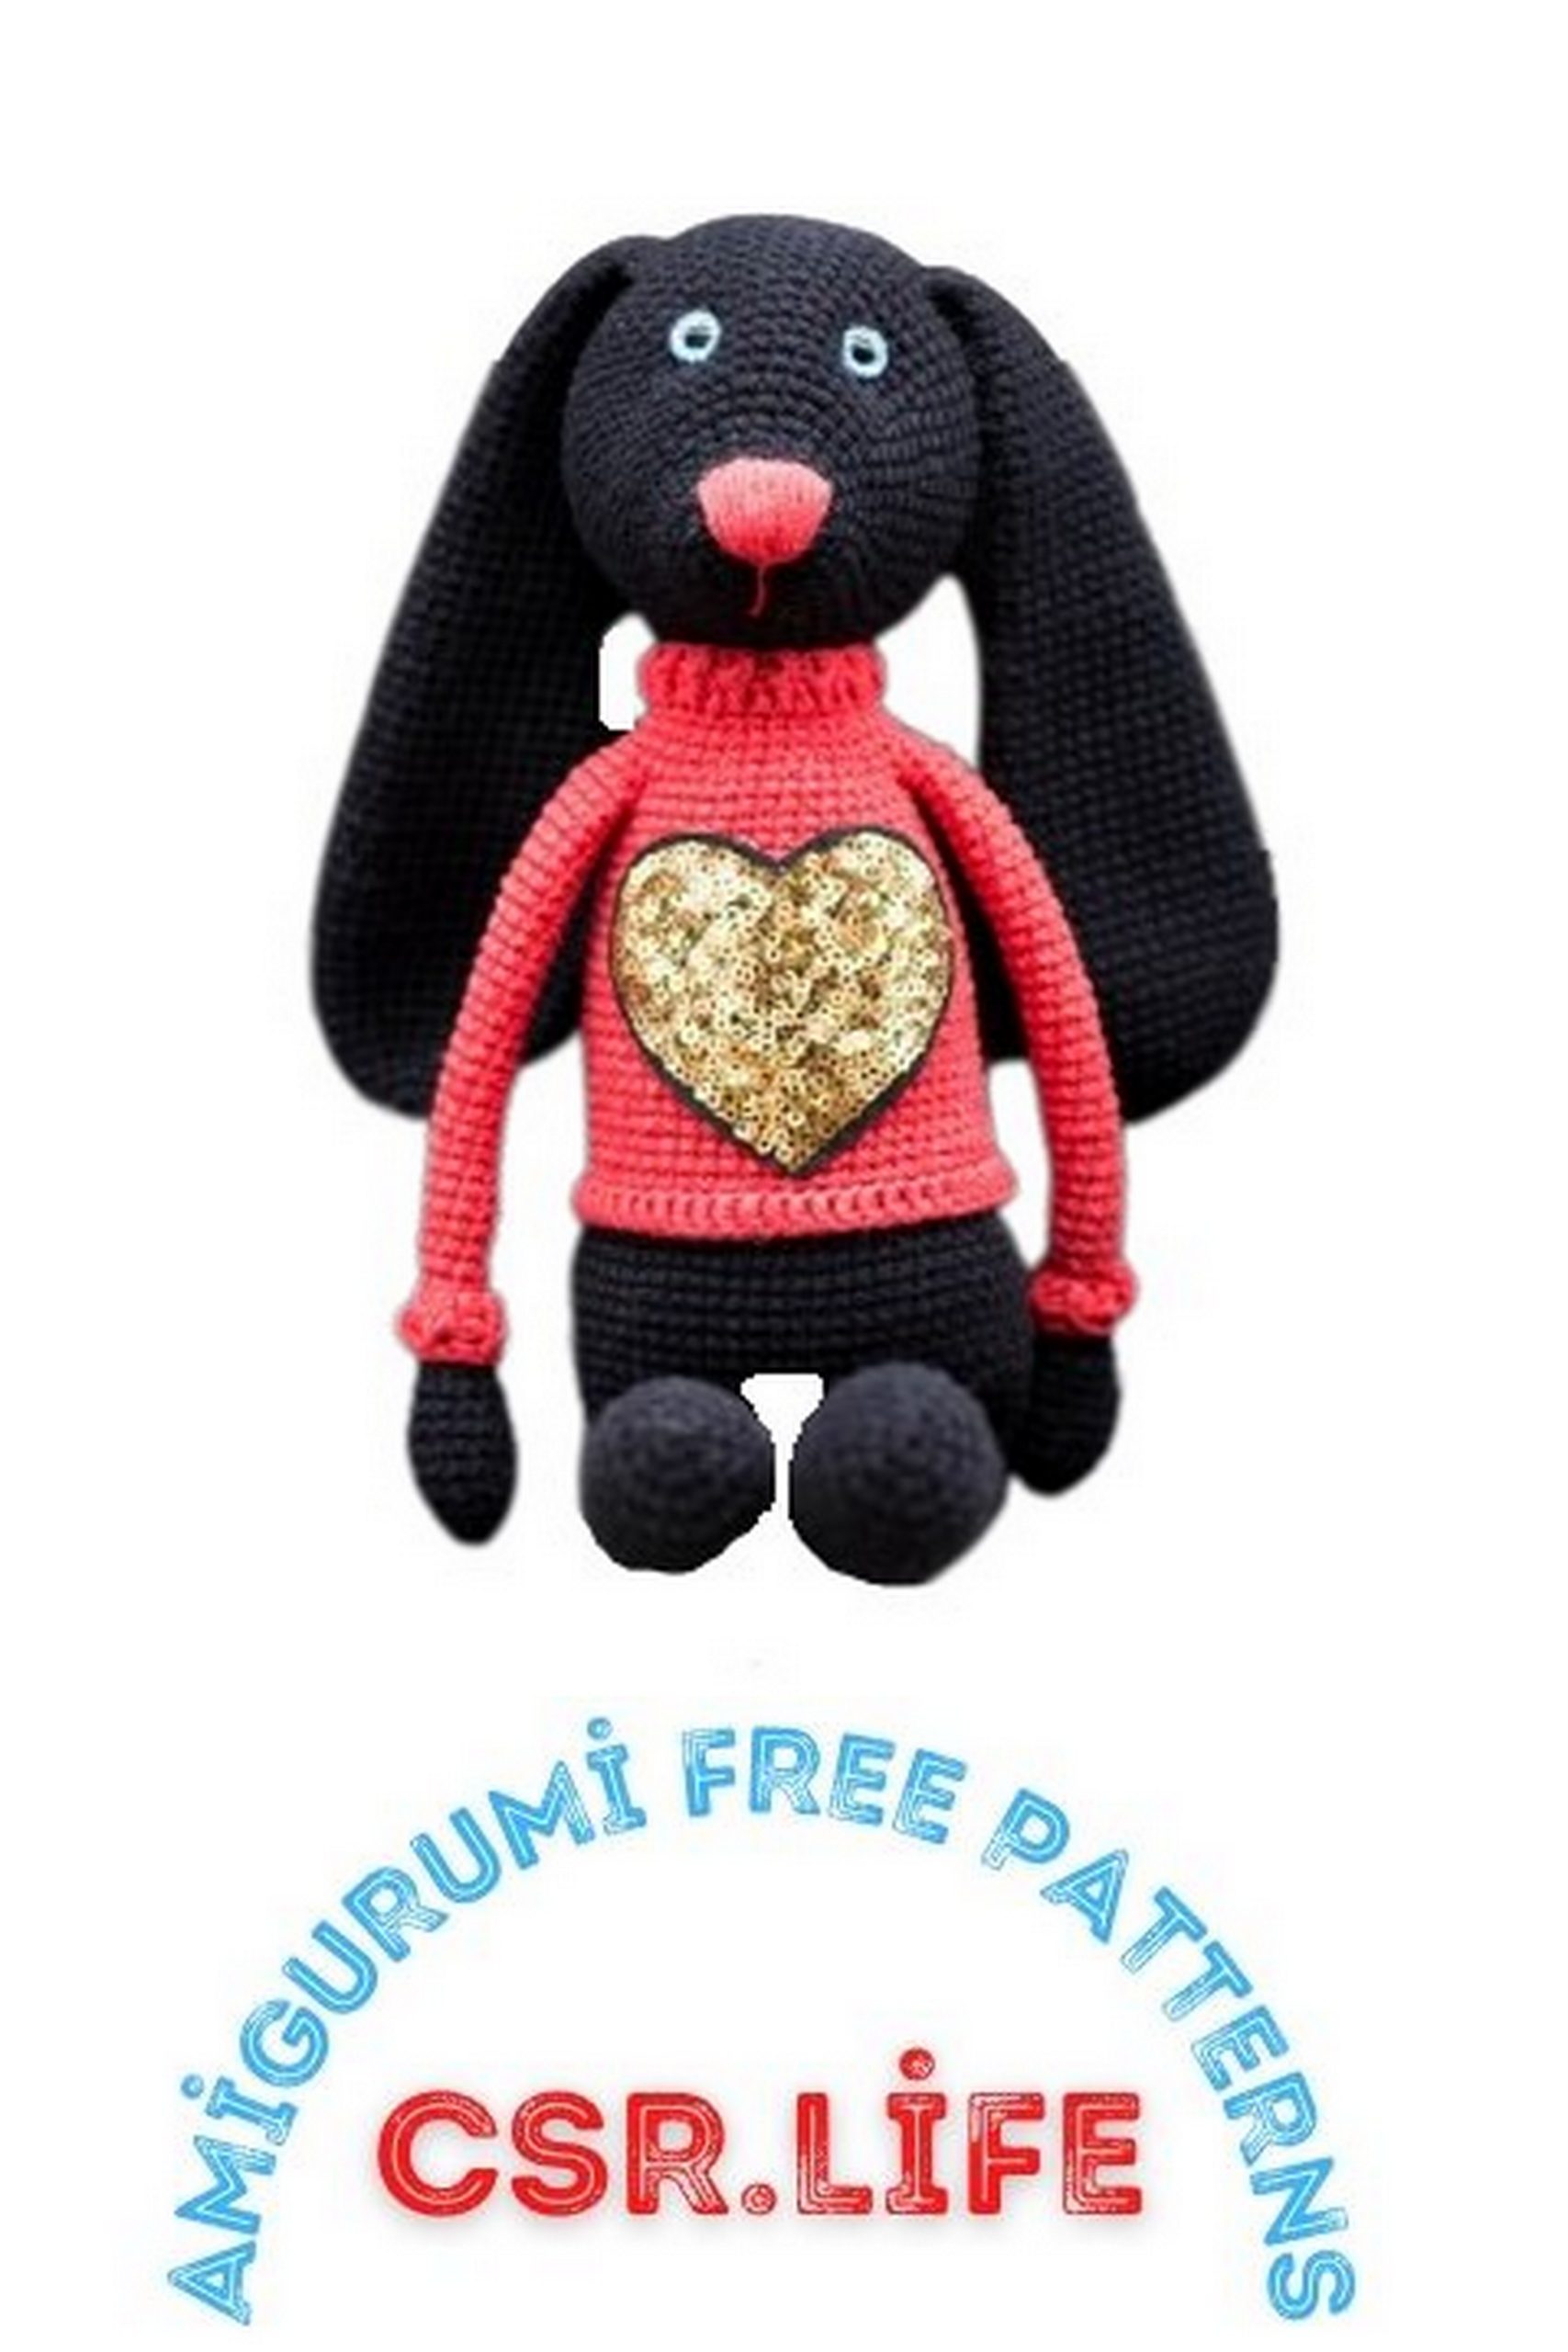
You can use various decorations for the sweater, such as sequins, beads, or other embellishments.
You can create fingers on the hind legs using slip stitches.
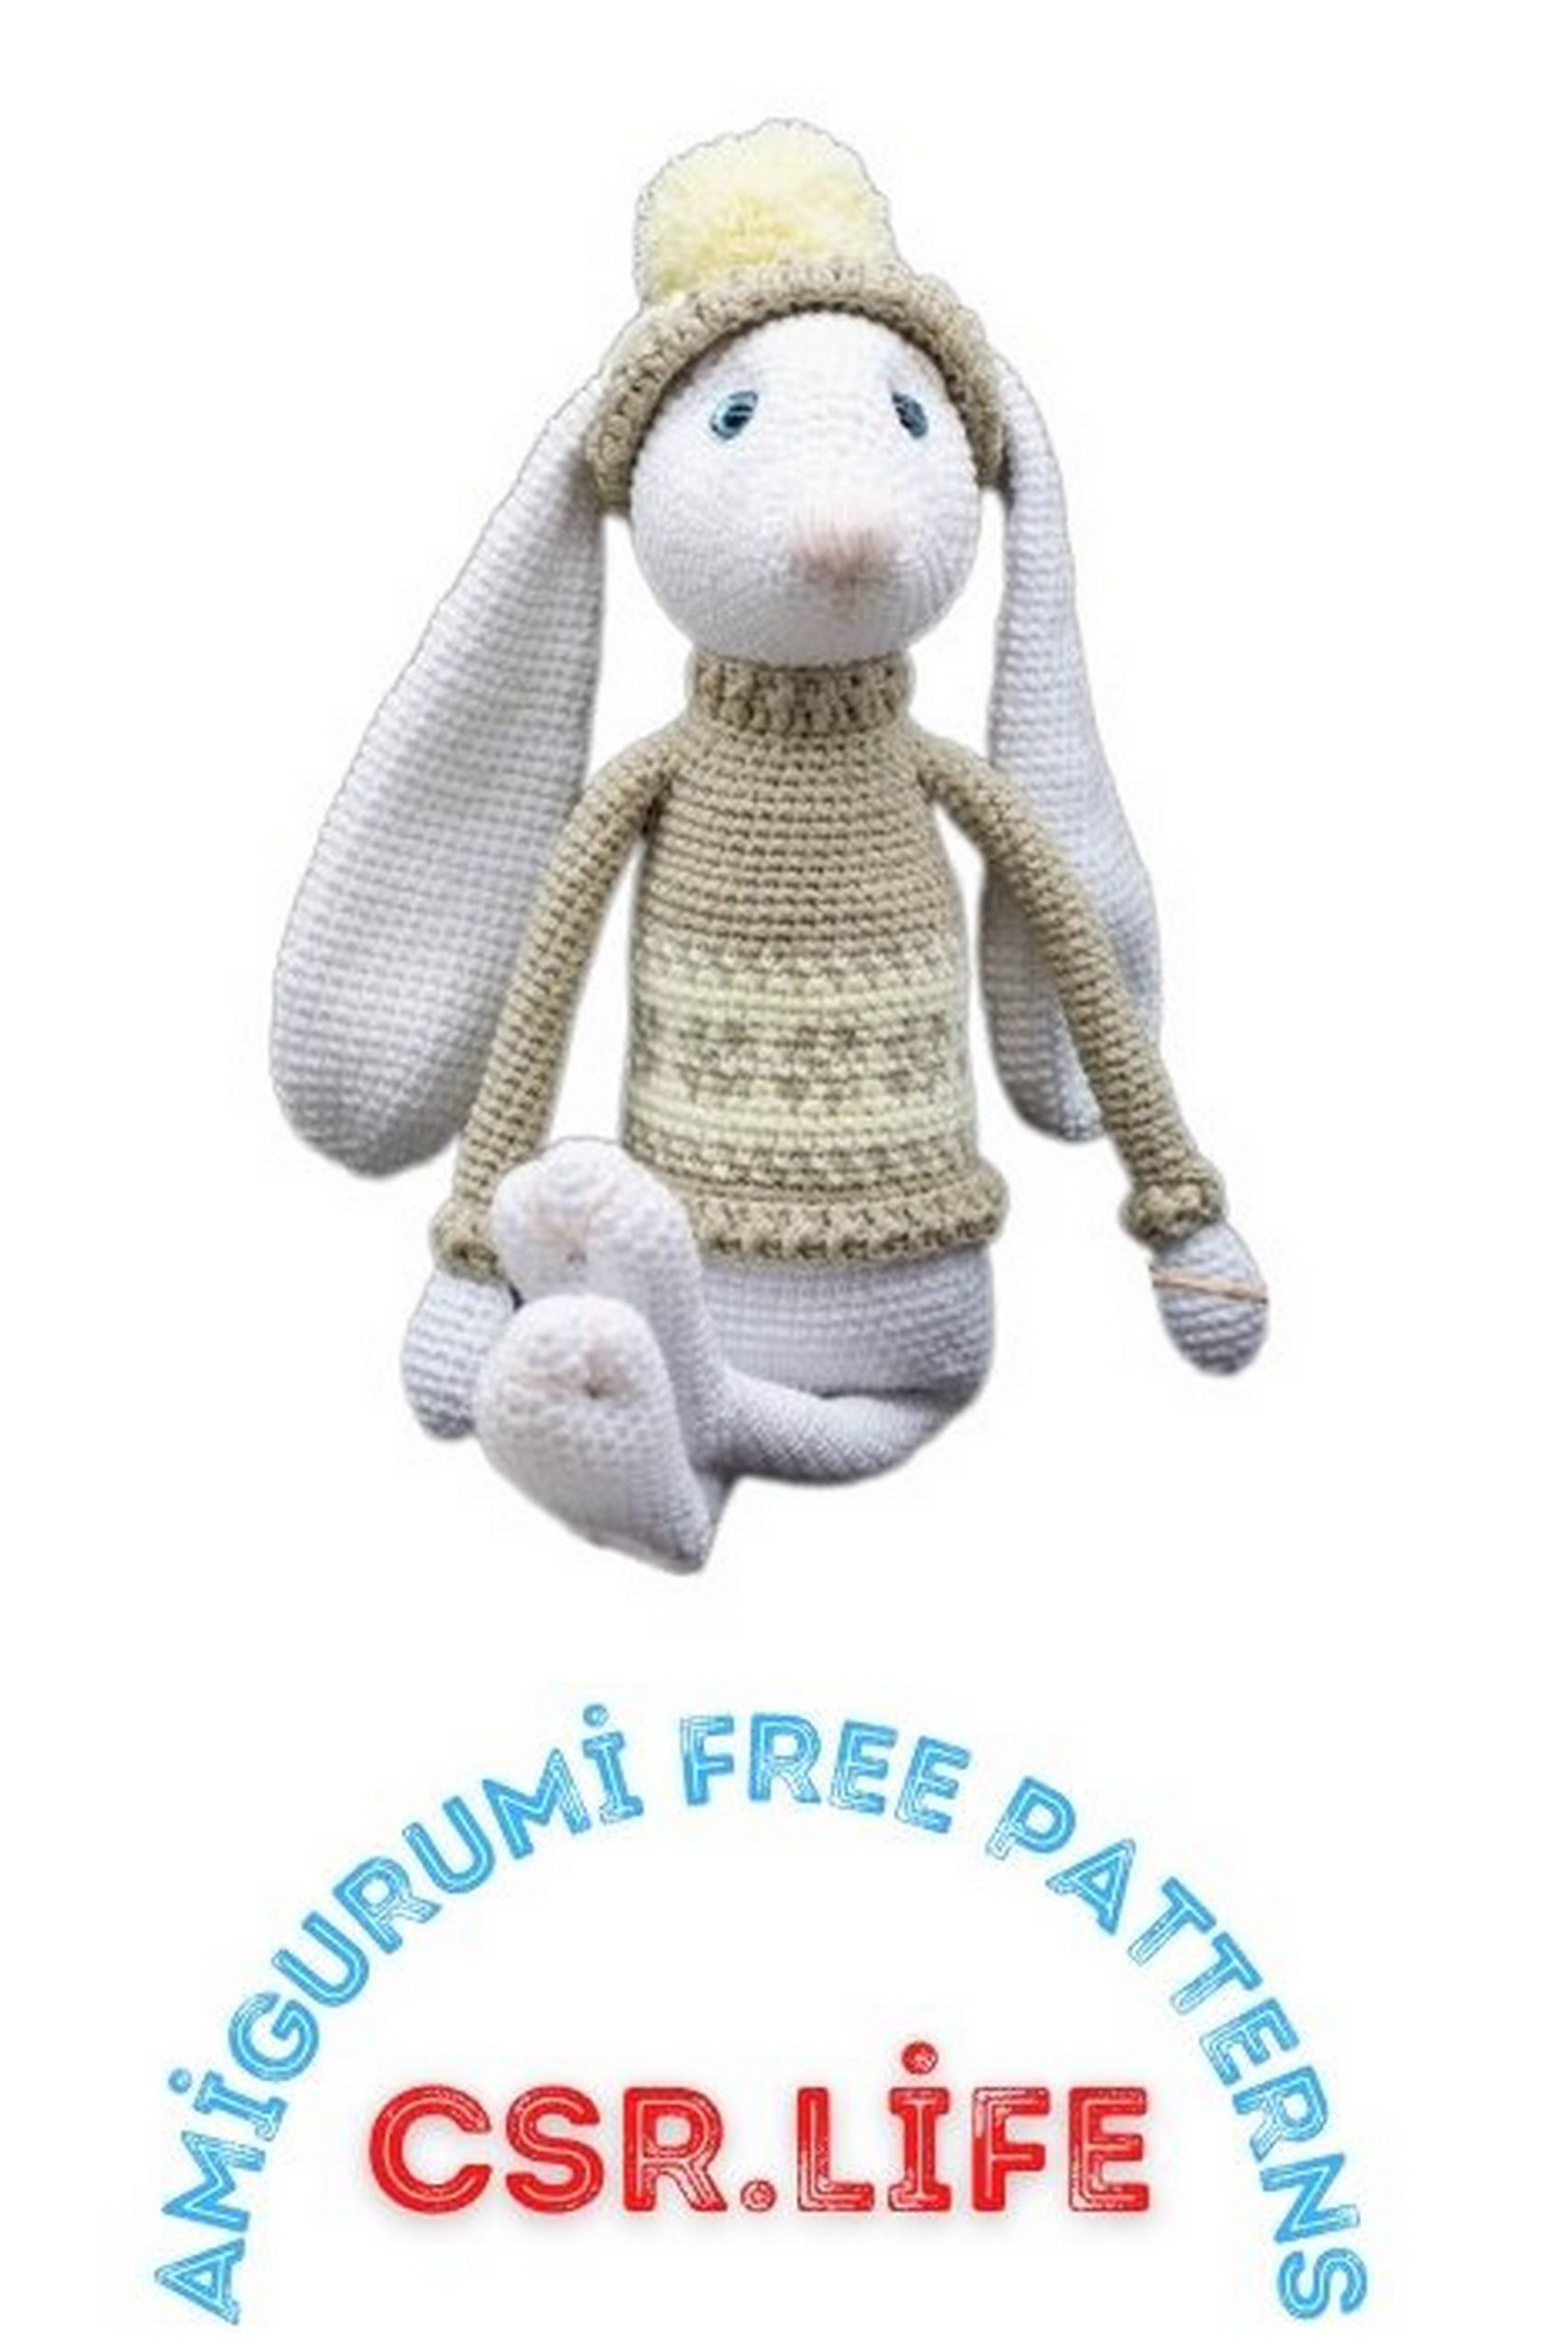
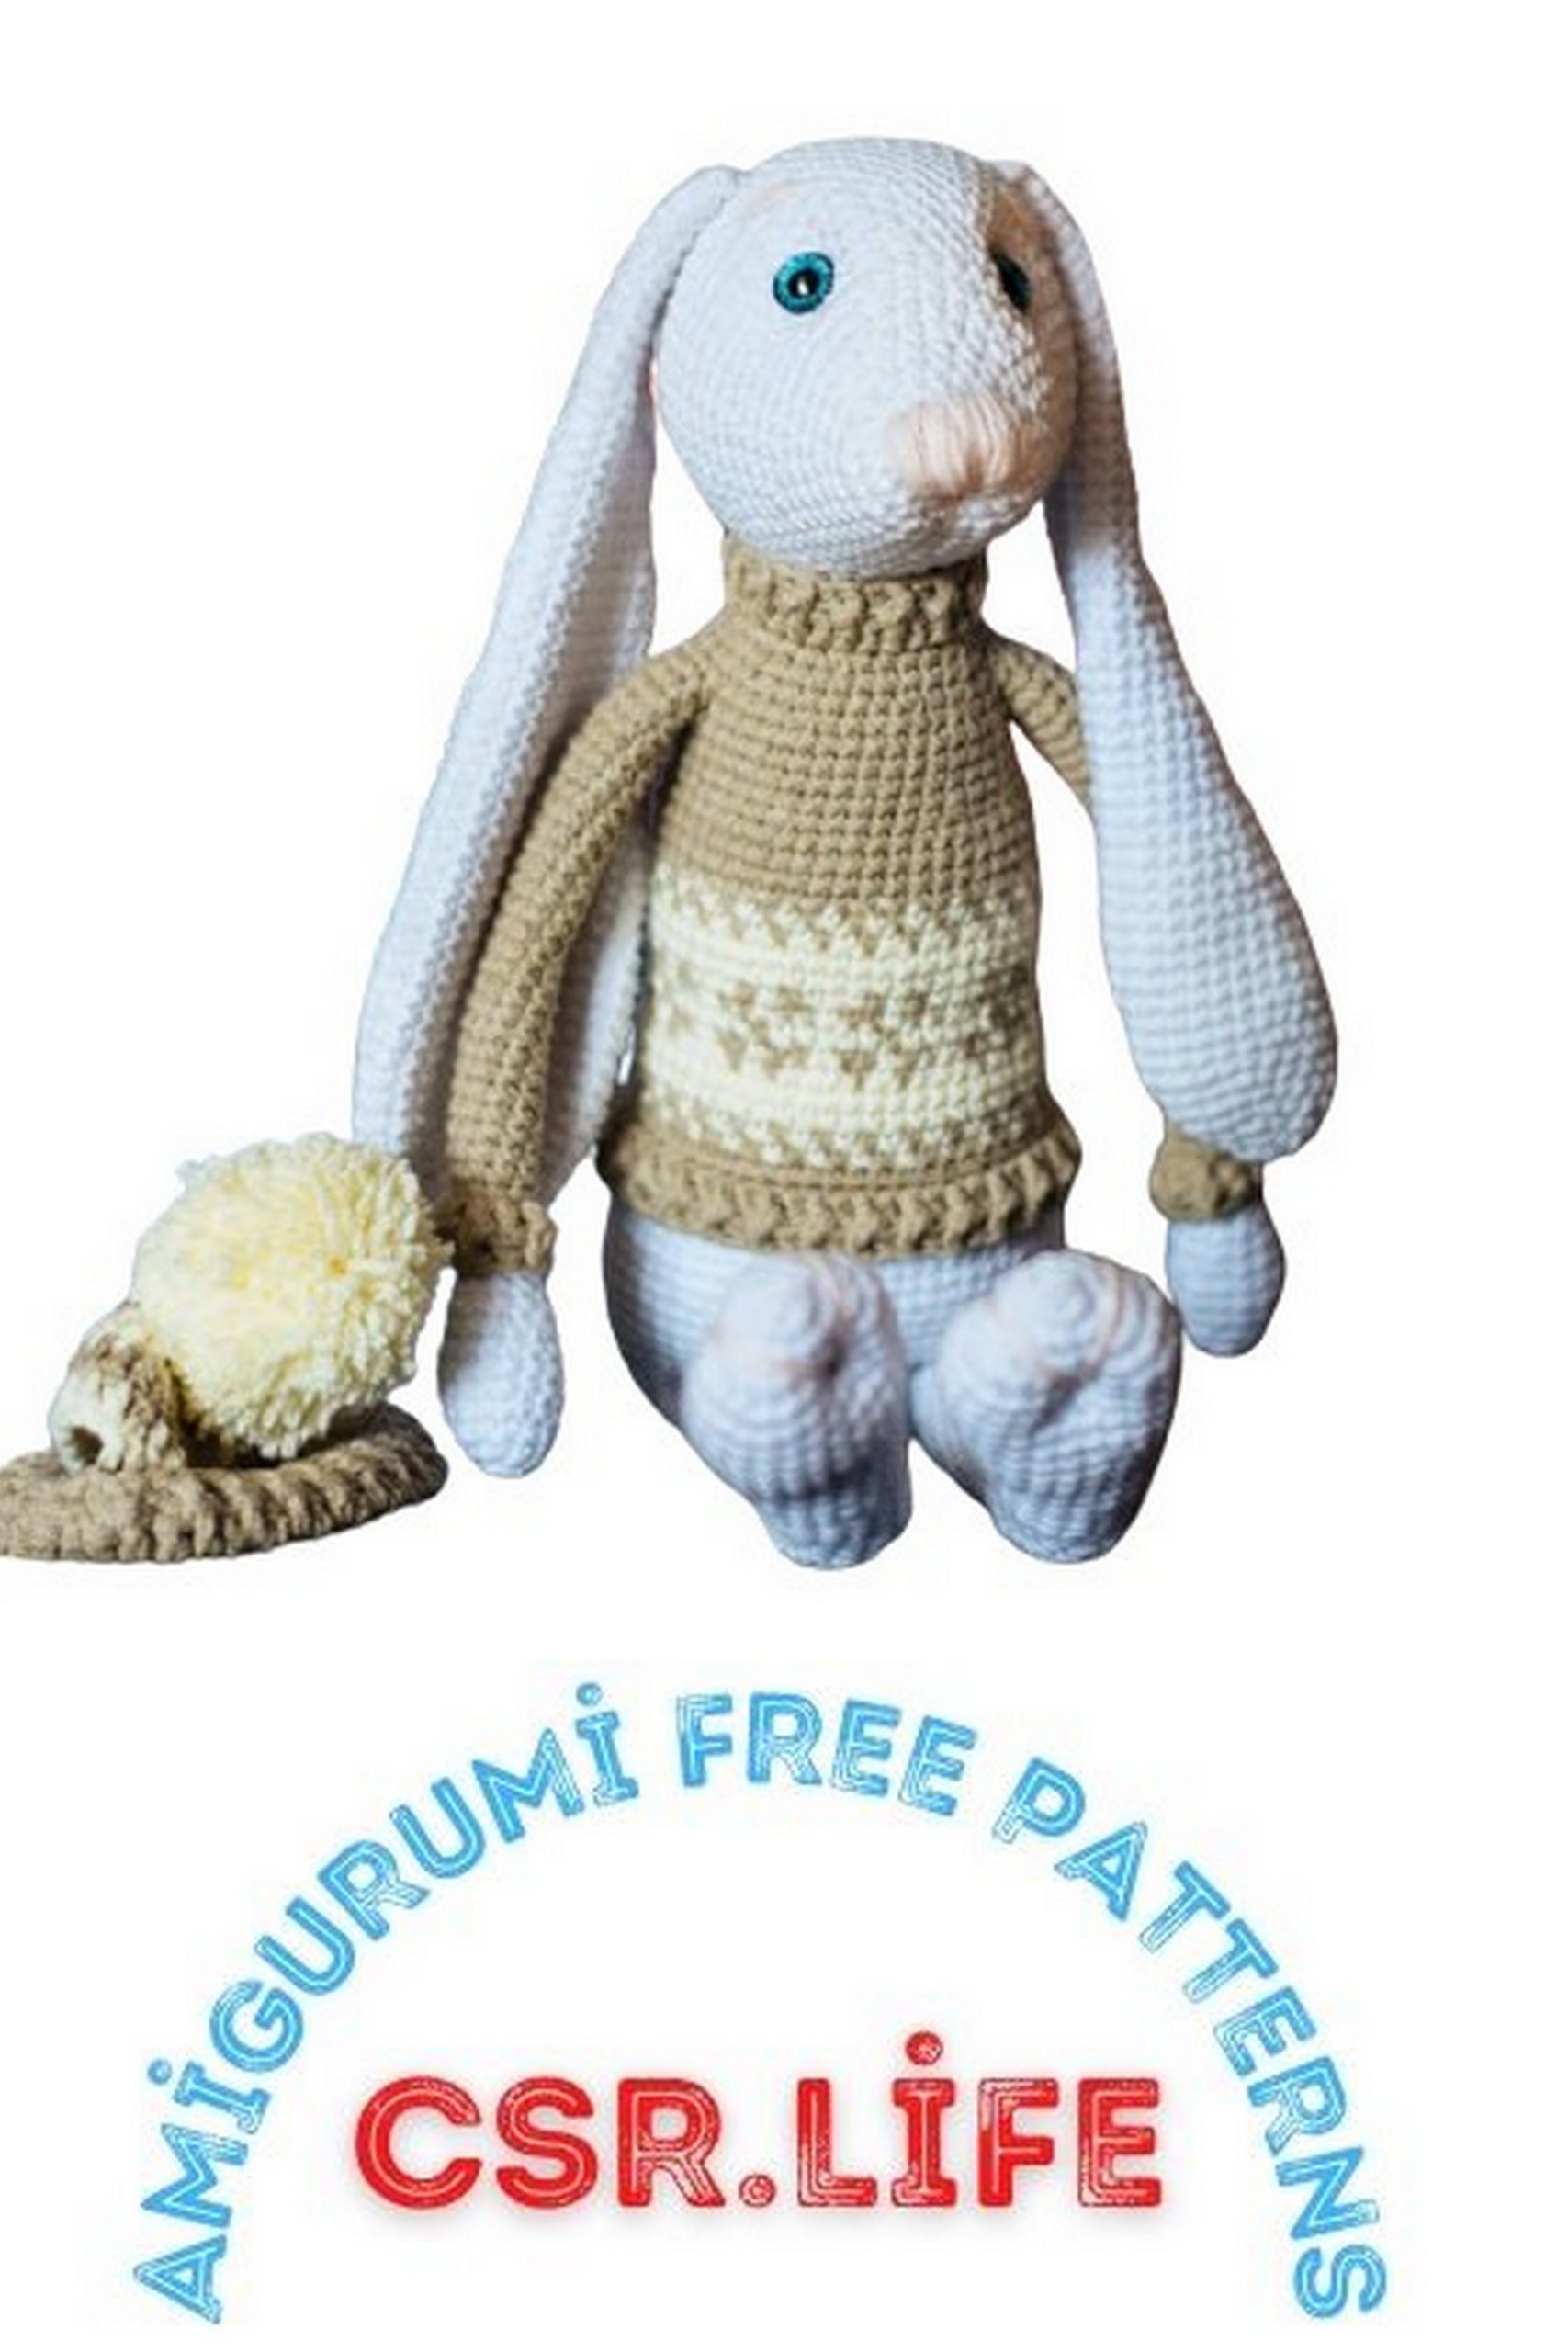
Your bunny is now ready!
If you have any more questions or need further assistance, please feel free to ask.