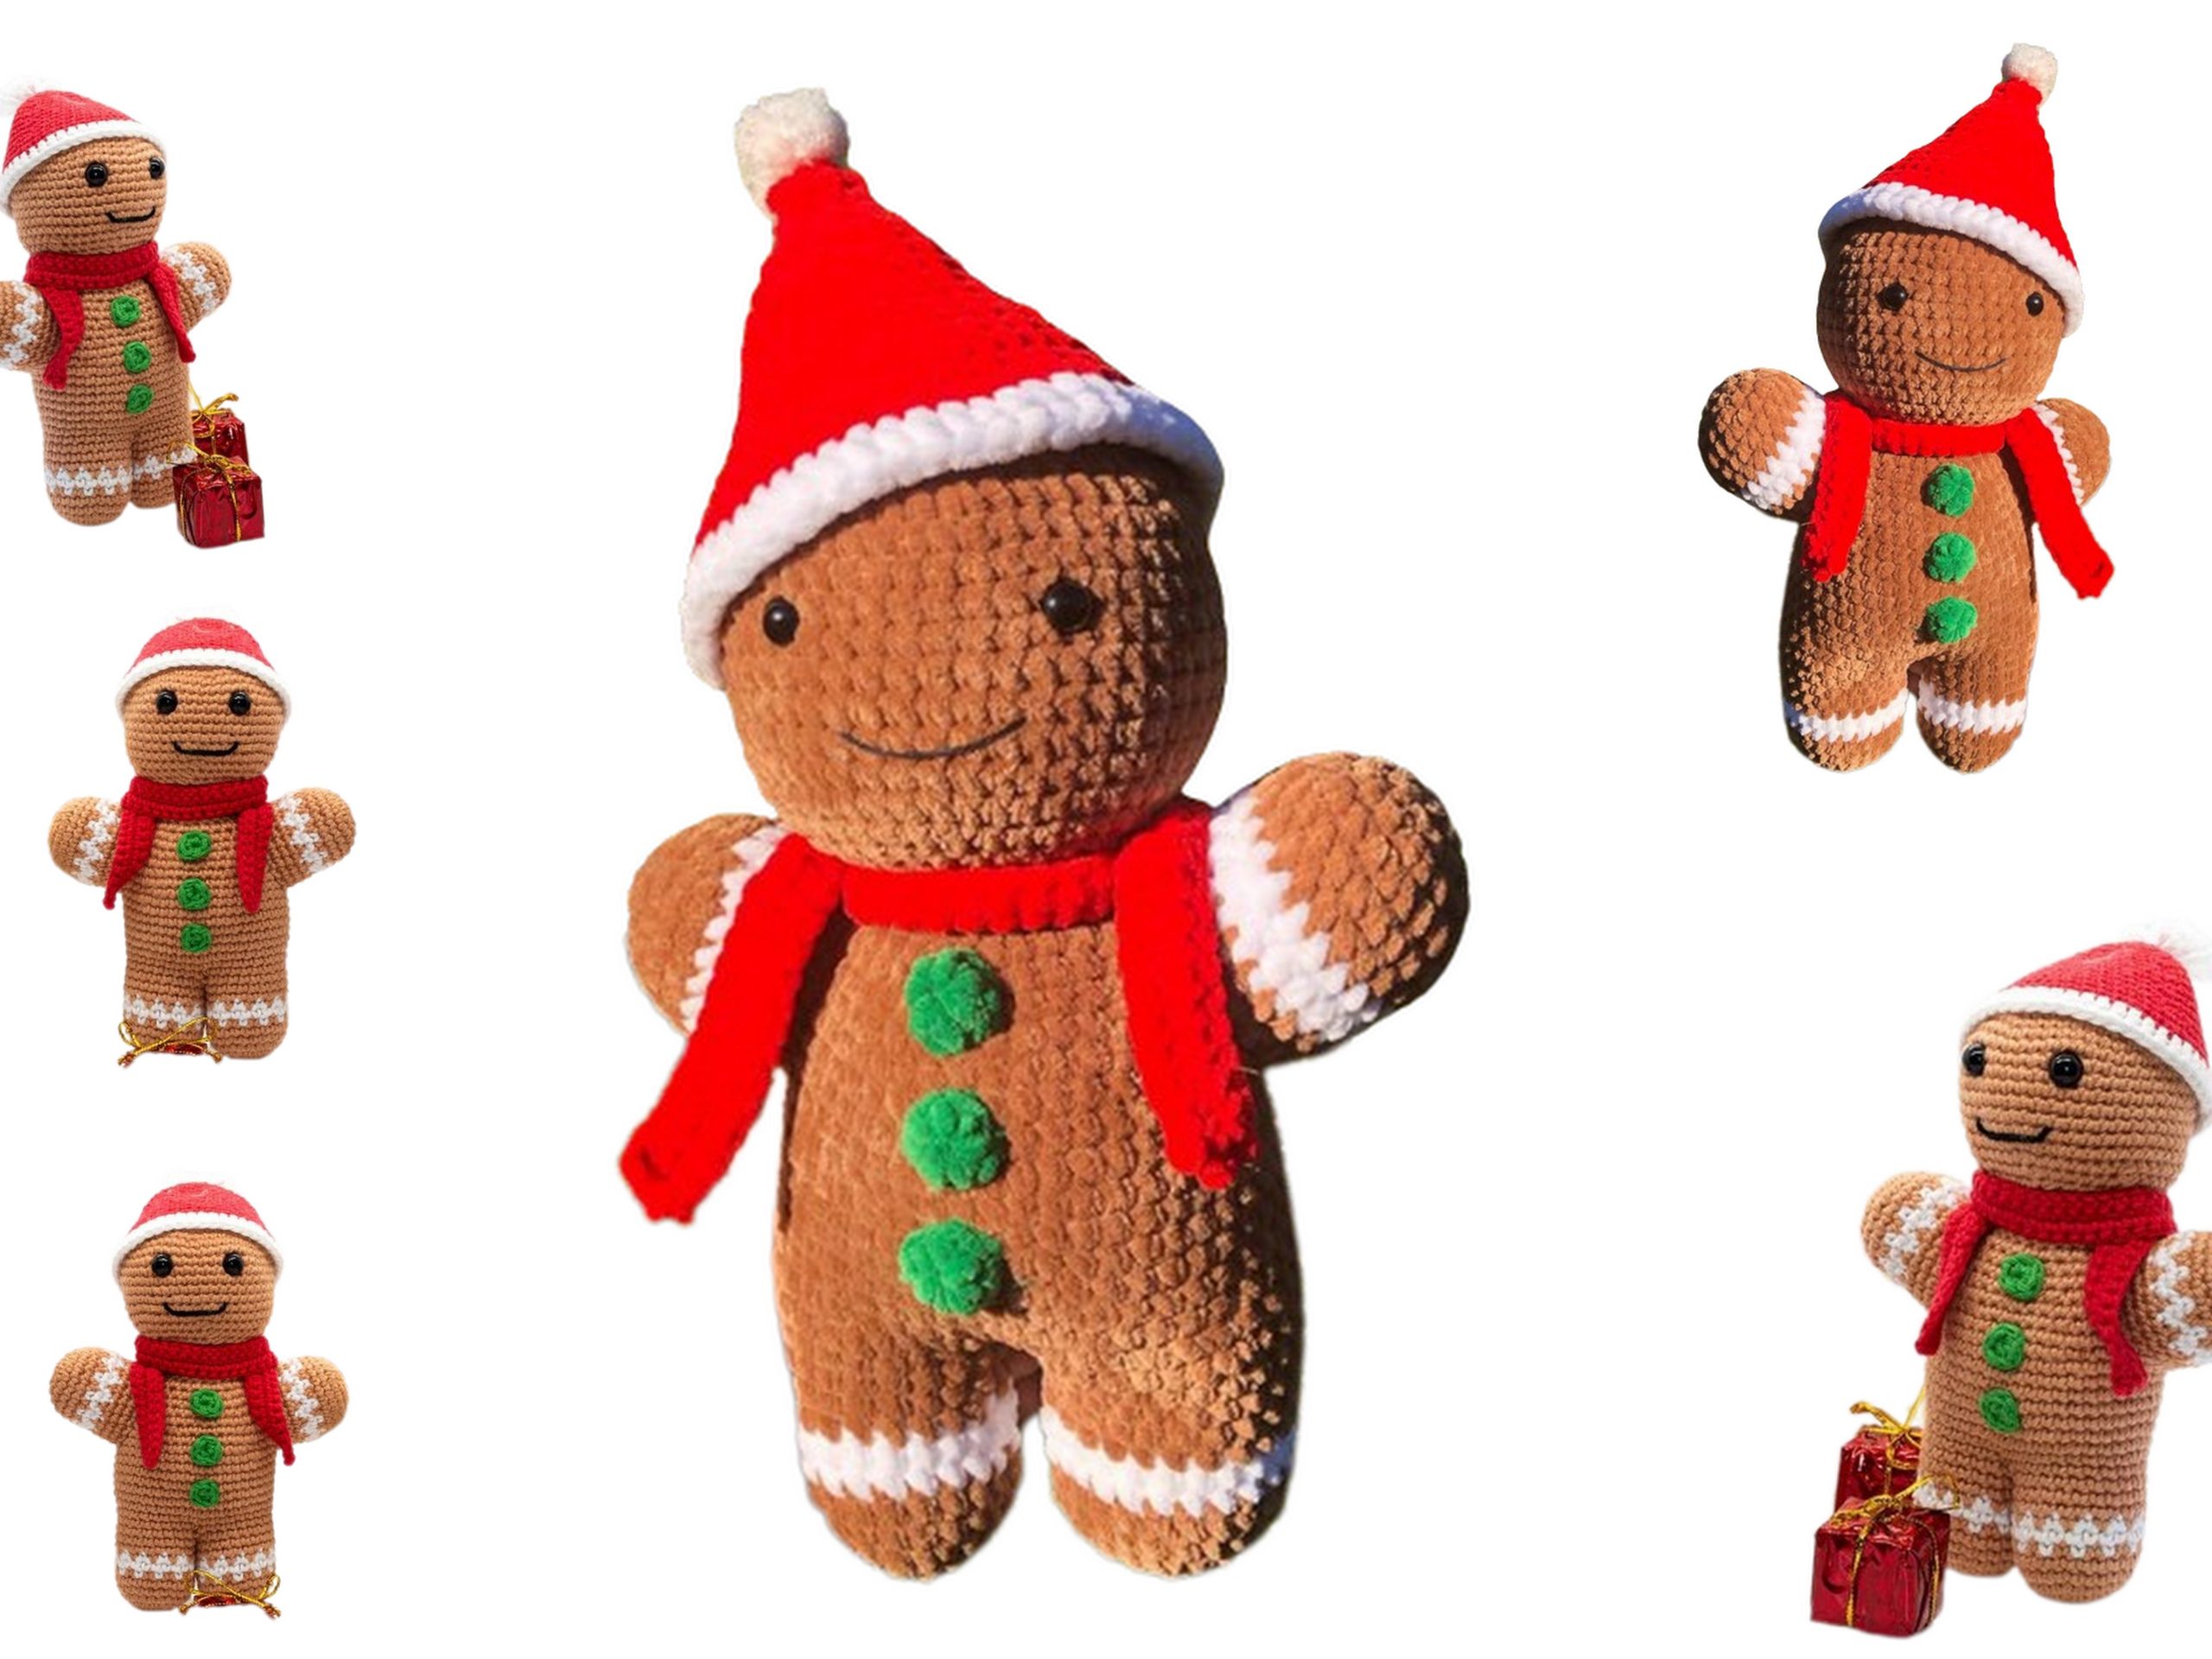
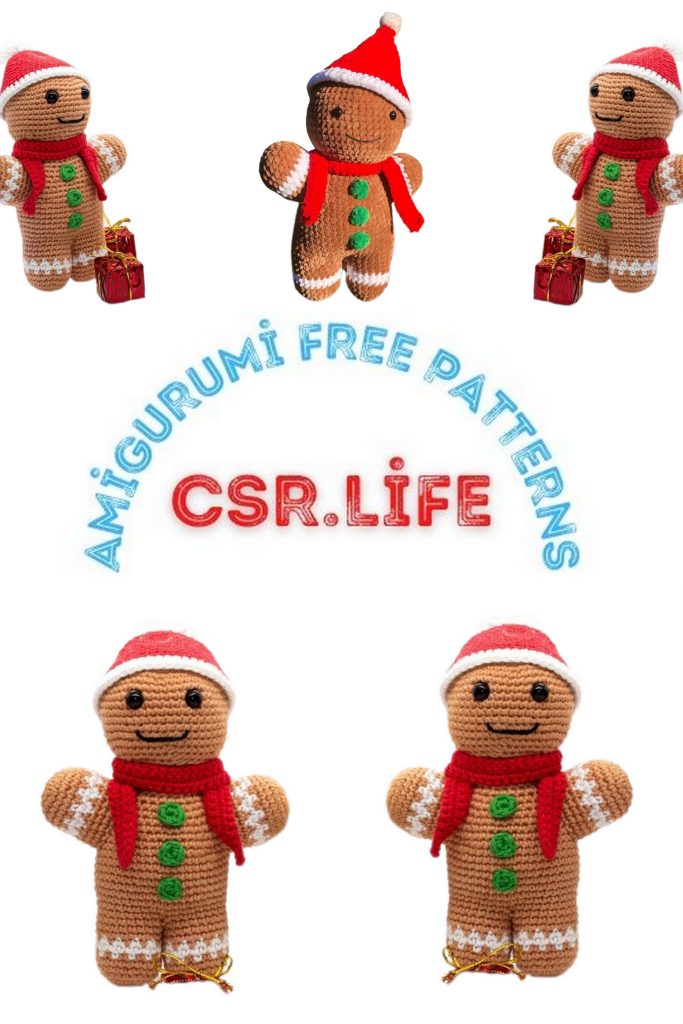
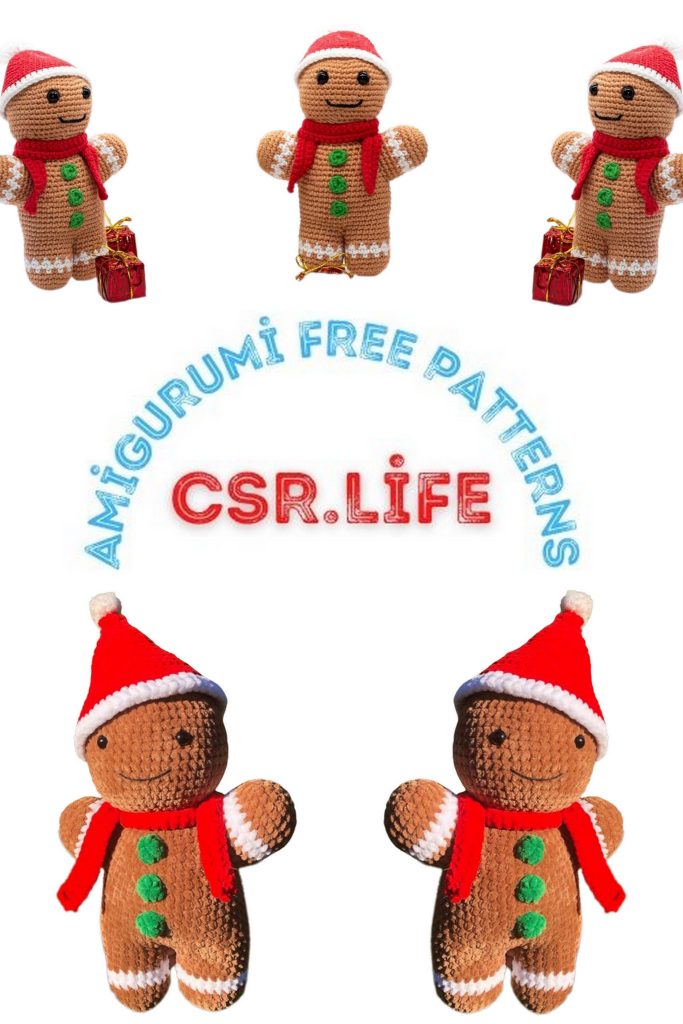
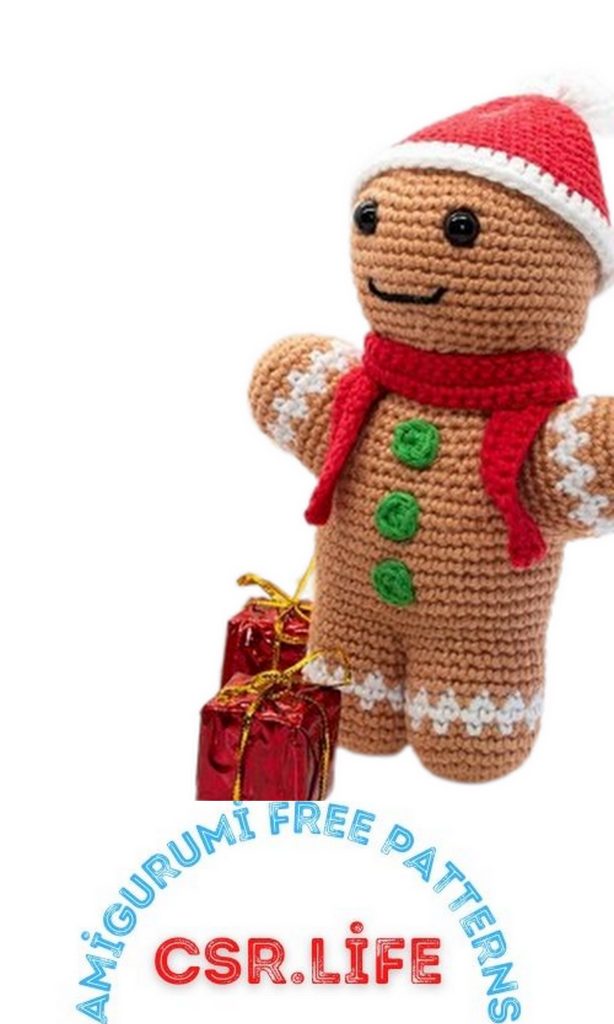
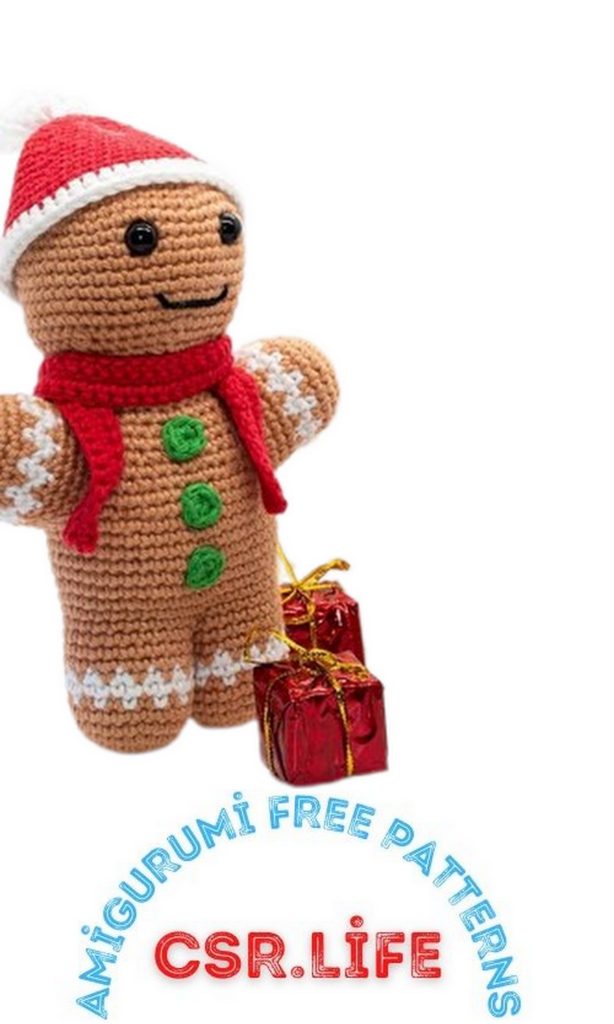
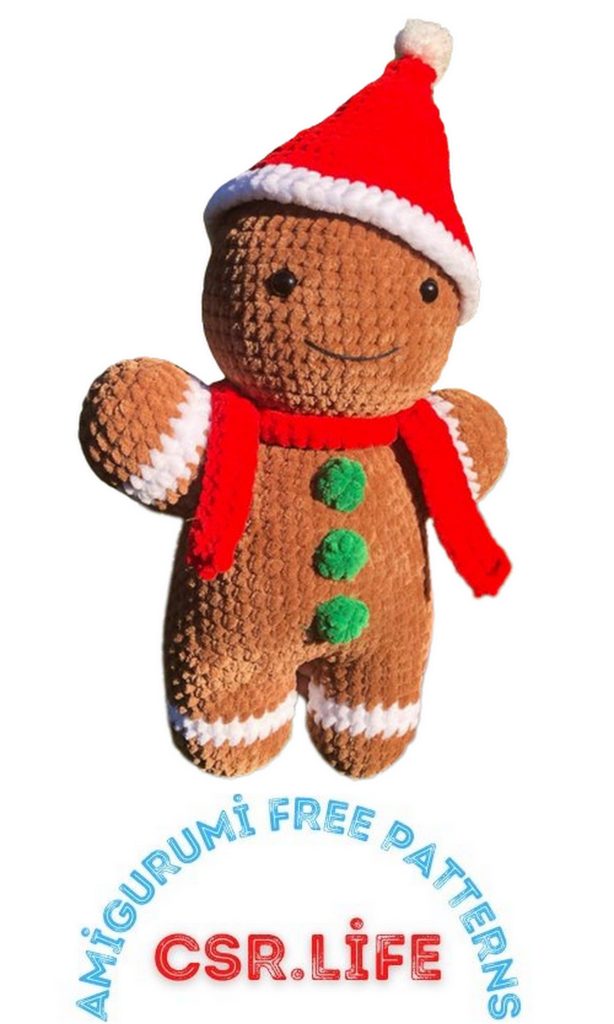
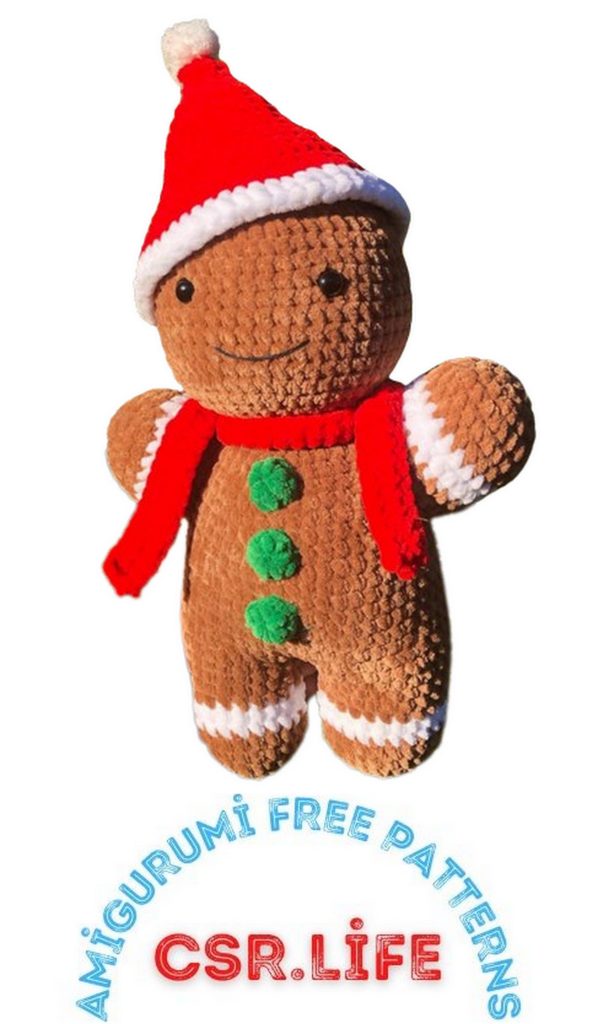
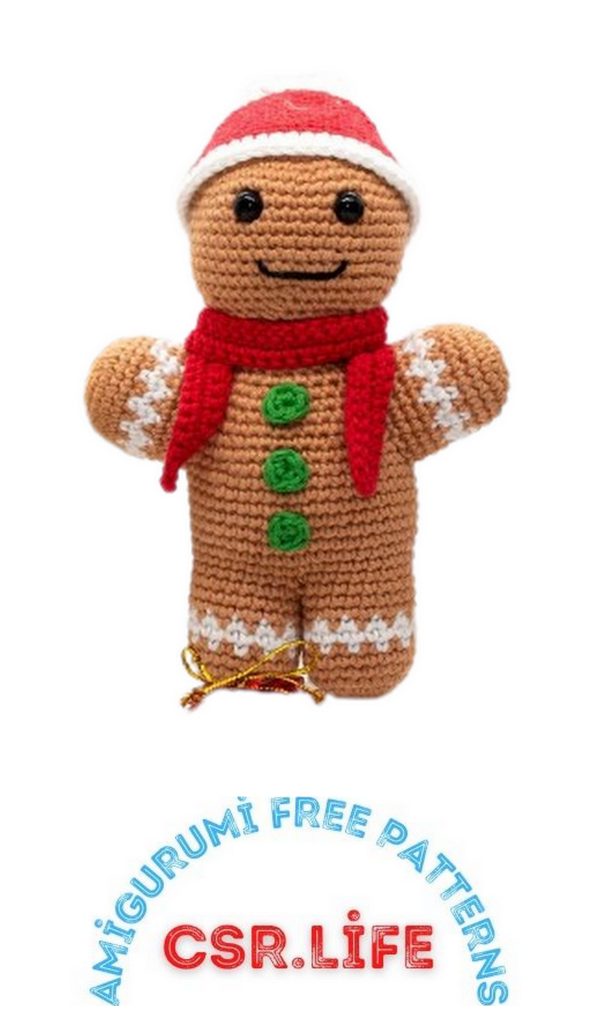
Free Christmas Gingerbread Amigurumi Pattern: Create Sweet Holiday Magic!
Get ready to infuse your holiday season with some crocheted charm! Our free Christmas Gingerbread Amigurumi pattern is the recipe for crafting a delightful, sweet, and festive treat. Whether you’re a seasoned crocheter or just starting out, this project is designed to spread joy to all. In this detailed guide, we’ll lead you through the process of crafting an adorable gingerbread amigurumi that’s sure to bring a dash of holiday magic to your home. So, grab your yarn, hooks, and let’s embark on this heartwarming amigurumi journey!
Materials
The yarn used for the pattern is Rainbow cotton 8/4:
Brown
Red
White
Green
Black
Stitch markers
Scissors
Hook number 2.5
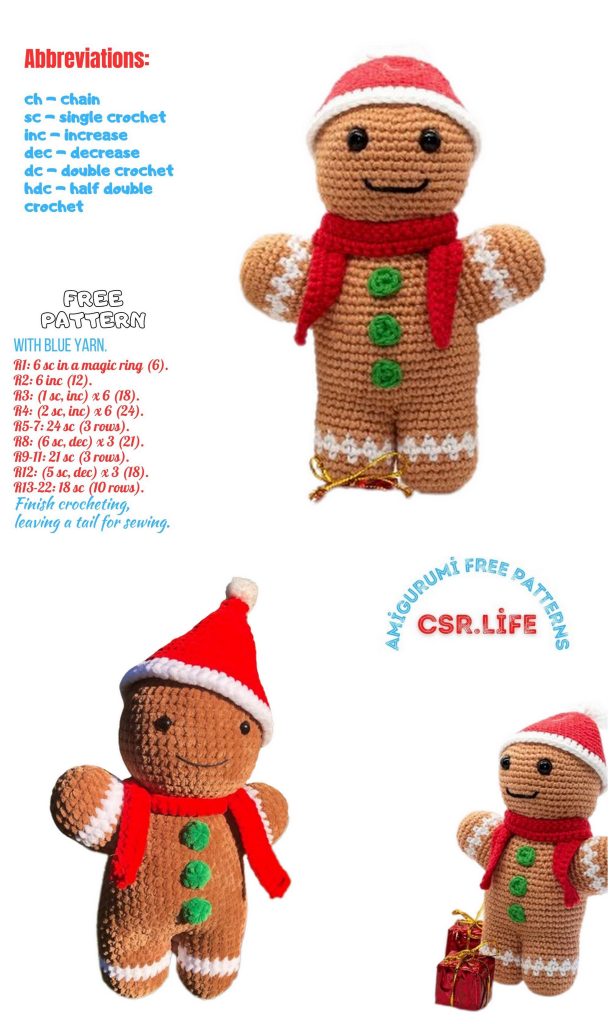
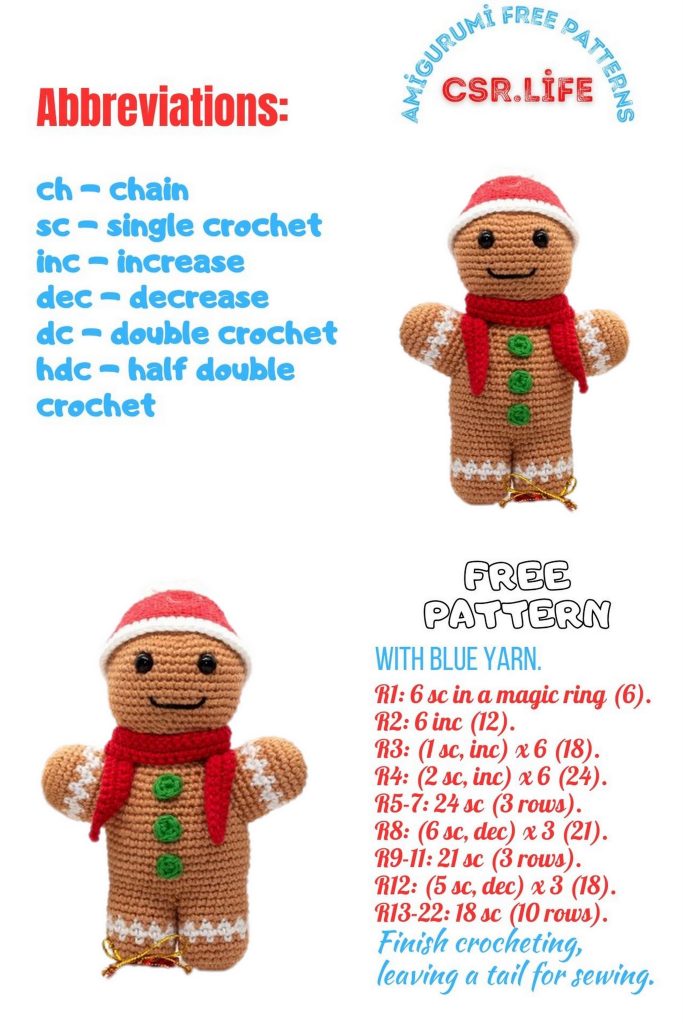
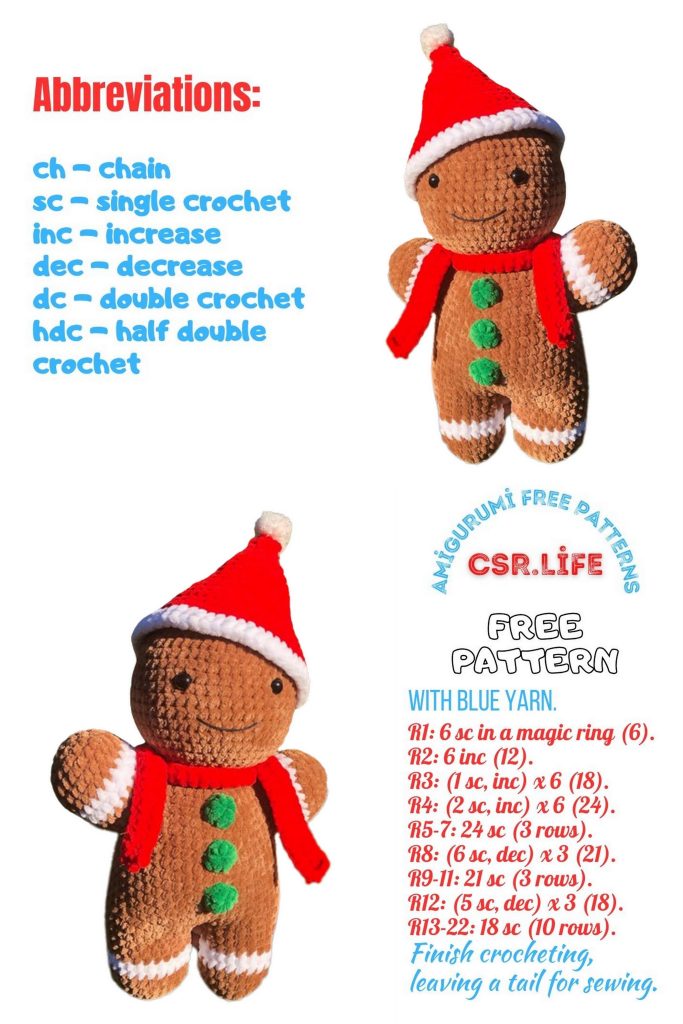
Abbreviations
mr – magic ring
slst – slip stitch
sc – single crochet in US (double crochet in UK)
dc- double crochet (treble crochet in UK)
inc – increase (2 single crochet in one stitch)
dec – decrease (2 single crochet together)
PATTERN
Head
Use light brown color yarn.
1.6sc in mr (6)
2. inc x 6 (12)
3. (1 sc, inc) x 6 (18)
4. (2sc, inc) x 6 (24)
5. (3sc, inc) x 6 (30)
6. (4sc, inc) x 6 (36)
7. (5sc, inc) x 6 (42)
8. (6sc, inc) x 6 (48)
9.- 17. Sc around (48)
Place safety eyes (6 mm) between R11 and R12, 8 stitches apart.
18. (6sc, dec) x 6 (42)
19. (5sc, dec) x 6 (36)
20. (4sc, dec) x 6 (30)
21. (3sc, dec) x 6 (24)
22. (2sc, dec) x 6 (18) Fill well with fiberfill.Fasten off, leaving a long tail for sewing.
Embroider the mouth between R15 and R17, 8 sc in lenght.
Legs and body
Use light brown color yarn.
1. mr (6)
2. inc x 6 (12)
3. (1sc, inc) x 6 (18)
4. (2sc, inc) x 6 (24)
5. – 6. sc around (24)
7. sc around (24) – switching every stitch between light brown and white
8. sc around (24) – with white only!
9. sc around (24) – switching every stitch between light brown and white
10. – 12. sc around (24) – light brown only!
Fasten off, leaving a long tail for sewing for the 1st leg only! Make the 2nd leg,and continue from
R13.
13. Using the tail from the 1st leg, make 6 sc across both legs, connecting it to the 2nd leg,
between 1st and 7th stitches of the 2nd leg of R13.
Continuing R13 of the 2nd leg, sc around the outer side of both legs (36)
14. (5sc, inc) x 6 (42)
15. (6sc, inc) x 6 (48)
Start filling the legs and body, and continue as you go along.
16. – 23. sc around (48)
24. (6sc, dec) x 6 (42)
25. sc around (42)
26. (5sc, dec) x 6 (36)
27. sc around (36)
28. (4sc, dec) x 6 (30)
29. sc around (30)
30. (3sc, dec) x 6 (24)
31. (2sc, dec) x 6 (18)
Fasten off, leaving a long tail for sewing.

Scarf
Use red color yarn or color of choice.
1. ch 81, turn. Starting from the 2nd stitch from the hook make 80sc (80)
2.- 3. ch1, turn, 80sc (80)
Fasten off, weave in the ends.
Arms (make 2)
Use light brown color yarn. 1.mr (6)
2. inc x 6 (12)
3. (1 sc, inc) x 6 (18)
4. (2 sc, inc) x 6 (24)
5. – 6. sc around (24)
7. sc around (24) – switching every stitch between light brown and white.
8. sc around (24) – with white only!
9. sc around (24) – switching every stitch between light brown and white.
10. – 12. sc around (24) – light brown only!
Fasten off, leaving a long tail for sewing. Fill the arms. Sew the arms between R21 and R29.
Buttons ( make 3)
Use green color yarn or color of choice.
1.6sc in a mr, slst in the 1st stitch, fasten off leaving a long tail for sewing.
Hat
Use red color yarn, or color of choice
1. mr (6)
2.-3. sc around (6)
4. inc x 6 (12)
5. (1 sc, inc) x 6 (18)
6. sc around (18)
7. (2sc, inc) x 6 (24)
8. sc around (24)
9. (3sc, inc) x 6 (30)
10. sc around (30)
11. (4sc, inc) x 6 (36)
12. sc around (36)
13. (5sc, inc) x 6 (42)
14. sc around (42)
15. (6sc, inc) x 6 (48)
Change to white color yarn.
16. ch 2, 48dc, slst to the 1st stitch (48)
Fasten off, weave in the yarn.
Pom-pom
Use white yarn.
Cut a piece of white yarn around 20cm.
Take the yarn and loop it around your index and middle fingers at least 20 – 30 times, take the
yarn carefully off and with the piece of yarn you cut beforehand, make a tight knot in the middle
(placing it horizontally and the looped yarn vertically).
Then cut the loops on both sides and make the strings even. Use the ends of the 20cm string that
you used to make the knots for sewing the pom-pom on the top of the hat.