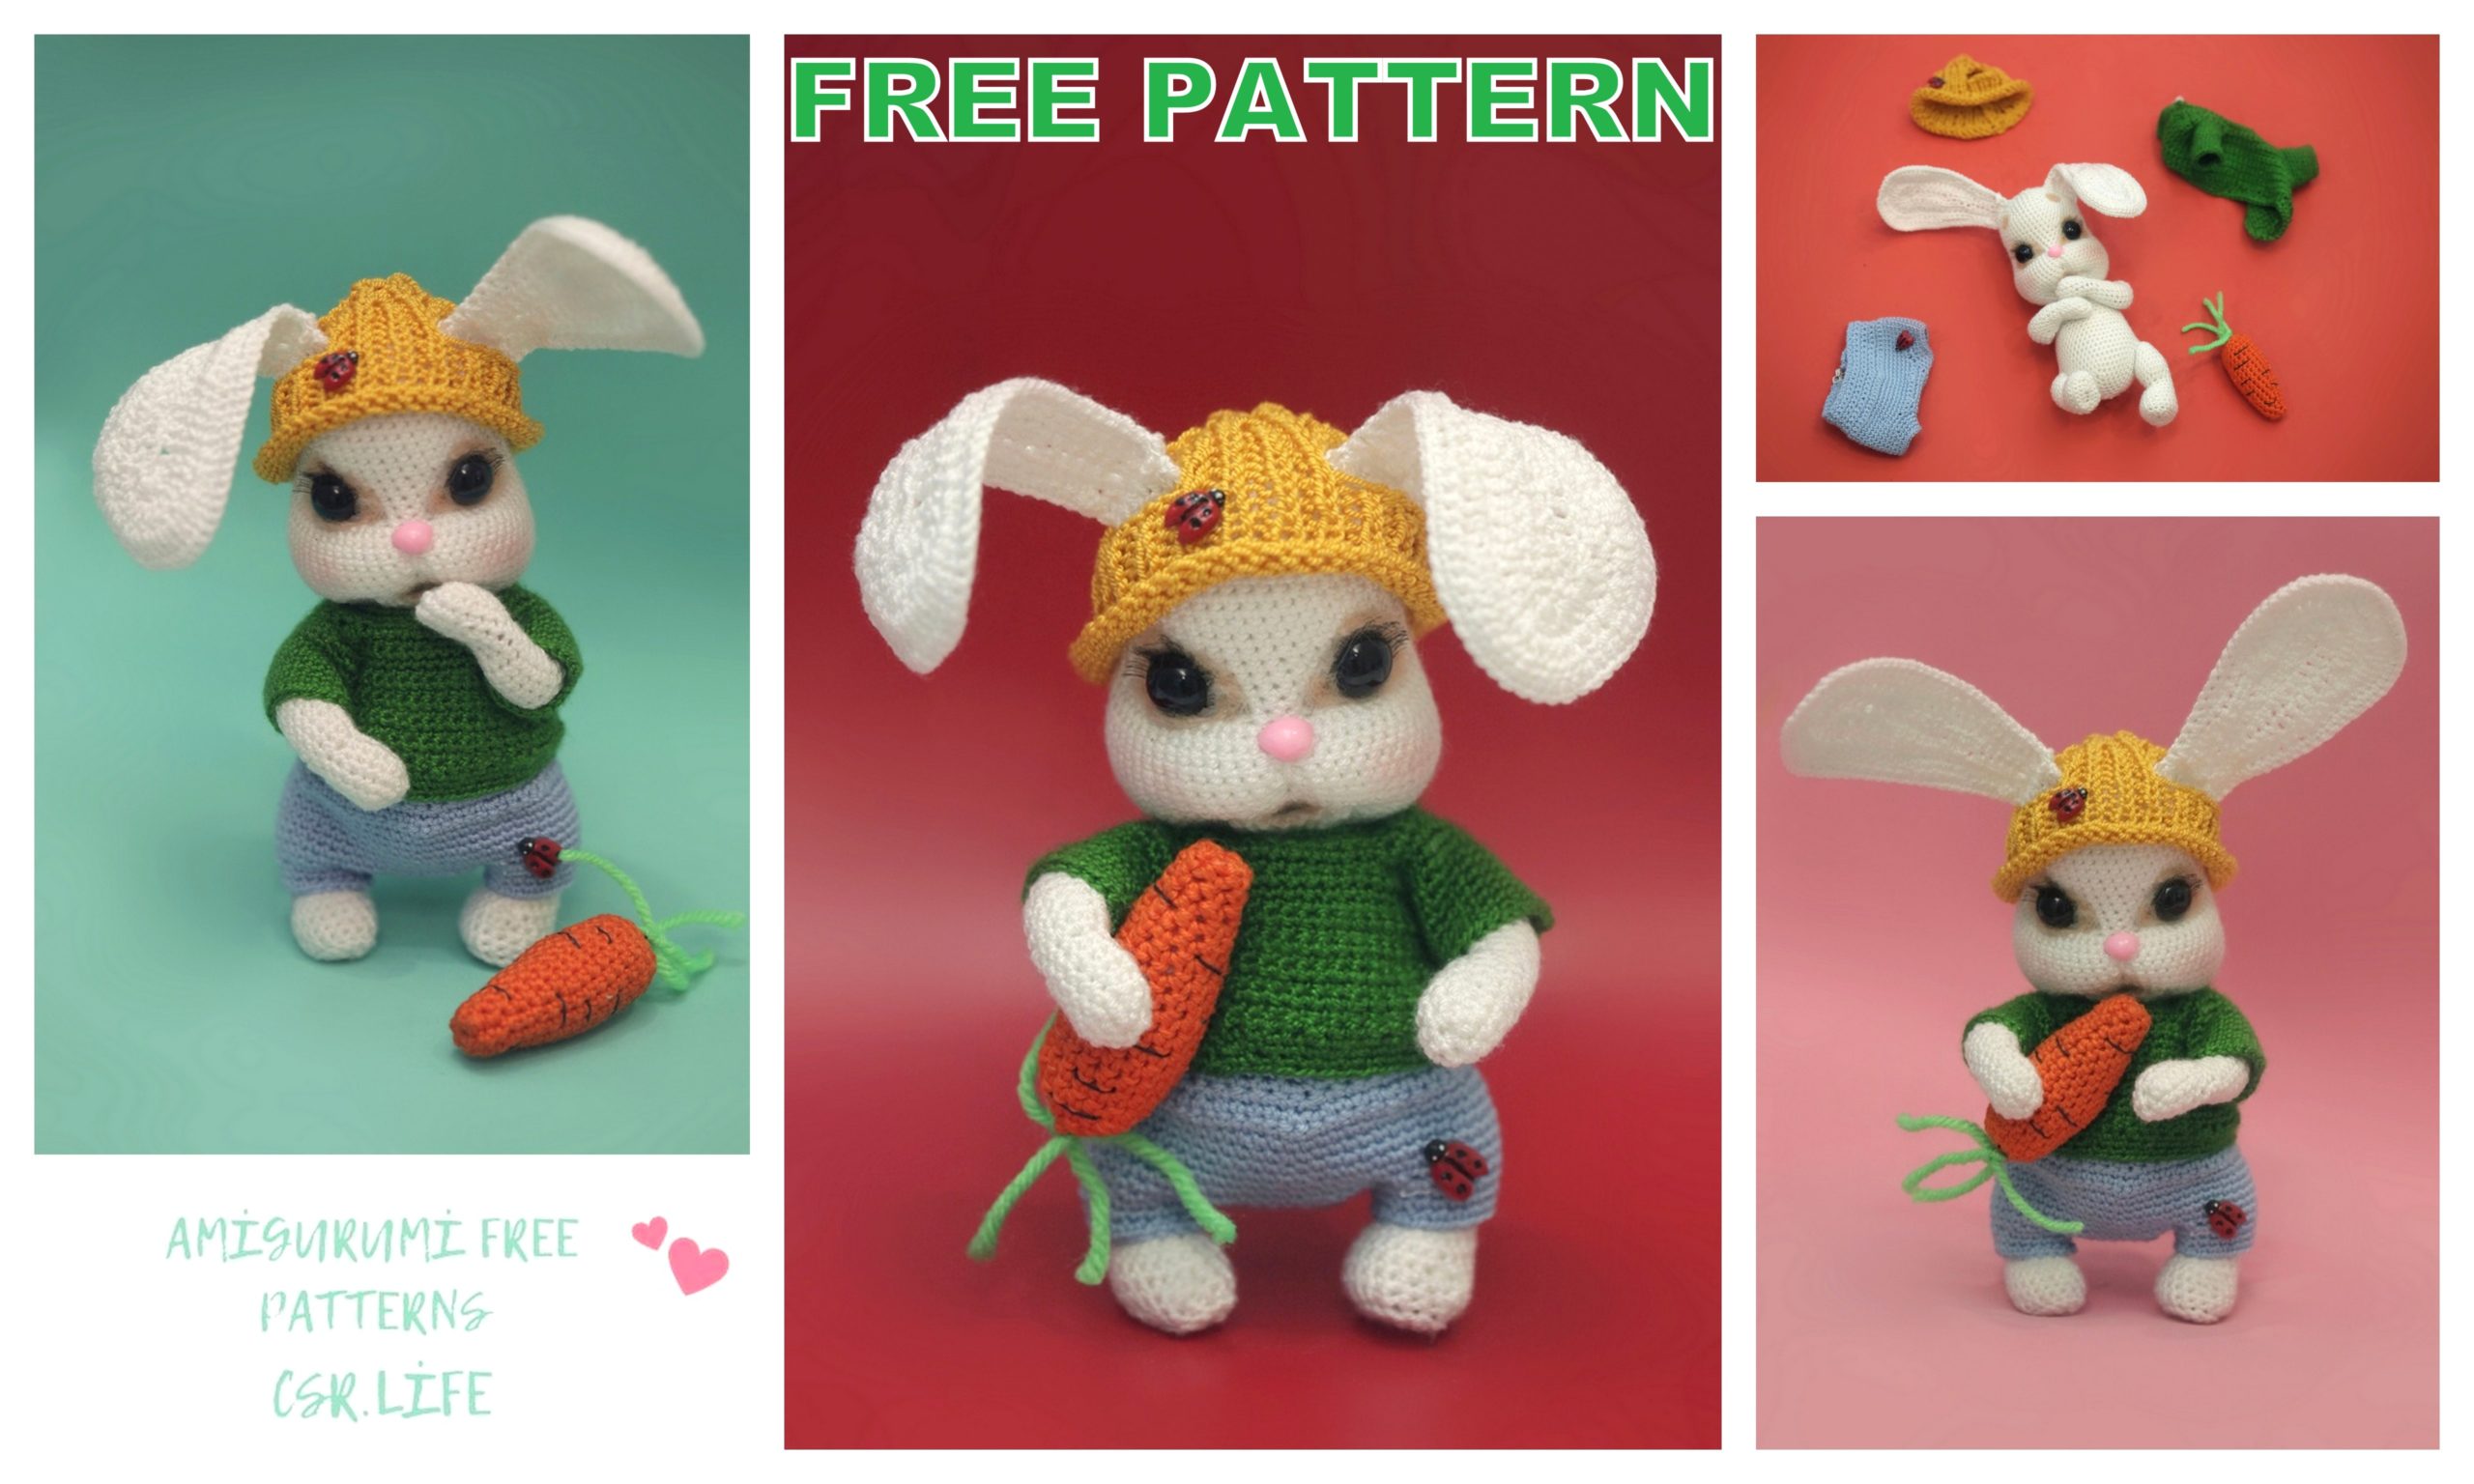
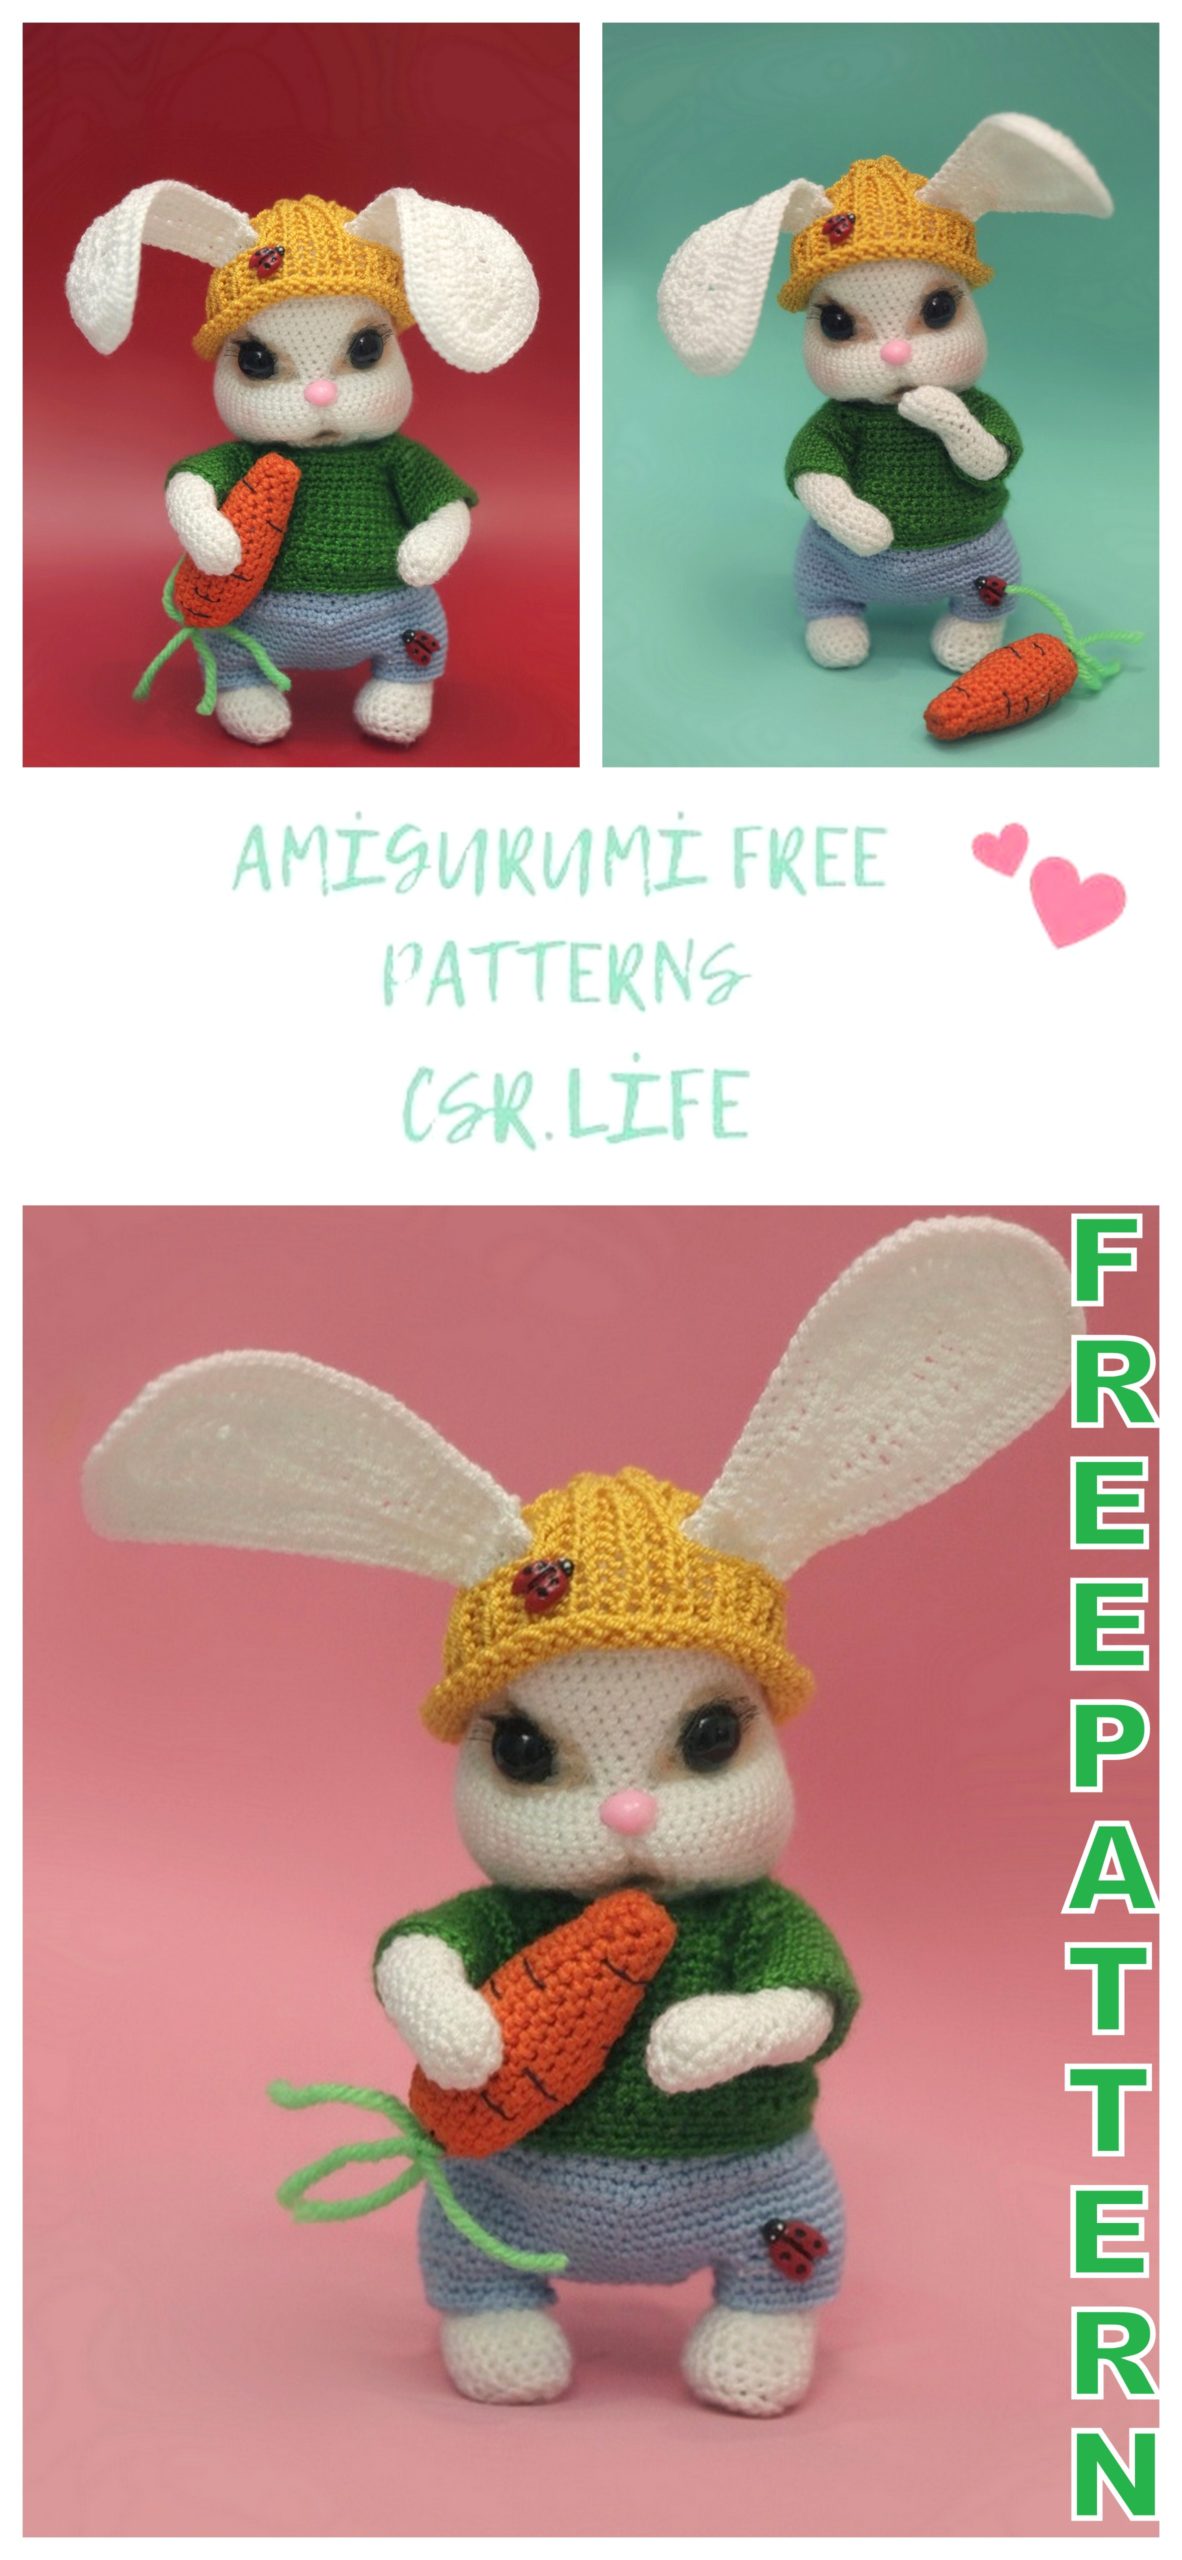
Bunny With Carrot Amigurumi Free Pattern
We choose the most beautiful Amigurumi free patterns and translate them from many different languages for you. We shared the Amigurumi bunny free pattern by choosing from hundreds of patterns.
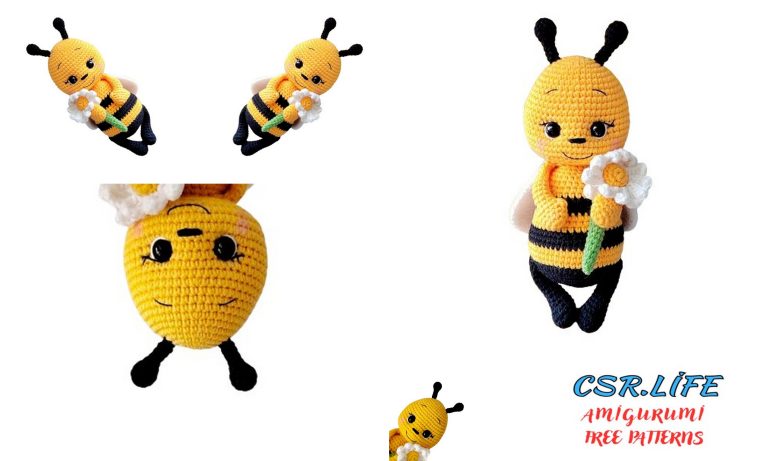
Bunny with carrot
Abbrevations
sc – single crochet
inc – increase
dec – decrease
ch – chain
hdc – half double crochet
dc – double crochet
(…) X6 – repeat the action in brackets 6 times.

Head:
1) 6sc in amigurumi ring (6)
2) (inc from 3sc) x6 (18)
3) (2sc, inc) x6 (24)
4) (3sc, inc) x6 (30)
5) (4sc, inc) x6 (36)
6) (5sc, inc) x6 (42)
7) (6sc, inc) x6 (48)
8-12) 48sc (5 rows)
13) (6sc, dec) x6 (42)
14-18) 42sc (5 rows)
19) 13sc, (inc) x7, 2sc, (inc) x7, 13sc (56)
20-25) 56sc (6 rows)
26) (12sc, dec) x4 (52)
27) (11sc, dec) x4 (48)
28) (6sc, dec) x6 (42)
29) 42sc
30) (5sc, dec) x6 (36)
31) 36sc
32) (4sc, dec) x6 (30)
33-36) 30sc (4 rows)
37) (3sc, dec) x6 (24)
38) (2sc, dec) x6 (18)
39) (sc, dec) x6 (12)
Underlip:
1) 2ch
2) 3sc in 1, ch turn
3) inc, sc, inc, ch turn
4) inc, 3sc, inc
Torso (bottom to top):
1) 6sc in amigurumi ring (6)
2) (inc) x6 (12)
3) (sc, inc) x6 (18)
4) (2sc, inc) x6 (24)
5) (3sc, inc) x6 (30)
6) (4sc, inc) x6 (36)
7) (5sc, inc) x6 (42)
8) (6sc, inc) x6 (48)
9-17) 48sc (9 rows)
18) (6sc, dec) x6 (42)
19) 42sc
20) (5sc, dec) x6 (36)
21) 36sc
22) (4sc, dec) x6 (30)
23-26) 30sc (4 rows)
27) (3sc, dec) x6 (24)
28) (2sc, dec) x6 (18)
29) (sc, dec) x6 (12)
Handles (2pcs):
1) 8sc in amigurumi ring (8)
2) (sc, inc) x4 (12)
3-6) 12sc (4 rows)
7) (2sc, dec) х3 (9)
8) 9sc
9) (2sc, inc) х3 (12)
10-25) 12sc (16 rows)
Legs (2pcs):
1) 7ch, with the second 5sc, in the last loop 3sc in 1, on the other side 4sc, inc (14)
2) inc, 4sc, (inc) х3, 4sc, (inc) х2 (20)
3) For the front wall 20sc
4-7) 20 (4 rows, follow the marker)
8) 6sc, (dec) x4, 6sc (16)
9) 5sc, (dec) х3, 5sc (13)
10) 4sc, (inc) х4, 5sc (17)
11) 3 front increments (20)
12) 5sc, (dec) x4, 7sc (16)
13-14) 16sc (2 rows)
15) (dec) x8 (8)
Ears (2pcs):
1) 18ch, from the second 5sc, 5HDC, 6DC, to the last 7DC, on the other side 6DC, 5HDC, 5sc
2) 5sc, 5HDC, 6DC, 14DC, on the other side 6DC, 5HDC, 5sc
3) 5sc, 5HDC, 6DC, 28DC, on the other side 6DC, 5HDC, 5sc.
Tie along the contour by inserting a thin wire so that the ears can be placed.
Carrot:
1) 6sc in amigurumi ring (6)
2) (inc) х6
3) (sc, inc) x6 (18)
4) (2sc, inc) x6 (24)
5) (3sc, inc) x6 (30)
6-13) 30sc (8 rows)
14) (3sc, dec) x6 (24)
15) (2sc, dec) x6 (18)
16) (sc, dec) x6 (12)
17) (dec) x6
Decoration tips:
1. Usually, when tying the torso, I insert the wire at the attachment points of the legs and handles. I stuff the body with a synthetic winterizer or hallofiber, at the end of the wire I make a loop, wrap it with a plaster, insert it into a handle or leg, stuff it a little with a synthetic winterizer and sew it to the body. If you wish, you can attach the arms and legs in different ways, using thread fasteners or joints, whatever you like.
2. The muzzle should be filled with padding polyester a little and sewn to the bottom of the head. I do the tightening in this way:
From the point where the chin will be, insert the needle into the point where the nose is located, then on top draw the thread with the needle back to the starting point, tighten, then from the bottom point (chin) insert the needle to the point to the right of the nose (slightly diagonally) and draw it out at the center point of the nose, do the same with the second diagonal of the nose.
You also need to make tightening in the area of the peephole. From the chin point to the point of the right eye, retreat a couple of loops and return to the chin point, tighten the thread. Carry out the same procedure with the left eye. Fill the chin with padding polyester and sew on. Glue the eyes, sew on or glue the eyelids.
Sew on the tail, it also needs to be lightly filled with filler.
Sewing the ears to the head, it is better to choose the place for sewing the ears after the head is framed.
Sew on the head. You can tint the nose, cheeks and eyes, but this is optional.