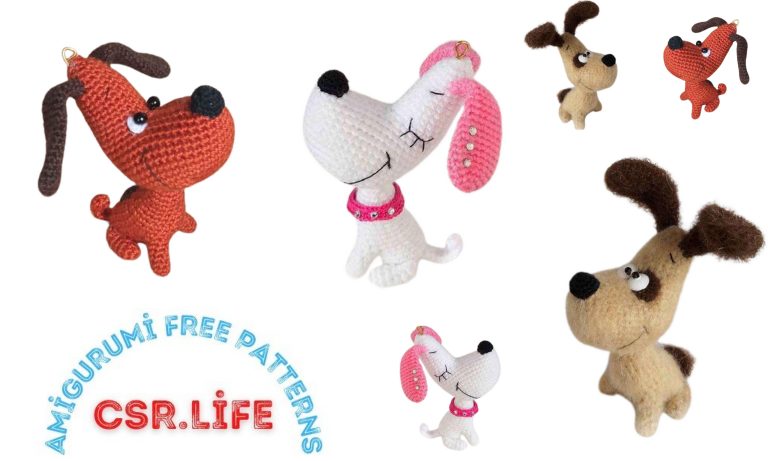
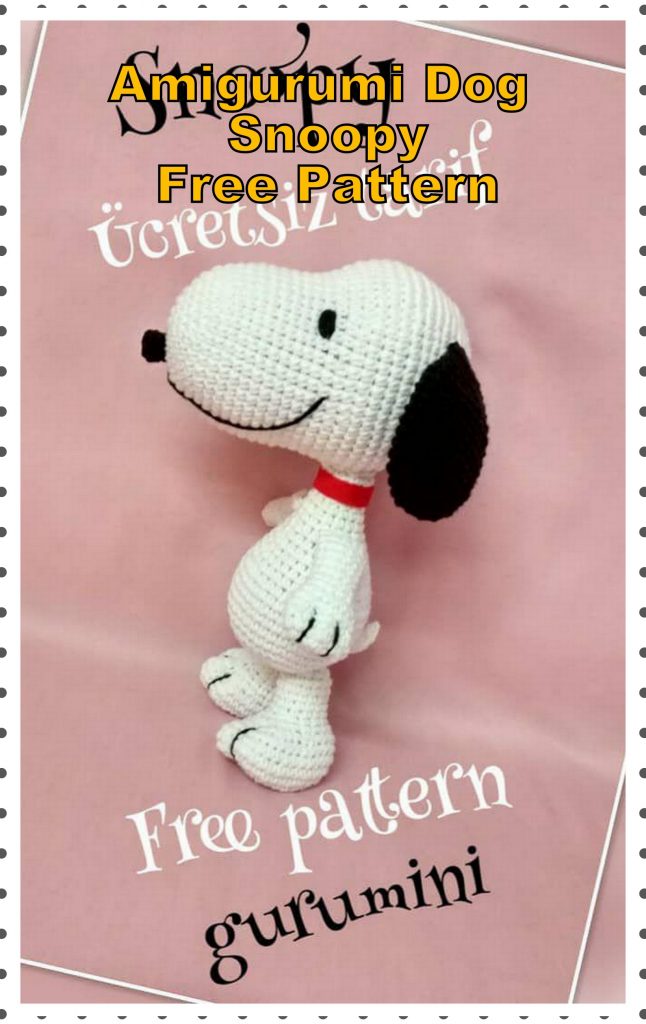
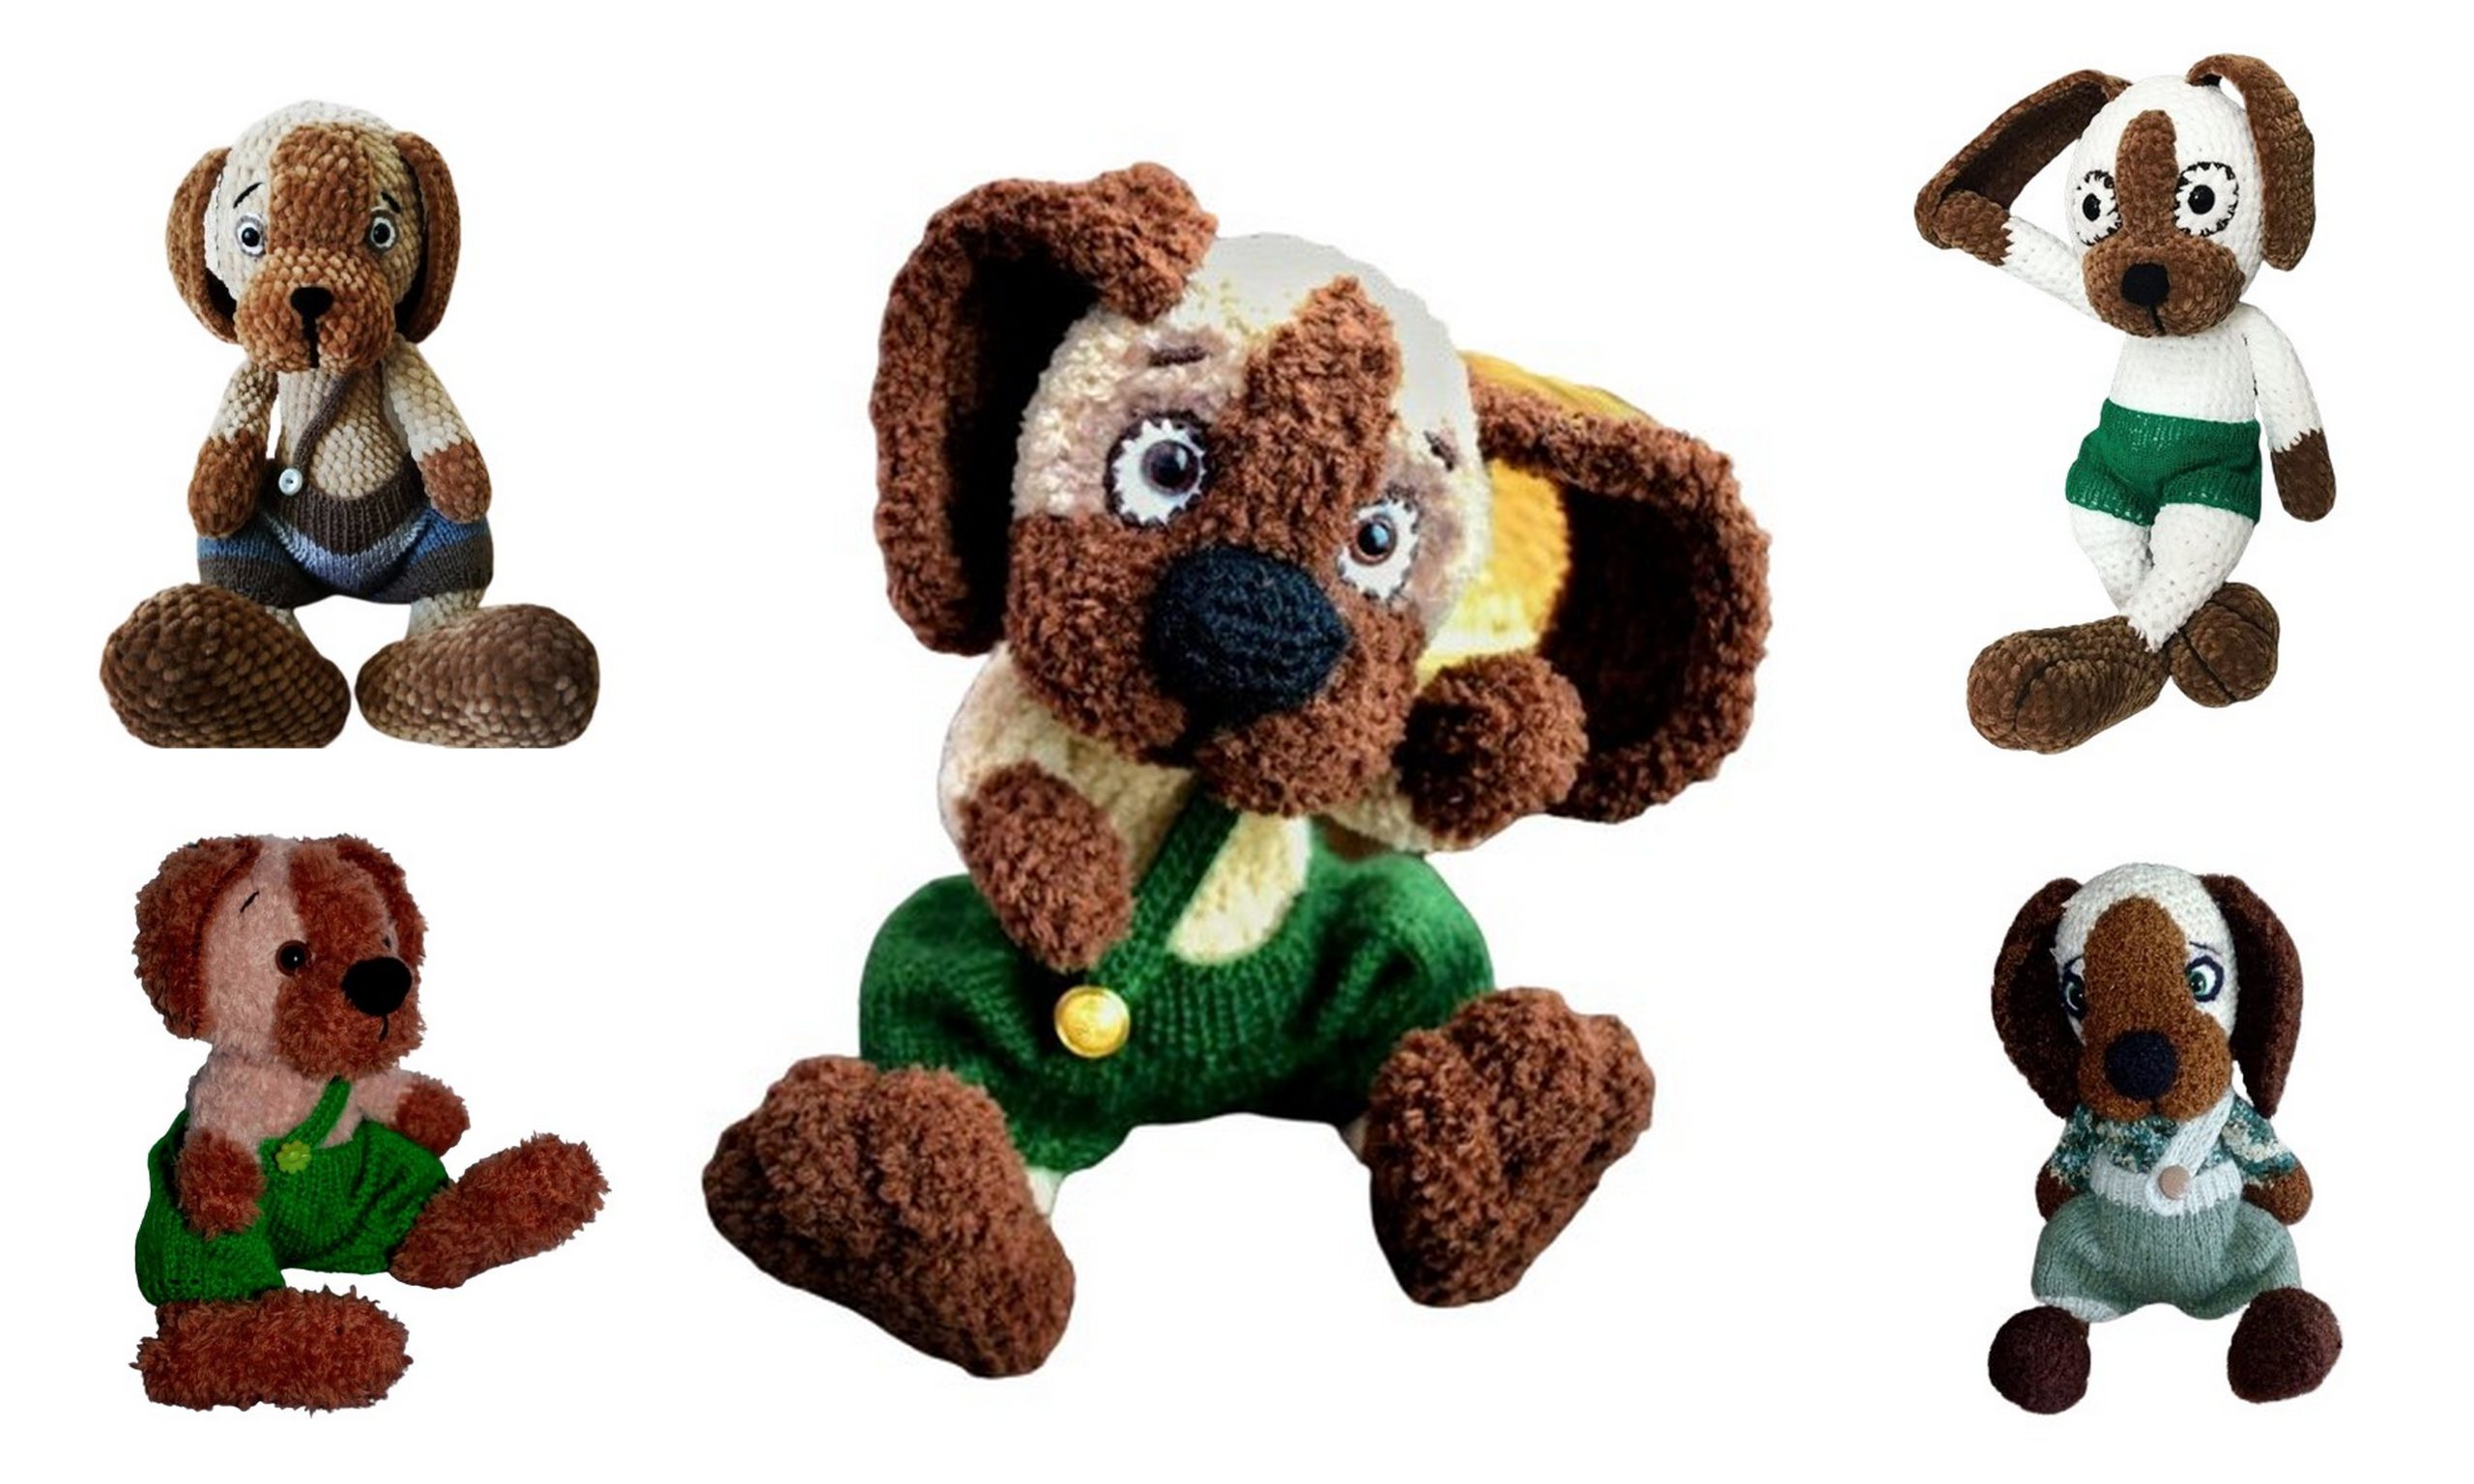
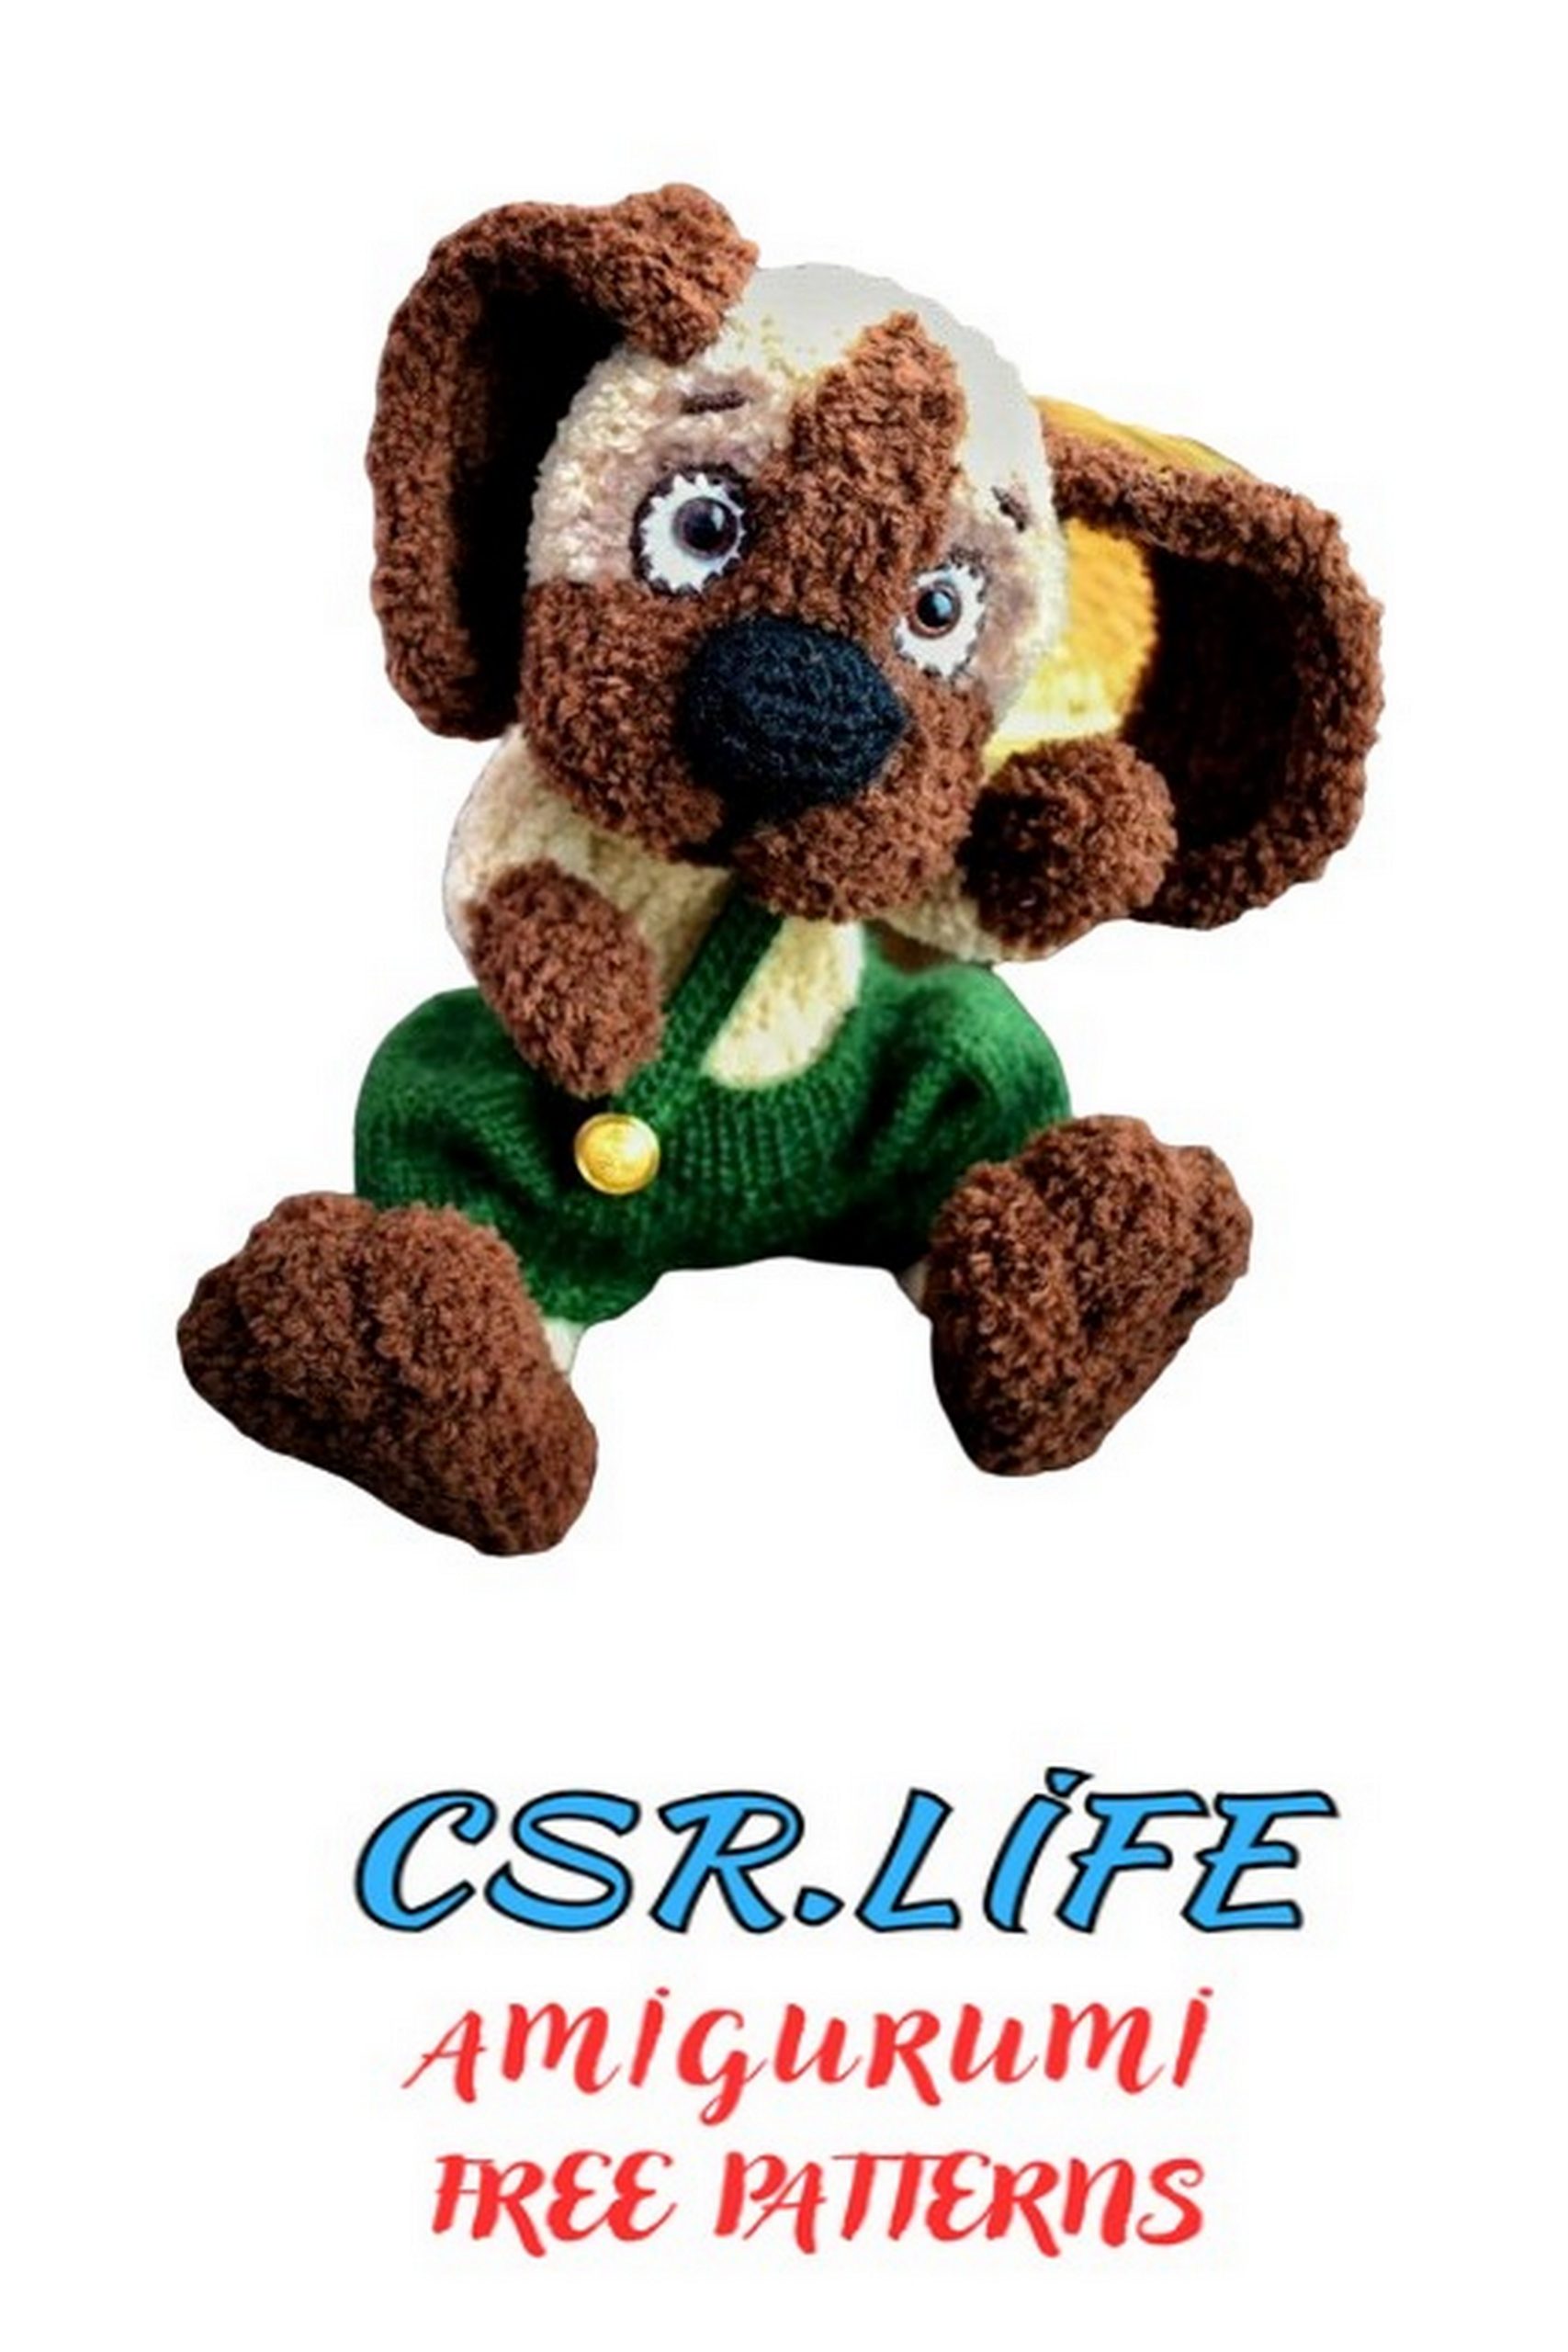
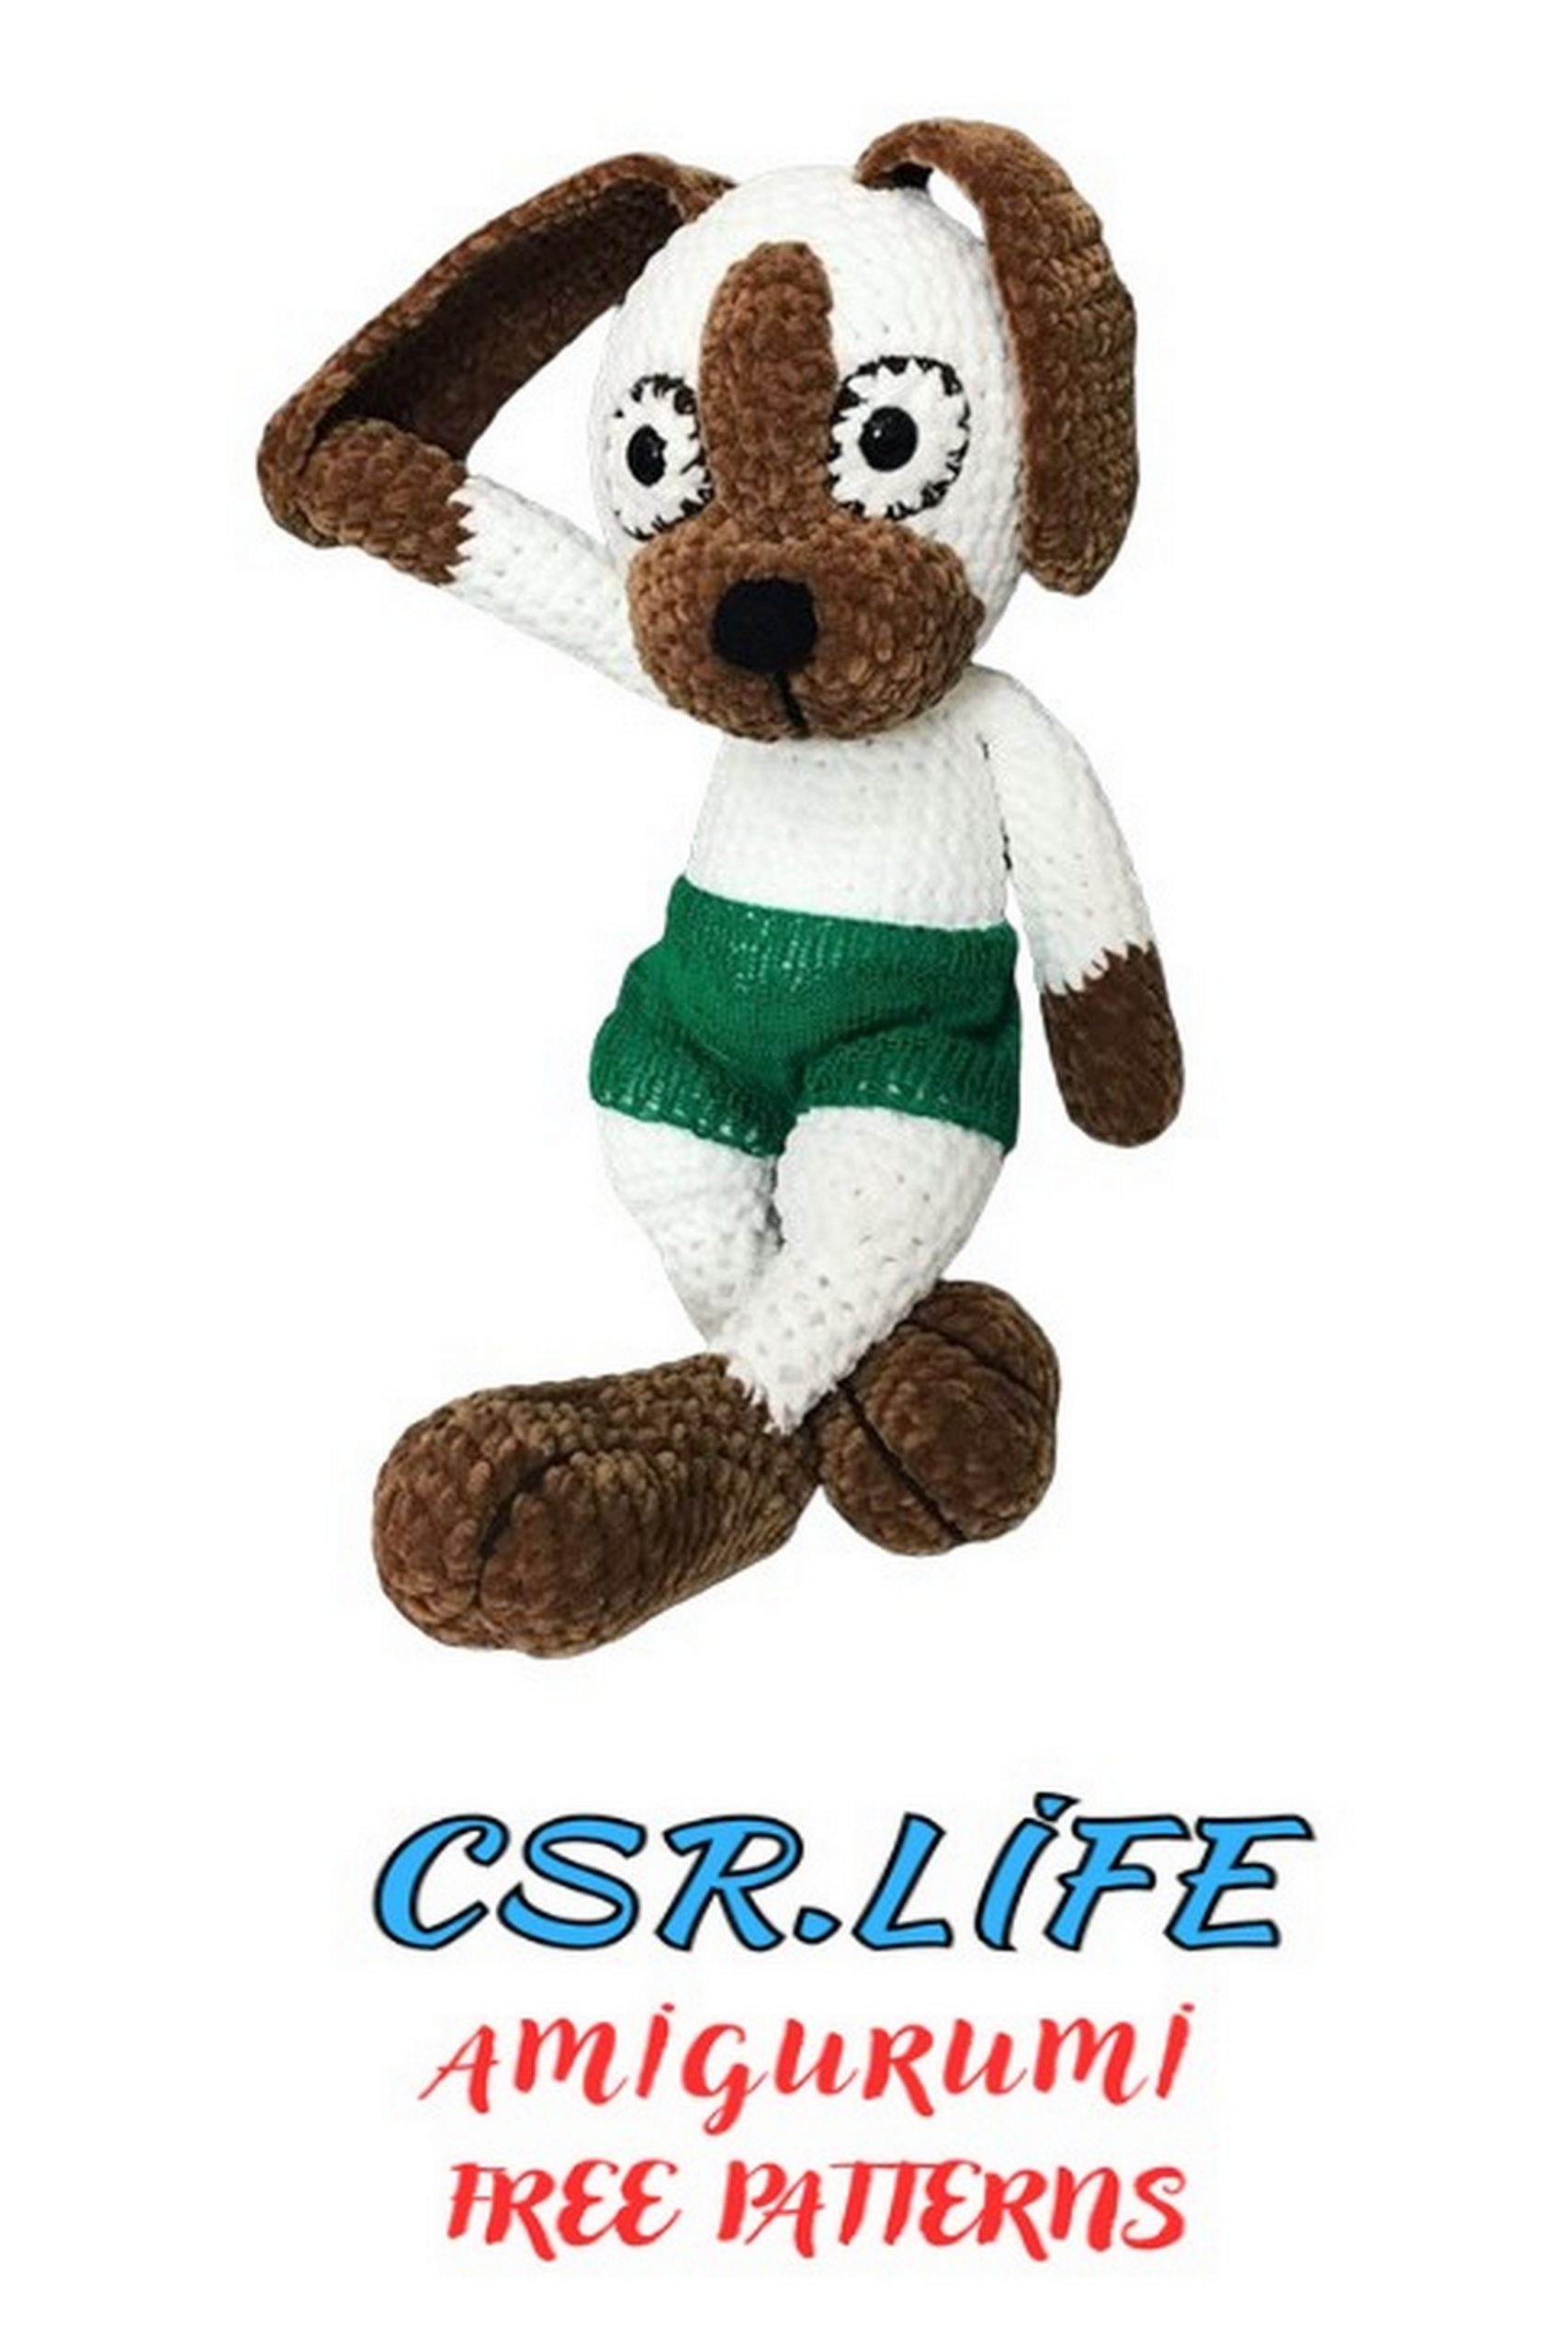
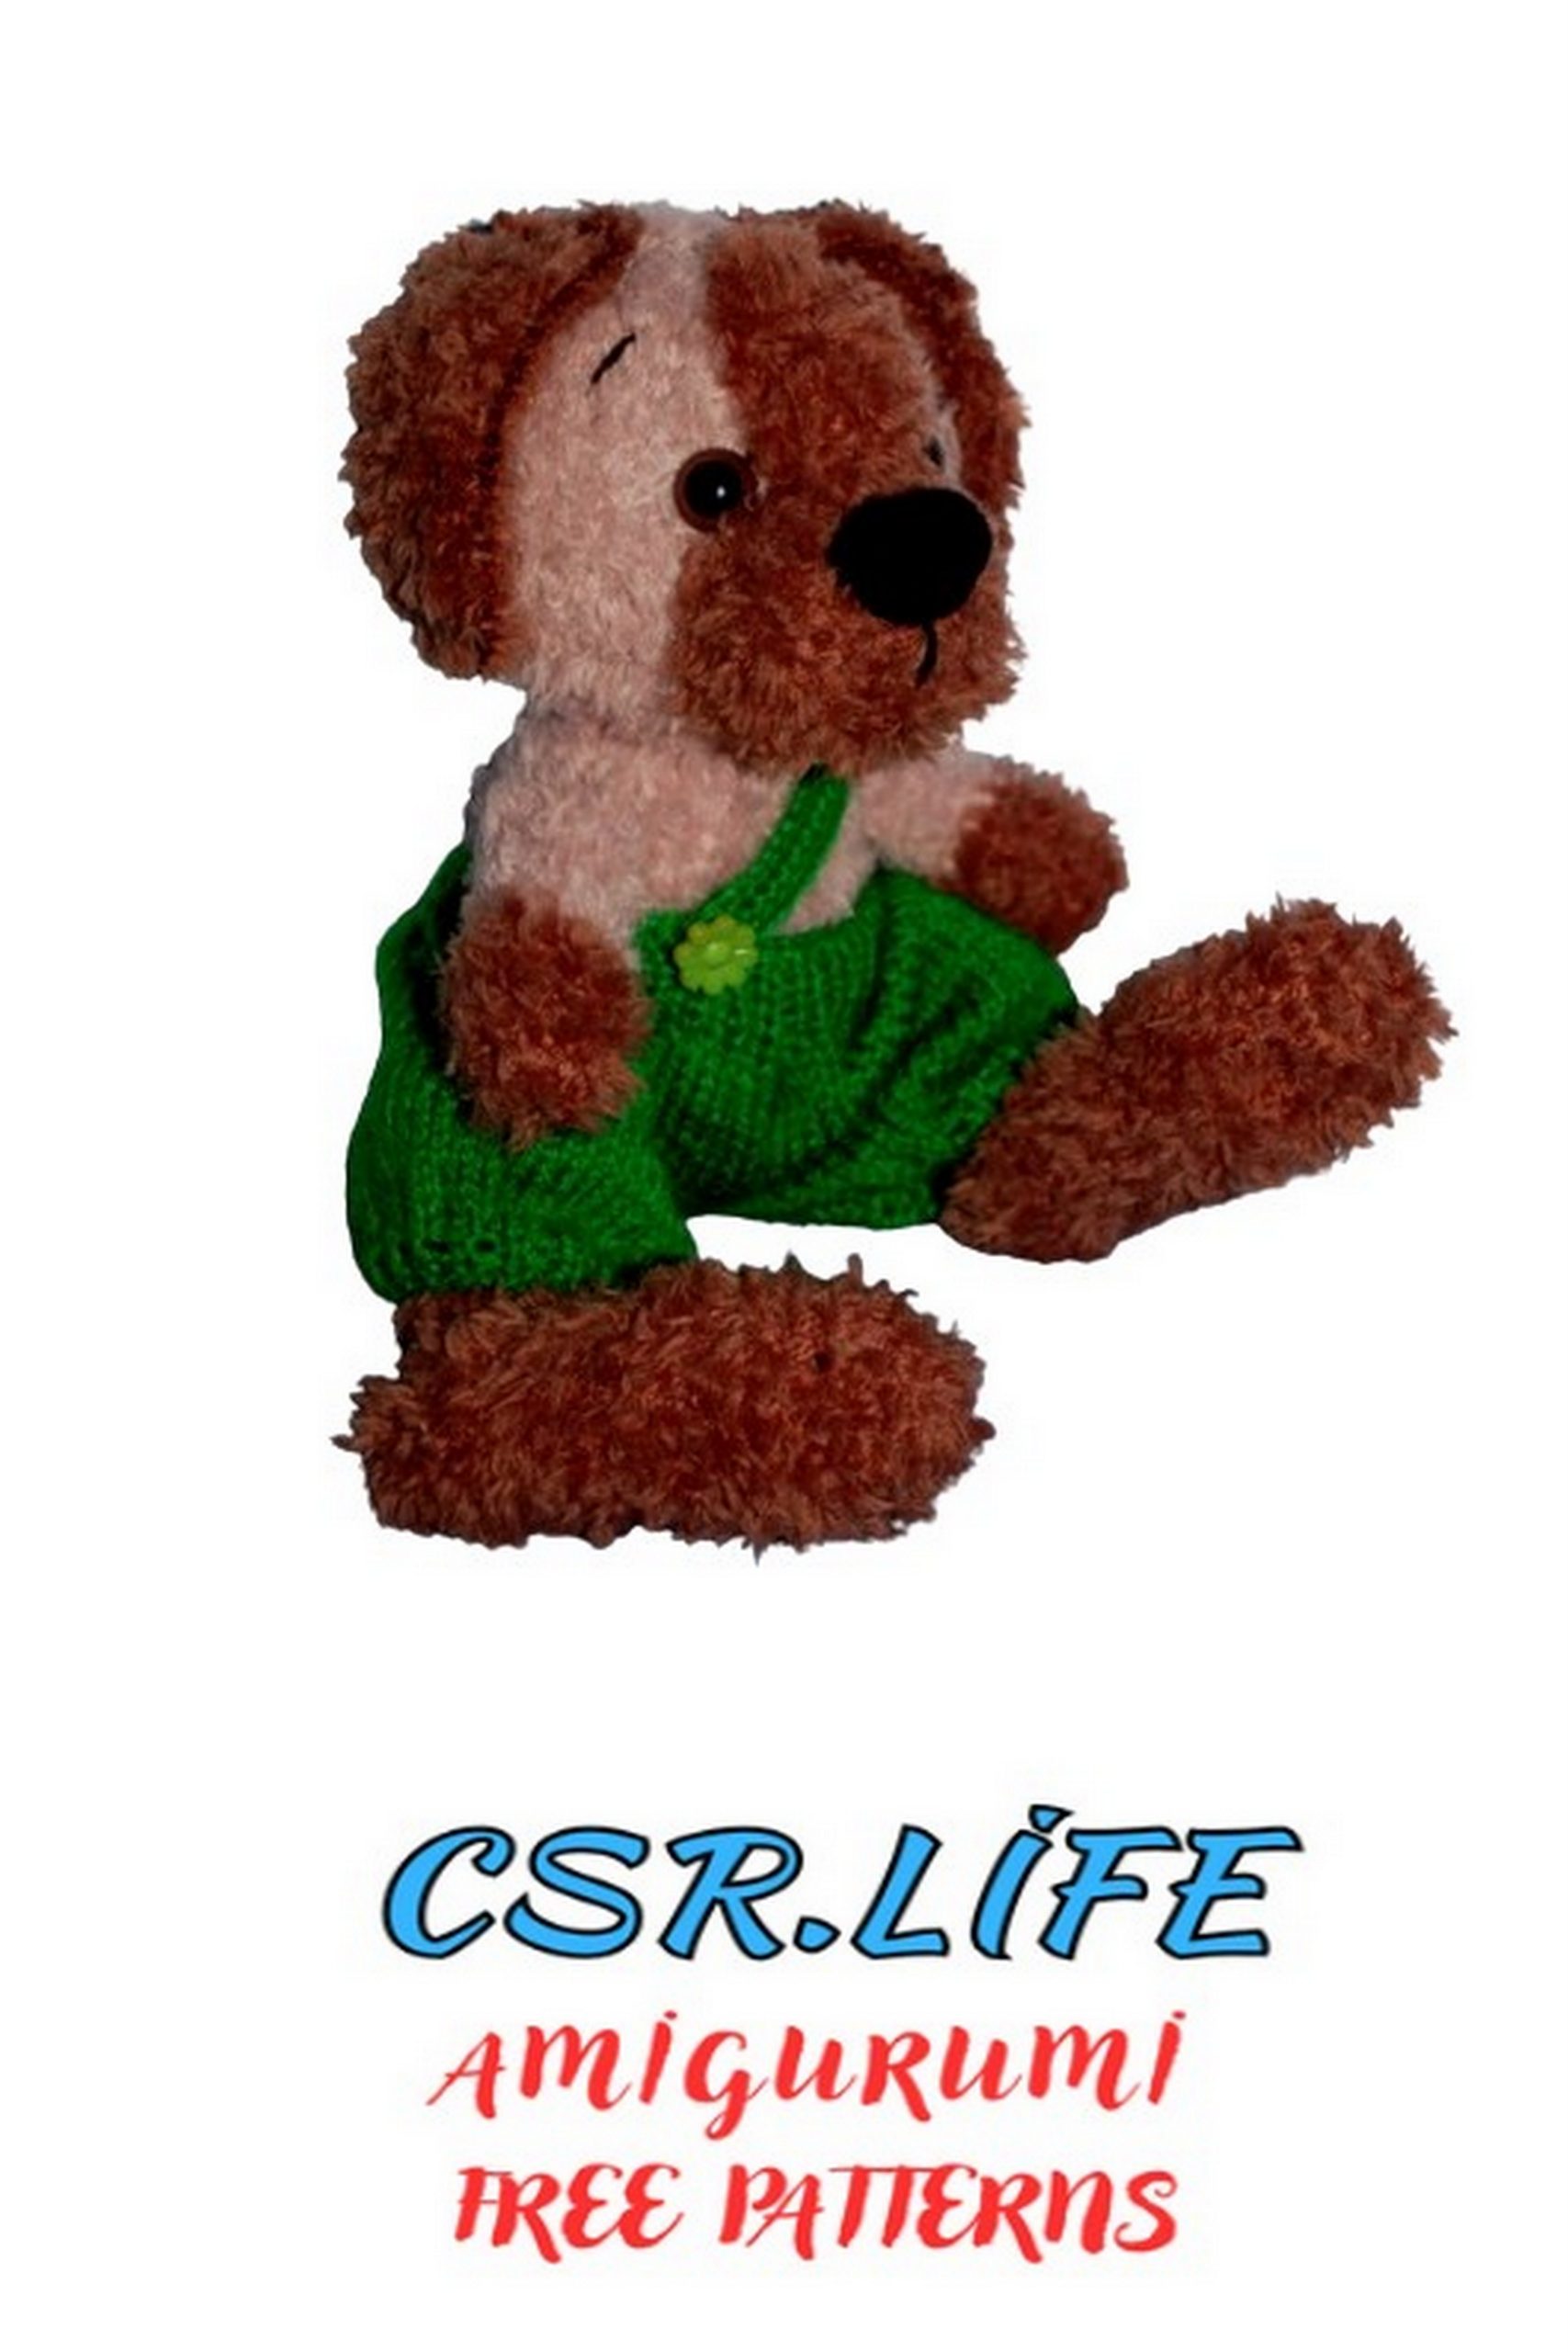
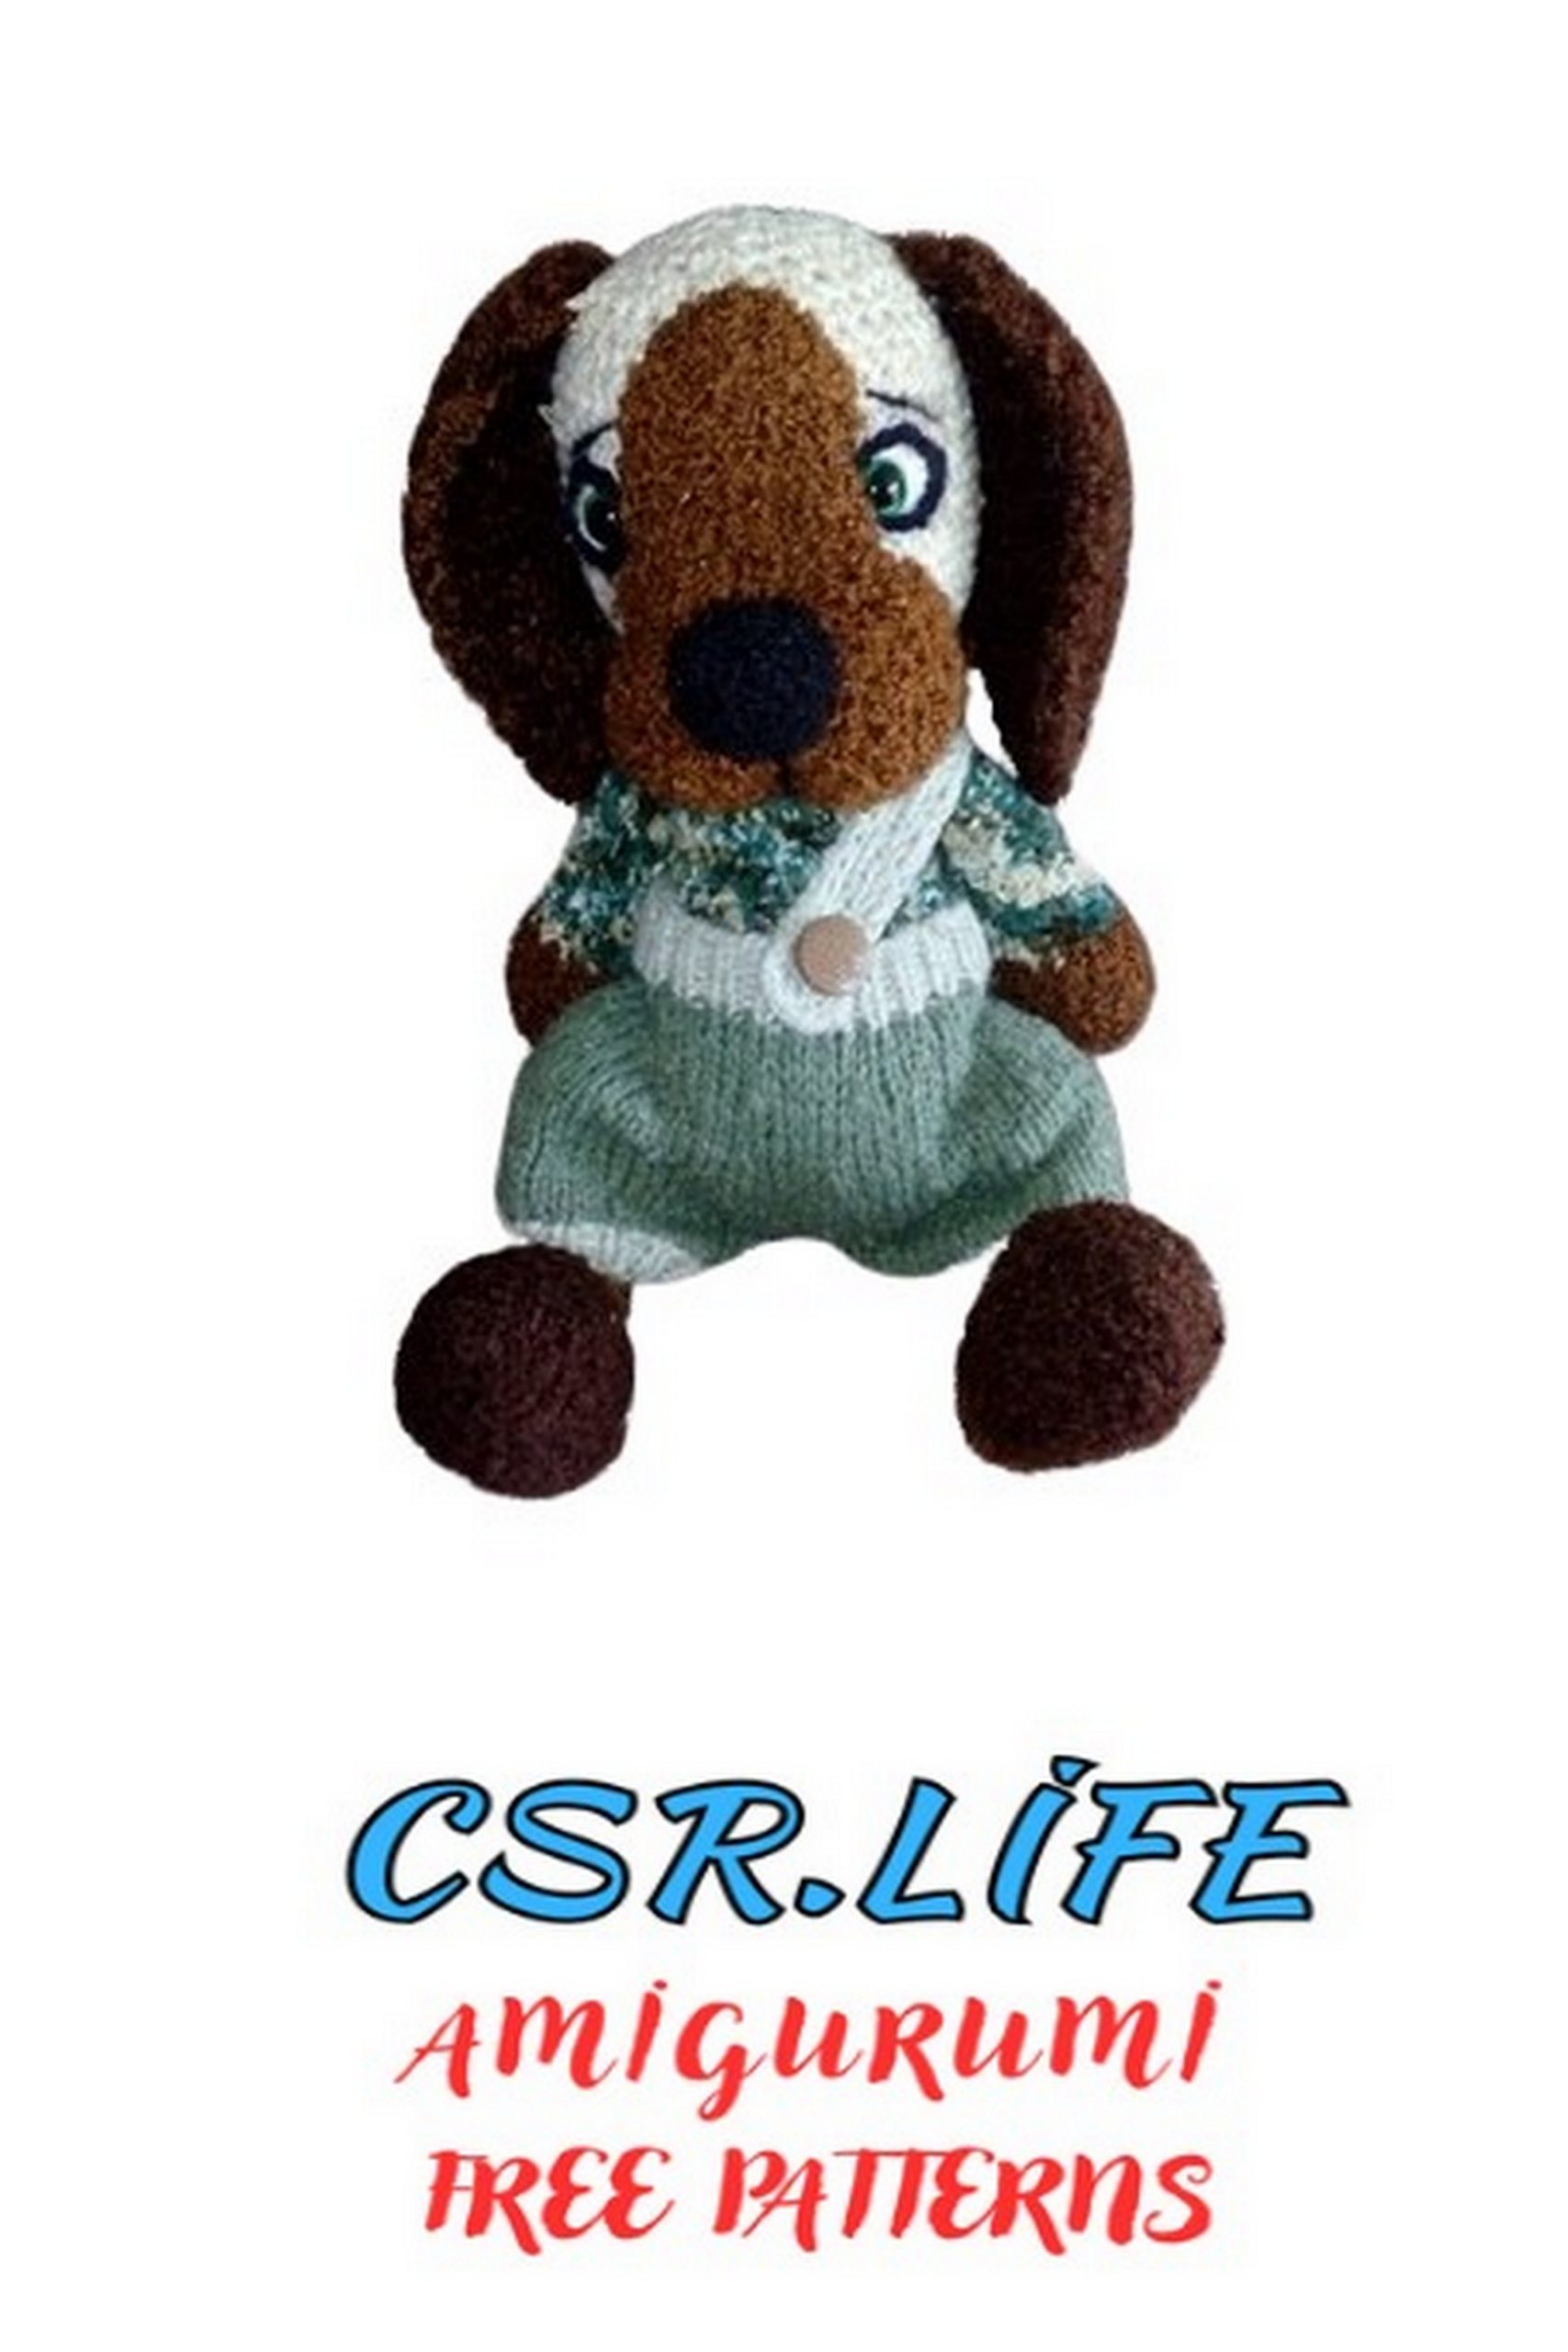
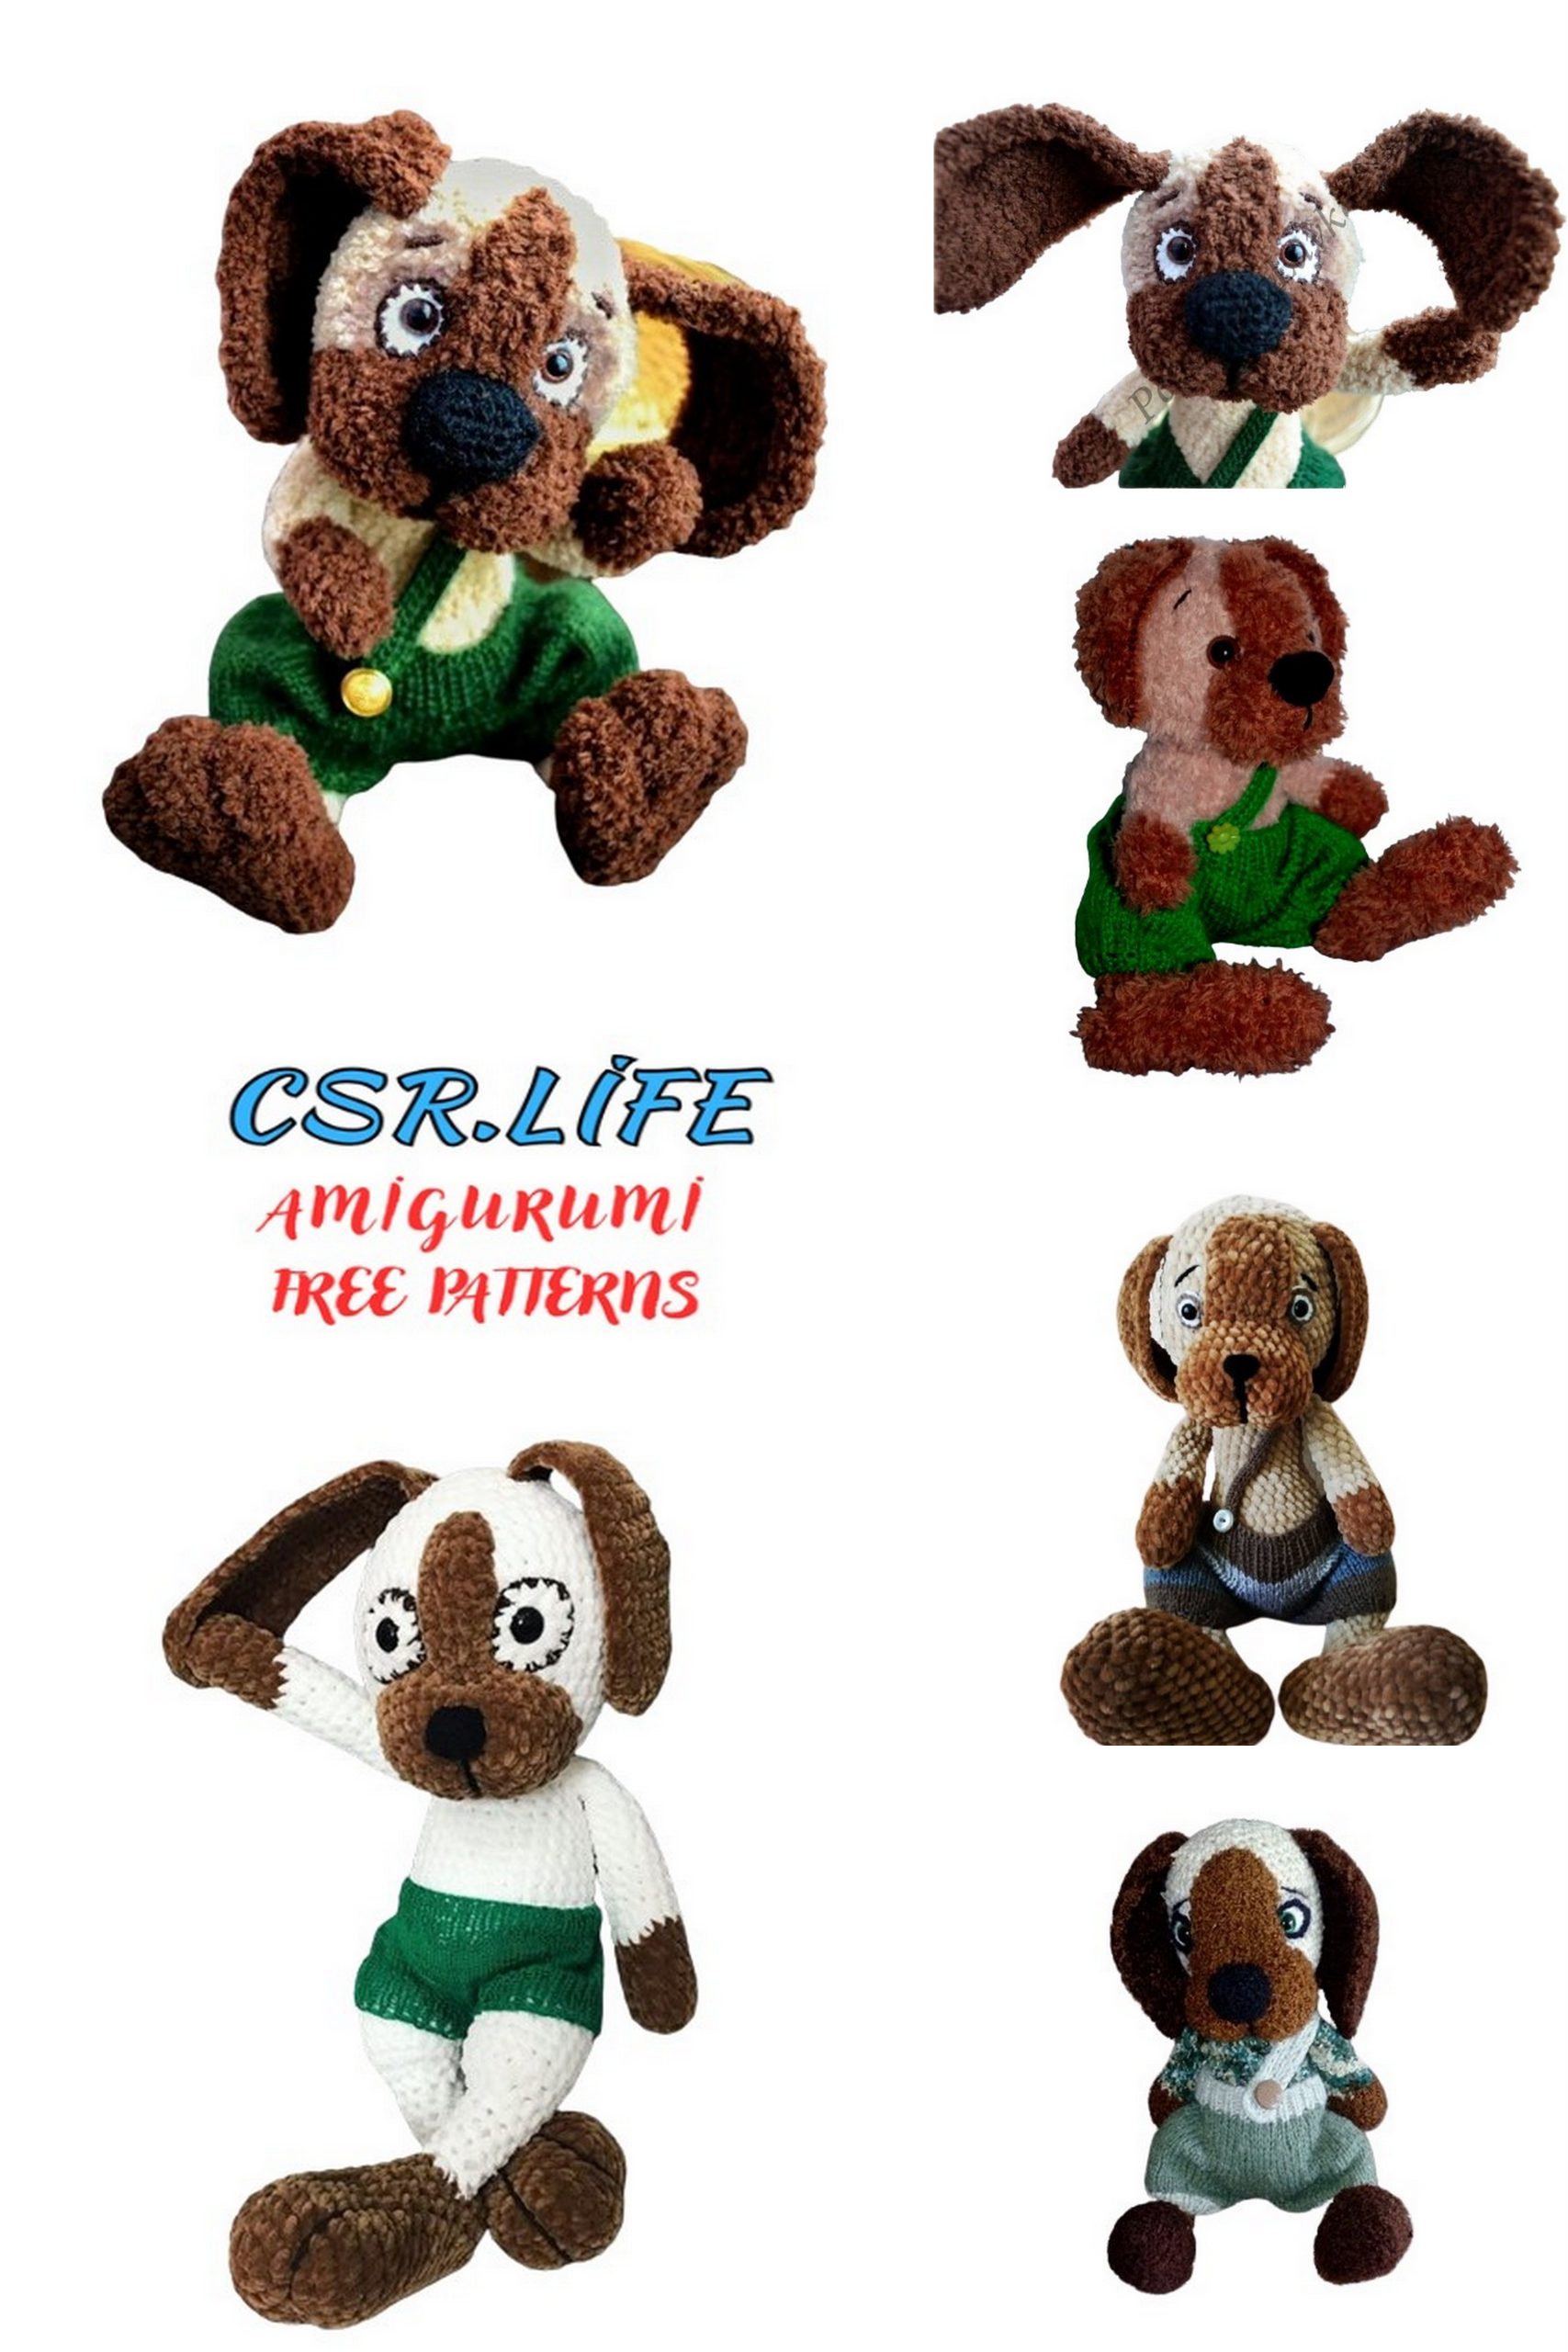
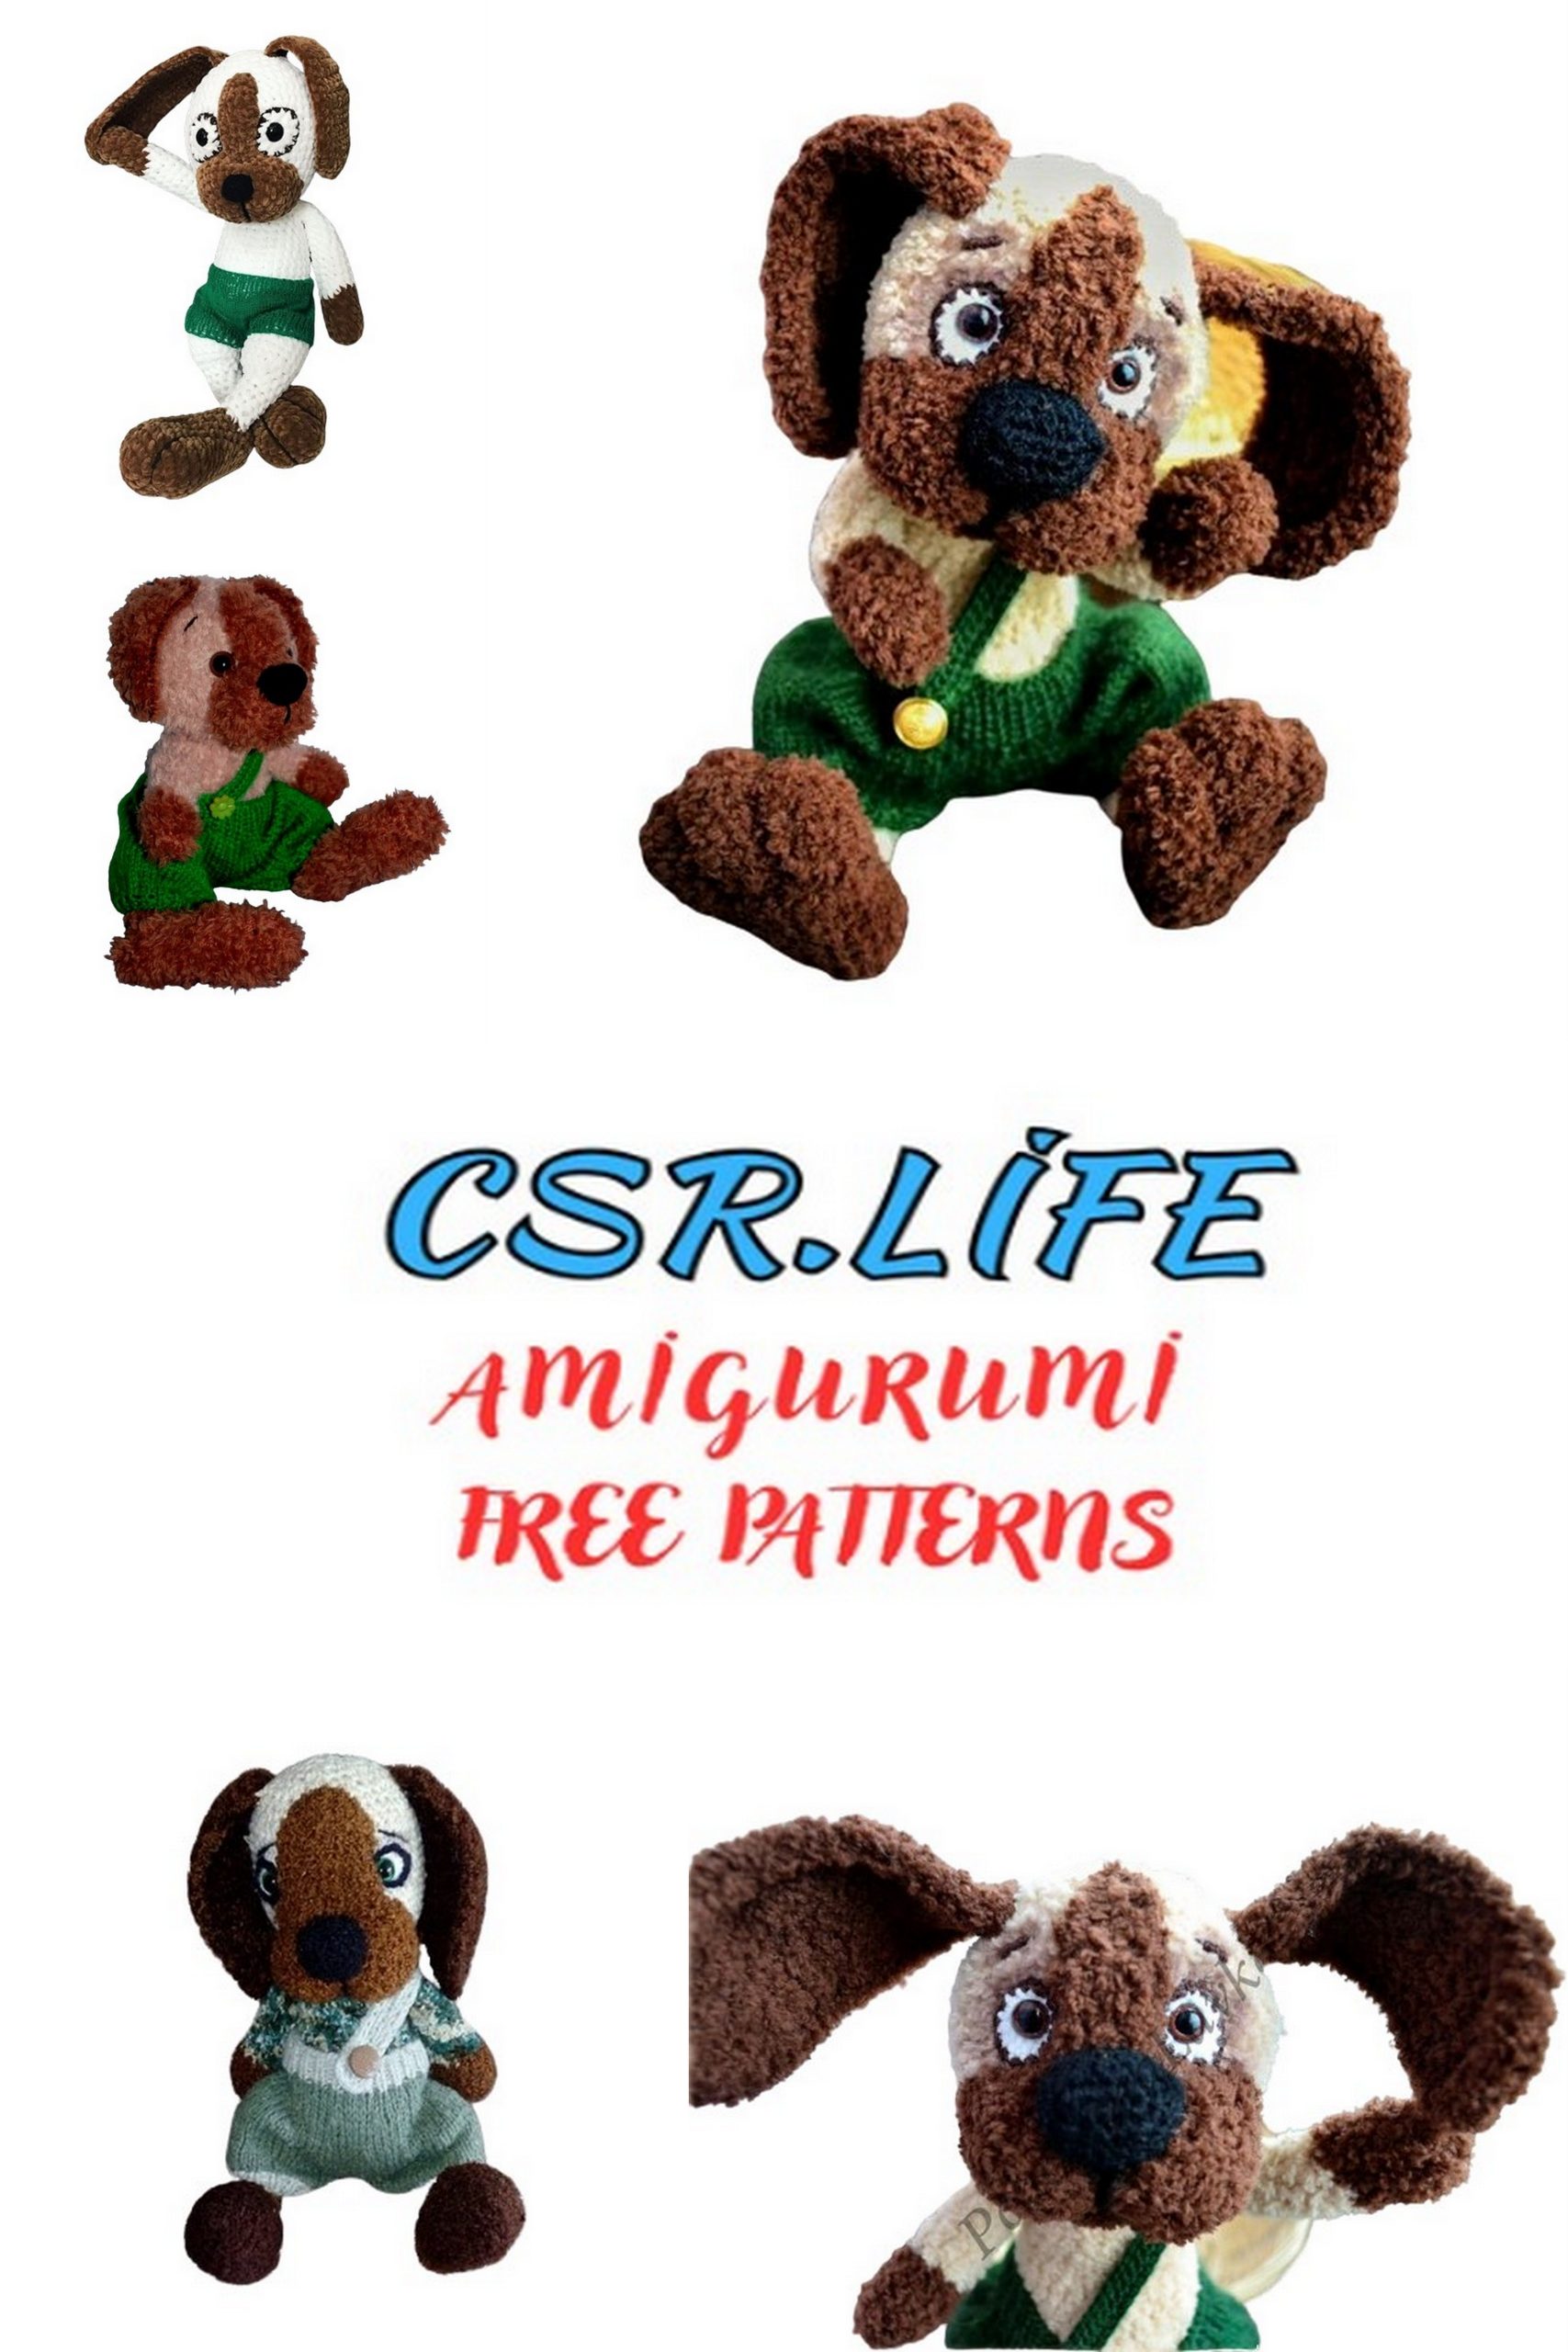
Furry Dog Amigurumi Free Pattern: Crochet Your Own Adorable Fluffy Friend!
Welcome to our cozy corner of crochet wonders, where fluffy creations come to life! If you’re captivated by the charm of amigurumi and enjoy crafting cuddly companions, you’re in for a treat. Today, we’re excited to introduce a delightful amigurumi free pattern for crafting your very own furry dog amigurumi. Whether you’re a crochet enthusiast seeking a new project or a beginner eager to dive into the world of yarn art, this pattern is perfect for all levels of experience. Grab your crochet hook, choose your softest yarn, and let’s embark on a journey to create an irresistibly adorable fluffy friend!
Materials Needed:
Adelia yarn “SOFIA” 100% polyester, 50g/90m (brown and beige), substitution with similar yarn is possible;
“Children’s novelty” yarn in black for the nose or equivalent;
Strong thread of matching colors for sewing the parts, e.g., iris;
Crochet hook of appropriate size (I used No. 3 for the body and No. 2 for the nose, No. 1.75 for the eyes);
Stuffing;
Plastic eyes;
Wire for arms and legs;
Cotter pins (optional);
Glue (if necessary);
Needle for sewing parts together;
Pins for marking.
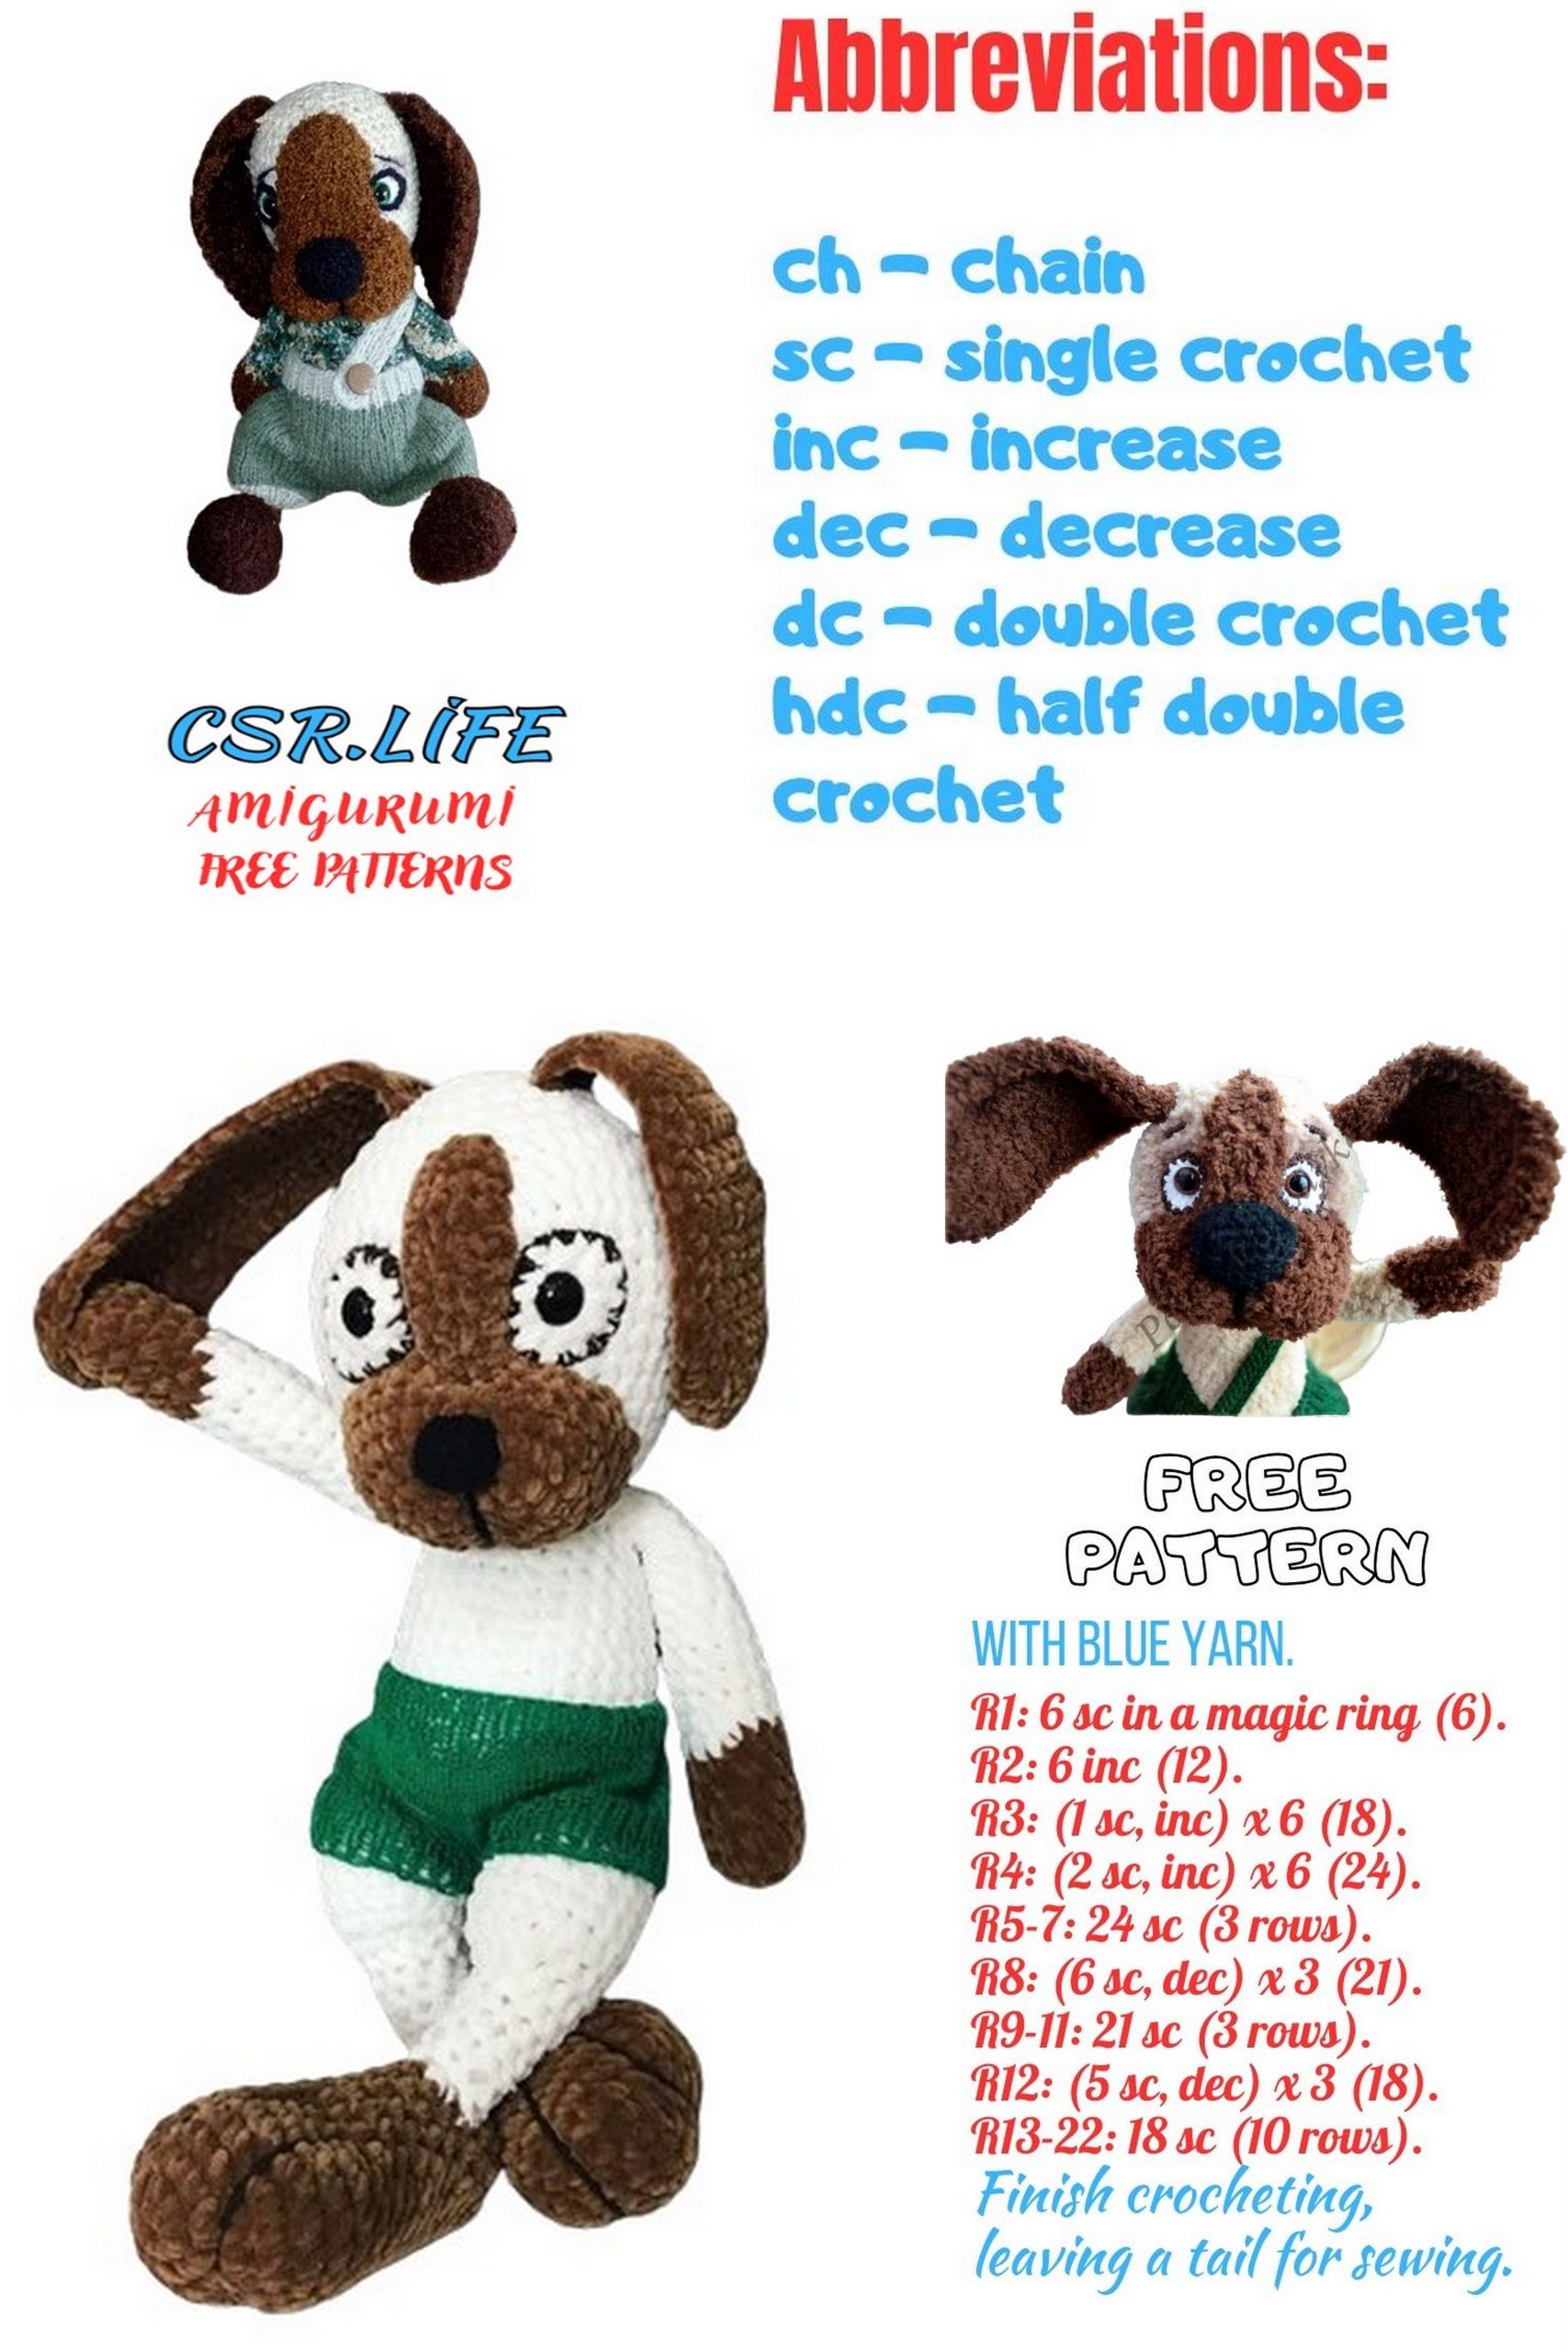
Abbreviations:
ch – chain stitch
MR – magic ring
sc – single crochet
inc – increase
dec – decrease
hdc – half double crochet
dc – double crochet
tr – treble crochet
st(s) – stitch(es)
The pattern does not contain educational materials, markers go straight up from the marking place, make offset loops if necessary.
PATTERN
Head:
Stuff the part as you crochet.
1: 6sc in MR
2: 6inc (12)
3: (1sc, inc) x6 (18)
4: (2sc, inc) x6 (24)
5: (3sc, inc) x6 (30)
6: (4sc, inc) x6 (36)
7: (5sc, inc) x6 (42)
8: (6sc, inc) x6 (48)
9-17: 48sc
18: (6sc, dec) x6 (42)
19: (5sc, dec) x6 (36)
20: (4sc, dec) x6 (30)
21: (3sc, dec) x6 (24)
22: (2sc, dec) x6 (18)
23: (1sc, dec) x6 (12)
24: 6dec
Draw the hole closed, hide the thread.
Body:
Place marker on the side.
1: 6sc in MR
2: 6inc (12)
3: (1sc, inc) x6 (18)
4: (2sc, inc) x6 (24)
5: (3sc, inc) x6 (30)
6: (4sc, inc) x6 (36)
7: (5sc, inc) x6 (42)
8-10: 42sc (3 rows)
11: (1sc, dec) x6 (36)
12-13: 36sc
14: (4sc, dec) x6 (30)
15-16: 30sc
17: (3sc, dec) x6 (24)
18-24: 24sc
25: (2sc, dec) x6 (18)
26: (1sc, dec) x6 (12)
Leave thread for sewing.
Front Legs:
Start with brown yarn.
1: 6sc in MR
2: 6inc (12)
3-7: 12sc
Switch yarn to light.
8: 12sc
9: (4sc, dec) x2 (10)
10-14: 10sc
15: (3sc, dec) x2 (8)
16-18: 8sc
Finish row with sl st, leave thread for sewing.
Hind Legs:
Foot:
Crochet with brown yarn, place marker on the side.
Decreases on the sides, ensure symmetry.
1: 6sc in MR
2: 6inc (12)
3: (1sc, inc) x6 (18)
4: (2sc, inc) x6 (24)
5-7: 24sc
8: (10sc, dec) x2 (22)
9: (9sc, dec) x2 (20)
10-11: 20sc
12: (8sc, dec) x2 (18)
13: 18sc
14: (7sc, dec) x2 (16)
15: 2sc, 3ch, skip 3, 11sc (hole should be in the middle from the top)
Stuff moderately to easily insert wire later.
16: (6sc, dec) x2 (14)
17: (5sc, dec) x2 (12)
18: 6dec, draw tight, hide thread.
Main Leg Part:
Attach light yarn on the side of the hole, to the right. Place marker on the side.
Start with 8sc around the hole.
1: 8sc
2: (inc, 3sc) x2 (10)
3-5: 10sc
6: (inc, 4sc) x2 (12)
7: 1sc, 4inc, 7sc (16)
8: 1sc, (inc, 1sc) x4, 7sc (20)
9-13: 20sc
14: 3sc, 2dec, 13sc (18)
Measure wire, length should consider the foot and bends on ends. Wrap wire with adhesive plaster.
Stuff moderately.
15: (1sc, dec) x6 (12)
16: 6dec
Draw tight, cut and hide thread.
Muzzle:
Crochet with brown yarn.
Start with 5ch, begin from the second ch.
1: 4sc, 3sc in 1, 3sc, inc (12)
2: inc, 3sc, 3inc, 3sc, 2inc (18)
3: 1sc, inc, 3sc, (1sc, inc) x3, 3sc, (1sc, inc) x2 (24)
4: 2sc, inc, 3sc, (2sc, inc) x3, 3sc, (2sc, inc) x2 (30)
5-8: 30sc
Fold muzzle in half, use threads on sides.
Add extra markers.
Crochet 5hdc (+1hdc if needed for symmetry)
9: ch1, 5sc, turn
10: 3ch, 5dc, turn
11: 3ch, 5dc, turn
12: 3ch, dec dc, dc, dec dc (3)
13: 3ch, 3dec dc together
Leave thread for sewing.
*Note: If the muzzle is crocheted not from textured or fluffy yarn, or yarn that cannot be brushed, it is better to crochet not dc, but sc, make 3 additional rows before decreases. It is also desirable to crochet the muzzle in sc around.
Ears:
1: 3ch
2: 2inc (4)
4: inc, 2sc, inc (6)
5: inc, 4sc, inc (8)
6-17: 8sc
18: dec, 4sc, dec (6)
19-20: 6sc
21: dec, 2sc, dec (4)
22-25: 4sc
Attach bead wire and crochet around the ears in rounds, secure thread, leave end for sewing.

Nose:
1: With black yarn, make a chain of 7ch, then crochet from the 2nd ch.
2: 4sc, 3sc in 1, 3sc, inc (12)
3: inc, 3sc, 3inc, 3sc, 2inc (18)
4-6: 18sc
Leave thread for sewing.
Eyes:
With white yarn
1: 7sc in MR, do not tighten the ring too much.
2: 1sl st, 1hdc, 1inc hdc, 1dc, 1inc tr, 1dc, 1hdc, 1sl st.
Fasten off, cut yarn.
Attach thin brown yarn, e.g., Iris.
3: 2sc in each st around.
Leave thread for sewing.
Insert eye into MR, secure with washer from the back.
Assembly:
Sew the head, ensuring the belly is in the middle at the front. Then insert wire through the body for the arms, measure the required length considering bends at the ends, wrap the ends with adhesive plaster. Stuff arms moderately, sew them on.
Attach the muzzle, pin it to the head, stuff moderately for easy shaping, sew on. Next, try on the ears, you can vary their placement, once satisfied, hide wire ends in the head and sew on. Sew on the legs, I used the thread attachment method.
Next, use strong thread to shape the muzzle. For convenience, mark the shaping spots with pins. Secure the thread at point 1, bring the needle out at point 2, make a stitch and return to point 1, repeat if necessary, secure. The following shapings go over the muzzle, secure the thread at point 4, then insert the needle at point 3 and bring it out at point 4, repeat, then from point 4, make a stitch to point 5, repeat; then from point 4 to point 6, repeat, secure and hide the thread.
If necessary, brush the puppy. Sew on the eyes and nose, or you can glue on a plastic nose. Make several stitches above the eyes with a contrasting thread, these will be the eyebrows. Lastly, shape the legs. Define three toes with outer stitches.
Shorts:
Cast on 30 stitches. Start and end each row with an edge stitch. The fabric is reversible, meaning there will be a right and wrong side.
1: 3 ribbing 1×1
4: (1inc, 1knit) x28 (58)
5-14: 58knit
Knit two such pieces, then distribute them onto three needles, knit on the right side. Distribute 38/39/39
16-30: 116knit
31: (2 knit, dec) x29 (87)
32: (9knit, dec) x7, 10 knit (80)
33: (8knit, dec) x8 (72)
34-41: ribbing 1×1 (72)
Sew the pant legs from the bottom. For the strap, make a chain of air loops of the desired length, knit 2 rows of sc, make a loop of several air loops on one end suitable for the chosen button, secure and hide the thread, sew the opposite end to the back of the shorts. Sew a button on the front.