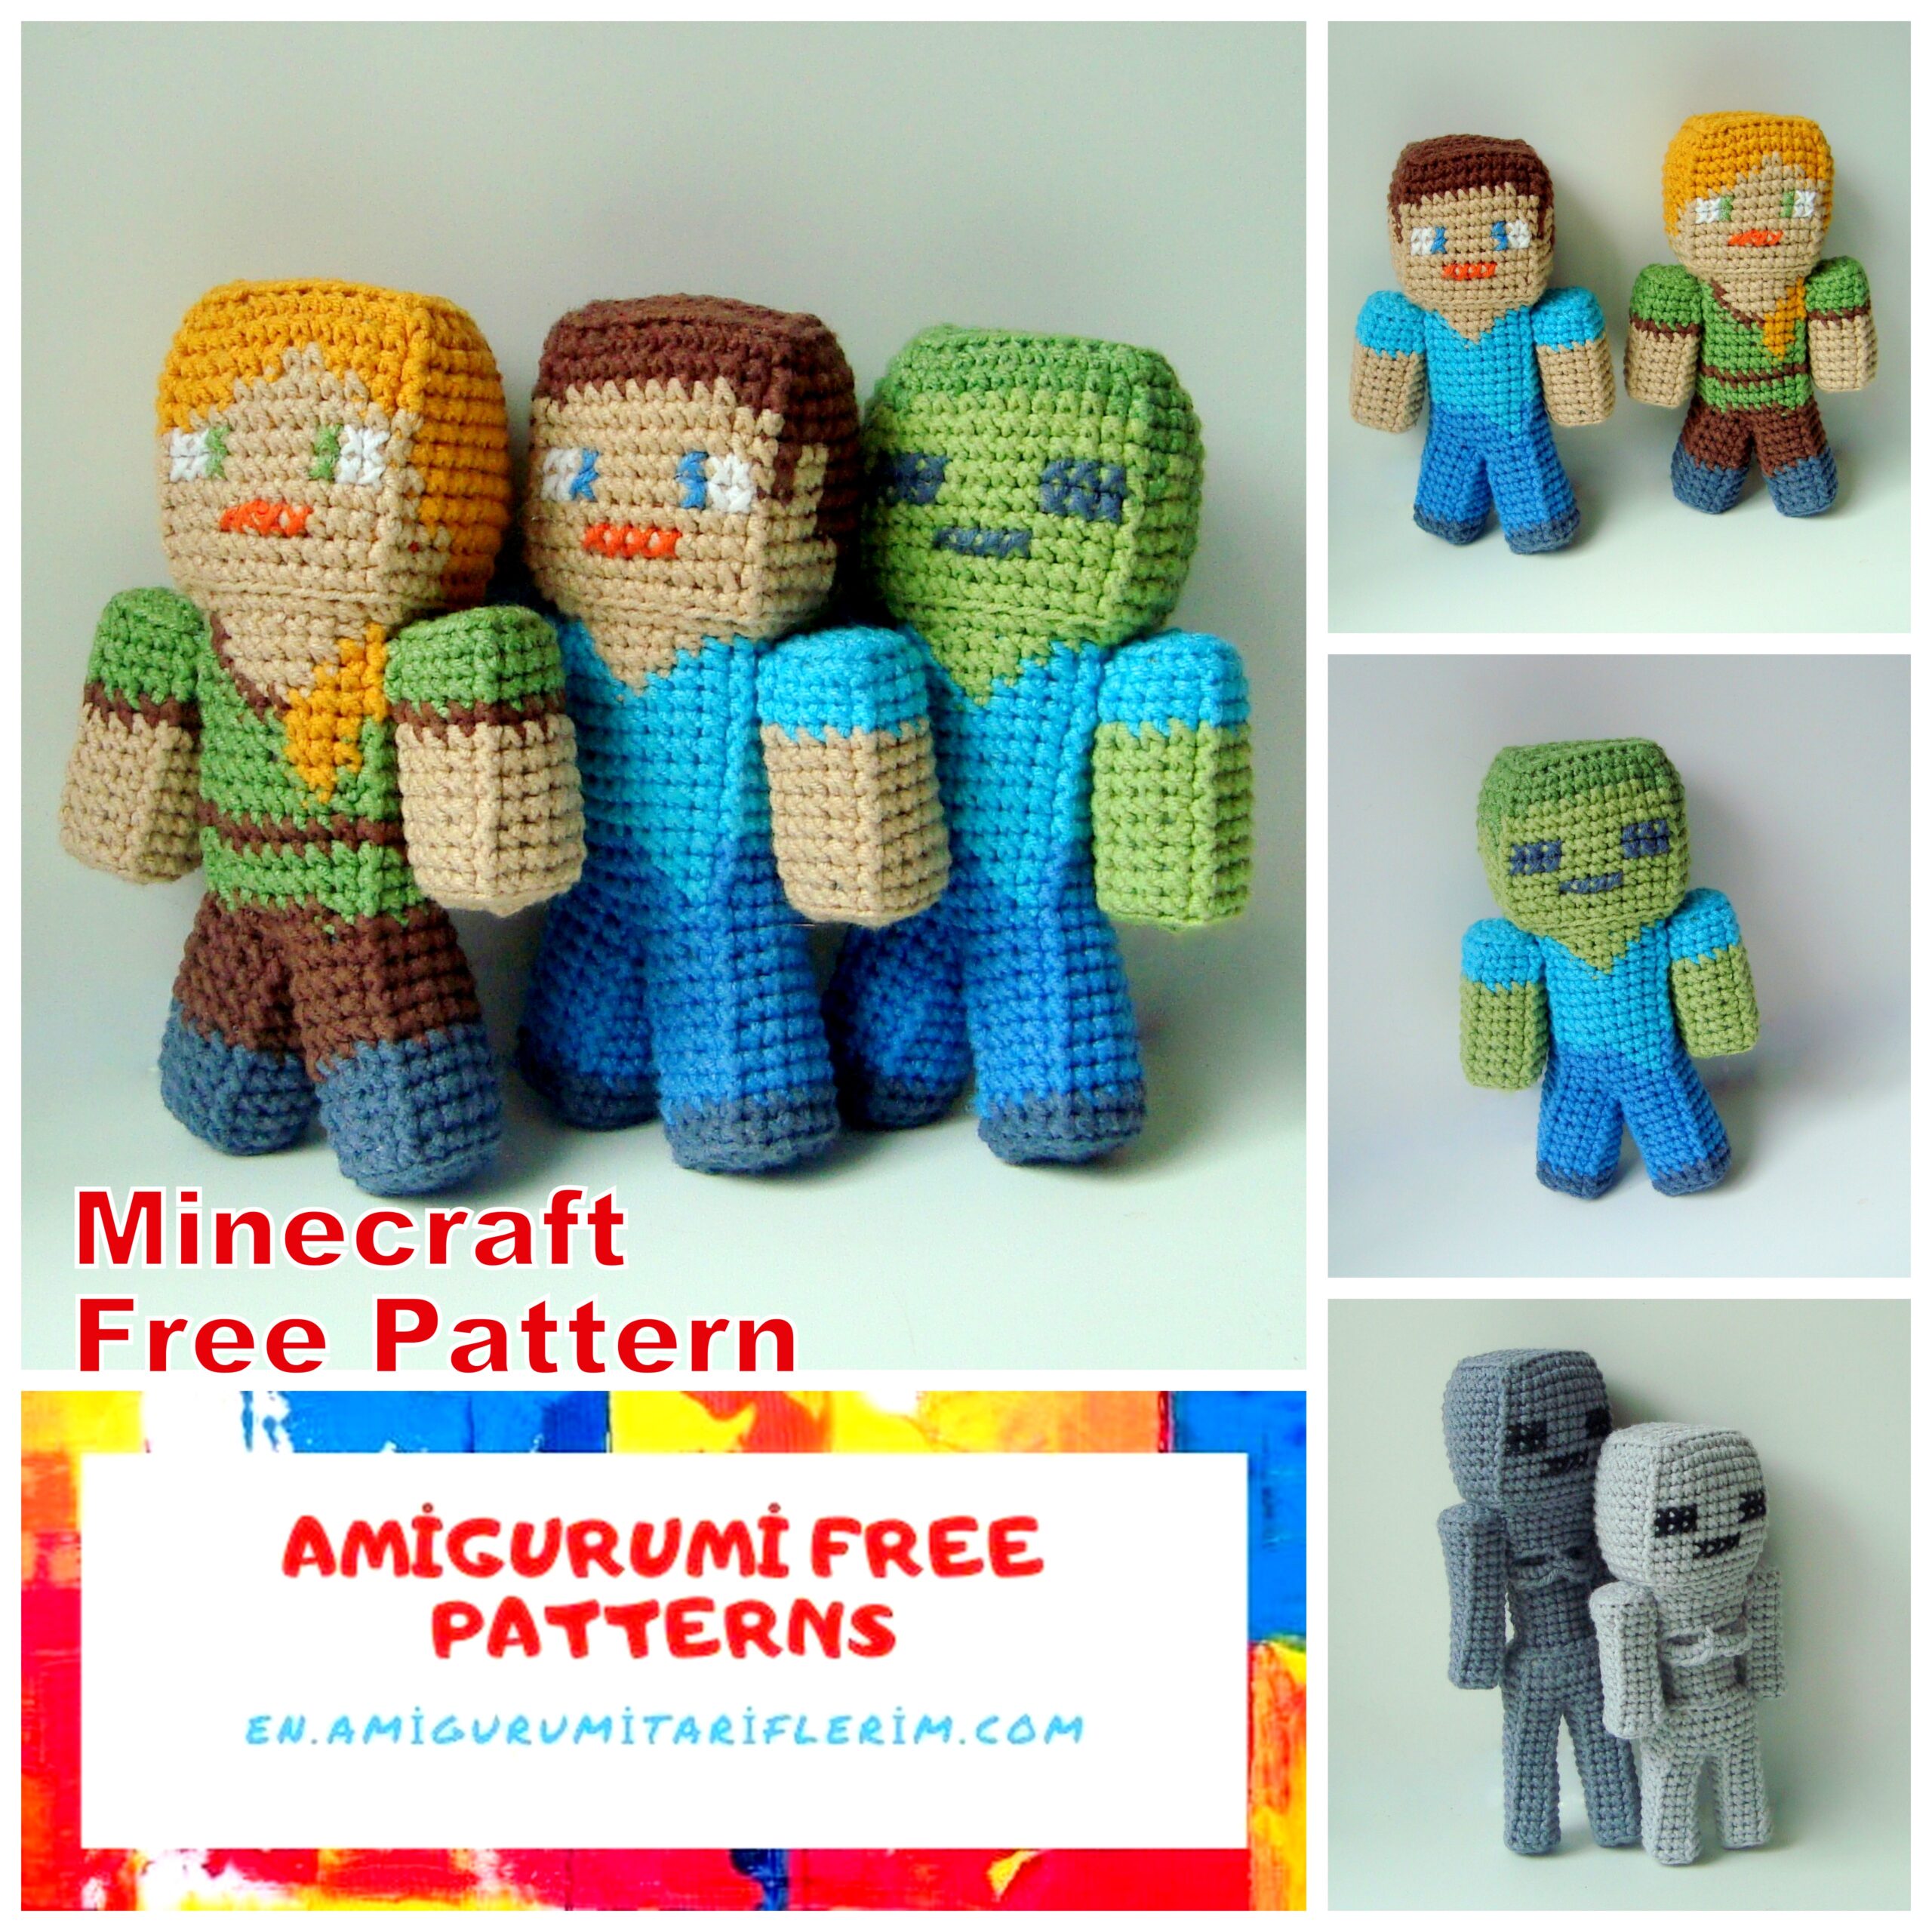
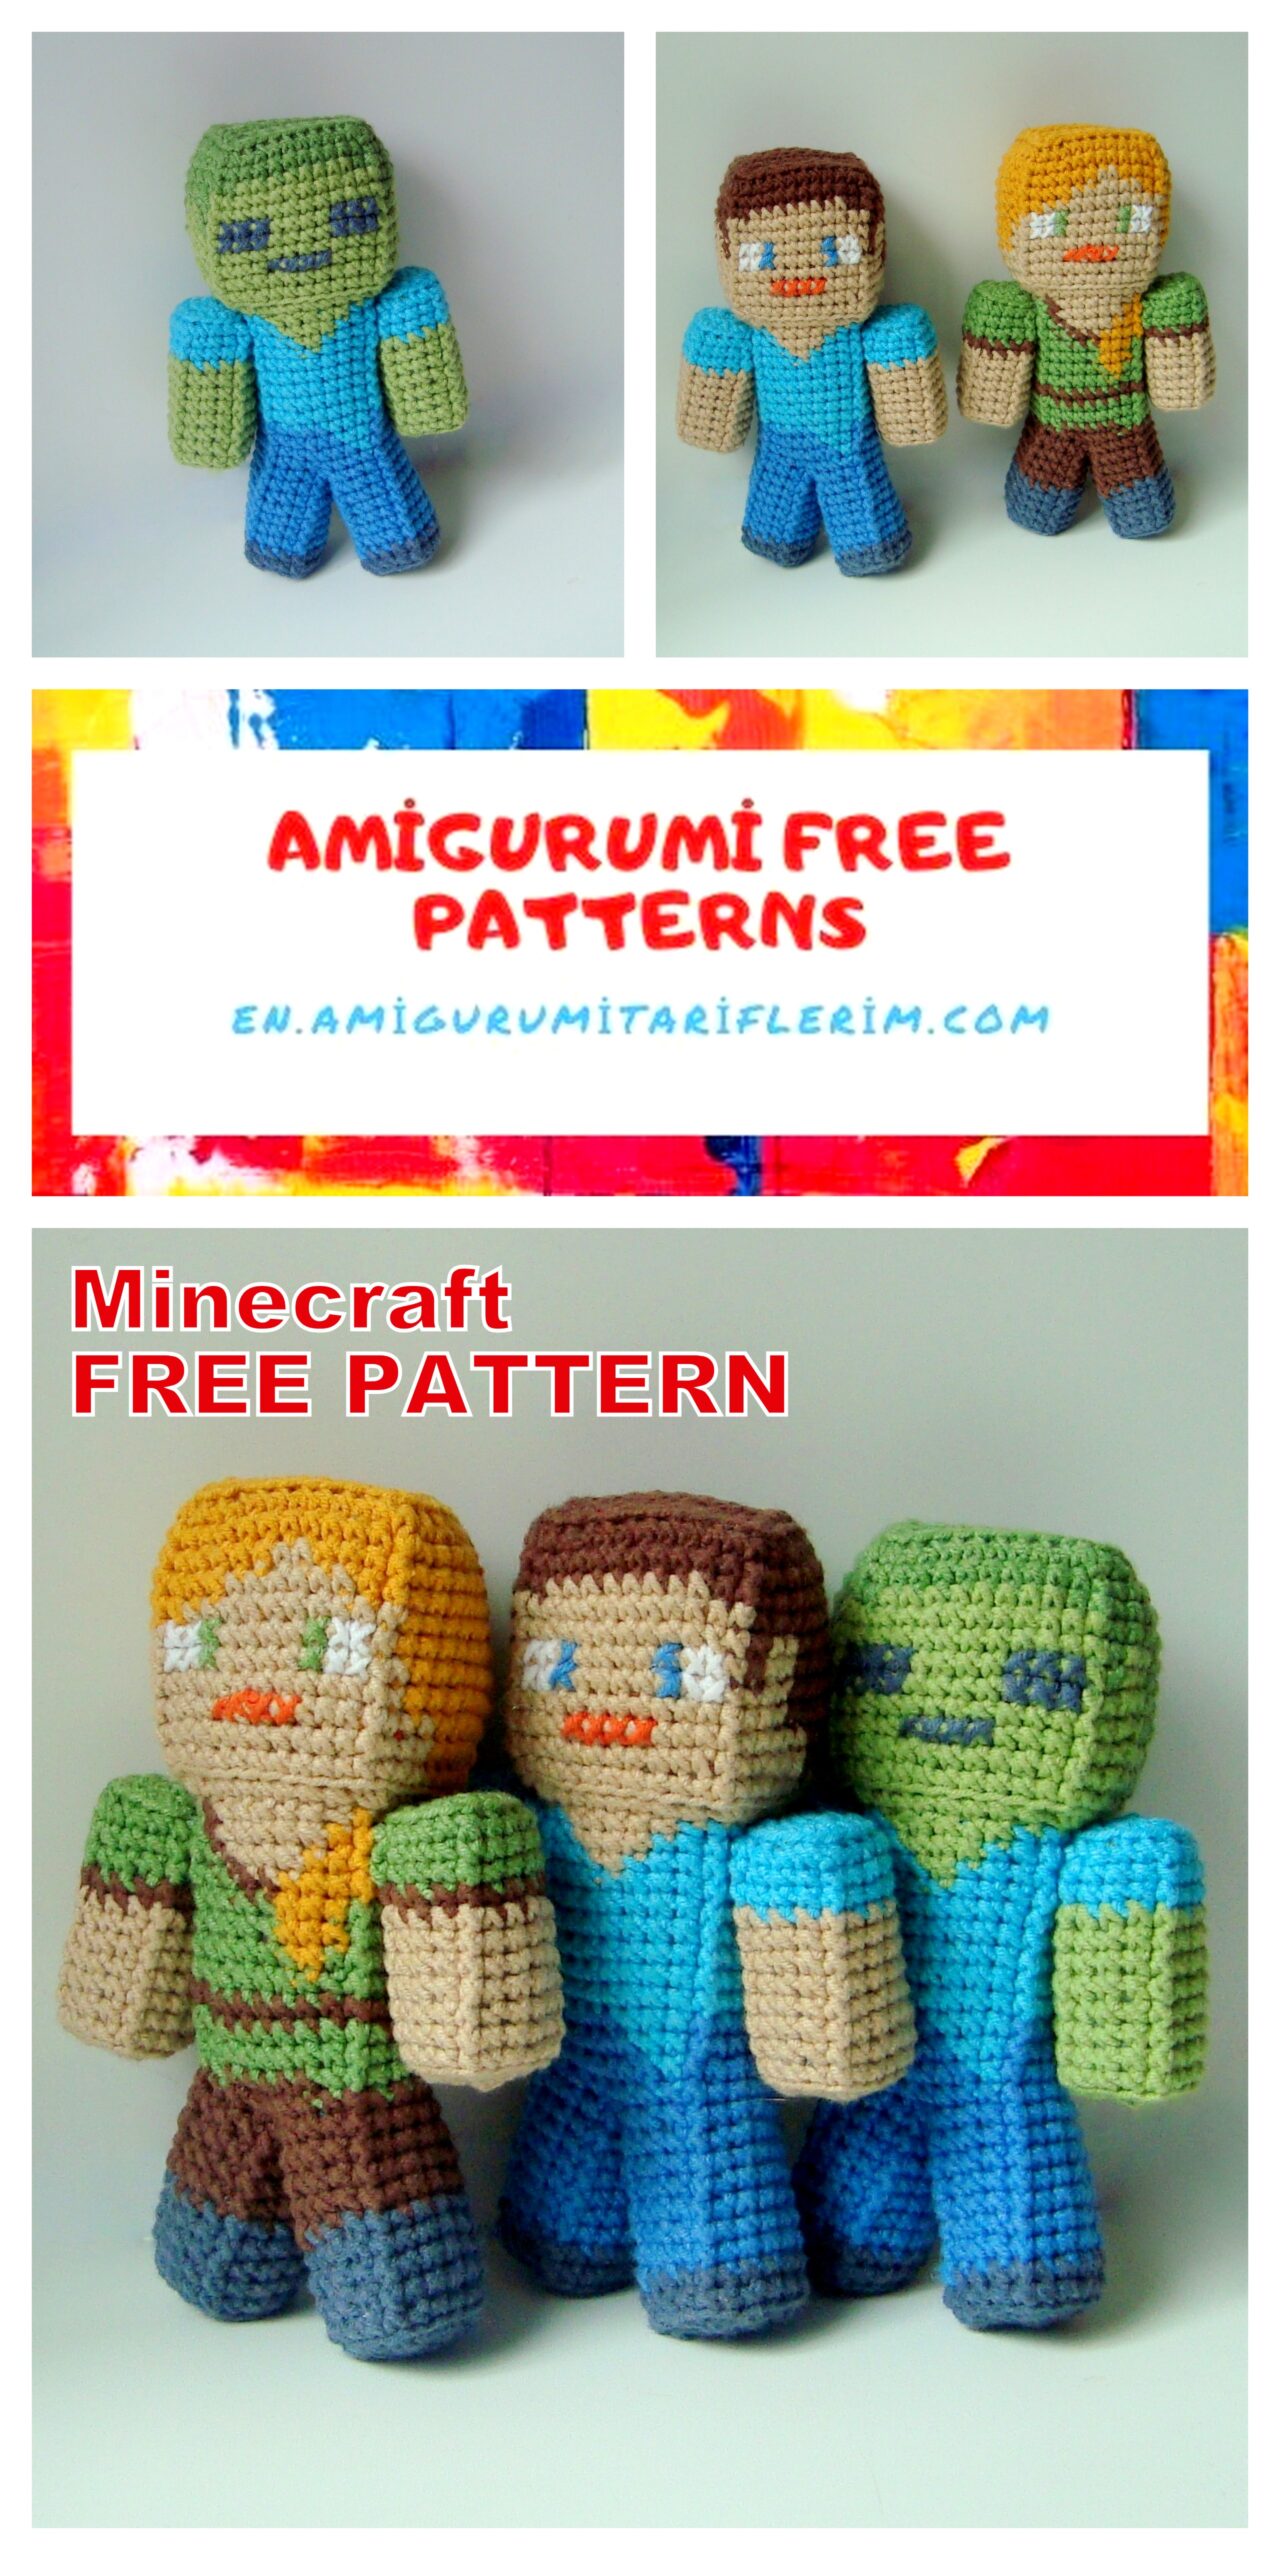
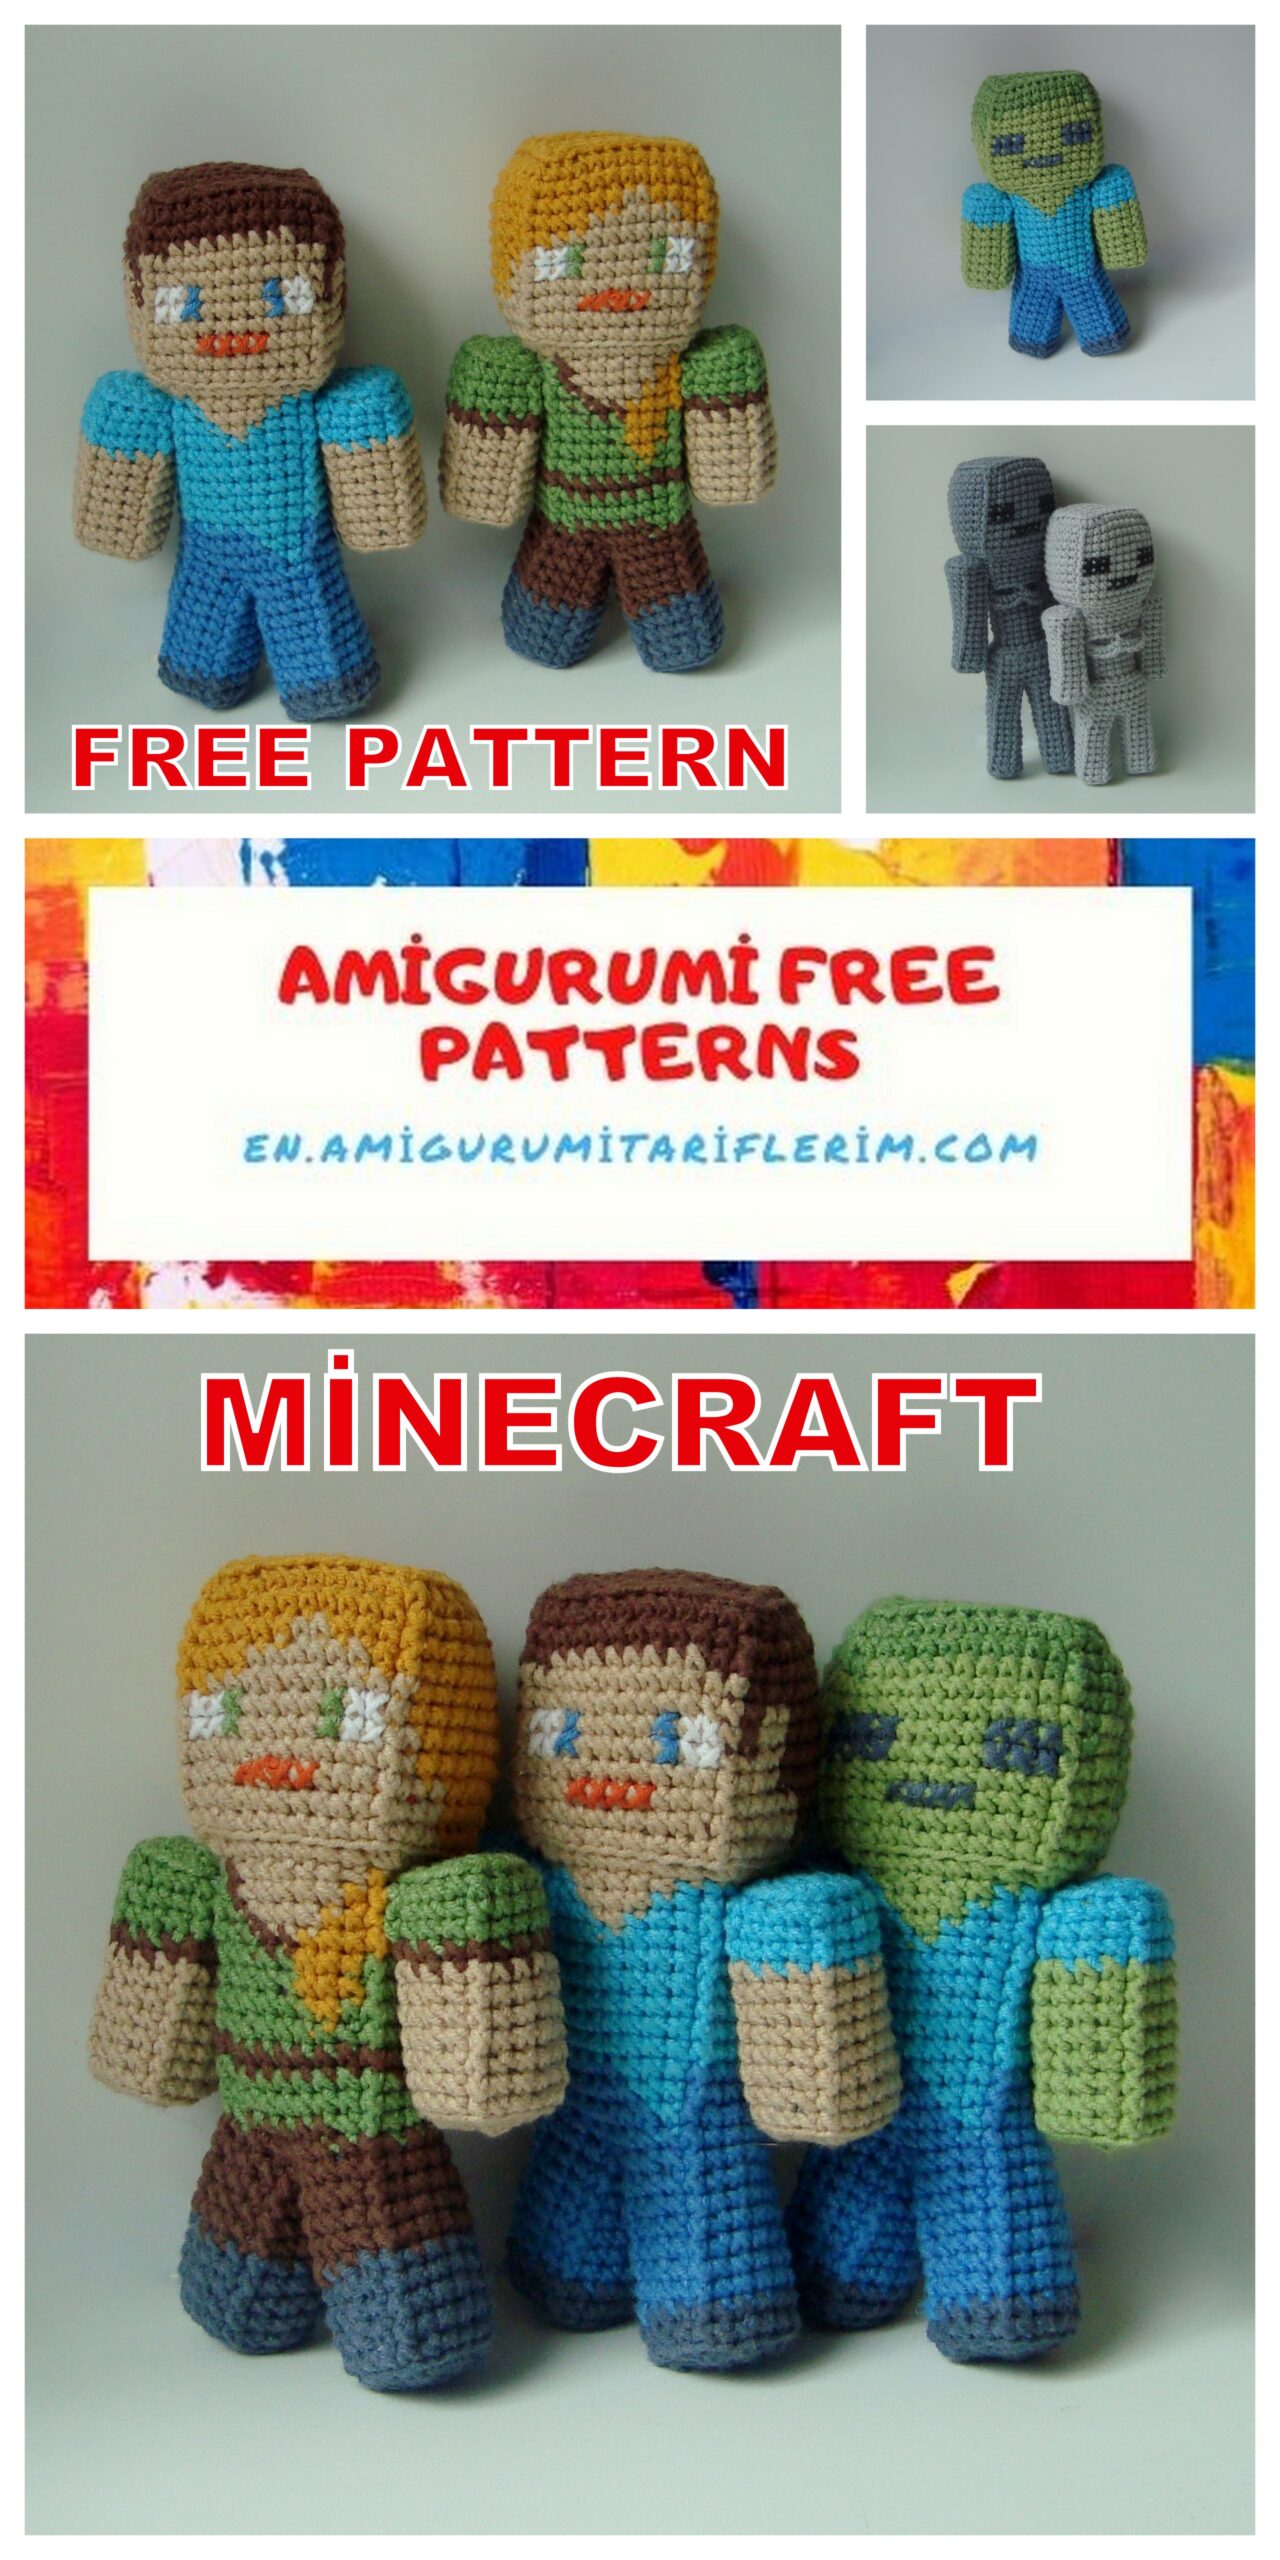
Minecraft Steve Alex and Zombies Amigurumi Free Pattern
Amigurumi minecraft characters free patterns are waiting for you in this article. Everything you are looking for about Amigurumi is on our site.
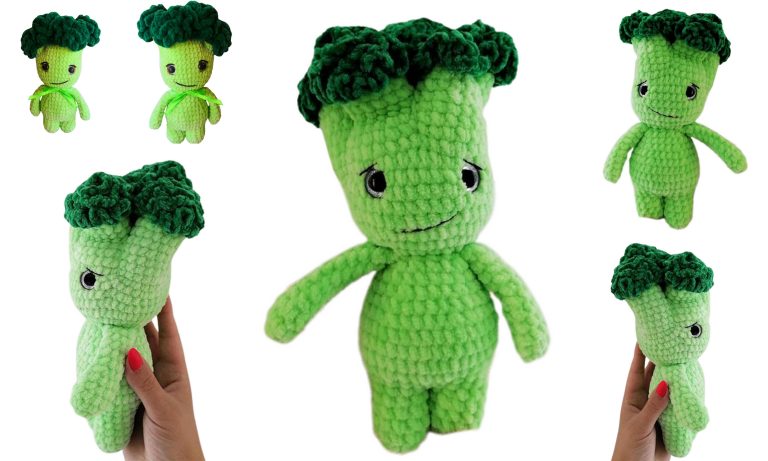
Height of toys: 13 cm.
Tools and materials:
Hook 2.5 or 2 mm.
The filler is chlorofiber.
Yarn
We have ALIZE Cotton Gold, 55% cotton, 45% acrylic, 330 m / 100 g. Analogous to the specified yarn
is YarnArt Jeans.
Better to take VITA cotton LIRA, it is smoother and not so soft, it will keep its shape.
For Steve: beige, dark brown, light blue, blue, dark gray.
For Alex: beige, mustard, green, dark brown, dark gray.
For Zombies: 2 shades of green, blue, blue, dark gray.
a little white and brown for face embroidery.
ABBREVATİONS
CH () – CHAİN
SC () – single crochet
Sc purl () – purl single crochet
SC FLAT () – flat single crochet
SL-ST () – slip-stitch
INC () – increase
DEC () – decrease
INC3in1 () – 3 single crochet, knitted in the same column of the previous row
INC5in1 () – 5 single crochet, knitted in the same column of the previous
a number of
DEC 3in1 () – decrease from 3 columns without crochet
DEC 4in1 () – decrease from 4 columns without crochet
All details, unless otherwise stated, are knitted in a spiral
Steve
PATTERN
Head-torso-legs (dark brown, beige, light blue, blue, dark gray):
We begin to knit in dark brown.
We collect a chain of 9 CH, we will knit in rows back and forth. The canvas will turn out smoother,
if knit with front and back rows. The purl columns fit exactly like this
same, only the hook is inserted due to knitting, and the thread is picked up from the front
1 p: starting from the 2nd loop from the hook (the loop on the hook does not count) 8 SC, CH, unfold
2 p: early. from the 2nd off hook 8 Sc purl, CH, expand
3 r: early. from the 2nd from the hook 8 SC, CH, expand
4 p: early. from the 2nd off hook 8 Sc purl, CH, expand
5 p: early. from the 2nd from the hook 8 SC
Next, we will tie the resulting part in a circle.
6 p: In the last knitted column, we knit 4 more SC, so the total is INC5in1; 3 SC on the side; INC5in1 in the first column along the long side; 6 SC; INC5in1 in the last column along the long side; 3 SC on the side. In the remaining (4th) side loop, knit 4 SC and 1 SC in the first loop along the long side = 38 SC
7 p: 38 SC we knit behind the back wall INC5в1 INC5в1 So that the square parts keep their shape better, further in the corners we will knit the front embossed columns. We always start the embossed column in the far, not yet captured, column of the previous row, SC, following the embossed one, we knit into the near column of the previous row, which is already captured by the embossed one.
8 p: 7 SC, 1 SC FLAT, 7 SC, 1 SC FLAT, 10 SC, 1 SC FLAT, 7 SC, 1 SC FLAT, 3 SC = 38
From the next row we will
to knit the face. Go to thread
a different color is always on the last
column of the previous one.
9 p: dark brown: 7 SC, 1 SC FLAT, 7 SC, 1 SC FLAT, 1 SC, beige: 8 SC,
dark brown: 1 SC, 1 SC FLAT, 7 SC, 1 SC FLAT, 3 SC = 38
We make sure that the thread broaches from the wrong side are fairly loose, they do not tighten the part.
10 p: dark brown: 7 SC, 1 SC FLAT, 7 SC, beige: 1 SC FLAT, 10 SC,
1 SC FLAT, dark brown: 7 SC, 1 SC FLAT, 3 SC = 38
11-12 pp: dark brown: 7 SC, 1 SC FLAT, 4 SC, beige: 2 SC, dark brown: 1 SC, beige: 1 SC FLAT, 10 SC, 1 SC FLAT, dark brown: 1 SC, beige : 2 SC, dark brown: 4 SC, 1 SC FLAT, 3 SC = 38
The column is indicated in the description
as dark brown Listed as beige
13-14 pp: dark brown: 7 SC, 1 SC FLAT, 4 SC, beige: 3 SC, 1 SC FLAT, 10 SC, 1 SC FLAT, 3 SC, dark brown: 4 SC, 1 SC FLAT, 3 SC = 38
15-16 pp: dark brown: 7 SC, 1 SC FLAT, 2 SC, beige: 5 SC, 1 SC FLAT, 10 SC, 1 SC FLAT, 5 SC, dark brown: 2 SC, 1 SC FLAT, 3 SC = 38
We turn to the beige thread, the dark brown can be cut off.
17 p: 7 SC, 1 SC FLAT, 7 SC, 1 SC FLAT, 10 SC, 1 SC FLAT, 7 SC, 1 SC FLAT, 3 SC = 38
We knit the next row behind the back wall, while making sure that the decreases fall
on the edges of the rectangle
18 p: 6 SC, DEC 4in1, 4 SC, DEC 4in1, 7 SC, DEC 4in1, 4 SC, DEC 4in1, 1 SC = 26 SC
on the last column of the row, go to the blue color, do not cut the beige thread.
Cut out the gasket to fit the top of the head, you can have two at once, down too
required. Better from hard linoleum or a dense plastic tray, they
behave well when washing. Be sure to round the corners. We put it in the head
stuff our head.
We knit the next row by the front wall
19 p: blue: 13 SC, beige: 5 SC, blue: 8 SC = 26 SC
Beige loops should be in the front center.
And again in the corners we begin to knit the front embossed columns.
20 p: blue: 6 SC, 1 SC FLAT, 4 SC, 1 SC FLAT, 2 SC, beige: 3 SC, blue: 2 SC, 1 SC FLAT, 4 SC, 1 SC FLAT, 1 SC = 26
21 p: blue: 6 SC, 1 SC FLAT, 4 SC, 1 SC FLAT, 3 SC, beige: 1 SC, blue: 3 SC, 1 SC FLAT, 4 SC, 1 SC FLAT, 1 SC = 26
The beige thread can be cut, continue only in blue
22-26 pp: 6 SC, 1 SC FLAT, 4 SC, 1 SC FLAT, 7 SC, 1 SC FLAT, 4 SC, 1 SC FLAT, 1 SC = 26
We stuff the head tightly, insert the gasket into the bottom of the head and refill the torso.
27 p: 6 SC, 1 SC FLAT, 4 SC, 1 SC FLAT, 7 SC, 1 SC FLAT, 4 SC, 1 SC FLAT – incomplete
row, on the last column of the row, go to blue, do not cut the blue thread.
We will knit the wedges in blue.
At the back, the wedge should go from the sides to the middle, in front of the middle and to one side.
28 p: blue: 1 SC, blue: 5 SC, blue: 1 SC, 1 SC FLAT, 4 SC, 1 SC FLAT, 4 SC, blue: 3 SC, blue: 1 SC FLAT, 4 SC, 1 SC FLAT = 26
29 p: blue: 2 SC, blue: 3 SC, blue: 2 SC, 1 SC FLAT, 4 SC, 1 SC FLAT, 5 SC, blue: 2 SC, blue: 1 SC FLAT, 4 SC, 1 SC FLAT = 26
30 p: blue: 3 SC, blue: 1 SC, blue: 3 SC, 1 SC FLAT, 4 SC, 1 SC FLAT, 6 SC, blue: 1 SC, blue: 1 SC FLAT, 4 SC, 1 SC FLAT = 26
The blue thread can be cut, then we continue only in blue. We will divide the body into legs.
We knit 4 more SCs to move the knitting to the middle of the priests.
Cast on 4 CH, attach them to the middle column in front. From the next column, we begin to count the rows again.
1 p: 3 SC, 1 SC FLAT, 4 SC, 1 SC FLAT, 3 SC, [6 SC for one wall] = 18
CH and the joining posts will be common for both legs, we knit them behind one wall closest to this leg, we will pick them up for the other leg for the other wall.
2-8 pp: (3 SC, 1 SC FLAT, 4 SC, 1 SC FLAT) * 2 = 18
Switch to a dark gray color, the blue thread can be cut off.
9-10 pp: (3 SC, 1 SC FLAT, 4 SC, 1 SC FLAT) * 2 = 18
Knit 1 more SC to move the beginning of the row.
We knit the next row behind the back wall, while making sure that the decreases fall on the edges of the rectangle
11 p: (1 SC, DEC 3in1, 2 SC, DEC 3in1) * 2 = 10 SC
We cut out 2 pads according to the size of the foot (before the decrease) and 4 pieces of the same size will be needed for our hands. We stuff the body denser, stuff the leg, insert the gasket.
12 p: 3 dec, SL-ST, cut the thread, pass the tip through all the loops and tighten the hole.
on the last column of the row, switch to green, do not cut the beige and mustard threads. We cut out the gasket, insert it into the head, stuff the head.
We knit the next row by the front wall
19 p: green: 12 SC, dark brown: 1 SC, beige: 6 SC, mustard: 7 SC = 26 SC
And again in the corners we begin to knit the front embossed columns.
20 p: green: 6 SC, 1 SC FLAT, 4 SC, 1 SC FLAT, dark brown: 1 SC, beige: 5 SC, mustard: 1 SC, 1 SC FLAT, 3 SC, green: 1 SC, 1 SC FLAT, 1 SC = 26
21 p: green: 6 SC, 1 SC FLAT, 4 SC, 1 SC FLAT, 1 SC, dark brown: 1 SC, beige: 3 SC, mustard: 2 SC, 1 SC FLAT, 1 SC, green: 3 SC , 1 SC FLAT, 1 SC = 26
The beige thread can be trimmed.
22 p: green: 6 SC, 1 SC FLAT, 4 SC, 1 SC FLAT, 2 SC, dark brown: 2 SC, mustard: 3 SC, 1 SC FLAT, 1 SC, green: 3 SC, 1 SC FLAT, 1 SC = 26
The dark brown thread can be trimmed.
23-24 pp: green: 6 SC, 1 SC FLAT, 4 SC, 1 SC FLAT, 4 SC, mustard: 3 SC, green: 1 SC FLAT, 4 SC, 1 SC FLAT, 1 SC = 26
25 p: green: 6 SC, 1 SC FLAT, 4 SC, 1 SC FLAT, 5 SC, mustard: 1 SC, green: 1 SC, 1 SC FLAT, 4 SC, 1 SC FLAT, 1 SC = 26
The mustard thread can be trimmed.
We stuff the head tightly, insert the gasket into the bottom of the head and refill the torso.
26 p: green: 6 SC, 1 SC FLAT, 4 SC, 1 SC FLAT, 7 SC, 1 SC FLAT, 4 SC, 1 SC FLAT, 1 SC = 26
on the last column of the row, switch to dark brown, do not cut the green thread.
27 p: dark brown: 6 SC, 1 SC FLAT, 4 SC, 1 SC FLAT, 7 SC, 1 SC FLAT, 4 SC, 1 SC FLAT, 1 SC = 26
on the last column of the row, go to green, do not cut the brown thread.
28-29 p: green: 6 SC, 1 SC FLAT, 4 SC, 1 SC FLAT, 7 SC, 1 SC FLAT, 4 SC, 1 SC FLAT, 1 SC = 26
30 p: green: 6 SC, 1 SC FLAT, 4 SC, 1 SC FLAT, 1 SC, dark brown: 5 SC, green: 1 SC, 1 SC FLAT, 4 SC, 1 SC FLAT, 1 SC = 26
We divide the body into legs.
To move the row to the middle of the priests, knit 2 more SC with green thread and 1 SC with dark brown thread.
The green thread can be cut, continue only with a dark brown color.
Cast on 4 CH, attach them to the middle column in front. From the next column, we count the rows again.
1 p: 3 SC, 1 SC FLAT, 4 SC, 1 SC FLAT, 3 SC, [6 SC for one wall] = 18
We knit CH and the joining columns for one wall closest to this leg, for the other wall we will pick it up for the other leg.
2-5 pp: (3 SC, 1 SC FLAT, 4 SC, 1 SC FLAT) * 2 = 18
Switch to dark gray, the dark brown thread can be cut off.
6-10 pp: (3 SC, 1 SC FLAT, 4 SC, 1 SC FLAT) * 2 = 18
Knit 1 more SC to move the beginning of the row.
We knit the next row behind the back wall, while making sure that the decreases fall on the edges of the rectangle.
11 p: (1 SC, DEC 3in1, 2 SC, DEC 3in1) * 2 = 10 SC
We stuff the body denser, stuff the leg, insert the gasket.
12 p: 3 dec, SL-ST, cut the thread, tighten the hole.
We fill the body and the first leg denser.
For the second leg, attach the thread at the back, so that 6 common loops are knitted last. We leave the initial end not very short and outside, if necessary, it will be possible to sew holes between the legs.
1 p: 3 SC, 1 SC FLAT, 4 SC, 1 SC FLAT, 3 SC, [6 SC for one wall] = 18
Then we knit in the same way as the first leg, repeating
2-12 pp. Do not forget to gradually fill the leg tightly.
Hands (green, dark brown, beige):
We start to knit with green thread
1 p: 5 SC in the amigurumi ring
We leave the initial end of the thread long and outside, we will sew a hand to them.
2 p: 5 INC = 10 SC
3 p: (INC3in1, 1 SC, INC3in1, 2 SC) * 2 = 18 SC
4 p: 18 SC knit behind the back wall
5-6 pp: 1 SC, 1 SC FLAT, 3 SC, 1 SC FLAT, 4 SC, 1 SC FLAT, 3 SC, 1 SC FLAT, 3 SC = 18
Insert the pad into the upper arm. Go to dark brown.
7 p: 1 SC, 1 SC FLAT, 3 SC, 1 SC FLAT, 4 SC, 1 SC FLAT, 3 SC, 1 SC FLAT, 3 SC = 18
We turn to beige.
8-14 pp: 1 SC, 1 SC FLAT, 3 SC, 1 SC FLAT, 4 SC, 1 SC FLAT, 3 SC, 1 SC FLAT, 3 SC = 18
We fill our hand. We knit the next row behind the back wall.
15 p: (DEC 3in1, 1 SC, DEC 3in1, 2 SC) * 2 = 10 SC
We fill the hand more tightly, insert the gasket at the bottom.
16 p: 3 dec, SL-ST, cut the thread, tighten the hole.
We also knit the second hand.
Sew hands like Steve’s, on the sides, to the height of the green rows on three sides, without capturing the embossed posts.
We embroider the face with a cross along the columns with the same yarn.