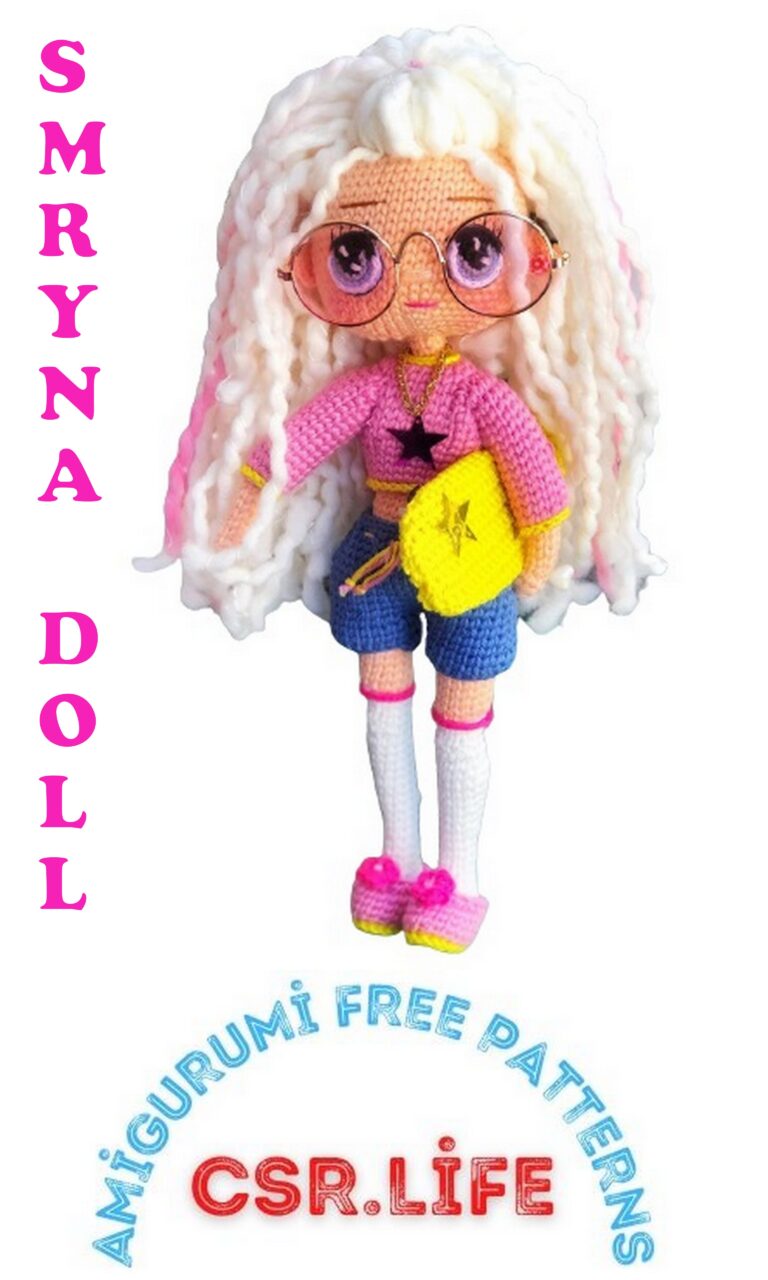
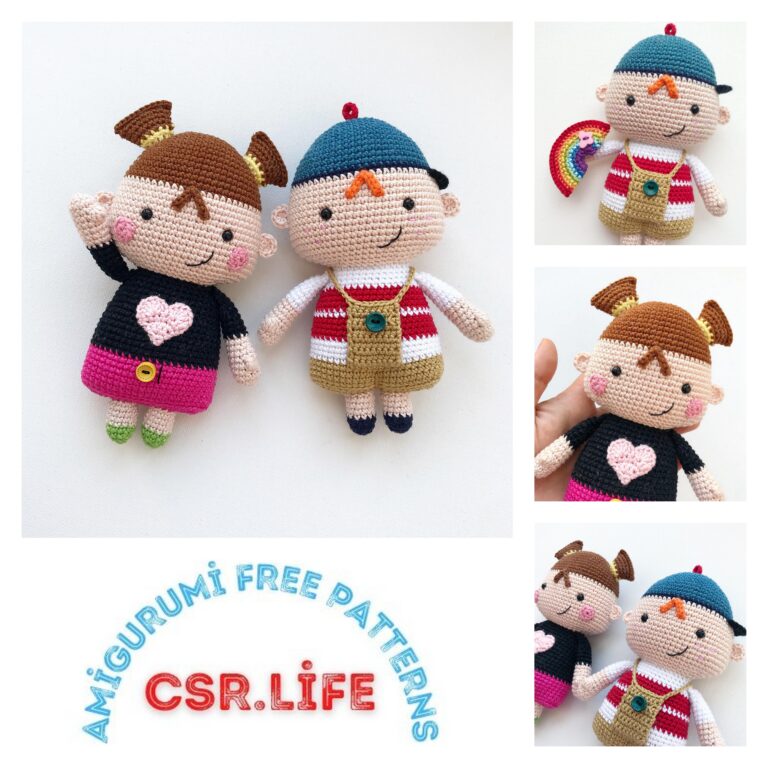
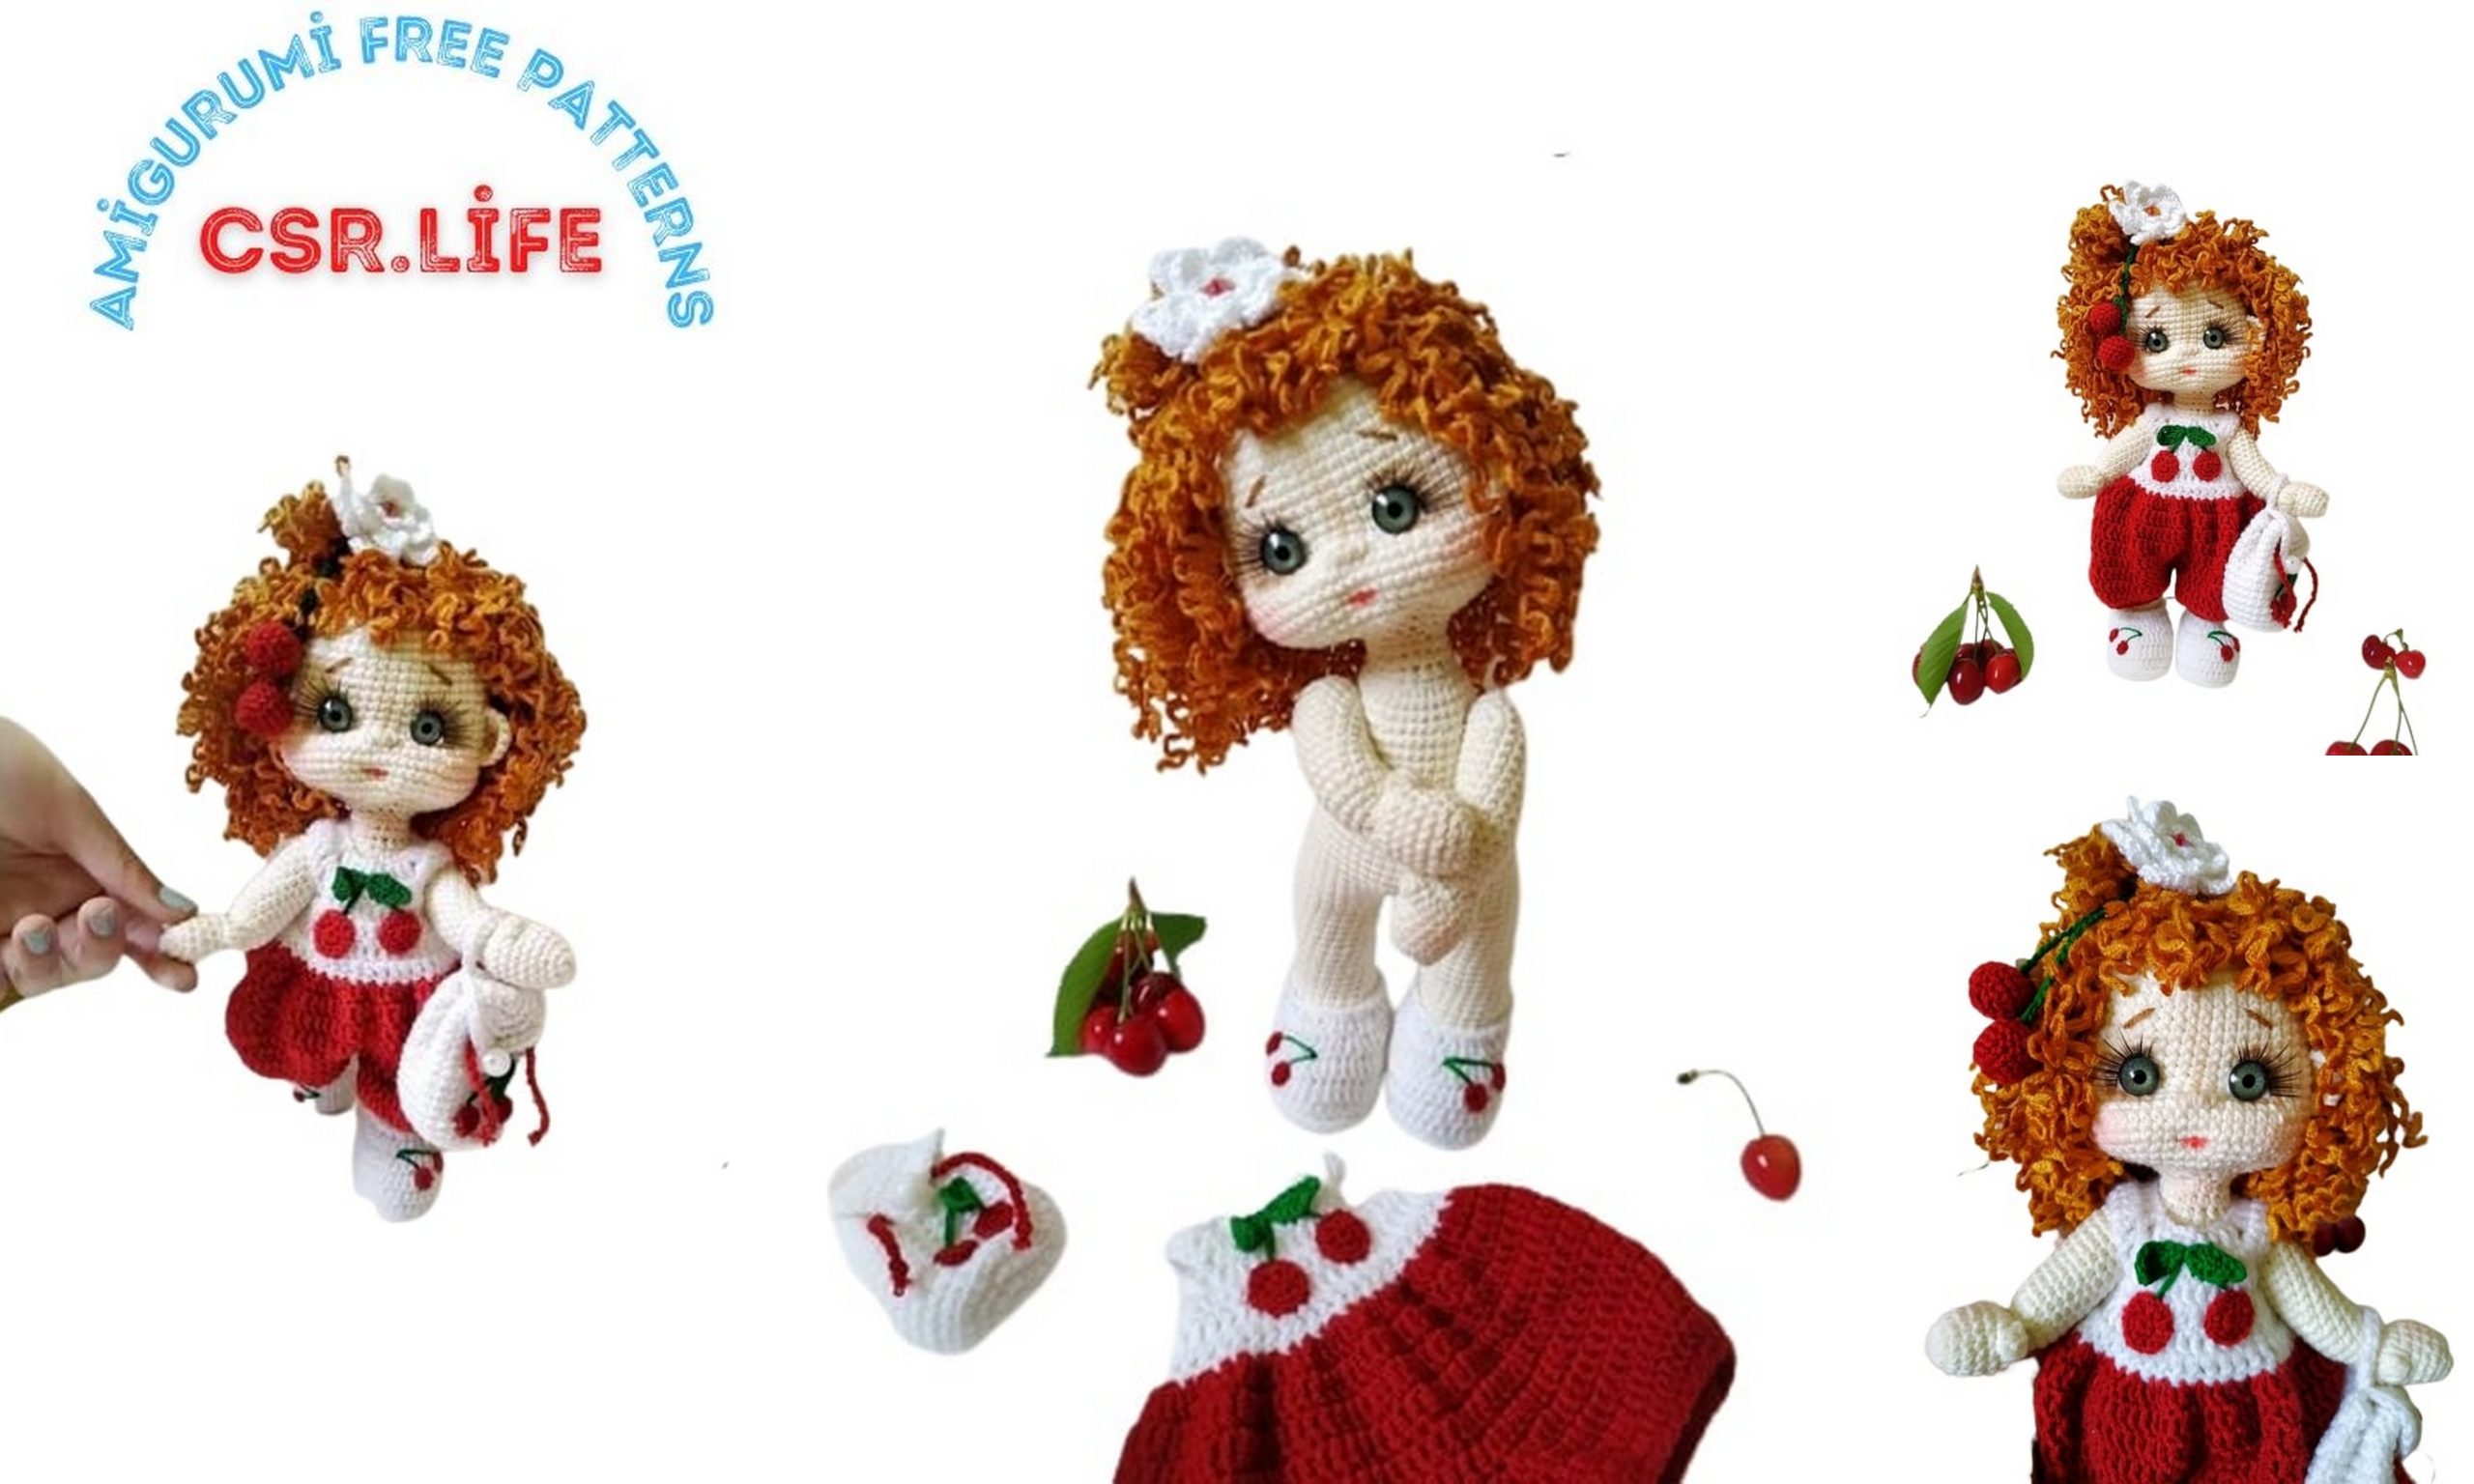
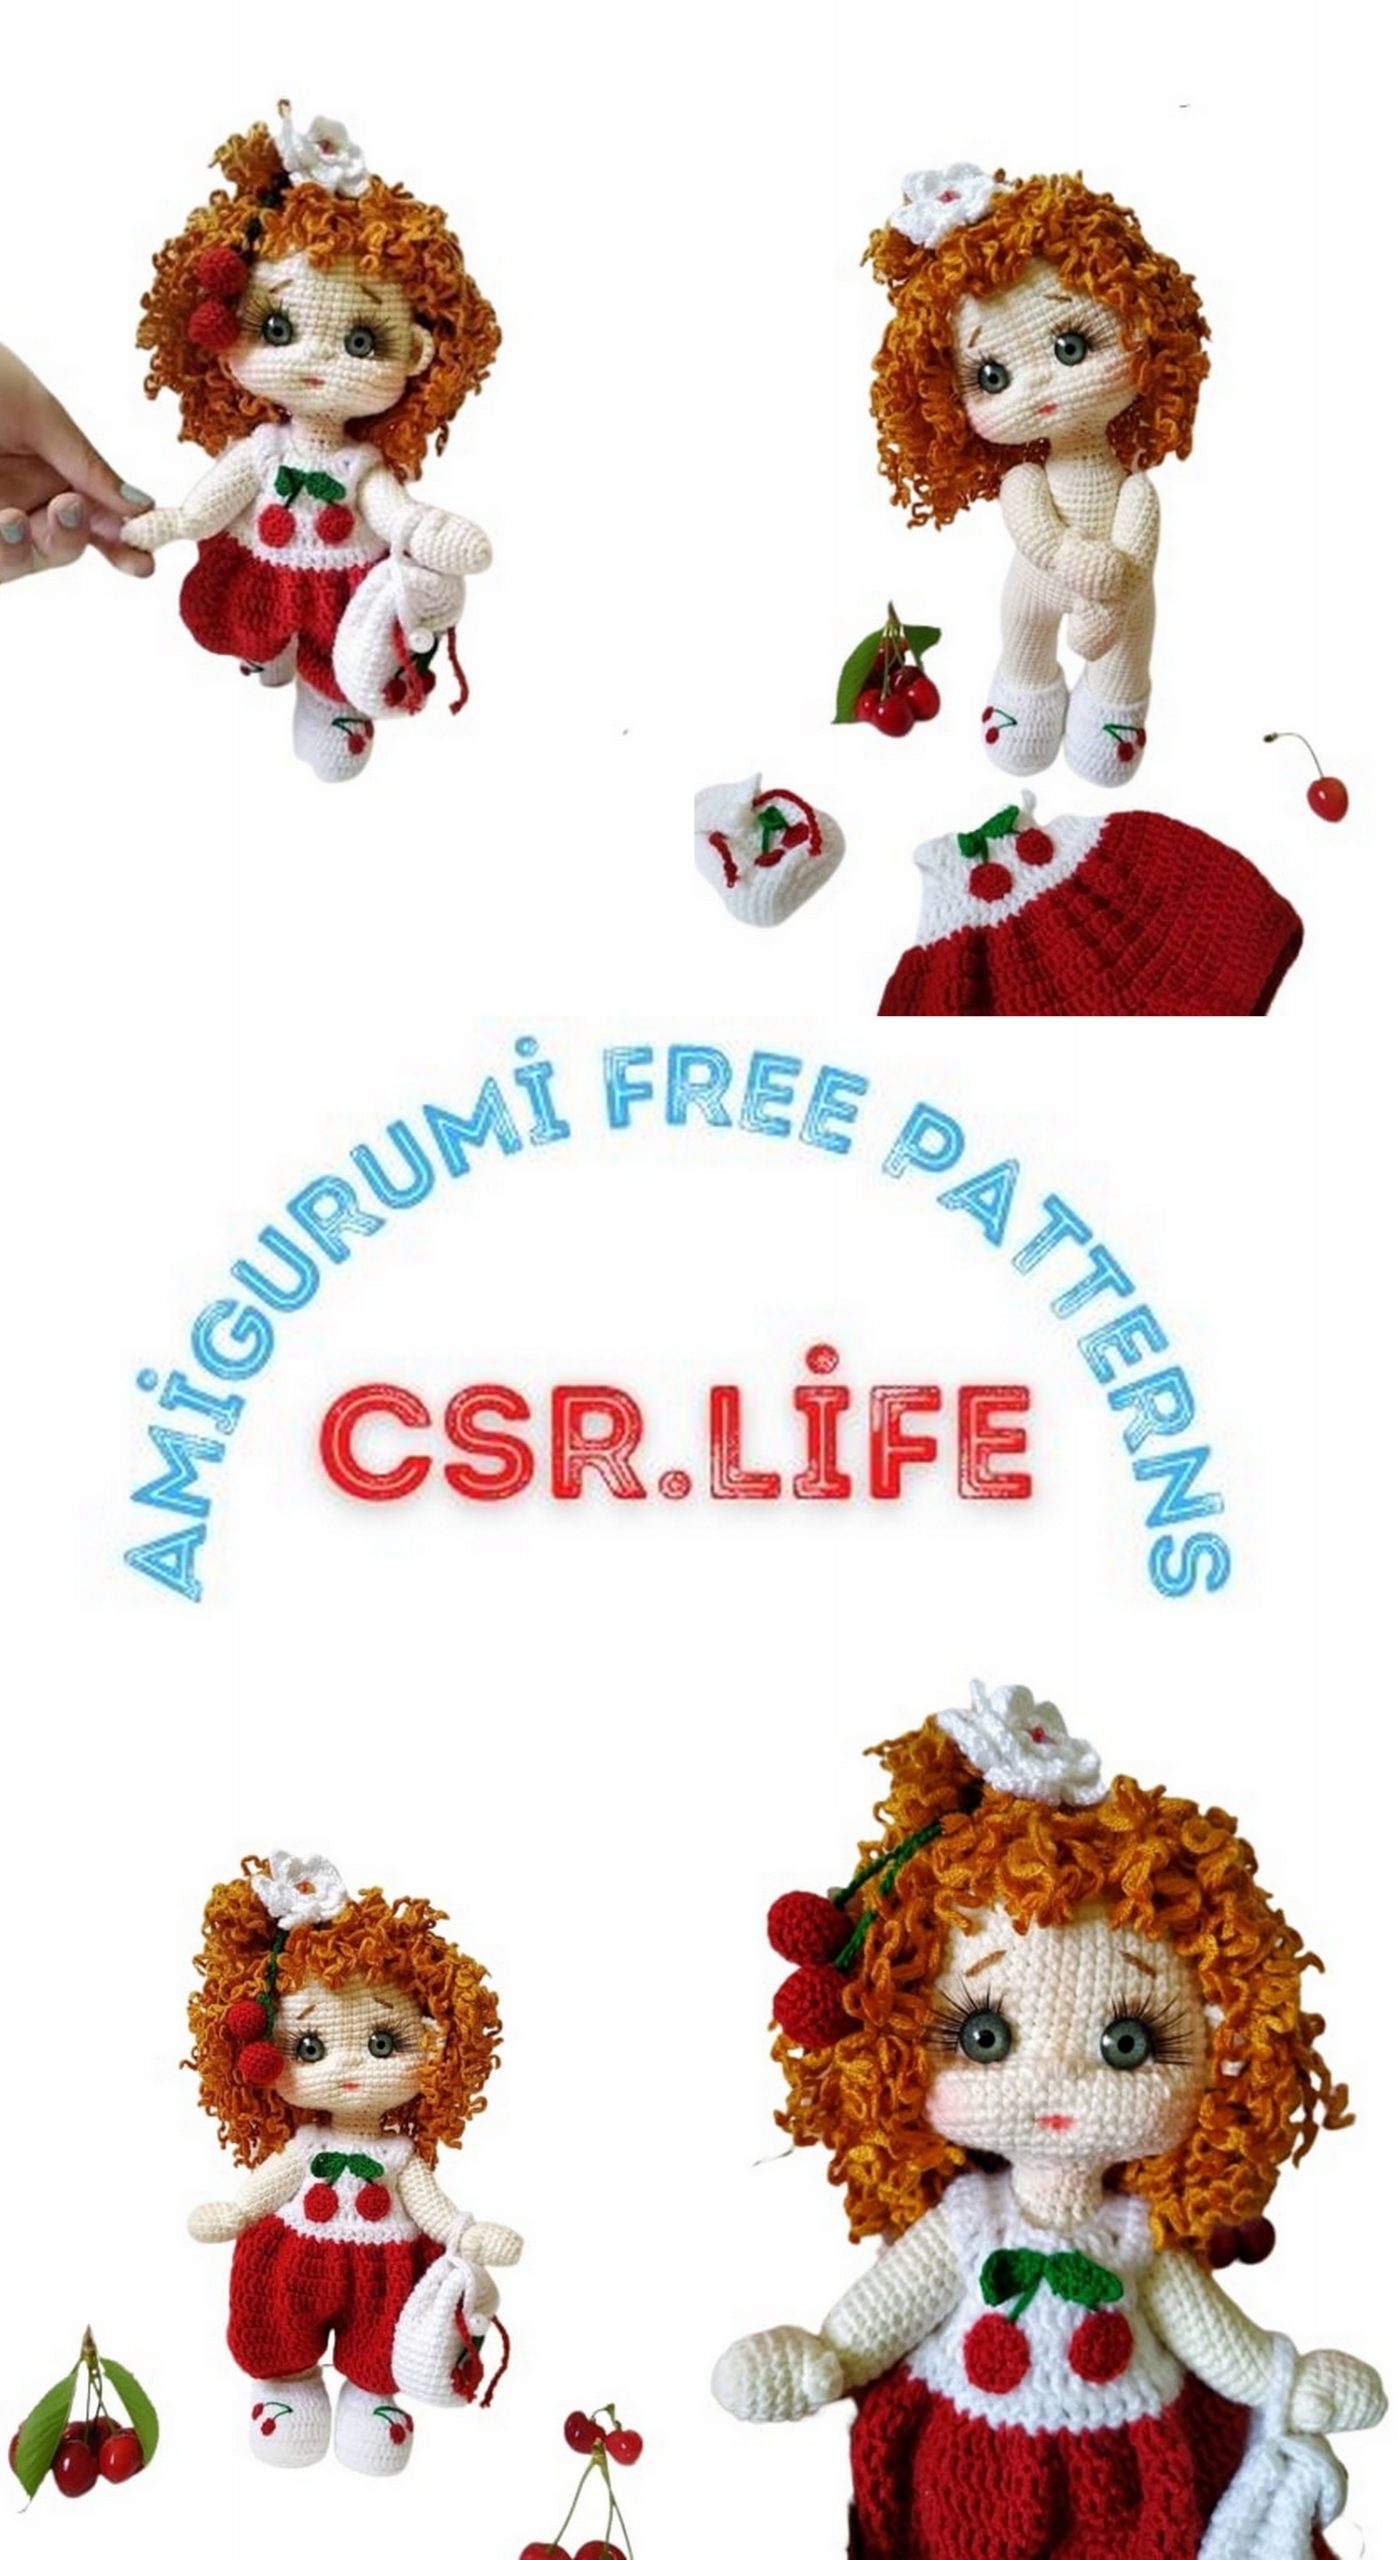
Cherry Doll Amigurumi Free Pattern
Beautiful amigurumi doll patterns are here for you for free. I shared with you the amigurumi cherry doll pattern in this article.
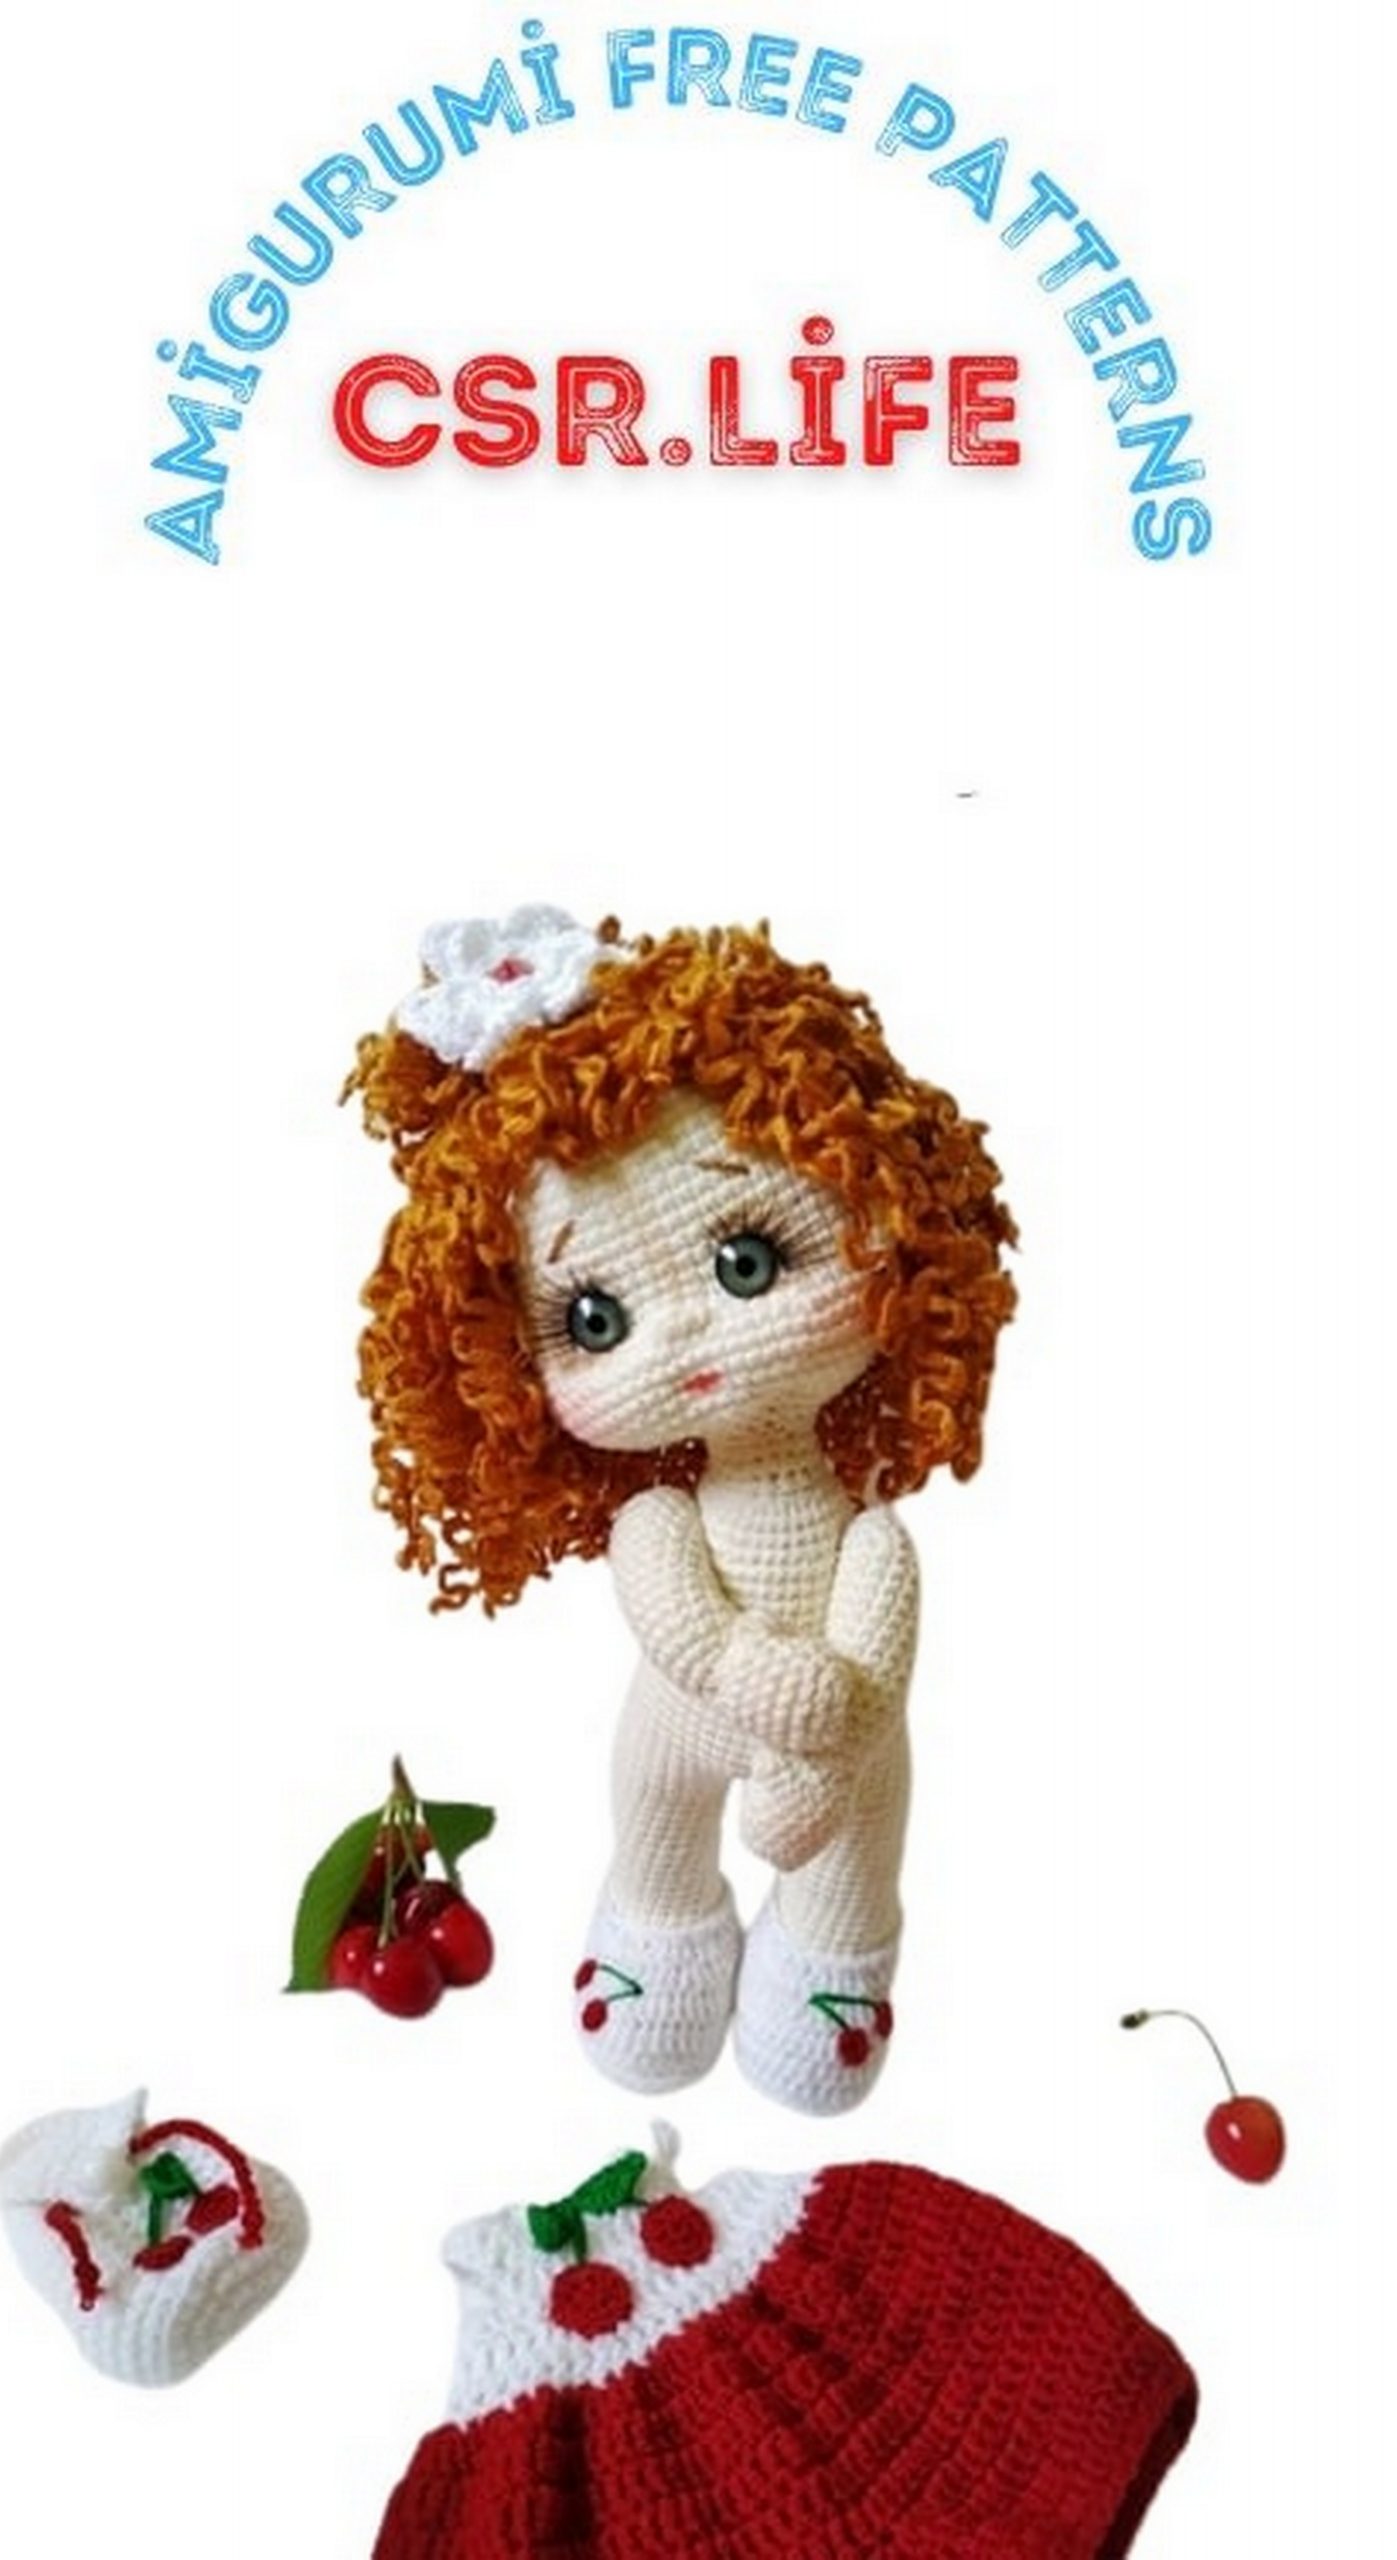
Pupa with my materials 26cm.
We need:
– Yarn for the torso Jeans from YarnArt, color 03, (50g-160m), as well as a little white for shoes, a backpack and the top of the overalls. Hook 1.75, 1.5 and 3 for backpack
– Yarn for pants from Kristal kartopu overalls (100g / 450m), hook 1.75
– A little green floss and 0.85 hook
– Yarn for hair acrylic Anti-Pilling from Kartopu (100gr-160m) or any other at your discretion. You can also use textured yarn or tresses.
– Knitting needles number 6, if you will make hair from yarn
– long needle for tightening
– strong thread for tightening the color of the yarn or dental floss
– filler
– cardboard for shoe insoles
– Glue Moment Crystal, or other transparent glue, as you are used to working.
– Eyes (1cm – 1.2cm) or half beads, false eyelashes
– a little white felt (for the white of the eyes)
– pastel for toning (can be replaced with dry shadows and blush). Brushes.
– a piece of wire 0.2 cm for the body about 60 cm, a little thinner than the wire for handles is not a large piece.
– decoration to create the image you have conceived.
Abbrevations:
ch – chain
sc – single crochet
inc – increase
dec- decrease
HDC-half double crochet
DC -Double crochet
INCDC – increase from a column with one crochet
sl-st-slip stitch
Knit with the front side in a spiral, unless otherwise indicated.
Keep an eye on the marker if necessary, instructions will be given in the description.
Head
(We knit in a circle, it is not necessary to follow the marker)
1 row) 6 sc in amigurumi ring
2 row) 1 inc x 6 times -12 sc
3 row) (sc, 1 inc) x 6 times – 18 sc
4 row) sc, inc, (2 sc, 1 inc) x 5 times, sc – 24 sc
5 row) (3 sc, 1 inc) x 6 times – 30 sc
6 row) 2sc, inc, (4sc, 1 inc) x 5 times, 2sc – 36 sc
7 row) (5 sc, 1 inc) x 6 times – 42 sc
8 row) 3sc, inc, (6 sc, 1 inc) x 5 times, 3sc – 48 sc
9 row) (7 sc, 1 inc) x 6 times – 54 sc
10-21row) – 54 sc
22 row) (2 sc, 1 inc) x 9 times, 1 inc, (we have cheeks here), 26 sc-64sc
23row) inc, 31sc, inc, 31sc – 66sc
24-25 rows). 66 sc
26 row) (9sc, 1 dec) x 6 times – 60 sc sc
27 row) 4 sc, 1 dec, (8sc, dec) x 5 times, 4 sc – 54 sc
28 row) (7 sc, 1 dec) x 6 times – 48 sc
29 row) 3sc, dec, (6sc, dec) x 5 times, 3sc – 42sc
30 row) (5sc, dec) x 6 times – 36sc
We begin to stuff our head.
31 row) 2 sc, 1 dec, (4sc, dec) х5 times, 2sc- 30sc sc
32 row) (3sc, dec) x 6 times -24sc
33row) sc, dec, (2sc, dec) х 5 times, sc – 18sc
Fasten the thread and leave a long end for sewing.
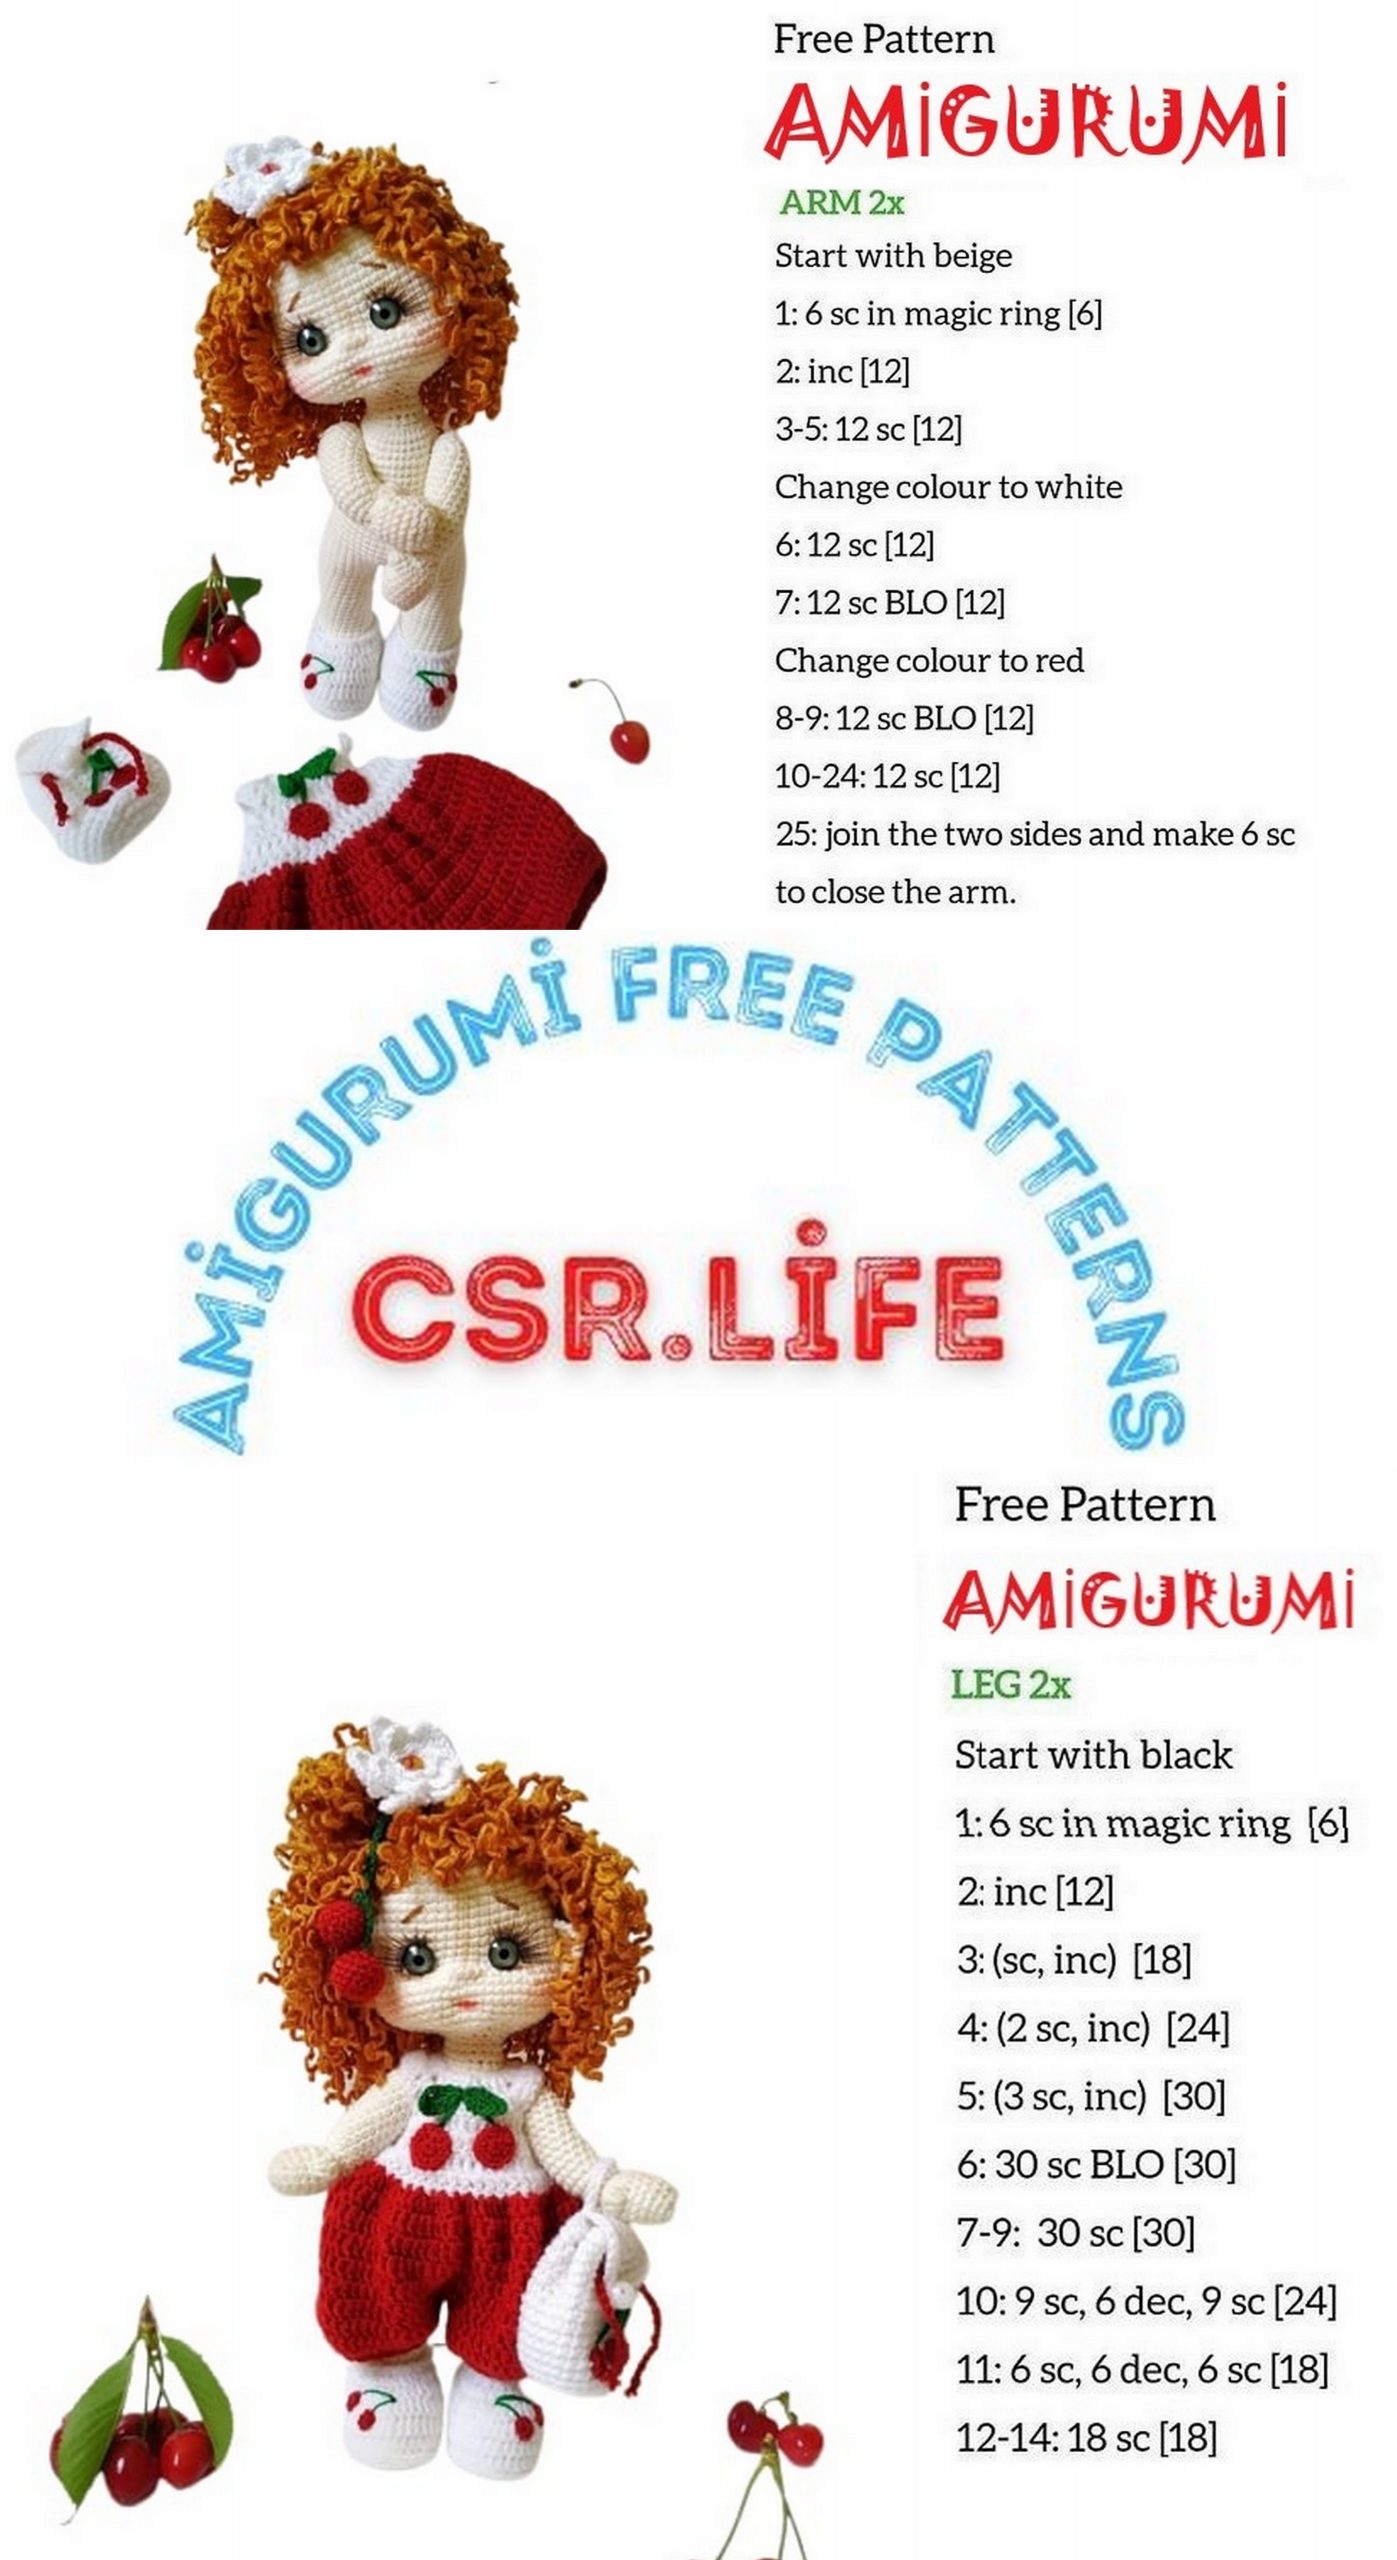
Arms
(marker runs along the edge of the handle)
Cast on a chain of 5ch, in the second from the hook, knit along the oval:
1row) inc, 2sc, 4sc in one loop, 2 sc, inc -12sc
2row) 12sc
3row) (1sc, inc) x6raz -18sc
4-6rows) 18sc
7row) 9sc, one loop 3HDC, 8sc -20sc
8row) 20sc
9row) (1sc, dec) x3 times, dec of 3 loops, dec (1sc, dec) x2 times -12sc
10row) (1sc, dec) x 4 times -8sc
11row) (inc) x 8 times -16sc
Fill the palm a little and insert a piece of wire 7.5 – 8 cm long, having previously wrapped it with electrical tape, if it is not braided.
12-24rows). – 16sc (we stuff as we knit)
25row) (2sc, dec) x4 times – 12sc
26row) 12sc (if there is an extra end of the wire, cut it off and finally fill the handle)
27row) 6dec
Close the hole with a thread and a needle. Tie the second handle in the same way.
Legs
We begin to knit with the color of the shoes. The marker runs along the center of the heel, make offset loops if necessary.
Cast on 9 ch, start knitting from the second loop from the hook:
1row) 7sc, 3sc single loop, 6sc, inc -18sc
2row) inc, 6 sc, 3inc, 6sc, 2inc – 24sc
3row) 1sc, inc, 6sc, (1sc, inc) x3 times, 6sc, (1sc, inc) x2 times – 30sc
4row) 2sc, inc, 6sc, (2sc, inc) х3 times, 6sc, (2sc, inc) х 2 times – 36sc
5row) 3sc, inc, 6sc, (3sc, inc) x3 times, 6sc, (3sc, inc) x2 times -42sc.
Cut the insole to the shape of the sole. Also, take a piece of wire (about 30cm), twist one end into a loop slightly smaller than the sole. Secure the loop with tape or tape. This segment will further enter the head of the pupa.
6row) knit for the back half loops 42hdc (knit hdc tighter so that the shoe keeps its shape)
7-8rows) – 42hdc
9row) 10 hdc, dec from hdc, (2hdc, dec from hdc) x5 times, 10hdc -36hdc
Insert the insole.
10row) 9hdc, dec from hdc, (1hdc, dec from hdc) x5 times,
10hdc -30 hdc
11row) knit for the front half loops and go to sc: 9sc, 6dec, 9sc -24sc. Break the thread.
For the back loops of the 11th row we knit with the color of the body:
12row) 9 sc, 6dec, 9sc -24sc. Insert the wire and fill the shoe.
13 -27rows) 24sc (fill as you knit).
Break the thread. Tie the second leg in the same way, but do not break the thread, knit an additional 6 sc.
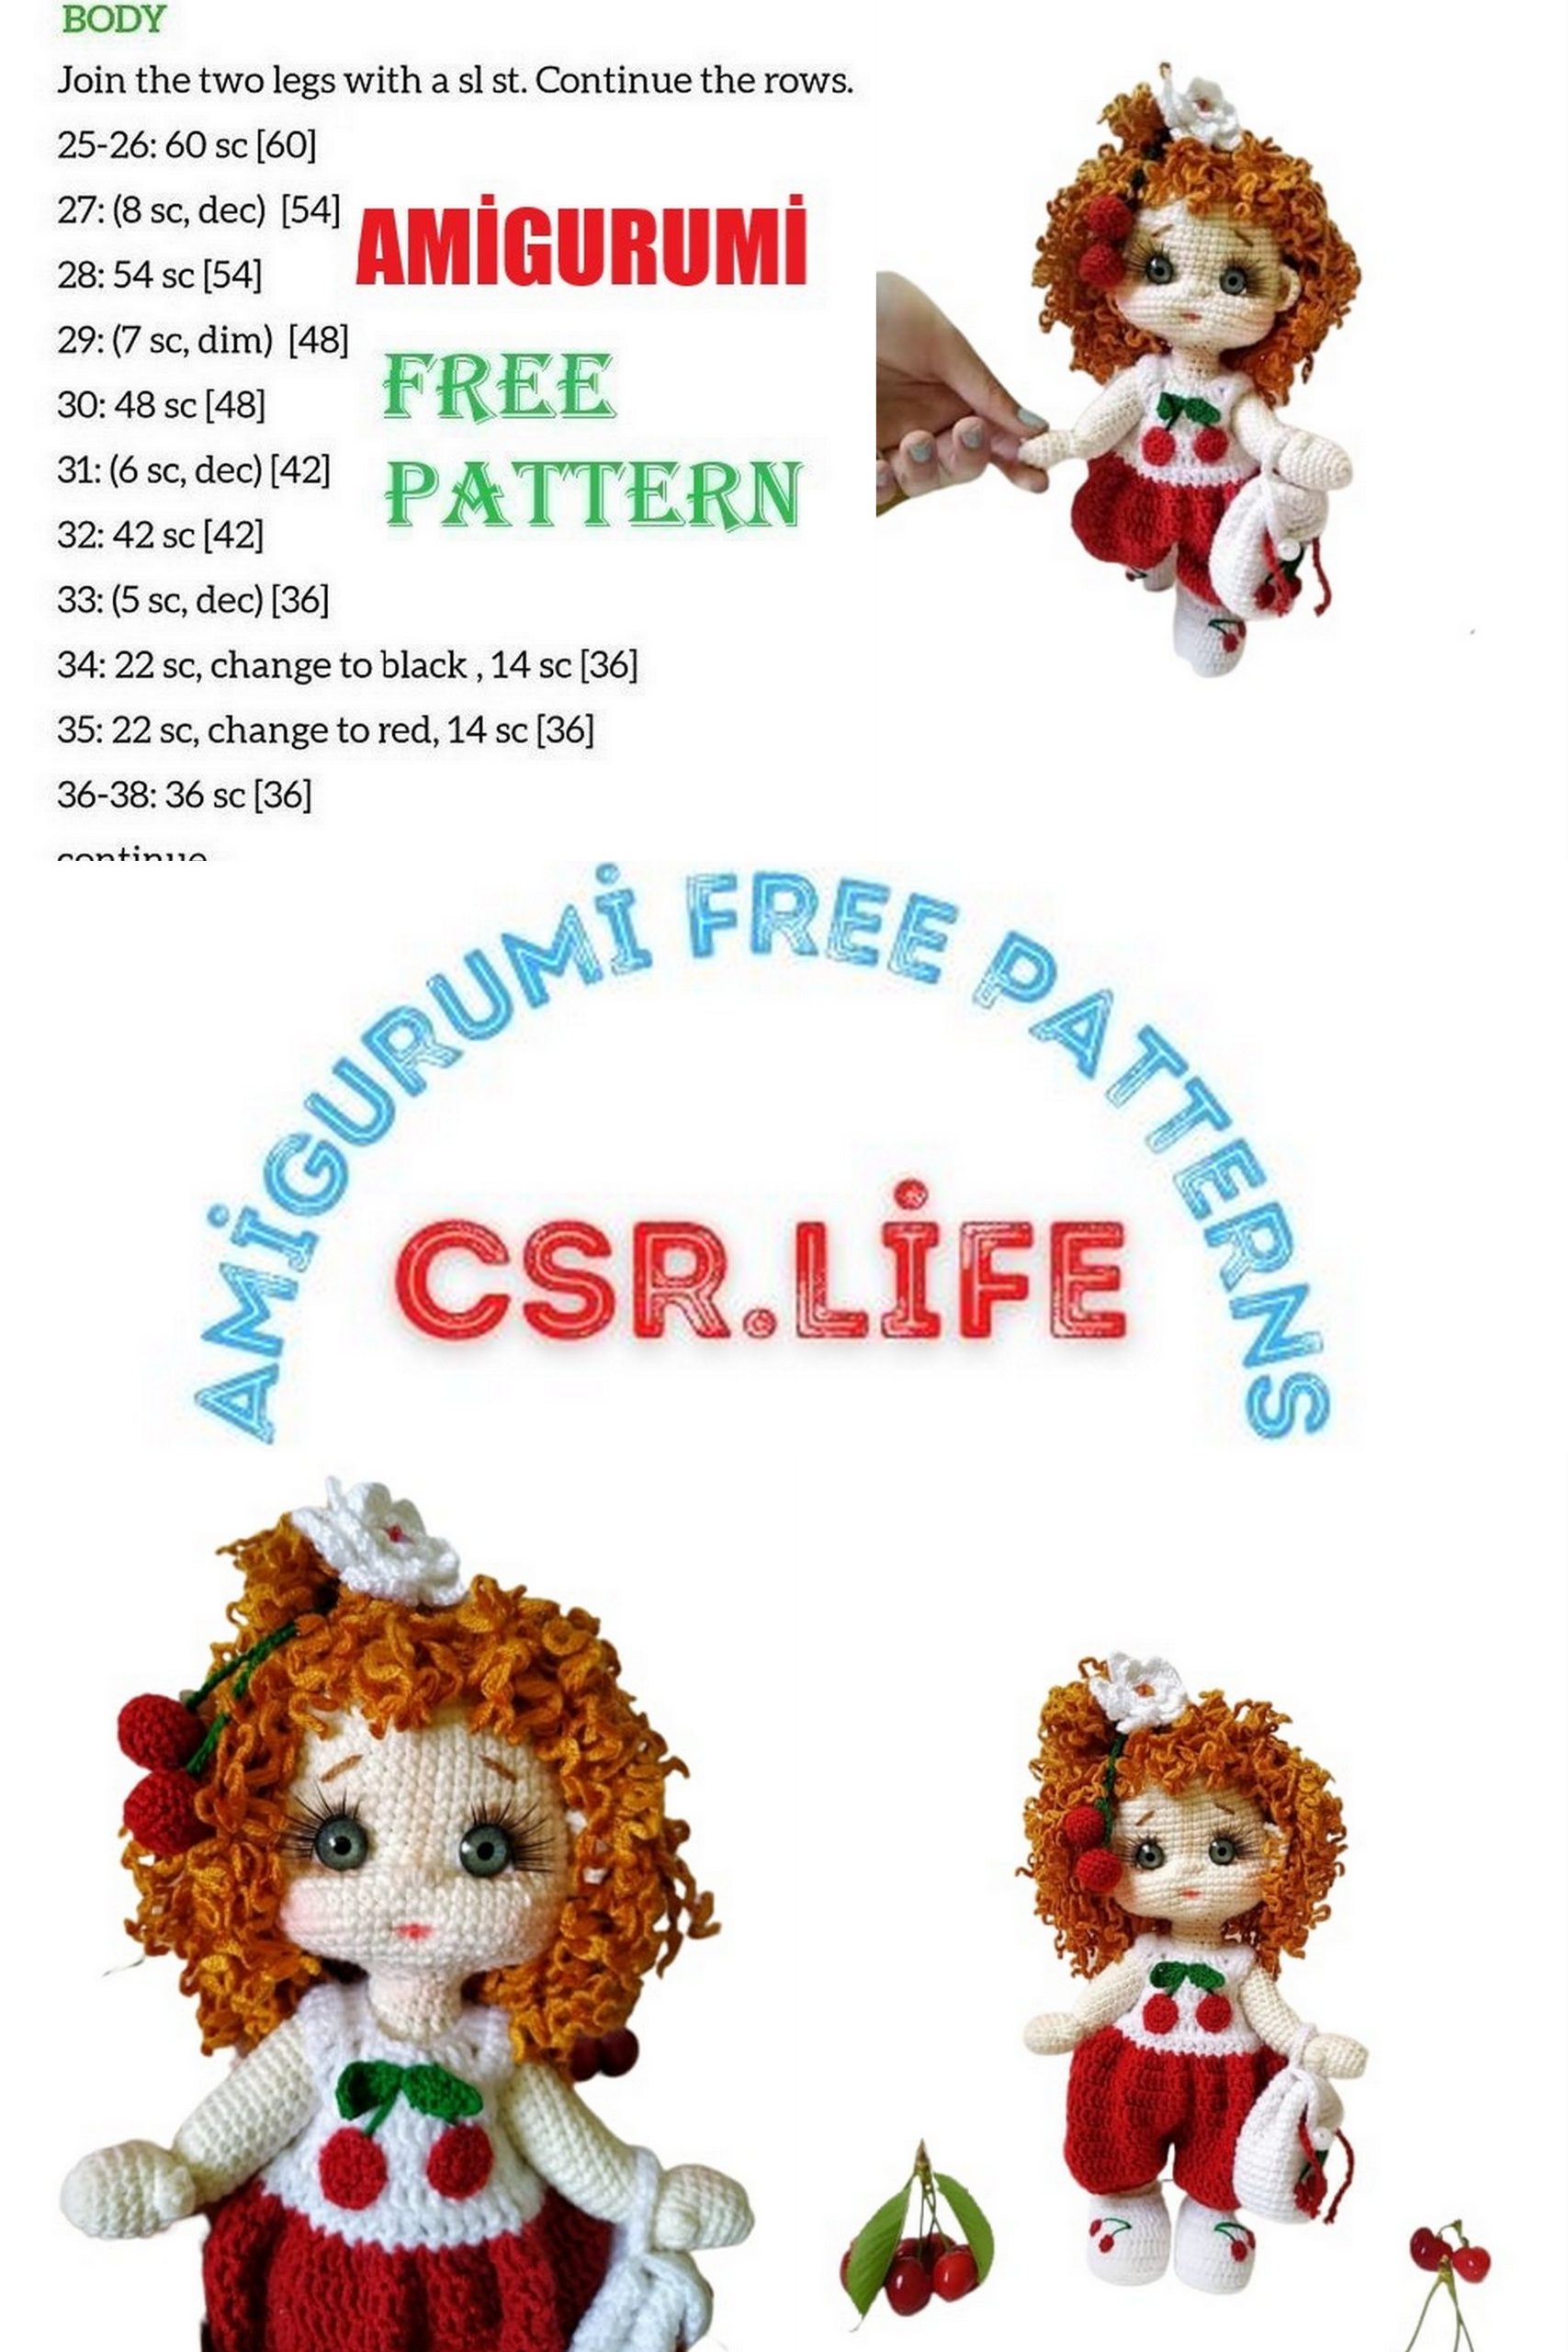
Compound
1row) Turn the legs towards you with the heels, dial 3ch from the second leg and connect with the first with sc. The marker will continue to be on the back. A jumper of three air loops is tied on both sides.
24sc on one leg, 3sc on the bridge, 24sc on the other leg, 3sc on the bridge – 54 sc.
We put a marker.
2-3rows) – 54 sc (we connect the wires together with electrical tape)
Then fill the body as you knit.
4row) (7sc, dec) х6 times – 48sc
5-9rows). 48sc
10row) (6sc, dec) x6 times – 42sc
11-17rows) 42 sc
18row) (5sc, dec) x6 times – 36 sc
19- 22row) – 36 sc
23row) (4sc, dec) x6 times – 30sc
24-25row) – 30sc
26row) 3sc, 11dec, 1sc, dec, 2sc- 18sc
Finally fill the carcass.
27-28rows) 18sc. Stuff the neck, break the thread and fasten.
Assembly
Put your head on the wire. Sew loop to loop in a circle. You can pre-fix the head with pins and bast.
Going down 8 rows from the top of the neck, sew the handles with thread fastening. For convenience, at the beginning, install the pins on both sides, go several times through the body back and forth, and only then sew the handles with a thread fastener.
Overalls
Dial 26sc in white. Hook 1.5 (yarn of the same meter as the body itself)
1 row) from the 3rd loop from the hook we knit: 4 dc, 2 ch, 4 dc, 2 ch, 8 dc, 2 ch, 4dc, 2 ch, 4 dc –32 loops, turn
2 row) 2 ch, 3dc, 1 incdc, v, 1 incdc, 2dc, 1 incdc, v, 1 incdc, 6dc, 1 incdc, v, 1 incdc, 2dc, 1 incdc, v, 1 incdc, 3 dc – 48loops , turn
3row) 2ch, 6dc, 1dc into the arch, 6ch, dc into the next arch, 12dc, 1dc into the arch, 6ch, dc into the next arch, 6dc- 40loop, turn
4row) 2ch, 7dc, 6dc chain, 14dc, 6dc chain, 7dc- 40dc turn
5row) 2ch, (7dc, inc) х5 times- 45dc, turn
6row) 2ch, (8dc, inc) х5 times- 50dc, rotation
We cut off the white thread and fasten the red thread.
The yarn should be slightly thinner, in my case it is Crystal and a hook, 1.75
7row) 2ch, (dc, 3dc in one loop) x to the end of the row – 100dc, connect the beginning and end of knitting sl-st, then knit in a circle
8-12rows) -100dc
13row) 2ch, 50dc and connect to the beginning of the row. So we divide our knitting into two parts to knit the panties. Then knit each pant leg separately.
14-16rows) -2ch, dc to end of row, sl-st-50dc
17row) dec from sc to end of row, sl-st. Break the thread and hide.
Tie the second leg in the same way.
Tie the clasp of the jumpsuit. Sew on buttons and make eyelets. The clasp can be replaced with a lacing.
Cherries
For cherries, knit two circles, from the same yarn as the pants:
1row) 6 sc INTO MAGIC RING
2row) 6inc, sl-st.
Sew on to the dress, embroider the stalks of the floss.
Leaf (knit from floss, hook-0.85)
Cast on 5ch and knit from second loop:
sc, hdc, dc, 2hdc in one loop, 2 ch and in the second loop of the sc chain, then knit on the other side of the leaf: 2hdc, dc, hdc, sc, sl-st.
Sew the leaves to the cherries.
The shoes can also be decorated with cherries by knitting 6 sc INTO MAGIC RING, sl-st from thinner yarn and embroidering the stems.
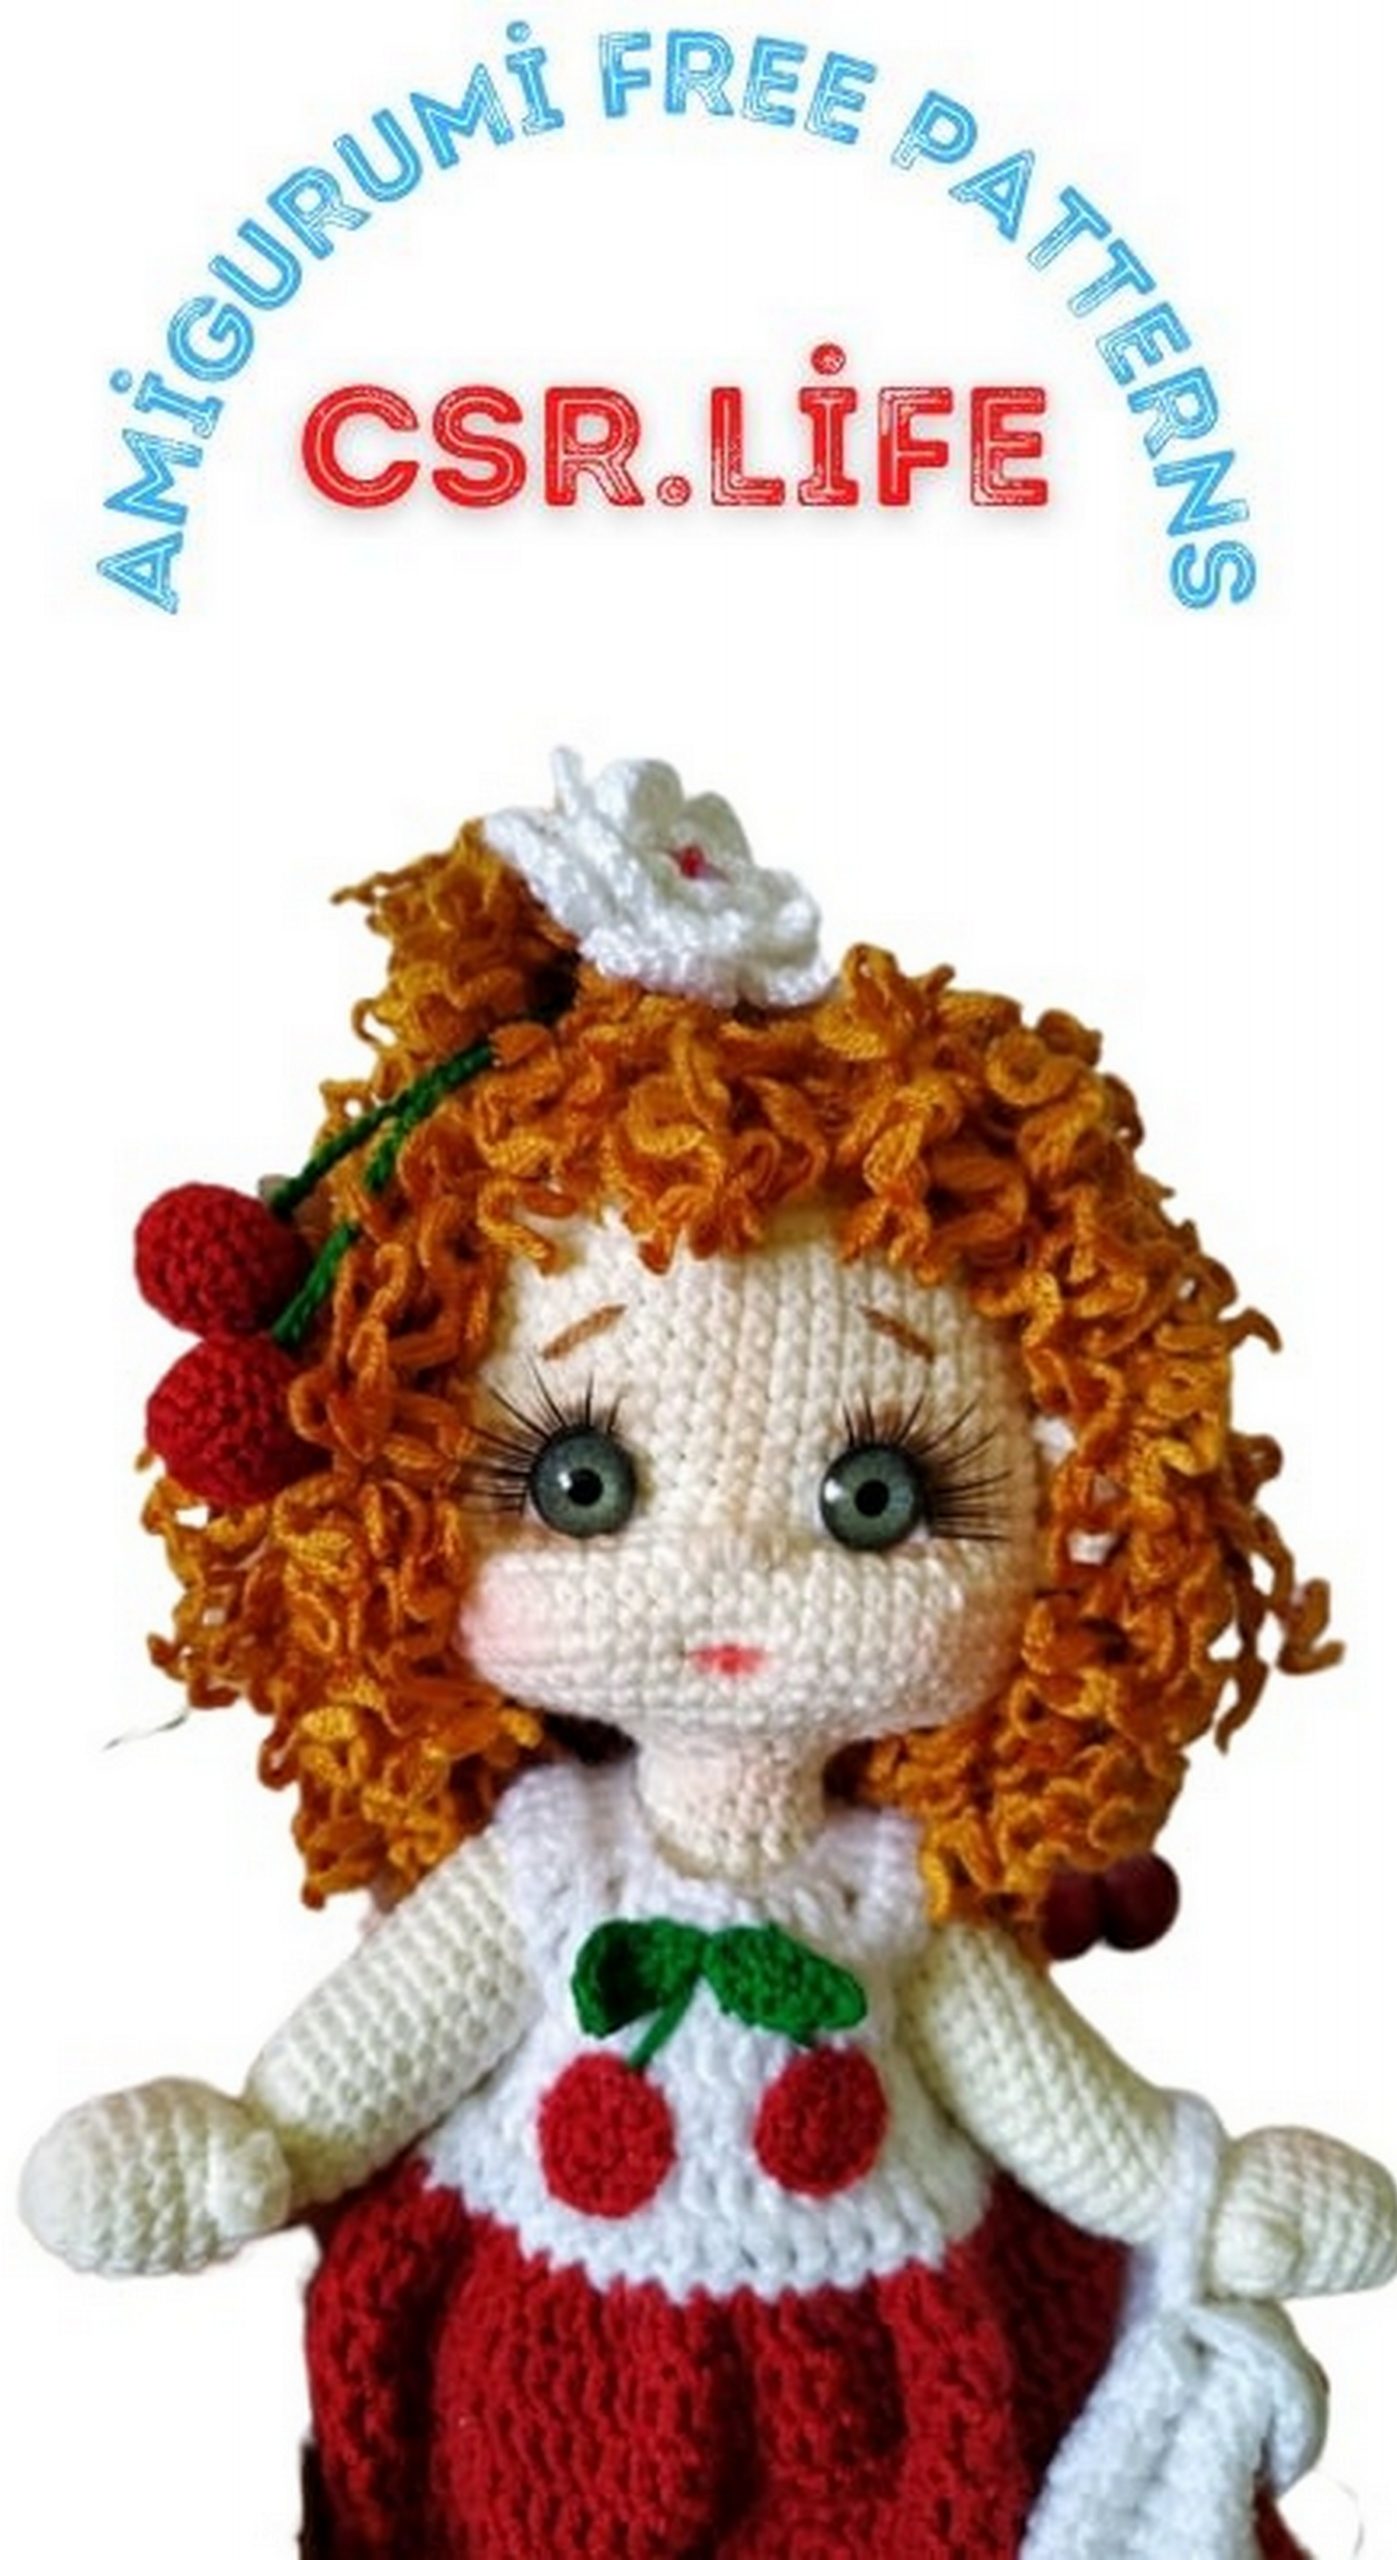
Tightening and face shaping
Eye sockets
Going down the 18th row from the beginning of the head, put a yellow pin, retreating 2 loops, put a blue one. Having retreated 5 loops from the yellow pin, we put the blue one, having retreated from it 2 loops, we put the white one. Under the chin, going down 11 rows from the pins for the eye sockets, parallel to the top pins, put red pins on both sides.
We go into the red pin, after leaving the long end of the thread, go out into the yellow one, put a stitch on the top, go into the blue one and exit again into the red pin from which we began to tighten the eye socket.
We pull the ends of the threads tight enough, tie them into 2 knots and hide them in the head.
Similarly, we make tightenings on the second side.
Mouth tightening
Having gone down to the 5th row from the eye sockets, at a distance of 2-3 loops from each other, we install two pins.
We go with the needle from the back of the head, leaving the long end of the thread and go out into one of the pins, put a stitch along the top and return again to the back of the head through another pin.
We tighten the ends of the threads a little and, tying them, we hide them in the head.
Do not worry if a small chadinka appears on the back of your head; when attaching your hair, we will close it.
Registration
Cut out squirrels from felt and glue in place of the eye sockets. To do this, place the pupil on the felt, circle it, giving the chosen shape and cut out. Make sure that your protein in the upper part does not come out from under the pupil, otherwise the doll will have a frightened expression on his face.
We glue the proteins in the place of the eye sockets, and glue the pupils along the top.
We embroider the nose with the same yarn as we knitted the head, stepping back from the eyes two rows down.
Sew some vertical stitches.
Tint the area near the eye sockets, cheeks and the area above the nose. Apply tinting a little at a time. For the cheeks, use a larger brush. Tint the mouth with a very thin brush.
Then, using a toothpick, we glue the cilia, having previously cut one cilia in half. Make sure that the hairs from the cilia look up and the length, from the inside of the eye to the outside, goes in ascending order. But, it is best to glue the cilia after the hairstyle, so as not to spoil them.
Embroider the eyebrows with one stitch; note the color. If you have a doll with blond hair, you should not make black eyebrows.
Ears
1row) -6SC INTO MAGIC RING, turn (lifting loops are not needed)
2row) – (1sc, inc) х3 times-9sc, turn
3row) 9sc
Fasten the thread and leave the end to be sewn. Pin at eye level and sew. Toning inside the ears.
Hair
For hair, I used this yarn.
You need to knit the canvas with needles number 6.
Then, steam well with an iron. After the canvas dries, dissolve it, wrap it on a cardboard, cut on one side.
Start fastening from the back of the head, at the level of the ears, using the fringe method.
At the beginning, fasten through the row and after 1-2 loops.
Attach more often to the crown. We go down to the forehead 5-6 rows from the beginning of knitting the head. It took me half a skein for the head of this baby.
We cut off the excess length, style the hairstyle at our discretion.
Bandage
For a bandage, tie a flower (click on the word flower to follow the link). Sew it on a chain of air loops.
Cherry
1row) 6 sc into magic ring
2row) 6 inc -12sc
3 row) (1 sc, inc) x 6 times -18sc
4-6 rows 18 sc
7 row) (1 sc, dec) x 6 times – 12sc (fill the berry)
8row) 6dec. Finally fill and close the hole with a needle and sew to the end of the chain. Tie the second cherry in the same way.
Backpack
(Jeans yarn from YarnArt, hook number 3)
1row) 8 sc into magic ring
2row) 8inc-16sc
3row) (1sc, inc) х 8 times – 24sc
4row) (2sc, inc) х 8 times – 32sc
5row) 32sc for the back half loop
6-16rows) 32sc
17row) (3sc, 1ch, skip 1 loop) x to end of row, end row with ch.
18row) sc in a circle, where the arch is knit sc under the arch. Break the thread and hide.
Valve
1row) 8 sc into magic ring
2row) 8inc-16sc
3row) (1sc, inc) х 8 times – 24sc
4row) 3 sl-st, (2sc, inc) x 3 times, 4ch, (2sc, inc) x 3 times, 3sl-st.
Attach to the backpack and sl-st connect the flap and the back of the backpack. After connecting, do not break the thread.
Cast on 10ch for the handle and connect the chain to the beginning of the valve attachment to the backpack.
Tie the handle 10-12sc. Break the thread and hide.
Make strings from the ch chain and thread through the holes. Pull and tie. Sew on a button and decorate at your discretion!
Our doll is ready!