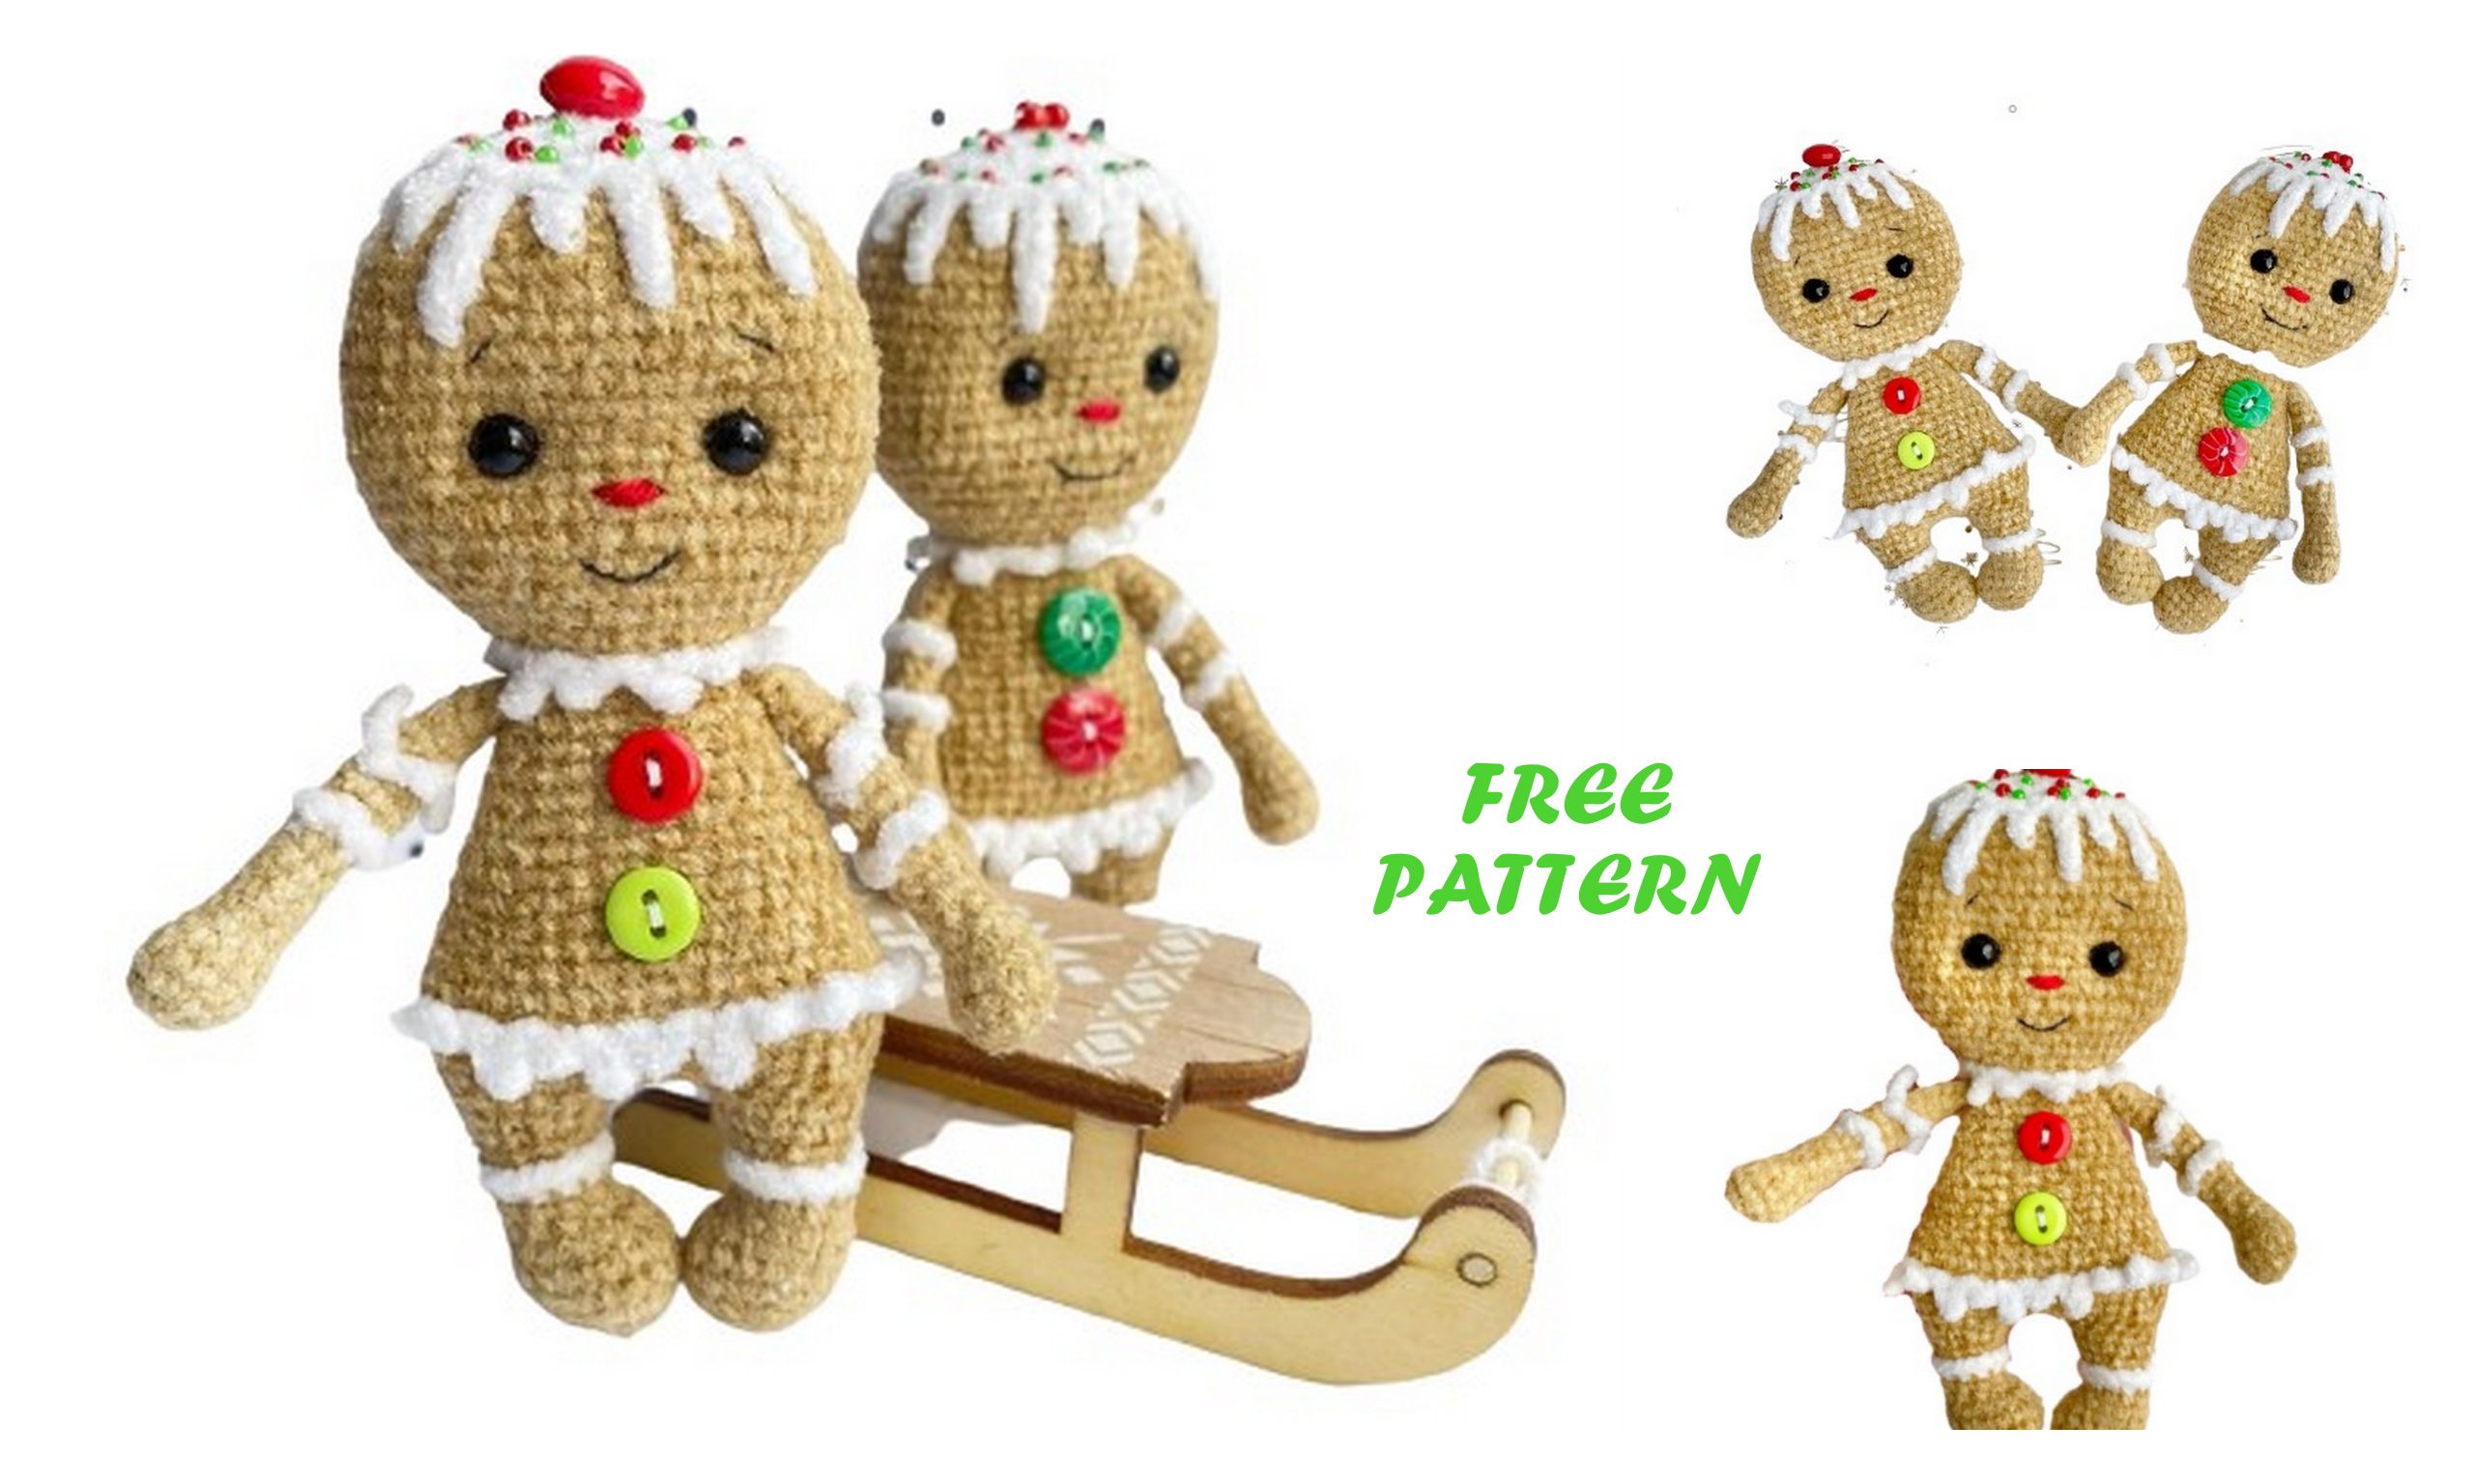
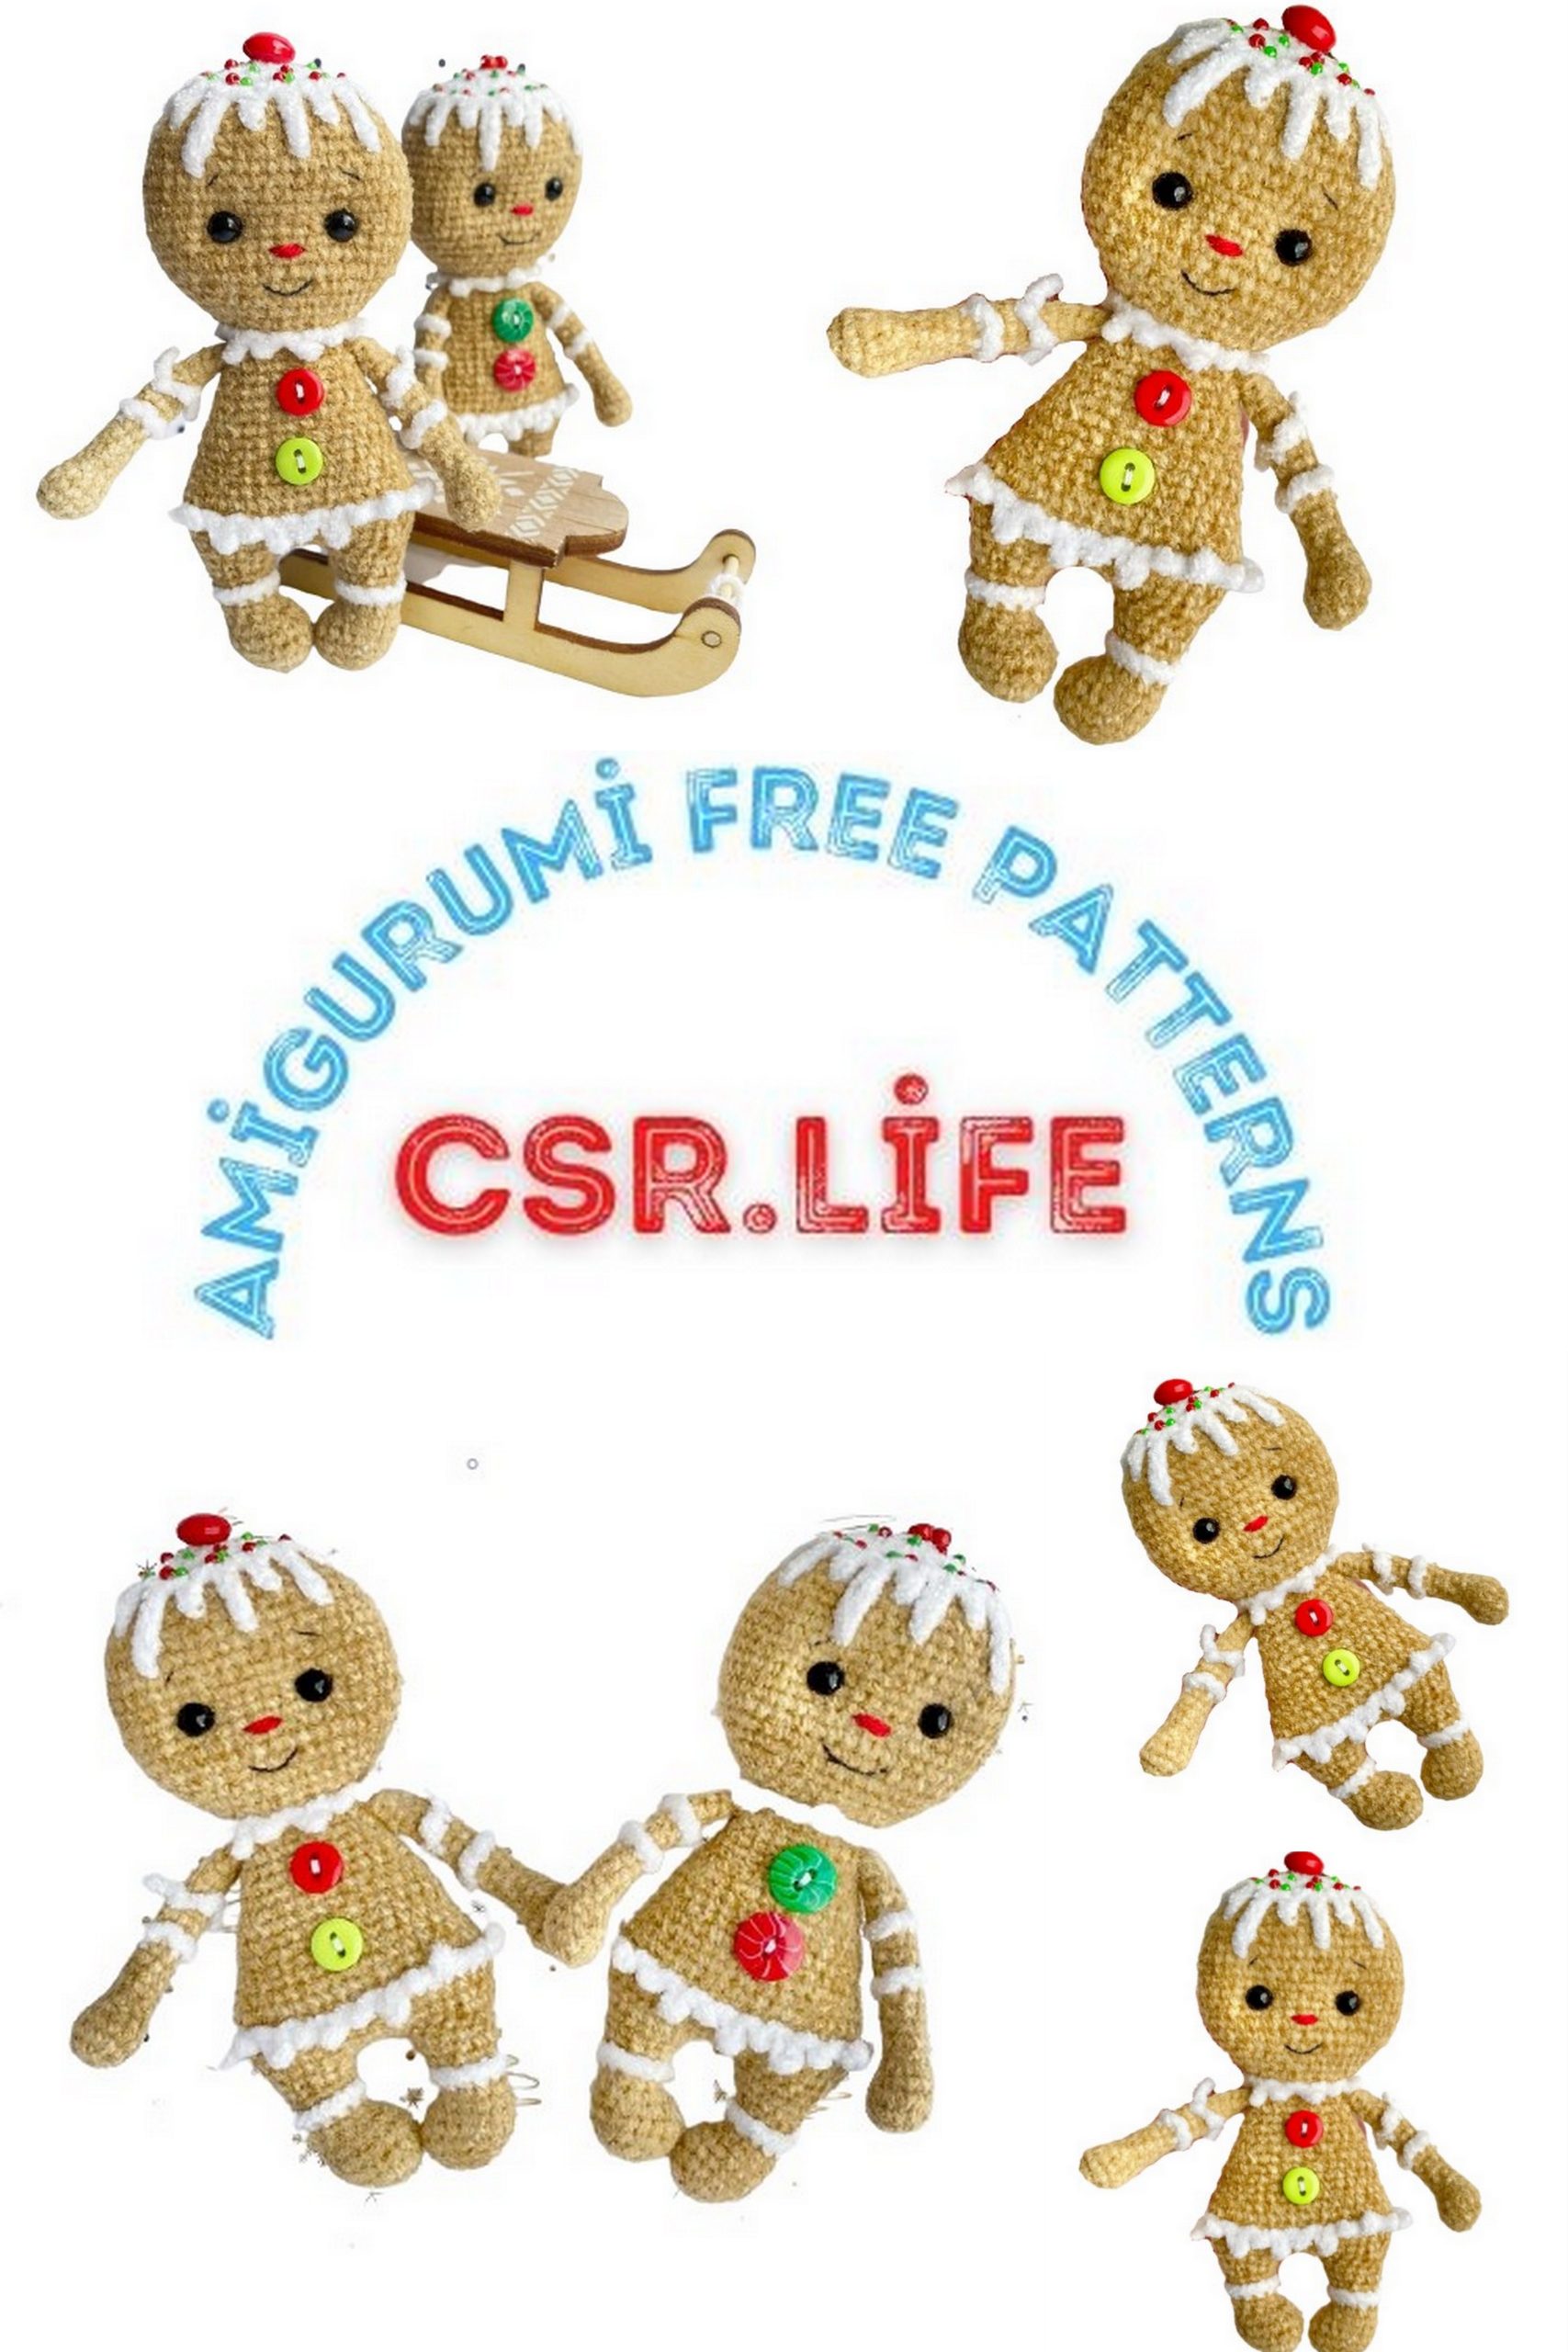
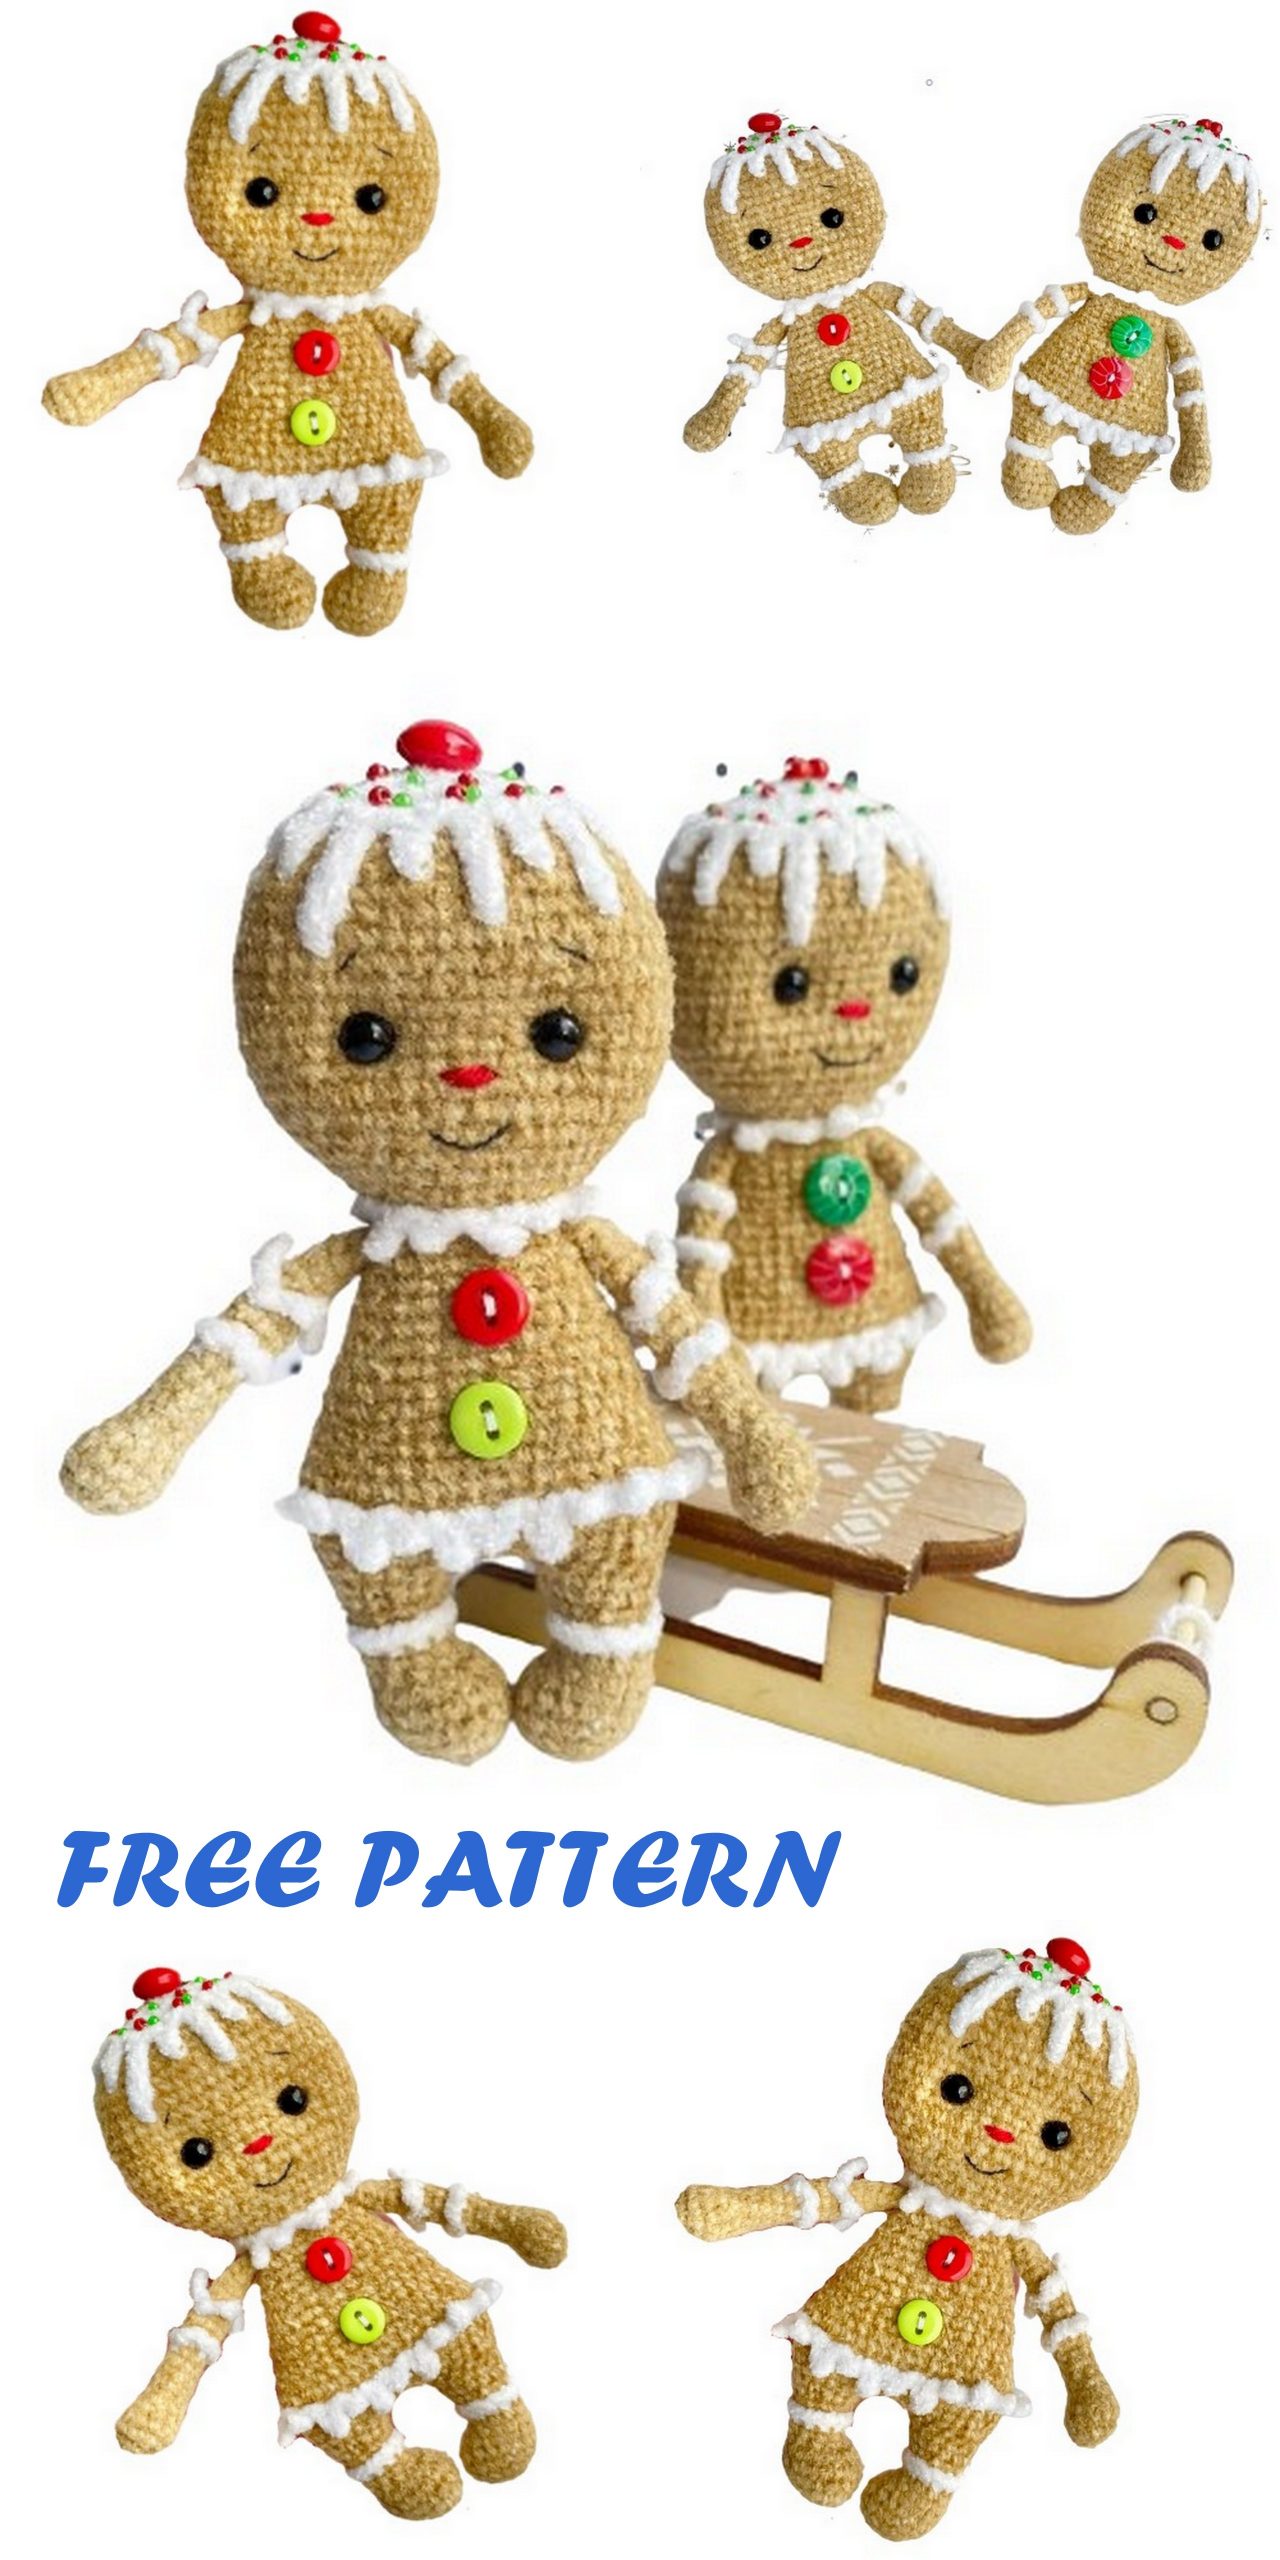
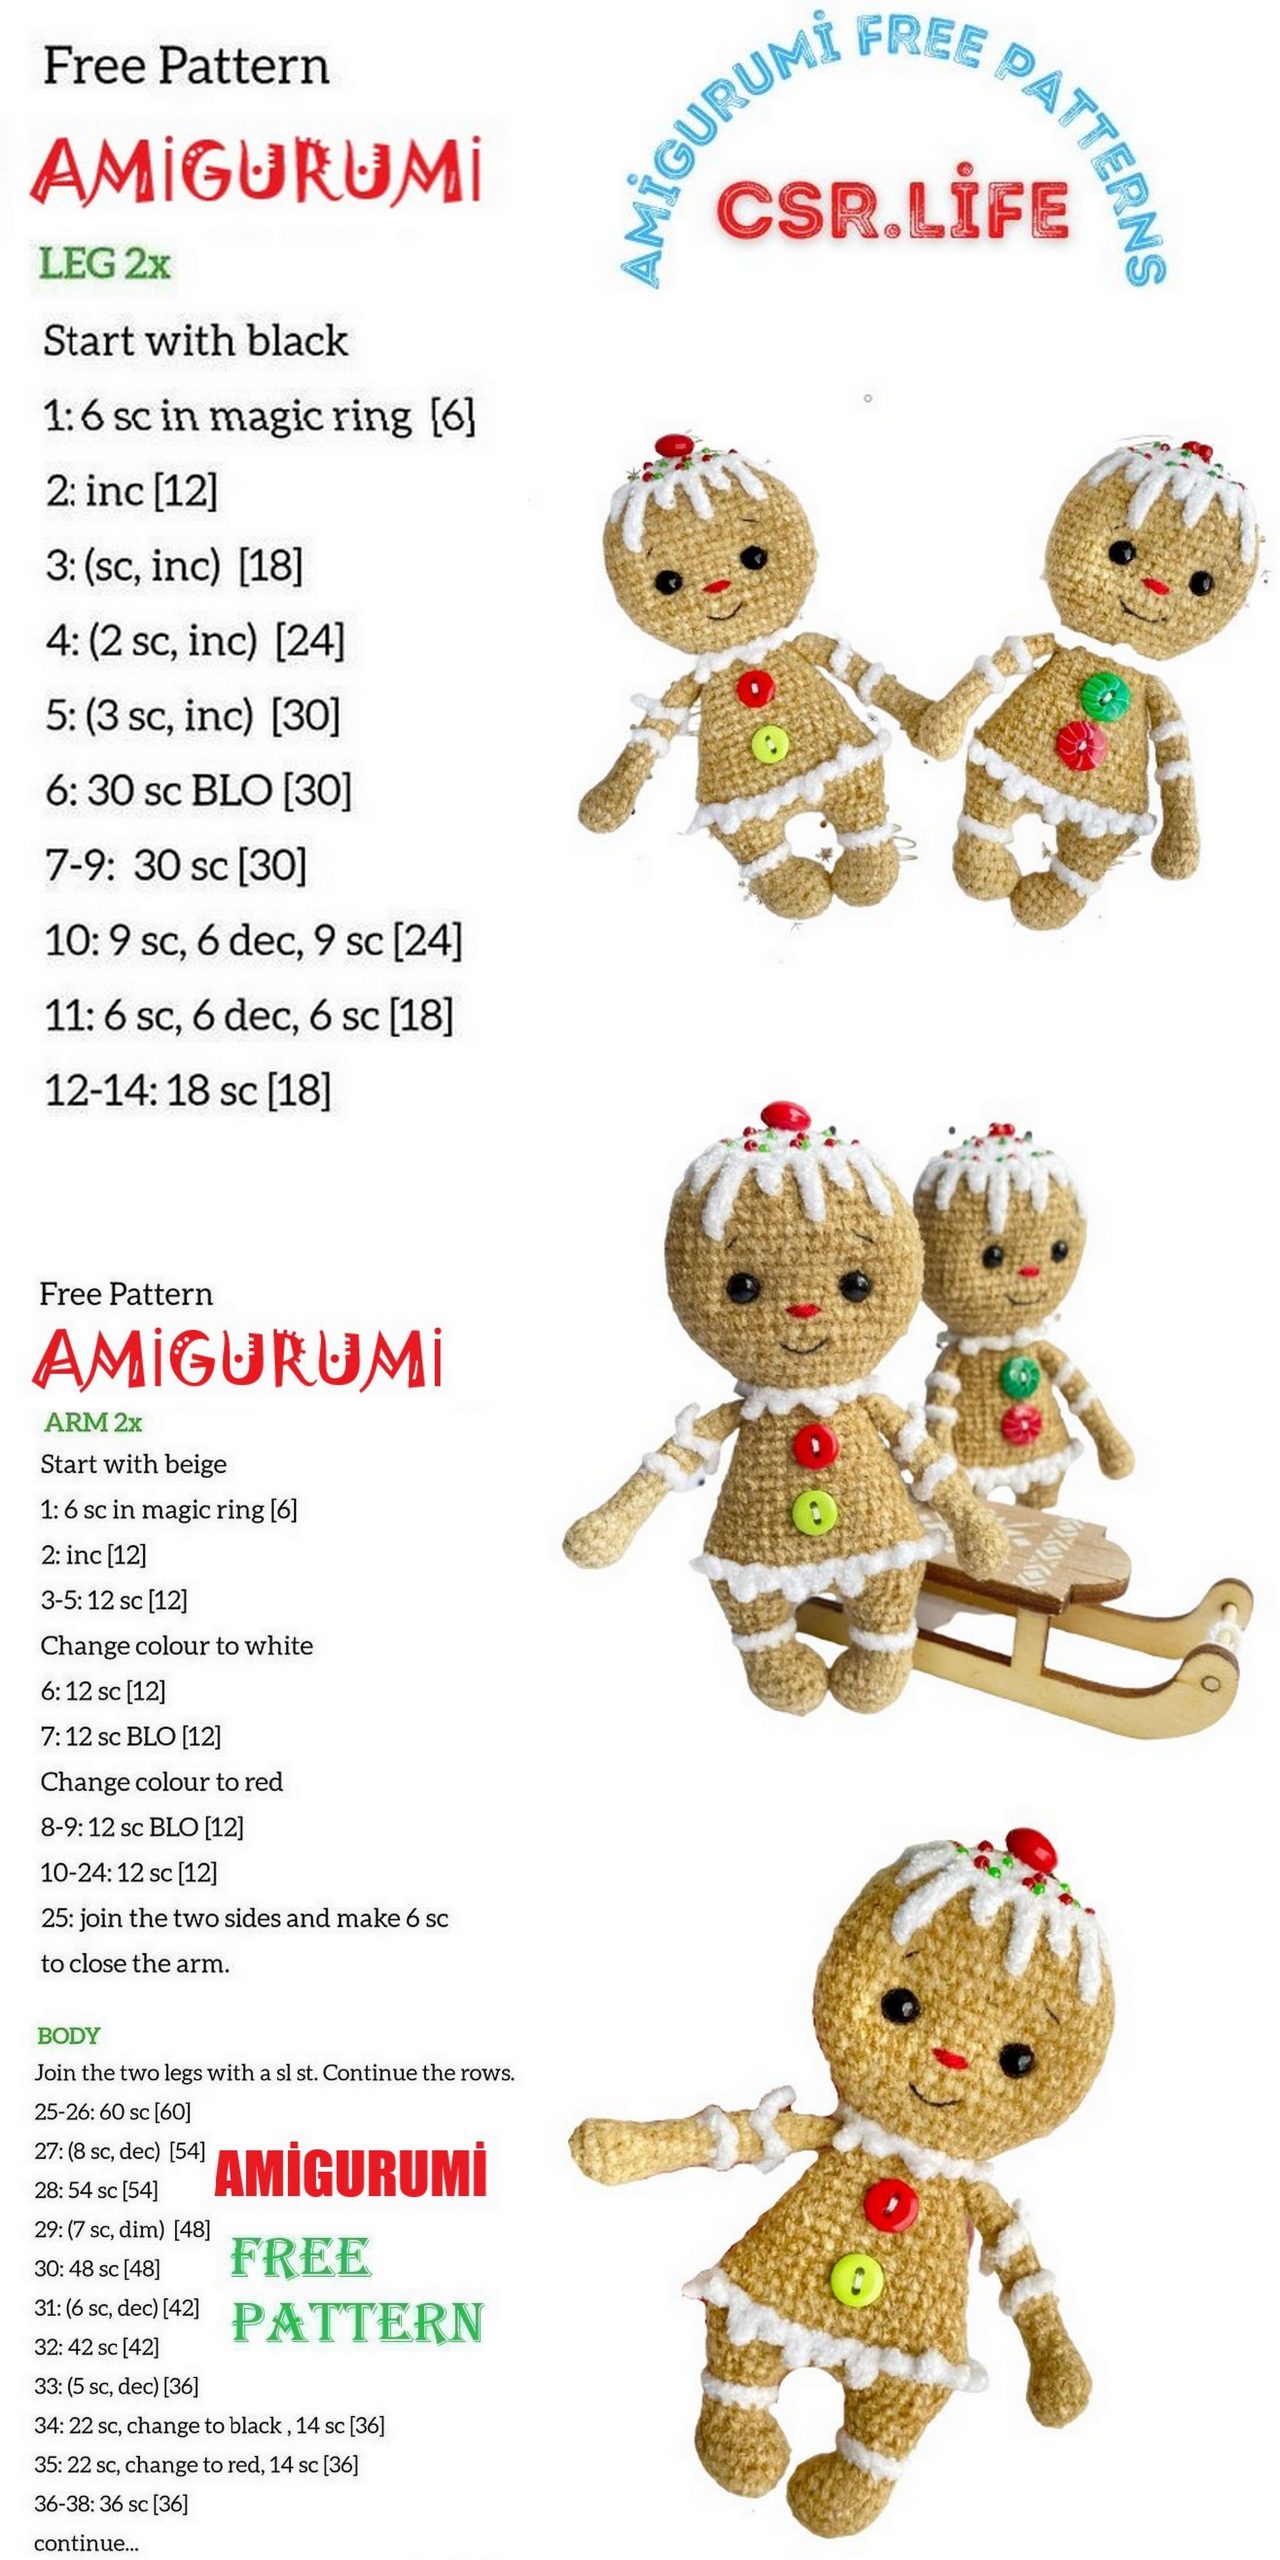
Gingerbread Man Amigurumi Free Pattern
I continue to share amigurumi free patterns with you. In this article, amigurumi Gingerbread man free pattern is waiting for you.
Materials:
1. Absolutely any yarn in 2 shades of the same thickness: a little white and 30-40 grams of light brown or brown
2. Hook matching your yarn
3. Finished eyes or round beads
4. Floss for embroidery of the nose and eyebrows (black and red)
5. Filler for toys.
6. Some colored beads for decoration
7. Needle
Abbrevations
ch – chain
sl-st – slip stitch
sc – single crochet
inc – increase (knit 2 sc in 1 loop of the previous row)
dec – decrease (knit 2 sc together in one go)
2 dec – knit two decreases in a row
(…) * – knit a certain number of times All parts of the toy are knitted in a spiral for both walls of the loop.
To make it easier, use a marker or contrasting thread to mark the beginning of the row.
If in the process of knitting the marker line has moved to the right, then an extra loop should be knitted at the end of the row.
PATTERN

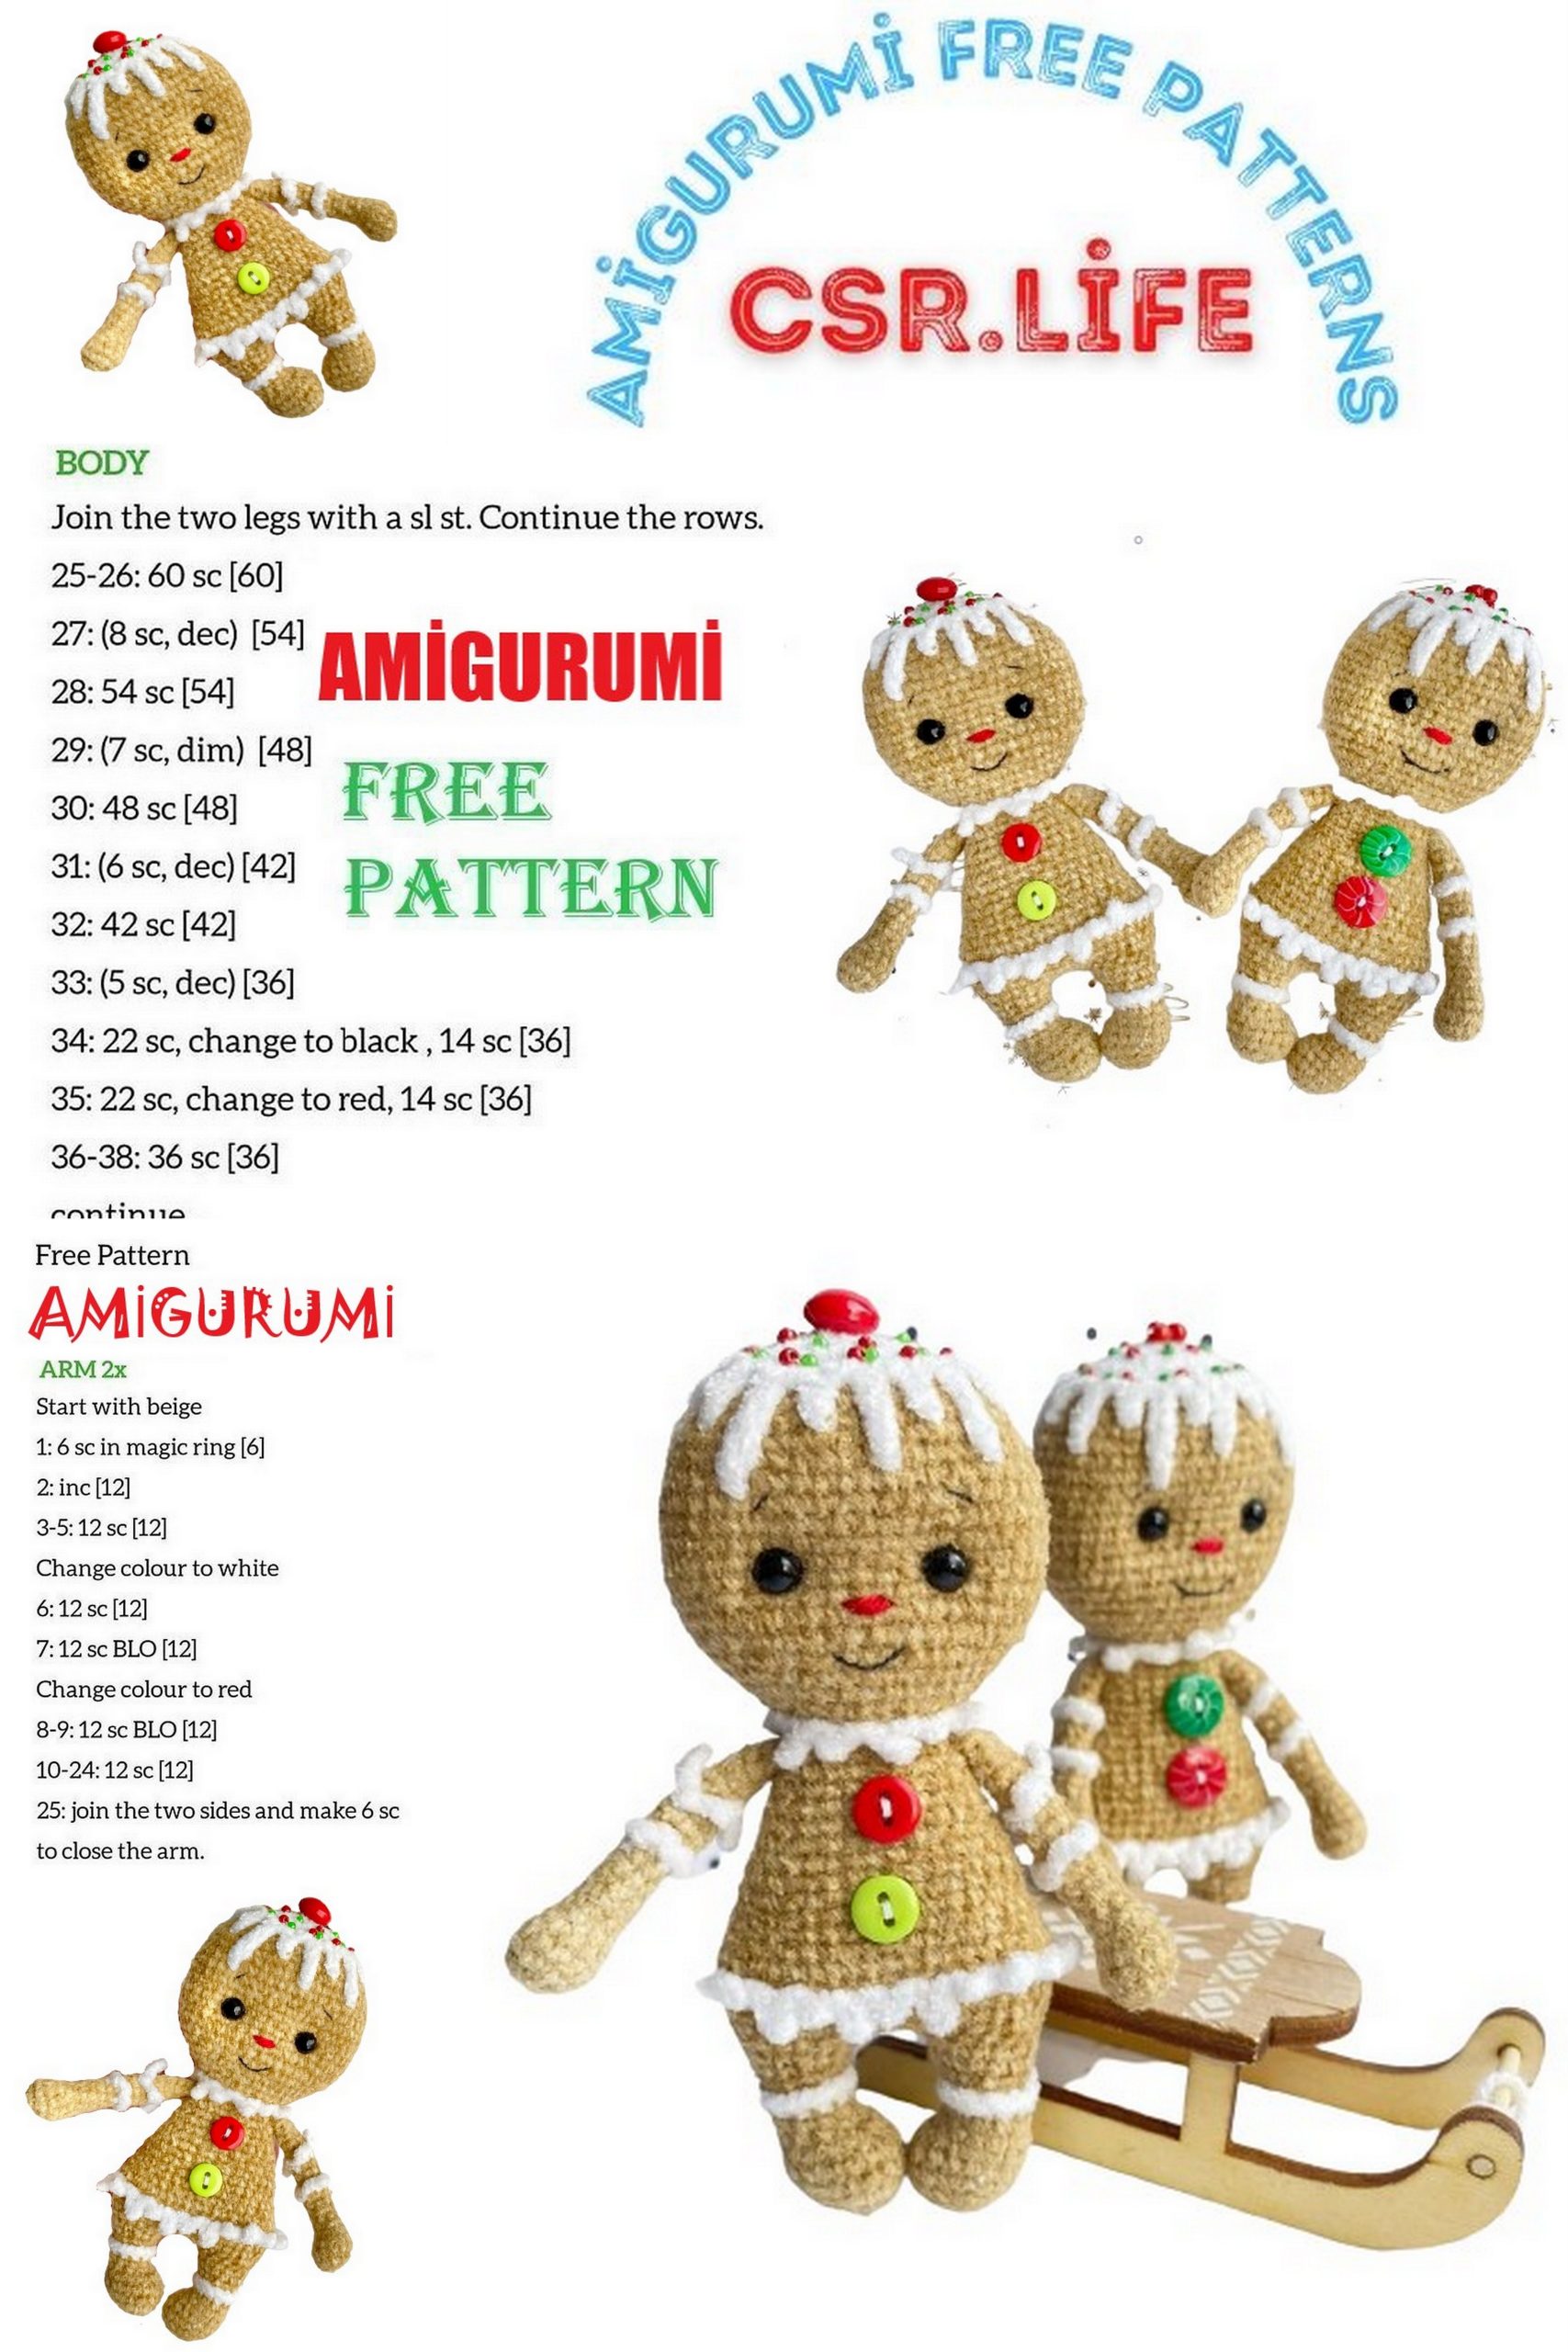
Handles (2 parts):
The marker goes in the center of the palm.
Make sure that the increases and decreases are on top of each other.
We knit with brown yarn.
6 sc into magic ring
1 row: 6 inc (12)
2-3 row: 12 sc (2 rows)
4 row: dec, 8 sc, dec (10)
5 row: 1 sc, dec, 4 sc, dec, 1 sc (8)
6-9 row: 8 sc (4 rows) Change color to white
10 row: 8 sc (8) Change color to brown
11 row: we knit for the back half loops 8 sc (8)
12-13 row: 8 sc (2 rows)
Change color to white
14 row: 8 sc (8)
Change color to brown
15 row: we knit for the back half loops 8 sc (8)
16-18 row: 8 sc (3 rows)
Fill only the palm (lower part), the upper part of the handle can not be stuffed.
Fold the part in half and knit 4 sc, capturing the columns of both halves.
Cut the thread, fasten and hide.
Attach a white thread to the 10th row and make a strapping for the front half loops:
(sl-st, ch) * repeat to end of row.
Attach a white thread to the 14th row and make a strapping for the front half loops:
(sl-st, ch) * repeat to end of row.
Legs (2 parts):
Left foot Marker goes on the back of the foot (middle of the heel)
Knit with brown yarn
6 sc into magic ring
1 row: 6 inc (12)
2 row: (1 sc, inc) * 6r (18)
3-4 row: 18 sc (2 rows)
5 row: 5 sc, 4 dec, 5 sc (14)
6 row: 4 sc, 3 dec, 4 sc (11)
7 row: 11 sc (11)
Change color to white
8 row: 11 sc (11)
Change color to brown
9 row: we knit 11 sc for the back half loops
10 row: 4 sc, inc, 1 sc, inc, 4 sc (13)
11 row: 6 sc, put an additional marker after the first column of increase, 6 sc (14)
Cut the thread, fasten and hide.
Stuff tightly.
Attach a white thread to the 8th row and make a strapping for the front half loops:
(sl-st, ch) * repeat to end of row
Tie the right leg in the same way, but do not tear off the thread, then we will continue to knit the body with it.
Body:
We fill in the process.
The body must be soft.
1 row: on the right leg 1 sc, inc, 5 sc, 4 ch, knit on the left leg, starting from an additional marker 5 sen, inc, 2 sc, inc, 5 sc, 4 sc for 4 ch, on the right leg 5 sc , inc,1 sc (40)
Knit 10 sc (8 on the leg and 2 on ch), put a new marker of the beginning of the row (middle of the back)
2 row: 40 sc
3 row: 8 sc, inc, 2sc, inc, 16 sc, inc, 2 sc, inc, 8 sc (44)
4 row: 44 sc (44)
Change color to white
5 row: 44 sc (44)
change color to brown
6 row: we knit for the back half loops 44 sc (44)
7-8 row: 44 sc (2 rows)
9 row: 8 sc, dec, 2sc, dec, 16 sc, dec, 2 sc, dec, 8 sc (40)
10 row: 40 sc
11 row: 7sc, dec, 2sc, dec, 14 sc, dec, 2 sc, dec, 7 sc (36)
12-13 row: 36 sc (2 rows)
14 row: 6 sc, dec, 2sc, dec, 12 sc, dec, 2 sc, dec, 6 sc (32)
15 row: 32 sc
16th row: 5 sc, dec, 2sc, dec, 10 sc, dec, 2 sc, dec, 5 sc (28)
17-18 row: 28 sc (2 rows)
19 row: 4 sc, dec, 2sc, dec, 8 sc, dec, 2 sc, dec, 4 sc (24)
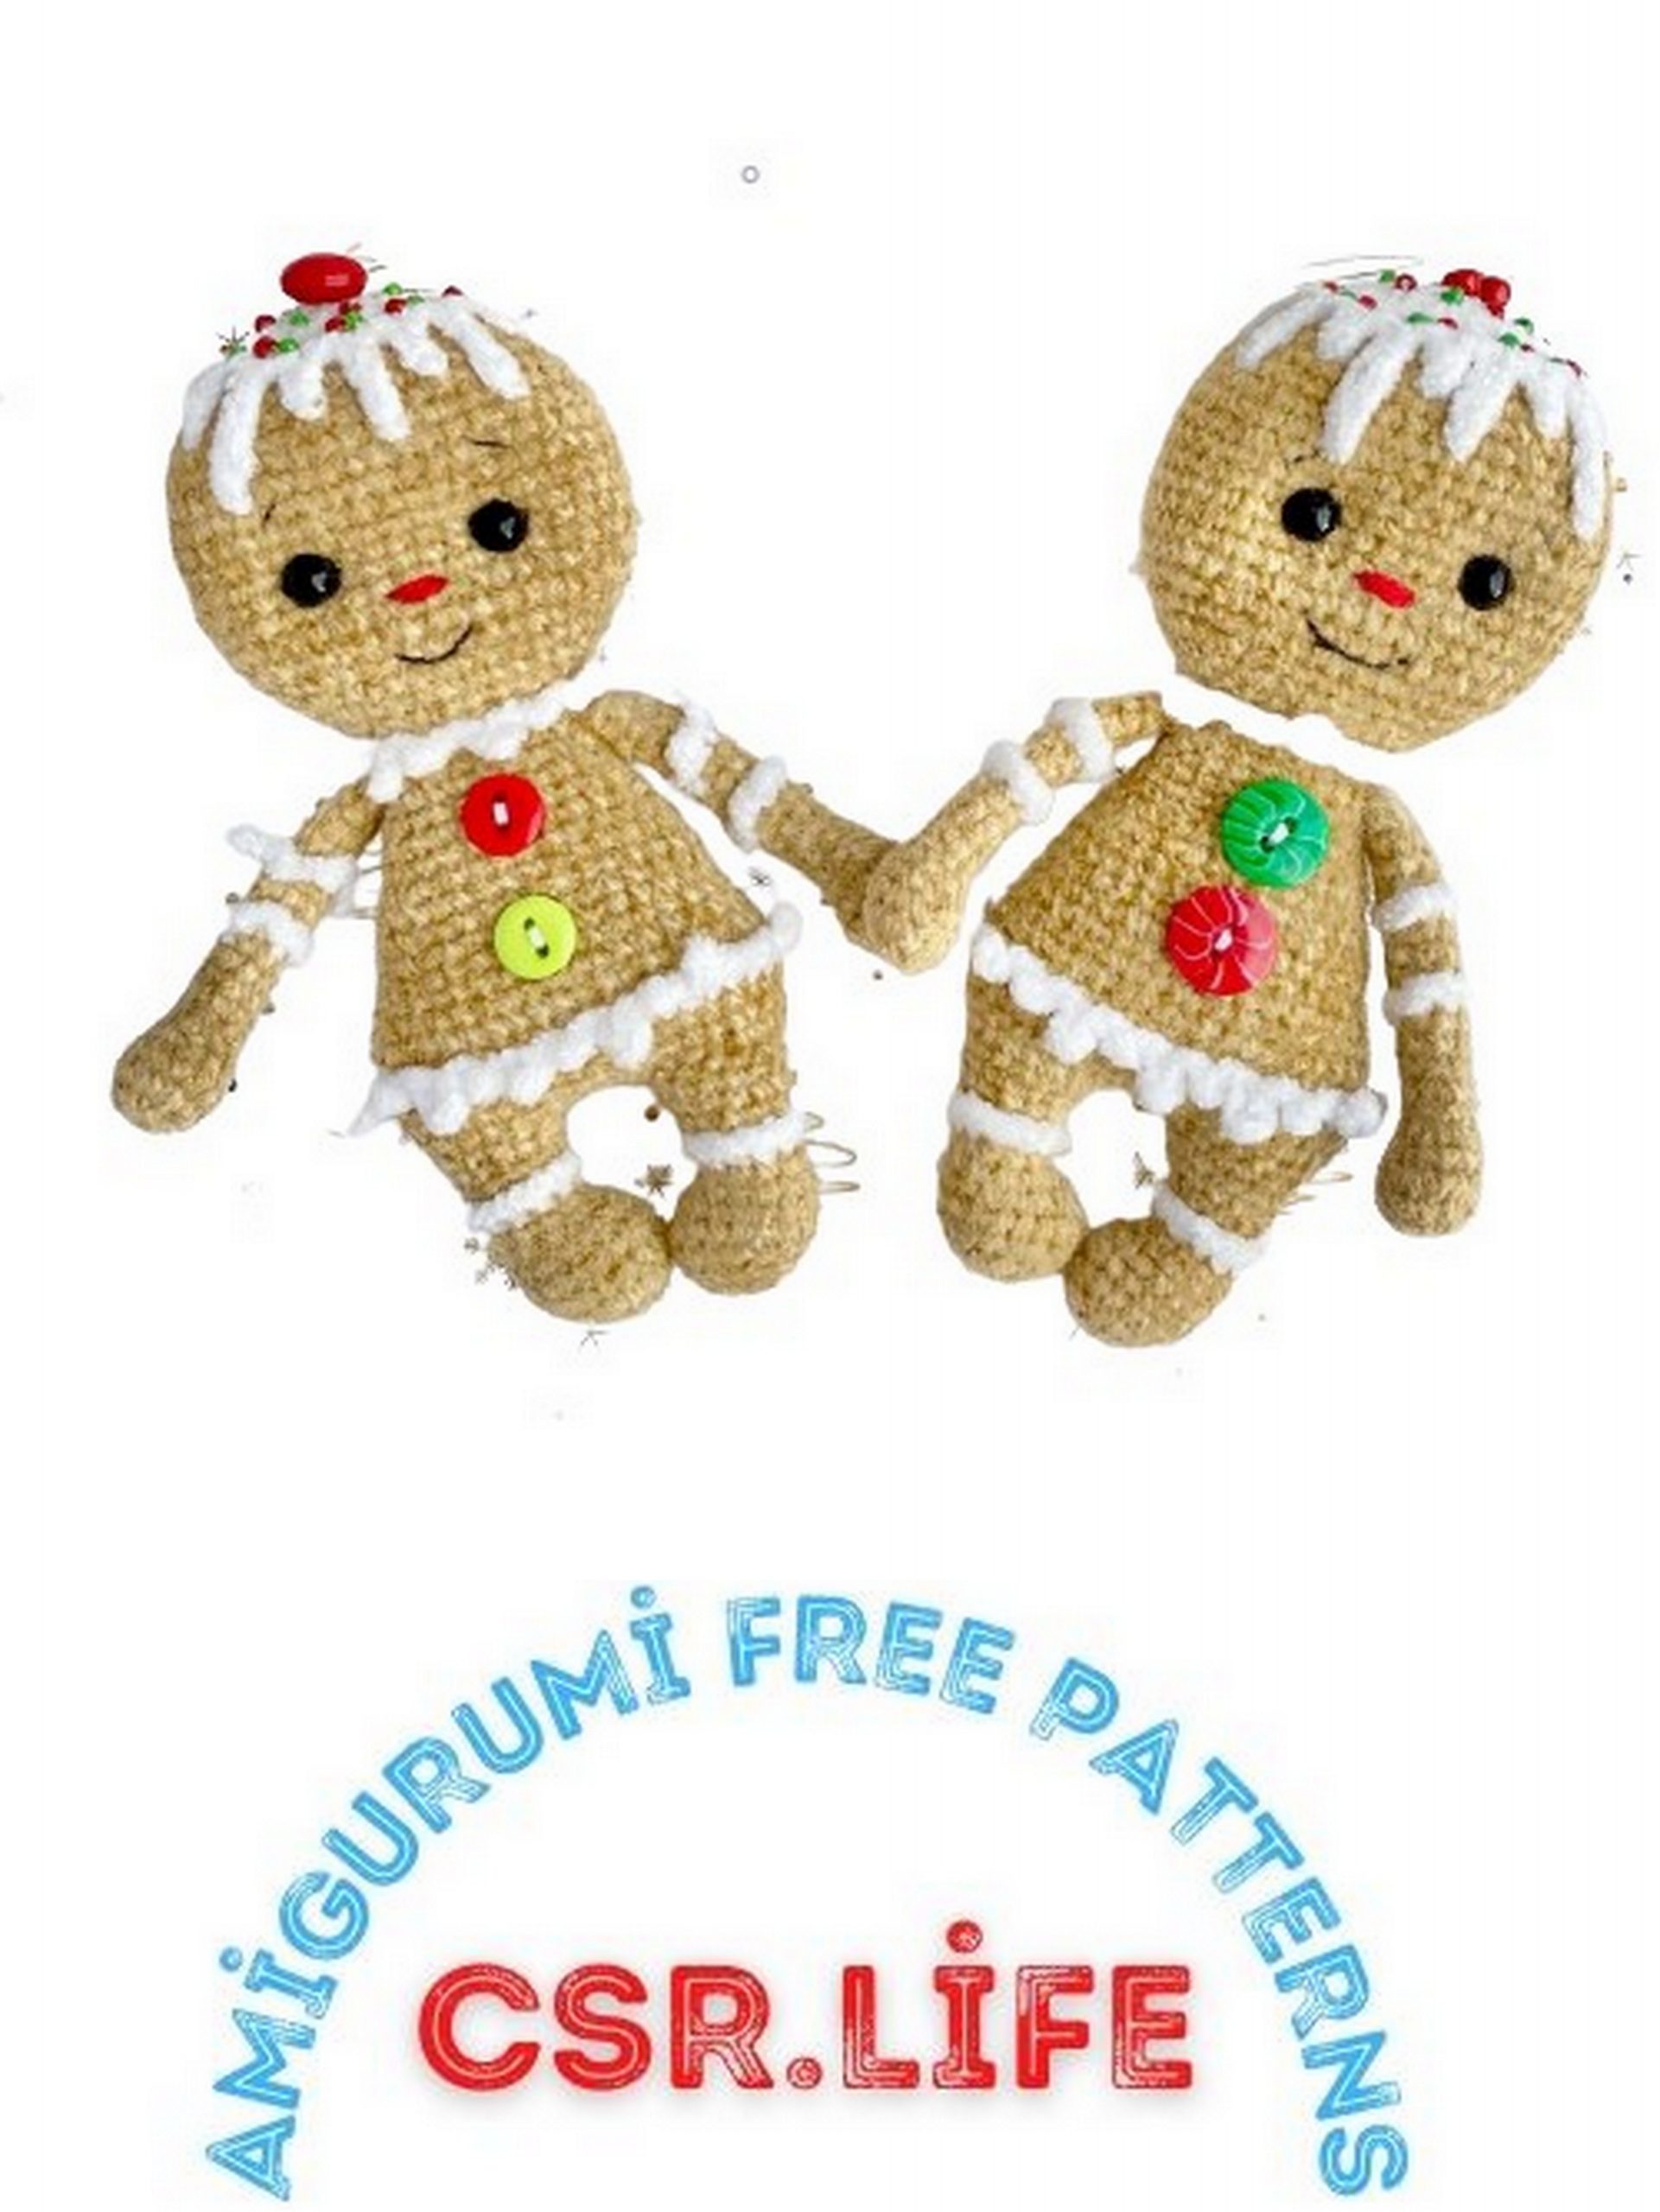
Align marker. Let’s tie the handles.
20 row: 4 sc, 4 sc on the left arm and body, 8 sc, 4 sc on the right arm and body, 4 sc (24)
21 row: 5 sc, dec, 10 sc, dec, 5 sc (22)
change color to white
22 row: 22 sc (22)
change the color to brown The body is finished.
Next, we will knit the head.
We stuff in the process of knitting.
23 row: we knit for the back half loops 4 sc, inc, 1 sc, inc, 8 sc, inc, 1 sc, inc, 4 sc (26)
24 row: 5 sc, inc, 1 sc, inc, 10 sc, inc, 1 sc, inc, 5 sc (30)
25 row: 4 sc, inc, 2 sc, inc, 2 sc, inc, 8 sc, inc, 2 sc, inc, 2 sc, inc, 4 sc (36)
26 row: 6 sc, inc, 4 sc, inc, 12 sc, inc, 4 sc, inc, 6 sc (40)
27 row: 8 sc, inc, 2 sc, inc, 16 sc, inc, 2 sc, inc, 8 sc (44)
28 row: 8 sc, inc, 4 sc, inc, 16 sc, inc, 4 sc, inc, 8 sc (48)
29-36 rows: 48 sc (8 rows)
37 row: 8 sc, dec, 4 sc, dec, 16 sc, dec, 4 sen, dec, 8 sc (44)
38 row: 44 sc (44)
39 row: 8 sc, dec, 2 sc, dec, 16 sc, dec, 2 sc, dec, 8 sc (40)
40 row: 40 sc (40)
Change color to white
41 row: 6 sen, dec, 4 sc, dec, 12 sc, dec, 4 sc, dec, 6 sc (36)
42 row: knit for the back half loops 4 sc, dec, 2 sc, dec, 2sc, dec, 8 sc, dec, 2 sc, dec, 2 sc, dec, 4 sc (30)
43 row: (3 sc, dec) * 6 times (24)
44 row: (2 sc, dec) * 6 times (18)
45 row: (1 sc, dec) * 6 times (12)
46 row: 6 dec (6)
Stuff your head tightly.
Pull off the remaining loops, thread and cut off the thread.
Turn the toy upside down.
Attach the white thread to the 5th row of the body and make the strapping for the front half loops:
(sl-st in body, 3 ch, 2 sl-st in chain of ch (starting from the second loop from the hook), 2 sl-st in the body, 2 ch, 1 sl-st in the second loop from the hook, sl-st on the body) * repeat until the end of the row.
Attach a white thread to the 22nd row of the body (neck) and make a harness for the front half loops:
(sl-st in body, 3 ch, 2 sl-st in chain of ch (starting from the second loop from the hook), 2 sl-st in the body, 2 ch, 1 sl-st in the second loop from the hook, sl-st on the body) * repeat until the end of the row
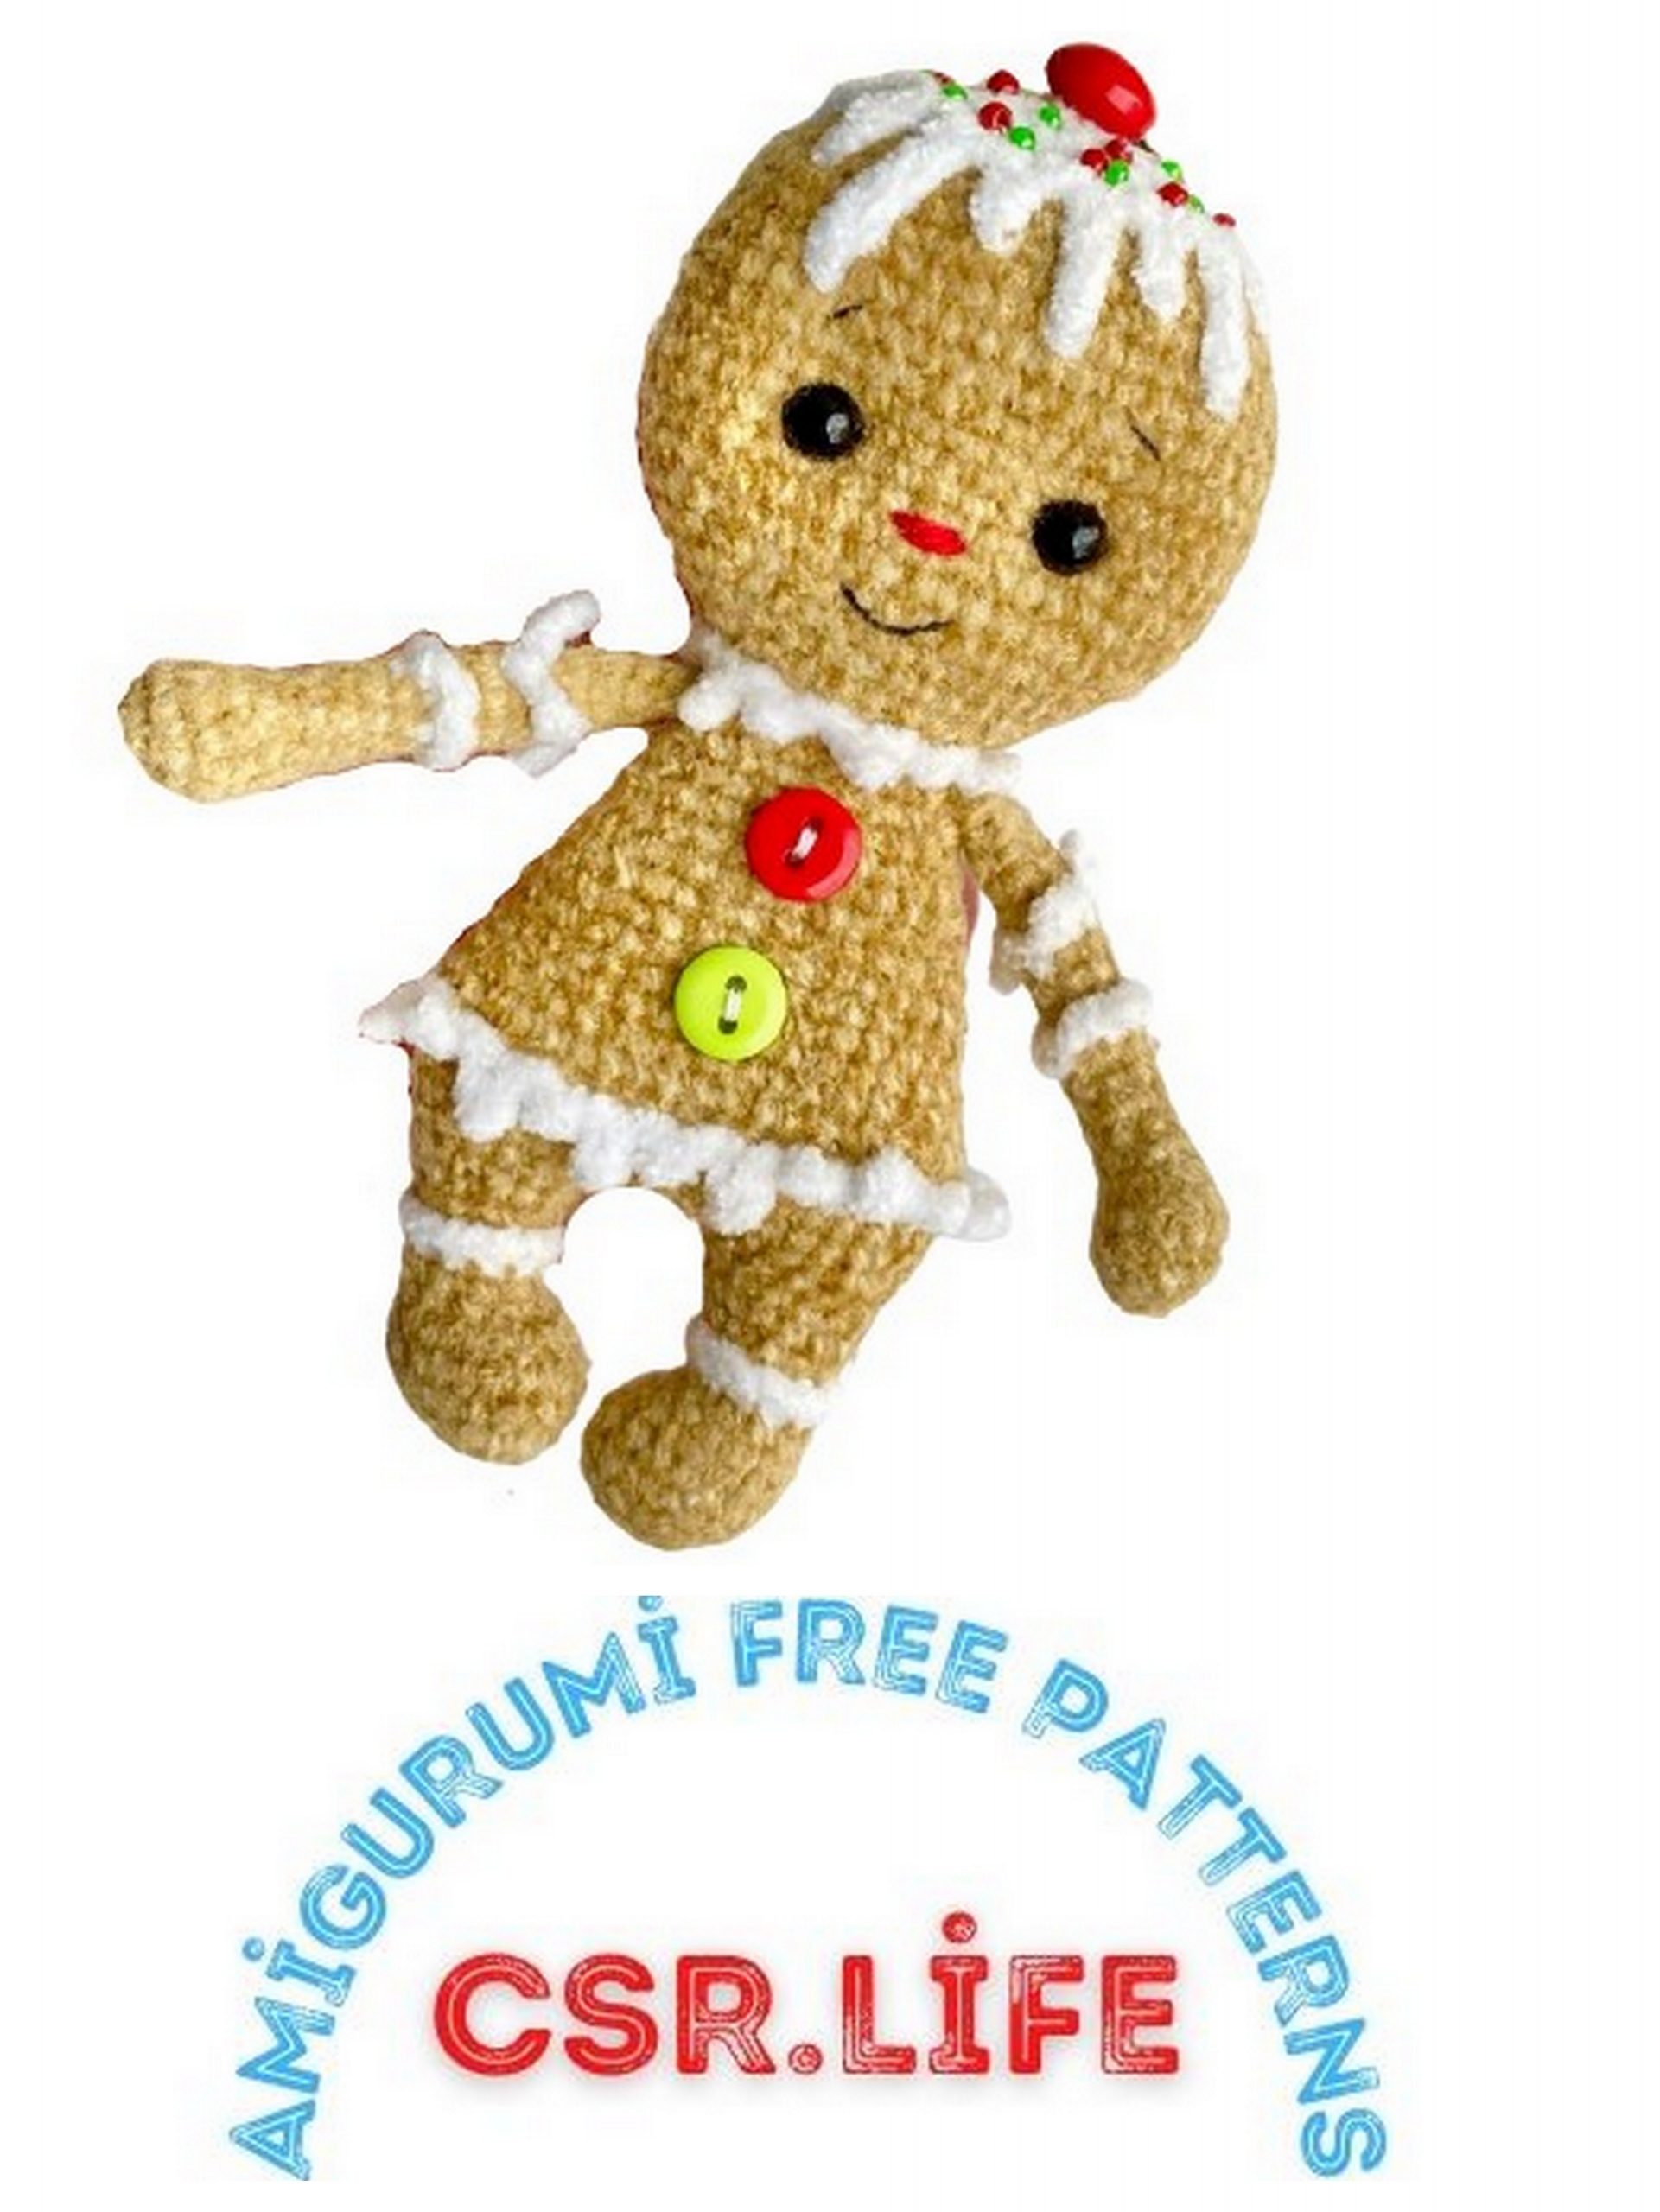
face design
At this stage, we sew on the eyes, embroider the nose, eyebrows.
You can come up with your own image, do not be afraid to experiment.
I sewed the eyes in the 9th row of the head and at a distance of 5-6 columns from each other.
Now it remains only to decorate the top of the gingerbread.
Let your imagination run wild, use beads or embroider.
Turn the toy upside down.
Attach the white thread to the 41st row of the head and make the strapping for the front half loops:
(sl-st in body, 3 ch, 2 sl-st in chain of ch (starting from second loop from hook), 2 sl-st in body, 2 ch, 1 sl-st in second loop from hook, 2sl-st across the body, 5 ch, 4 along the chain of ch (starting from the second loop from the hook), sl-st) * repeat until the end of the row.
The sequence of long and short chains can be different at your discretion. Optionally, the tails of the chains can be sewn to the head.
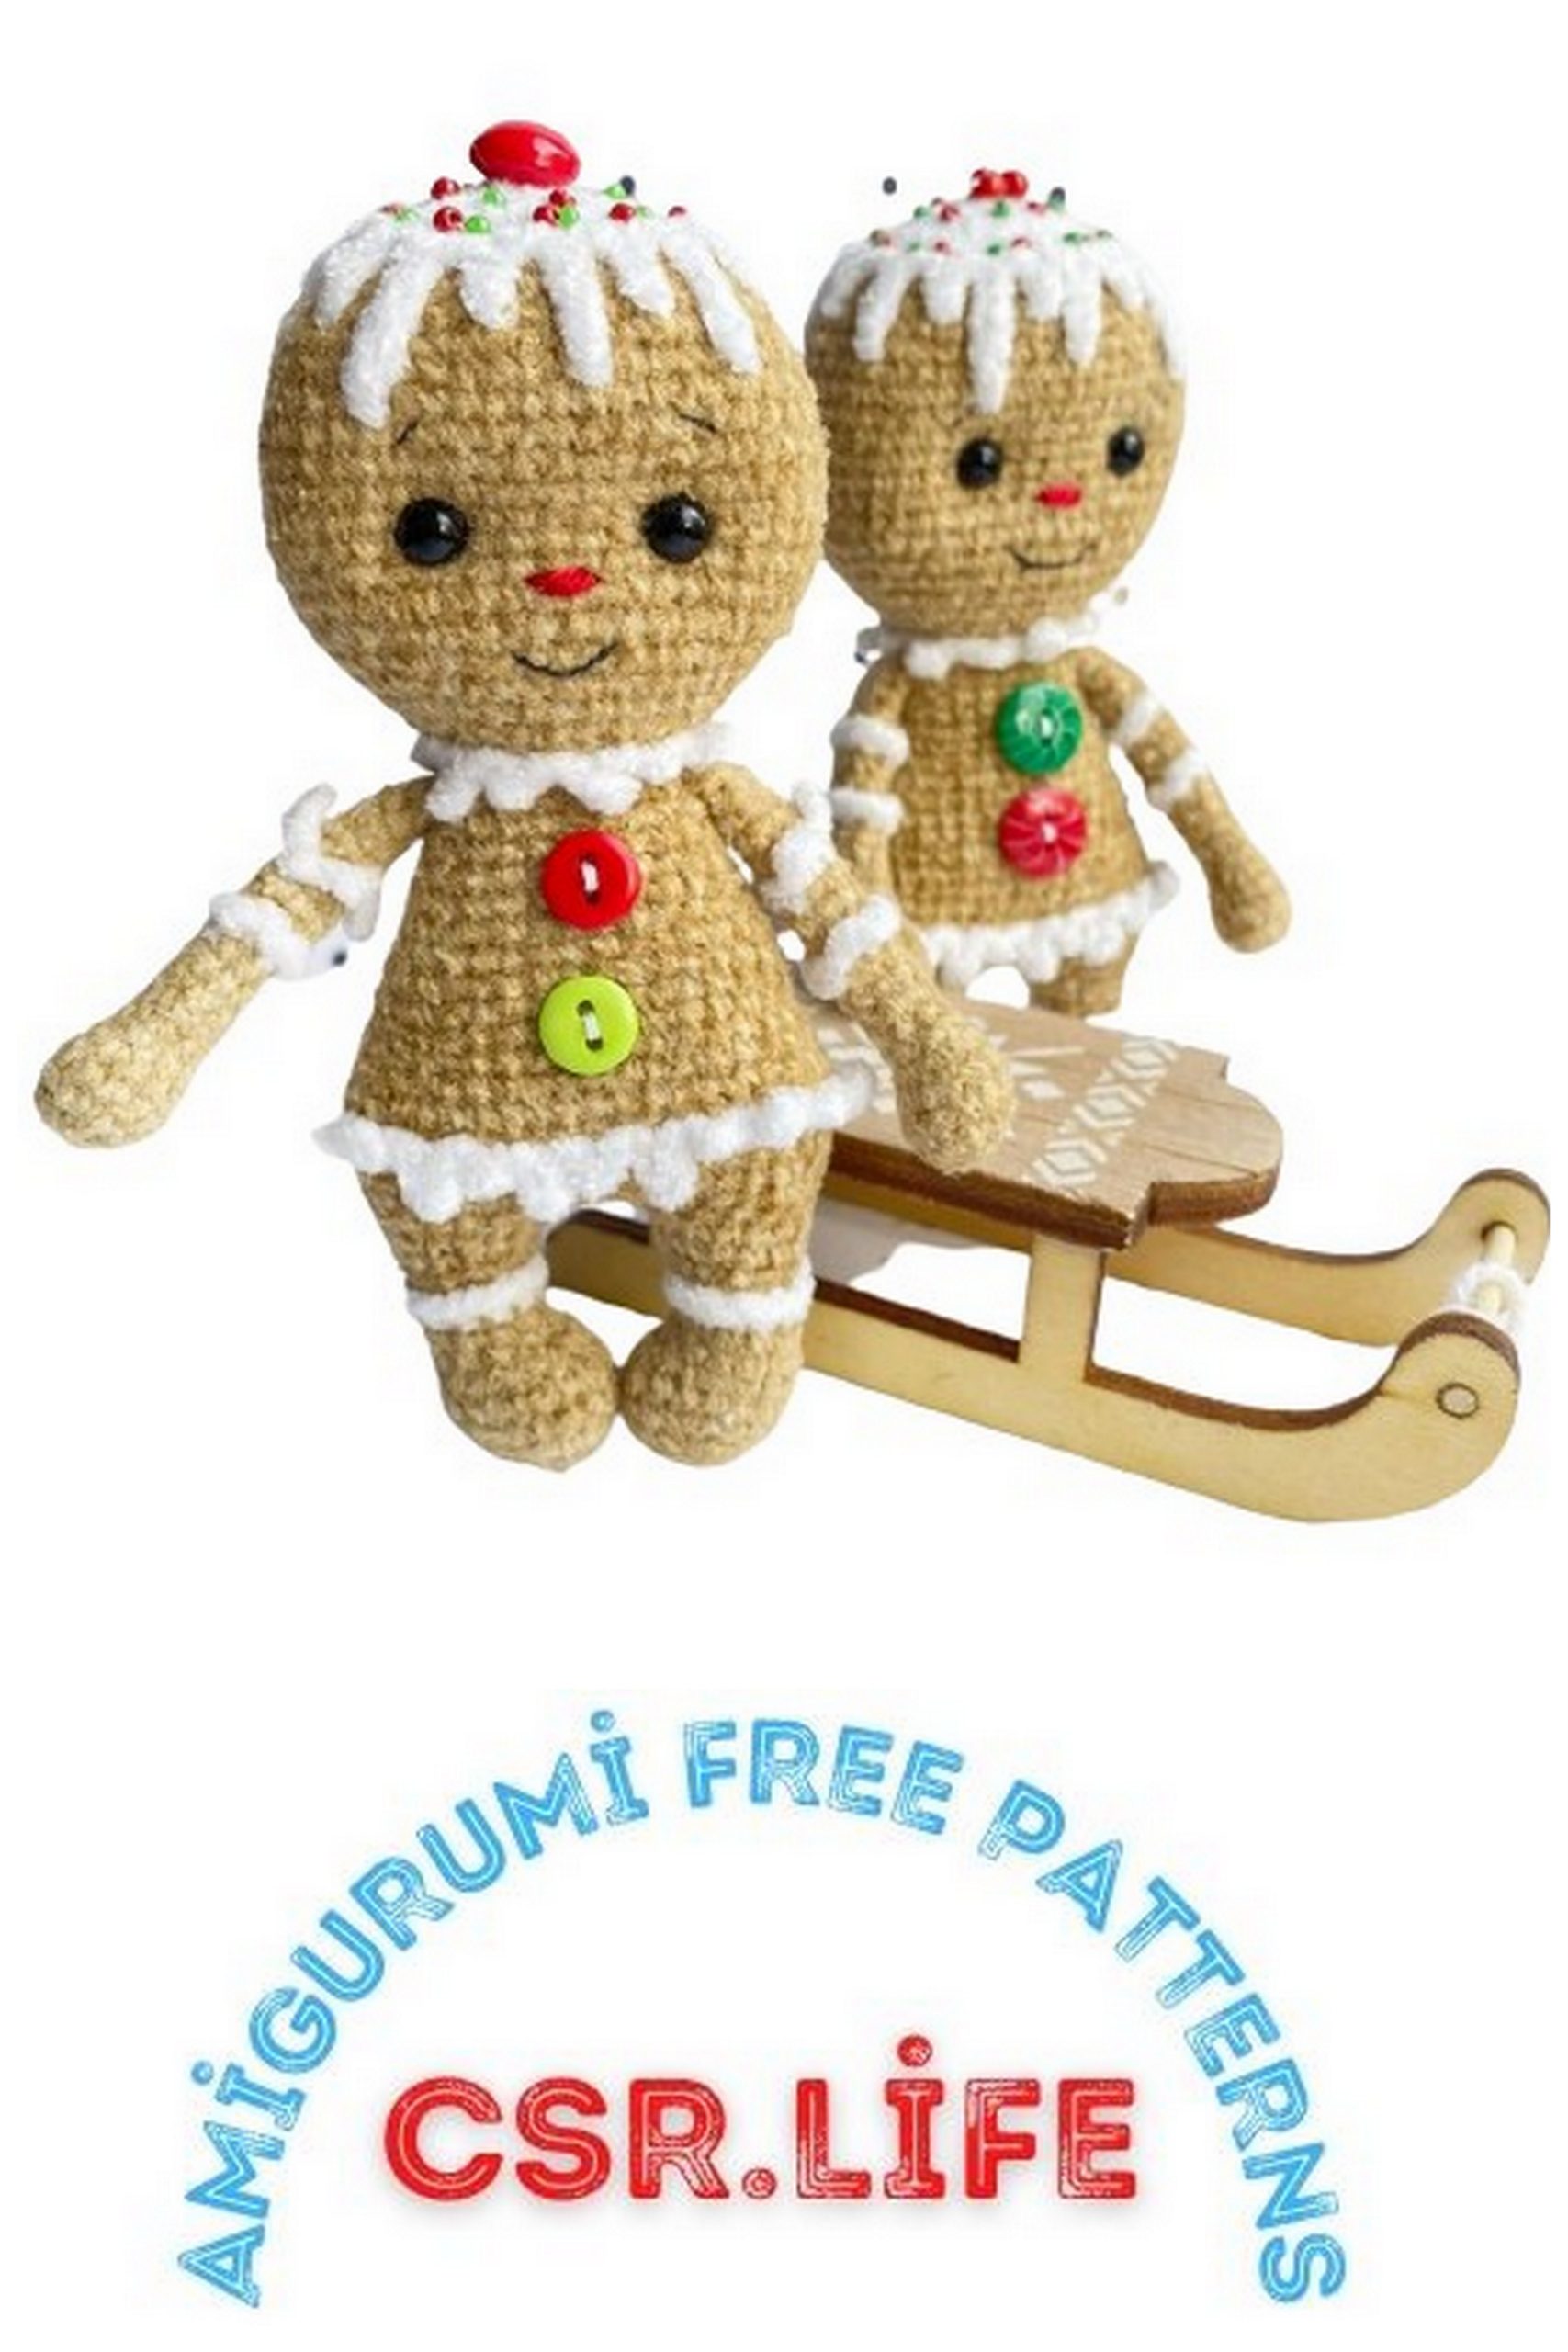
Sew colored buttons on the tummy.
Gingerbread is ready!